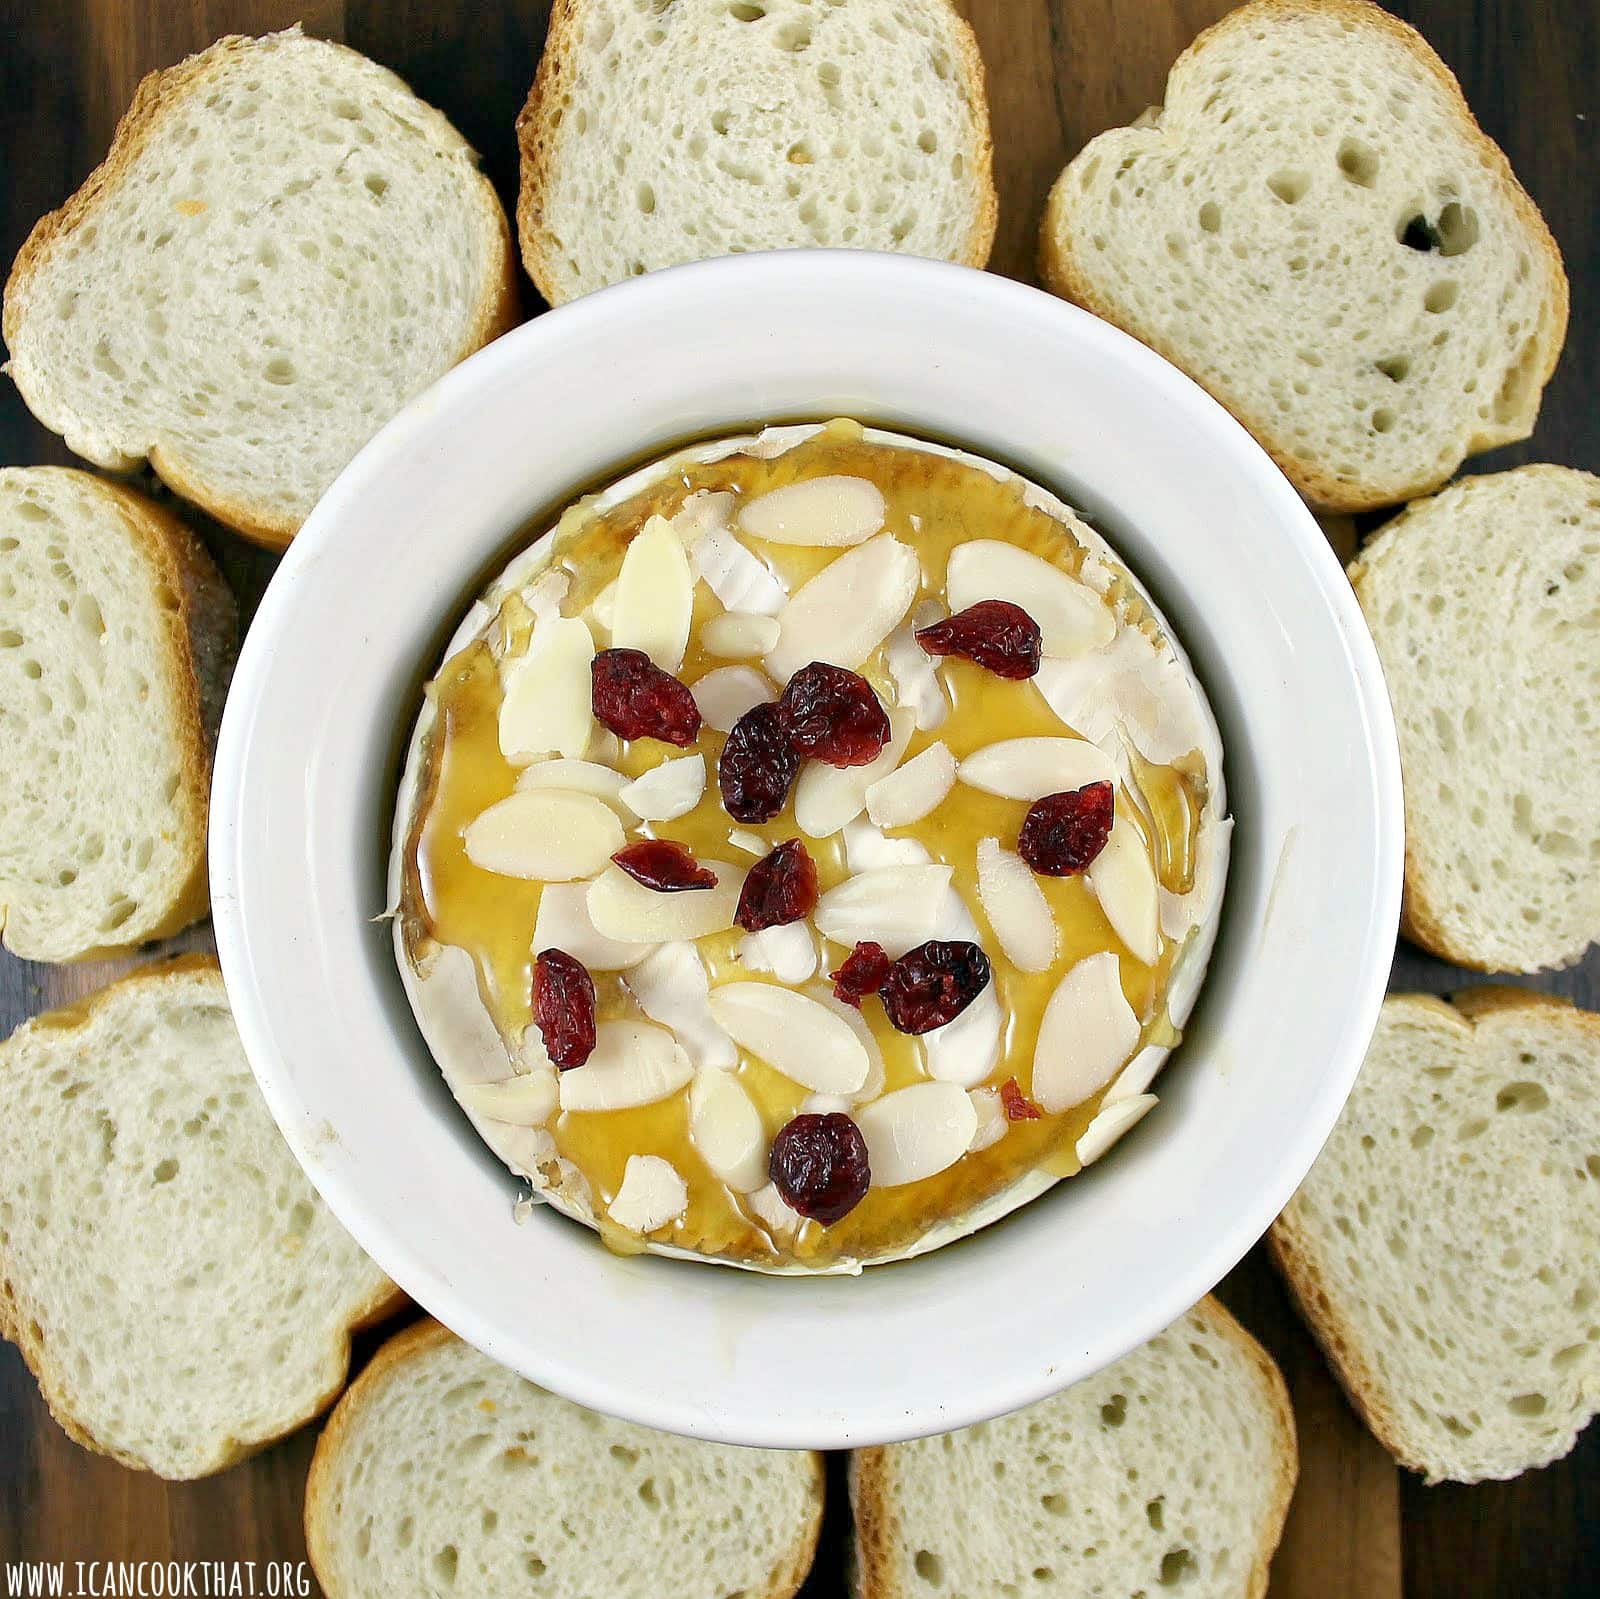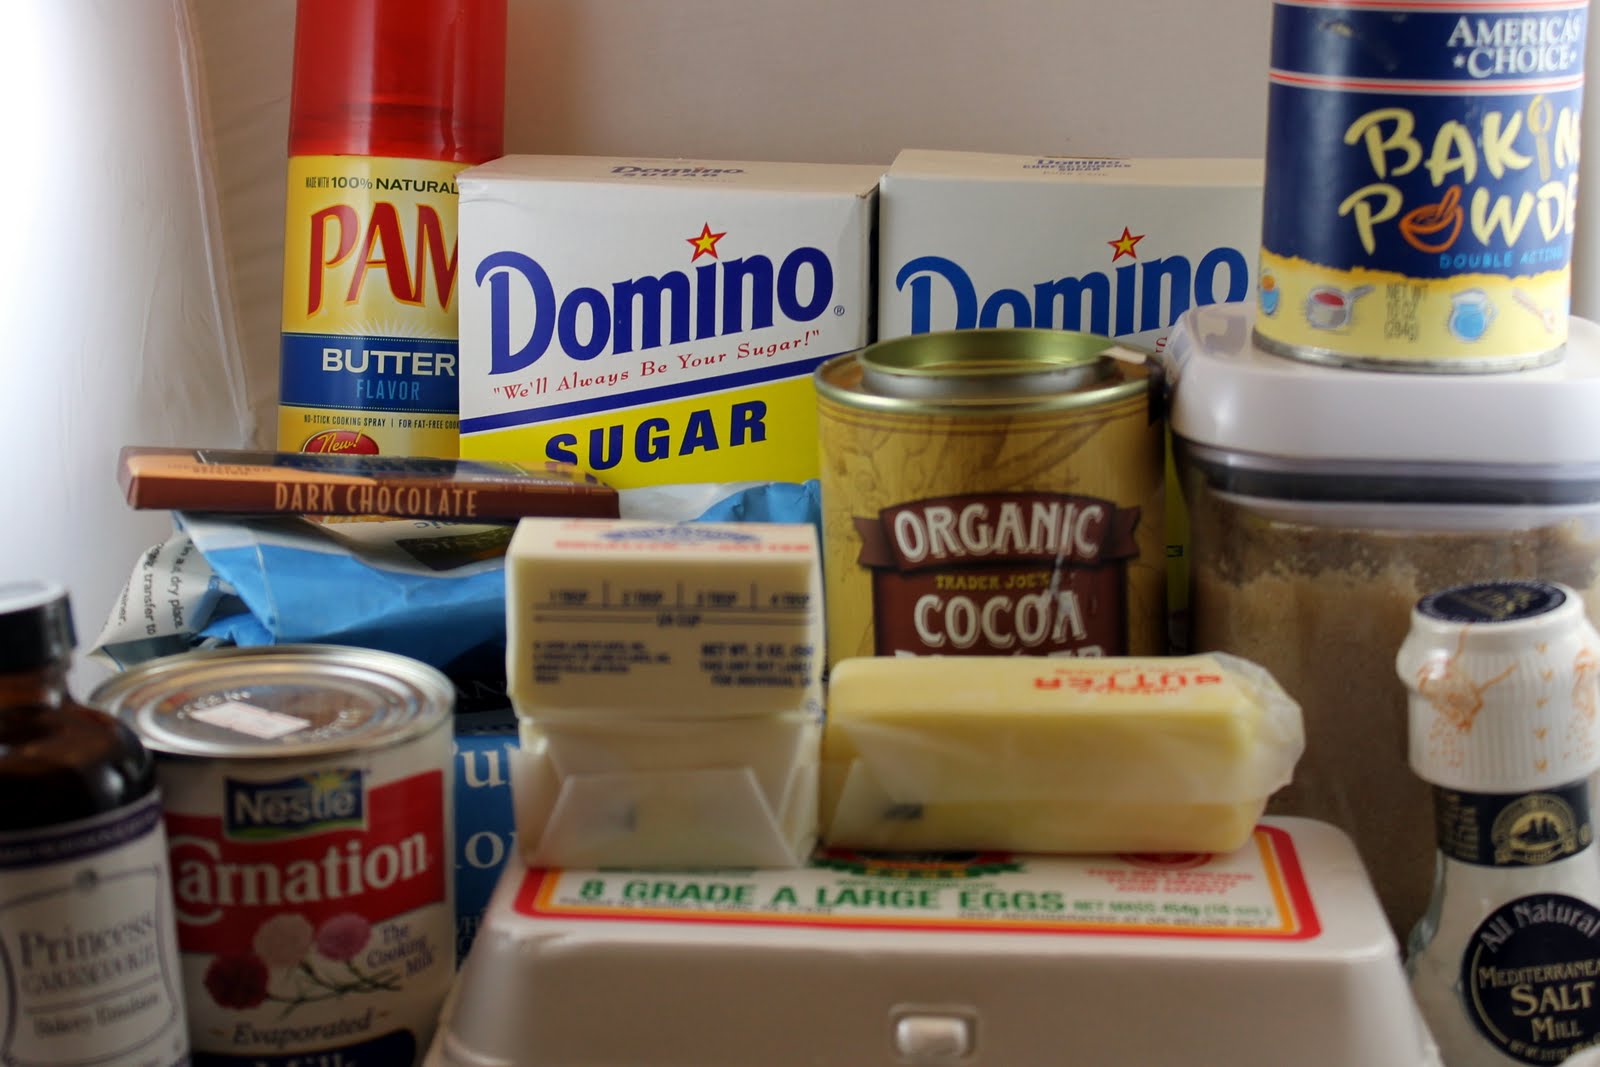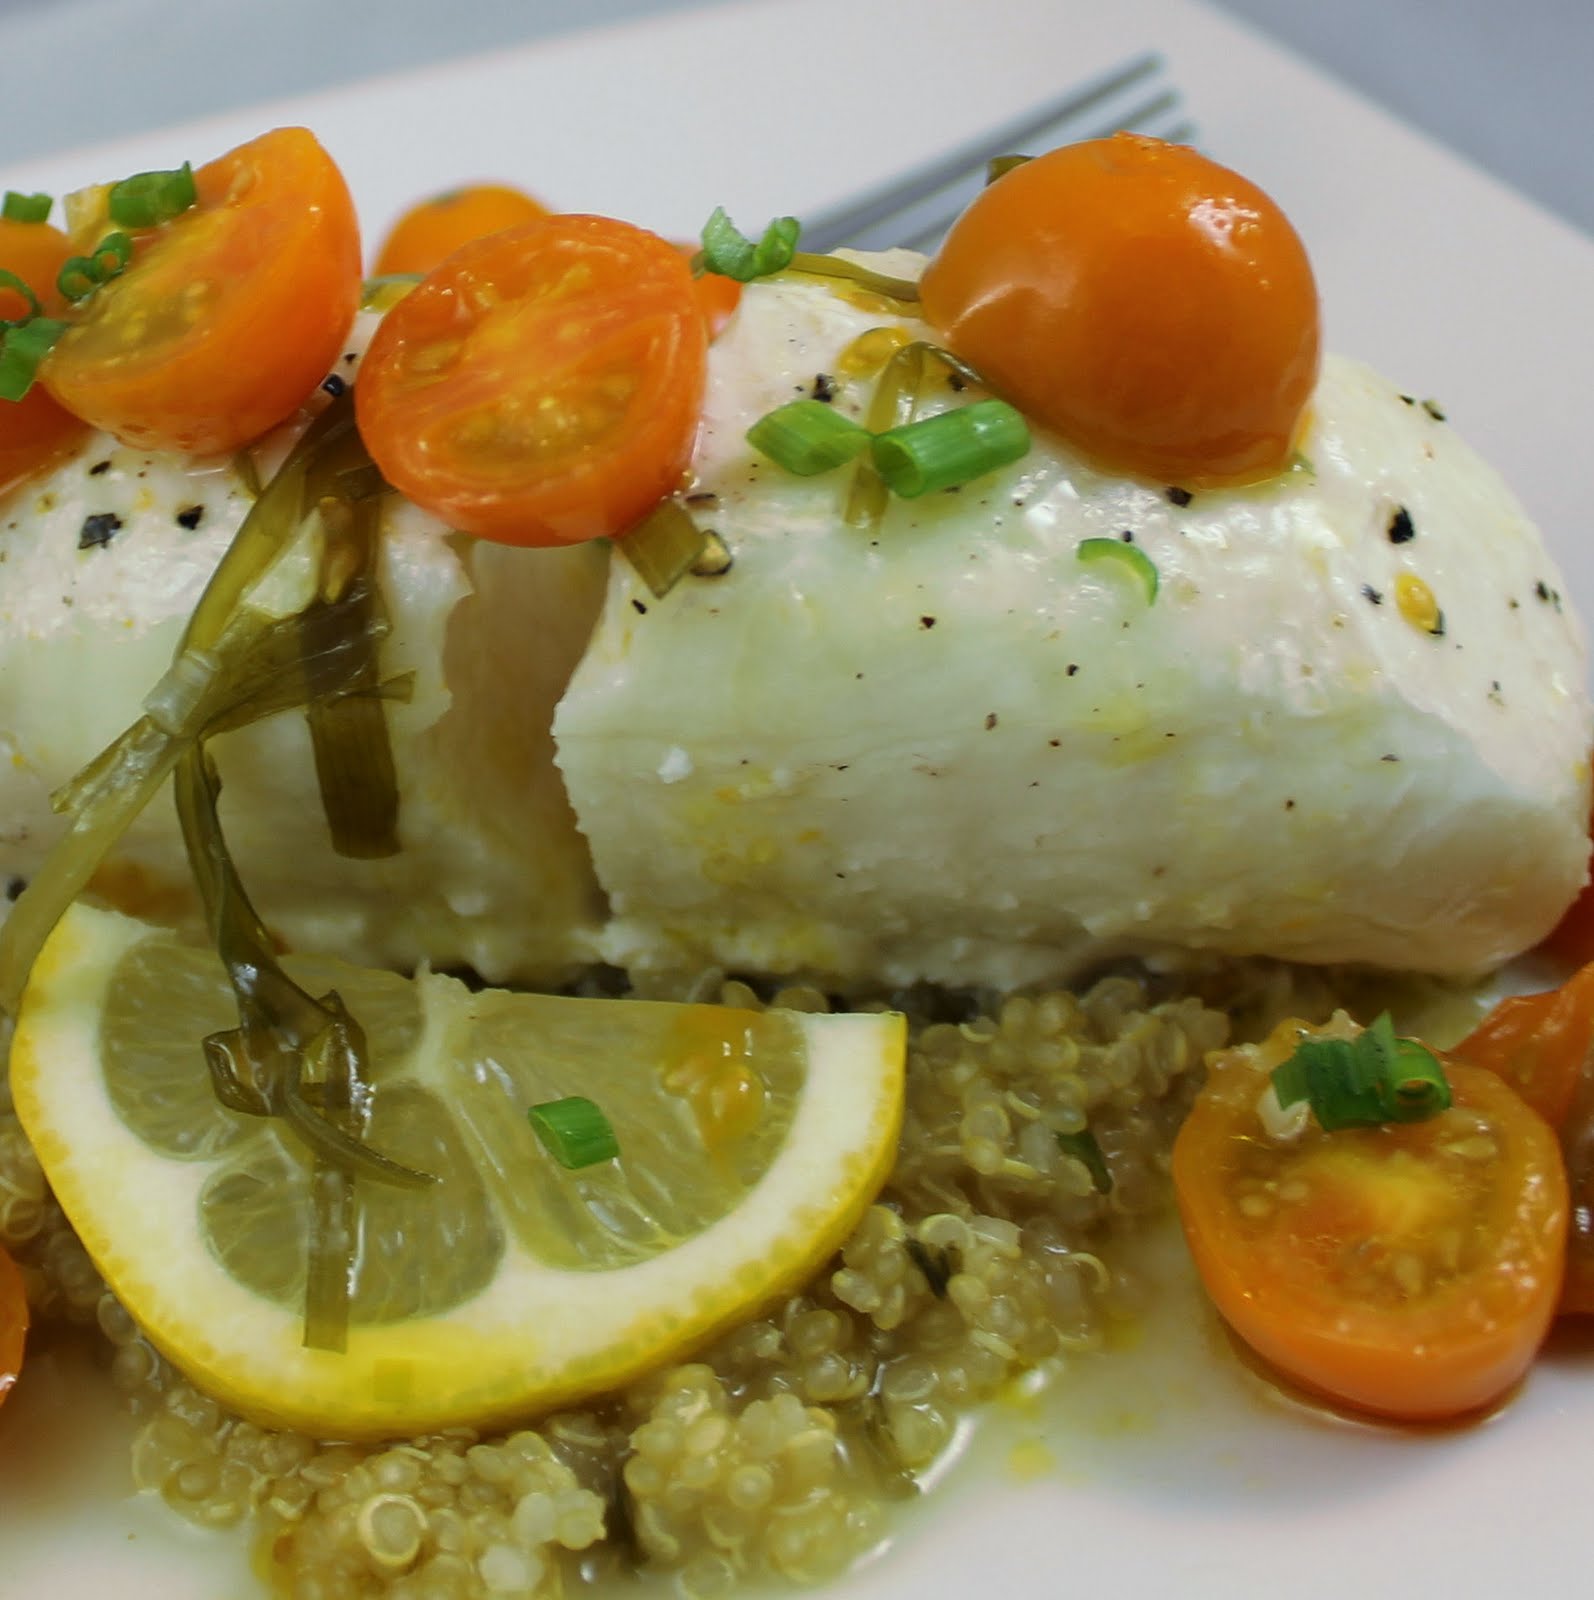
After a weekend of brownie and brie baking, I’m back on track making normal meals. Keeping with my tomato-corn themes, I was happy to find a recipe from Fine Cooking that included both of these ingredients. Even better, it is also a risotto!

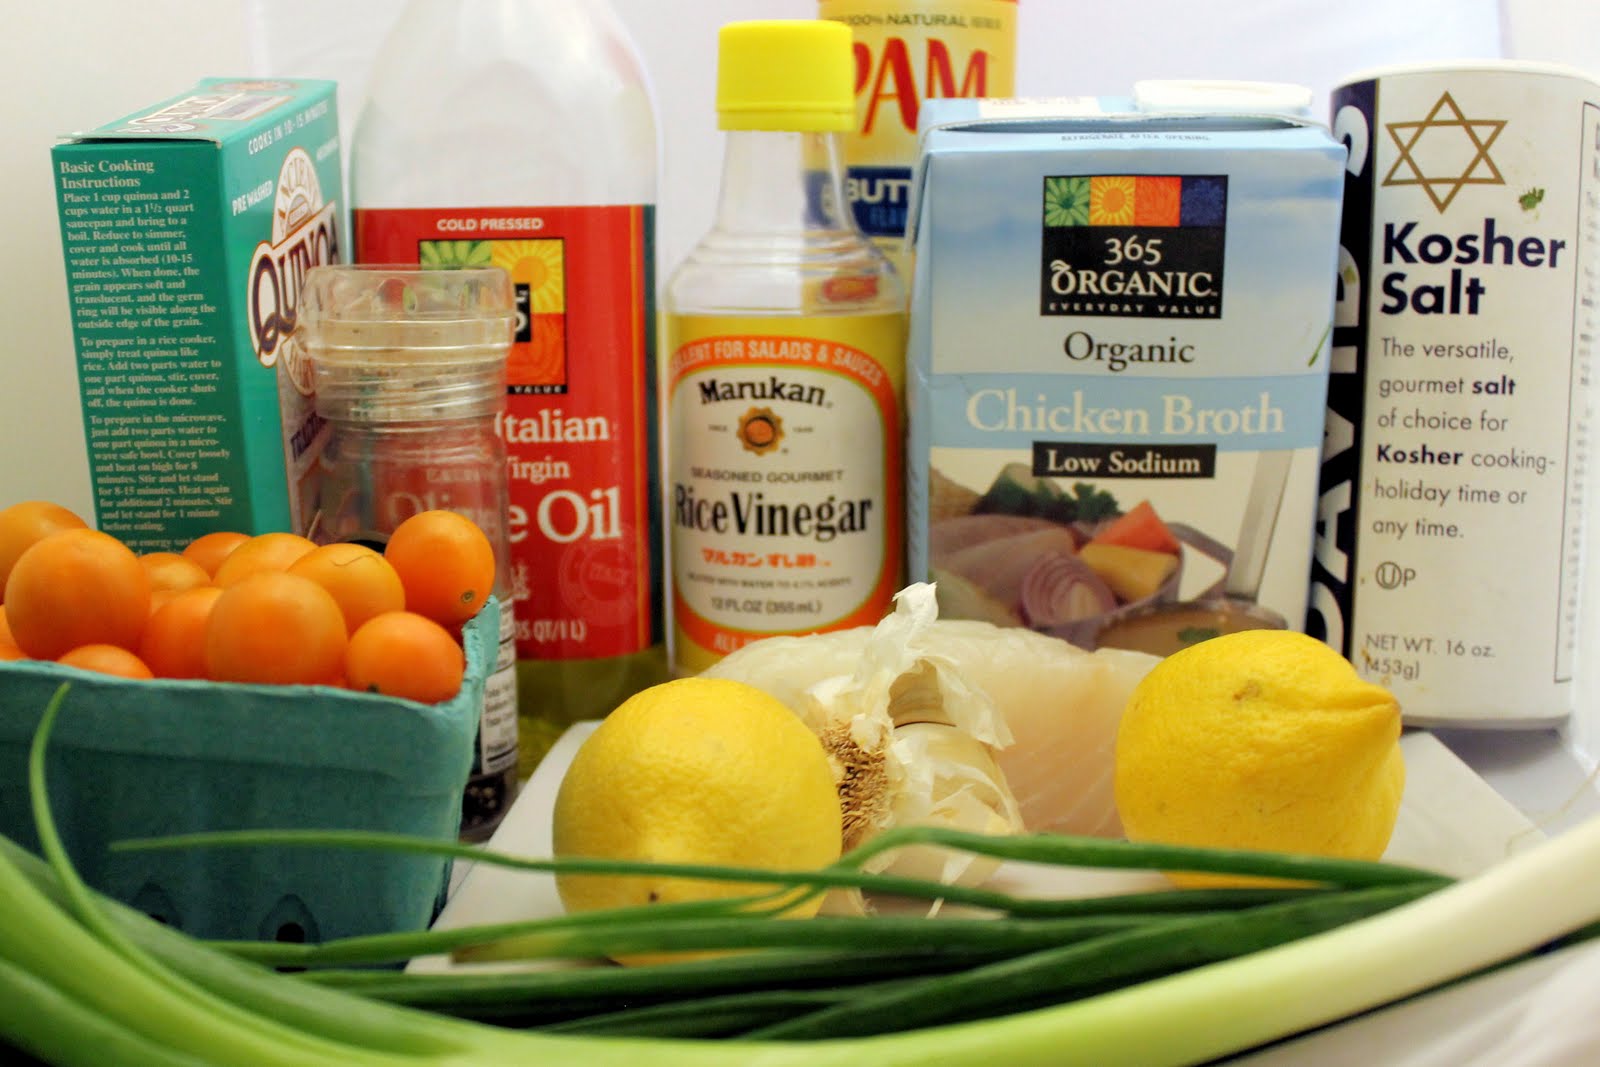
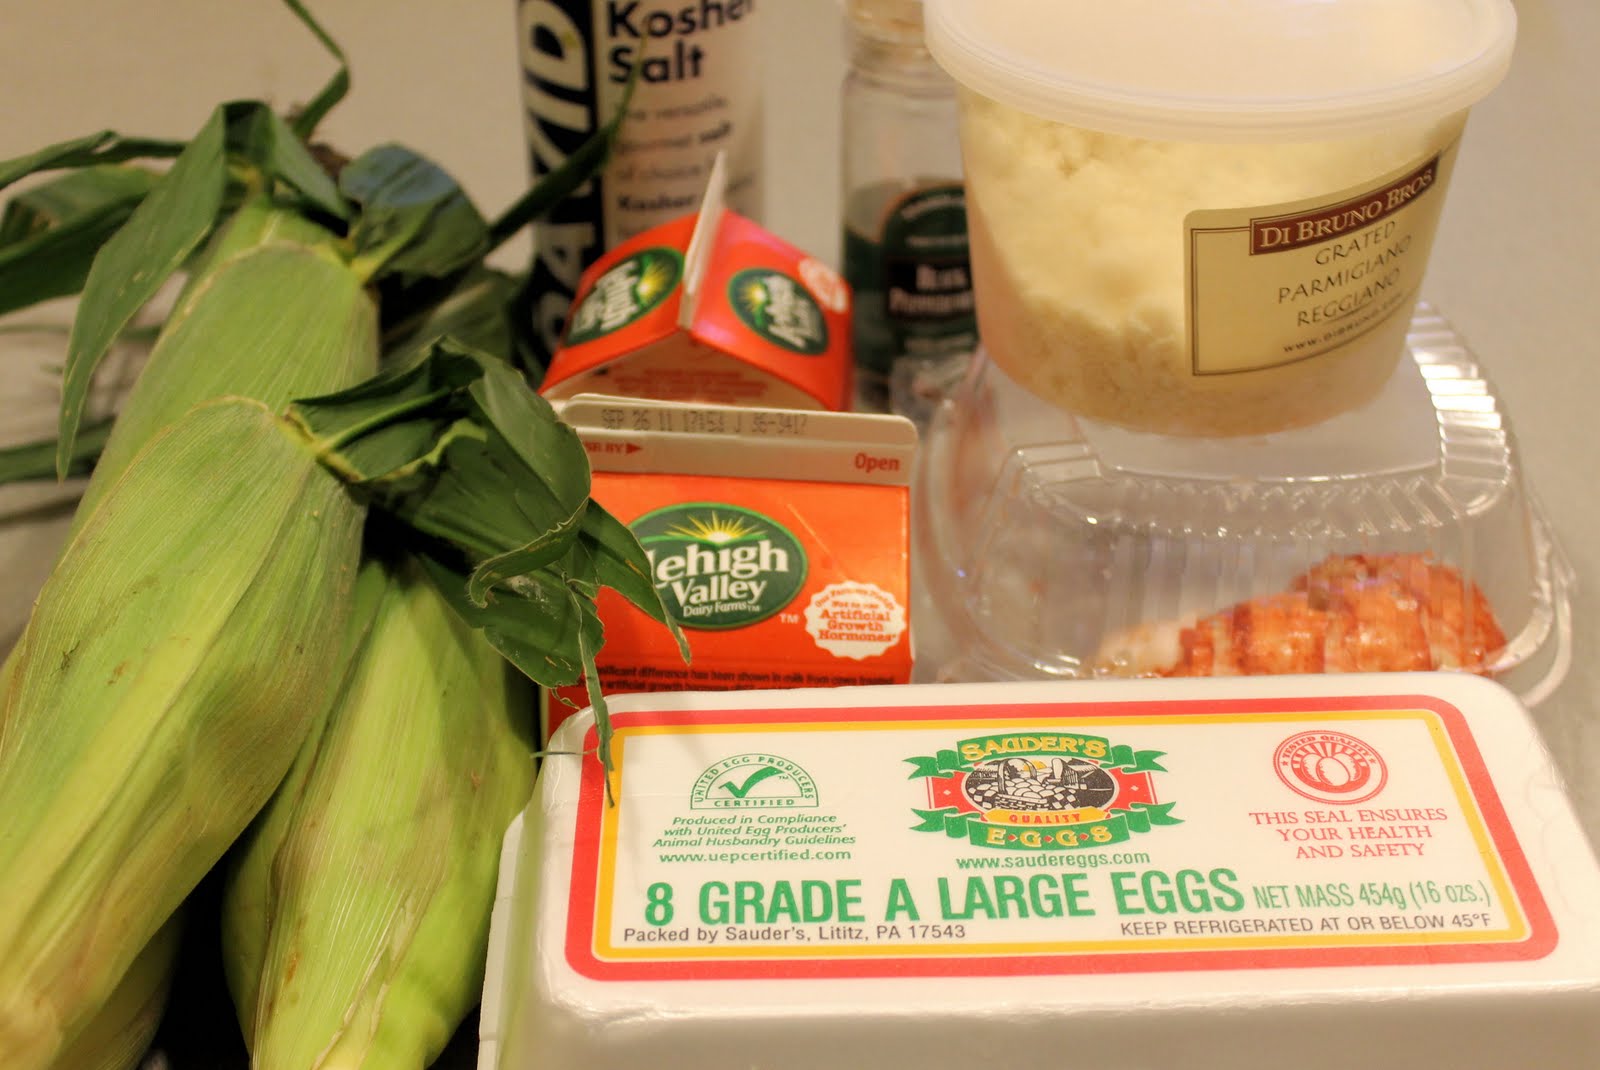
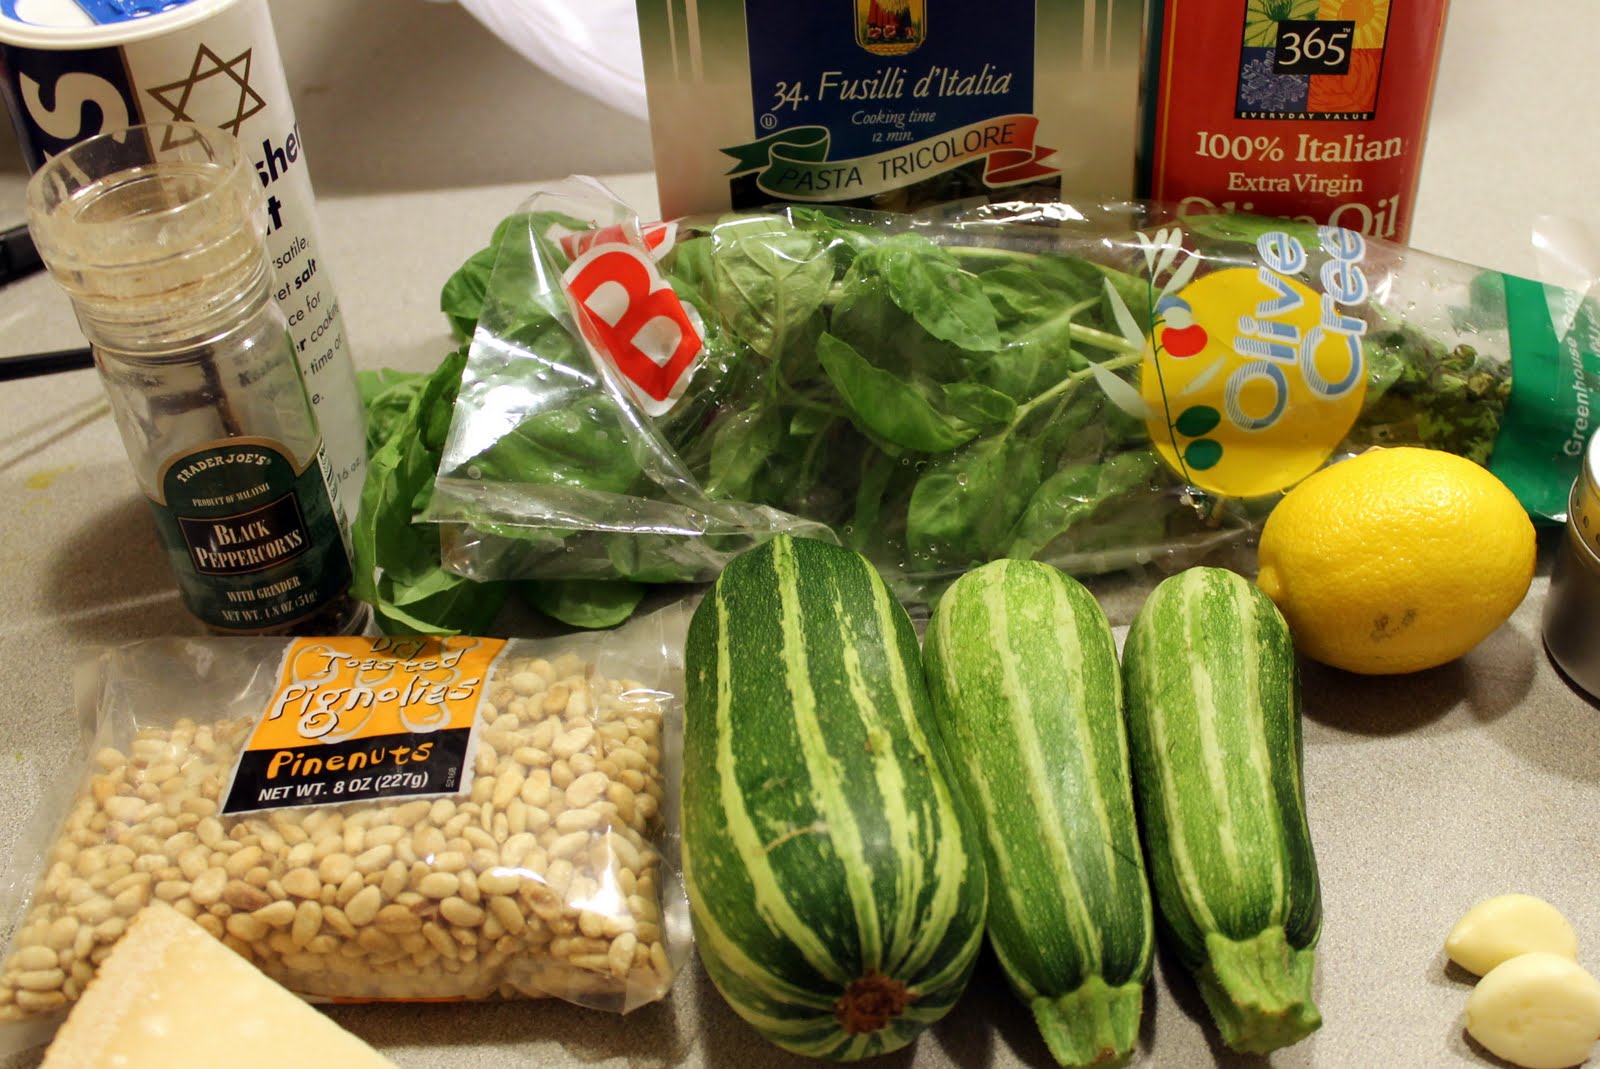
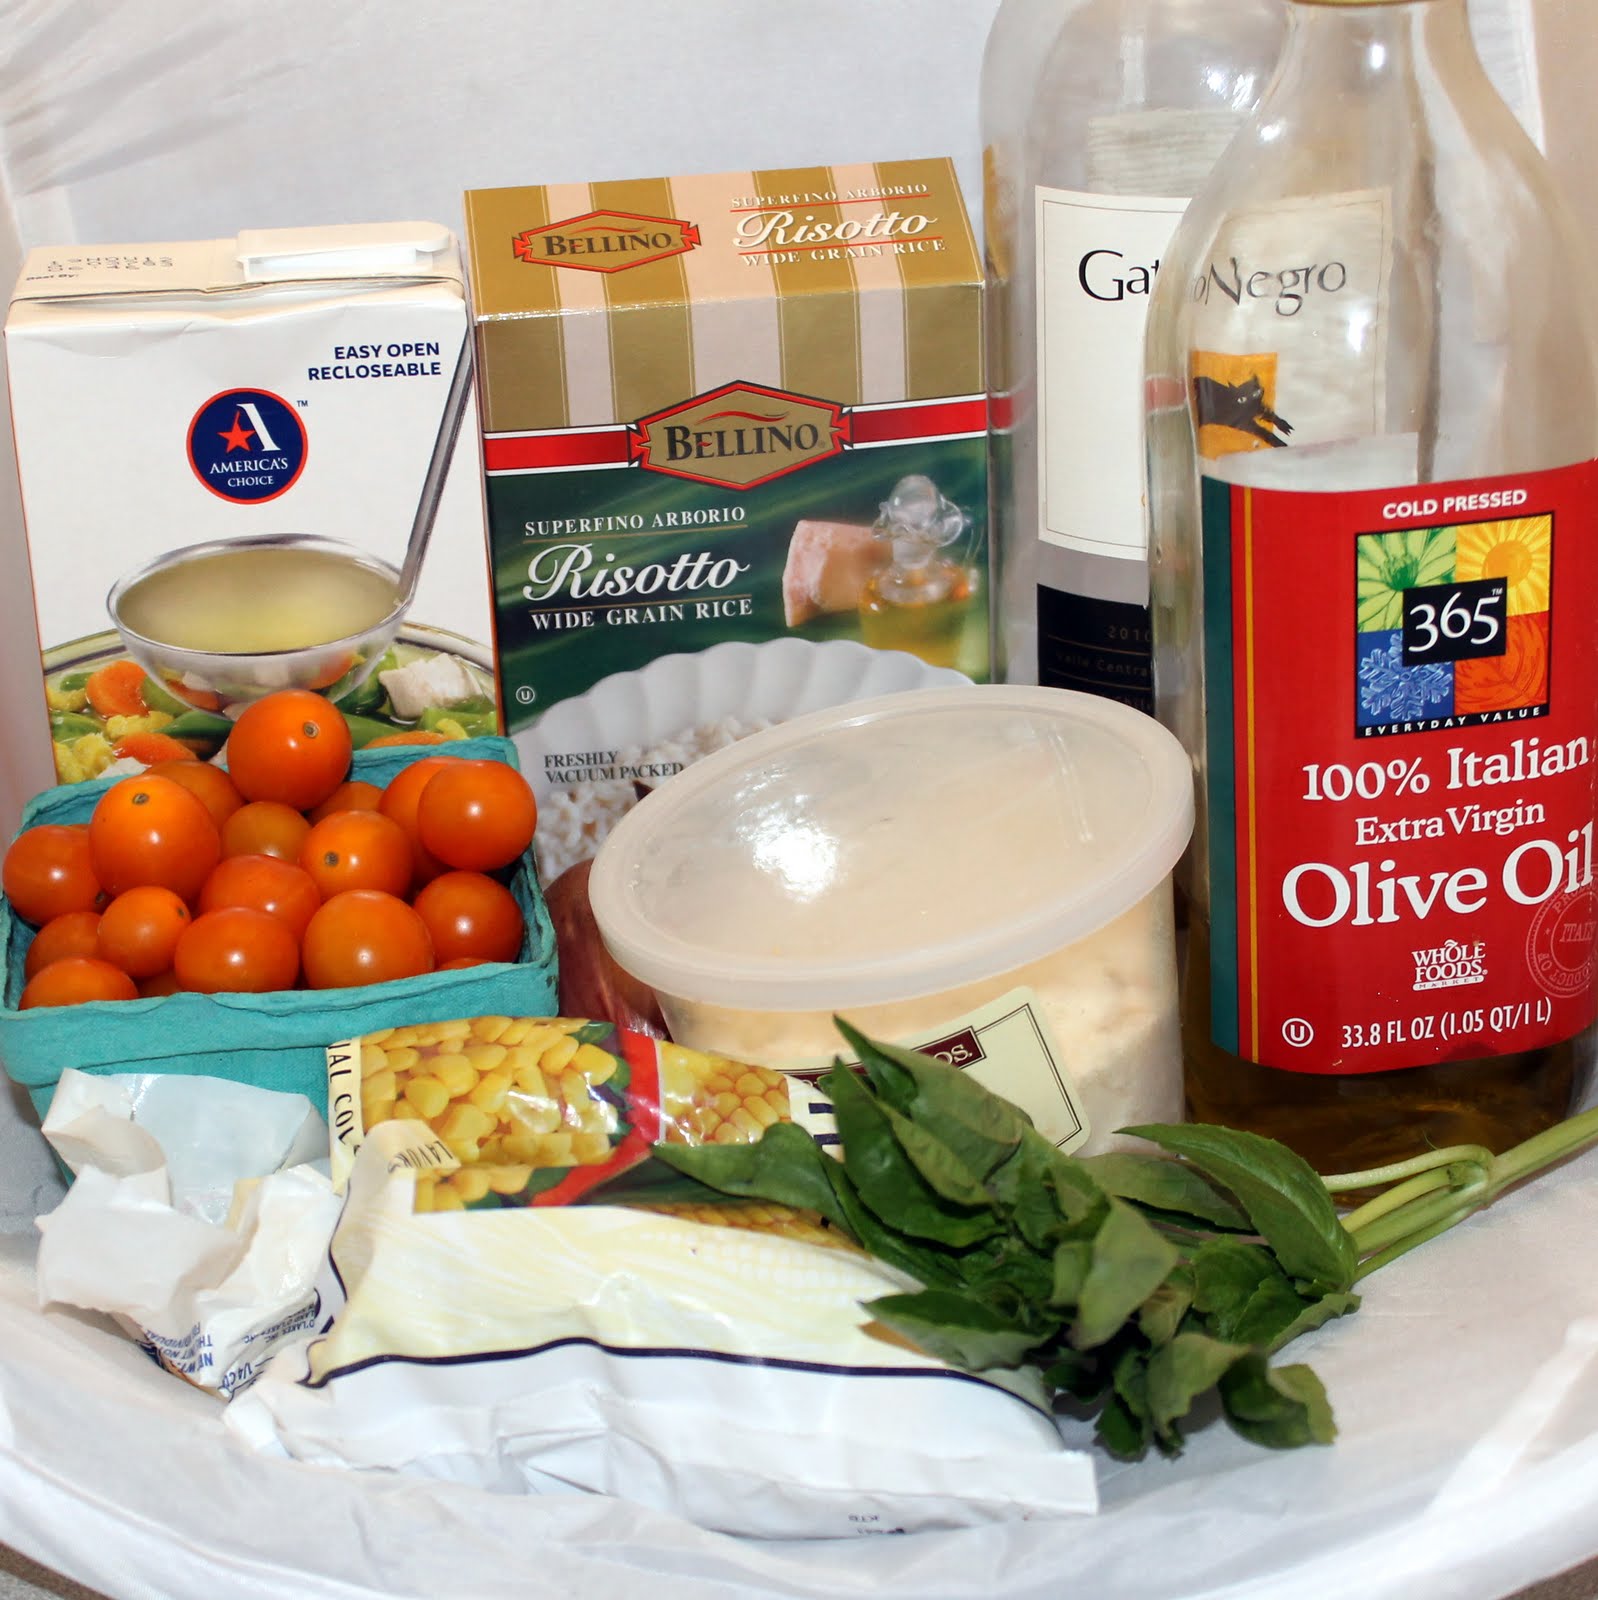
Ingredients:
4 cups chicken broth
2 cups of frozen corn kernels
2 Tbs. unsalted butter
1 shallot, minced
1 cup arborio rice
1/3 cup dry white wine
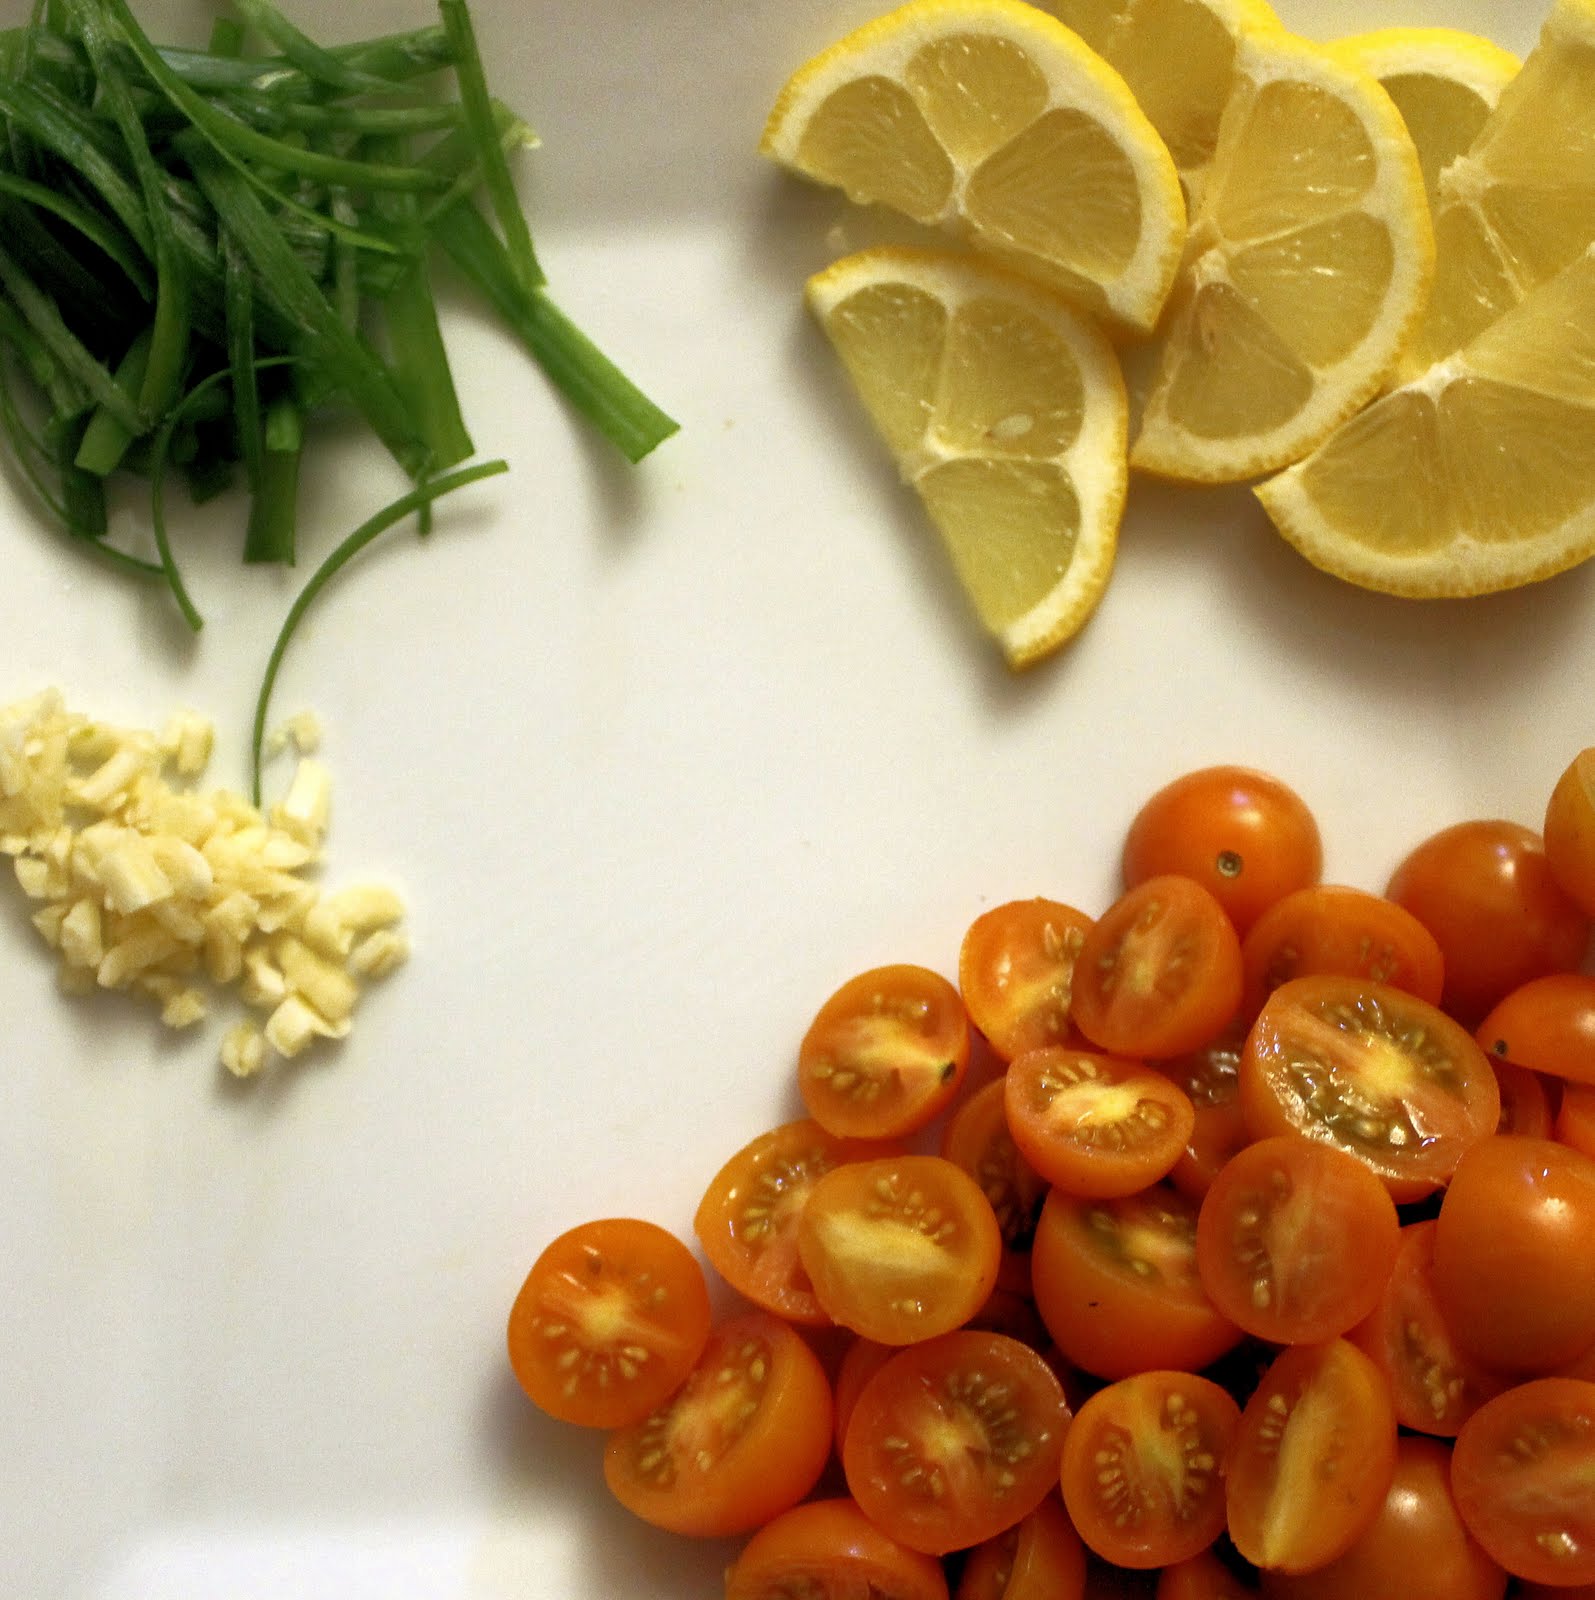
1 cup halved cherry tomatoes
2 tsp. extra-virgin olive oil
3 Tbs. torn fresh basil leaves
Kosher salt and freshly ground black pepper
1/3 cup freshly grated Parmigiano-Reggiano
2 cups of frozen corn kernels
2 Tbs. unsalted butter
1 shallot, minced
1 cup arborio rice
1/3 cup dry white wine
1 cup halved cherry tomatoes
2 tsp. extra-virgin olive oil
3 Tbs. torn fresh basil leaves
Kosher salt and freshly ground black pepper
1/3 cup freshly grated Parmigiano-Reggiano
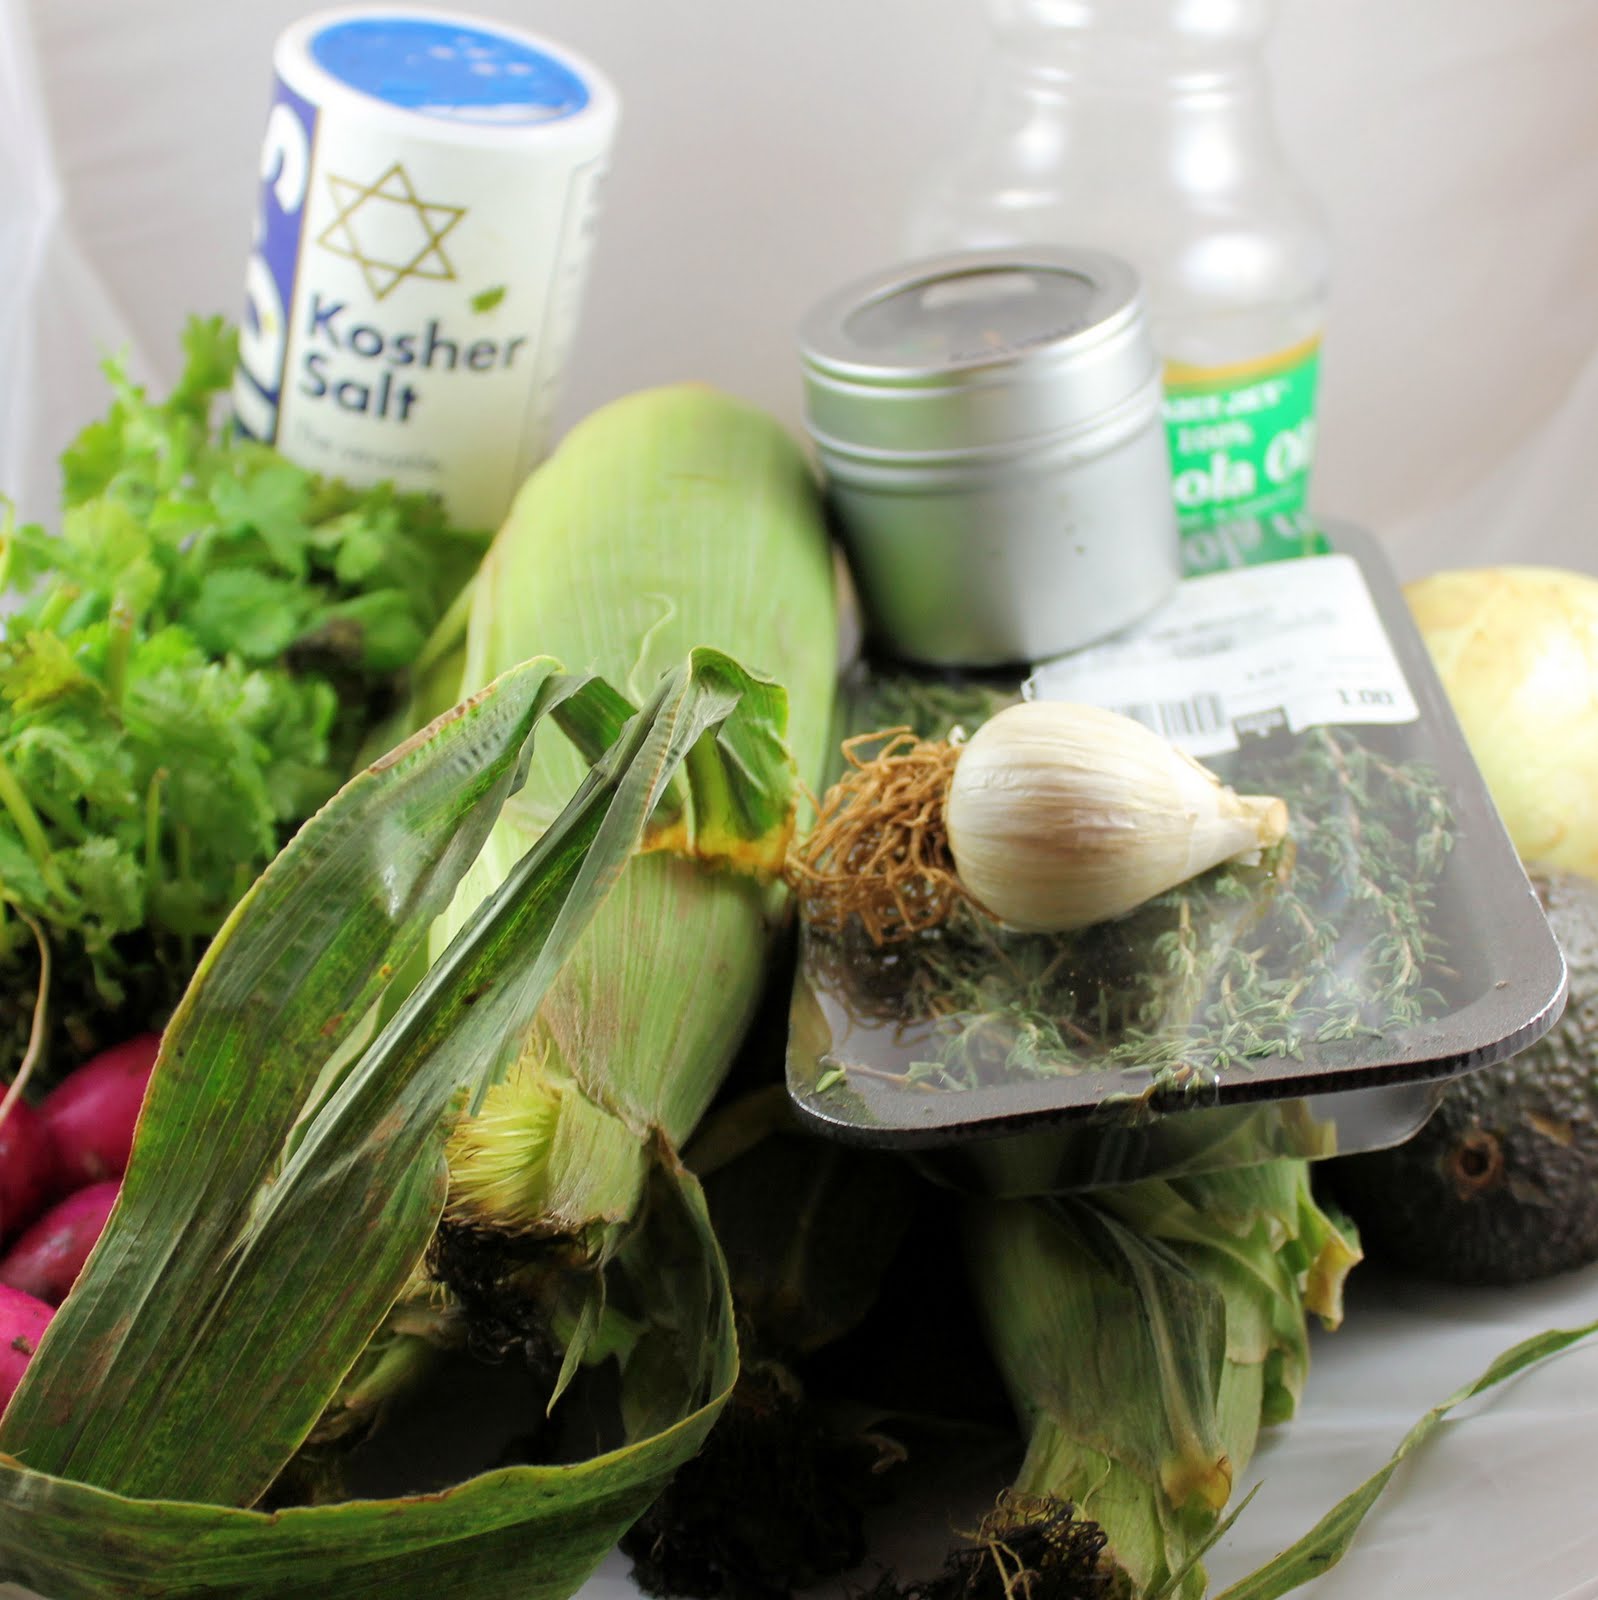
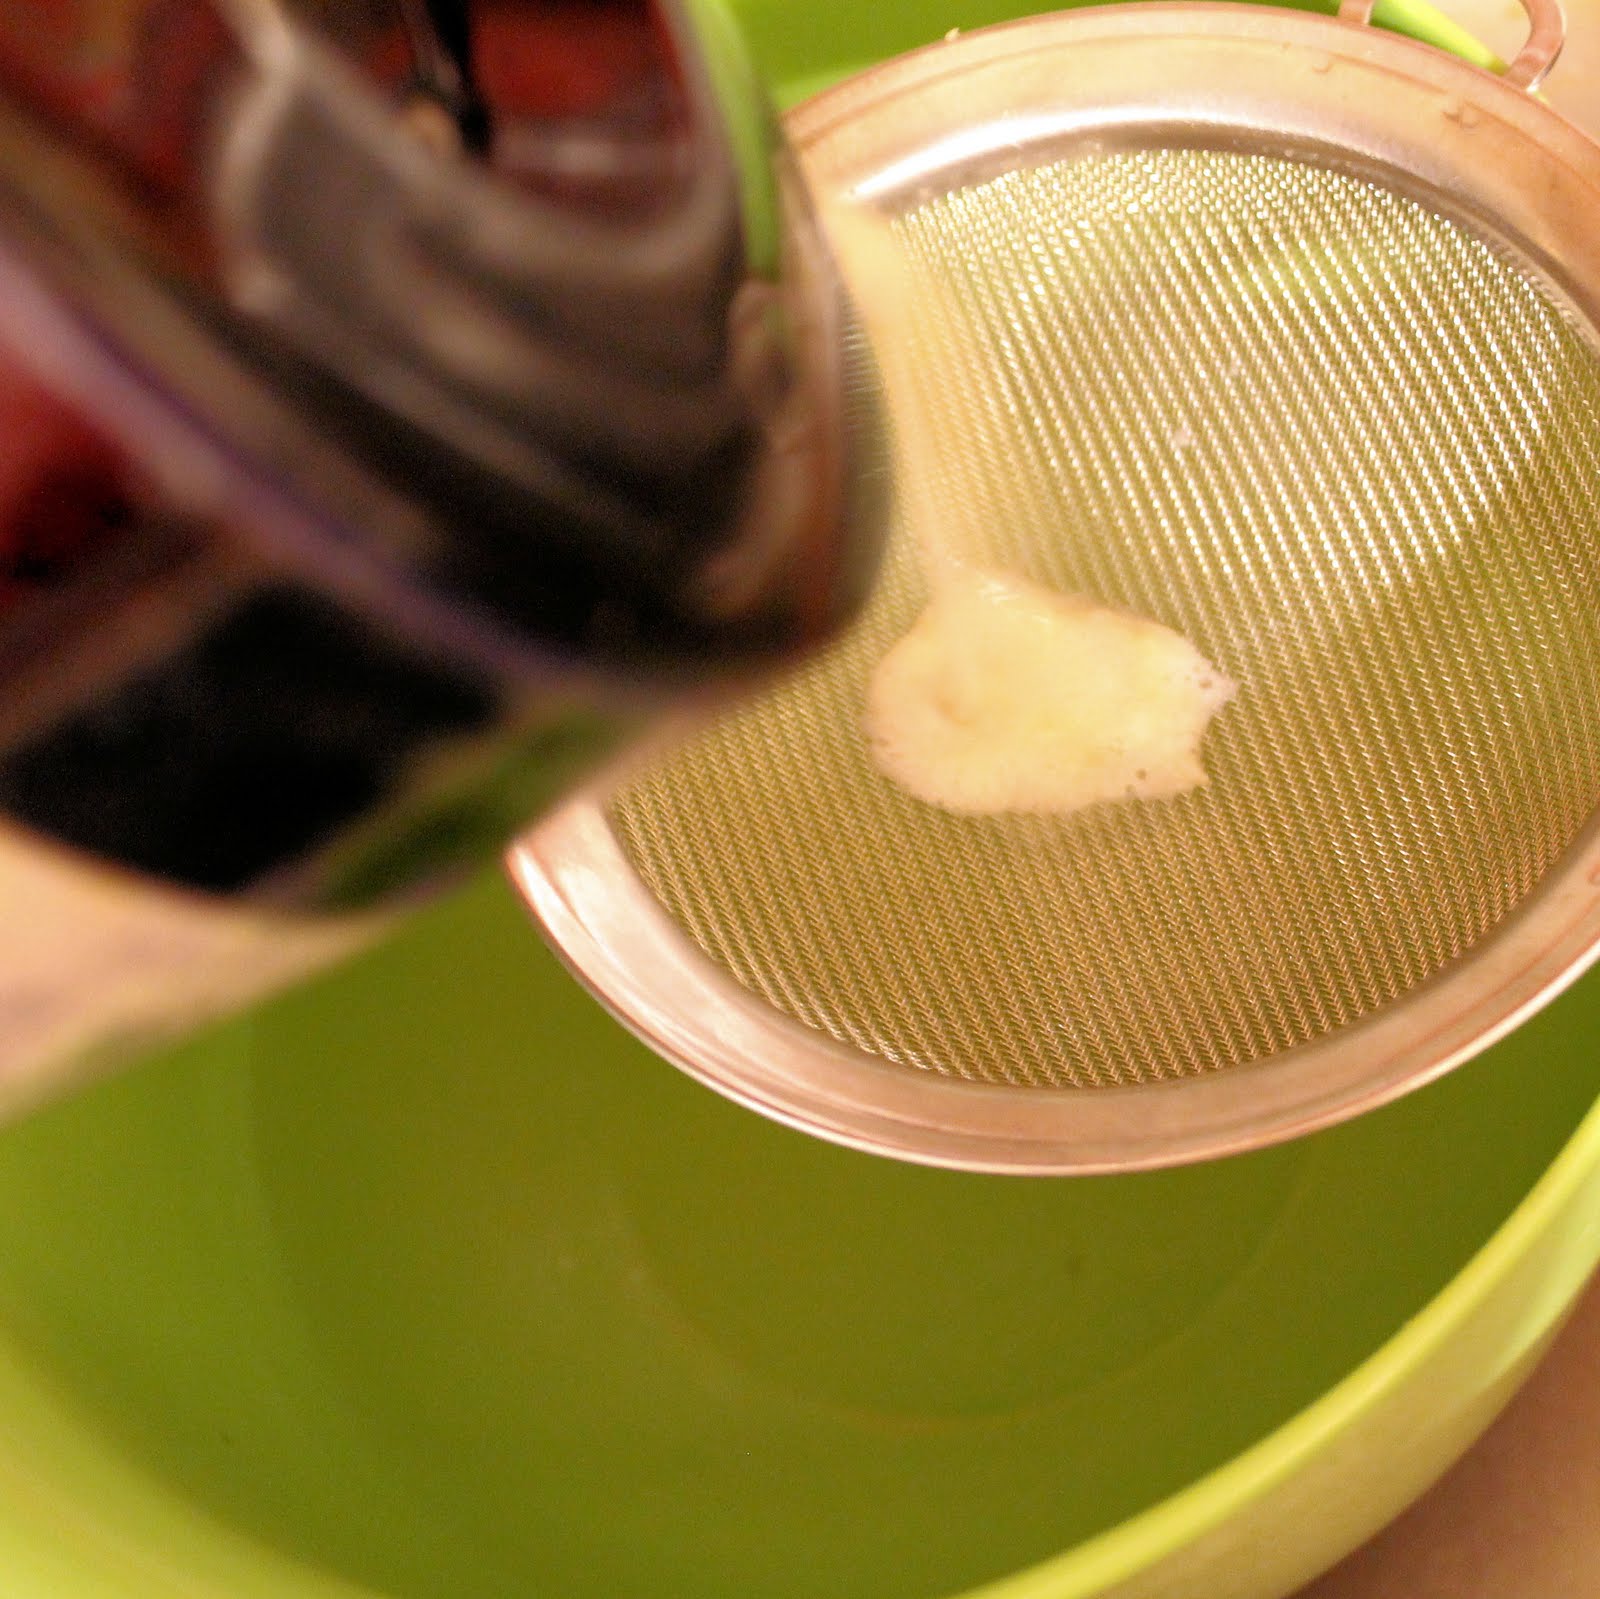
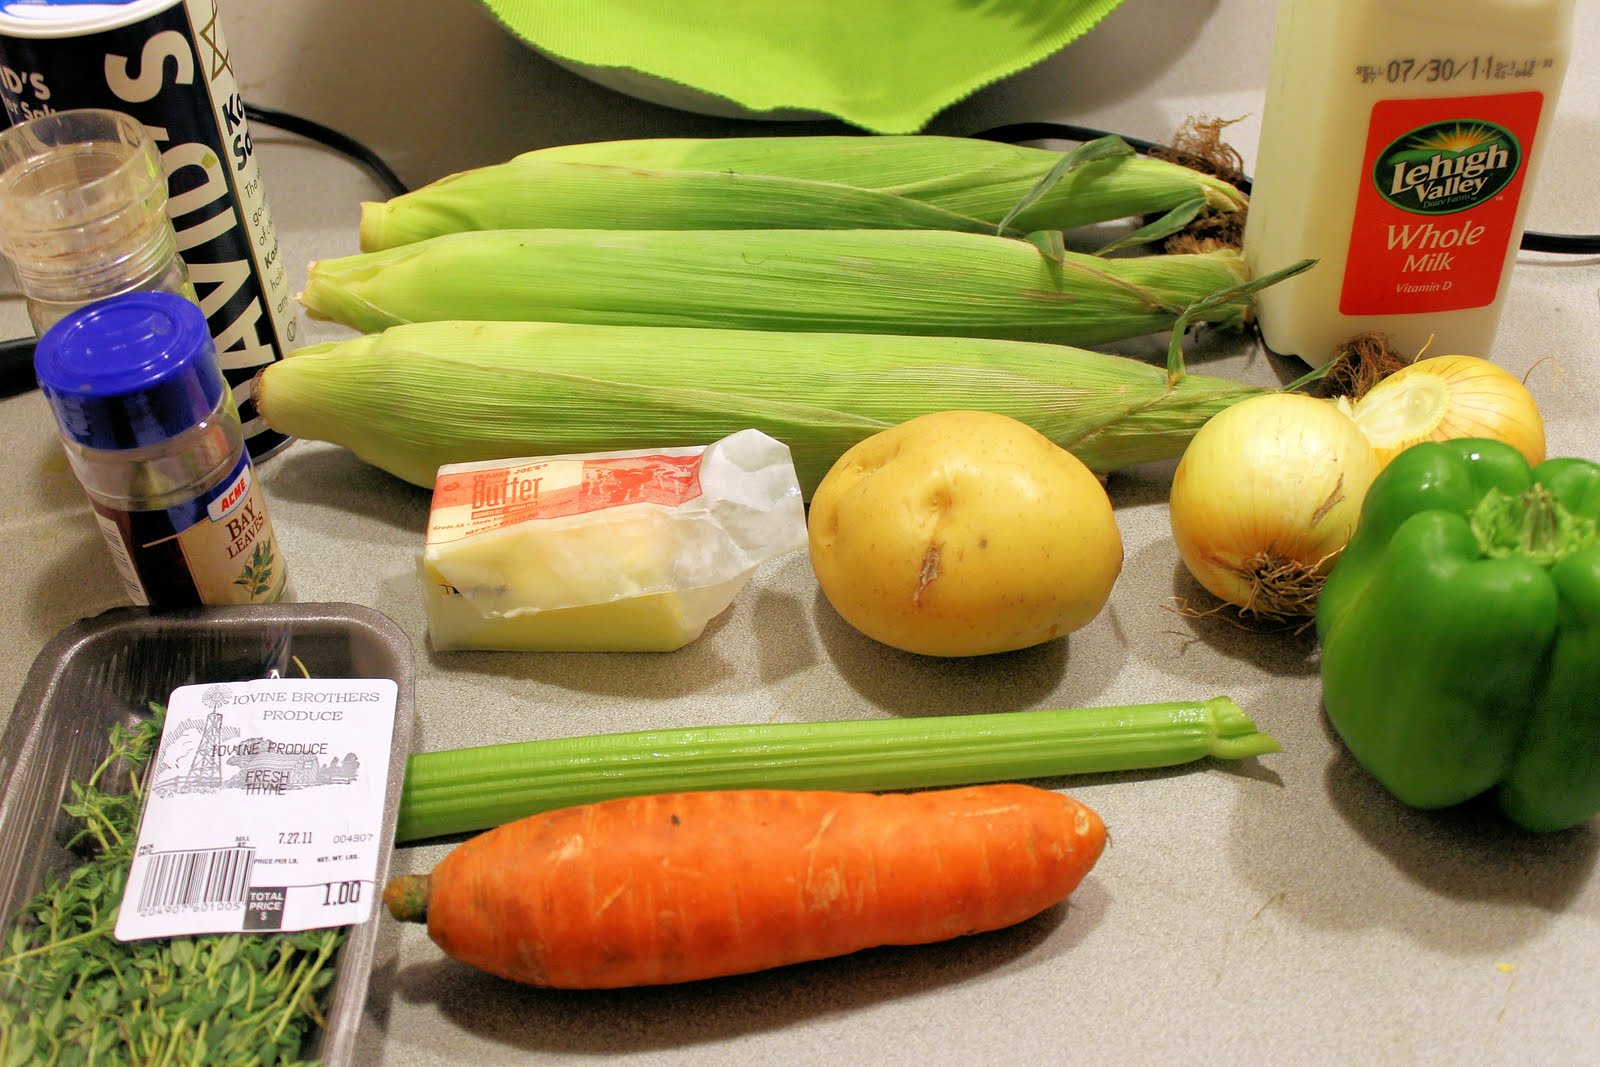
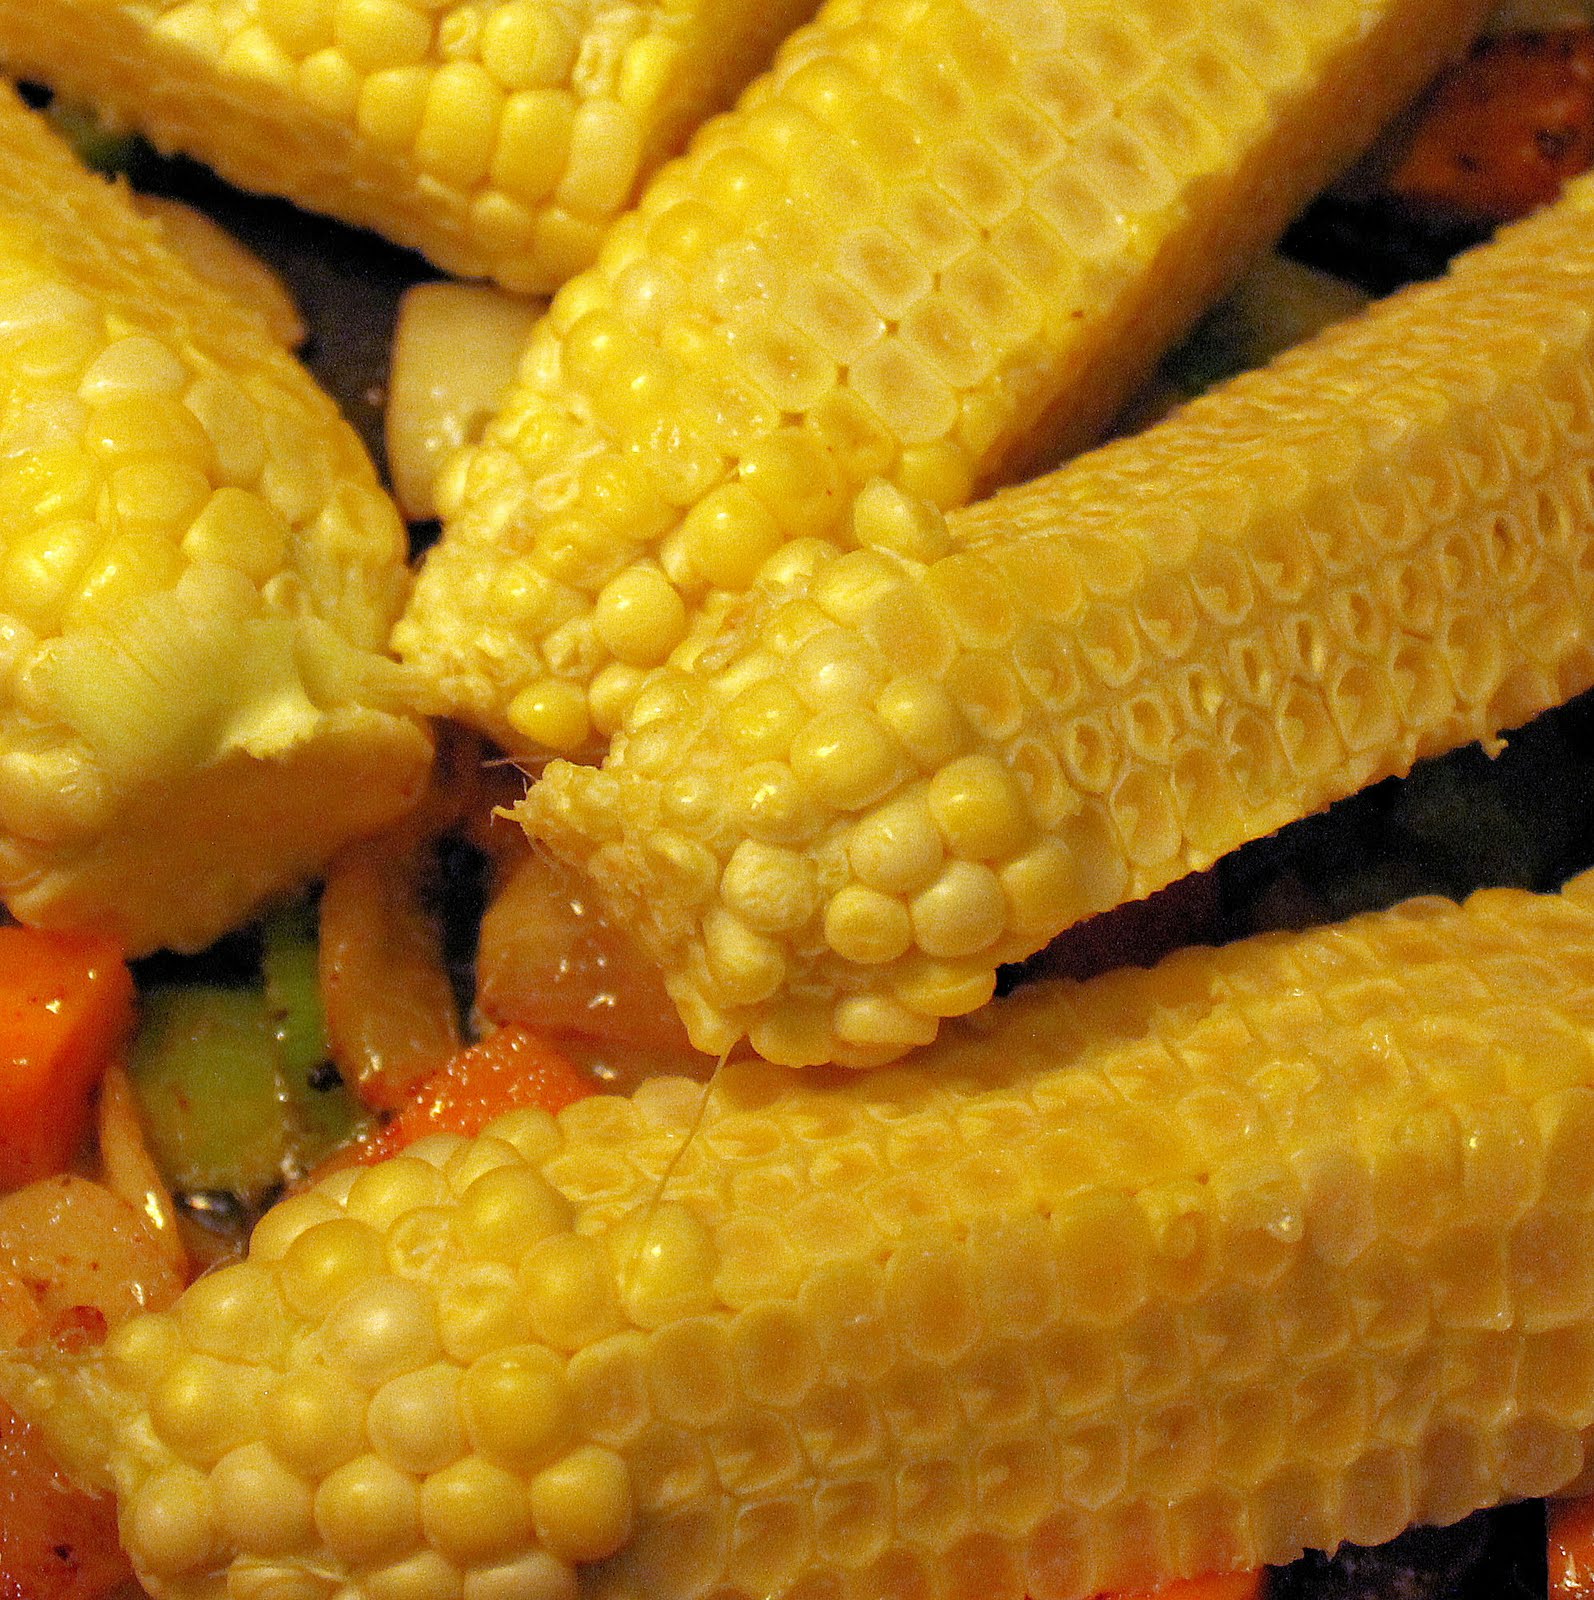
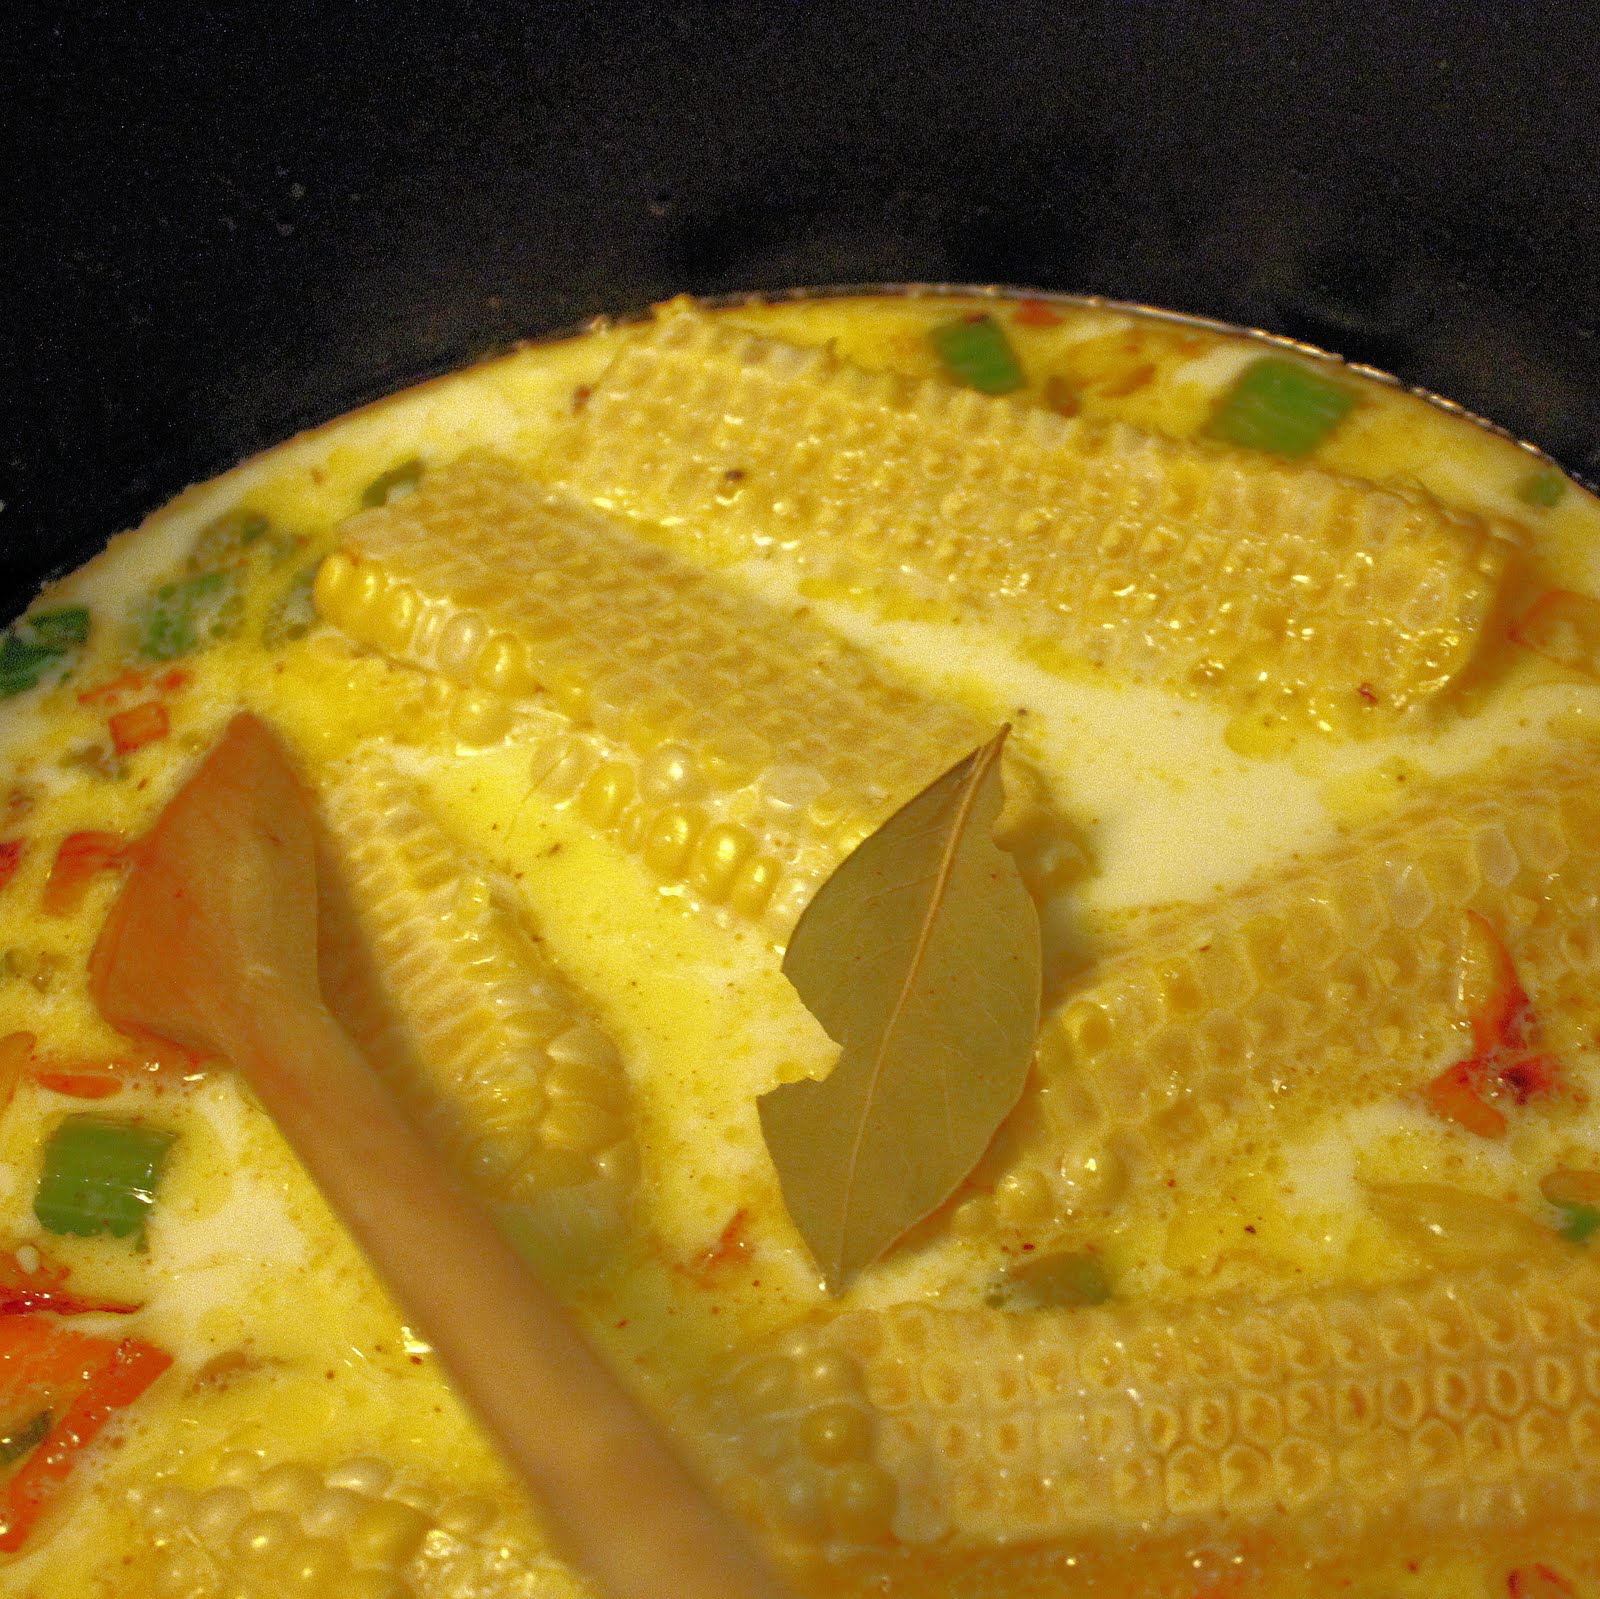
So I chickened out this time on the corn. Out of my last batch of a half dozen corn cobs, 5 (FIVE!) of them had worms. Goo. I understand it is very difficult to grown corn organically, but I needed to just take a step back from the whole surprise-in-my-corn.If you are using fresh corn, click on the link above to see the original recipe, I used frozen kernels for mine so I had to adapt the recipe accordingly. You will need three corn cobs.
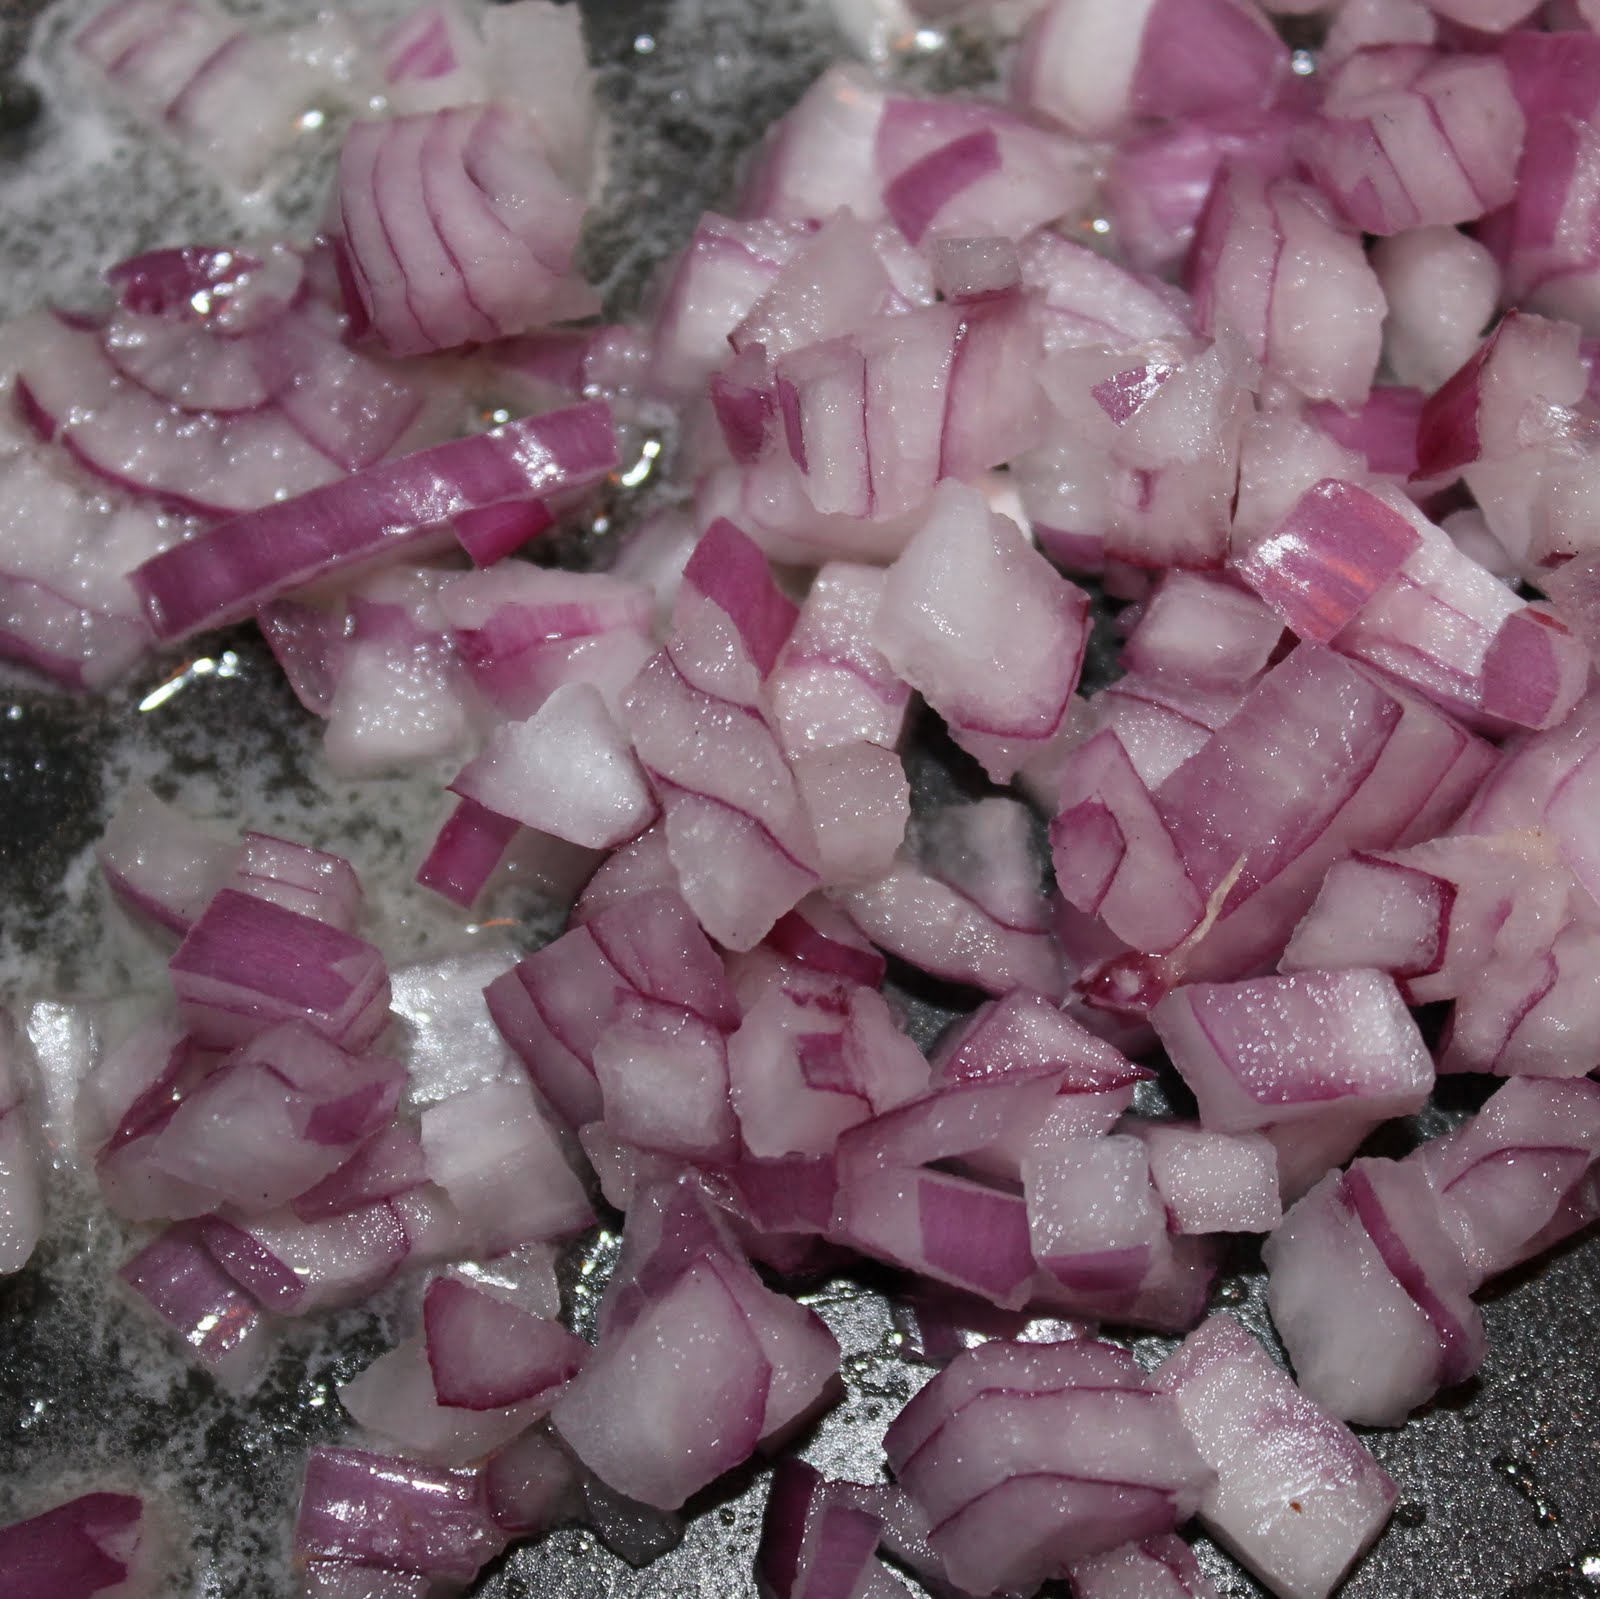
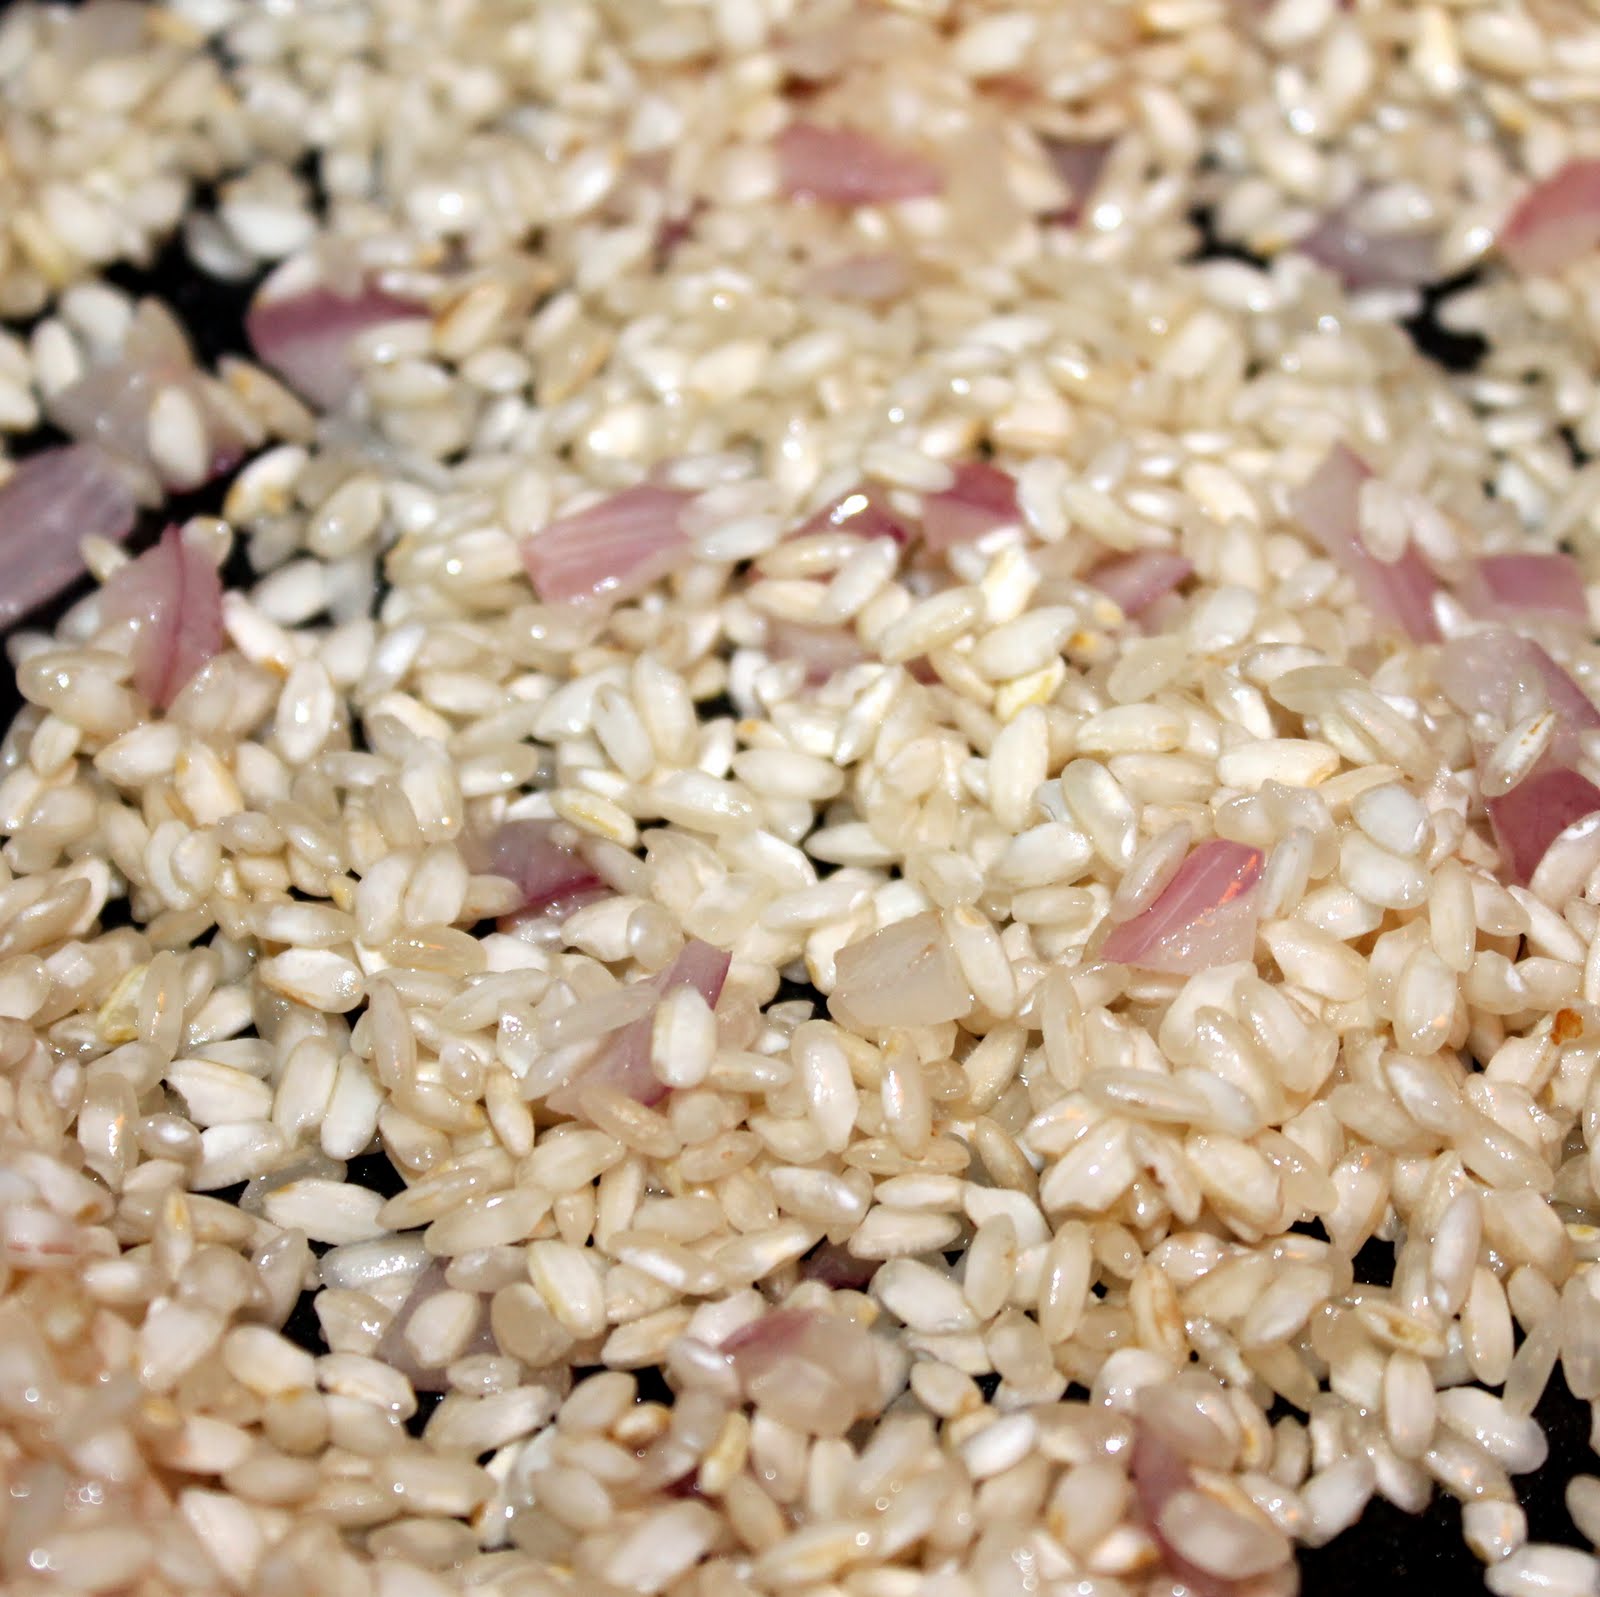
Add the chicken broth to a pot and heat over medium-low heat. In another saute pan melt the butter over medium heat. Add the shallot and cook for 2 minutes.
Add the rice and stir to coat.
Add the wine and cook until absorbed, about 1 minute.
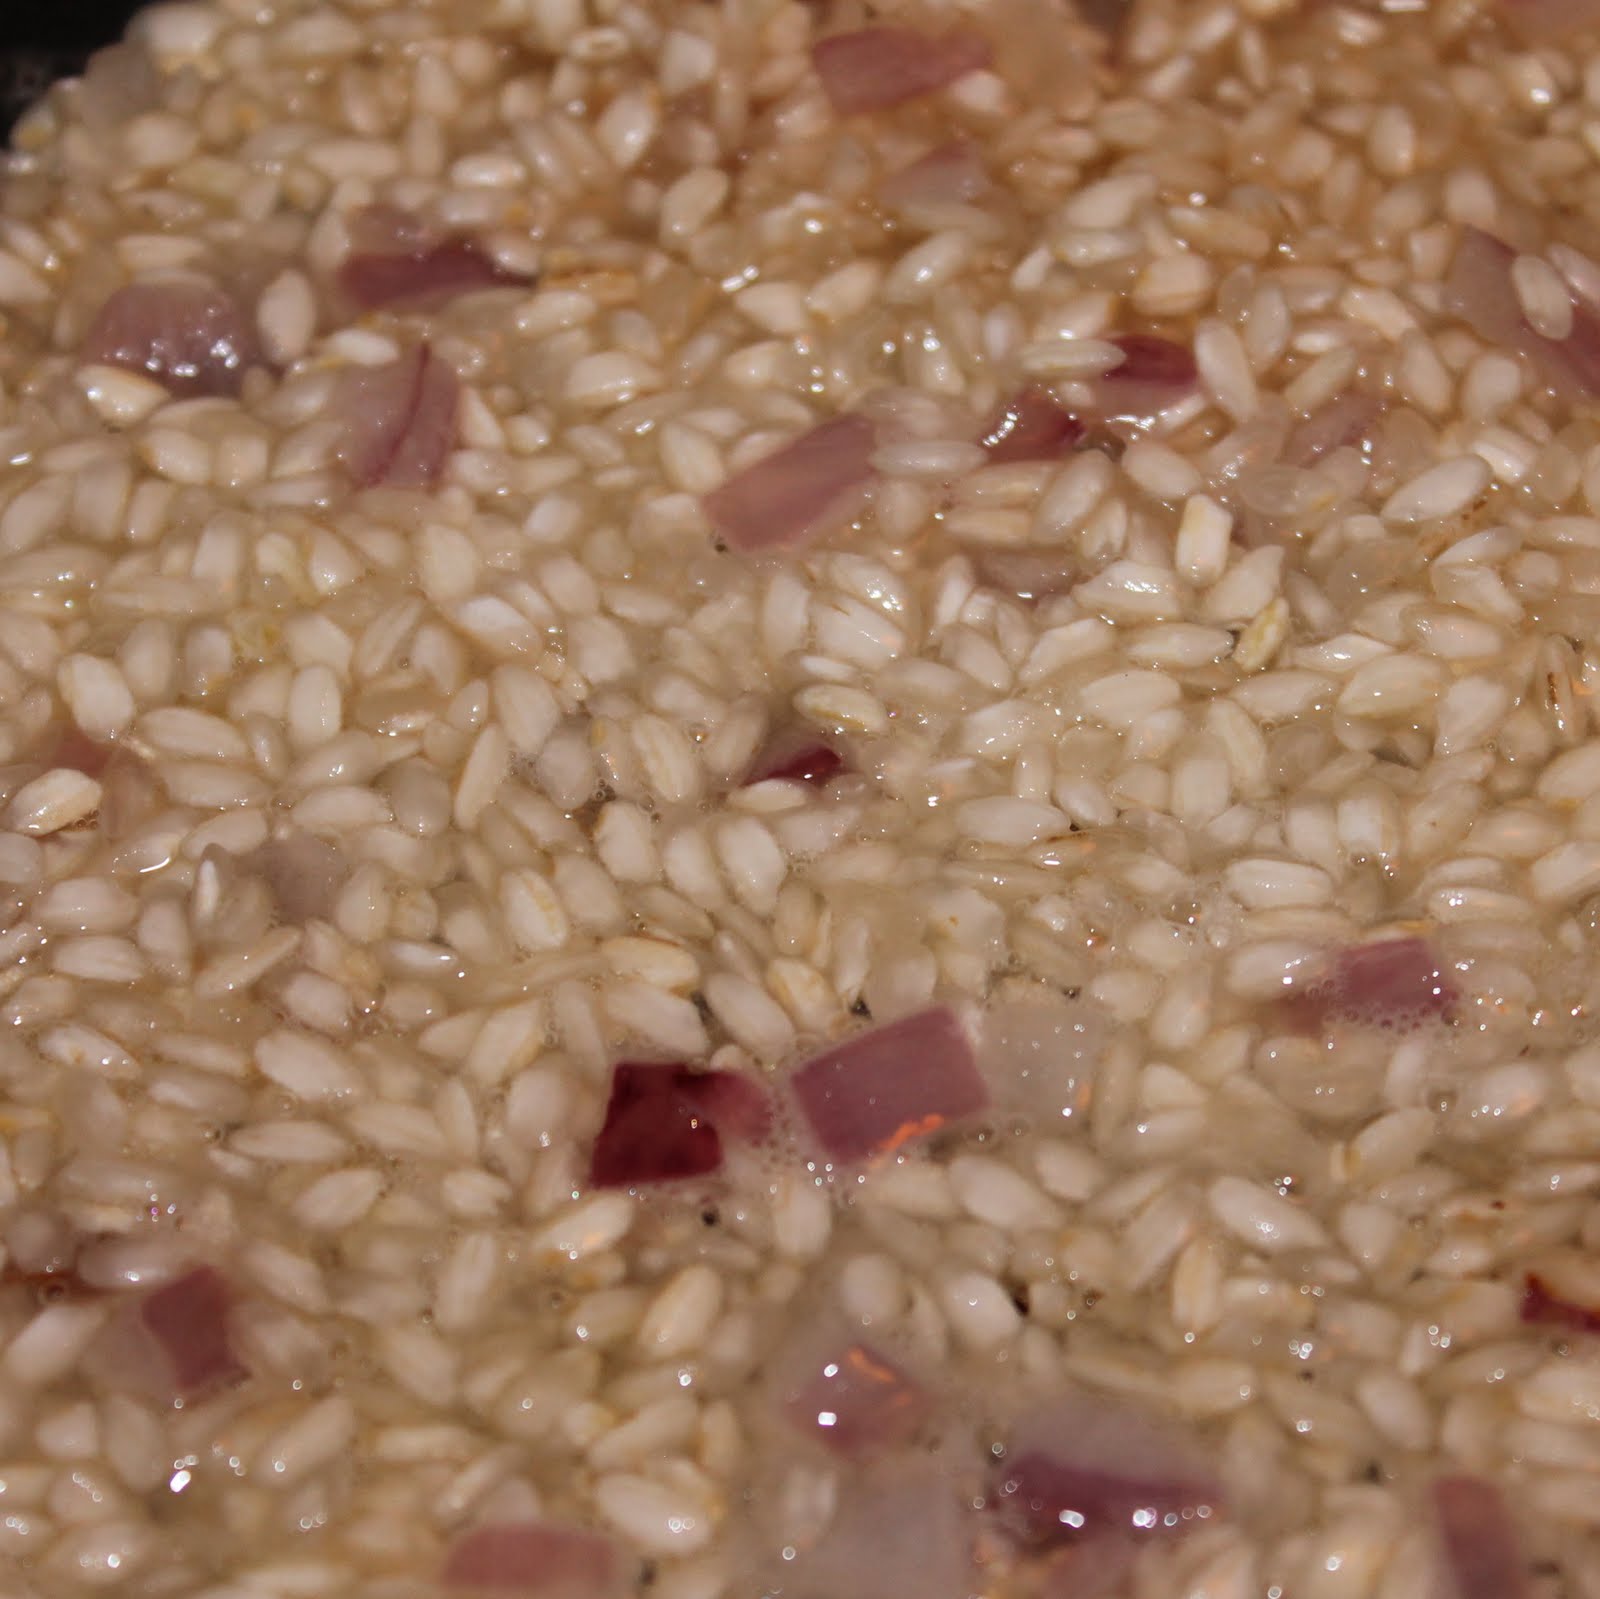
Ladle in 1 1/2 cups of the warm broth into the saute pan and cook, stirring occasionally, until the broth is absorbed (about 3 to 5 minutes). Add a 1/2 cup of broth at a time, waiting until the broth is absorbed before adding the next 1/2 cup.
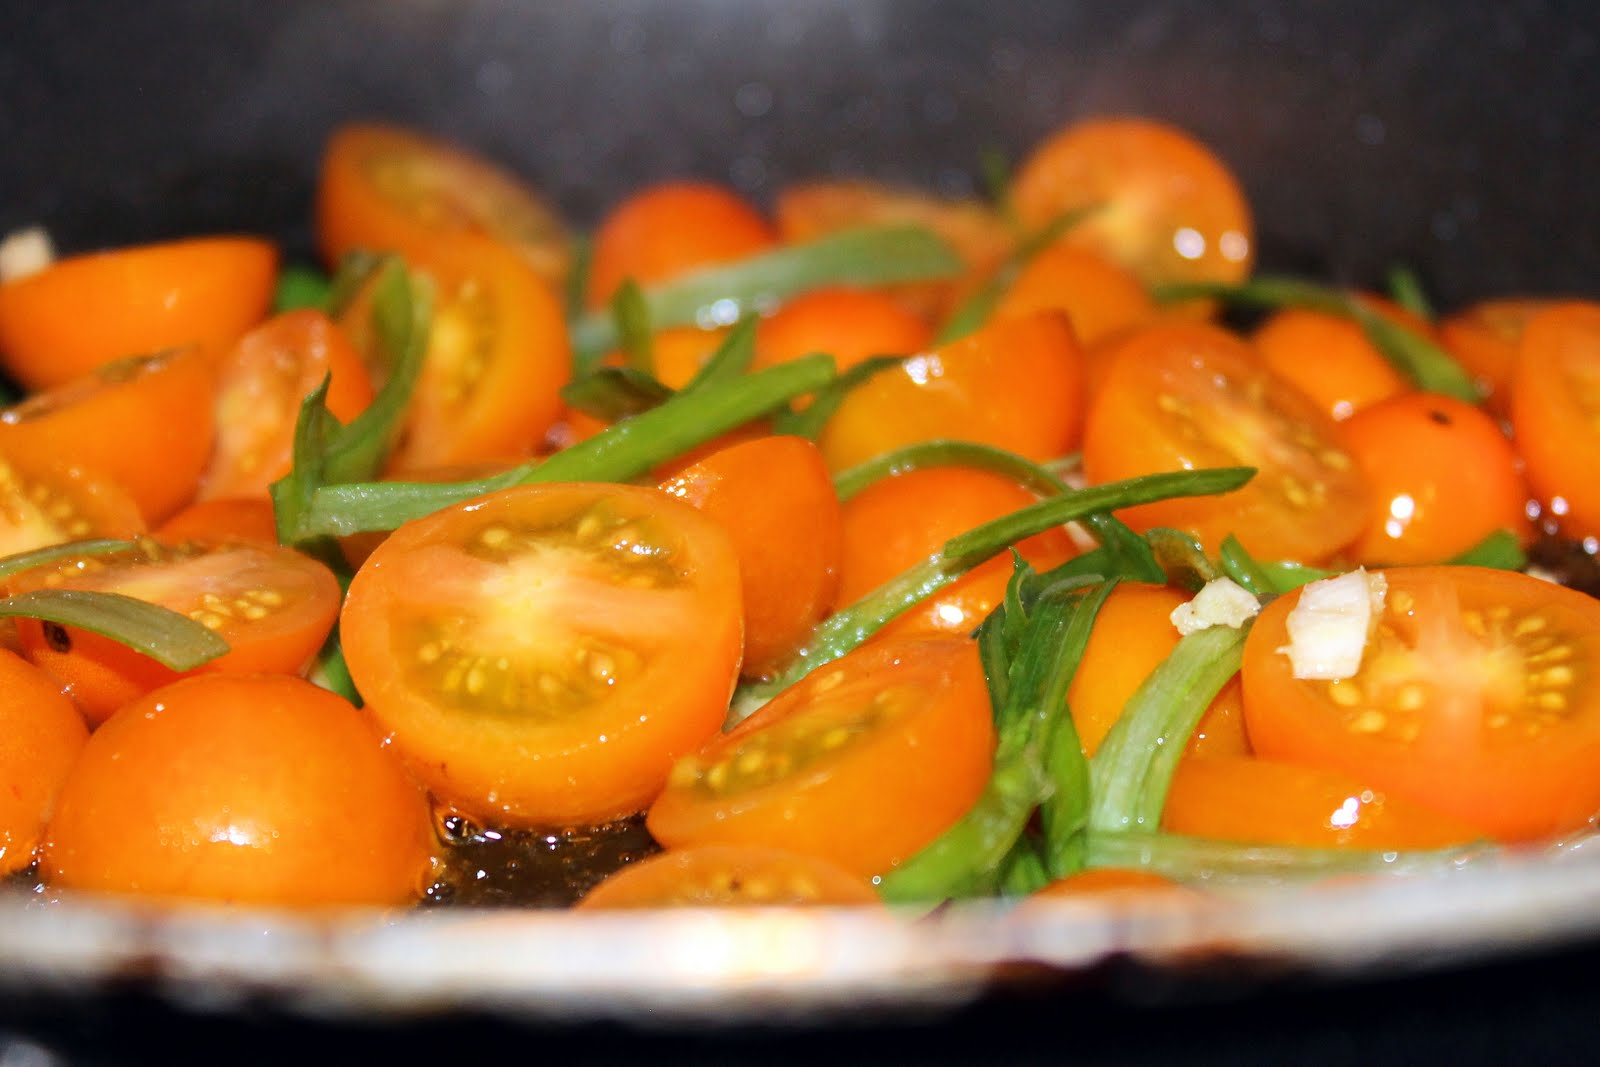
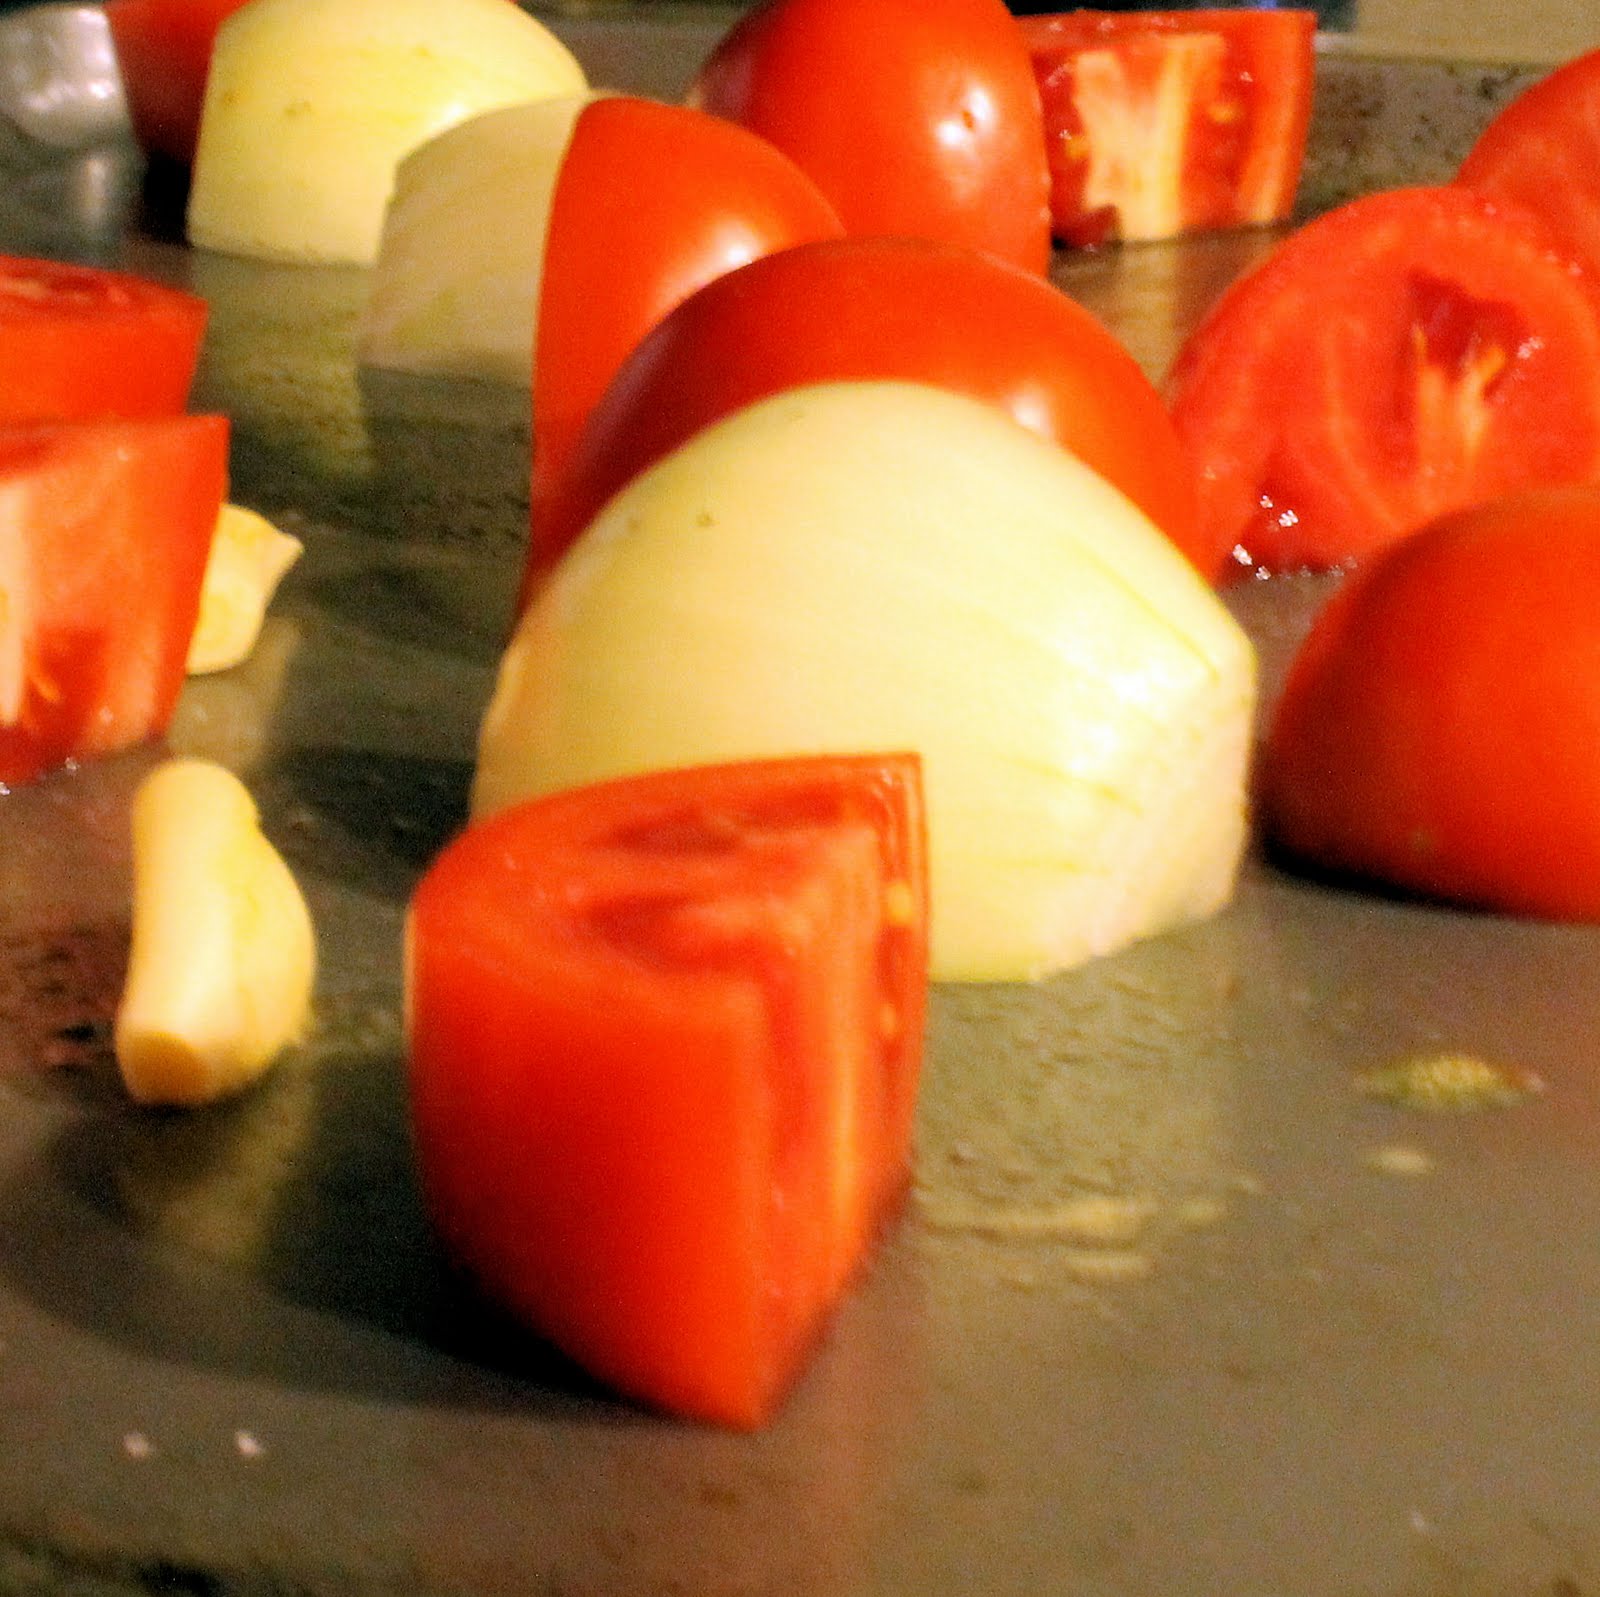
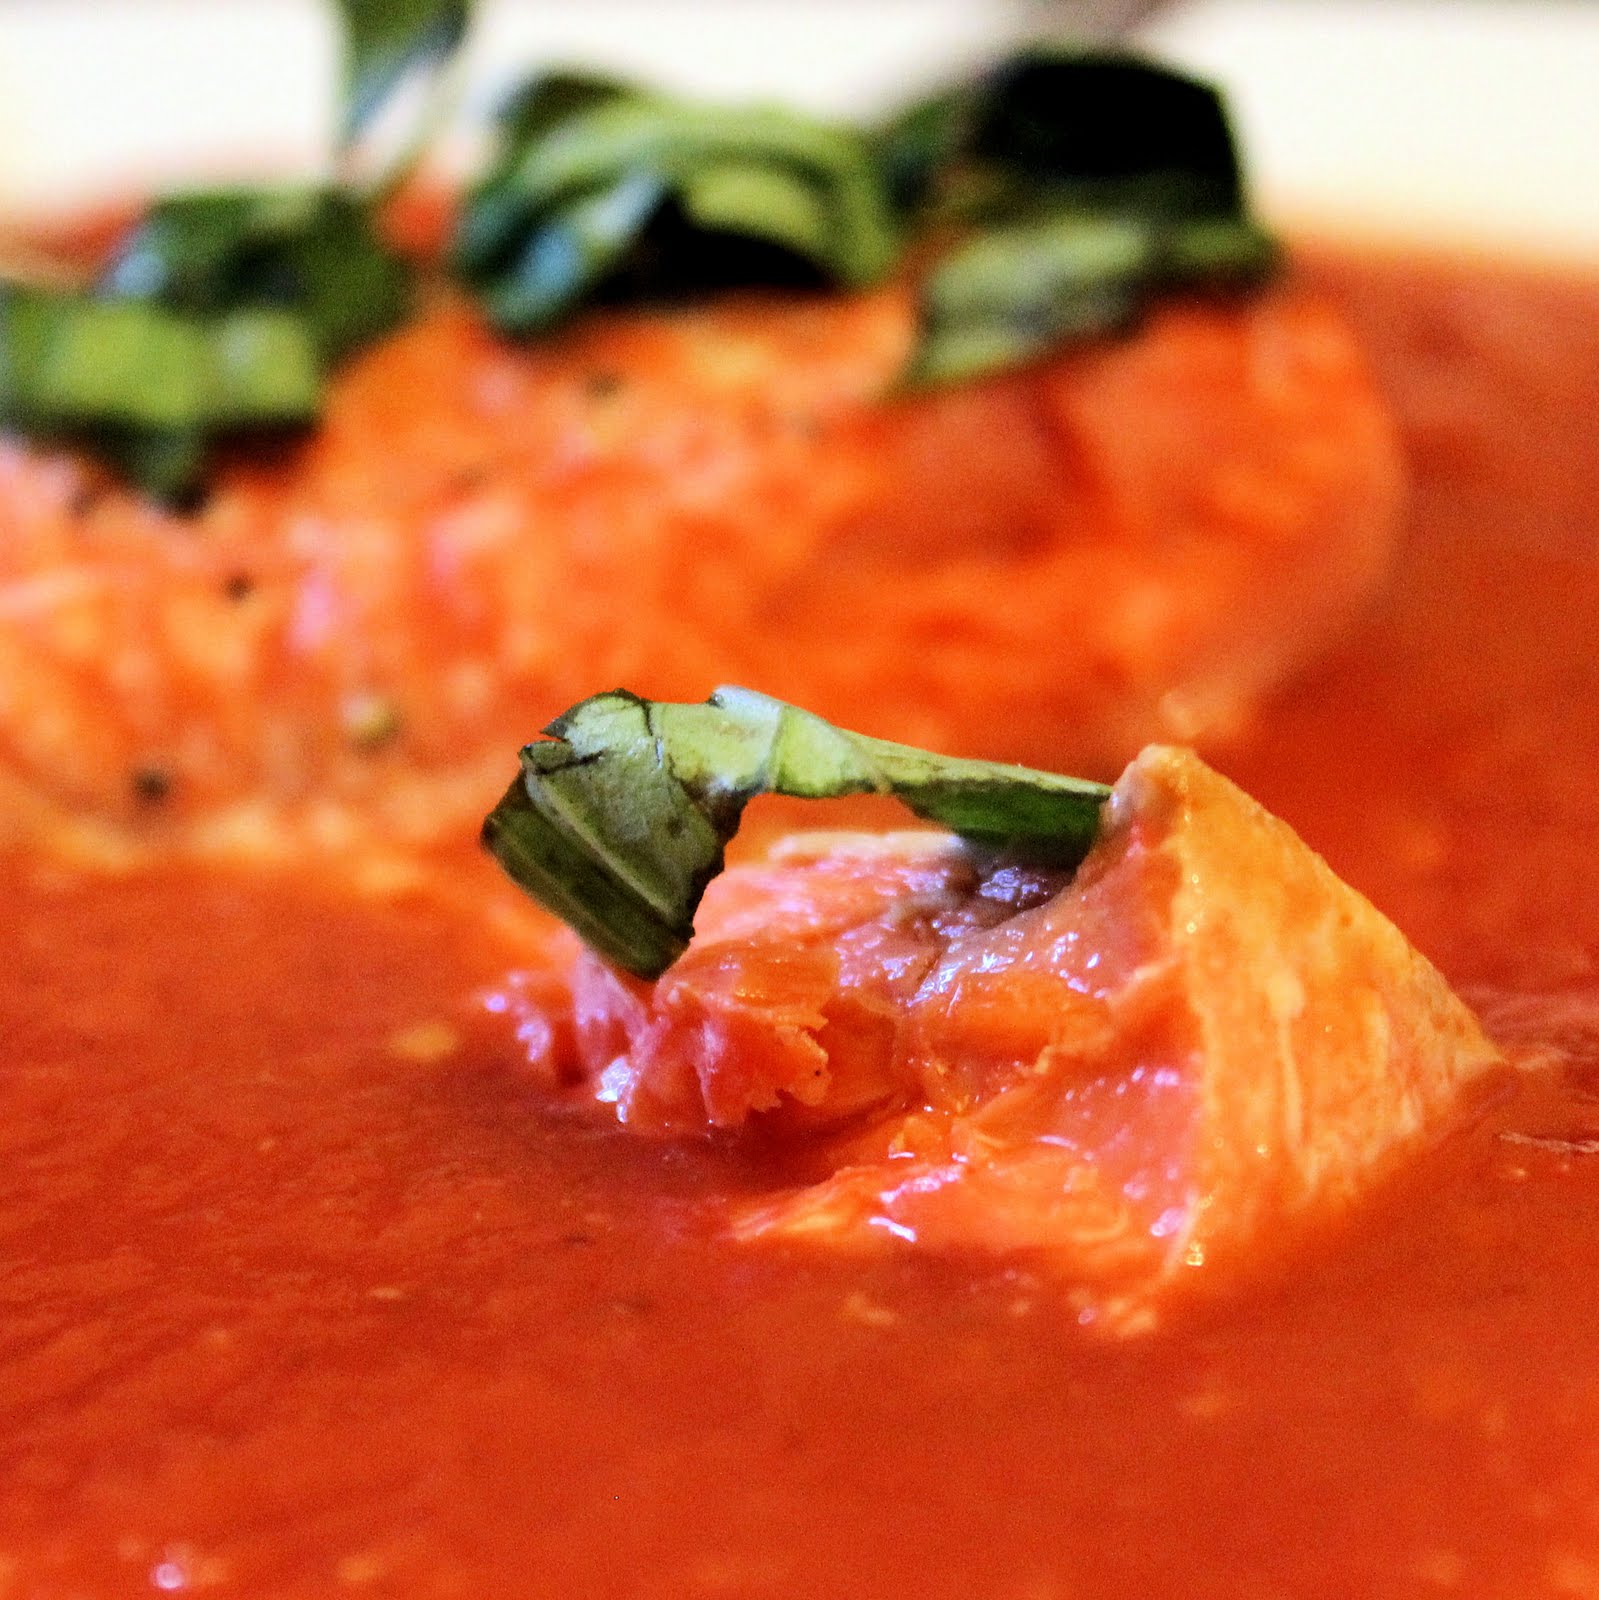
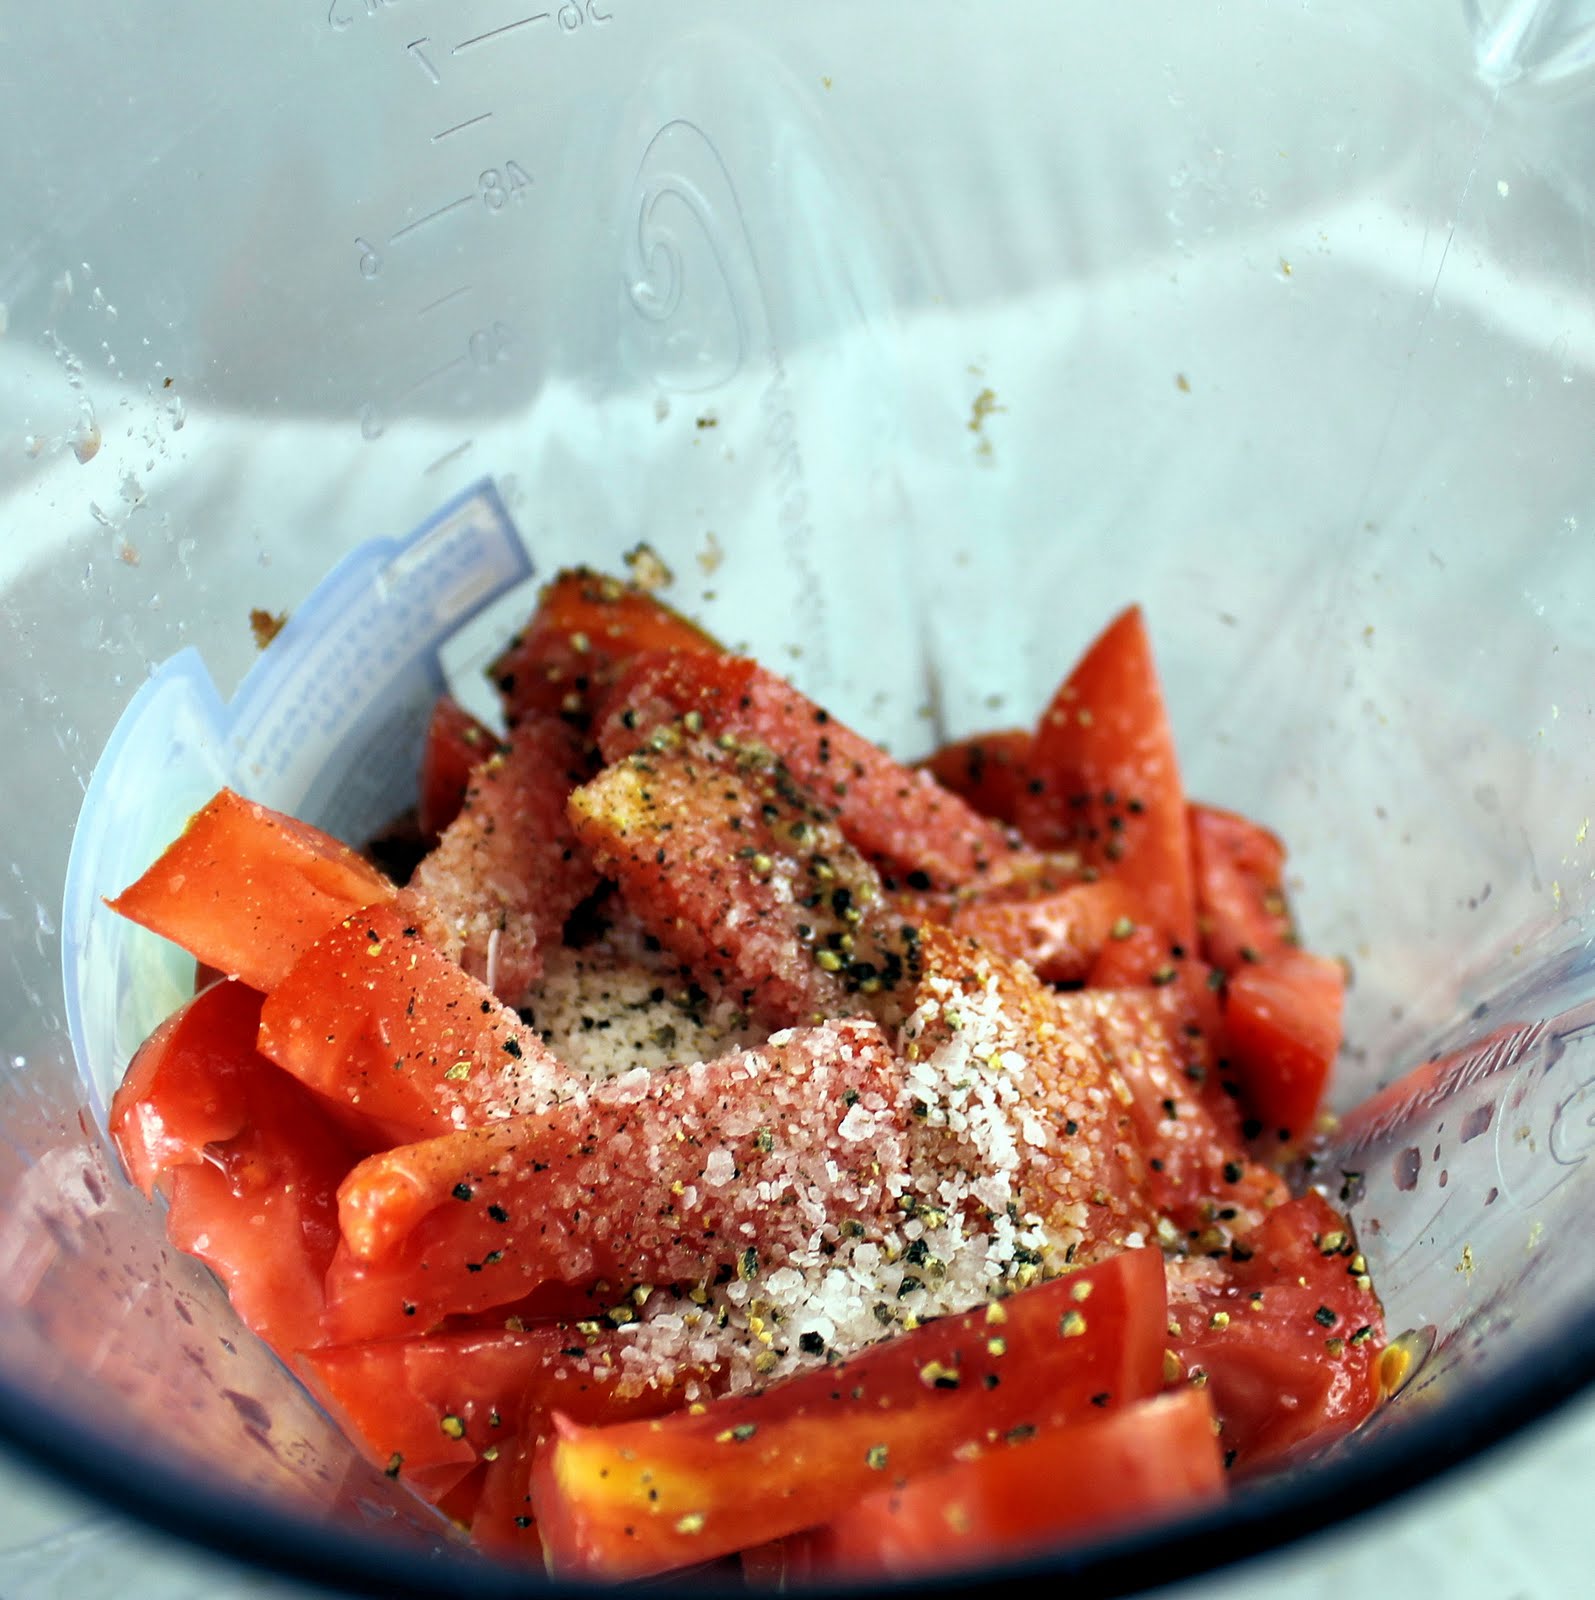
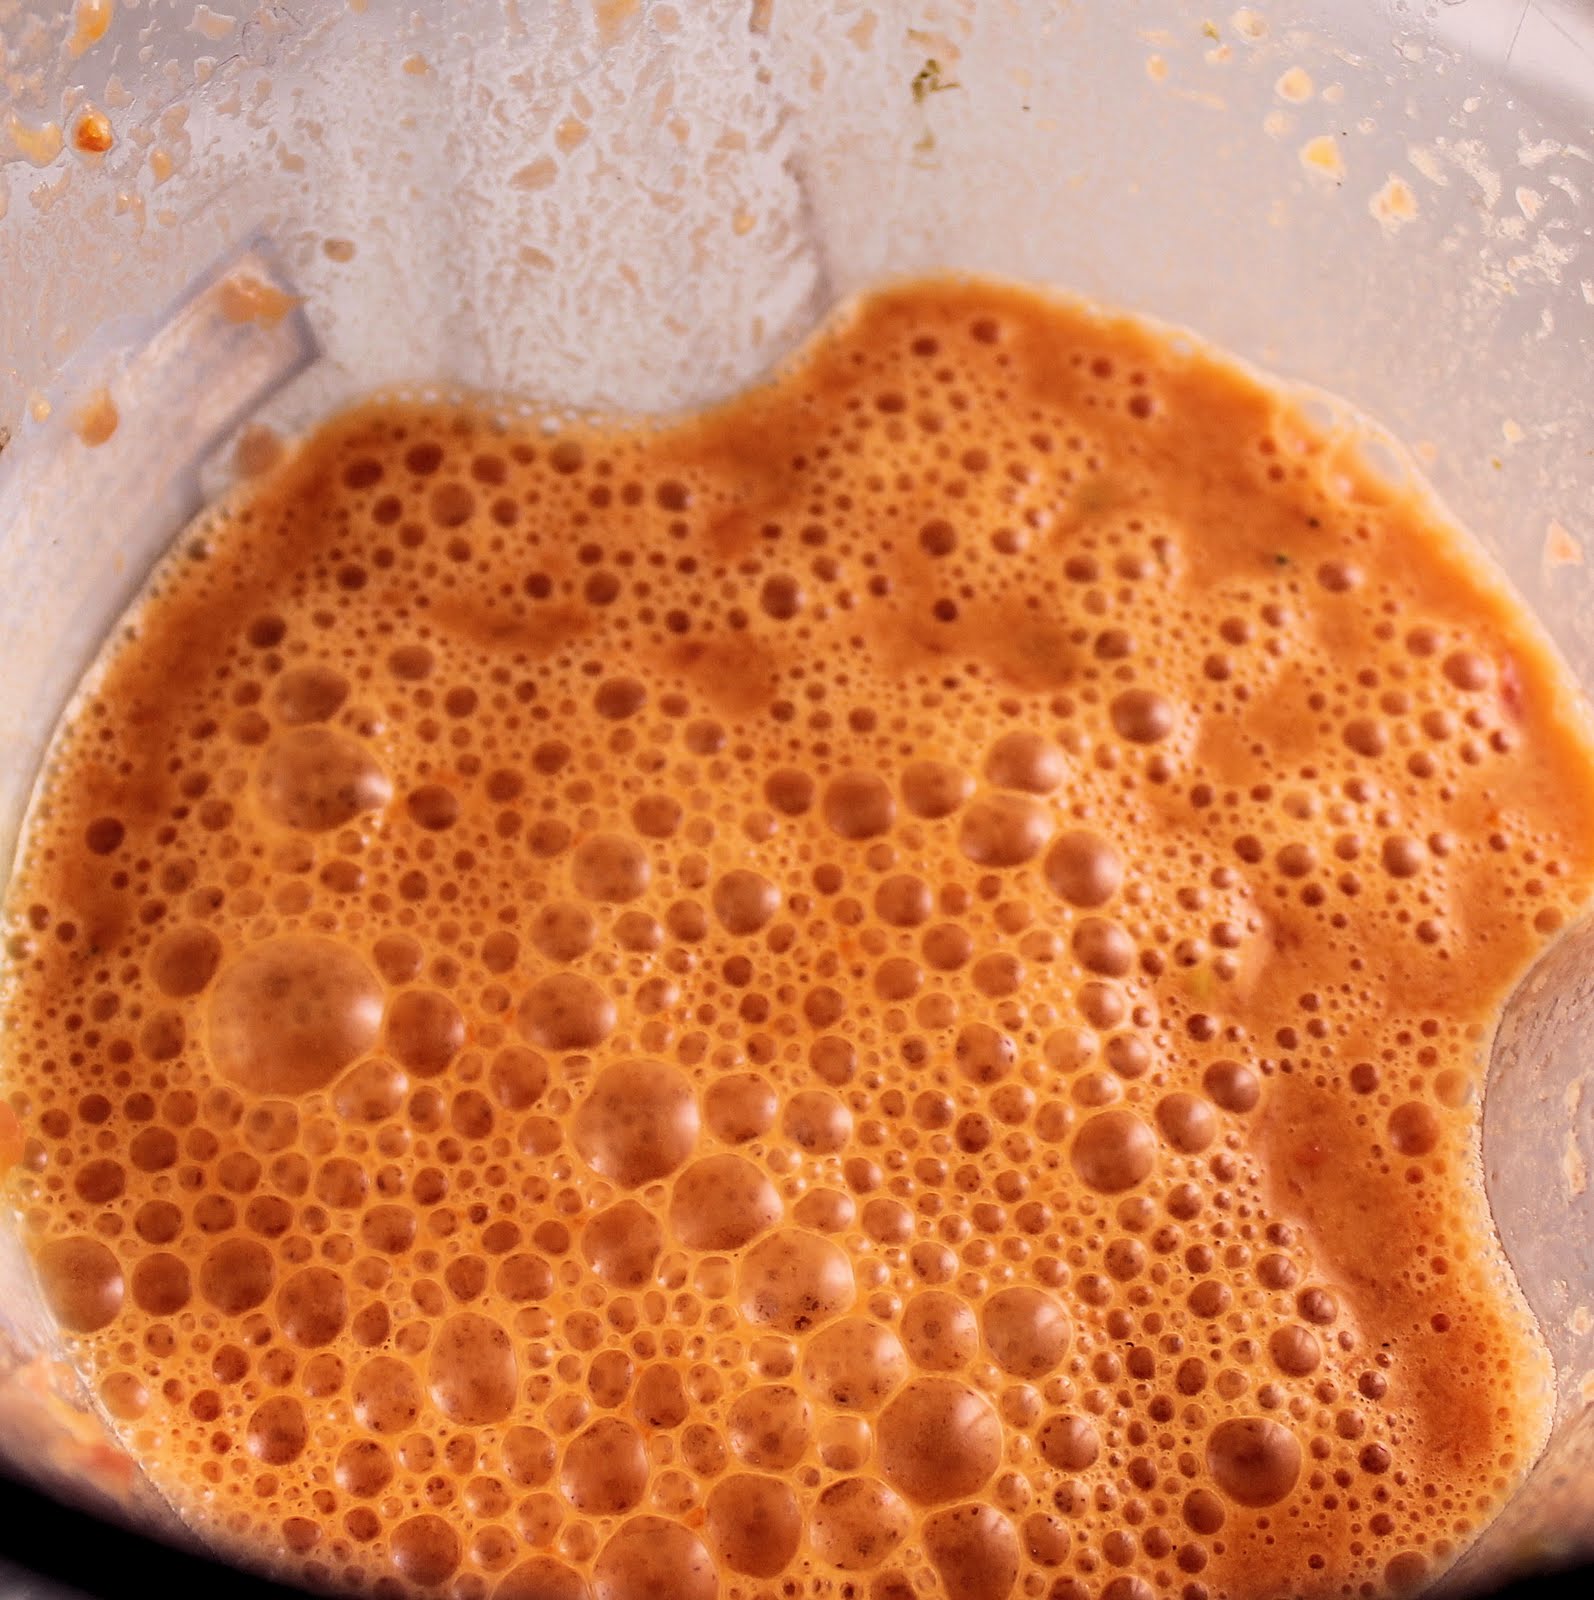
Combine the tomatoes,olive oil, and 2 tablespoons of the basil in a bowl. Season with salt and pepper and set aside.
 |
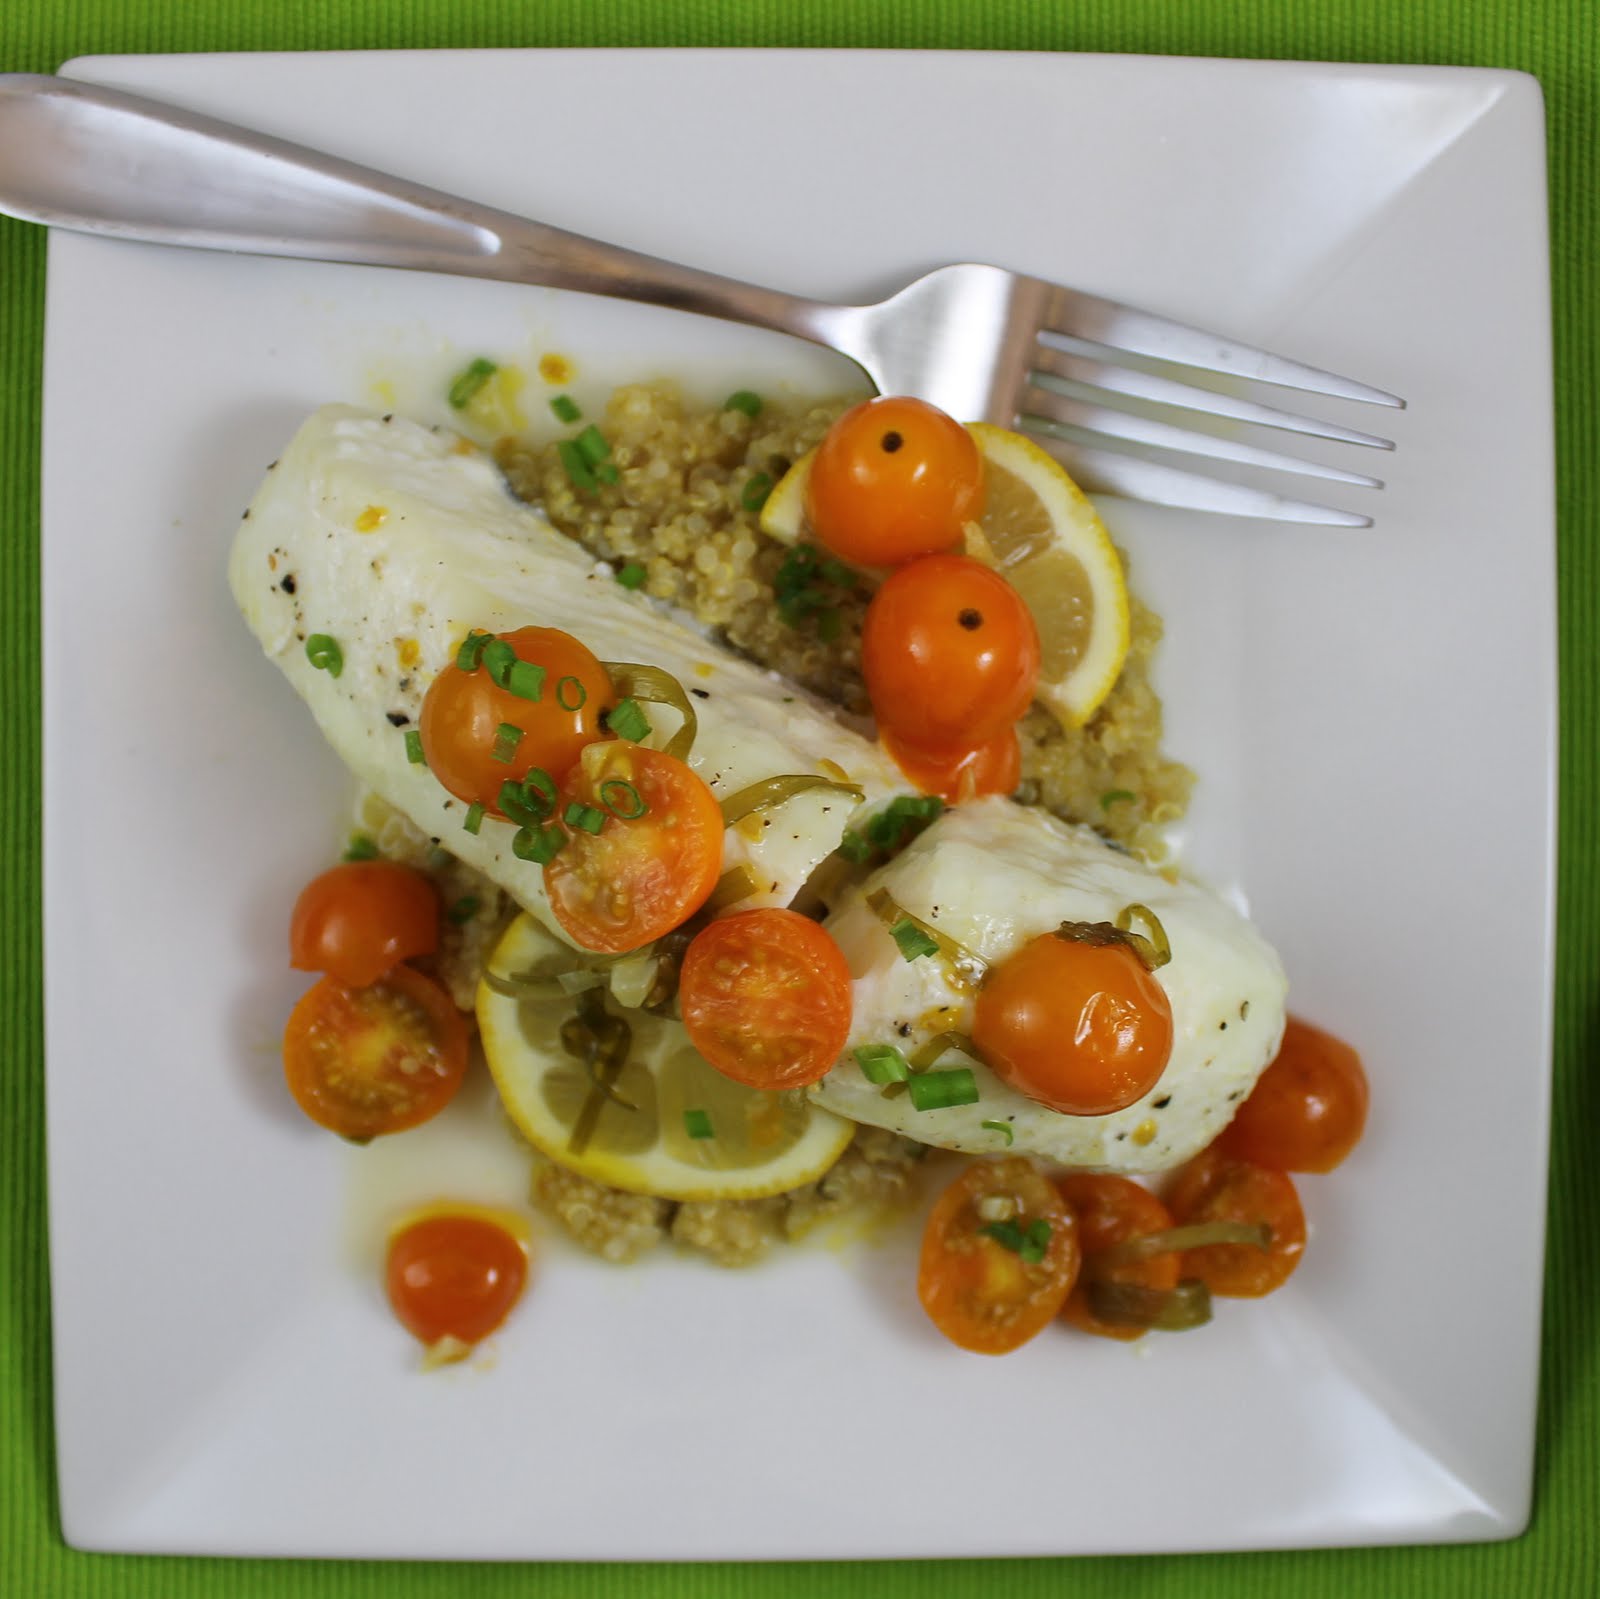
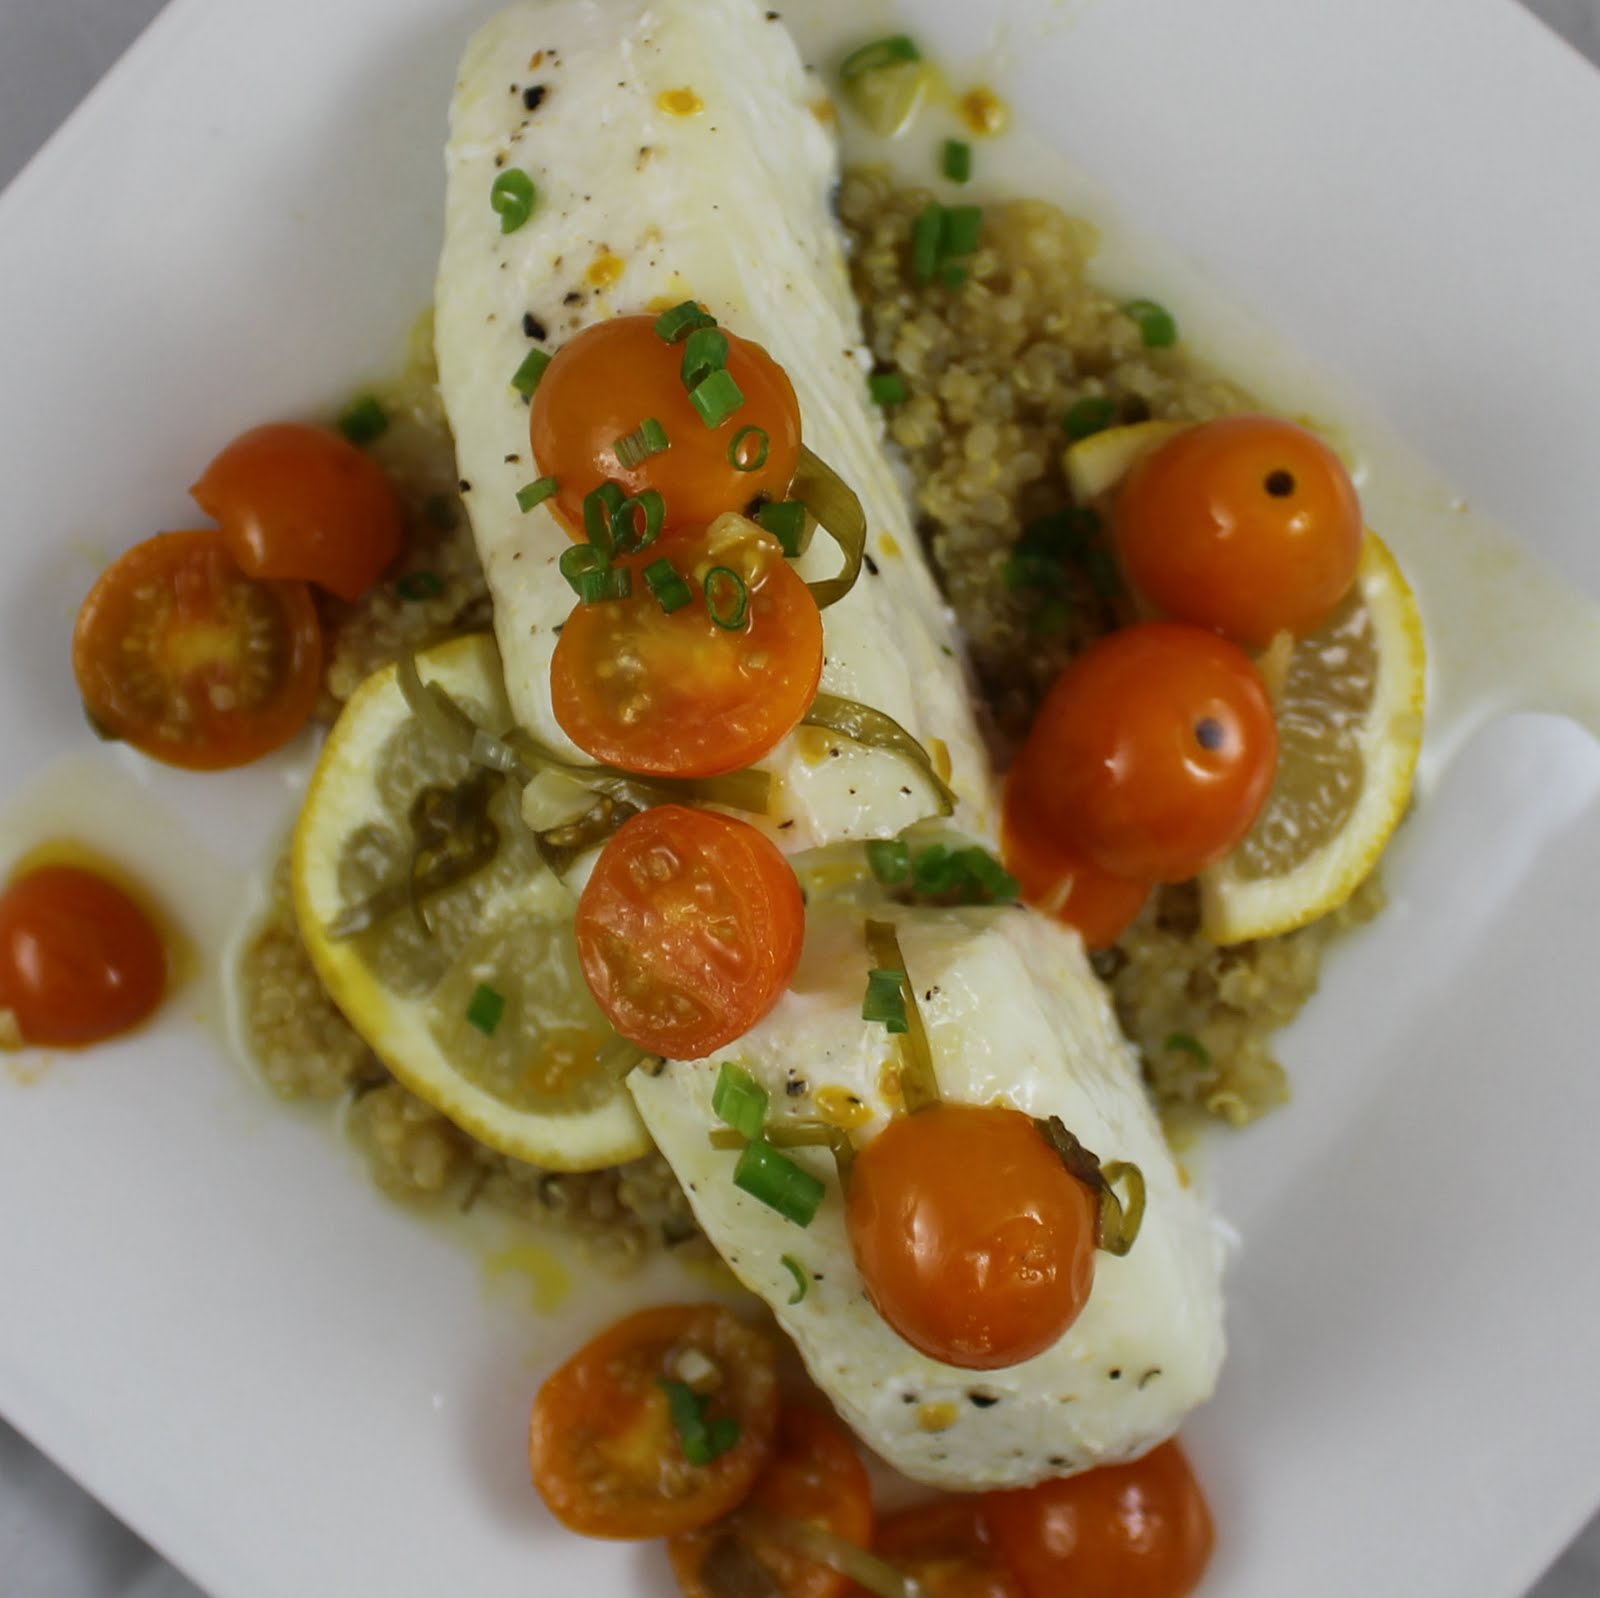
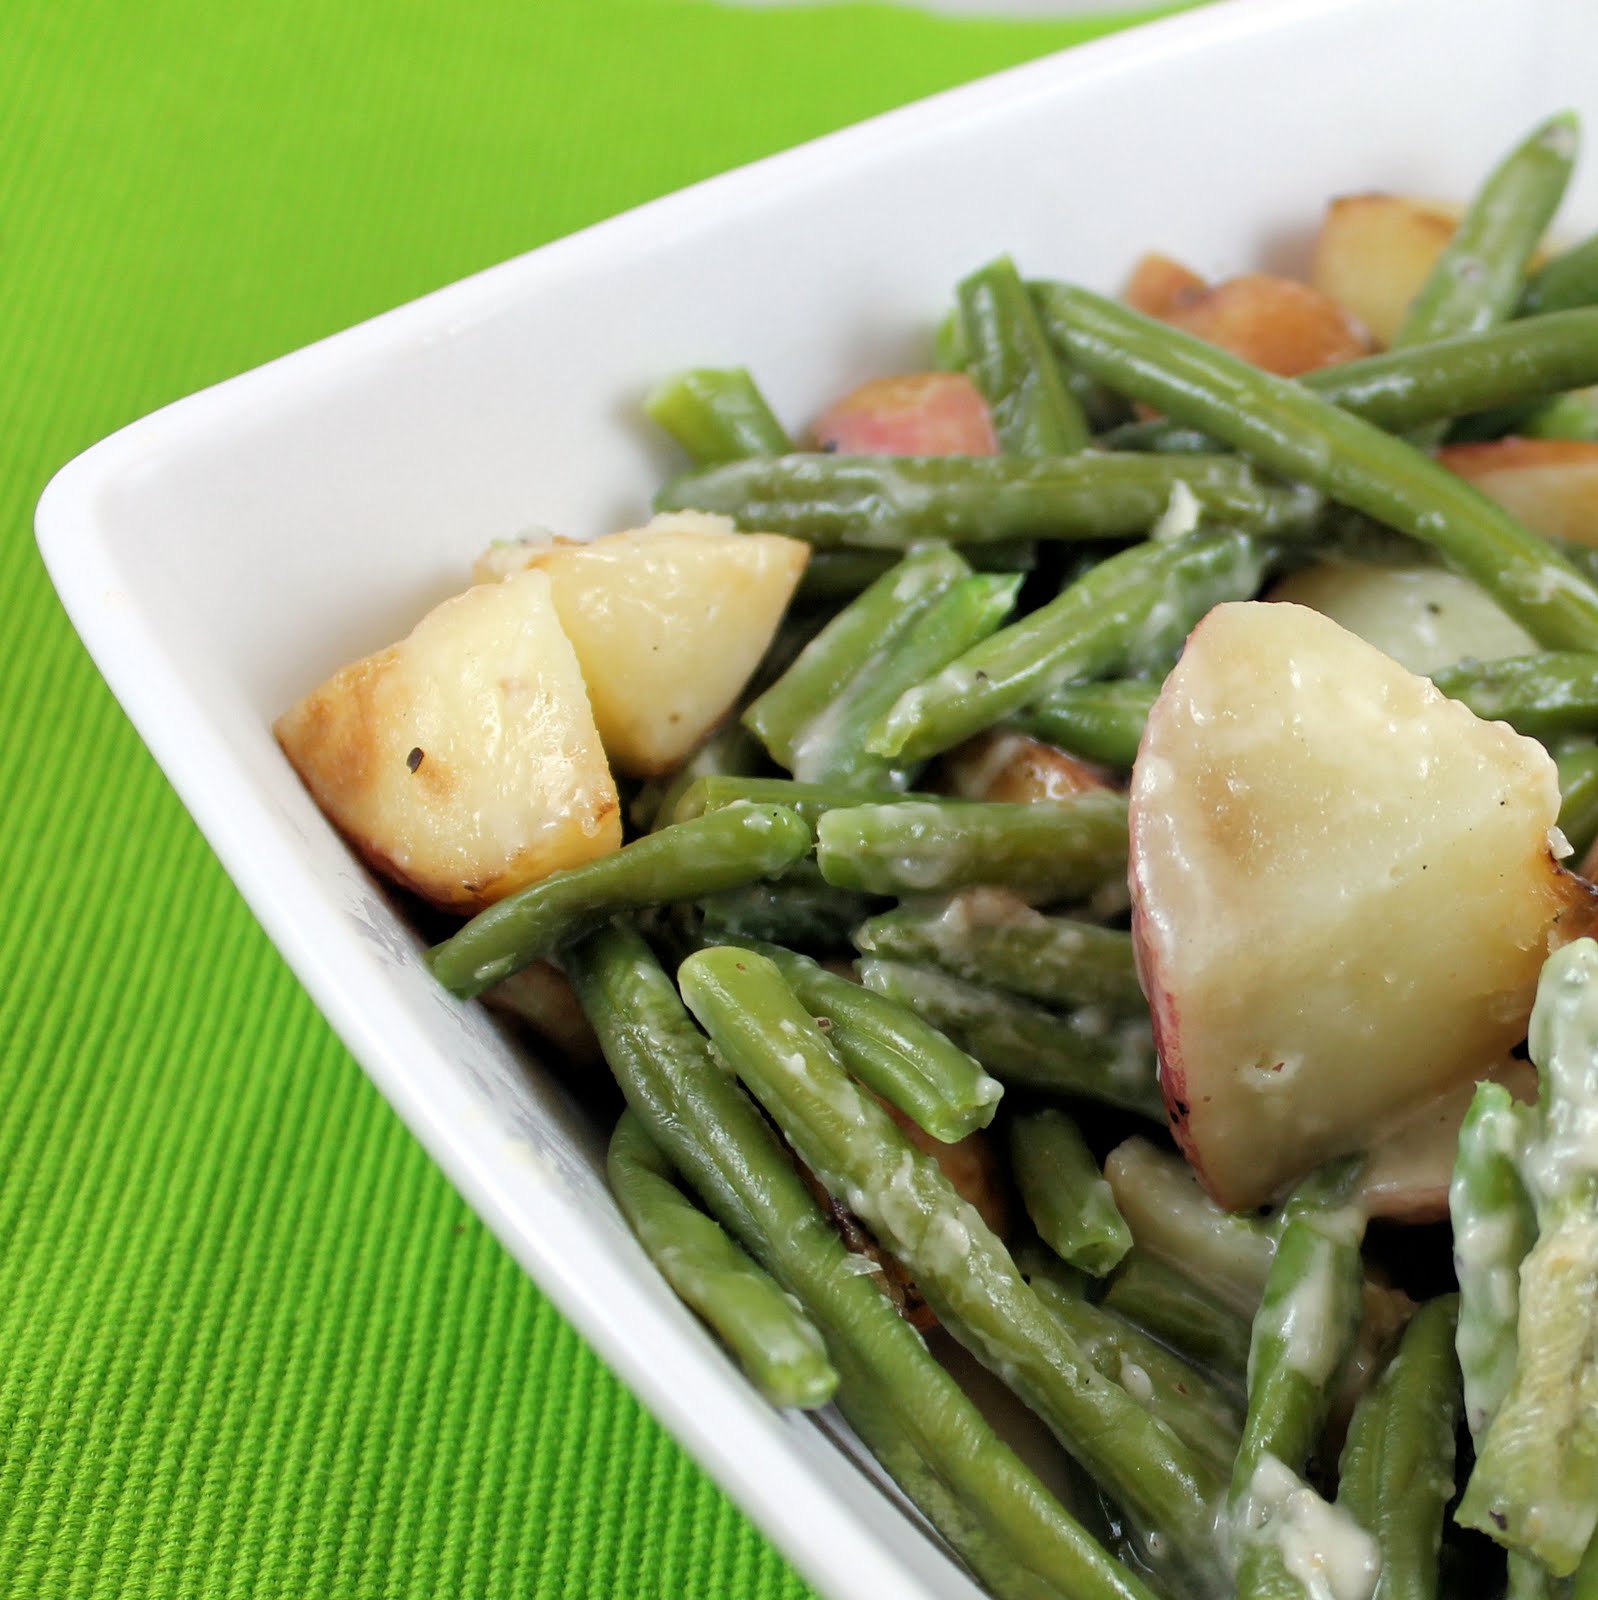
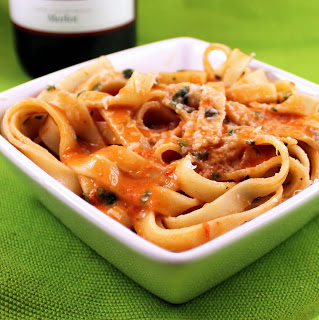
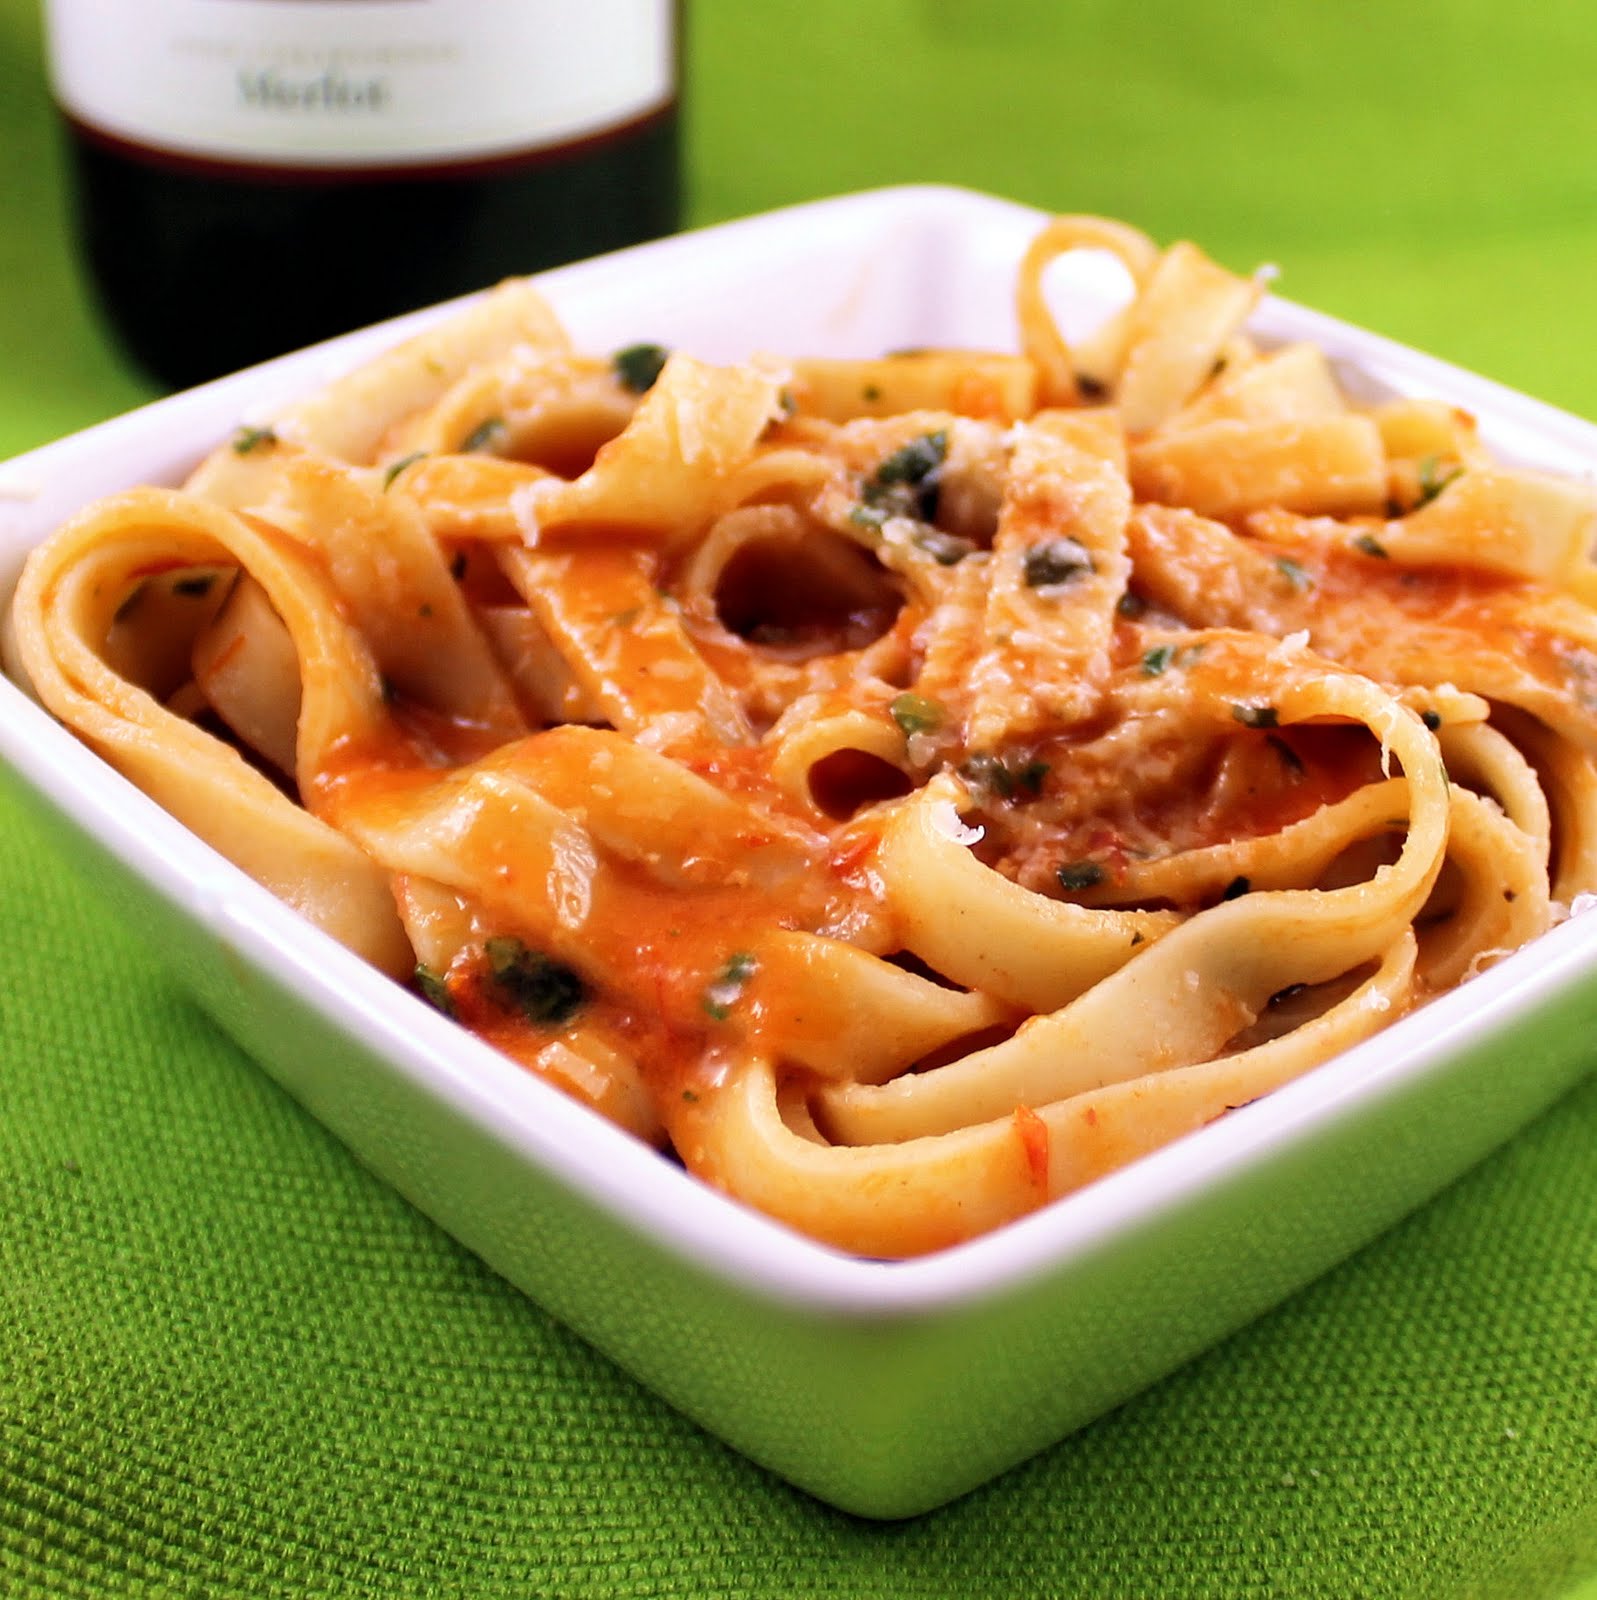
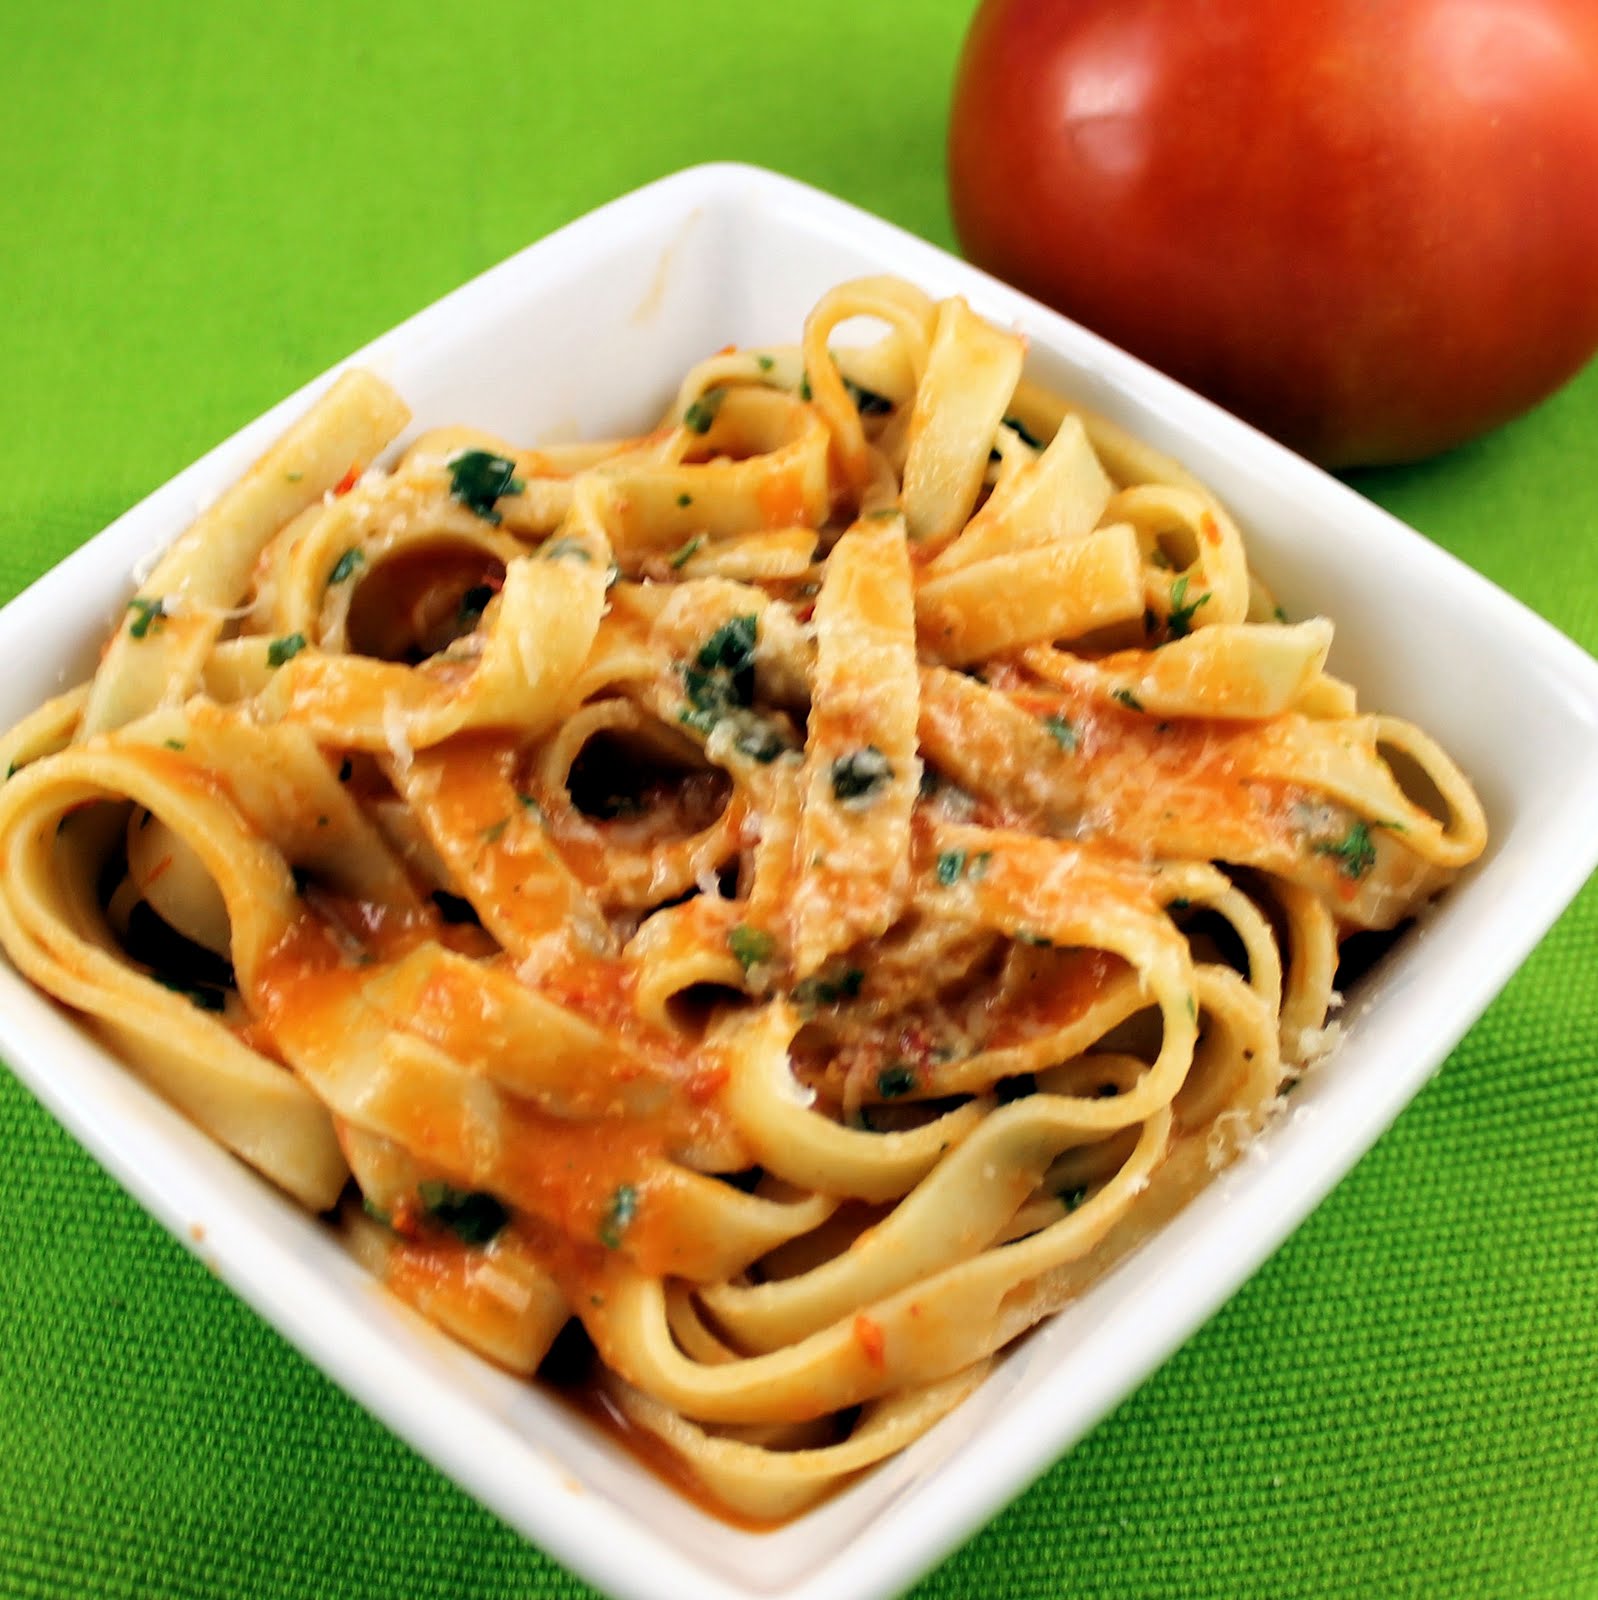
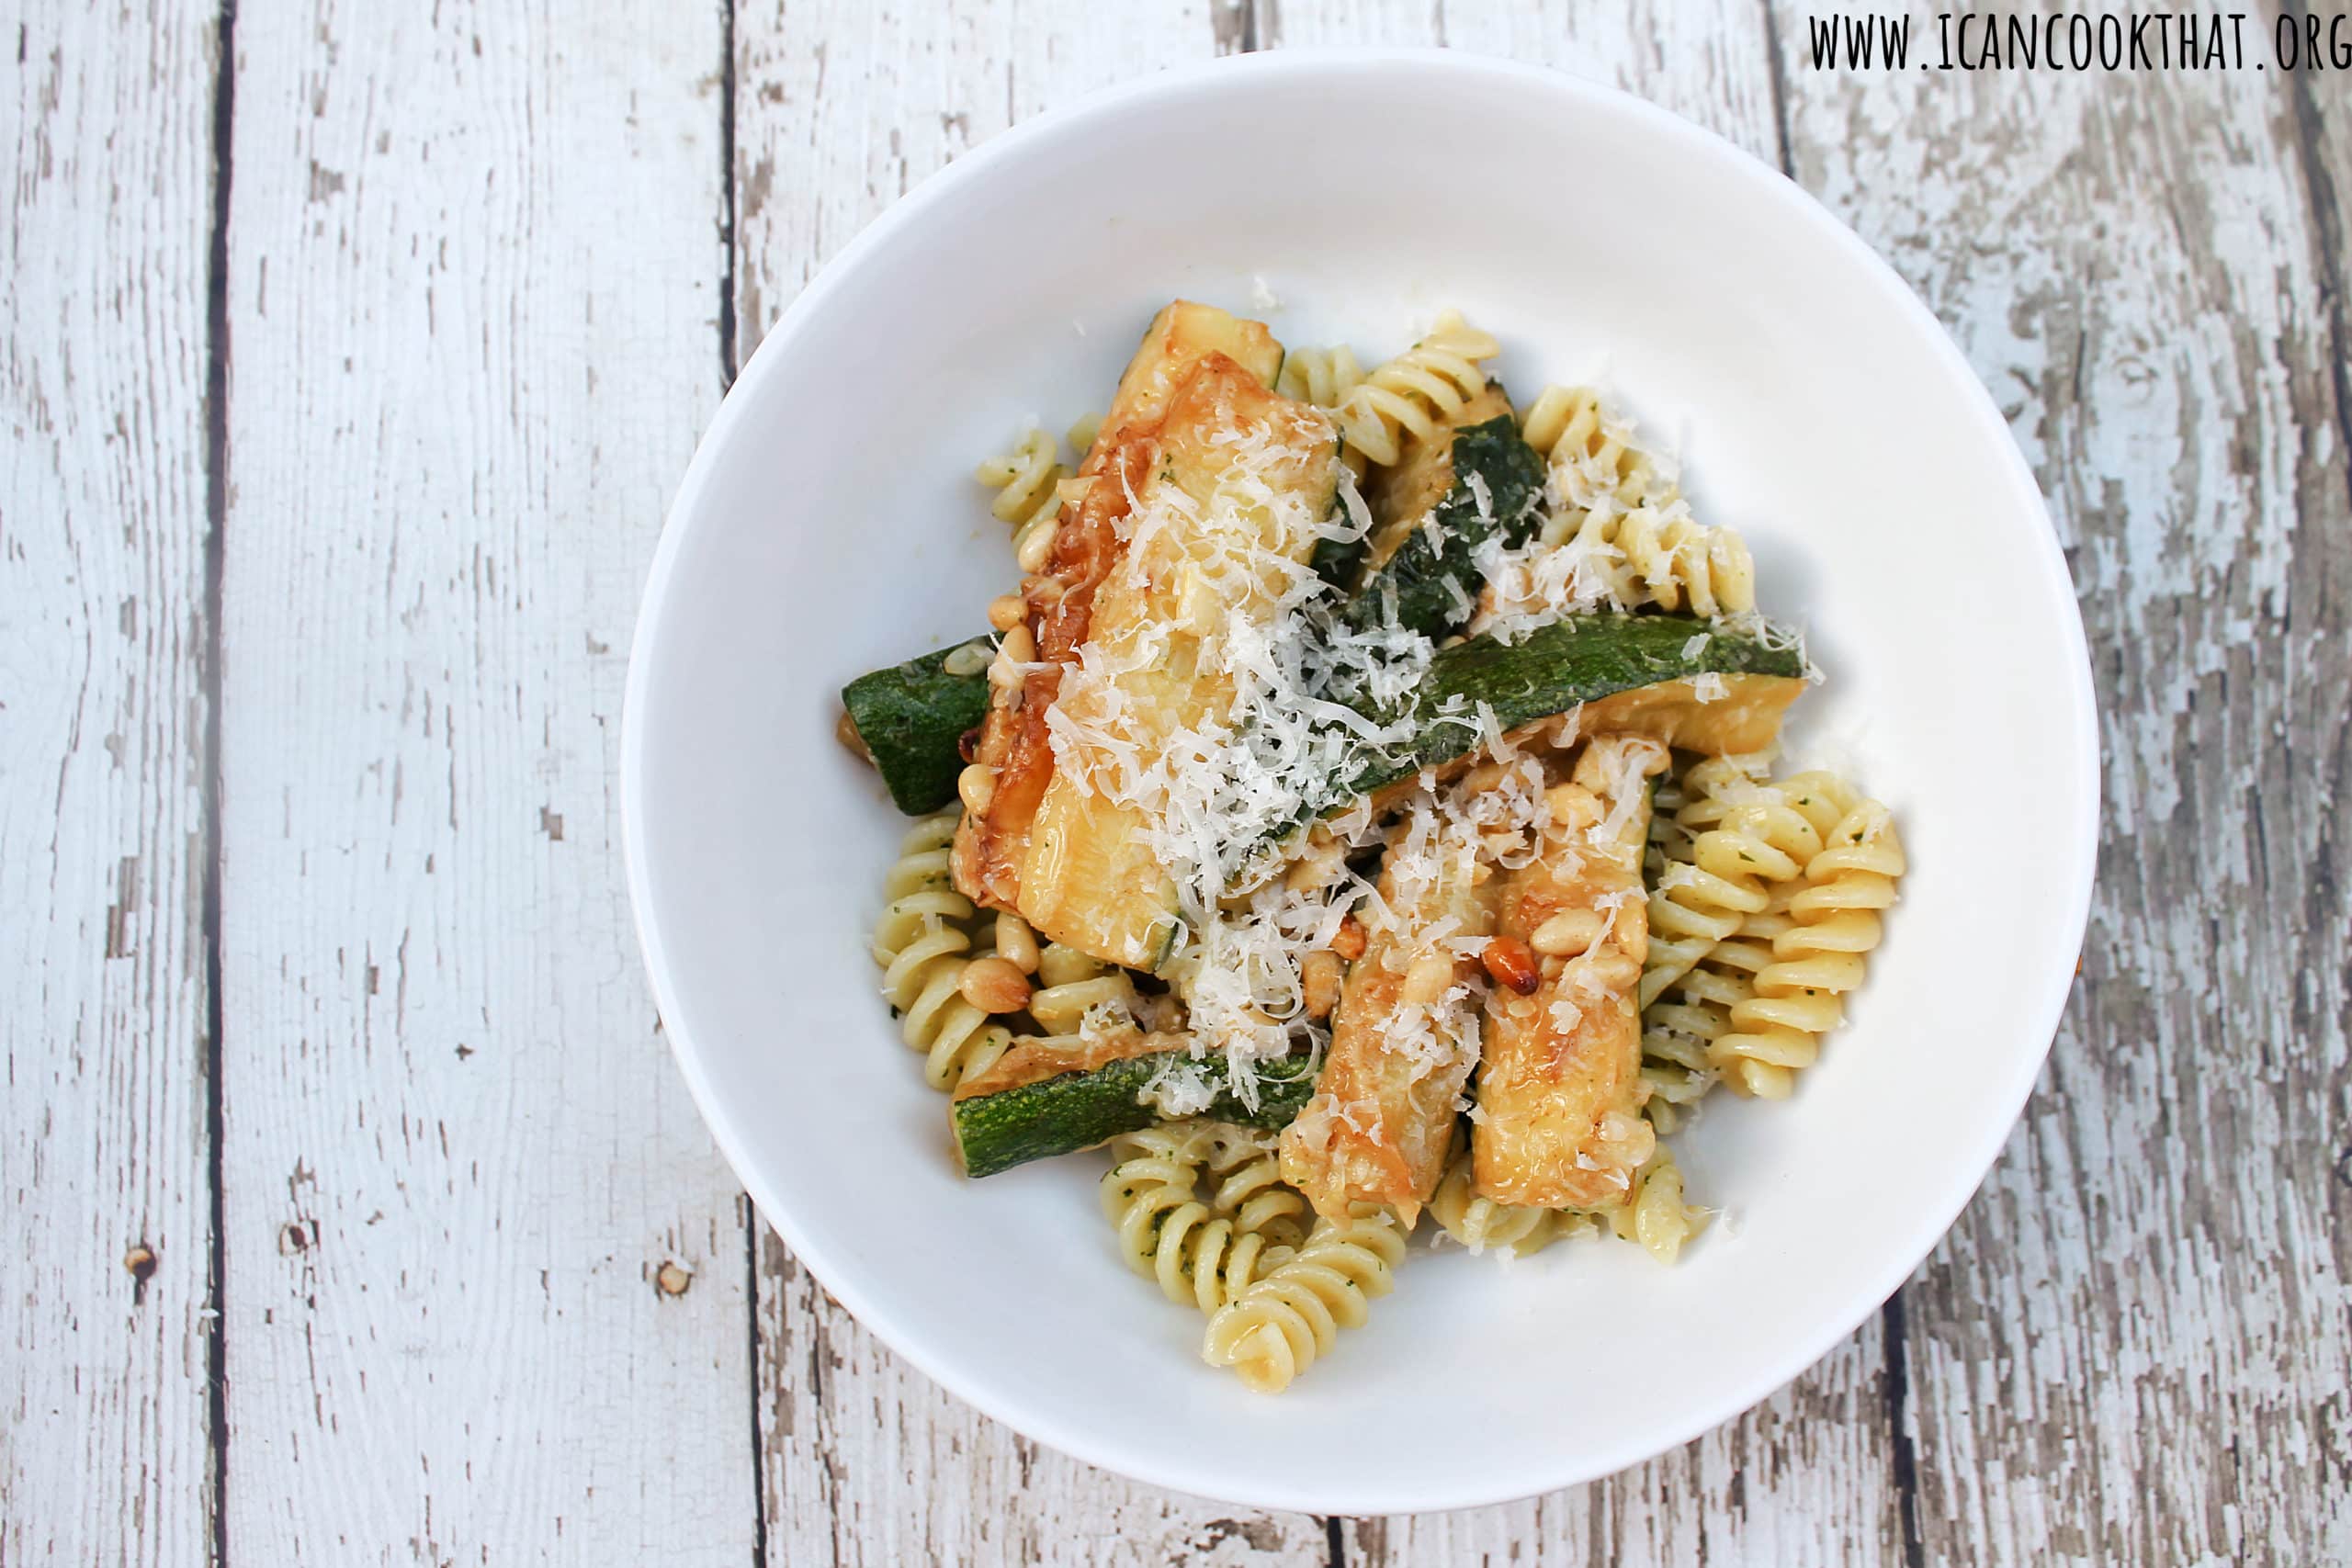
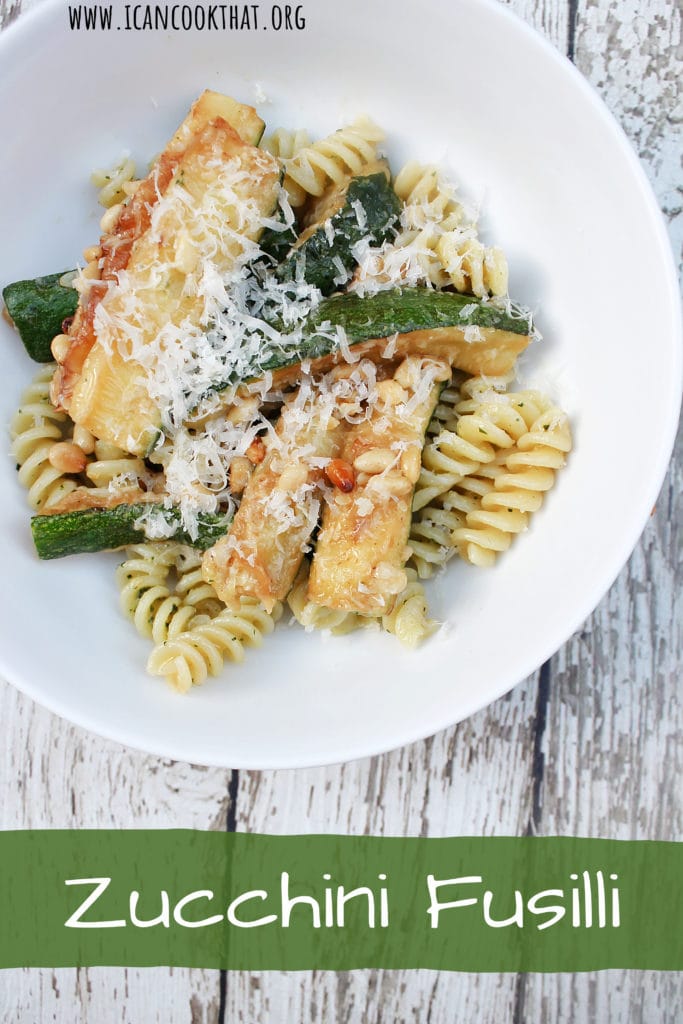
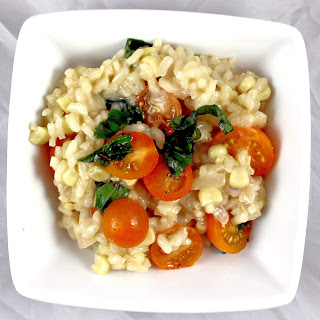
| I’d be happy just eating this! |
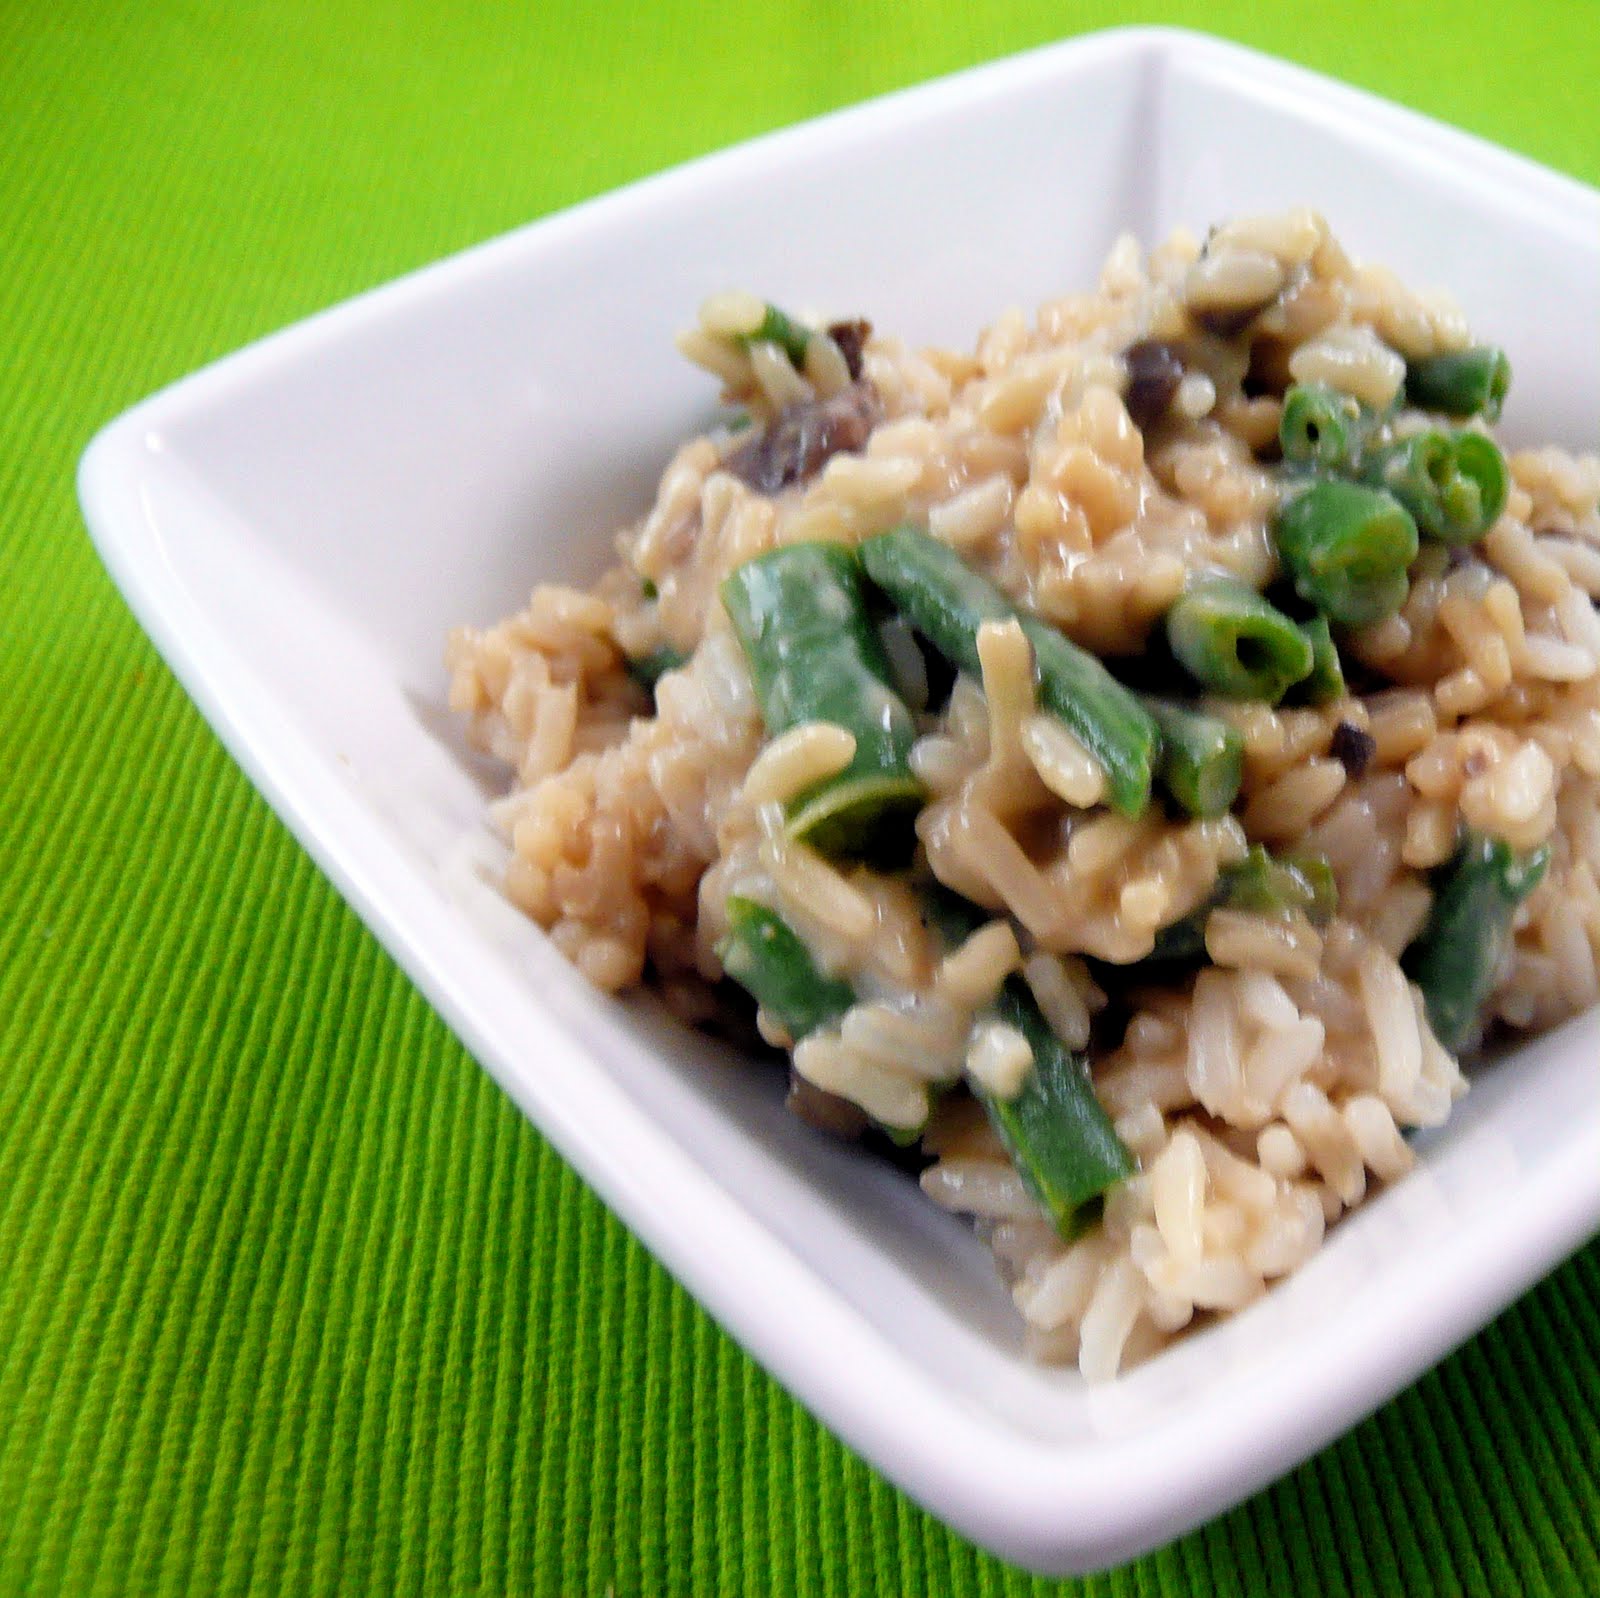
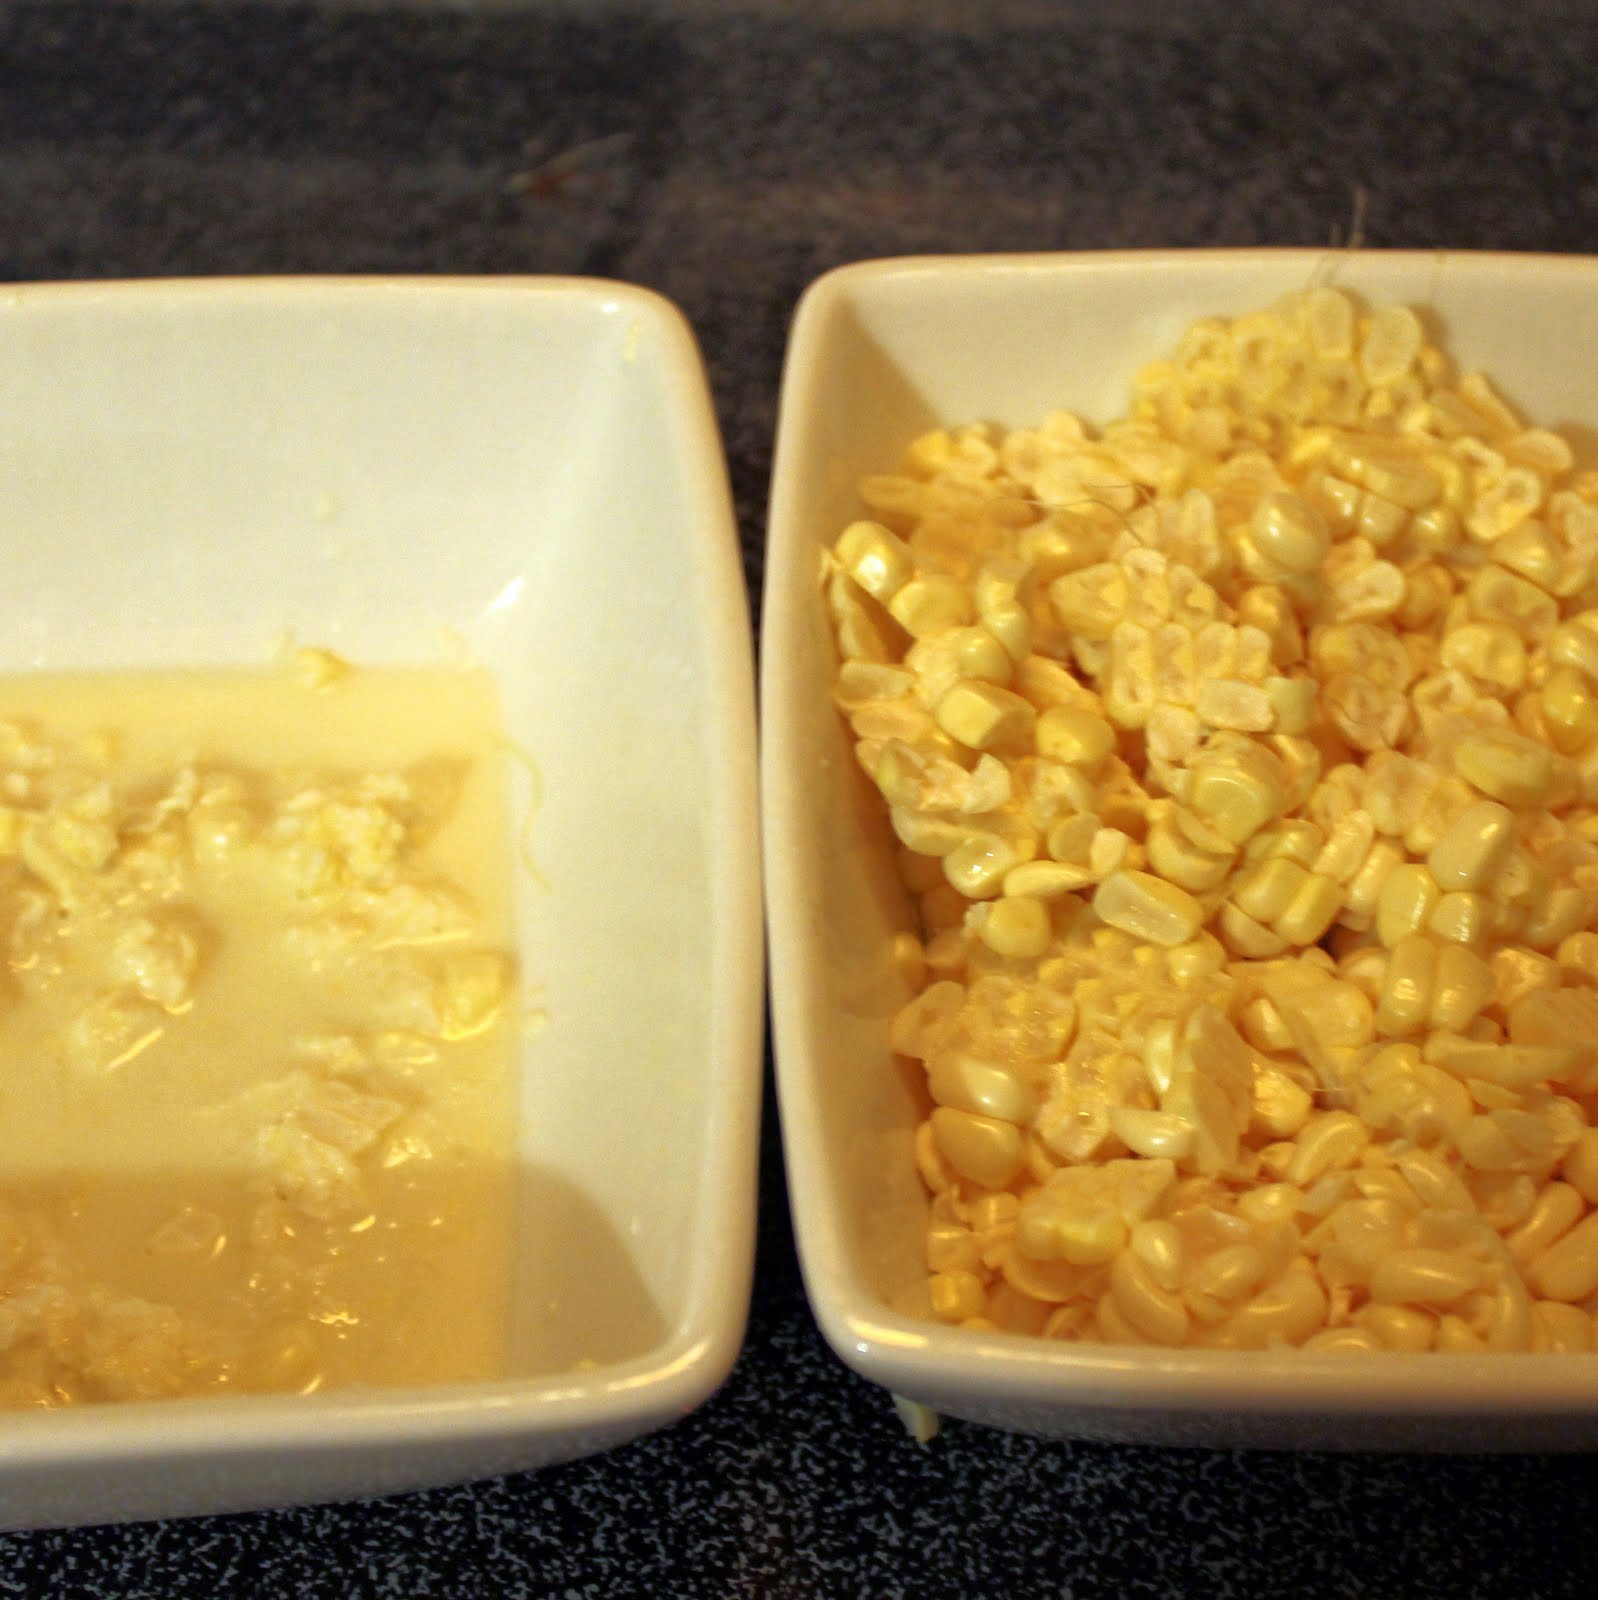
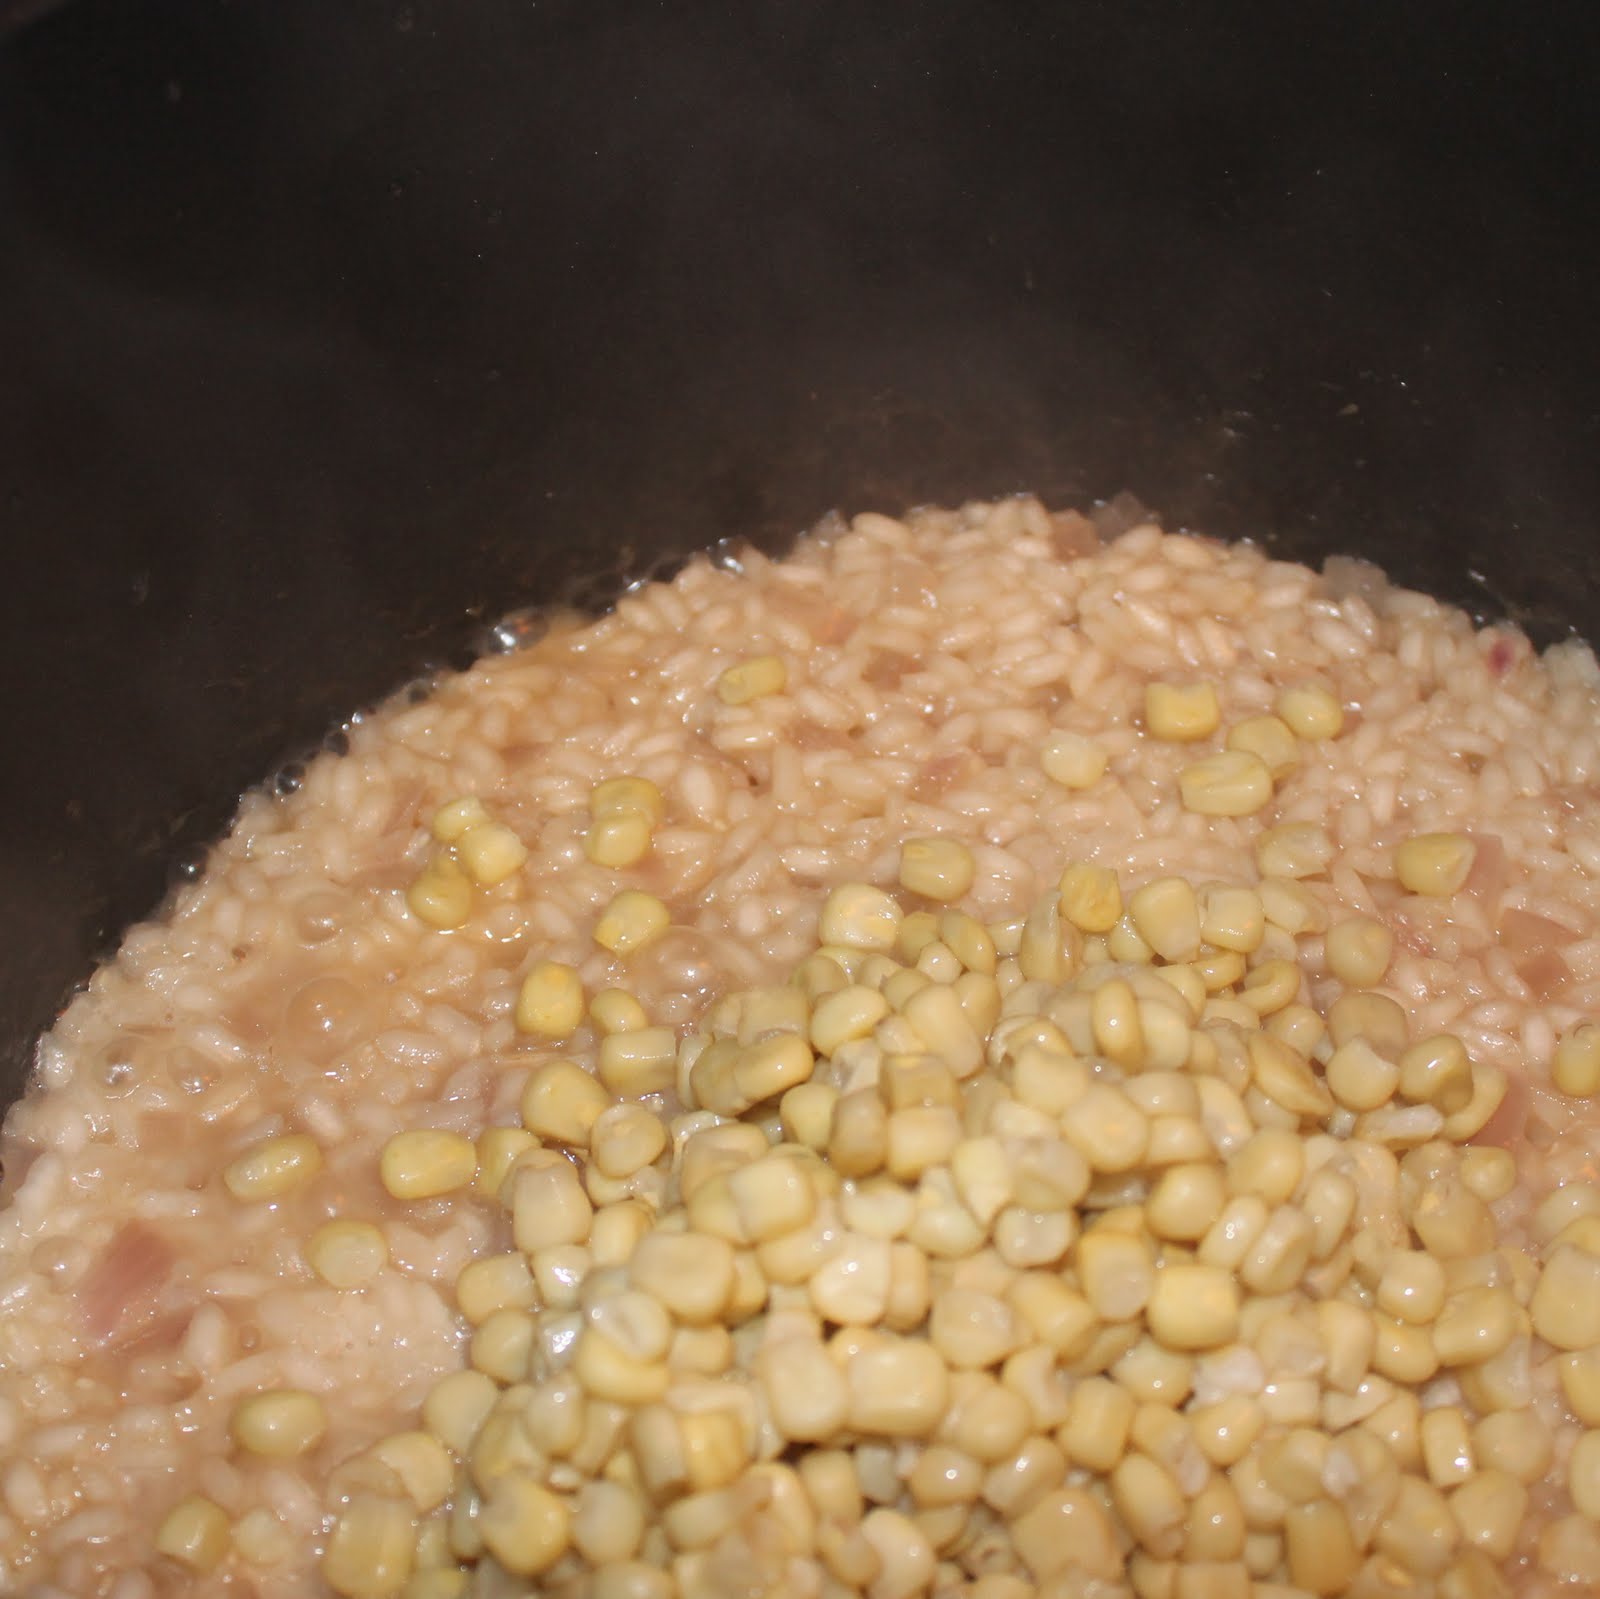
About 16 minutes into the cooking of the rice (you’ll still have broth left), stir in the corn. Continue to add the broth in 1/2 cup increments until the rice is creamy, about 20 to 25 minutes in total.
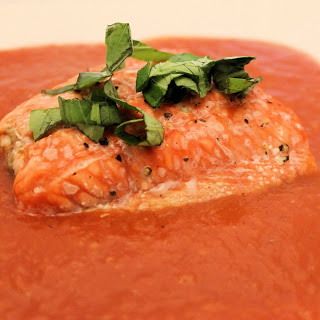
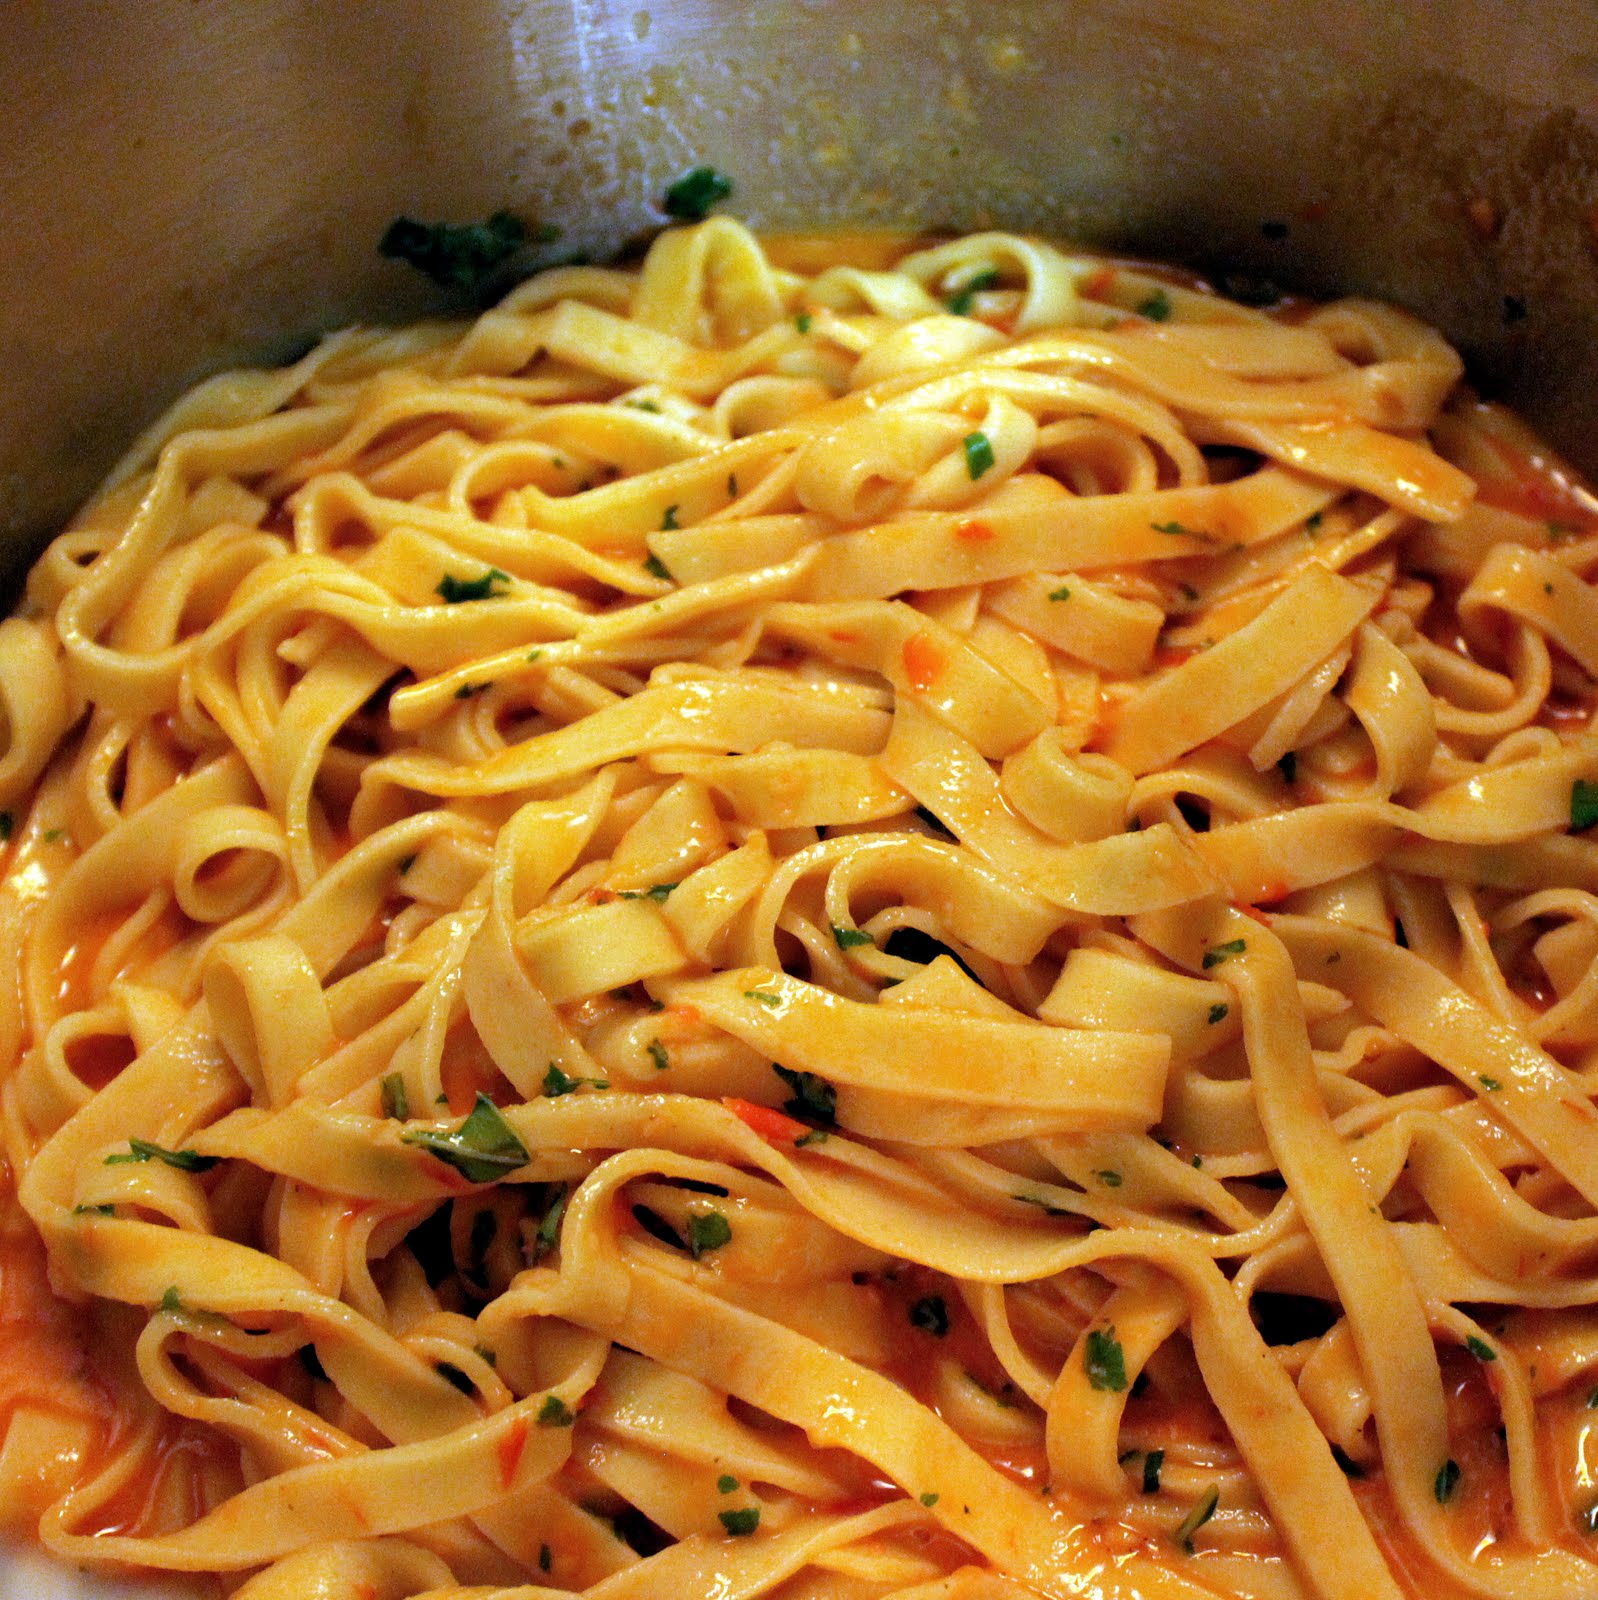
Remove from heat and add the Parmigiano cheese and tomato-basil mixture. Top with the remaining basil and serve.

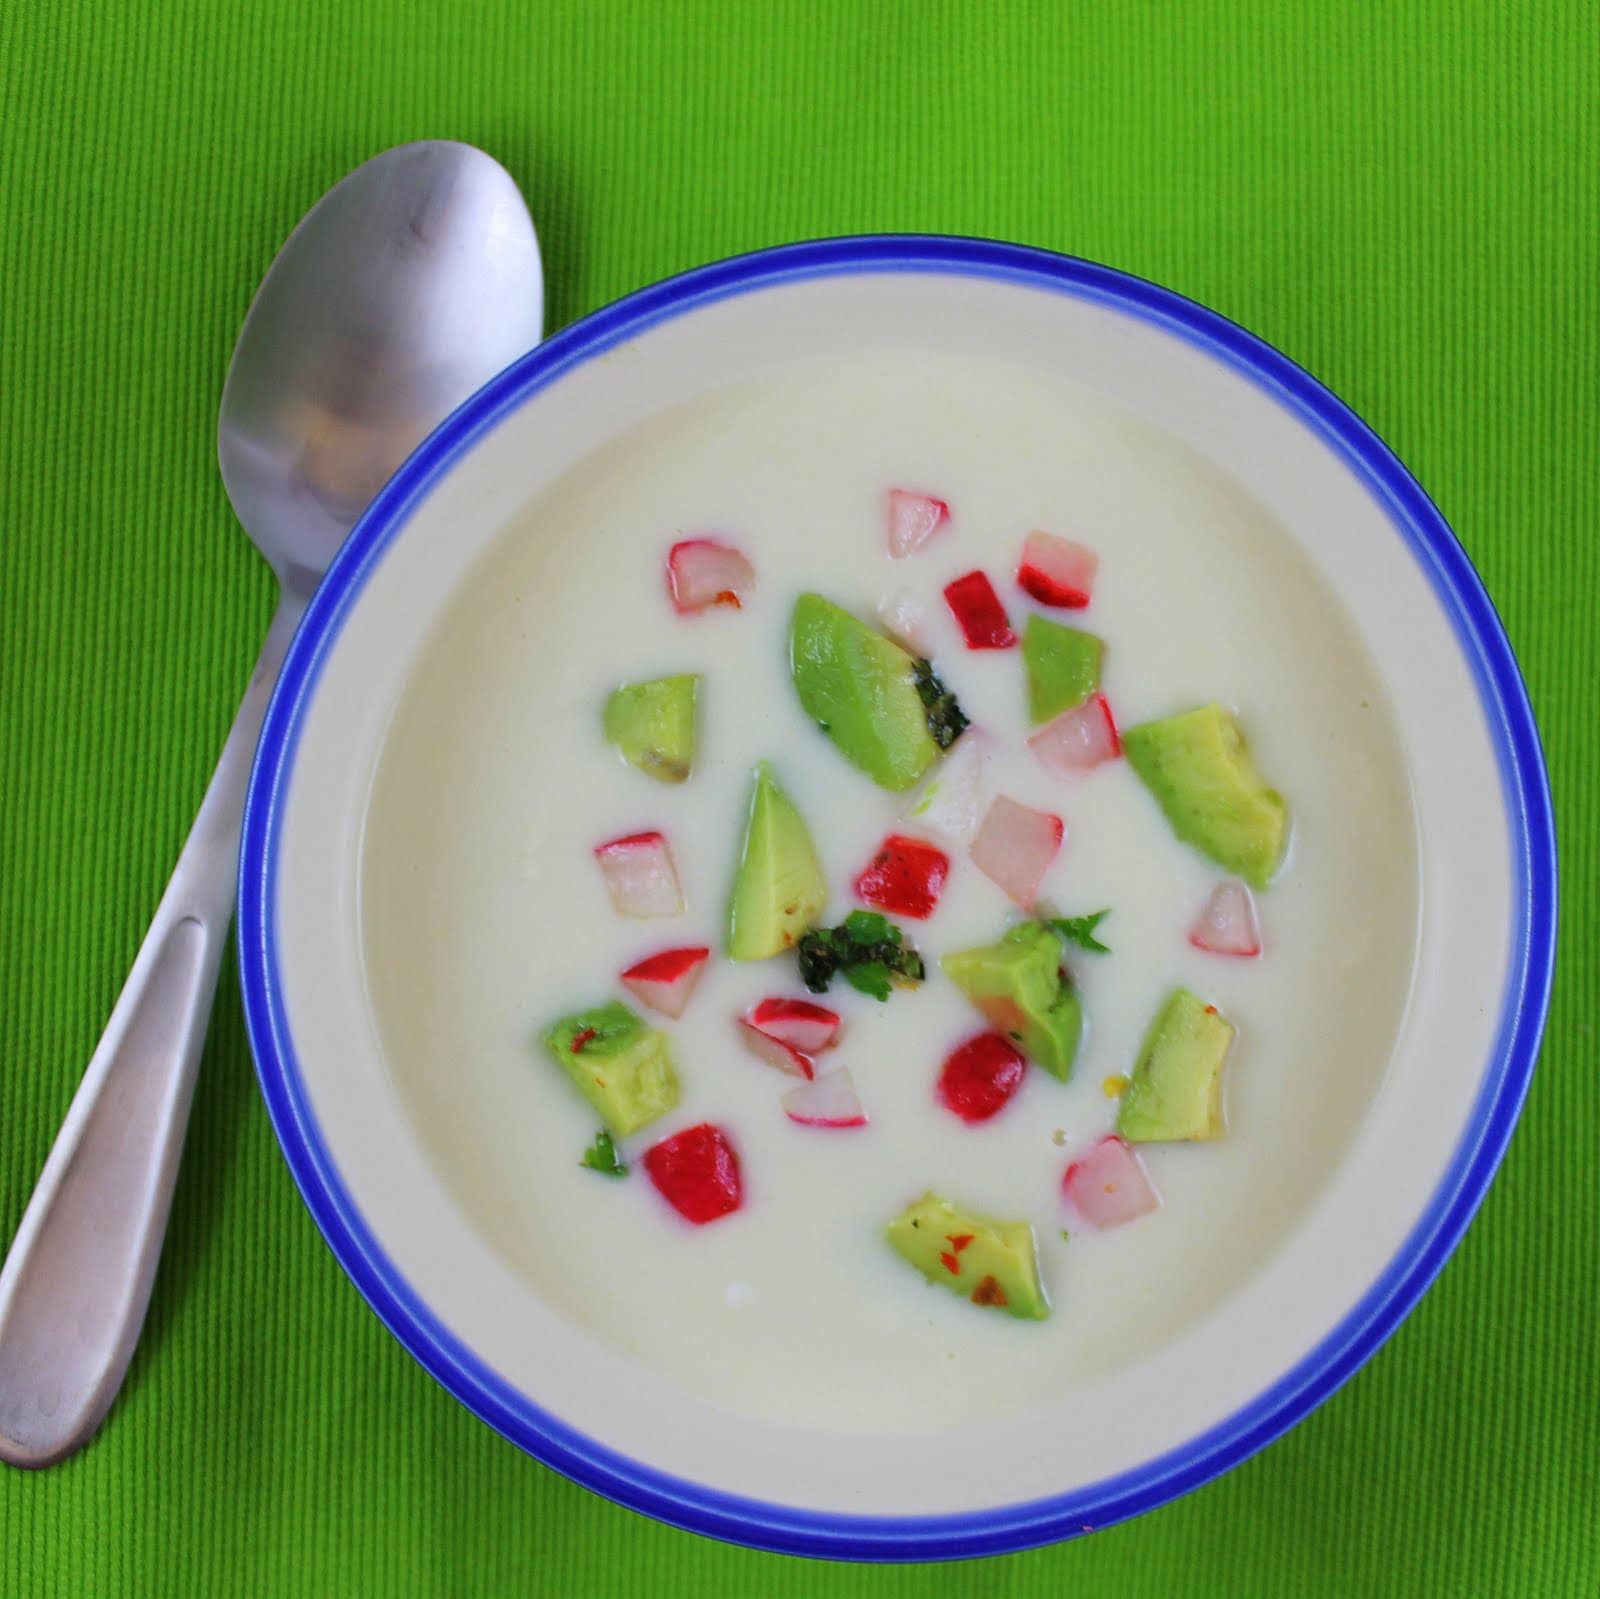
Somehow, this risotto was light and refreshing. I loved the sweetness from both the tomatoes and corn, it tasted like summer! I ate the leftovers from this the next day for lunch and it held up really well, which is always a plus.