I love corn, but after three weeks of having 6 ears of corn in my CSA share, I’m running out of ways to use all of it. I adapted this recipe from All You to use fresh corn kernels.

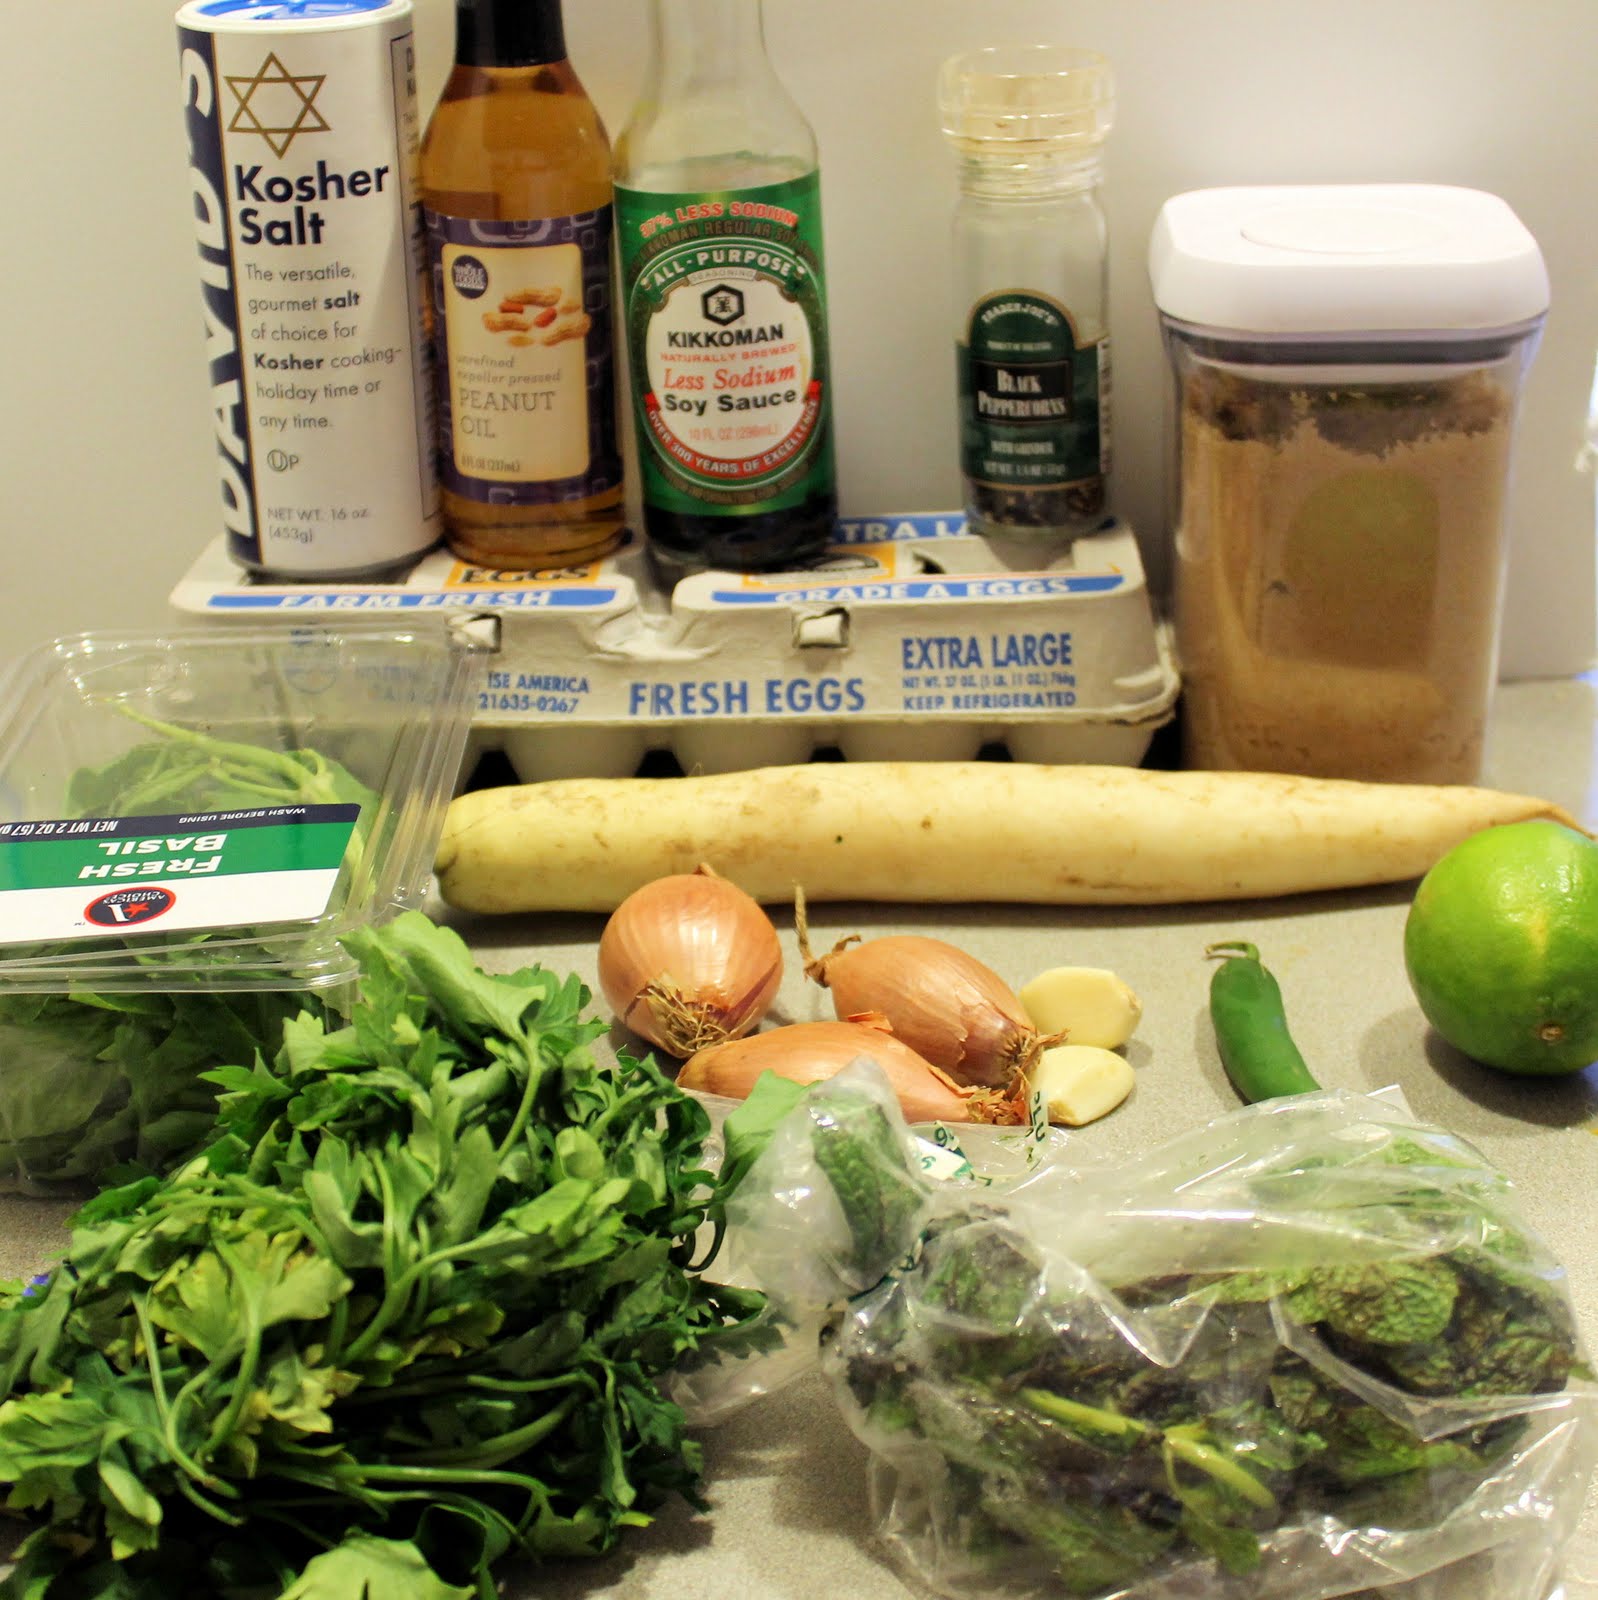
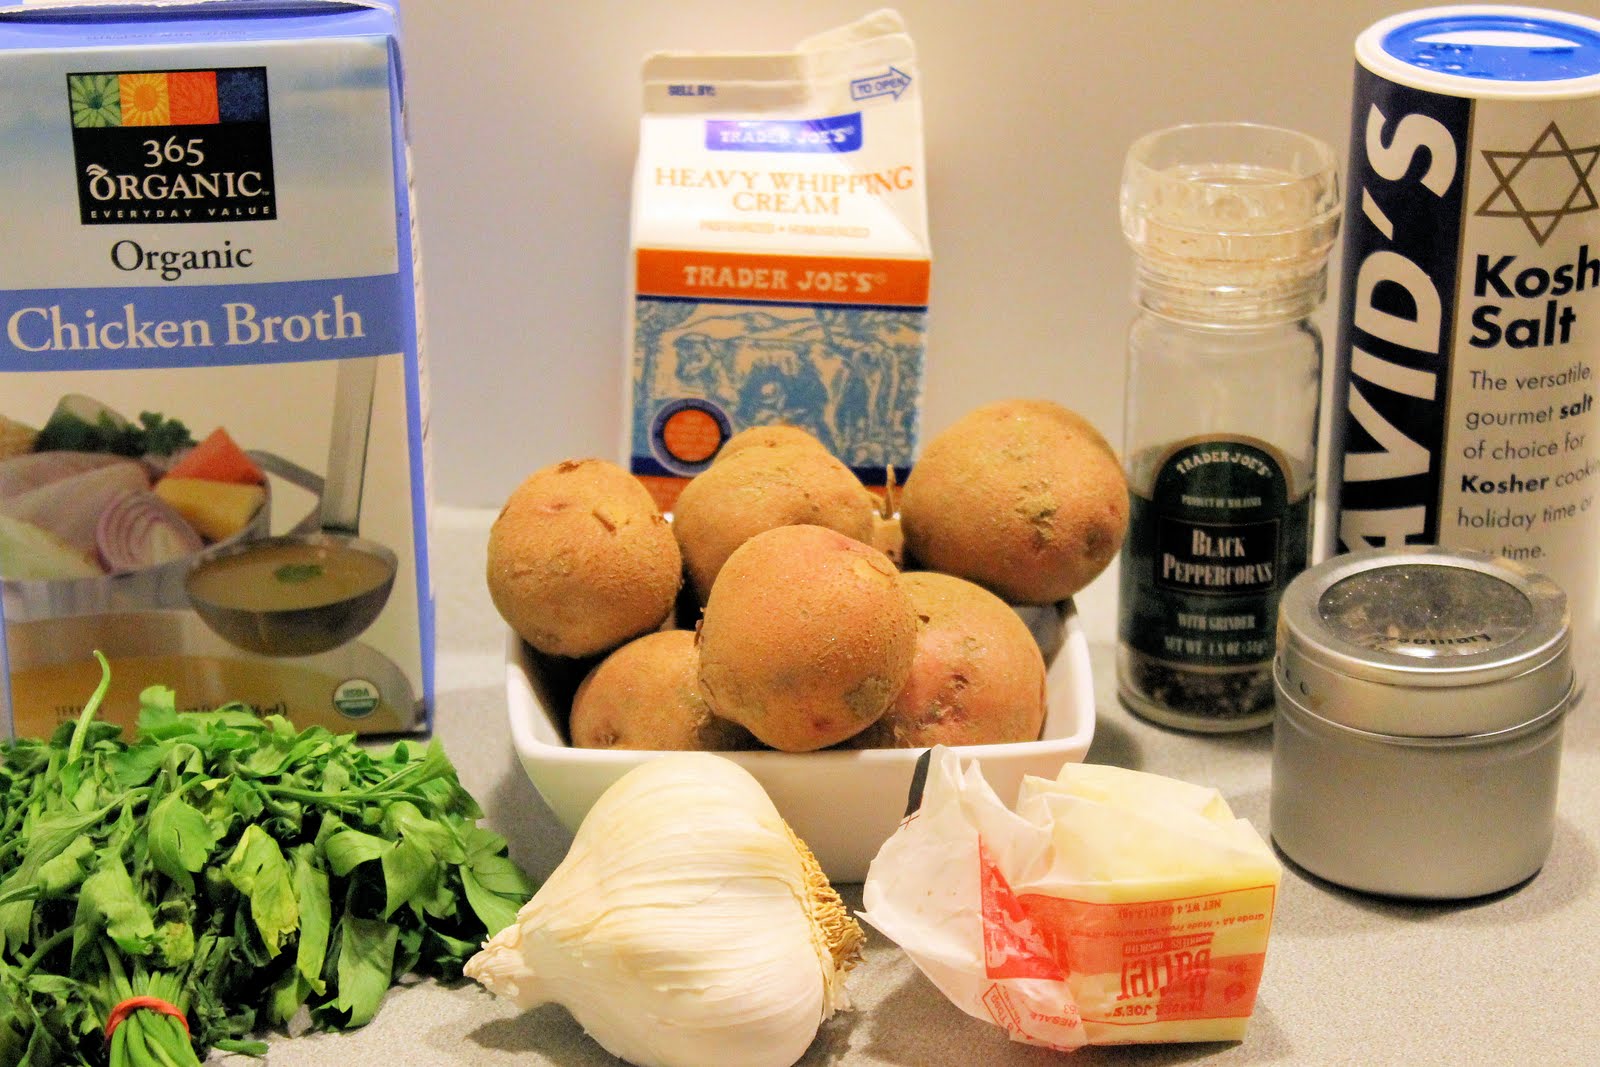
Ingredients:
1 can black beans, rinsed and drained
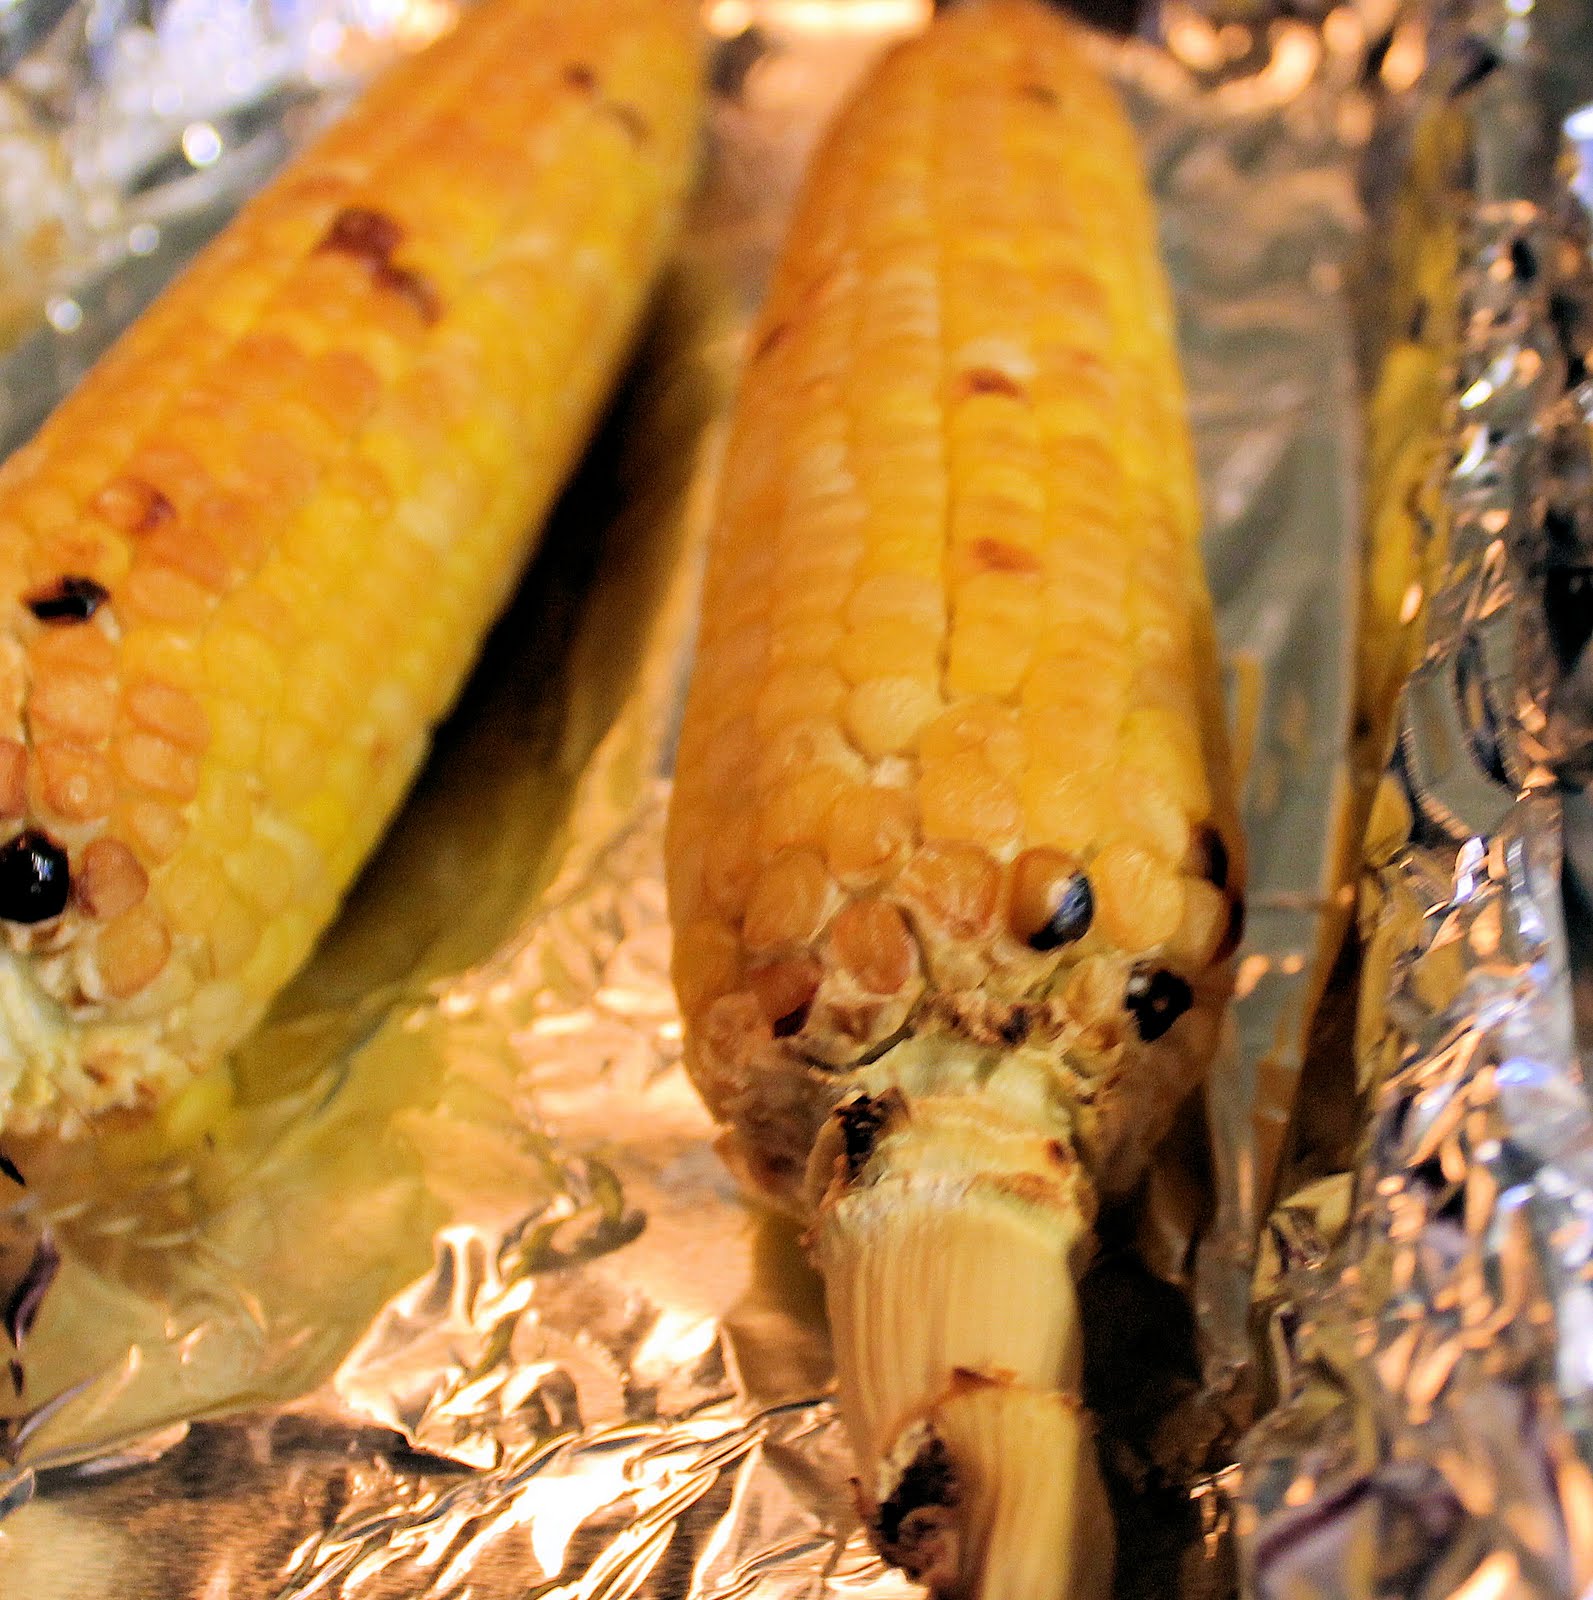
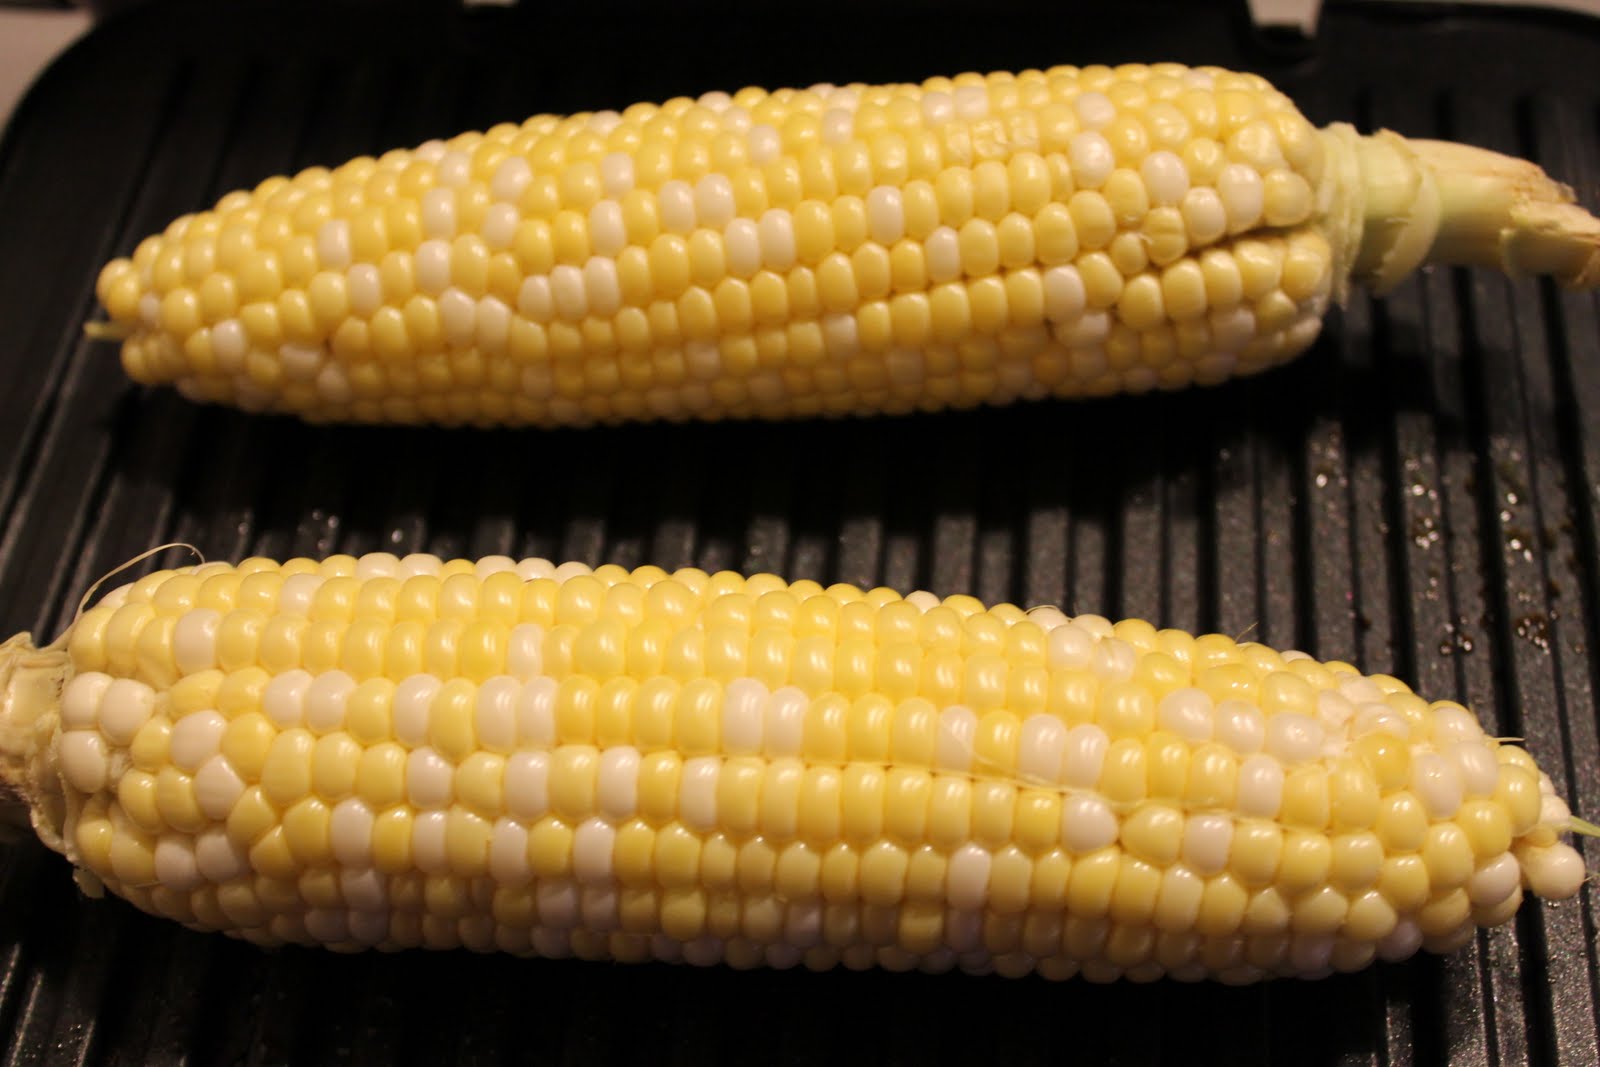
2 ears of corn
1 tablespoon canola oil
1 small onion, chopped
1 jalapeño, seeded and finely chopped
2 cloves garlic, minced
3 ounces pepper Jack, shredded
3 ounces cheddar cheese, shredded
Salt and pepper, to taste
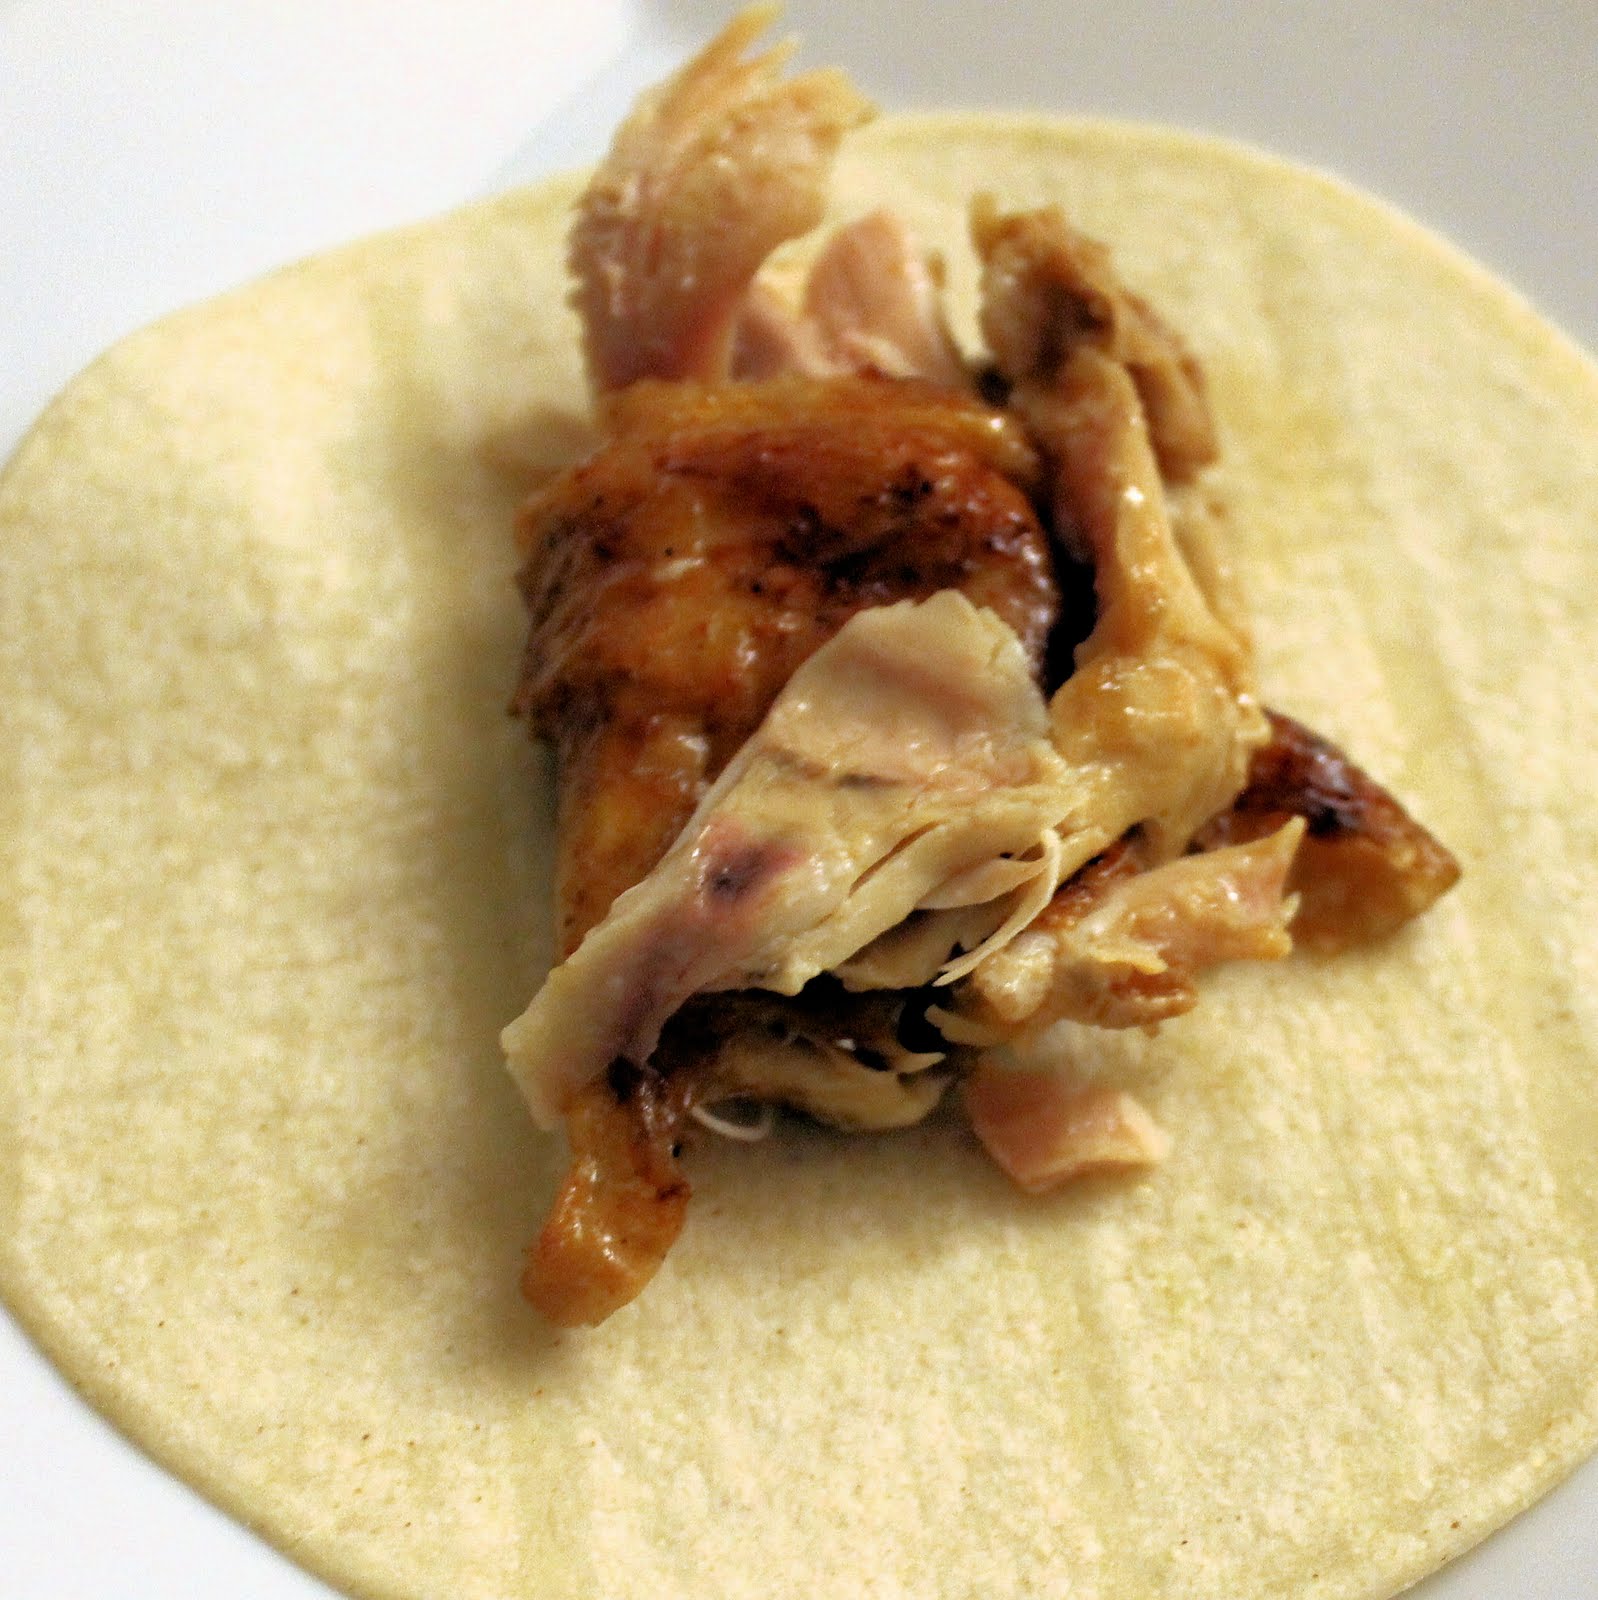
4 10-inch flour tortillas

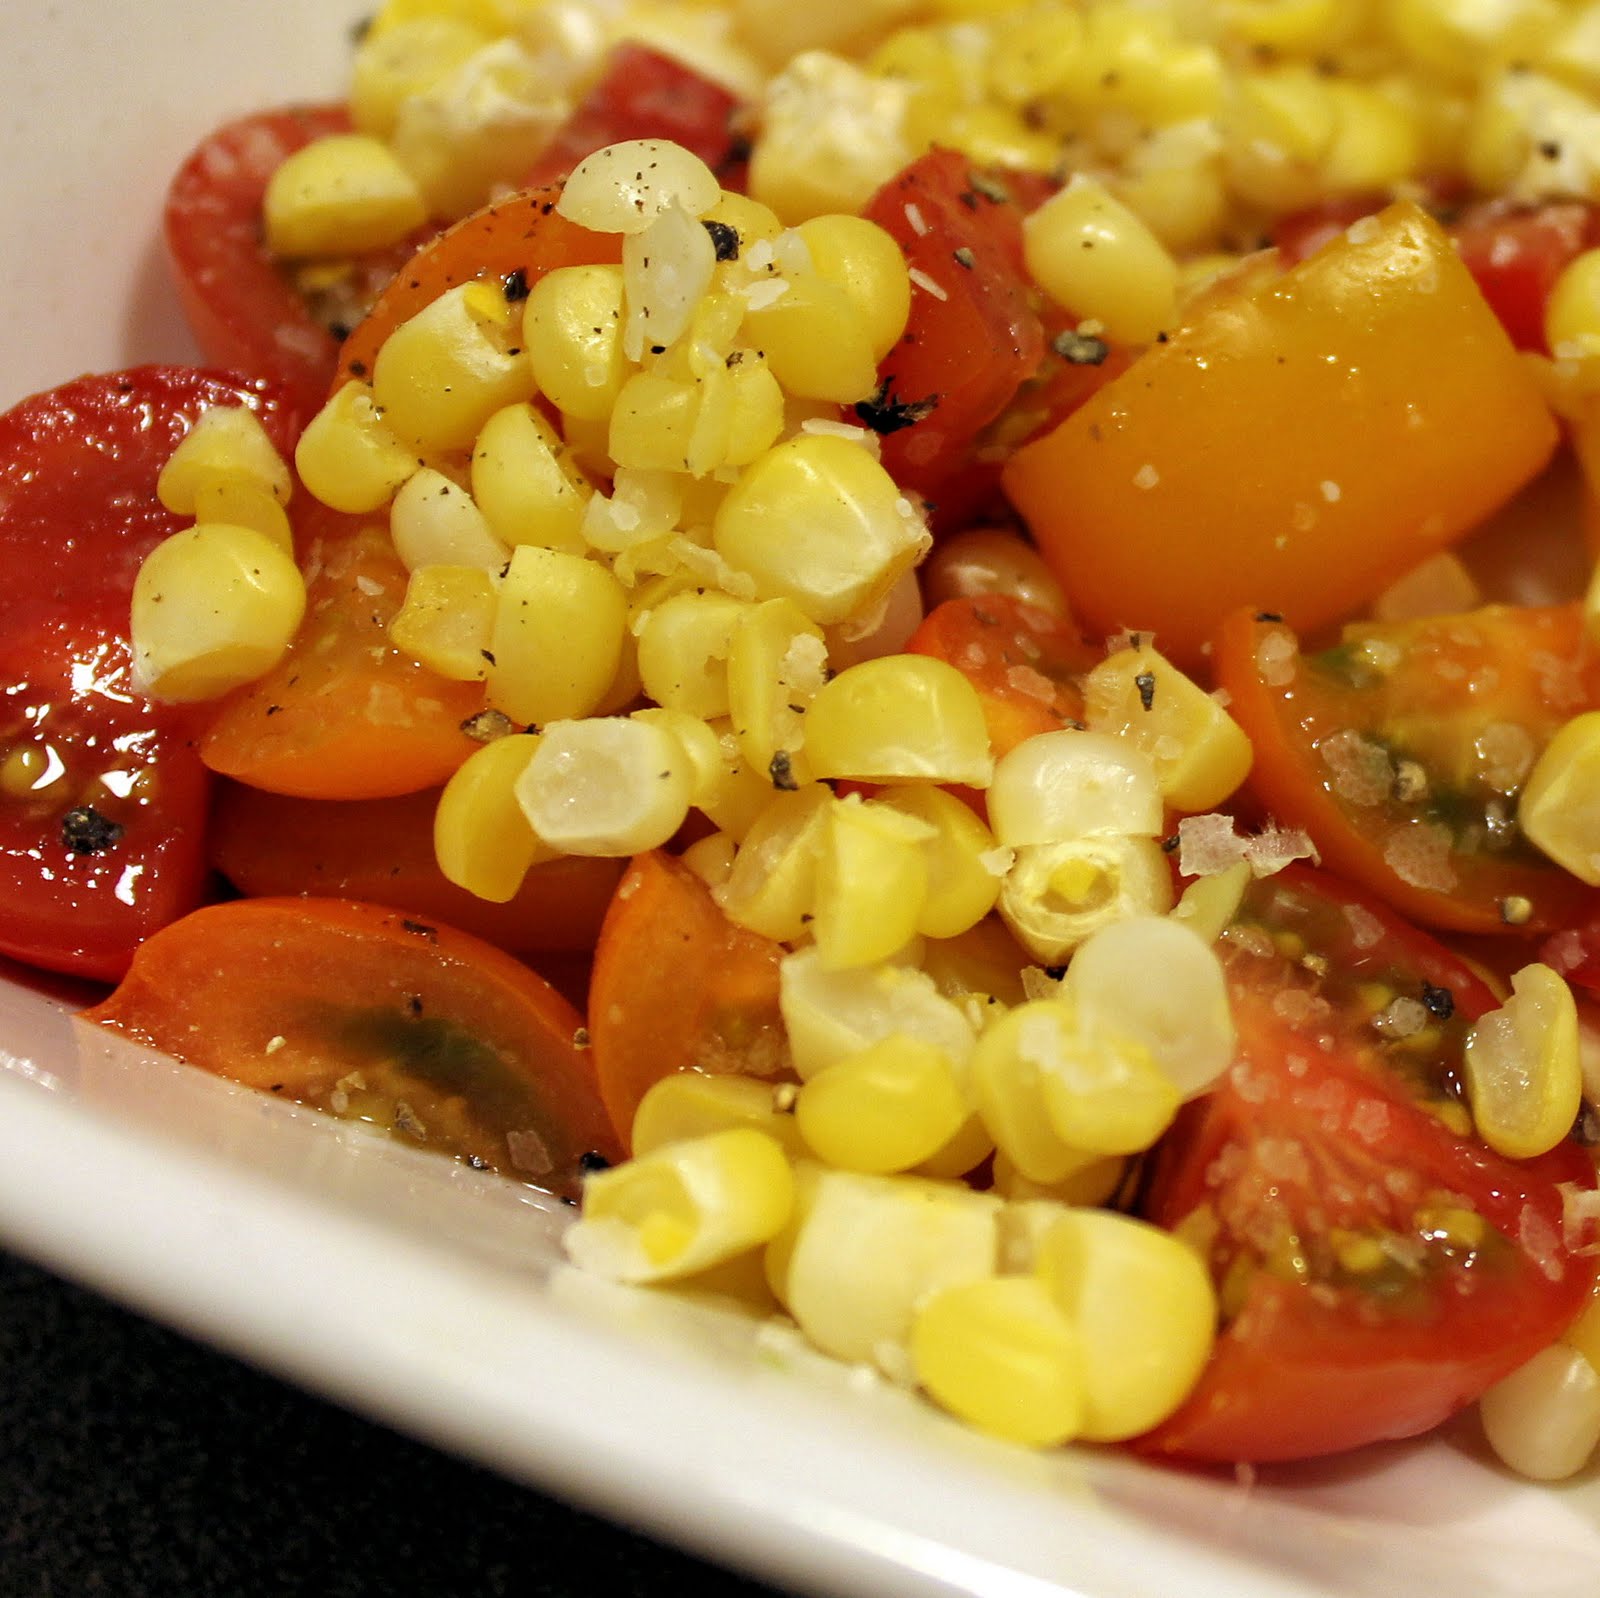
Begin by cutting the kernels from the cob.

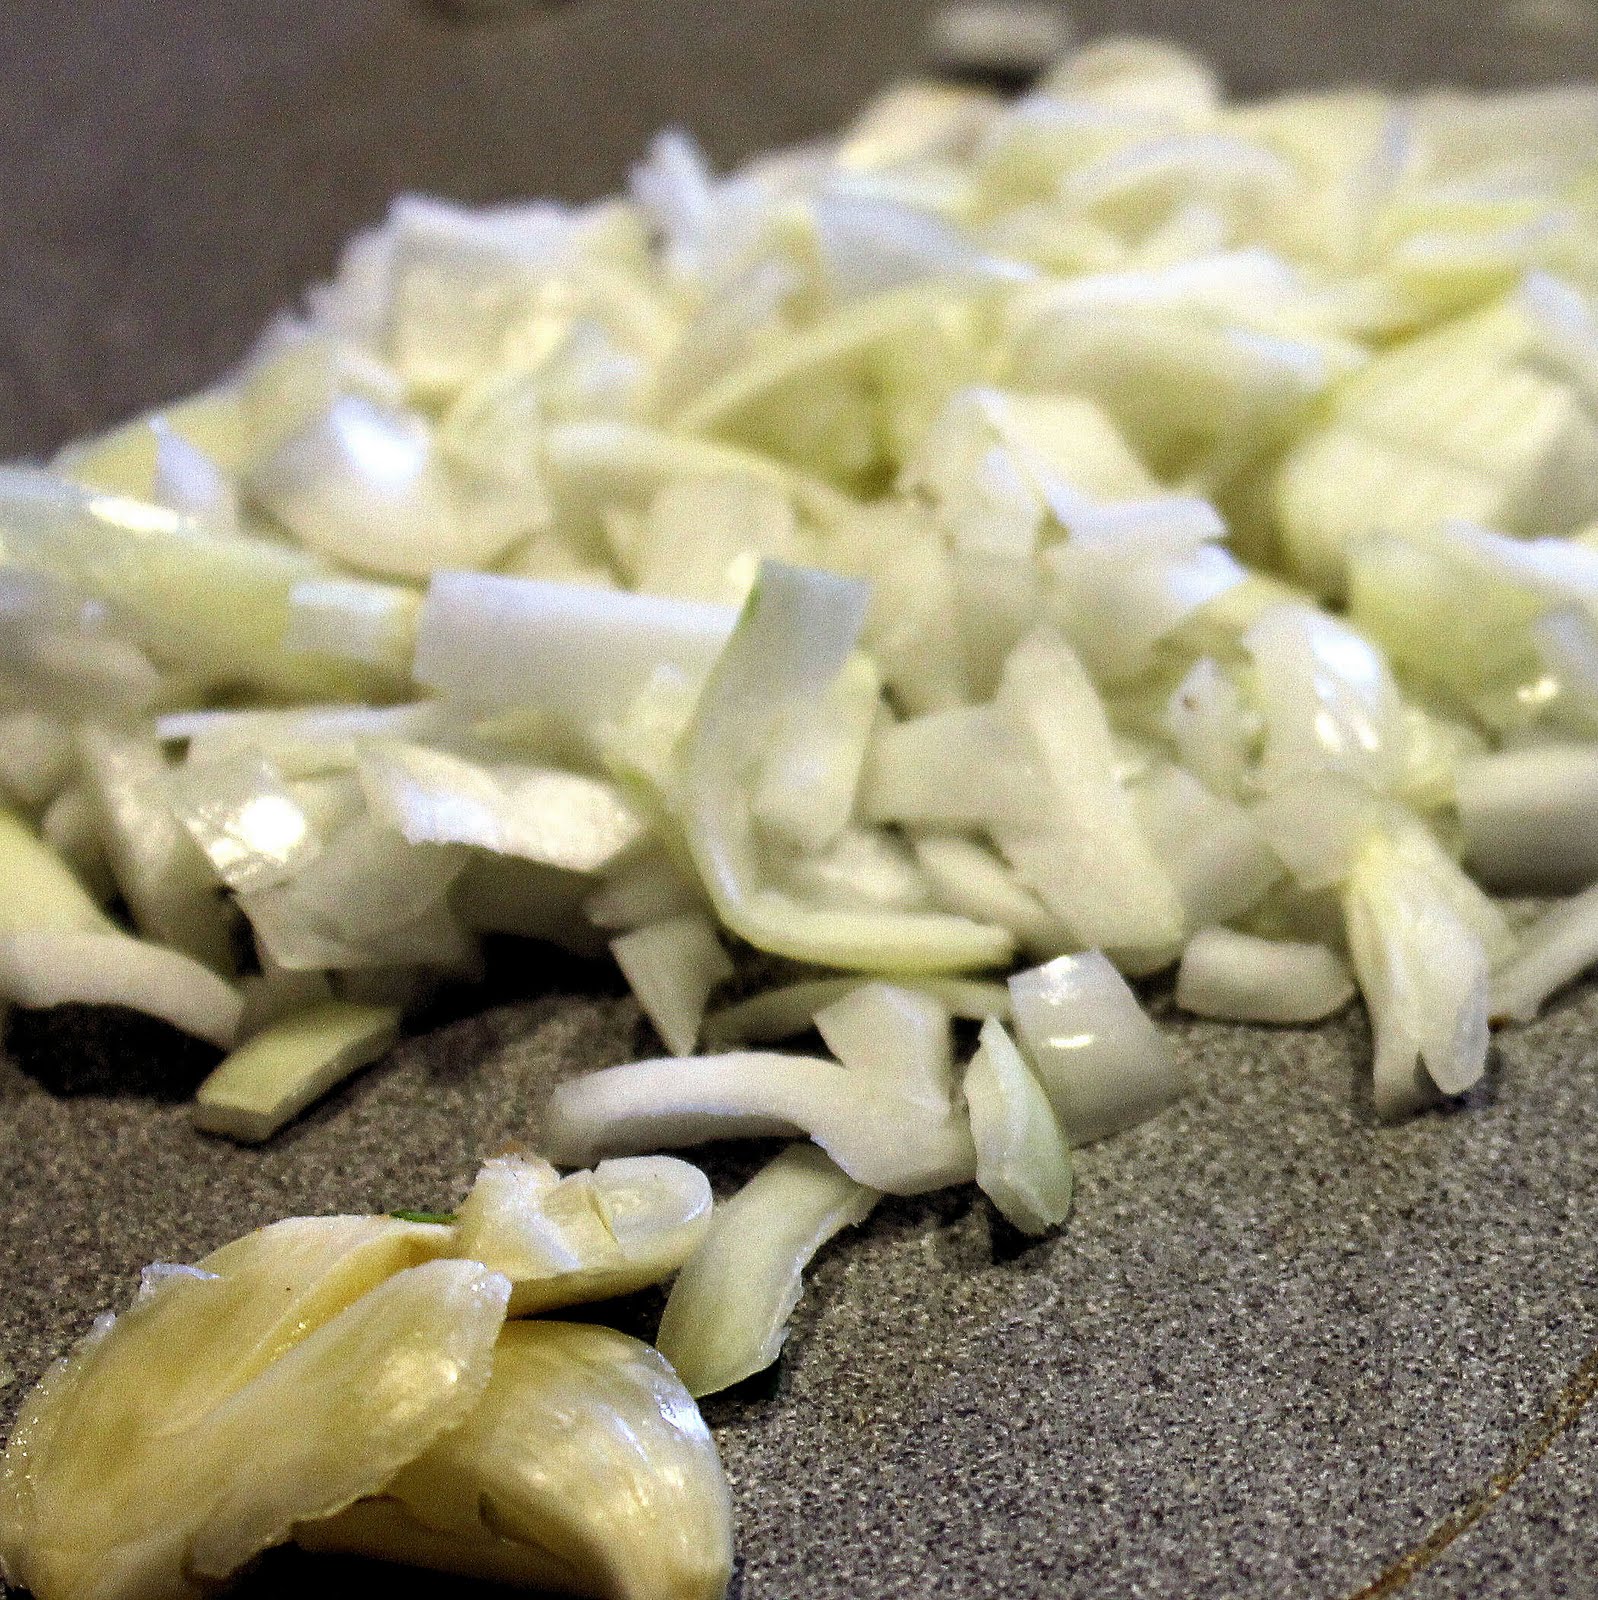
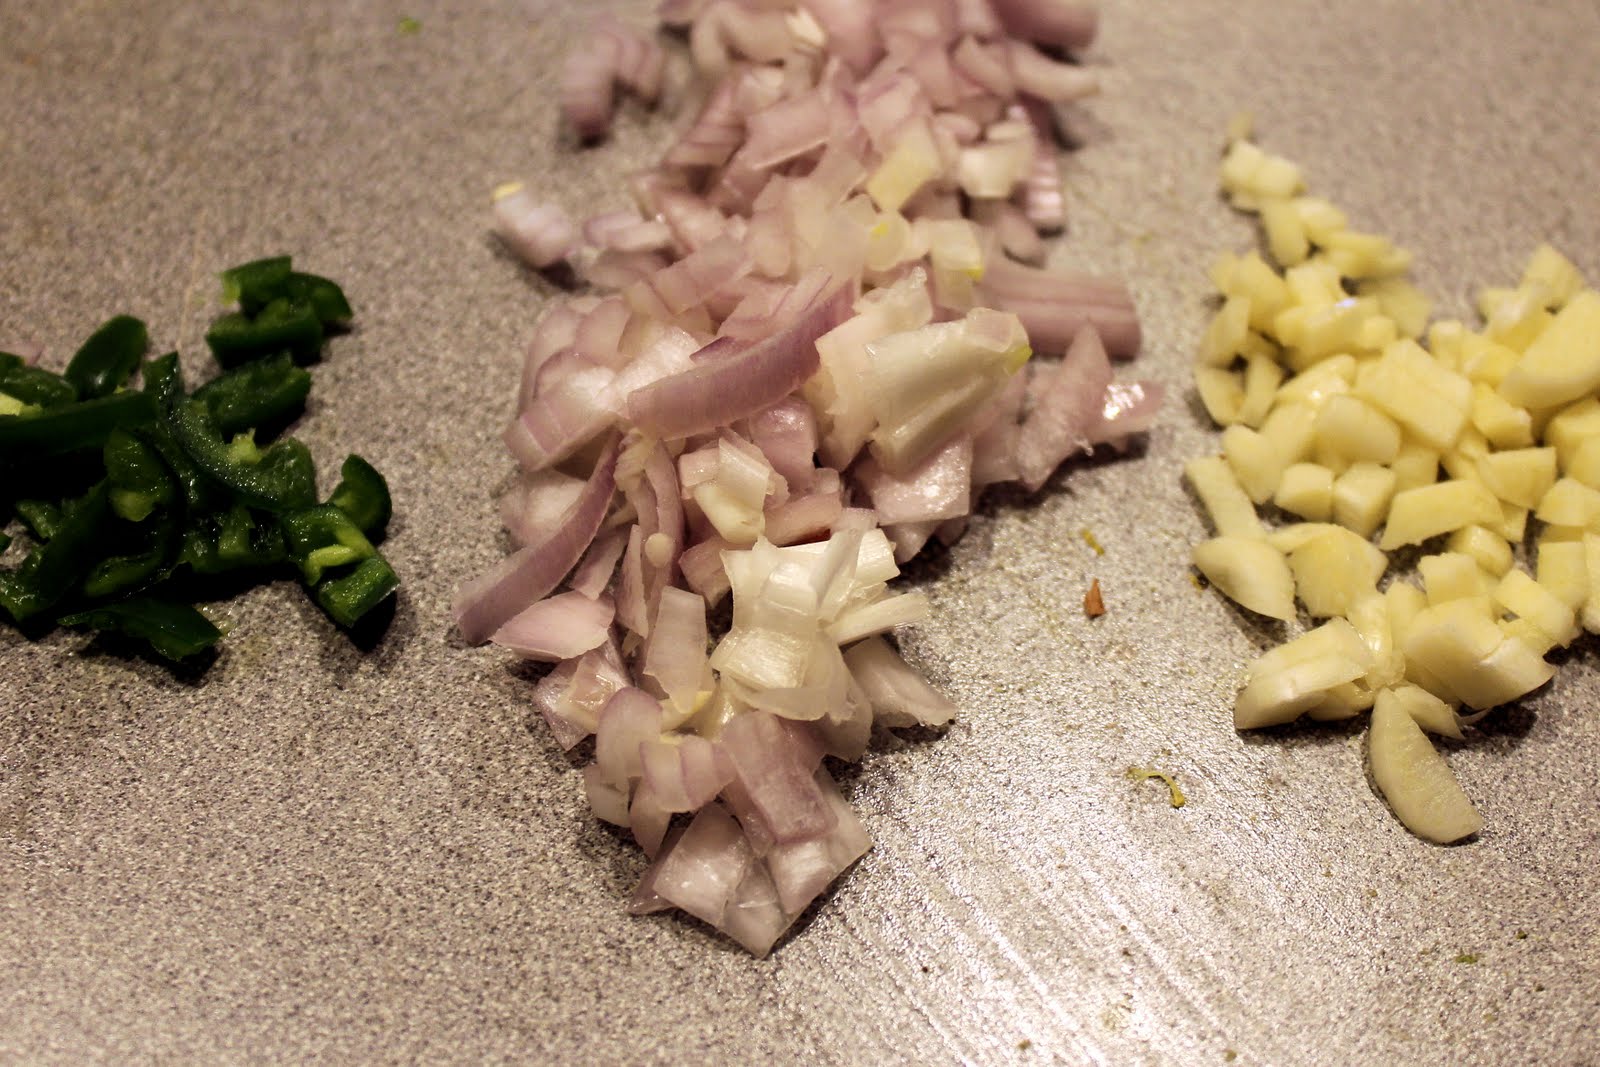
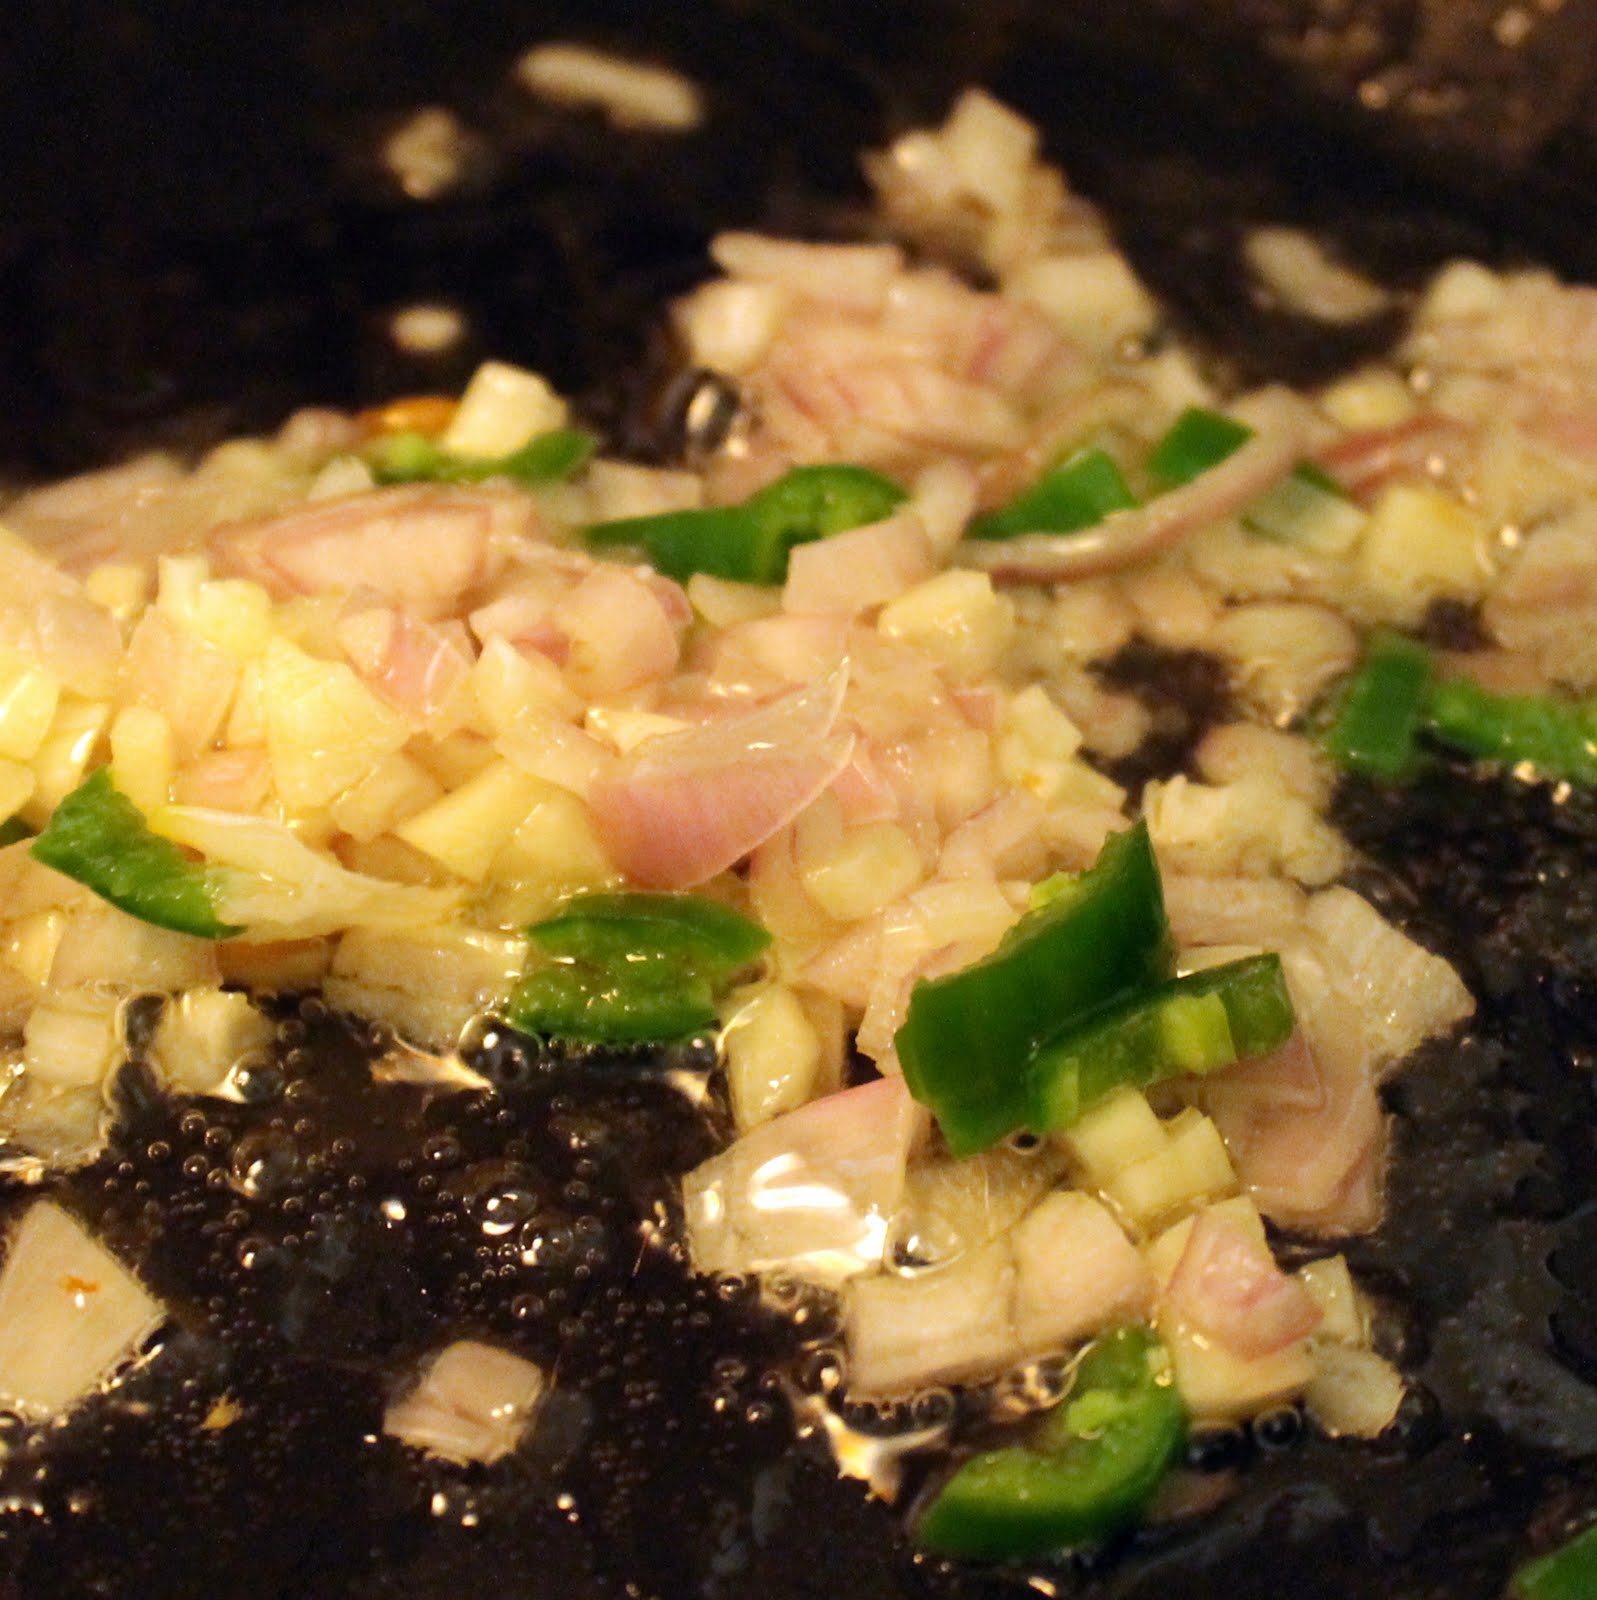
Prepare your garlic, onion, and jalapeño pepper.

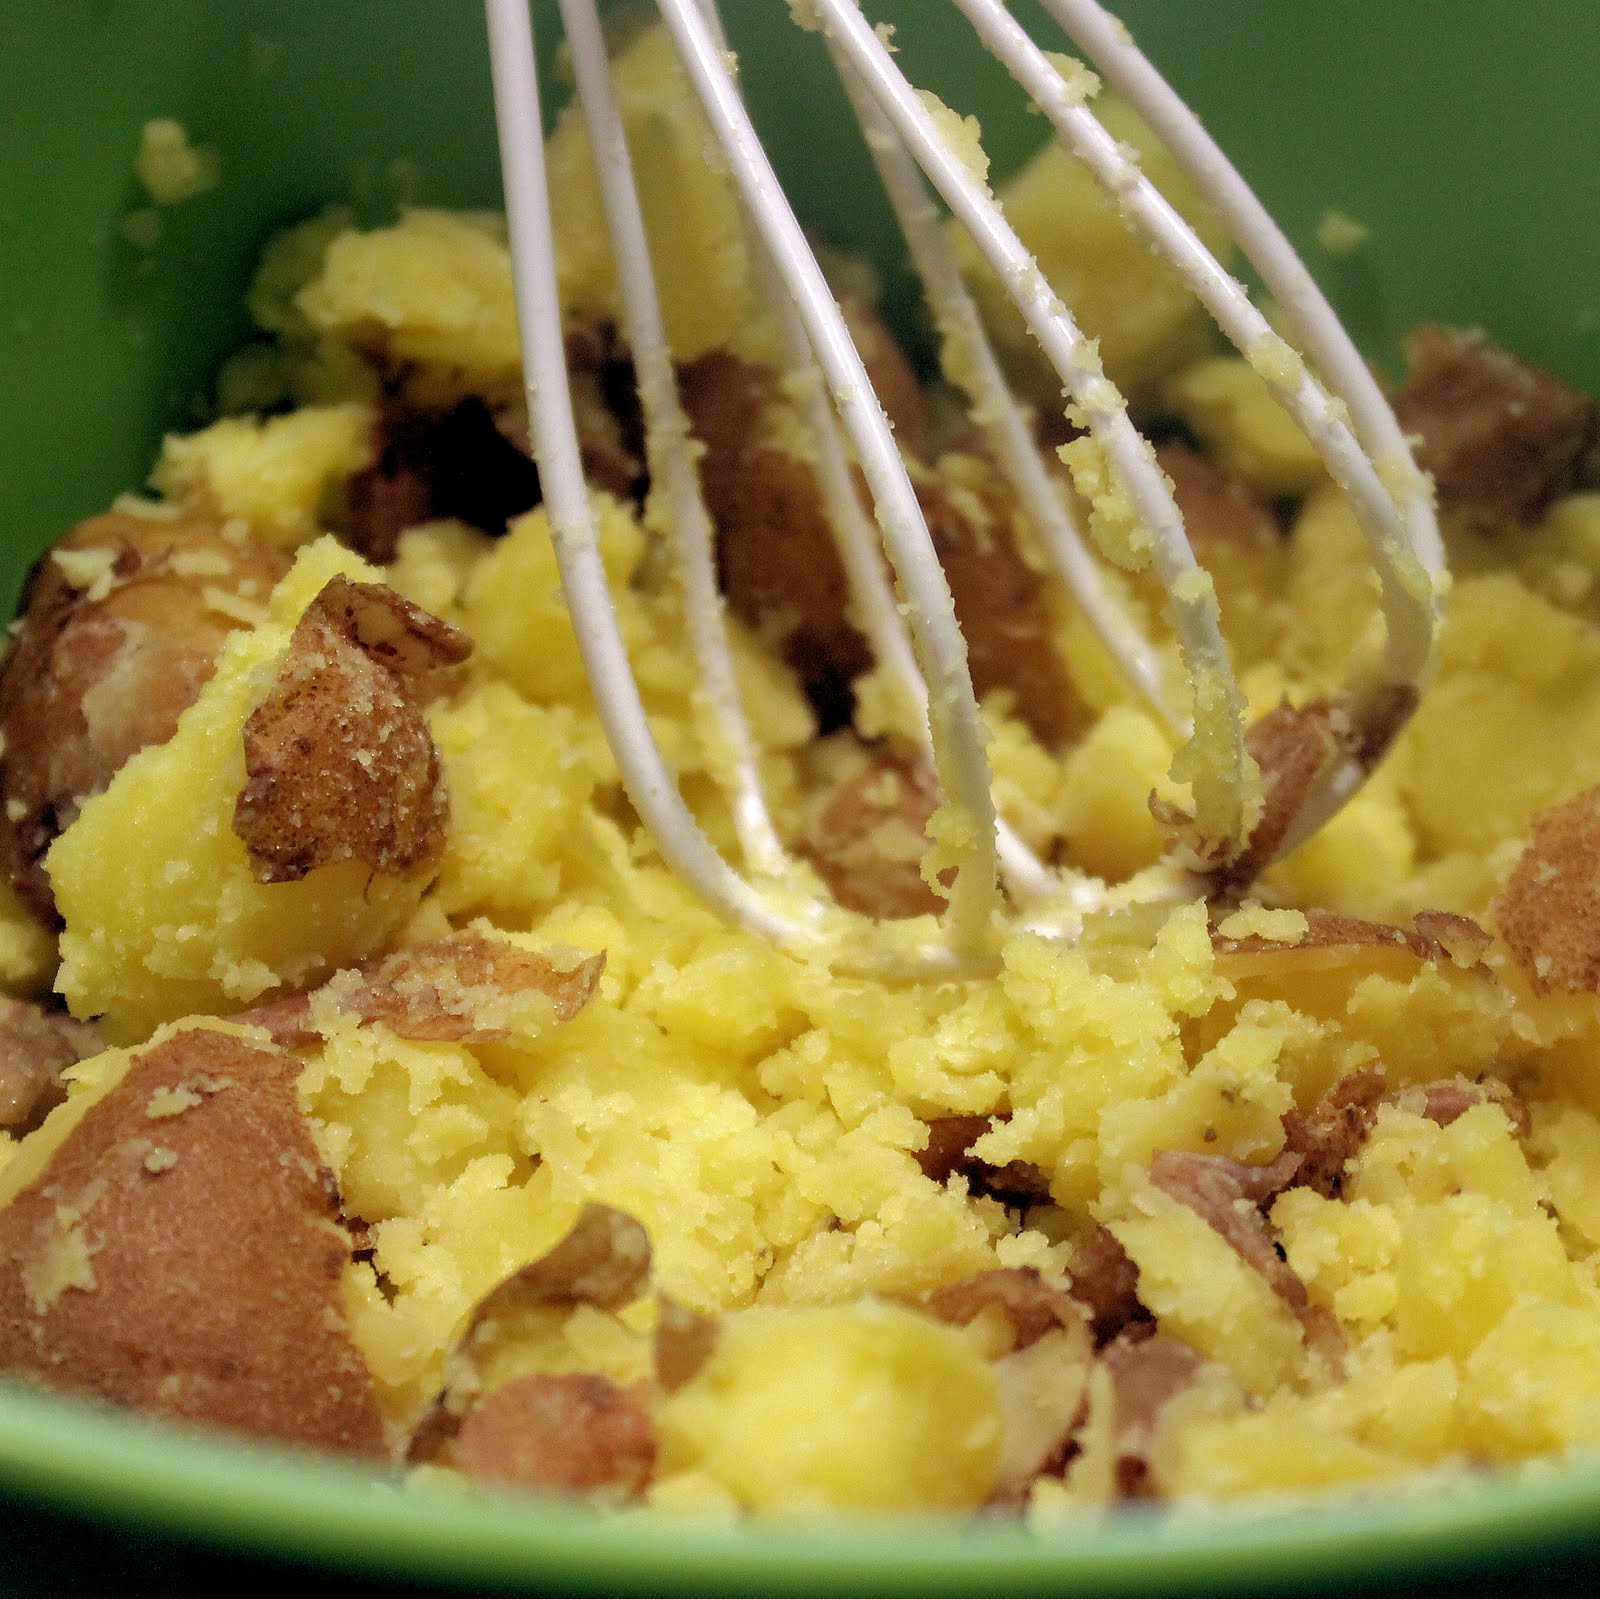
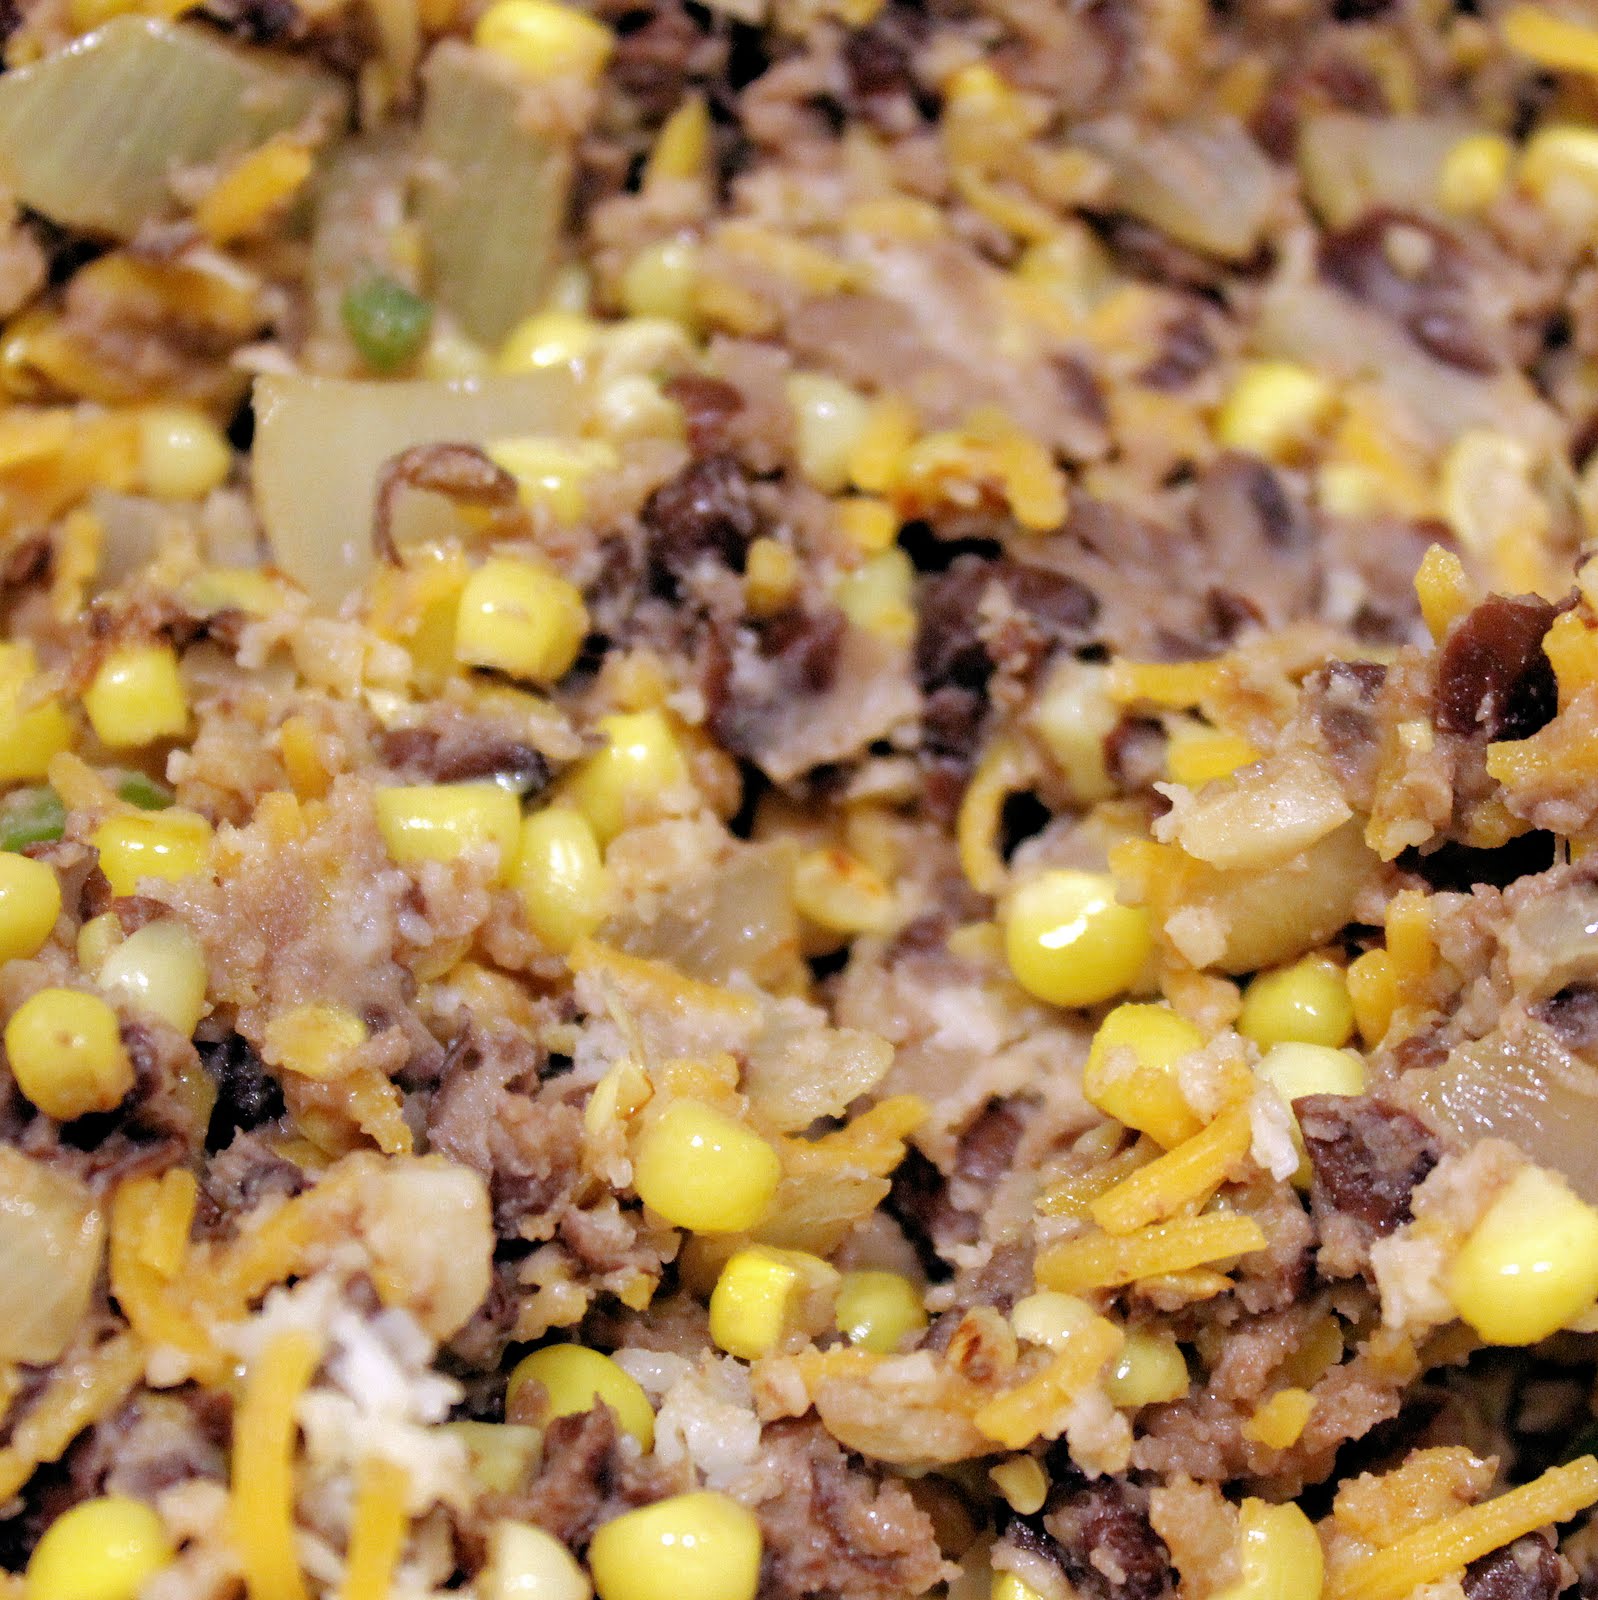
Rinse and drain the black beans and add to a bowl.

Using a potato masher (or a fork), coarsely mash the beans.
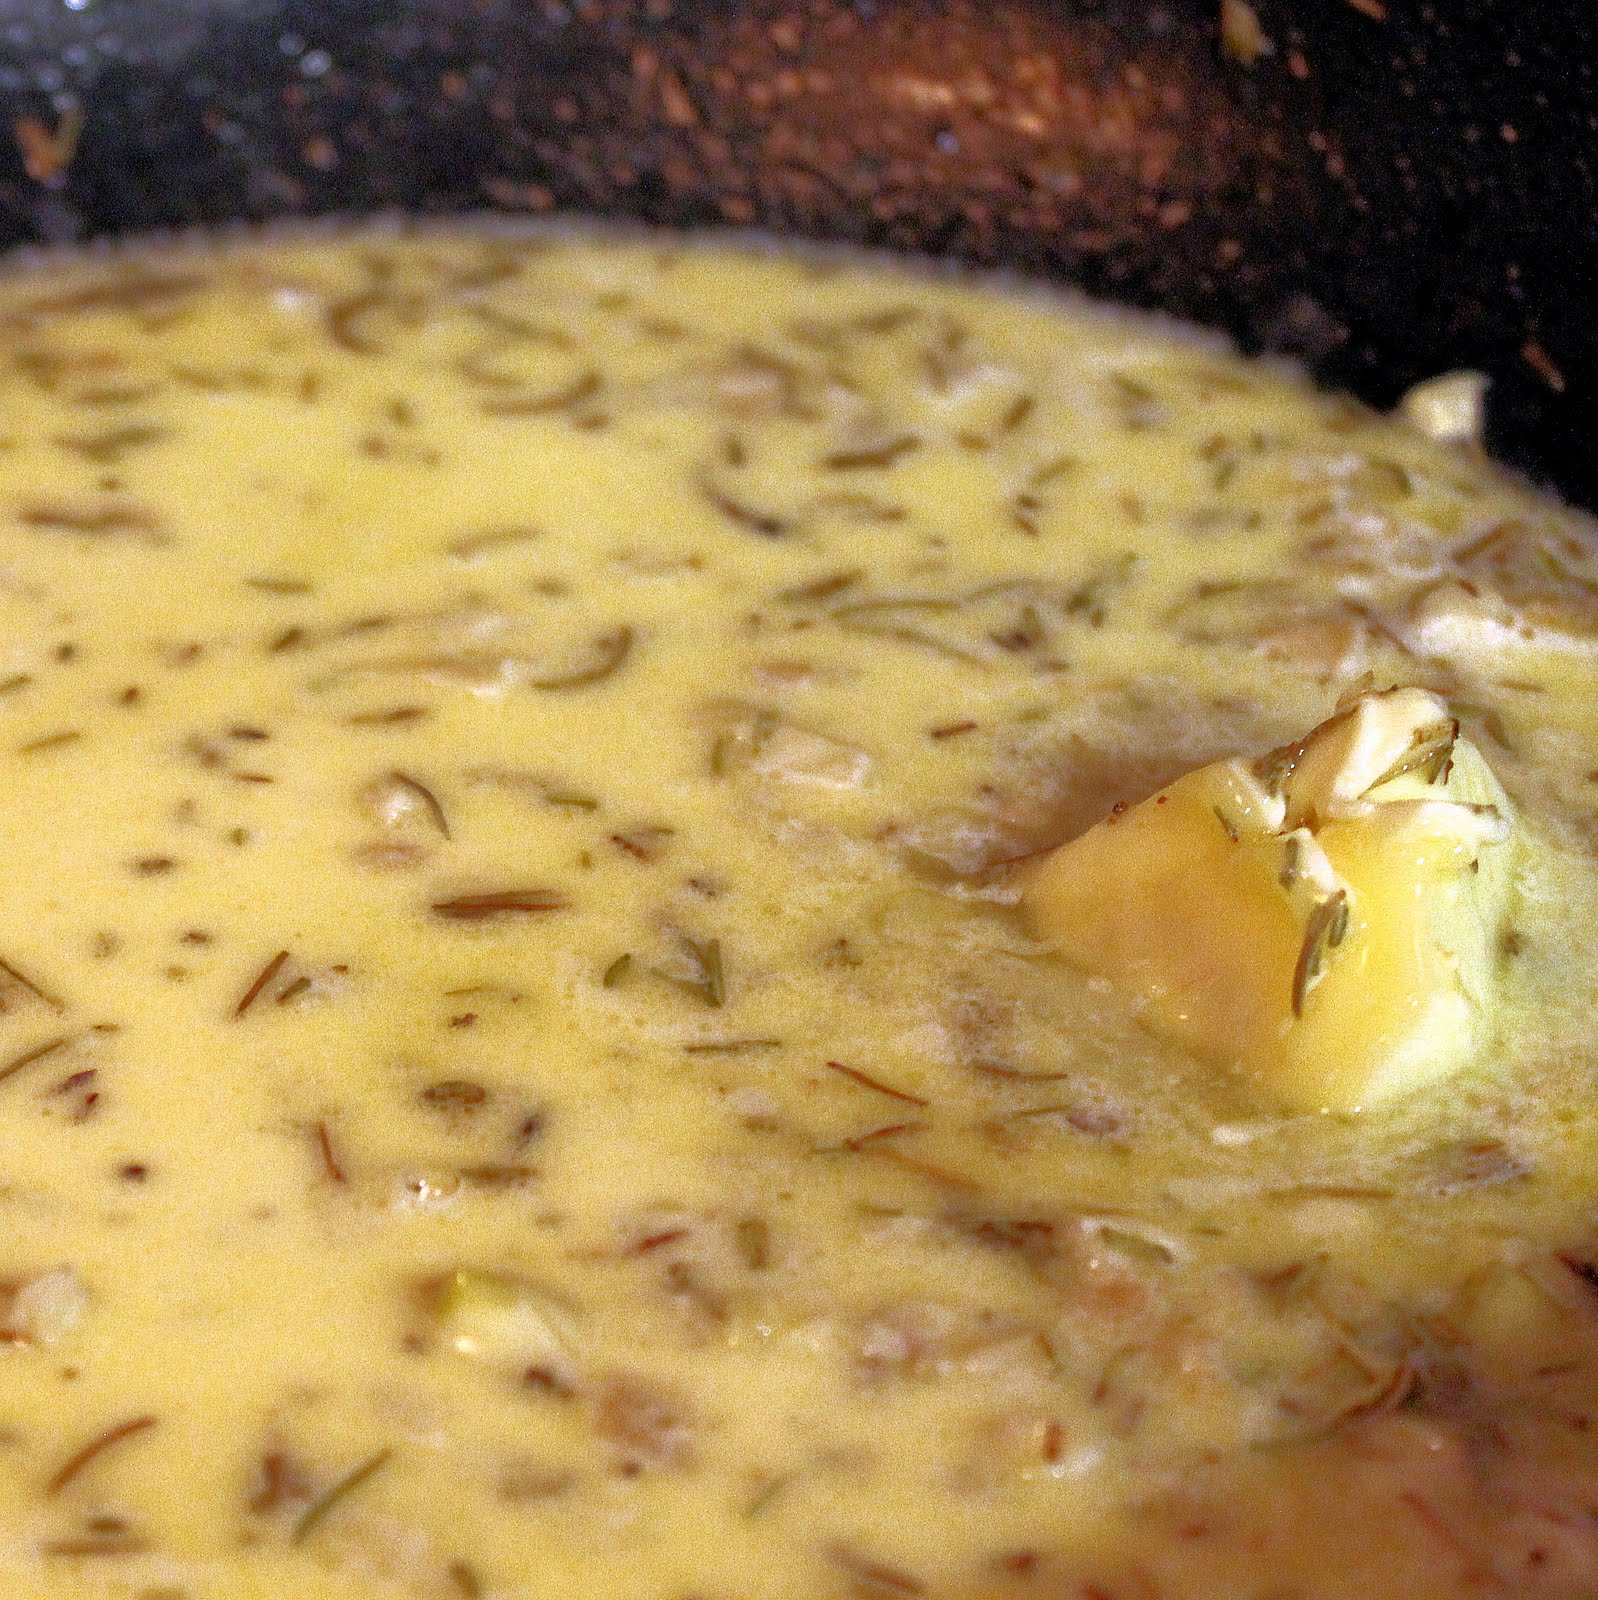
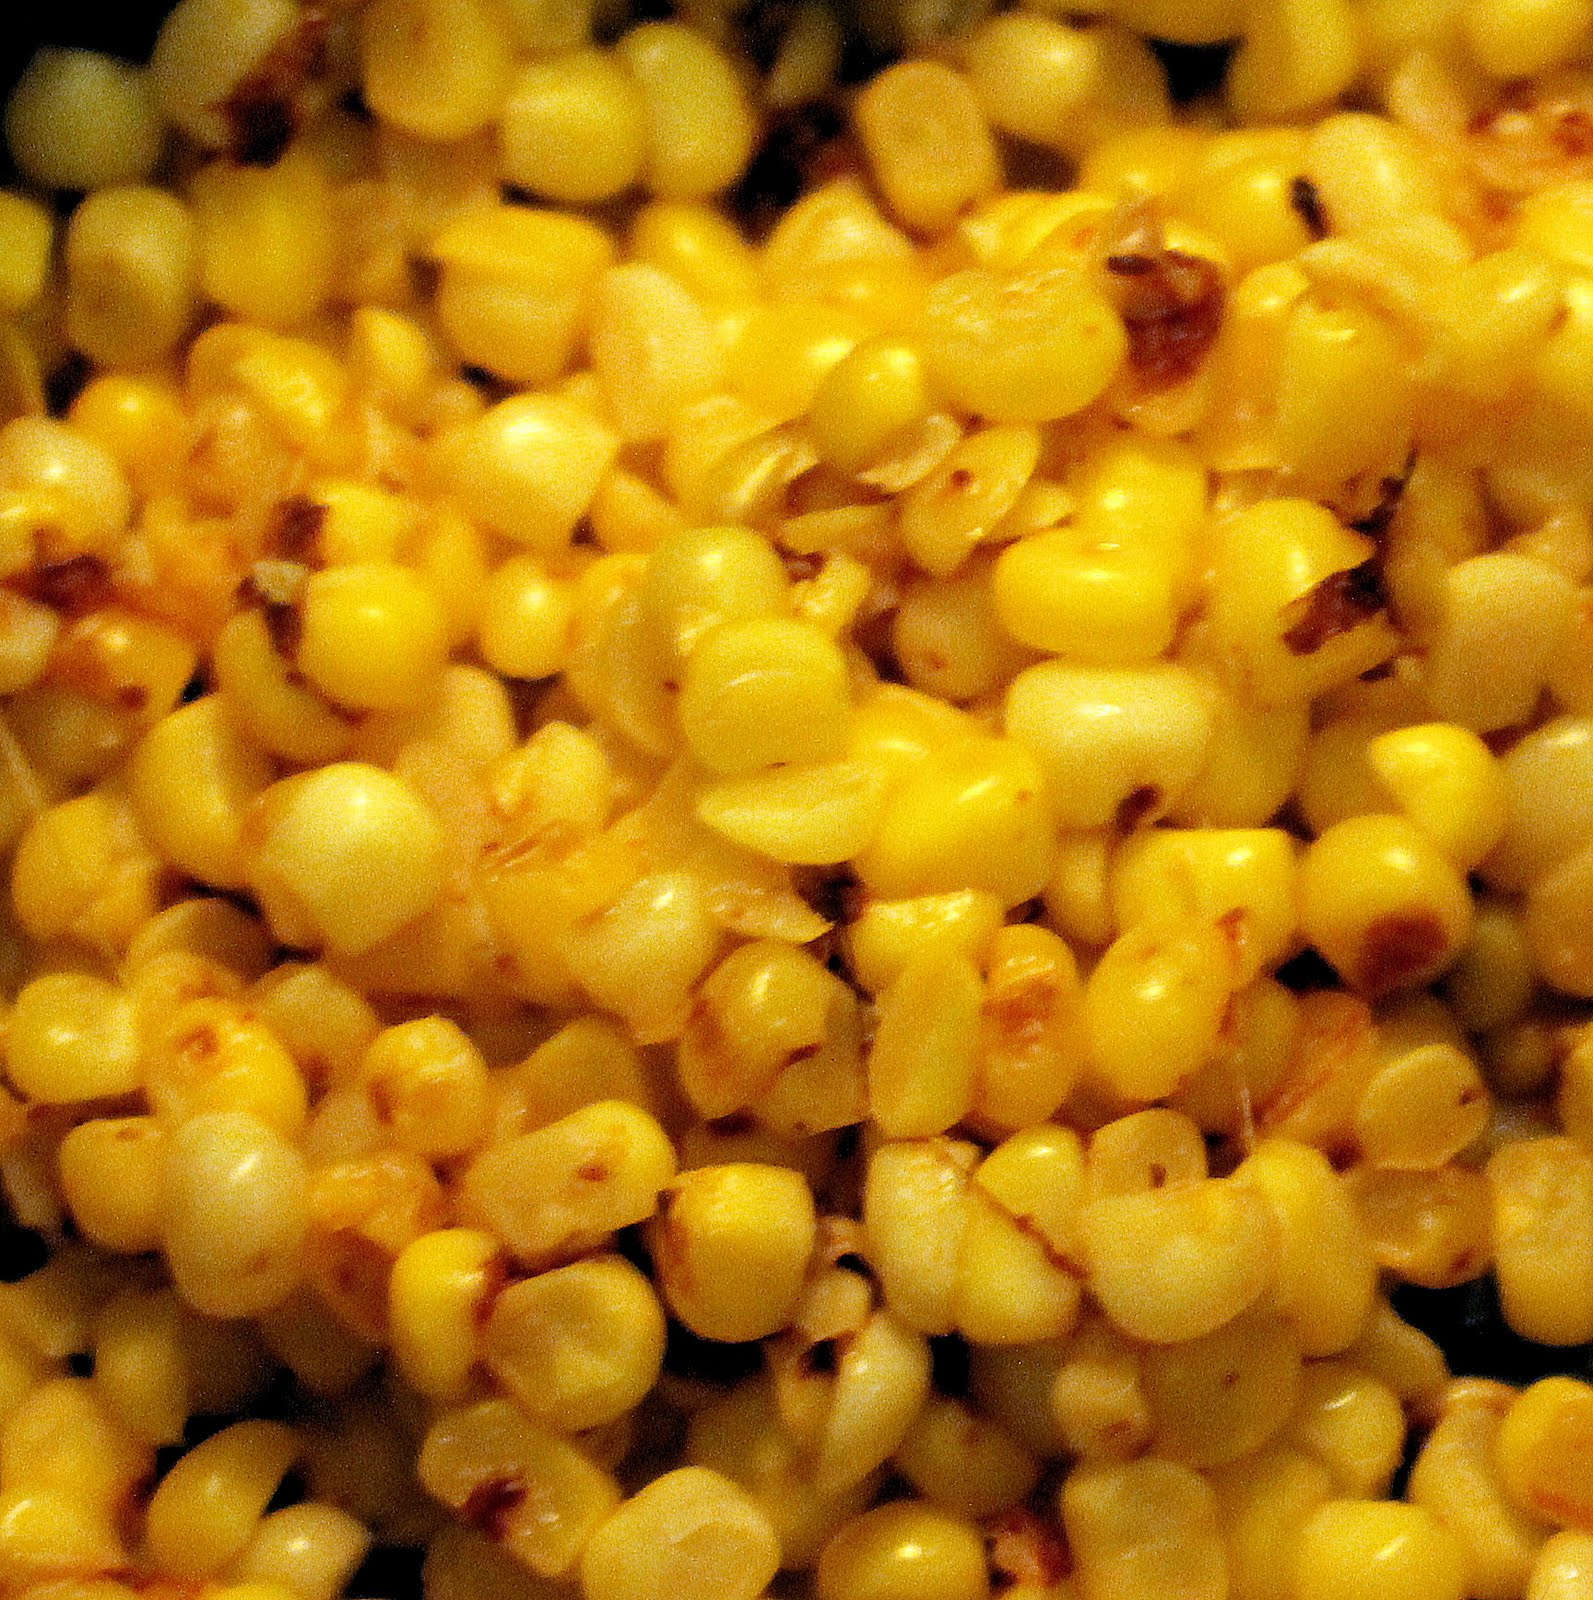
Heat the corn over medium-high heat for about 4 minutes stirring occasionally until the corn begins to brown.
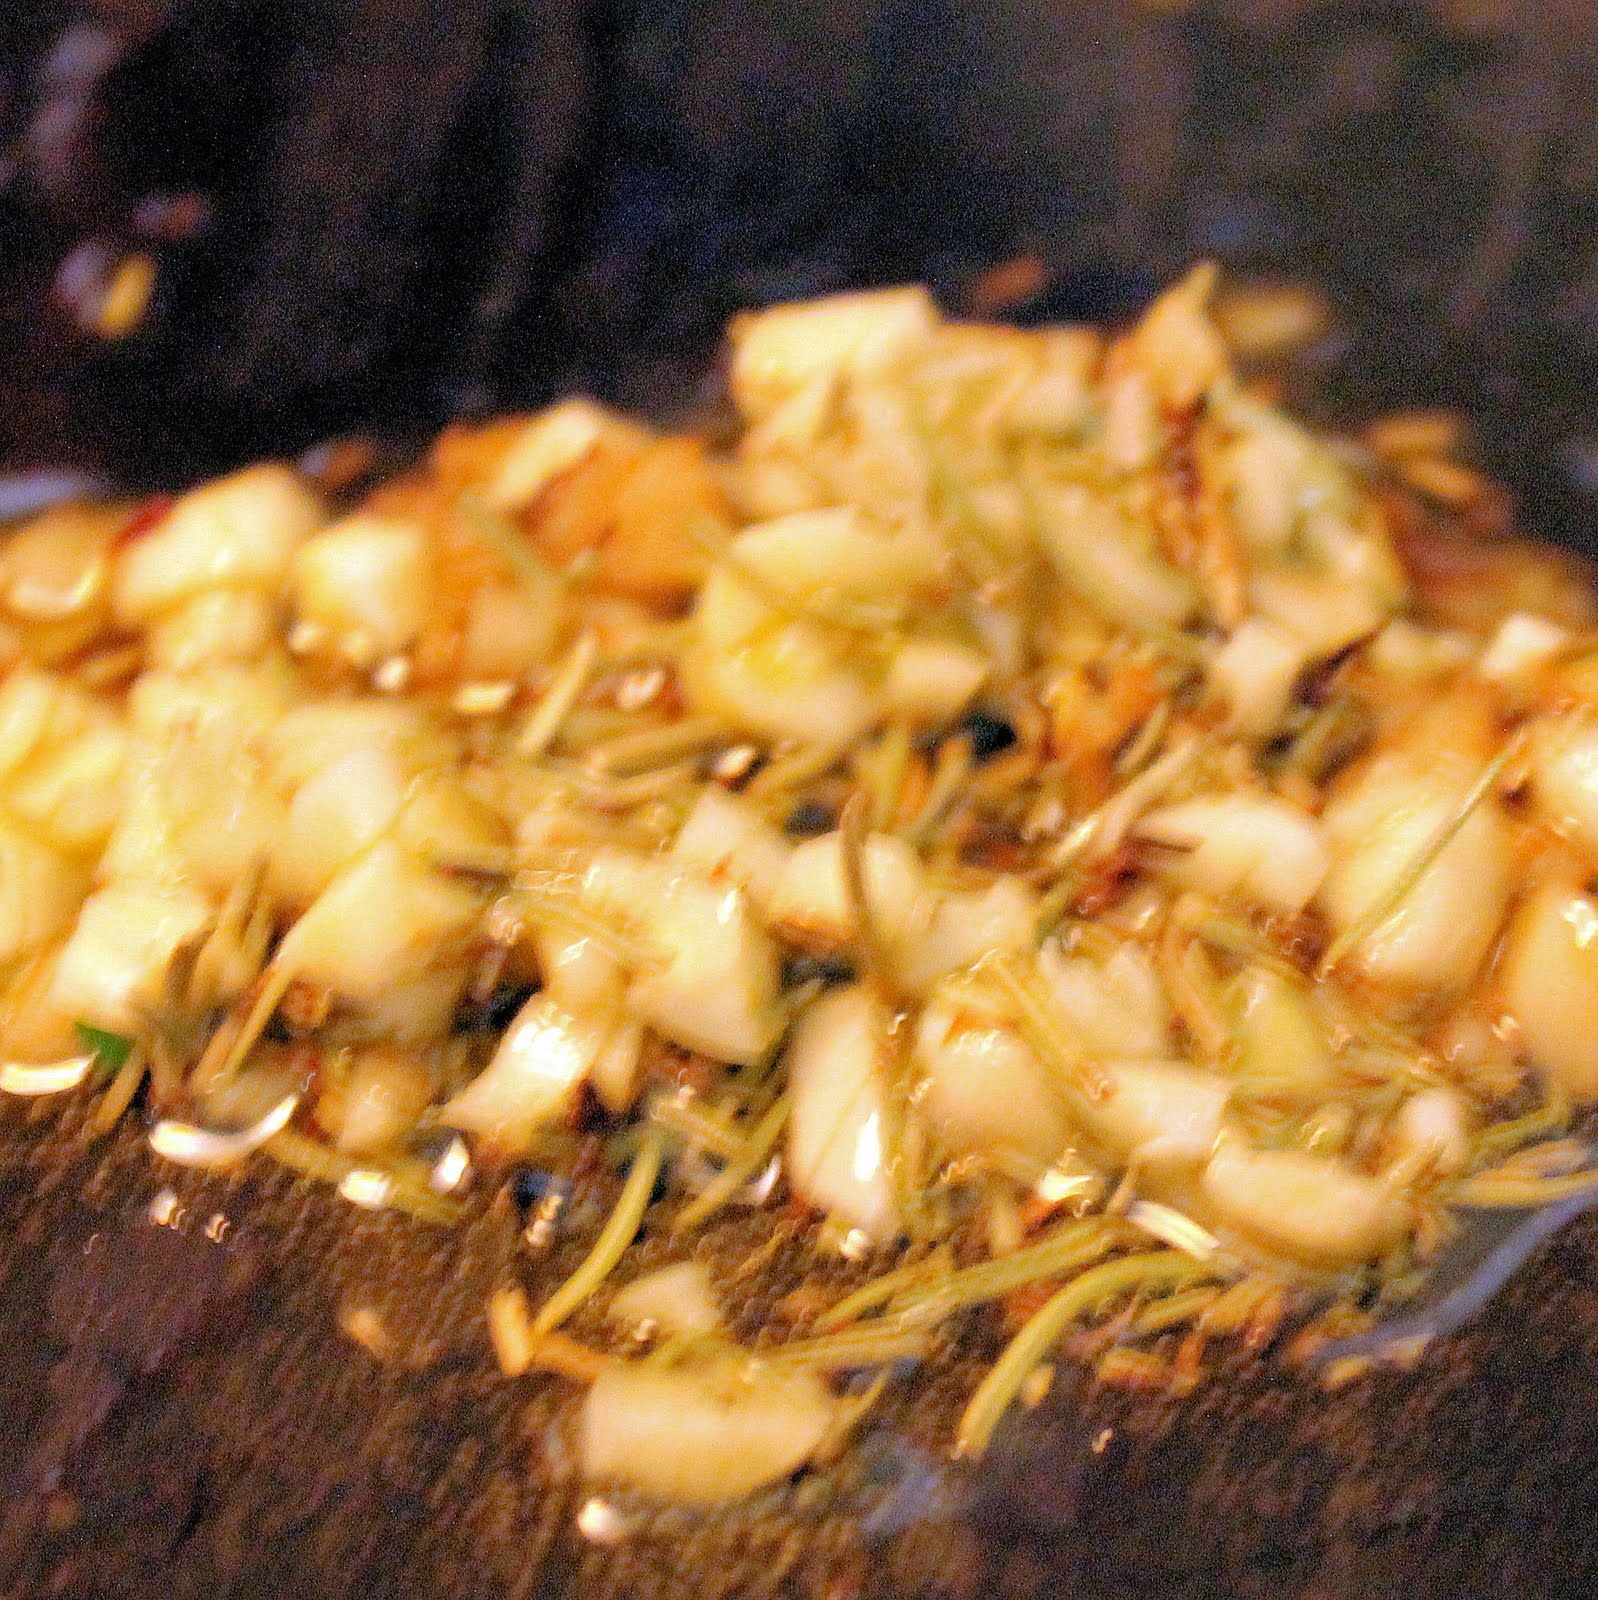
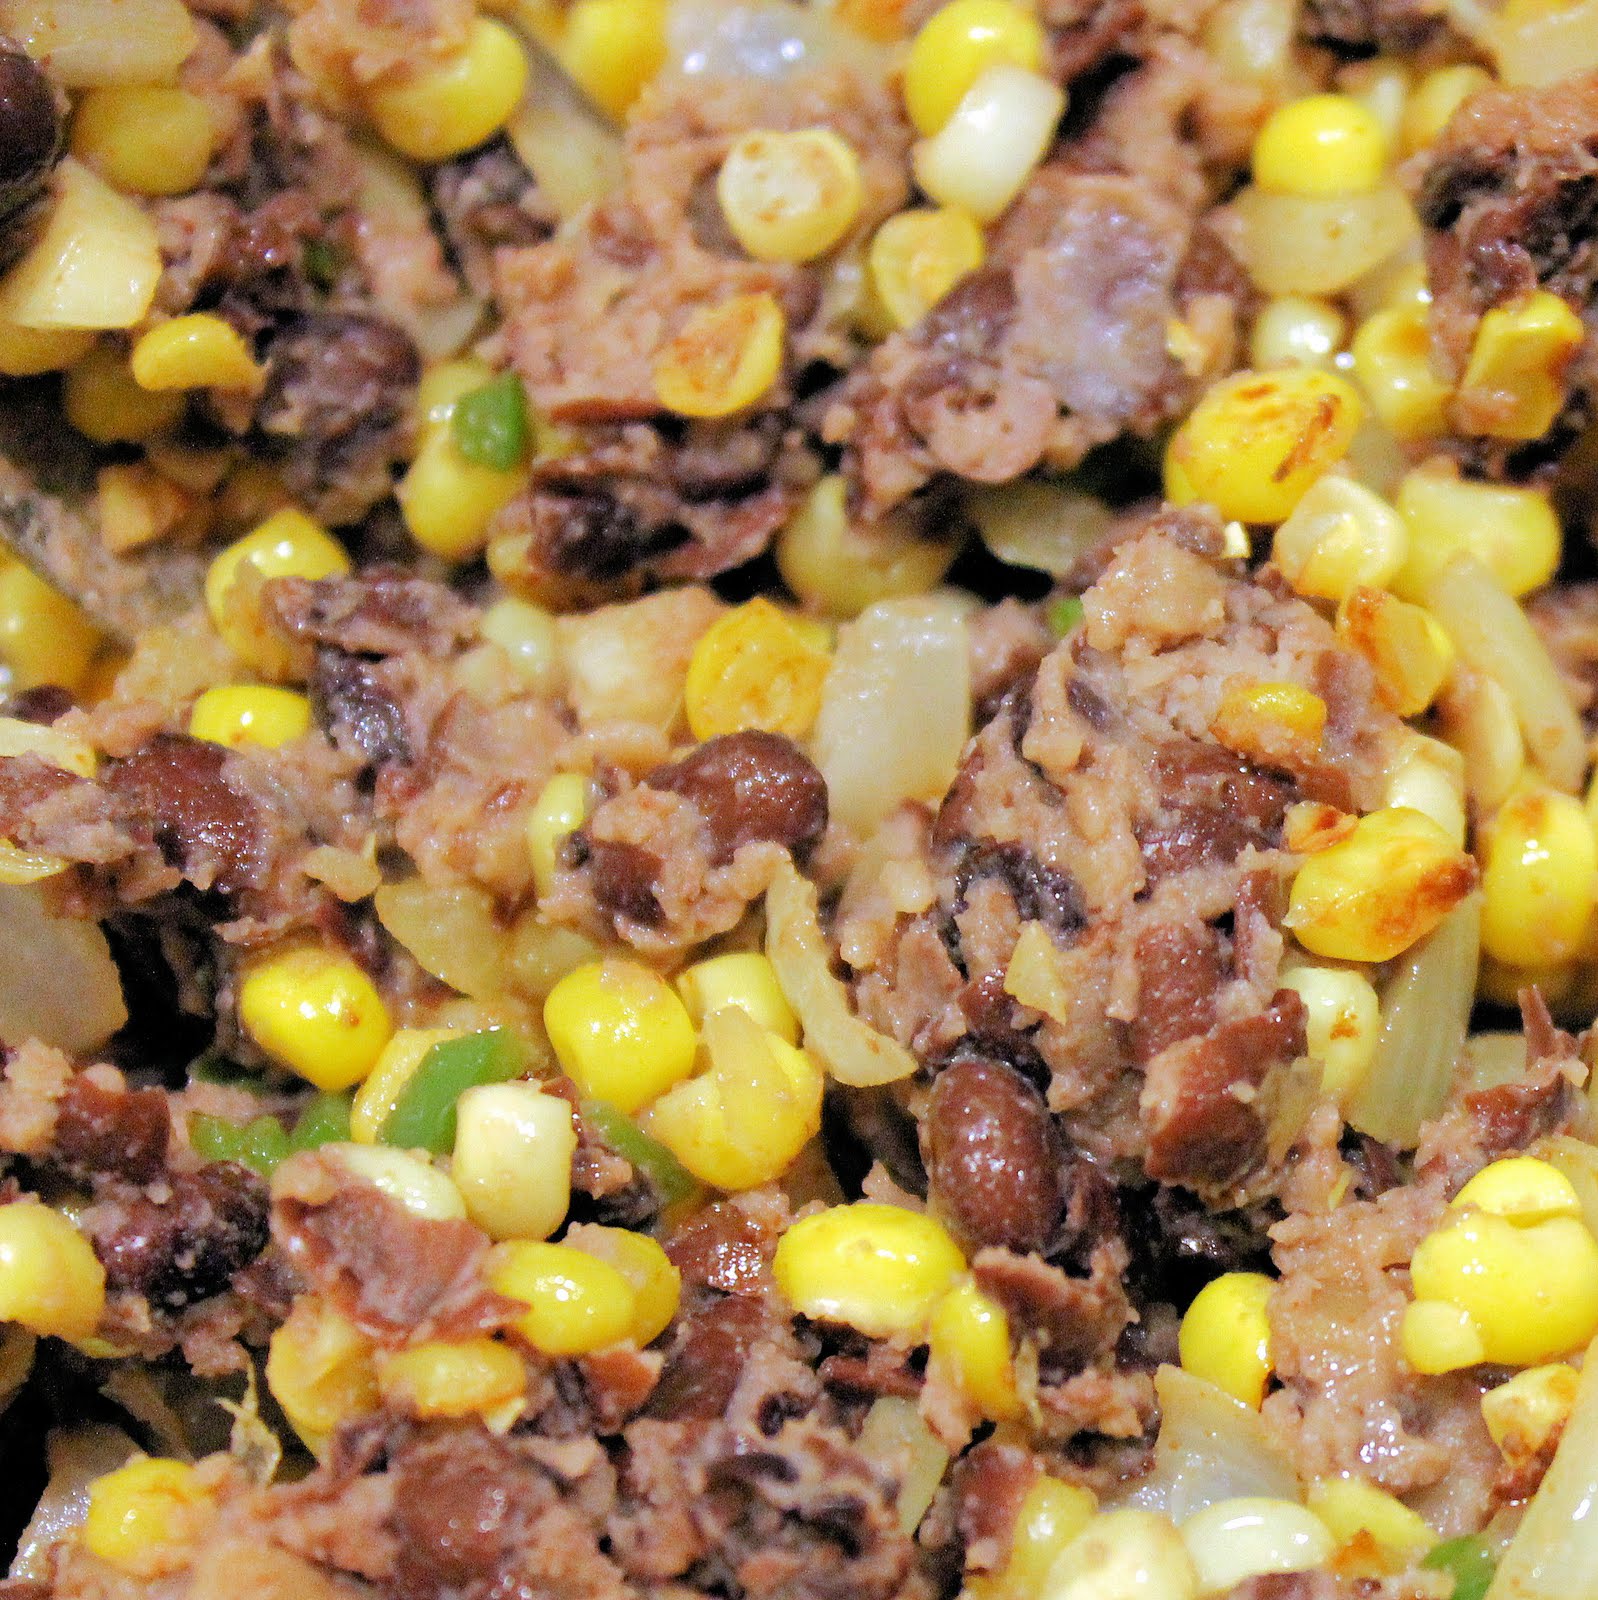
Add corn to the bowl with the black beans. Heat the oil in a saute pan. Add the onion and jalapeño and cook for 2 minutes.

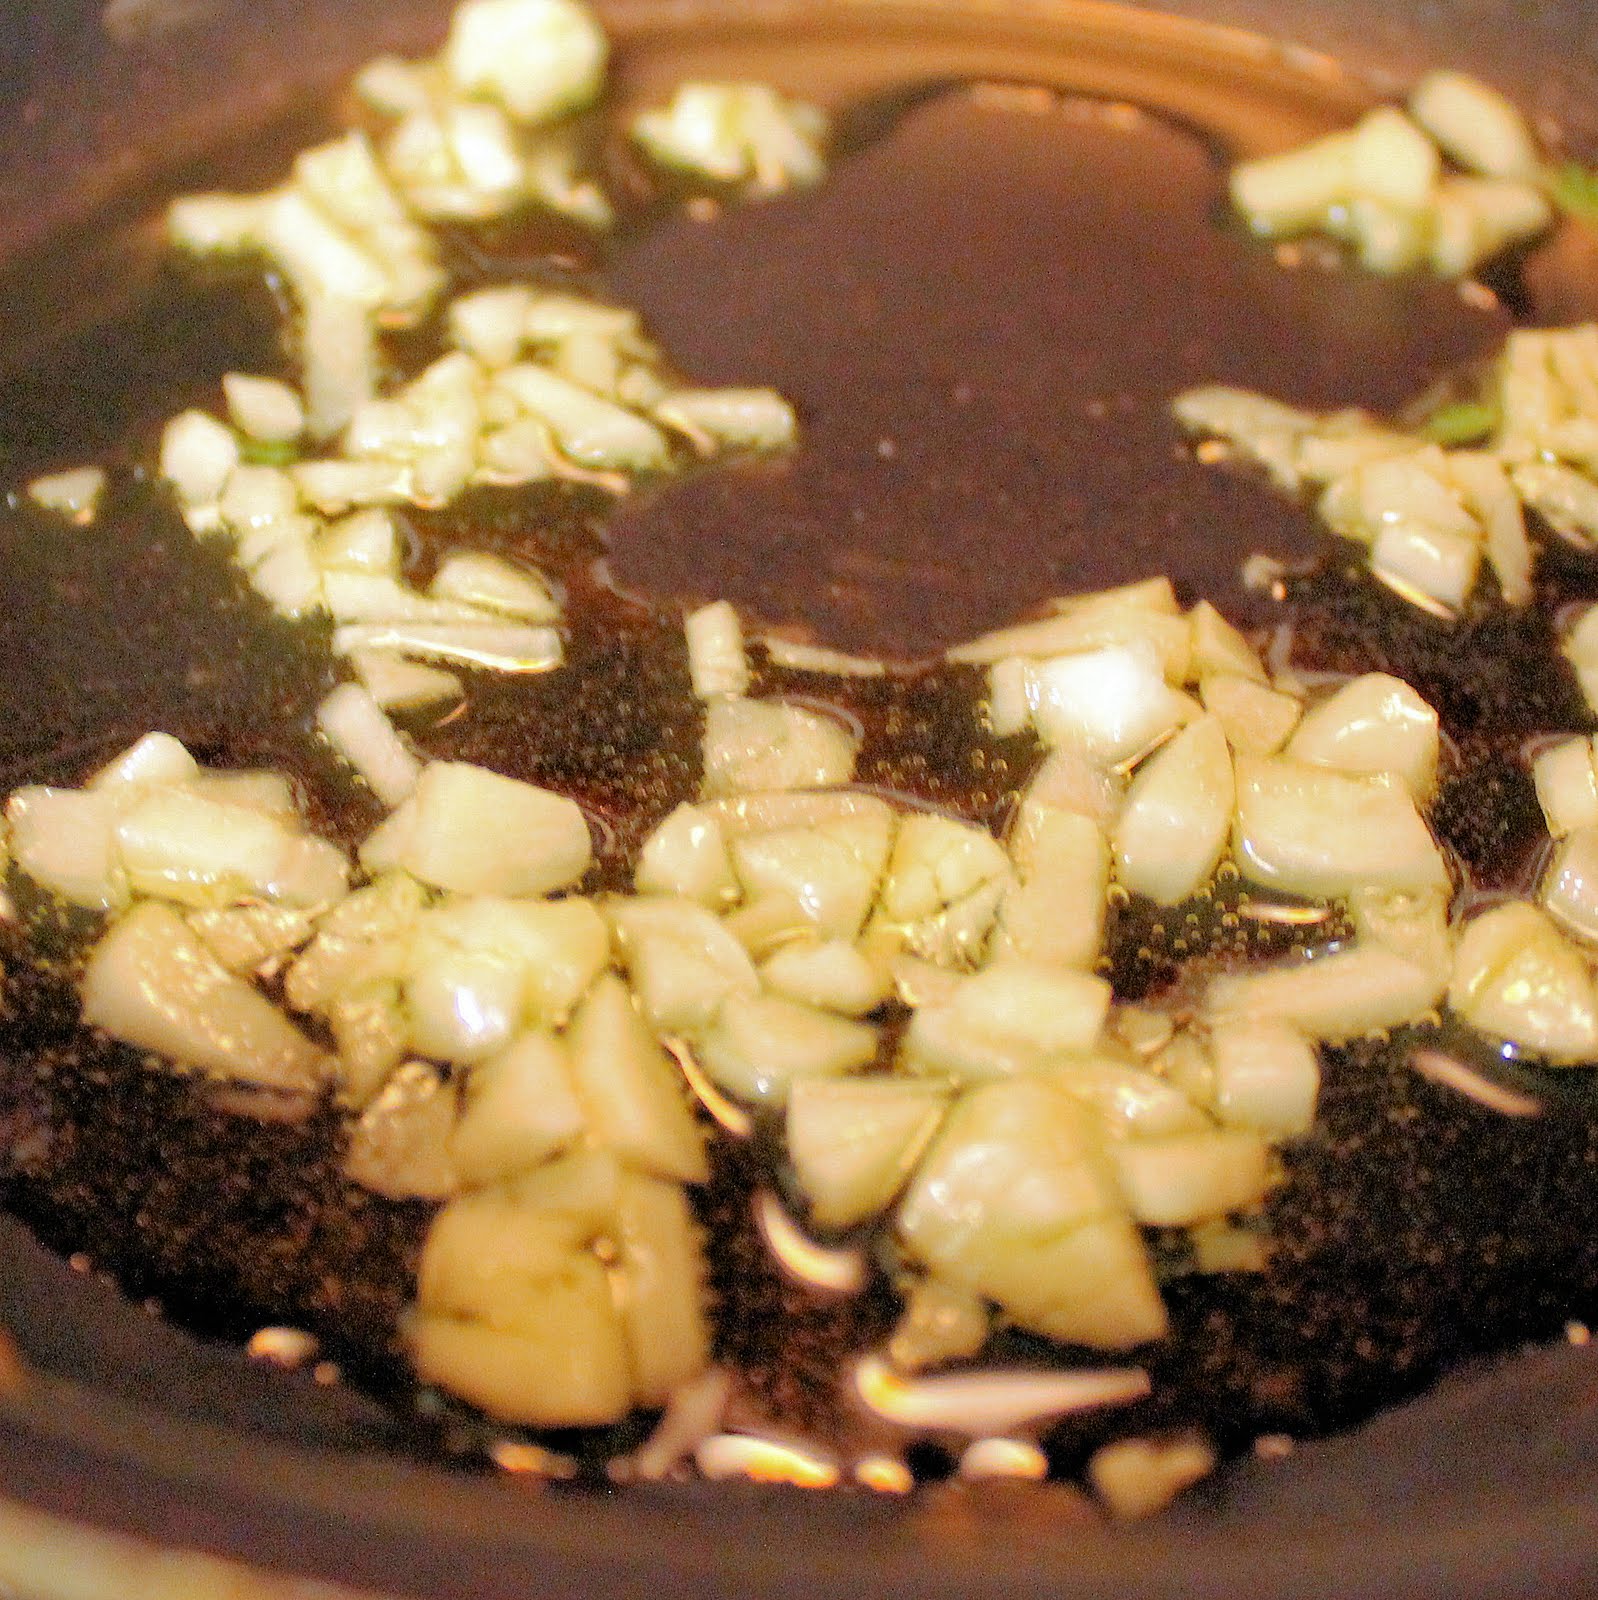
Add garlic and cook for 1 more minute.

Add to the beans and corn. Allow to cool, about 10 minutes.
While the mixture is cooling, shred your cheese. If you can find it, grab pre-shredded cheese from the supermarket to speed up the process.
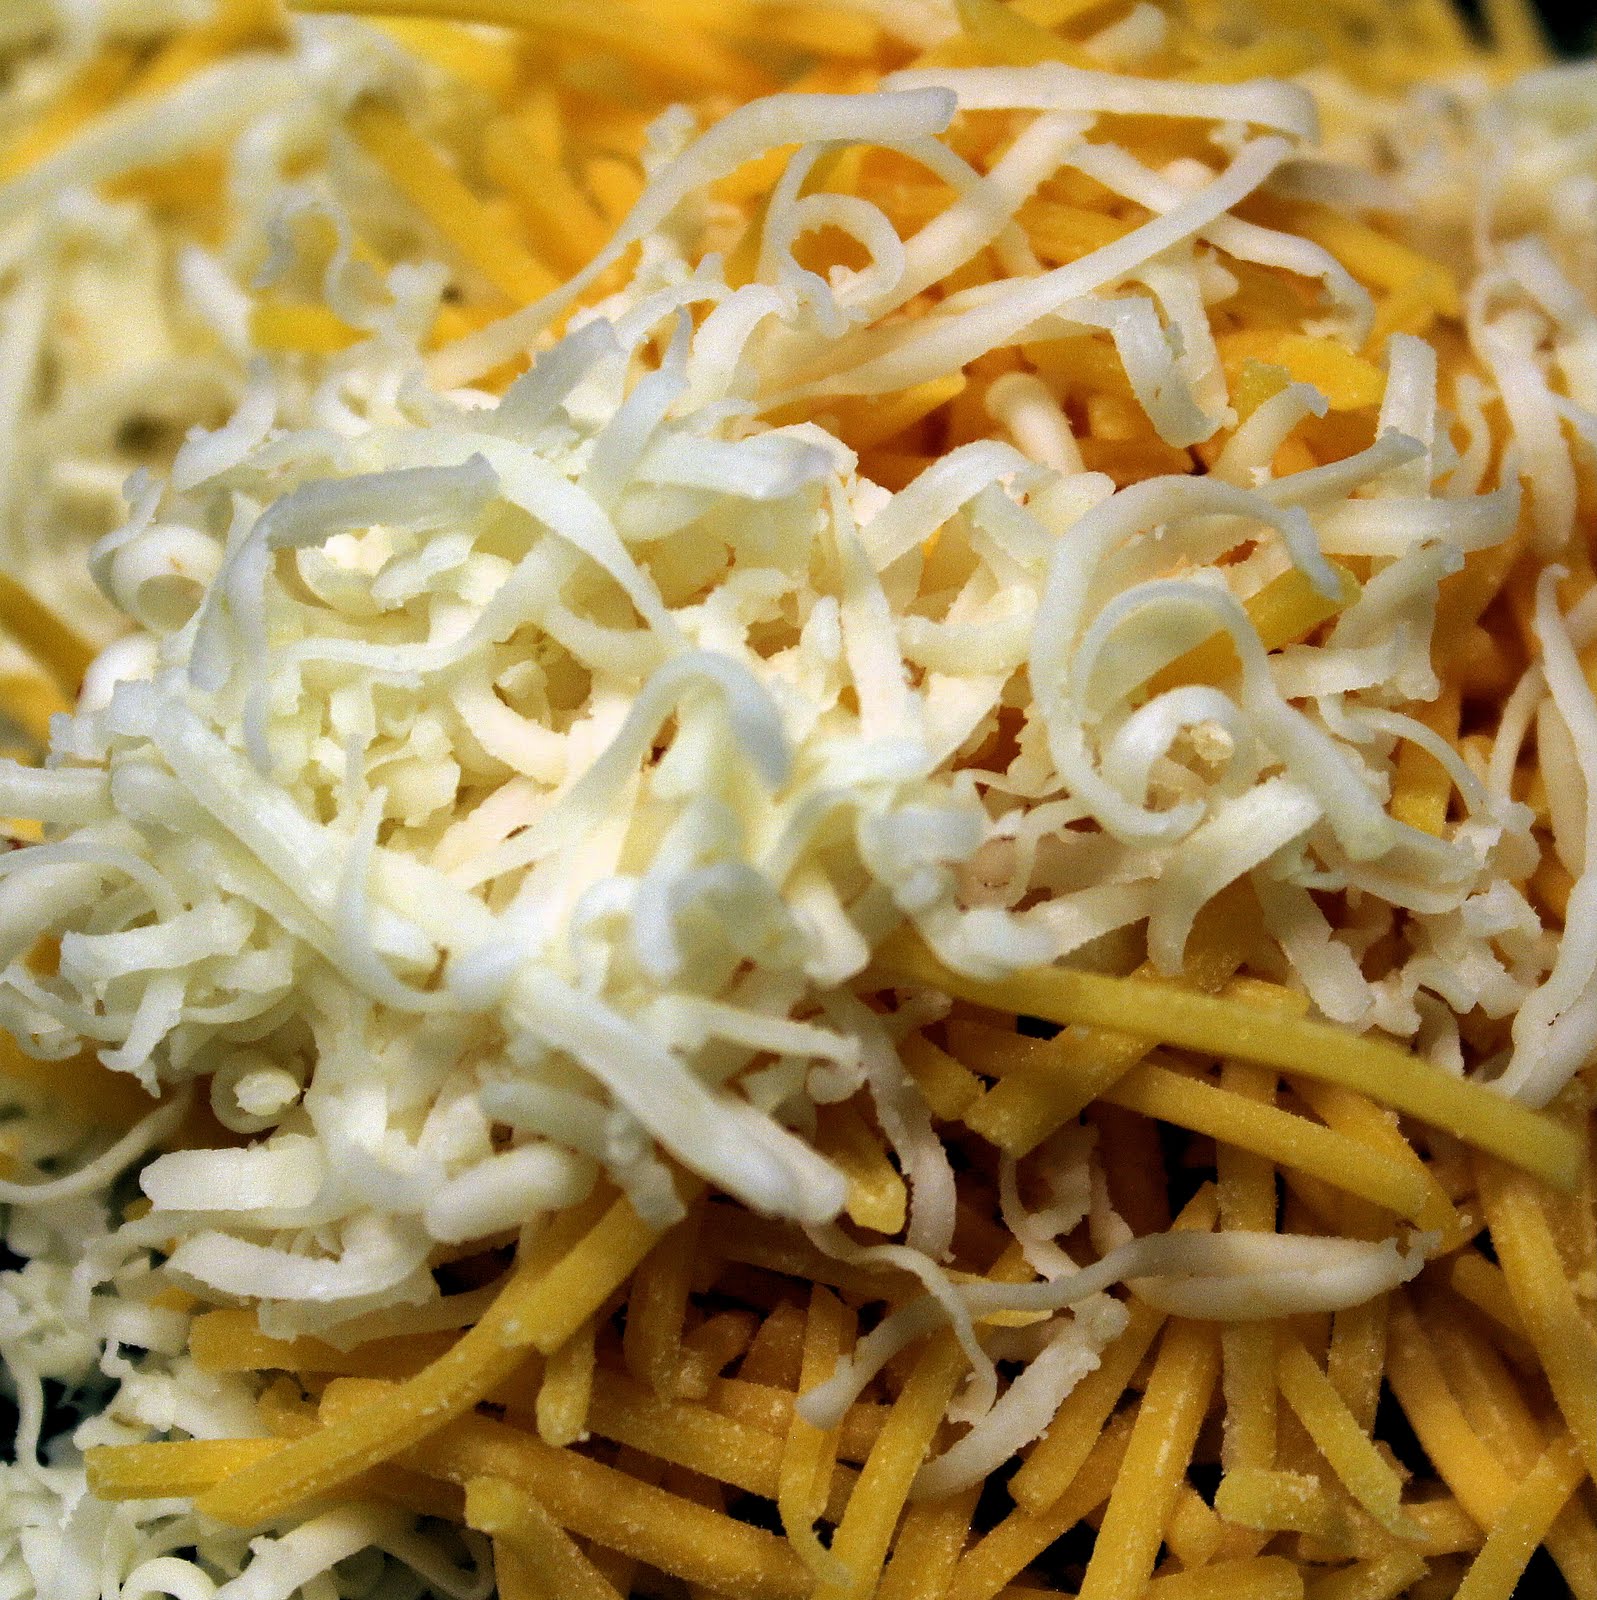
Add the cheese to the mixture and season with salt and pepper.
Heat up a griddle or a saute pan if you don’t have a griddle. Place a 1/2-cup portion of the bean mixture on half of a side of a tortilla.
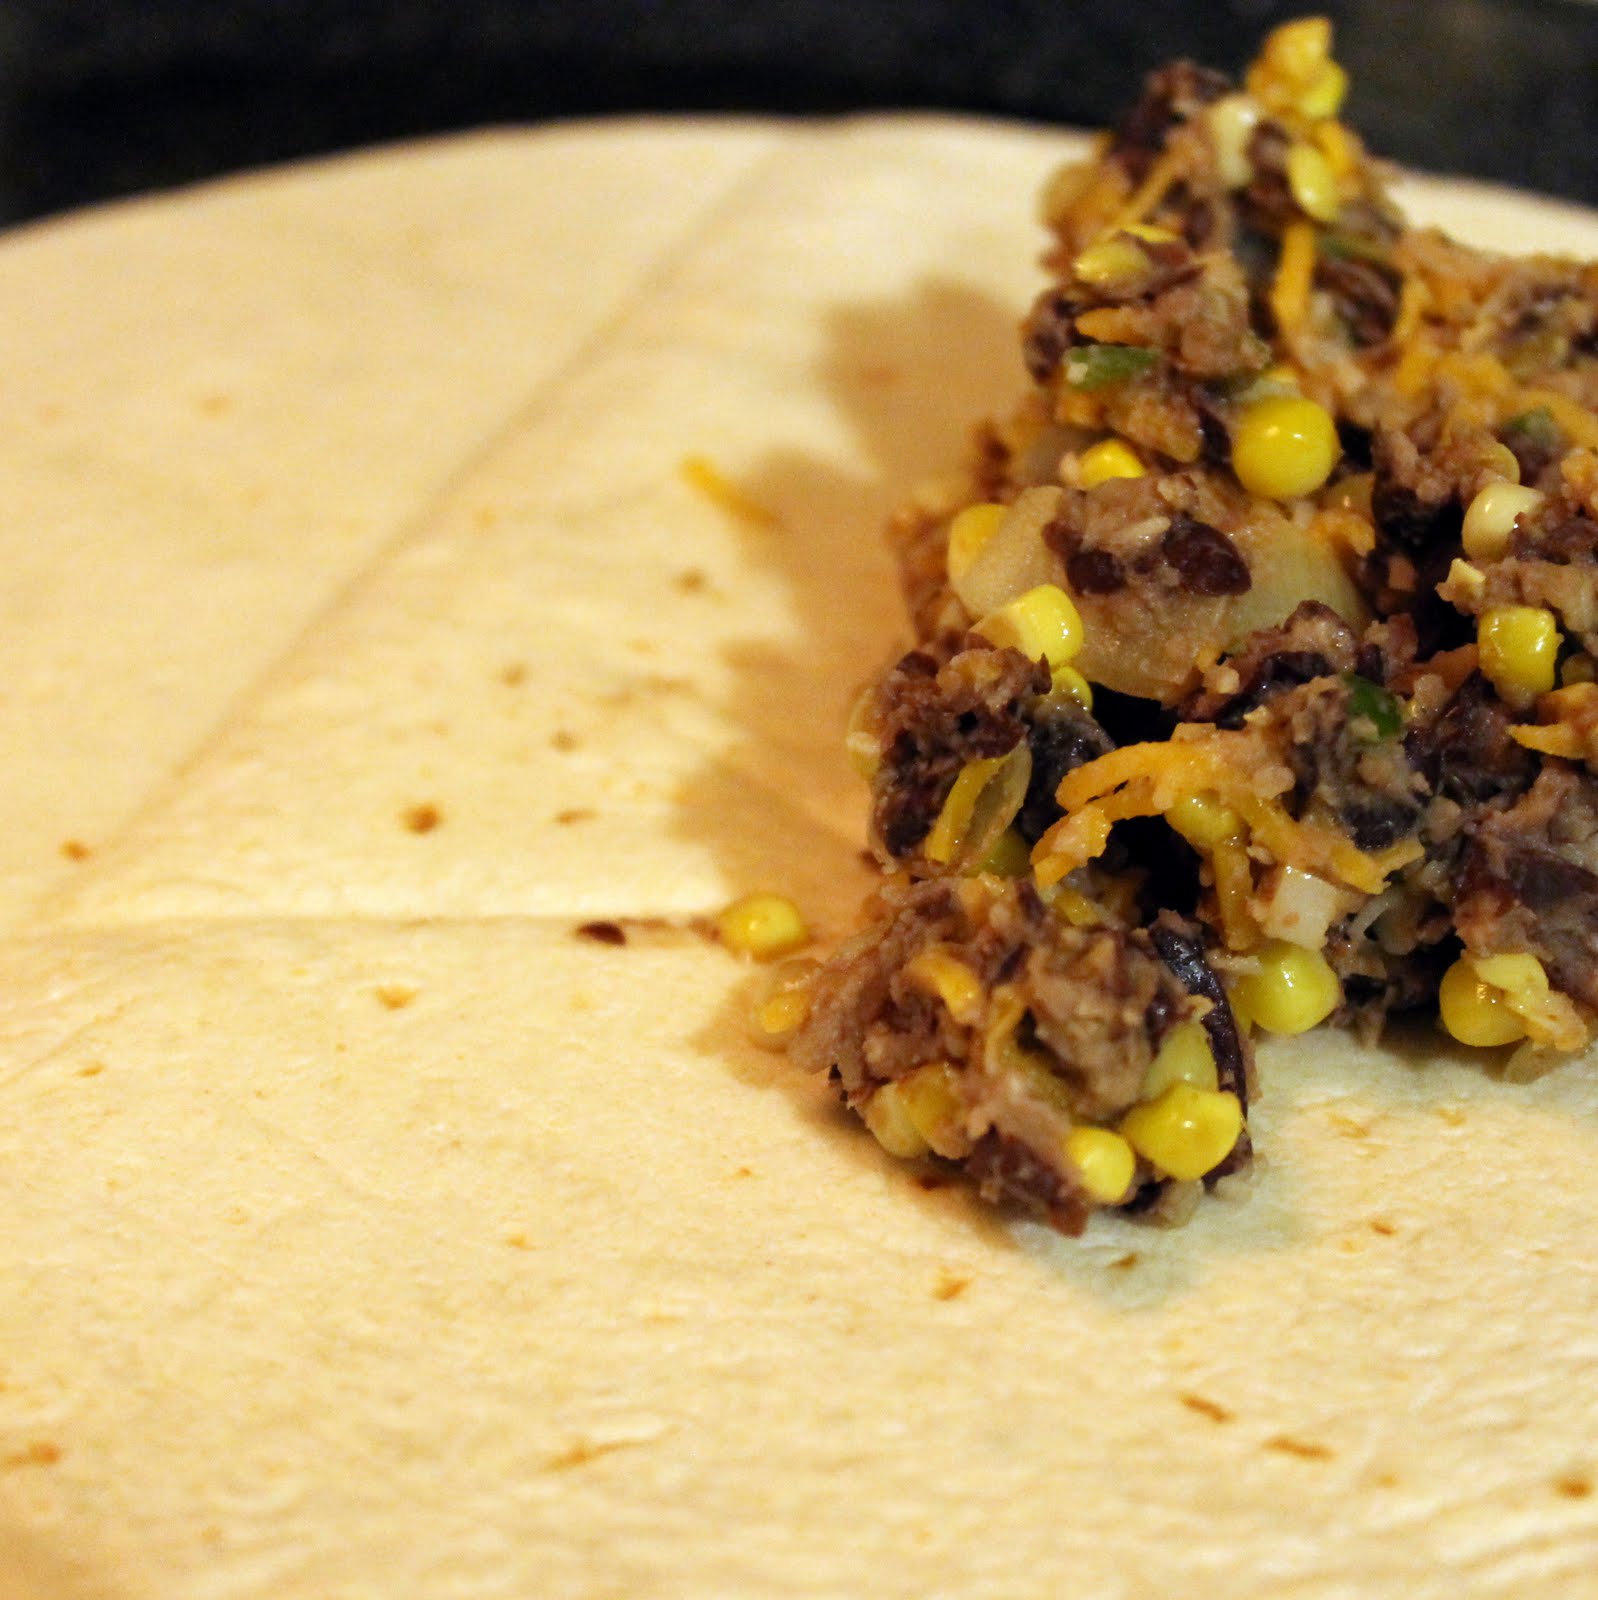
Fold the tortilla in half and place on the griddle or in the saute pan over medium-high heat.
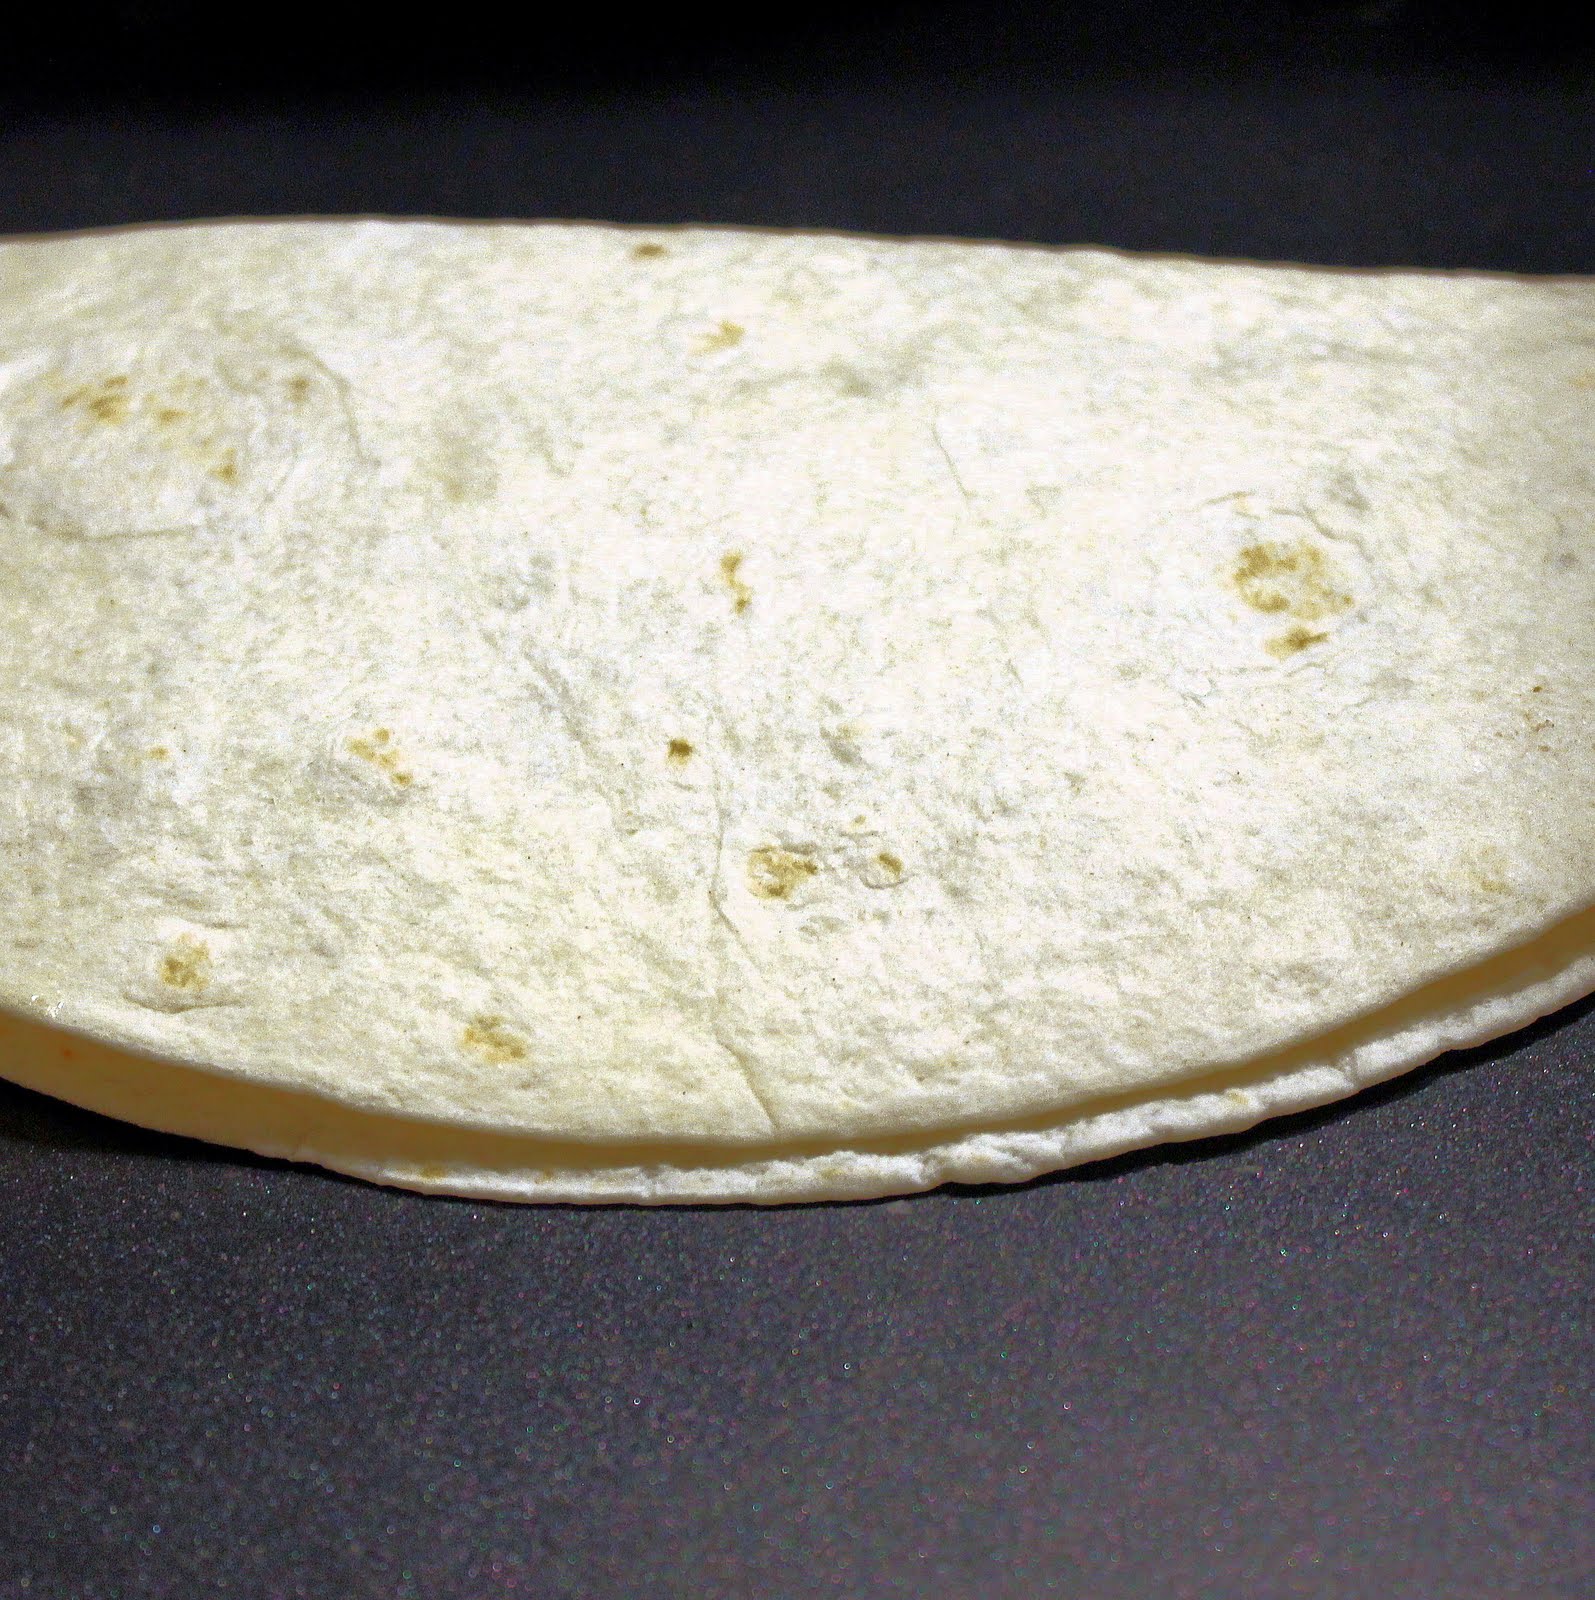
Cook for 6 minutes (3 minutes on each side if using a saute pan) or until golden brown and crispy. Cut into wedges and serve. Repeat with remaining tortillas.
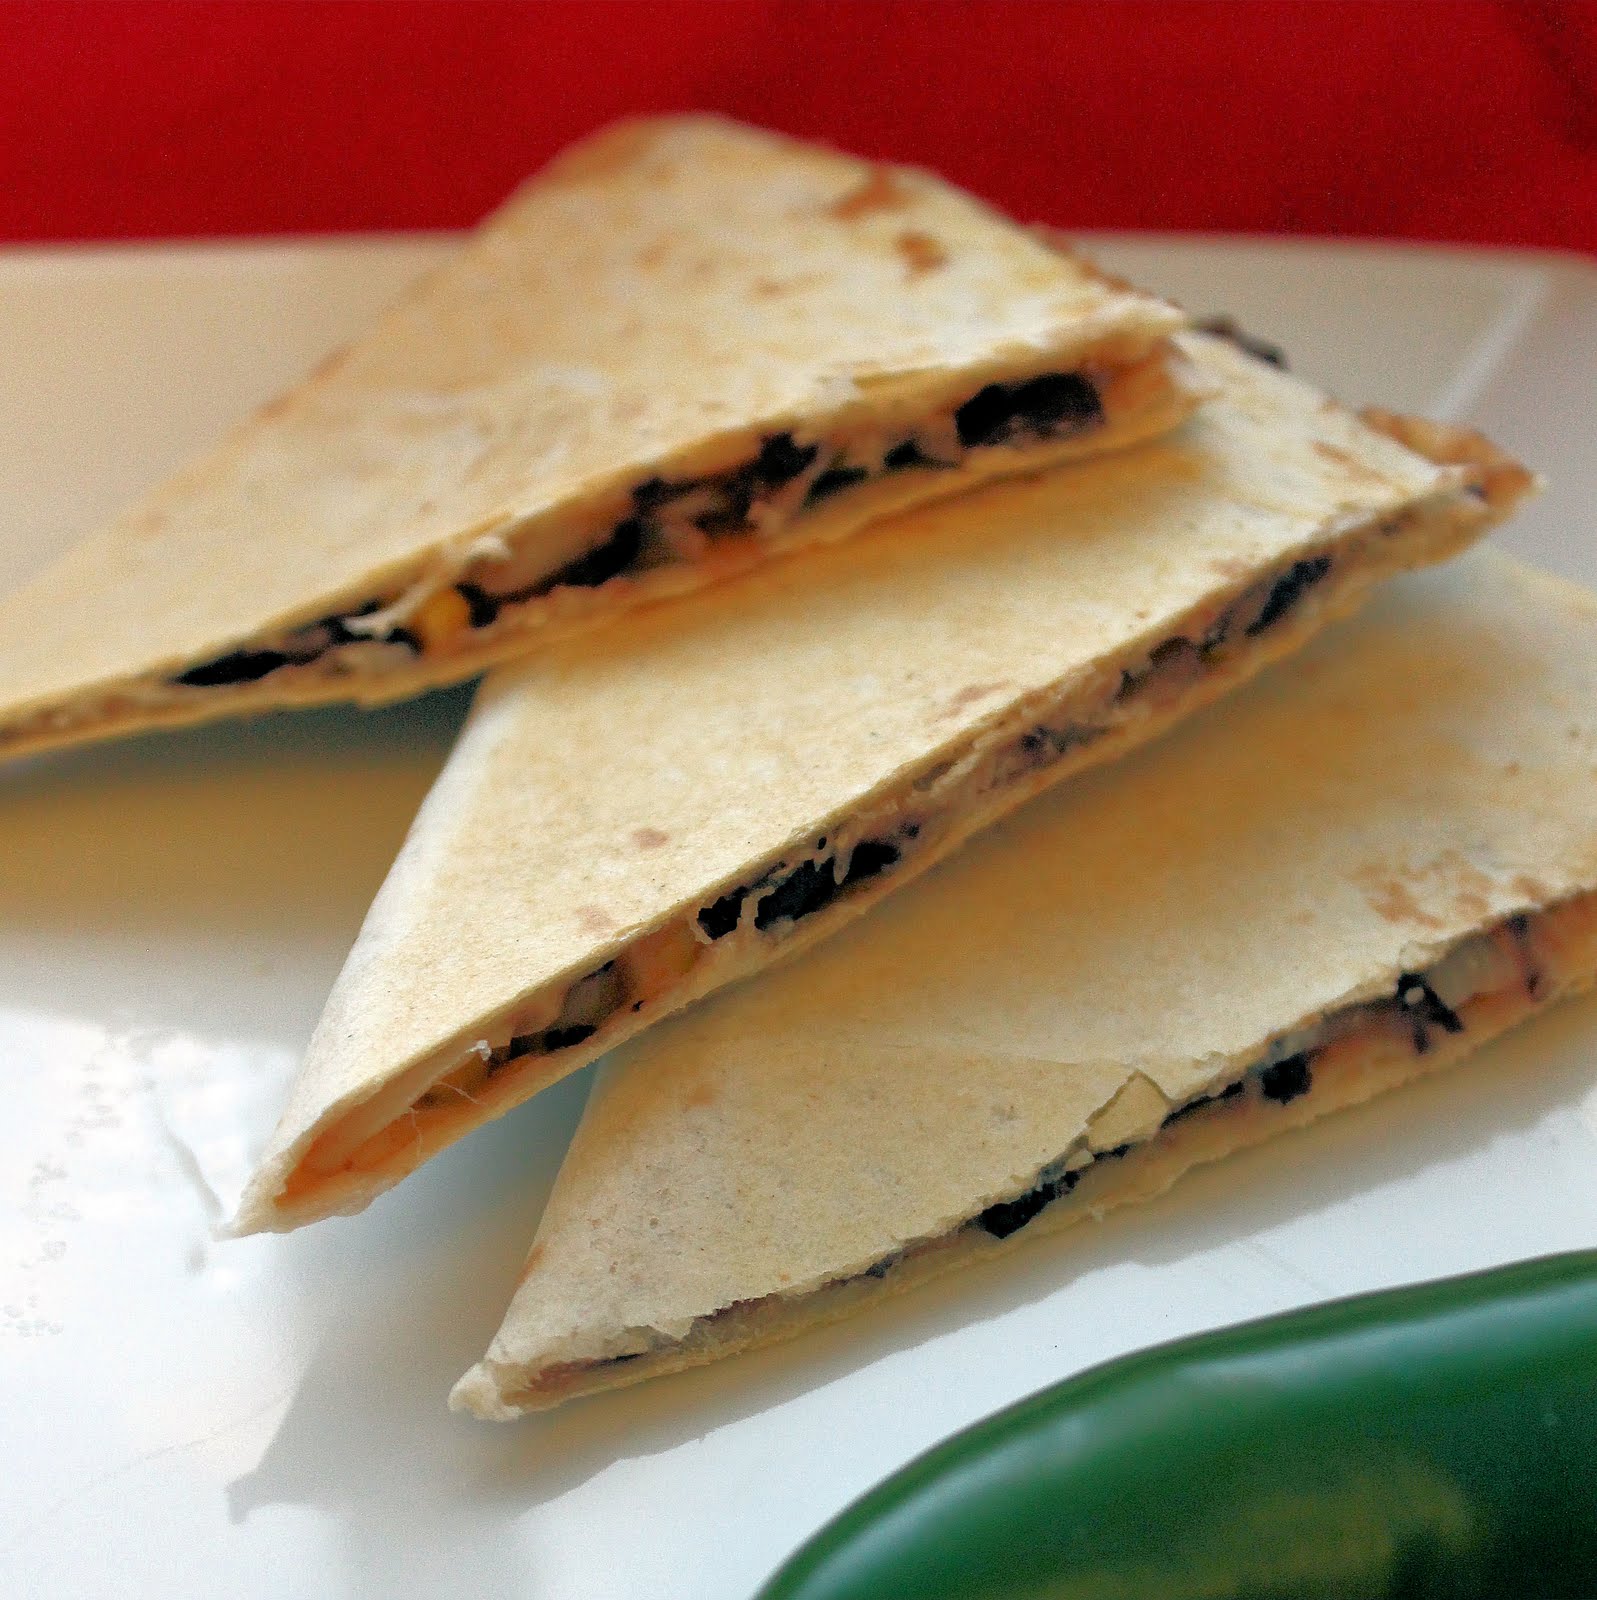
Despite the jalapeno and the pepper Jack cheese, there really wasn’t much heat at all. If you want to turn it up a notch, either use another chopped jalapeno or use 1 serrano pepper instead.

This would be quite good with some fresh salsa if you have time, but this dish works well on its own as well.