Roasted Eggplant & Feta Dip

I am at a bit of a loss for what to do with eggplant. Eggplant Parmesan and Baba Ghannouj are the only two recipes I really know that use eggplant.  However, I found a tasty sounding recipe from Eating Well that includes a bunch of other ingredients from this week’s CSA.
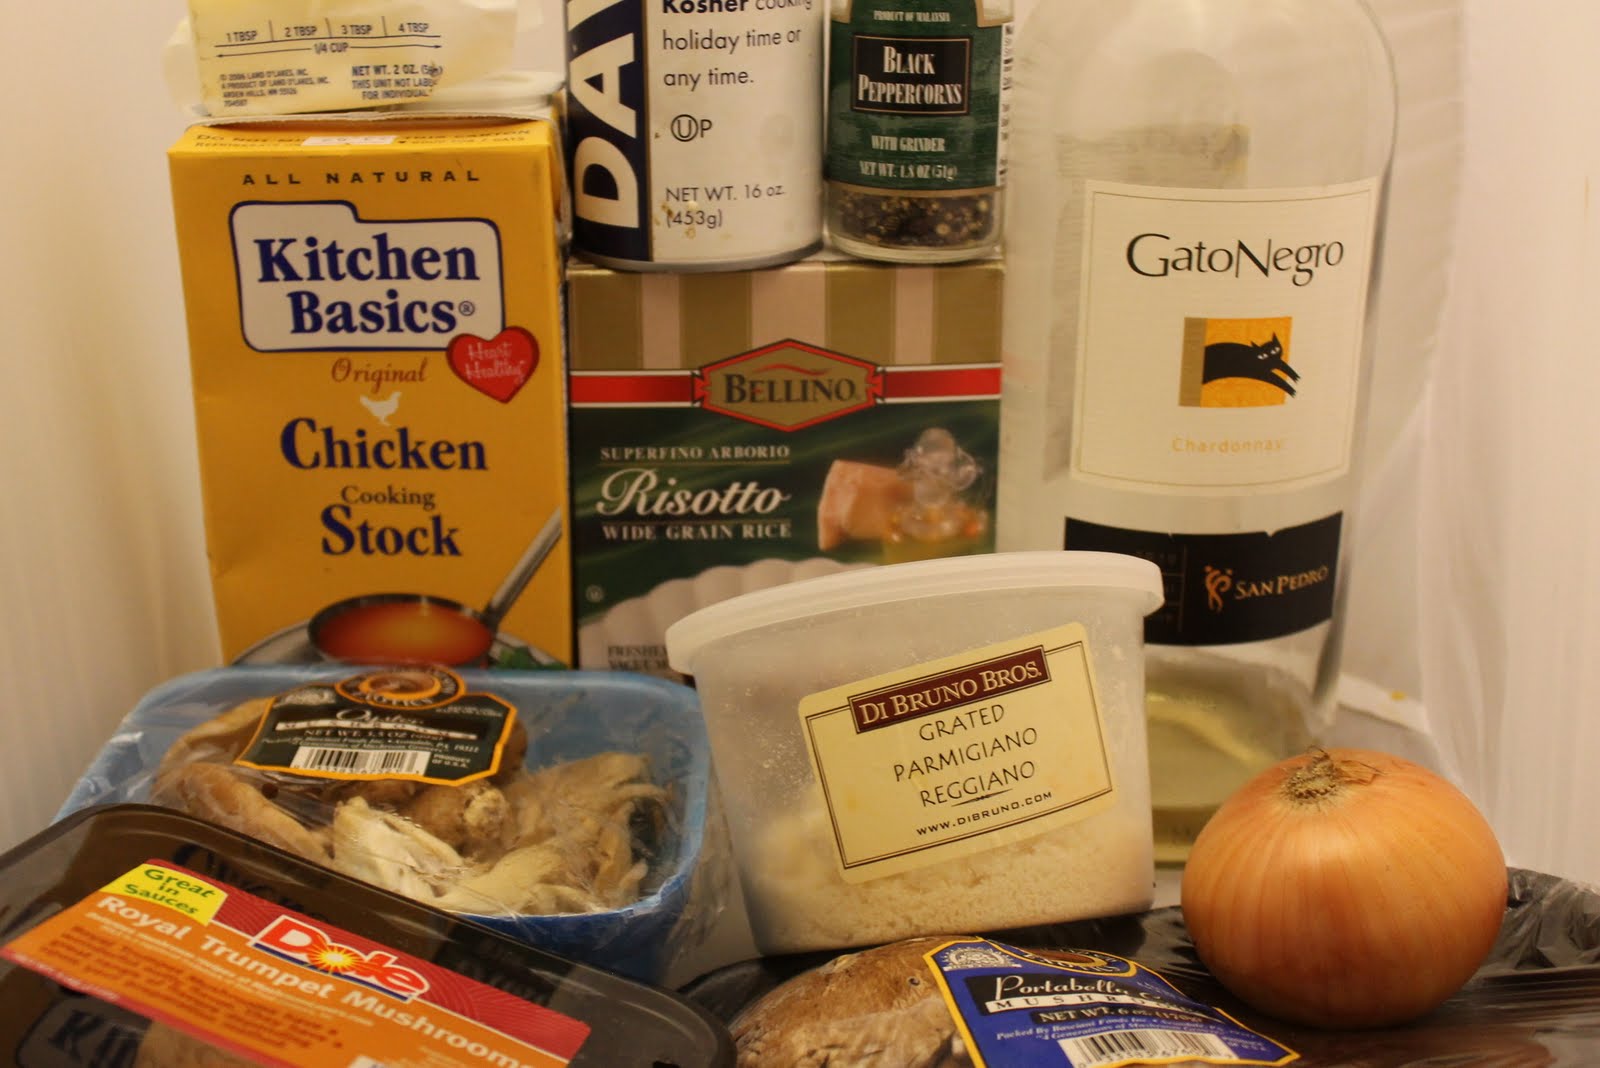
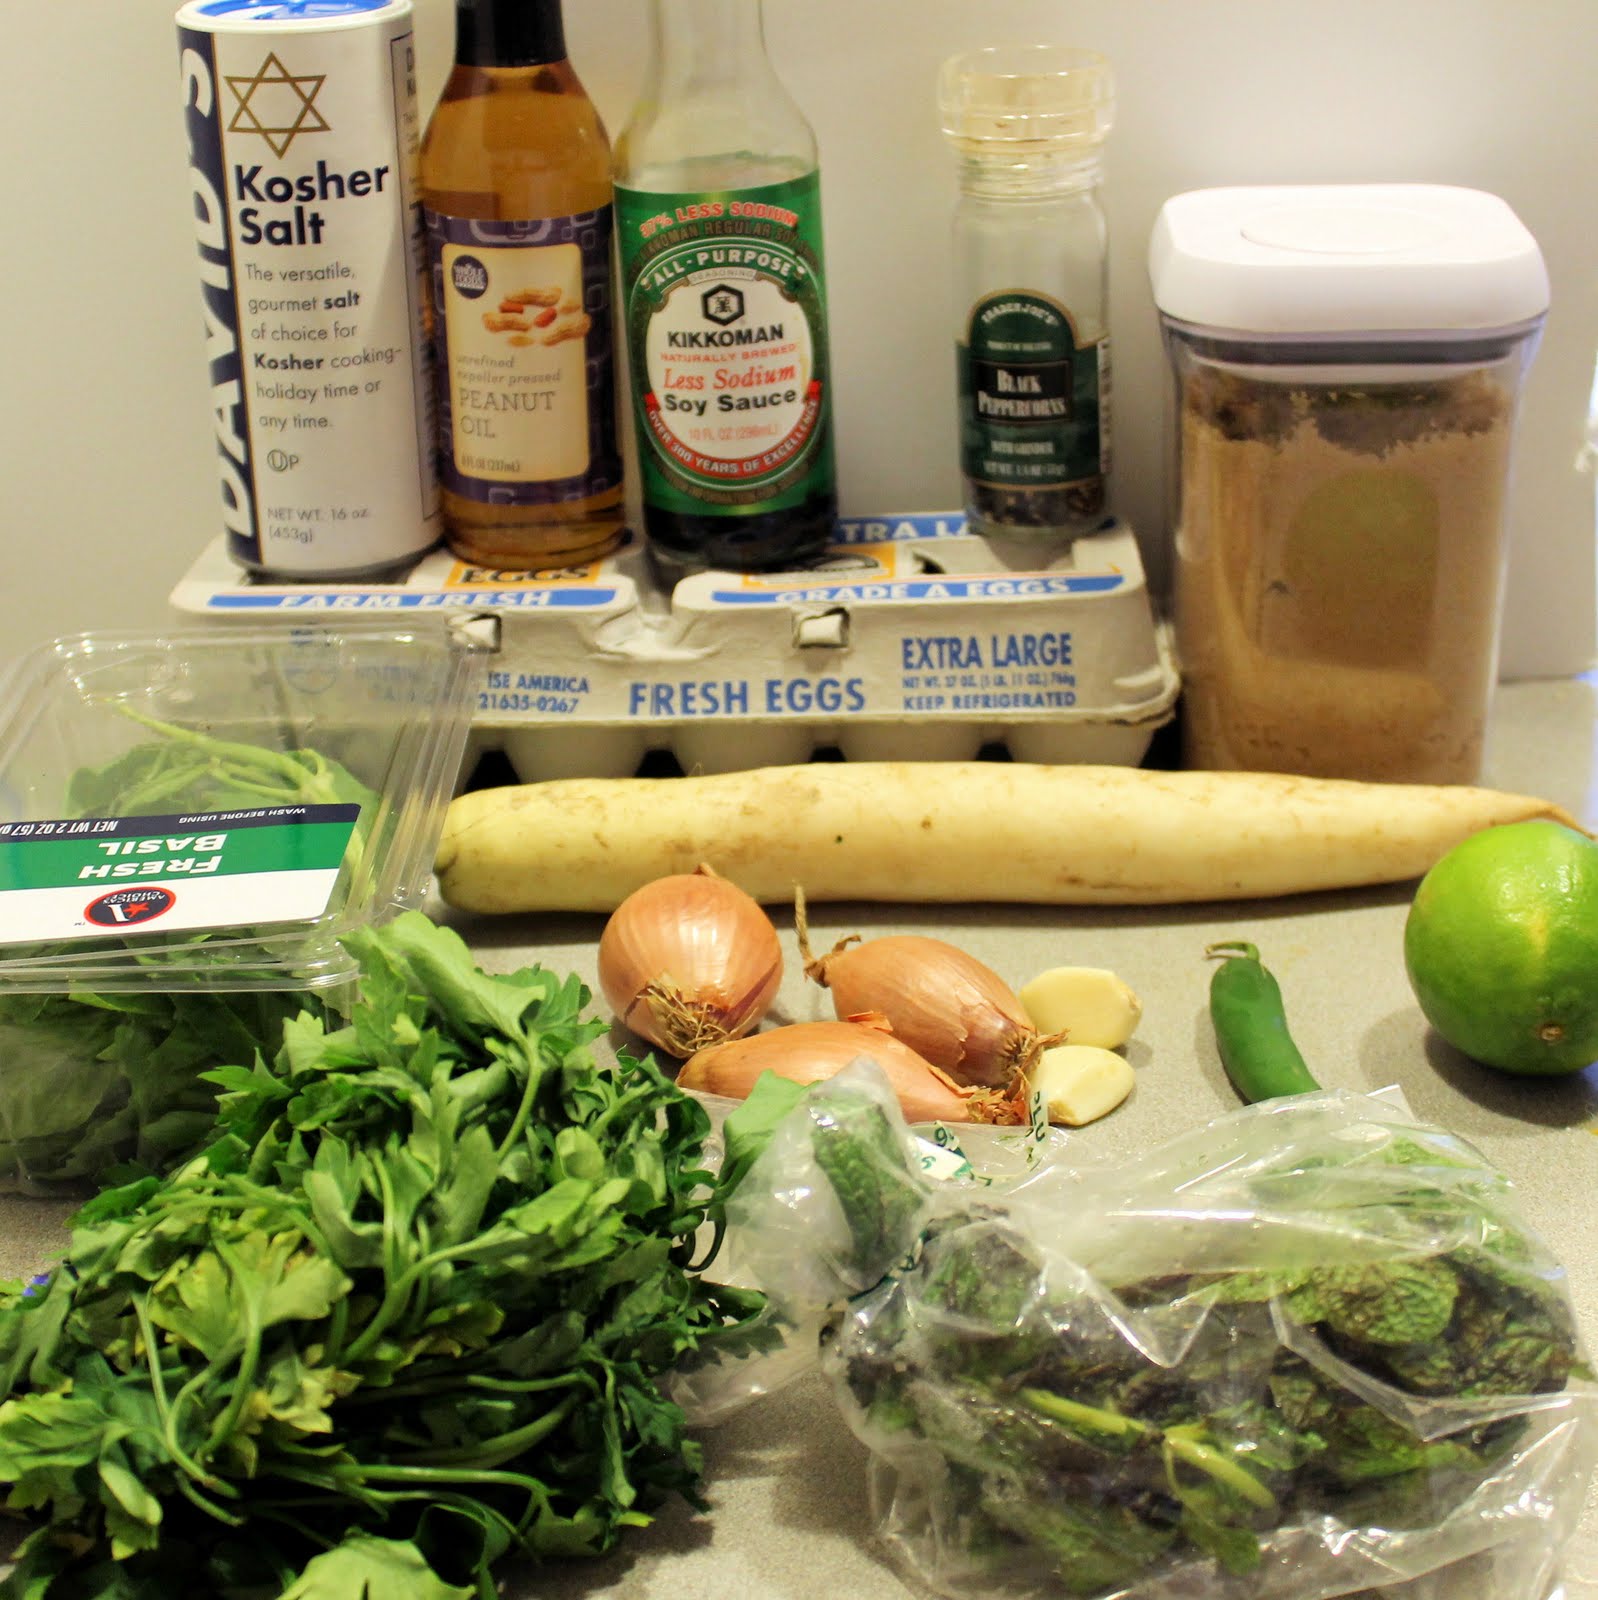
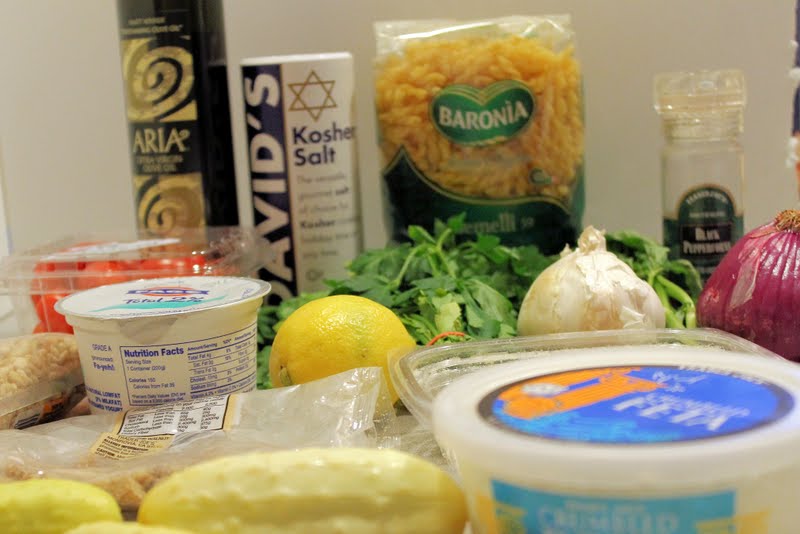
Ingredients:
1 medium eggplant
The juice and zest of 1 lemon
1/4 cup extra-virgin olive oil
1/2 cup crumbled feta cheese
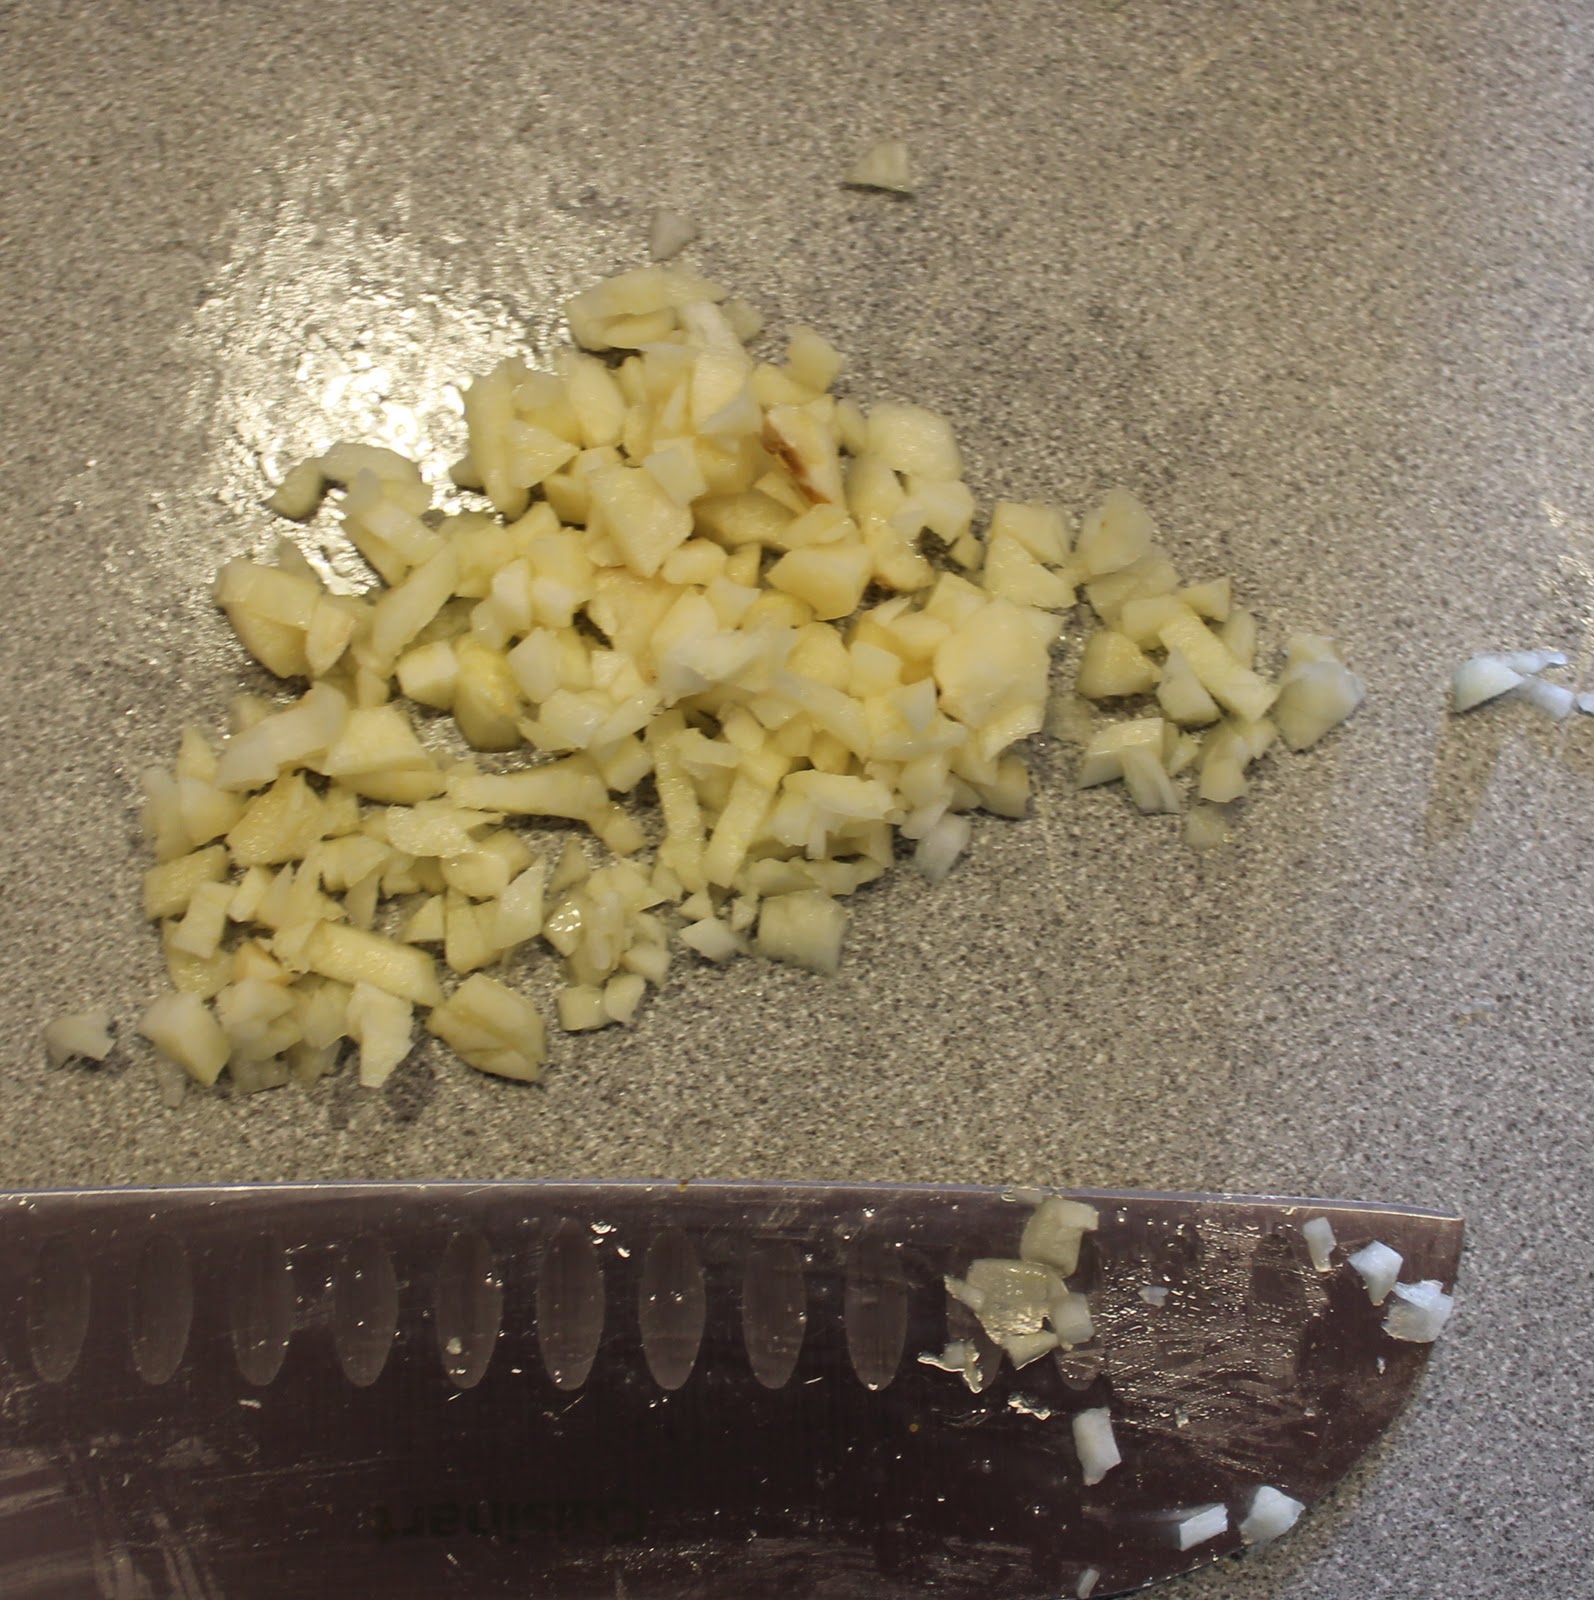
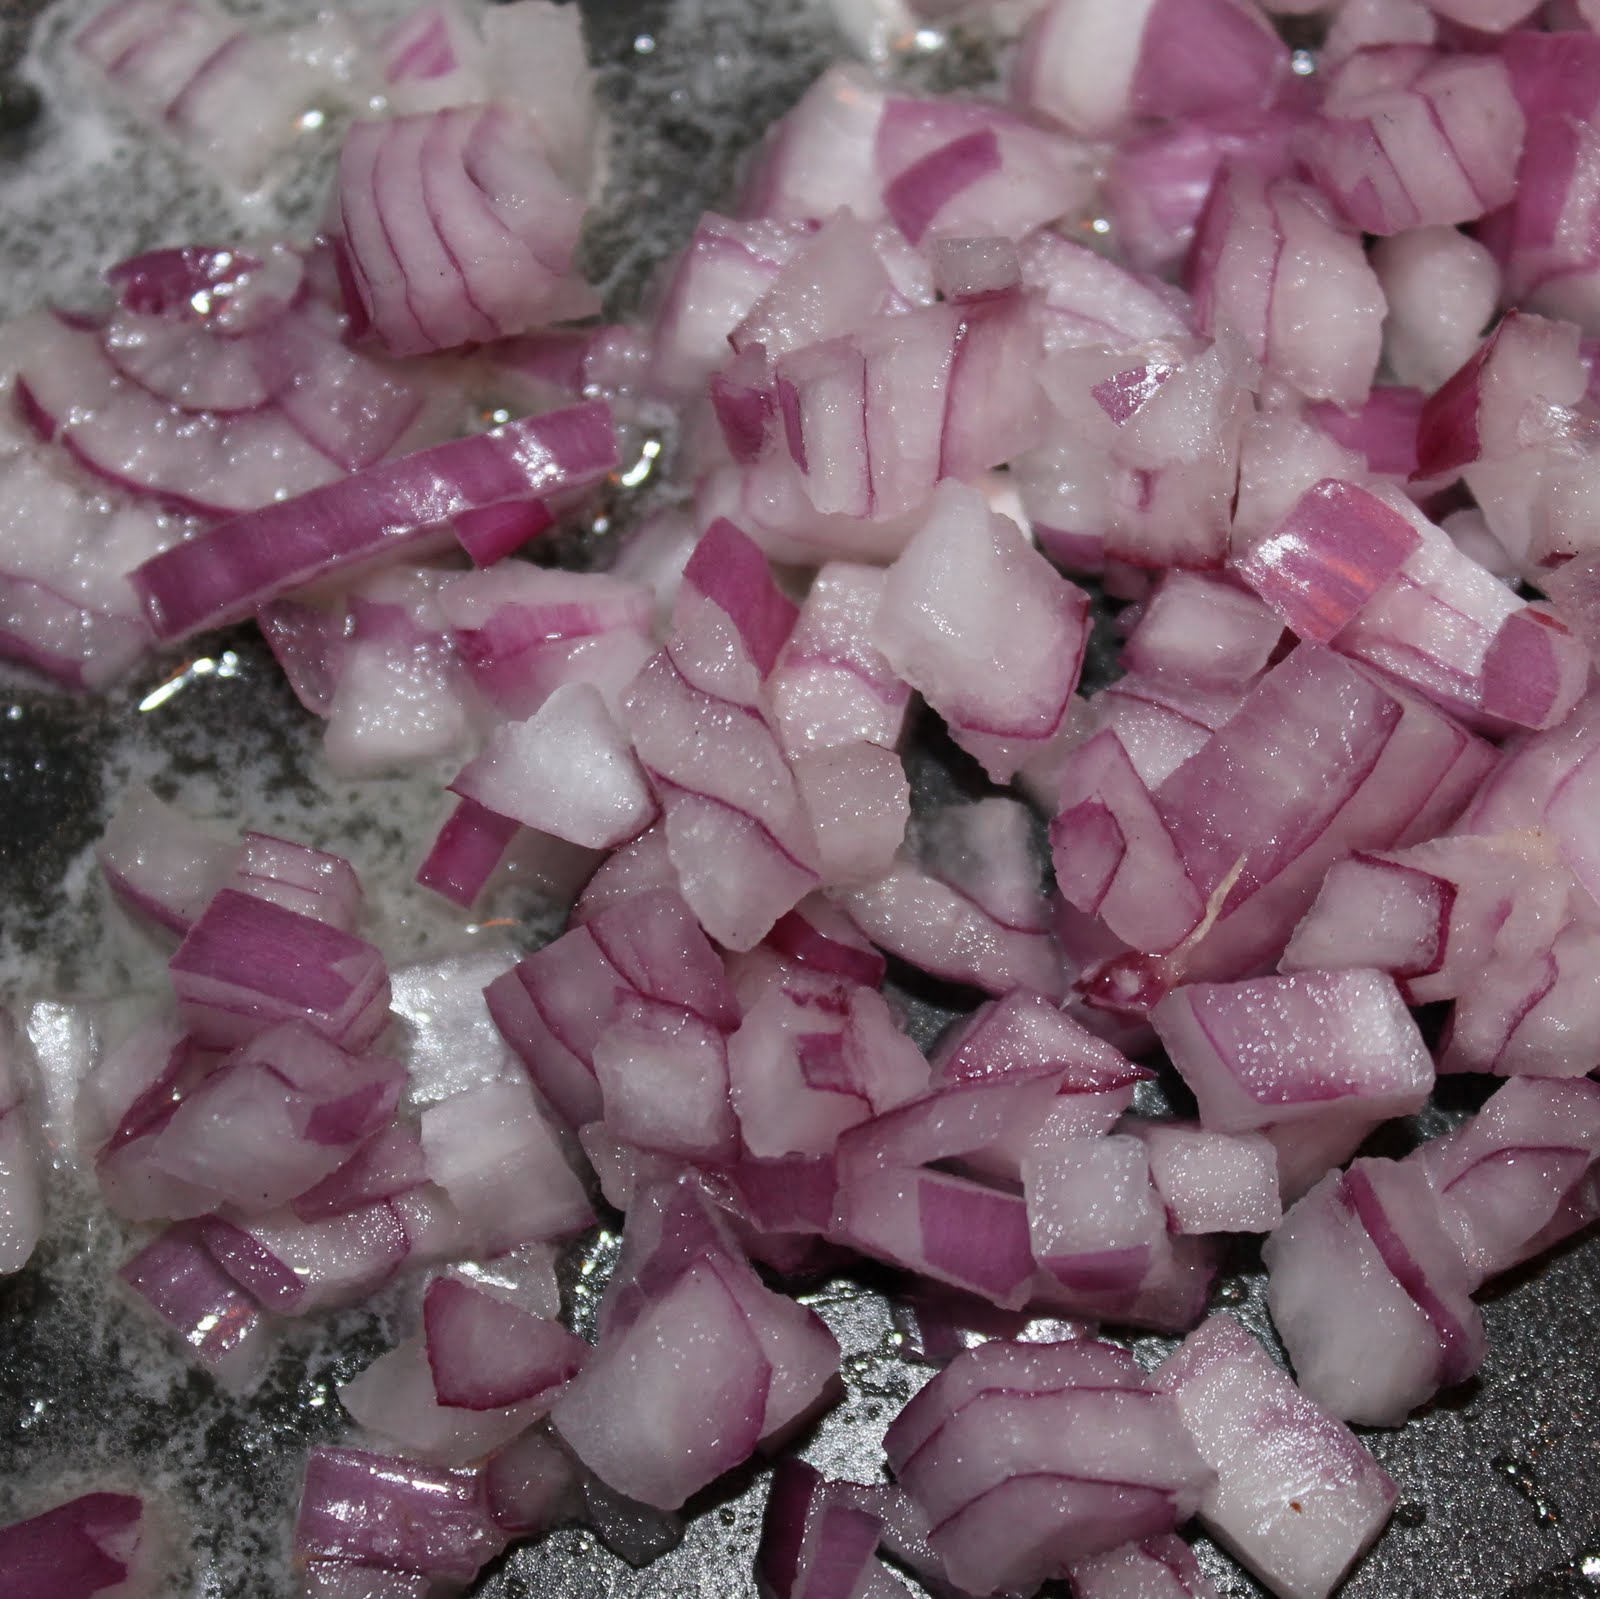
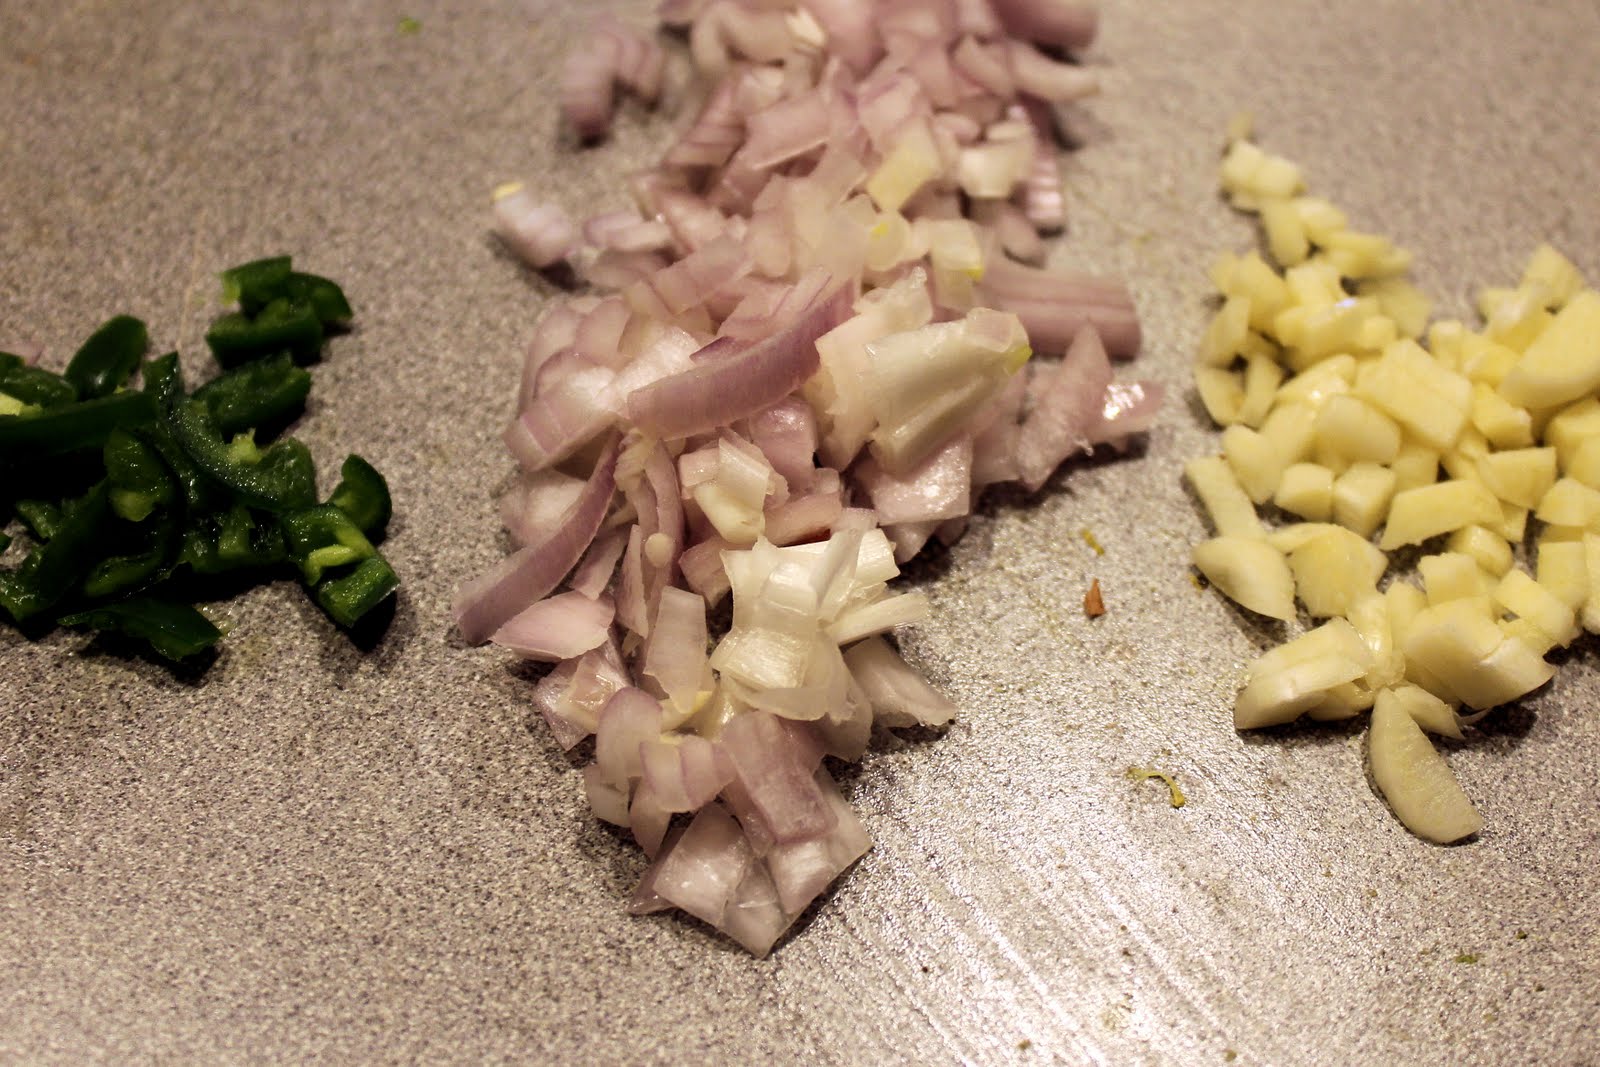
1/2 cup finely chopped red onion
1 small green bell pepper, finely chopped
1 small jalapeño pepper, seeded and mince
2 tablespoons chopped fresh basil
1 tablespoon finely chopped parsley
1/4 teaspoon cayenne pepper, or to taste
1/4 teaspoon salt

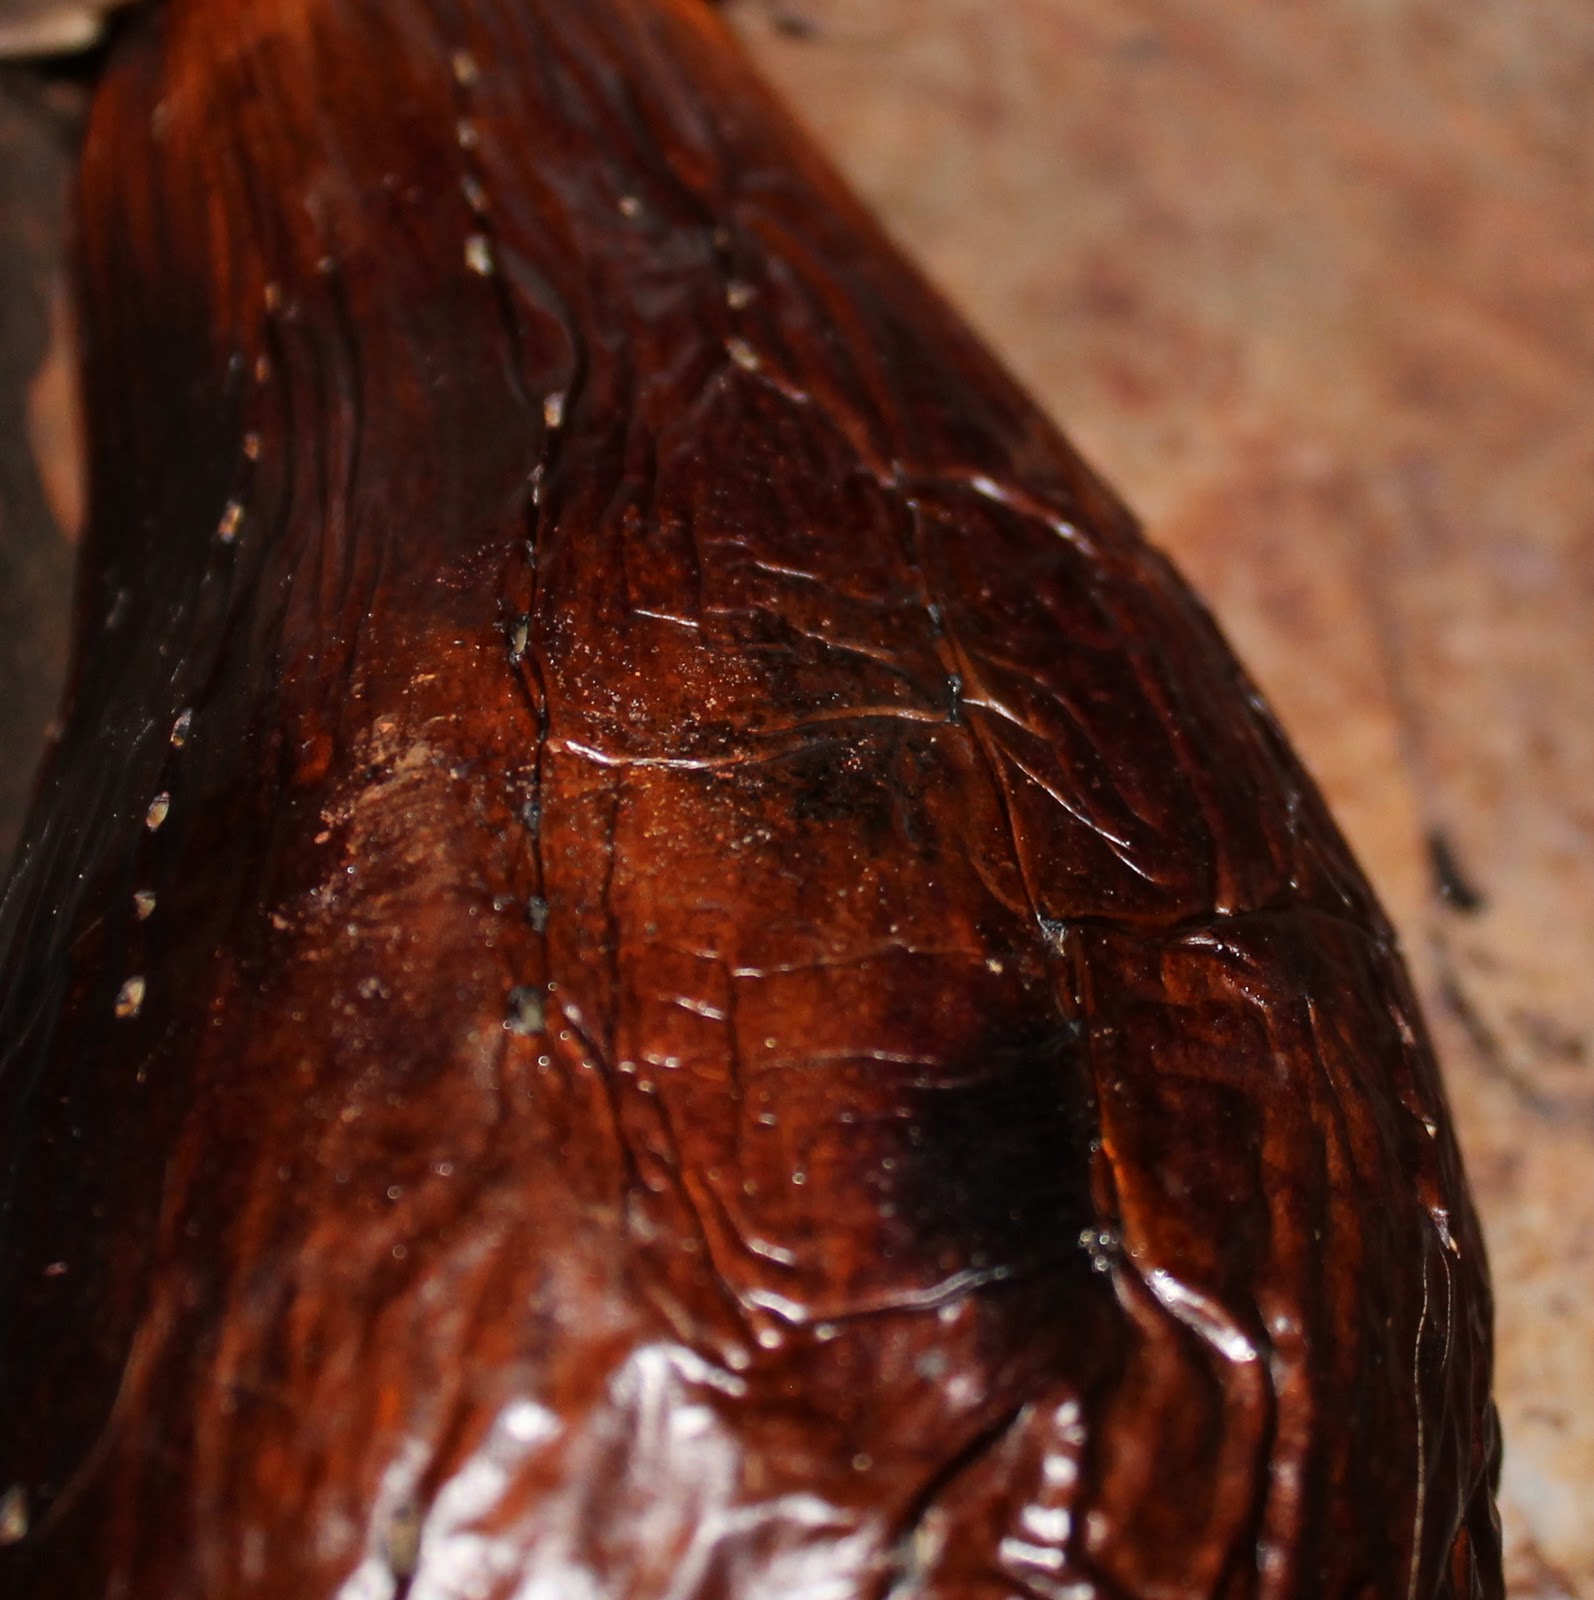
Preheat your broiler. Line a pan with foil and place the eggplant on it. Poke a few holes within the eggplant so that it can let out steam while broiling. Broil for 14 to 18 minutes, turning the eggplant every 5 minutes. You’ll know it’s done when the skin is charred a little and a knife goes easily into the part right near the stem. Transfer to a cutting board until it’s cool enough to handle.

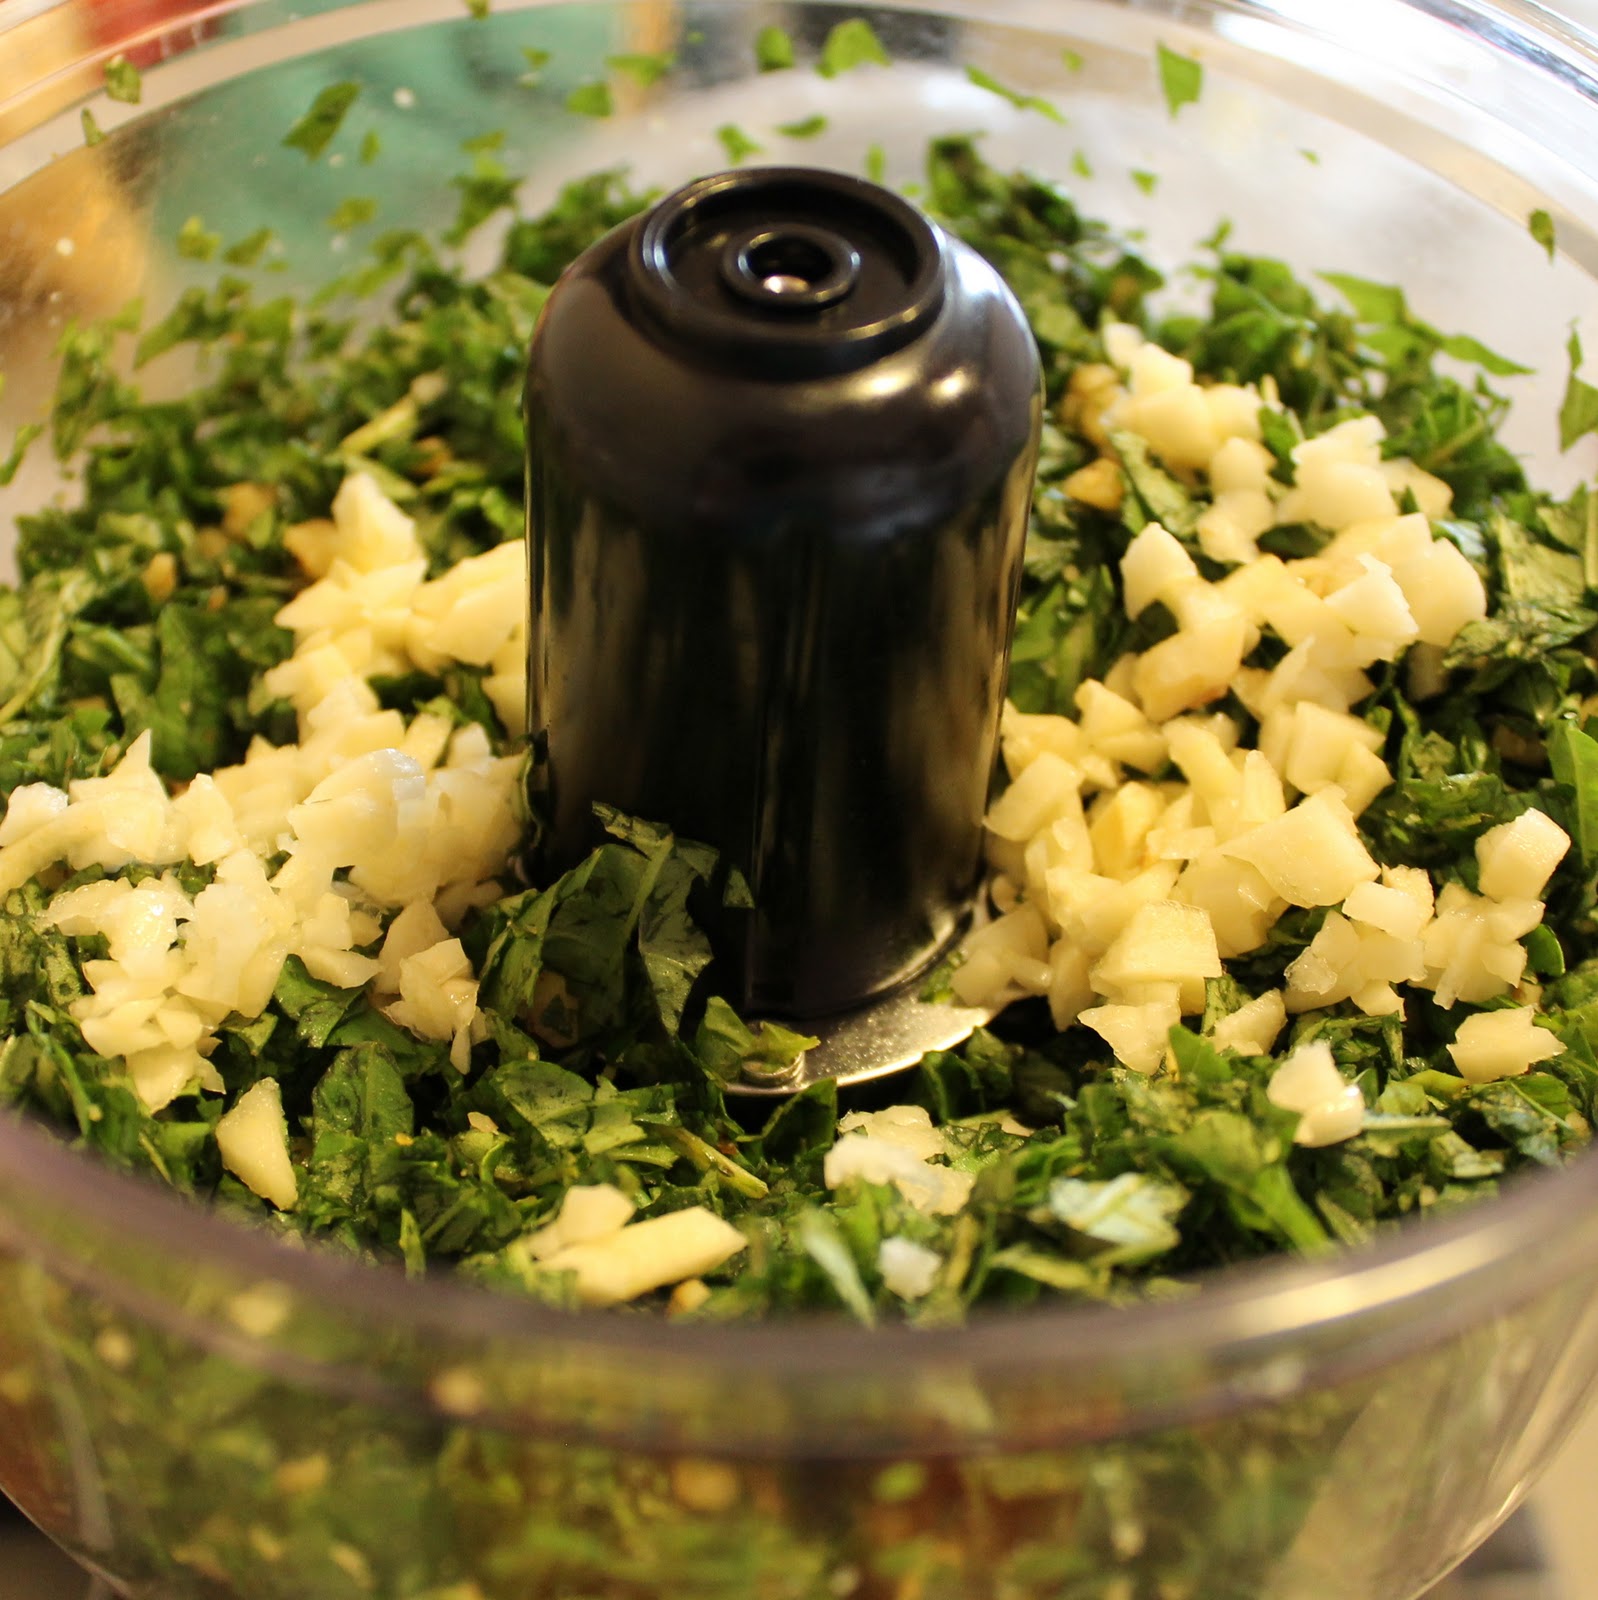
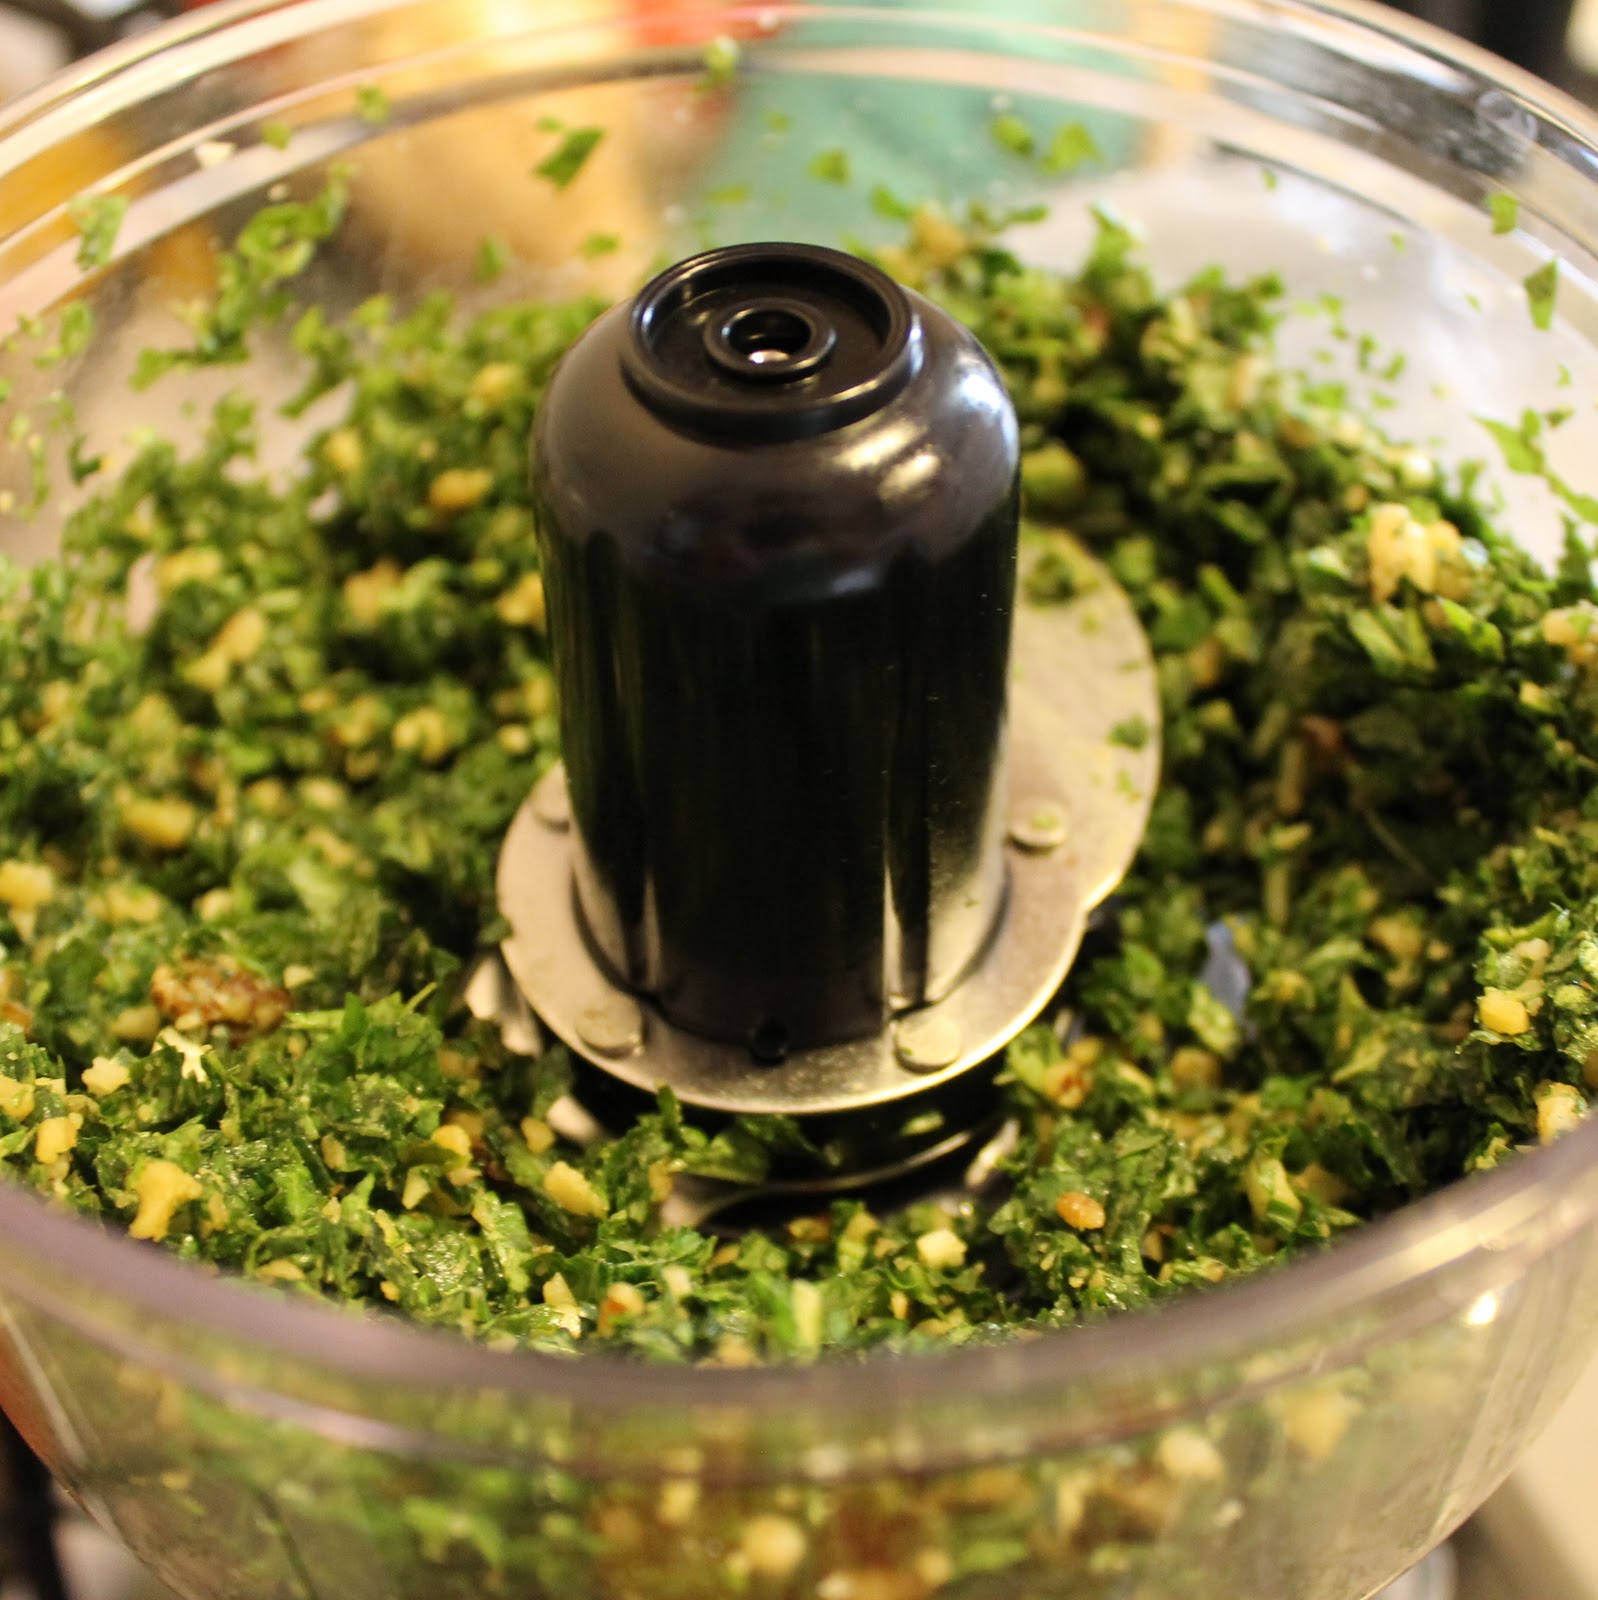
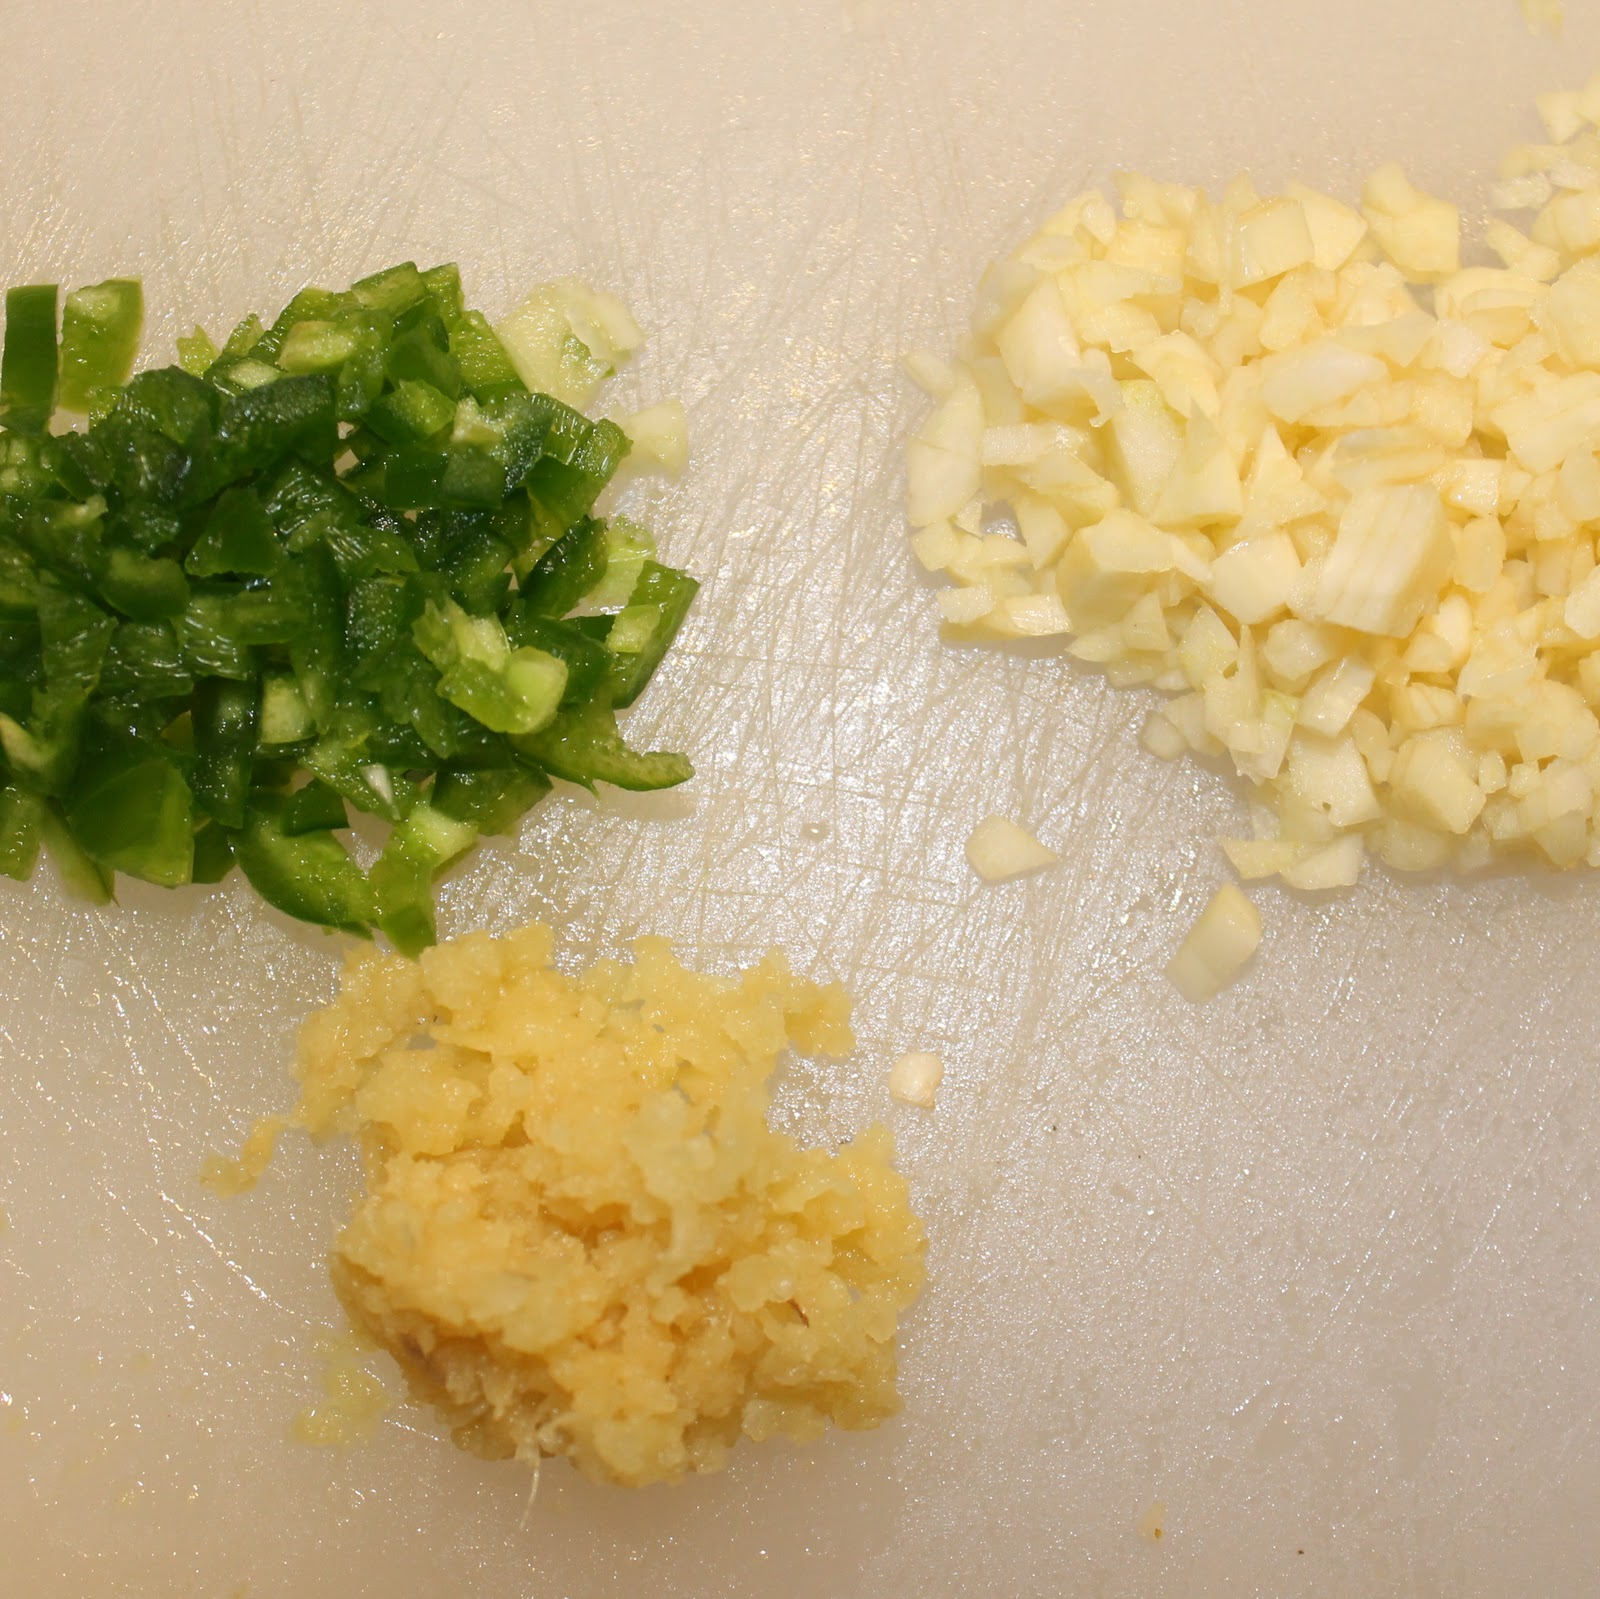
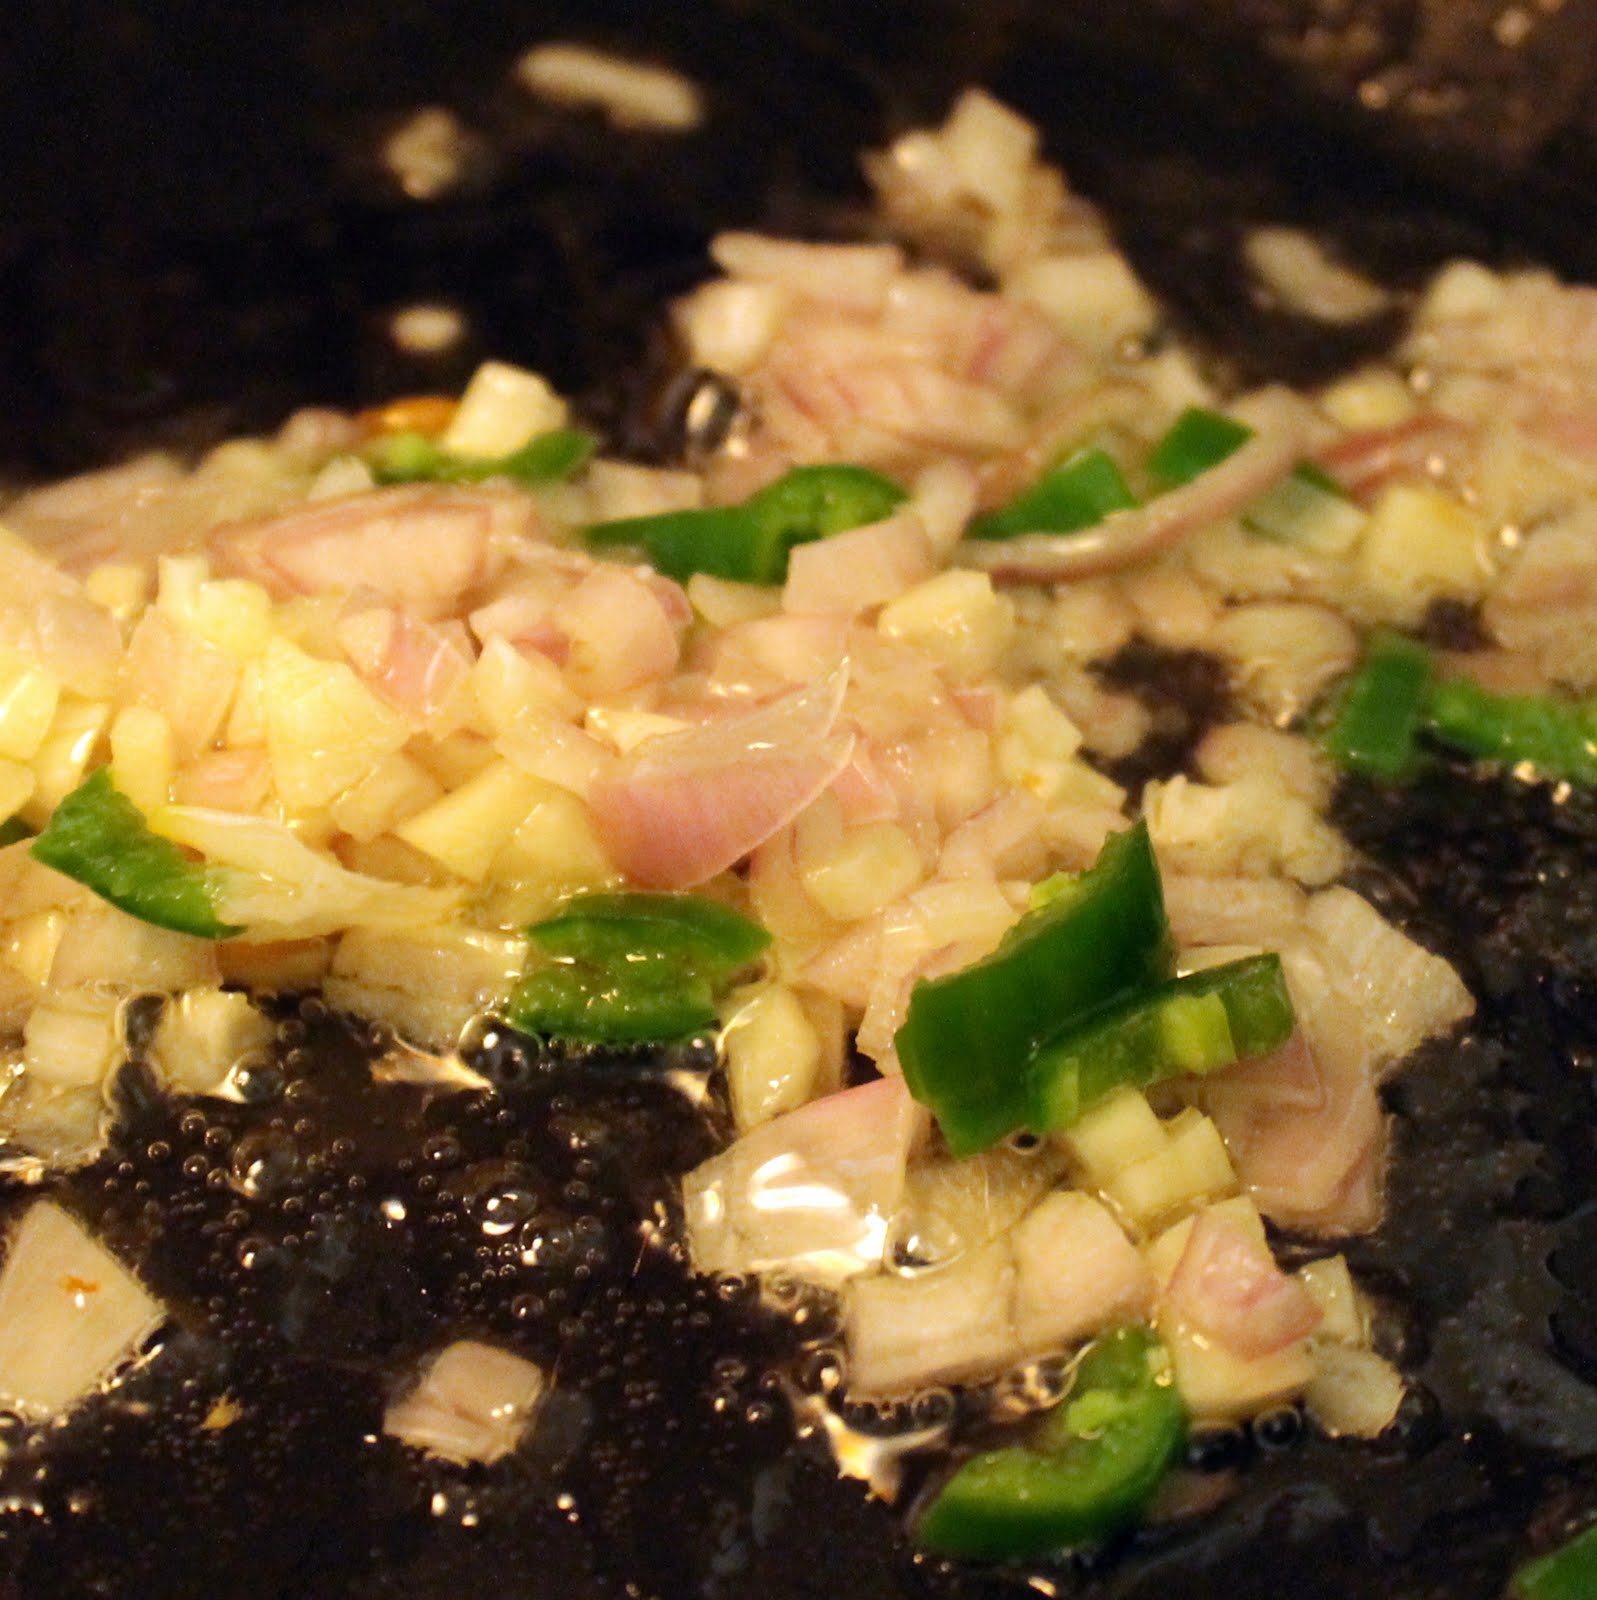
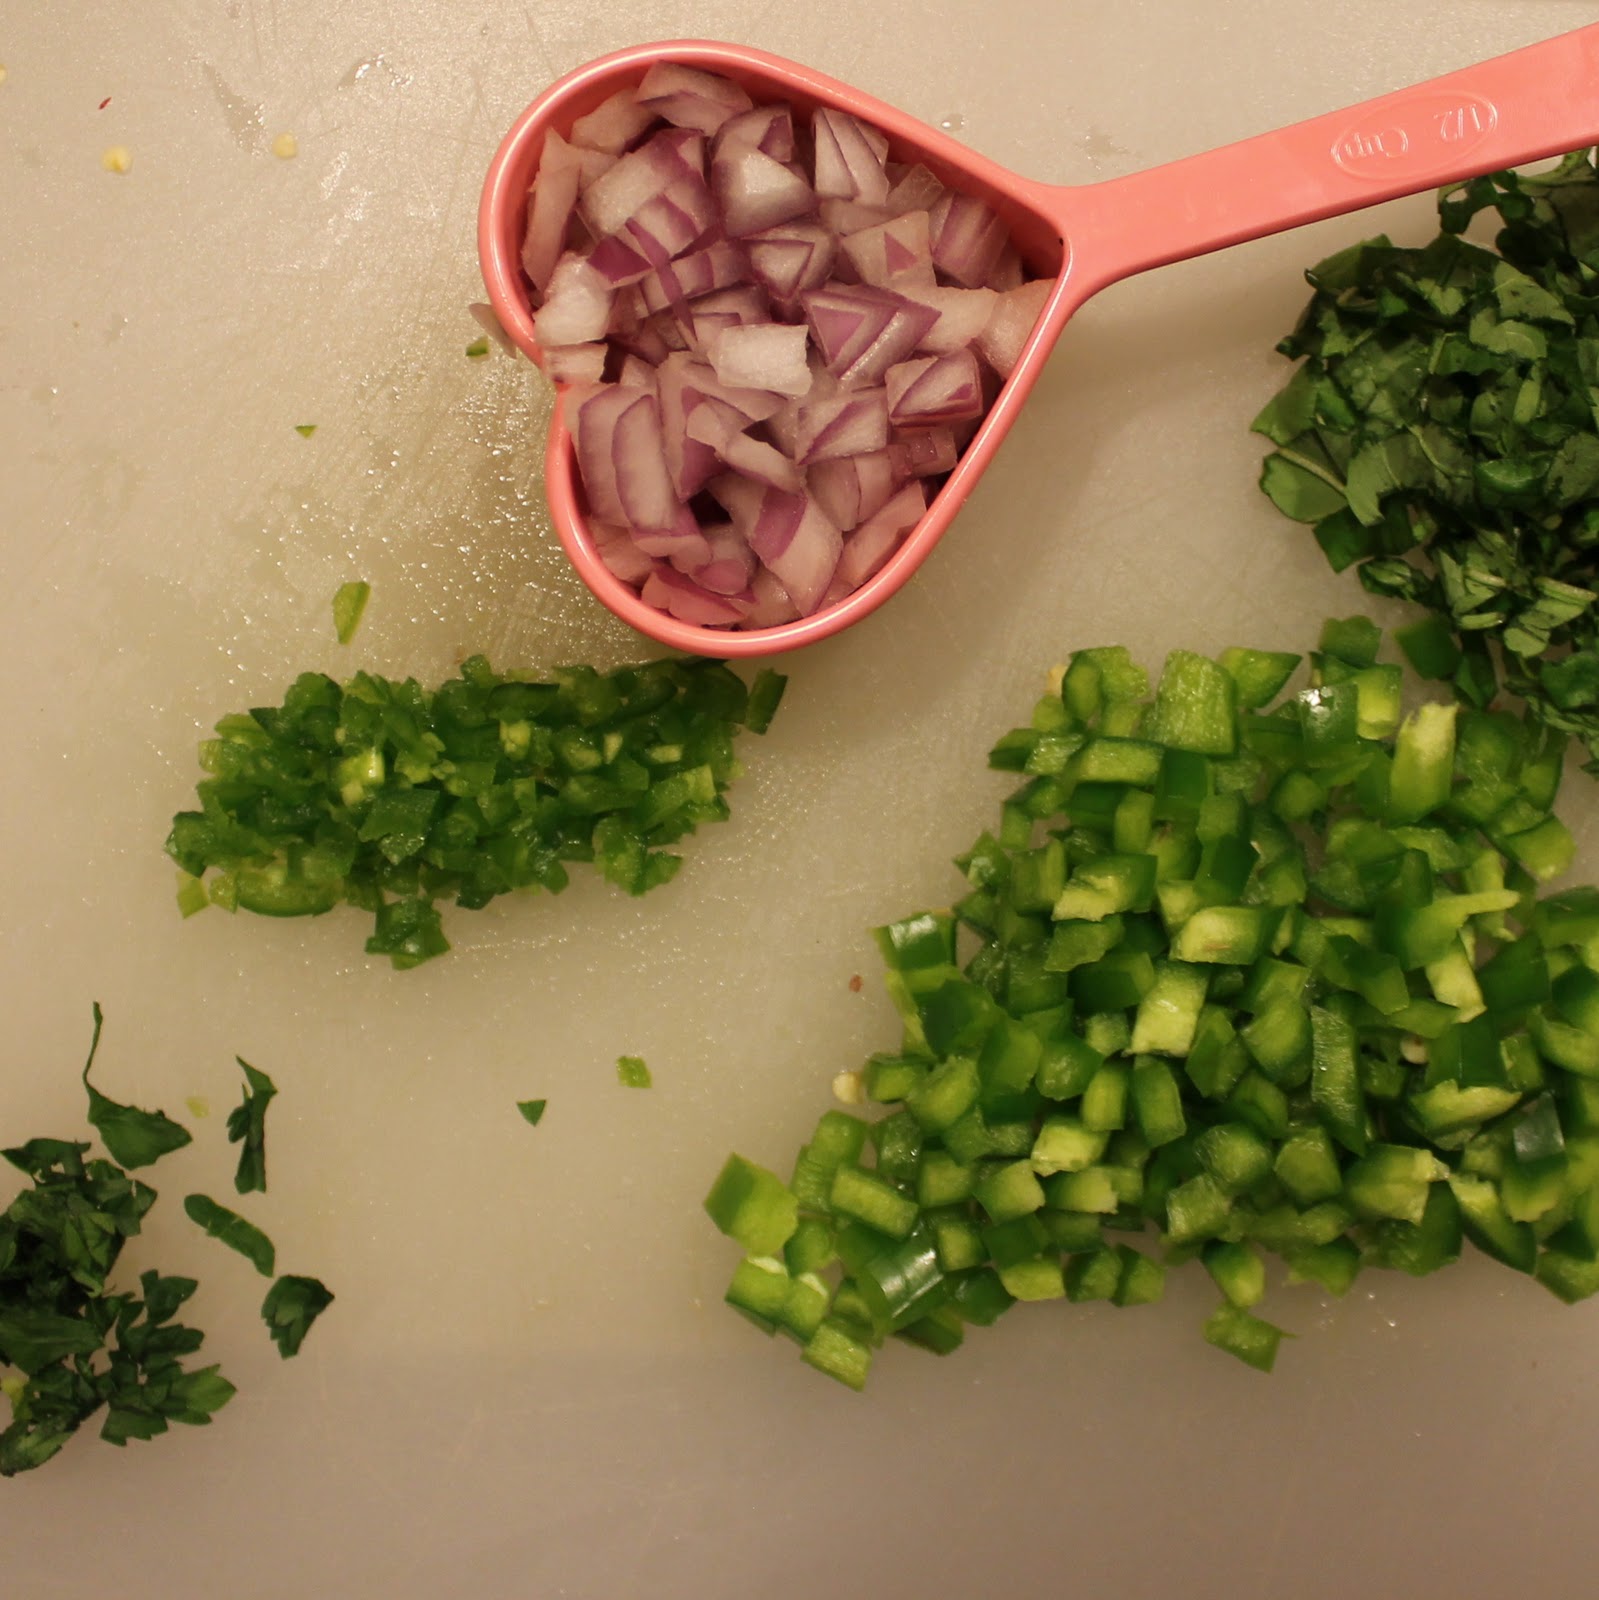
Prepare your onion, pepper, jalapeño, basil and parsley.

Add lemon juice to a medium sized bowl. Cut the eggplant in half lengthwise.
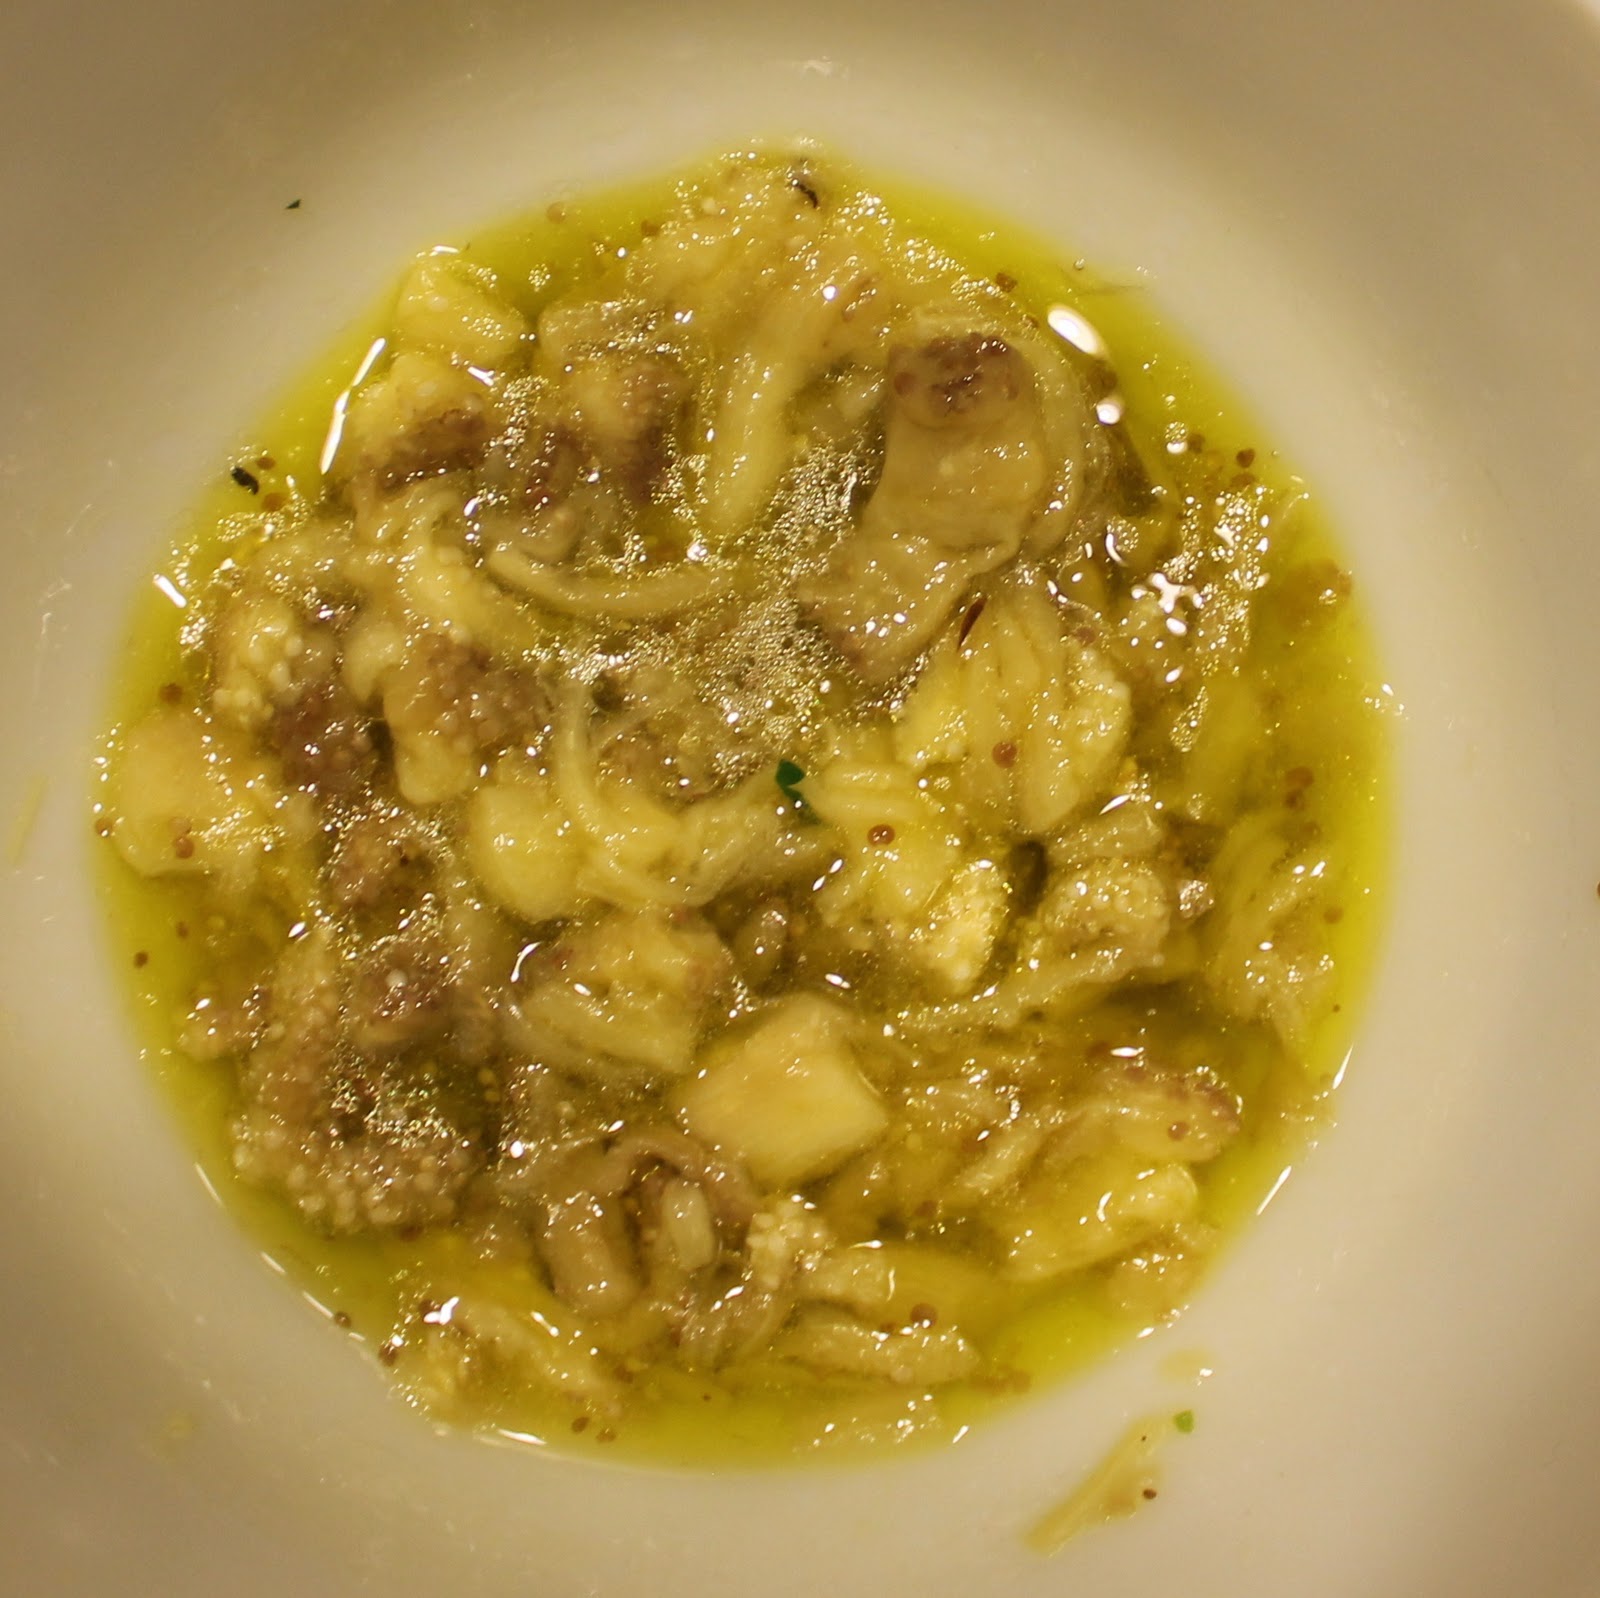
Scoop out the inside of the eggplant into the bowl and toss with the lemon juice.
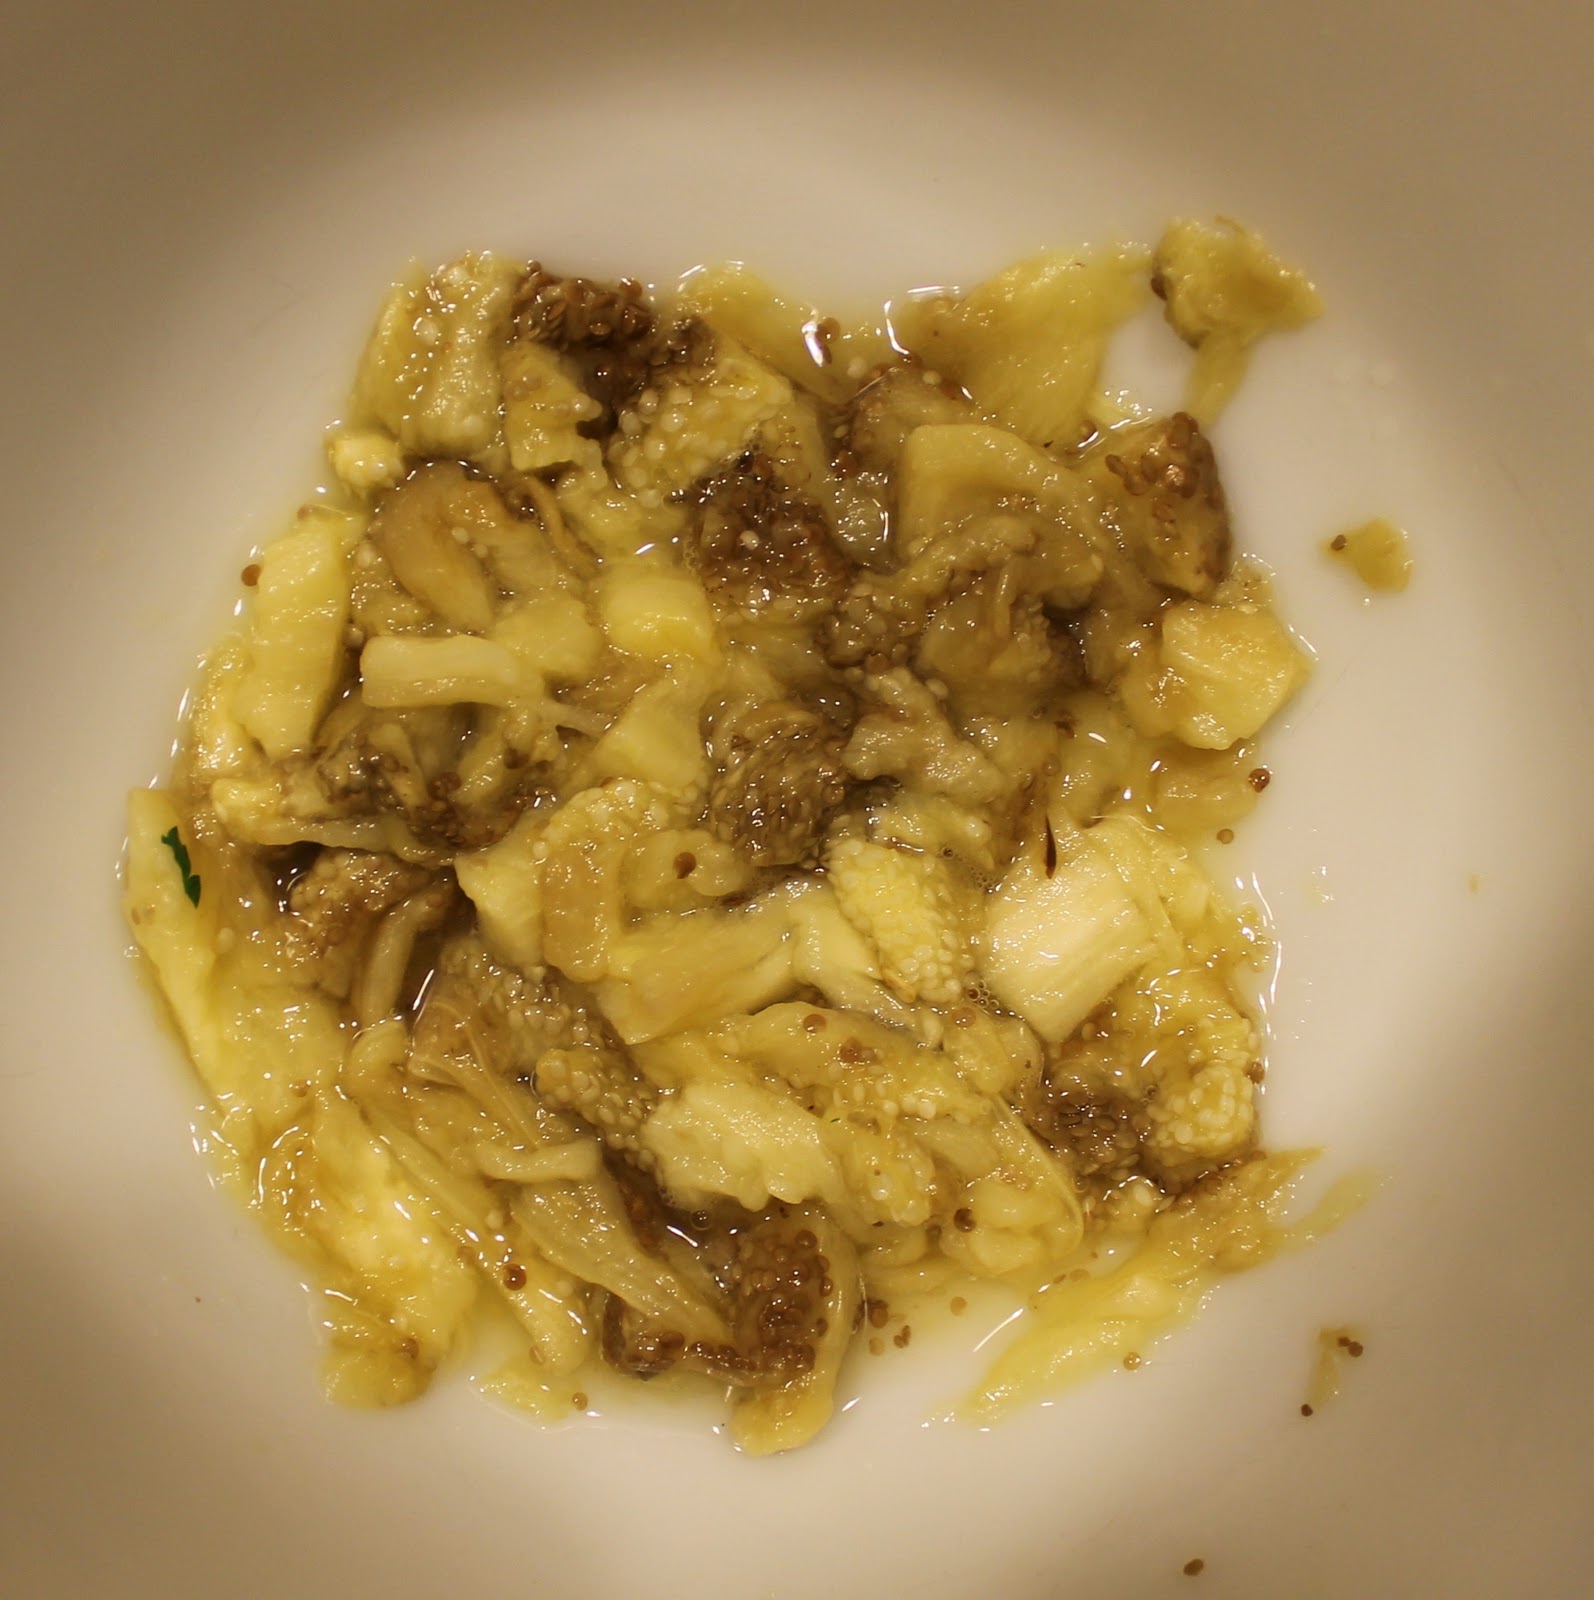
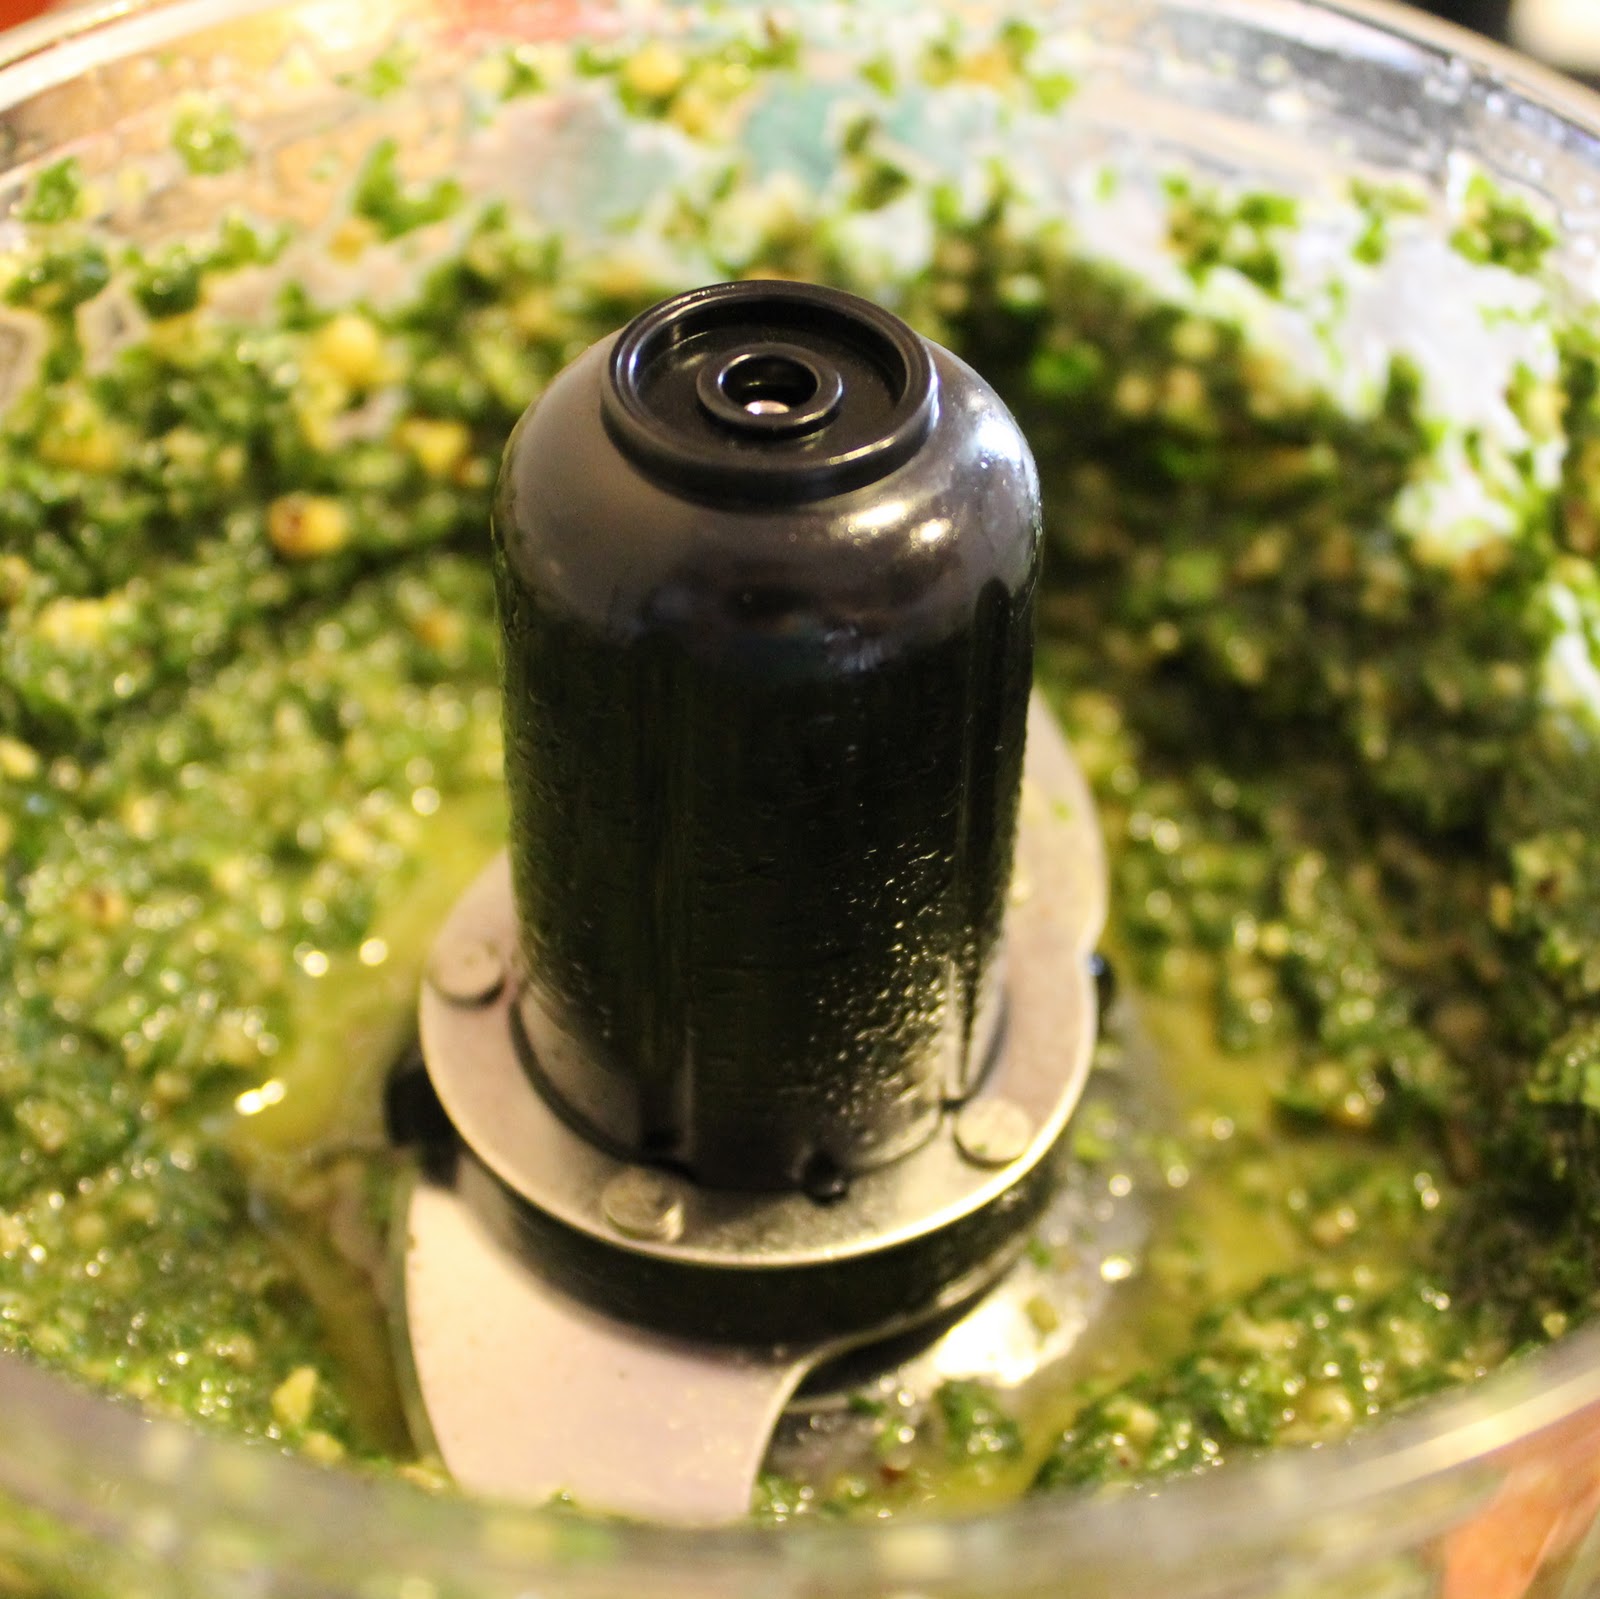
Add olive oil and stir with a fork until the oil is absorbed.
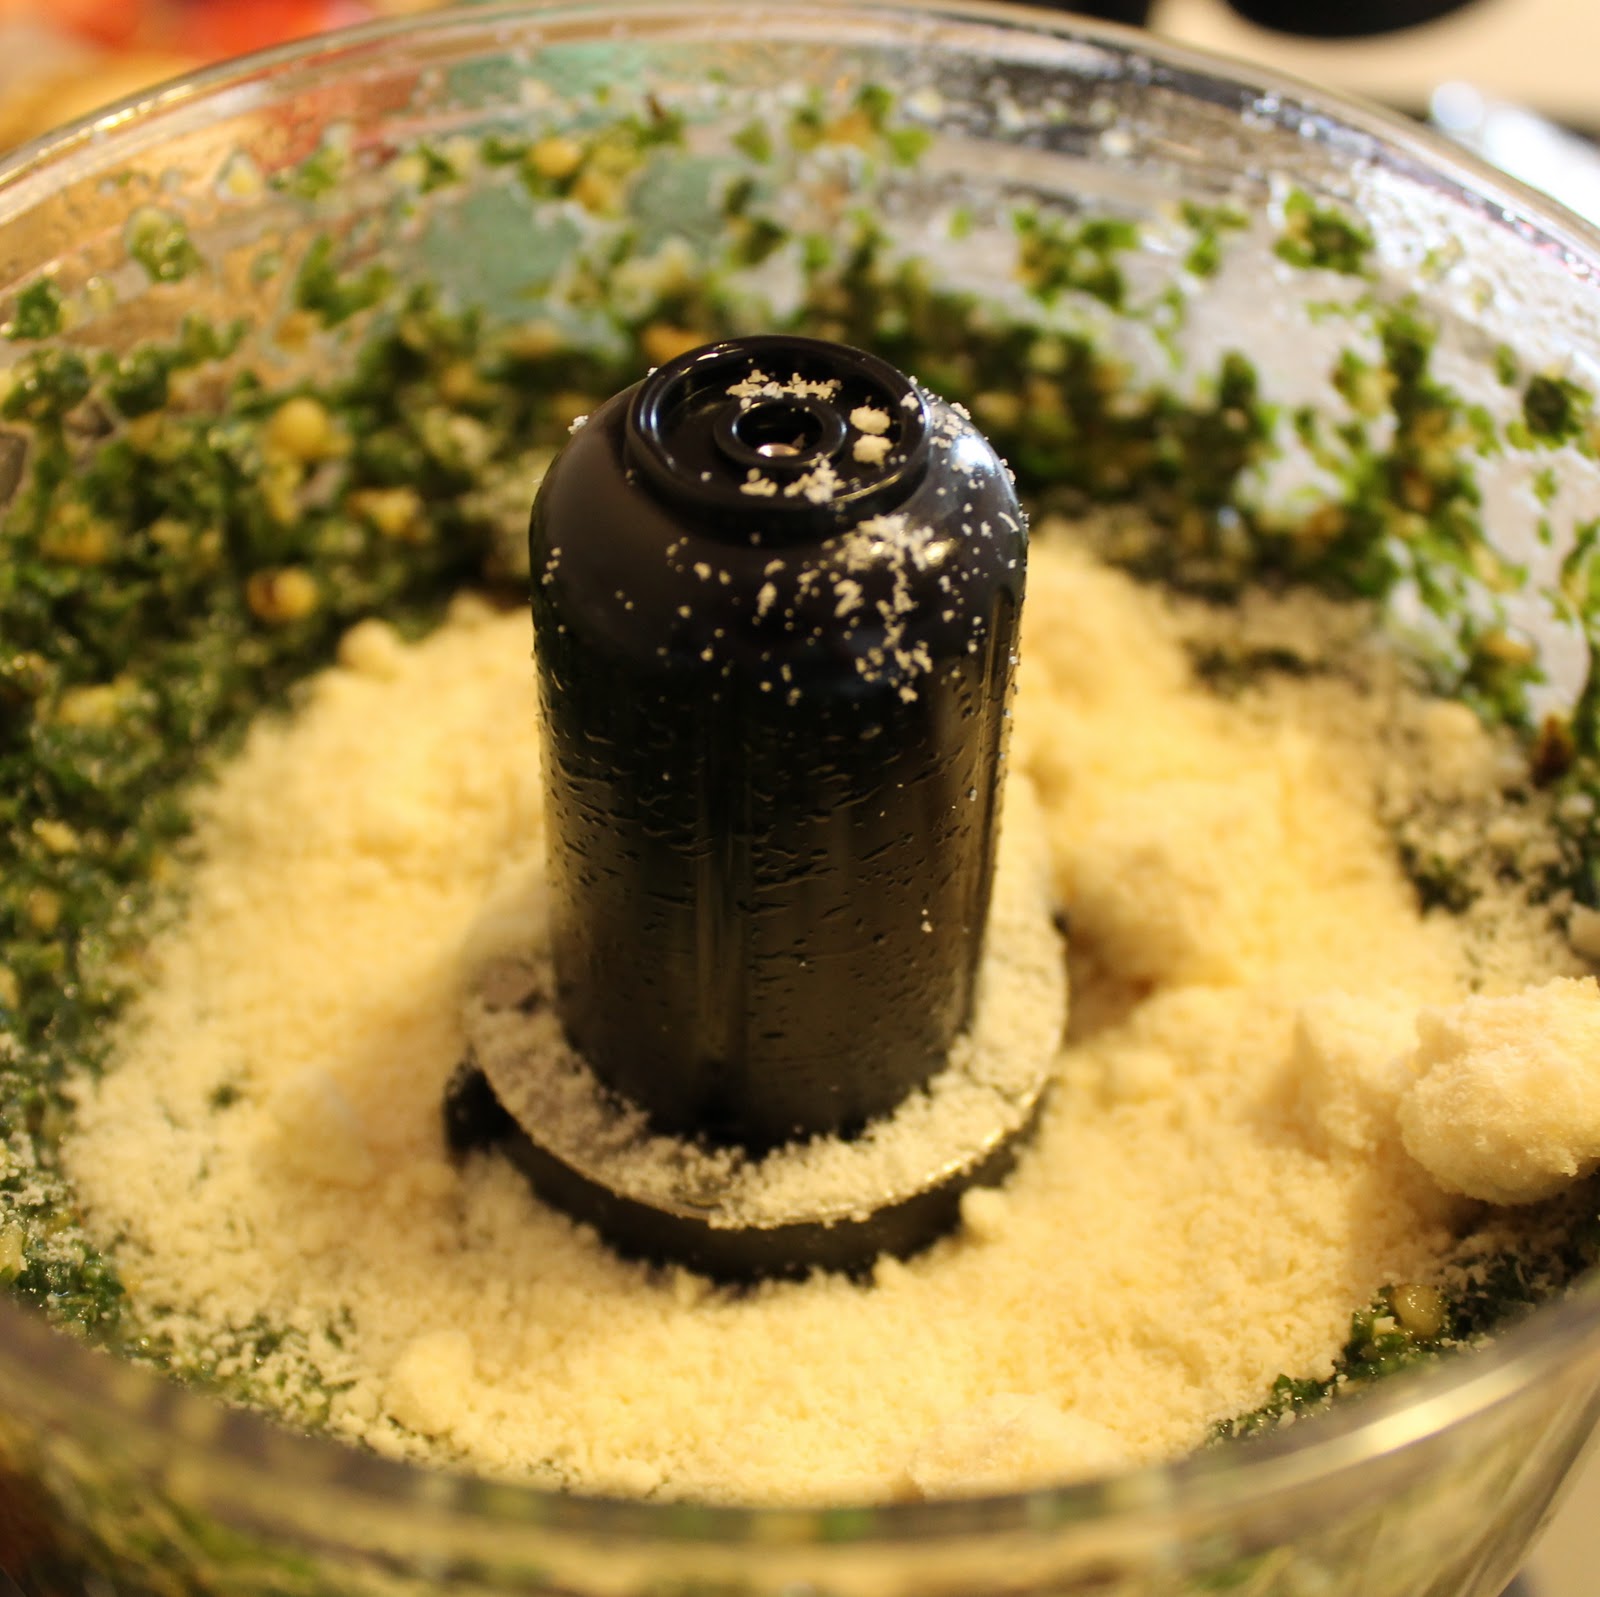
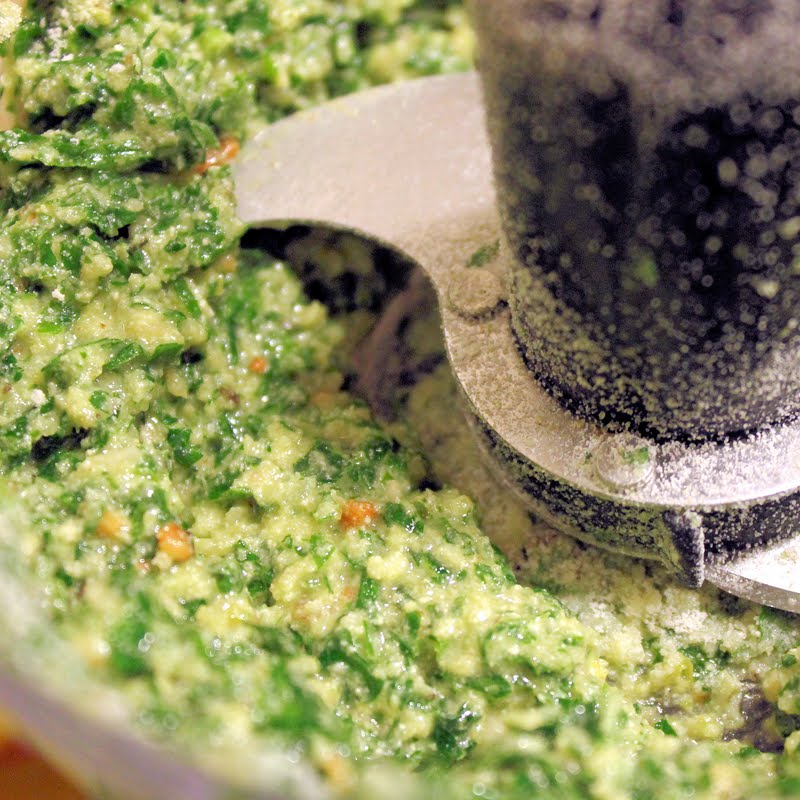
Add feta, onion, pepper, jalapeño, basil, parsley, cayenne and salt.
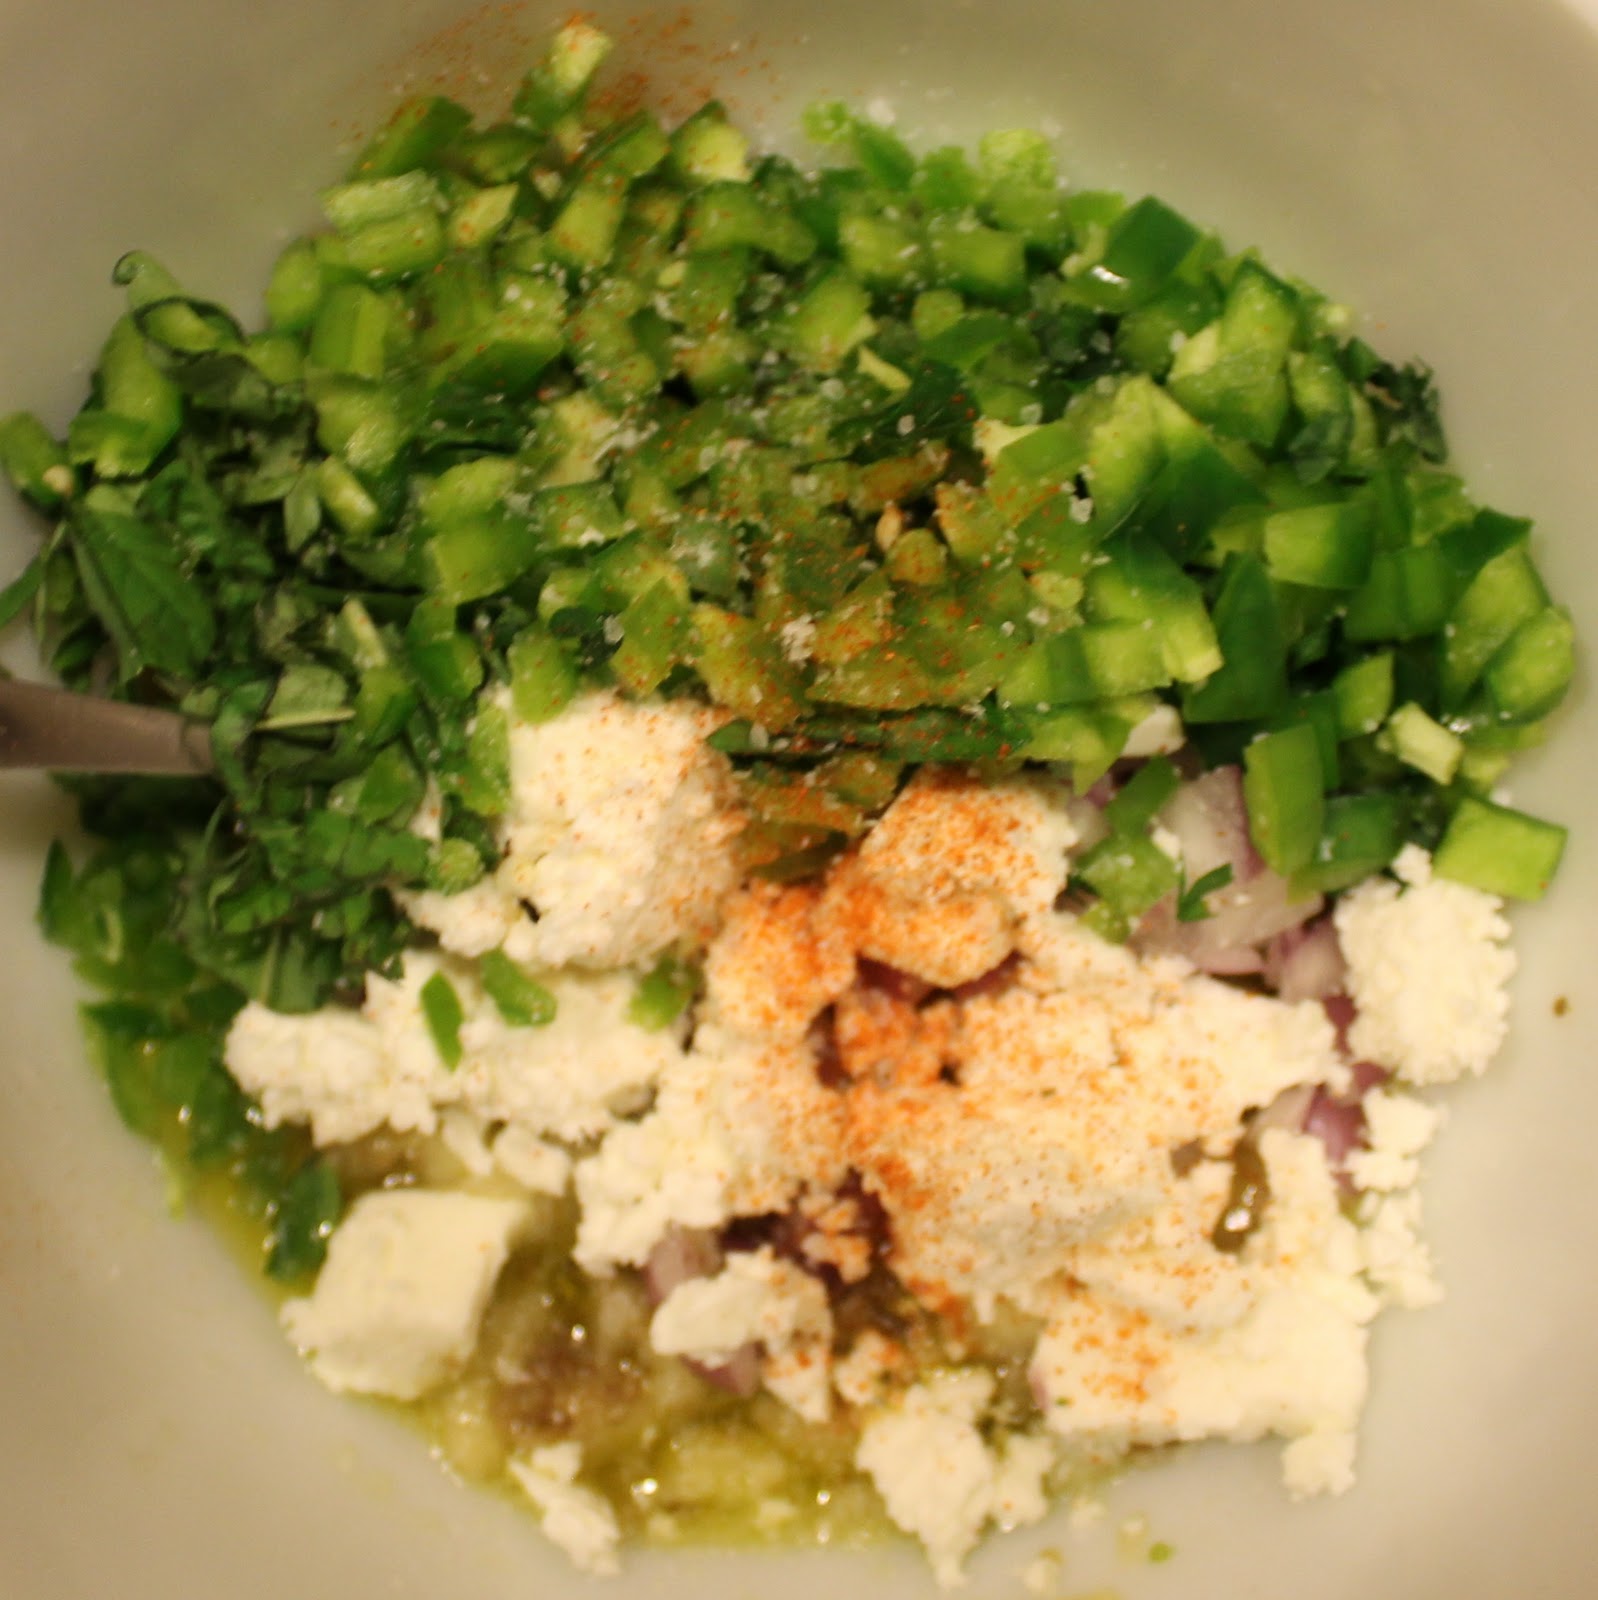
Taste and adjust as needed.
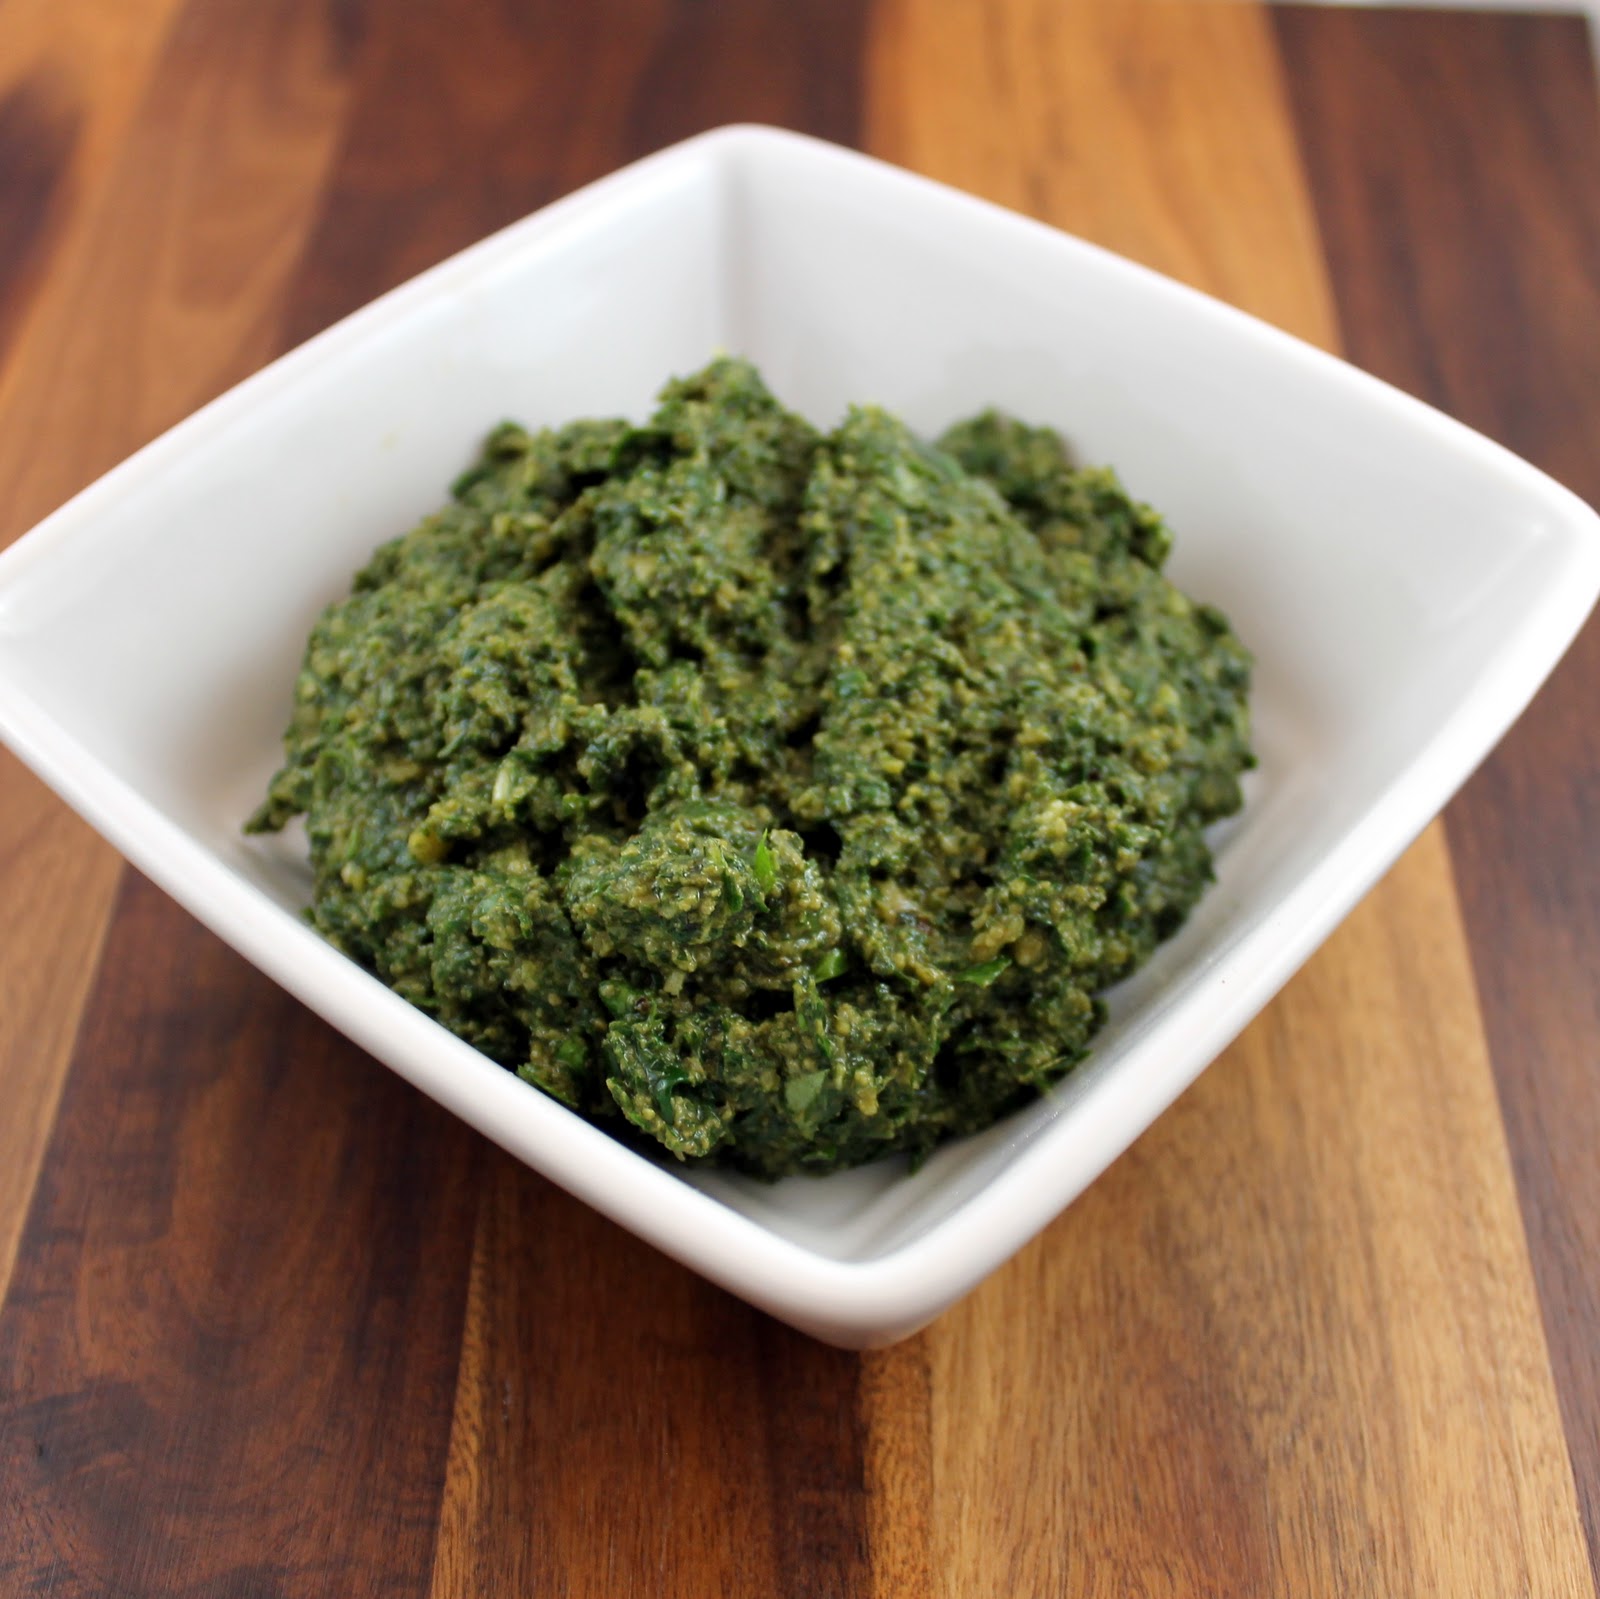
If covered, this recipe can be made up to two days ahead of time. The original recipe included a red bell pepper instead of a green one (I only had a green pepper), and that color would have really popped in this dish.
Serve with toasted pita. This would be a great addition to any mezze platter: tomatoes, hummus, grape leaves, etc.

Pesto

Nothing tastes as fresh as homemade pesto. It is surprisingly easy to make and really blows the store-bought stuff out of the water. With a whopping 5 ingredients (plus salt and pepper), pesto is definitely something you need to try to make if you haven’t already! I made this to go with my gnocchi that I made for a food swap.

Ingredients (makes about 1 cup):
2 cups packed fresh basil leaves
1/4 cup grated Parmesan-Reggiano cheese
1/3 cup extra virgin olive oil
1/3 cup walnuts
3 garlic cloves, minced
Salt and pepper, to taste

Add the basil leaves and walnuts to a food processor.

Pulse a few times to combine.

Mince your garlic.

Add to the food processor.

Pulse to combine.

While the food processor is running, add the olive oil in a slow, steady stream.

Add the Parmesan cheese and pulse to combine.

Season with salt and pepper.

You can add more of whichever ingredient you think you need more of at any time. I prefer my pesto to be relatively firm, so I don’t use a lot of olive oil to make mine. I also tend to add more cheese on top of my pasta anyways, so I limit the amount of cheese I put into the pesto. You can also use pine nuts instead of walnuts; I just prefer walnuts.
Be sure to use high quality ingredients for this recipe if you can. Because none of it is cooked, you want basil when it is fresh, high quality olive oil with a smooth taste, and a nicely aged cheese. A little pesto goes a long way when used as a topping on pasta, so this recipe can luckily be frozen to use at a later date as well!

Gnocchi

I have wanted to try to make gnocchi for some time now. Luckily, I am part of a food swap and they were willing to let me experiment on them. Here’s hoping they turned out well! I used this article as a base for my recipe.
Note: I actually made the gnocchi twice because I wasn’t happy with the original result. I used smaller potatoes the first time (see below photo) and I found that the normal Idaho potatoes were much better for this recipe. (Special thanks to my boyfriend for a lot of his help during the making of the gnocchi)

Ingredients:
3 large russet (Idaho) potatoes, scrubbed
1 egg yolk
About 1 1/2 cups all-purpose flour
1/2 teaspoon nutmeg
Kosher salt and freshly ground pepper

Preheat your oven to 350 degrees. Begin by pricking each potato all over with a fork. This will allow some of the heat to escape while it is baking in the oven.

Arrange the potatoes on a baking sheet. Cook in the oven for about an hour and a half, or until the potatoes are soft.
 
After removing the potatoes from the oven, cut each potato in half to allow the steam to escape.
While the potatoes are still warm, scoop out the insides into a potato ricer into a bowl.
Place the potatoes onto a clean work surface, like your counter, and form into a rectangle and allow to cool enough that they are not hot to touch.
Season the potatoes generously with pepper. Beat the egg yolks in a bowl and drizzle the over the potatoes.
Measure 1 1/2 cups flour and sprinkle a bit of flour over the potatoes as needed (the less flour you use the better). Using a pastry scraper, mix the flour and egg into the potatoes by chopping everything up and folding it in on itself, until well mixed. The dough should sort of resemble coarse crumbs.
Bring the mixture together into a ball.
Sprinkle some on the work surface. Place the dough on top and flatten into a disk.
Dust the dough with more flour. Using your hands, fold and press the dough until the flour is incorporated. Do this two more times, incorporating the flour each time. If the dough still feels sticky, repeat once more.
Divide the dough into four equal parts.
Roll each section into a long thin roll, about 1/2″ thick.

Cut into 1/2″ to 1″ pieces.

Because I was making these for a food swap, I arranged all the pieces on a cookie sheet covered in tin foil and put them in the freezer overnight.
I then divided the gnocchi into freezer bags and popped them back into the freezer.
To cook, bring a pot of heavily salted water to a boil. Drop the gnocchi into the water and cook for approximately 2 to 3 minutes, or until they float to the surface. Remove the gnocchi with a slotted spoon and top with whatever you prefer: tomato sauce, pesto, butter, etc. (I’m a big fan of tomato sauce with some pesto mixed in, yum!)

I tried a few of these and they were pretty good! I hope that they continue to get better as I make them but I thought this recipe turned out well, here’s hoping those in the food swap agree!

Jalapeno Ginger Butternut Squash Soup

When I first came across this recipe for Jalapeno Ginger Butternut Squash Soup, I was intrigued by the ingredients. Never would I have thought to add jalapenos and ginger to a butternut squash dish. It seemed so odd, and yet so delicious as well. This weekend, the weather began feeling a bit more… autumnal. So I used this wonderful weather as an excuse to try out this recipe. I altered the original recipe a bit, but you can find the original here.


Ingredients (makes about 8 servings):
2 tablespoons olive oil
6 cloves garlic, chopped
2 tablespoons grated ginger
1 jalapeño chile, seeded and chopped
1 tablespoon salt
1/4 teaspoon cayenne
4 pounds butternut squash, peeled and cut into 2-in. cubes
3 cups water
3 cups chicken broth
1 tablespoon light brown sugar
1/4 cup coconut milk, plus more for serving
I’ve attempted to peel and cube butternut squash in the past. And it is absolutely not worth it. It takes forever and never seems to yield as much as you think it will. So I wimped out at bought the pre-packaged pre-chopped stuff. And I am so happy I did. I ended up using 3 20 oz containers of the butternut squash.
Begin by chopping your garlic and jalapeno and grating your ginger.
Heat the olive oil in a large pot over high heat. Add the garlic, ginger and jalapeno and cook stirring constantly for 1 or 2 minutes.
Add the cayenne pepper and cook for another 30 seconds, stirring.
Add the squash, chicken broth, brown sugar, and 3 cups water.
Bring to a boil and lower the heat to a simmer. Cook for about 20 minutes or until the squash is fork tender.
Add about 1/3 of the soup to a blender. Remove the top middle piece of the blender top to allow hot air to escape. Place a paper towel over the opening and puree until smooth. Add to a large bowl. Repeat with remaining soup.

Be very very careful doing this! I managed to burn my hand pretty badly when removing the top off the blender. Ouch!

Stir in the coconut milk and serve. I added a tiny bit more of the coconut milk on top of a poured serving and swirled it.

This was a surprisingly tasty soup. The smooth texture is really nice and the butternut squash taste shines through, with a hint of coconut milk. There is a very slight heat at the end from the jalapeno and cayenne, but is definitely not spicy. I honestly couldn’t taste much of the ginger, so next time I might add a bit more. This soup can also be frozen so I look forward to enjoying it in the colder months, but it only took maybe 40 minutes from start to finish so this can easily be made on a weeknight.

Mushroom Risotto

This past weekend, Kennett Square held it’s annual Mushroom Festival. I unfortunately didn’t get to go this year, but my parents dropped off a variety of mushrooms for me. When I have a lot of different types of mushrooms, my go to recipe is a mushroom risotto.

Ingredients:
  • 1 tablespoon butter or olive oil
  • 2 cups assorted mushrooms, sliced (I used oyster, shiitake, portobello & trumpet)
  • 1/2 a small onion, chopped
  • 1 cup arborio rice
  • 1/3 cup white wine
  • 4 cups chicken stock
  • 4 tablespoons Parmesan cheese
  • Salt and pepper, to taste
  • Parsley, chopped (for garnish)

Continue reading Mushroom Risotto

Corn, Tomato & Basil Risotto

After a weekend of brownie and brie baking, I’m back on track making normal meals. Keeping with my tomato-corn themes, I was happy to find a recipe from Fine Cooking that included both of these ingredients. Even better, it is also a risotto!
Ingredients:
4 cups chicken broth
2 cups of frozen corn kernels
2 Tbs. unsalted butter
1 shallot, minced
1 cup arborio rice
1/3 cup dry white wine
1 cup halved cherry tomatoes
2 tsp. extra-virgin olive oil
3 Tbs. torn fresh basil leaves
Kosher salt and freshly ground black pepper
1/3 cup freshly grated Parmigiano-Reggiano

So I chickened out this time on the corn. Out of my last batch of a half dozen corn cobs, 5 (FIVE!) of them had worms. Goo. I understand it is very difficult to grown corn organically, but I needed to just take a step back from the whole surprise-in-my-corn.If you are using fresh corn, click on the link above to see the original recipe, I used frozen kernels for mine so I had to adapt the recipe accordingly. You will need three corn cobs.

Add the chicken broth to a pot and heat over medium-low heat. In another saute pan melt the butter over medium heat. Add the shallot and cook for 2 minutes.

Add the rice and stir to coat.
Add the wine and cook until absorbed, about 1 minute.
Ladle in 1 1/2 cups of the warm broth into the saute pan and cook, stirring occasionally, until the broth is absorbed (about 3 to 5 minutes). Add a 1/2 cup of broth at a time, waiting until the broth is absorbed before adding the next 1/2 cup.
Combine the tomatoes,olive oil, and 2 tablespoons of the basil in a bowl. Season with salt and pepper and set aside.
I’d be happy just eating this!
About 16 minutes into the cooking of the rice (you’ll still have broth left), stir in the corn. Continue to add the broth in 1/2 cup increments until the rice is creamy, about 20 to 25 minutes in total.
Remove from heat and add the Parmigiano cheese and tomato-basil mixture. Top with the remaining basil and serve.
Somehow, this risotto was light and refreshing. I loved the sweetness from both the tomatoes and corn, it tasted like summer! I ate the leftovers from this the next day for lunch and it held up really well, which is always a plus.


Salted Caramel Brownies

Hurricane Irene has forced me to stay indoors for most of today, which means I’ve resorted to cooking/baking to keep me occupied. Today’s creation is another Cooking Light recipe for Salted Caramel Brownies.

Ingredients:

  • 3/4 cup all-purpose flour
  • 1 cup granulated sugar
  • 3/4 cup unsweetened cocoa
  • 1/2 cup packed brown sugar
  • 1/2 teaspoon baking powder
  • 6 tablespoons butter
  • 2 large eggs
  • 1 teaspoon bakery emulsion
  • Cooking spray

Topping:

  •  1/4 cup butter
  •  1/4 cup packed brown sugar
  •  3 1/2 tablespoons evaporated fat-free milk, divided
  •  1/4 teaspoon vanilla extract
  •  1/2 cup powdered sugar
  •  1 ounce dark chocolate, coarsely chopped
  •  1/4 teaspoon espresso powder
  •  1/8 teaspoon coarse sea salt

Corn Chowder

I have so much corn, it’s getting ridiculous. For the past three weeks my CSA share has come with 6 ears of corn and well, I’m corn-ed out. So I decided to make a corn chowder that I plan on freezing to enjoy when I’m craving corn in non-summer months. I’m hoping the texture of the chowder doesn’t change after freezing. I found this recipe on Simply Recipes, and chose to make it without the bacon. I also had green bell peppers from my CSA share, so I used that instead of buying a red pepper.


Ingredients:
1 1/2 Tbsp unsalted butter
1/2 large yellow onion, chopped (about 1/2 cup)
1/2 large carrot, chopped (about 1/3 cup)
1/2 celery stalk, chopped (about 1/3 cup)
3 ears of sweet corn, kernels removed from the cobs (about 2 cups), cobs reserved
1 bay leaf
3 1/2 cups milk, whole or low fat
1 medium Yukon Gold potato, or Russet, peeled and diced
1/4 green bell pepper, chopped (about 1/4 cup)
Kosher salt and fresh ground pepper
1/2 teaspoon fresh thyme leaves

Prepare all your vegetables.


In a large saute pan, melt the butter over medium heat. Add the onion and cook for 4 to 5 minutes or until soft.


Add the carrot and celery and cook for another 4 or 5 minutes.


Cut the corn cobs in half and add them to the saute pan.


Add the milk and bay leaf.


Bring to a boil and reduce heat to a light simmer (low heat, maybe even the “warm” setting).
Cover and cook for 30 minutes. Do not boil; make sure it is just at a light simmer. This is to prevent the milk from burning.
Remove the cobs and the bay leaf. Turn the heat up to medium. Add the potatoes, green pepper, 1 teaspoon salt and pepper, to taste.


Bring to a simmer and reduce heat to low. Simmer for 15 minutes or until potatoes are fork tender.
Increase the heat again and add the corn kernels and thyme. Bring to a boil. (Last time) reduce the heat and simmer for 5 minutes.
I had a bit of this just to make sure it turned out alright, and it was really good! I wish I had cut the vegetables much much smaller, I found it to be a bit too chunky. This is a hearty colder weather dish, so I can’t wait to break this out when the leaves begin to change.


Avocado-Corn Chowder with Rotisserie Chicken

I swear, every single recipe I’ve come across in the past week has included avocado. I am somewhat blaming one of my coworkers, who manages to consume at least 1/2 an avocado a day, every day. So this recipe choice is very much influenced by her avocado obsession. My CSA share’s inclusion of corn this week made this a must try. I adapted this from Cooking Light‘s August Issue.


Ingredients:
2 ripe avocados, divided
1 1/2 cups water
The juice of 1 lemon
The juice of 2 limes
1 teaspoon honey
1 teaspoon kosher salt, divided
1/2 teaspoon freshly ground black pepper, divided
A pinch of ground red pepper
1/4 rotisserie chicken, shredded
Corn kernels from 3 ears of corn (or 1.5 cups of defrosted corn kernels)
1 red bell pepper, chopped
1/3 cup chopped scallions
1/4 cup chopped fresh cilantro

Peel and chop 1 avocado and put into a blender.


Add the water, lemon and lime juice, honey, 3/4 teaspoon salt, 1/4 teaspoon black pepper, and pinch of red pepper. (Add more red pepper if desired) Blend until smooth.


Place in the freezer for 15 minutes. During this time, chop your red bell pepper, scallions, and cilantro, and peel and dice your remaining avocado. Shred the chicken as finely as you choose.


Combine the diced avocado, bell pepper, corn and scallions and pour the avocado puree over the mixture. Mix to combine. Spoon into four bowls and top with chicken and cilantro.


This meal is too easy to not try. Using frozen corn kernels and rotisserie chicken makes this a 20 minute meal. I made this the night before in the hopes of having it for lunch the next day. I was a bit worried that it might oxidize overnight and turn an unappealing color, but the citrus from the lemon and lime kept that from happening. The original recipe uses orange juice instead, but that didn’t sound all that appealing to me. I also substituted rotisserie chicken for grilling my own chicken because I had bought 1/2 a rotisserie chicken to make another dish from Cooking Light also.


I loved that the citrus came through in the dish, but could have used a bit more red pepper flakes. This is a very chunky chowder, which makes it feel like a real meal versus a too smooth soup. My coworker even tried a bite, and she approved. I will be making this for lunch again in the near future!

Fried Rice with Sweet Soy Sauce

I really try to make an effort to bring my lunch to work each day. My office is absolutely freezing, so I tend to gravitate towards warm lunches. Because of this, I am always looking for new pasta and rice recipes that sound like they would reheat well and still taste good. As usual, Cooking Light came to the rescue with the August issue’s Fried Rice with Sweet Soy Saucerecipe. I made all four servings so that I could have a batch for dinner, and get a few lunches out of it.


Ingredients for Fried Rice:
3 tablespoons peanut oil, divided
4 large eggs, lightly beaten
3 finely chopped shallots
2 garlic cloves, minced
1 serrano chile, seeded and chopped
4 cups cooked  rice
Salt and pepper, to taste
1 thinly sliced daikon radish
1/3 cup fresh basil leaves, thinly sliced
1/3 cup fresh mint leaves
1/3 cup chopped fresh cilantro
4 lime wedges
Ingredients for sweet soy sauce:
1/4 cup lower-sodium soy sauce (or coconut aminos to make gluten free)
1/4 cup packed light brown sugar (The original recipe used dark brown sugar. I didn’t have any. Oh well)

Begin by cooking your rice. You can just cook the rice in water because the soy sauce will add plenty of taste, no need to waste your chicken broth.


While your rice is cooking. prepare your shallots, garlic and chile. I am a wimp about heat and serraro chile can really be hot, so I removed all seeds before chopping. If you like spicy food, keep the seeds in.


Slice your daikon radish. I used a mandoline slicer.


Prepare your herbs.


To make the sweet soy sauce, combine the soy sauce and brown sugar in a saucepan. Heat over medium heat. Simmer for 2 minutes or until the brown sugar is incorporated into the soy sauce. Set aside.
Add 4 eggs to a bowl and lightly beat.


Add 1 tablespoon peanut oil to a large saute pan over medium-high heat, swirling to coat the bottom of the pan. Pour eggs into the pan and cook for 2 minutes or until they set. Remove and set aside.


Increase the heat to high and add 2 tablespoons peanut oil to the pan. Add your shallots, garlic and chile and saute for 1 minute.


Add the cooked rice and cook for 3 minutes or until lightly browned.


Add cooked eggs and soy sauce mixture.

Season with salt and pepper and mix to coat. Add to bowls and top with radish and herbs. Serve with a lime wedge.


This meal was really tasty, not only the first time around but also when reheated. The serrano pepper gave a subtle heat to the whole dish which counteracted the sweetness of the soy sauce, great combination! When I packed it for lunch, I kept the rice mixture in one container and a few radish slices,herbs , and a lime wedge in another container. I heated the rice in the microwave and topped them with the radish slices and herbs, then squeezed the lime juice over the whole dish. Perfect!

Greek Yogurt with Warm Berry Sauce

I have a serious sweet tooth. To such an extreme, that I cannot have ice cream in my house or I will eat it in one sitting. It doesn’t matter if I buy a pint or a gallon. Sigh. It’s quite an issue I have. So I tend to try to avoid making dessert all together if I’m cooking, but this recipe seemed too good to pass up. Once again, this came from Cooking Light’s Quick & Healthy Menu Maker App to go with the Mango Shrimp Kebabs and the Grilled Corn with Chipotle Lime Butter. I adapted the recipe to work with a bag of mixed frozen berries I had in my freezer.
Ingredients:
1 cup frozen blueberry, blackberry and raspberry mix
1/2 cup water
1/4 cup sugar
The juice and zest of 1 lemon
1 tablespoon butter
2 cups plain 2% reduced-fat Greek yogurt
Fresh blackberries, blueberries, and/or raspberries, optional

Combine the frozen berry mixture, water, sugar, zest and lemon in a small pan.
Bring to a boil and reduce the heat to medium low. Let simmer for 10 minutes.
Stir in butter.
Meanwhile, divide the Greek yogurt among 4 bowls.
Spoon the berry sauce over the yogurt and serve. Top with fresh berries if you have any on hand.
What a perfect way to indulge in a dessert without completely ruining your healthy dinner. The berry sauce is just sweet enough to cut through the Greek yogurt, but not overly so.
As good as it was for dessert, I still had some left over, so I had it the next morning for breakfast. It was just as tasty cold, which is great news because you can make the berry sauce ahead of time. I do suggest adding some fresh berries on top, just so there is some texture to the dessert.

Beet and Carrot Chips with Tzatziki

I came across a recipe for beet chips recently and was intrigued. It seemed relatively easy, didn’t involve frying the beets (I don’t have a deep fryer, and the idea of deep frying something kind of makes me sick), and appeared to be a great way for me to use some of the beets I received in my CSA share. I decided to bring it a step further and try to make carrot chips at the same time as well as a dip to go with them. I had both normal beets and white beats so I was really hoping this would turn out colorful!
The tiny ones are carrots, the others are red & white beets

Ingredients for chips:
2 white beets
2 red beets
2 large carrots
Salt and pepper to taste
2 cups water
2 cups sugar

Ingredients for tzatziki:
1 container of Greek yogurt (I used 0%)
1/4 cup fresh chopped dill
Juice and zest of 1 lemon
2 garlic cloves, minced
1/2 a cucumber, finely chopped
Salt and pepper to taste

To begin, combine the water and sugar in a saute pan and bring to a boil. While the mixture is heating, peel the beets with a vegetable peeler. Chop off most of the leaves on top, but leave a bit to use as a handle when using the mandoline slicer.

When the liquid has boiled, remove from heat and add the beets to the liquid. Let sit for 15 minutes.
I used raw sugar, which is why it’s brown
Preheat the oven to 325 degrees. While the beets are soaking, use a mandoline slicer to thinly slice the carrots. After 15 minutes, remove the beets, dry them off with a paper towel, and thinly slice with the mandoline slicer. Arrange on a baking sheet sprayed with cooking spray and season with salt and pepper.
Cook for 40 minutes or until they begin to crisp slightly. While the chips are baking, prepare the tzatziki. Combine the chopped dill, lemon, zest, garlic, cucumber, salt and pepper in a medium sized bowl.

Mix in the Greek yogurt.

Cover and refrigerate until the chips are done.

Allow the chips to cool on the baking sheet for about 10 minutes after removing them from the oven. Carefully remove from the baking sheet.

The beets and especially the carrots really shrink up, so if you can, use quite large beets and carrots.  I think mind turned out too tiny for my liking. I also think I sliced them a bit too thin, they really don’t seem like they’d stand up to the dip too well.
they are fun looking though!

Place the chips in a bowl and serve with the tzatziki. Enjoy!

This recipe makes a whole lot of tzatziki, probably more than you’ll use on the chips. Tzatziki is great with pita chips, as a condiment on grilled meats, stuffed grape leaves, and crudites so you’ll have plenty of options to use the rest of the dip.
Beet and Carrot Chips with Tzatziki
Cuisine: Appetizer, Sides, Vegetarian
Author: I Can Cook That
Ingredients
  • Ingredients for chips:
  • 2 white beets
  • 2 red beets
  • 2 large carrots
  • Salt and pepper to taste
  • 2 cups water
  • 2 cups sugar
  • Ingredients for tzatziki:
  • 1 container of Greek yogurt (I used 0%)
  • 1/4 cup fresh chopped dill
  • Juice and zest of 1 lemon
  • 2 garlic cloves, minced
  • 1/2 a cucumber, finely chopped
  • Salt and pepper to taste
Instructions
  1. To begin, combine the water and sugar in a saute pan and bring to a boil. While the mixture is heating, peel the beets with a vegetable peeler. Chop off most of the leaves on top, but leave a bit to use as a handle when using the mandoline slicer.
  2. When the liquid has boiled, remove from heat and add the beets to the liquid. Let sit for 15 minutes.
  3. Preheat the oven to 325 degrees. While the beets are soaking, use a mandoline slicer to thinly slice the carrots. After 15 minutes, remove the beets, dry them off with a paper towel, and thinly slice with the mandoline slicer. Arrange on a baking sheet sprayed with cooking spray and season with salt and pepper.
  4. Cook for 40 minutes or until they begin to crisp slightly. While the chips are baking, prepare the tzatziki. Combine the chopped dill, lemon, zest, garlic, cucumber, salt and pepper in a medium sized bowl.
  5. Mix in the Greek yogurt.
  6. Cover and refrigerate until the chips are done.
  7. Allow the chips to cool on the baking sheet for about 10 minutes after removing them from the oven. Carefully remove from the baking sheet.
  8. Place the chips in a bowl and serve with the tzatziki.
3.1.09

Pesto Pasta Salad

I am in a pasta salad making mood, so I decided to make one more batch for this weekend. I already made one pasta salad for this weekend, but I have a bunch of these ingredients on hand from other recipes and I don’t want them to go bad over the long weekend. I used a recipe from My Recipes as a base and substituted ingredients I already had, and ended up with this Pesto Pasta Salad!

Ingredients for the pesto:
1 or 2 bunches of packed fresh basil
1 bunch of packed fresh parsley
4 garlic cloves, minced
Juice and zest from 1 lemon
1/2 teaspoon salt
1/4 teaspoon pepper
1/3 cup walnuts (or toasted pine nuts)
1/2 cup olive oil
1/2 cup grated Parmesan cheese
Ingredients for the salad:
1 box gemelli or other short pasta
1 small container plain 2 percent Greek yogurt
1 pint cherry or grape tomatoes, halved
3 small cucumbers, sliced
1 red onion, chopped
1/2 cup feta cheese


Cook the pasta according to the “al dente” directions on the package. Drain and run under cold water. Set aside.

To make the pesto, combine the basil, parsley, garlic, lemon juice, lemon zest, salt, pepper and walnuts in a food processor. (I ended up being just short of 1/3 cup walnuts, so I also added in a few toasted pine nuts.) Blend until smooth. Pour in olive oil and blend until there is a thick paste. Add the Parmesan and combine until blended. Add more salt and pepper, to taste.

Prepare all of your vegetables. After chopping the red onion, run it under cold water to remove some of the bite. Slice your cucumbers and halve your tomatoes.

Combine the pesto and Greek yogurt in a large bowl.

Add the pasta and vegetables and toss to coat.

Because I am making this for the weekend, I only made a tiny batch fully mixed so I could taste it. The pesto mixture is so so creamy that you honestly might not even need the feta. The tomatoes and red onions add a wonderful contrast to the pesto and the cucumbers add a nice crunch to the salad. I will try to take some photos this weekend of the fully assembled salad, but if it is anything close to what I just sampled, I think my friends will be happy.


Pesto Pasta Salad

Total Time: 15 minutes

Yield: 8 servings

Ingredients

    Pesto:
  • 1 or 2 bunches of packed fresh basil
  • 1 bunch of packed fresh parsley
  • 4 garlic cloves, minced
  • Juice and zest from 1 lemon
  • 1/2 teaspoon salt
  • 1/4 teaspoon pepper
  • 1/3 cup walnuts (or toasted pine nuts)
  • 1/2 cup olive oil
  • 1/2 cup grated Parmesan cheese
  • Salad:
  • 1 box gemelli or other short pasta
  • 1 small container plain 2 percent Greek yogurt
  • 1 pint cherry or grape tomatoes, halved
  • 3 small cucumbers, sliced
  • 1 red onion, chopped
  • 1/2 cup feta cheese

Instructions

  1. Cook the pasta according to the “al dente” directions on the package. Drain and run under cold water. Set aside.
  2. To make the pesto, combine the basil, parsley, garlic, lemon juice, lemon zest, salt, pepper and walnuts in a food processor. (I ended up being just short of 1/3 cup walnuts, so I also added in a few toasted pine nuts.) Blend until smooth. Pour in olive oil and blend until there is a thick paste. Add the Parmesan and combine until blended. Add more salt and pepper, to taste.
  3. Prepare all of your vegetables. After chopping the red onion, run it under cold water to remove some of the bite. Slice your cucumbers and halve your tomatoes.
  4. Combine the pesto and Greek yogurt in a large bowl.
  5. Add the pasta and vegetables and toss to coat.
Schema/Recipe SEO Data Markup by Yummly Rich Recipes
0.1
https://icancookthat.org/2011/07/pesto-pasta-salad.html

Italian Pasta Salad

It’s almost July 4th weekend, so I am preparing a bunch of dishes for me to trek down to the beach.
I tend to make food that can marinate for a day or two so that I have time to make it without rushing around right before we leave. This time around, I decided to make a pasta salad based off my mom’s version.

Ingredients:

  • 1 box of tri-colored pasta
  • 1 can of pitted black olives, sliced
  • 1 package of cherry or grape tomatoes
  • 1/2 cup corn kernels
  • 1/2 can of black beans, rinsed
  • 6 mozzarella balls, halved
  • small jar of artichoke hearts, chopped
  • 1 onion, chopped
  • 1 jar roasted red peppers, roughly chopped
  • Italian dressing (recipe below)

Ingredients for Italian dressing:

  • 1 tablespoon garlic salt
  • 1 tablespoon onion powder
  • 2 tablespoons dried oregano
  • 1 teaspoon black pepper
  • 1 teaspoon dried basil
  • 1 tablespoon dried parsley
  • 1/4 teaspoon celery salt
  • 1 teaspoon salt
  • 1/2 cup white wine or rice vinegar
  • 1 1/3 cup olive oil or canola oil

Continue reading Italian Pasta Salad

Roasted Beets with Tahini

There is a restaurant in Philadelphia called Zahav that serves modern Israeli food. I went there for my birthday last December, and am still thinking about their tasty hummus and absolutely fantastic salatim, a selection of 8 little salads that you scoop up with their house baked laffa. All of the salads were really delicious, but the pureed beet salad was by far the happiest surprise offered. So when my CSA share came with beets this time around, I knew exactly what I was going to make… or try to make at least. I basically made a hummus, substituting in roasted beets for the chickpeas. My version is probably not all that close, to the one served as Zahav but I’m still happy with the results.
Ingredients:
1 bunch of beets (mine came with 5)
2 tablespoons tahini
The juice and zest of 2 lemons
2 garlic cloves, minced
1 teaspoon cumin
1 tablespoon olive oil
Salt and pepper, to taste
Walnuts, for topping

To roast the beets, preheat your oven to 450 degrees. Remove the tops, wash to remove all dirt, and arrange on a baking sheet. Drizzle with the olive oil and add a generous amount of salt.
Cook for 40 minutes or until you can easily stick them with a fork. My beets were on the smaller side, so you may need to up the time to 1 hour.
Allow to cool completely. Remove the skin of the beets by rubbing them with a paper towel. This is surprisingly easy, I promise.

Roughly chop the beets.

Add the beets, tahini, lemon juice, lemon zest, cumin, garlic, salt and pepper to a food processor.

Process until smooth.

Transfer to a serving dish and top with chopped walnuts. Serve with cucumbers, pita, broccoli, cauliflower, or anything else you’d like to dip in this lovely little dish.
If you’d prefer, you can add in a can of rinsed chickpeas to make a beet hummus. Another alternative would be to add some Green yogurt, to taste, to make a creamier version of this dish. Enjoy!
Exit mobile version