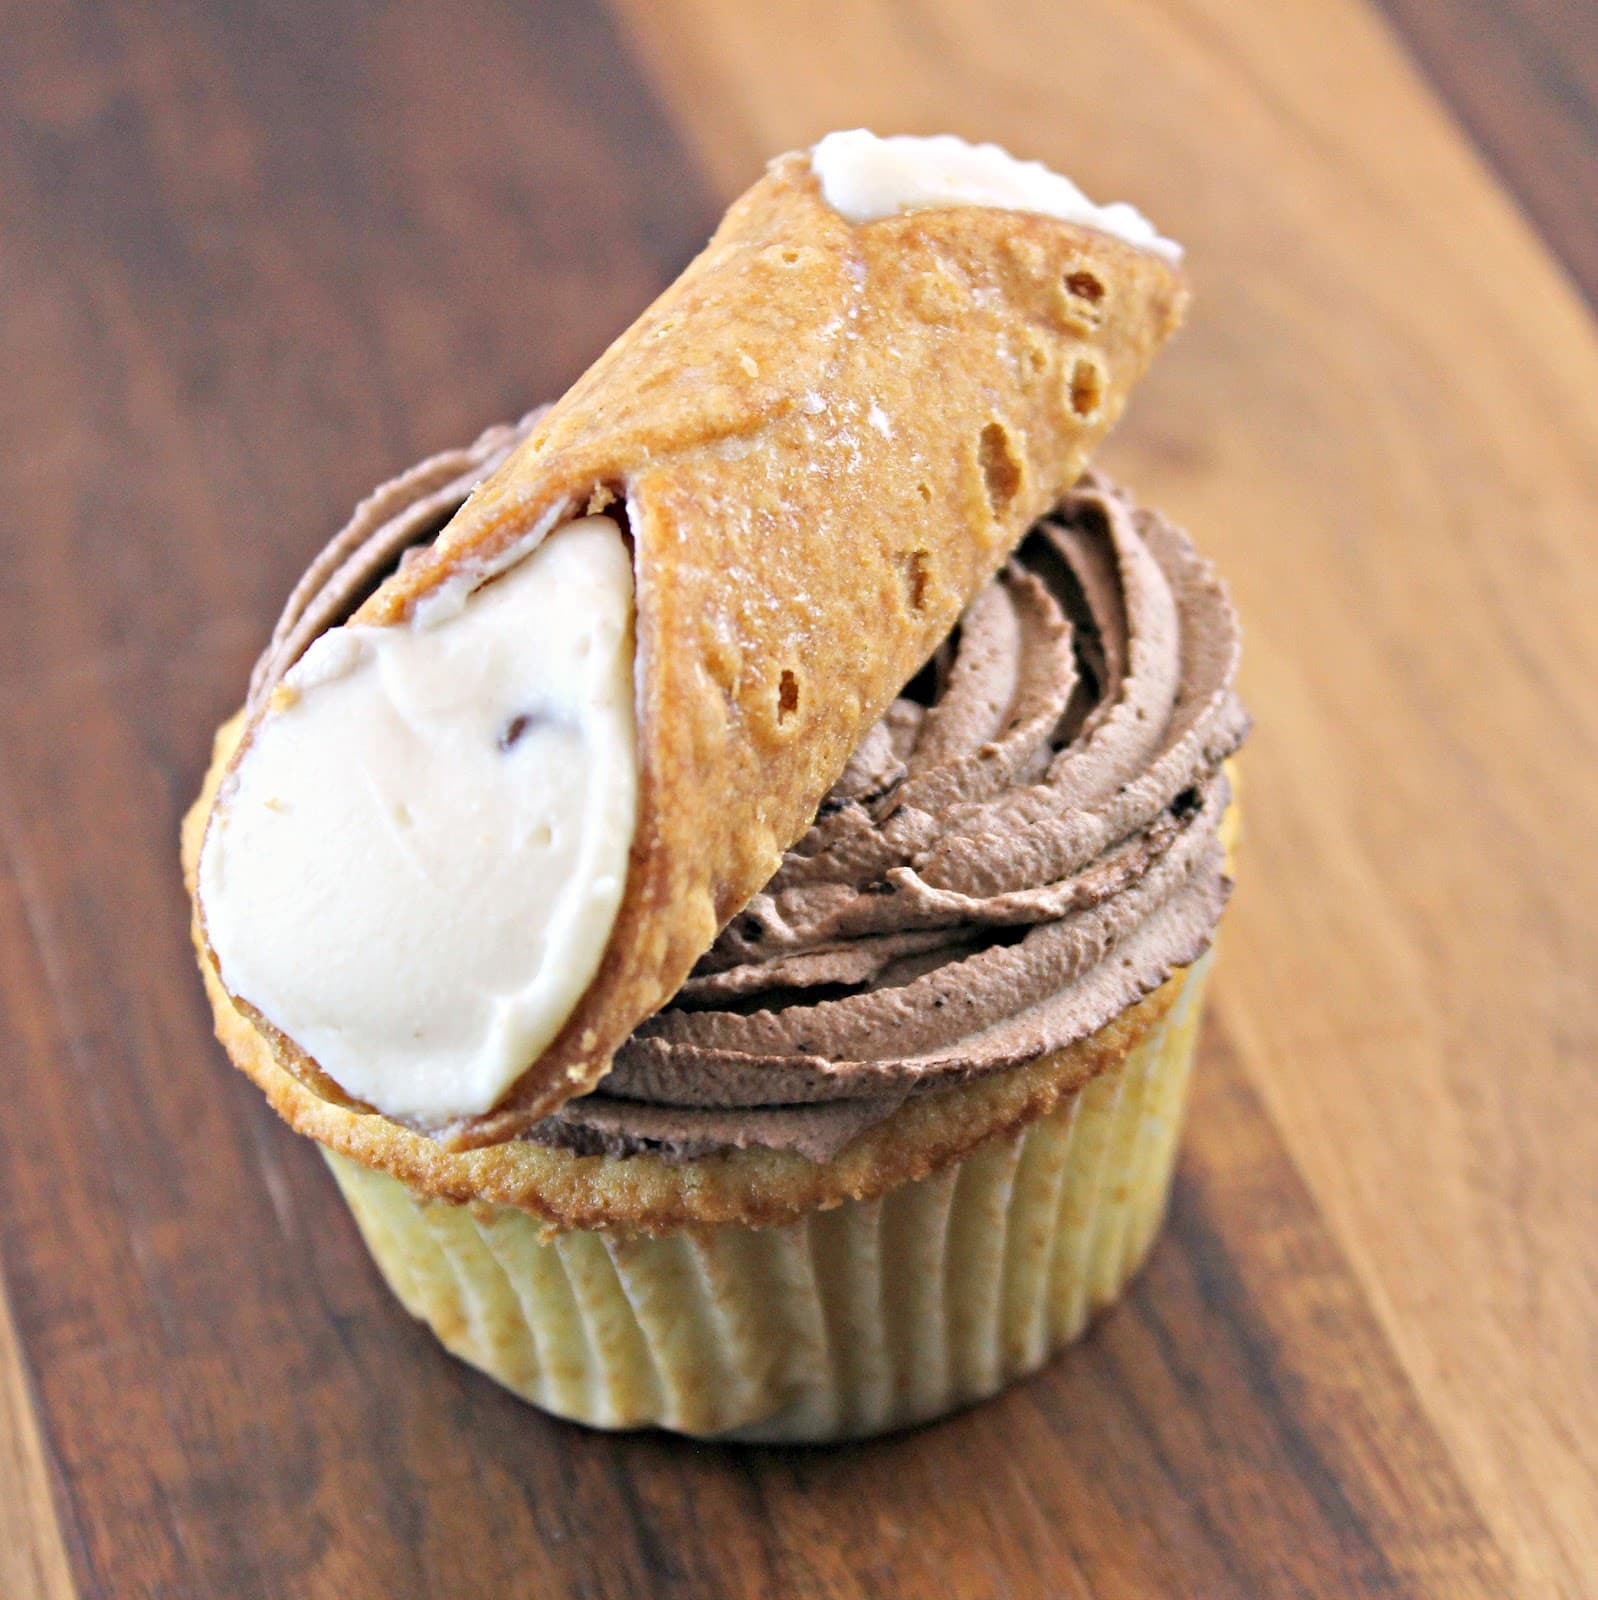
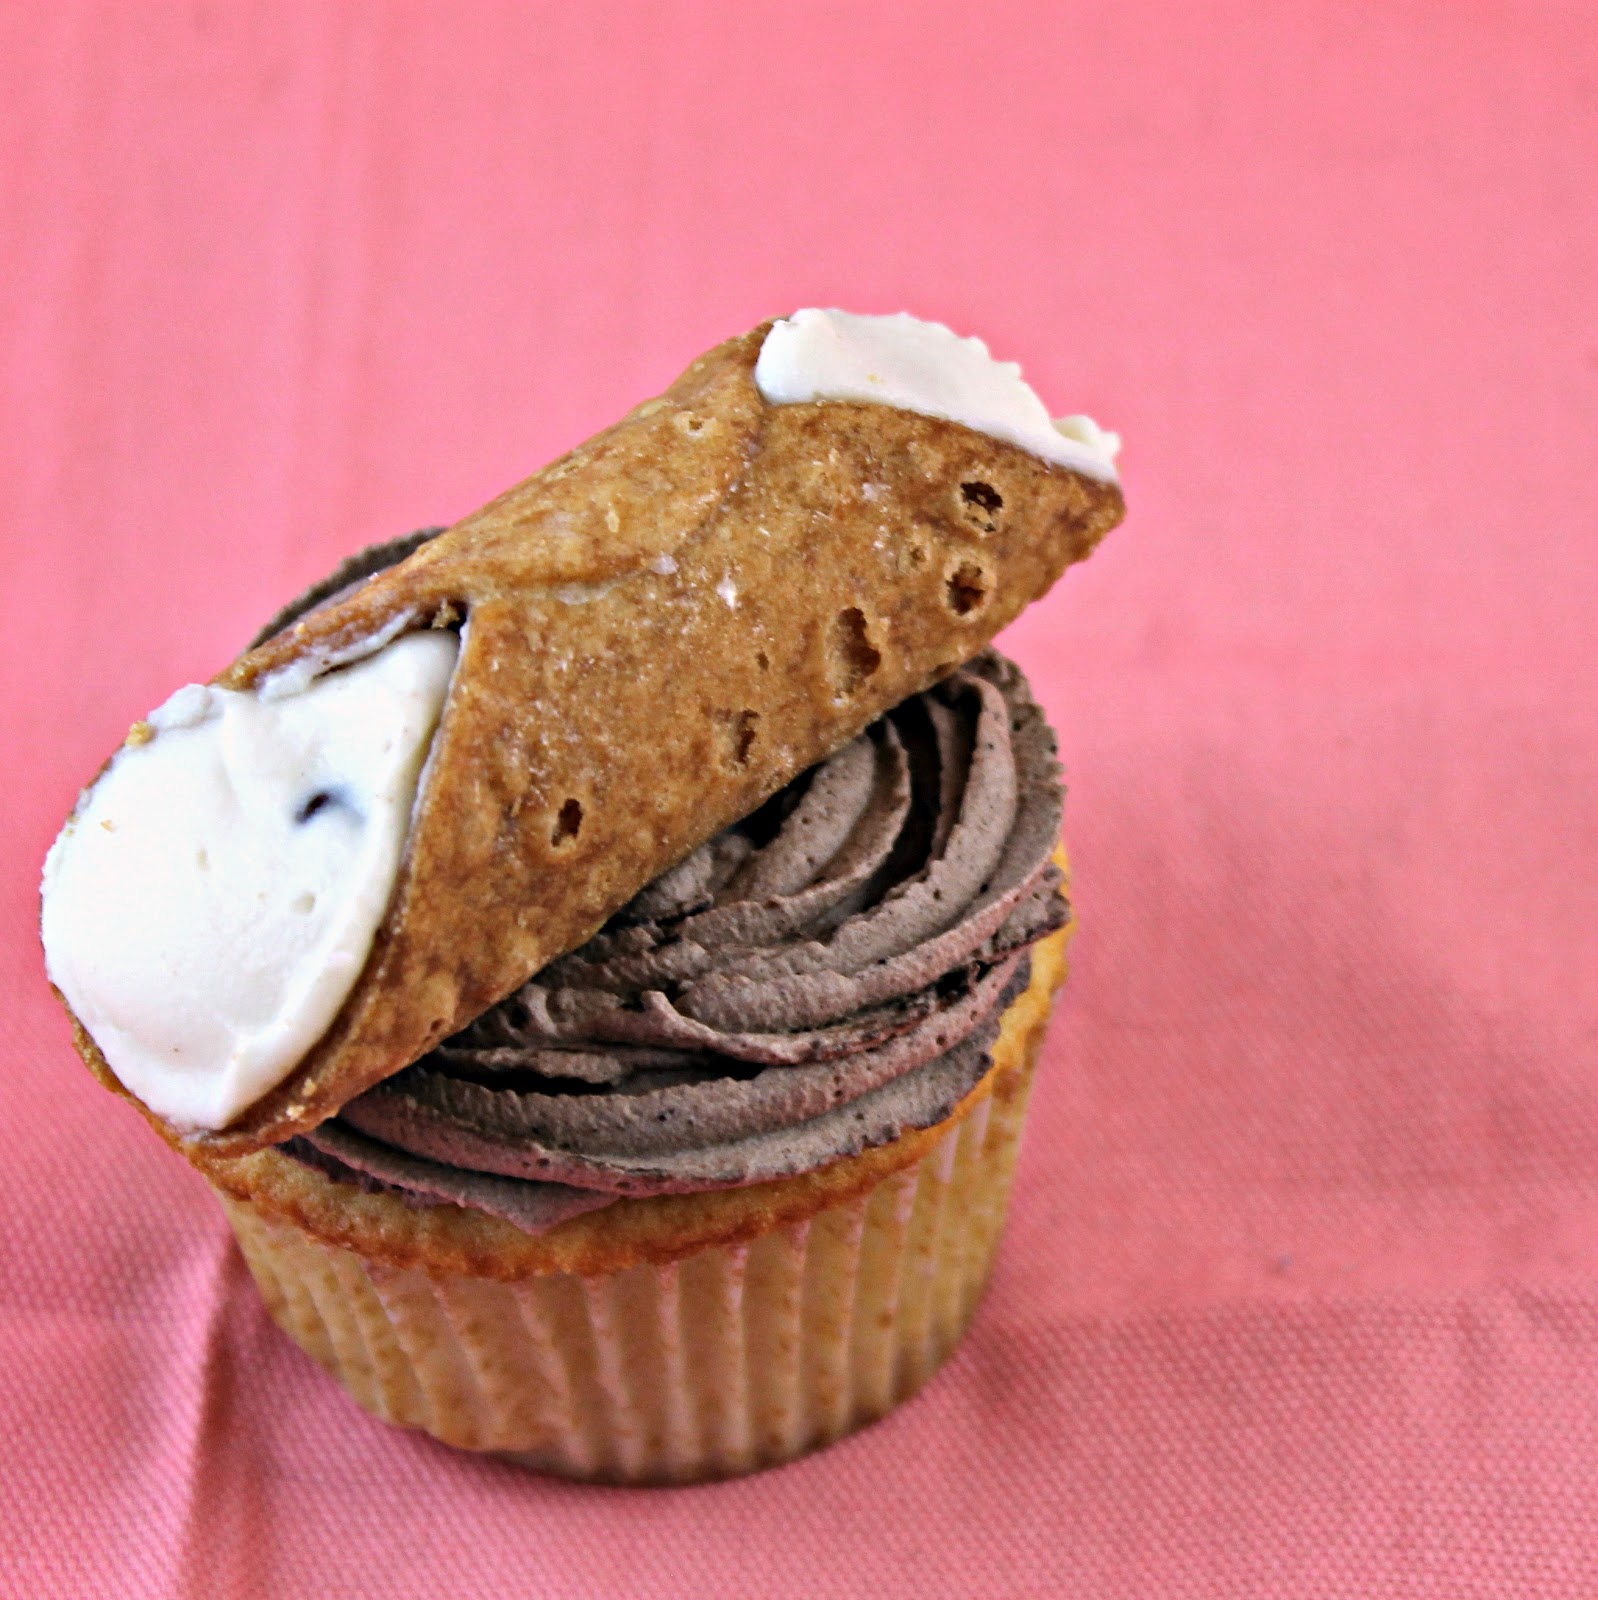
Cannolis always remind me of my Italian/German side of the family. I can’t think of a Christmas that these little delicious desserts didn’t make an appearance. My sister was downright obsessed with them as a kid, if she got to the dessert table first, there was no chance of getting one. So when I was sent Grace’s Sweet Life: Homemade Italian Desserts, I was really hoping to find a recipe for cannolis so I could make some for her. Well, the cookbook did me one better: Vanilla Cupcakes filled with Ricotta Cream, topped with Marsala-Chocolate Whipped Cream. And to make them even better, they are topped with a mini cannoli!

Grace is a blogger over at La Mia Vita Dolce. The website is absolutely fantastic. Just the names of the recipes are enough to make your mouth water. Her new cookbook is no different. It is filled with recipes for the very traditional (Pizzelles – those Italian waffle cookies that look like snowflakes) to the super creative (Chocolate Salami, you read that correctly!) The photography is stunning. The titles of the desserts are in both Italian and English which I thought was a nice touch. (The title of the cupcakes in Italian is Piccoli Torta alla Vaniglia con Crema di Ricotta, Panna Montata al Cacao e Marsala in case you were wondering.) Grace breaks down the recipes into easy to follow steps, which is really helpful, especially for a recipe like the cupcakes I made. I changed bits and parts to her recipe just due to what I could and couldn’t find.

Ingredients:
For the cupcakes:
1 3/4 cups cake flour (you can substitute all-purpose flour)
2 teaspoons baking powder
1/4 teaspoon salt
3/4 cup unsalted butter, at room temperature (3 sticks)
1 1/4 cups superfine sugar
2 large eggs
2 large egg yolks
1 1/2 teaspoons vanilla extract
1 cup milk (I used skim milk)
For the ricotta cream:
1 1/2 cups ricotta
3/4 cup confectioners’ sugar
1 teaspoon vanilla extract
1/4 cup miniature chocolate chips
For the marsala-chocolate whipped cream frosting:
2 tablespoons unsweetened cocoa
1/2 cup confectioner’s sugar
2 cups heavy cream
1 teaspoon marsala
24 mini cannolis
Superfine sugar is just normal sugar that is ground into a finer grain. If you can’t find it in your local supermarket, just add a little more than 1 1/4 cups sugar to a food processor and blend for 1-2 minutes. Just make sure that you have 1 1/4 cup of sugar at the end.
So, I really wanted to make my own mini cannolis. I really did. But I couldn’t find anything to wrap the cannolis around to make mini ones, all the places I looked only had the metal tubes for regular sized cannolis. So then, I tried going to bakeries to ask for mini cannoli shells. They all either didn’t have any or were unwilling to give them to me without filling them first. Sigh. So the cannolis on top of these lovely cupcakes are not my own making. But, they are the best cannolis in Philly (in my humble opinion), from Termini Bakery. On to the cupcakes!
Preheat your oven to 350 degrees. Line 2 12-cup muffin pans with paper liners.
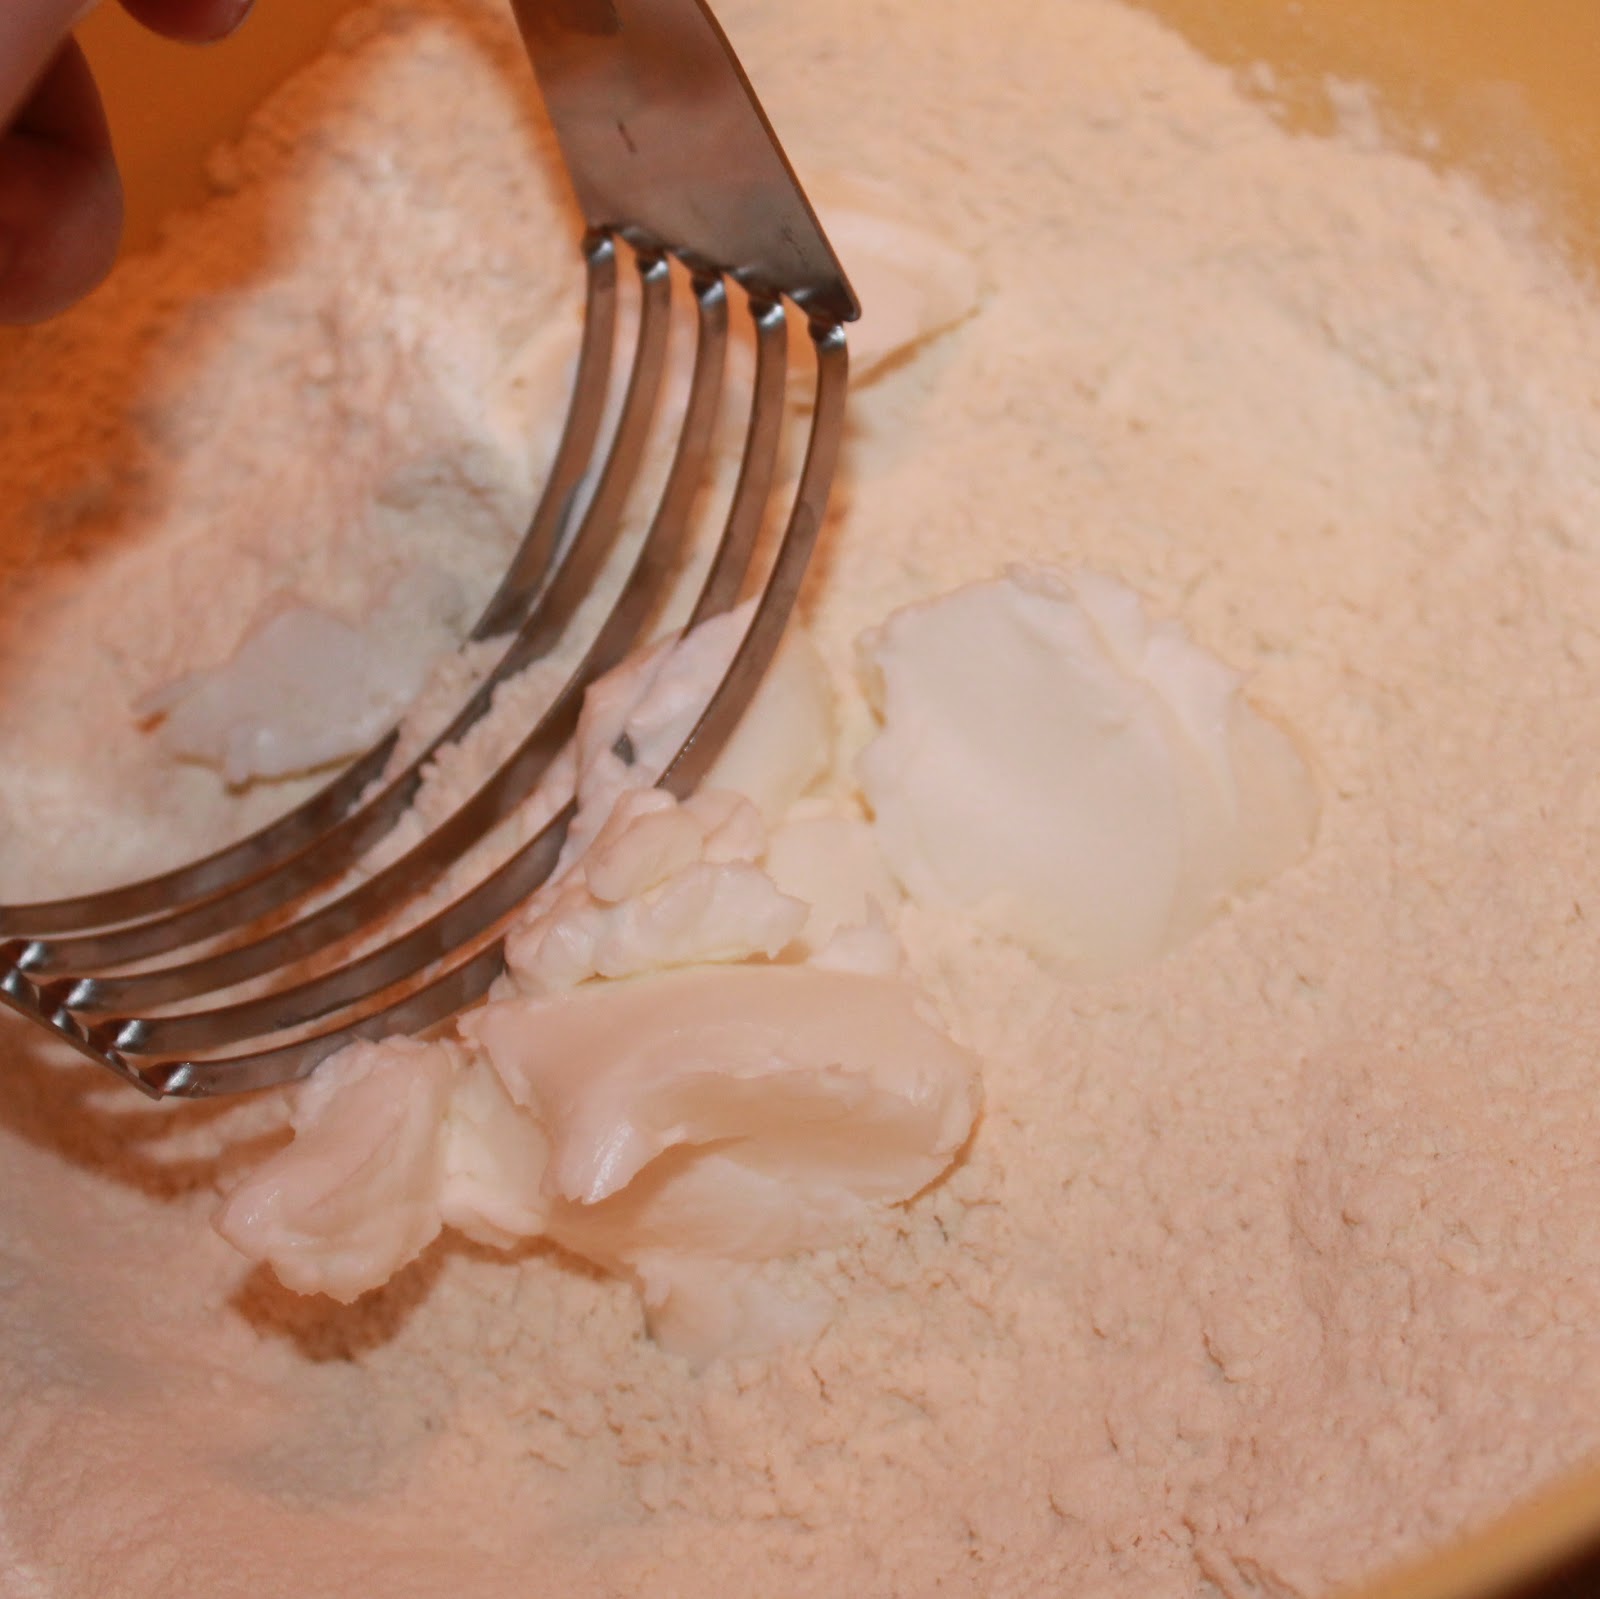
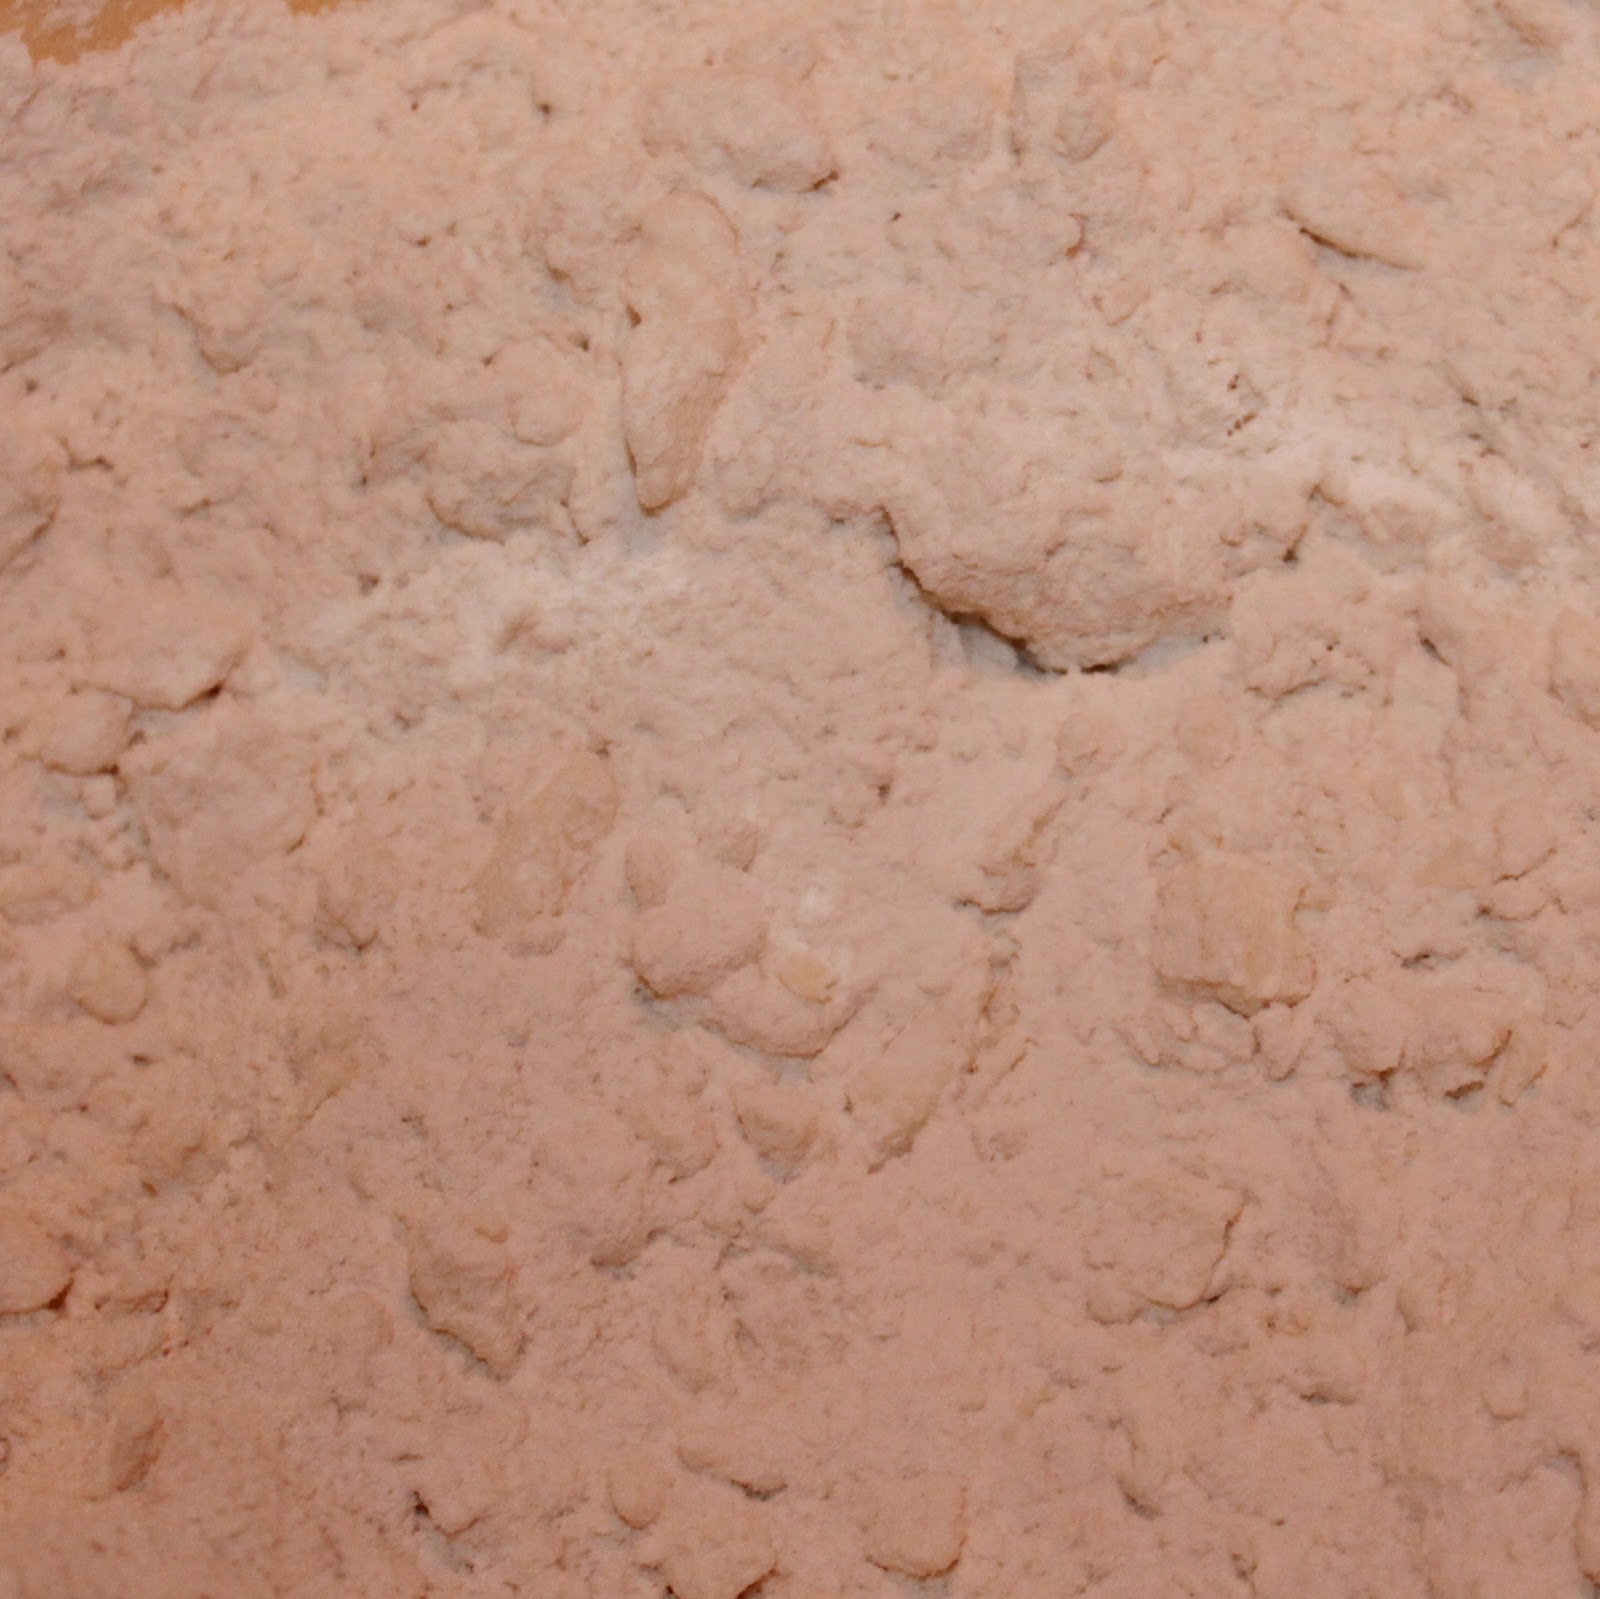
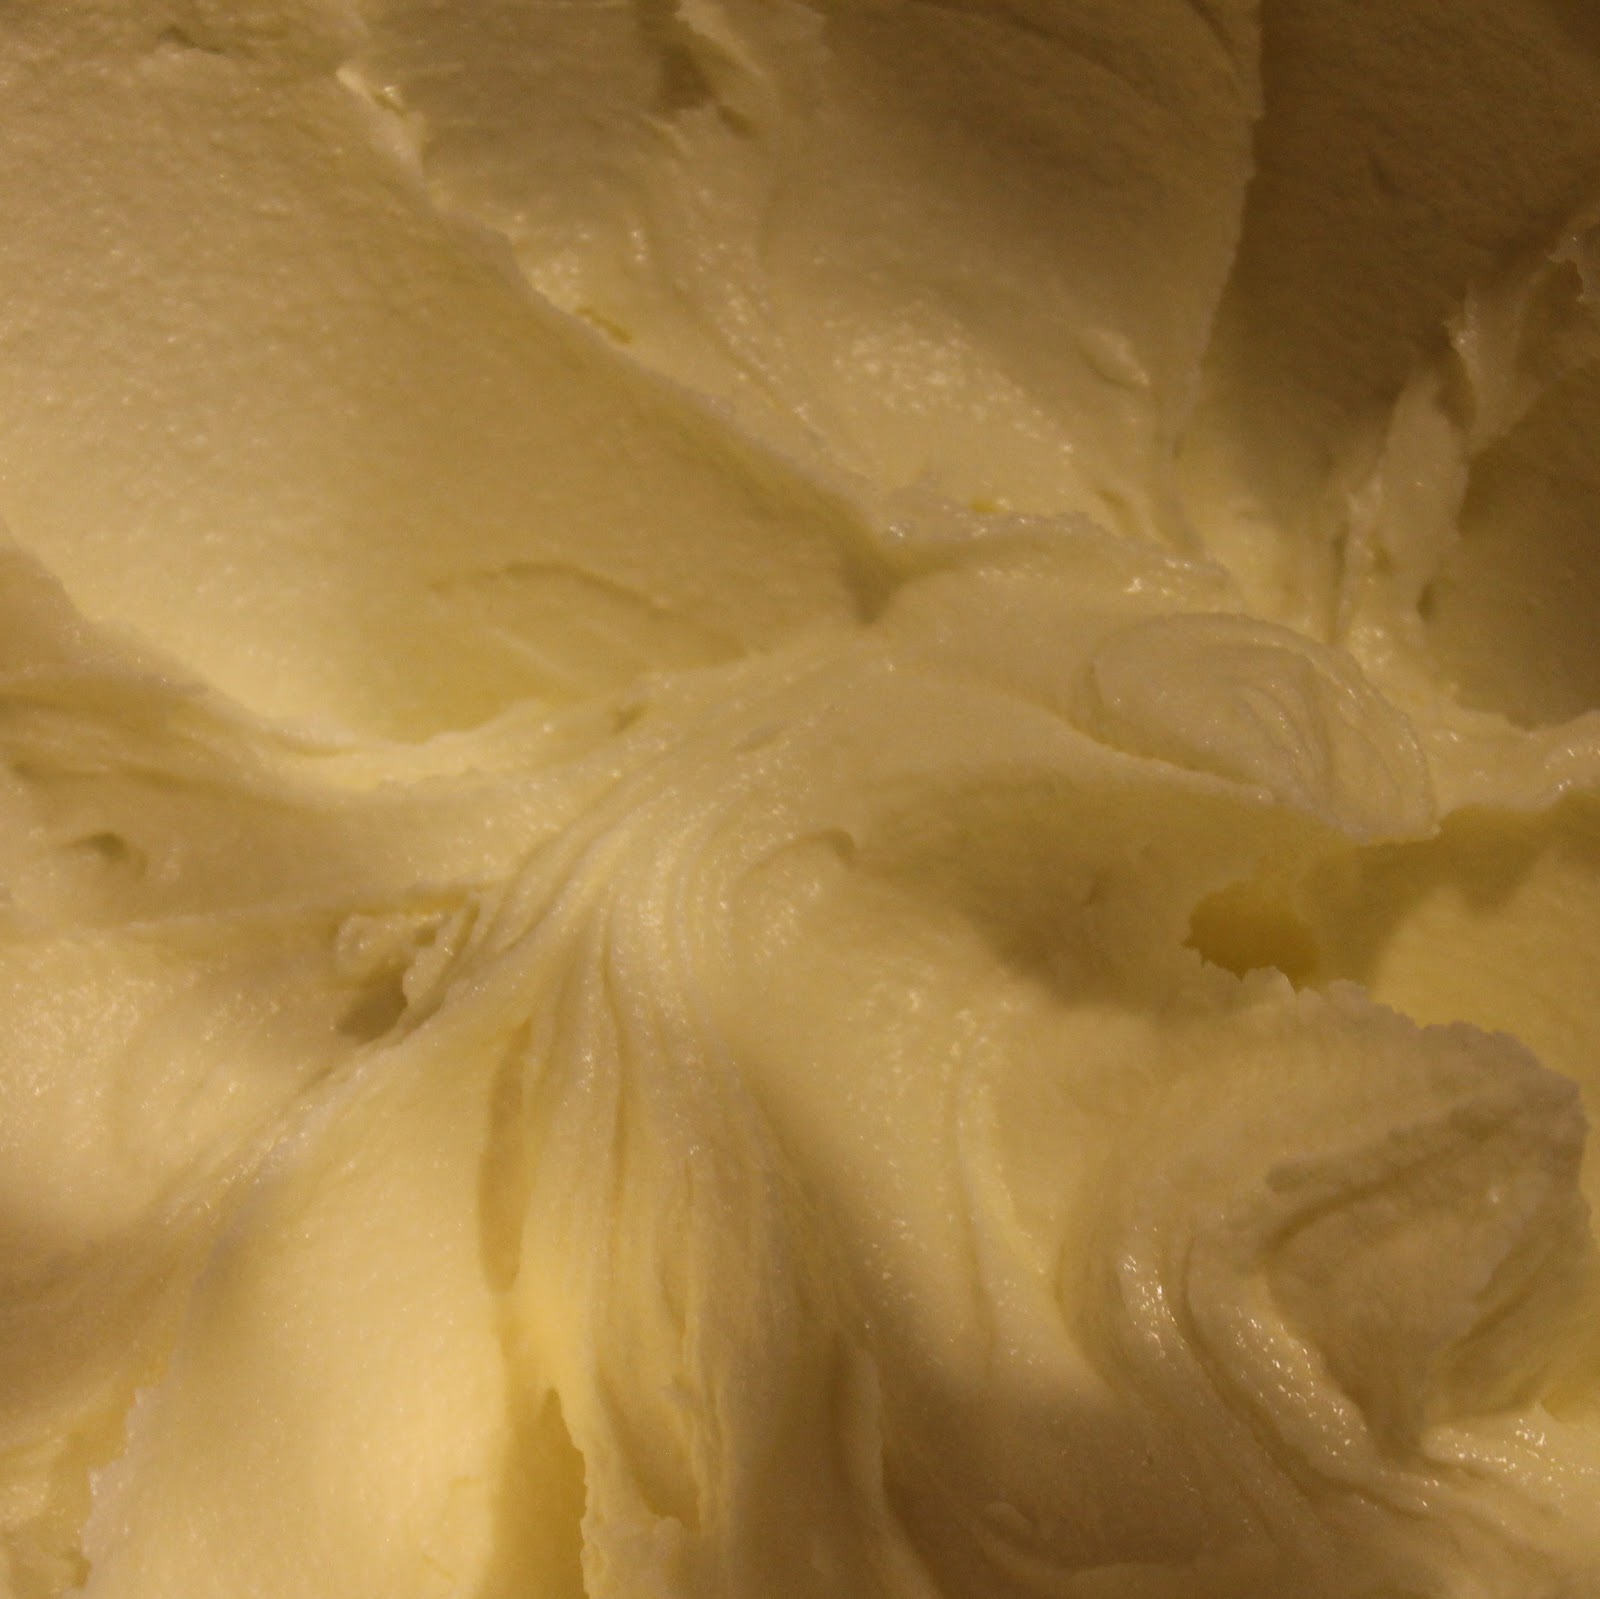
Sift together the flour, baking powder and salt in a small bowl. Set aside. Cream the butter and sugar at medium speed for about 4 minutes or until light and fluffy.
Add the eggs and egg yolks to a measuring cup with the vanilla extract. Lightly beat with a fork.

With the mixer running (if you’re using a hand mixer, you might need a baking buddy for this step), gradually pour the egg mixture into the butter mixture.
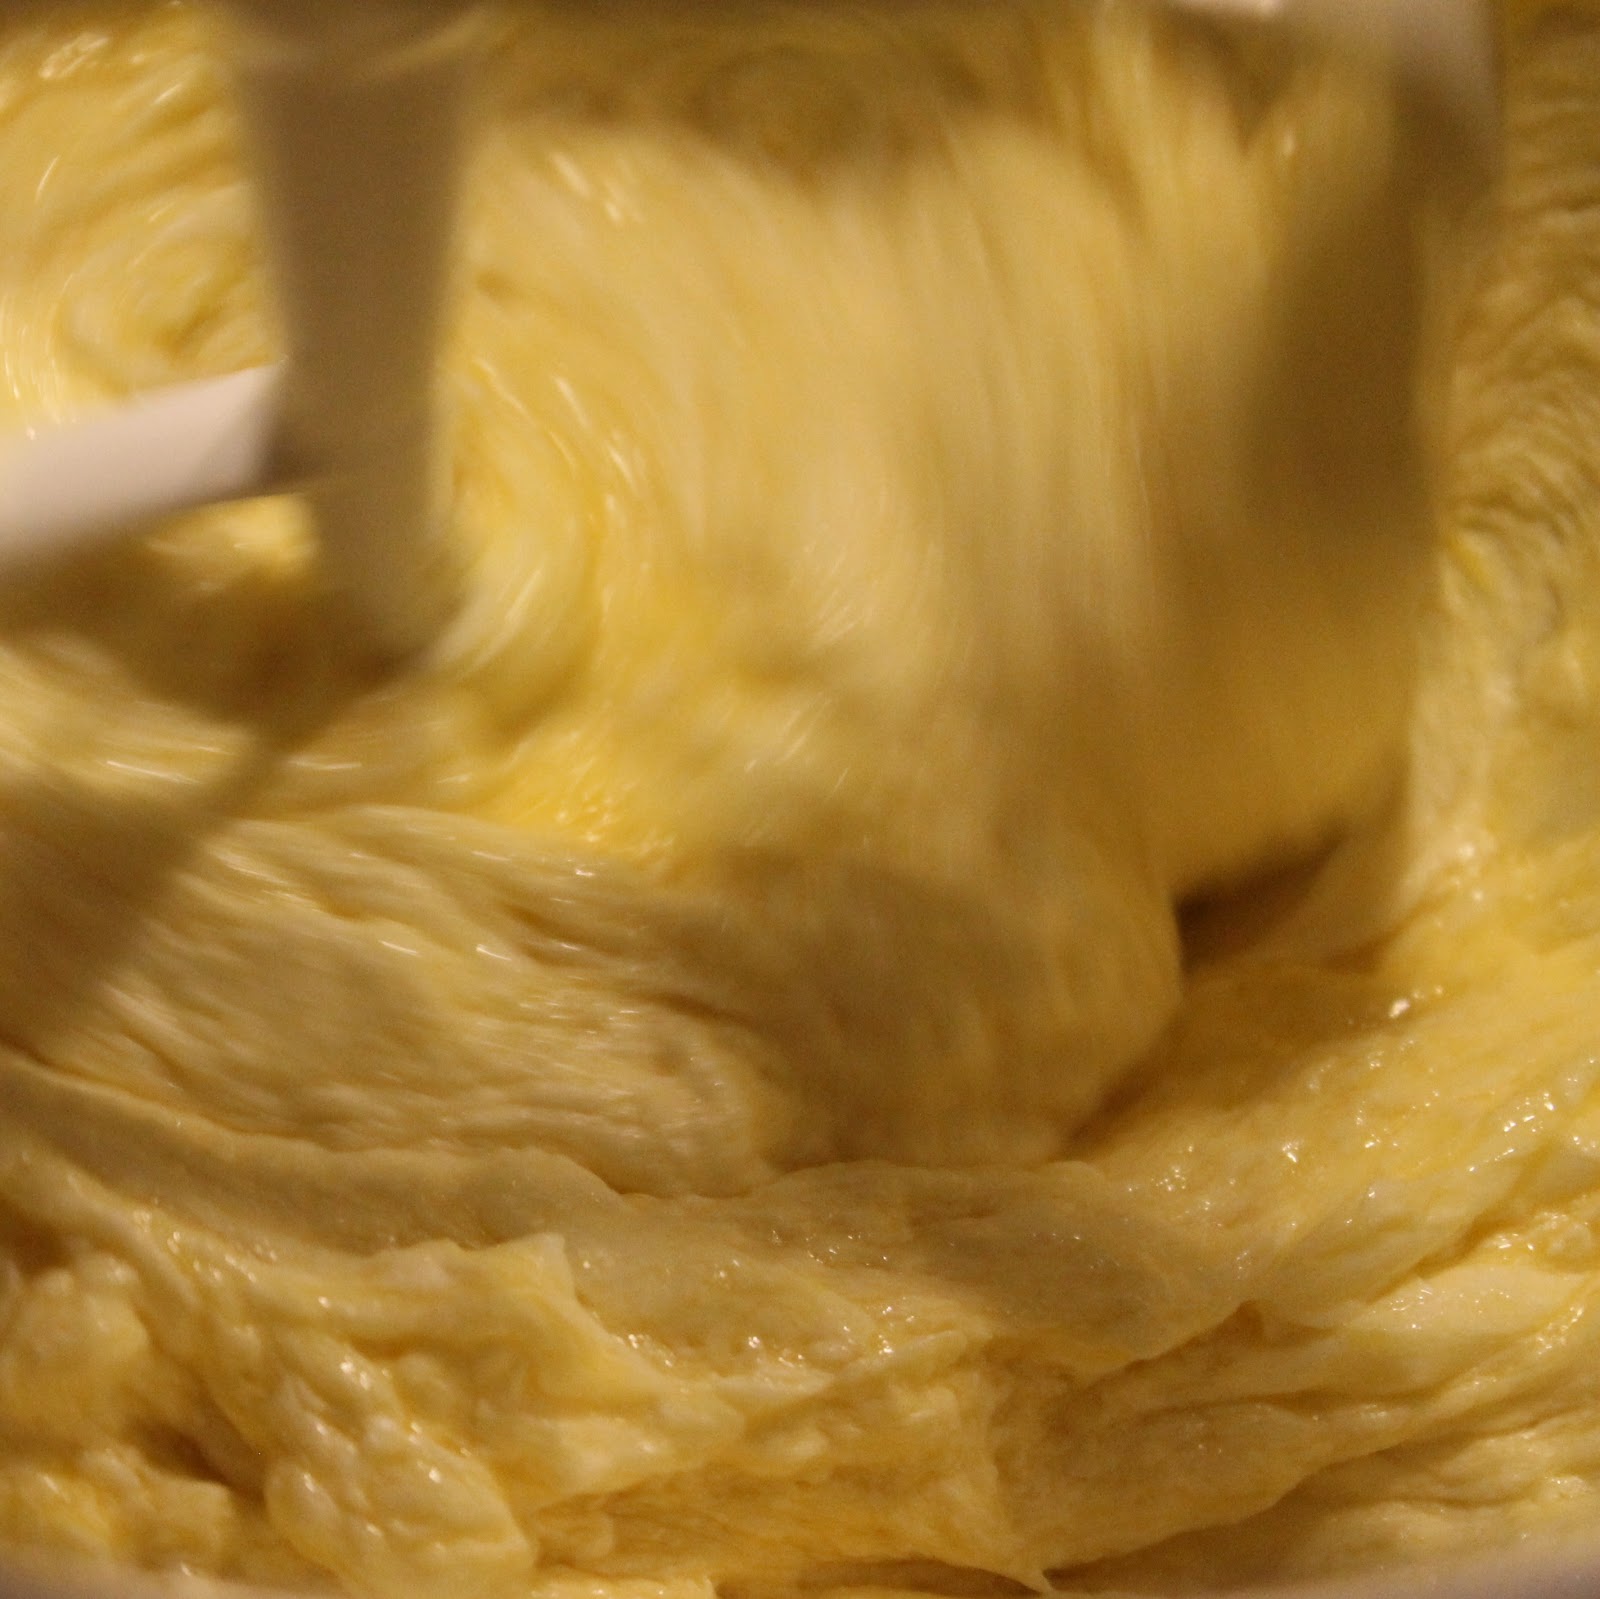
Reduce the speed of the mixer to low. Add the flour mixture 1/3 at a time alternating with adding the milk in two additions. (1/3 flour, then 1/2 milk, 1/3 flour, 1/2 milk, 1/3 flour). Beat until just combined after each addition.
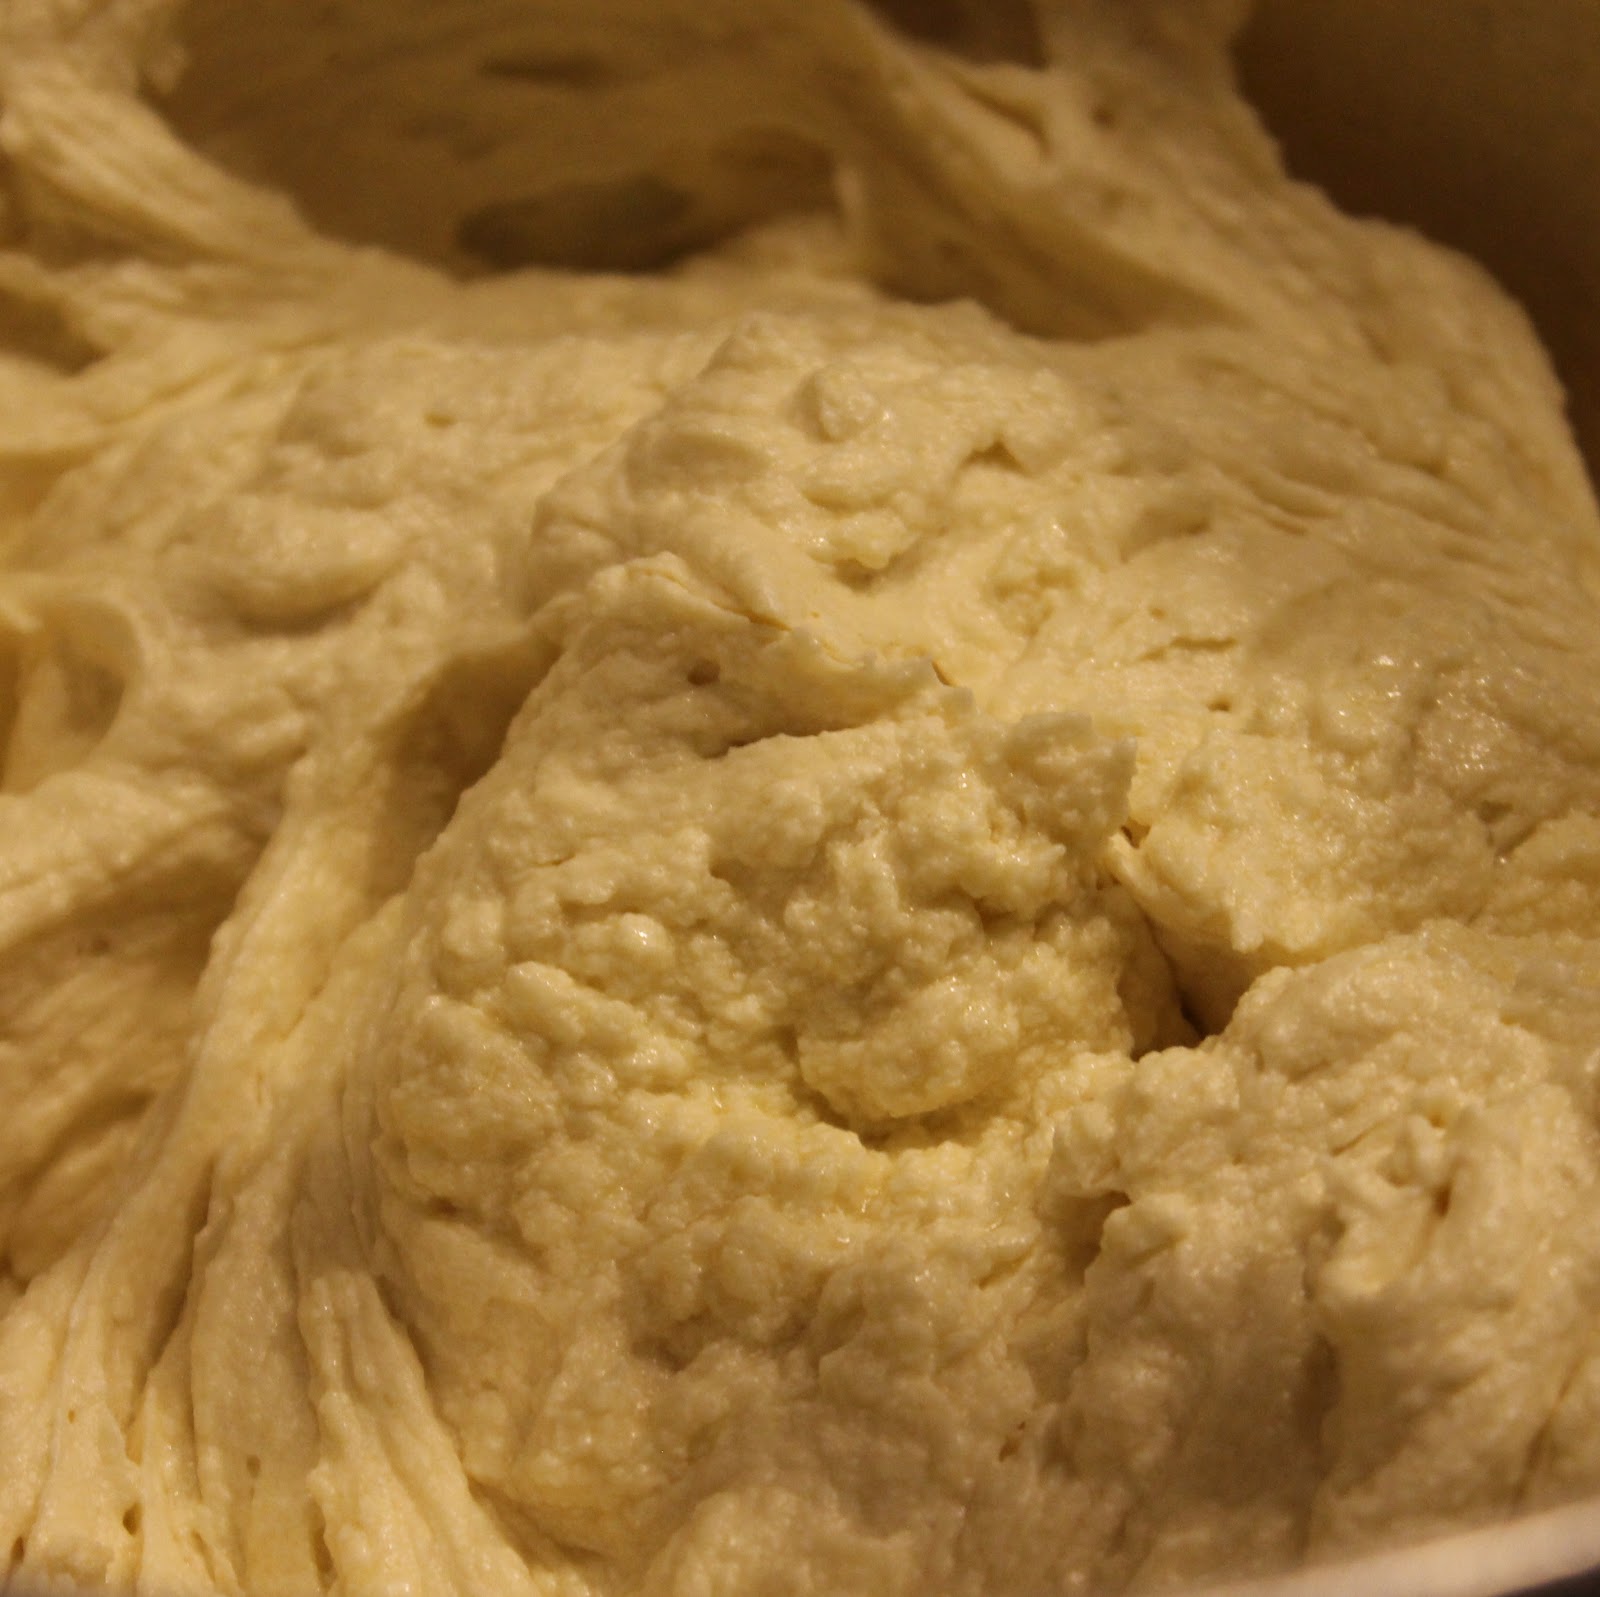
Divide the batter evenly in the muffin cups. Fill each tin 3/4 of the way full.

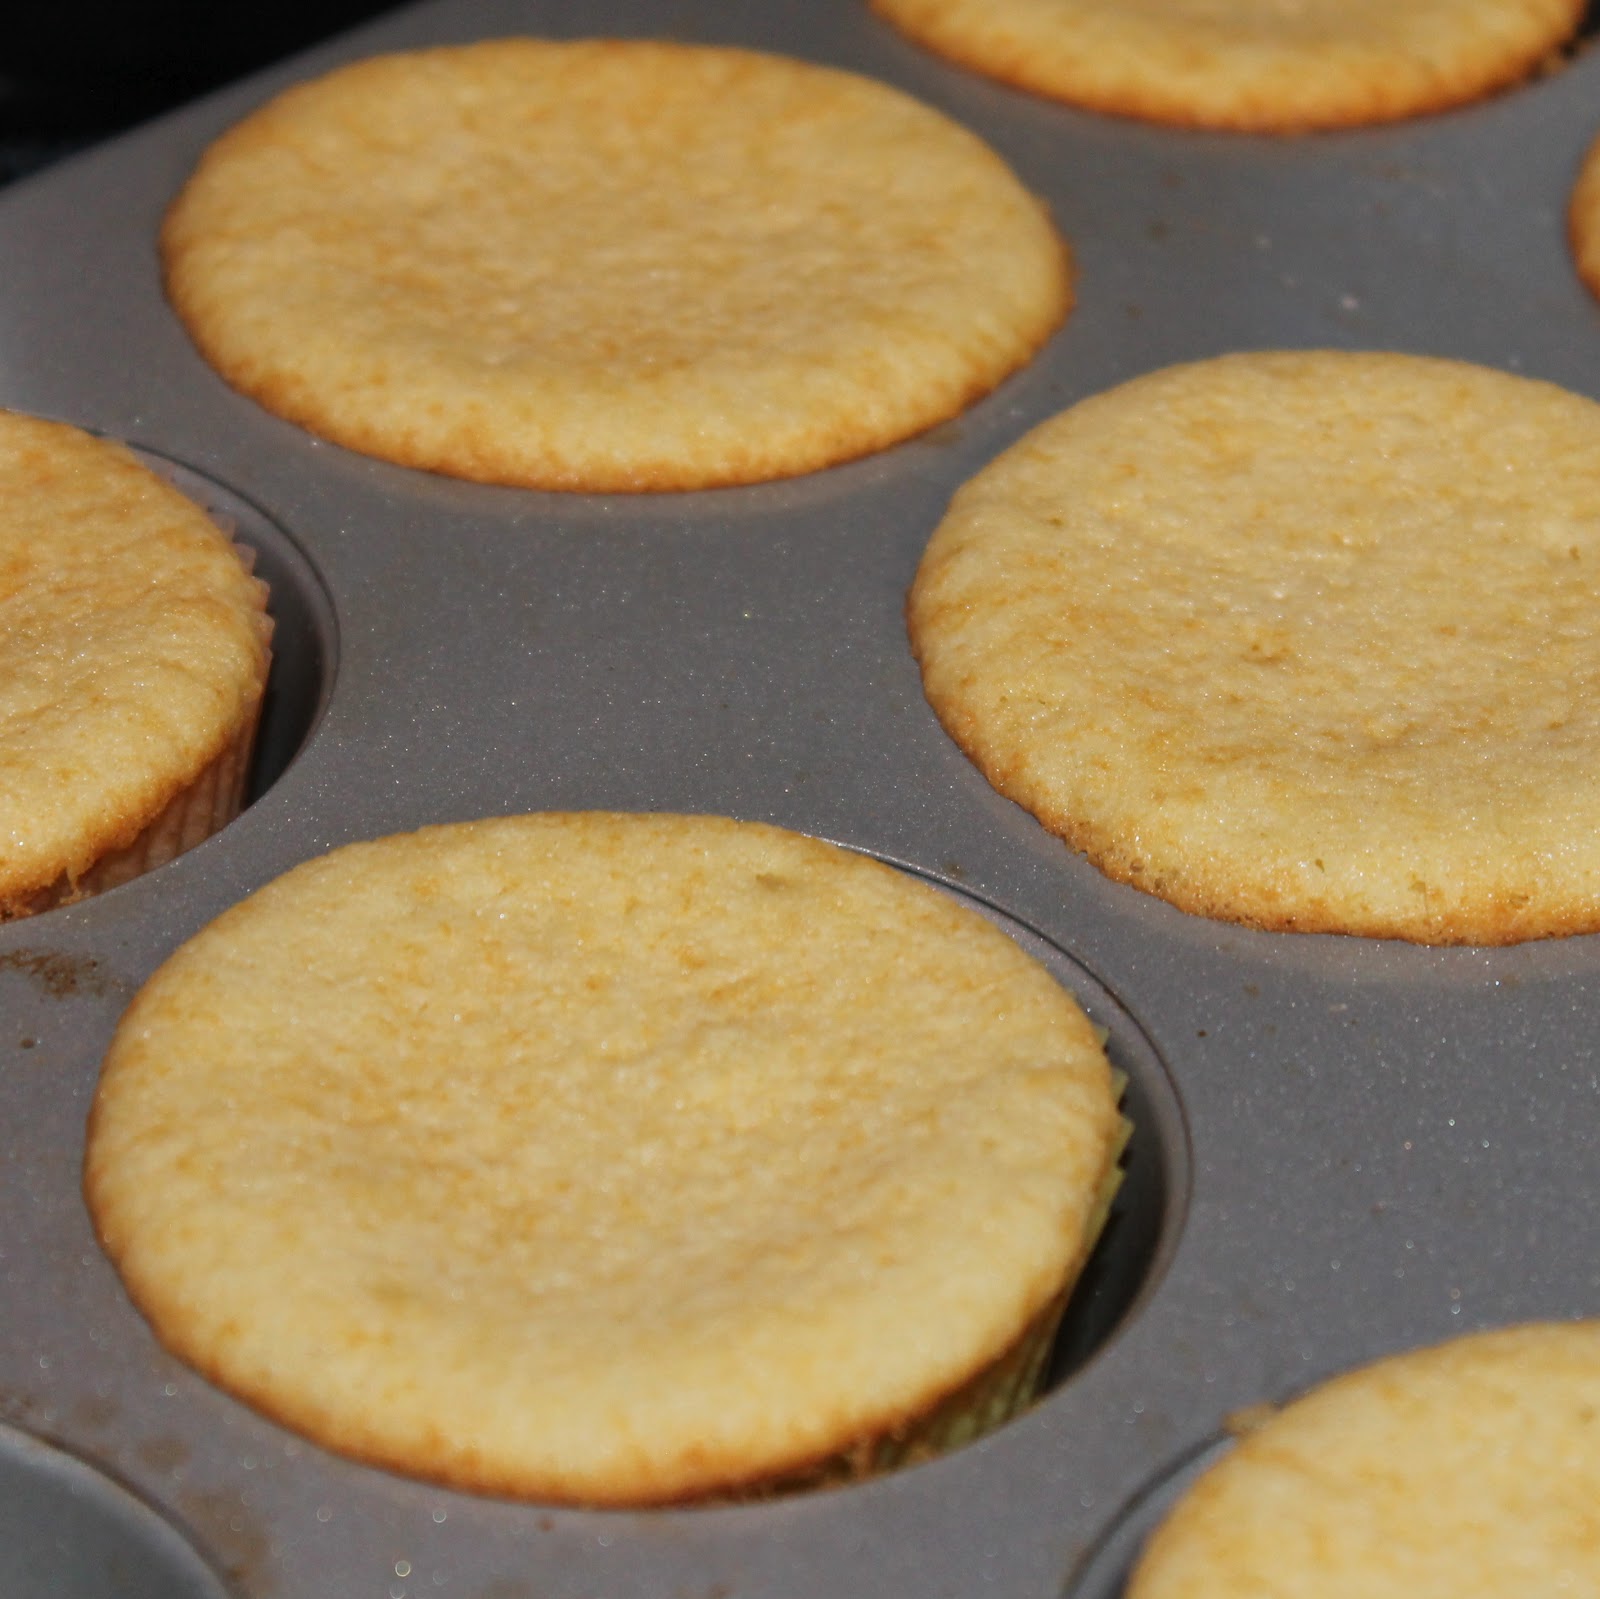
Bake for 20 minutes, rotating the pans halfway through, or until a toothpick inserted into the center of the cupcake comes out clean. Allow to cool.
To make the ricotta cream, beat the ricotta on medium speed for 2-3 minutes or until smooth. Add the confectioners sugar as beat until smooth. Stir in the chocolate chips and transfer to an airtight container. Refrigerate until ready to use.

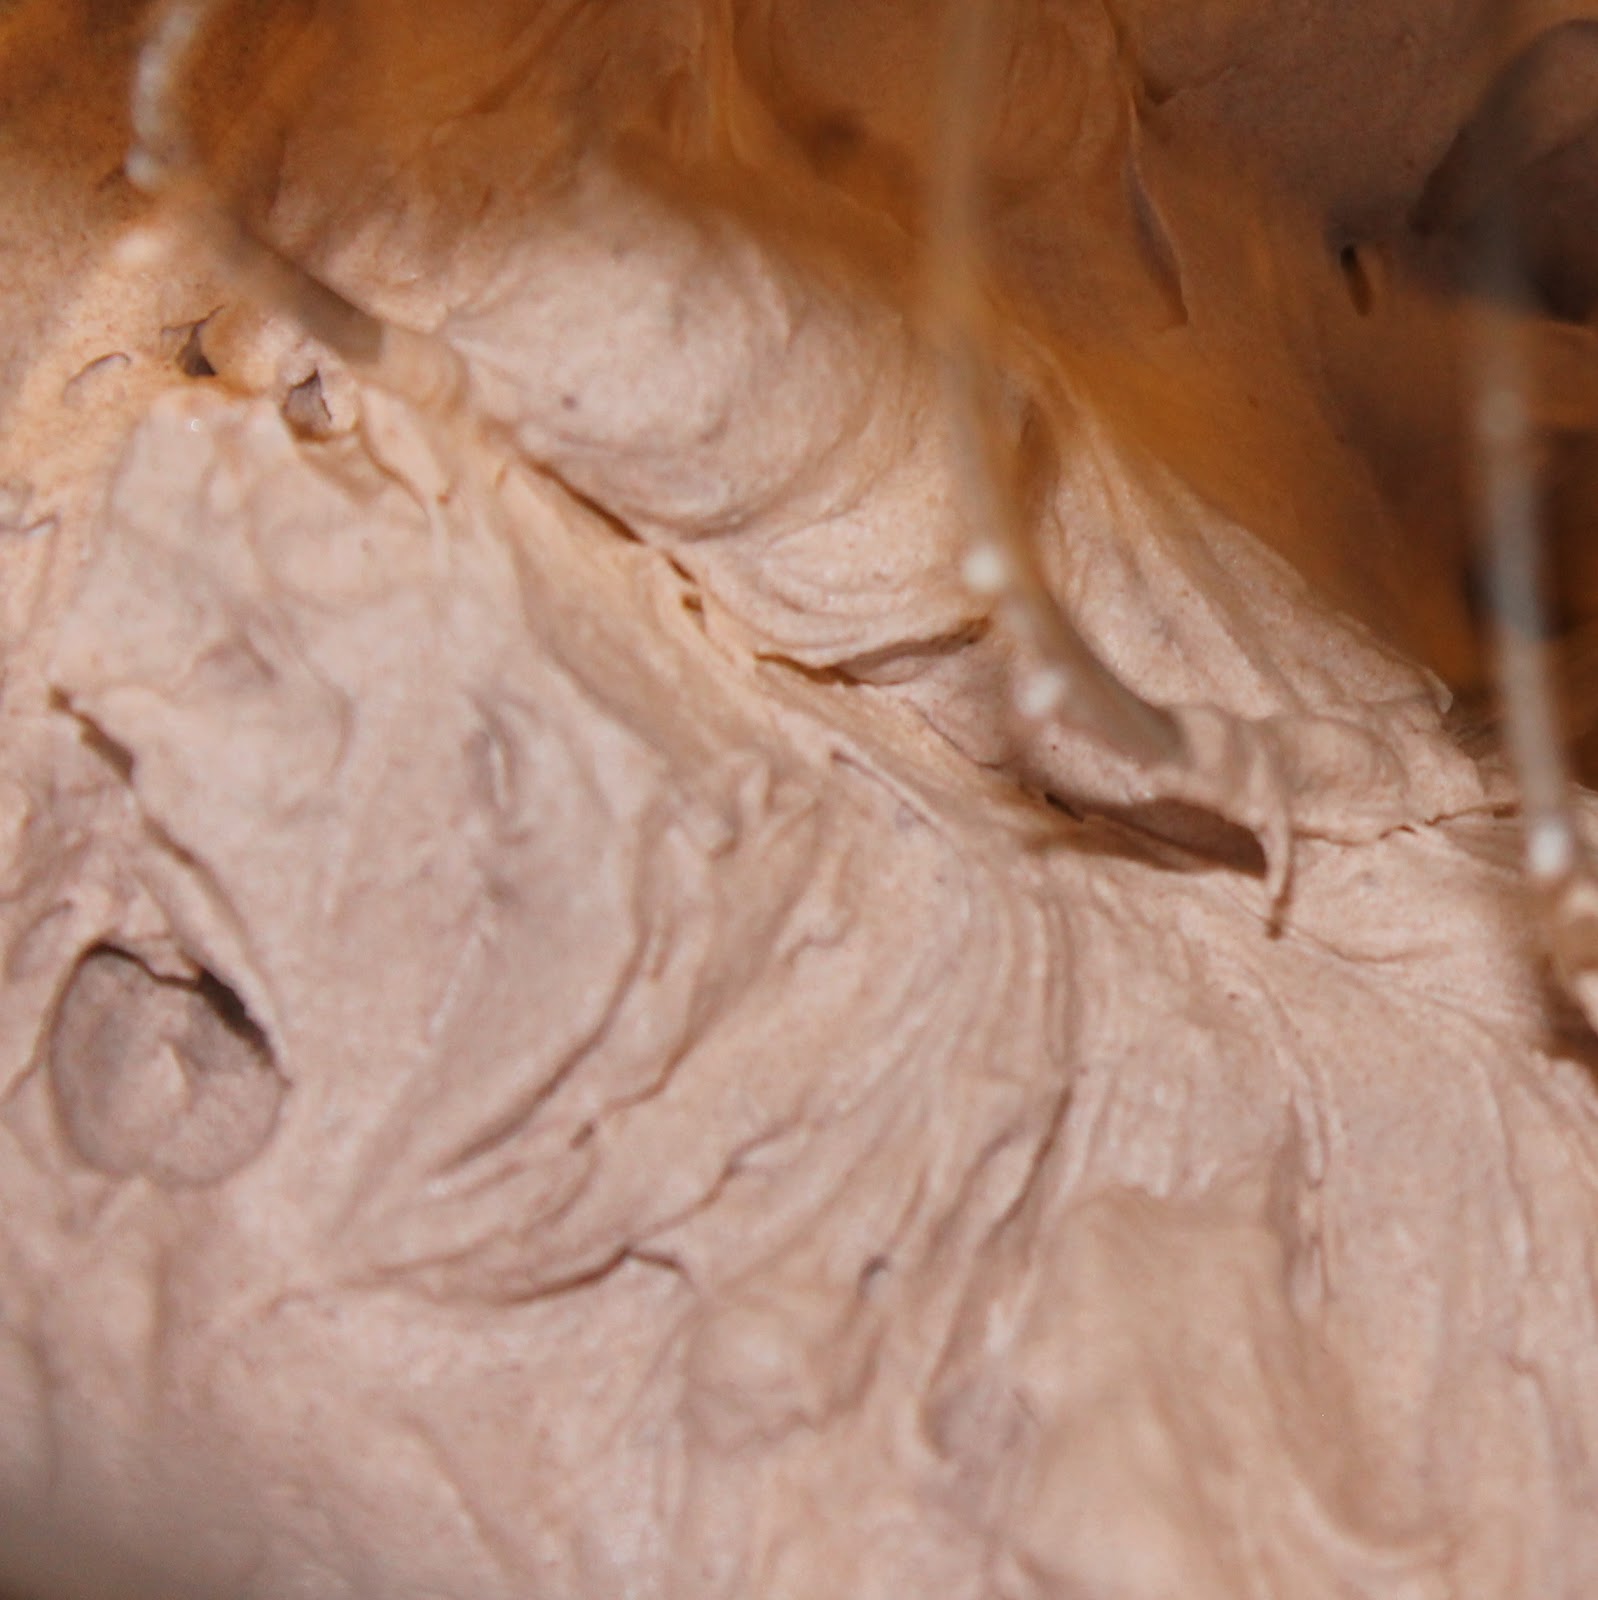
To make the frosting, sift the cocoa and the confectioners sugar into a small bowl and whisk to combine.

Beat the heavy cream, cocoa mixture and the marsala on medium high speed until stiff peaks form. Transfer to an airtight container and refrigerate until cold, about 15 to 30 minutes.
To assemble, use a pairing knife to cut a 1 1/2 inch deep cone shaped piece of cake from the center of each cupcake. Trim off the top of the cone piece into a round, flat disk that you’ll use to top off the cupcake. Add the ricotta cream to a large pastry bag (or a ziplock bag with a corner cut off). Pipe the cream into each cupcake, filling almost to the top. Top with the disks of cake.

Add the frosting to a large pastrry bag or ziplock bag. Pipe the frosting on top of each cupcake.
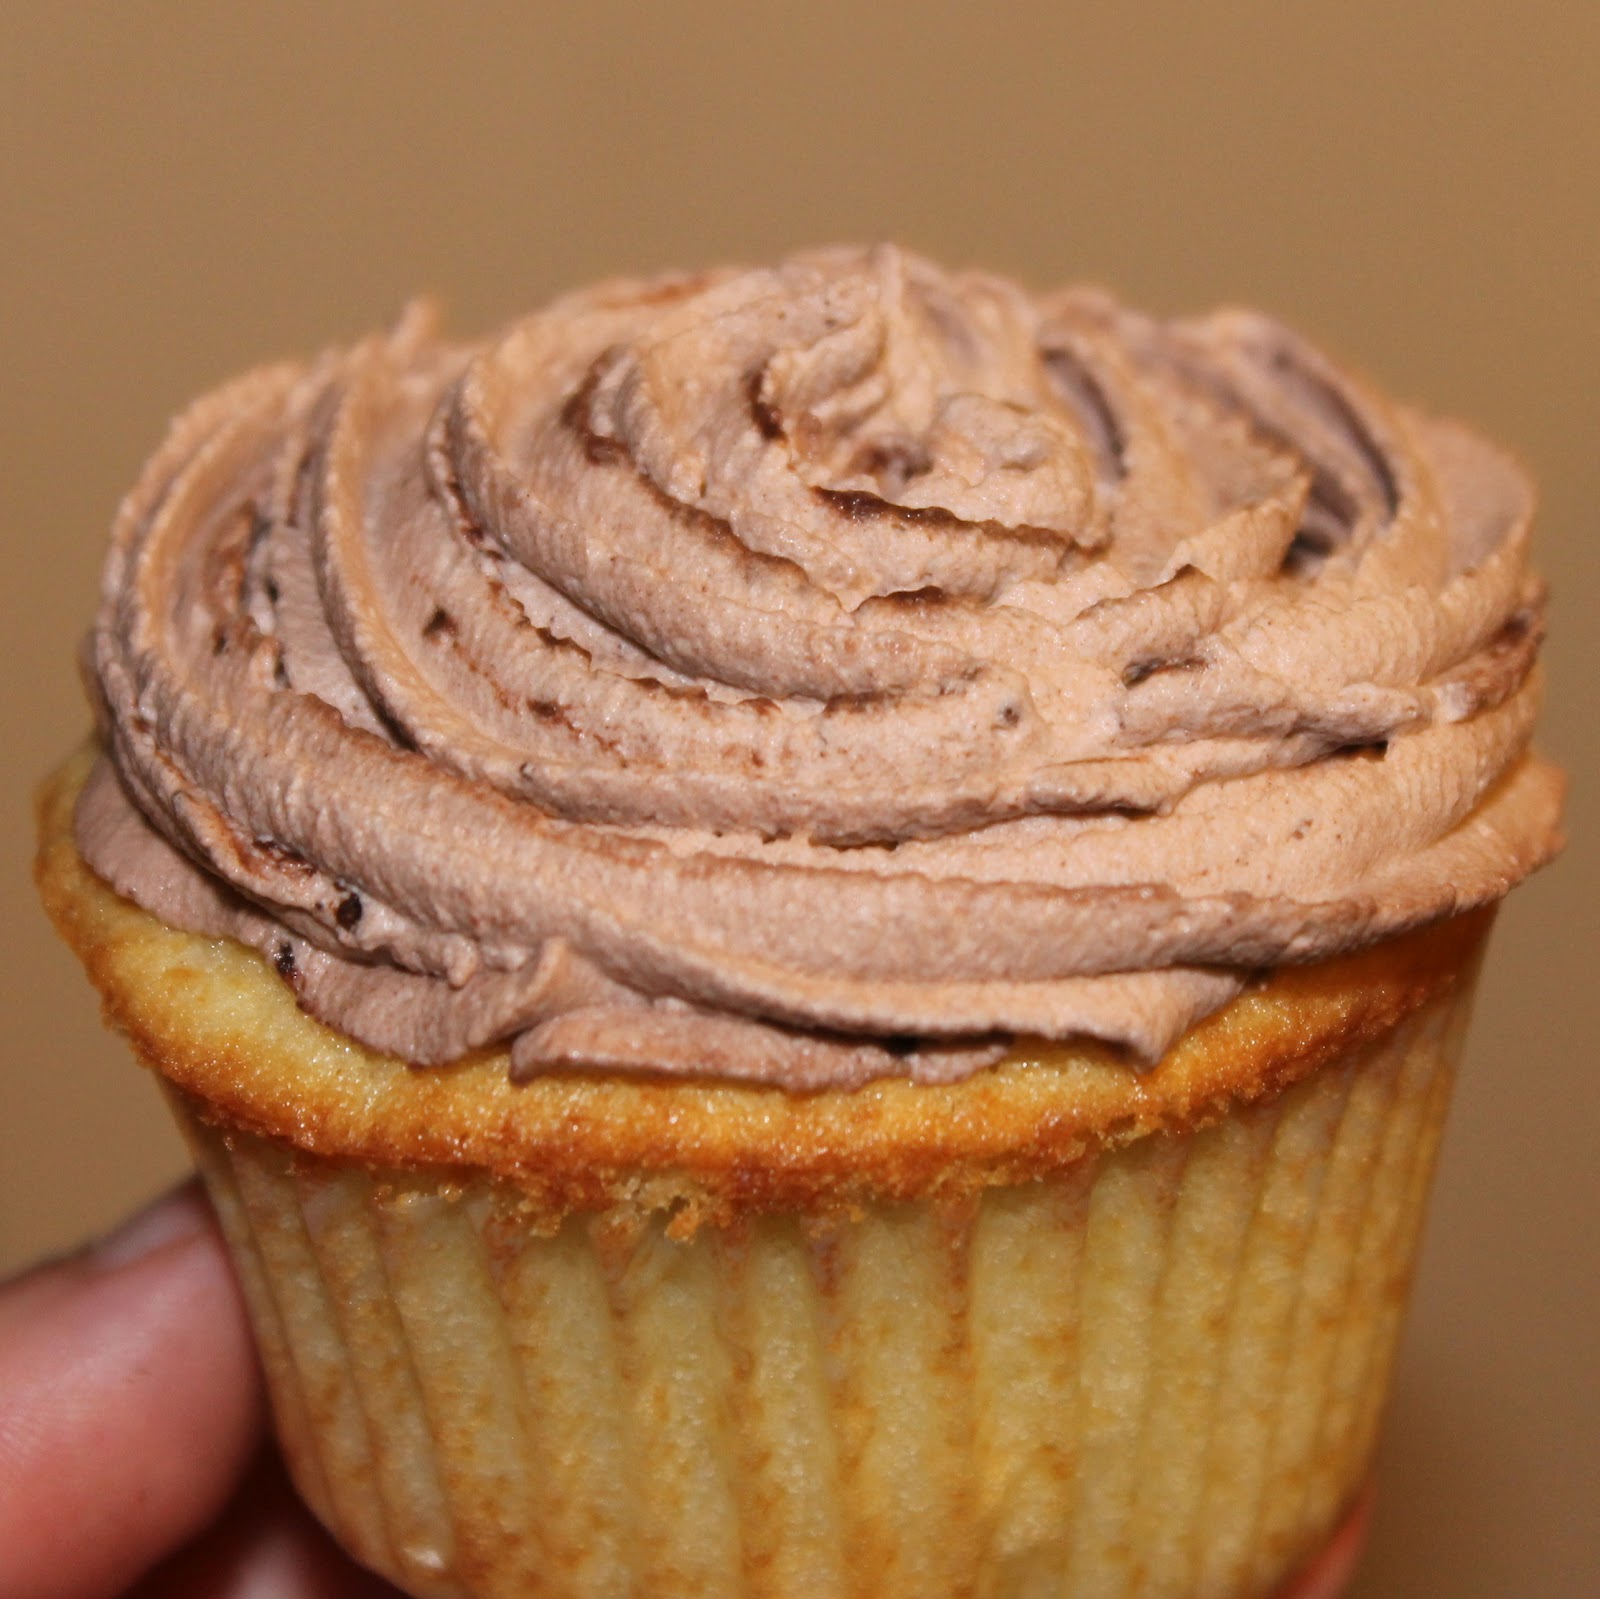
Top with the mini cannolis. How fun are these??

Although it seems like these cupcakes would be really heavy and overwhelming, they were actually light and airy (I have no idea how). The cannoli added a fun touch, but these cupcakes can hold their own without them.
The ricotta cream inside was fantastic. I loved the flavor of them with the vanilla cupcakes and the chocolate chips were a fun addition.

Be sure to go check out Grace’s Sweet Life cookbook!