I have a pretty intense sweet tooth; in my mind, dinner isn’t finished until I’ve had dessert! I do try to limit how many times a week I actually do have dessert after dinner, but sometimes you just need some!
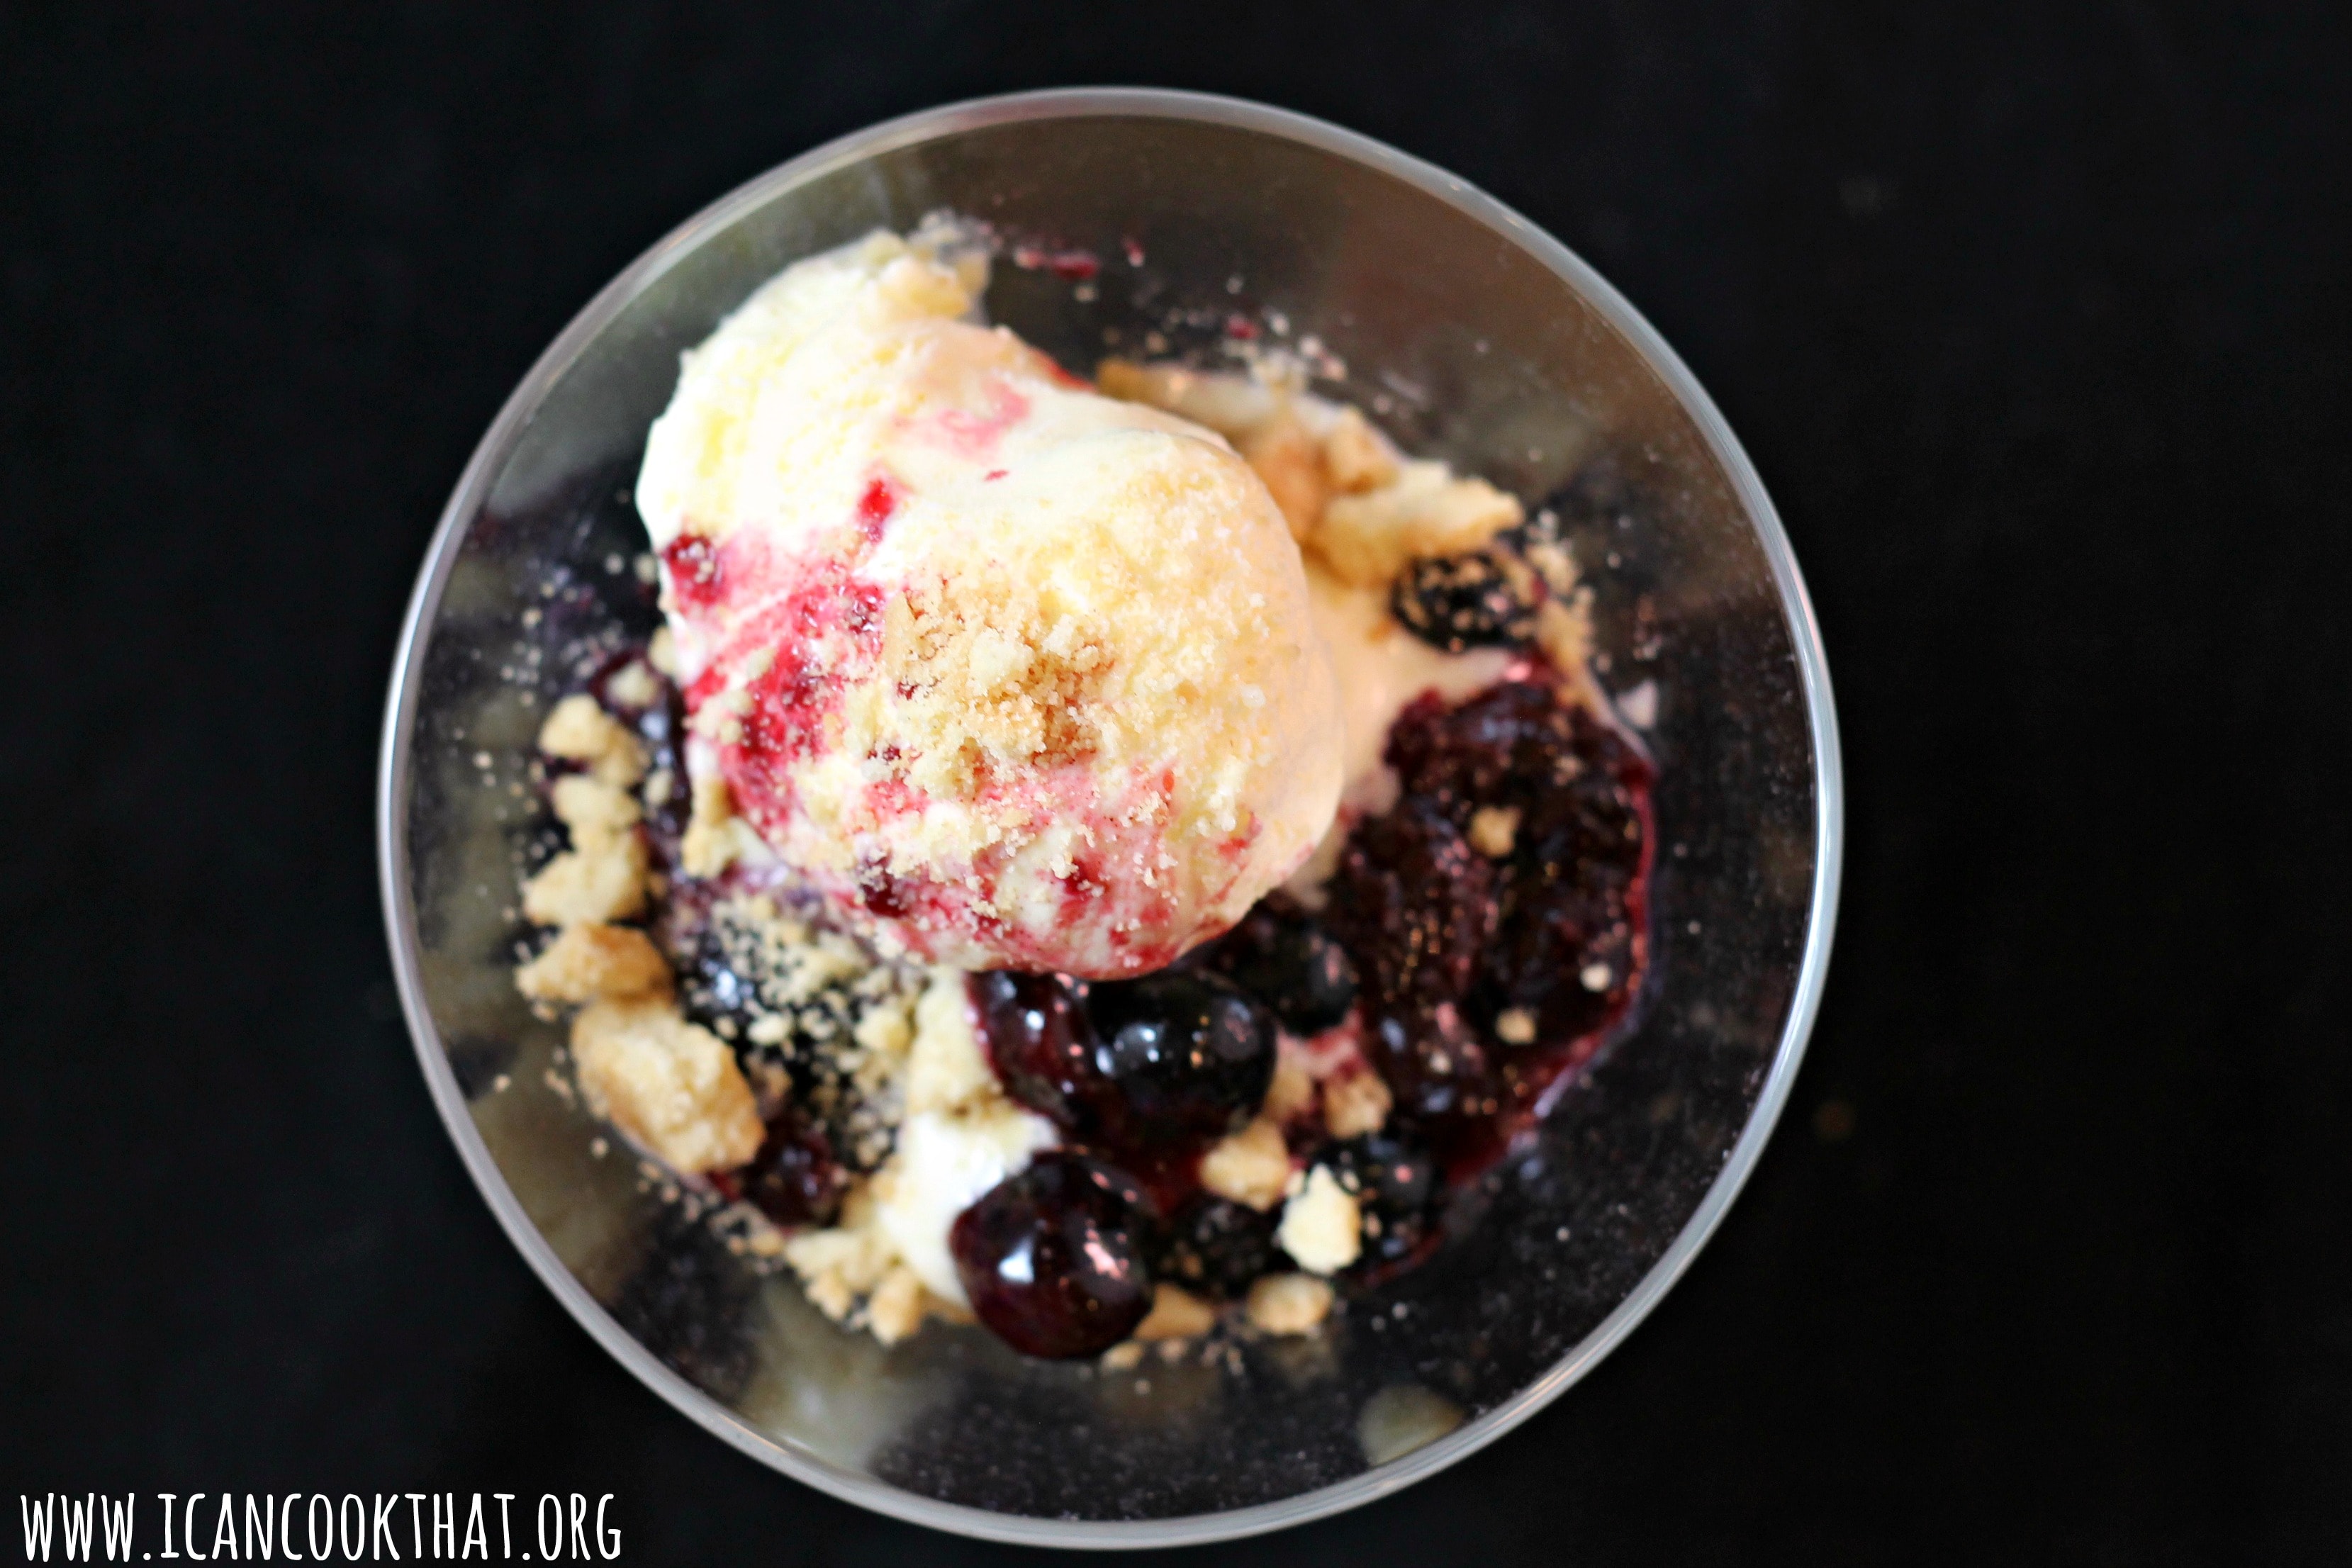
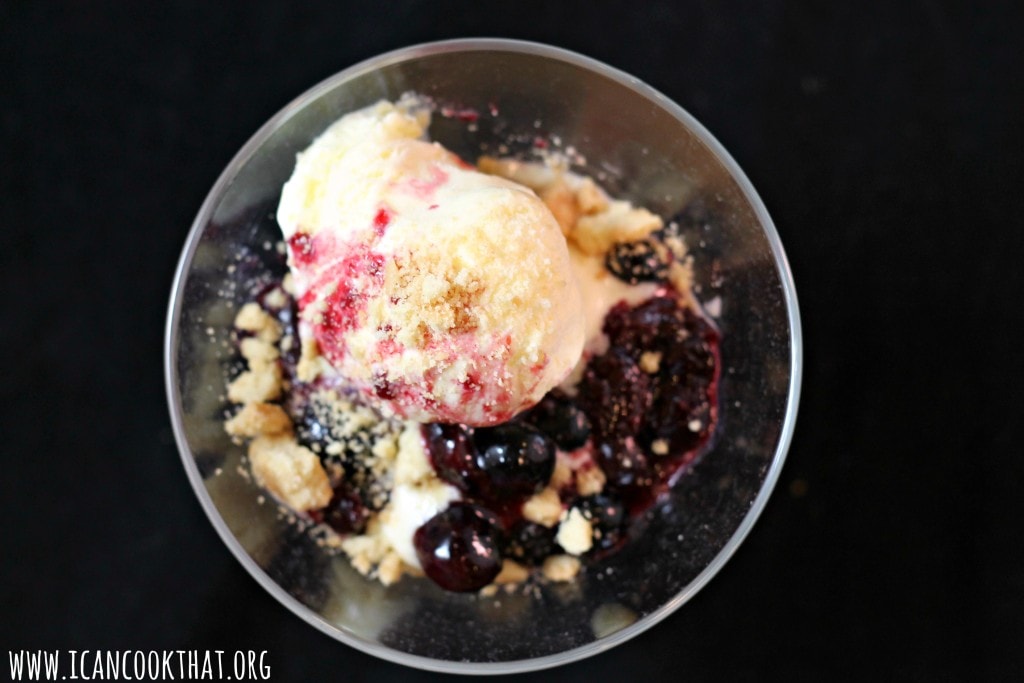
This recipe from Cooking Light caught my eye because it involves two of my favorite things: ice cream and blueberries.
This fun little dessert takes very little time to make, and the blueberry sauce can even be made ahead of time!
Ingredients:
3 tablespoons water, divided
1 tablespoon cornstarch
1 1/4 cups fresh blueberries, divided
3 tablespoons sugar
1 tablespoon fresh lemon juice
1/8 teaspoon ground cinnamon
Dash of salt
2 cups vanilla low-fat frozen yogurt (I used French Vanilla)
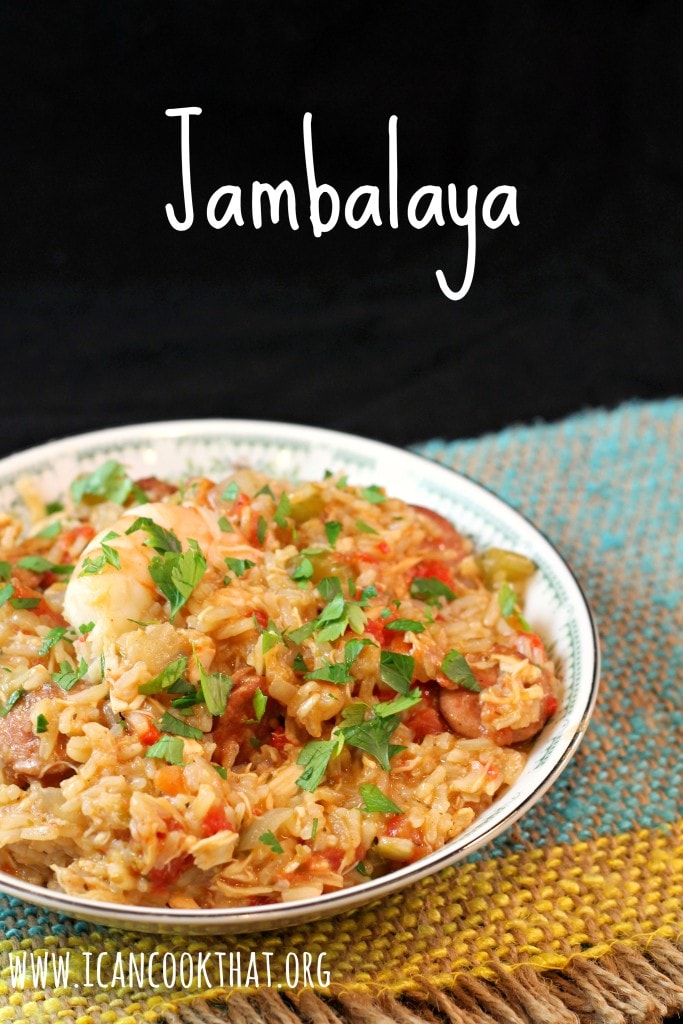
This weekend, I cooked my little heart out. I realized Labor Day is only a couple of weeks away, so it’s time to stock my freezer with ready-made meals for busy nights in the fall, like this freezable Jambalaya!
There are some nights where I just don’t want to cook, mainly because I don’t want to clean up after I cook — so many dishes!
On such nights, I reach for a one-pot meal. This Cheesy Pasta Bake from this month’s Cooking Light is all made in one pot and has dinner on the table in 30 minutes. I doubled the recipe so that it would work for a normal sized box of pasta (16 oz), so now I have lunch for the week too!
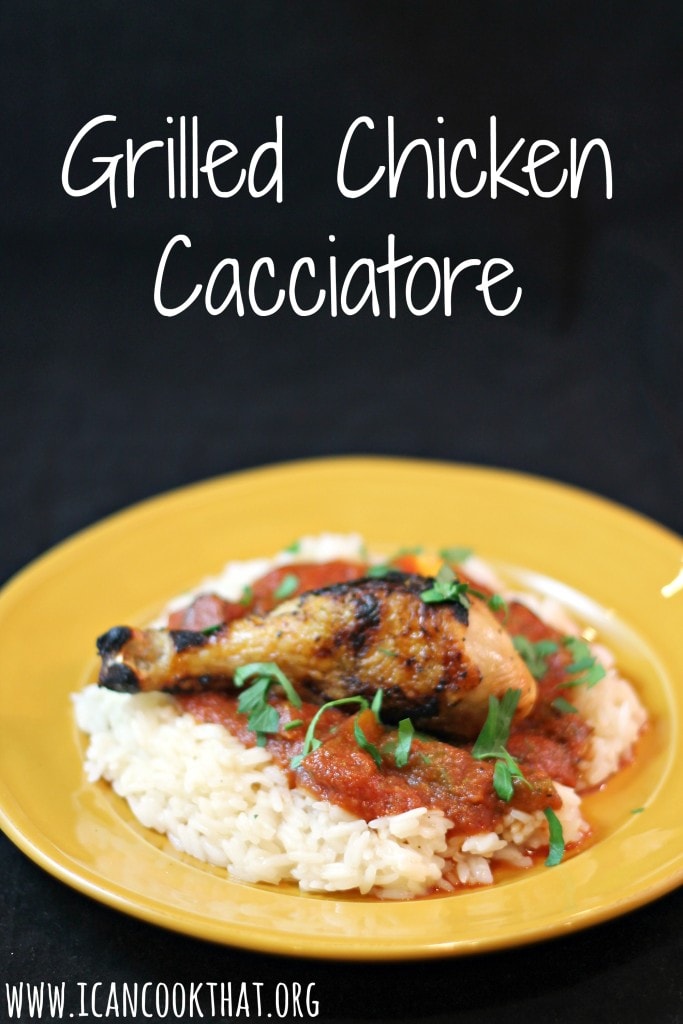
One of my favorite things to throw on the grill are vegetables, something magical and delicious happens when vegetables are grilled. One night, we were doing a bit of a fridge cleaning meal and ended up with ingredients for chicken cacciatore — mushrooms, peppers, chicken, etc. But, we wanted to use my Coyote OutdoorGrill, so Grilled Chicken Cacciatore was born. I didn’t have 2 big enough grill-safe pots, so this entire recipe isn’t made on the grill, but it can be if you’d like!
(To see some of my other recipes I’ve made using my beloved grill, check them out here.)
I threw in some summer squash and zucchini too, because it’s summer and we had some in the fridge. Feel free to omit.
Ingredients:
For the grill:
2 bell peppers, any colors, chopped into bite-sized pieces
1 yellow onion, chopped
1 (8 oz) container sliced baby bella mushrooms
1 zucchini, thinly sliced
1 summer squash, thinly sliced
2 garlic cloves, smashed
4 chicken breasts (or chicken tenders like I used)
4 chicken drumsticks
olive oil, to taste
salt and pepper, to taste
For the stovetop (unless you have oven-safe pots):
Note: I was sent a jar of Maille Rosemary Honey Mustard to try. Opinions are my own.
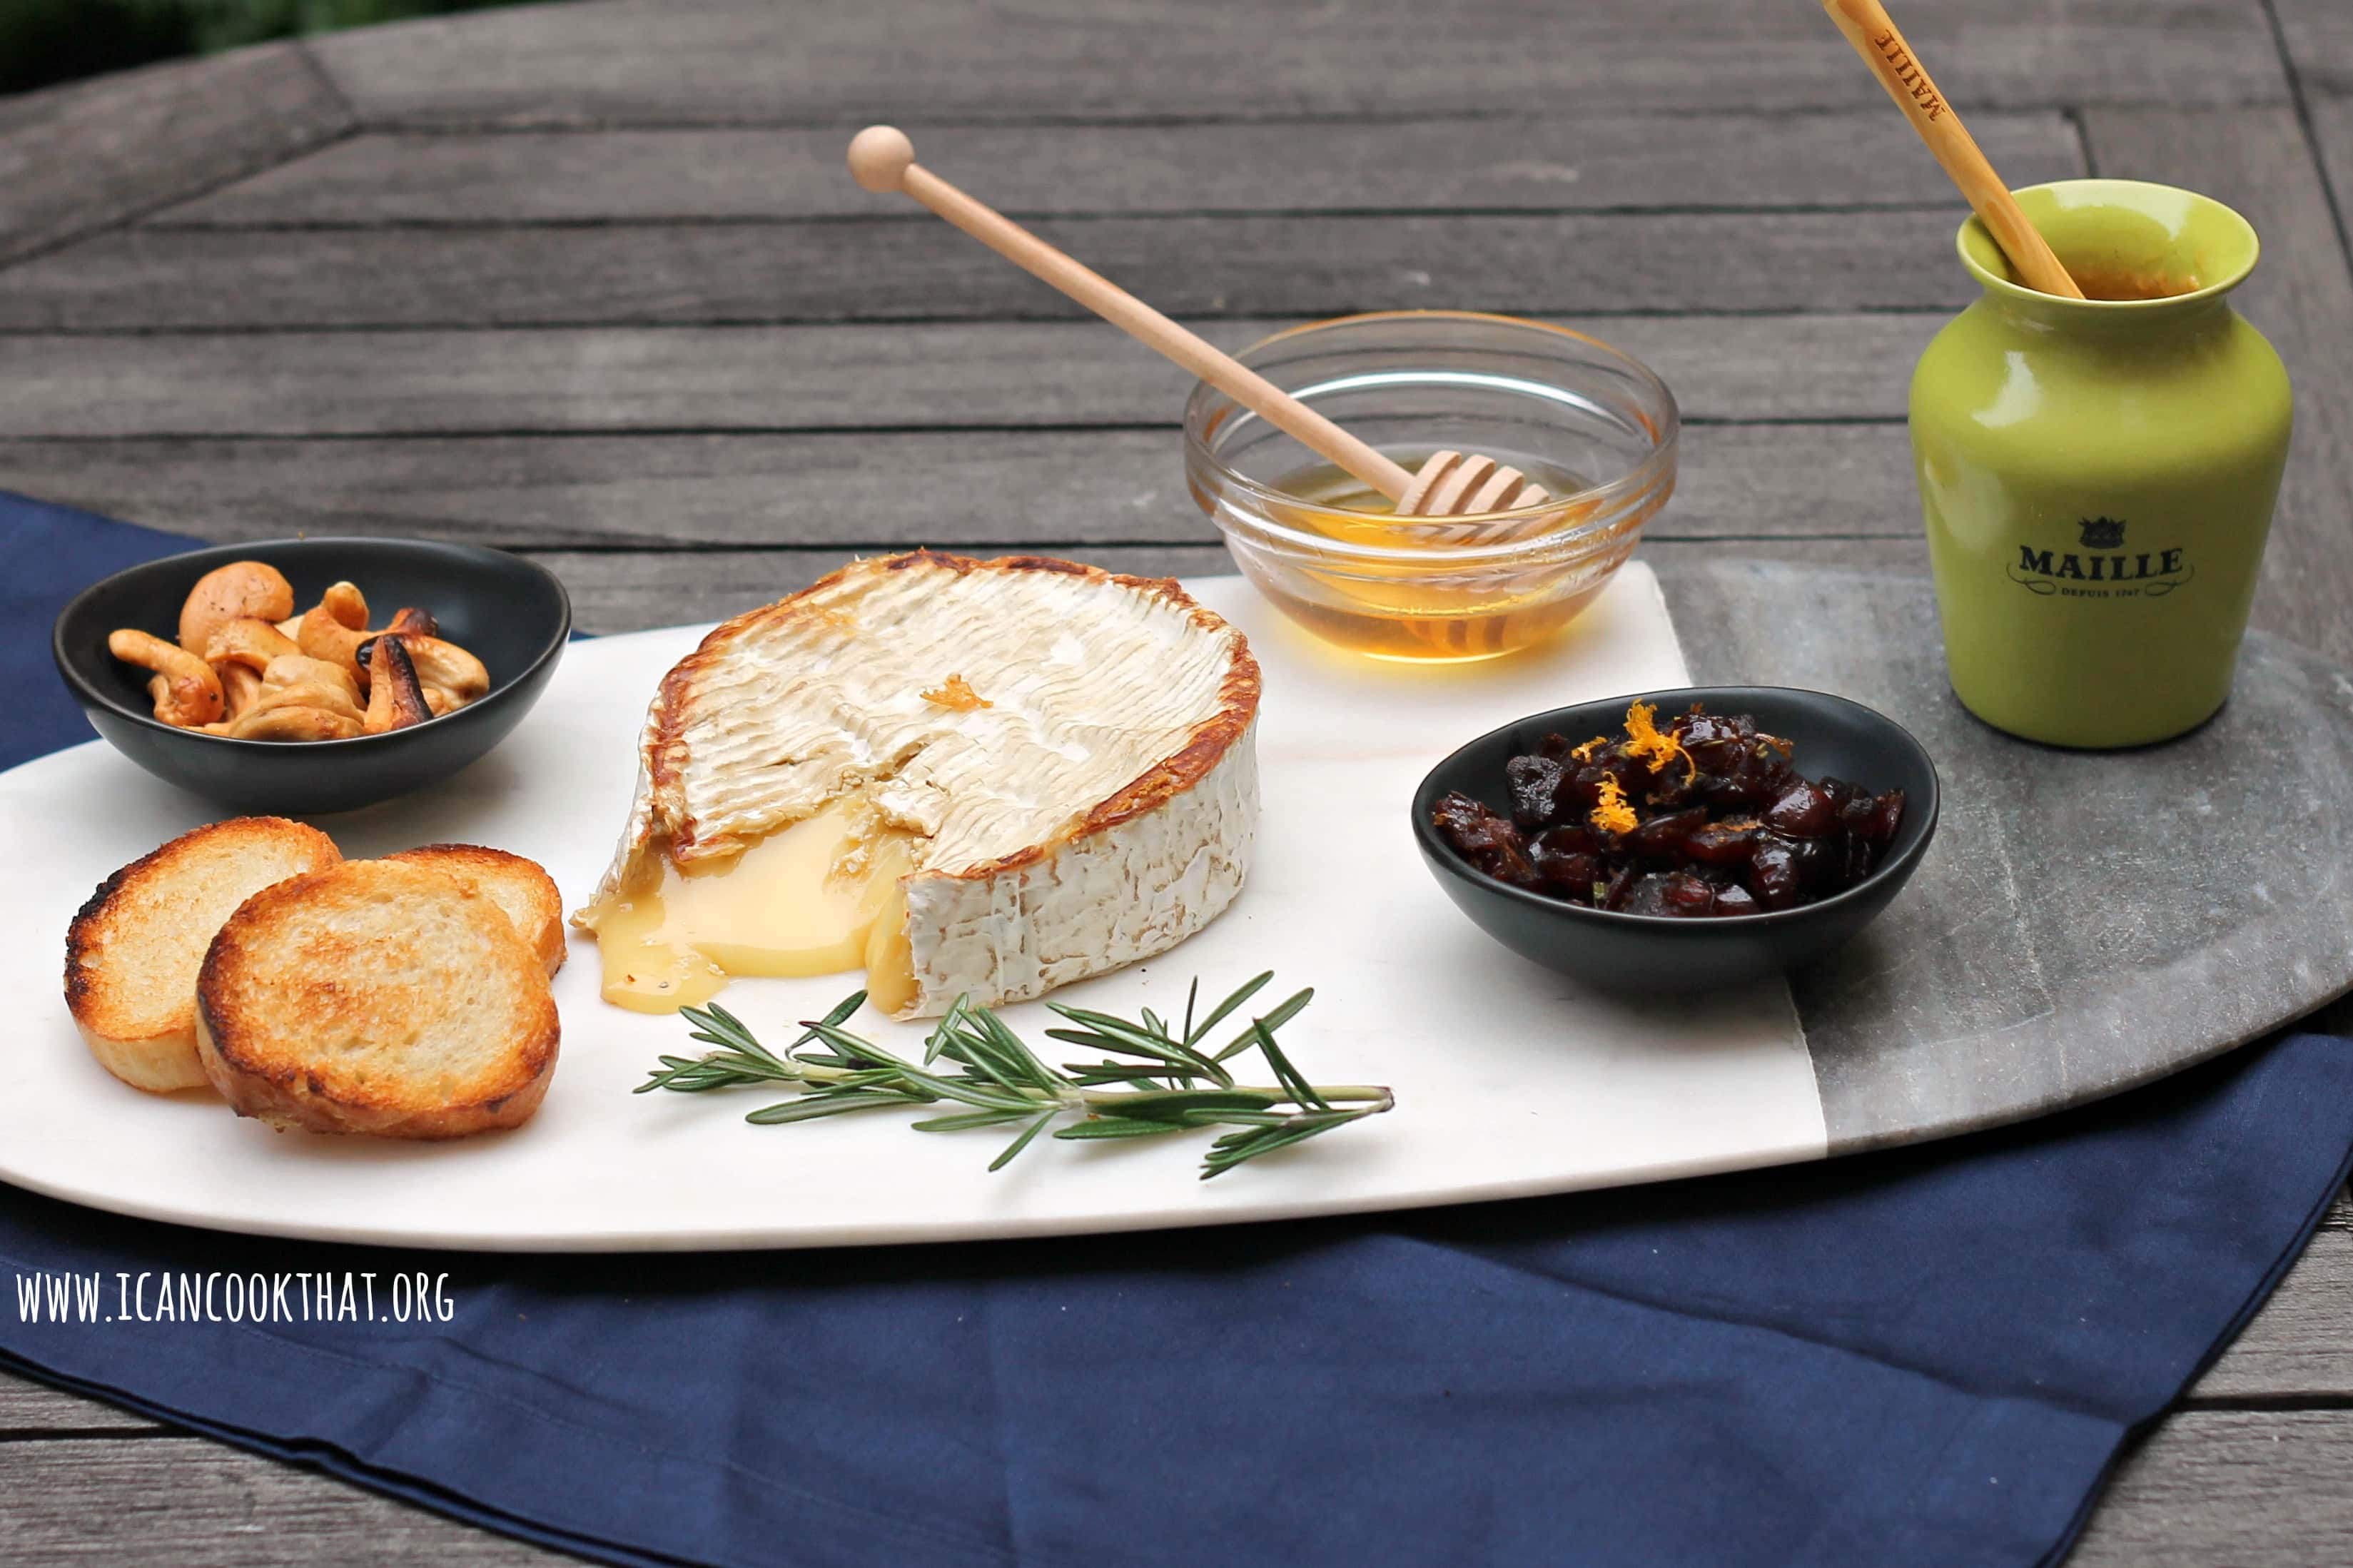
I’m kind of obsessed with my new Coyote OutdoorGrill. I’ve basically made a game out of finding things I can grill that are a bit outside of the box. (To see some of my other recipes I’ve made using my beloved grill, check them out here.) So, today, I bring you a grilled cheese plate, specifically a Grilled Camembert Cheese Plate.
Cheese with a thick outer rind, like a Camembert or Brie, are perfect for grilling. The inside becomes this beautiful gooey dip that I just cannot get enough of.
Just sticking a round of cheese on a grill honestly wouldn’t make for much of a recipe, so I decided to grill the whole cheese plate! I paired my lovely cheese with Grilled Rosemary Cashews and Brandied Rosemary Cherries. To finish off the plate, I included honey for drizzling as well as Maille’s Rosemary Honey Mustard that comes in the most beautiful green sandstone jar.
I was sent a jar of the Honey Mustard and I knew it would be the perfect addition to this cheese plate!
Note: I was sent coupons for Graeter’s Ice Cream for review. Opinions are my own.
Happy National Root Beer Float Day! I had to celebrate the only way I know how, by making myself a root beer float, or, more specifically, an Adult Root Beer Float!
Luckily, Graeter’s Ice Cream wanted me to celebrate in style and sent me some coupons so that I could try their snazzy flavors in my float.
Graeter’s Ice Cream
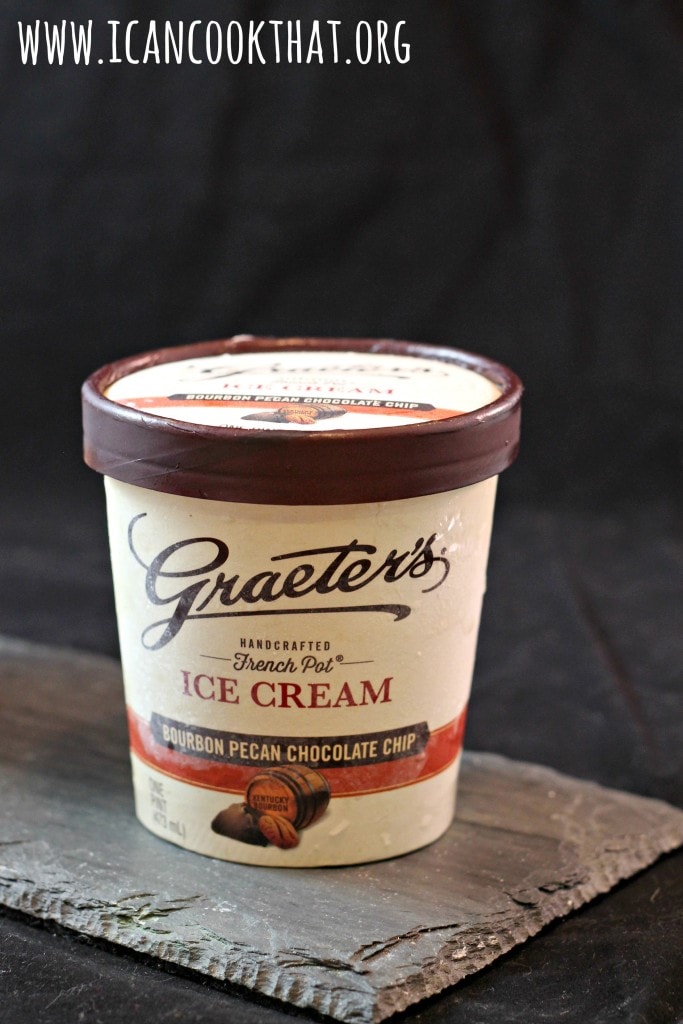
Graeter’s Ice Cream is still made the same way it has been since 1870: by hand. Made with high quality ingredients, the ice cream is still made one batch at a time in 2 1/2 gallon French pots.
Graeter’s has some seriously awesome flavors. To highlight some of them, I decided to make an “adult” root beer float, made with Not Your Father’s Root Beer, because, why not?
The Bourbon Pecan Chocolate Chip Ice Cream seemed like the perfect way to make a root beer float more for adults– it’s made with the bold taste of Kentucky bourbon, then loaded it with roasted, buttered, salted pecan halves and our gourmet bittersweet chocolate chips. (There isn’t actually bourbon in it by the way.)
The Original Salted Caramel is one of the first flavors Graeter’s made over a century ago. Made with brown sugar, cream, and a pinch of salt, it’s a perfect complement to root beer in my opinion!
(They also have a Madagascar Vanilla Bean flavor if you’re not feeling particularly adventurous with your float this time around.)
Ingredients:
1 pint Graeter’s Ice Cream of your choice, (I suggest Bourbon Pecan Chocolate Chip or Original Salted Caramel)
Note: I was sent a variety of First Fresh Foods Chicken Sausages. Opinions are my own.
It may be relatively apparent on my blog that I really don’t eat much pork; I tend to gravitate towards other proteins. So, I also rarely eat sausage, and if I’m being perfectly honest, I’m not the biggest fan of them anyways.
So when First Fresh Foods contacted me about trying their chicken sausages, I figured why not! I decided to keep it pretty traditional and try their mild Italian sausages in Sausage and Peppers to make this recipe for Chicken Sausage and Peppers.
The Italian sausages resemble traditional sausages but are made from ground white breast meat, which delivers similar taste with 78% less fat. They are gluten-free, with no MSG and no hormones.
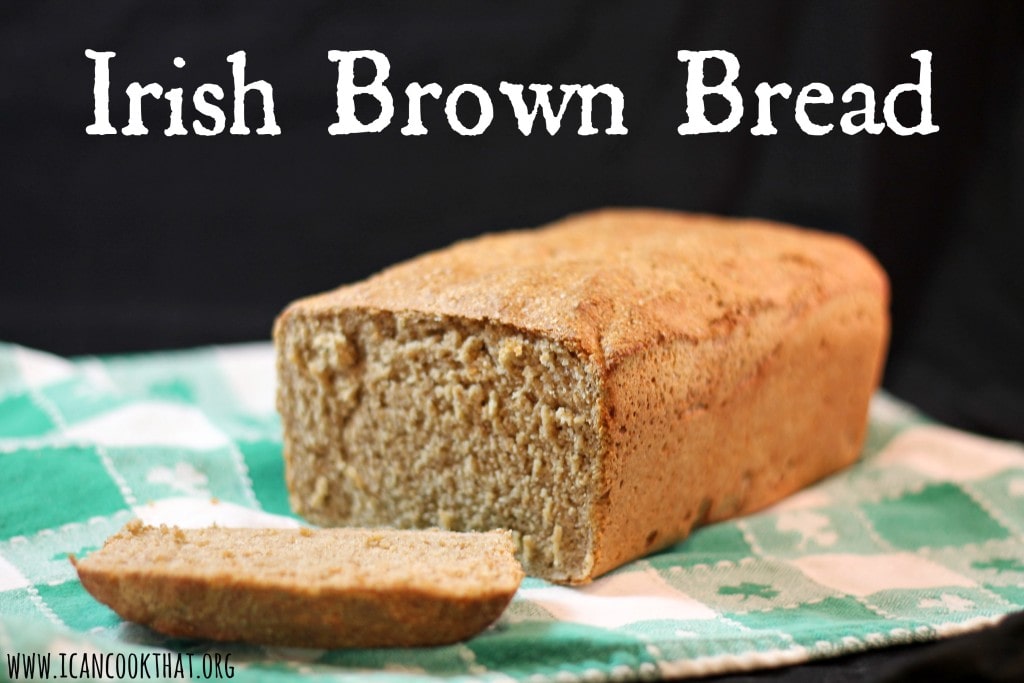
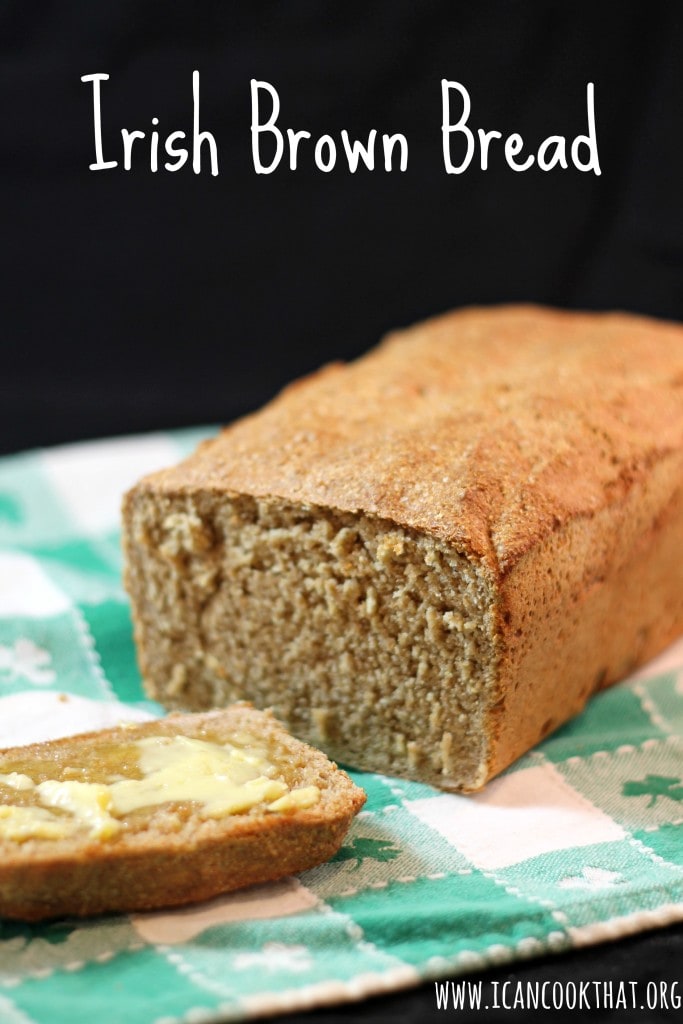
Since I returned from my honeymoon in Ireland a few weeks ago, I have been craving Irish Brown Bread like crazy. Served typically with breakfast, Irish brown bread is made with a coarse whole wheat flour, resulting in a hearty bread different than anything I can easily find here in the U.S.
The difference is really in the flour. To get the right consistency, you’d need to purchase a wholemeal flour, sometimes labeled as “Irish-Style,” which can be somewhat difficult to find (although it is available online.)
So when I was offered the chance to try out the Mockmill, a grain mill attachment for the KitchenAid Mixer, I jumped at the chance. I can make my OWN Irish-Style flour!
Besides my very specific reason for wanting to mill my own flour, there are a bunch of other benefits to using a grain mill. Grinding from whole wheat berries at home means that the bran and germ stay in your flour. A bunch of the “good stuff” is found in the bran and germ: fiber, vitamins, minerals, antioxidants. However, the germ is removed from commercial flour because it reduces its shelf life; the oil in germ can turn rancid, so home milled flour should be used in 1-2 weeks, or stored in the freezer.
The Mockmill, designed by Wolfgang Mock, is nicely compact. (As a city dweller, I very much appreciate this.) I love that it attaches right to my stand mixer; it’s really simple to set up and begin using right away.
source: Mockmill
You adjust the coarseness of the grind by twisting the front of the mill. The mill uses self-sharpening ceramic-bonded corundum grinding stones, which can produce a very fine flour if needed.
The Mockmill grinds flour directly into the mixing bowl, really convenient if you’re using it immediately like I am!
Cleaning the Mockmill is also a breeze; the mill can be separated easily and rinsed to clean any minimal residue left from milling.
Mockmill is offering I Can Cook That readers a really sweet deal, available until August 31:$80 off (that’s over 30% off!) two different package options through this link if you use the code icancookthat.
The packages come with everything you need to begin milling at home: the Mockmill Grain Milling Attachment for Stand Mixers, a variety of whole grain berries to get you started, plus “Flour Power” by Marleeta Basey, a comprehensive introduction to the benefits of home milling! Be sure to check them out here.
Note: the price listed is the original price. Add the code icancookthat at checkout to receive $80 off. The sets of books, grains, and Mockmills are being especially made for this promotion so delivery times may vary.
To test out the mill (and make me some oh so yummy brown bread,) I decided to start with a relatively simple version of Irish bread, a yeasted version from the Ballymaloe House in County Cork, Ireland. This version of their recipe comes from David Lebovitz, and is super easy to make.
Note: I was sent a Coyote Outdoor Grill to participate in the #CoyoteChallenge. All opinions are mine alone.
I am absolutely loving my Coyote OutdoorGrill; I have been grilling anything and everything I can find! To see some of my other recipes I’ve made using my beloved grill, check them out here. This time, I wanted to branch out and find recipes that you may not necessarily consider making on the grill.
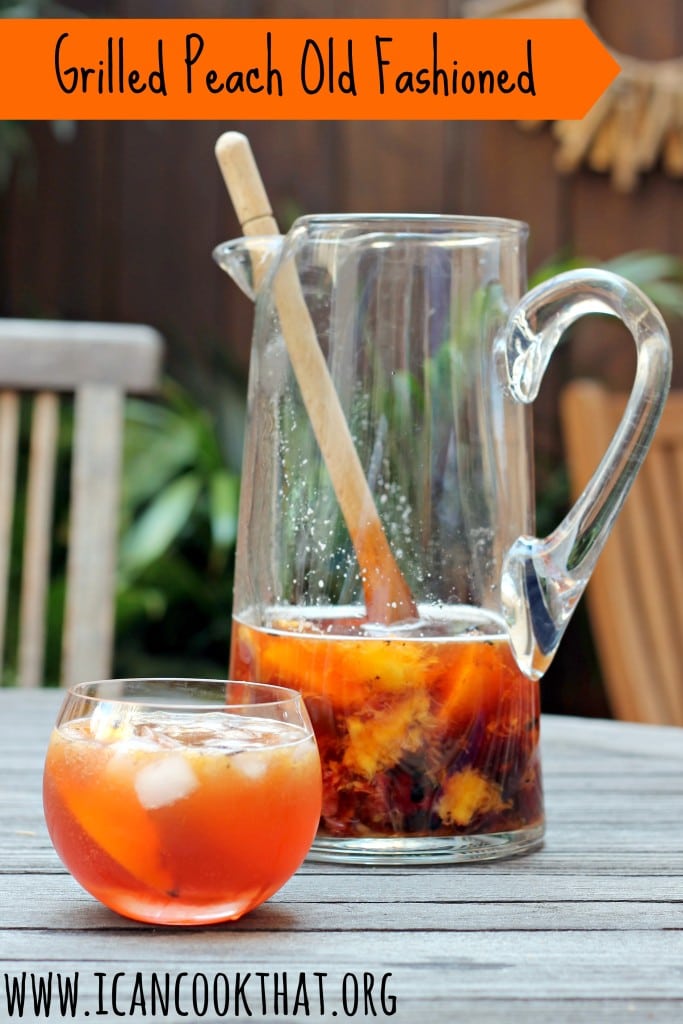
I kept to the recipe for the most part, but added in some peaches for extra flavor because my husband loves all things peach and ended up with this recipe for Grilled Peach Old Fashioned Cocktail. I also substituted in Rye Whiskey to suit our personal tastes. Feel free to use your favorite bourbon of choice instead.
My friends and I loooooove Old Fashioned’s so I was thrilled to find a new version of our favorite cocktail. I make a mean Fizzy Old Fashioned that is a perfect “punch” for groups of friends; it’s not nearly as strong as a typical Old Fashioned, but the bourbon taste is still very present.
Ingredients:
1/2 orange, cut into slices
12 pitted cherries
1 peach, cut into quarter slices, with the stone removed
1 (750-ml bottle) rye whiskey (such as Bulleit Rye)
1 liter club soda, cold or blood orange soda, cold
ice
A quick note for my gluten-free friends. Rye whiskey, obviously derived from rye, is gluten-free. The distilling process removes the gluten proteins. So drink away!
Today (July 22nd), Ball brand is hosting it’s sixth annual Can-It-Forward Day. (You may recall my last post on Can-It-Forward Day, where I canned on my own for the very first time to make salsa.) Can-It-Forward day is a day to celebrate the joys of fresh preserving, and encourage both new and veteran canners to preserve more. This year, the day will be streamed online via Facebook Live from 10:00 am 3:30 pm EST. Throughout the day, the Ball brand and expert ambassadors will be demoing a variety of canning recipes. In the true spirit of “canning it forward,” for every engagement received on the videos, whether it be a comment, like or share, the brand donate $1 to a local charity, so be sure to check it out!
You can also ask Jarden Home Brands canning experts any preserving or home canning questions via Twitter with the hashtag #canitforward from 10AM – 5PM ET on July 22nd. Share your own #canitforward creations with the brand on Pinterest and Instagram as well!
Ball brand has also launched the Freshly Preserved Ideas Tumblr page, a “digital pledge page” a place for consumers to take the pledge to Can-It-Forward this year. Check it out and pledge!
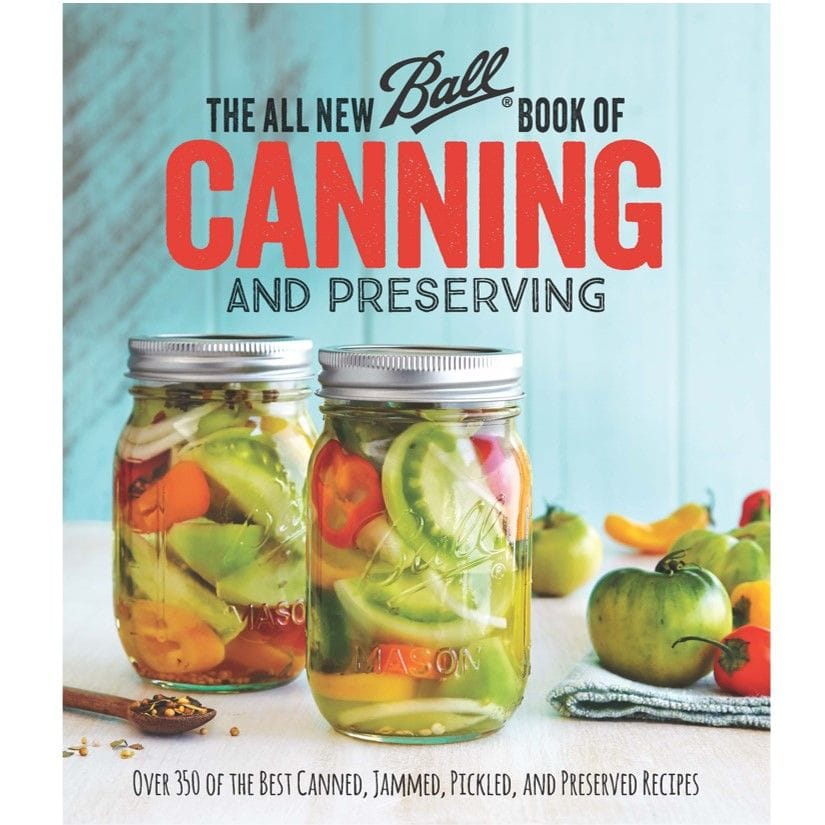
I really loved the new canning book from Ball; along with canning and preserving recipes, there are many recipes that incorporate the canned/preserved items.
source: freshpreserving.com/
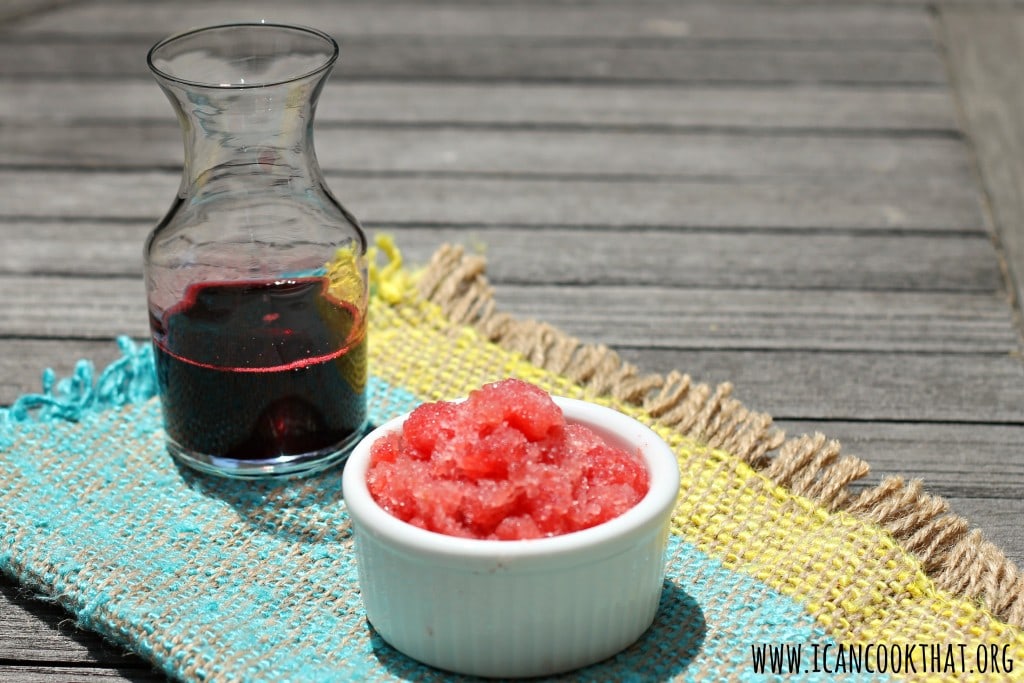
I wanted to show off how great both types of recipes found in the book are, so I made a blackberry syrup to can, and used it in a watermelon blackberry granita.
The blue wide mouth pint jars are SO PRETTY. I have been using a set of the regular mouth blue pint jars as my drinking glasses for years so I was excited to use the wide mouth for their actual intended use!
source: freshpreserving.com/
I will get to the canning and recipes shortly, BUT Ball brand was also kind enough to provide a second set of the products I received as a giveaway to my readers! Details on how to enter will be at the end of the post!
Ingredients:
For Blackberry Syrup:
3 lbs blackberries
2 cups water
2 3/4 cups sugar
1/4 cup honey
2 tbsp bottled lemon juice
For Watermelon-Blackberry Granita:
8 cups seeded watermelon cubes
1/2 cup Blackberry Syrup
2 tbsp fresh lime juice
Gear:
stainless steel or enameled Dutch oven
wire-mesh strainer
3 pint jars, lids, and bands
large pot for canning + a rack to keep the jars off the bottom of the pot
cheesecloth
13×9 inch baking dish
So, since my last post, I’ve upgraded my canning situation to the Ball Fresh Preserving Kit. However, for beginners, you really can’t beat the value of the Beginners Kit that I used last year to make the salsa. On to the recipes!
Note: I was sent two jars of Herb ‘n Zest Cooking Sauces in order to make this Pumpkin Curry Chicken with Potatoes and Peas. All opinions are mine alone.
As someone who works full-time, my biggest requirement for a dinner option is that it can be made in under 40 minutes. By the time I get home, I’m ready to eat! Although it’s not usually too much of a problem, I rarely get the chance to make dinners with the depth of flavor brought to food when it is simmered over a stove for a while.
A local Philadelphia company, Herb ‘n Zest, is changing that. Their innovative condiments and sauces allow home cooks to add quick flavor to meals in no time. All products are fully cooked and can just be added to dishes as sauces or dips.
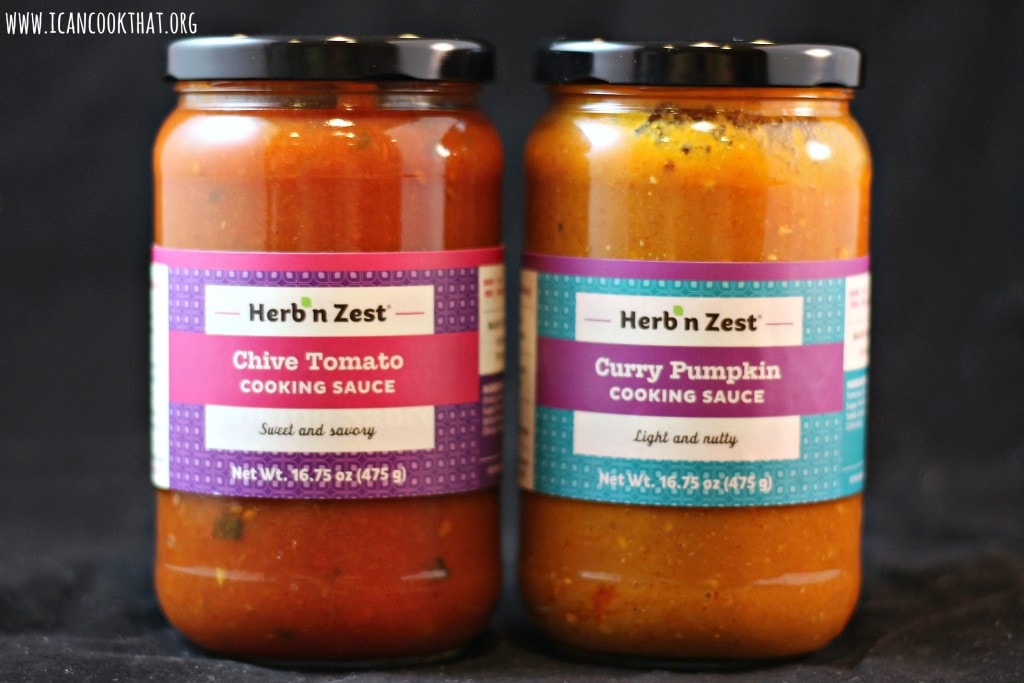
I was sent a jar each of Herb ‘n Zest’s two most popular sauces: Chive Tomato Cooking Sauce and Curry Pumpkin Cooking Sauce. The Chive Tomato Cooking Sauce is made with Jersey Fresh tomatoes sauteed with chives and spices in olive oil. while the Curry Pumpkin Cooking Sauce is a savory pumpkin sauce seasoned mildly with curry and sunflower seeds. Both sauces are also vegan, soy-free, gluten-free, dairy-free and use non-GMO ingredients.
I love love love pumpkin, so I knew I had to try that one first! I decided to make a chicken and potato curry with the sauce and serve it over coconut rice, resulting in this recipe for Pumpkin Curry Chicken with Potatoes and Peas. To make vegetarian/vegan, omit the chicken.
Want to try the sauces for yourself? Herb ‘n Zest is offering a great discount through my blog: 25% off the Home Chef Starter Pack with the code get25icancook! Just click the photo of the jars below and enter the code at checkout!
You can also enter their summer giveaway worth $50. Just take a picture of yourself with a jar of Herb 'n Zest, upload it to Instagram & tag the image with #herbnzest. The summer giveaway draw will happen on August 15, 2016, so be sure to purchase your jars soon!
Ingredients:
2 russet potatoes, peeled and cut into bite sized pieces
Note: I was sent a Coyote Outdoor Grill to participate in the #CoyoteChallenge. All opinions are mine alone.
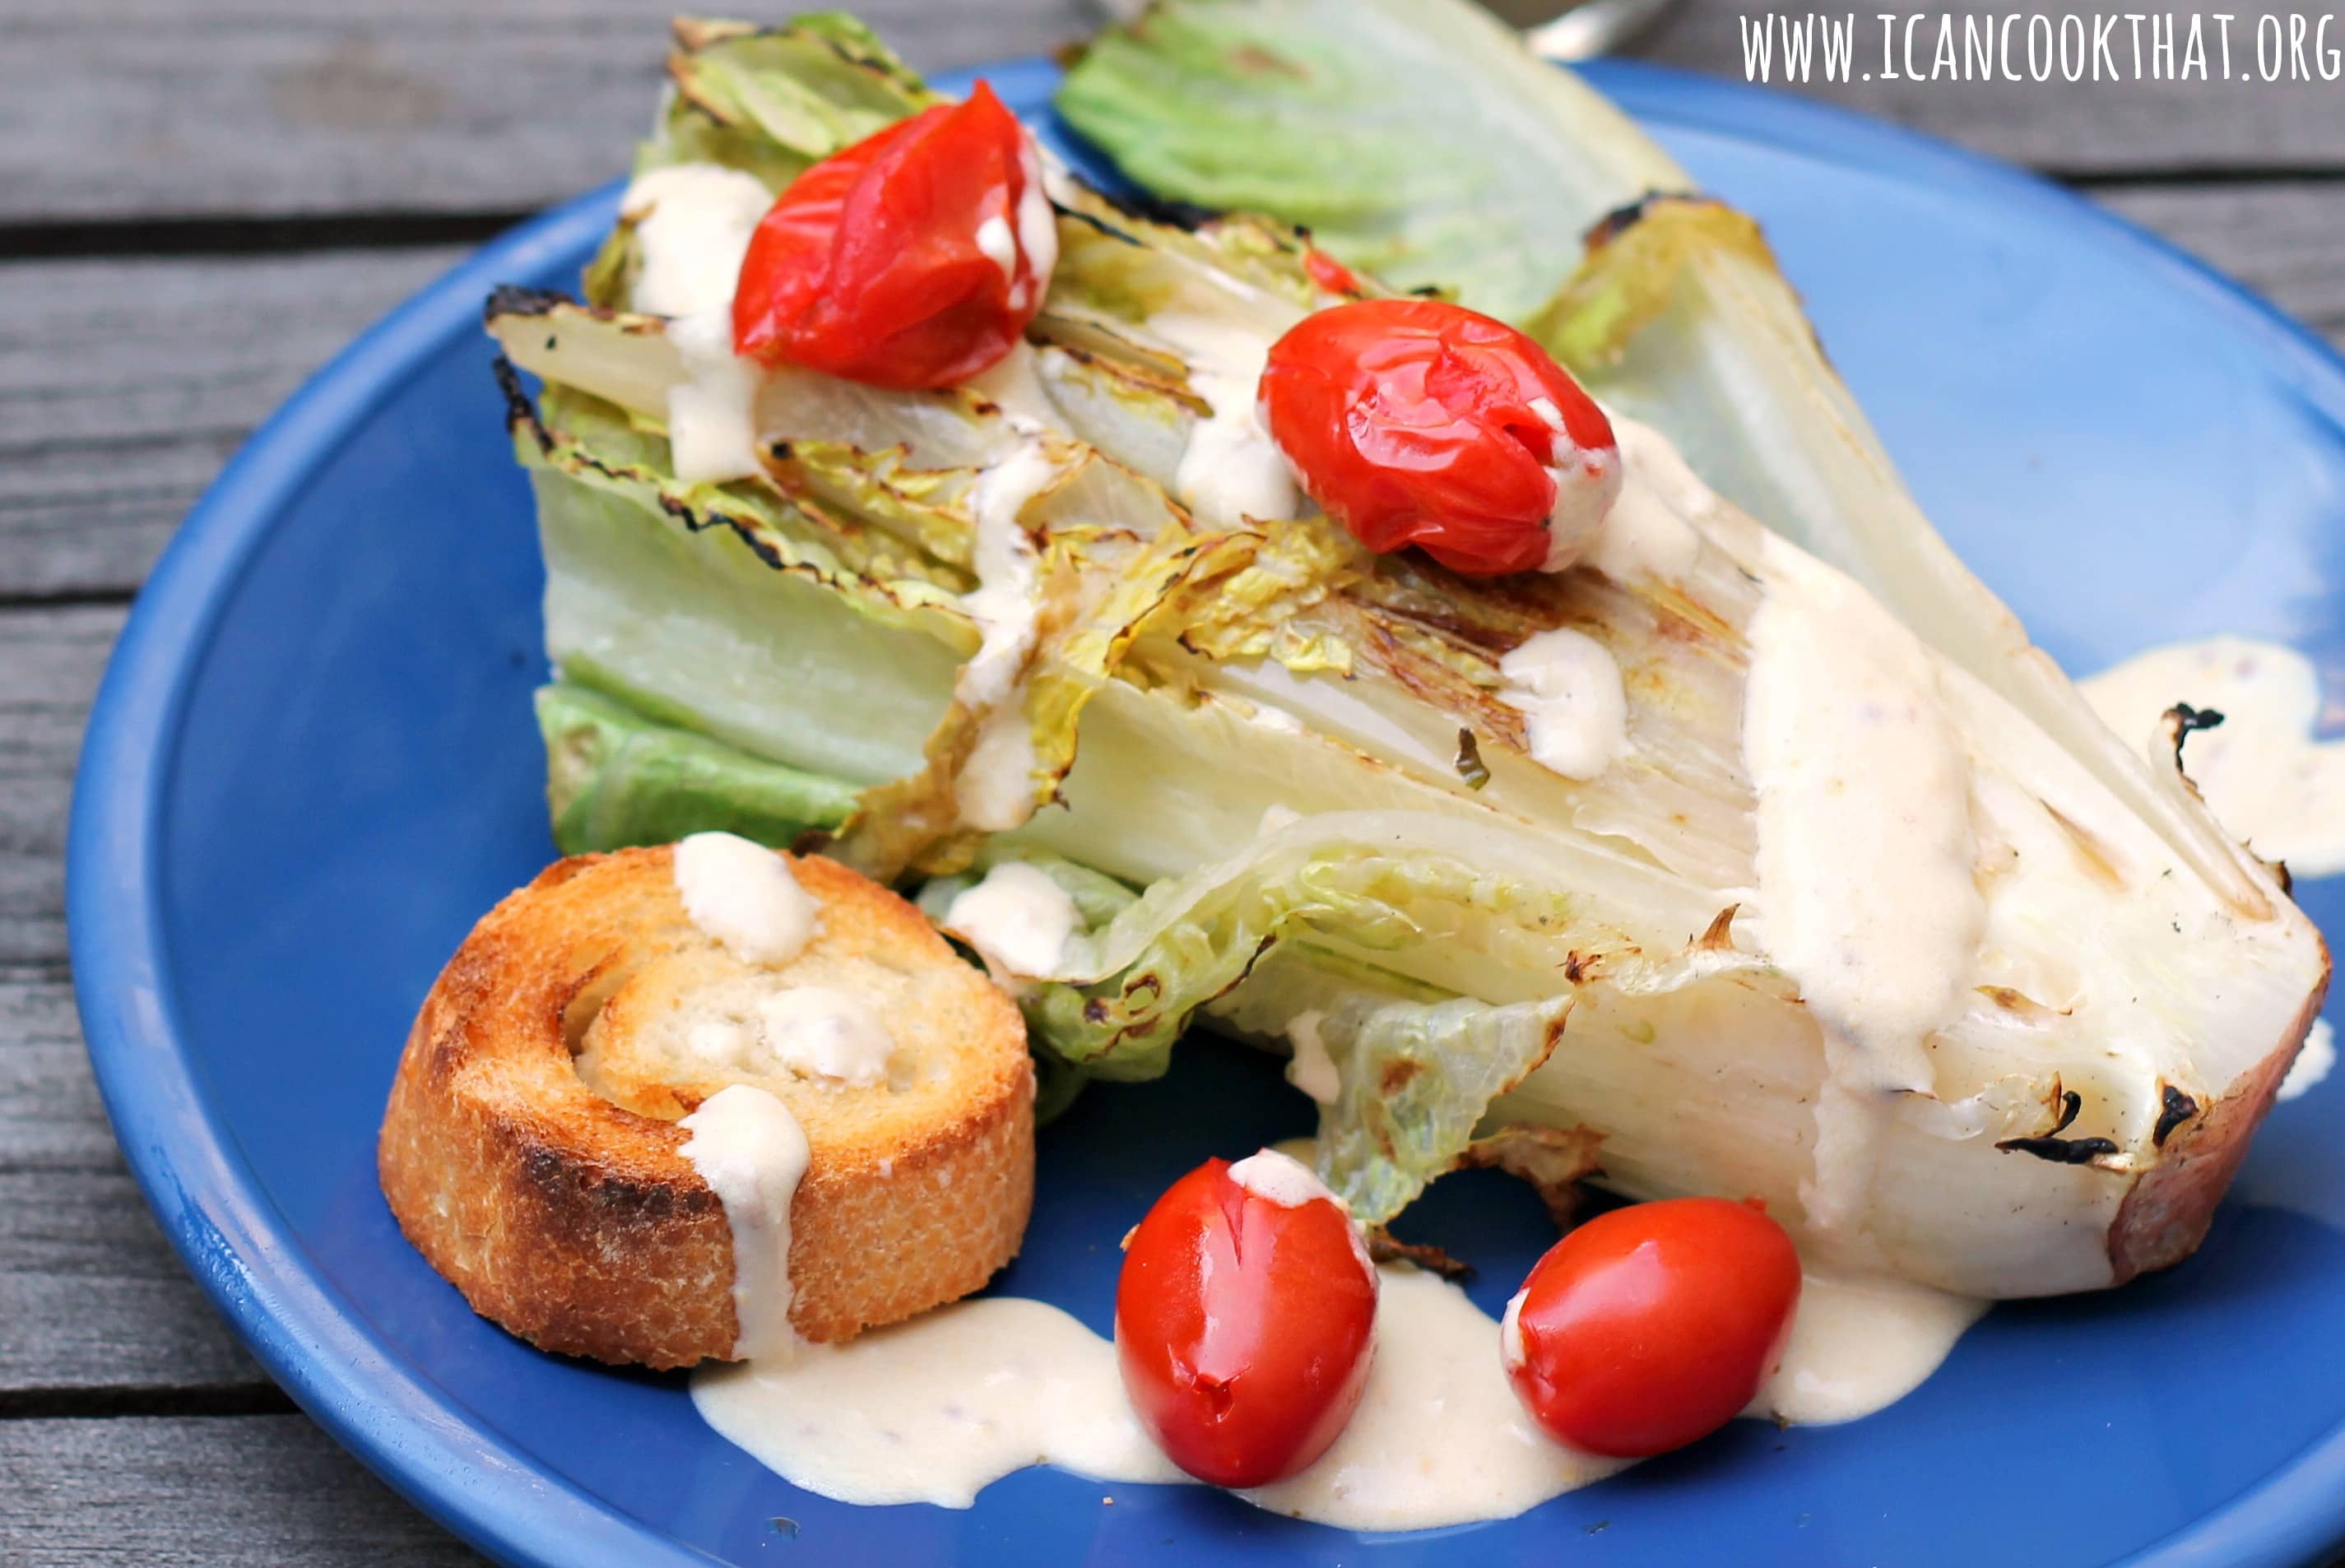
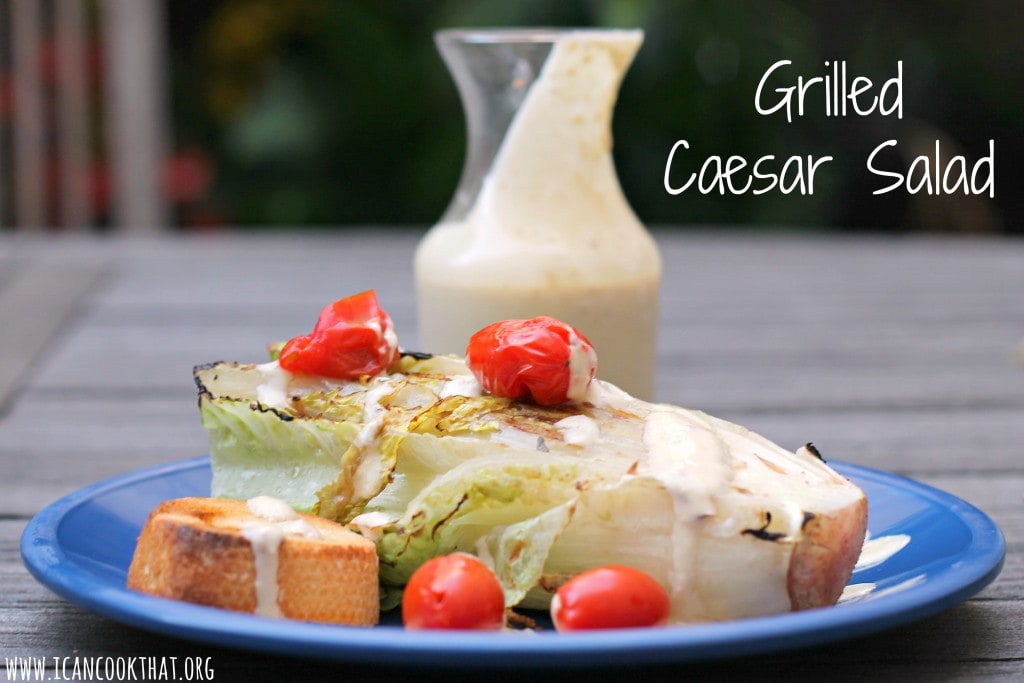
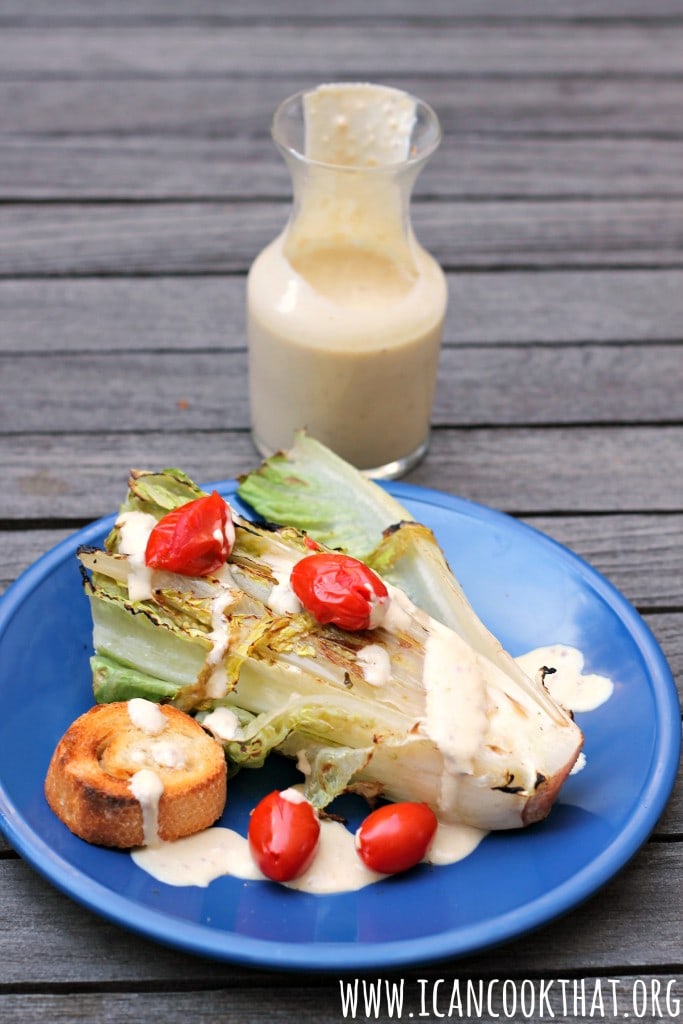
If you’ve never had Grilled Caesar Salad before, you’re in for a treat! This variation on the classic adds a bit of smokiness from the grill. I added in some grilled tomatoes as well, because who doesn’t love tomatoes?
The dressing for this recipe is Greek-yogurt based, so its slightly tangy and perfect with the charred bits of romaine lettuce. I found the dressing recipe on myrecipes.com.
Ingredients:
For the dressing:
3 tablespoons plain 2% reduced-fat Greek yogurt
2 tablespoons grated Parmesan cheese
4 teaspoons fresh lemon juice
1 tablespoon water
2 teaspoons extra-virgin olive oil
1 1/4 teaspoons Worcestershire sauce
1 teaspoon Dijon mustard
1 anchovy fillet, finely chopped (can omit to make vegetarian)
Note: I was sent a Coyote Outdoor Grill to participate in the #CoyoteChallenge. All opinions are mine alone.
Last night, we finally broke in our snazzy new Coyote OutdoorGrill; it’s about time I started the Coyote Challenge! (Granted, I just got back from my honeymoon; it’s difficult to grill when you’re in a different country!) We had friends along for the adventure, so we made a few simple items to try out the grill.
Despite it being July, none of us had eaten corn on the cob yet! So naturally, we decided to make a quick grilled corn with an easy chive butter to test out the vegetable/fish grates. There isn’t much to it, so this recipe for Grilled Corn with Chive Butter was the perfect way to try out the grill for the first time.
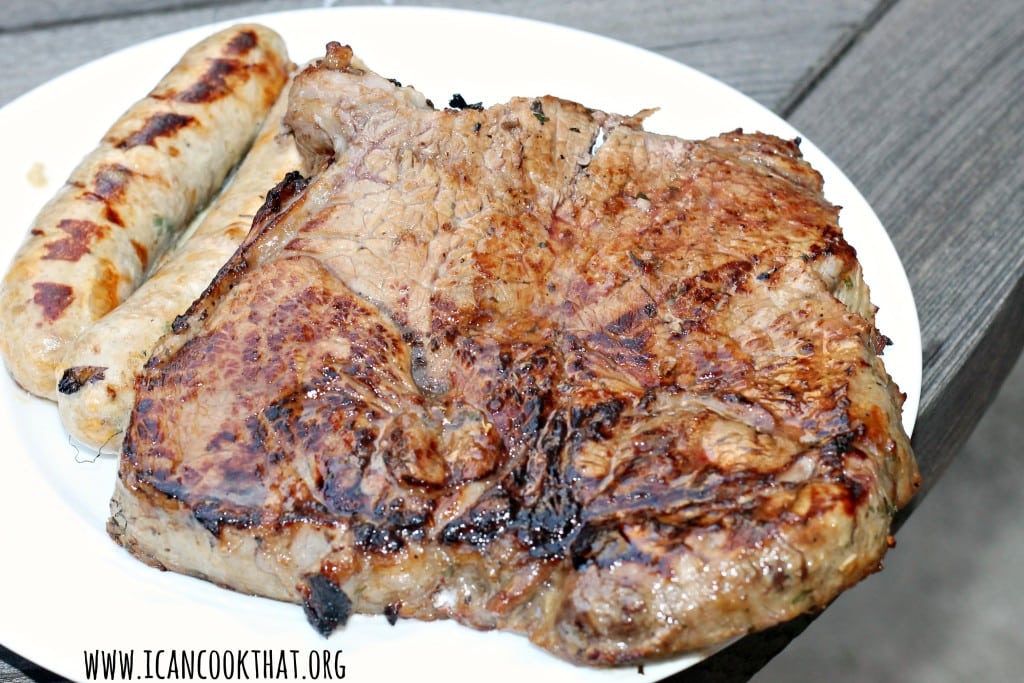
We also shared a huge delicious piece of steak that Steve (our grill-master for the evening) had marinated first in an IPA (yum) and then transferred it into a more traditional herbed marinade (double yum). It was so juicy and delicious!
There were some other yummy grilling experiments that took place, but discussion of those are for another post. On to the recipe!
Ingredients:
4 ears of corn, shucked
1/4 cup salted butter, at room temperature
1 tablespoon finely chopped chives, plus more for garnish
I am so excited to announce a summer partnership with Coyote Outdoor Living, a company known for its high-quality all premium stainless steel grills and accessories.
source: coyoteoutdoor.com
I will be participating in the Coyote Challenge: All summer long, I will be grilling anything and everything to show the versatility of using an outdoor grill.
Coyote Outdoor Living sent me one of their amazing grills in order to get my grilling on! Last week, I was sent a Coyote 36″ S-Series Grill, which includes three high-performing Coyote Infinity Burners, one infrared rear burner, one RapidSearTM Burner, a Rotisserie Kit, and a Smoker Box.
source: coyoteoutdoor.com
I was also sent some other accessories to really make the most of my grill this summer:
The Coyote signature grates are laser-cut with precision for proper air-flow and flame penetration to grill any ingredient to perfection. There are three separate types of grates: wide-set grates for seared steaks, grates designed for chicken prevent charred outsides and under-cooked insides, and fish/vegetable grates for more delicate ingredients.
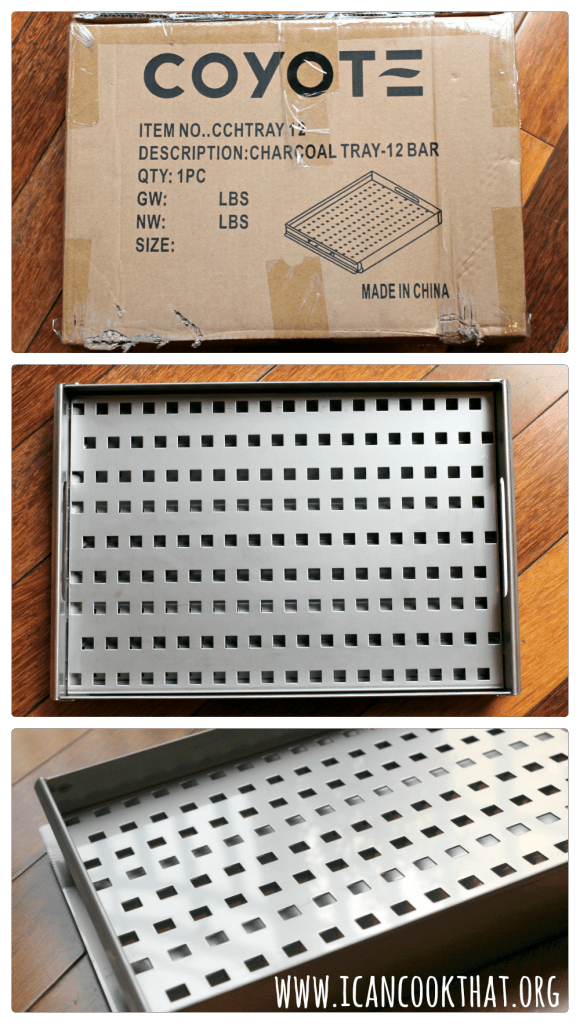
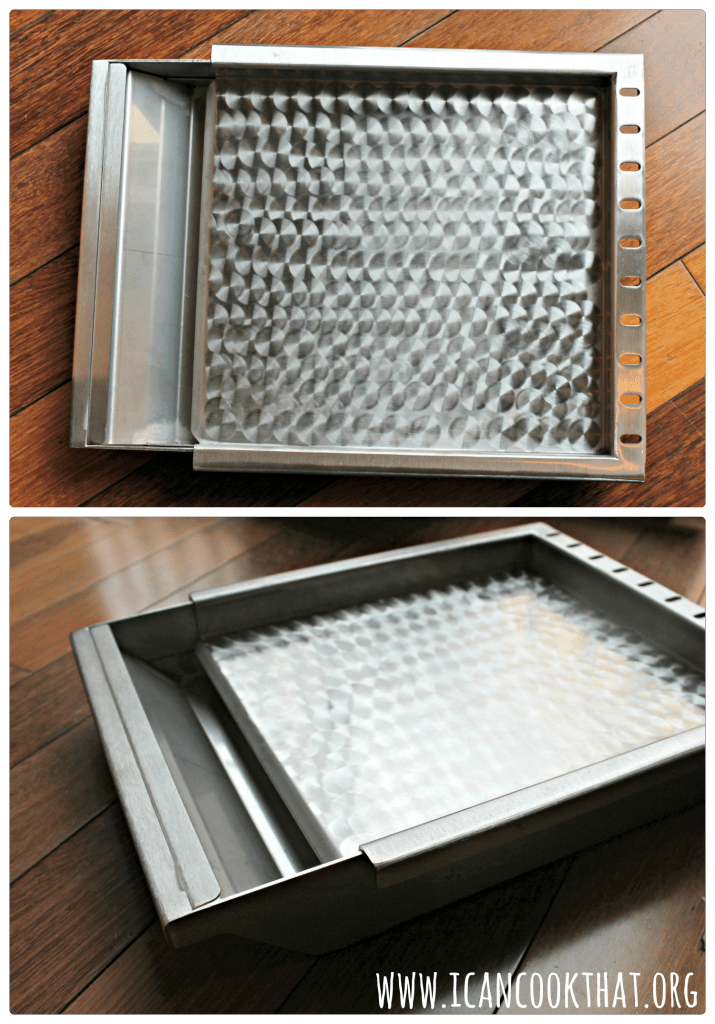
The solid stainless steel charcoal tray allows me to temporarily convert one side of the grill to a charcoal grill for slow cooking, but is completely removable making the grill versatile for any cooking method.
The 14″ commercial-grade griddle allows me to even make breakfast on the grill; pancakes and eggs here I come!
The 36″ S-Series Grill is one impressive looking grill. I had to swindle some friends (and my very patient sister) into helping me move the grill and cart to the back patio and set it up.
Setting it up is a breeze (once you have the brawn to do so):
We removed the grill and the cart from their respective boxes
The cart comes fully assembled, so we just moved the cart into place on the patio. The cart:
includes two fold down shelving for solid work space in your grilling area
includes two self-closing doors, which provide storage space for barbecue tools and grilling accessories
features industrial-style locking wheel casters for portability
is made of stainless steel, and is designed to endure the elements
The S-Series 36-Inch Grill is just placed on top of the cart. The grill:
combines the power and function of a luxury grill with the durability of a Coyote grill
features premium stainless steel construction
offers stainless steel, performance enhancing heat control grids that minimize flare-ups and distribute heat evenly across its 640 square inch cooking area
is powered by three, durable cast stainless steel Infinity burners and one RapidSear infrared burner which deliver up to 90,000 BTUs of cooking power
the burners are lit by an easy to use, push and turn ignition system
includes internal halogen grill lights for grilling at night
the removable warming rack can be used to keep food heated until serving time
you can easily monitor the temperature inside your grill using the integrated thermometer
includes a rotisserie system with rear infrared burner to slow roast foods
includes a smoker box to infuse your grilled food with delicious smoke flavor
Our bedroom is right off of the patio with our new grill, so I plan on using the Coyote grill like my own little outdoor kitchen! I cannot wait to get started and to show off all of the amazing things you can make outdoors instead of heating up your kitchen in the warmer months. Stay tuned for some classics, with some “who knew you could grill that?” recipes all summer long!
Note: I was sent a coupon for Sargento Ultra Thin Cheese Slices through Cooking Light Bloggers’ Connection. Opinions are mine alone.
Well, summer weather came out of nowhere, didn’t it? Rising temperatures mean it’s grilling season! Throwing a burger on the grill doesn’t have to mean an super unhealthy meal though!
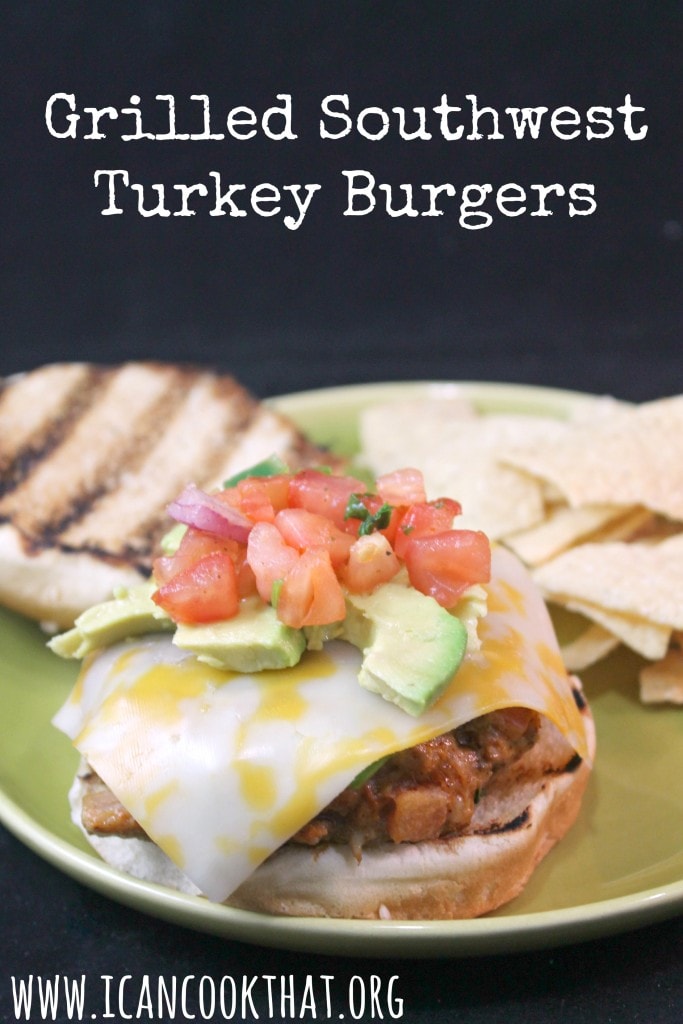
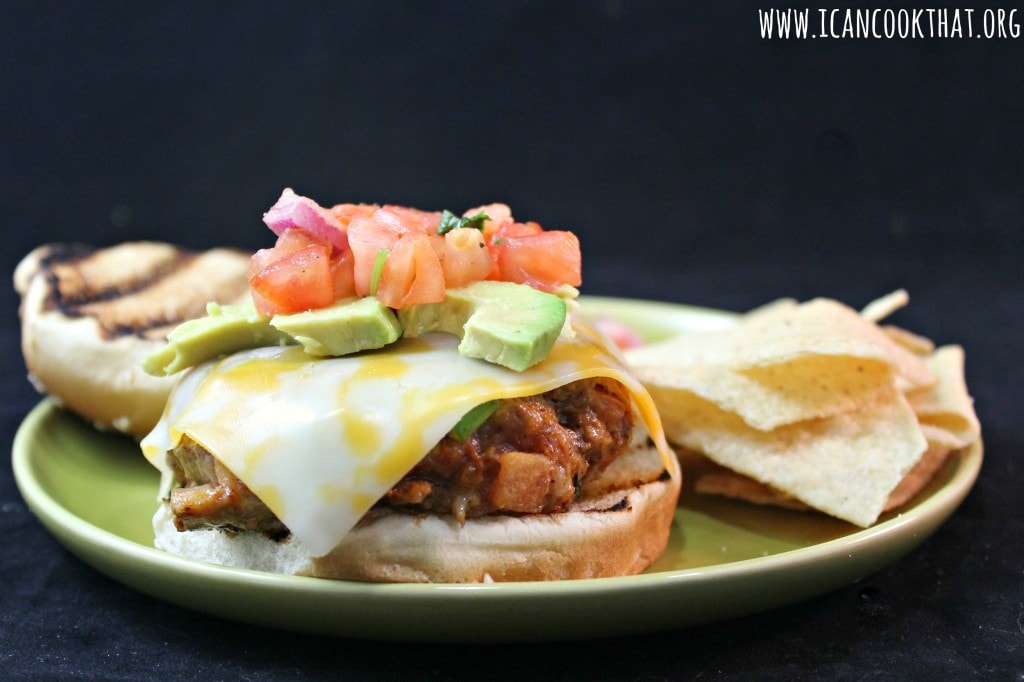
AND you don’t even have to skip the cheese to make a healthier burger! These turkey burgers are filled with deliciousness without being heavy and are topped with Sargento® Ultra Thin® Colby Jack Cheese Slices, pico de gallo, and avocado slices.
At 40 calories a slice, Sargento® Ultra Thin® Colby Jack Cheese Slices do nutritious in the most ultra-delicious way. The cheese slices are made of 100% real, natural cheese but are sliced thinner, so you can enjoy the cheesy deliciousness in moderation.
Ingredients: (recipe makes 3 larger burgers or 4 smaller burgers)
1 pound ground turkey
1 tablespoon chili powder
1/2 teaspoon garlic powder
1/2 teaspoon smoked paprika
1/2 teaspoon salt
2 tablespoons finely diced red bell pepper
2 tablespoons pico de gallo
2 tablespoons sliced green onions (scallions)
3-4 hamburger buns
3-4 slices of Sargento® Ultra Thin® Colby Jack Cheese Slices