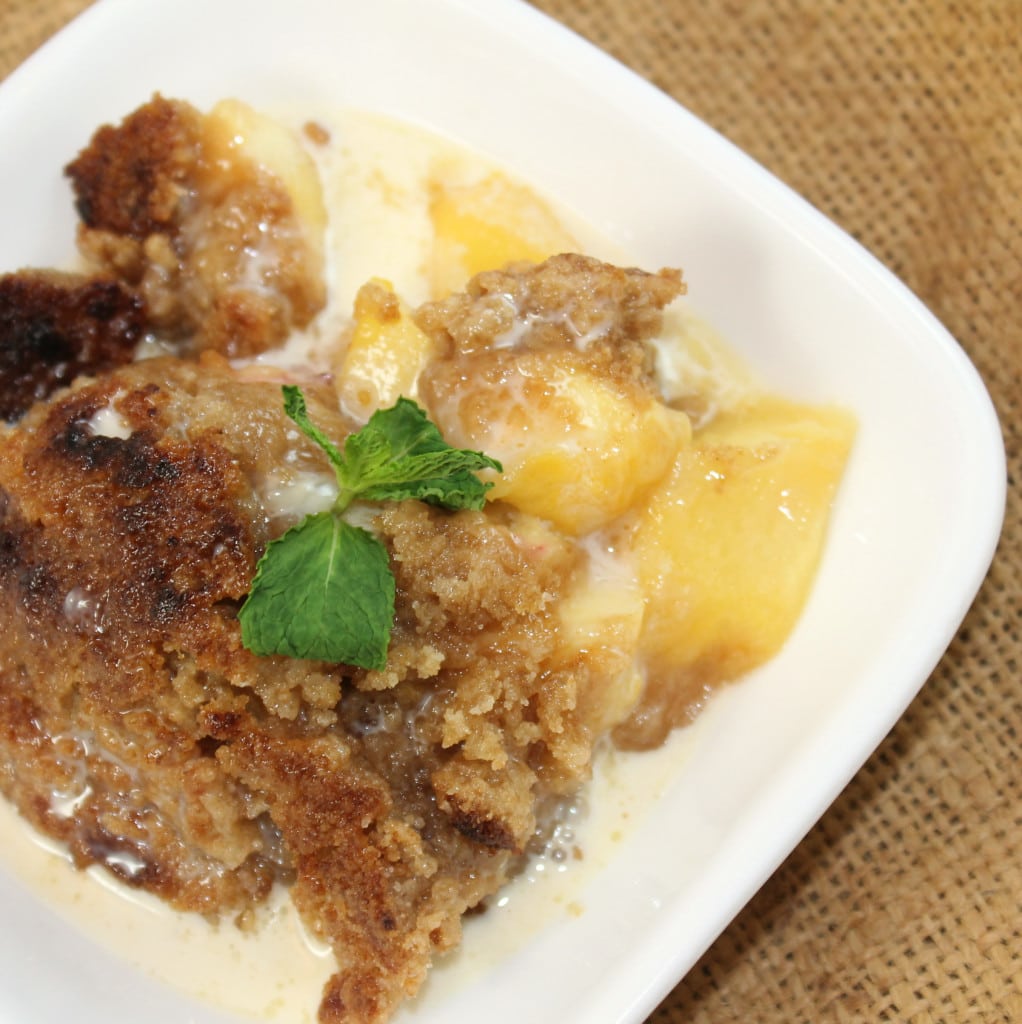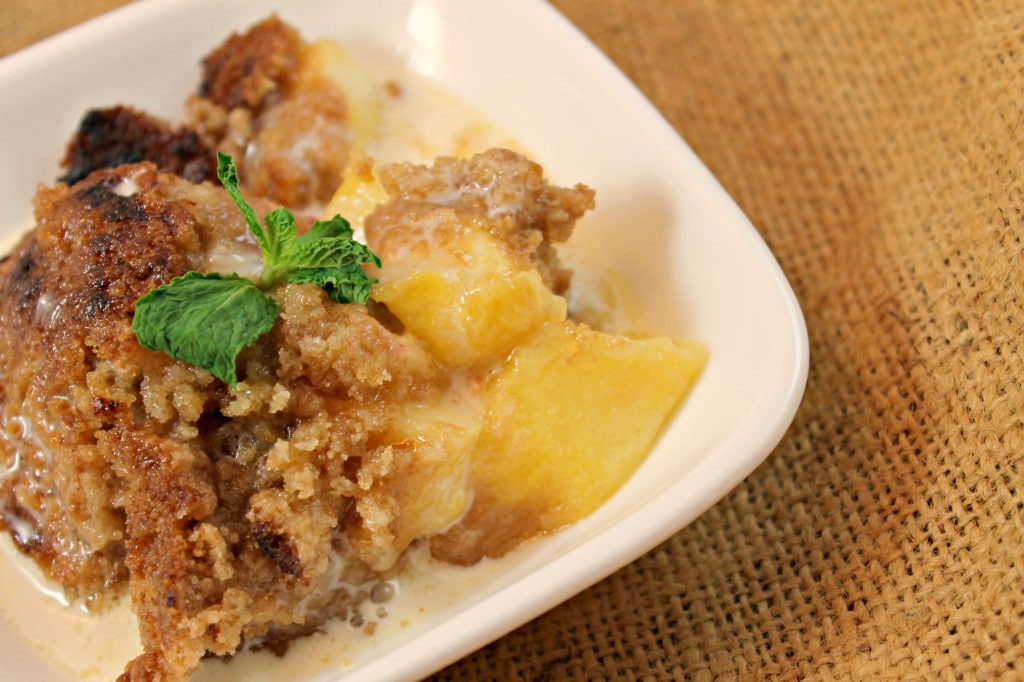
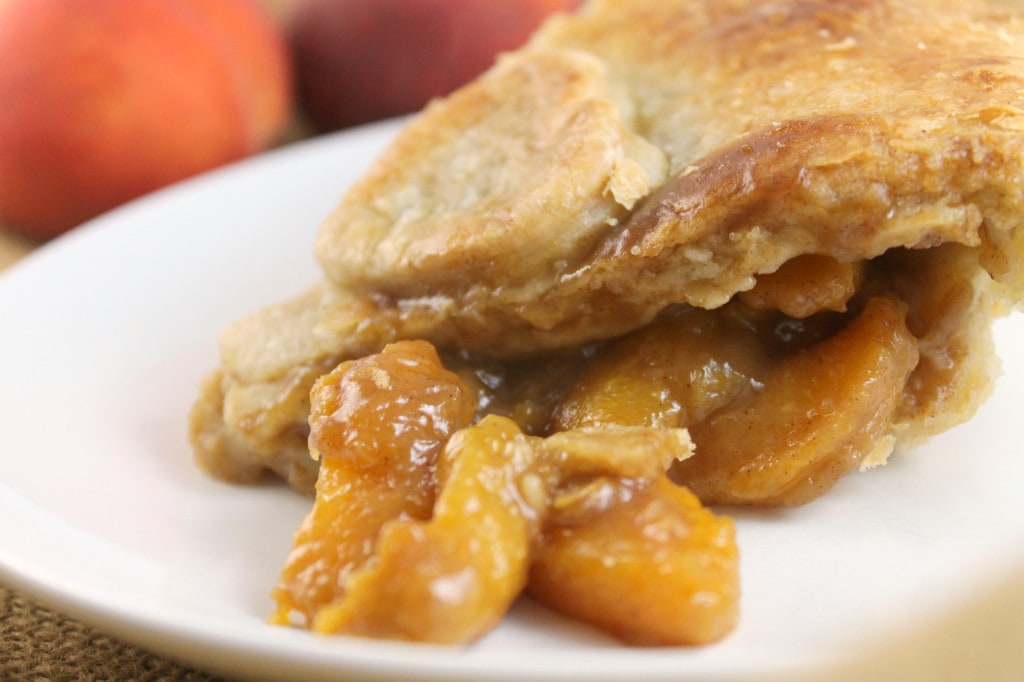
August is National Peach month! My boyfriend is a big fan of peaches so I’ve been buying them a lot lately. We were going to visit friends this weekend and I wanted to bring something down so I decided to try to make a peach pie.

This recipe is from Southern Living and sounded oh so good; I had all of the ingredients on hand so I figured I could at least try! My pie experience is a bit limited but this one turned out great. I even made the pie crust from scratch which was a lot more simple than I expected.

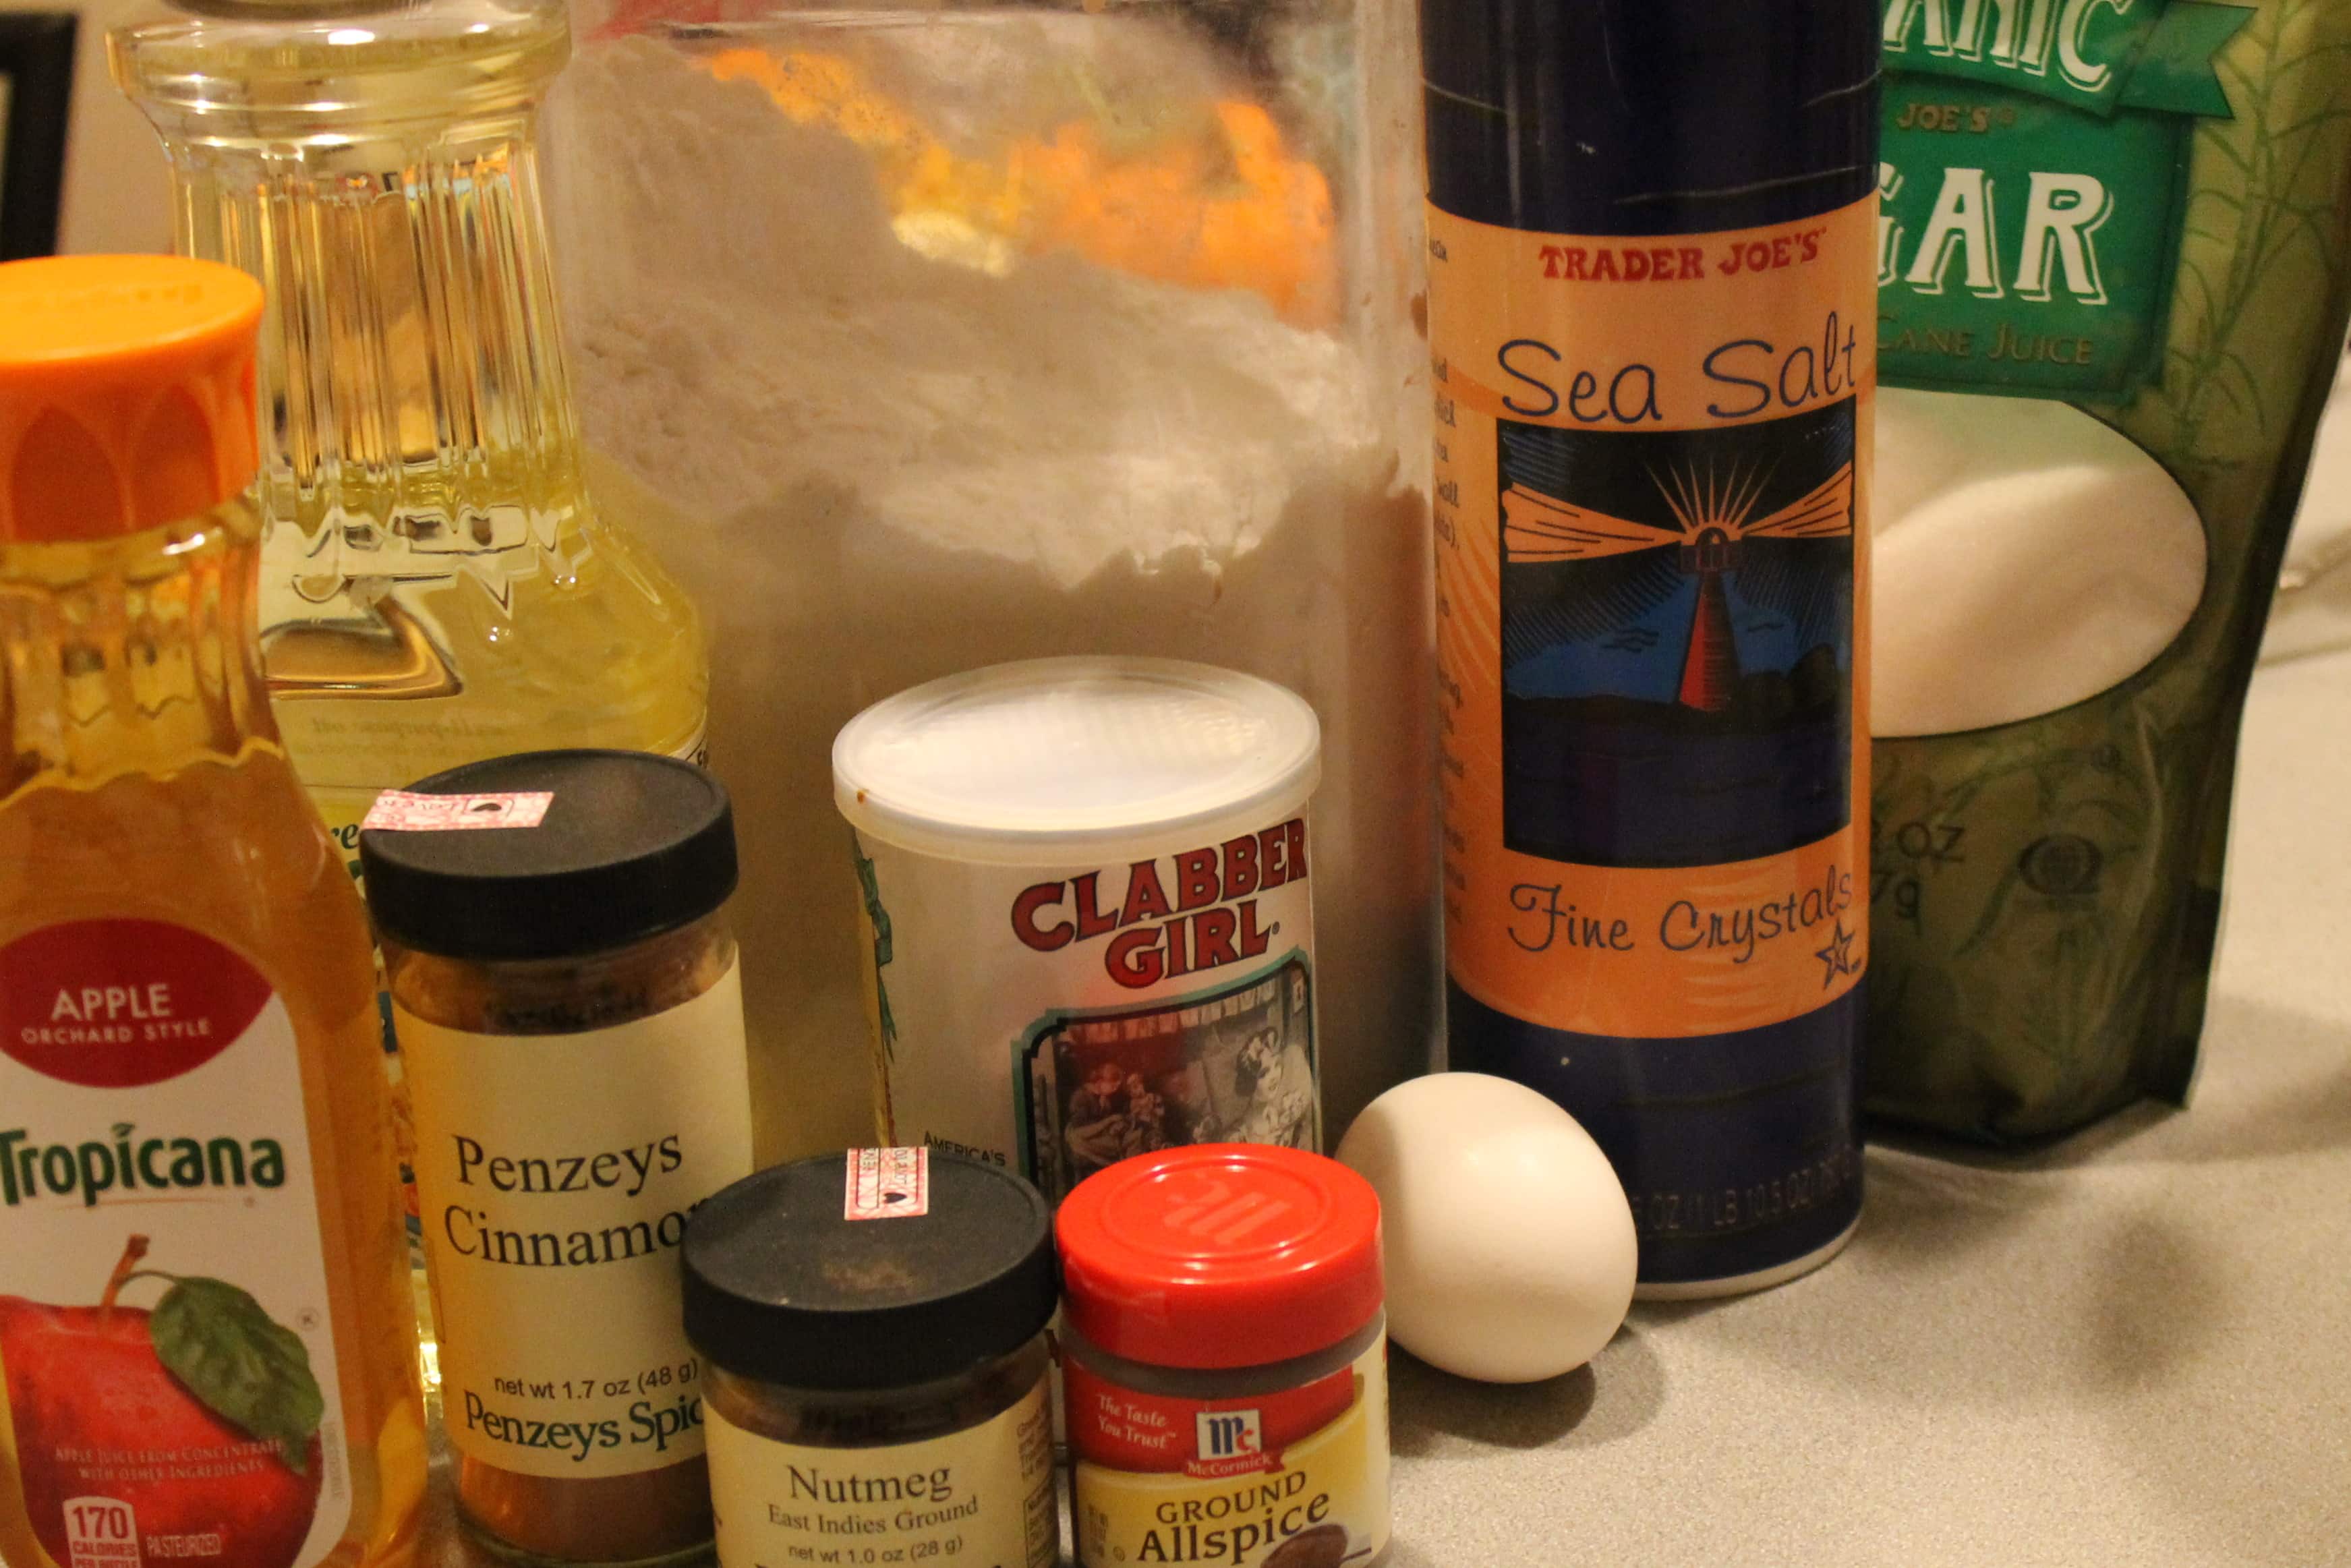
Ingredients:
- 1 1/3 cups cold butter
- 4 1/4 cups all-purpose flour, divided
- 1/2 teaspoon cinnamon or baking spice
- 1 1/2 teaspoons salt
- 1/2 to 3/4 cup ice-cold water
- 8 large fresh, firm, ripe peaches (about 4 lb.)
- 1/2 cup firmly packed light brown sugar
- 1/3 cup granulated sugar
- 1 teaspoon ground cinnamon
- 1/8 teaspoon salt
- 1 large egg, beaten
- 1 tablespoon granulated sugar