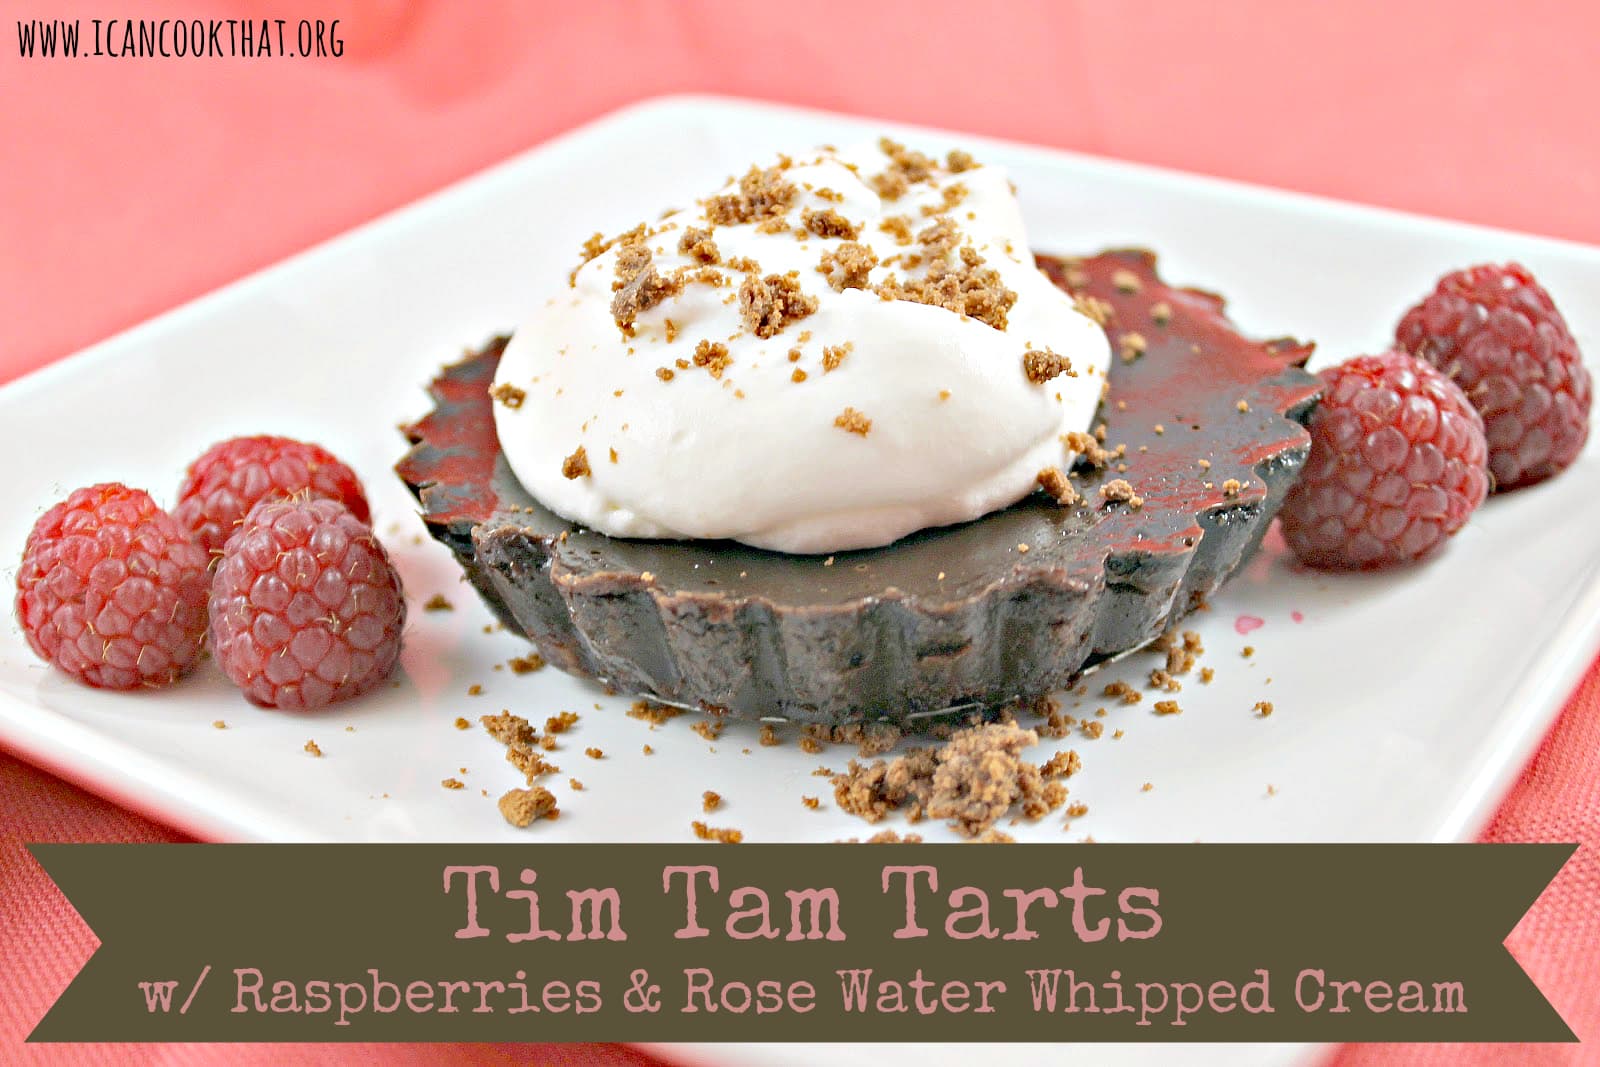
Tim Tam Tarts. Isn’t that oh so fun to say? A Tim Tam is a chocolate cookie from Arnott’s in Australia. You might see them every now and then in America, but don’t be fooled, those are made by Pepperidge Farm and I’m sorry, they just don’t live up to the originals. These happy little biscuits covered in chocolate are absolutely delicious. Their motto is “The Most Irresistible Chocolate Biscuit” but I think it’s more appropriately “Visitors to Australia’s Biggest Australian Obsession”. Seriously. They are the best.
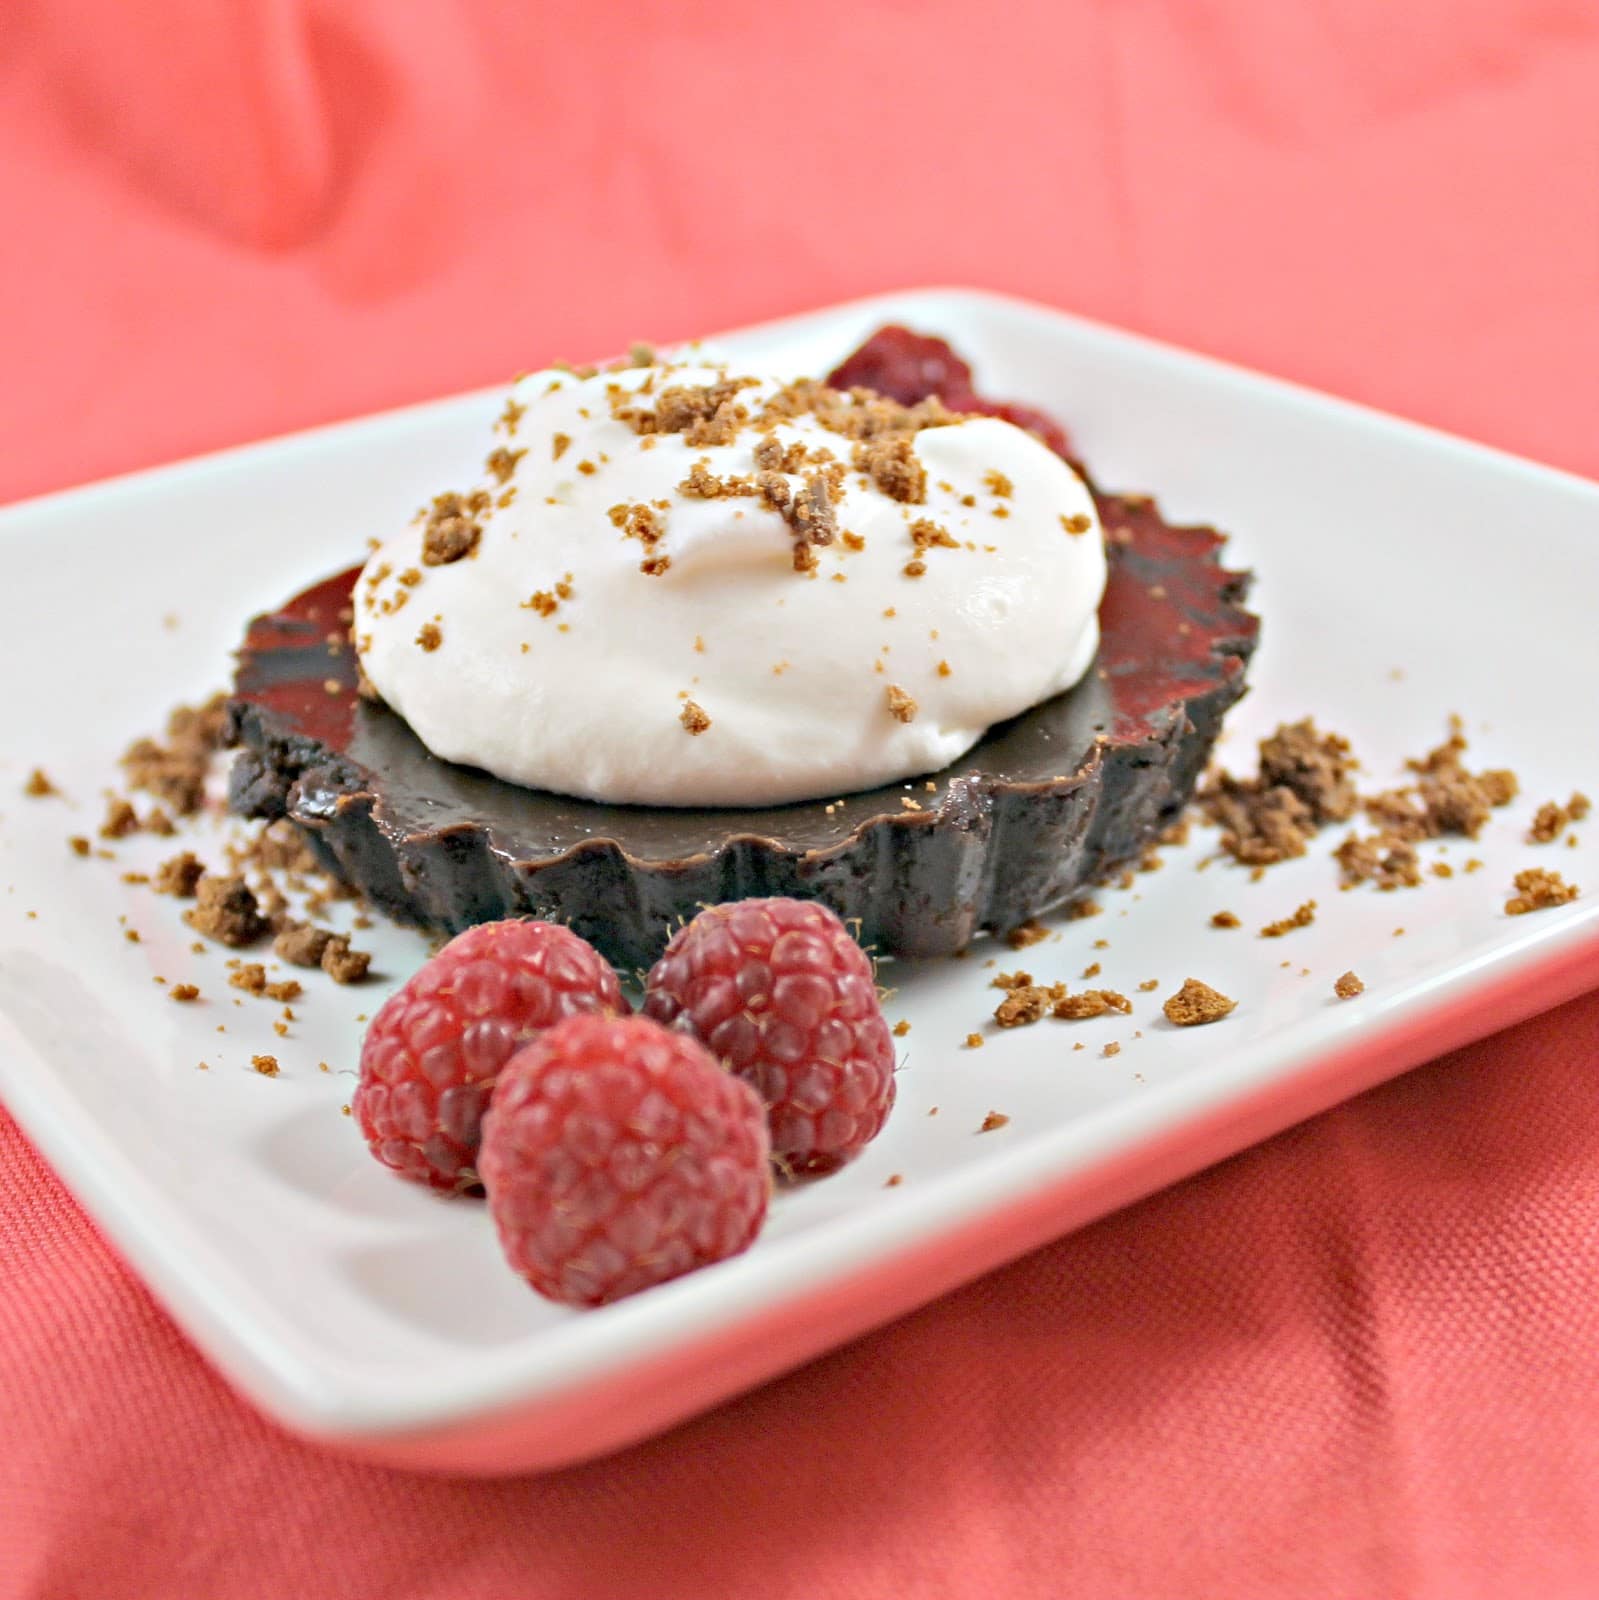
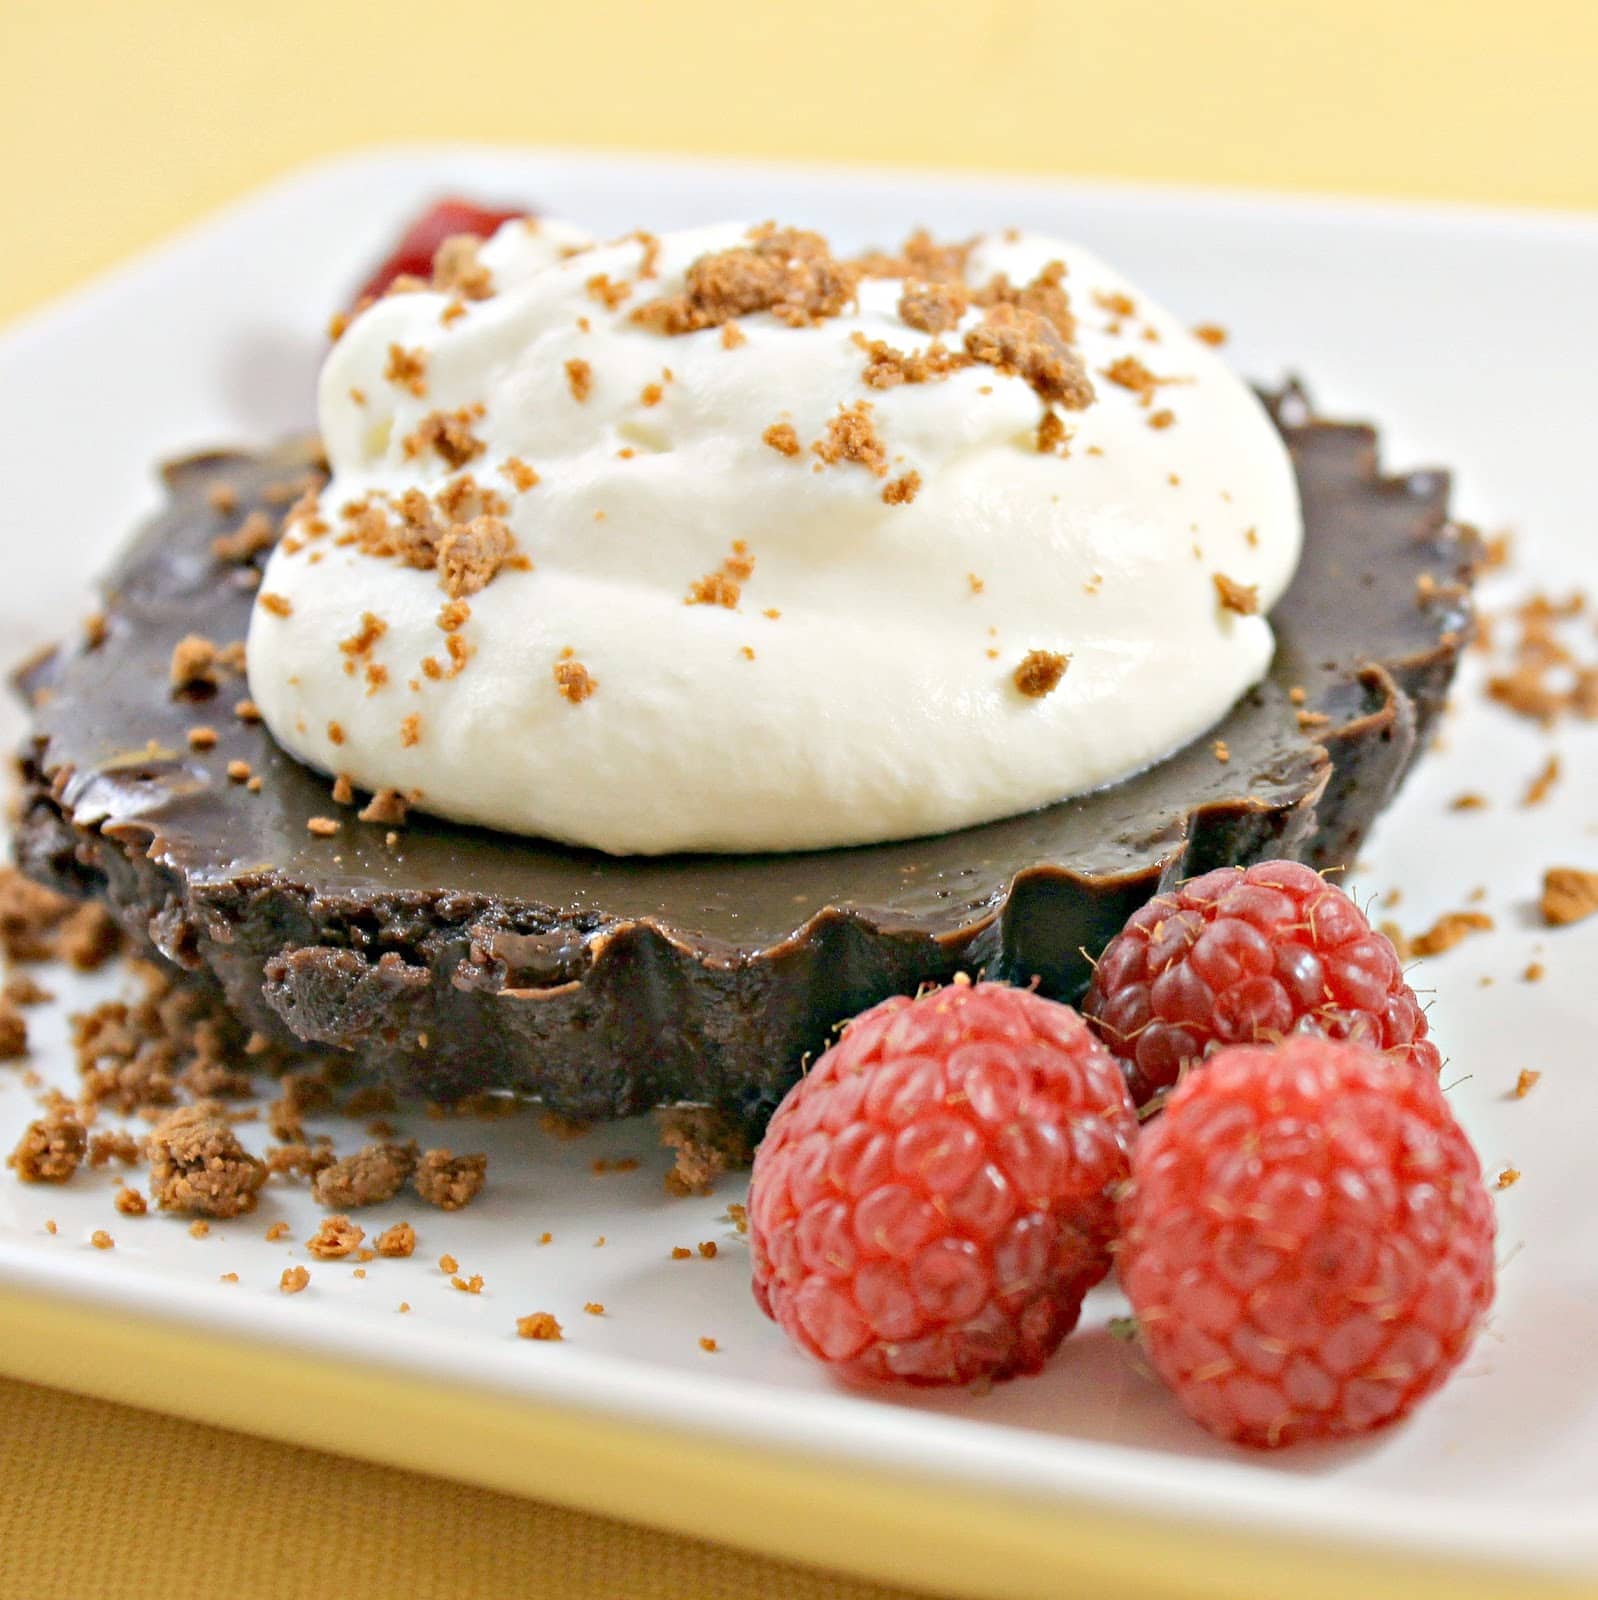
So when one of my friends traveled to Australia recently and asked what I’d like, I basically yelled in her face “TIM TAMS!” which can be quite alarming to someone who has zero idea what a Tim Tam is. I clearly made an impression, because she returned with two boxes! Now, Tim Tams are perfectly delicious on their own, maybe with some milk. But I’m a food blogger, so I had to try to turn the cookies into something even better. A Dark Chocolate Tart with Tim Tam Crust, Raspberries, and Rose Water Whipped Cream? YES! (I adapted this recipe for Tim Tam Tarts with Raspberries and Rose Water Whipped Cream from taste.com.au)
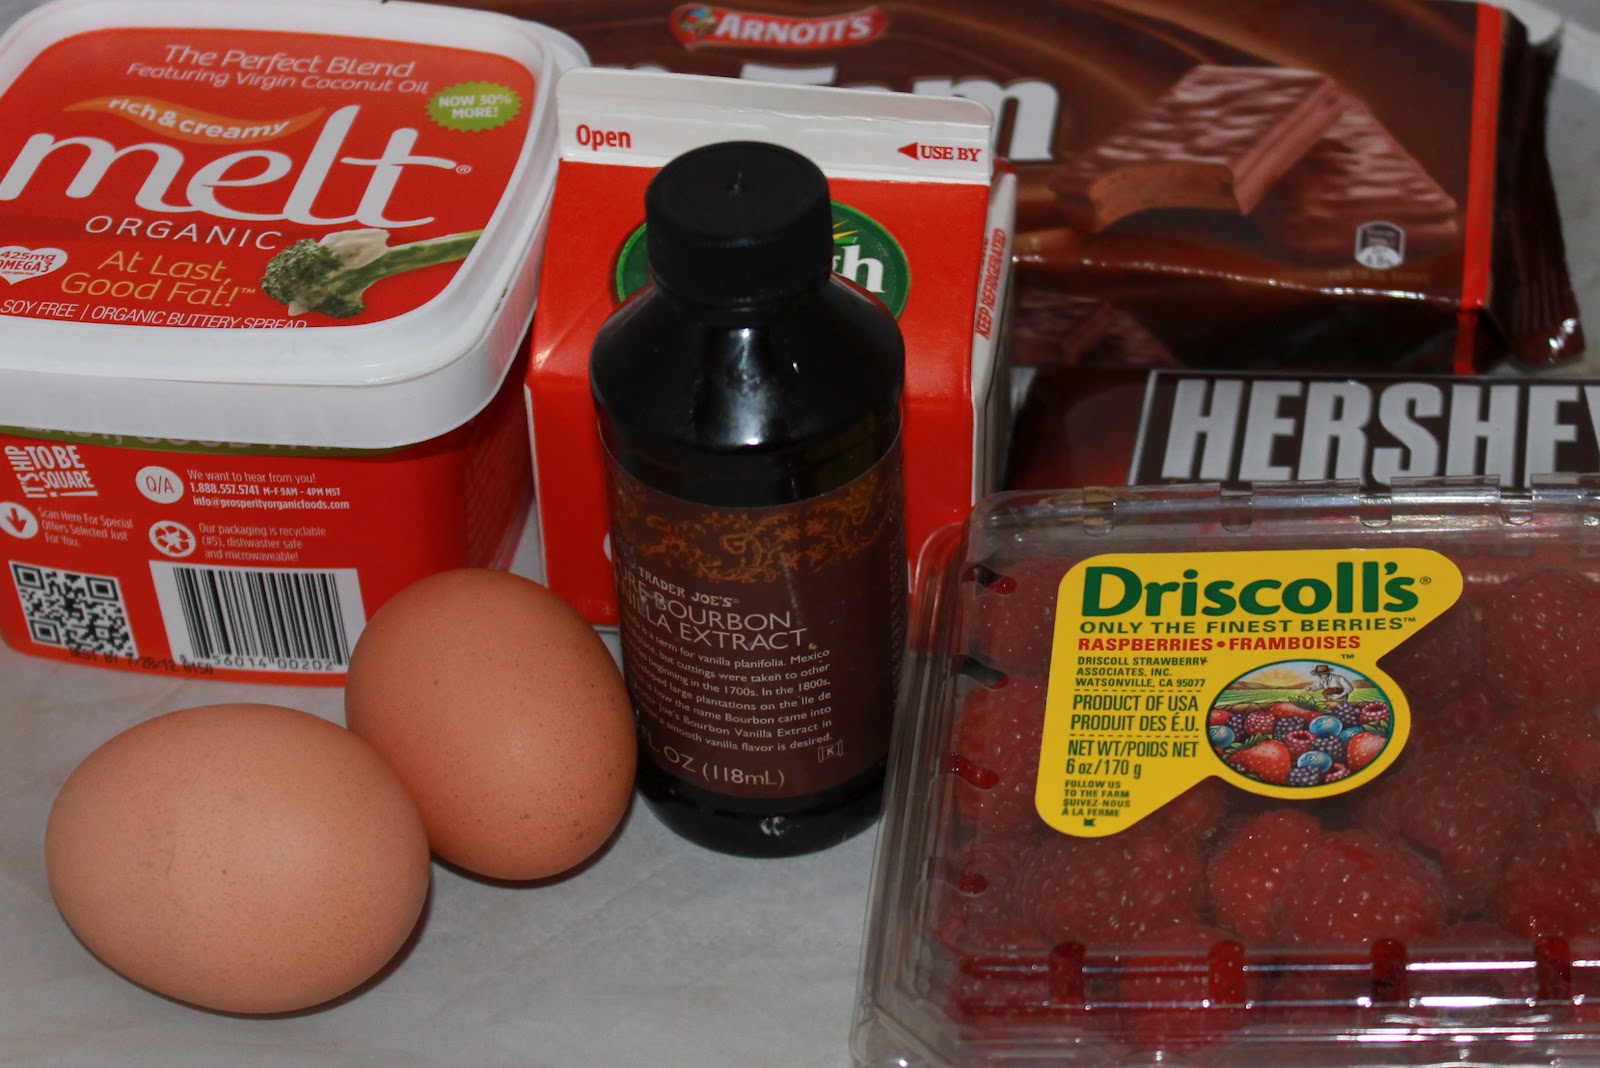
Note: I am currently taking the Melt Buttery Spread Challenge and am substituting any and all butter/oils with Melt. I wrote a review of Melt a while back, which you can read here. If you can’t find Melt in your supermarket, use other coconut oil spreads, or just butter in this recipe)
Ingredients:
For the tart:
1 box of original Tim Tams
2 ounces Melt , melted (about 1 tablespoon in its original form)
1 cup heavy whipping cream
~7 oz dark chocolate (200g if you’re using a scale), roughly chopped (I used almost 5 dark chocolate candy bars!)
1 teaspoon vanilla extract
2 egg yolks
Raspberries and Rose Water Whipped Cream, to serve
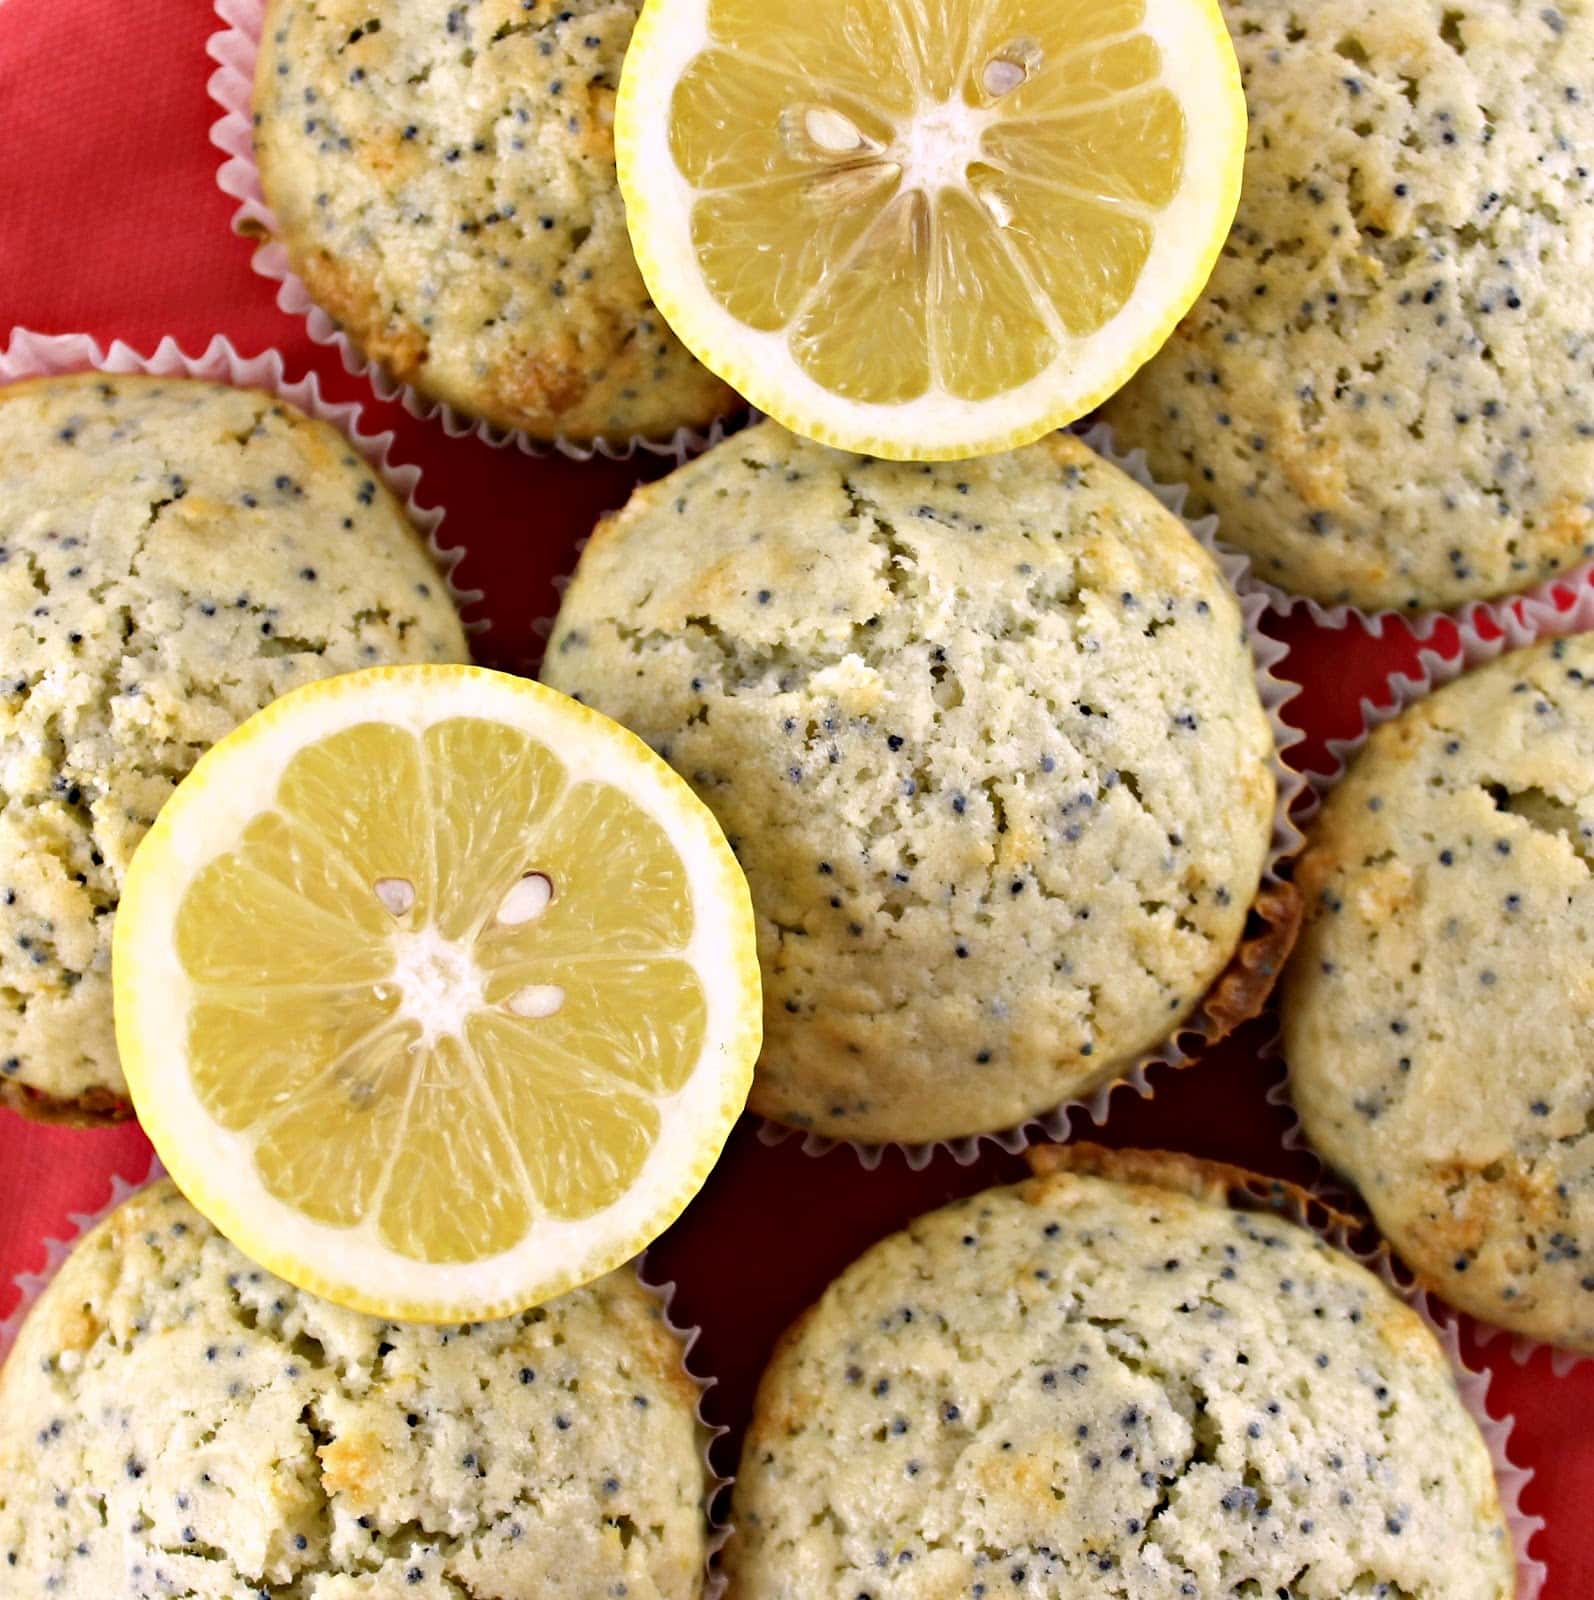
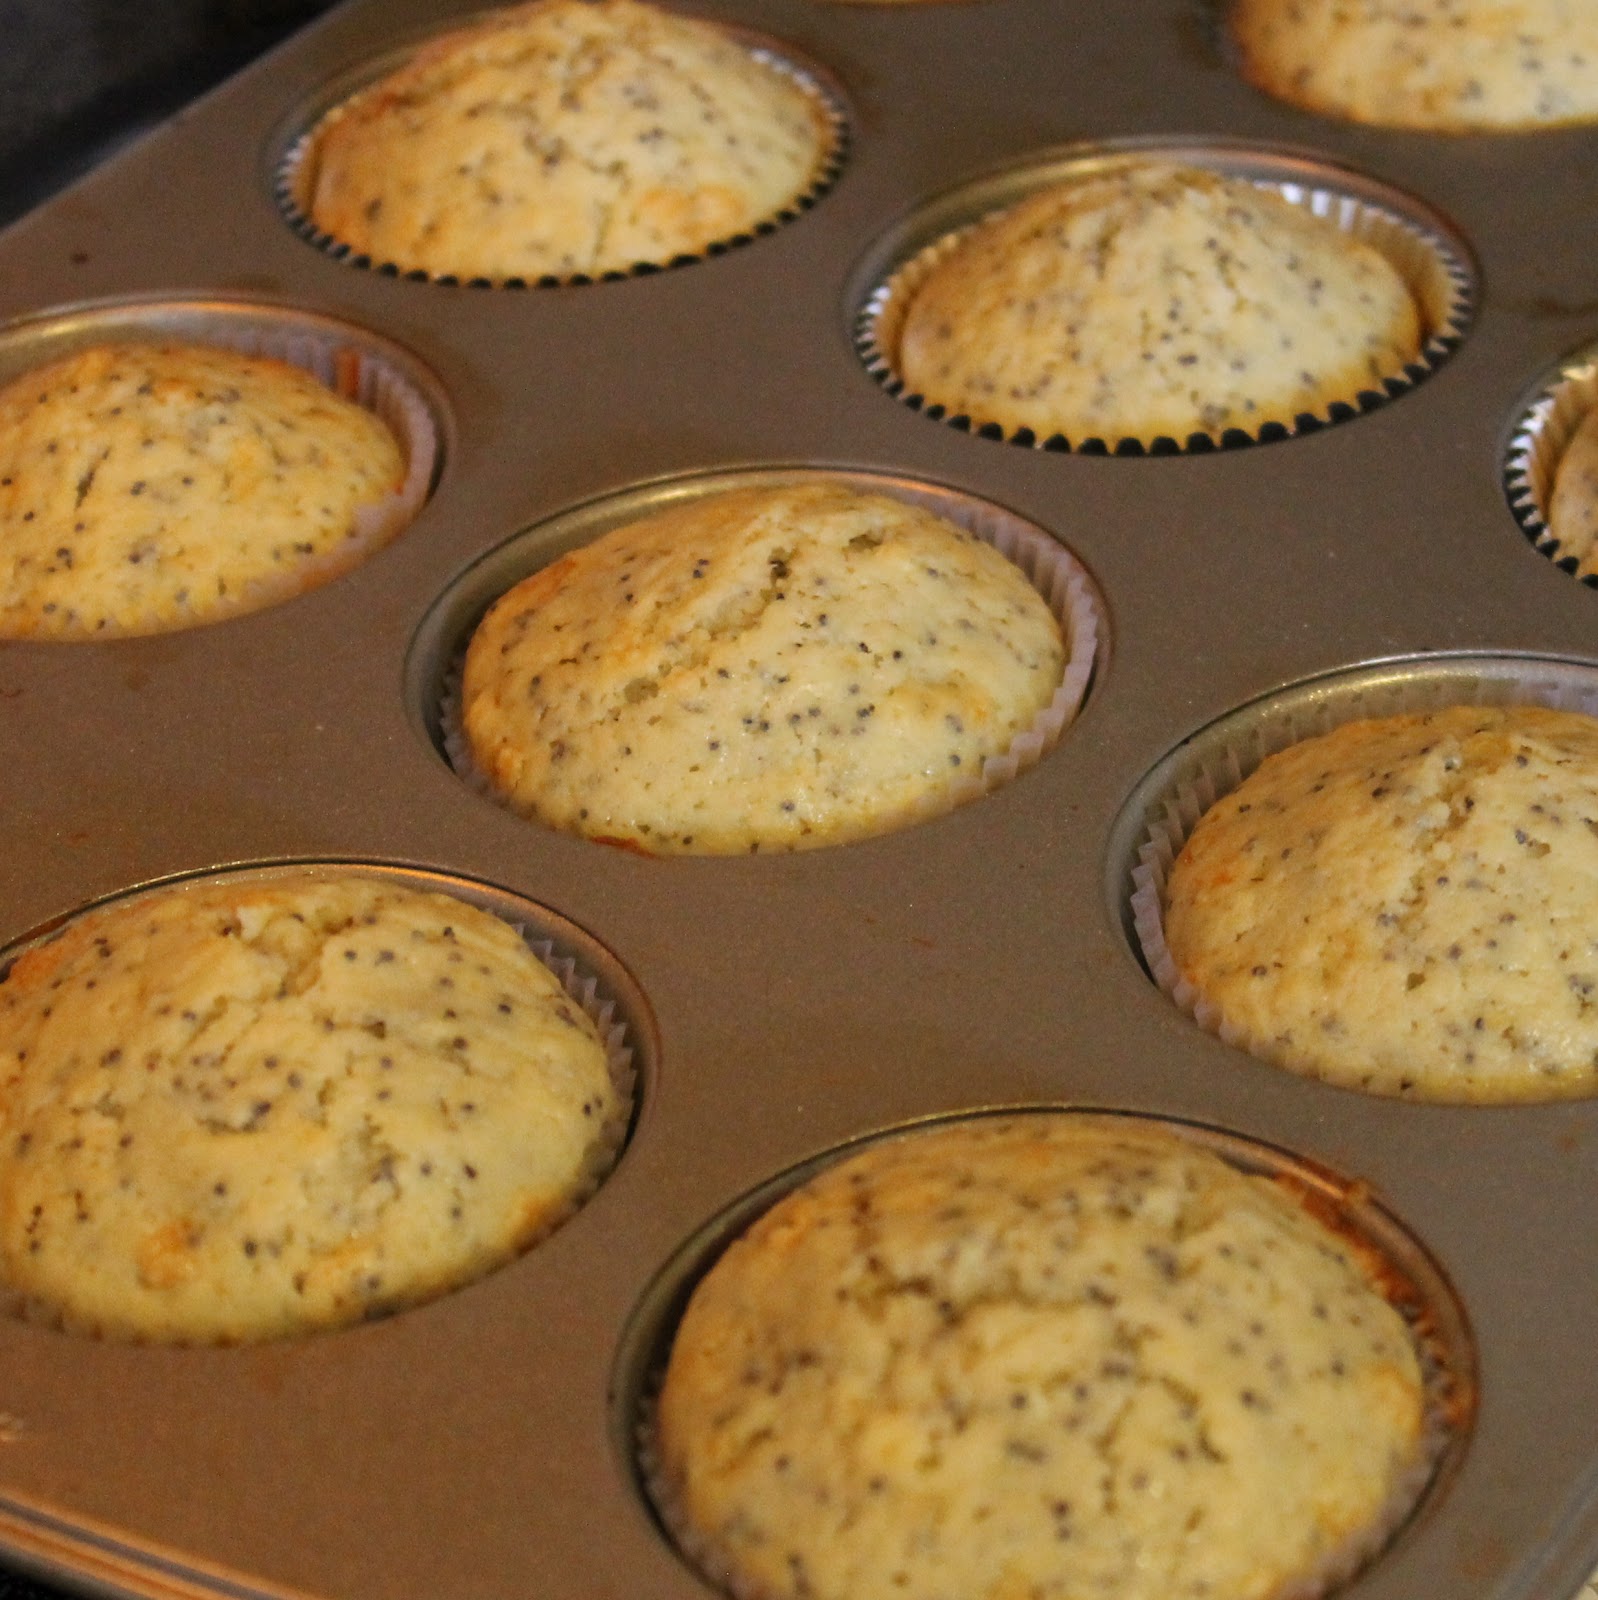
Muffins are the perfect Sunday baking activity to set yourself up for breakfasts throughout the week. I haven’t made a batch in so long so I’m happy I finally had time to do so! I was given the opportunity to try Tropical Traditions Coconut Oil and I thought the best way to try the oil out would be in baking. (I adapted this recipe for Coconut Lemon Poppy Seed Muffins from the 1 Mix, 100 Muffins cookbook.)
Coconut oil can be used like butter in its solid state and like oil in its liquid state. It does have a slight coconut flavor to it so it’s a great way to enhance the flavor of many dishes. These Coconut-Lemon Poppy Seed Muffins have just a hint of coconut that is really complementary to the Lemon flavor.
Tropical Traditions is also sponsoring a giveaway! One lucky reader will win their very own jar of coconut oil! Details below.
Ingredients (this recipe makes a dozen muffins):
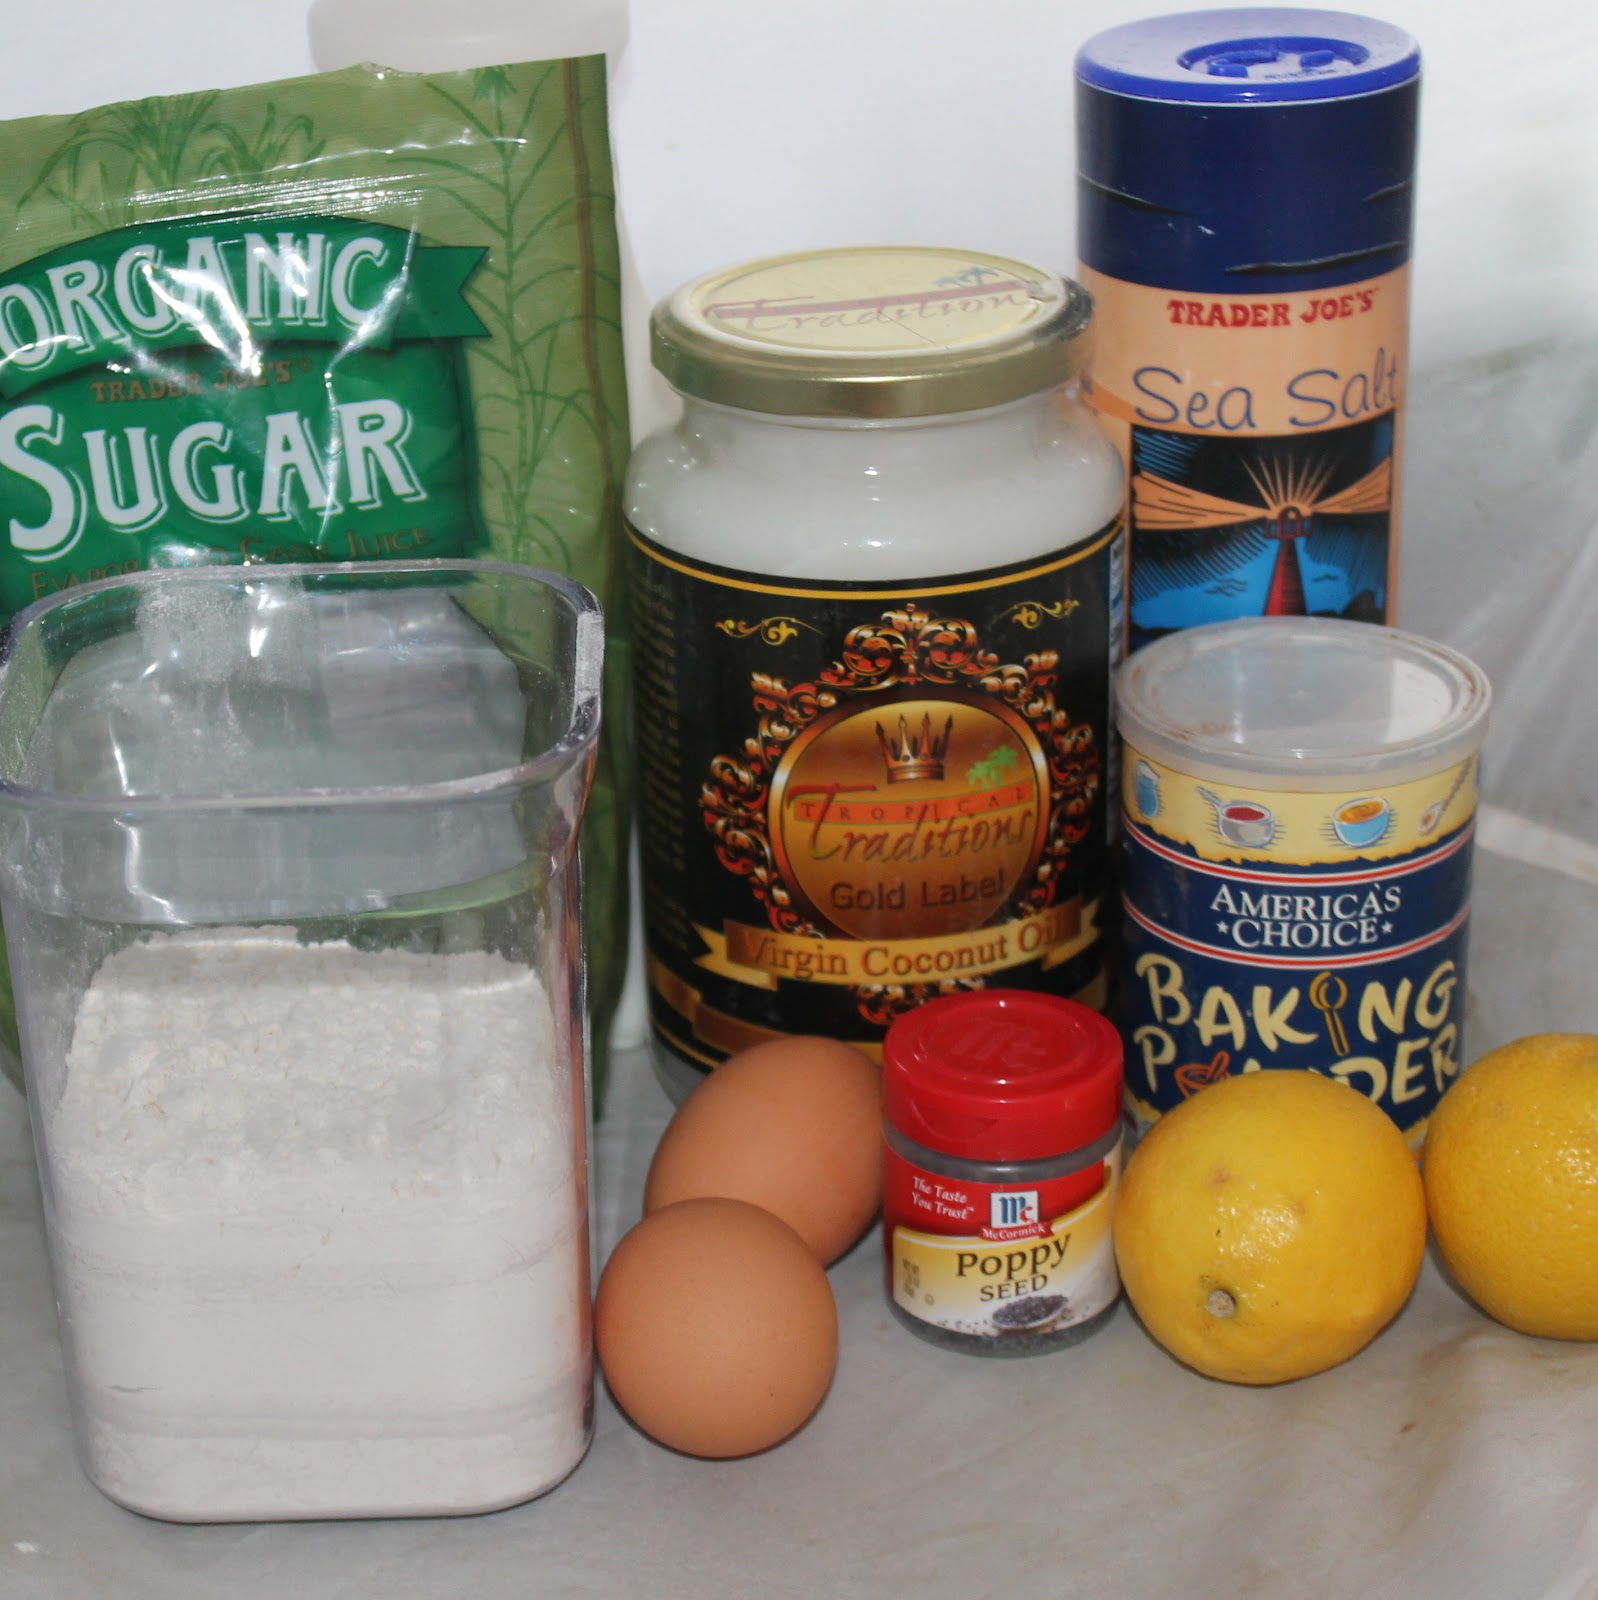
2 cups all-purpose flour, leveled with a knife
1 tablespoon baking powder
1/8 teaspoon salt
2 eggs
1 cup milk
6 tablespoons Coconut Oil, melted and allowed to cool slightly
the zest of 2 lemons
1/2 cup sugar, plus 1 tablespoon sugar
2 tablespoons poppy seeds
Note: The method I will list below is the one I ended up using for this recipe. And the reason I used this method was because I completely forgot to add in the sugar and poppy seeds at the correct time! Anyways, the muffins turned out fine. Whew.
Preheat your oven to 400 degrees. Line a cupcake/muffin pan with 12 paper liners. Add 6 tablespoons coconut oil to a small saute pan over medium heat until completely melted. Remove from heat and reserve.
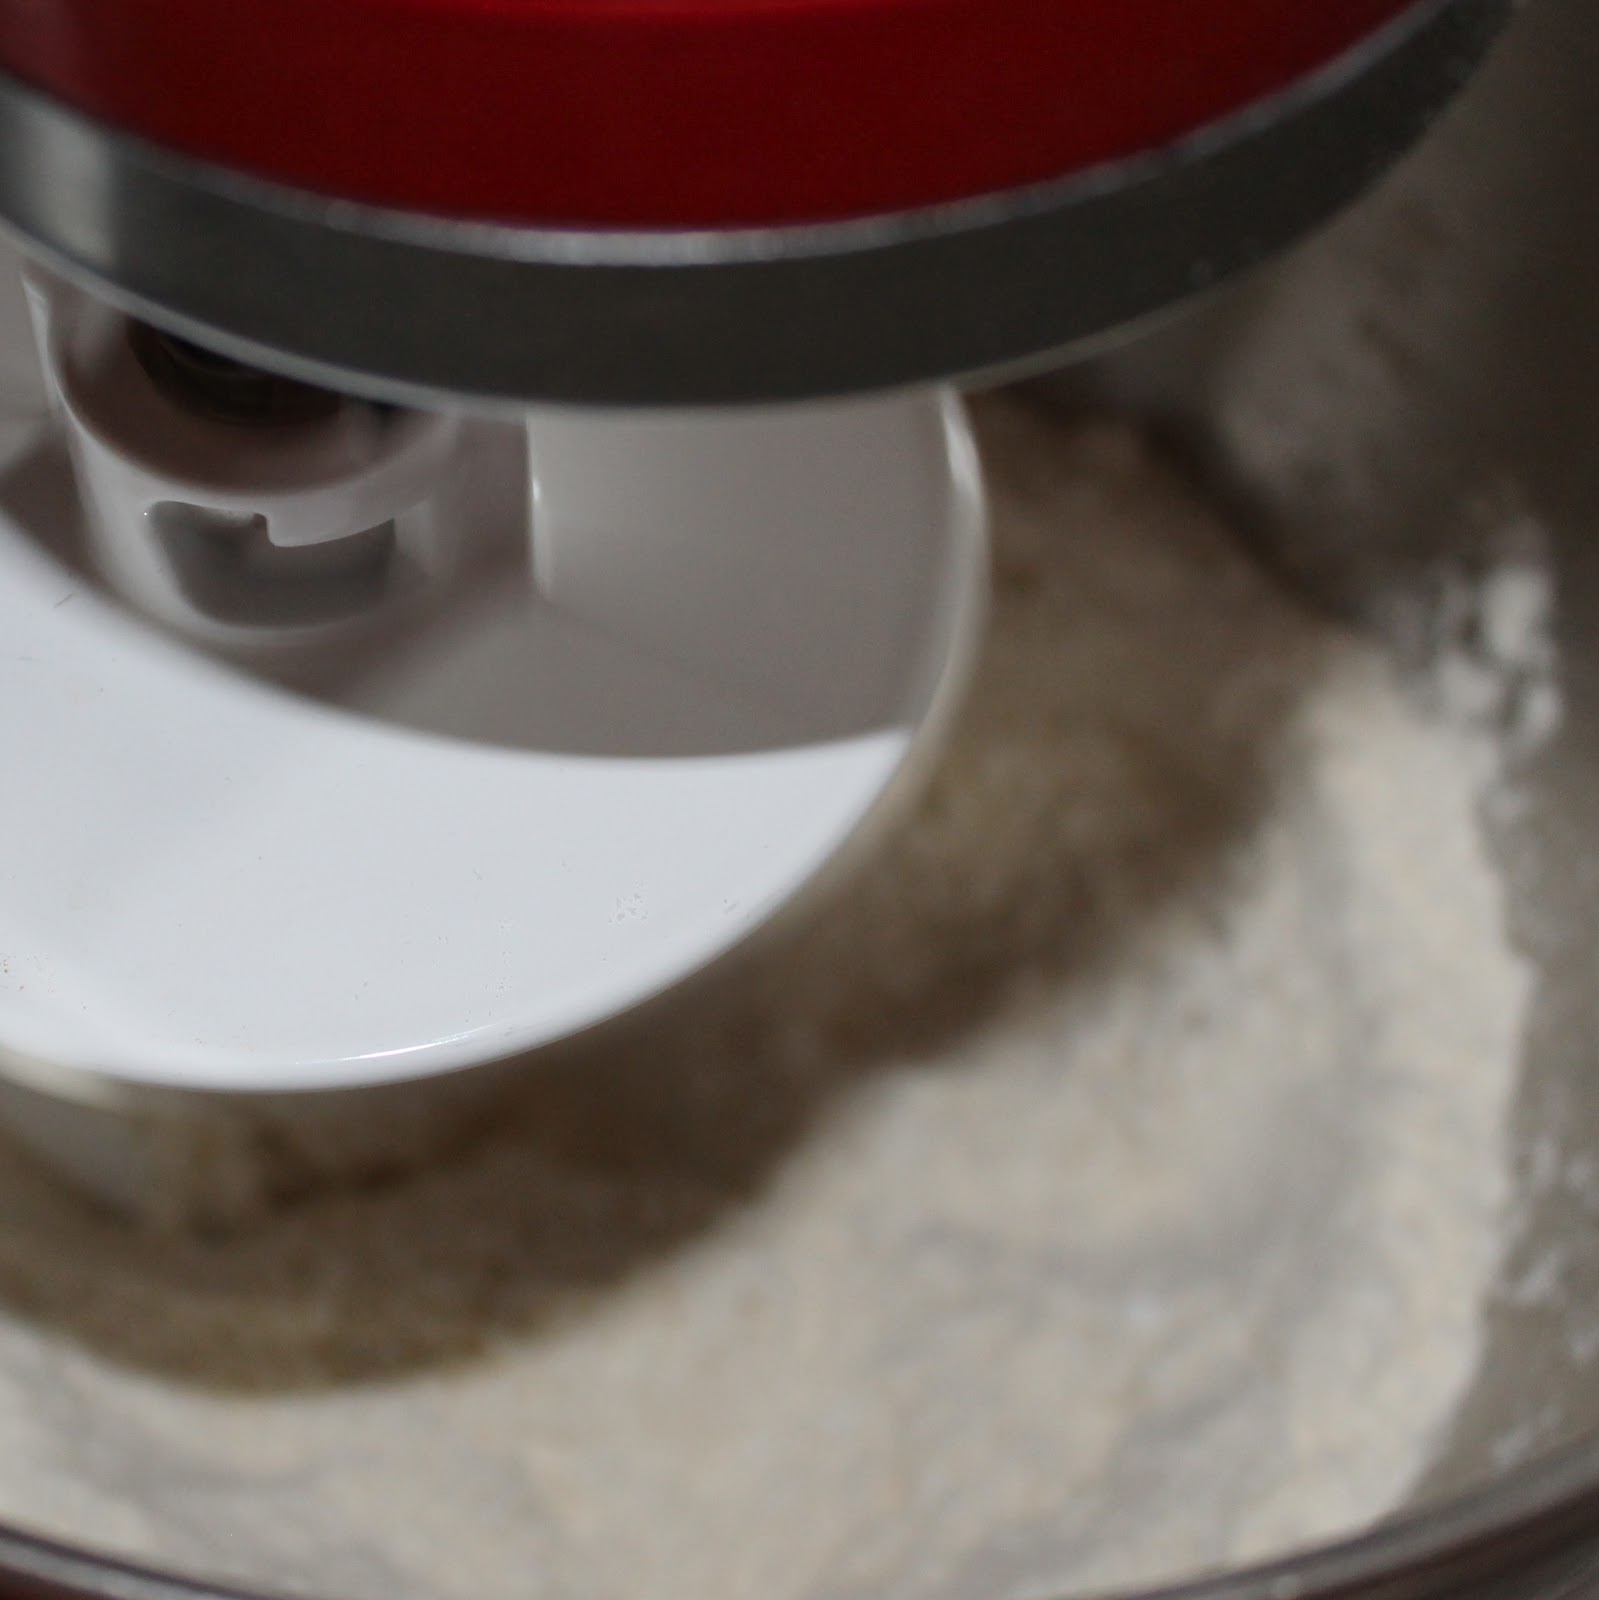
Sift the flour, baking powder, and salt. (If you have a stand mixer, add the dough hook and turn it on low for a minute or two. It will break up all the chunks, just as good as sifting!)
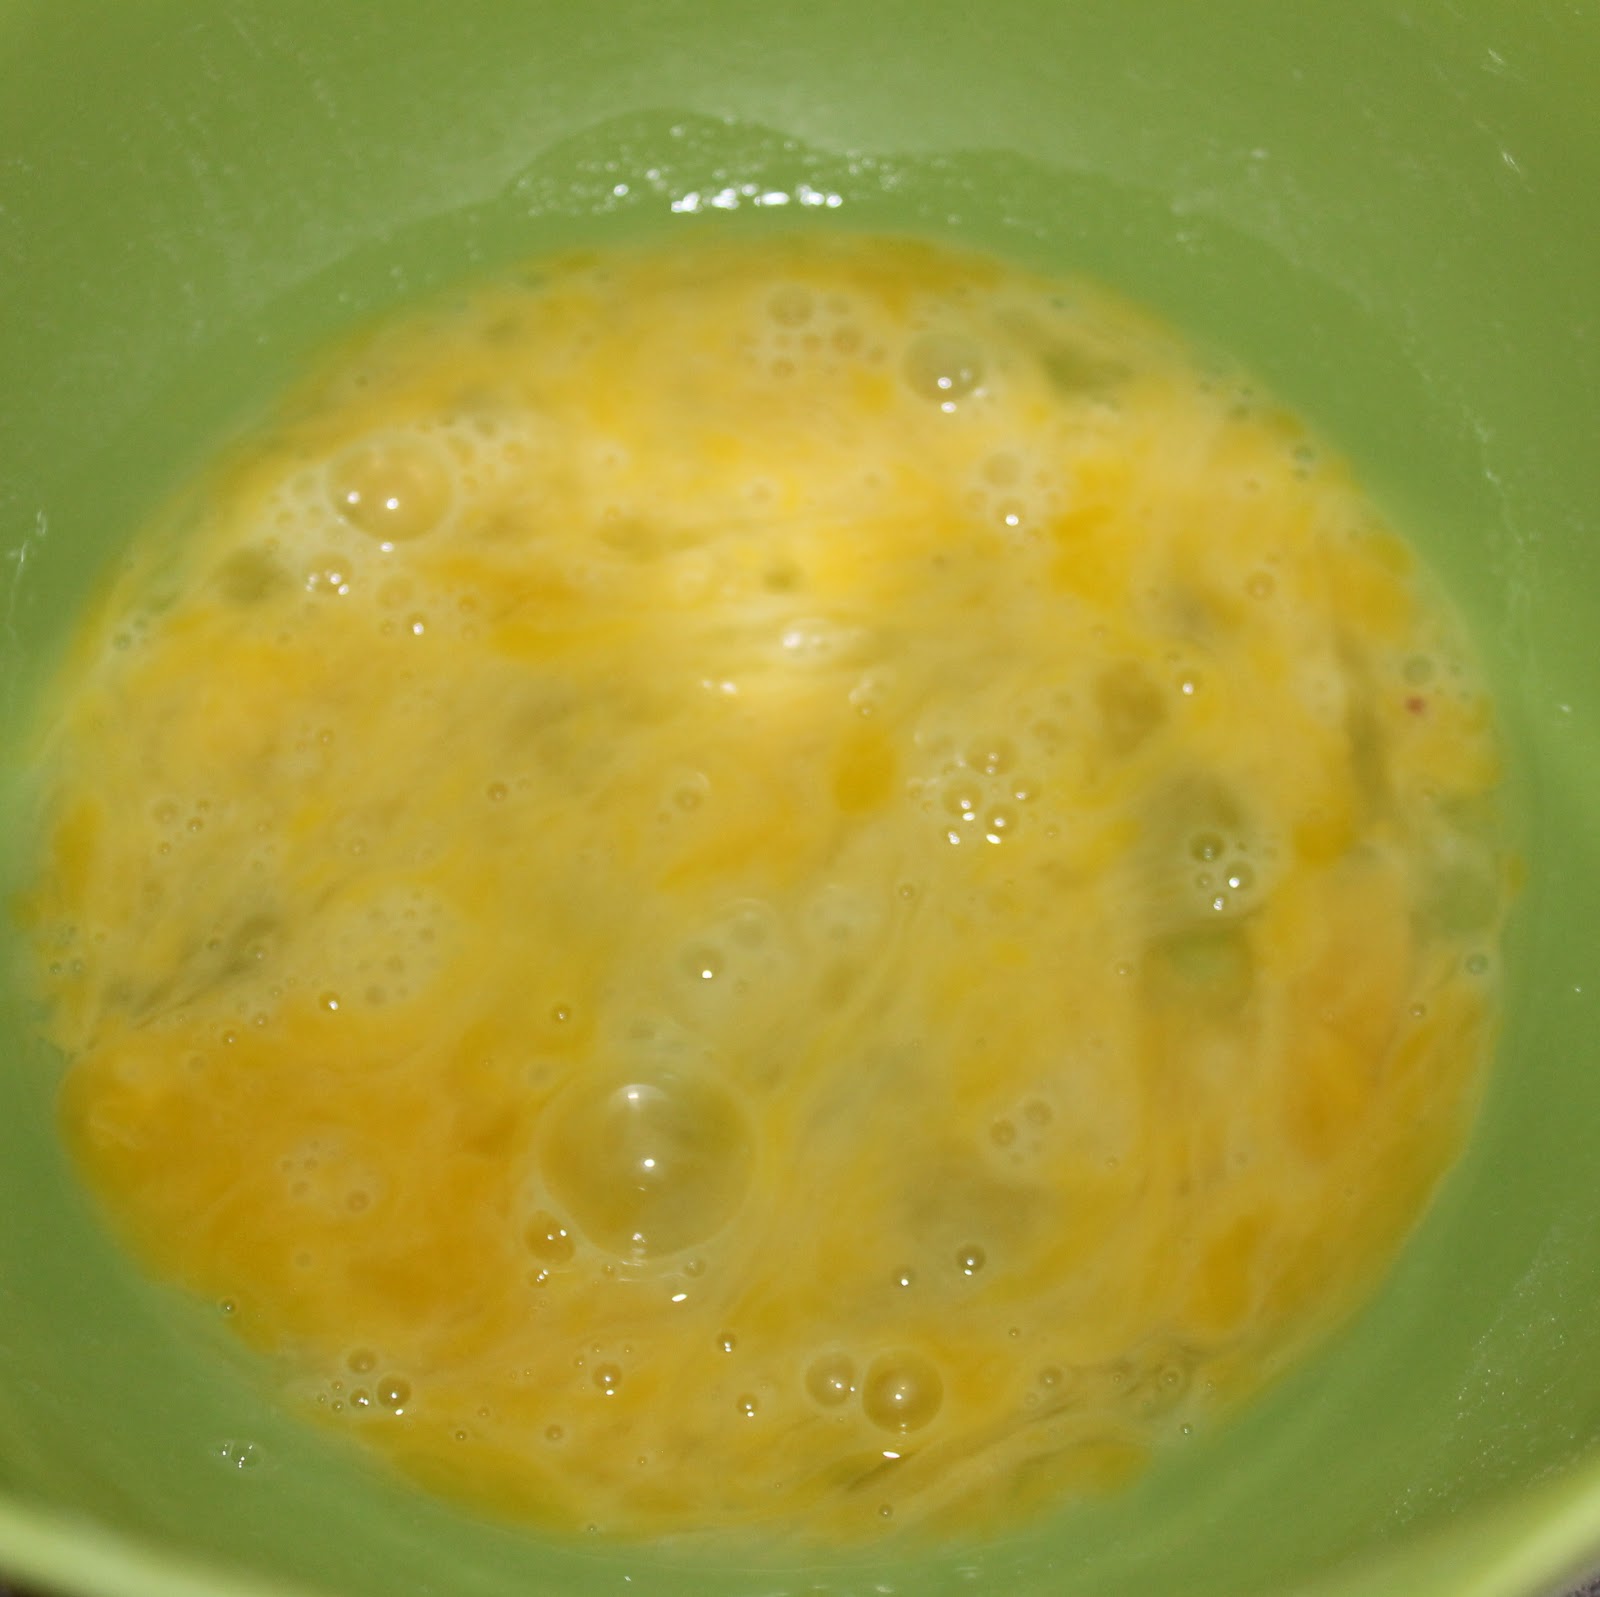
In a separate bowl, lightly beat the eggs.
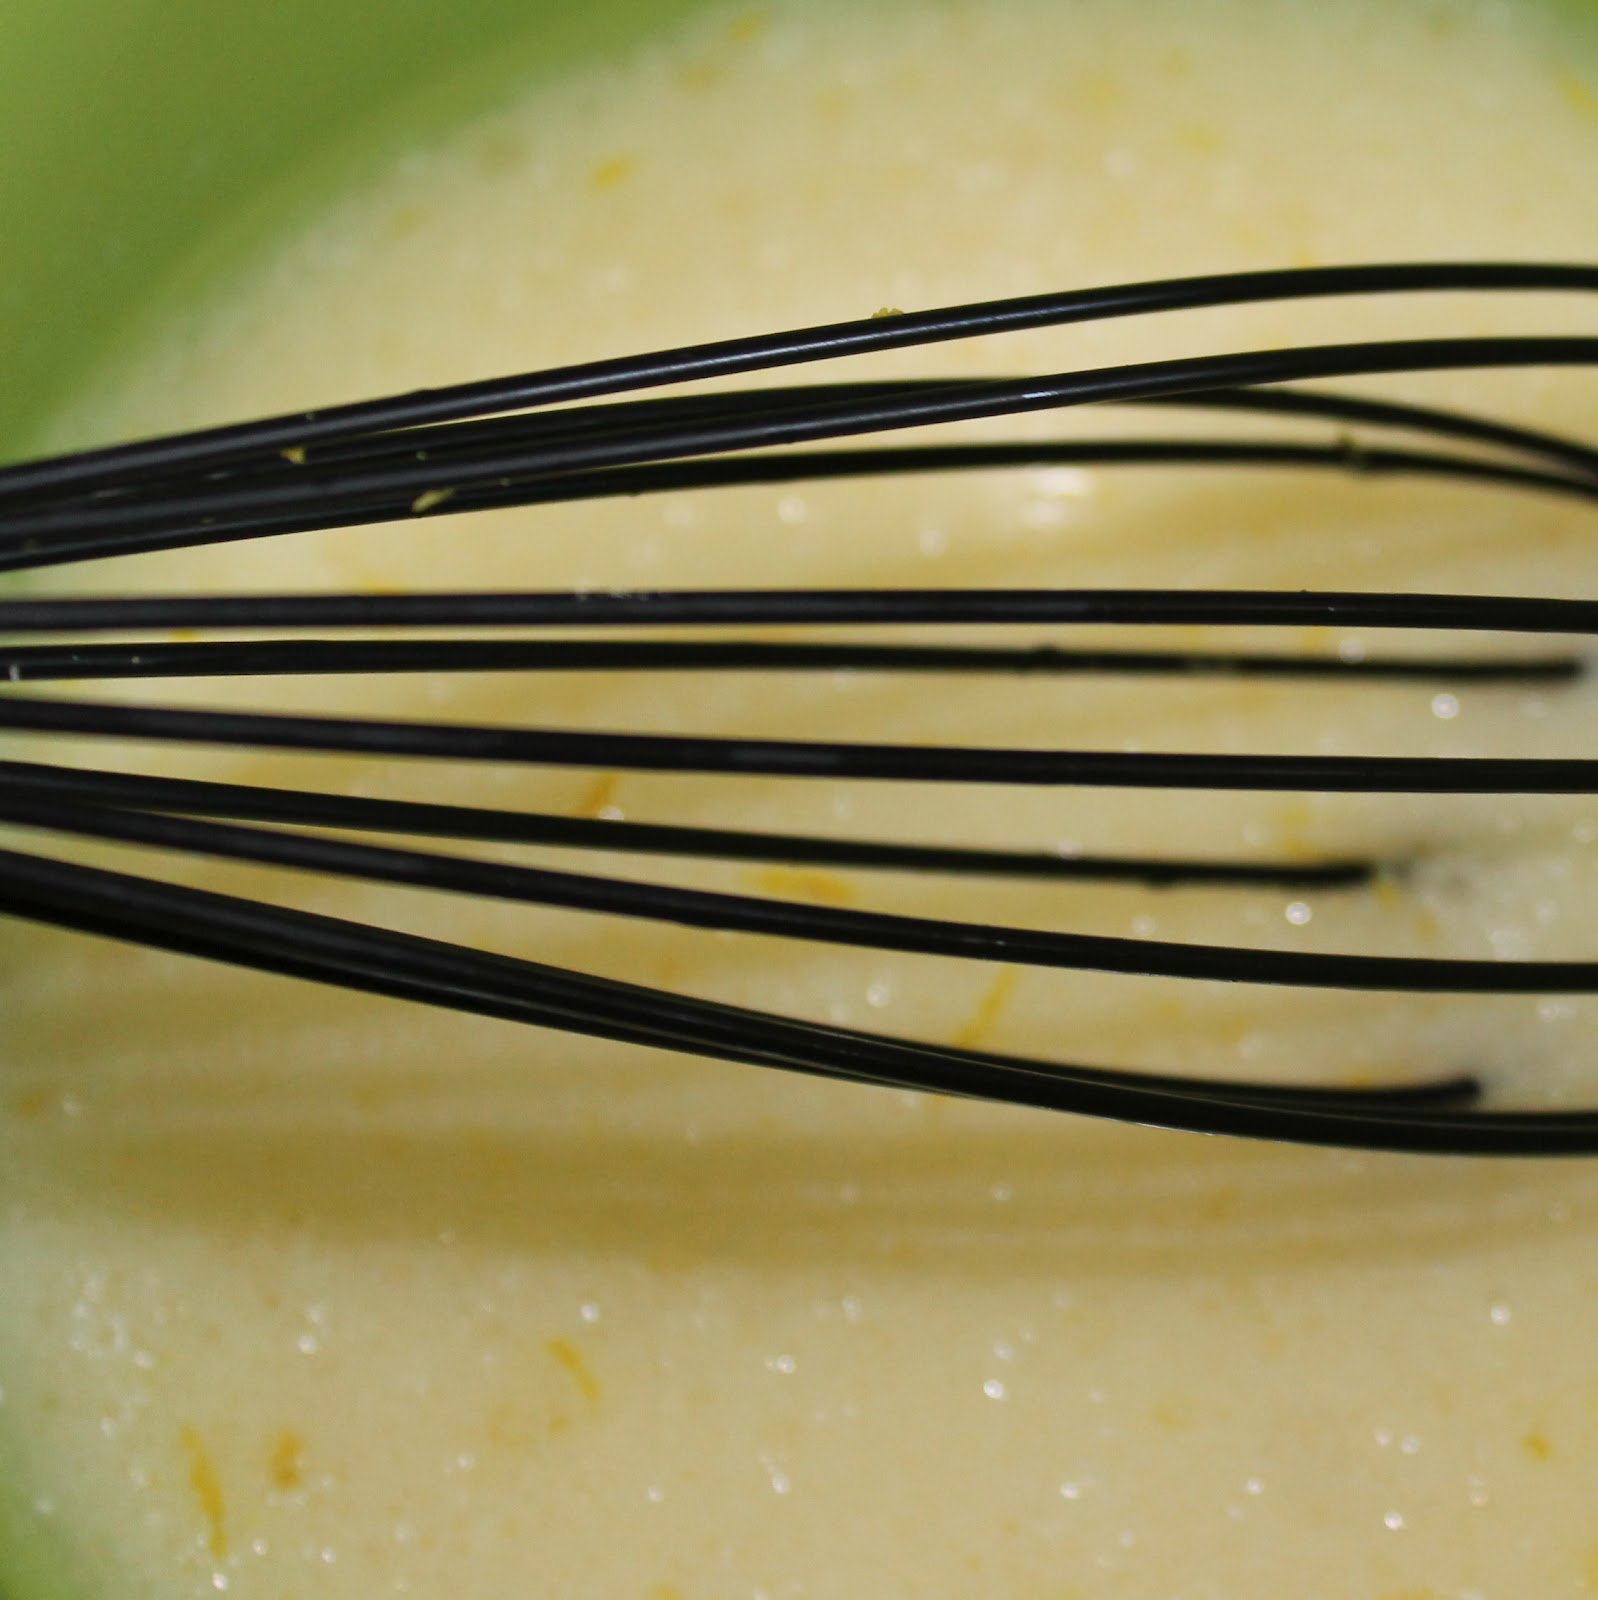
Add the milk, melted coconut oil, and lemon rind. And mix with a whisk to combine.
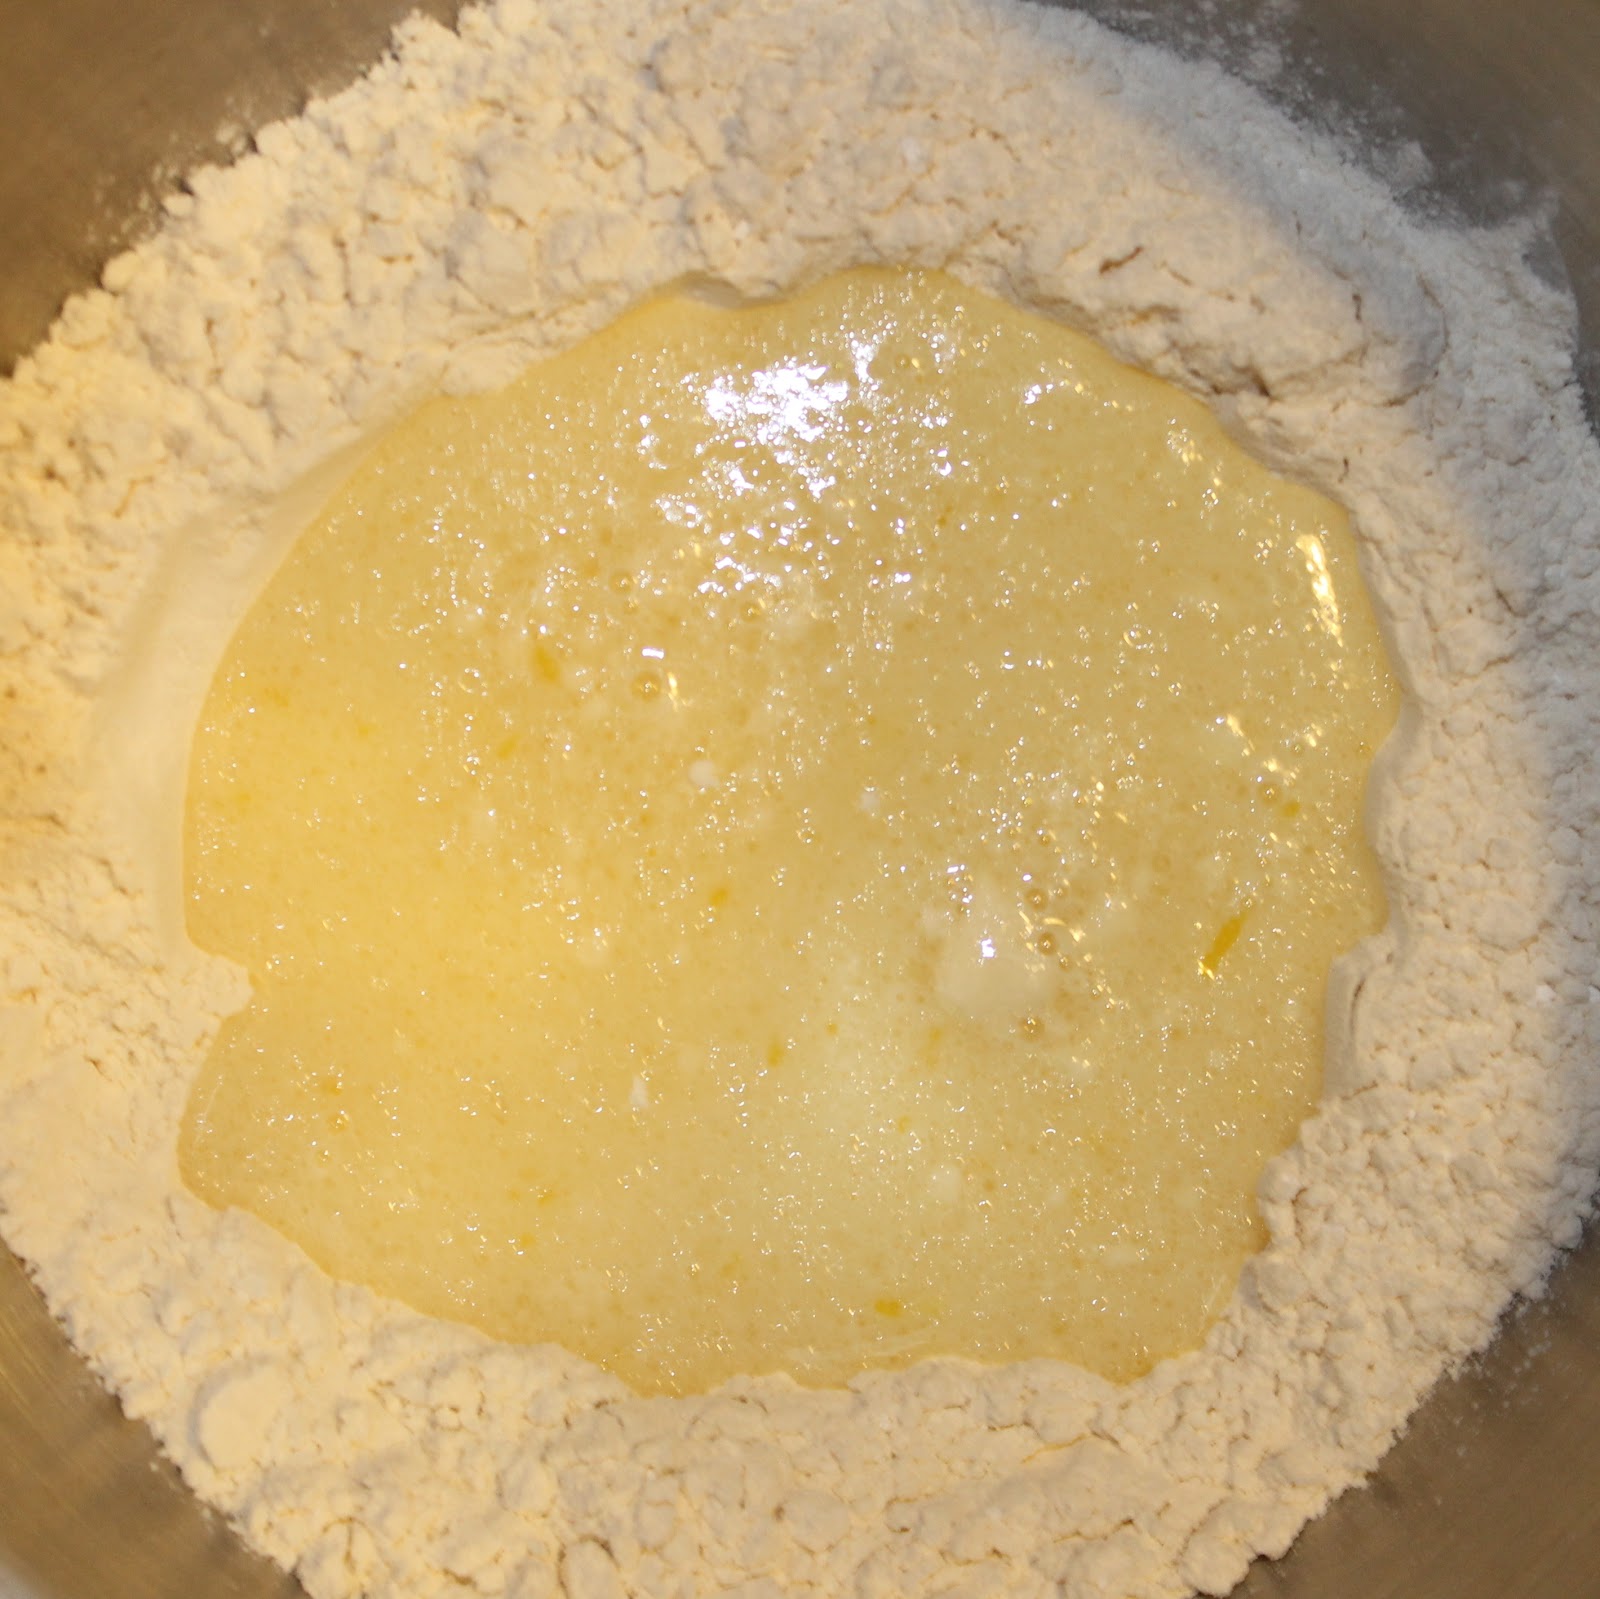
Make a well in the flour mixture and add the wet mixture to the bowl.
Stir until just combined (I used the lowest setting on my stand mixer. You can just use a spatula.)
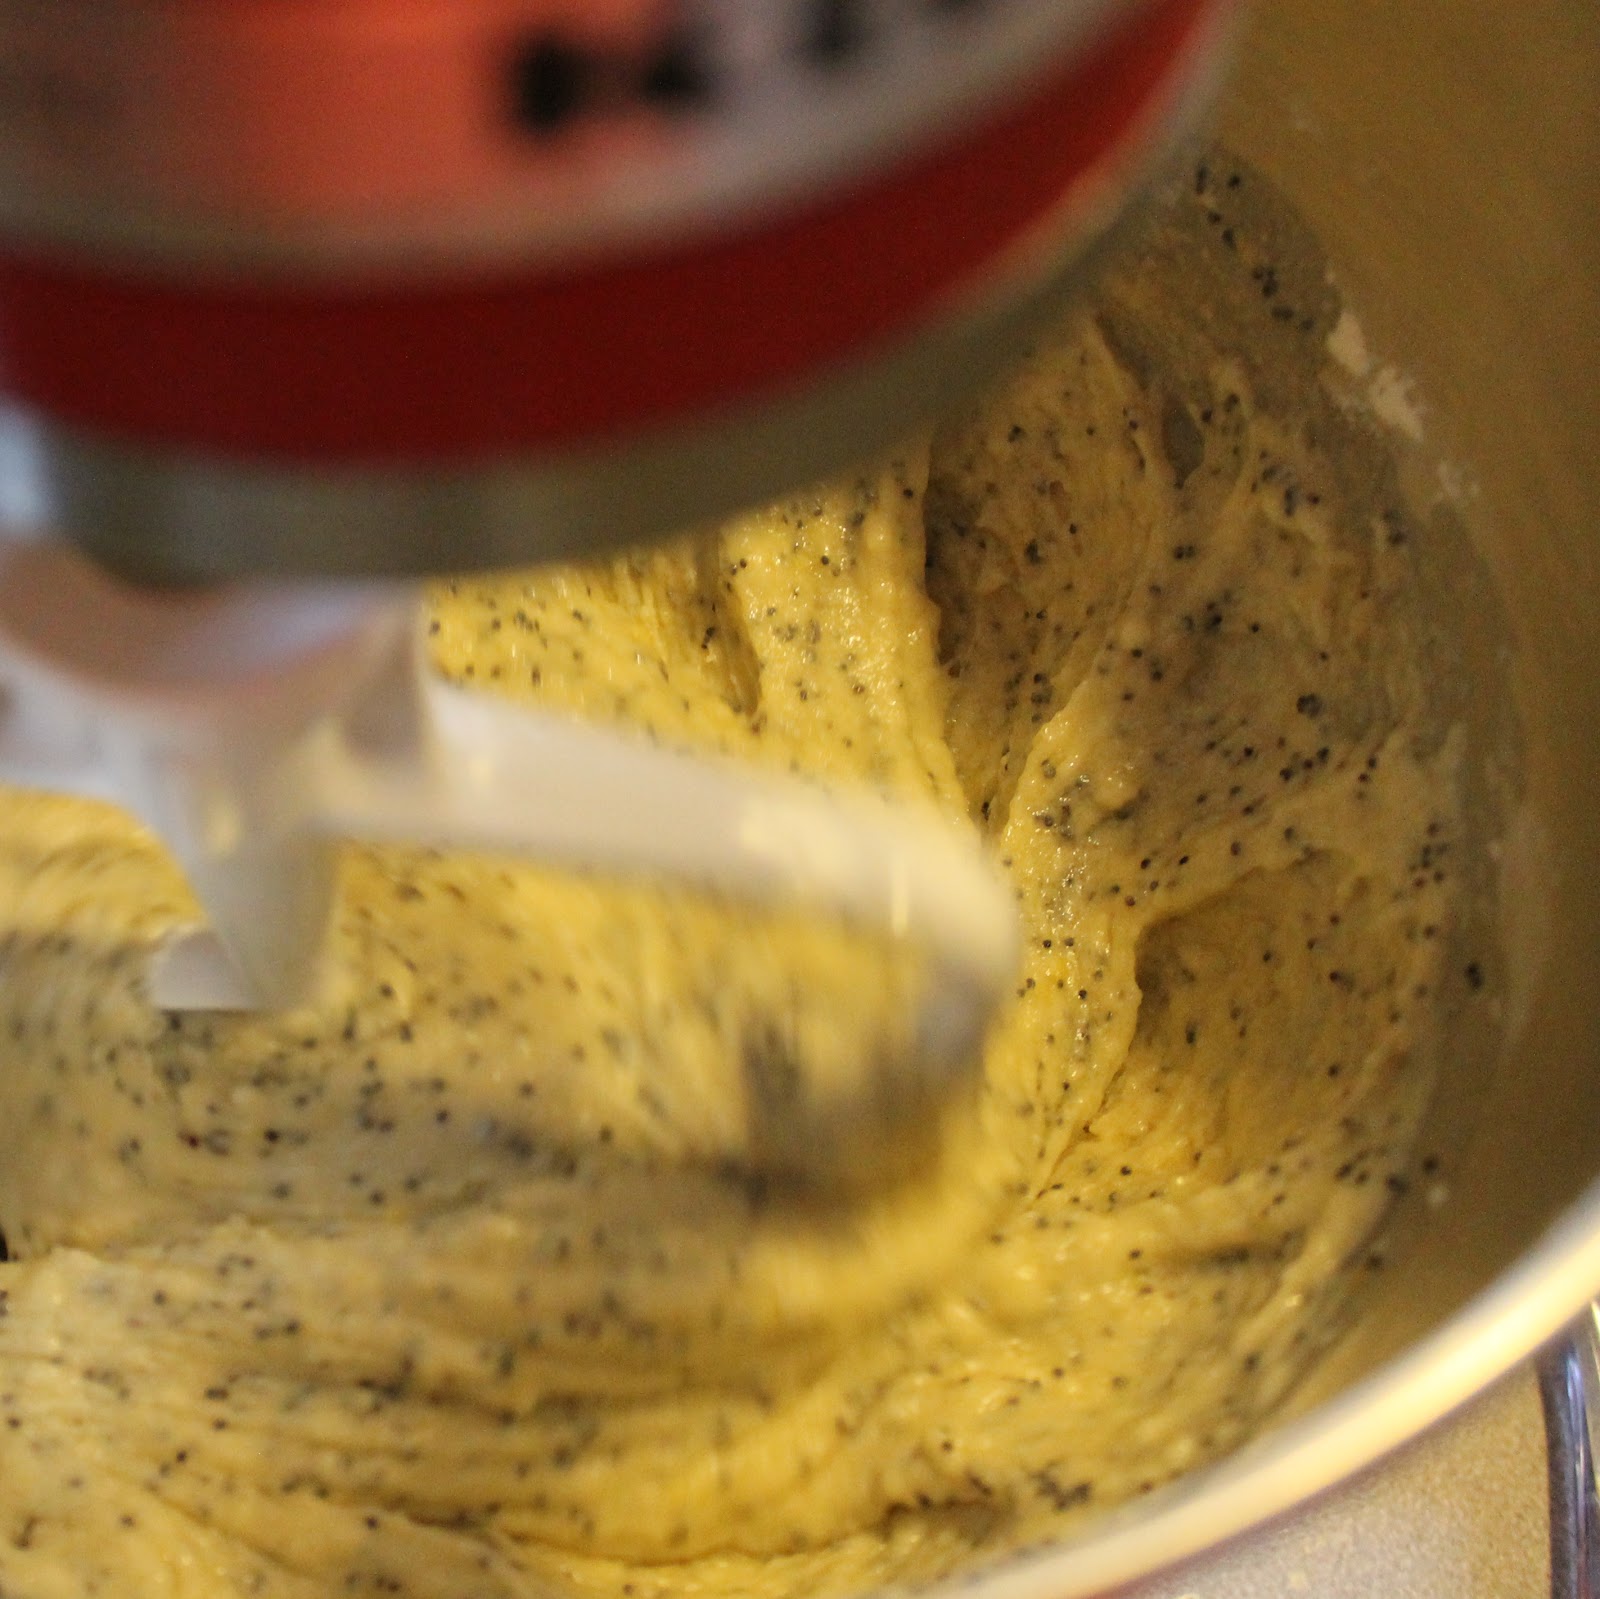
Add the sugar and poppy seeds, stirring until just combined.
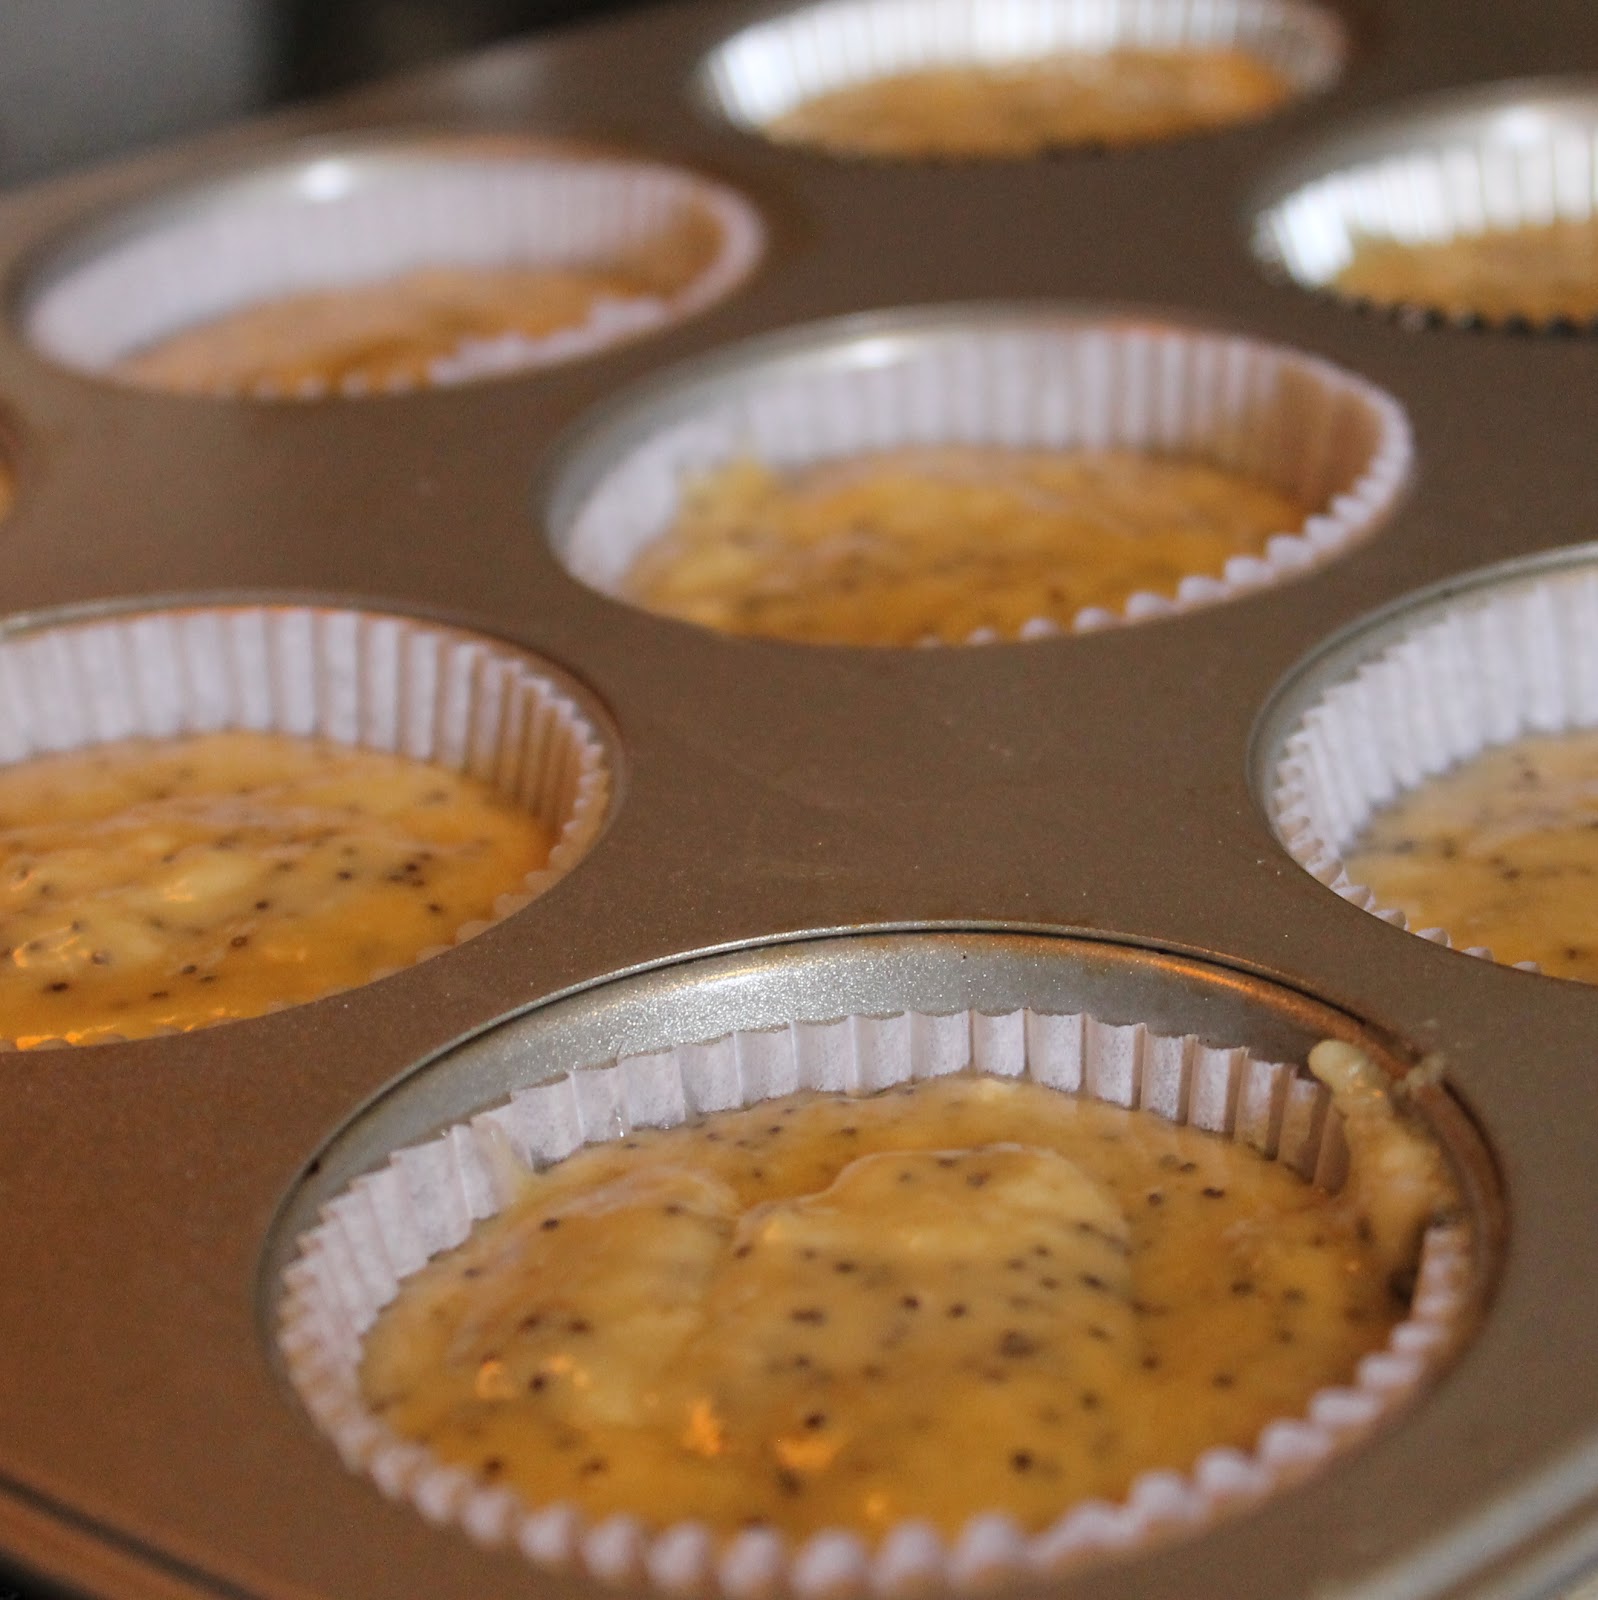
Add the batter to the muffin pan. To get equal sized muffins, use a small ladle or an ice cream scoop to portion out the batter.
Bake the muffins for 20-22 minutes; you want the muffins to have risen and be slightly golden brown on top, or when a toothpick inserted into the center of the cupcake comes out clean.
Allow to cool for 5 minutes in the pan and then remove.
So everyone knows how delicious normal Lemon Poppy Seed Muffins are. The coconut oil brings the muffins from good to great!
They are so fragrant. I was having trouble photographing them because I kept trying to eat them!
There is definitely a taste of coconut present without it being overwhelming; I find that coconut can really overtake a dish sometimes.
The lemon still shines through and is wonderfully sweet (due to all that sugar!)
Disclaimer: Tropical Traditions provided me with a free sample of this product to review, and I was under no obligation to review it if I so chose. Nor was I under any obligation to write a positive review or sponsor a product giveaway in return for the free product.
Tropical Traditions is America’s source for coconut oil. Their Gold Label Virgin Coconut Oil is hand crafted in small batches by family producers, and it is the highest quality coconut oil they offer. You can read more about how virgin coconut oil is different from other coconut oils on their website: What is Virgin Coconut Oil? You can also watch the video they produced about Gold Label Virgin Coconut Oil:
Tropical Traditions also carries other varieties of affordable high quality coconut oil. Visit their website to check on current sales, to learn about the many uses of coconut oil, and to read about all the advantages of buying coconut oil online. Since the FDA does not want us to discuss the health benefits of coconut oil on a page where it is being sold or given away, here is the best website to read about the health benefits of coconut oil.
To enter, use the widget below. You have 8 chances to win (Writing a comment is mandatory, the rest are optional)! Giveaway ends this Friday, May 11 at 11:59PM EST. Good luck!
Berries and Cream in Vanilla Dessert Cups is the perfect quick dessert for guests, or just to fulfill a sweet tooth in a pinch. I found the vanilla dessert cups in Whole Foods and immediately knew I was going to fill them with fresh berries and homemade whipped cream. This recipe for Berries and Cream in Vanilla Dessert Cups is easily adaptable to account for what is on sale or what looks freshest, any berry or fruit will do.
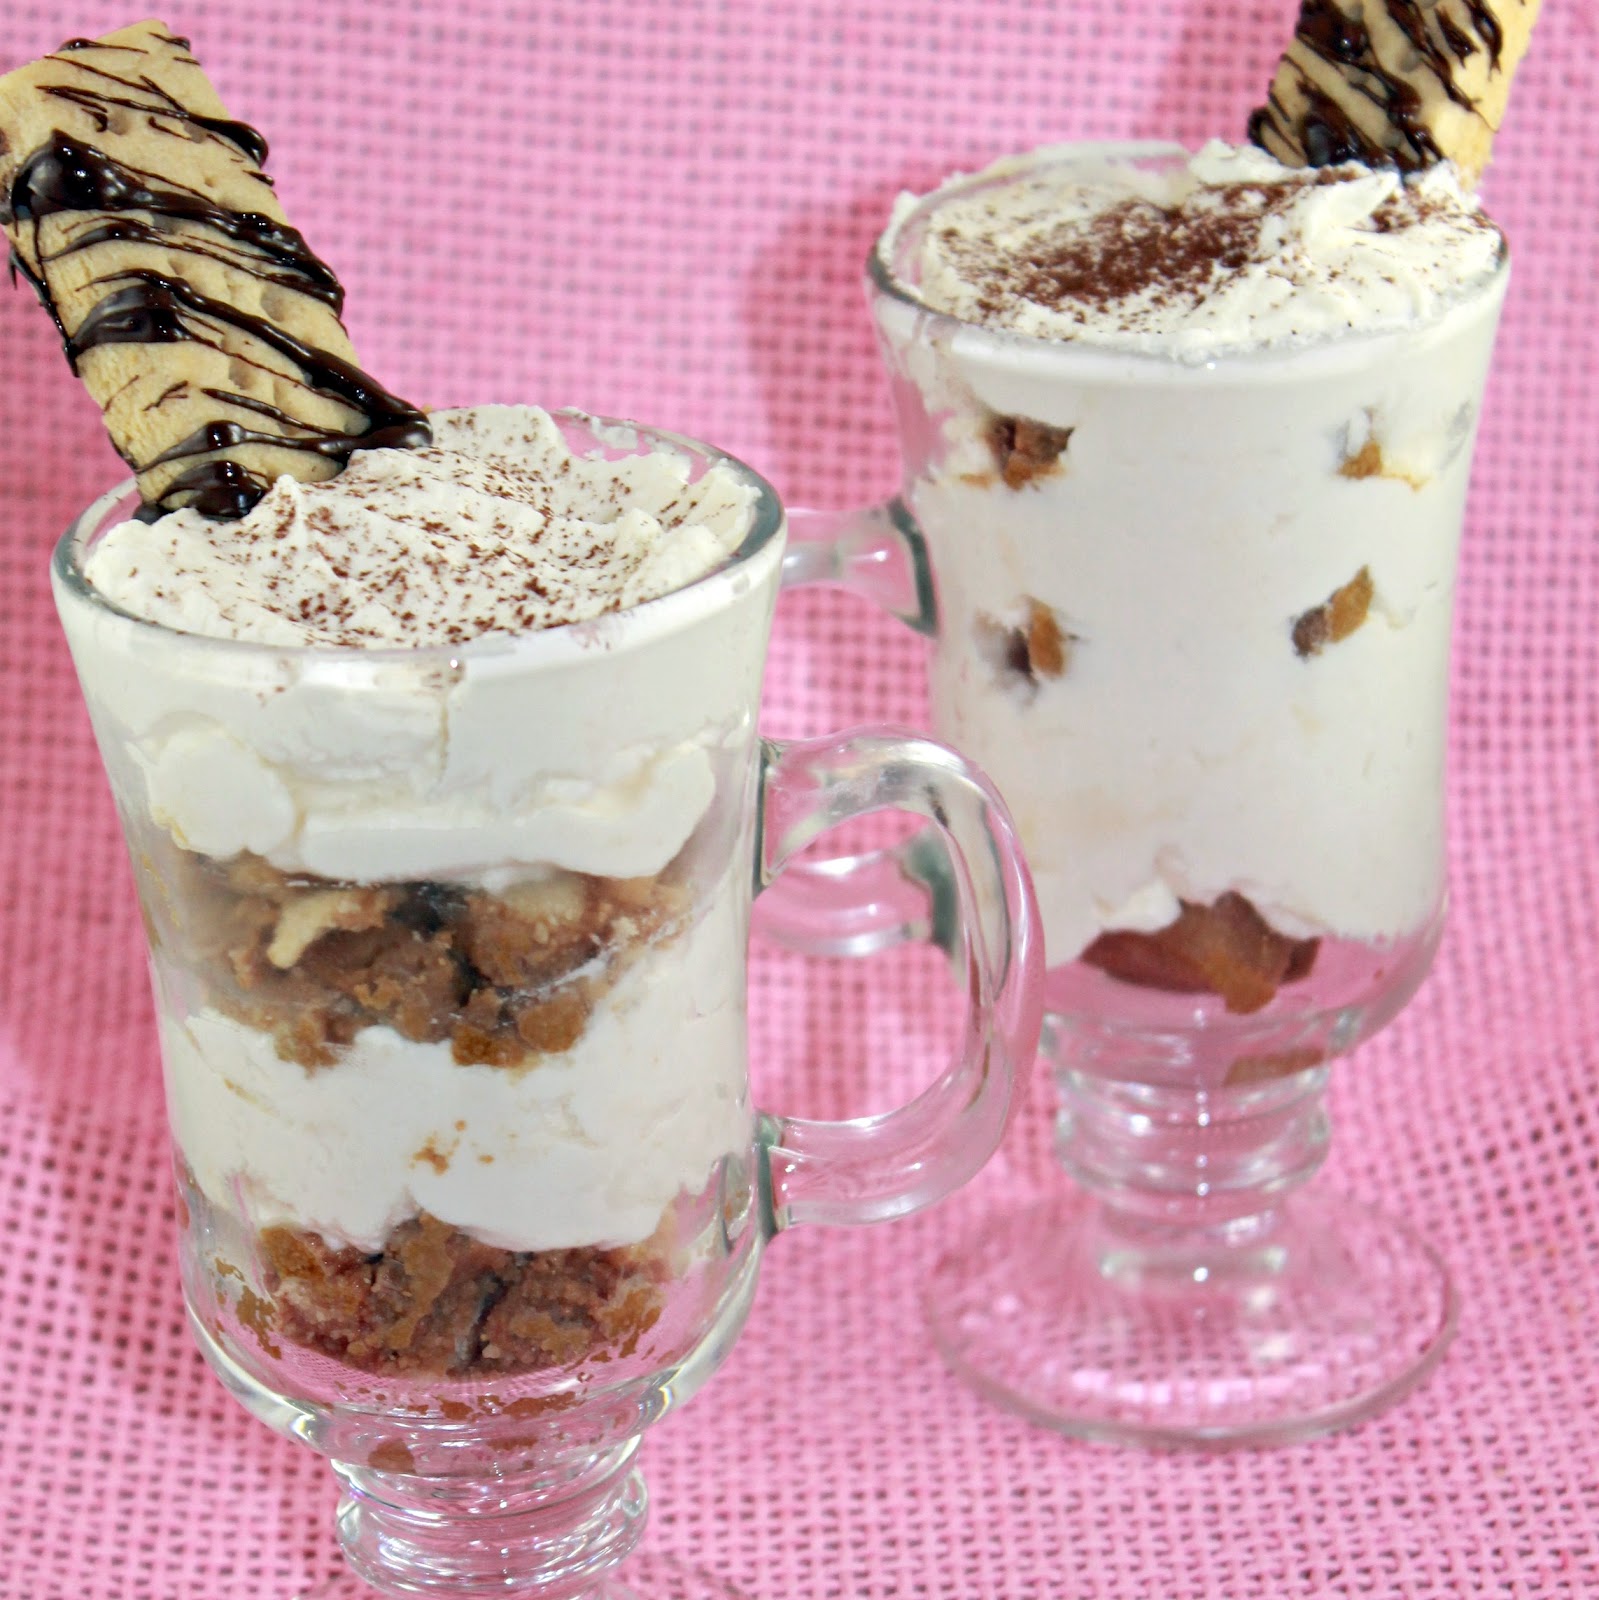
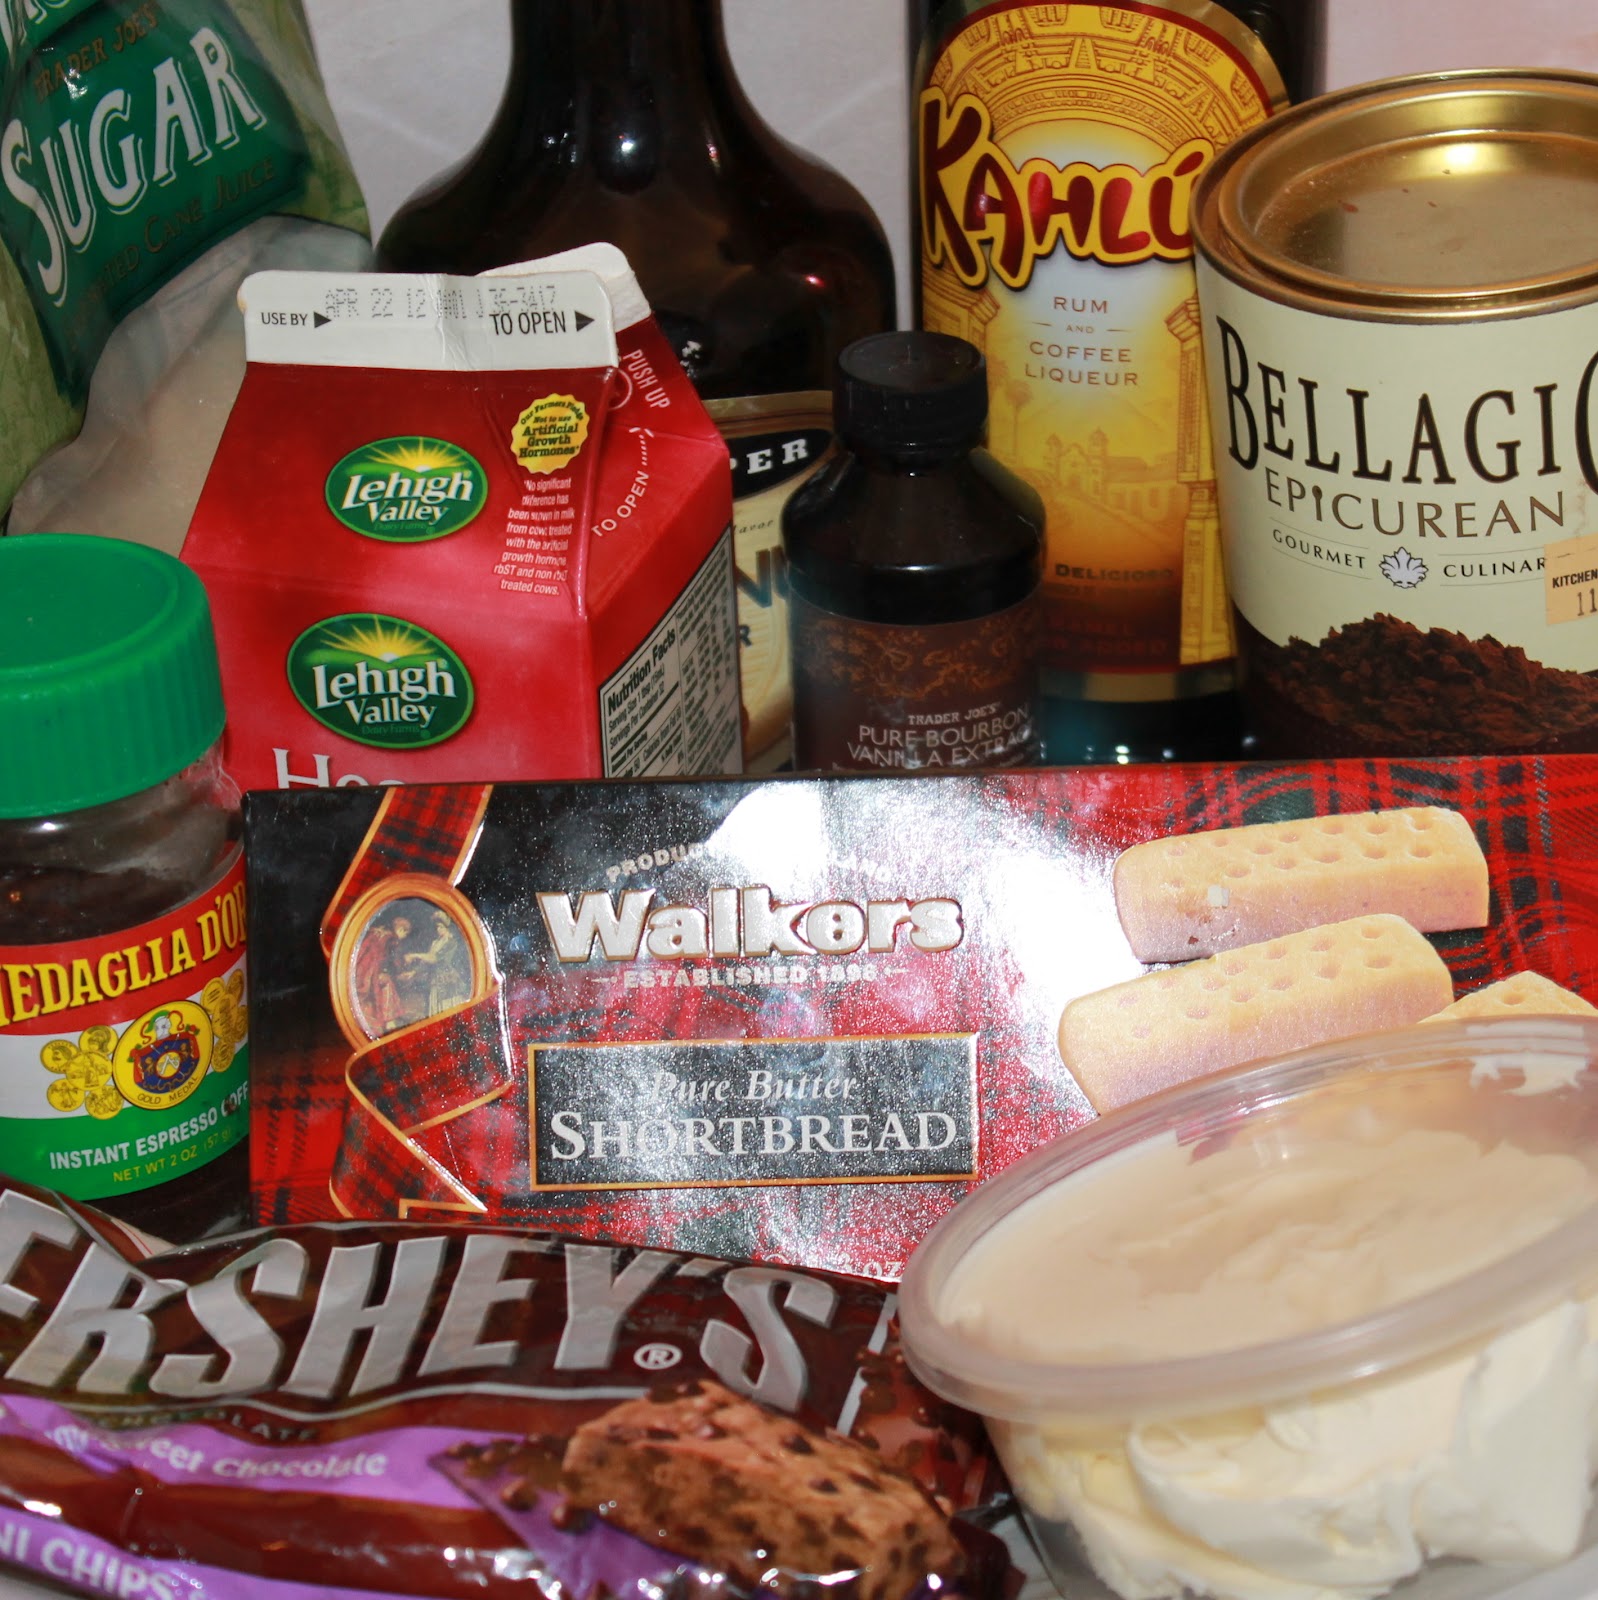
I love tiramisu. Honestly, what’s not to like? I’ve never tried to make a traditional tiramisu, but it might be a terrible idea. I’d probably eat the entire thing in one sitting. So to save me from that embarrassing end, I decided to try a recipe from the Walkers Shortbread website for Individual Tiramisu. The recipe makes two servings of tiramisu so that I can’t be a complete piggy. I came across it while trying to find a recipe to photograph (I made their raspberry creme brulee instead) and knew I’d have to make it. Luckily, I still had some Walkers Shortbread leftover!
1 tablespoon coffee flavored liqueur
1 tablespoon hazelnut flavored liqueur
2 ounces boiled water
1 heaping teaspoon espresso granules
8 shortbread cookies (I used Walkers Pure Butter Shortbread)
1/2 cup heavy cream
1/4 cup plus 2 tablespoons sugar
1 container (8 oz.) mascarpone cheese
1 tablespoon mini semi sweet chocolate chips
1/2 teaspoon unsweetened cocoa powder
So before I go into the recipe, I just wanted to talk about one of the small businesses near me, Wedge + Fig in Philadelphia. They are an amazing cheese shop, brunch location, and also serve some of the best and most creative paninis in the city. When I had a hankering for this tiramisu recipe, I was excited to find that I had all of the ingredients on hand. Except the mascarpone cheese. Blast.
I thought I’d take a gamble and went to two corner stores near me. No mascarpone. So I went over to Wedge + Fig, assuming they wouldn’t have it either, but thought they might know where to get some. I asked, expecting a no, and was ready to leave. They told me they did not sell it, but they had some on hand because they used it in some recipes and would be willing to sell me some. How awesome! So thank you SO much to Wedge + Fig for saving the day. My tummy thanks you!
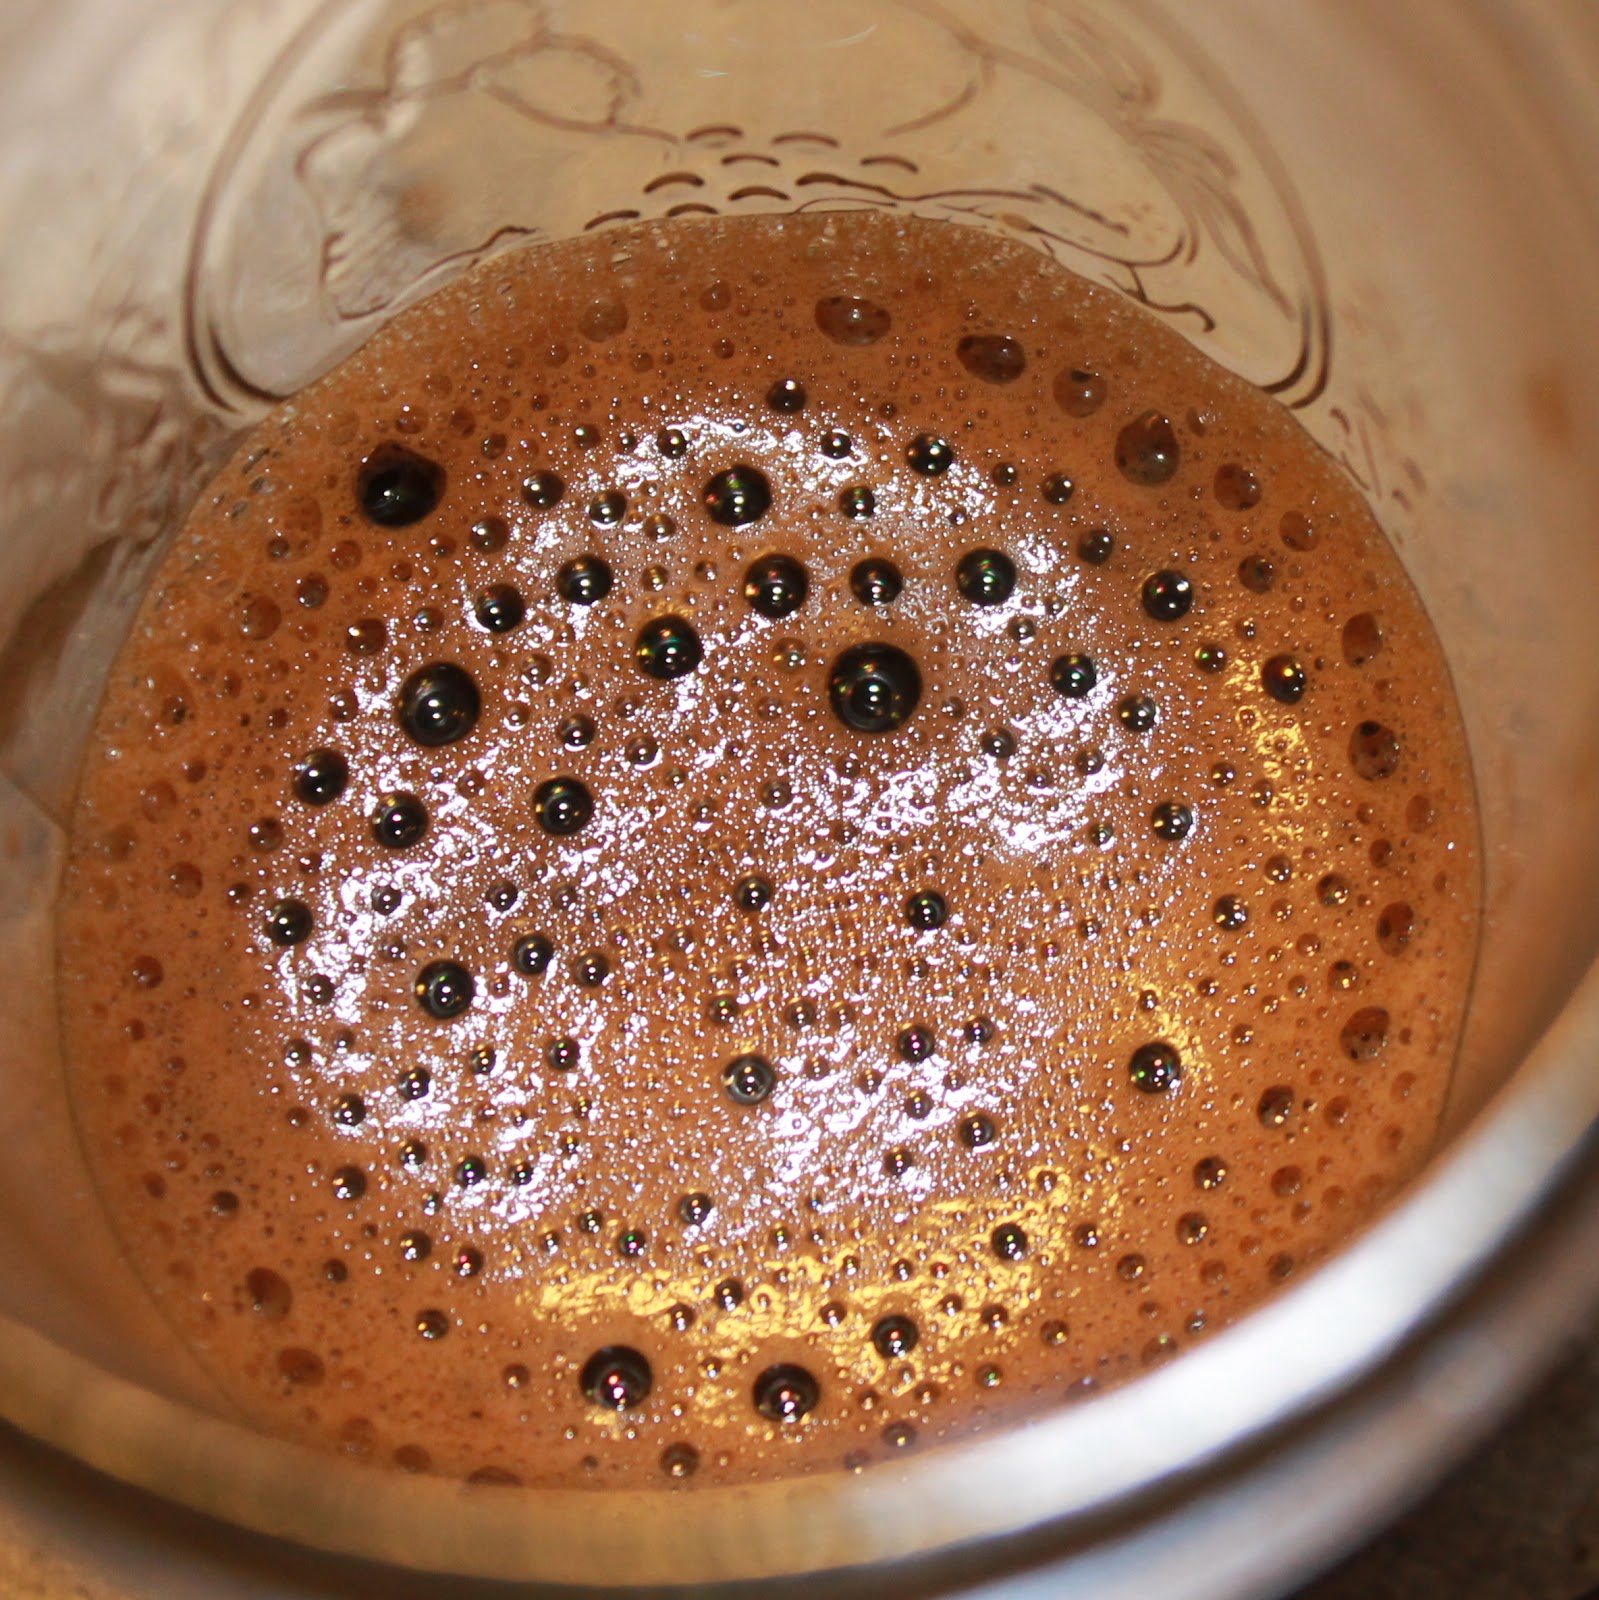
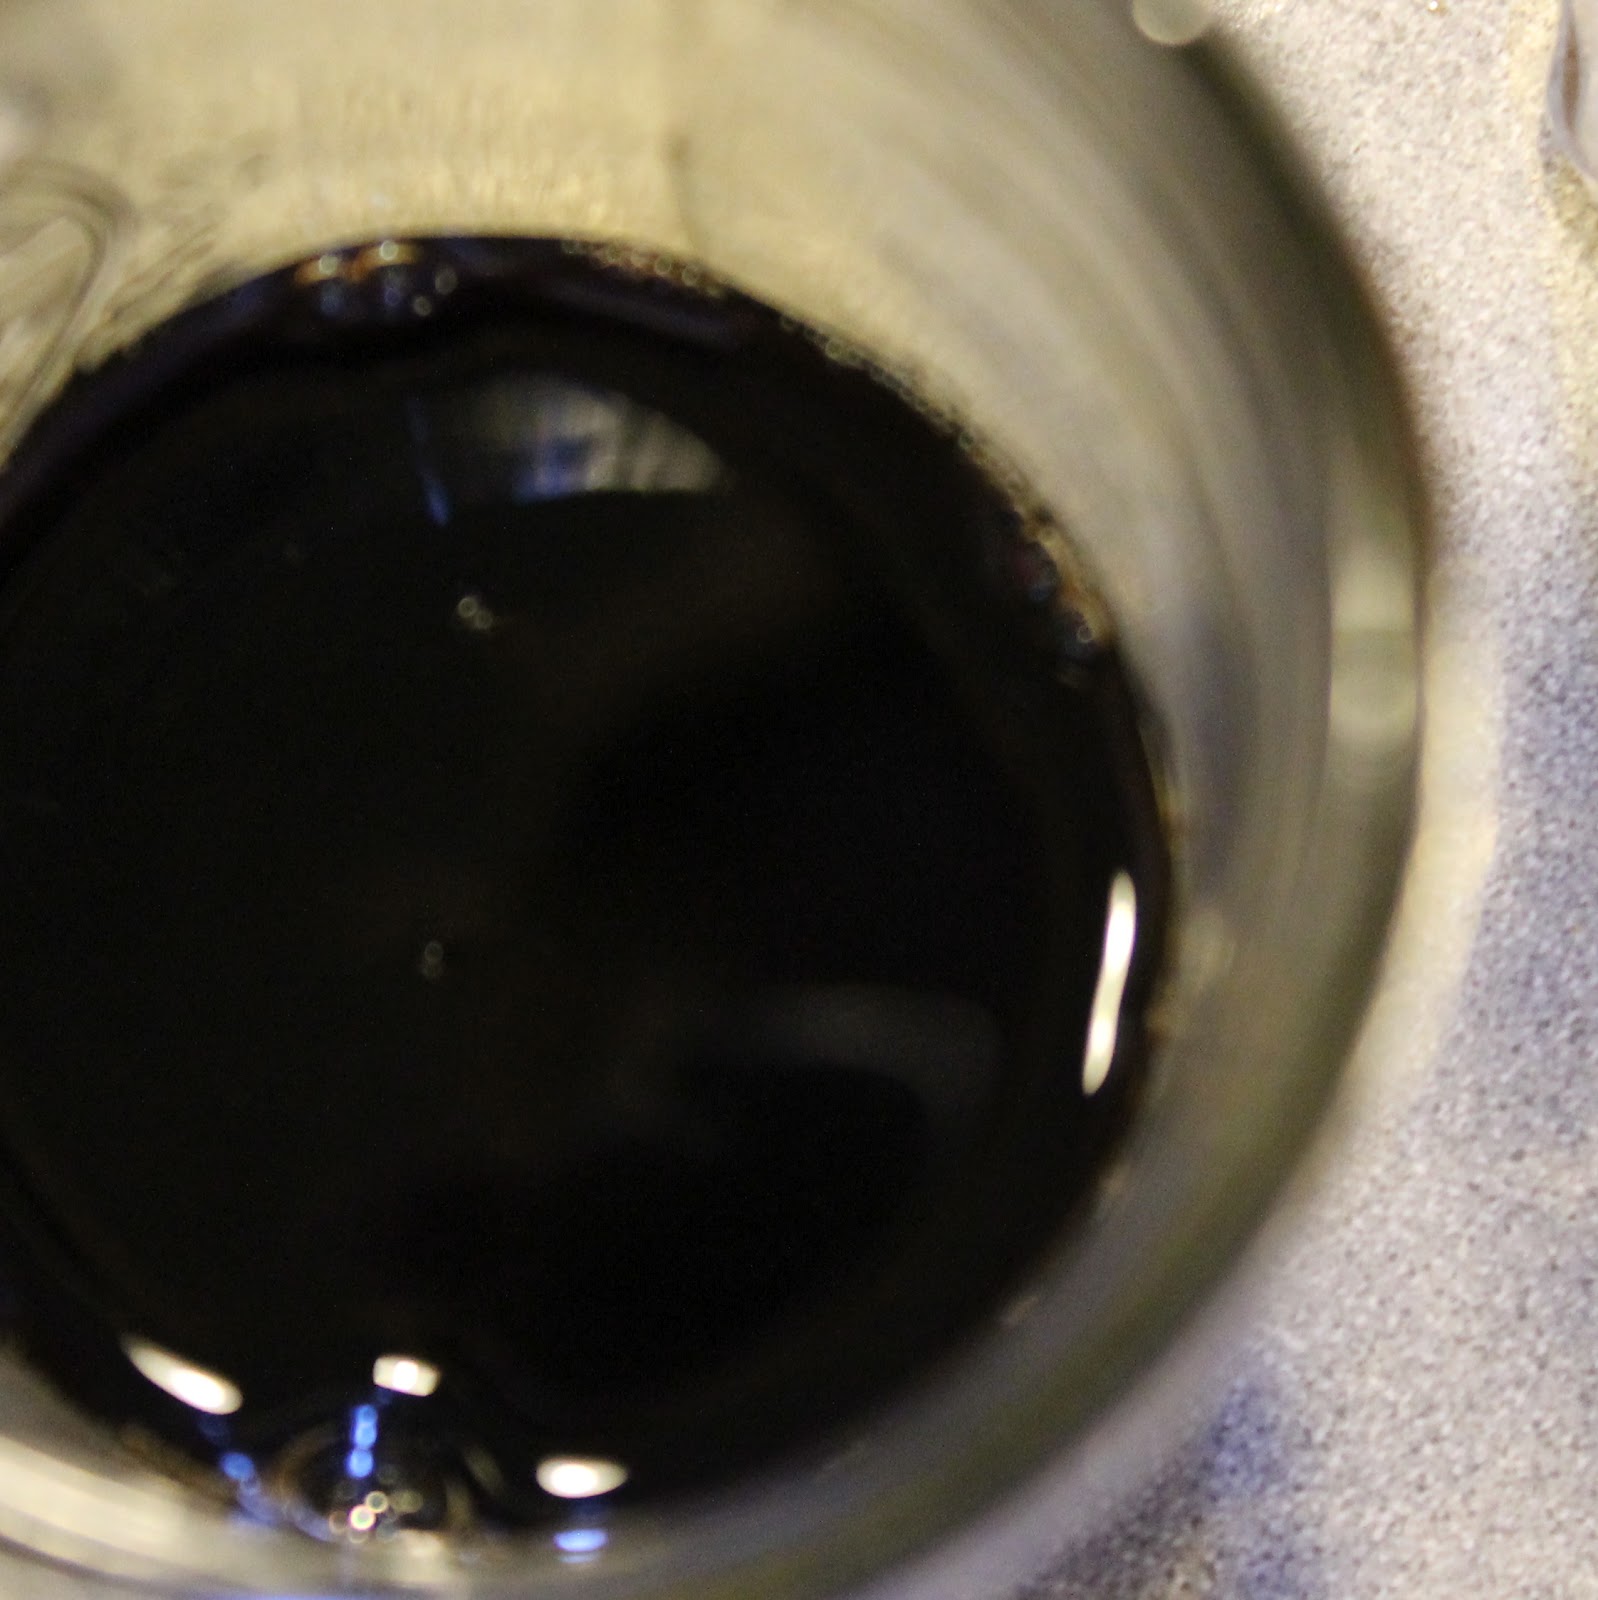
On to the recipe: Begin by combining the espresso granules with the boiling water. Stir to combine.
Take 1 tablespoon of the espresso and combine it with the coffee and hazelnut liqueurs.
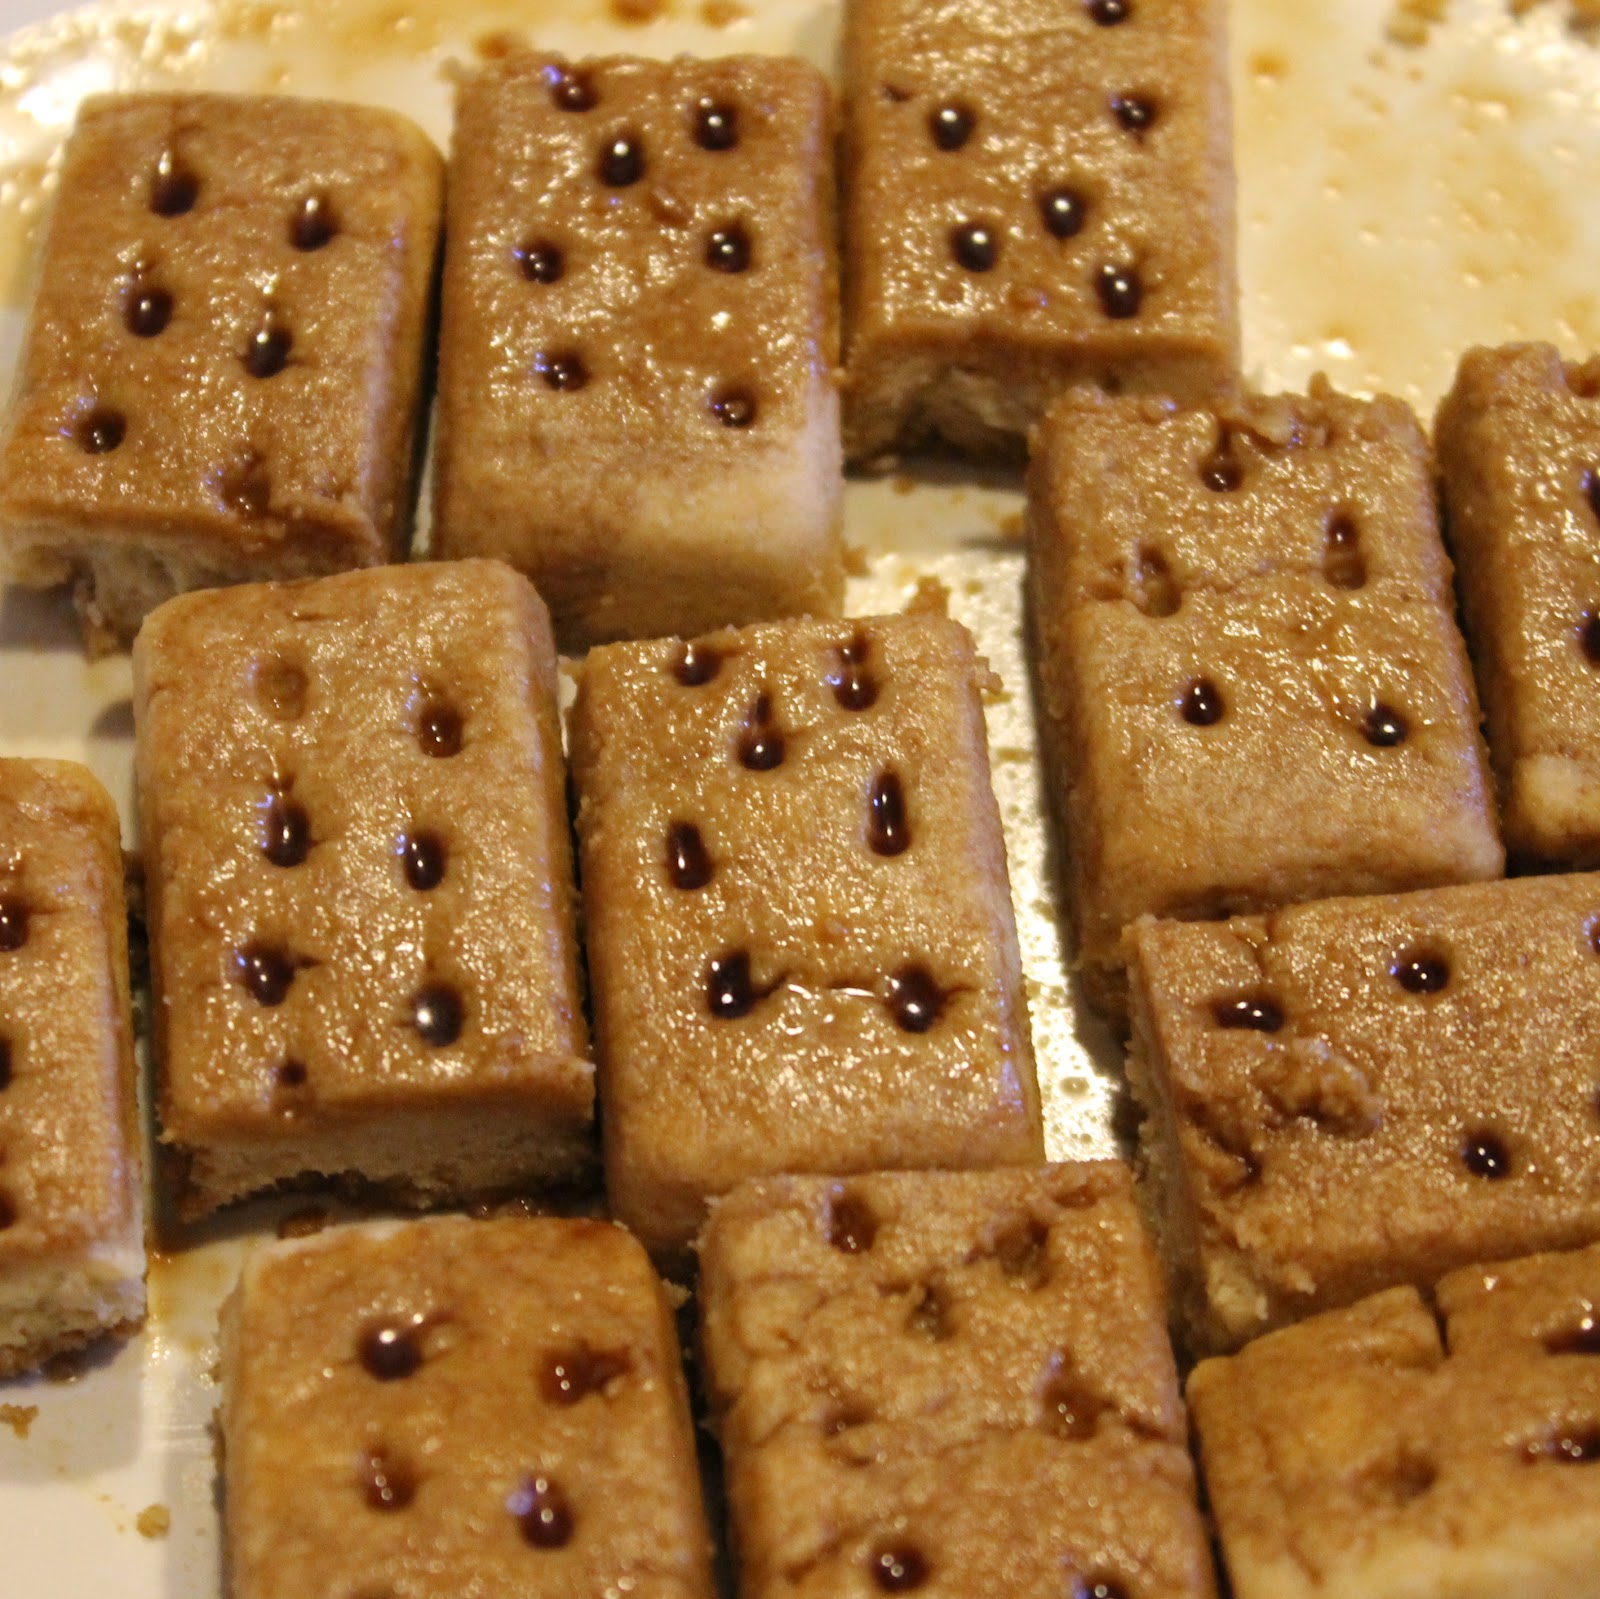
Take 6 of the shortbread cookies and brush them with the coffee mixture on both sides.
Cut each cookie in half. (Note: I decided later that I kind of preferred them crumbled so after allowing them to soak, I just chopped them up a bit. The halves didn’t fit in my glasses nicely.)
In a medium bowl, beat the heavy cream with 2 tablespoons sugar until stiff peaks form.
In another bowl, beat the mascarpone cheese and 1/4 cup sugar.
Fold in the whipped cream. (I could just eat this mixture allll day. Mmm.)
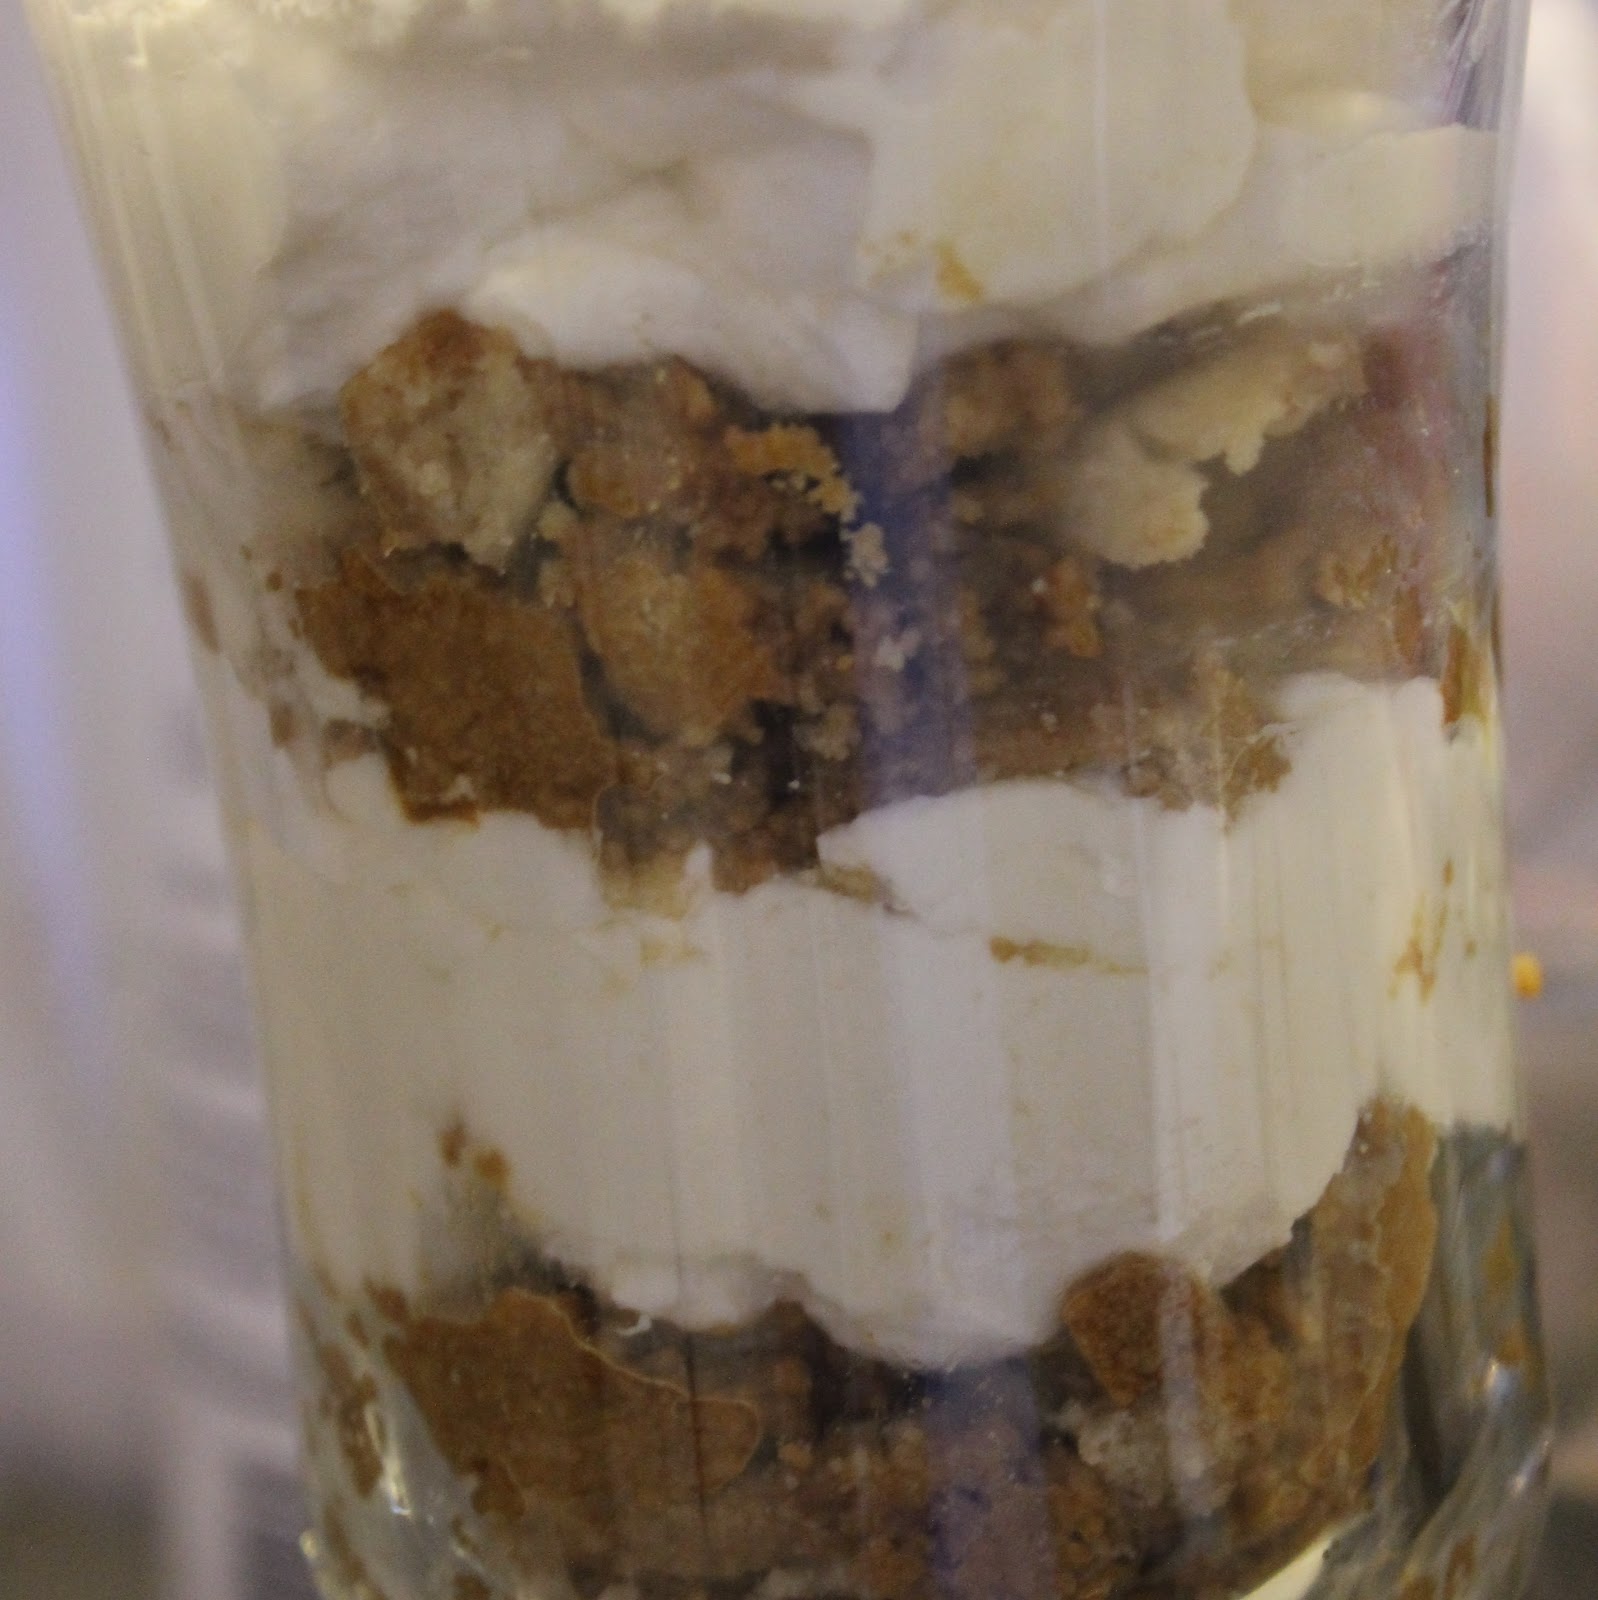
Take two wine goblets or Irish coffee glasses and place three cookie halves in the bottom. (I just put two teaspoons of the crumbs in the bottom of mine.) Spoon 2 tablespoons of the cheese mixture over the cookies and repeat the layers.
Refrigerate for at least 2 hours so that the cookies/crumbs can soften.
Add the chocolate mini chips to a microwave safe bowl and microwave on high, stirring until melted. Use a fork to drizzle the melted chocolate over the 2 remaining cookies. (Place the cookies on wax paper before drizzling).
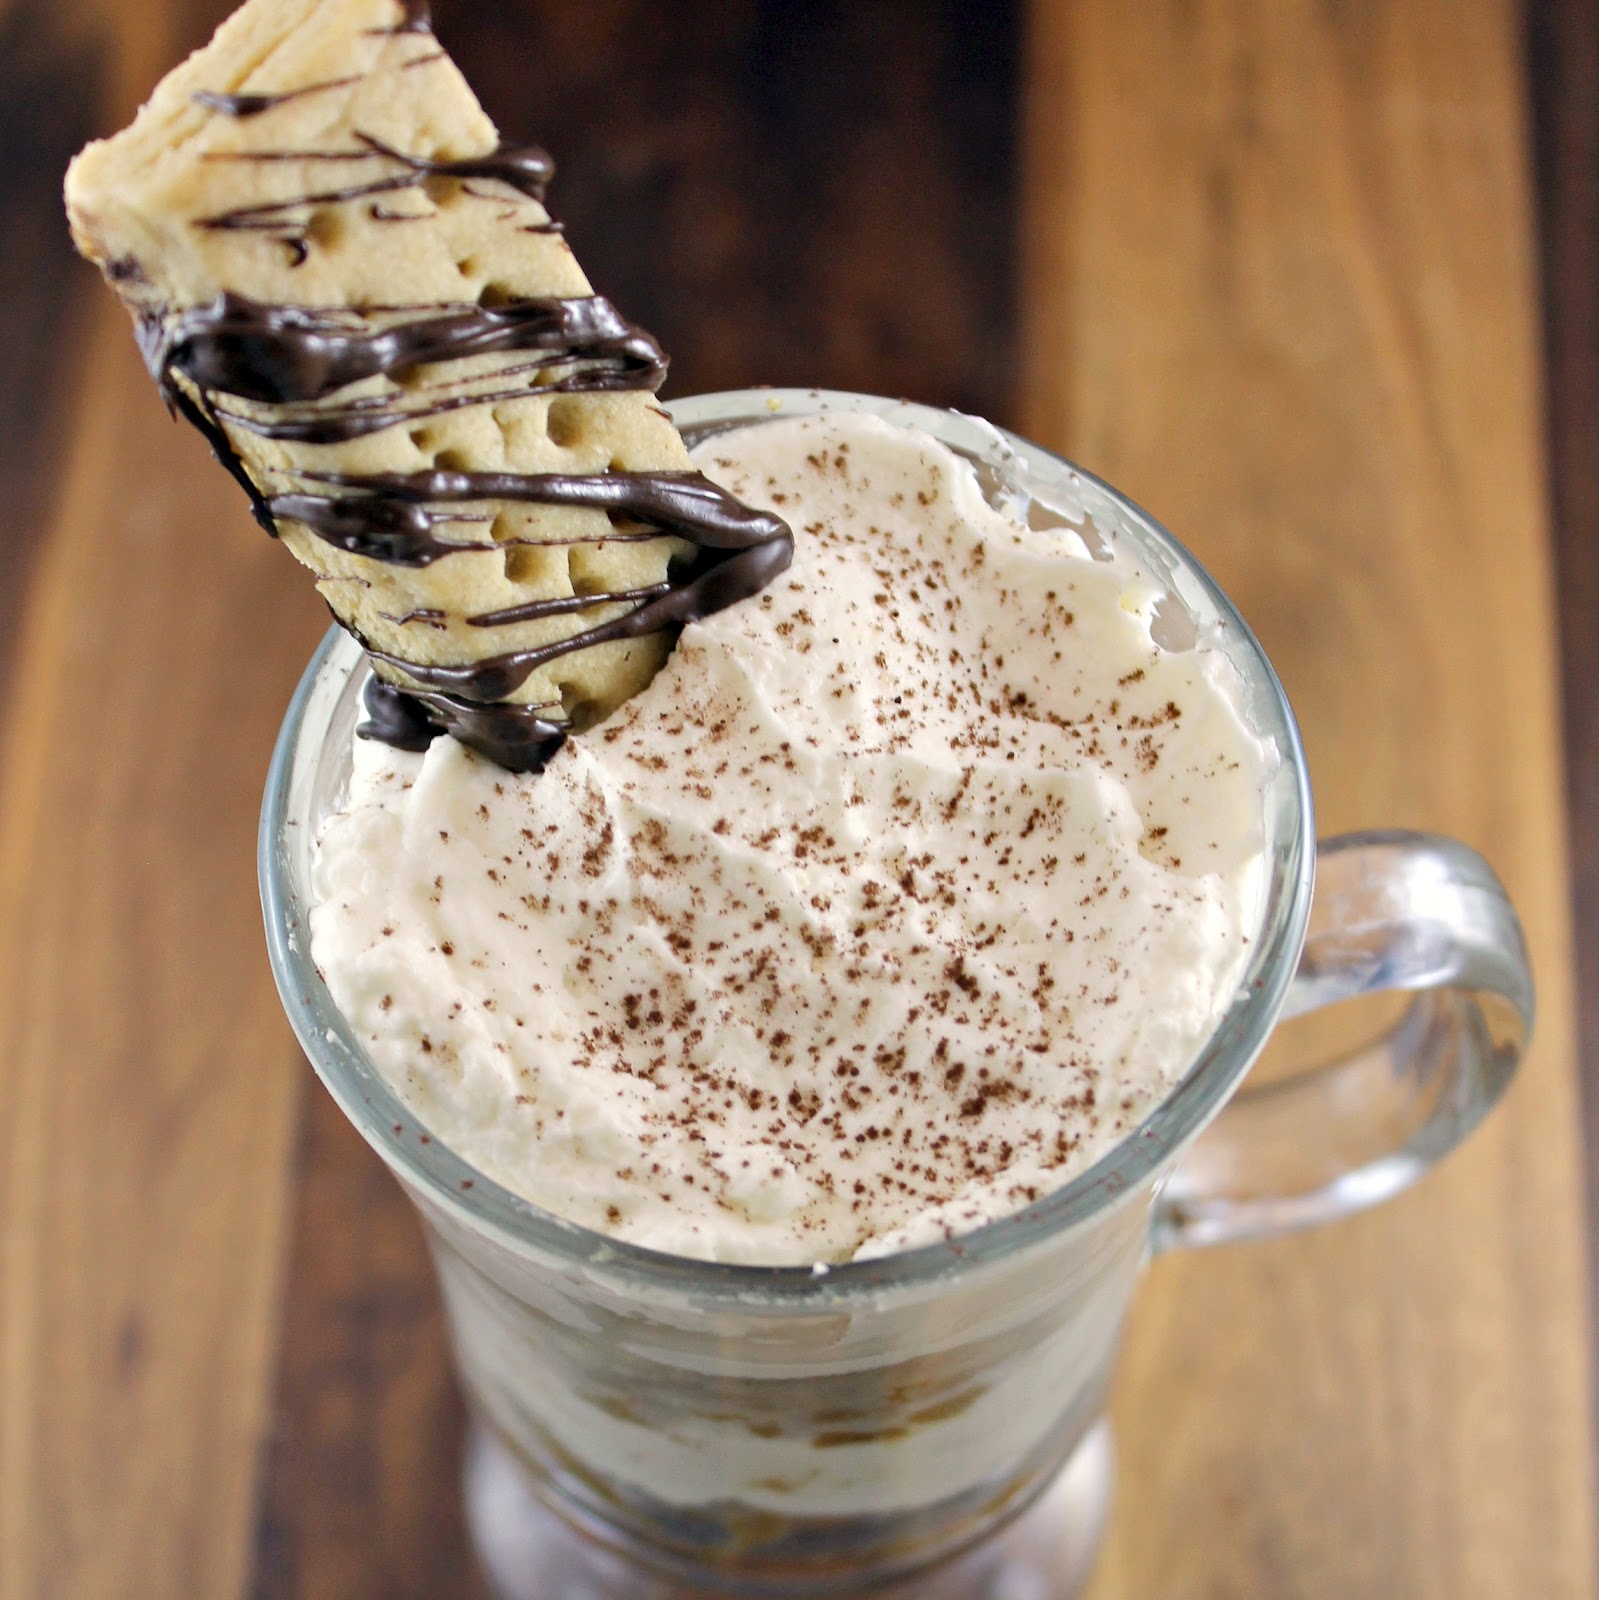
Just before serving, lightly sprinkle the tiramisu with cocoa using a fine sieve. Add a chocolate-drizzled cookie to each glass.
How easy was that?
I love how fancy this dessert seems to be with minimal effort.
The whipped cream and mascarpone is so fluffy and flavorful.
The shortbread really soaked up all that coffee-hazelnut flavor, but maintained just enough crunch to keep it satisfying.
The presentation of this dessert is really nice too. The chocolate drizzled cookie is great to dip into the tiramisu to get some of the mascarpone mixture.
I’m aware I should share the second one of these. But um. I think I like it too much! We will see…
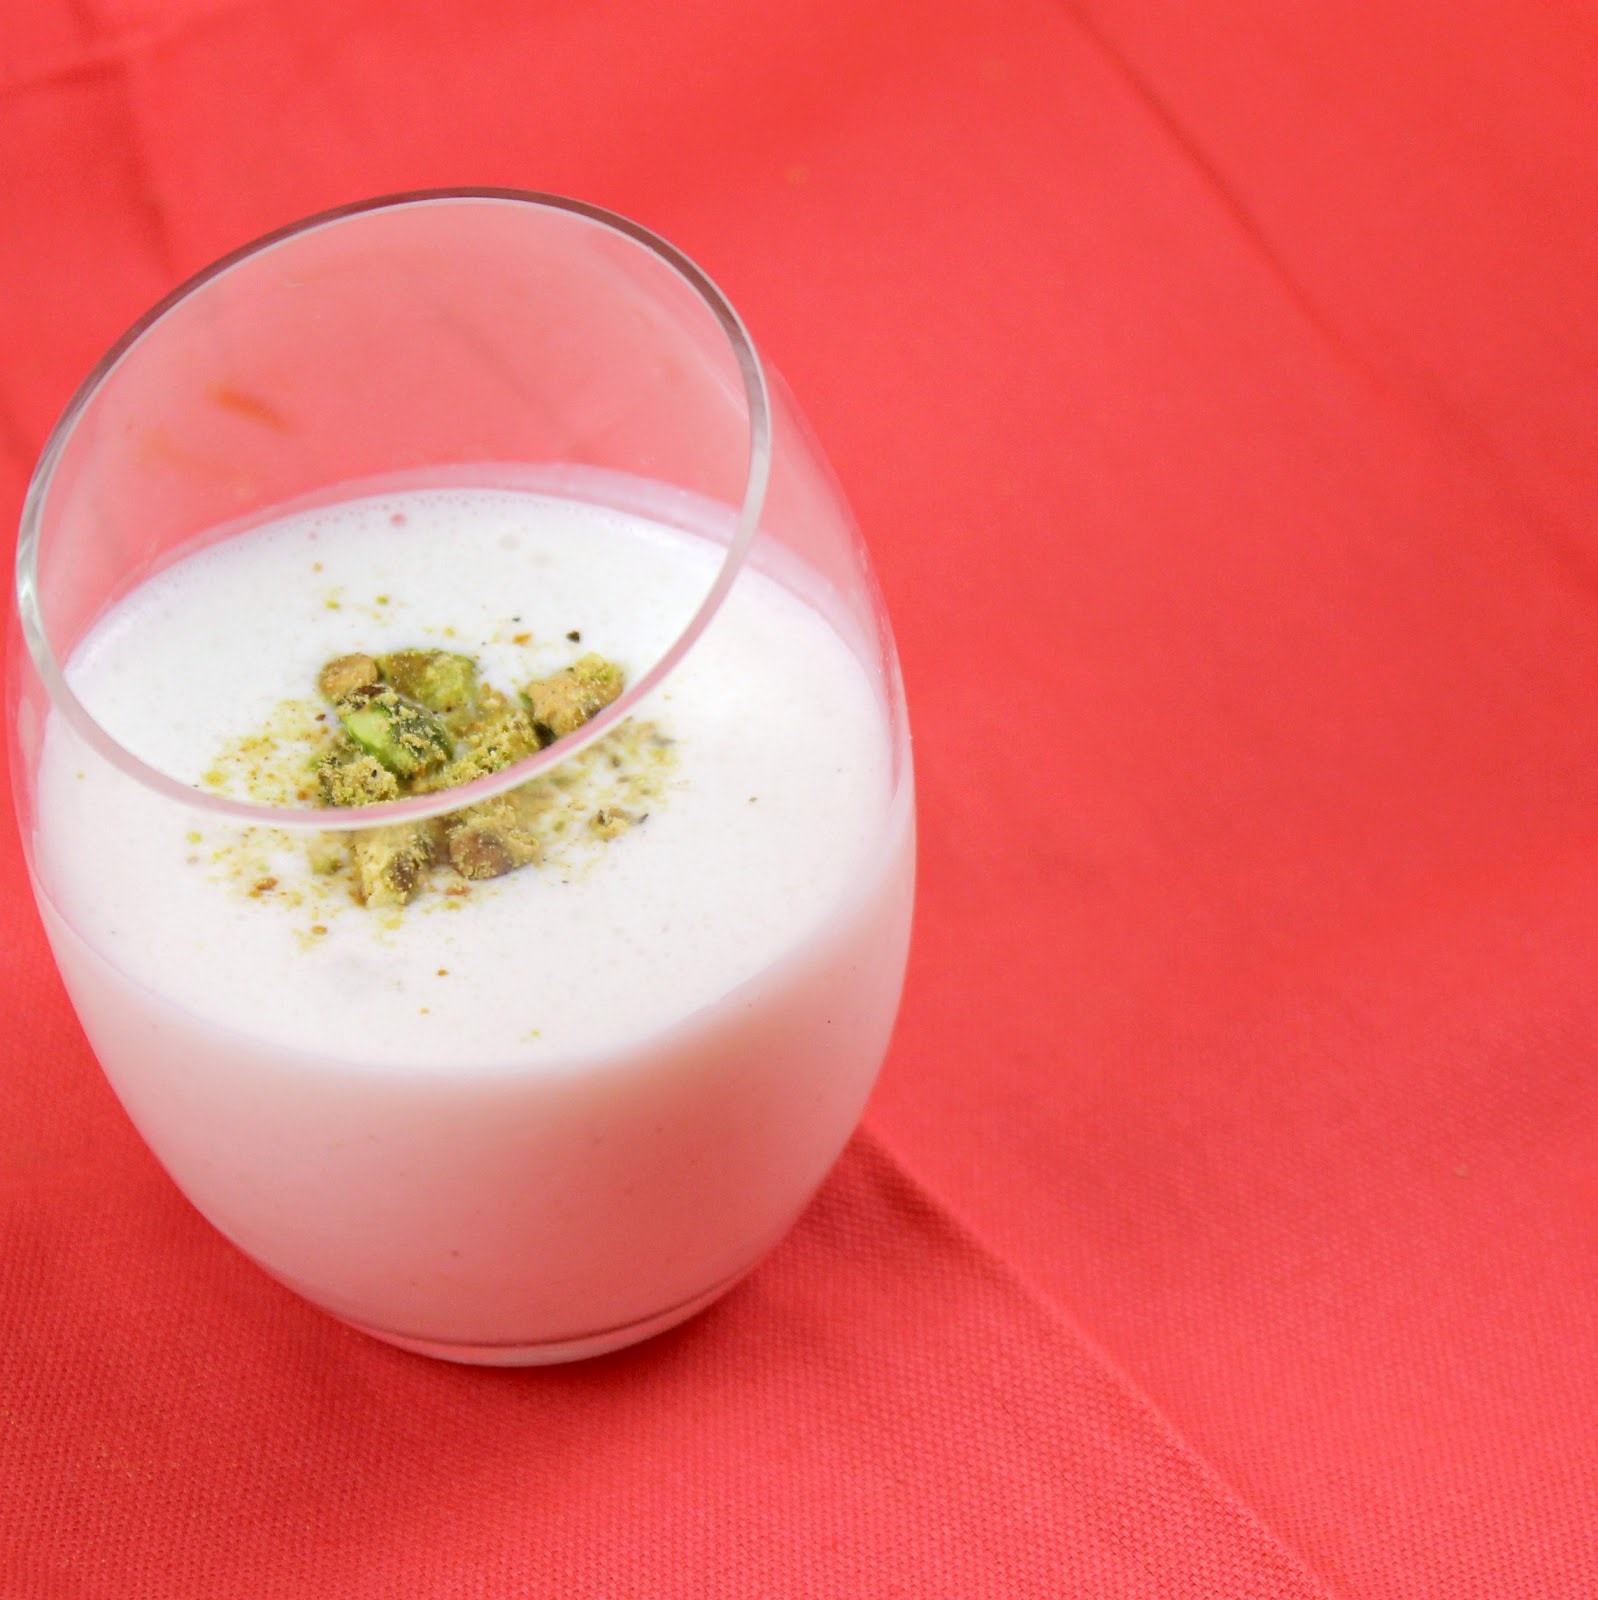
I still had some plain yogurt leftover from making a batch of Mango Lassi over the weekend. I wanted to try to make my own combination and realized I still had rose water on hand. I love love rose water, which is a common ingredient in this sweet yogurt drink. I also picked up some ground cardamom when I was picking up all of the Indian spices. Cardamom is used to flavor a lot of desserts so I thought it would work great in the lassi as well. So I ended up with a Rose Water Cardamom Lassi!
Ingredients:
1 cup plain yogurt
1 teaspoon rose water
1/4 teaspoon ground cardamom
2 tablespoons sugar, or to taste
2 tablespoons coconut milk
Ice cubes
1 tablespoon pistachios, chopped
Add all ingredients except the ice cubes and pistachios to a blender. Puree until well combined.
Pour into a glass over ice. Top with chopped pistachios.
Um. Yum.
The rosewater is oh so nice in this drink.
The pistachios add a nice crunch to the drink which I really liked.
Lassi is supposed to be super sweet, but if you’re sensitive to sweetness, you can limit the amount of sugar, or you can substitute vanilla yogurt for the plain yogurt and omit the sugar entirely.
I love how easy these are to whip up!
Lassi is traditionally served with lunch, but I honestly love it as a dessert drink.
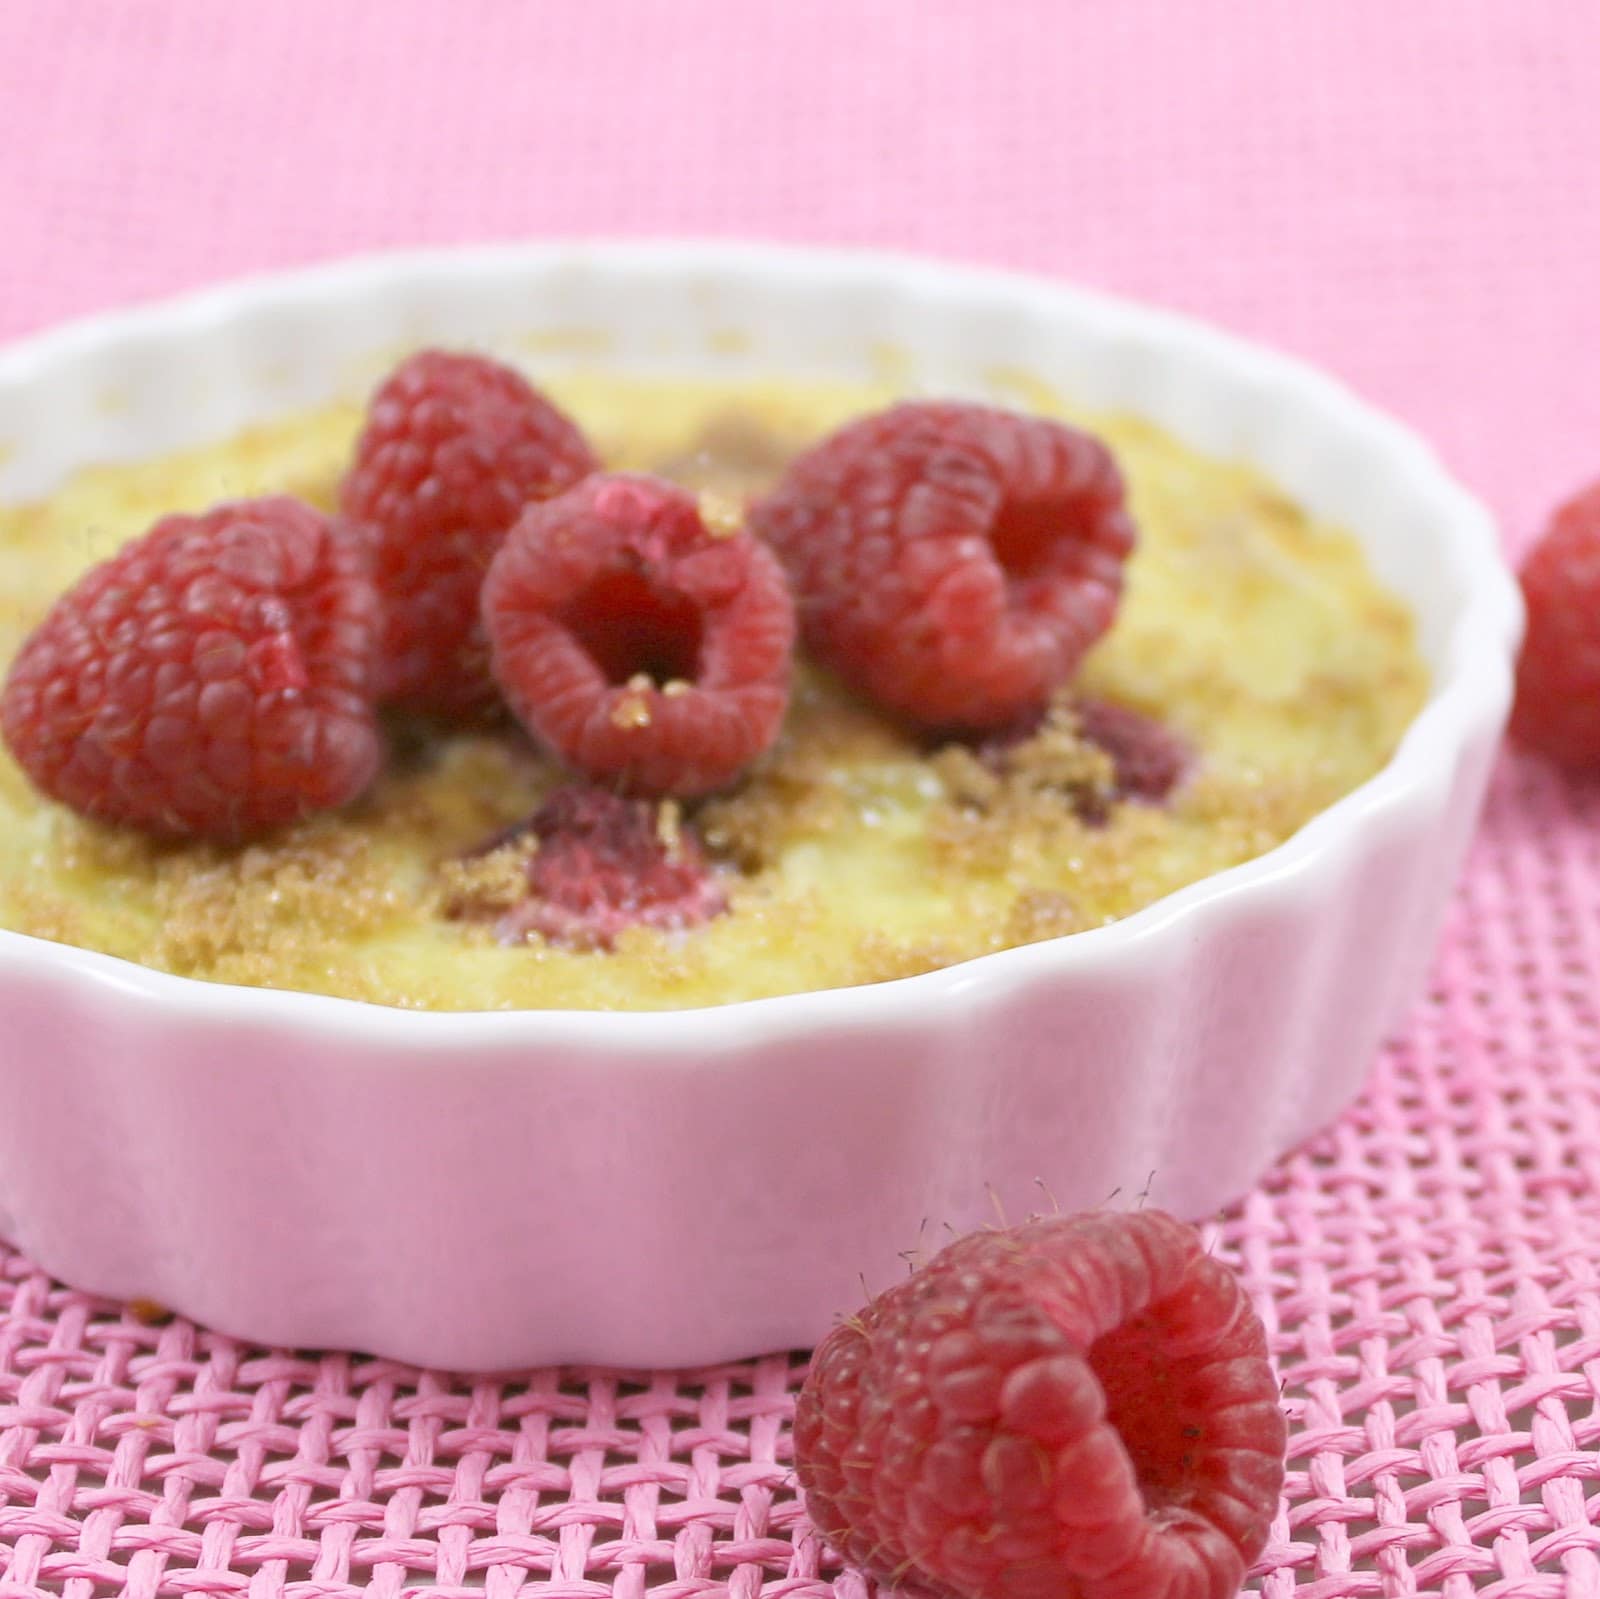
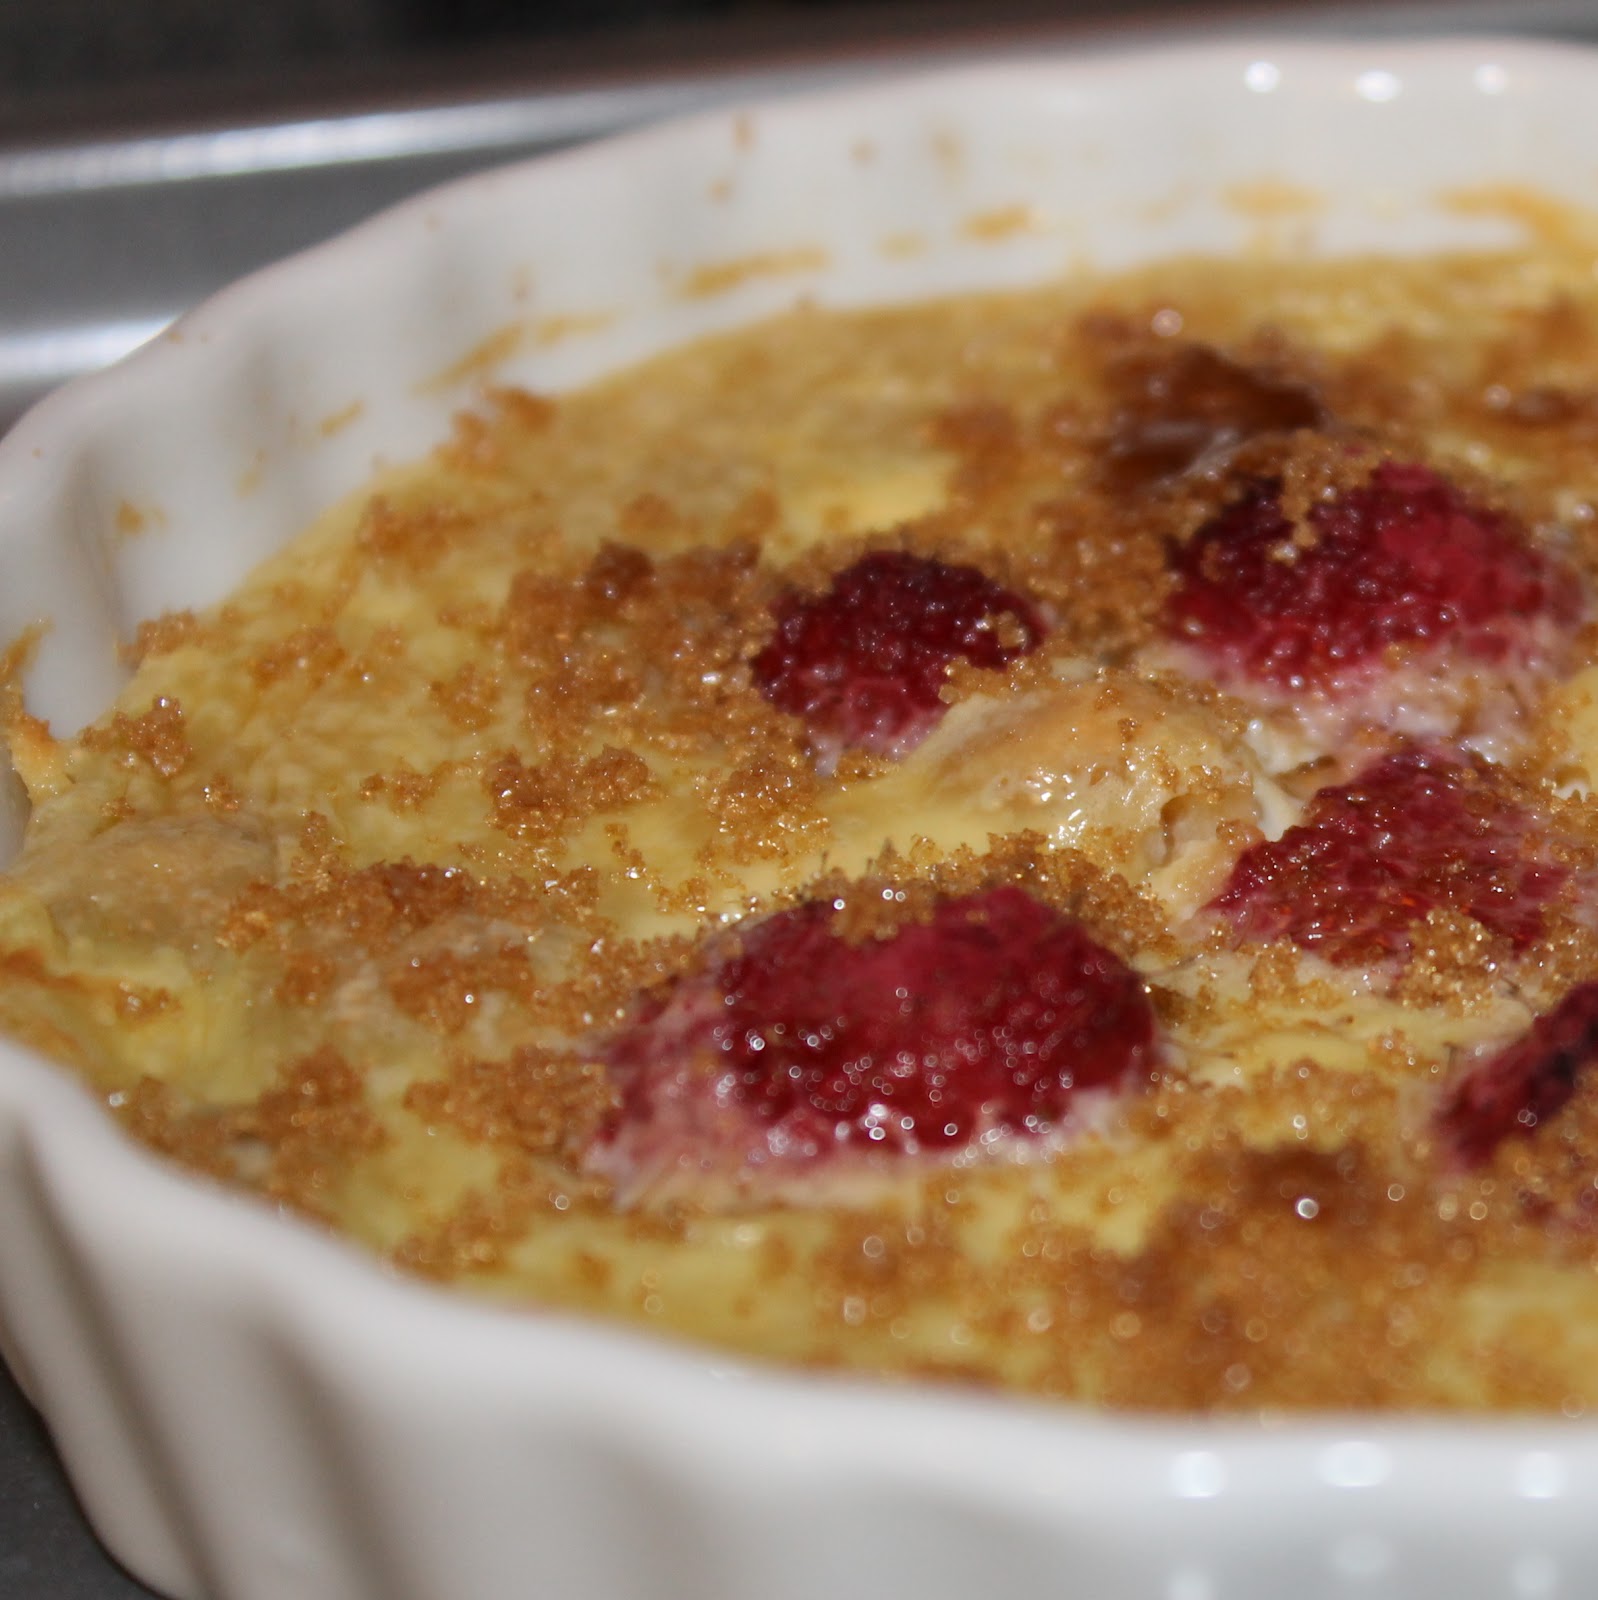
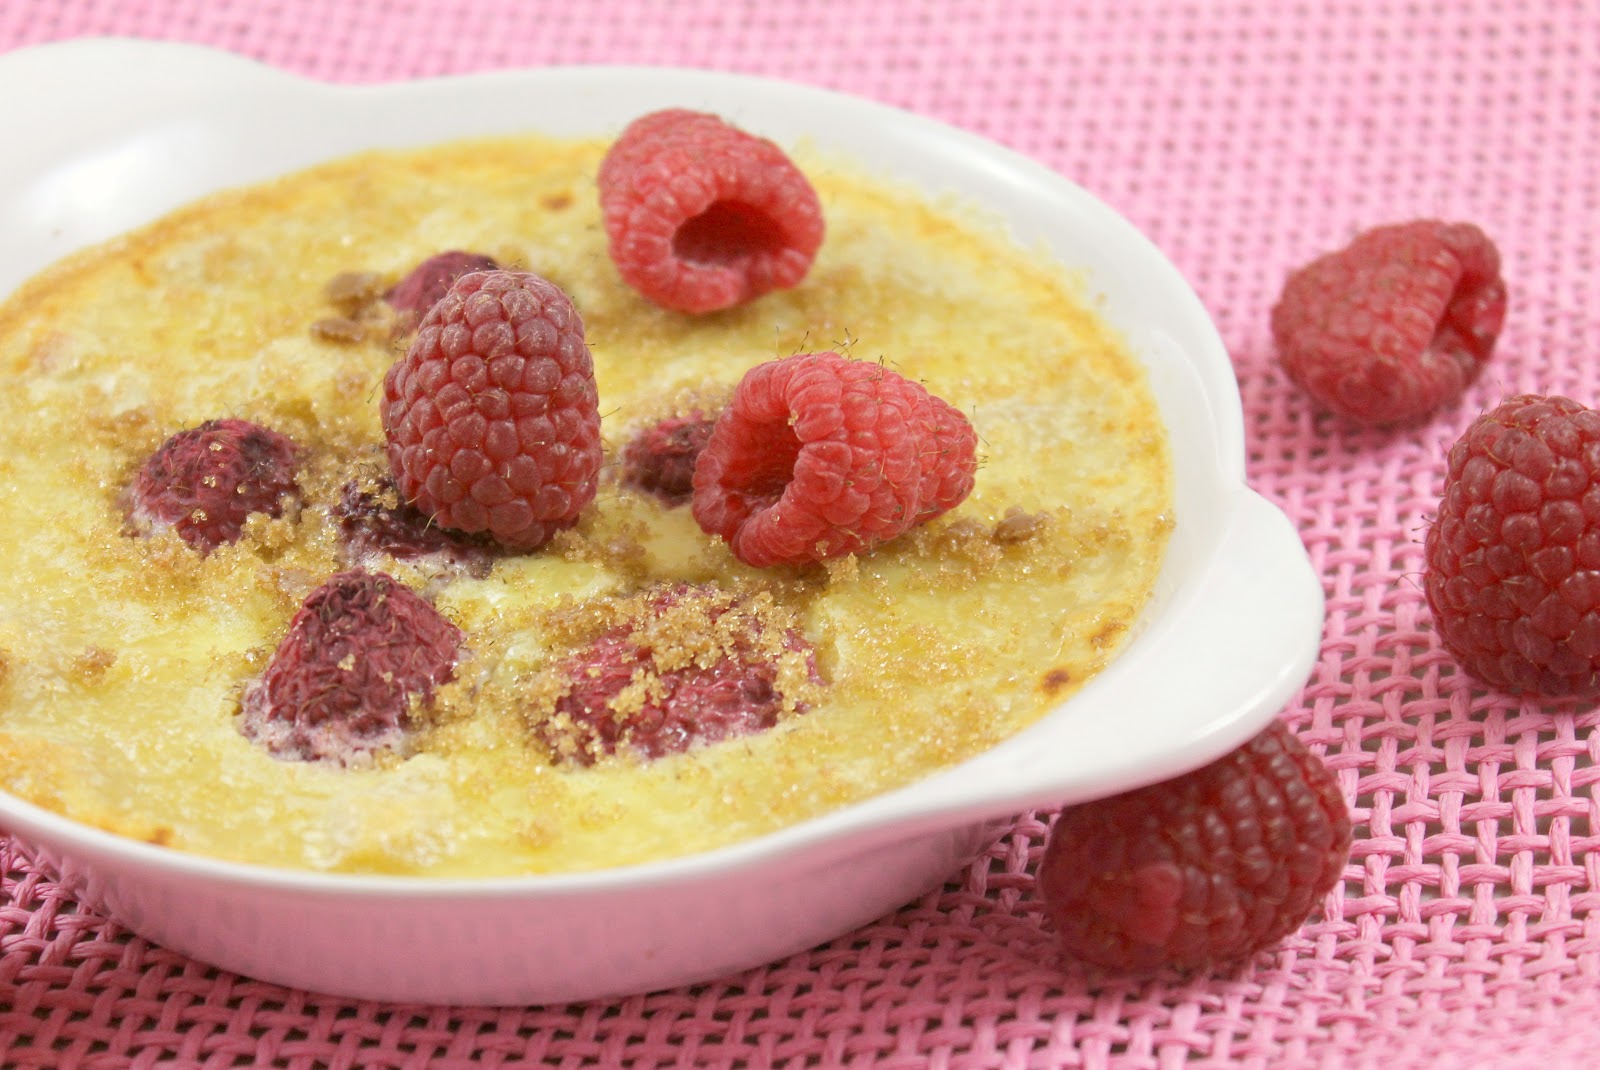
Last week, I was contacted by Walkers Shortbread about a recipe photo challenge they are hosting. Walkers asked a bunch of bloggers to make one of the recipes off their site and photograph the end result. They even offered to send me the Walkers ingredient needed to make the recipe. I came across their Raspberry Creme Brulee recipe and I knew I had to make it. It’s a traditional creme brulee, with a Walkers Shortbread crust and raspberries. How fantastic does that sound?
Ingredients:
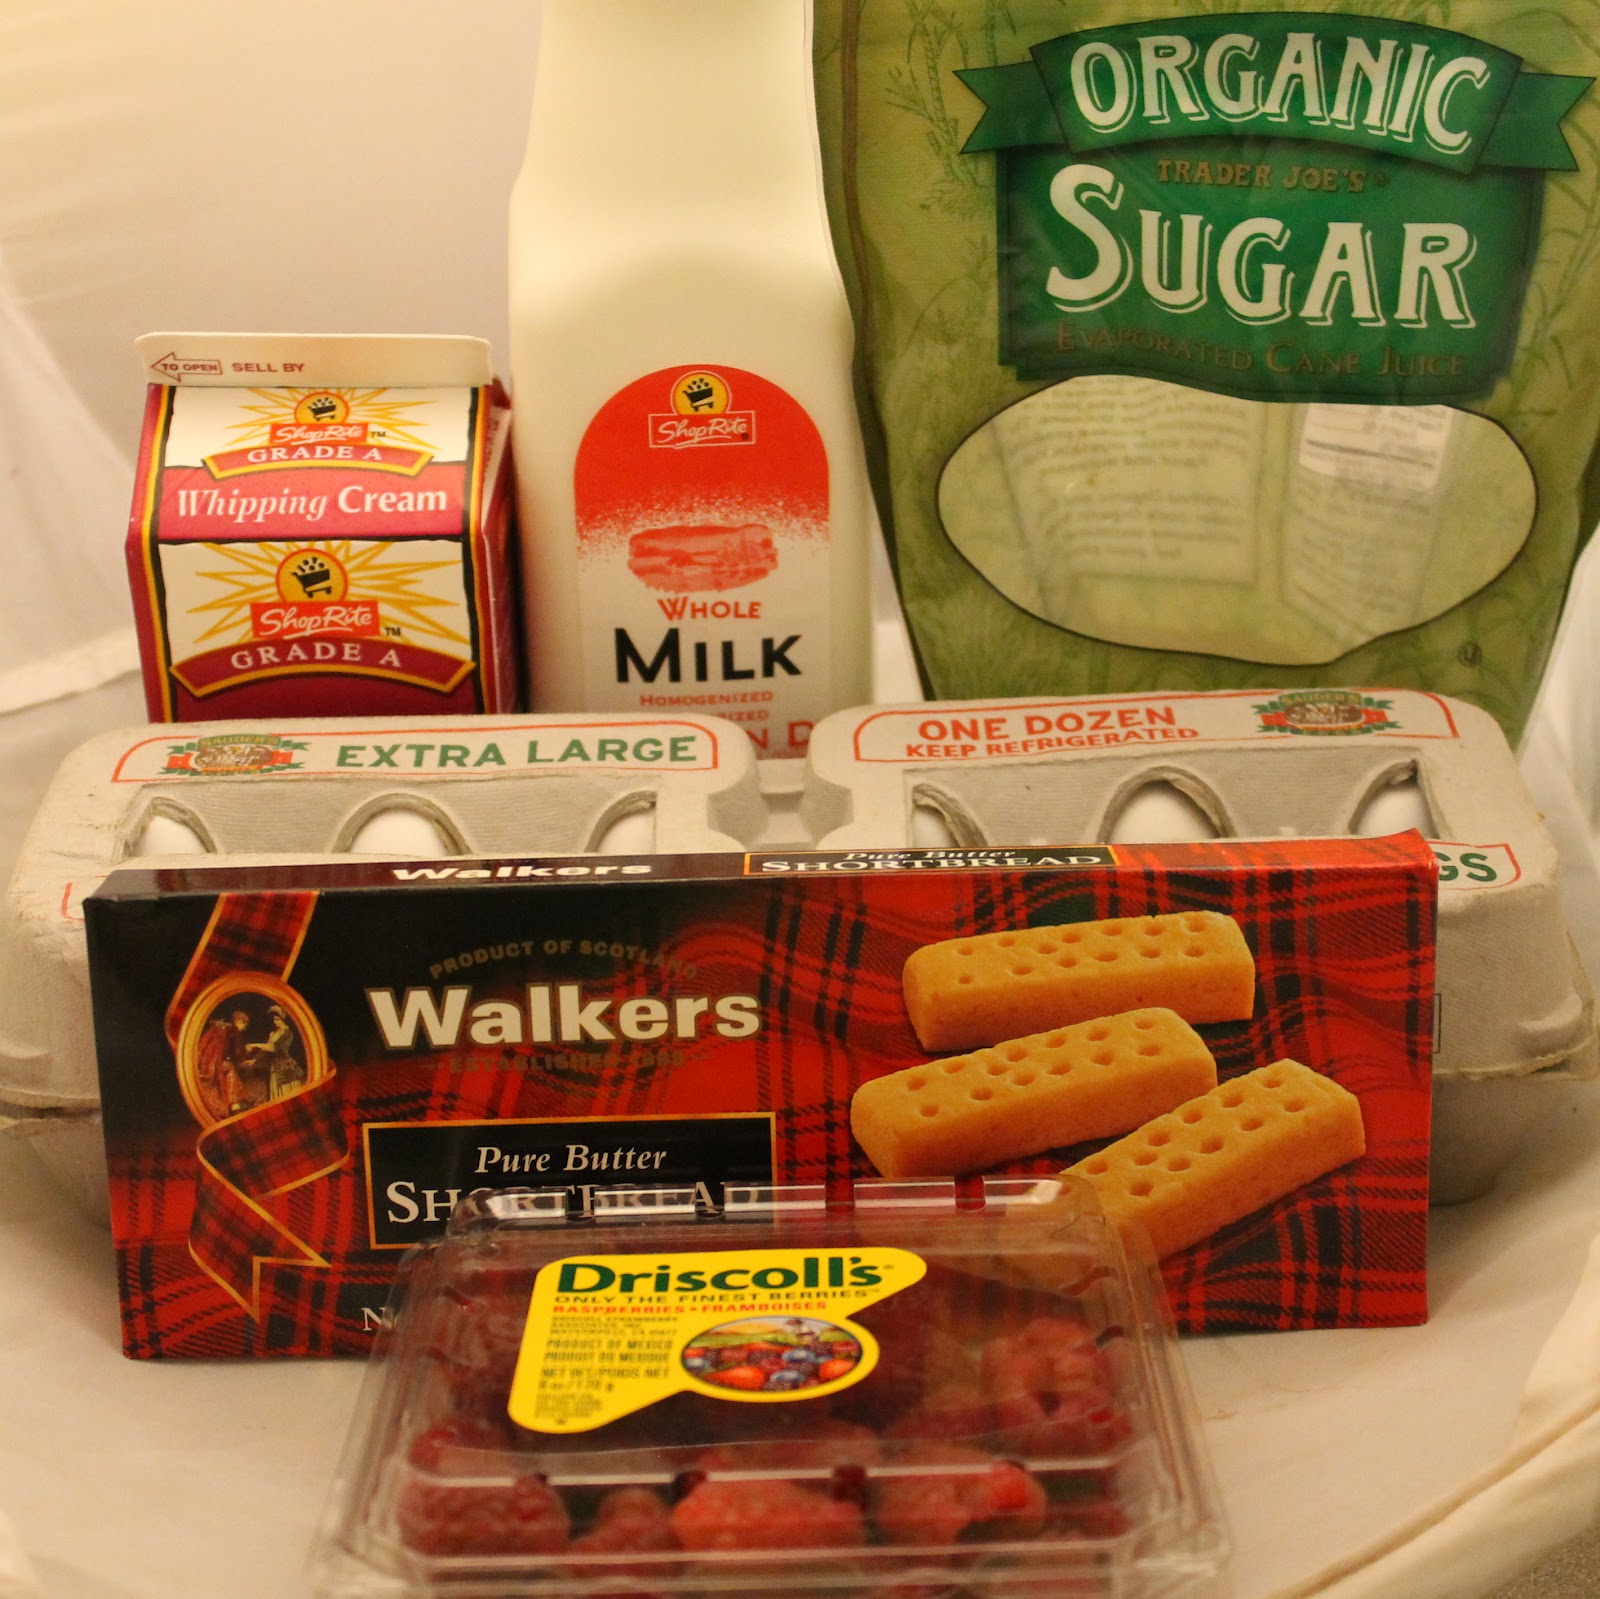
2 cups whole milk
4 egg yolks
1/3 cup sugar
1/3 cup heavy cream
1/2 pint Raspberries (fresh)
1 pkg. (5.3 oz) Walkers Shortbread Fingers
light brown sugar, to taste
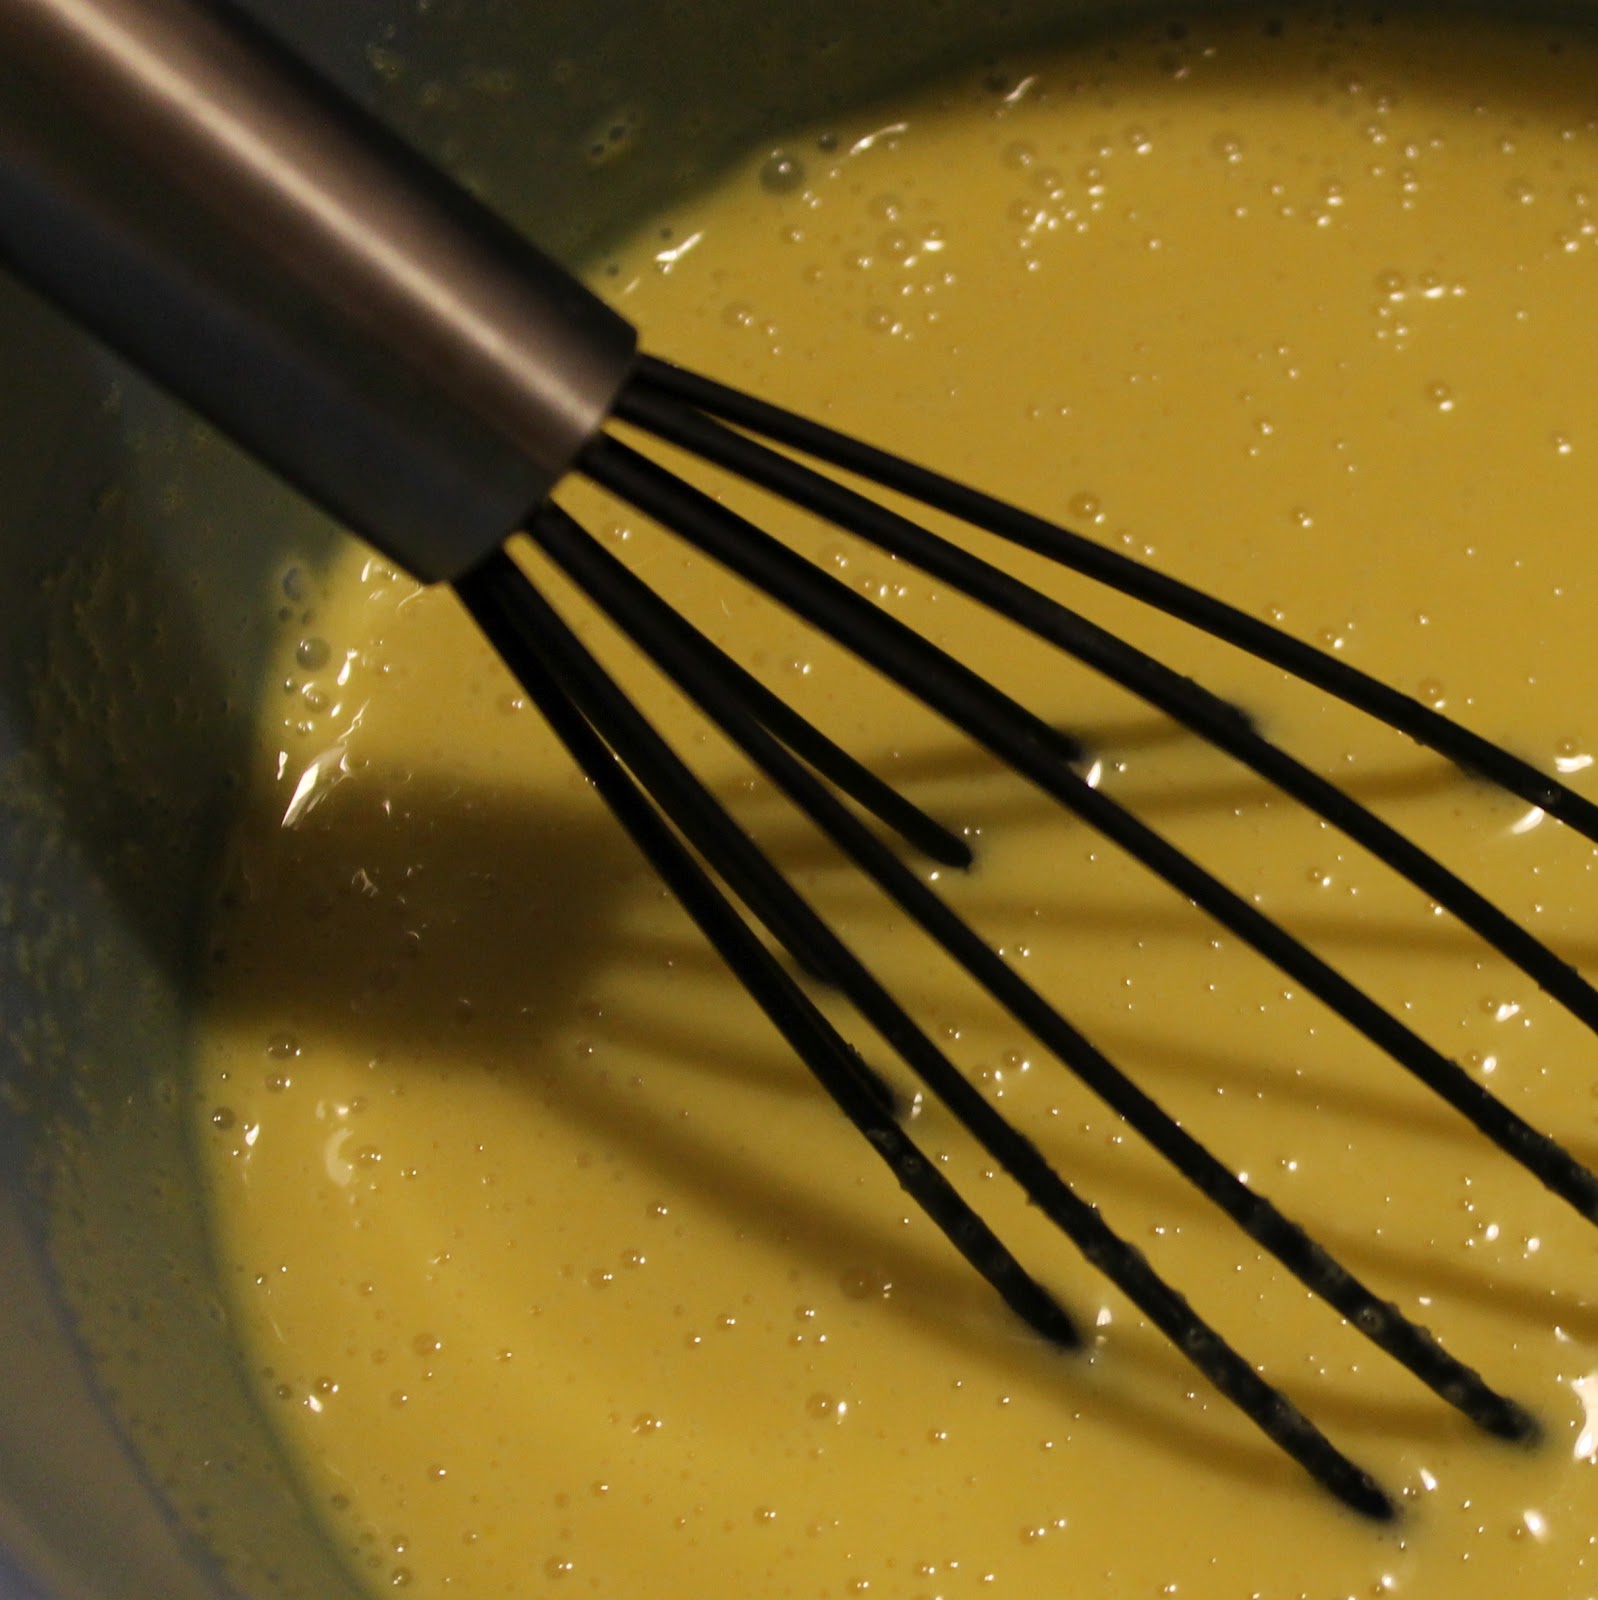
Preheat the oven to 300 degrees. Add the milk to a medium saucepan and bring to a boil. While waiting for the milk to boil, add the egg yolks, sugar and heavy cream to a medium sized bowl. Whisk to combine.
Add 3/4 cup of the boiled milk to the egg mixture, whisking constantly. This tempers the eggs so that they don’t cook when you add the rest of the milk. Once incorporated, add the rest of the milk in a steady stream.
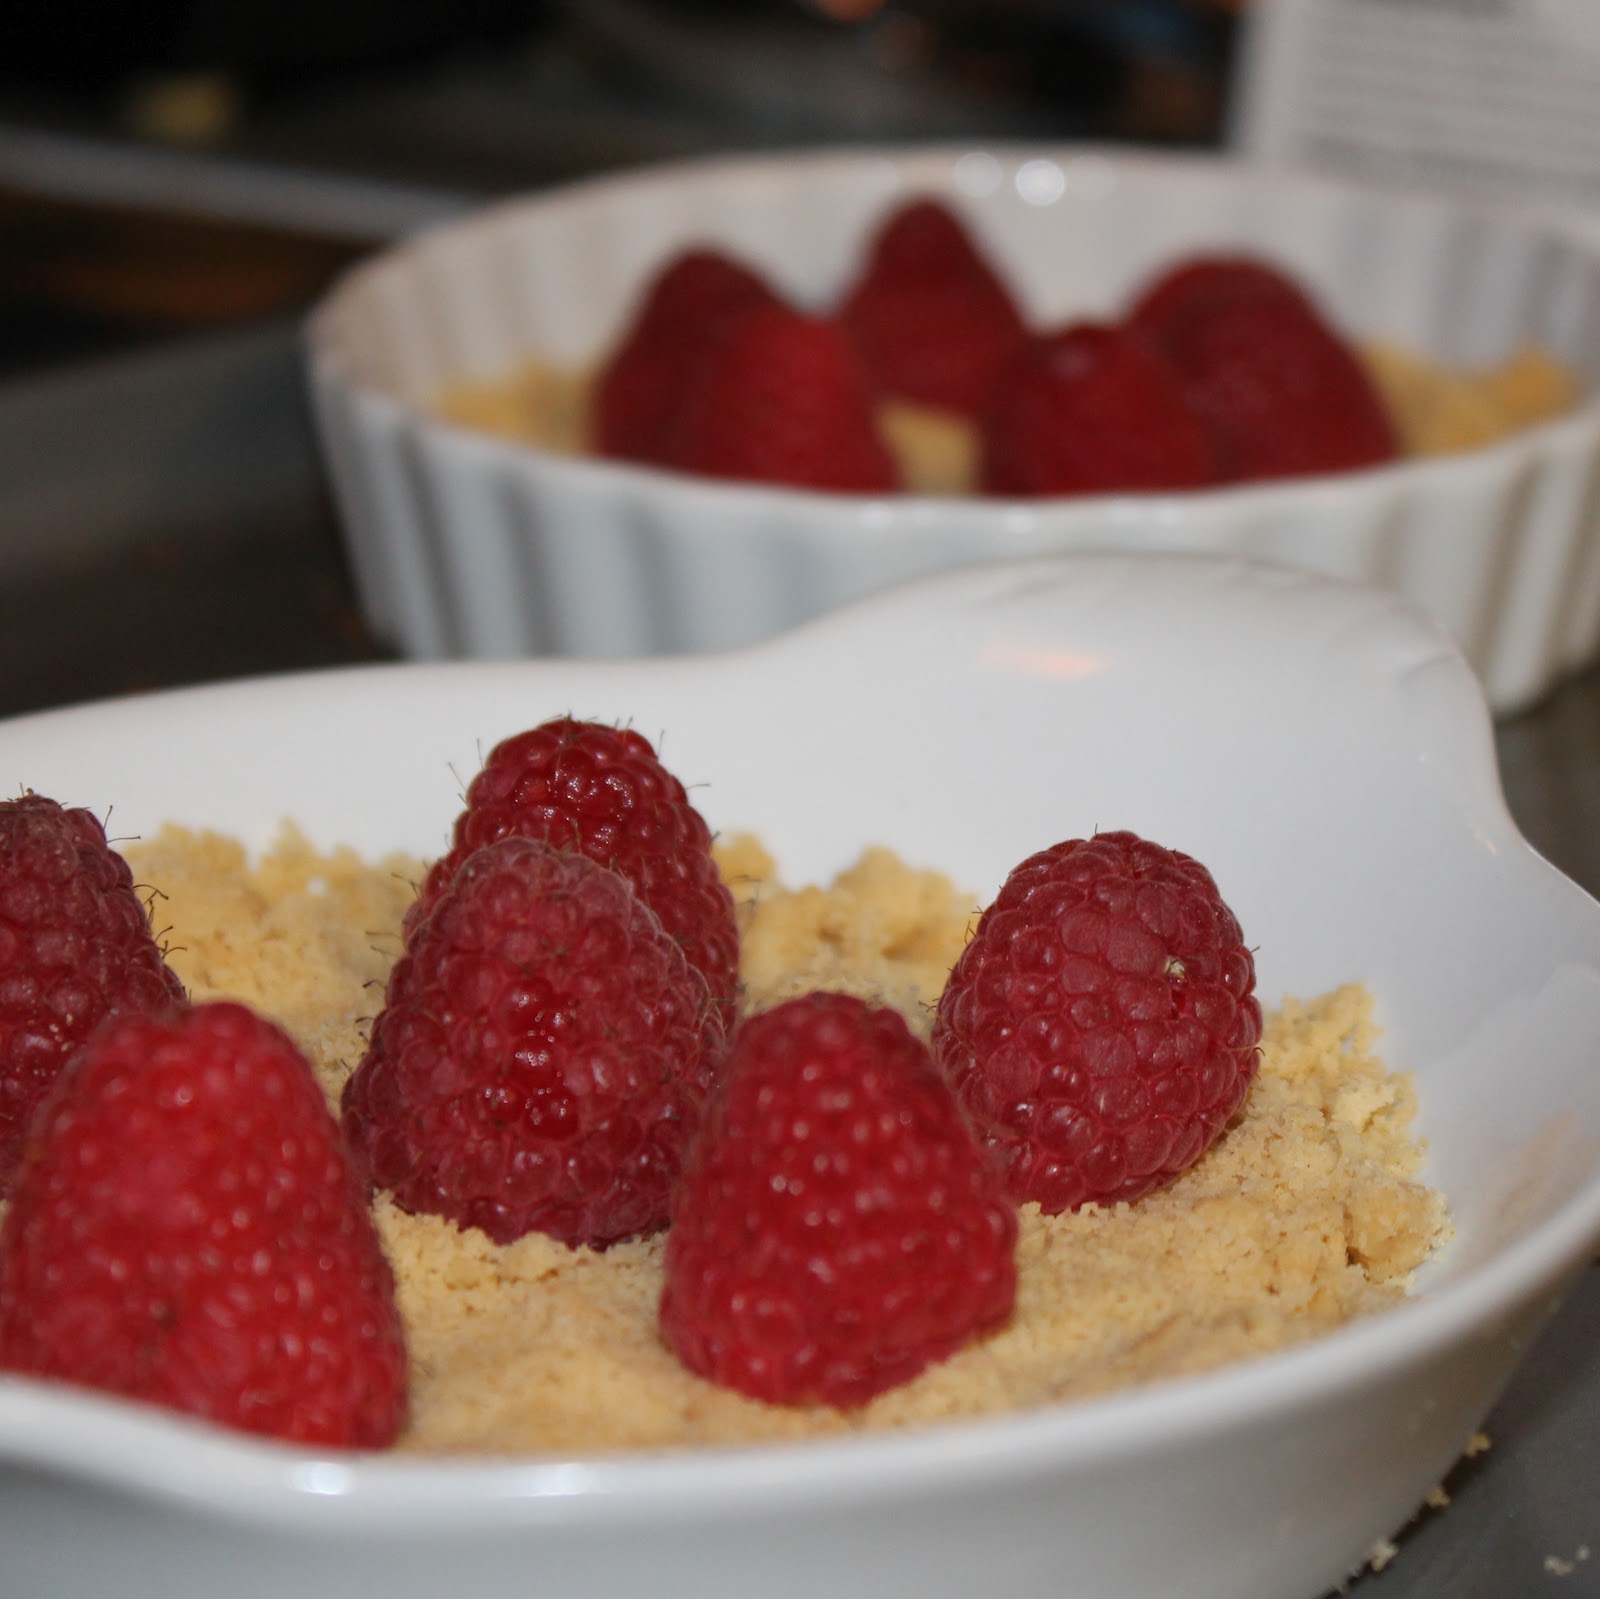
Take a box of Walkers Shortbread Fingers. Using a metal spoon, break the shortbread (while still in the plastic package) into fine crumbs.
Add the shortbread crumbs to the bottom of four ramekins. Add the raspberries to the ramekins.
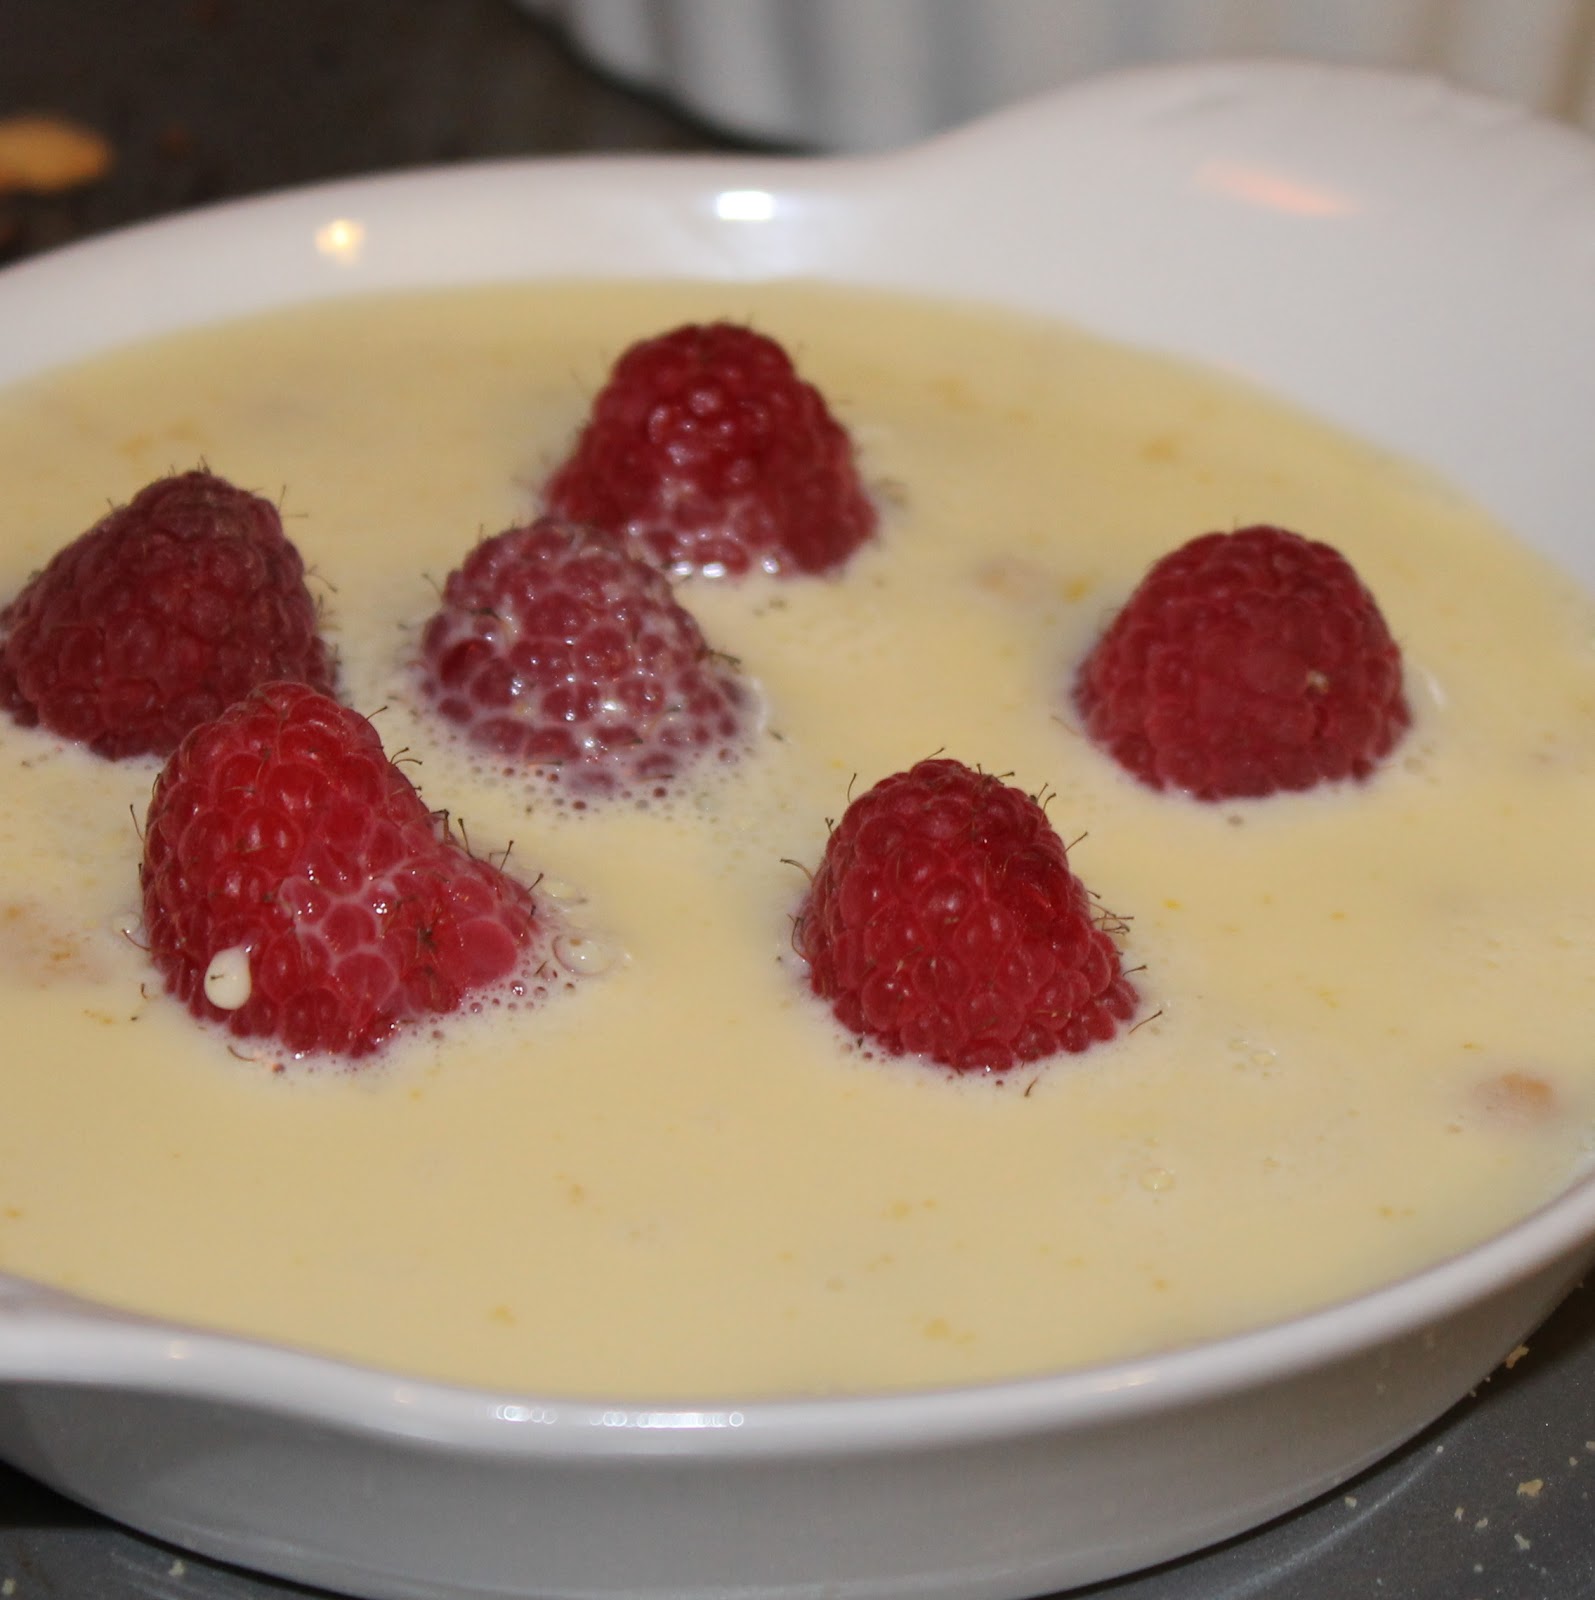
Pour the custard (the egg and milk mixture) into the ramekins. Be sure to leave some room at the top.
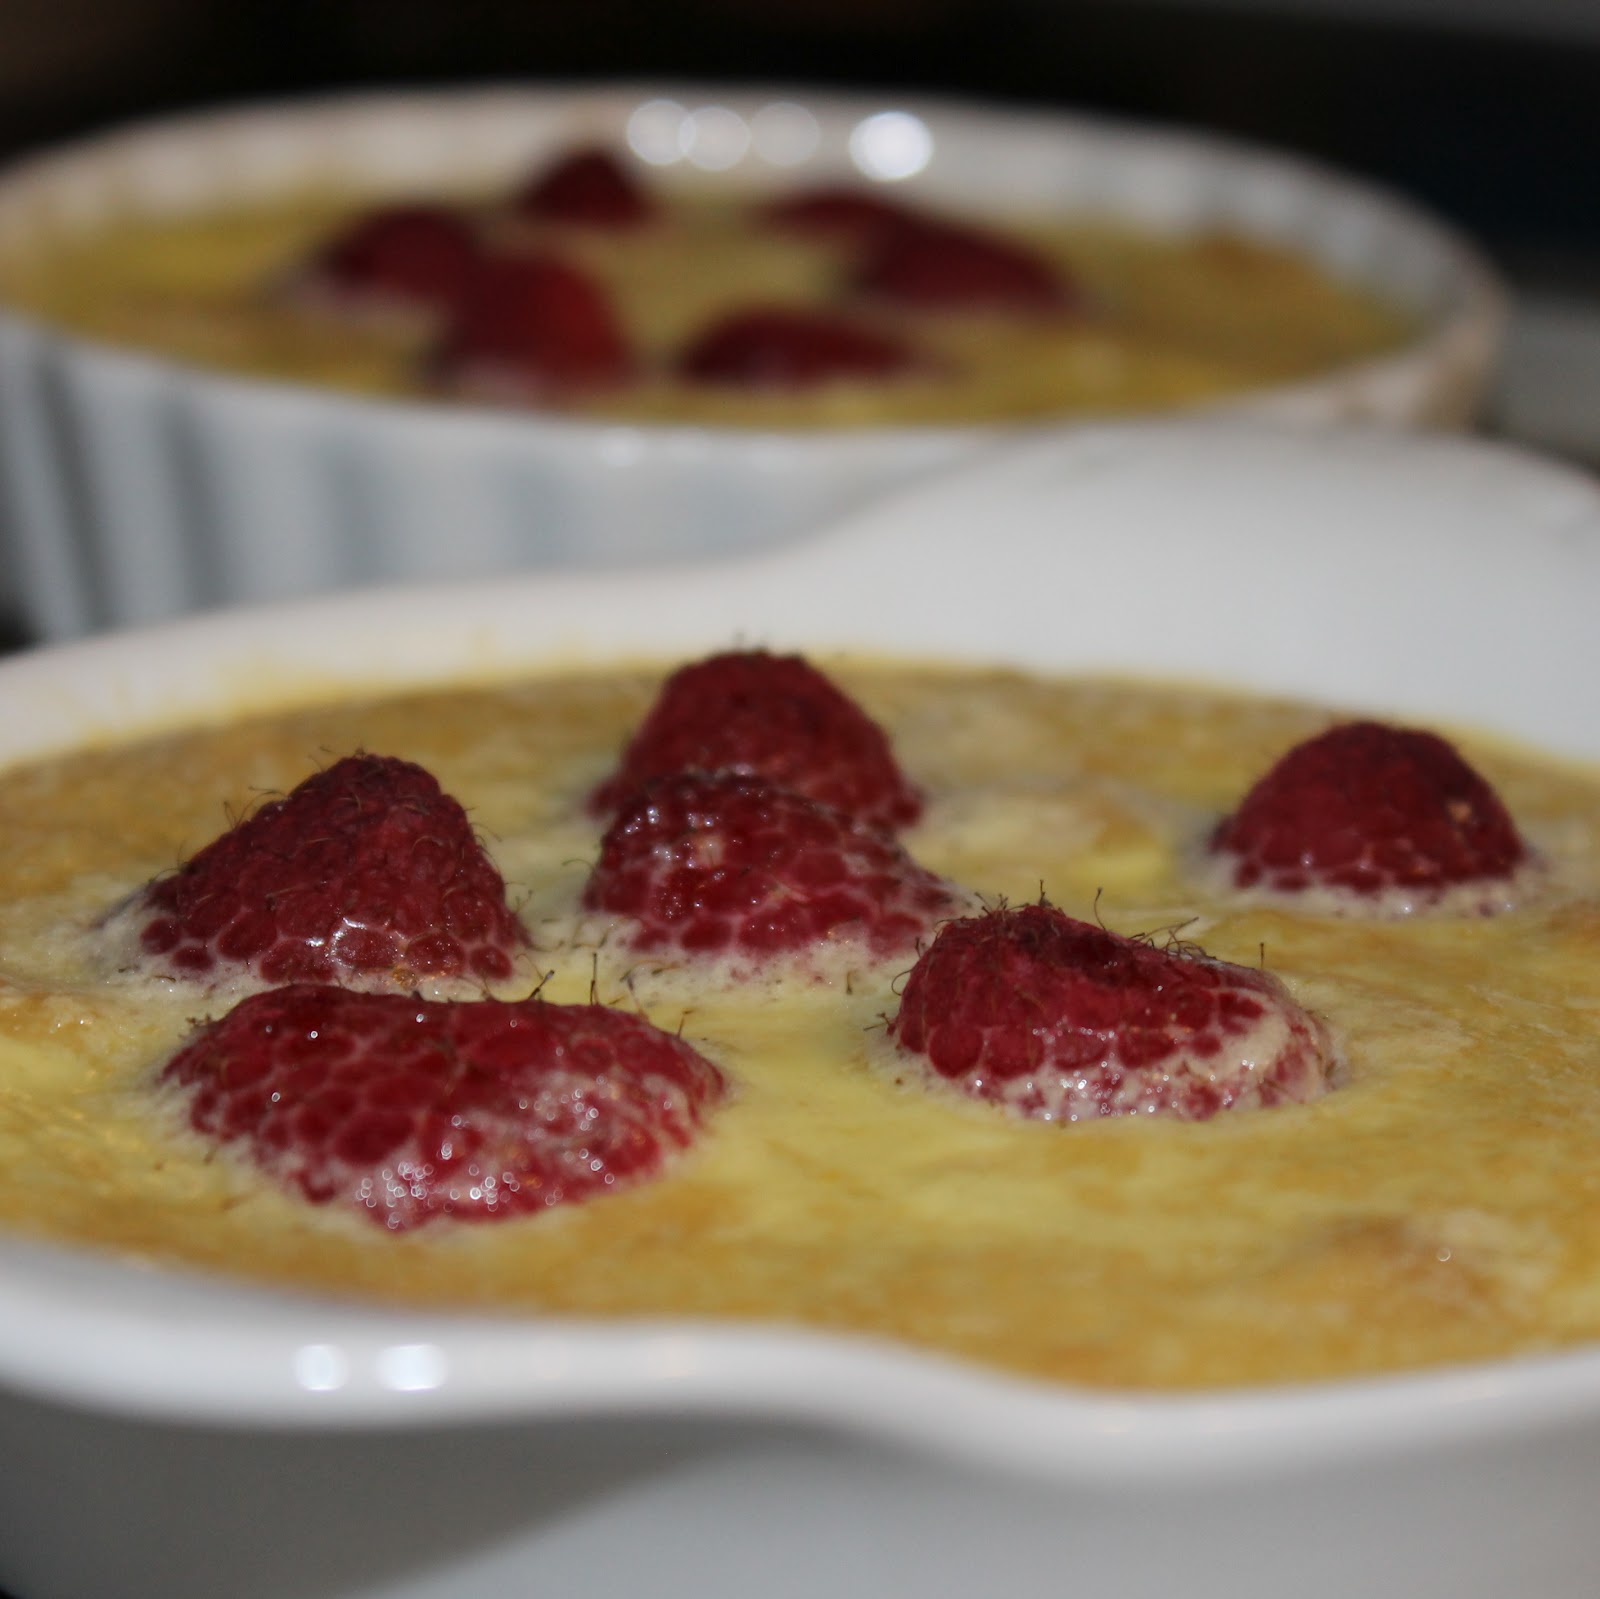
Bake for 40 minutes at 300 degrees, or until a knife inserted into the center of the custard comes out clean.
Transfer to a rack and cool to room temperature. Chill the custard for at least two hours (I chilled mine overnight).
When ready to caramelize preheat your broiler to high. Sprinkle a thin coating of light brown sugar on each chilled custard. Place under the broiler for 2 minutes or until the sugar is melted and golden brown. (Check on the custard after 1 minute, the broiler works quickly!)
Remove and serve.
So. I hated it.
Hehe. Of course I’m kidding. This dessert was absolutely awesome. I can’t stop thinking about it. Plus look how pretty it is!
This has everything that attracts you to a traditional creme brulee: creamy, sweet, and a nice crunch from the crust and the broiled top.
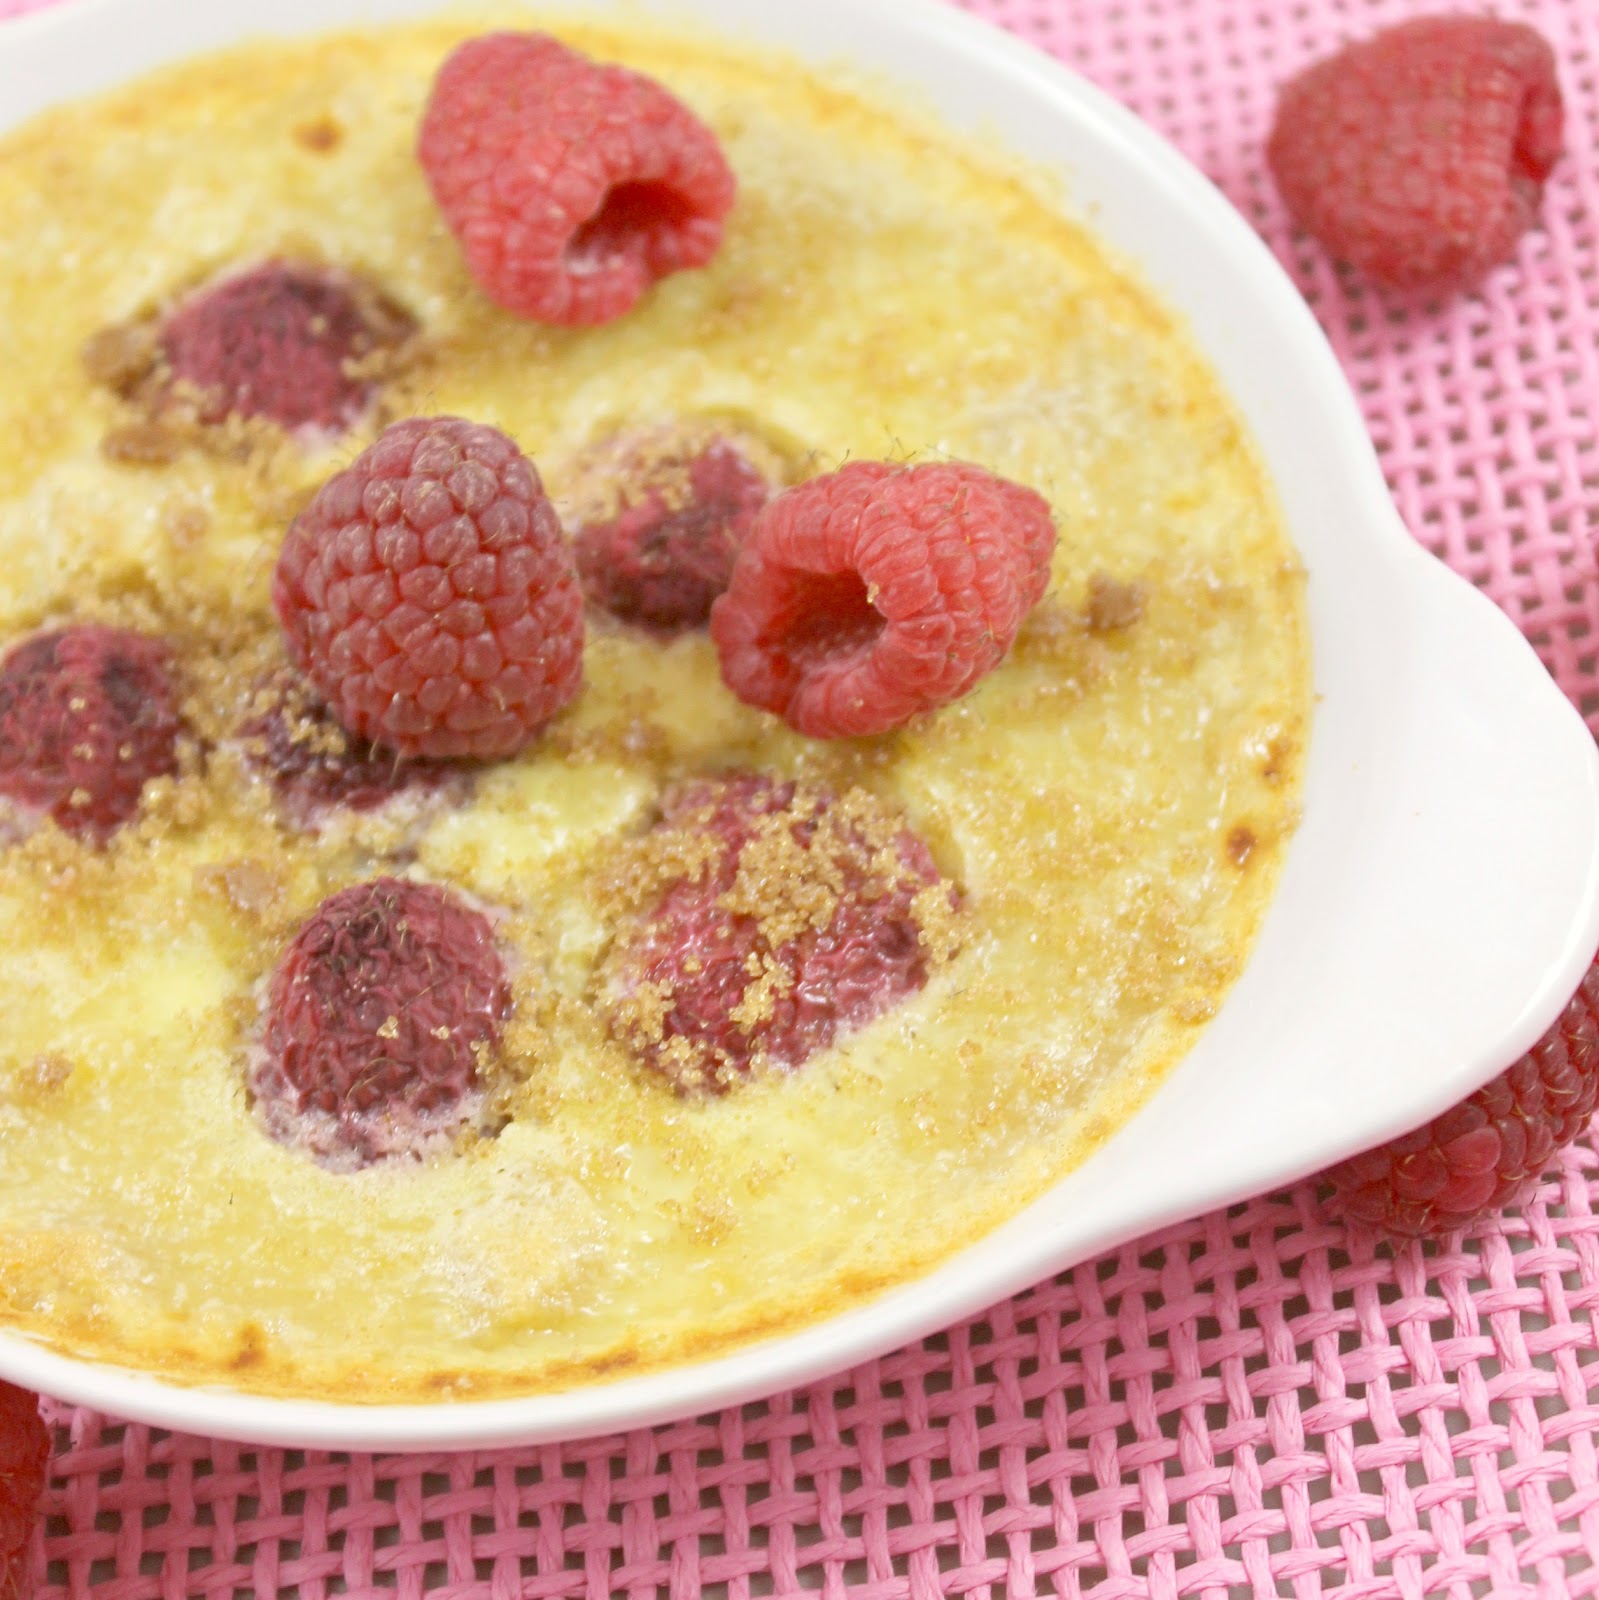
But it also has little delicious bursts of raspberry. Yum!
I loved the incorporation of the Walkers shortbread crust. I think every creme brulee needs to have one of these delicious cookie crusts.
This could easily be changed to incorporate other berries as well. What a great recipe!
Note: I was provided no compensation other than samples of Walkers Shortbread fingers. All opinions are my own.
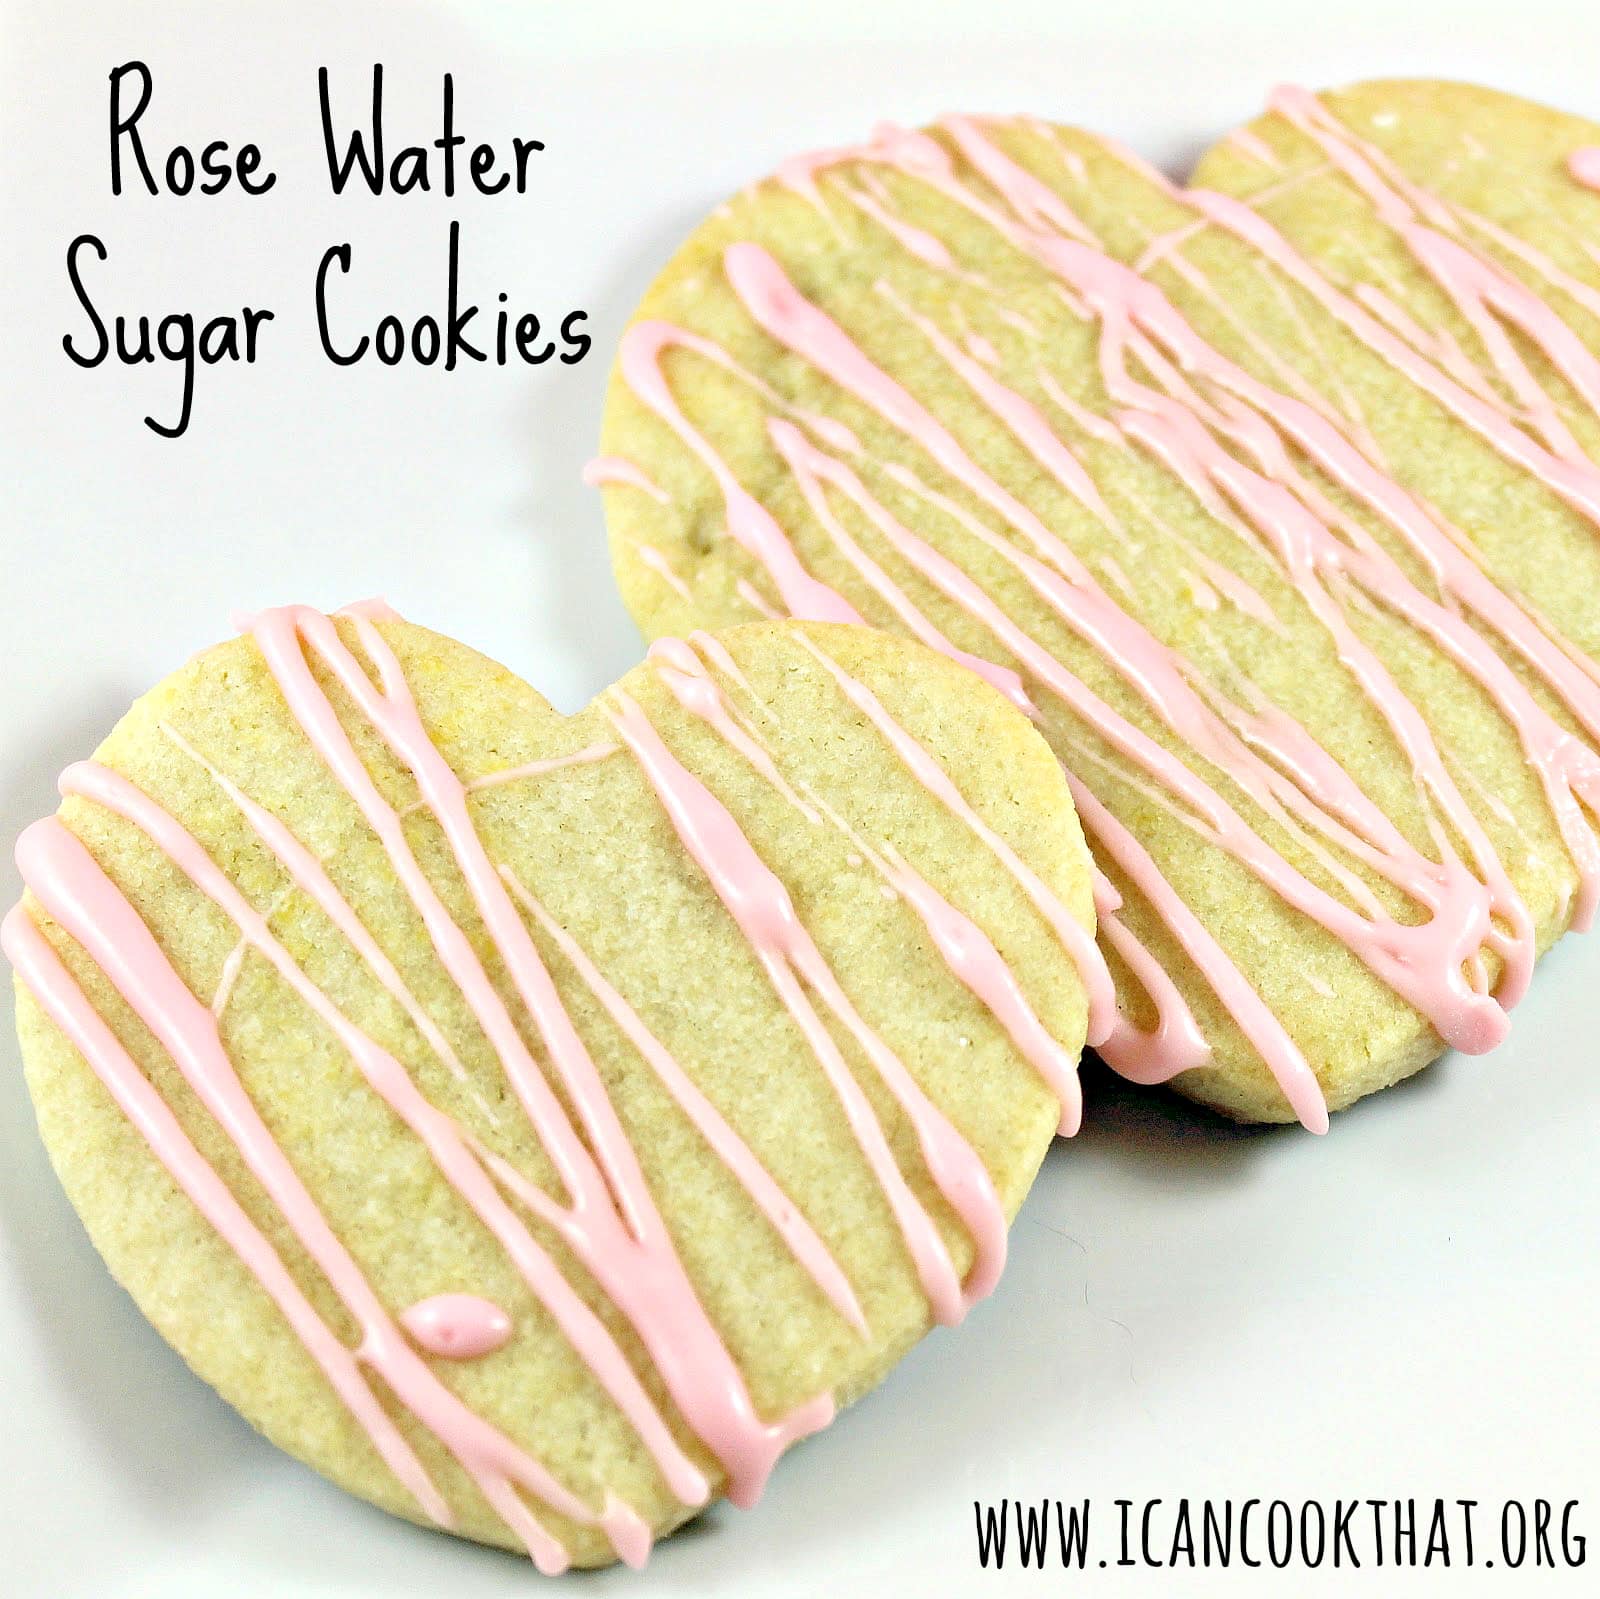
With Valentine’s Day fast approaching, I figured February 14 was the perfect holiday to use rose water again. (I originally used it for a Rose Scented Berry Prosecco, which would also be lovely for Valentine’s Day). What better way to incorporate rose water but in sugar cookies? I adapted a traditional sugar cookie recipe from Allrecipes.com, and then also added a drizzled rose water icing to make these Rose Water Sugar Cookies.
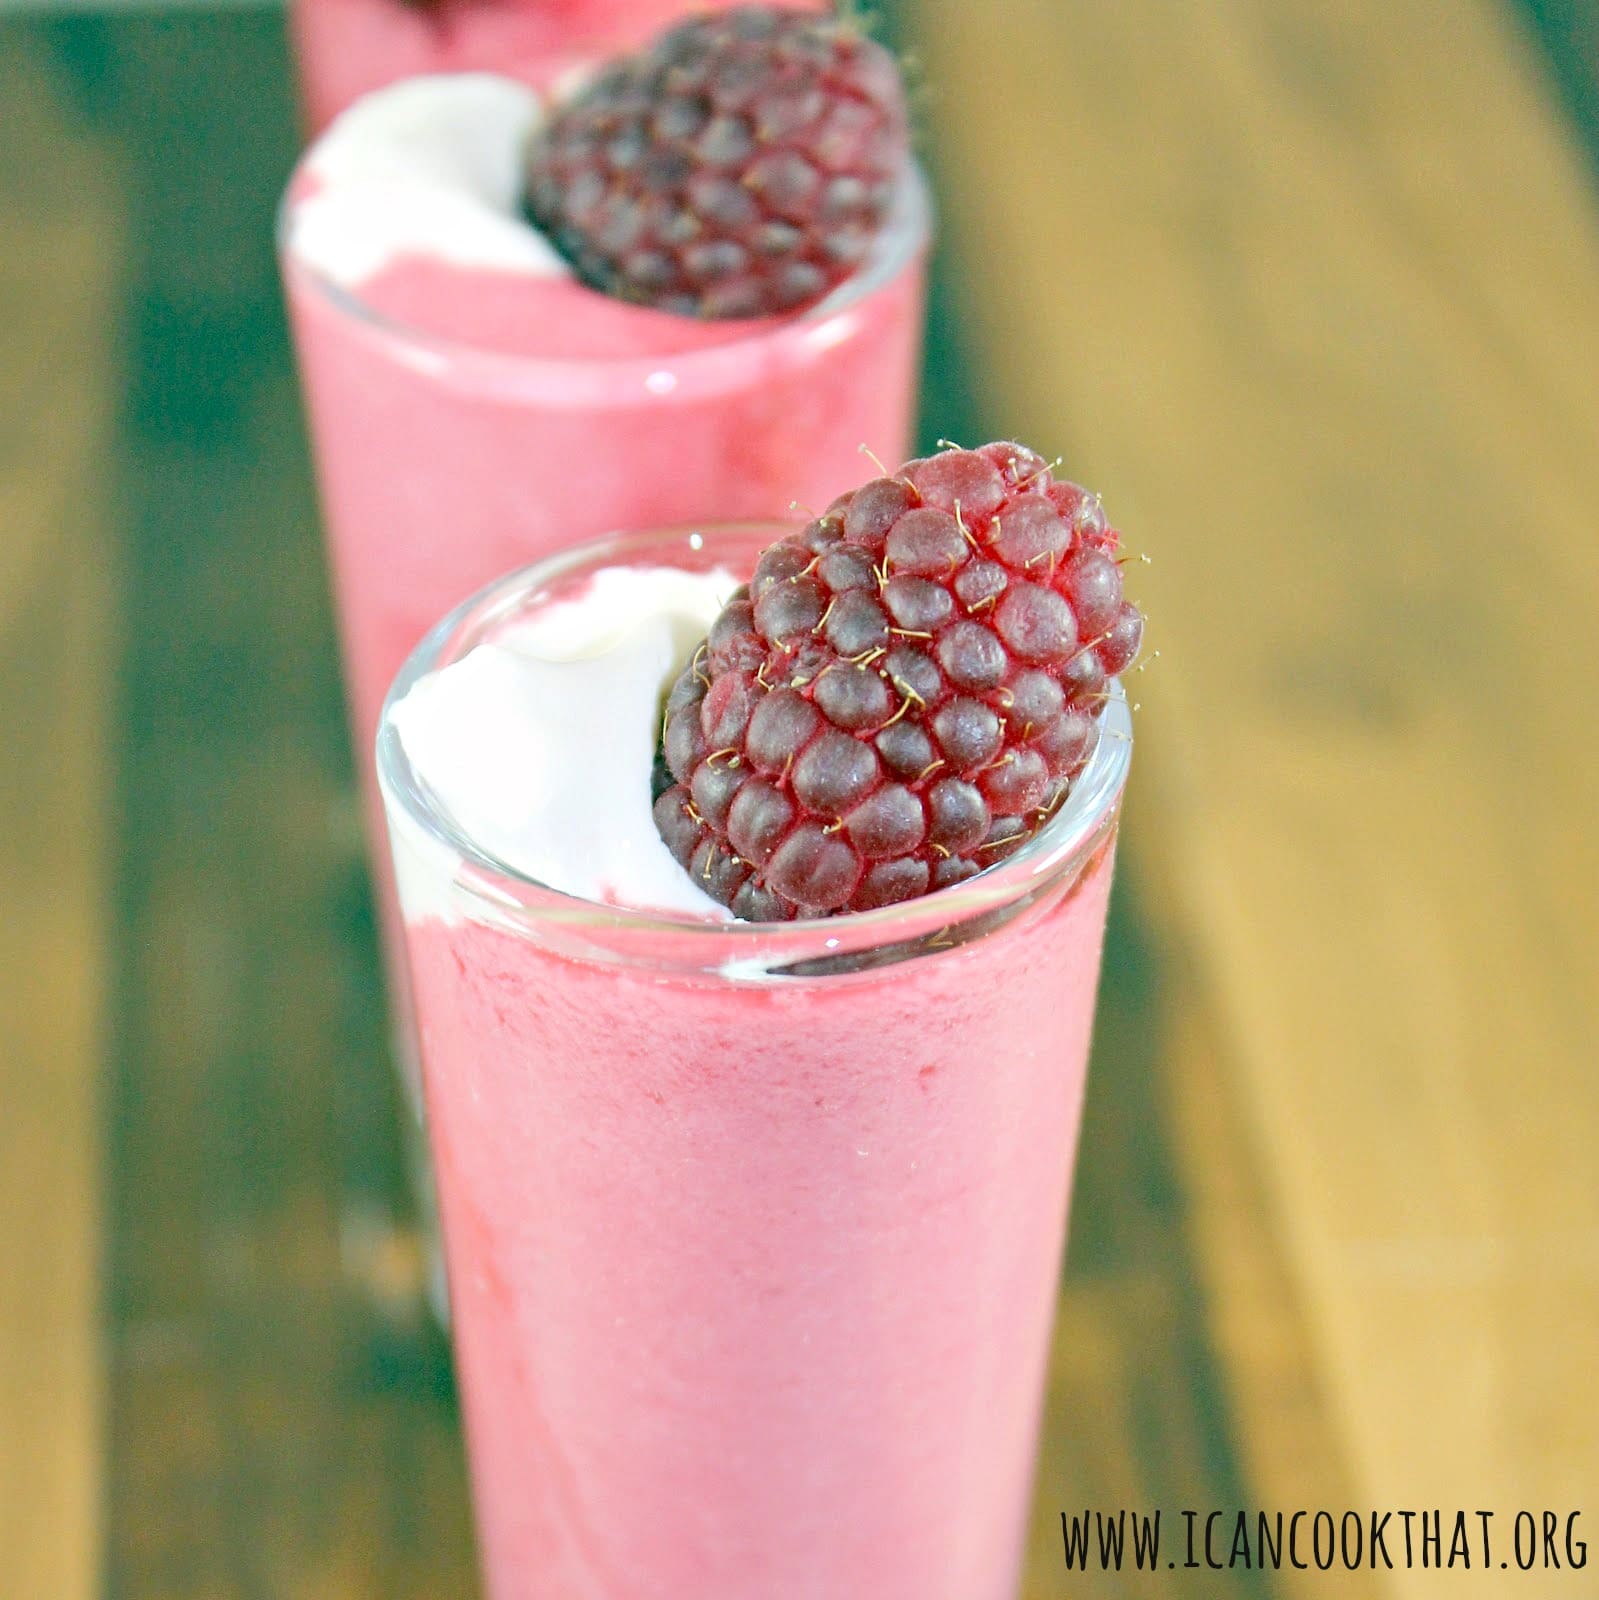
I fell in love with this recipe for Chilled Raspberry Shooters initially just on the photo; they are so pretty! The original recipe from Taste of Home is actually more of a savory dish but one of the comments mentioned using vanilla yogurt instead of sour cream so I decided to take their suggestion. This take some preparation, so if you plan on using this to impress guests with a slightly different but amazing dessert, be sure to give yourself a few hours before the event.
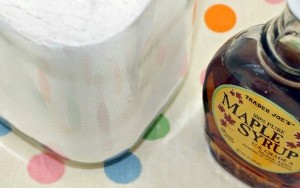
Now don’t get me wrong, there is nothing wrong with store-bought pancake mix. However, are you aware of how easy it is to make your own at home? This recipe makes 16 pancakes; you can store the dry mix in a cool, dry place for up to 6 months. I found this recipe on allrecipes.com.
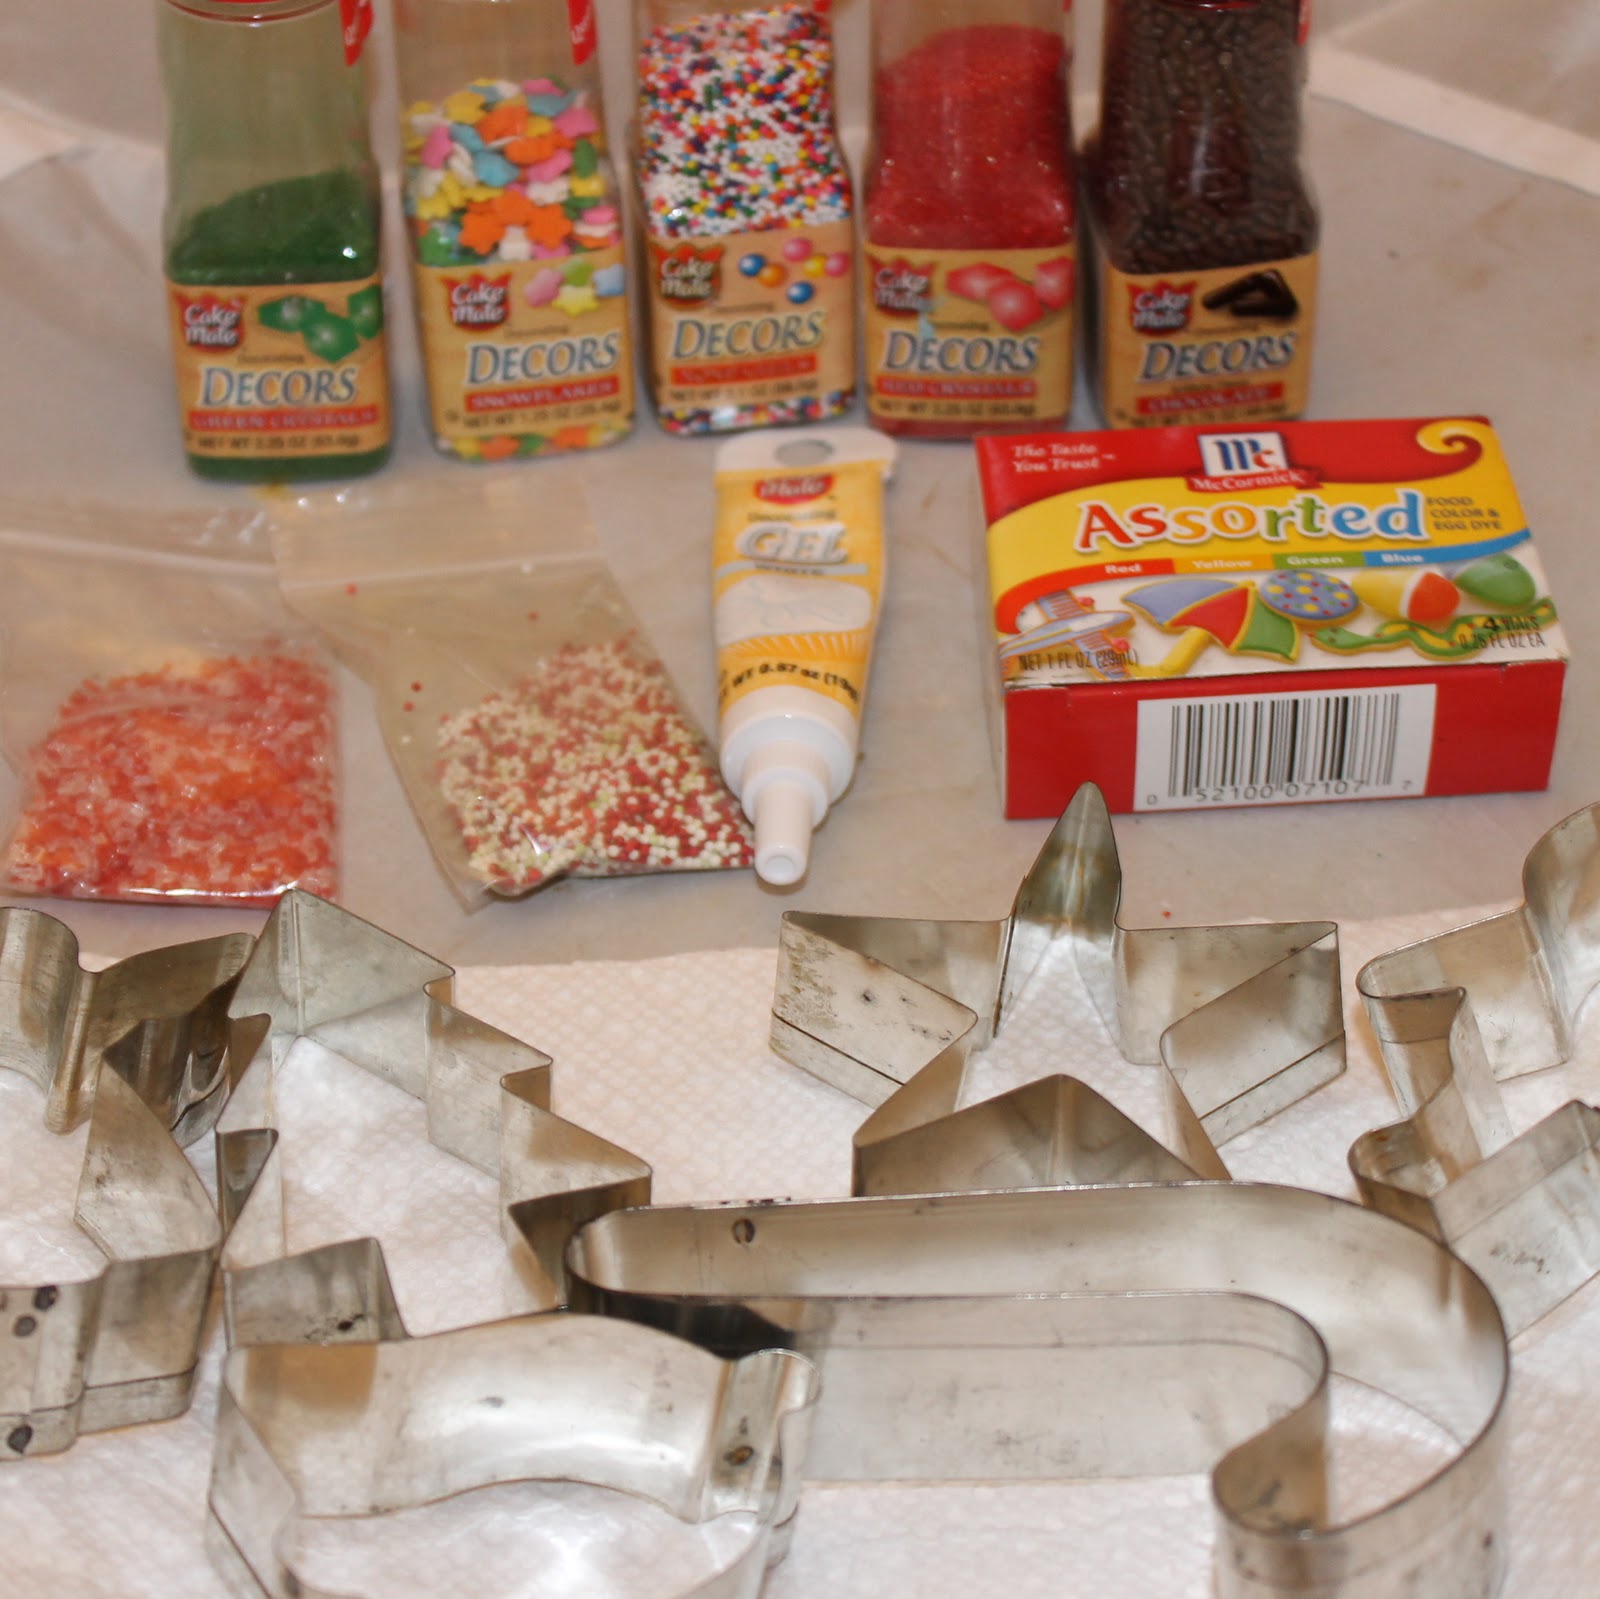
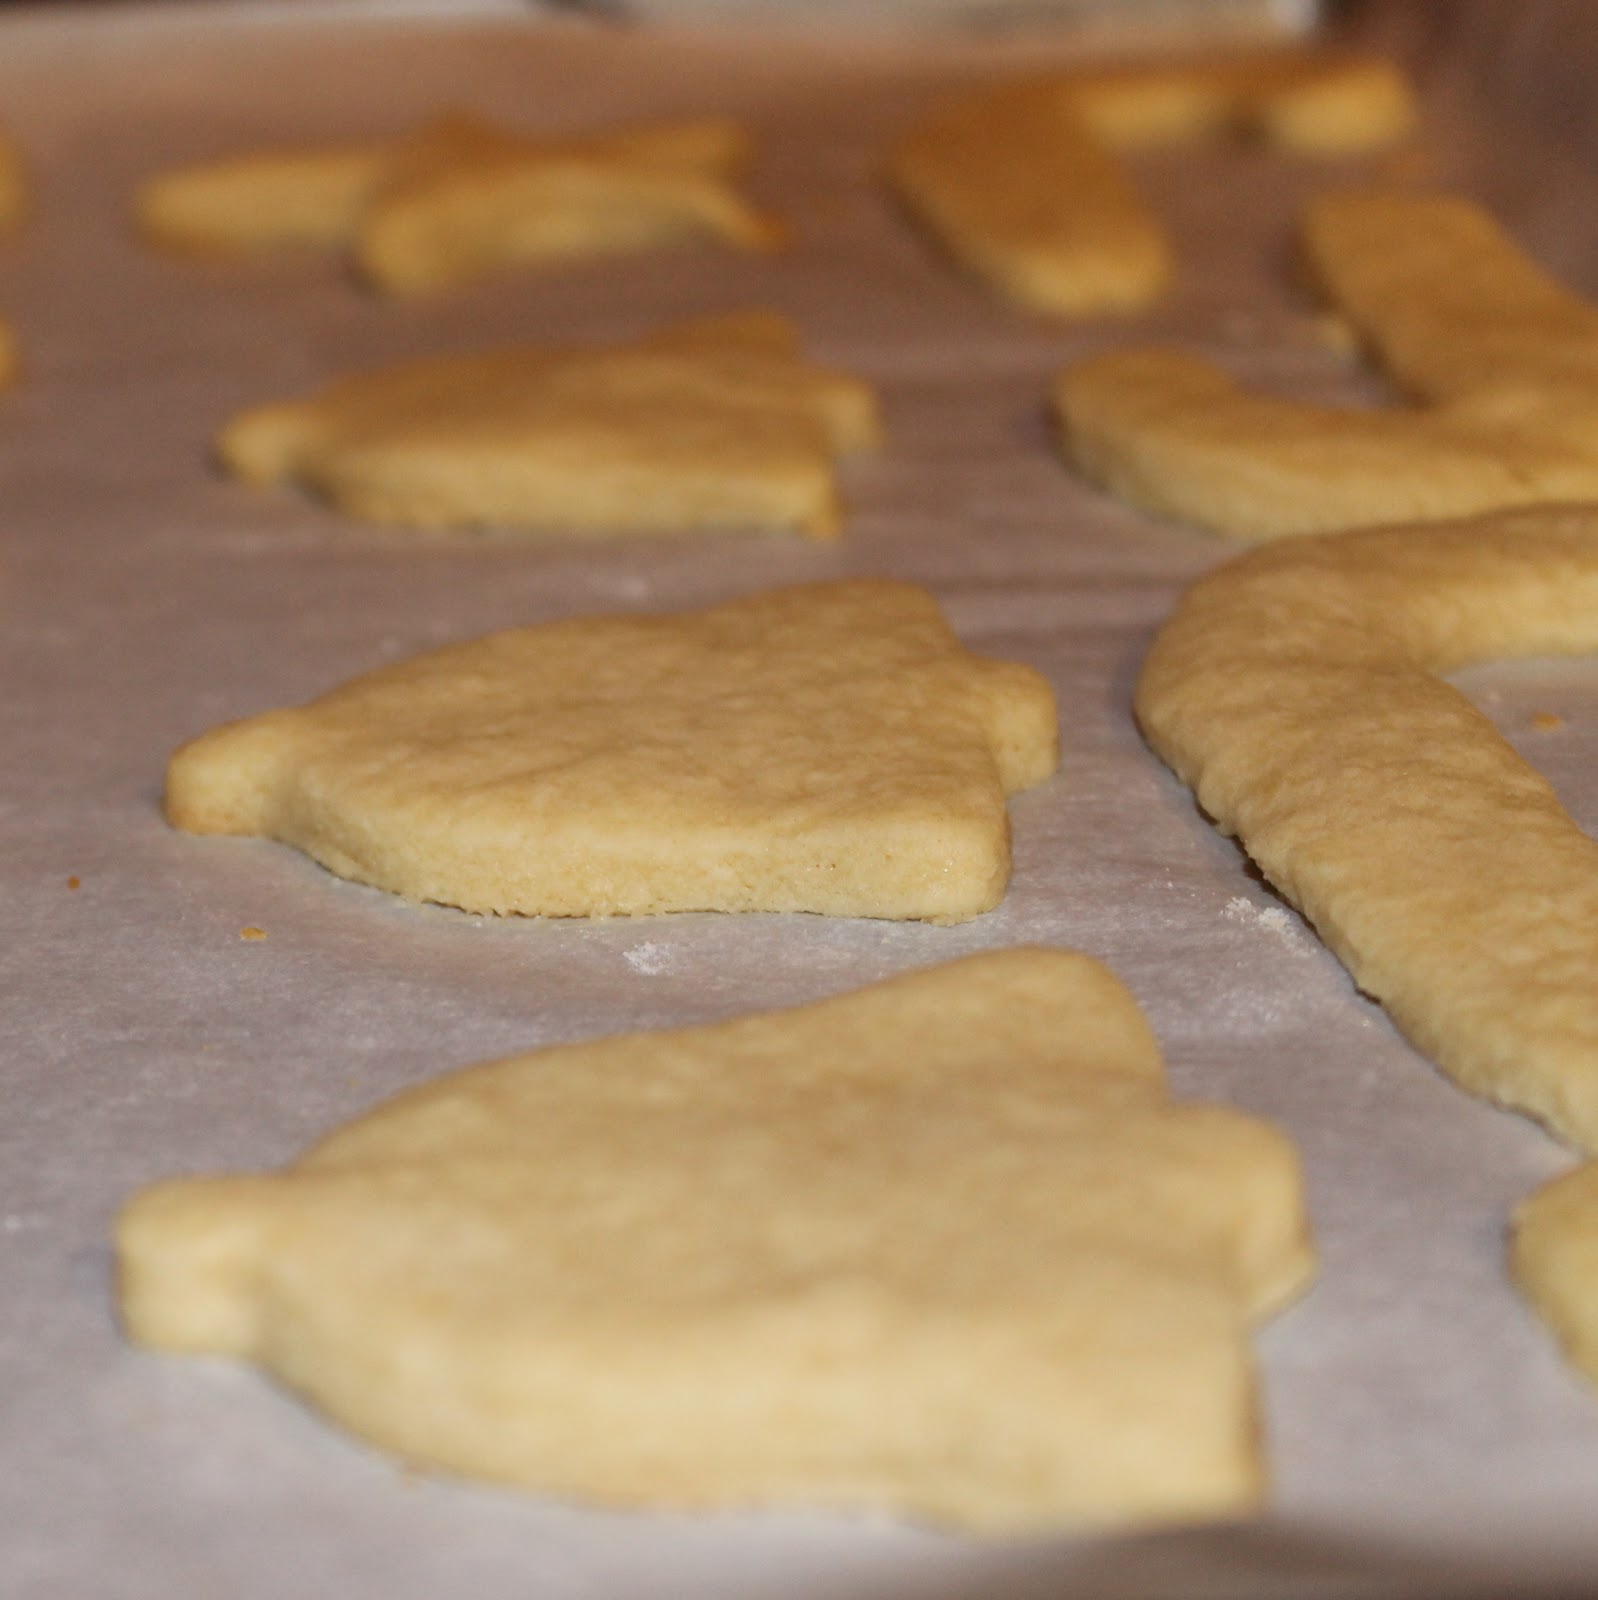
I am always so excited to make sugar cookies. To be more precise, I’m actually really excited to decorate the cookies. (Mind you, I’m awful at it. A 6 year old would beat me by a mile in a cookie decorating contest). But it is so fun to see the cookies transform from flour, sugar, and butter into cute little Christmas trees, snowmen, and candy canes. I used a traditional sugar cookie recipe from Cooking Light.
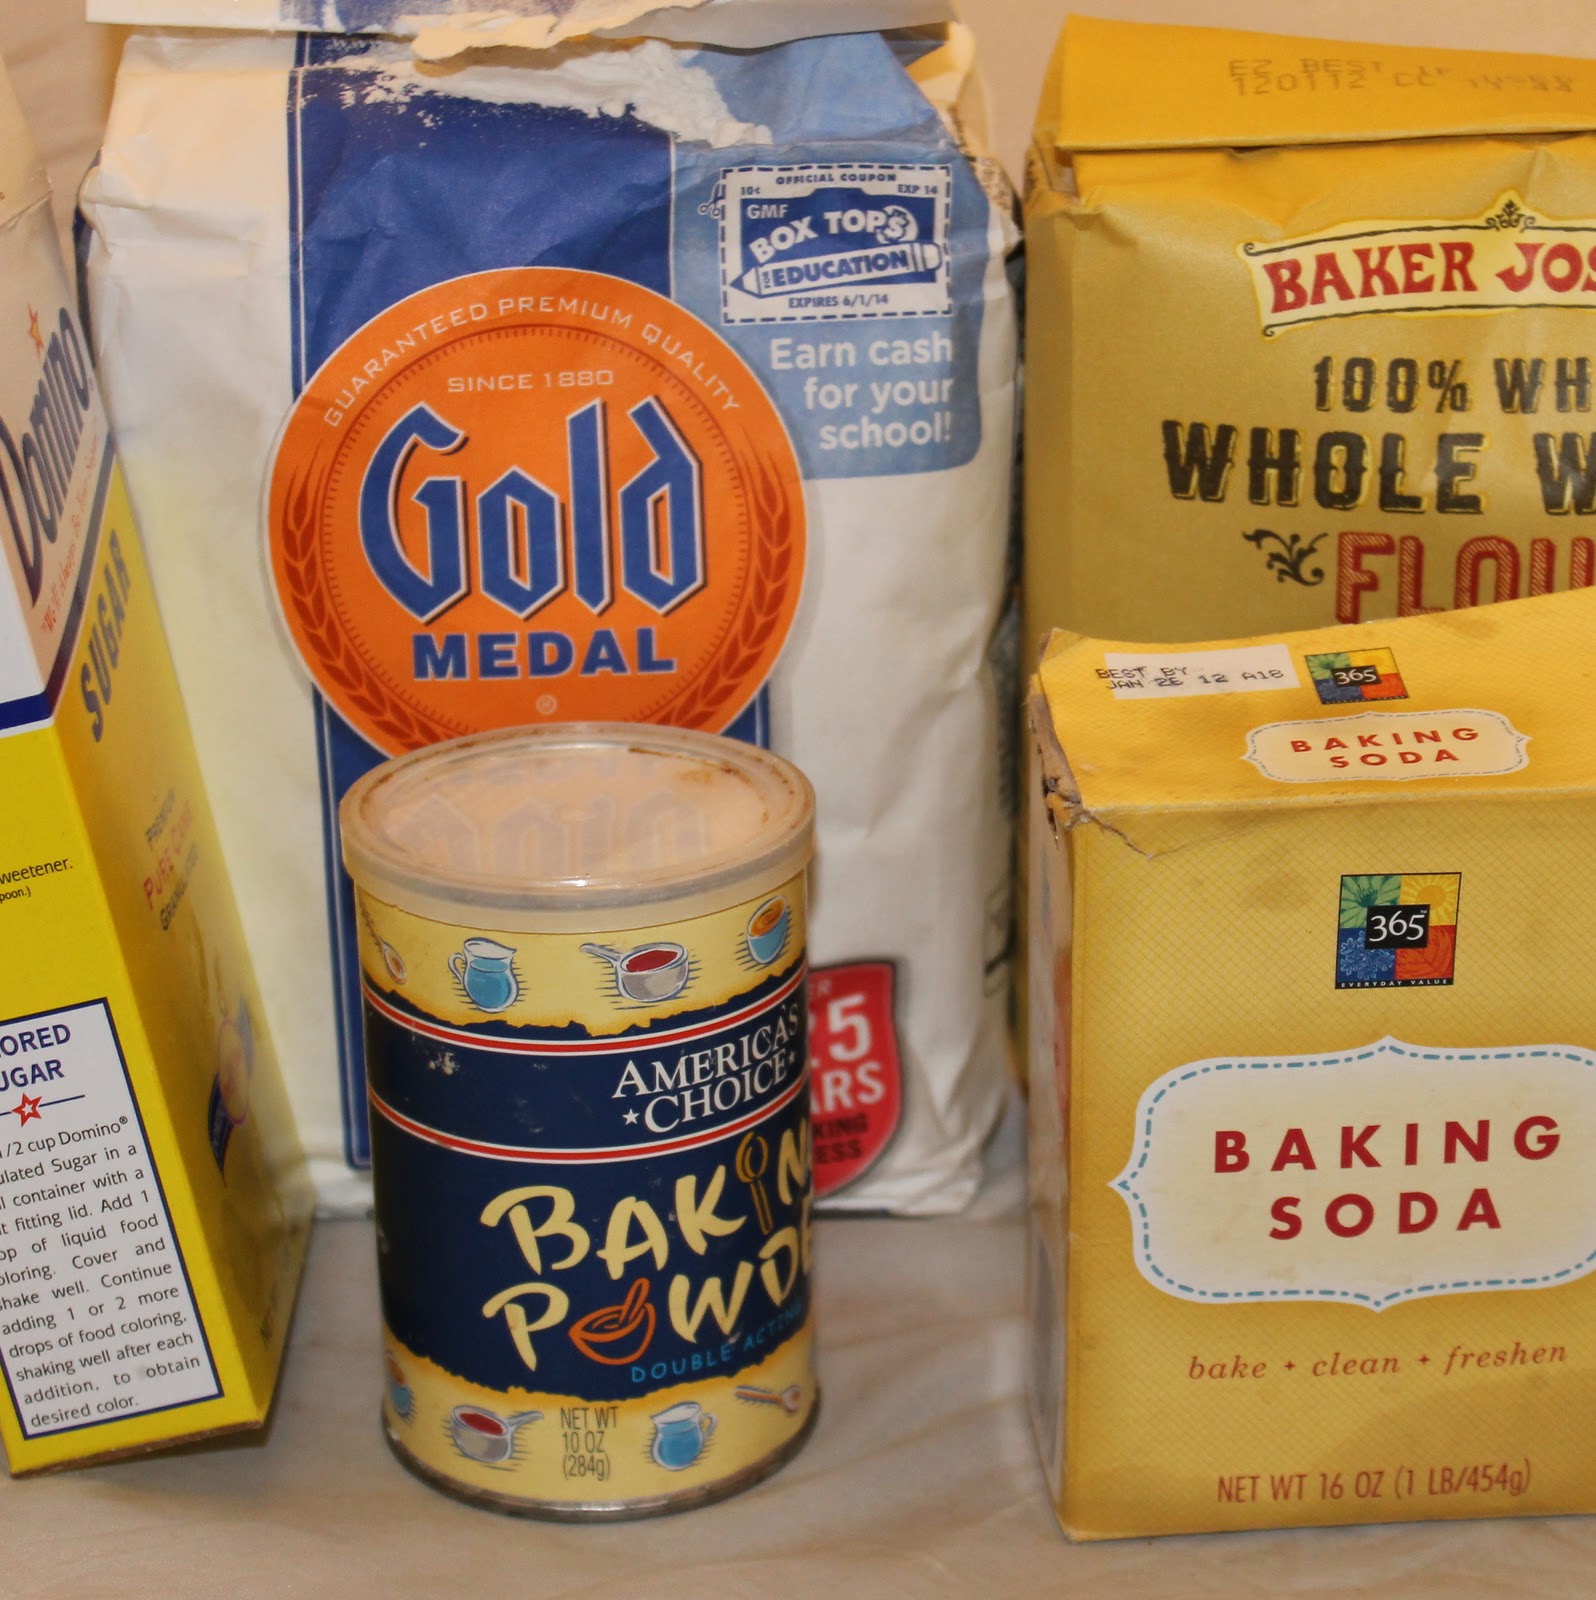
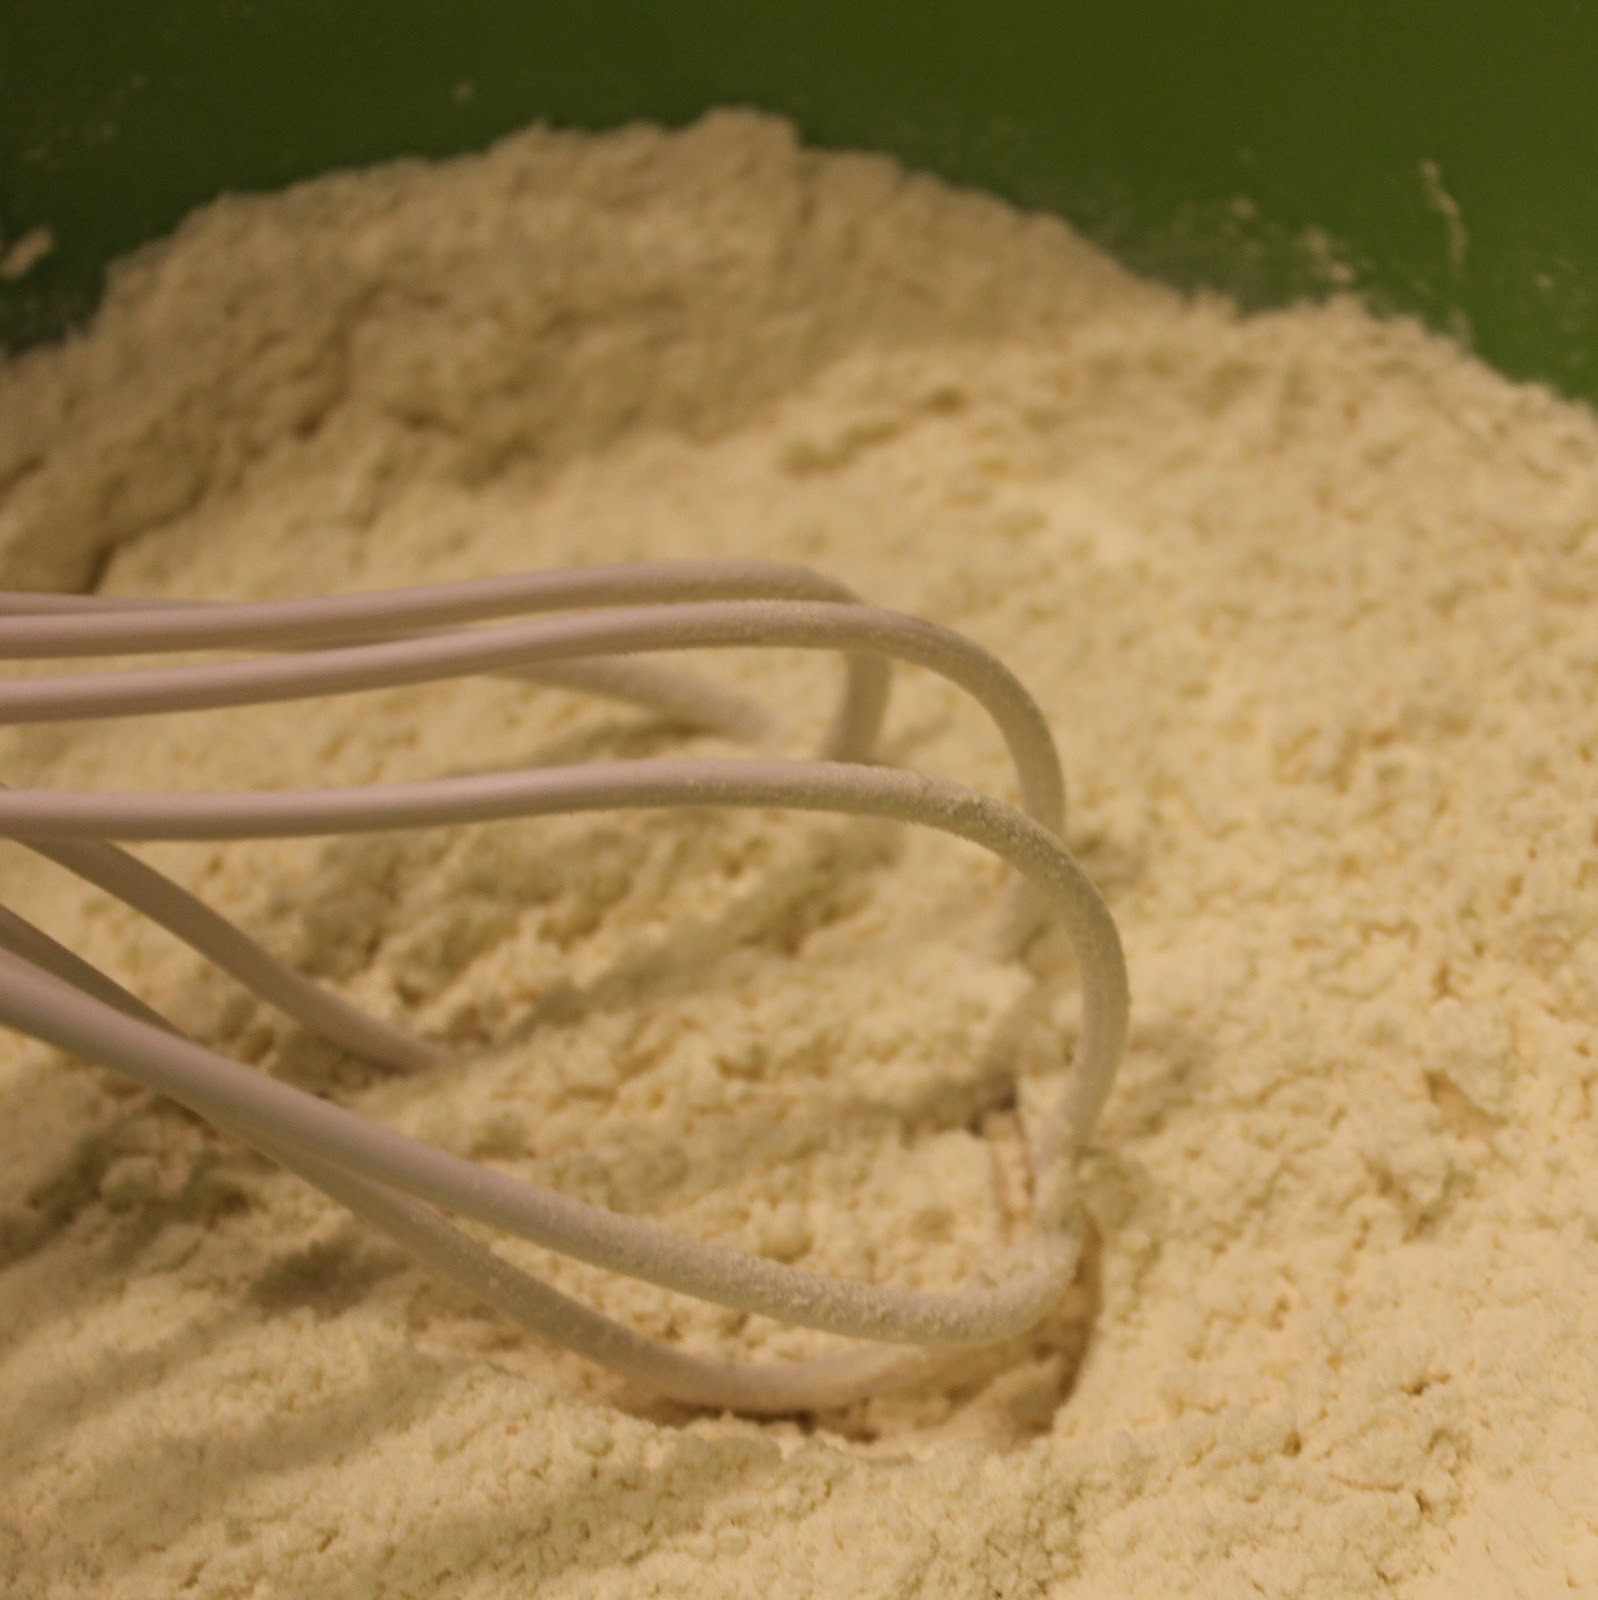
Add the flour, baking powder and salt to a medium bowl, stir with a whisk.
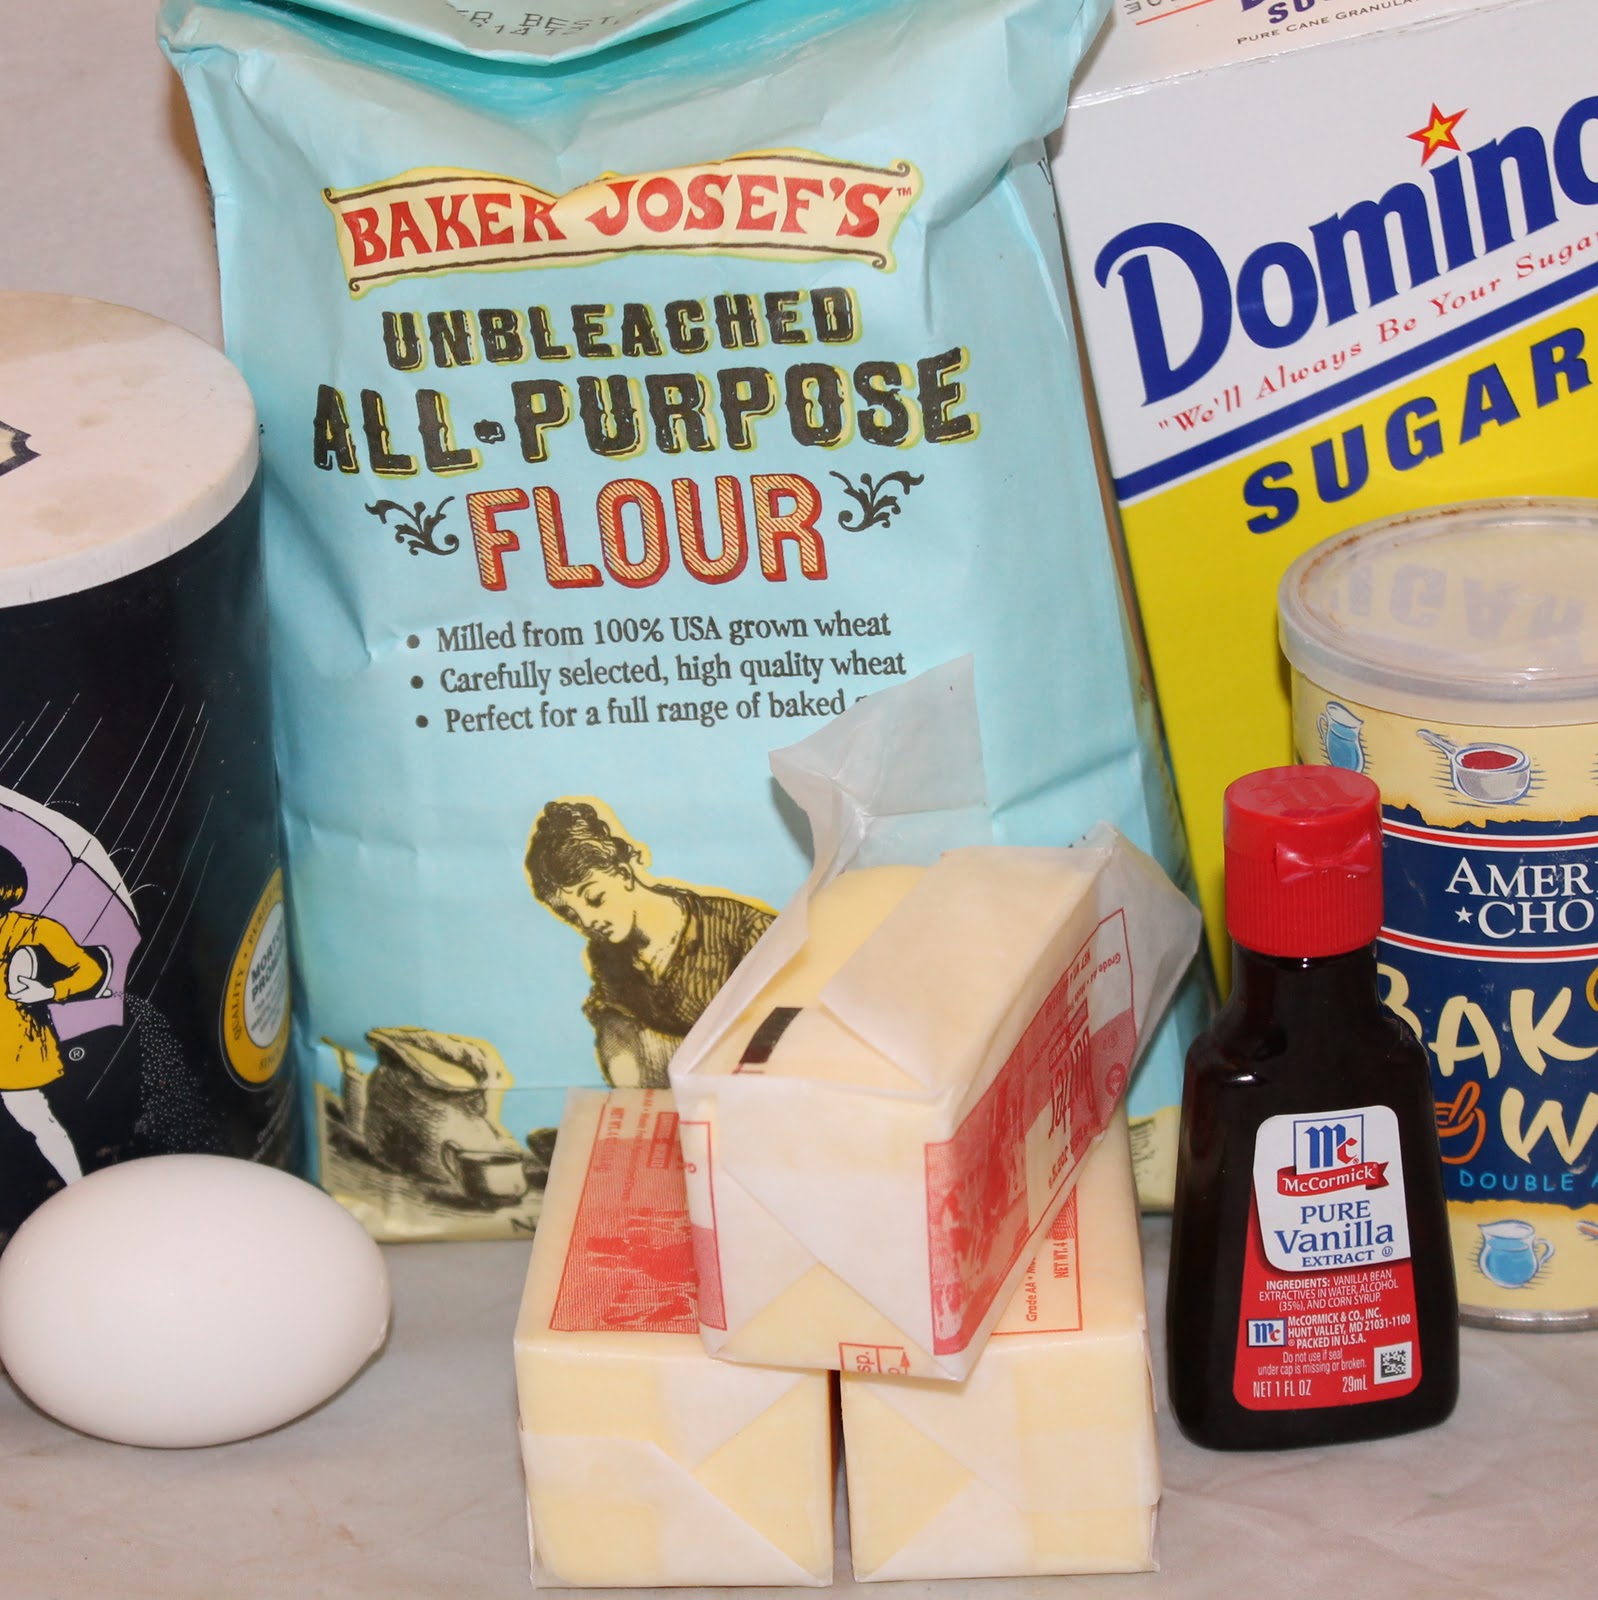
Add sugar and butter in a large bowl, beating with a mixer until combined.
Add vanilla and eggs.
Add the flour mixture to the butter mixture and mix until combined. Mine looked very very crumbly. So if yours looks like this, don’t panic.
Add the mixture to a large piece of plastic wrap and wrap tightly.
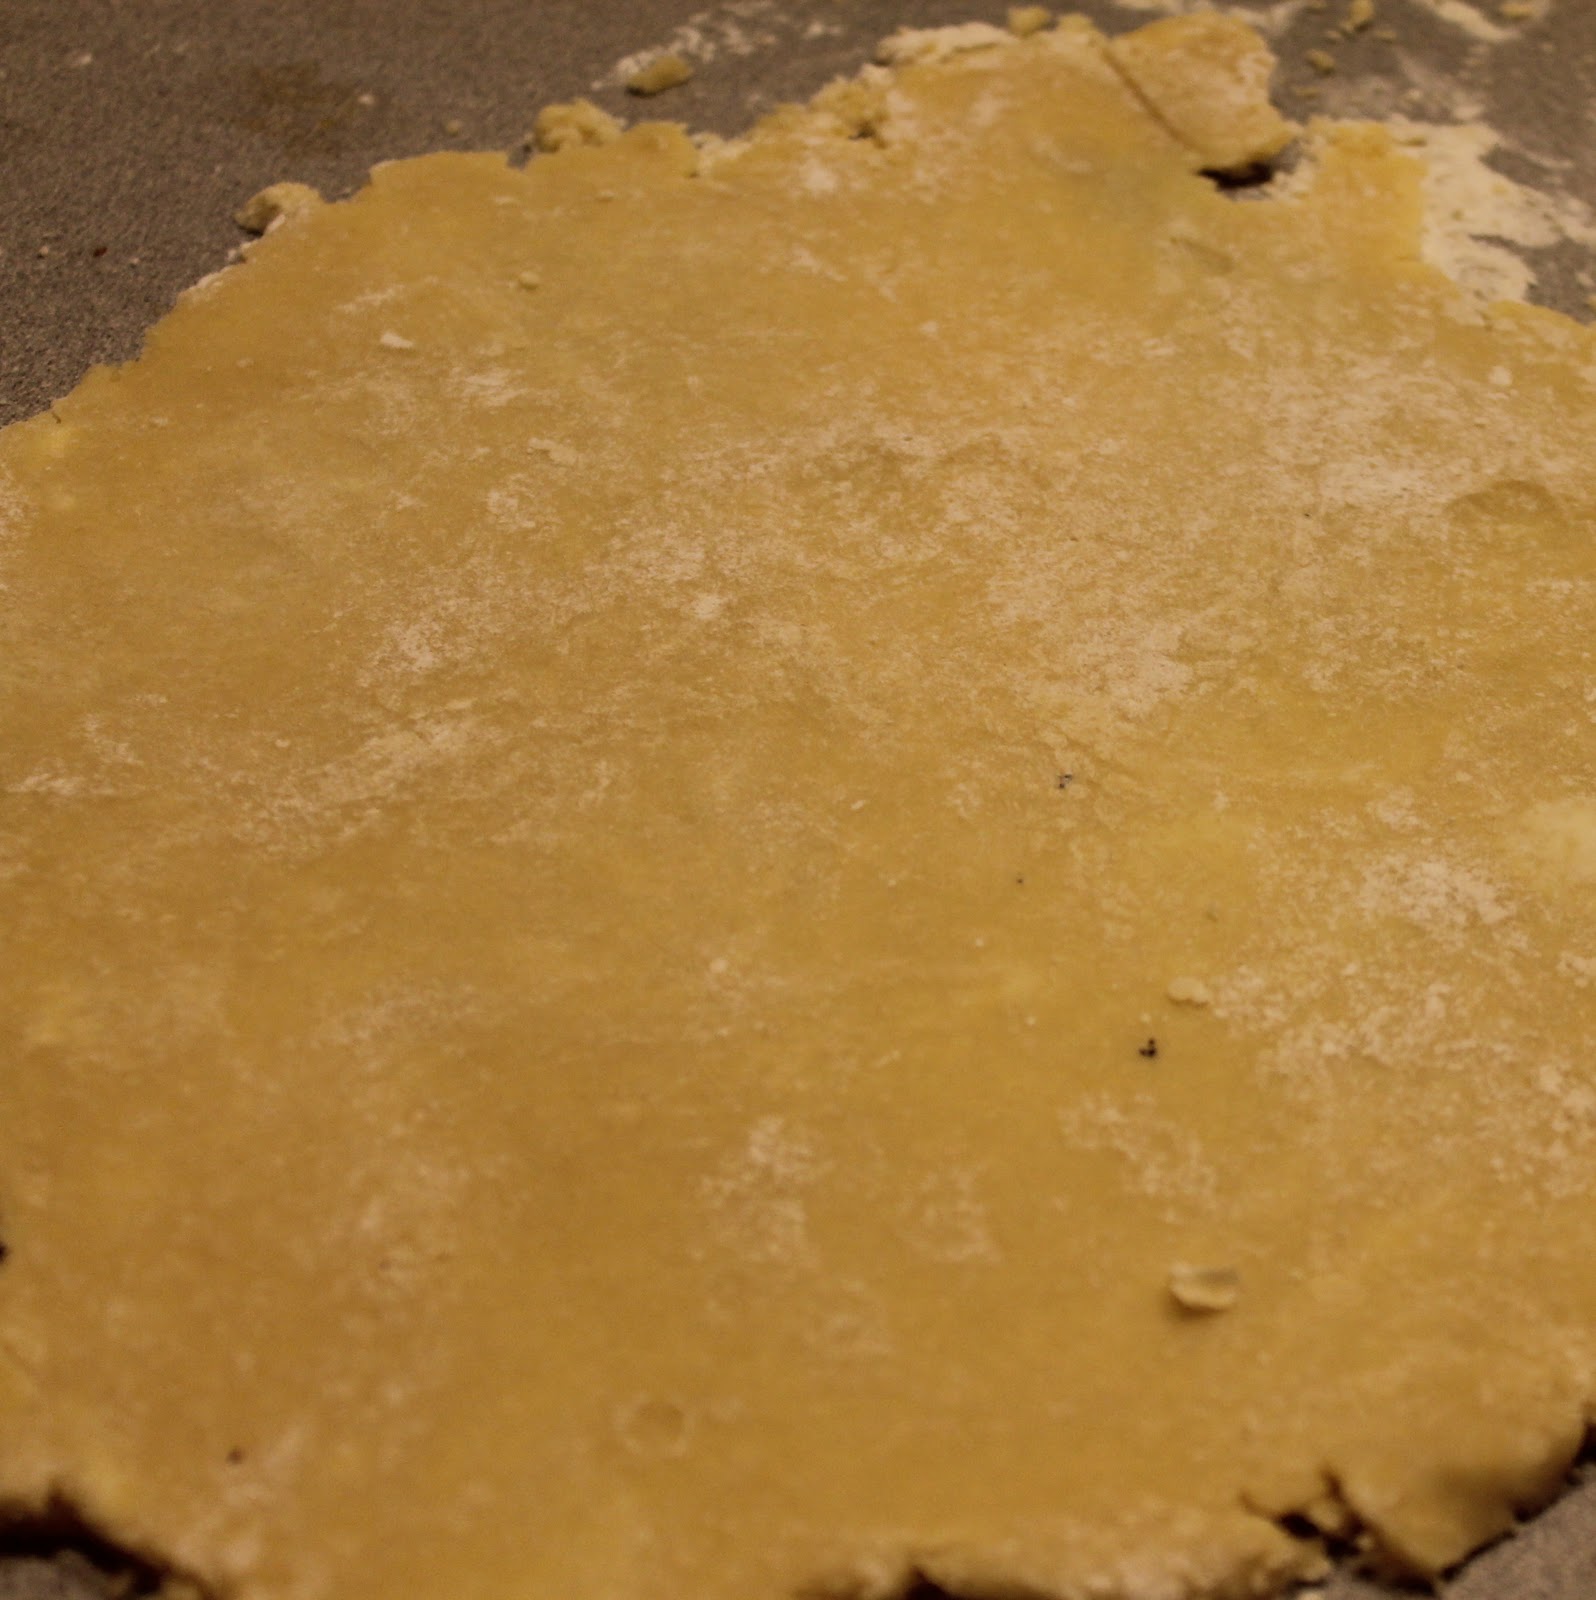
Refrigerate for an hour. Unwrap the ball after an hour. Preheat the over to 375. Split the dough in half, rolling out out half of the dough on a floured surface.
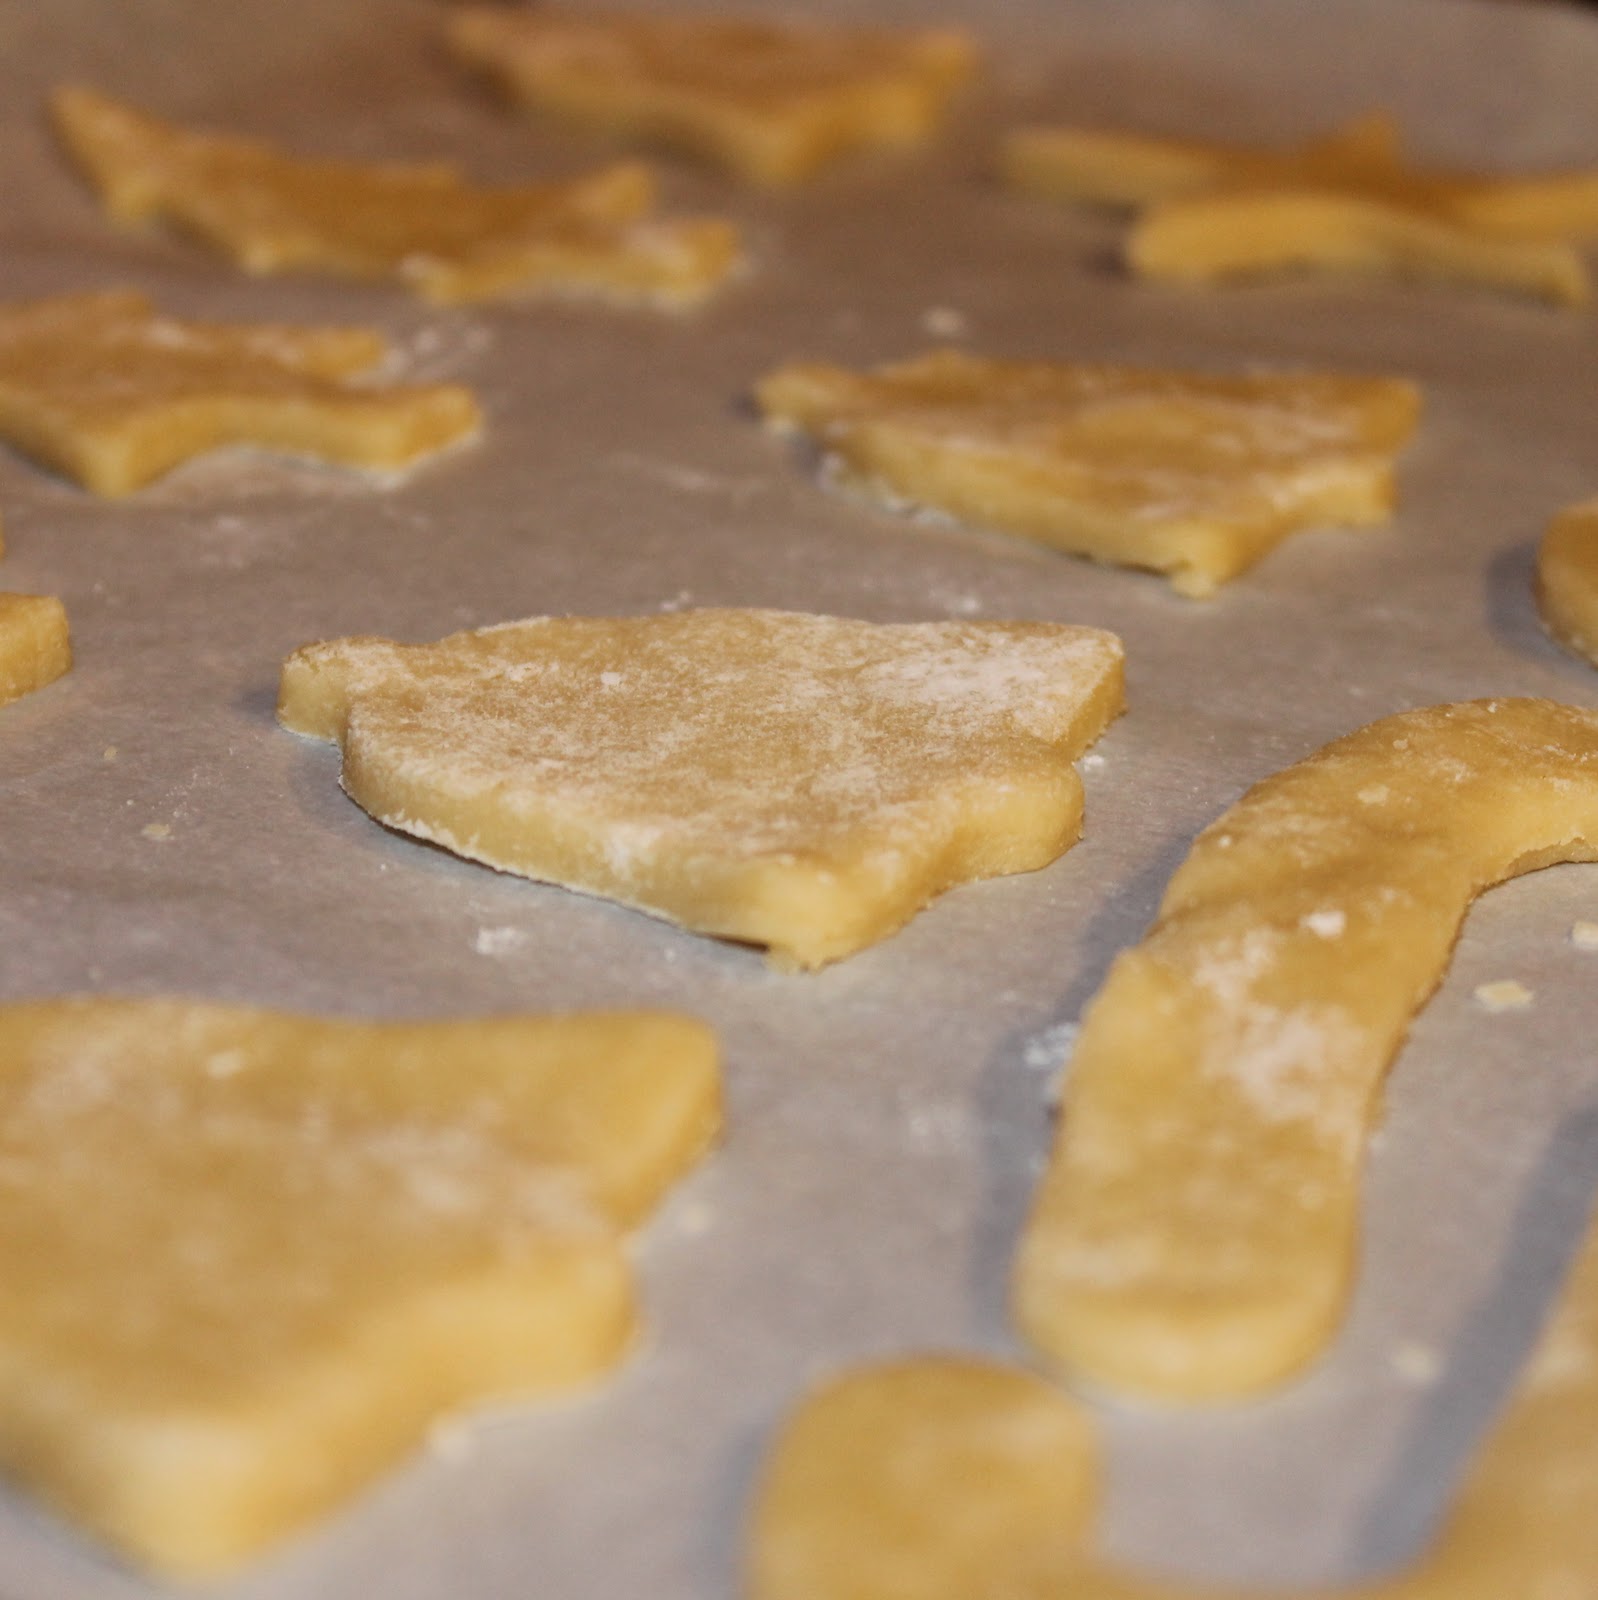
Using any cookie cutter you have, cut out shapes and place on a cookie sheet two inches apart lined with parchment paper.
Repeat with remaining dough. Bake the cookies for 10 minutes or until lightly browned along the edges. Cool on pans for 5 minutes then remove and place on wire racks.
When completely cooled, prepare the icing. Combine the powdered sugar, vanilla, and milk stirring until smooth. I added the icing to a squeeze bottle (like a ketchup bottle) but you can also add it to a ziplock bag and cut off one of the bottom corners to make piping easier. Decorate the cookies however you like.
Allow to dry overnight.
Hehe. Aren’t they fun? You can use whatever you want. I happened to be a bit, well, sprinkle happy.
As I’ve mentioned before, I cannot help myself from making a million desserts in December. There is something about the last month of the year that makes me want to bake my little heart out. Oxo has decided to help my cause by asking me to check out their new and improved Egg Beater. I am a huge fan of Oxo products (bowls, containers, apple corers; you name it, I have it). So I knew that their egg beater would find a happy home in my kitchen. Oxo also sent me an extra egg beater to give away to one of lucky reader. Details will be below!
The egg beater has a non-slip grip handle for ease of use. The beaters are removable and then entire base can be detached and is dishwasher-safe (a must in my kitchen. I’m way too lazy to clean dishes after cooking). The beater itself has managed to improve upon its predecessors by adding a steel bridge at the bottom that can rest on the bottom of the bowl. This allows the beaters to be slightly in the air without causing arm strain.Note: This contest is now closed. Congratulations to Jill J;you have won! Check your e-mail 🙂
Photo courtesy of oxo.com
Their website had a great video that shows all the features so I wanted to include that hereas well.
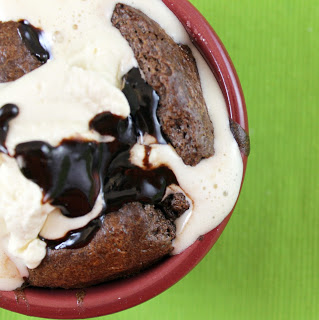
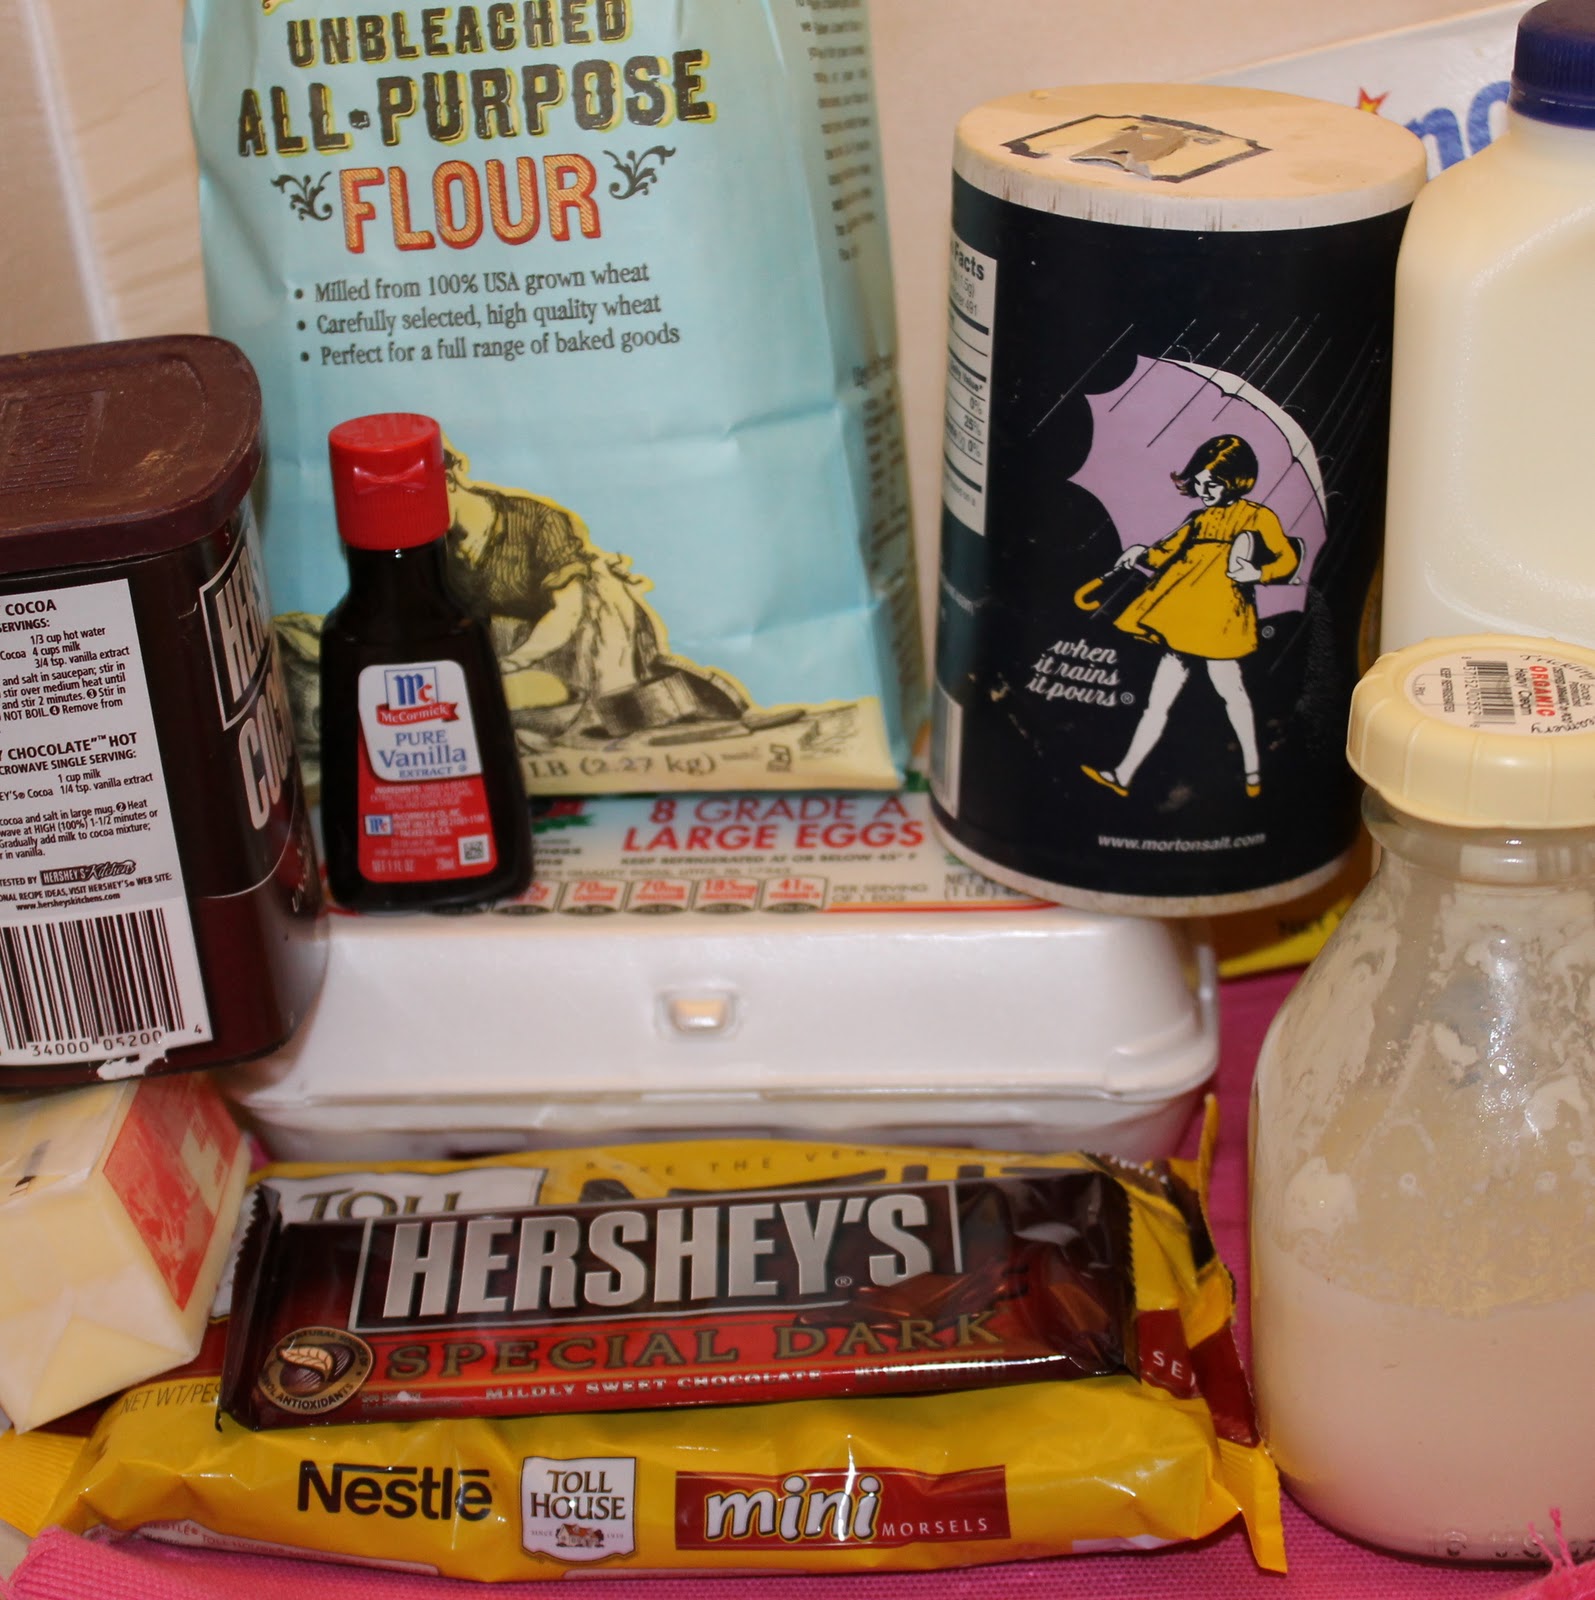
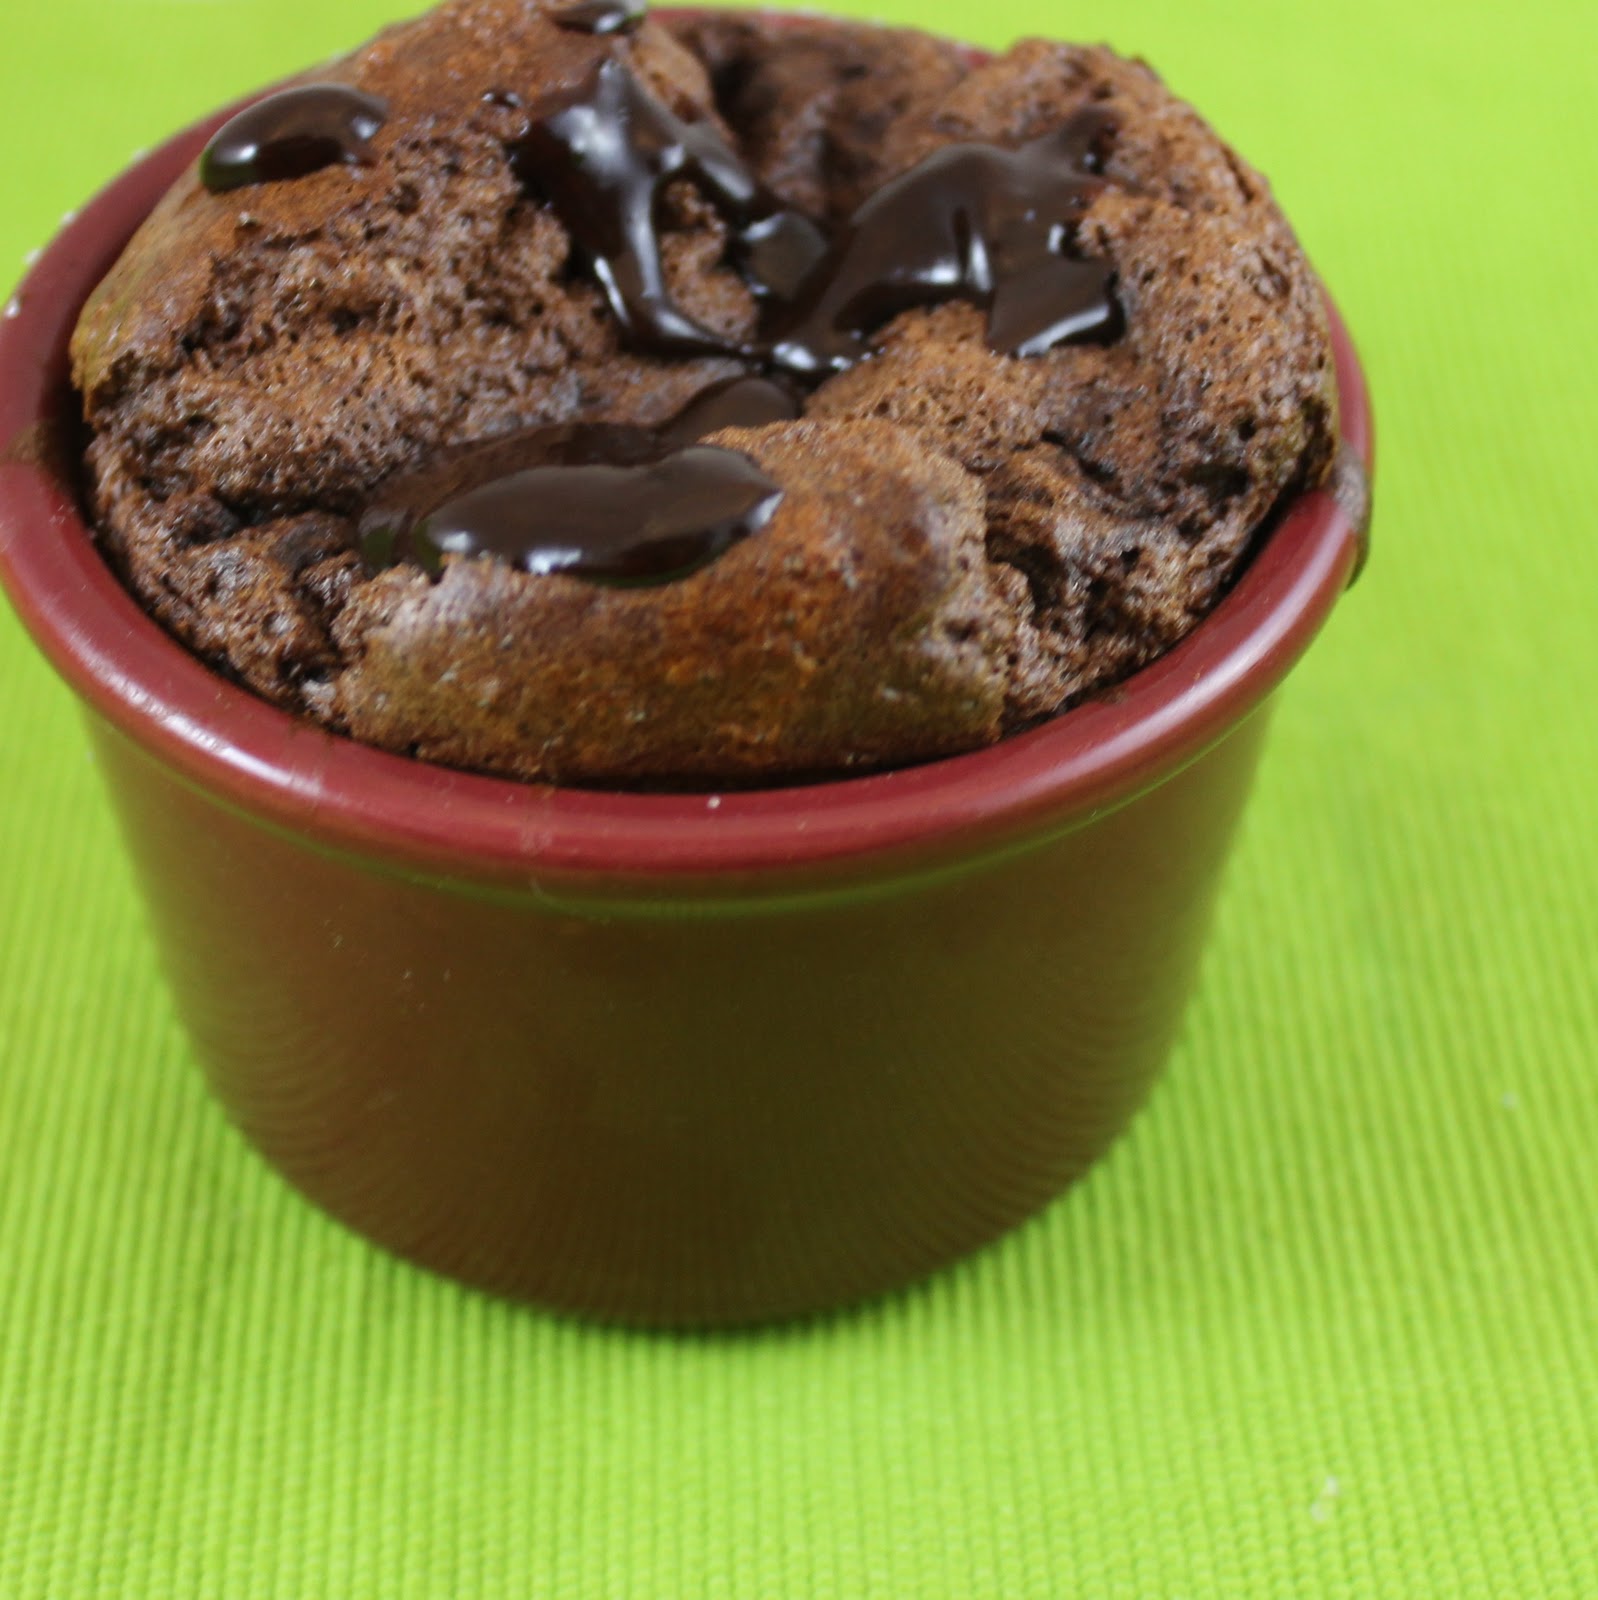
So I really wanted to test this bad boy. I decided to not only test it’s ease of use, but it’s ease of cleaning by making a recipe that uses the egg beater in more than one step of the process. How about a chocolate souffle topped with a warm fudge sauce and some freshly made whipped cream? (Not going to lie, the whipped cream was an afterthought because my souffle collapsed. Sigh. Still learning…)
Ingredients:
Souffle:
Cooking spray
1/2 cup plus 2 tablespoons sugar, divided
3 tablespoons all-purpose flour
3 tablespoons unsweetened cocoa
1/8 teaspoon salt
1 1/4 cups fat-free milk
3 ounces bittersweet chocolate, chopped
1 teaspoon vanilla extract
1 large egg yolk
6 large egg whites
Sauce:
1 tablespoon butter
1/3 cup sugar
2 tablespoons unsweetened cocoa
1 tablespoon all-purpose flour
1/2 cup fat-free milk
1/2 ounce bittersweet chocolate, chopped
Whipped cream:
1 cup heavy cream
1 teaspoon vanilla extract
1 tablespoon powered sugar
This recipe requires a bit of oven preparation. Take out the top rack of your oven. Position the other rack as low as possible. Preheat your oven to 425 degrees.
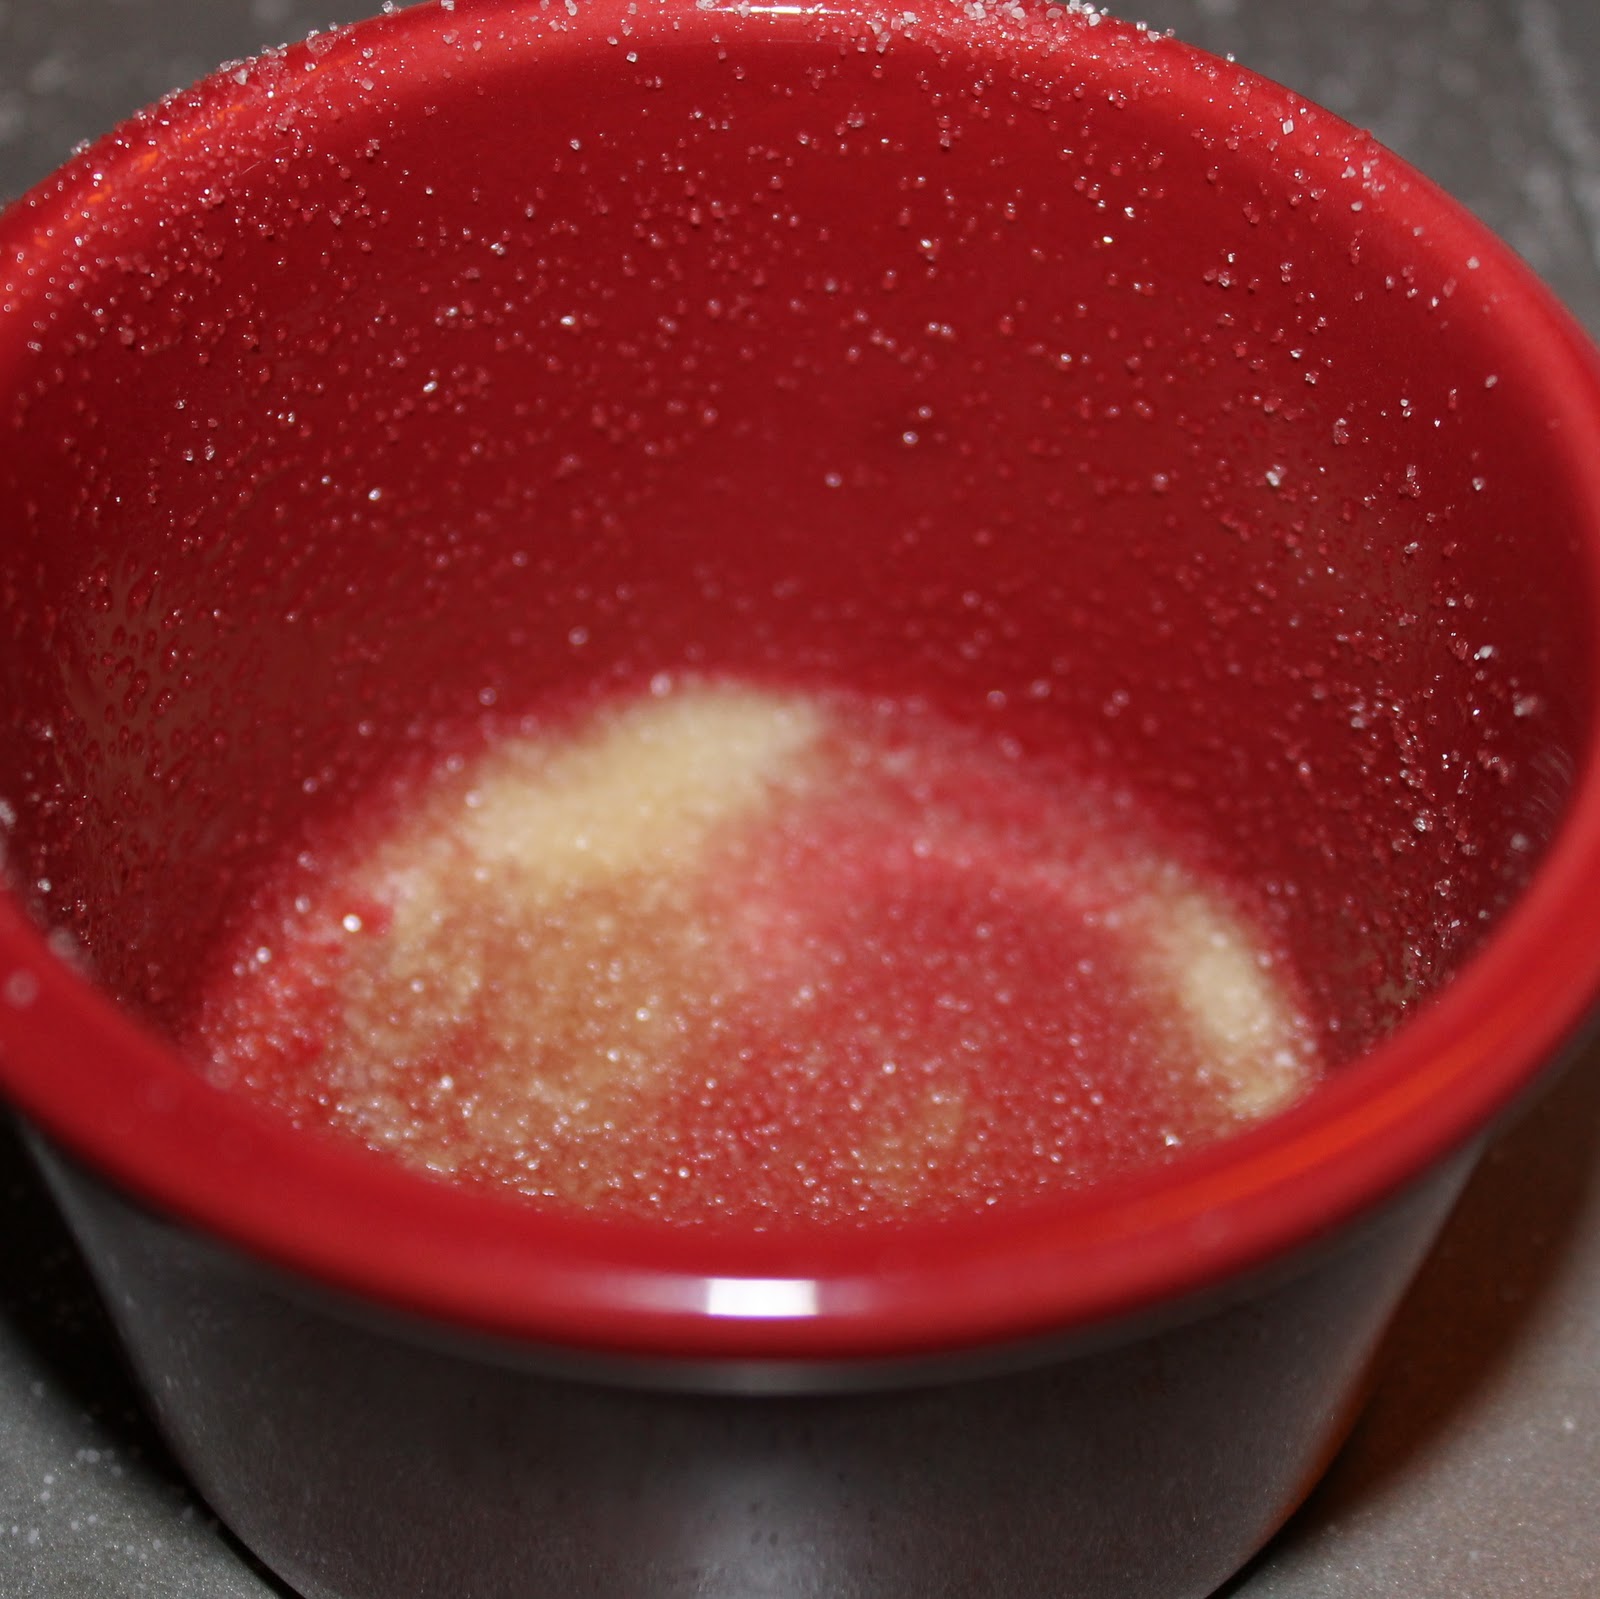
Spray six 8-ounce souffle dishes (or ramekins) with cooking spray. Sprinkle evenly with 2 tablespoons (or 1 teaspoon per ramekin) of sugar and set aside.
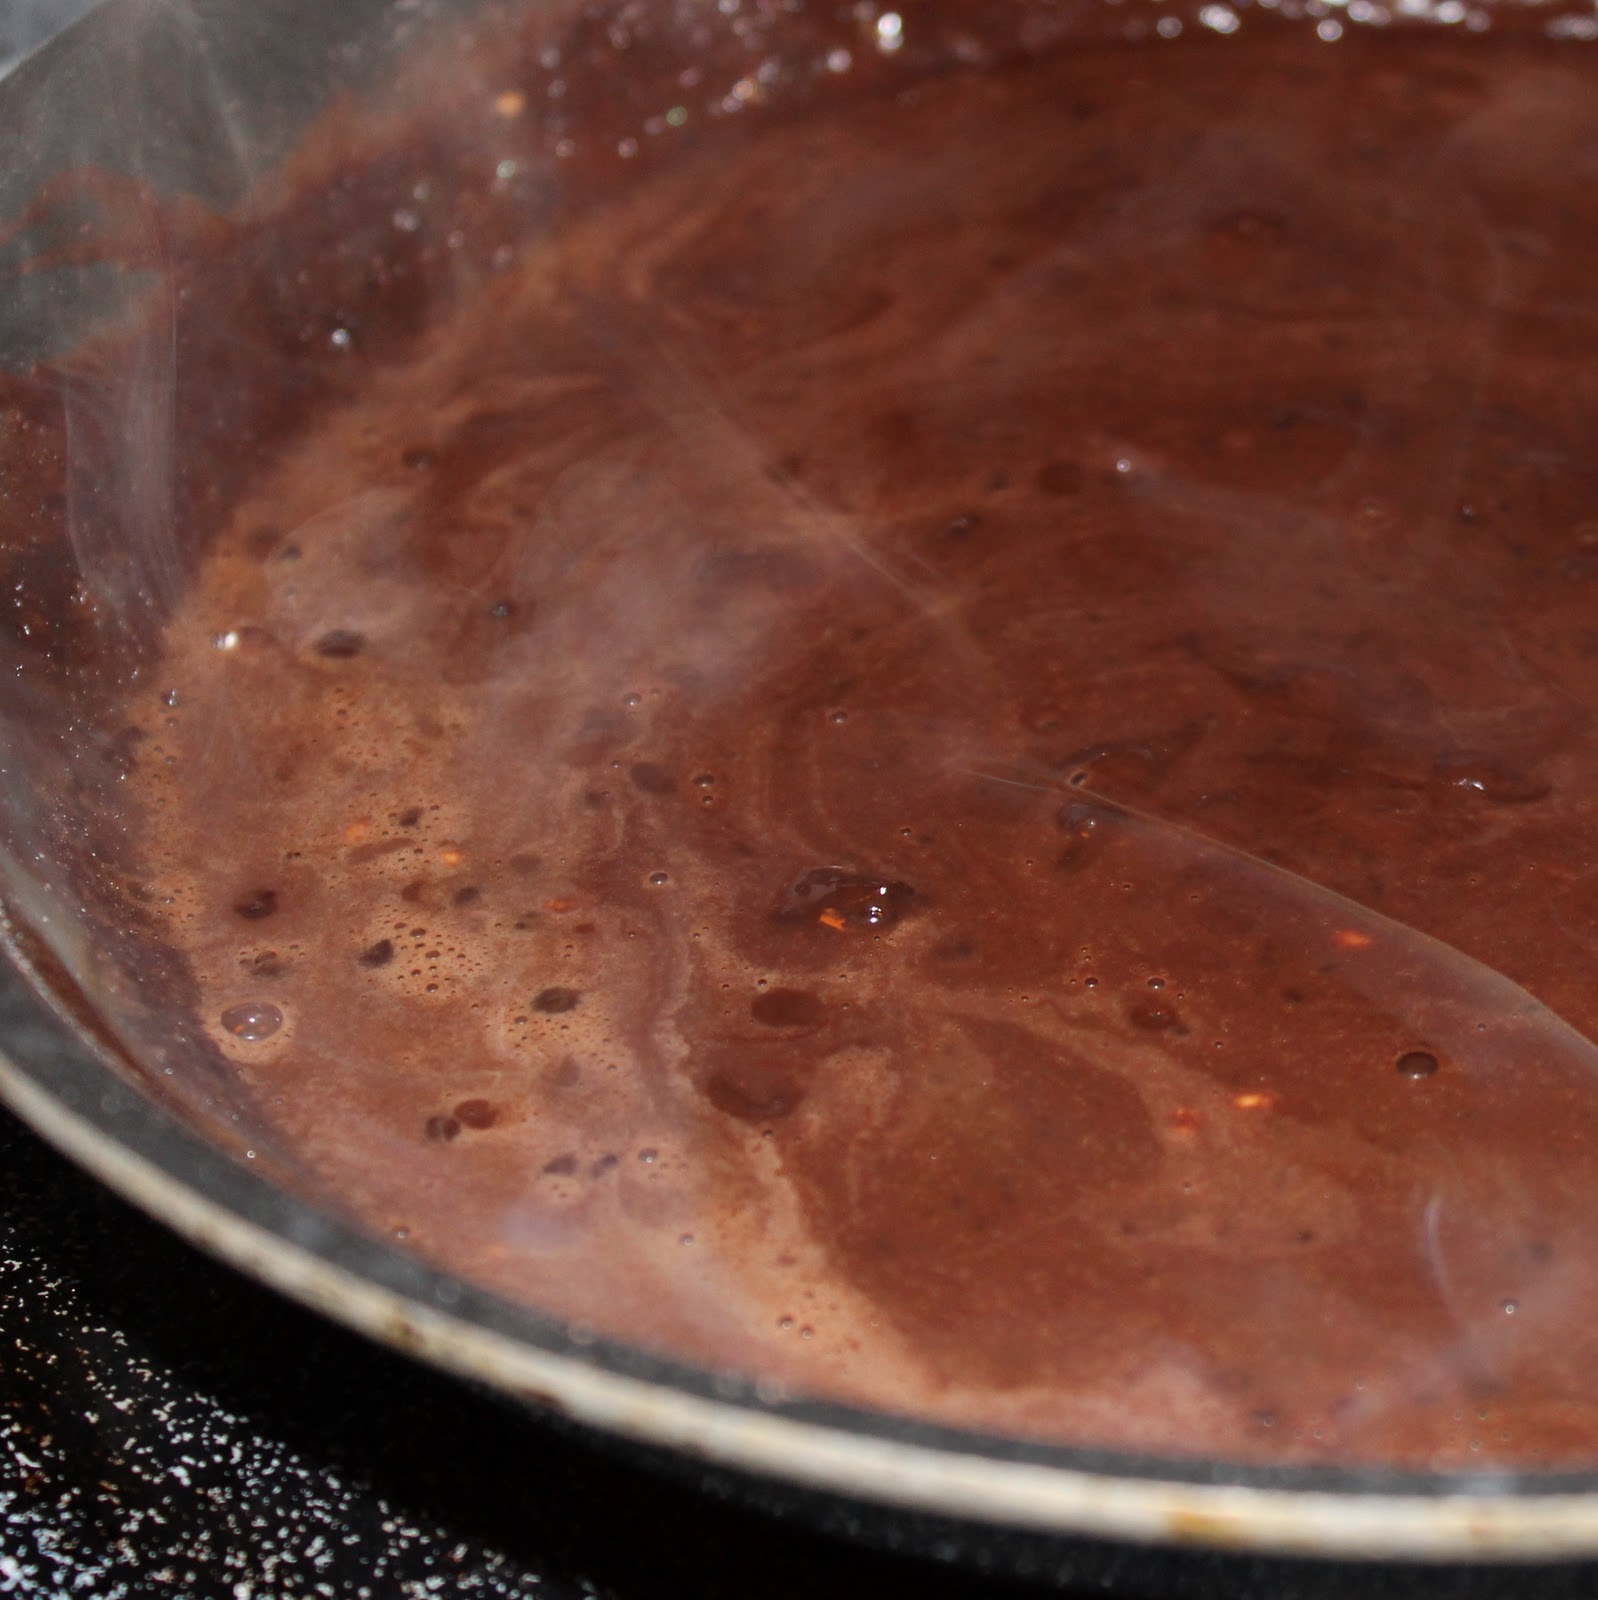
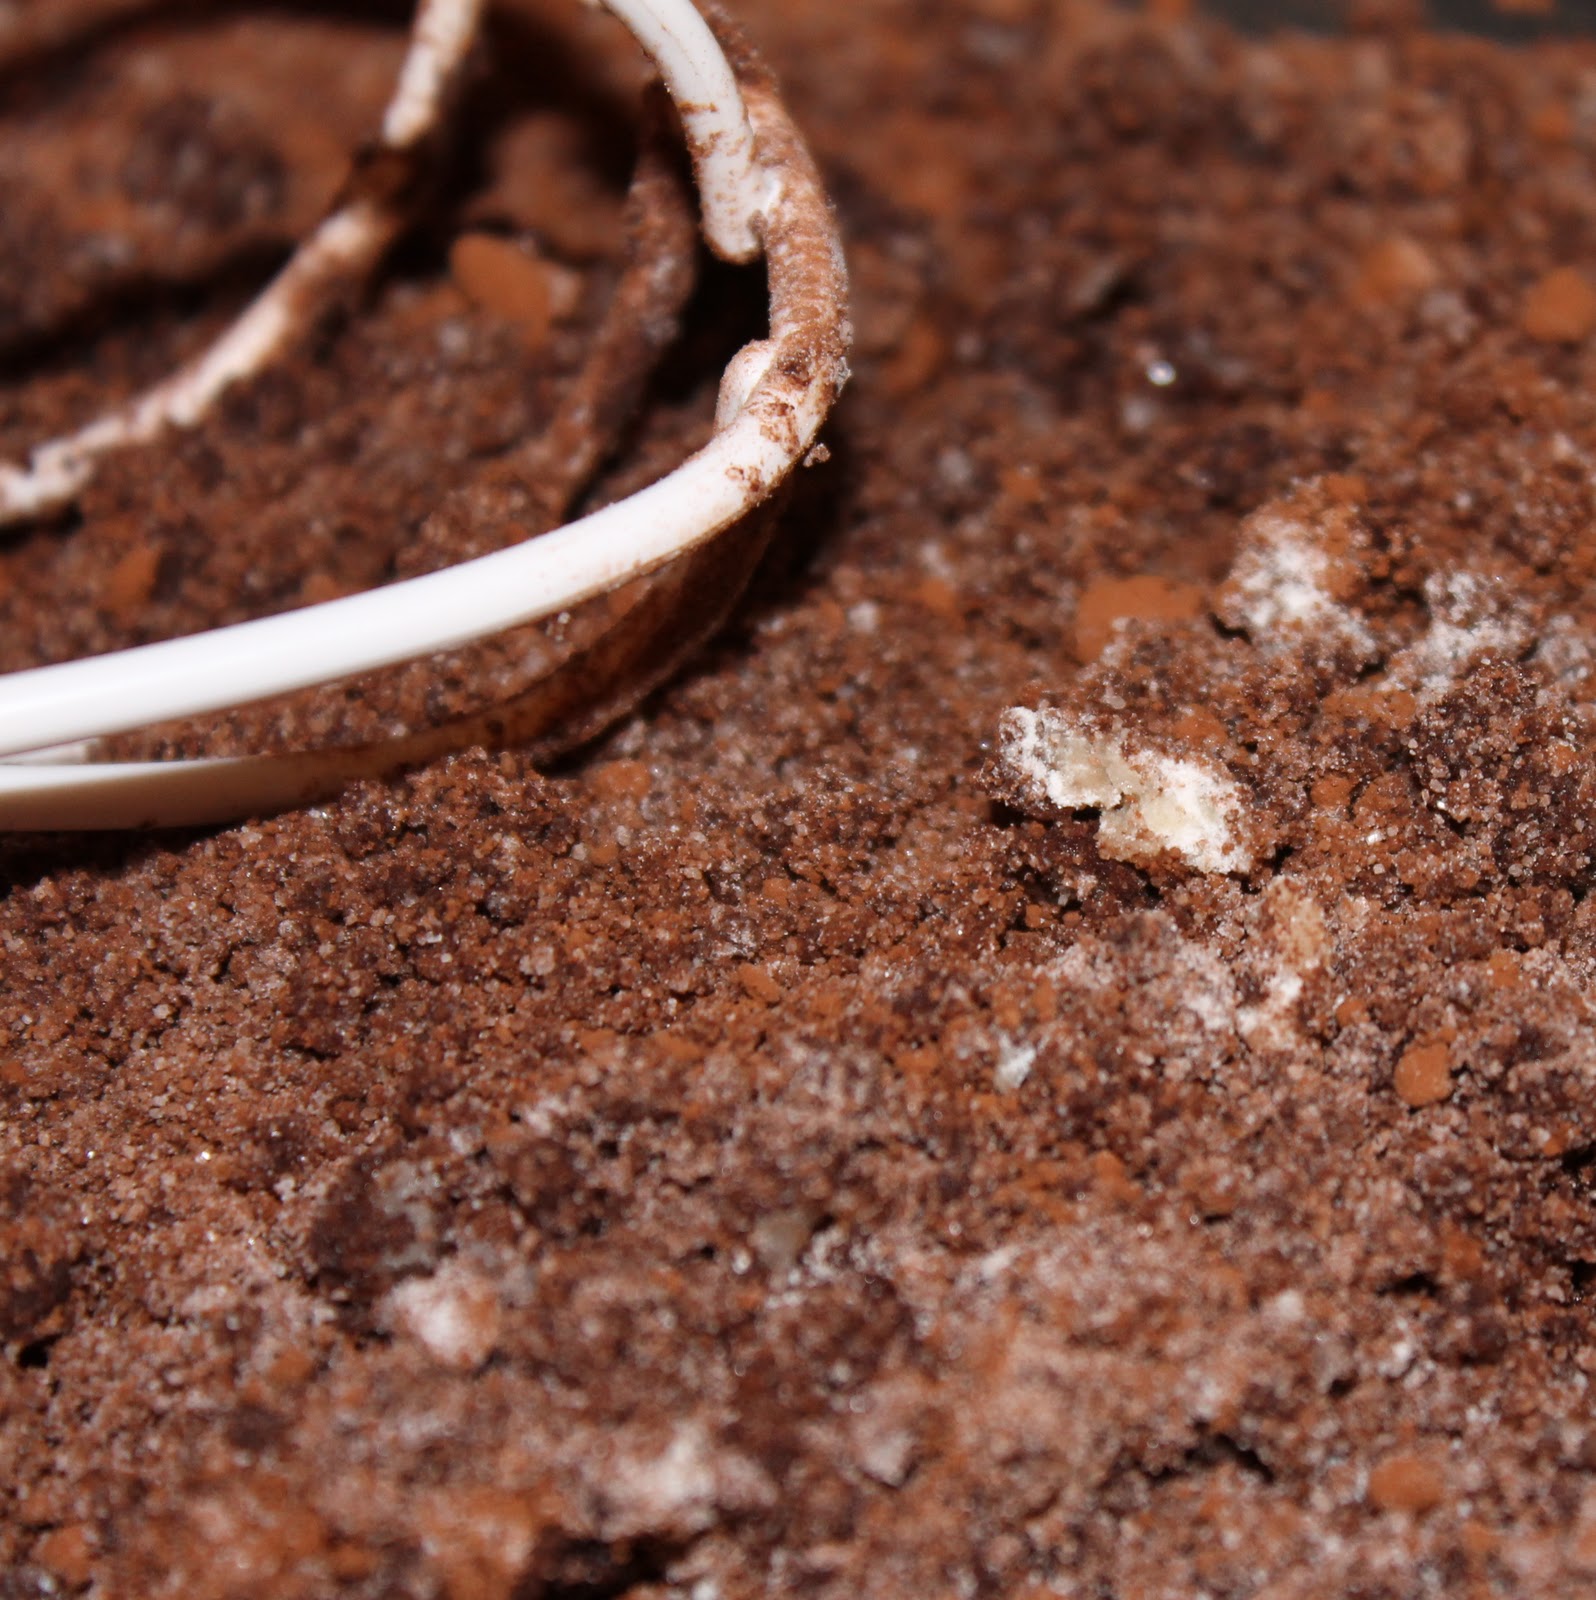
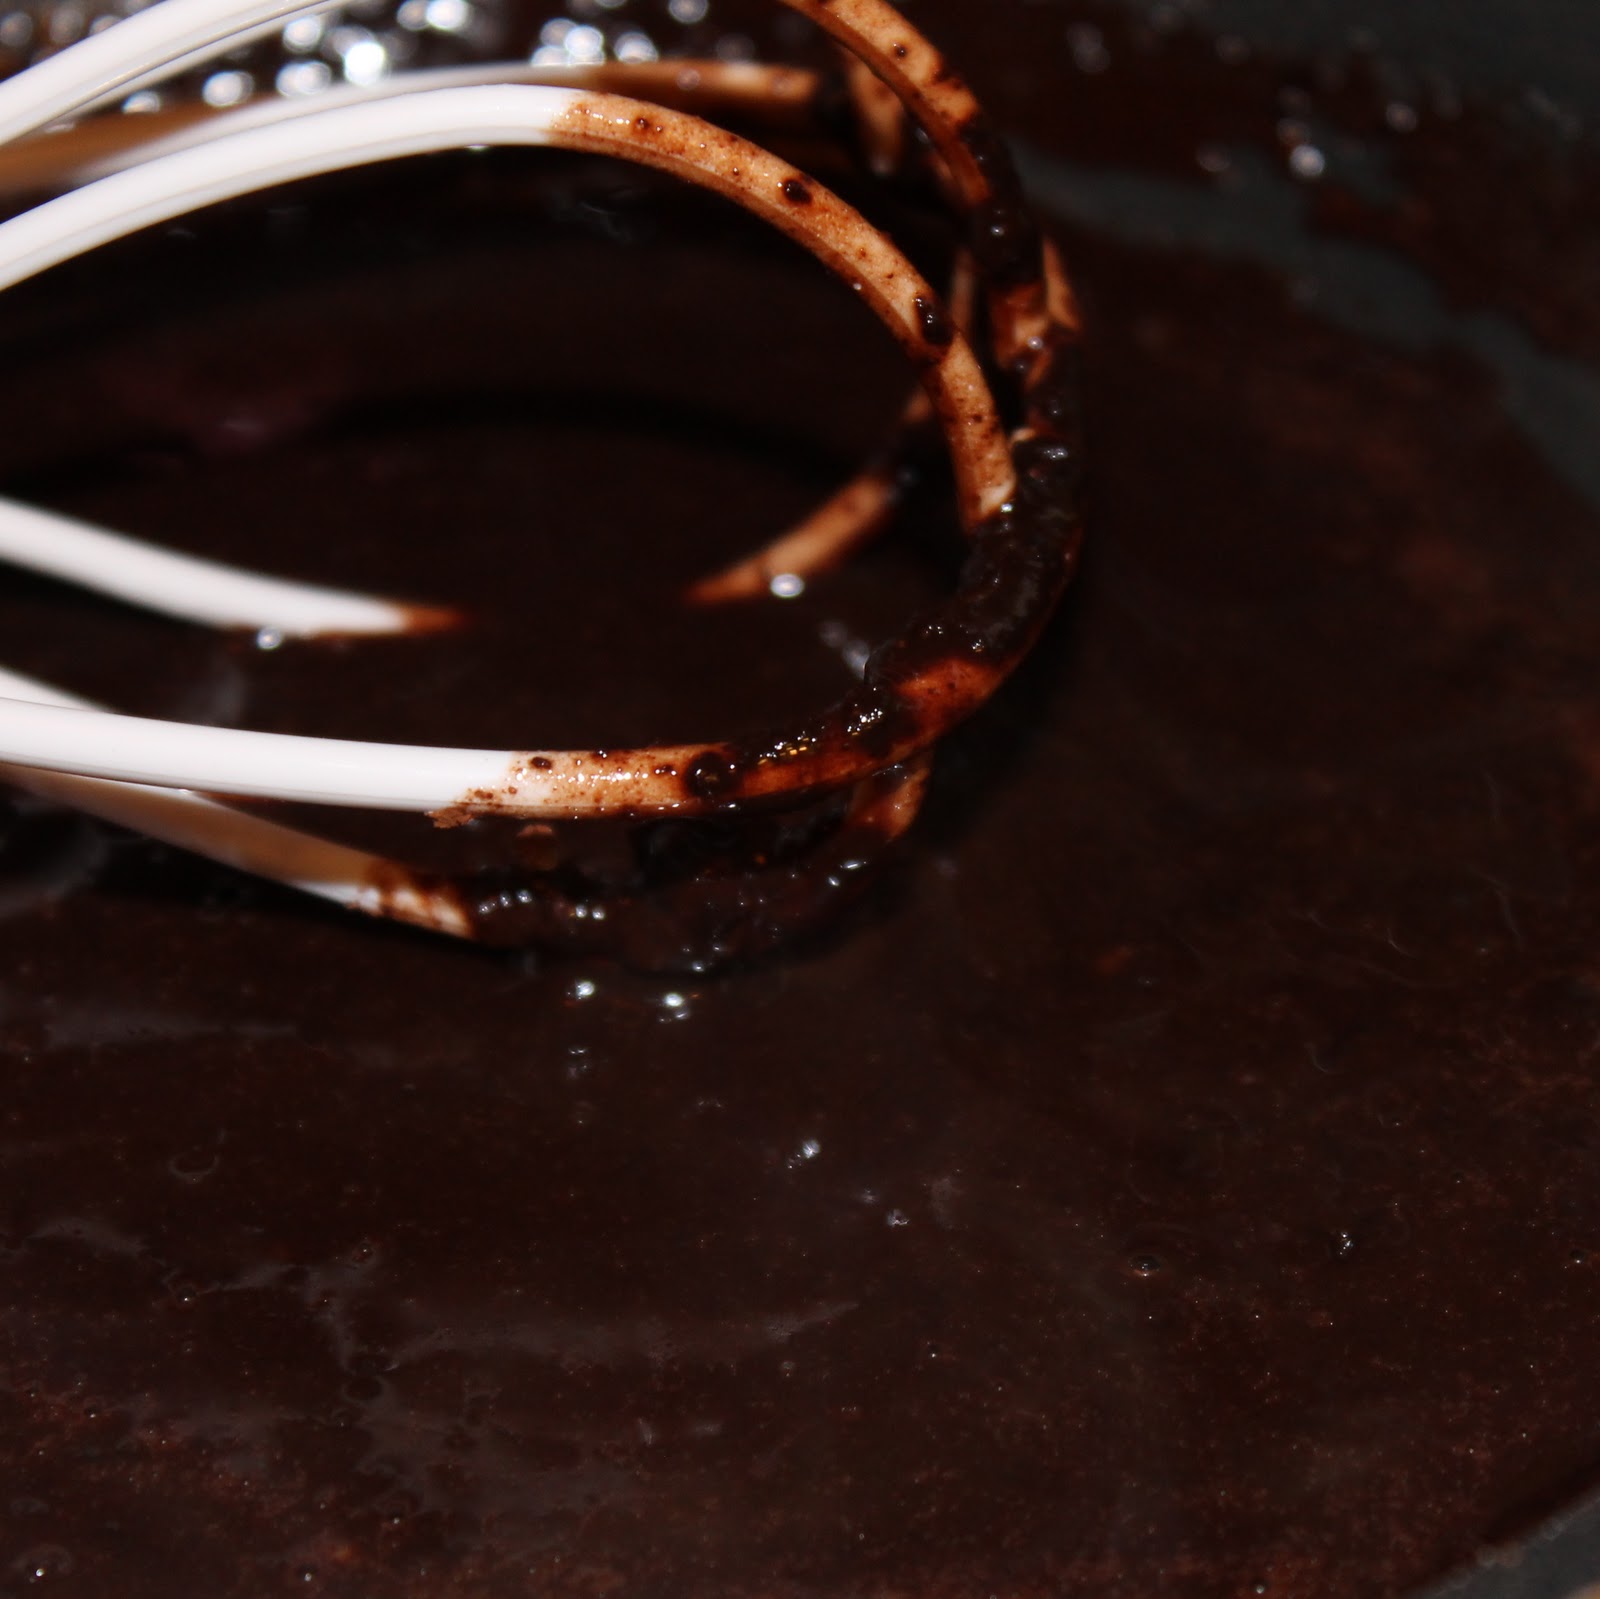
In a large saute pan, combine 1/2 cup sugar, 3 tablespoons flour, 3 tablespoons cocoa, and the salt over medium-high heat, stirring with a whisk or the Oxo egg beater. Add 1 1/4 cups milk, stirring constantly. Bring to a boil and cook for 2 minutes or until it begins to thicken, stirring constantly.
Remove from heat and add 3 ounces chocolate, stirring until smooth. Add to a large bowl and allow to cool to room temperature.
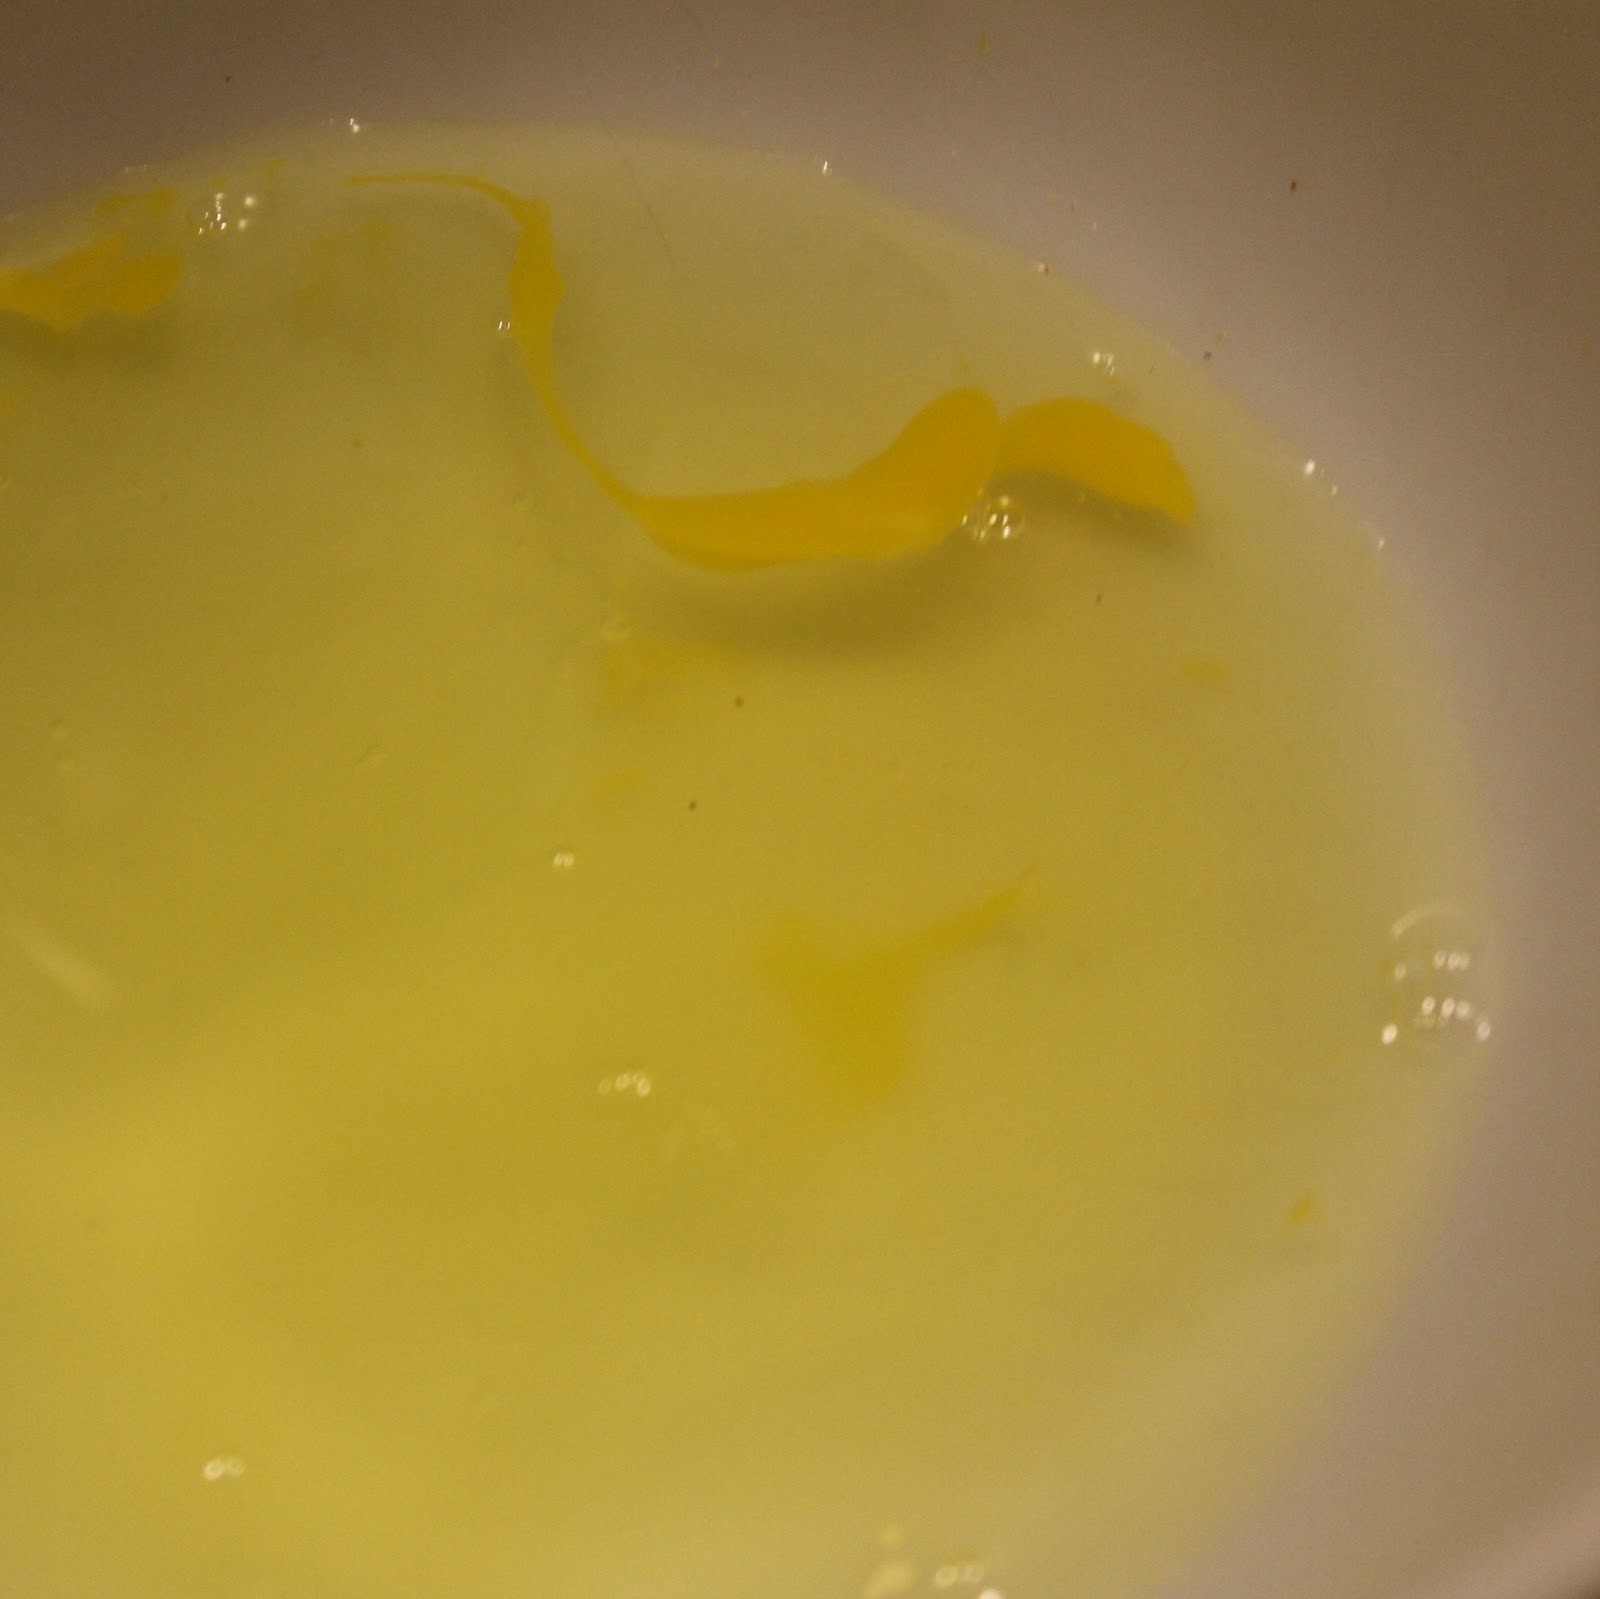
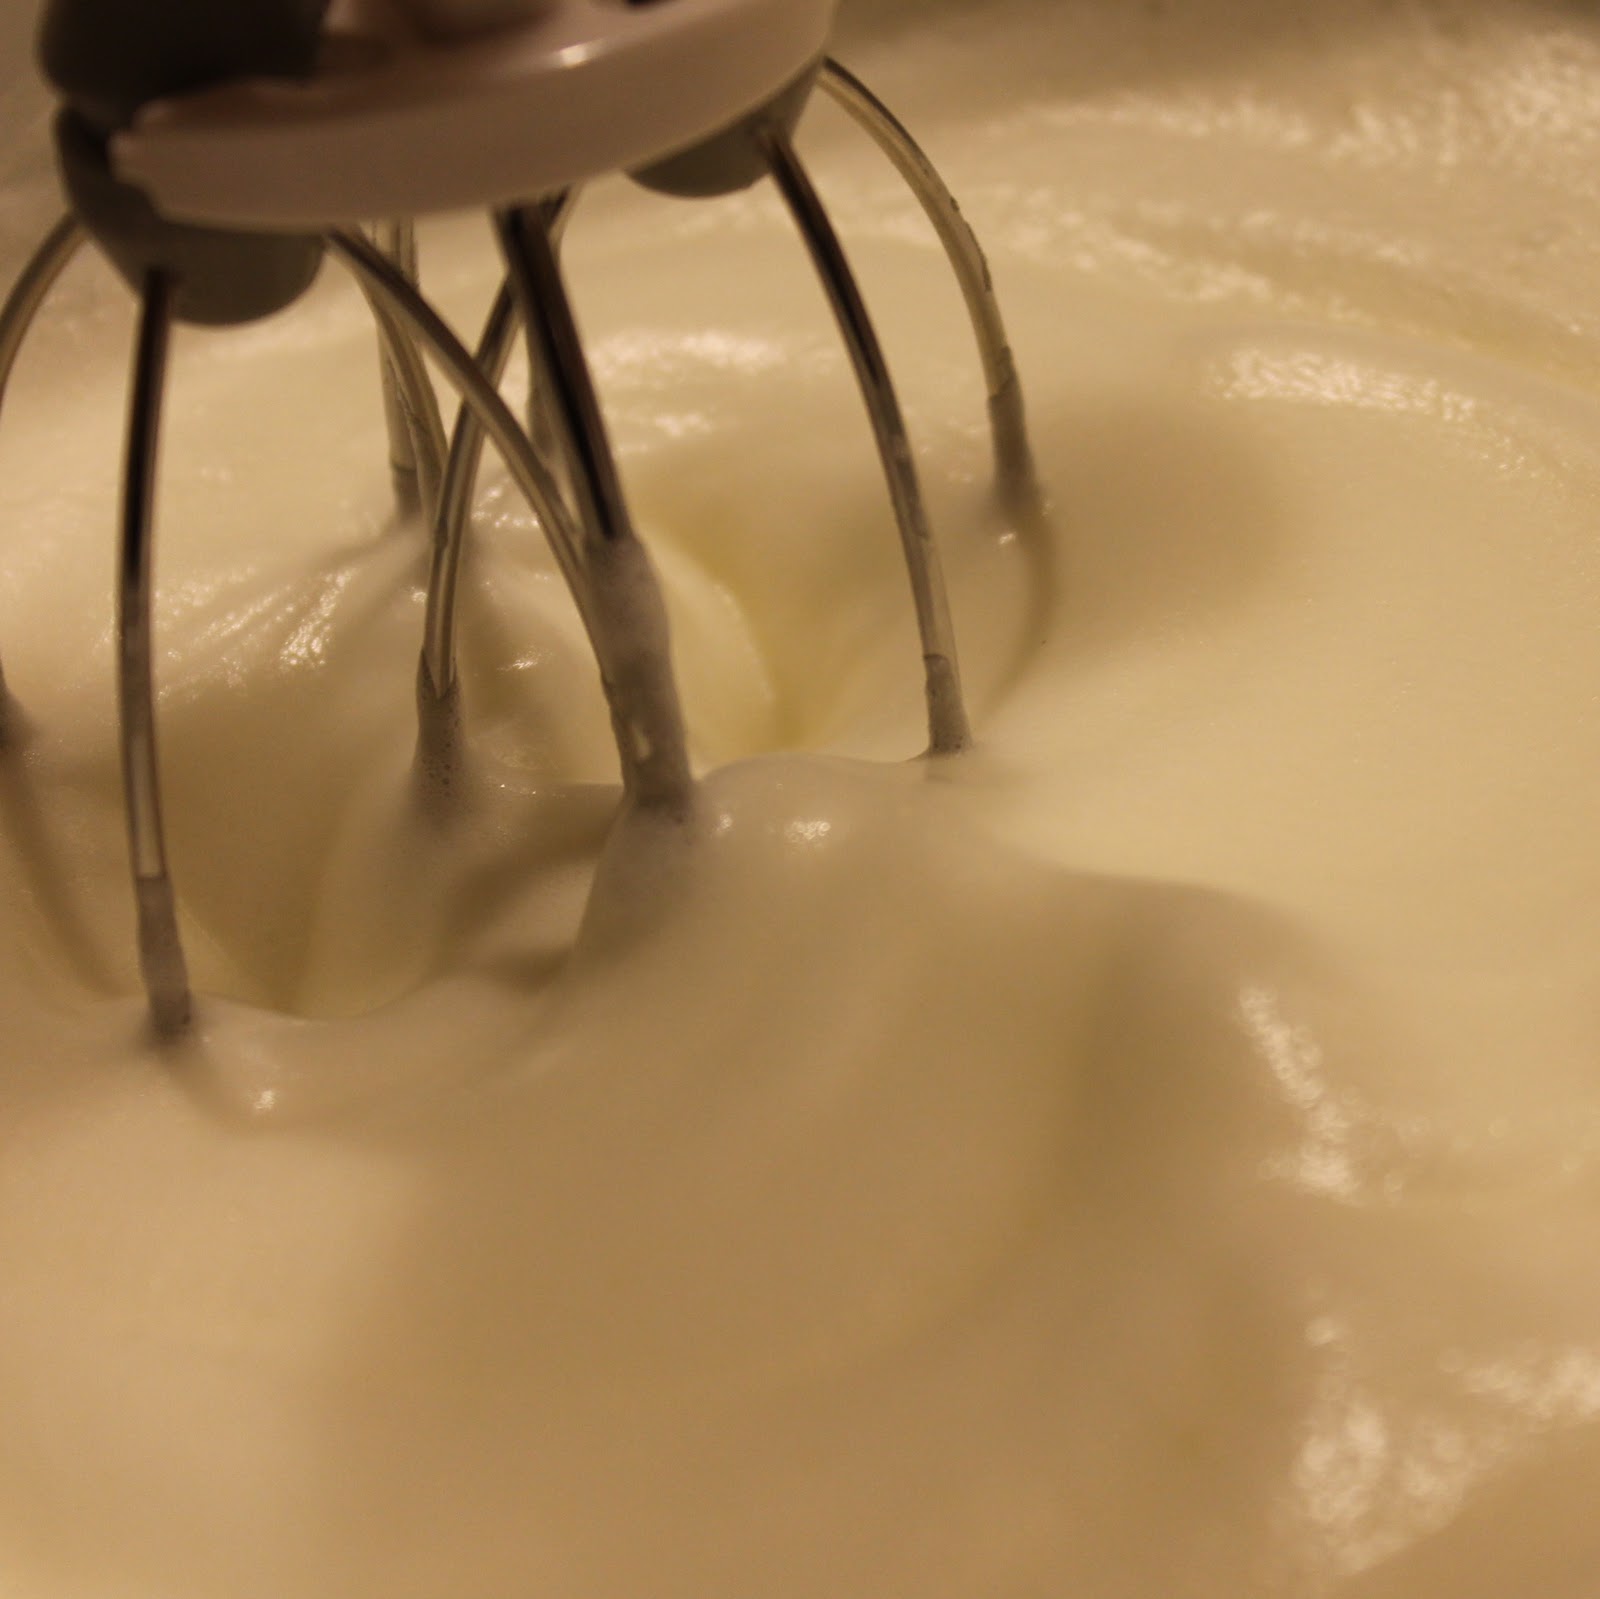
In a medium bowl, add the egg whites (reserve one egg yolk!) and beat using your egg beater until stiff peaks form. This took a good 5 minutes for me.
Once the egg whites are beaten, the chocolate mixture should have cooled. Add the vanilla and egg yolk to the chocolate mixture and stir.Fold in 1/4 of the egg white mixture into the chocolate mixture.
Once combined, gently fold in the remaining egg whites.
Spoon the mixture into the ramekins. Sharply tap the dishes two or three times on counter to even out each mixture in the ramekin. You want them to be about 3/4 full so that they can puff over the top of the ramekin. If you are making these ahead of time, you can cover the ramekins at this stage and freeze until you’re ready to bake them.
When ready to bake, place them on a baking sheet and place in the preheated oven (which is at 425) on the bottom rack. Immediately reduce the temperature to 350 degrees (keep the souffles in the oven and don’t open the door, the temperature will slowly lower over time). Bake for 40-45 minutes or until a toothpick inserted into the side comes out clean.
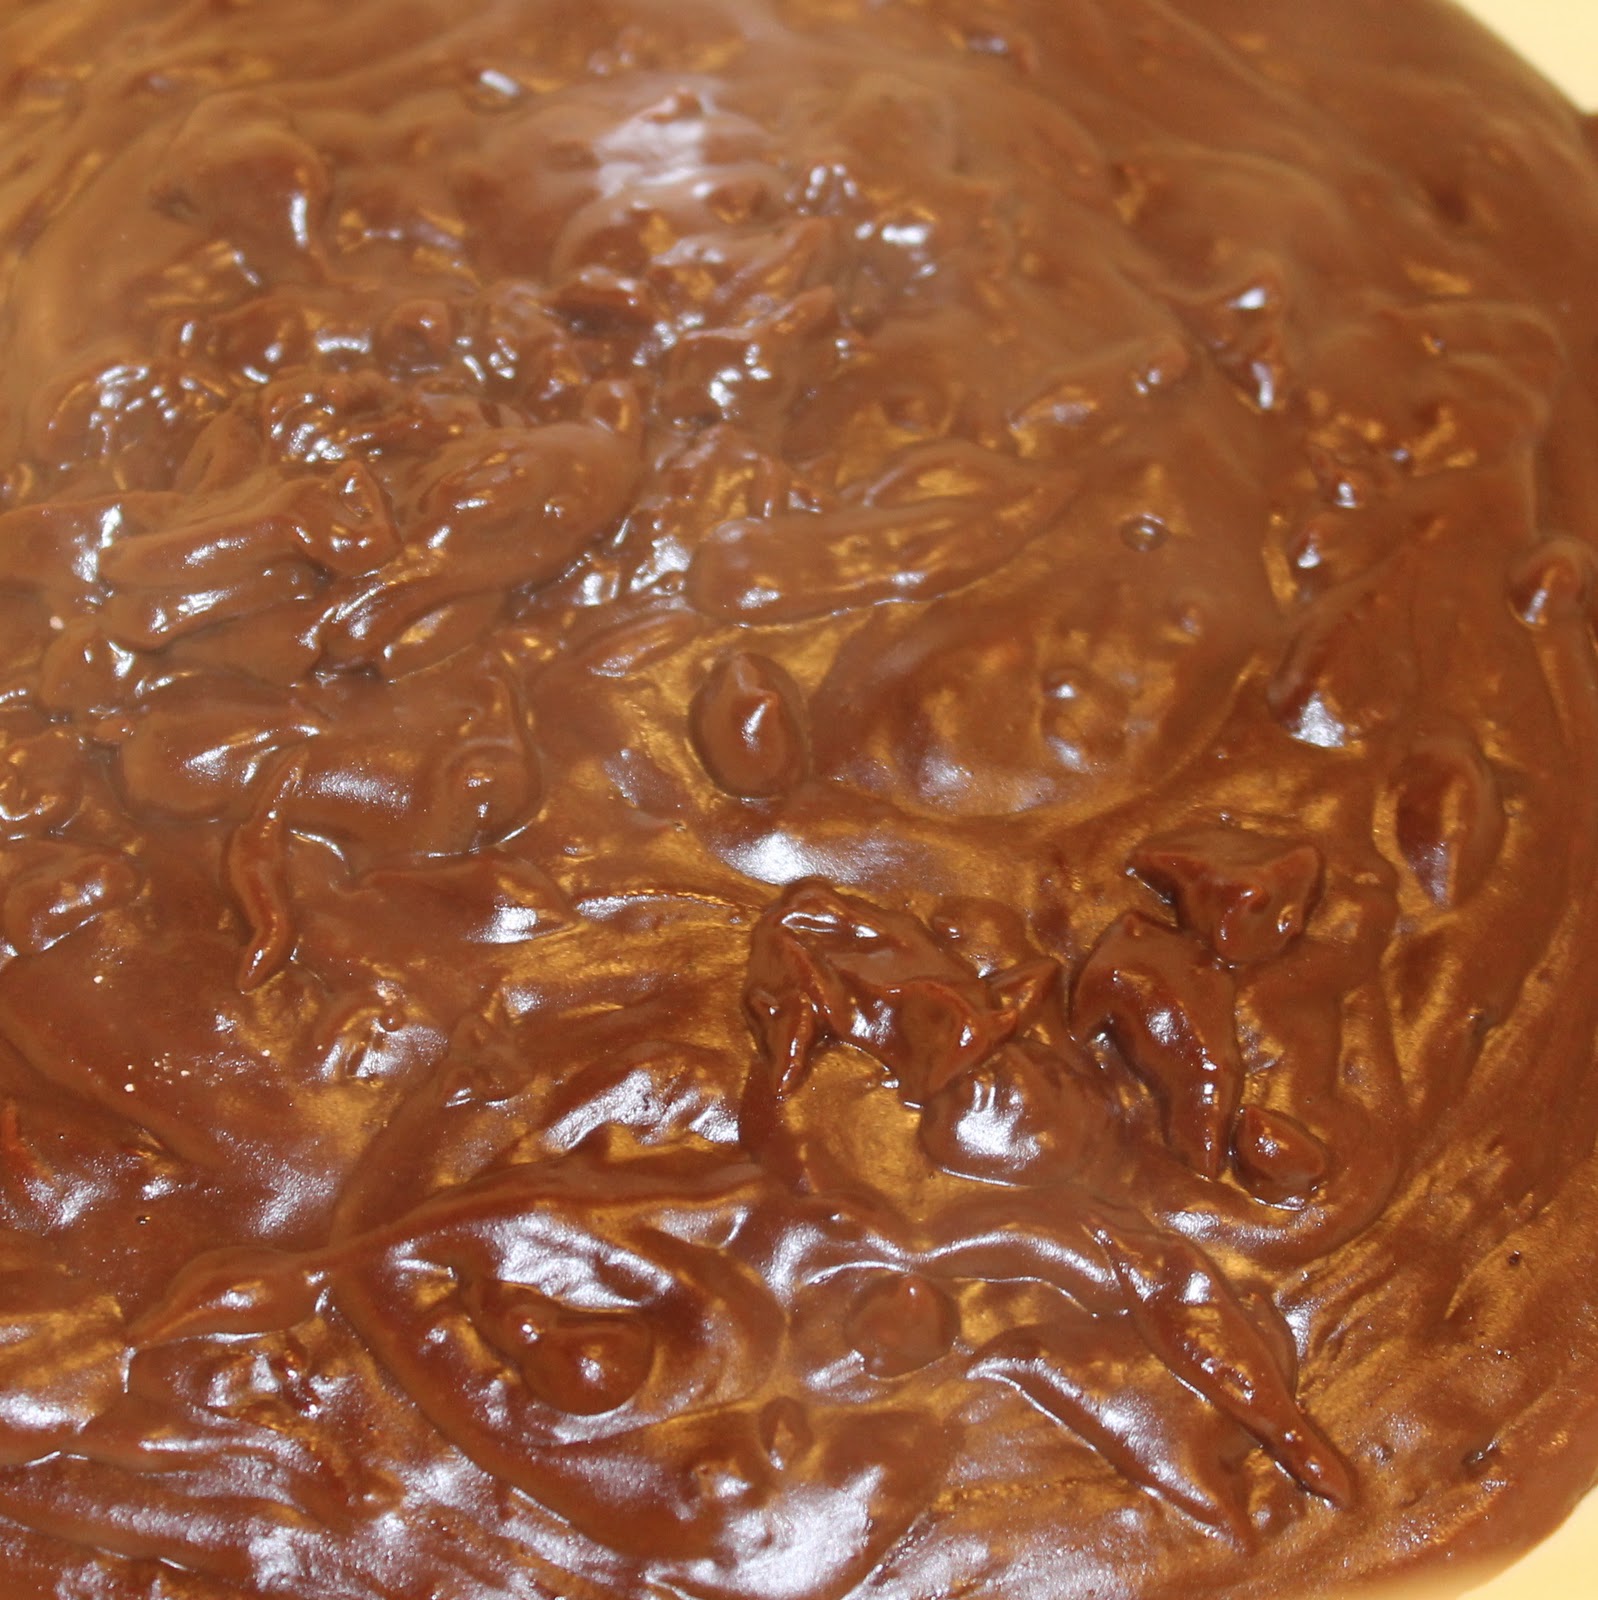
The sauce can also be made ahead of time if you so wish. Melt the butter in a small pot over medium-high heat. Add 1/3 cup sugar, 2 tablespoons cocoa, and 1 tablespoon flour, stirring well with a whisk.
Gradually add 1/2 cup milk stirring constantly. Bring to a boil and cook for 1 minute, continuing to stir. Remove from heat, add 1/2 ounce chocolate and stir until smooth. Spoon over warm souffles.
To make the whipped cream, add the heavy cream to a bowl. Using the egg beater, beat the cream until peaks are just about to form. Add the vanilla and the powdered sugar and beat until peaks form. Add a dollop of the fresh whipped cream to the souffle and serve.
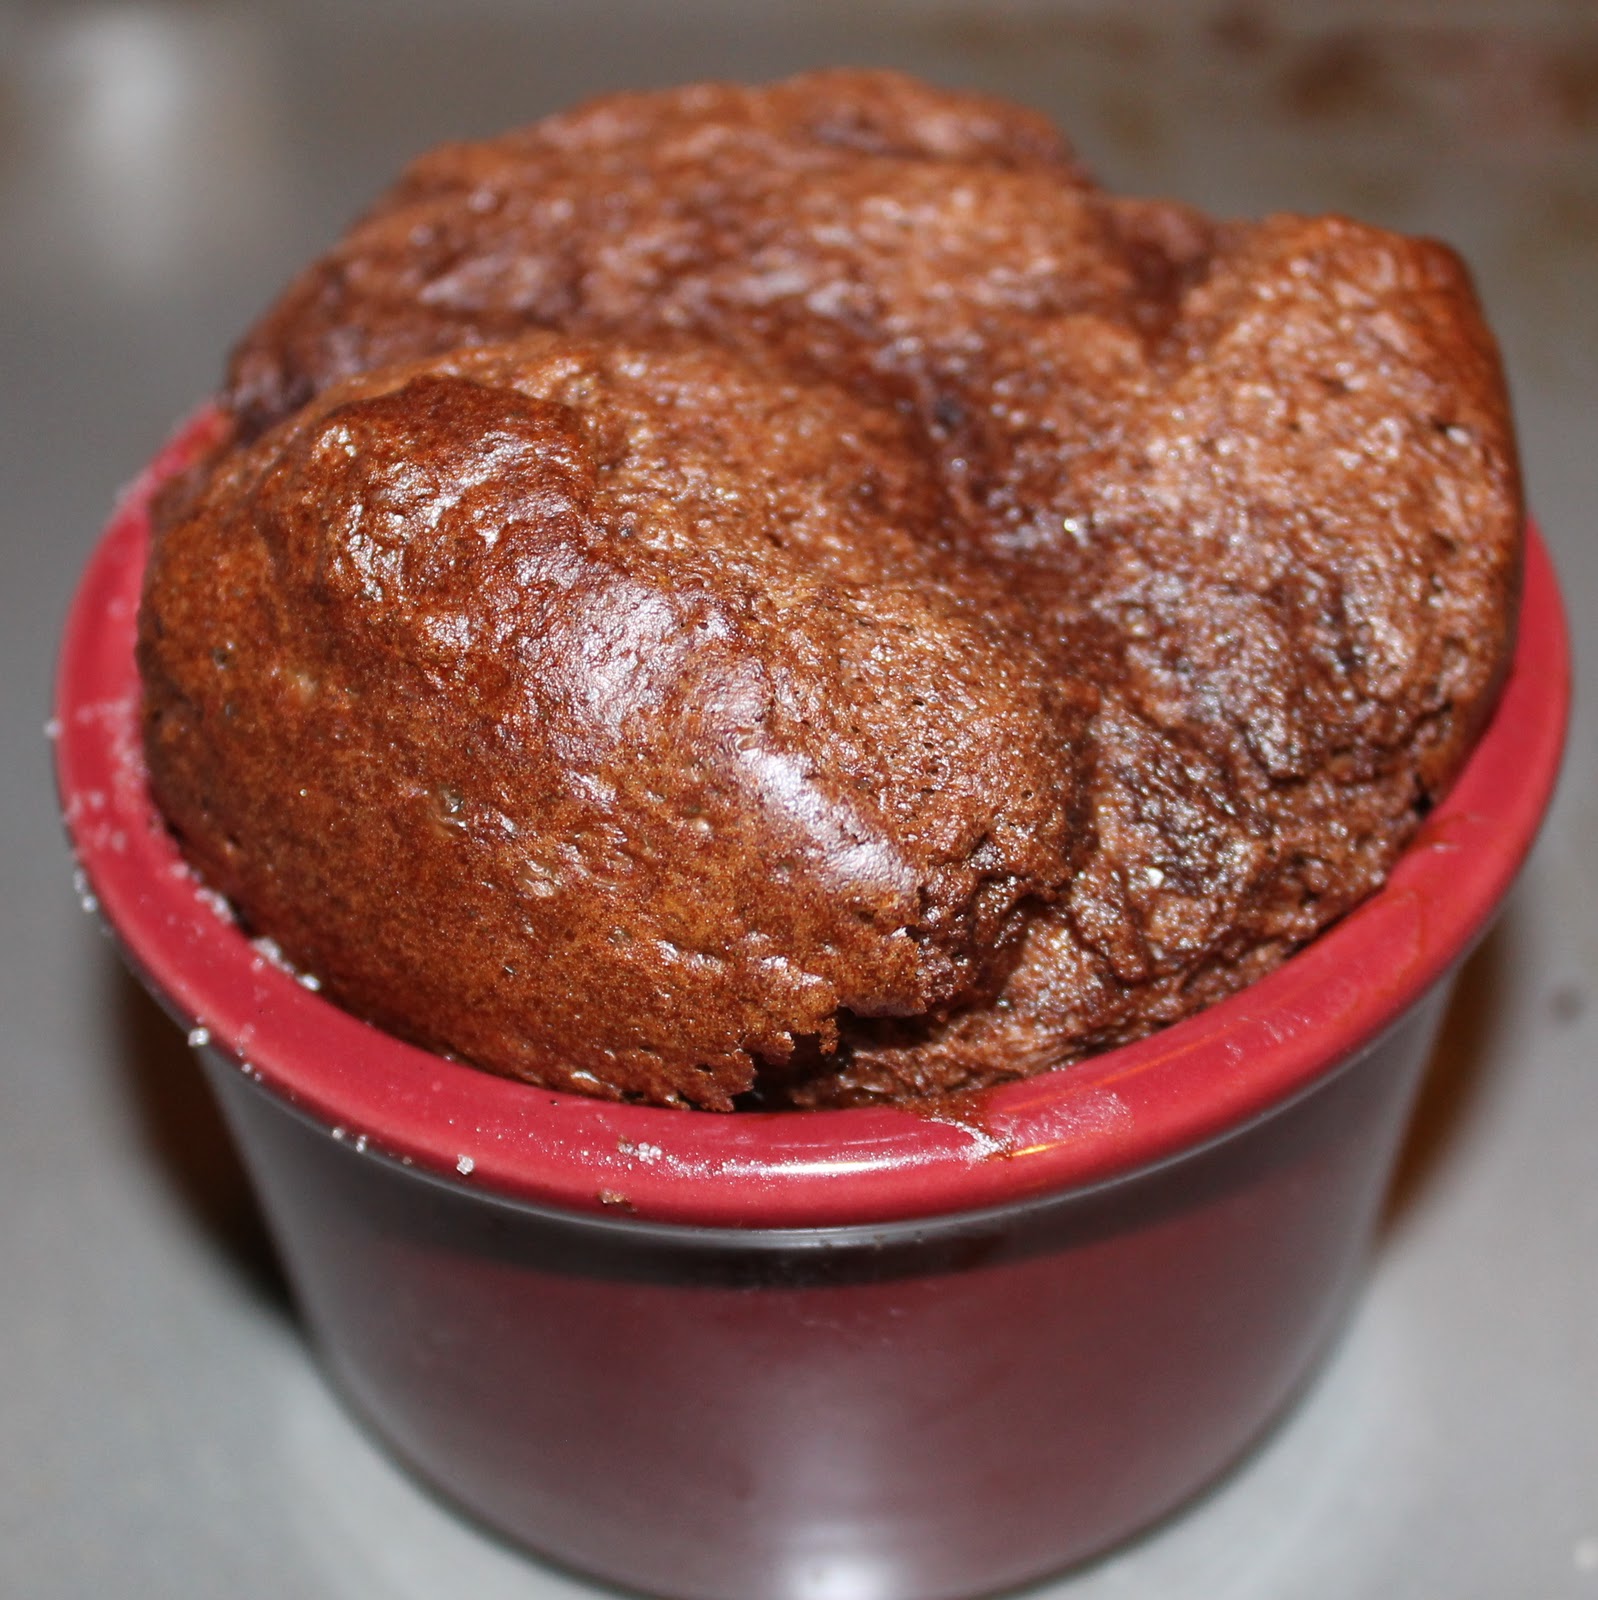
So my souffle came out puffy and happy and I was so excited!
But as I started adding the chocolate sauce, it began to deflate. Sigh.
So I topped it off with the fresh whipped cream and called it even.
Souffles are notoriously difficult to make, but I wanted to at least give it a shot. Who honestly cares if it deflated though? It still tasted wonderful! I think even a collapsed souffle still looks pretty darn nice as well, no?
So if you’re still with me, you can win your very own Oxo egg beater to beat and whip until your heart’s content.
Good luck, and feel free to leave me a comment below with any questions, comments, or complaints 🙂
Note: I received both a free egg beater for myself and for the giveaway through Oxo’s Blogger outreach program. All opinions and photos with the exception of the egg beater photo are mine.
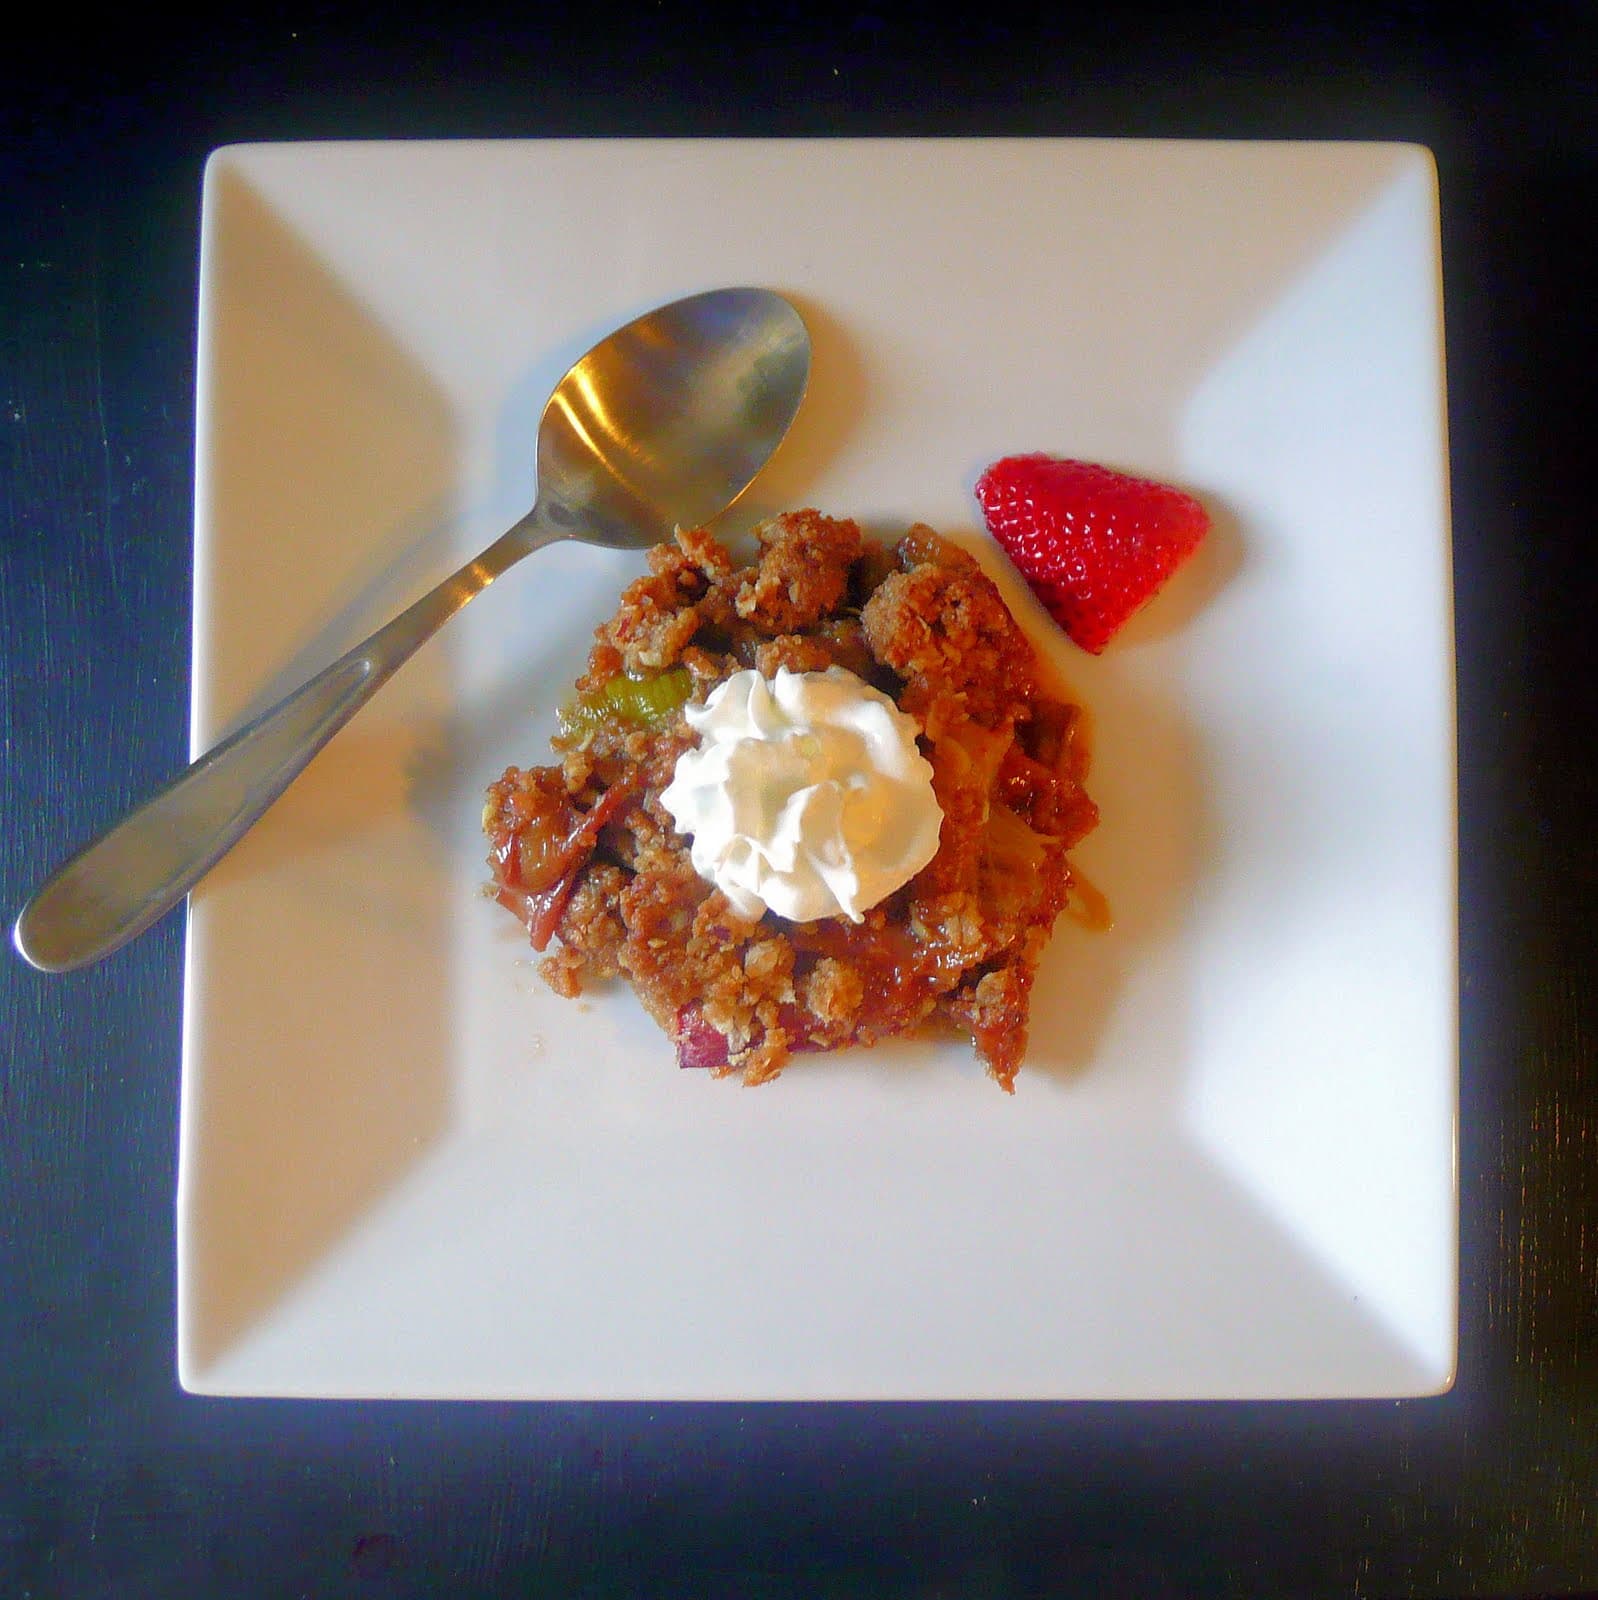
Another offering in my CSA share this week was rhubarb. I had no idea what rhubarb was, let alone how to cook it. So for those that are in the same boat as me, rhubarb “have large leaves that are somewhat triangular-shaped with long fleshy petioles. Although the leaves are toxic, various parts of the plants have culinary and medicinal uses. Fresh raw stalks are crisp (similar to celery) with a strong tart taste; most commonly the plant’s stalks are cooked and used in pies and other foods for their tart flavour.” (Thanks Wikipedia) Thankfully, the Lancaster Farm Fresh Cooperative must have assumed people would need help, and posted a recipe on their blog for rhubarb crisp.
Ingredients:
6 tablespoons cold butter, cut into small pieces, plus more for greasing pan
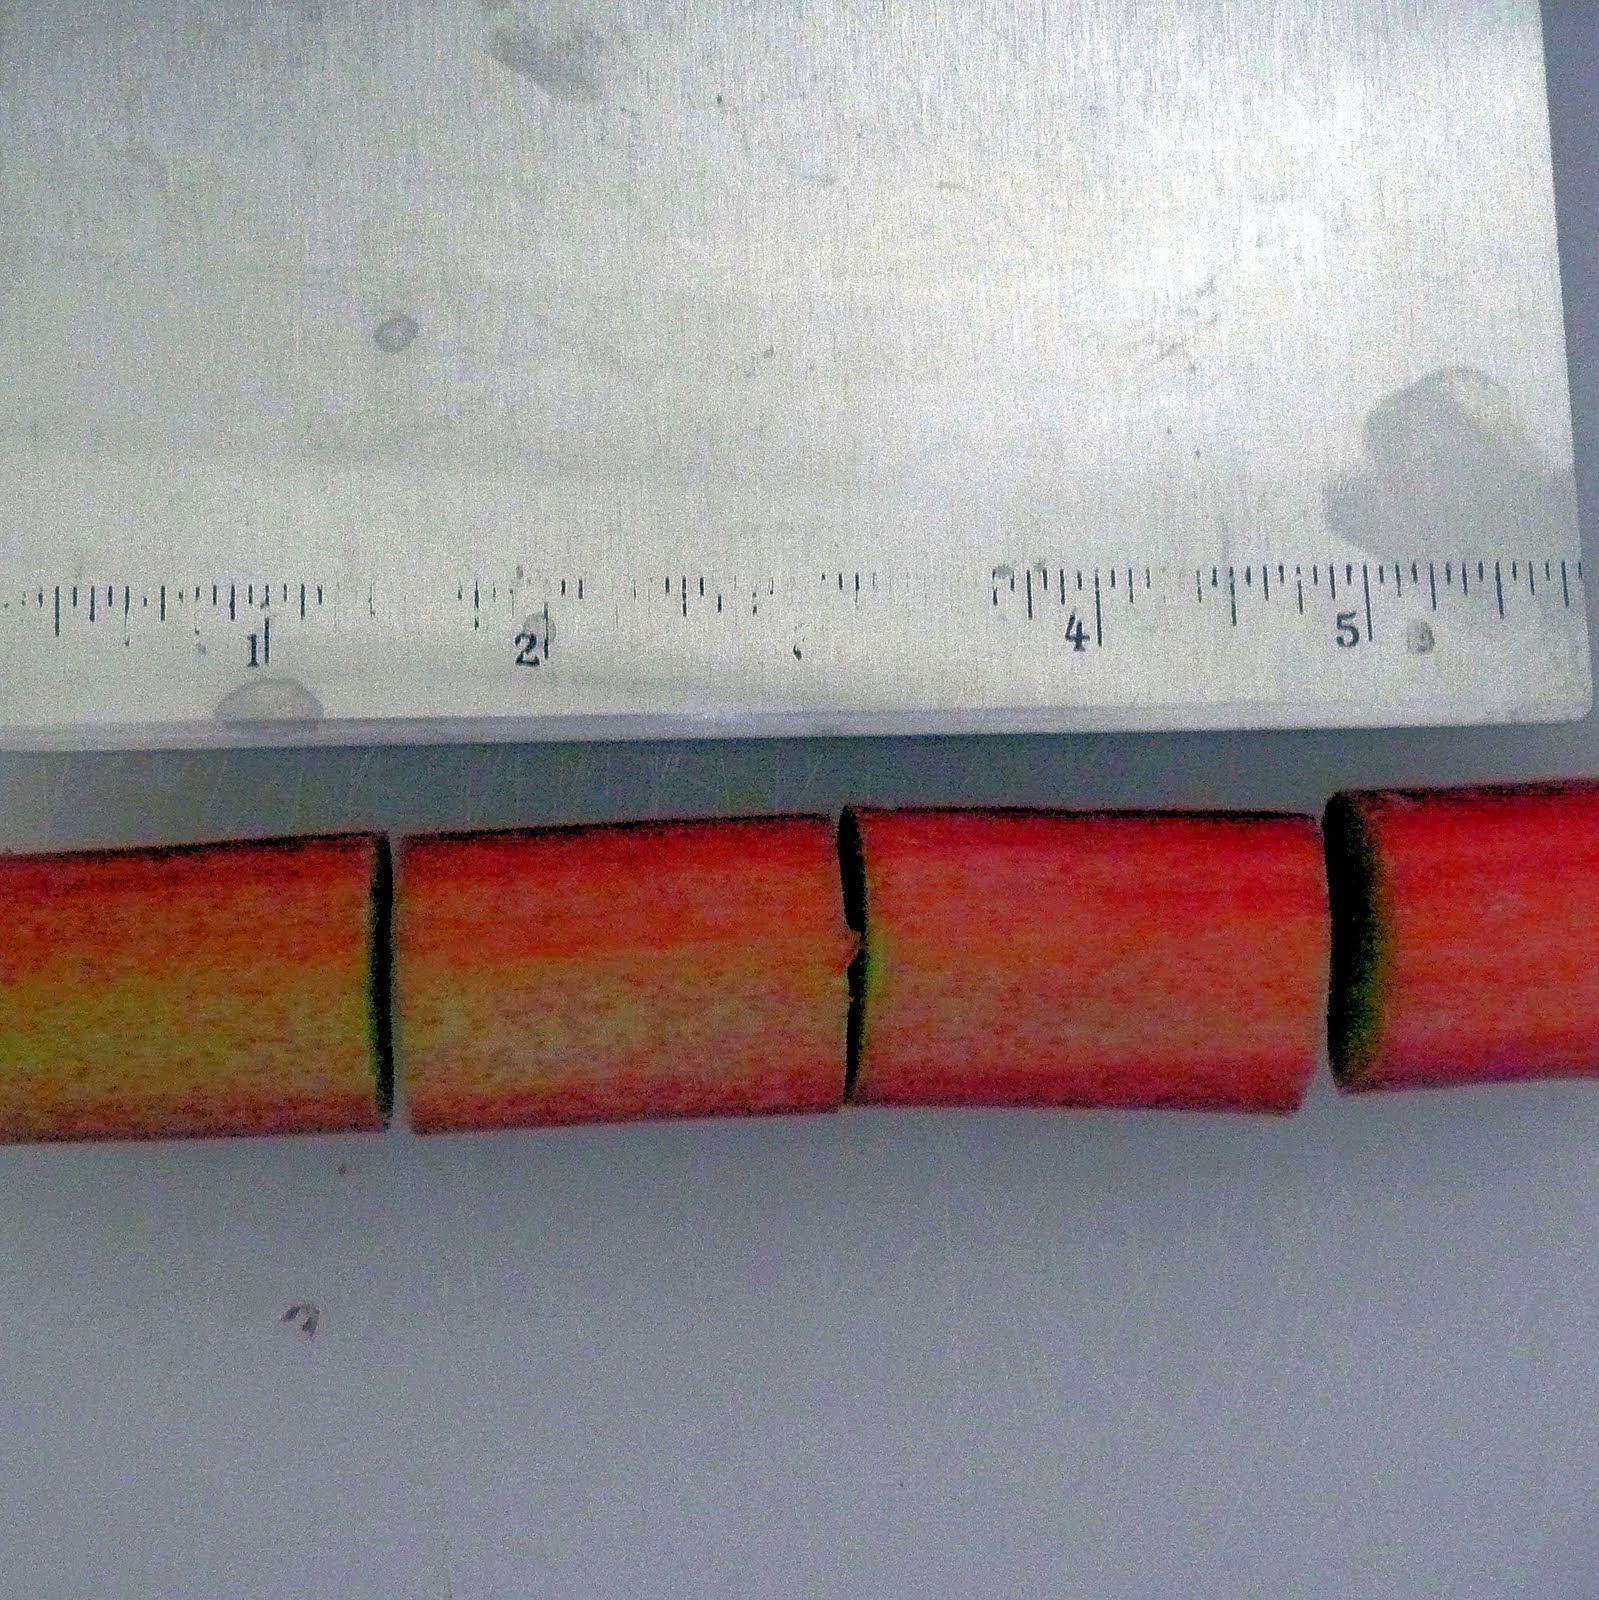
5 to 6 cups rhubarb, trimmed and cut into 1½-inch pieces, tough strings removed
¼ cup turbinado sugar (raw sugar) — This is just what I had on hand
1 tablespoon fresh orange juice
1 teaspoon orange zest
¾ cup brown sugar
½ cup all-purpose flour
½ teaspoon cinnamon, or to taste
pinch salt
½ cup rolled oats
½ cup pecans
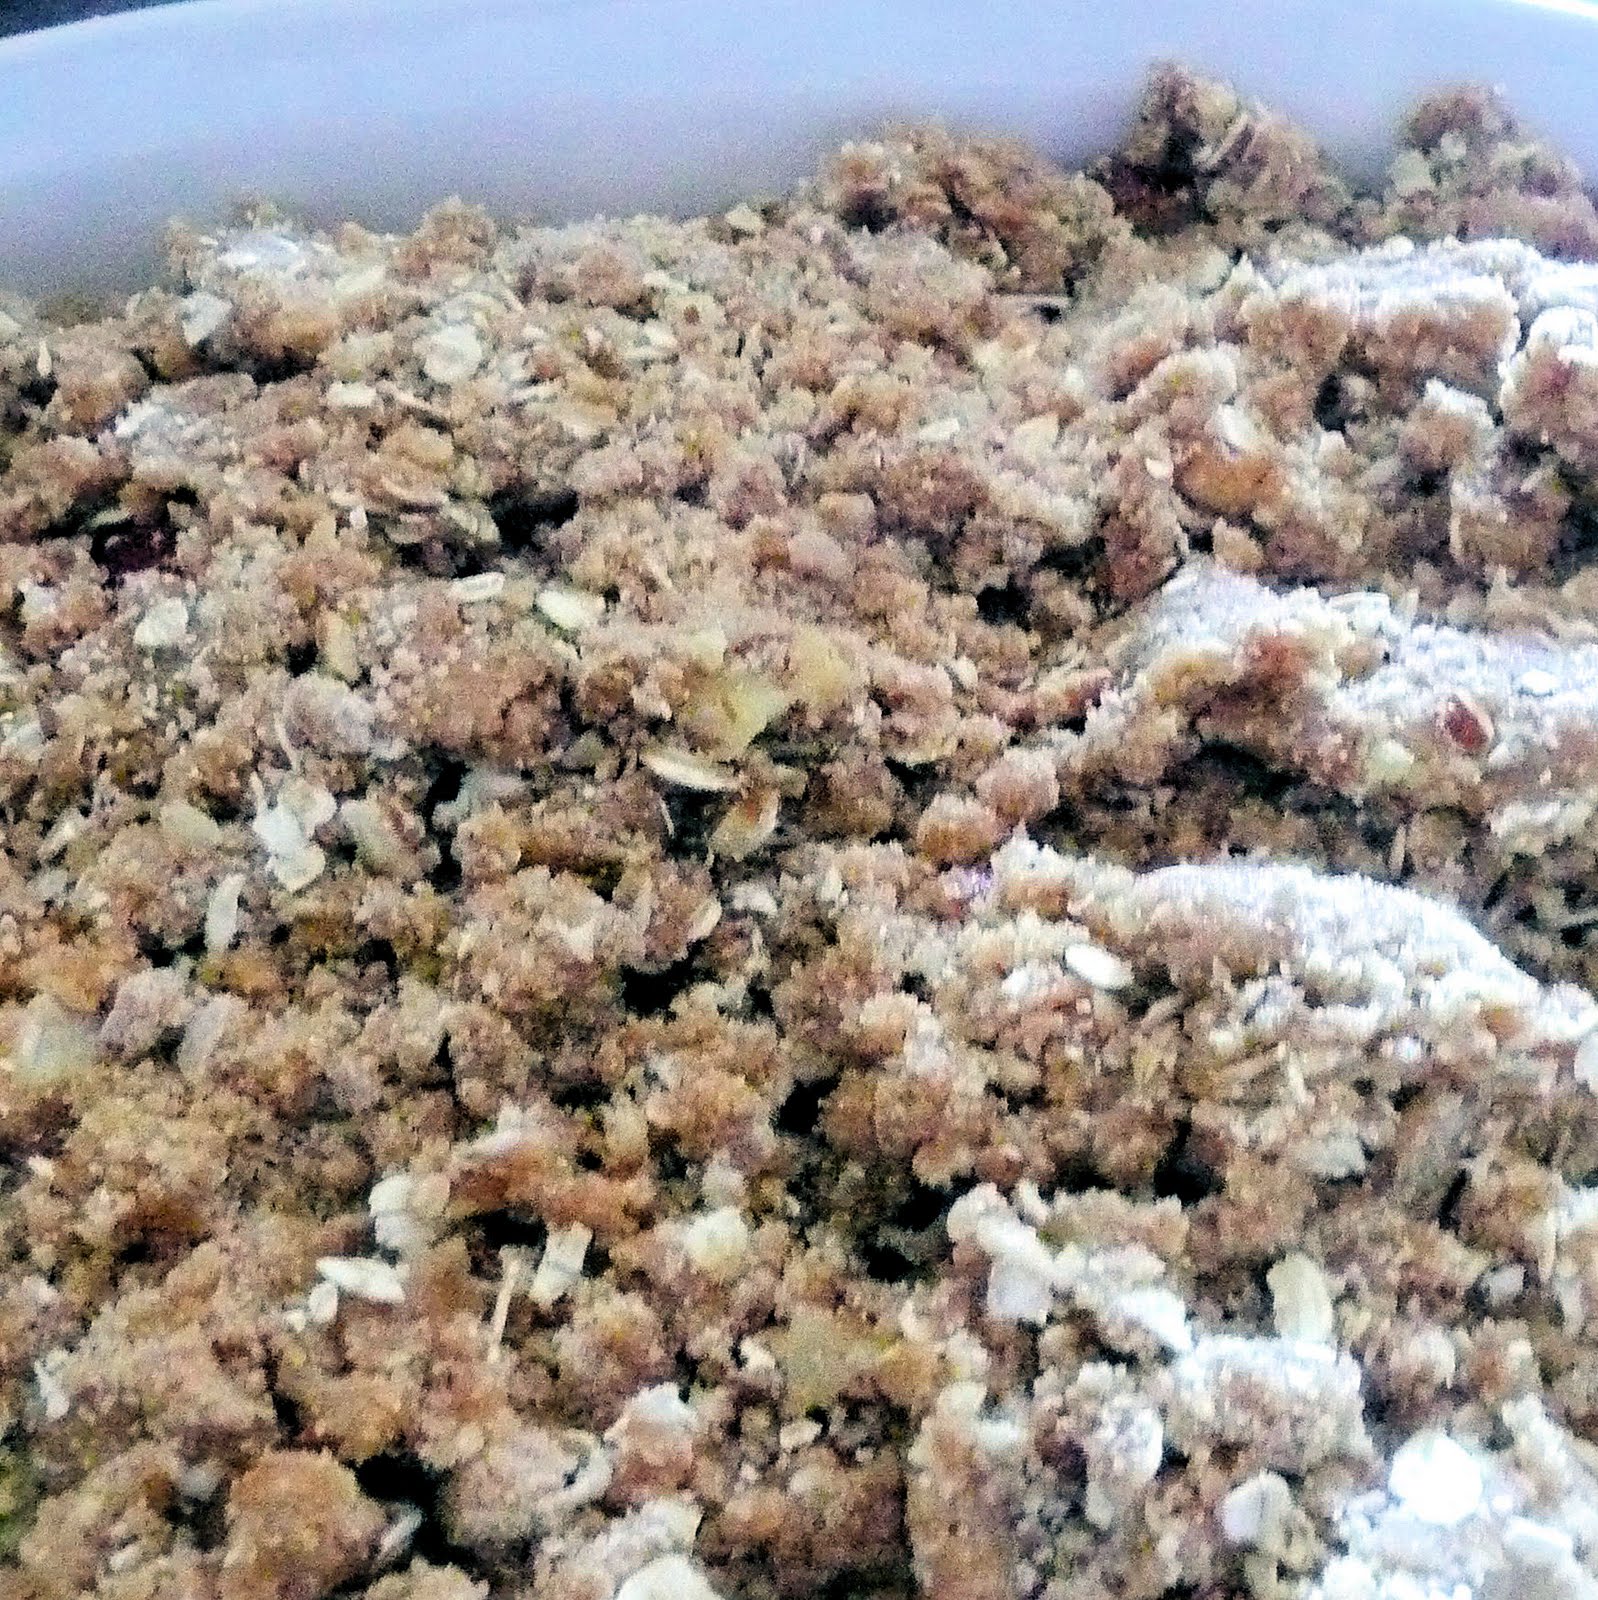
Preheat oven to 375 degrees. Spray a baking dish with cooking spray, or use some butter to grease the pan. Prepare your rhubarb by cutting it into 1.5 inch pieces.
Toss prepared rhubarb with turbinado sugar (or whatever sugar you have), orange juice, and orange zest. Spread in the baking dish.
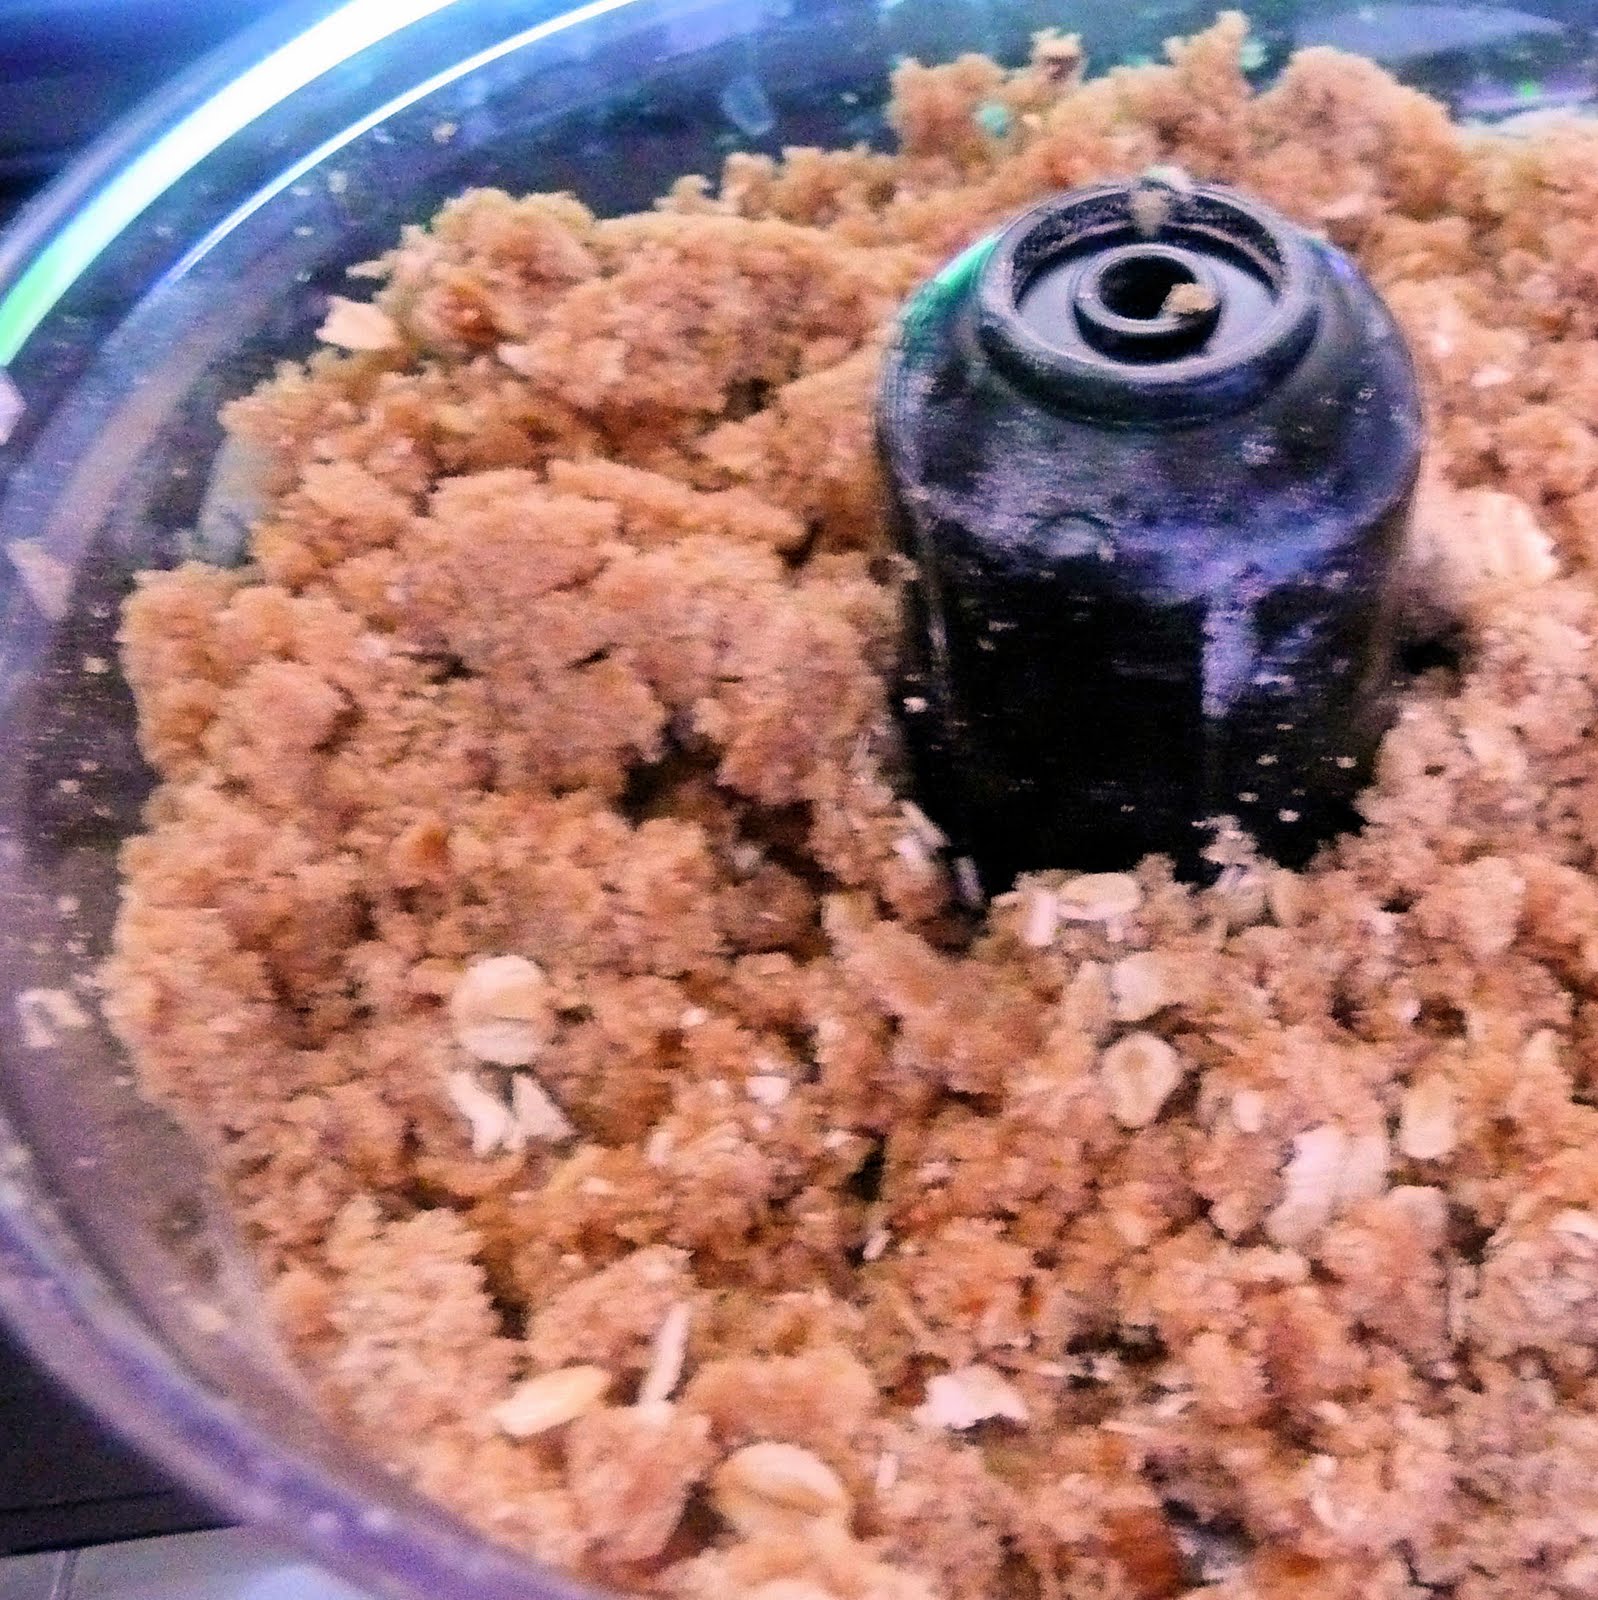
Add butter, brown sugar, flour, cinnamon, and salt to a food processor. Pulse for 20 to 30 seconds, or until it begins to clump together. Add oats and pecans and pulse until combined.
Crumble the pecan oat topping over the rhubarb mixture.
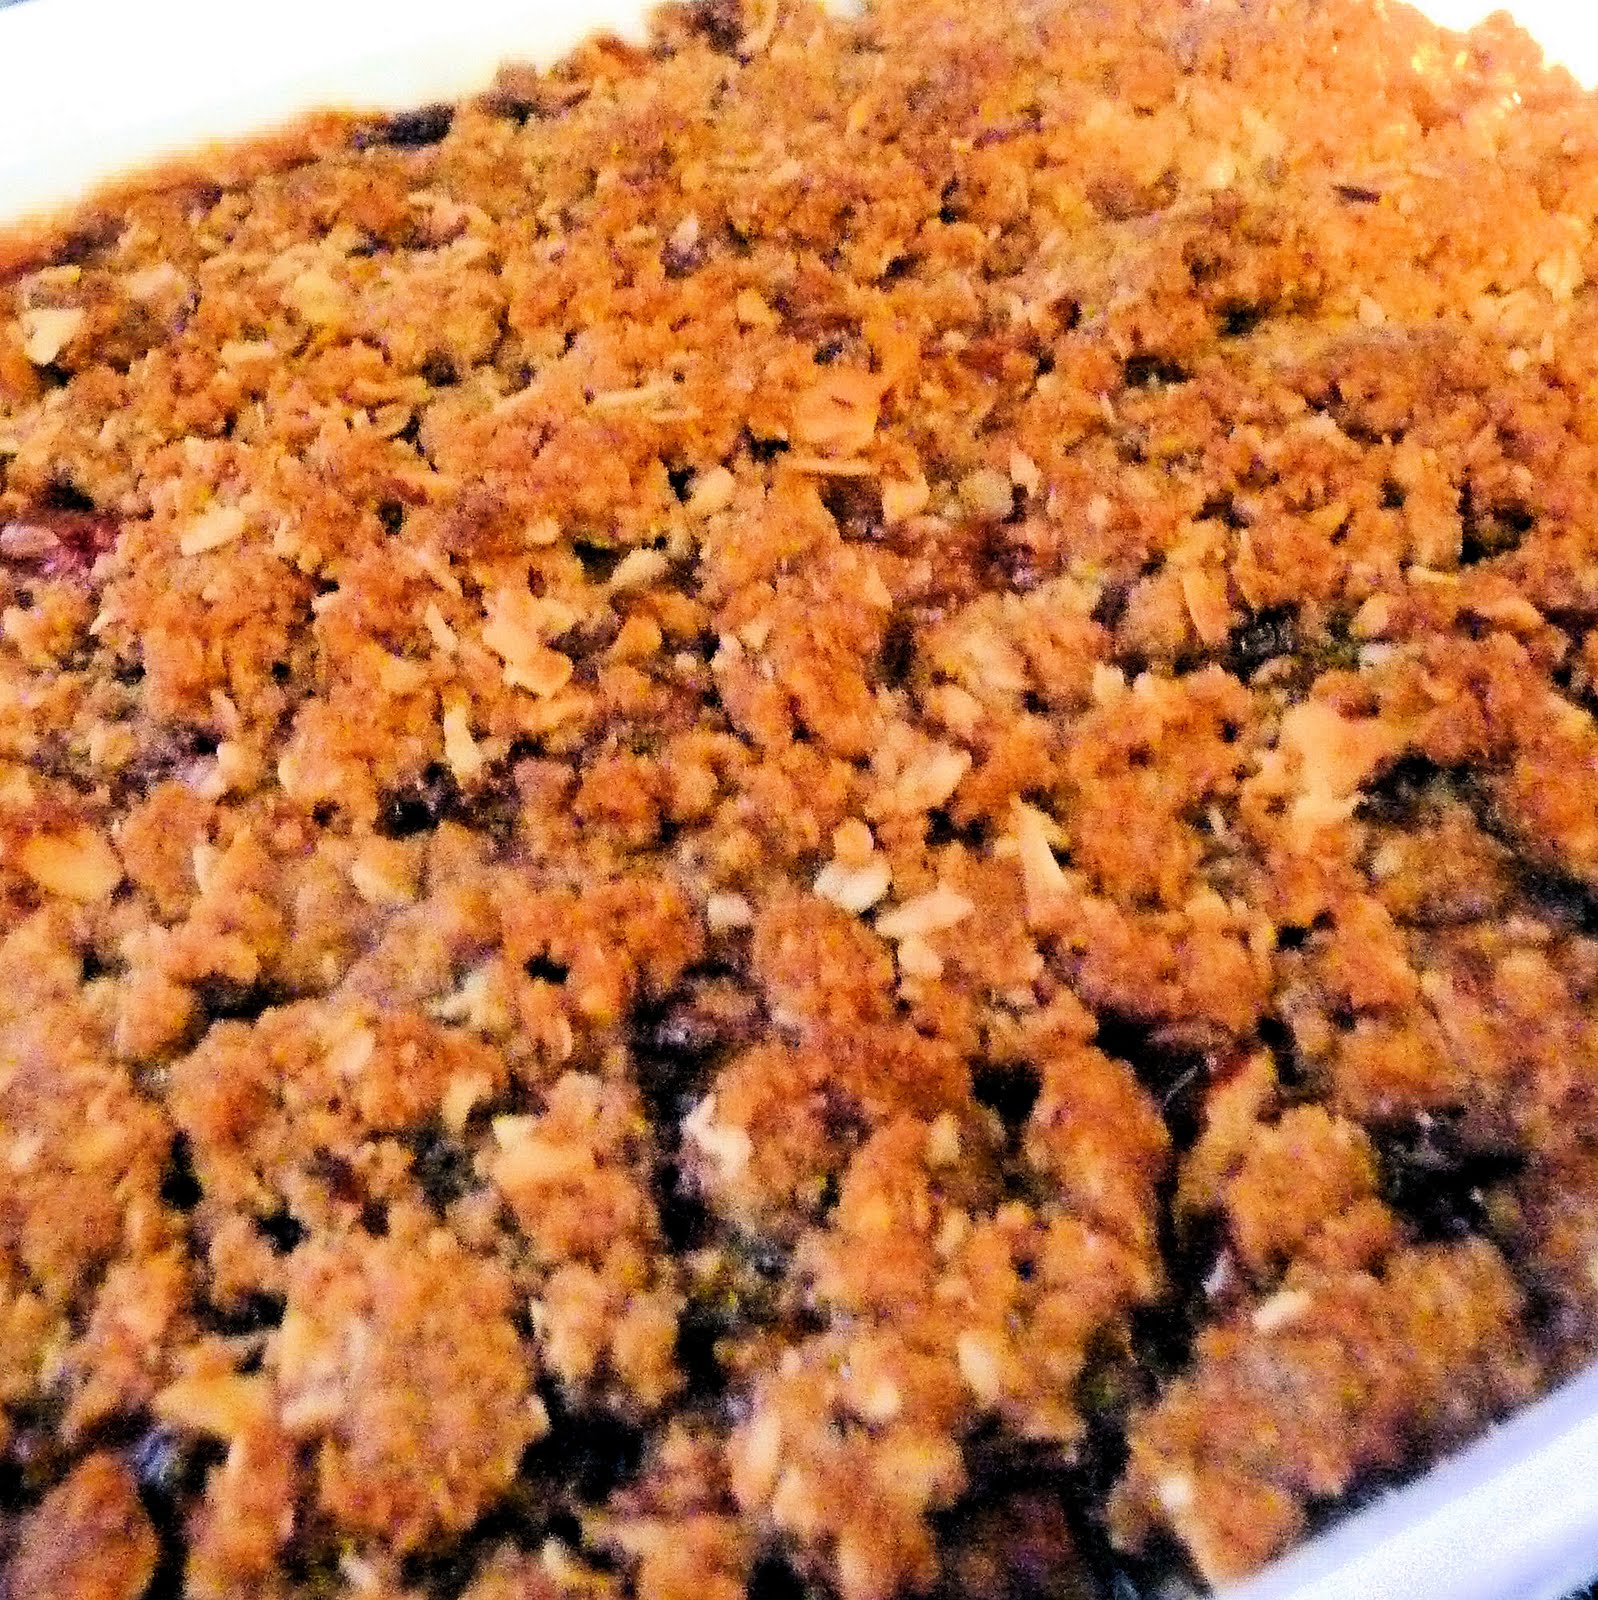
Bake for 45 to 50 minutes, or until brown and bubbling.
I dare you to put that much sugar in any dessert and make it taste bad. It was really sweet (obviously), and honestly might have needed a bit more acid. Maybe a squeeze of lemon? The oats and pecans stayed nice and crunchy, while the rhubarb softened so that it could easily be cut with a spoon. Yum!
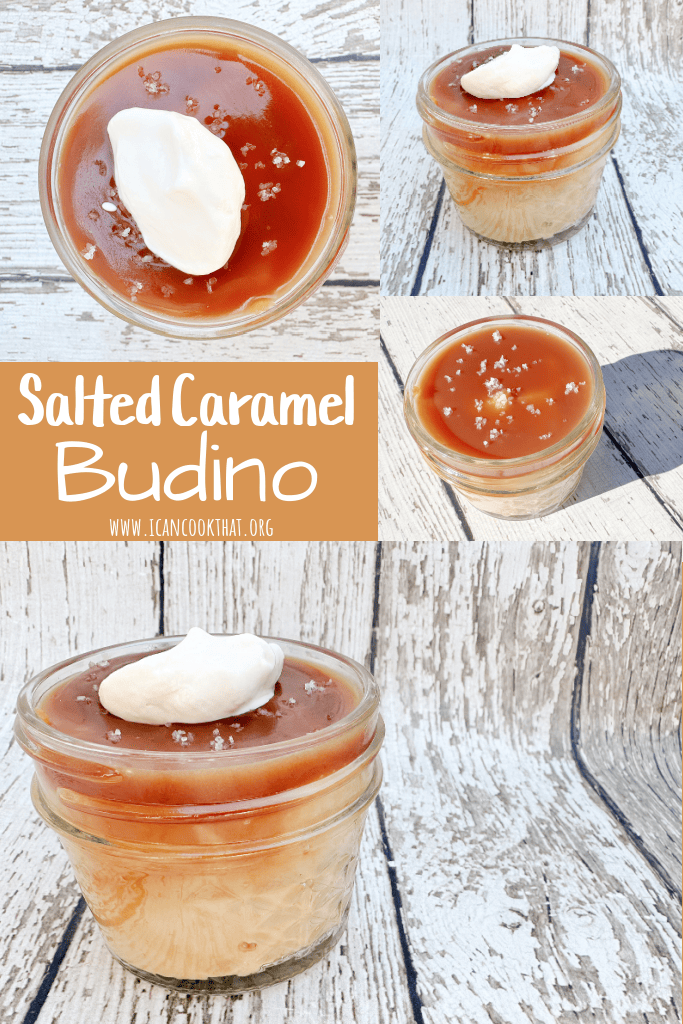
Tasting Table posted an adapted recipe of Marcie Turney’s Salted Caramel Budino. If you’ve never been to Barbuzzo in Philadelphia, your taste buds are missing out on one fantastic dessert. So, if my attempt at this adapted recipe is even half as good as the original salted caramel budino, I will consider this a win.
Barbuzzo’s version is described as “dark chocolate crust, vanilla bean caramel, sea salt.” The Salted Caramel Budino version below omits the crust, but maintains the vanilla bean salted caramel poured over a maple flavored custard.
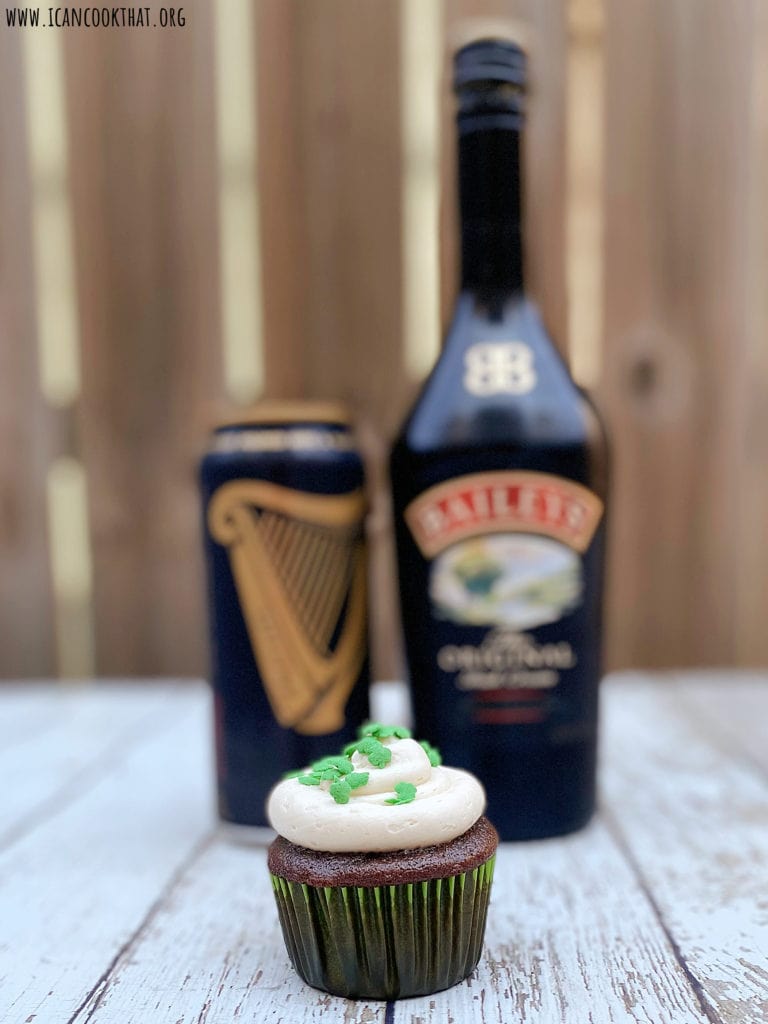
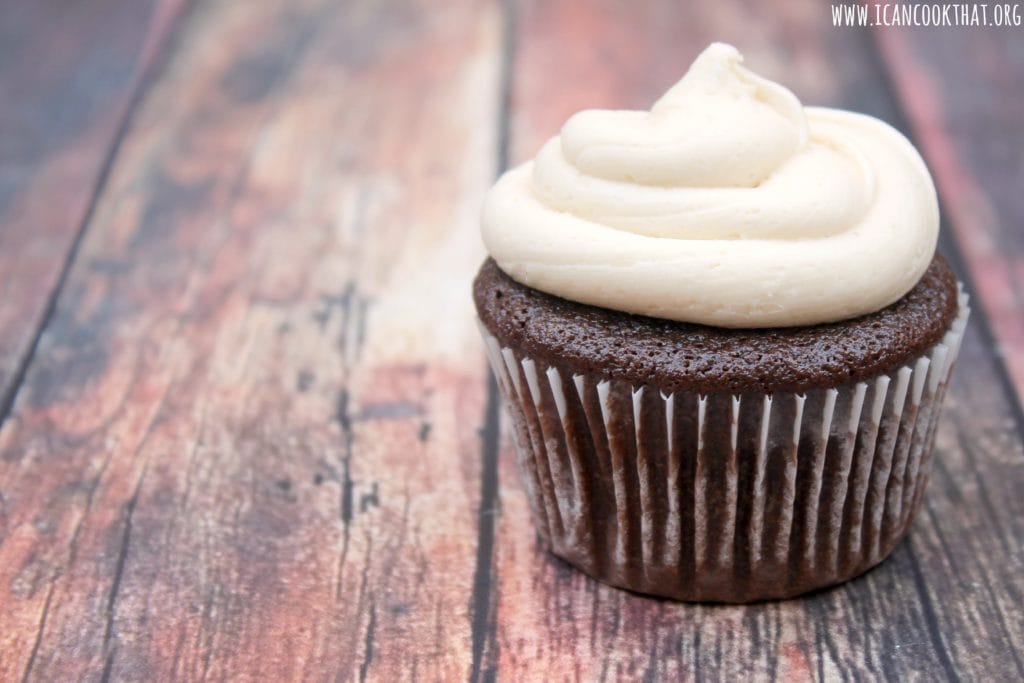
With St. Patrick’s Day right around the corner, I wanted to test out my recipe for Guinness Cupcakes with Baileys Frosting before the big day to make sure it didn’t need any tweaking.
Guinness cupcakes are chocolate cupcakes that use a dark stout to enhance the flavor.
To keep with the theme, I decided to also make Bailey’s frosting.
Ingredients (makes 24 cupcakes)
Guinness Cupcakes:
3/4 cup unsweetened cocoa
2 cups sugar
2 cups all-purpose flour
1 teaspoon baking soda
1/8 teaspoon salt
1 12 oz bottle of Guinness (or any other dark stout) – if your bottle is more than this, just measure out 12 oz
1 (4 oz) stick of butter, melted and cooled to room temperature