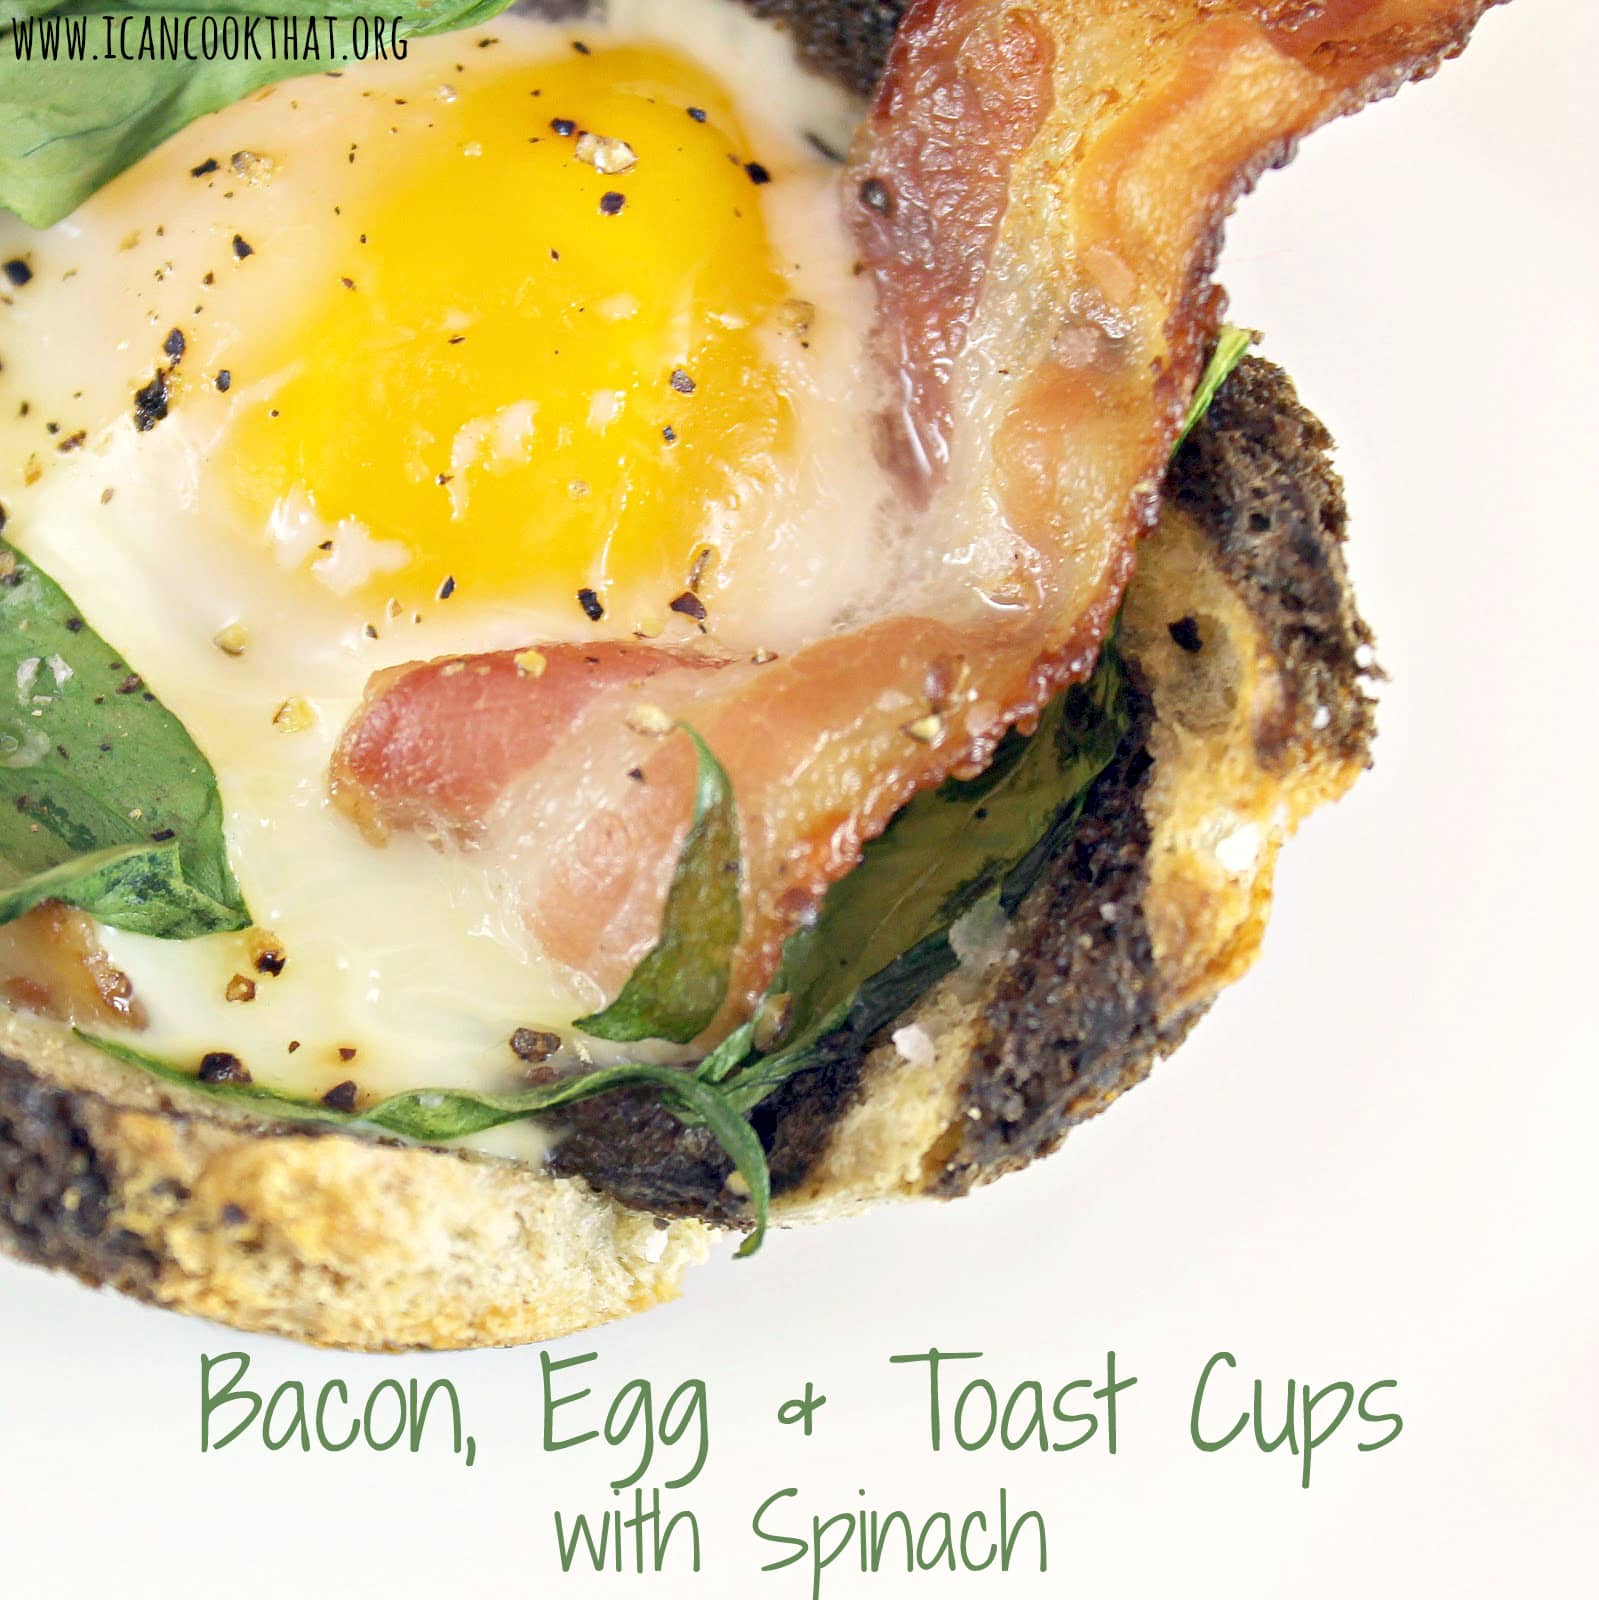
Recipes can tell you a lot about the time period in which they were written. I have always been interested in how recipes change over time to meet tastes, availability and personal income. A few months ago, I went to an event at the Historical Society of Philadelphia about a Civil War era cookbook they found within their documents. The cookbook, written by Ellen Emlenwas written around 1865 and is really well organized, especially for the time. Mrs. Emlen, a Philadelphia housewife, put a lot of time into the cookbook, organizing it into thirteen categories including over 200 recipes.
Some of the fun facts that I learned:
- If you think Americans have a sugar problem now, you should see some of the amounts of sugar that used to go into recipes! Most recipes would have to be altered to include less sugar to make palatable to us today.
- Despite their not so wallet-friendly prices now, oysters used to be “poor man’s food” in nineteenth century Philadelphia. The Delaware River used to be teeming with them! Because of that, there are some ridiculous-sounding recipes for things like “how to pickle 1,000 oysters”
- It’s quite amazing how some things haven’t really changed. There is a recipe for eggnog in the book that is comparable to today’s recipe.
- The affluent families of Philadelphia (Mrs. Emlen included) really had a thing for saffron. So many dishes include it in the ingredients!
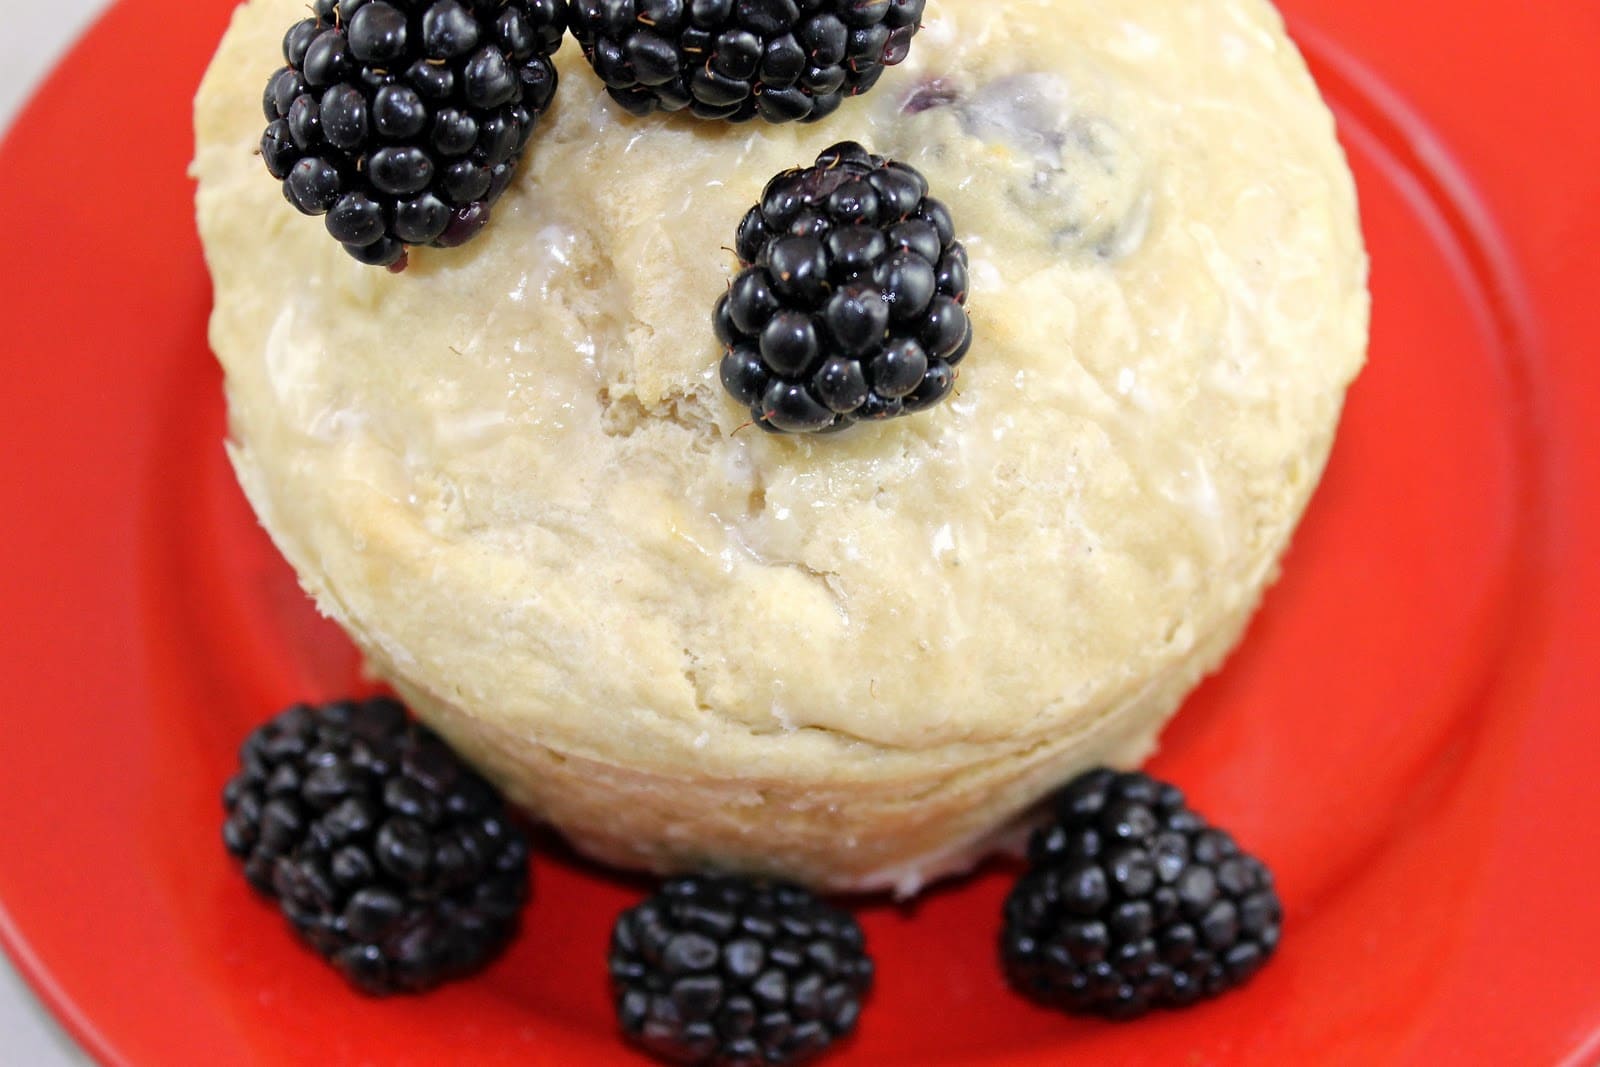
The event was really interesting and we all were given a copy to take home with us! (Expect some posts including adaptations of her recipes in the future). I also picked up another book while I was there, 35 Recipes from “The Larder Invaded”, which also included historical recipes from local Philadelphians. I used a recipe from that book for this Blackberry Pudding, with a few slight changes.

I’m sure some of you just looked at that photo and thought to yourself “that is NOT pudding.” It’s actually an English pudding. Although in the U.S., pudding is usually a milk-based custard type dessert, pudding in the United Kingdom can be used for any sweet dish after dinner (think: Christmas pudding or “figgy pudding”). So, this recipe is actually more of a bread or cake.
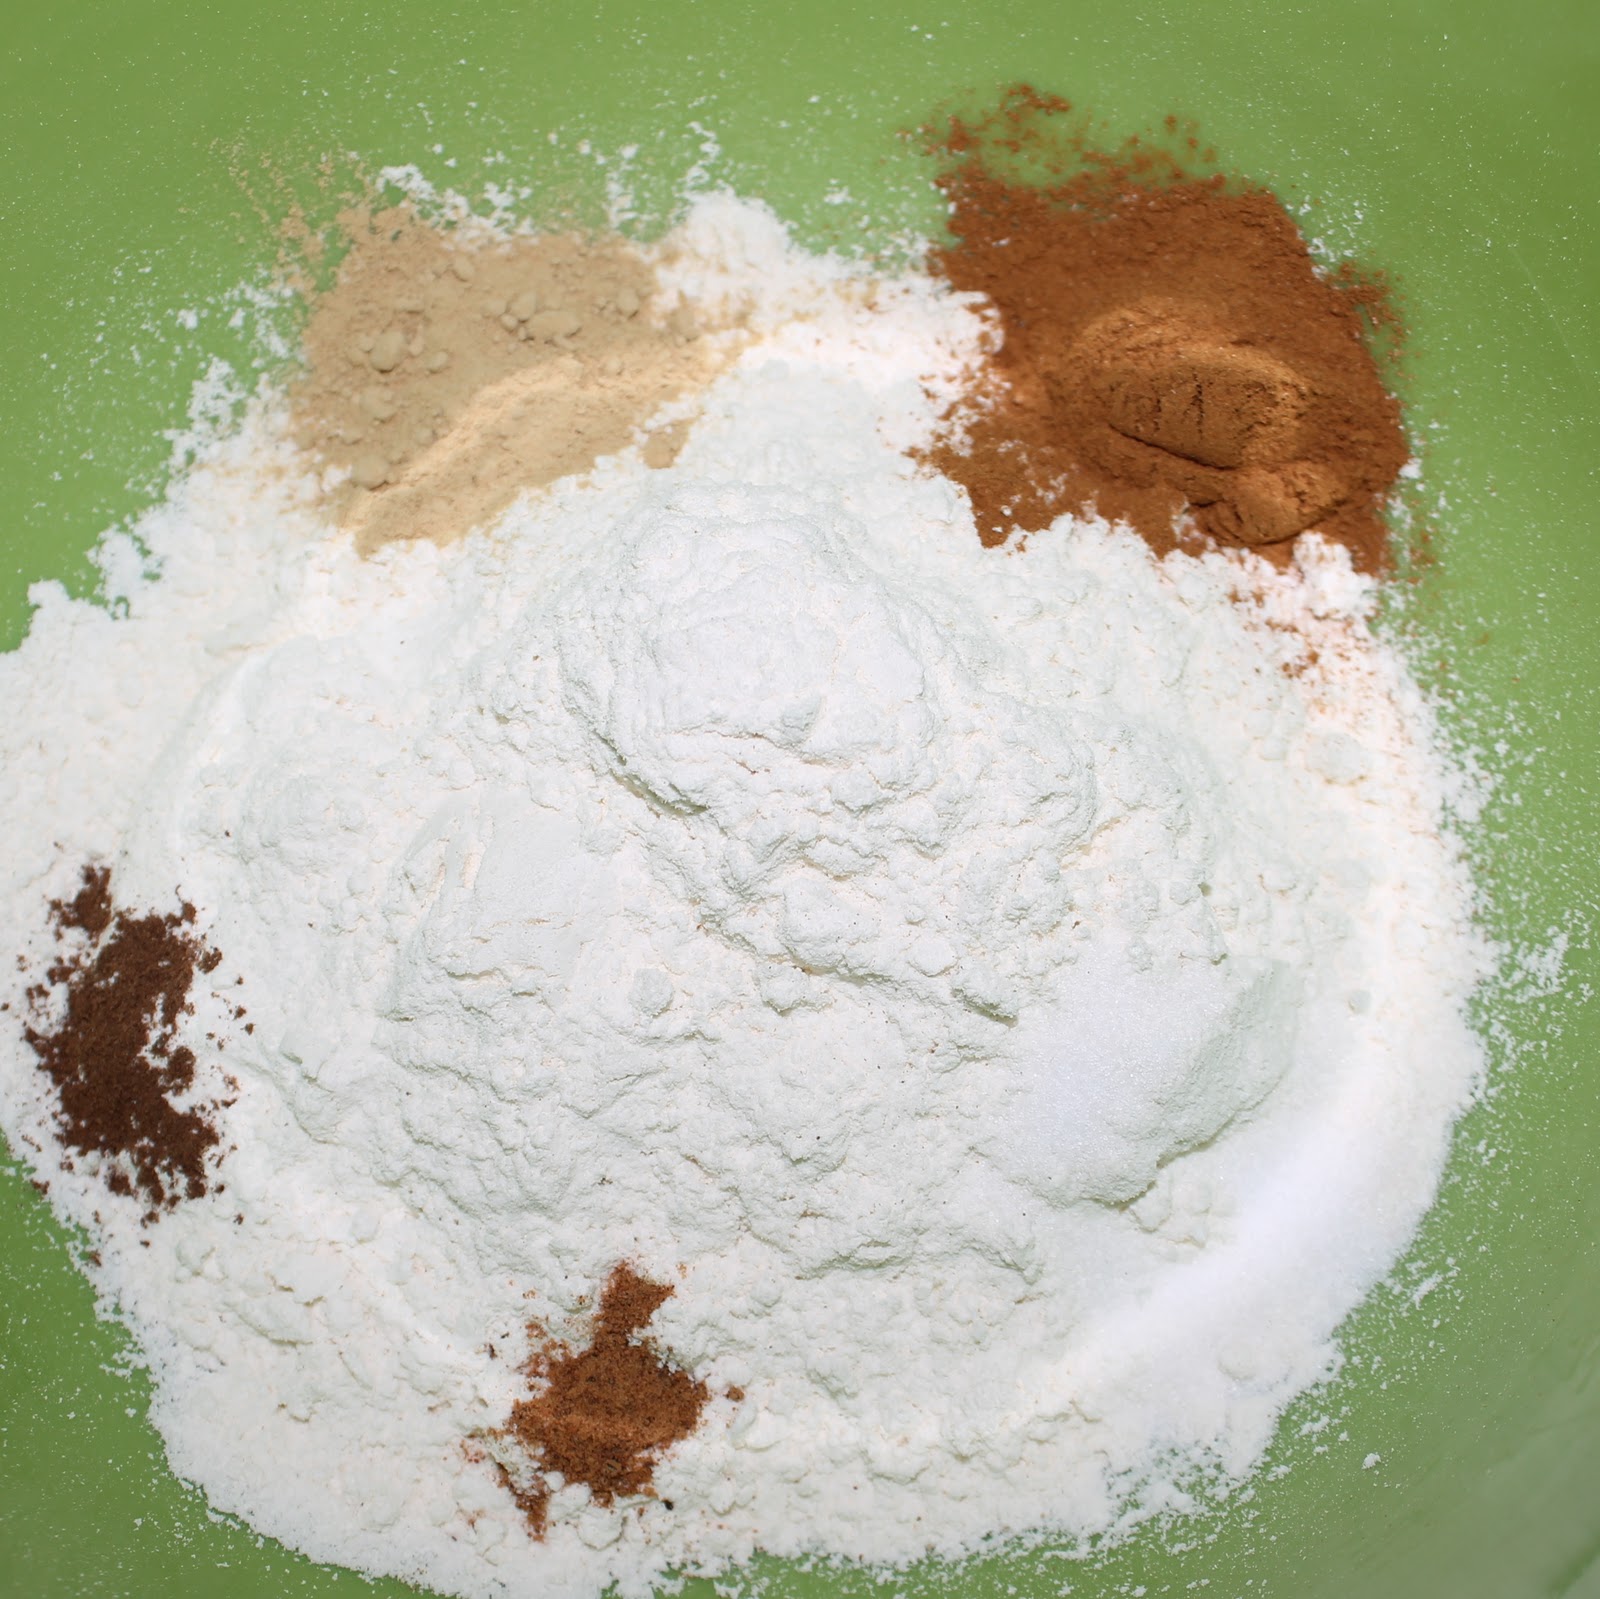
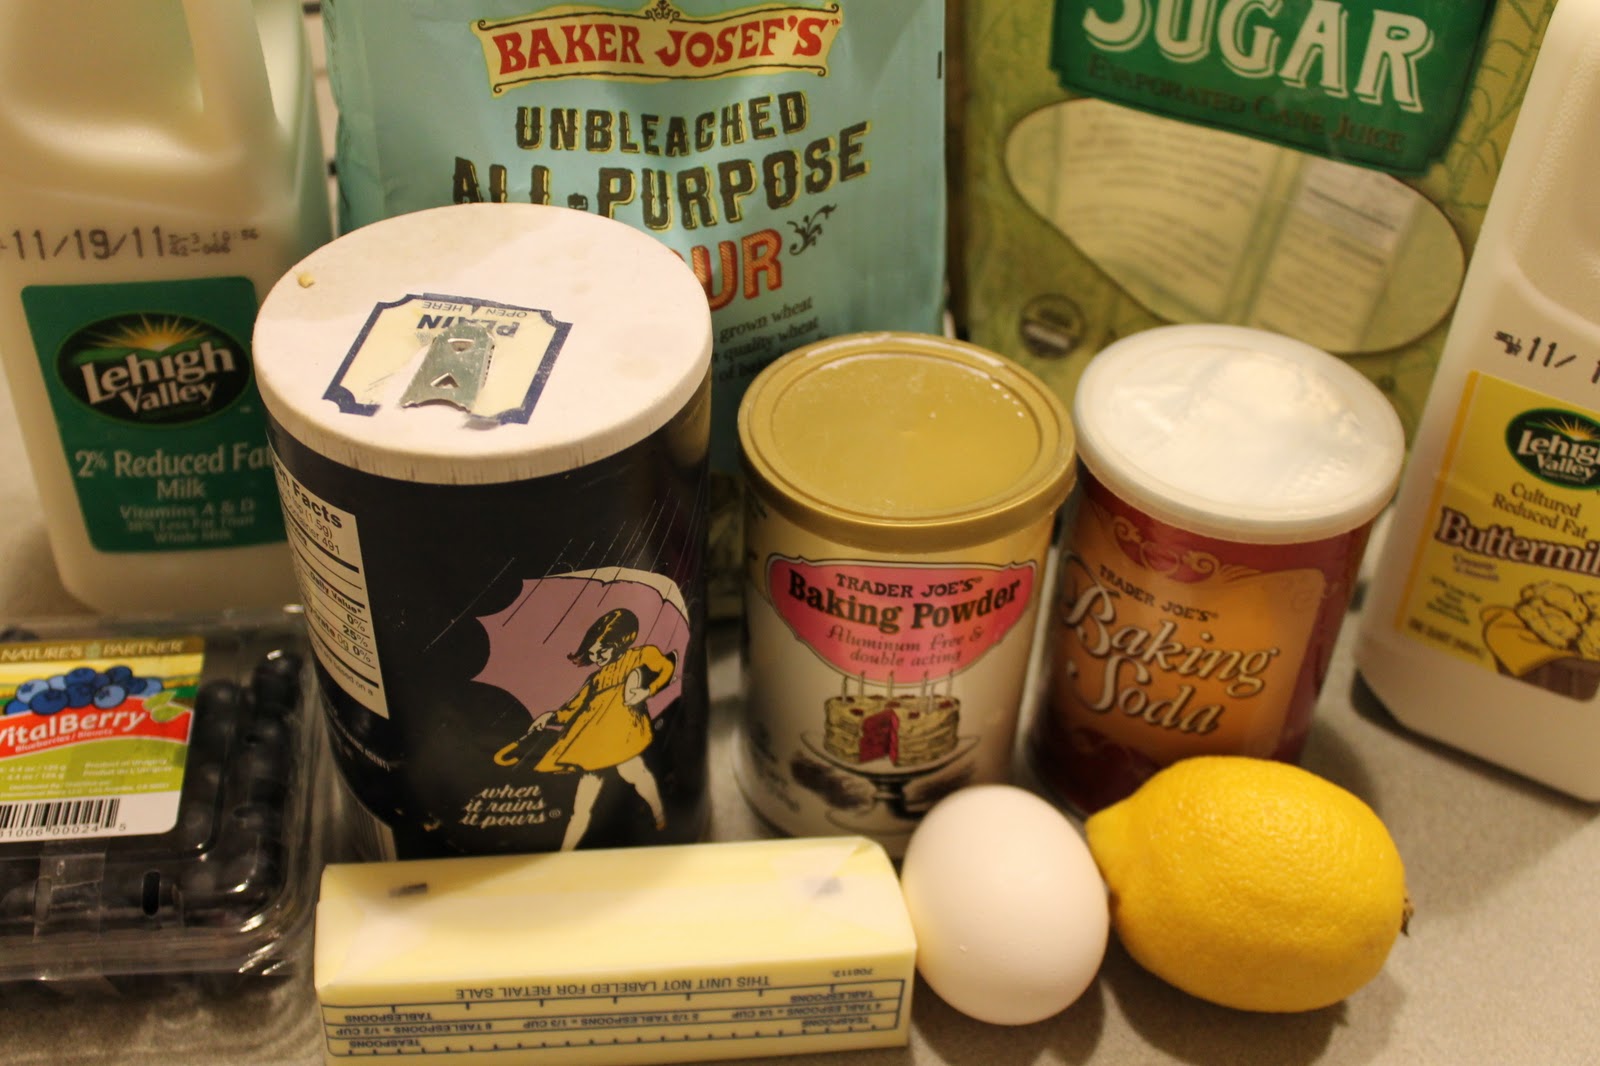
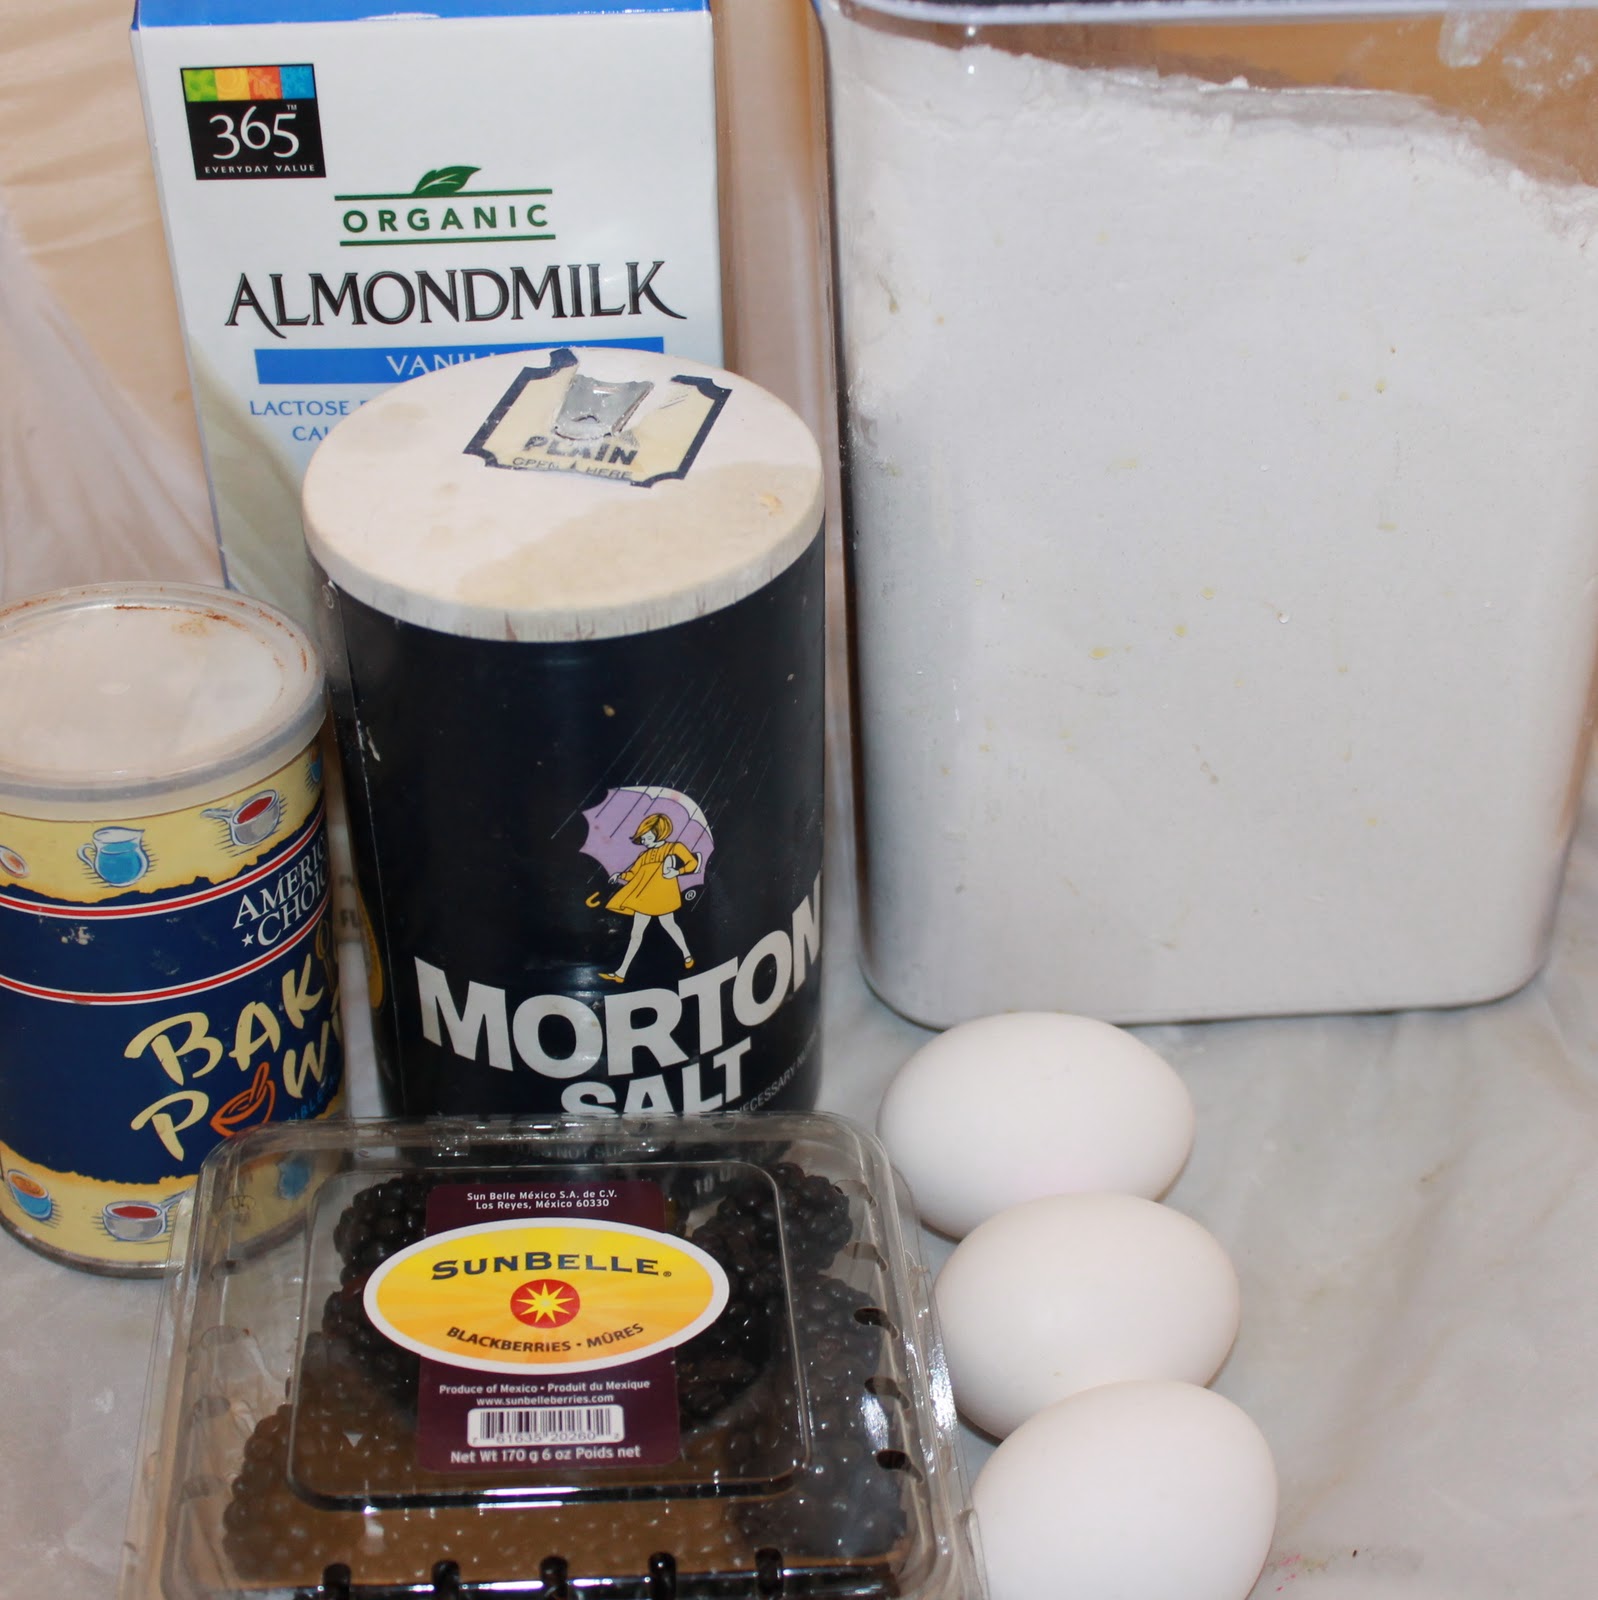
Ingredients:
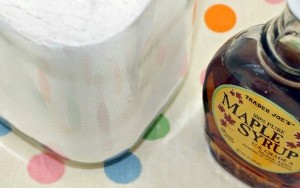
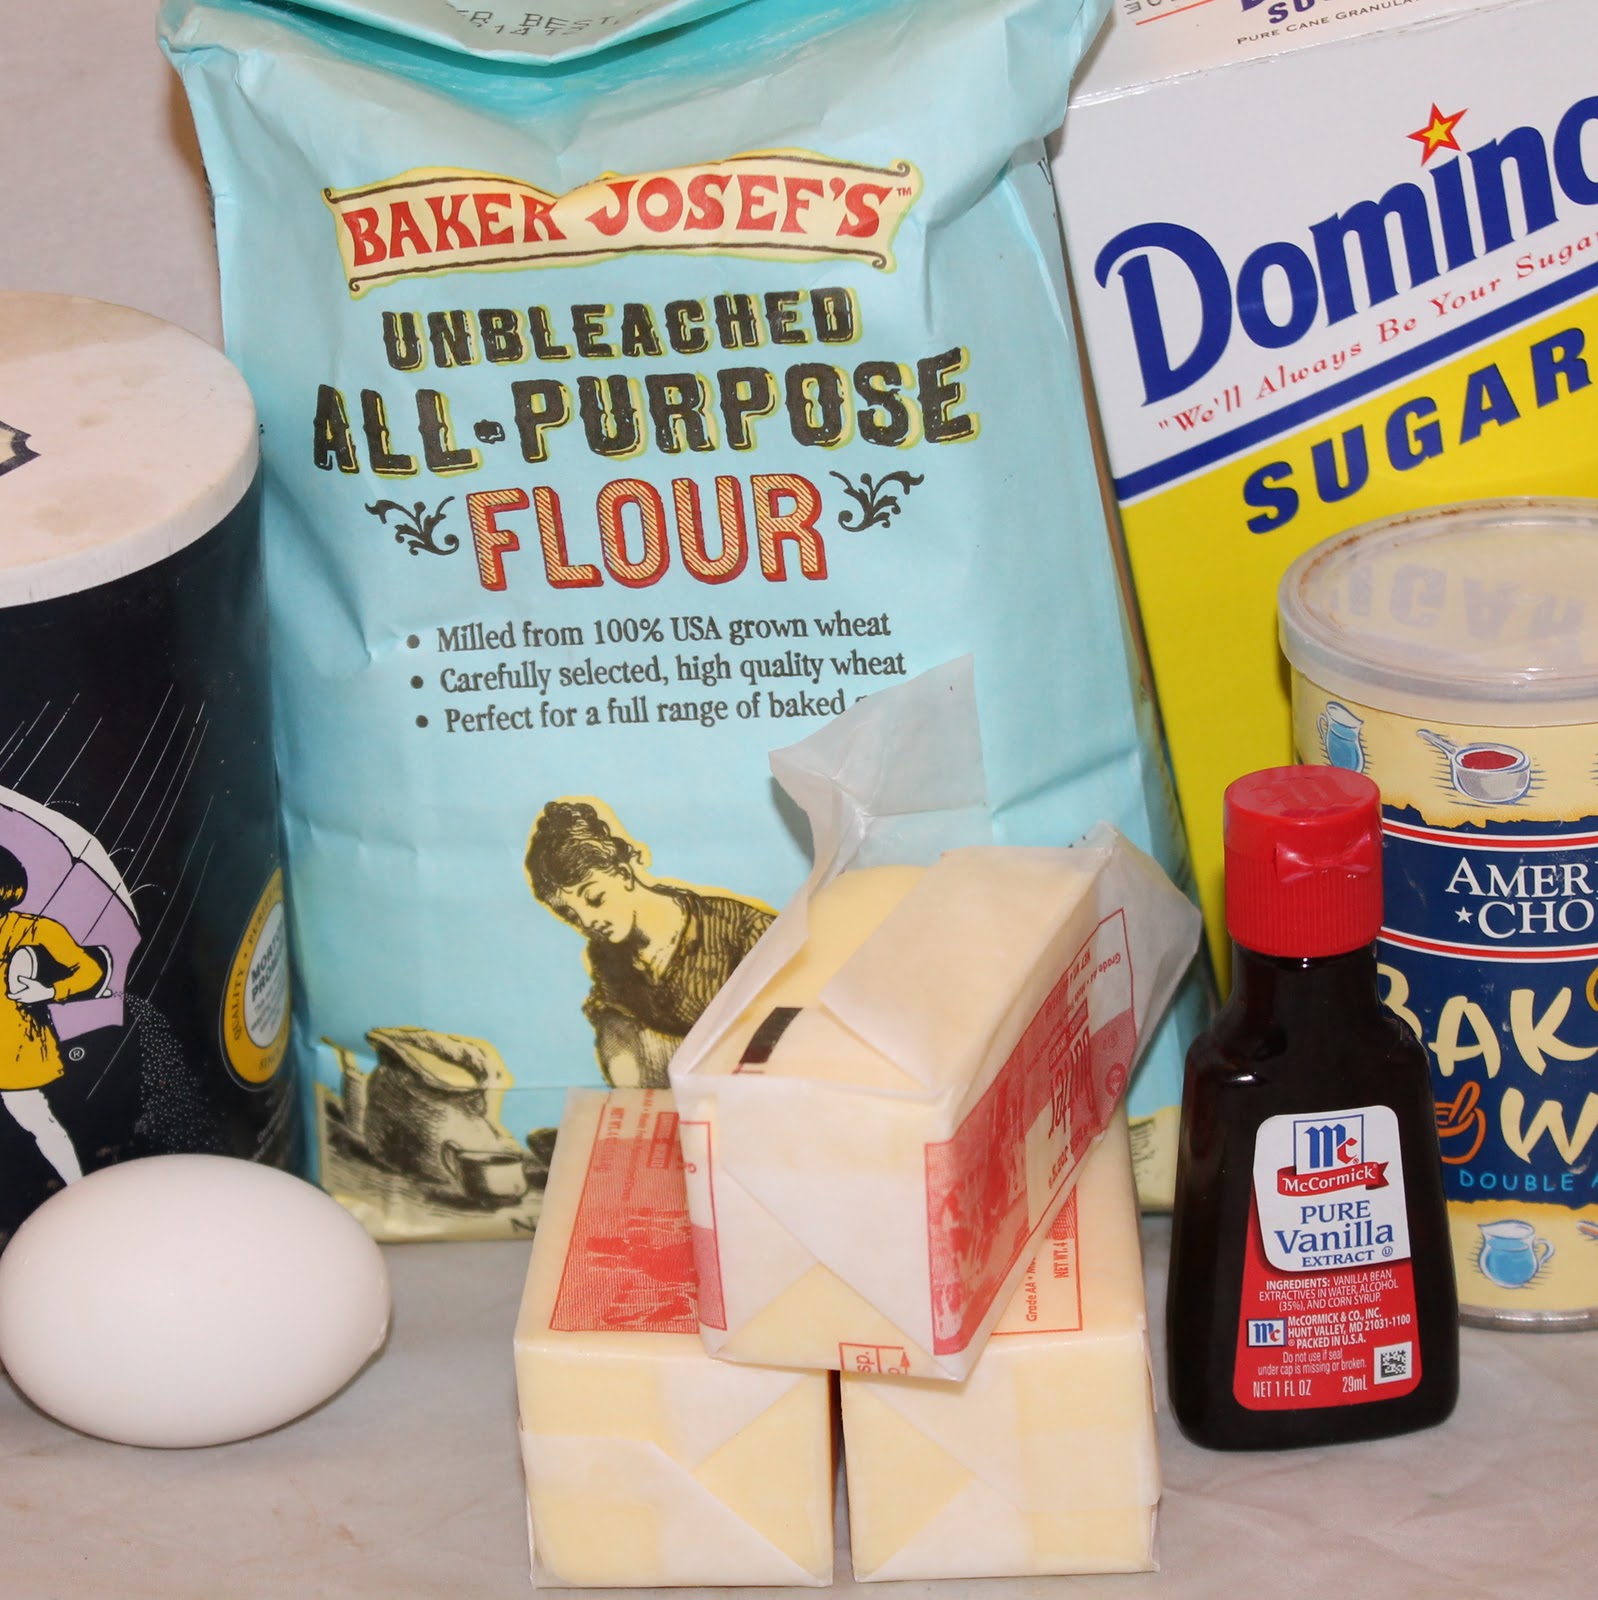
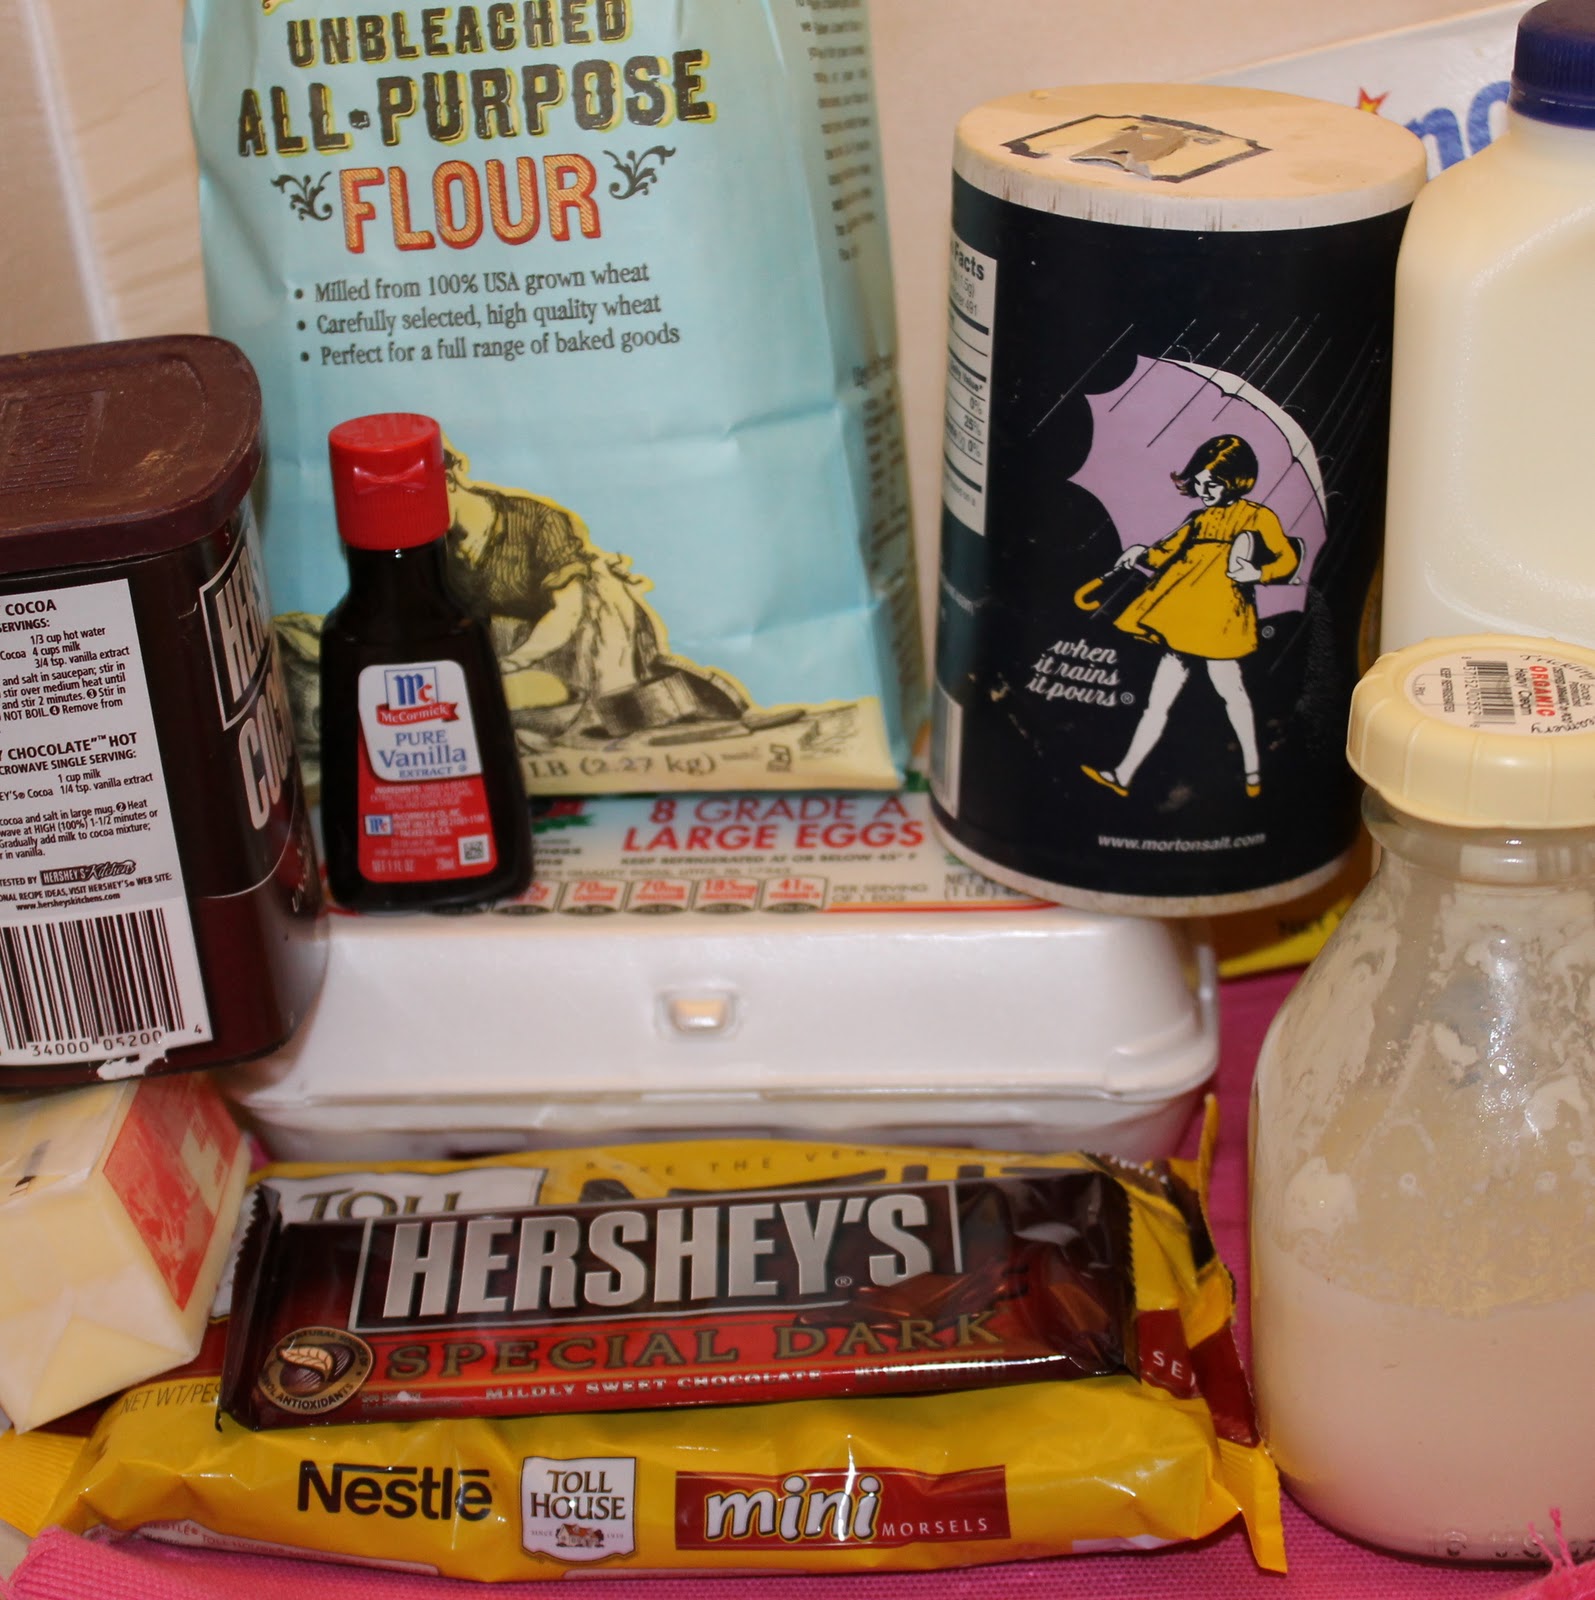
1 pint almond milk, plus more for glaze
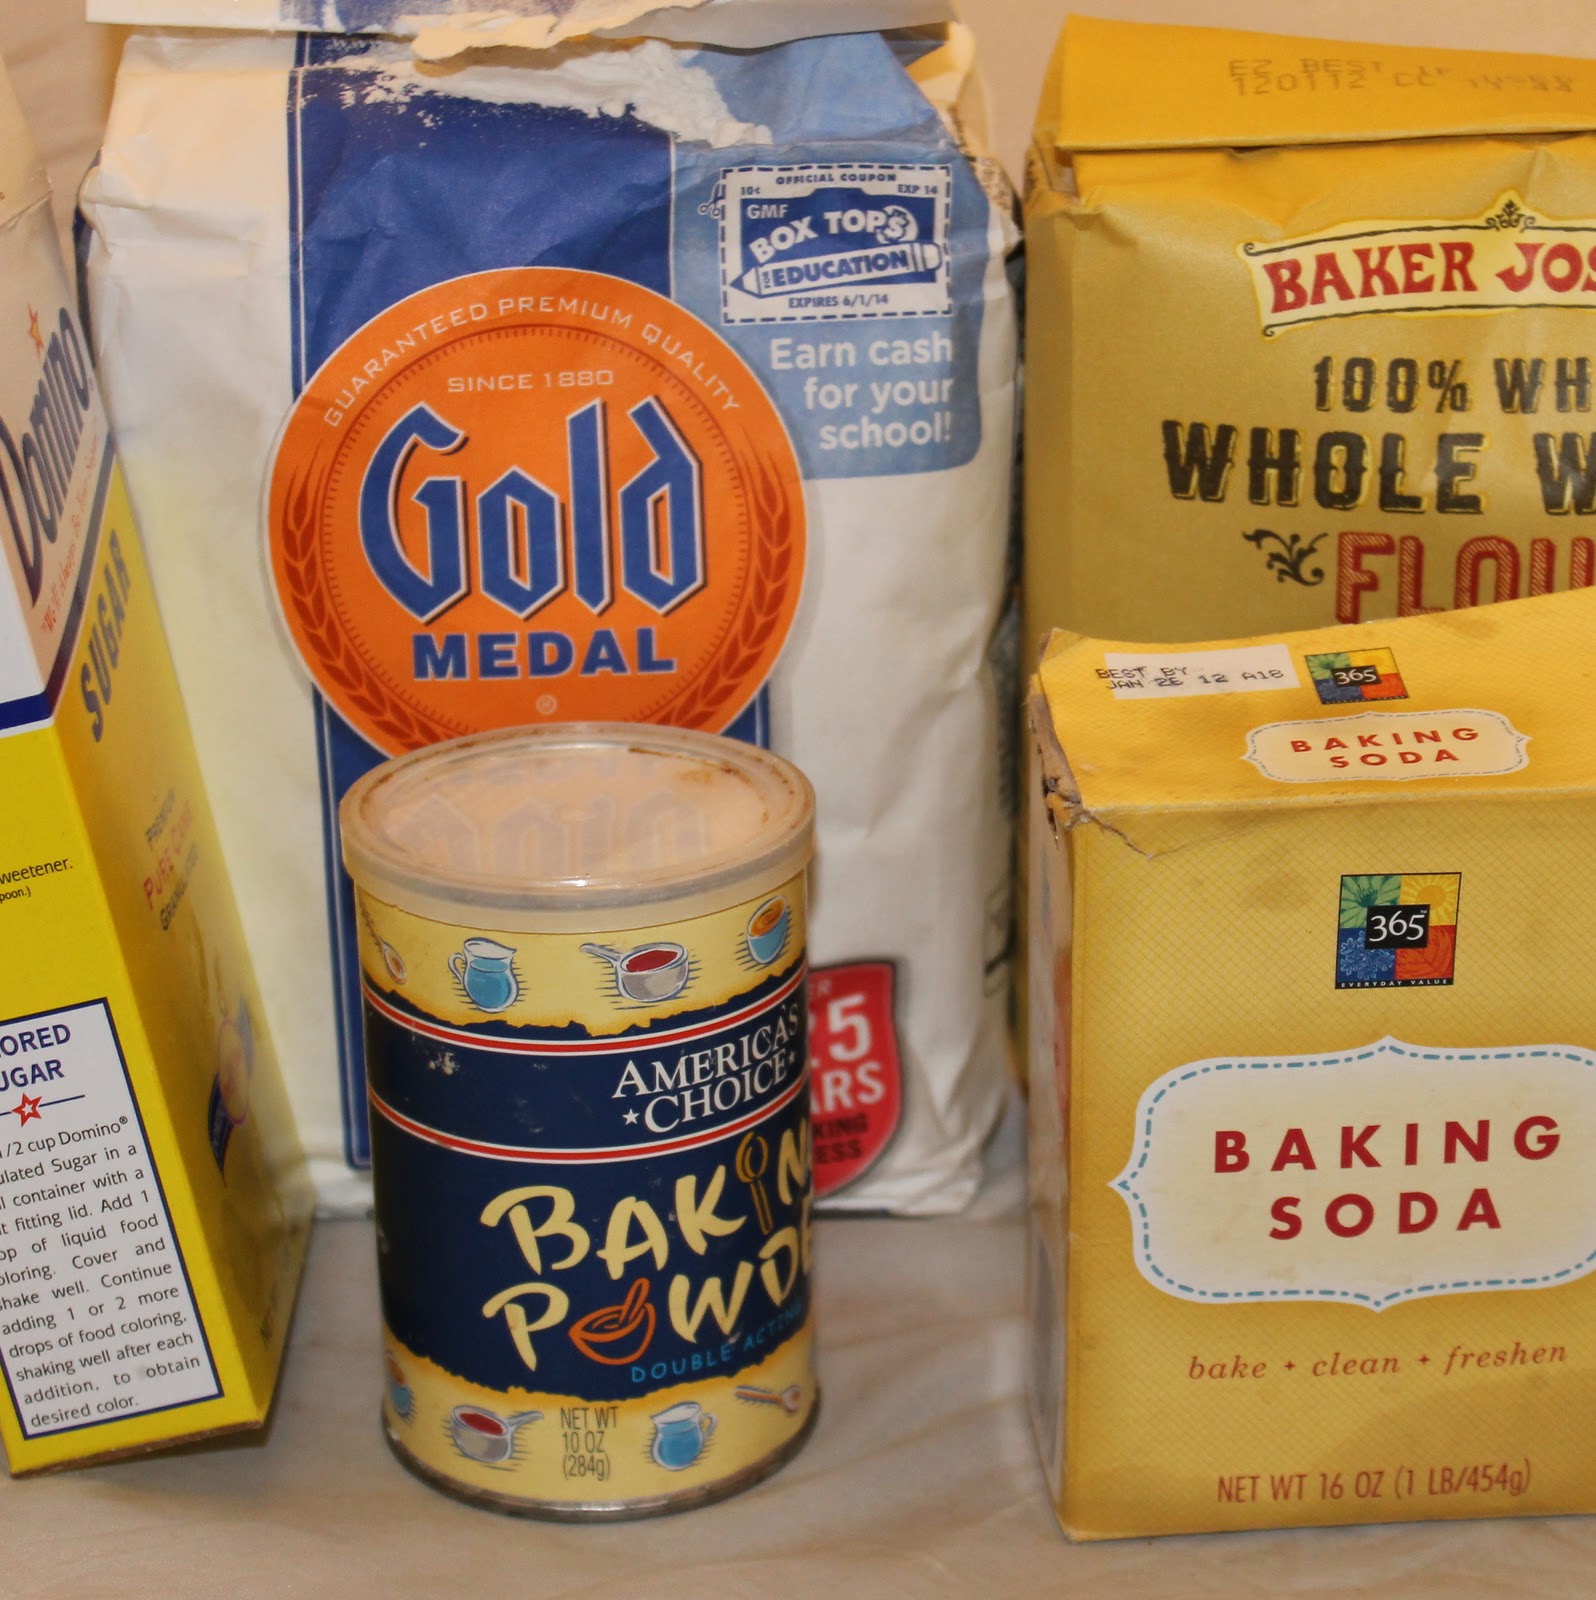
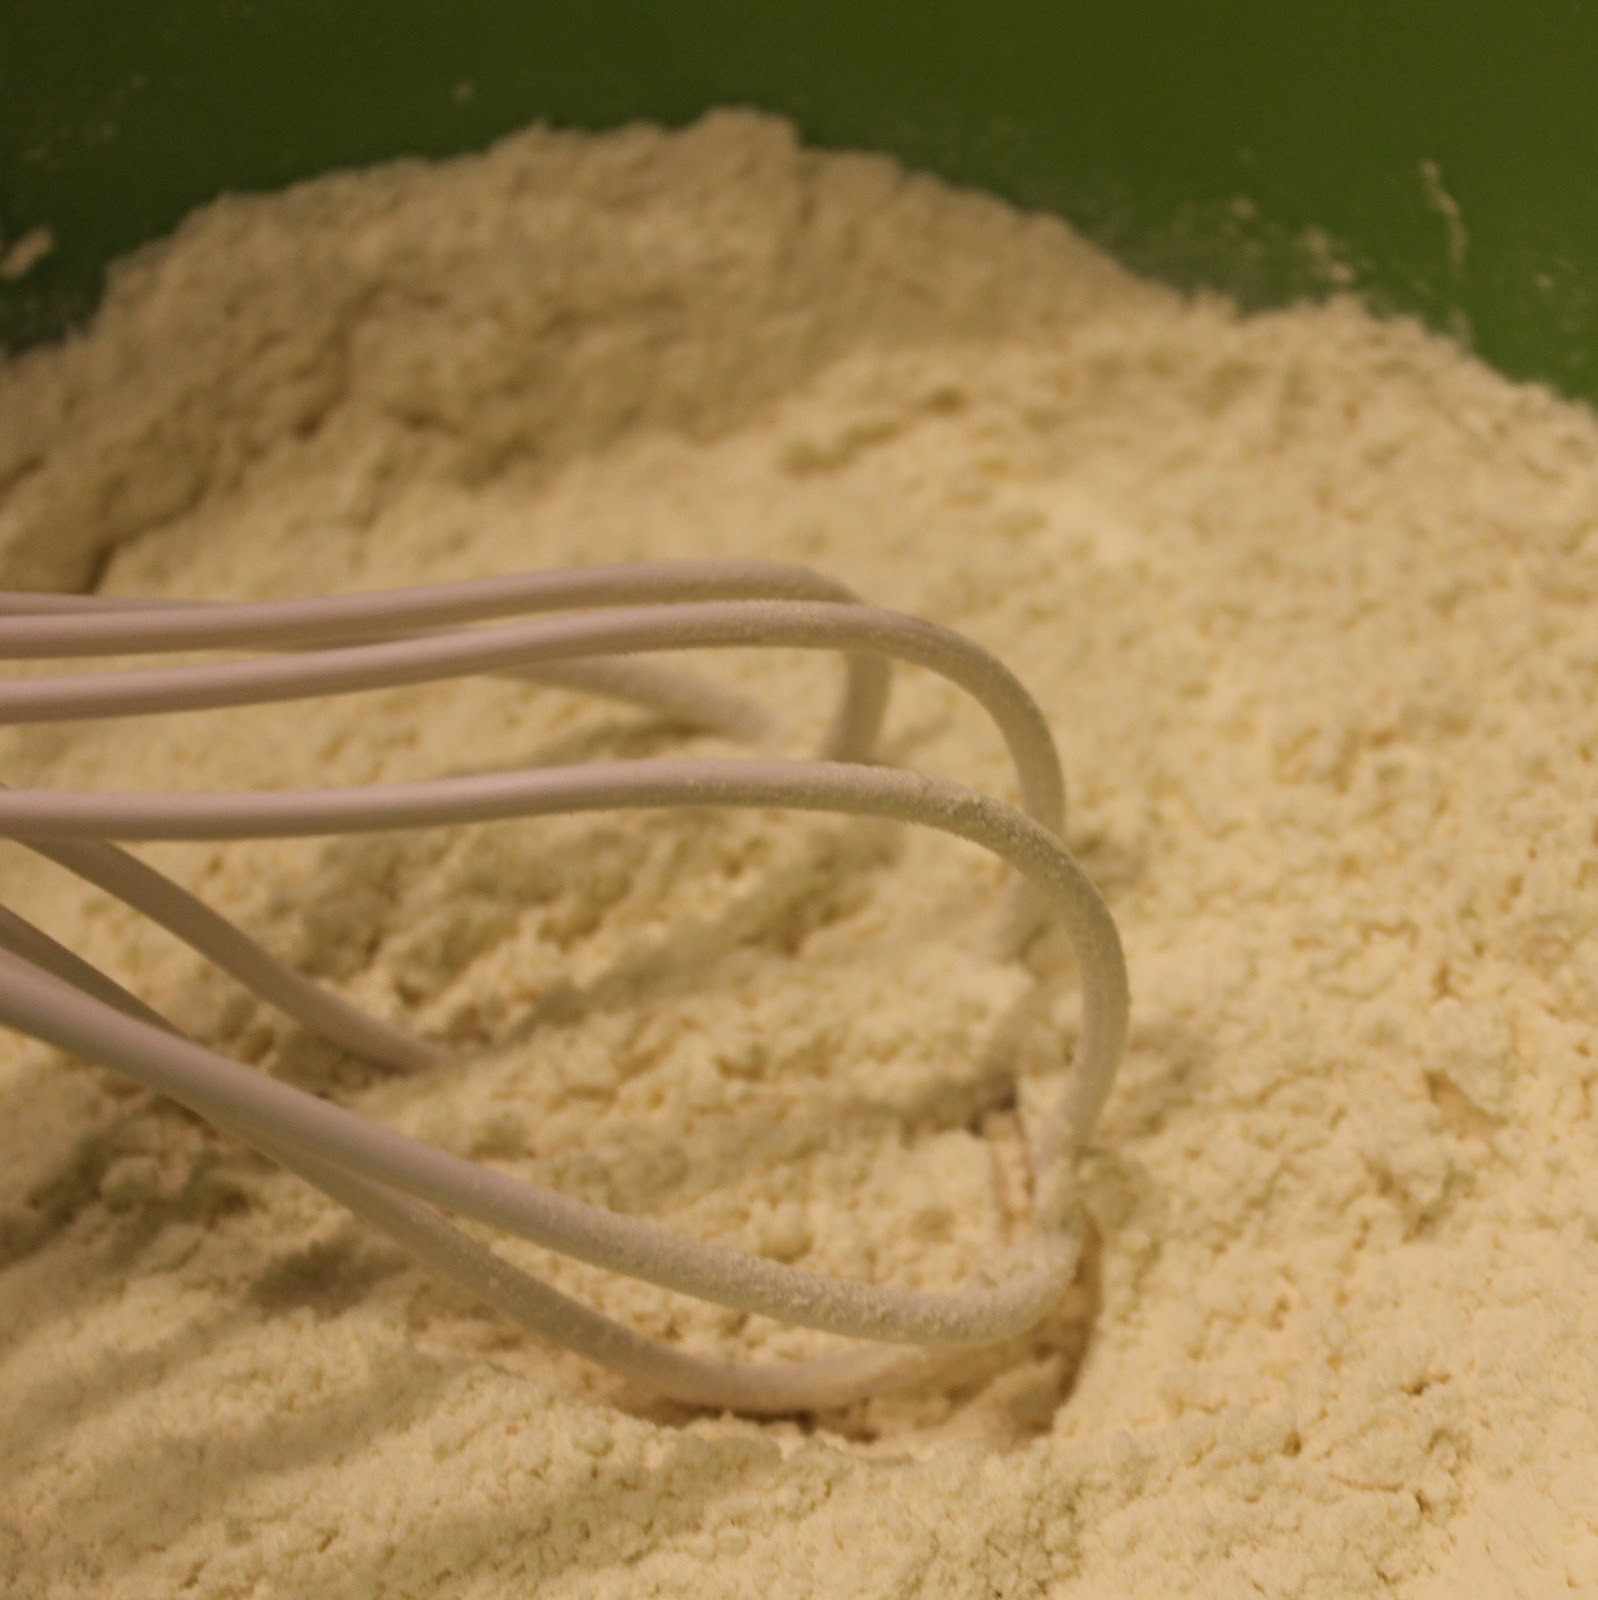
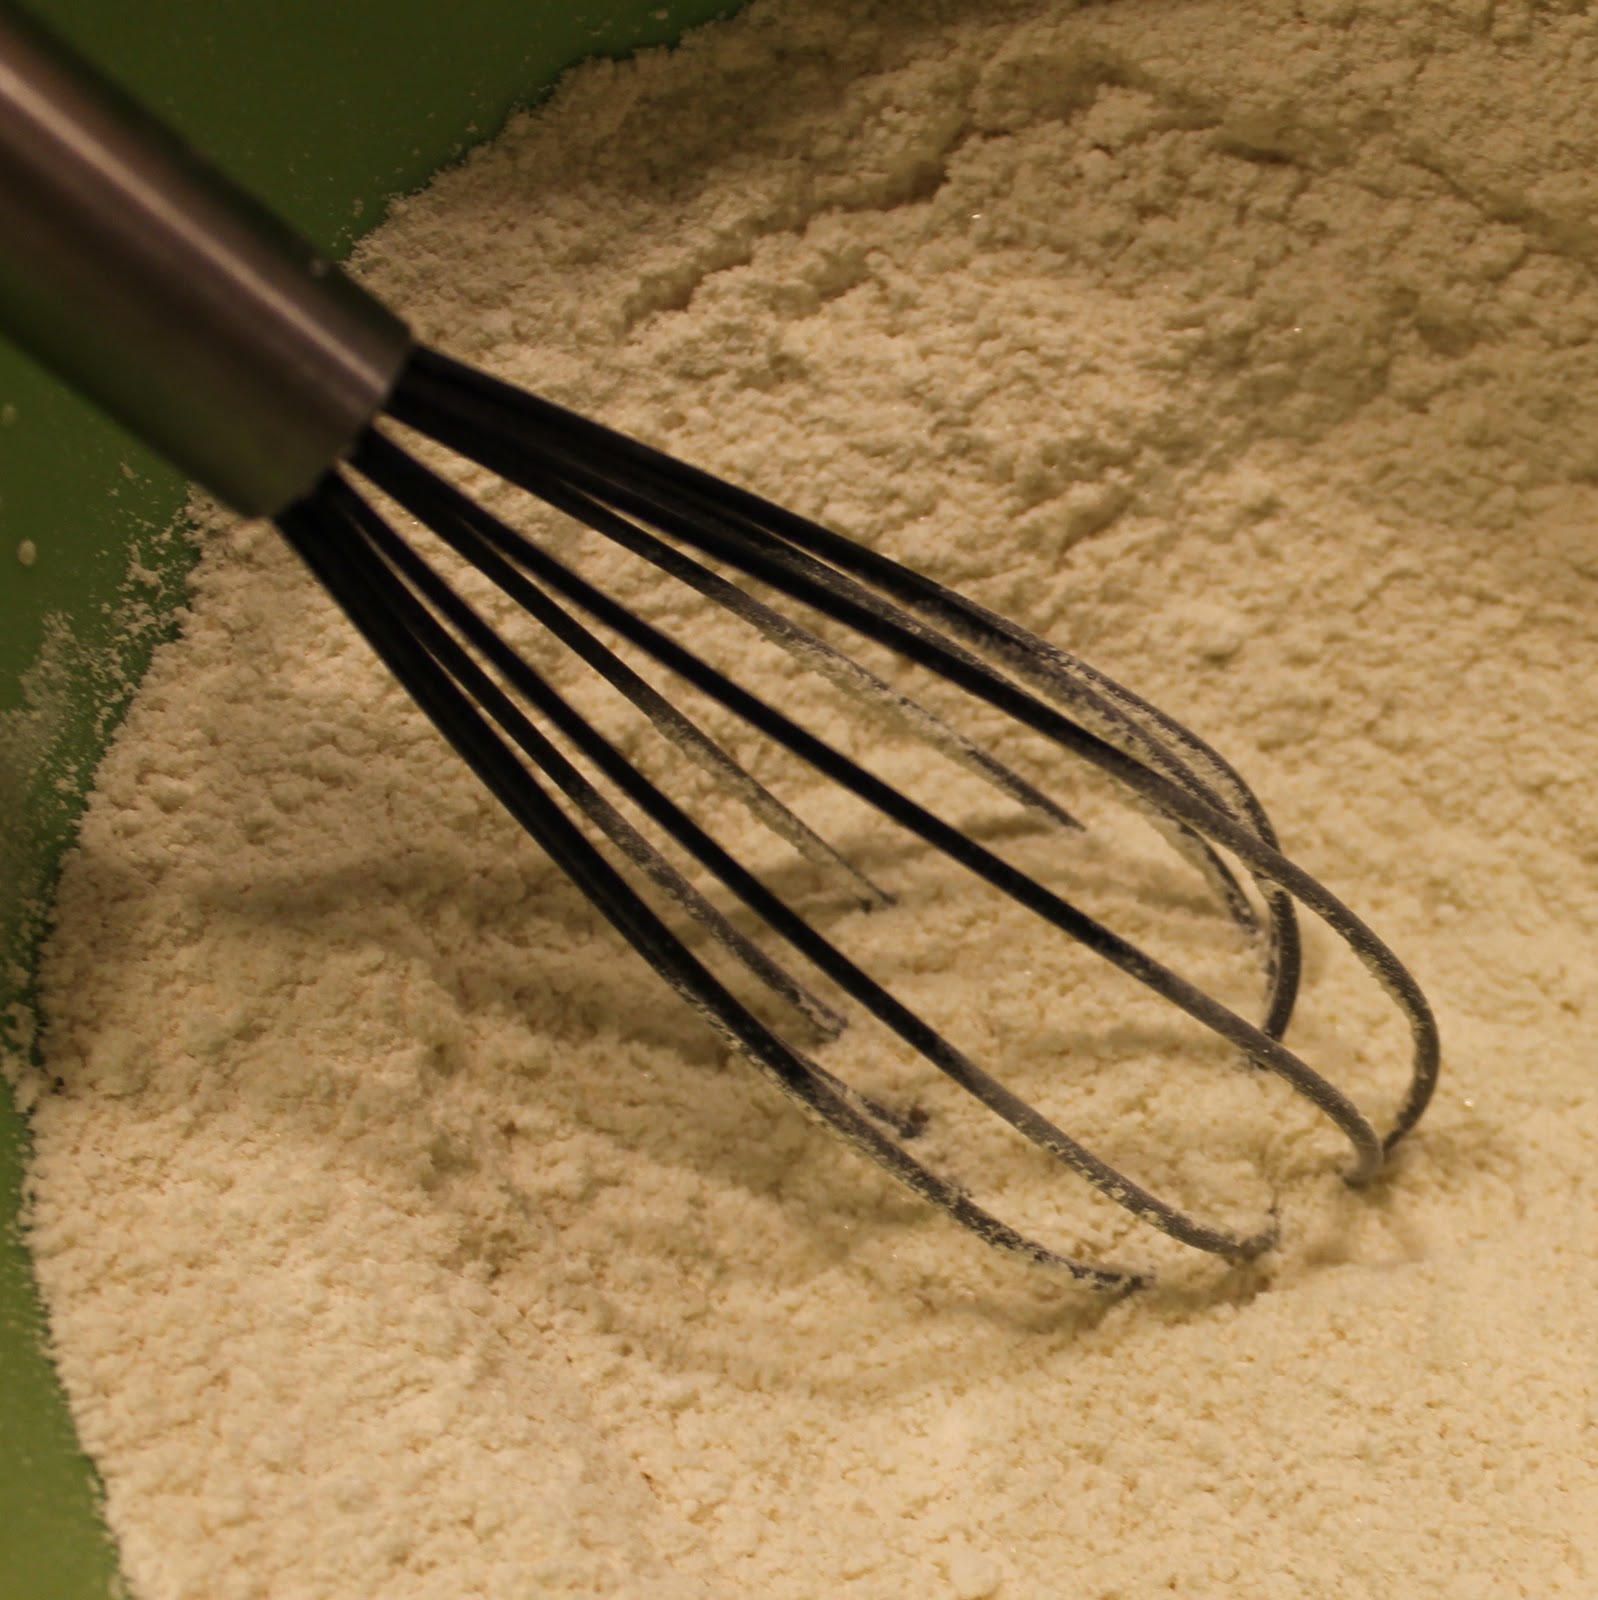
3 1/2 cups flour plus more for dredging the blackberries
1/2 teaspoon salt
3 eggs
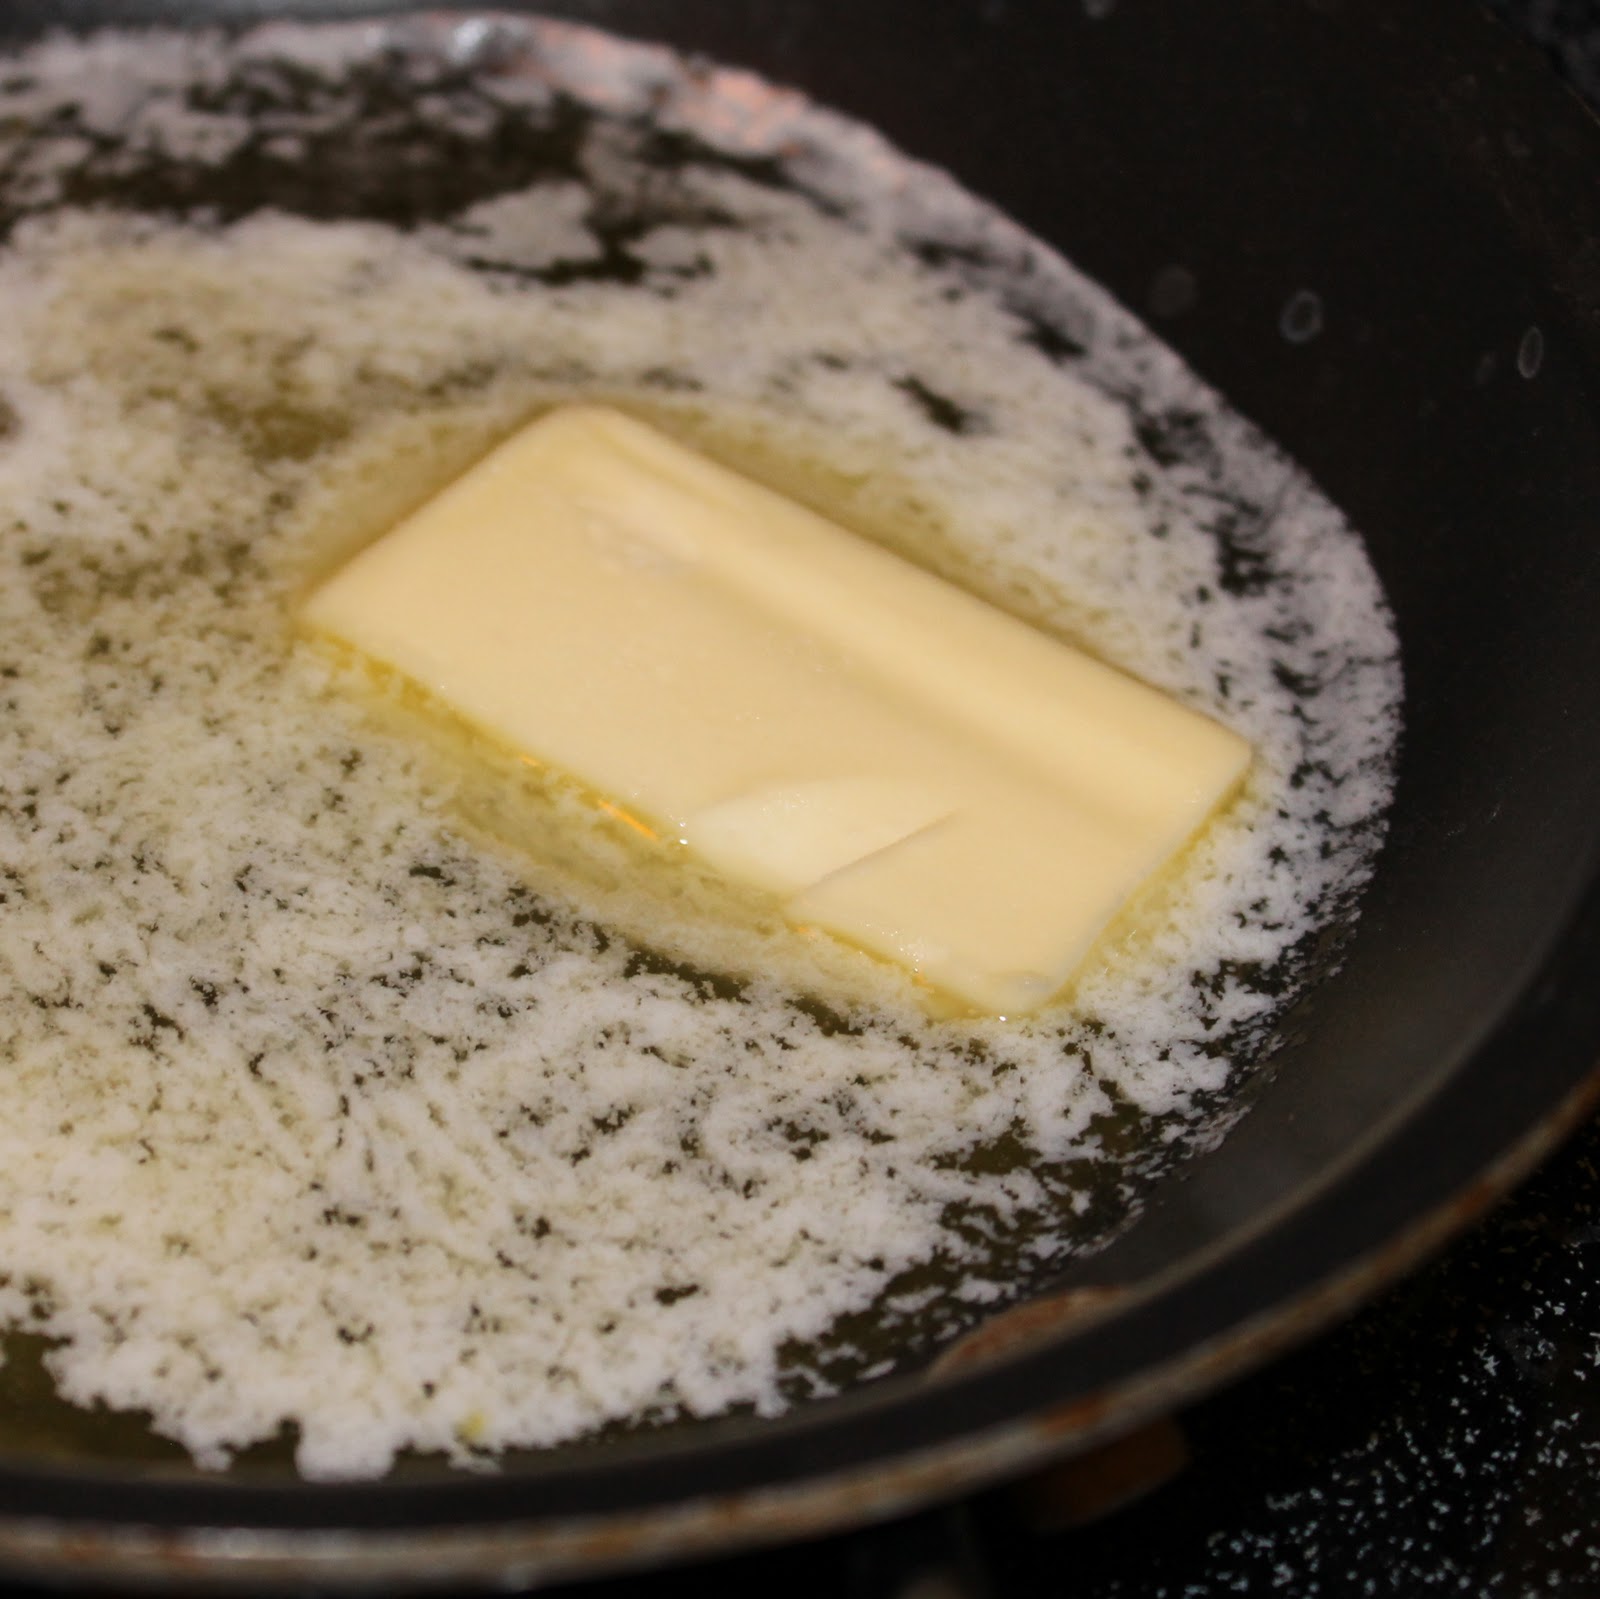
1 tablespoon melted butter or margarine to make dairy free
2 heaping teaspoons baking powder
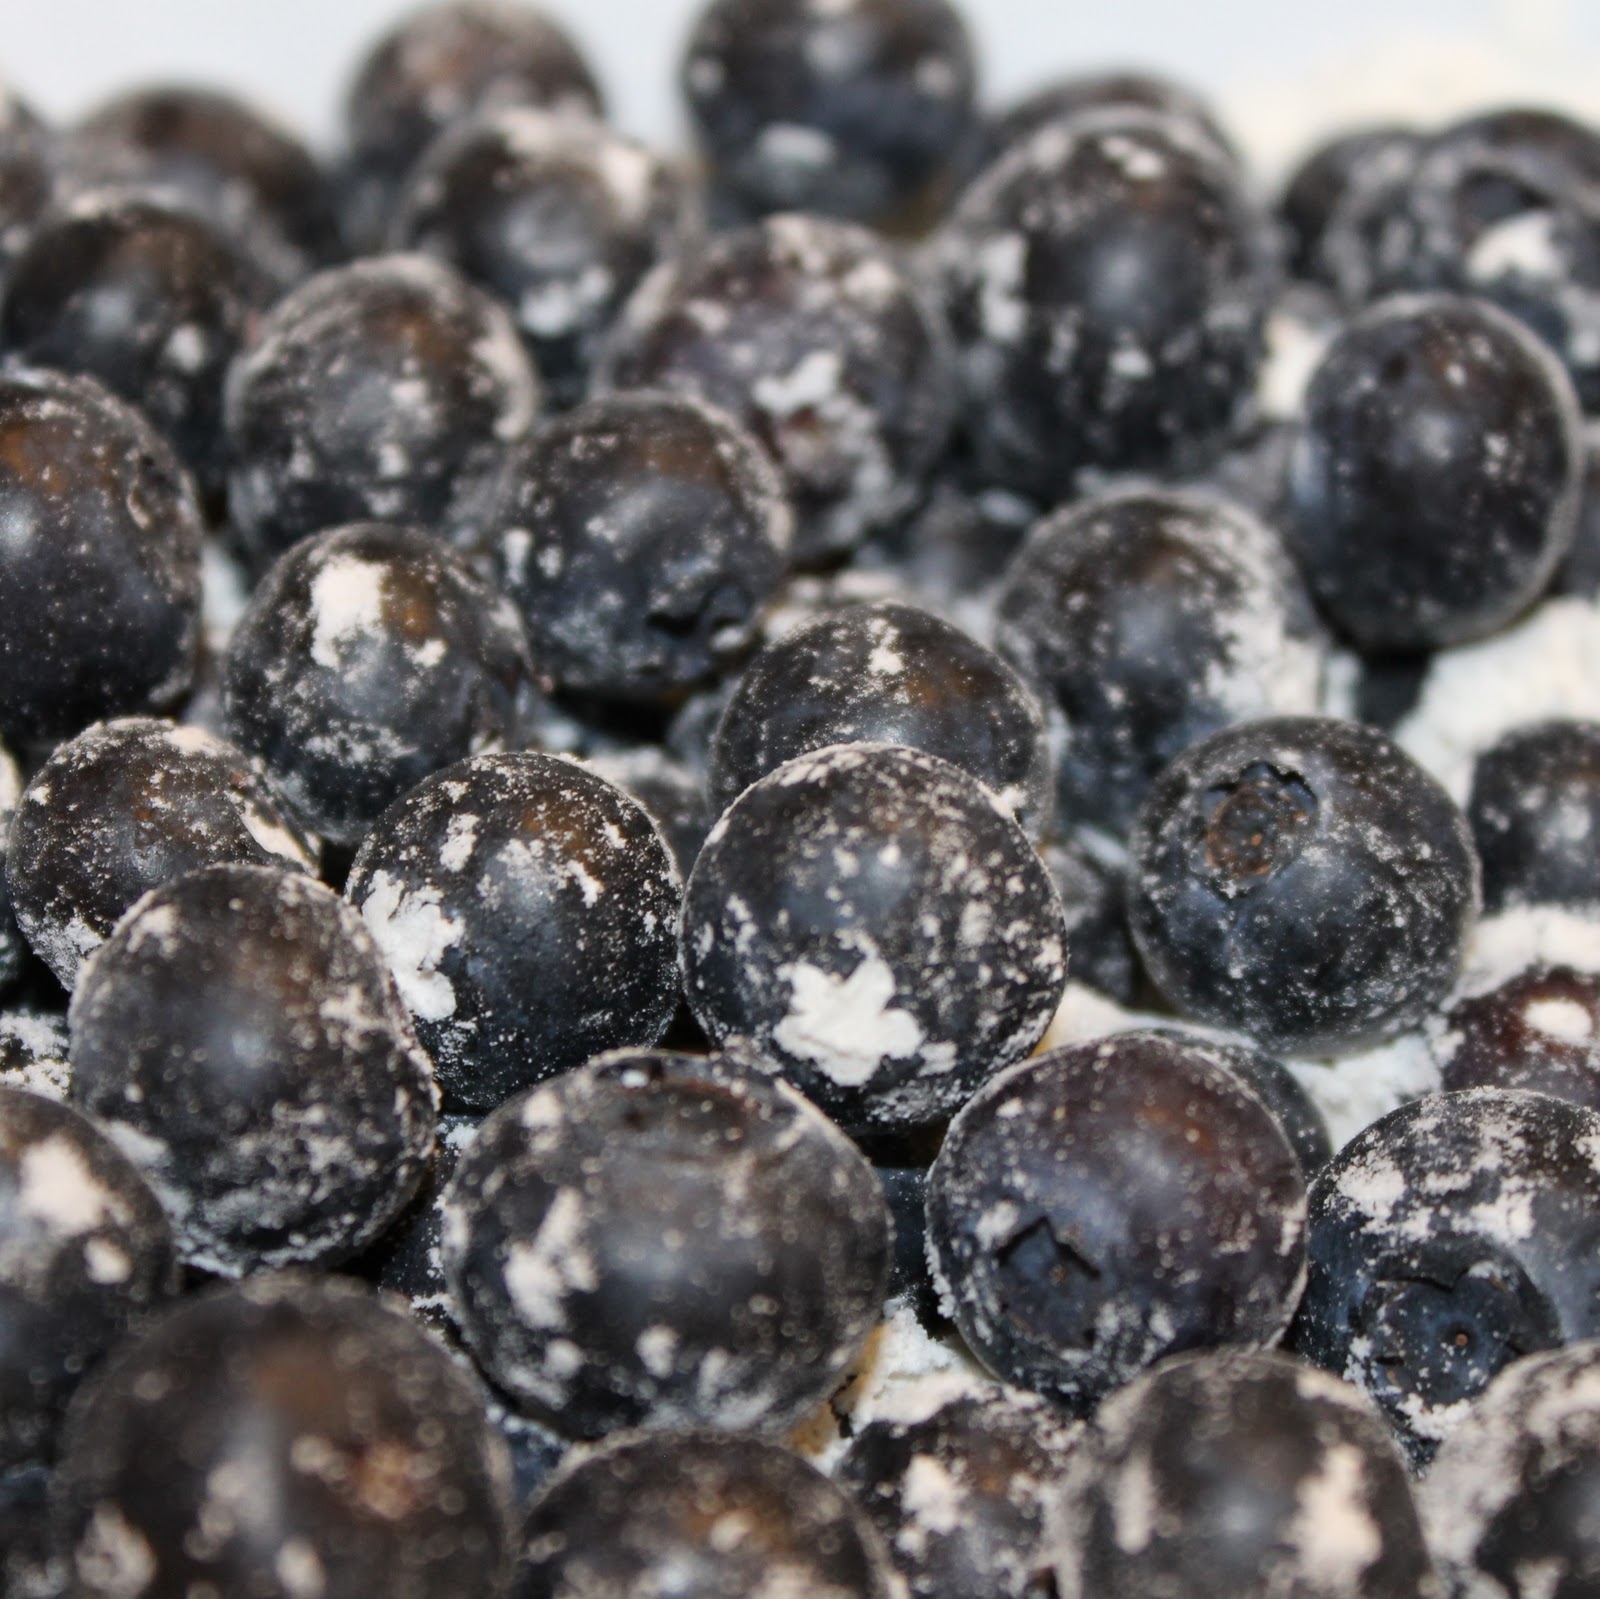
1 pint blackberries
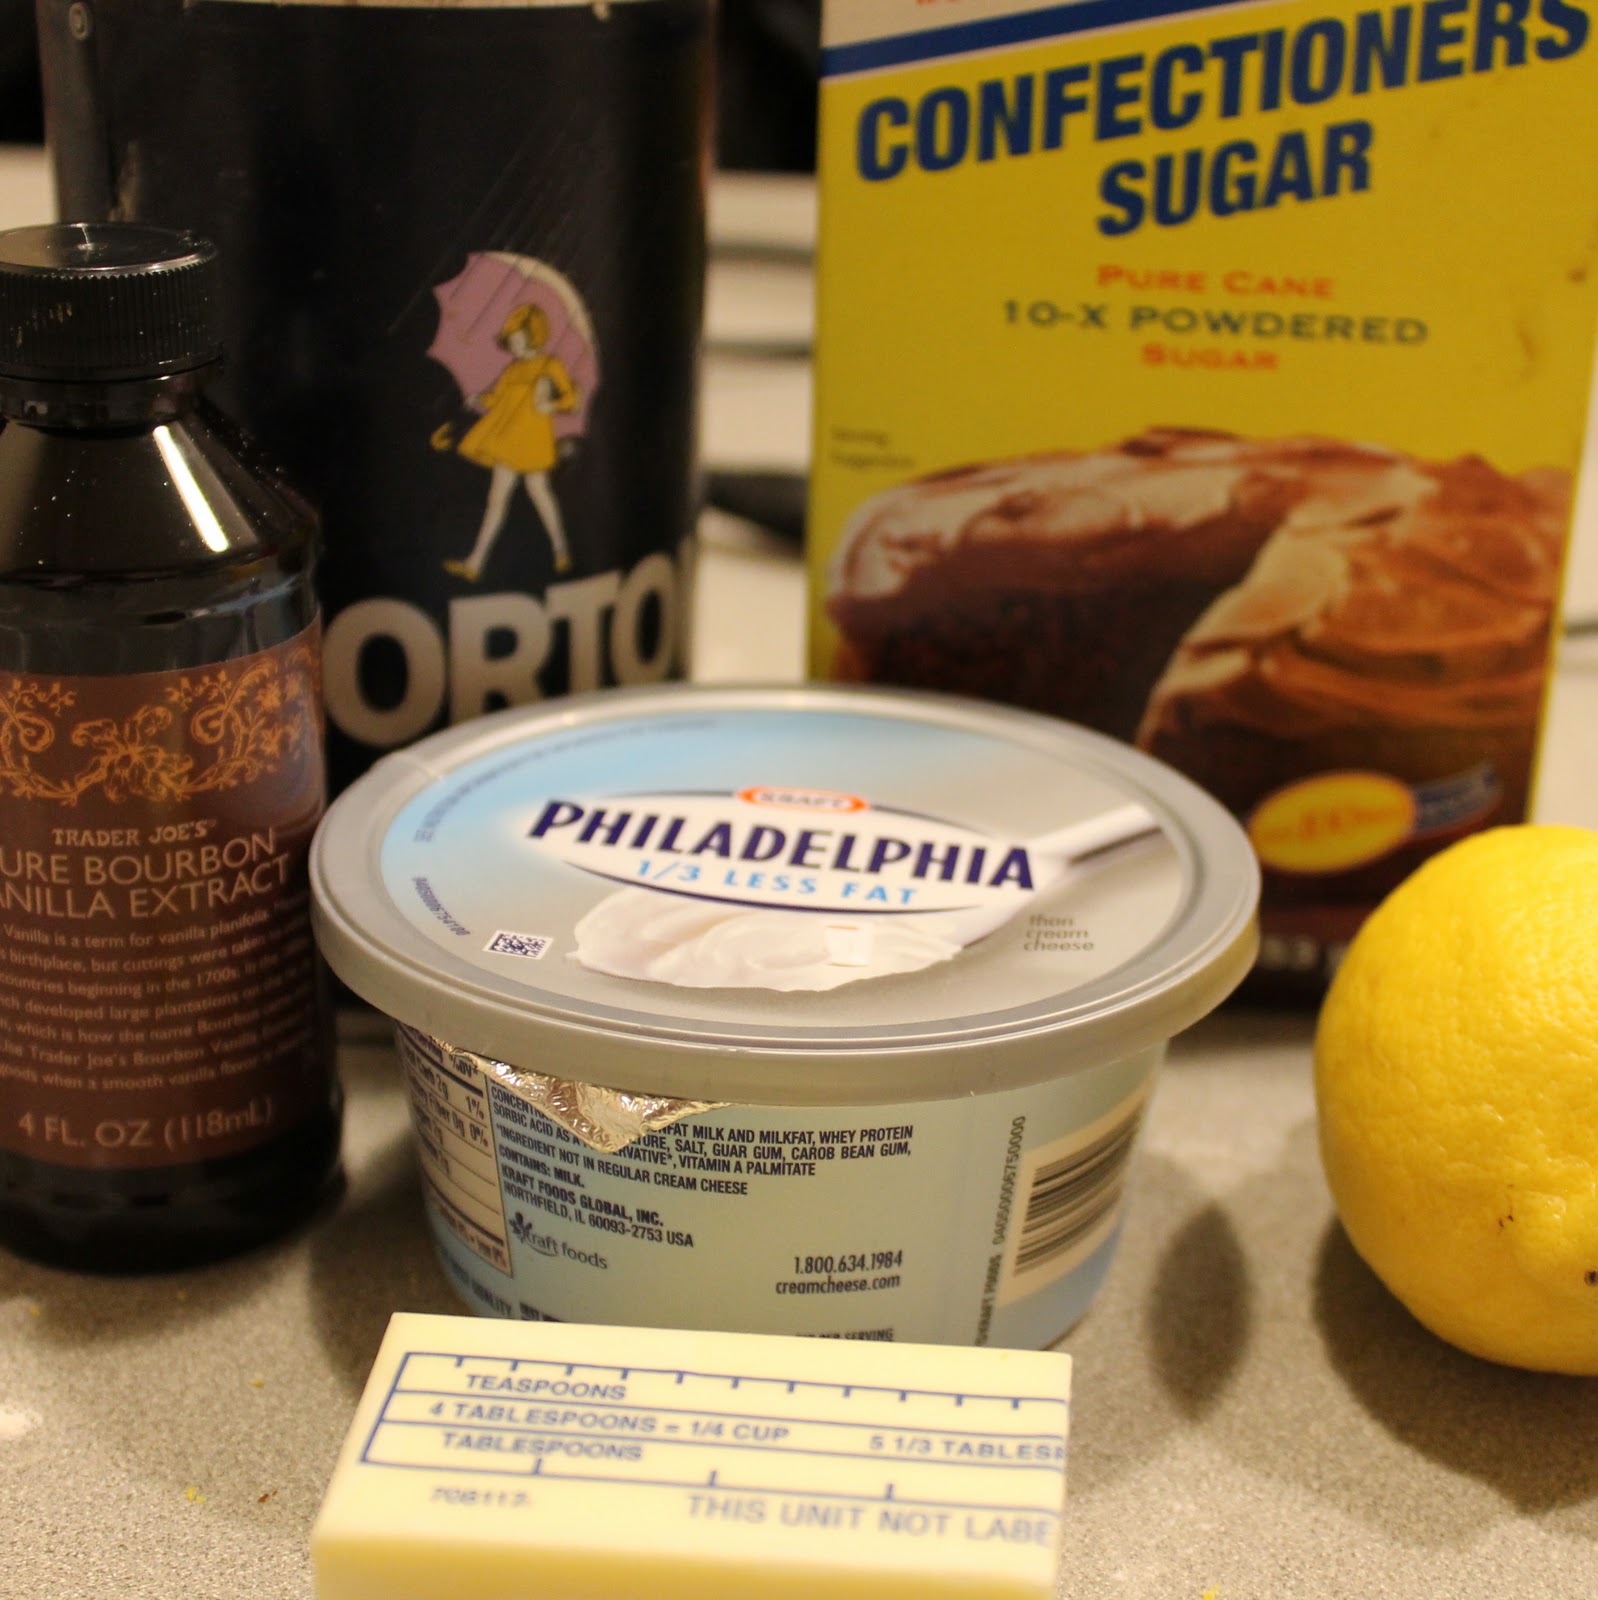
powdered sugar
To make this recipe a bit more my own, and bring it into the 21st century, I decided to try this with Vanilla Almond Milk. I thought it might add a nice extra flavor to the whole dessert. Feel free to use normal milk.
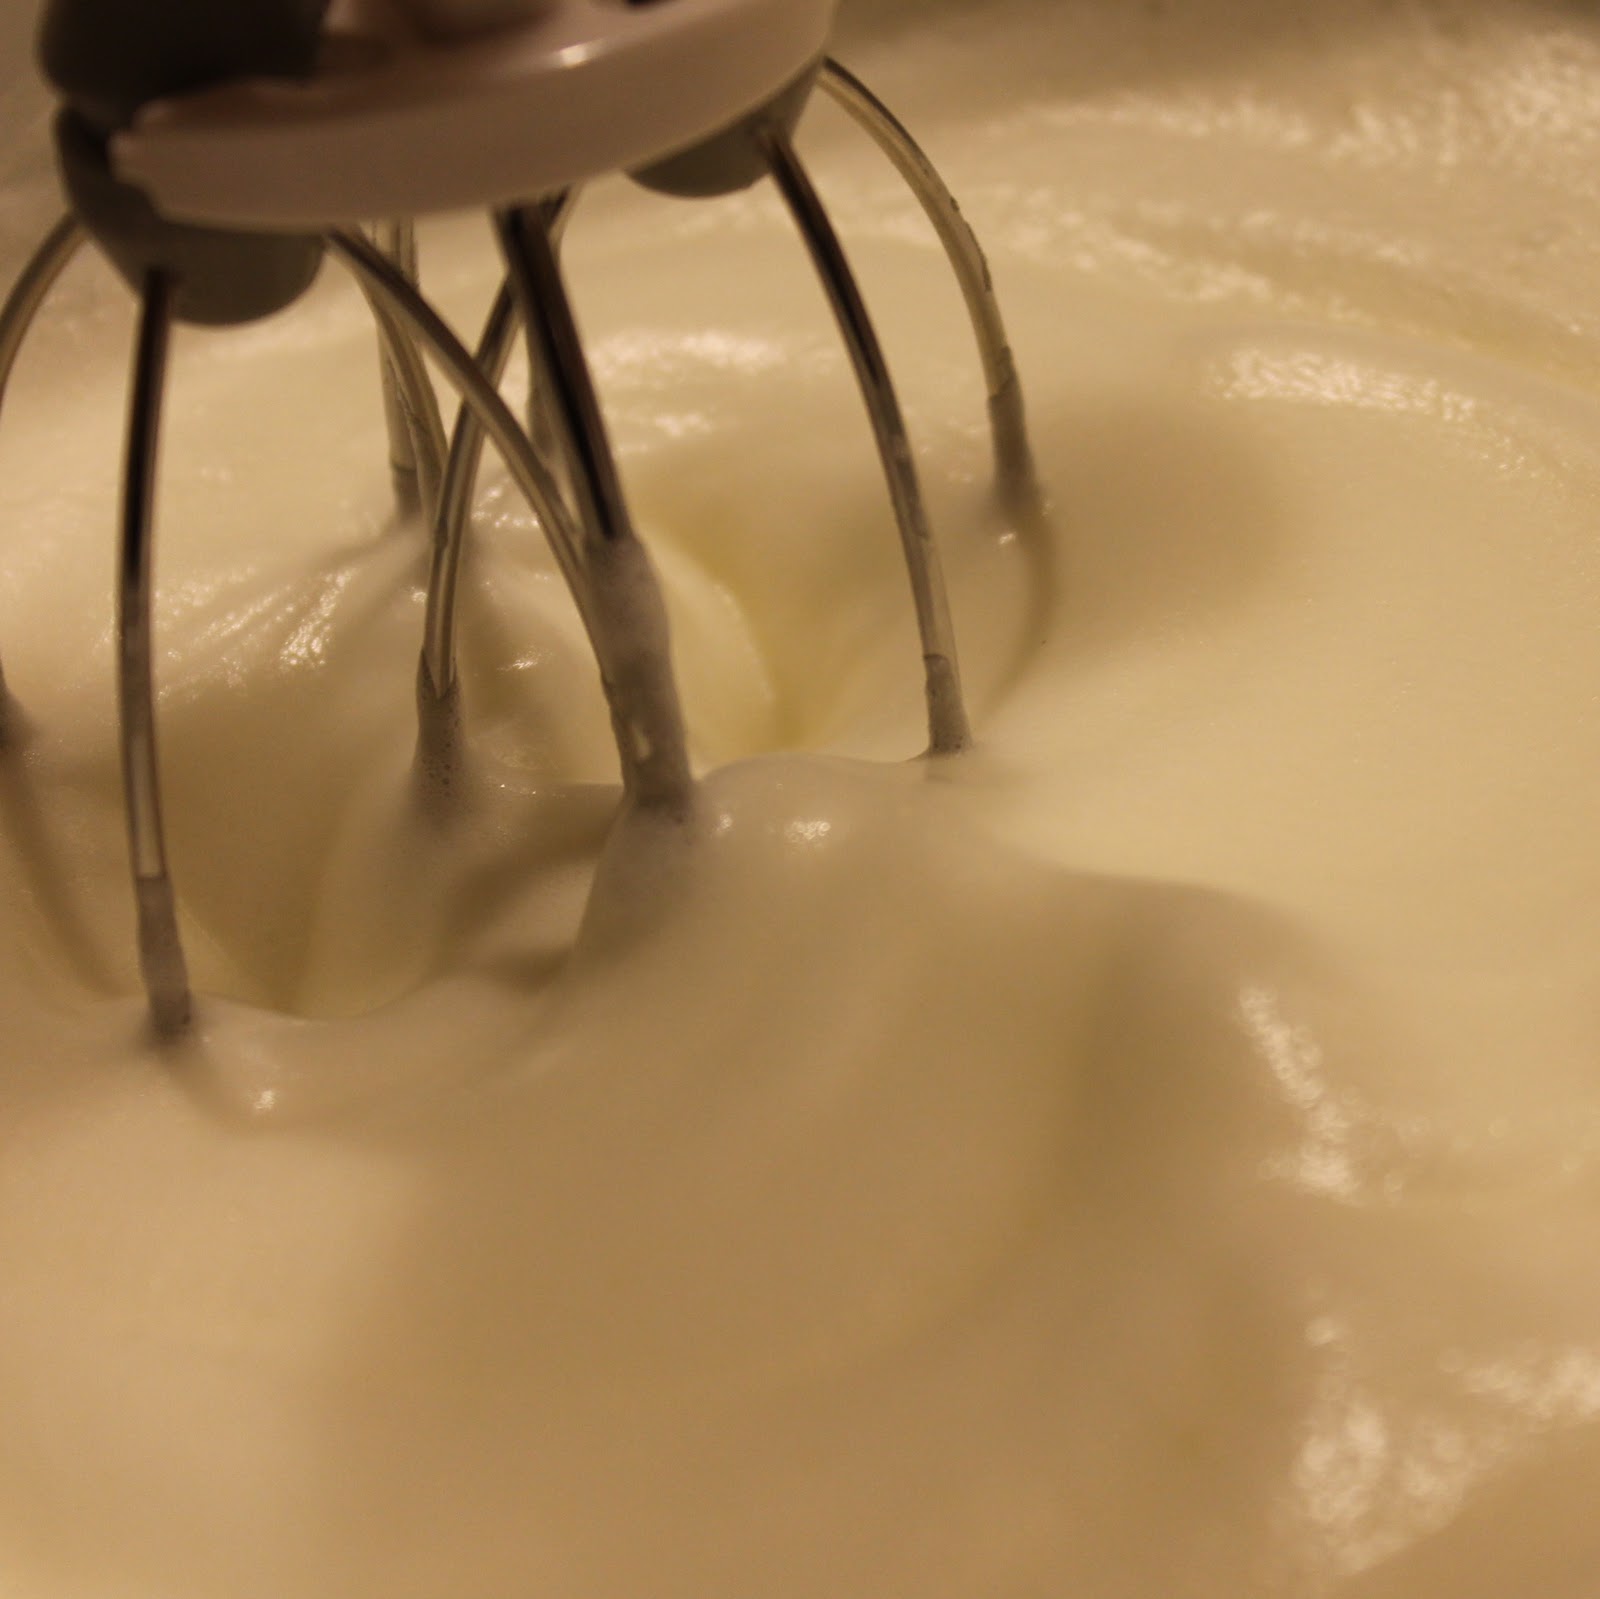
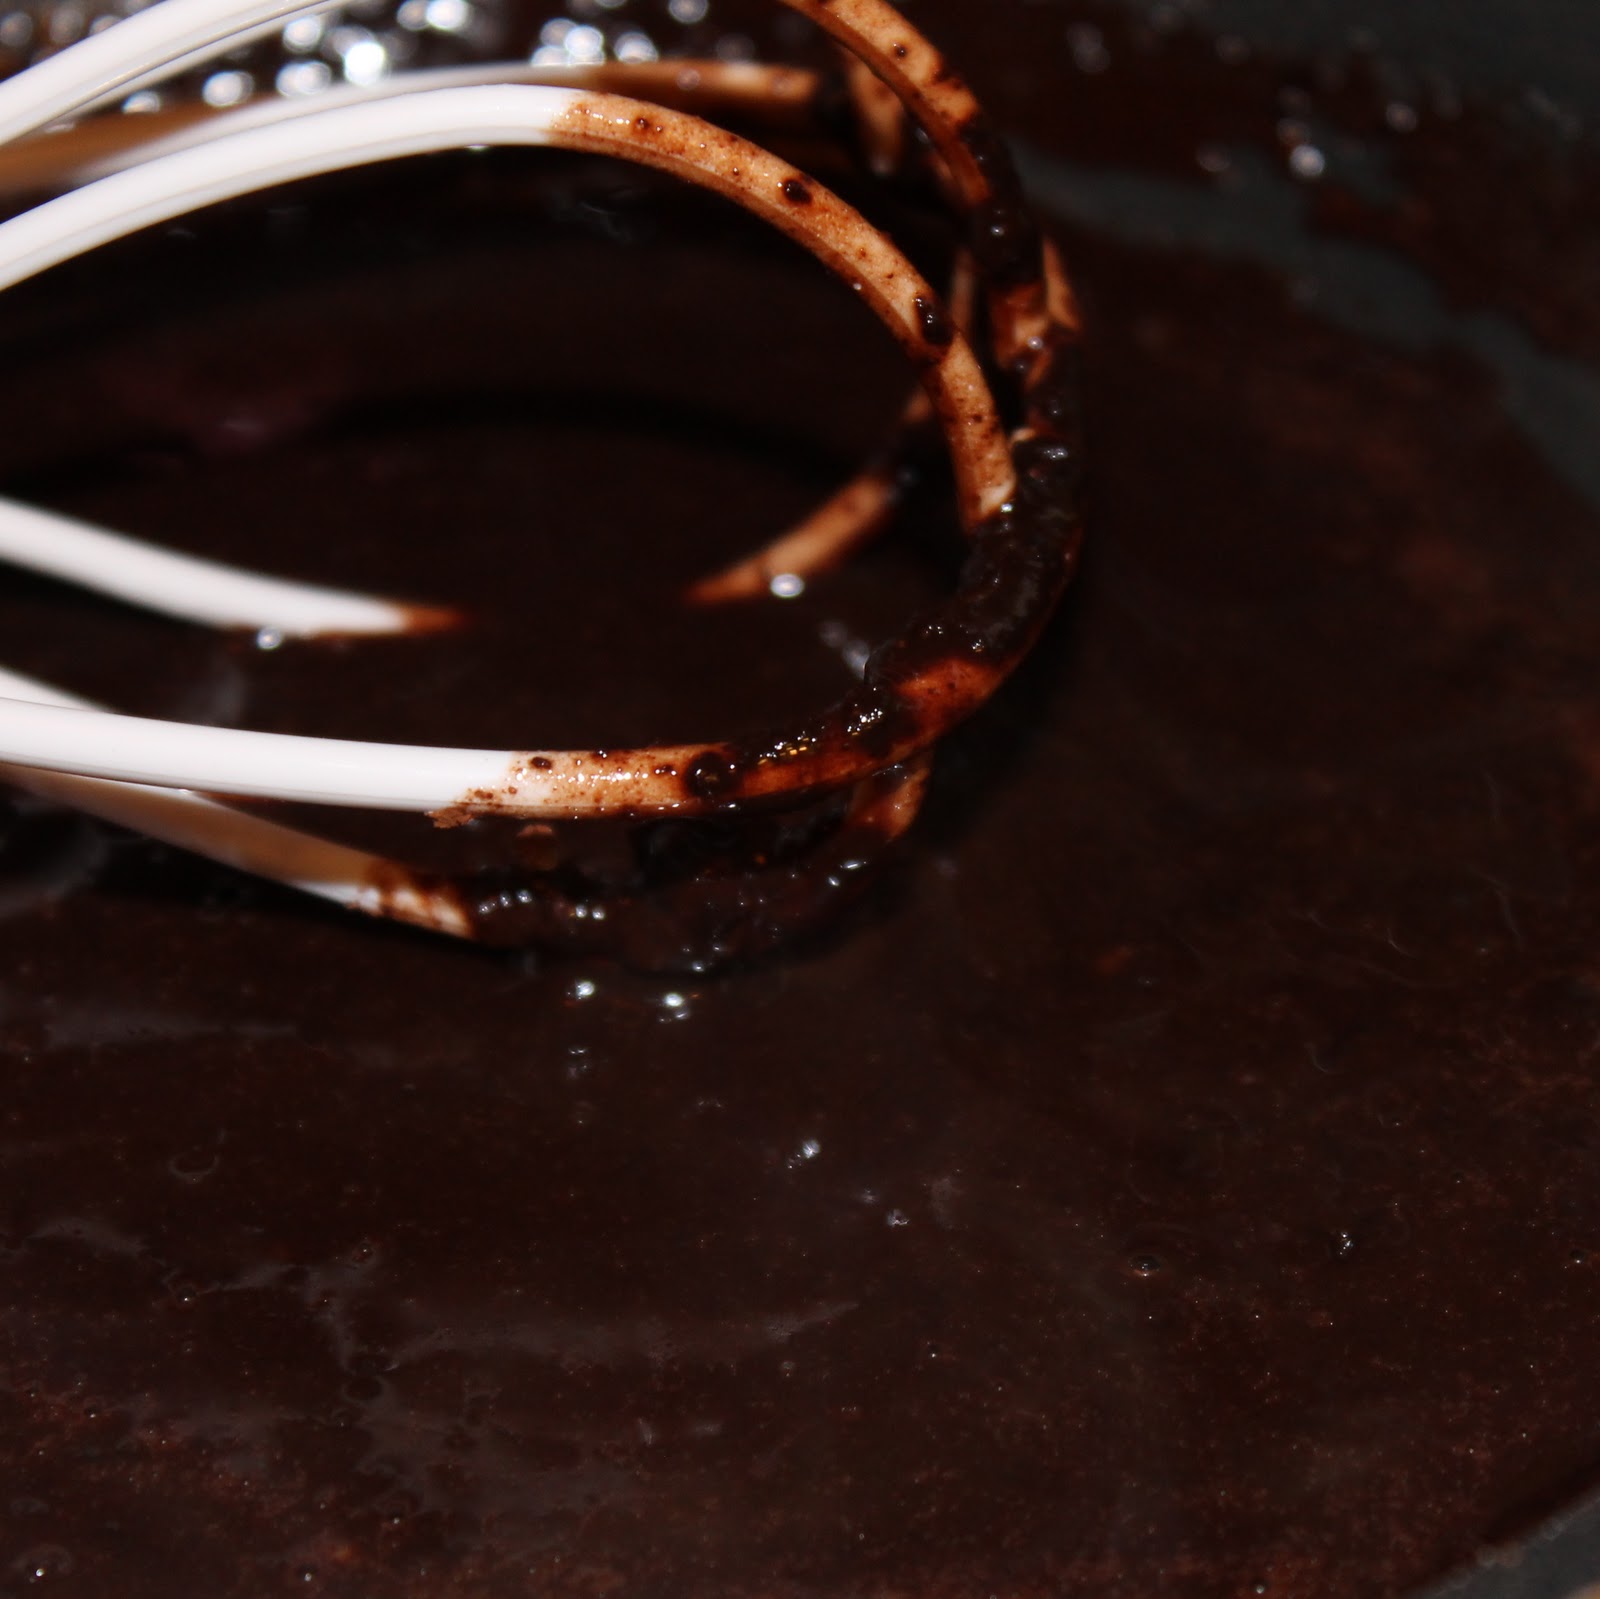
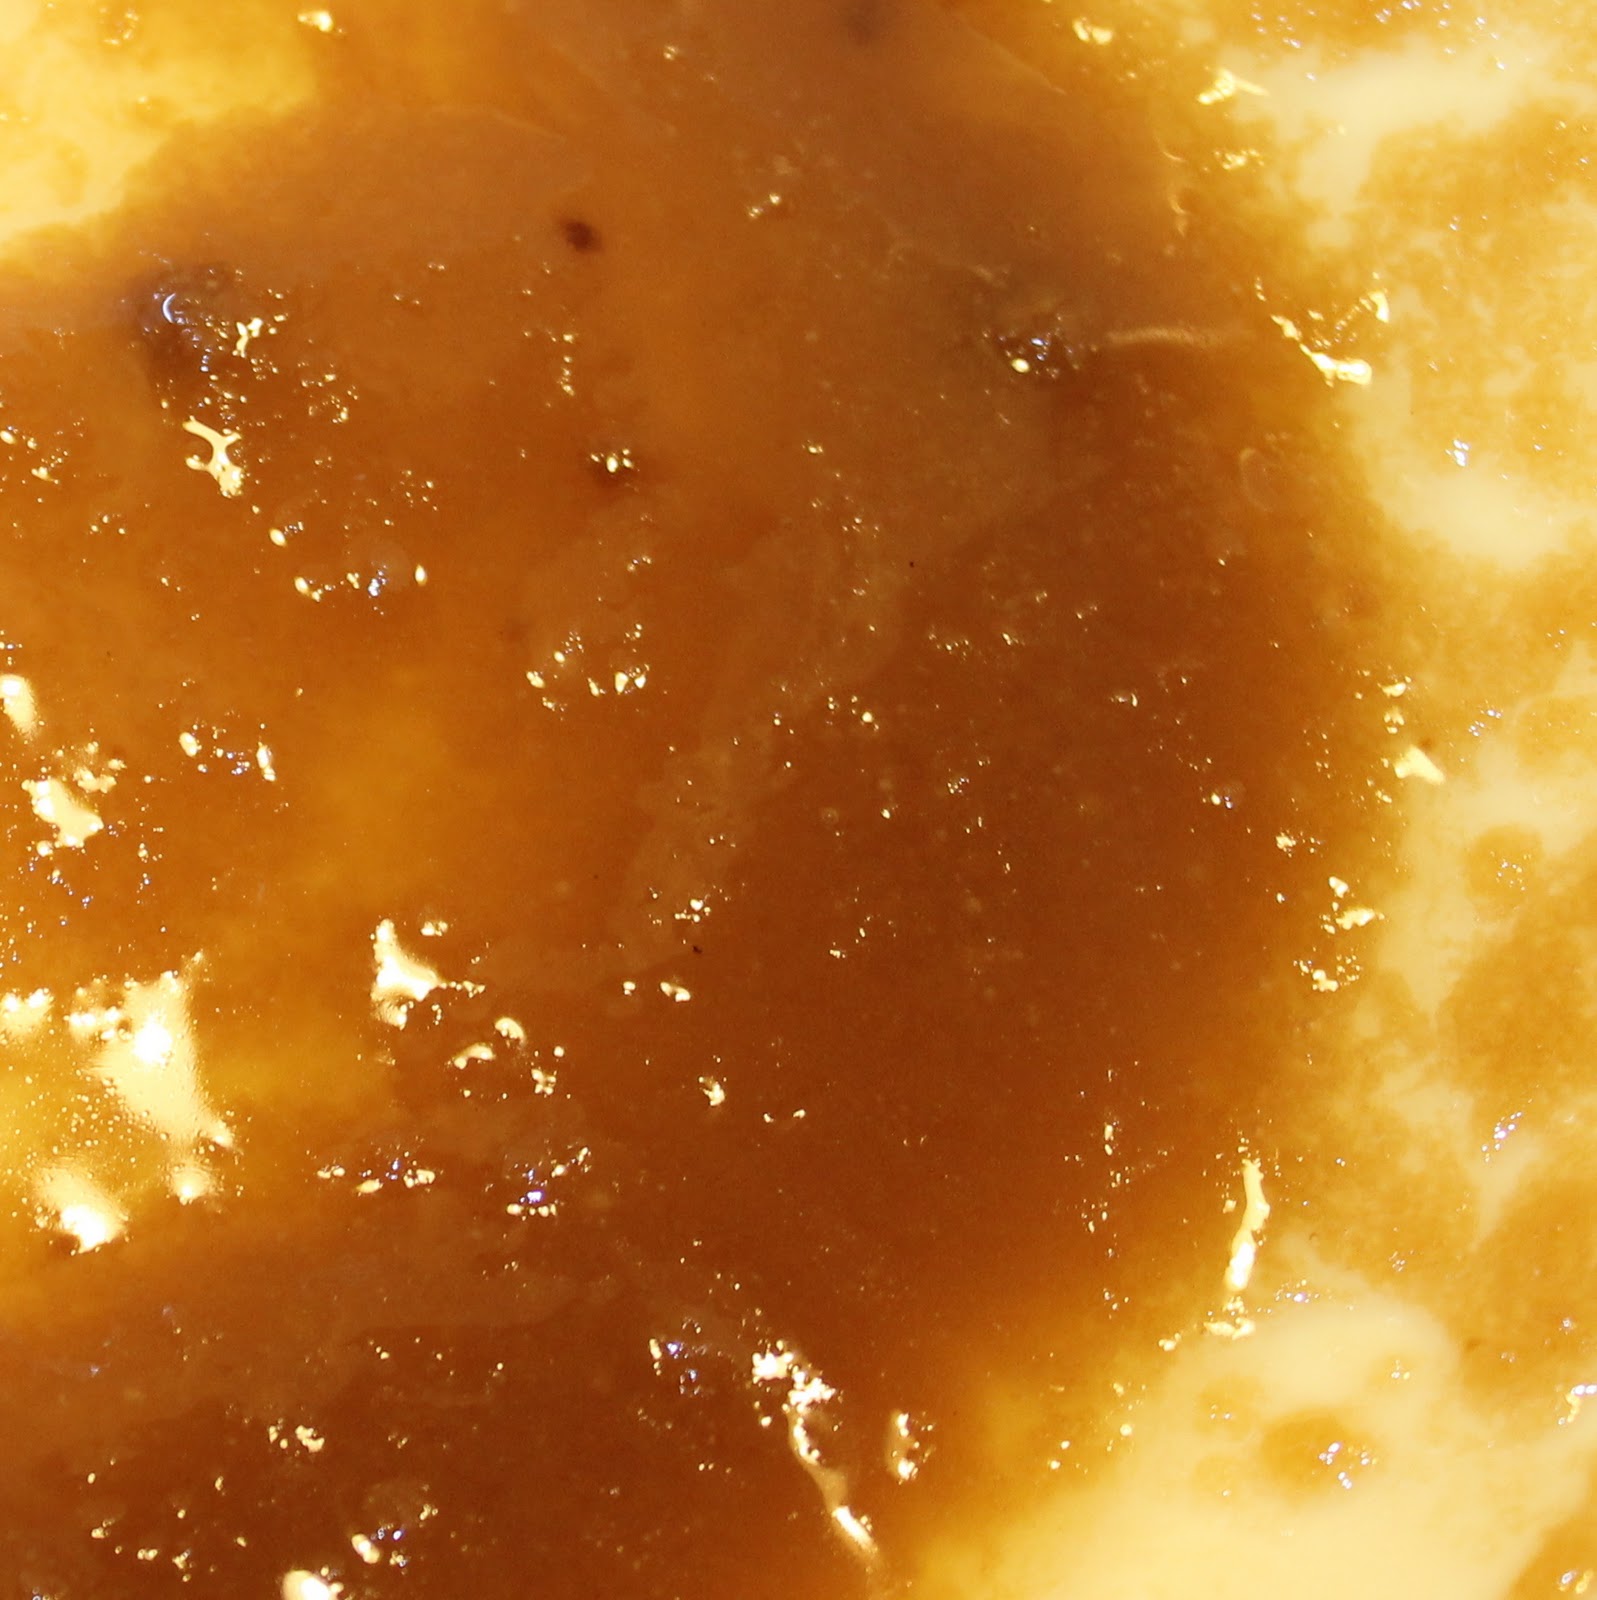
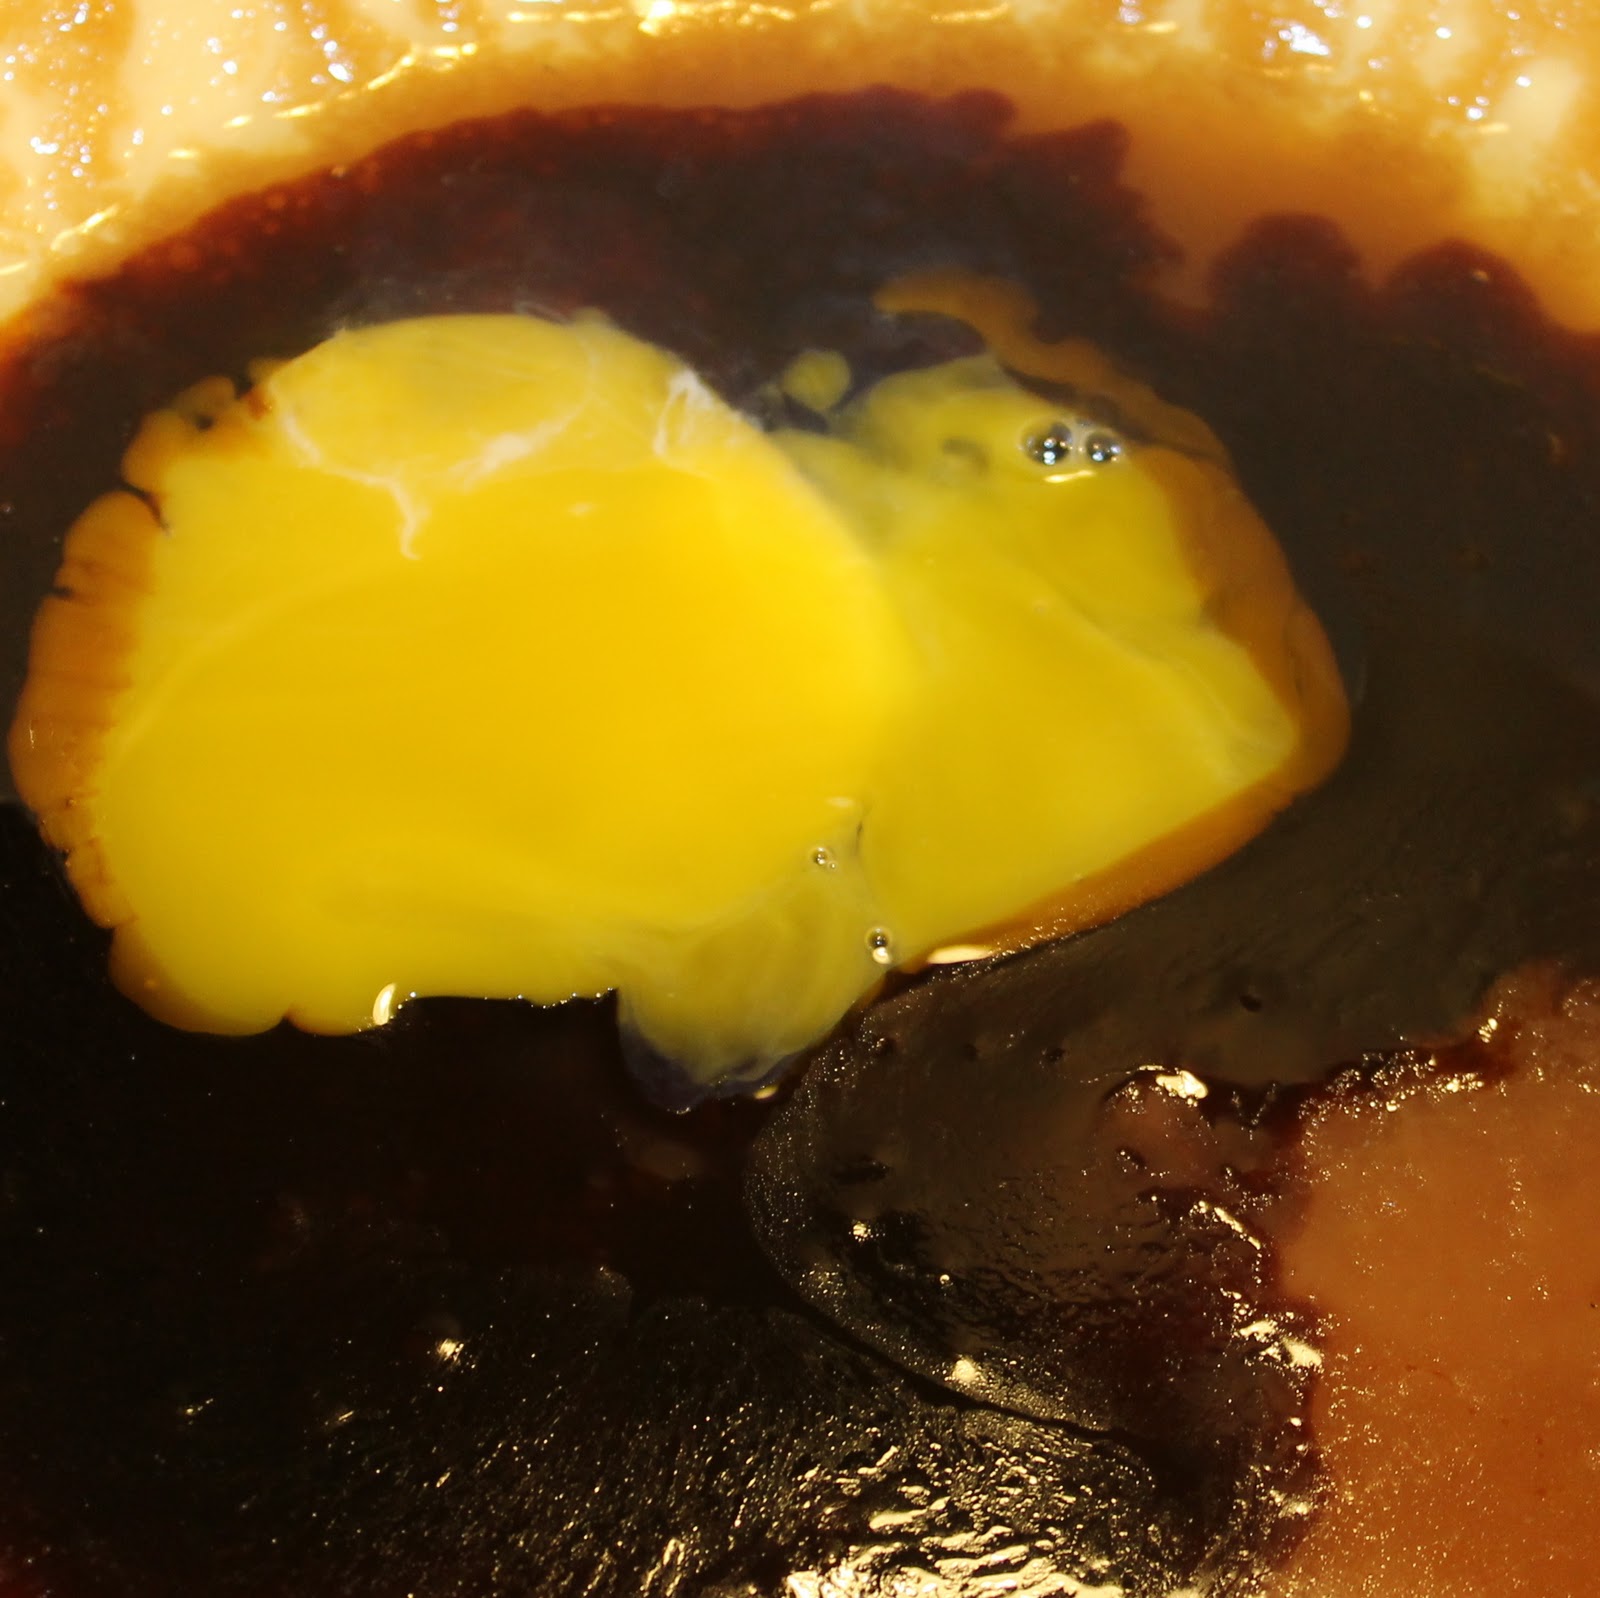
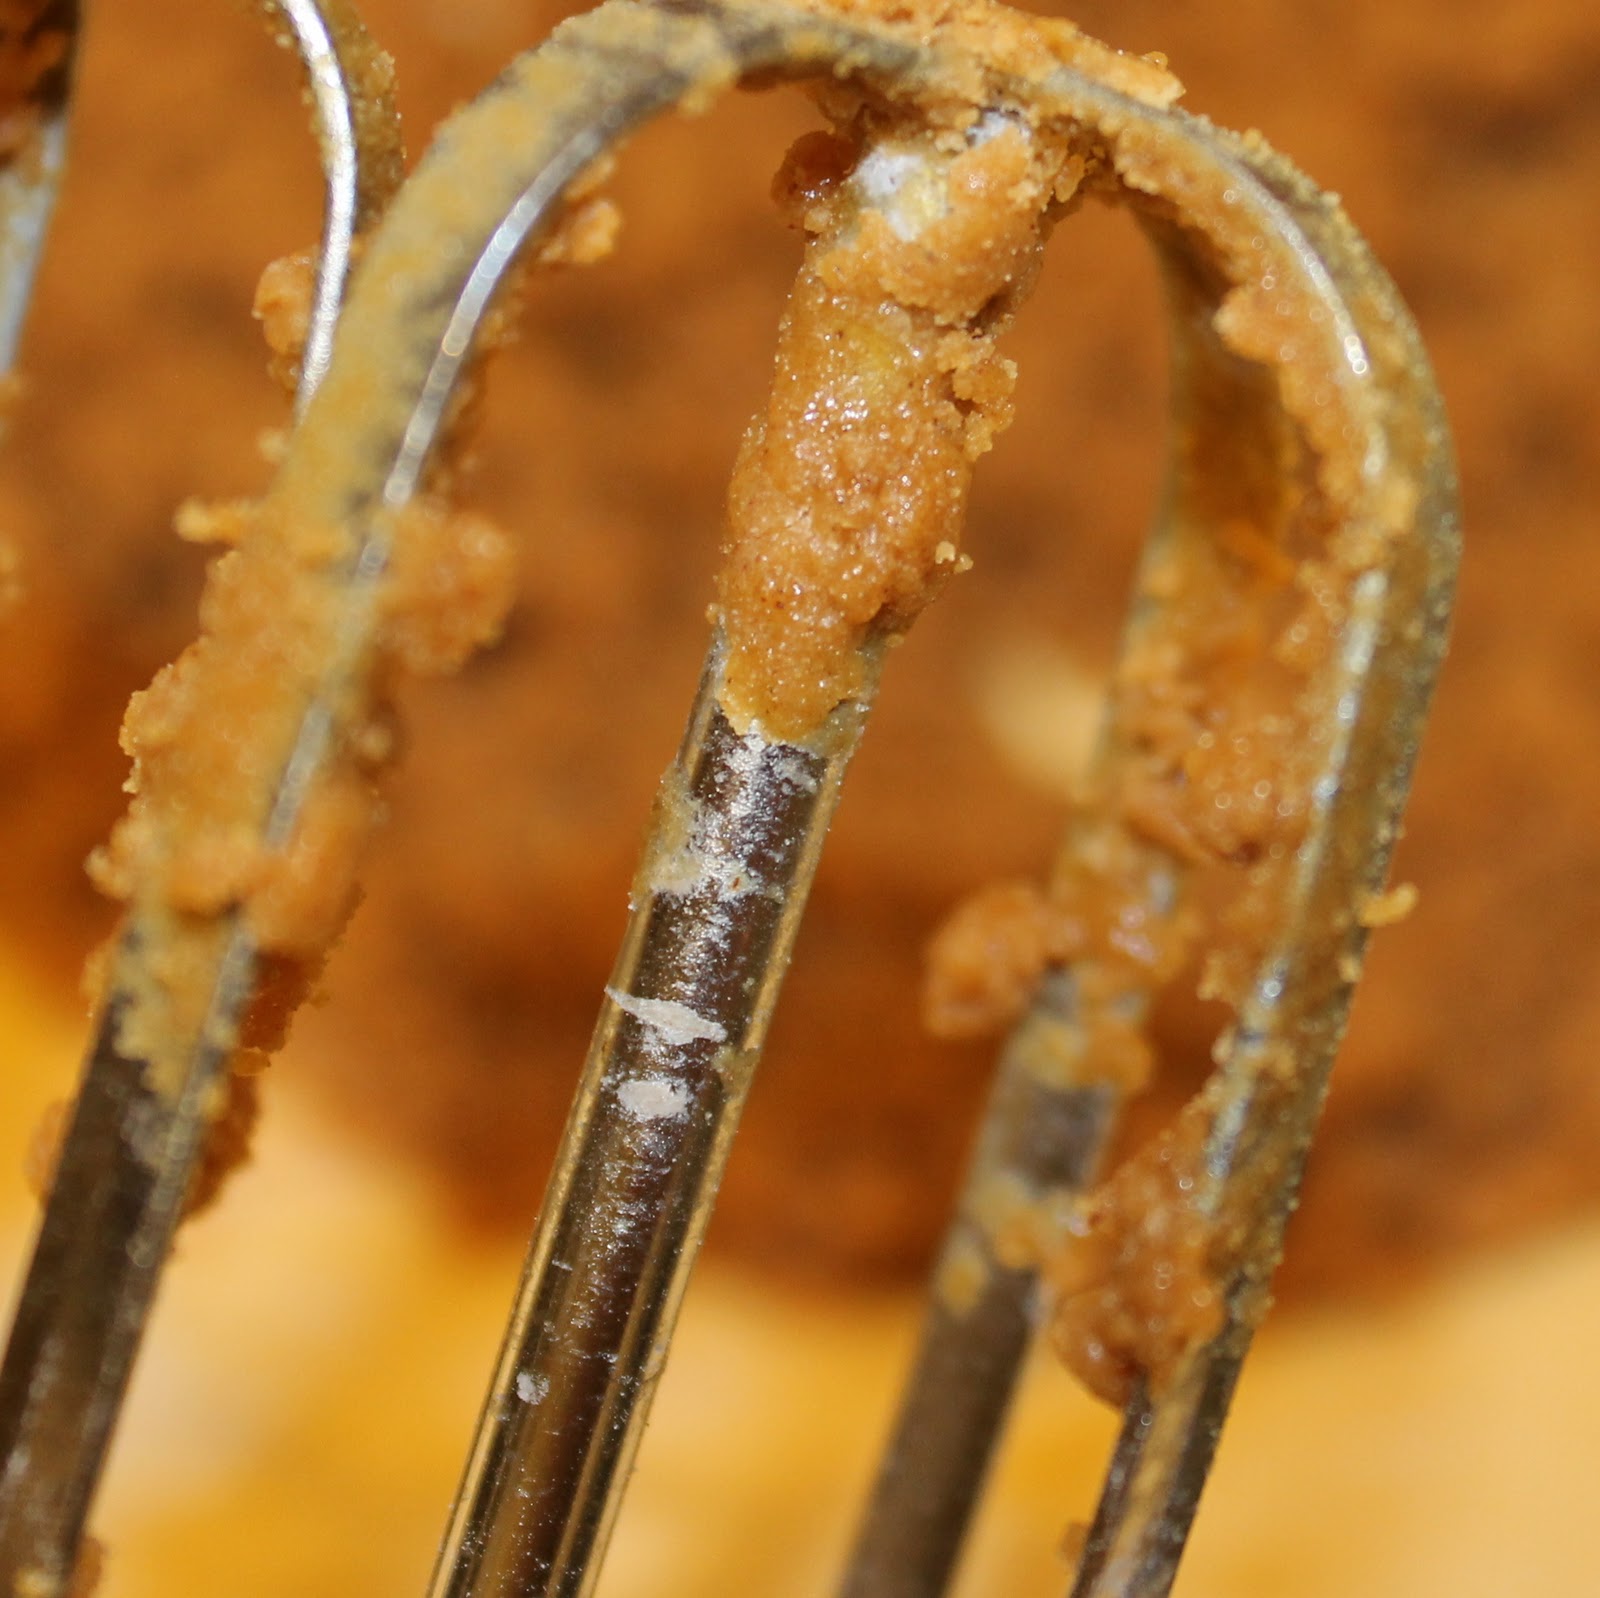
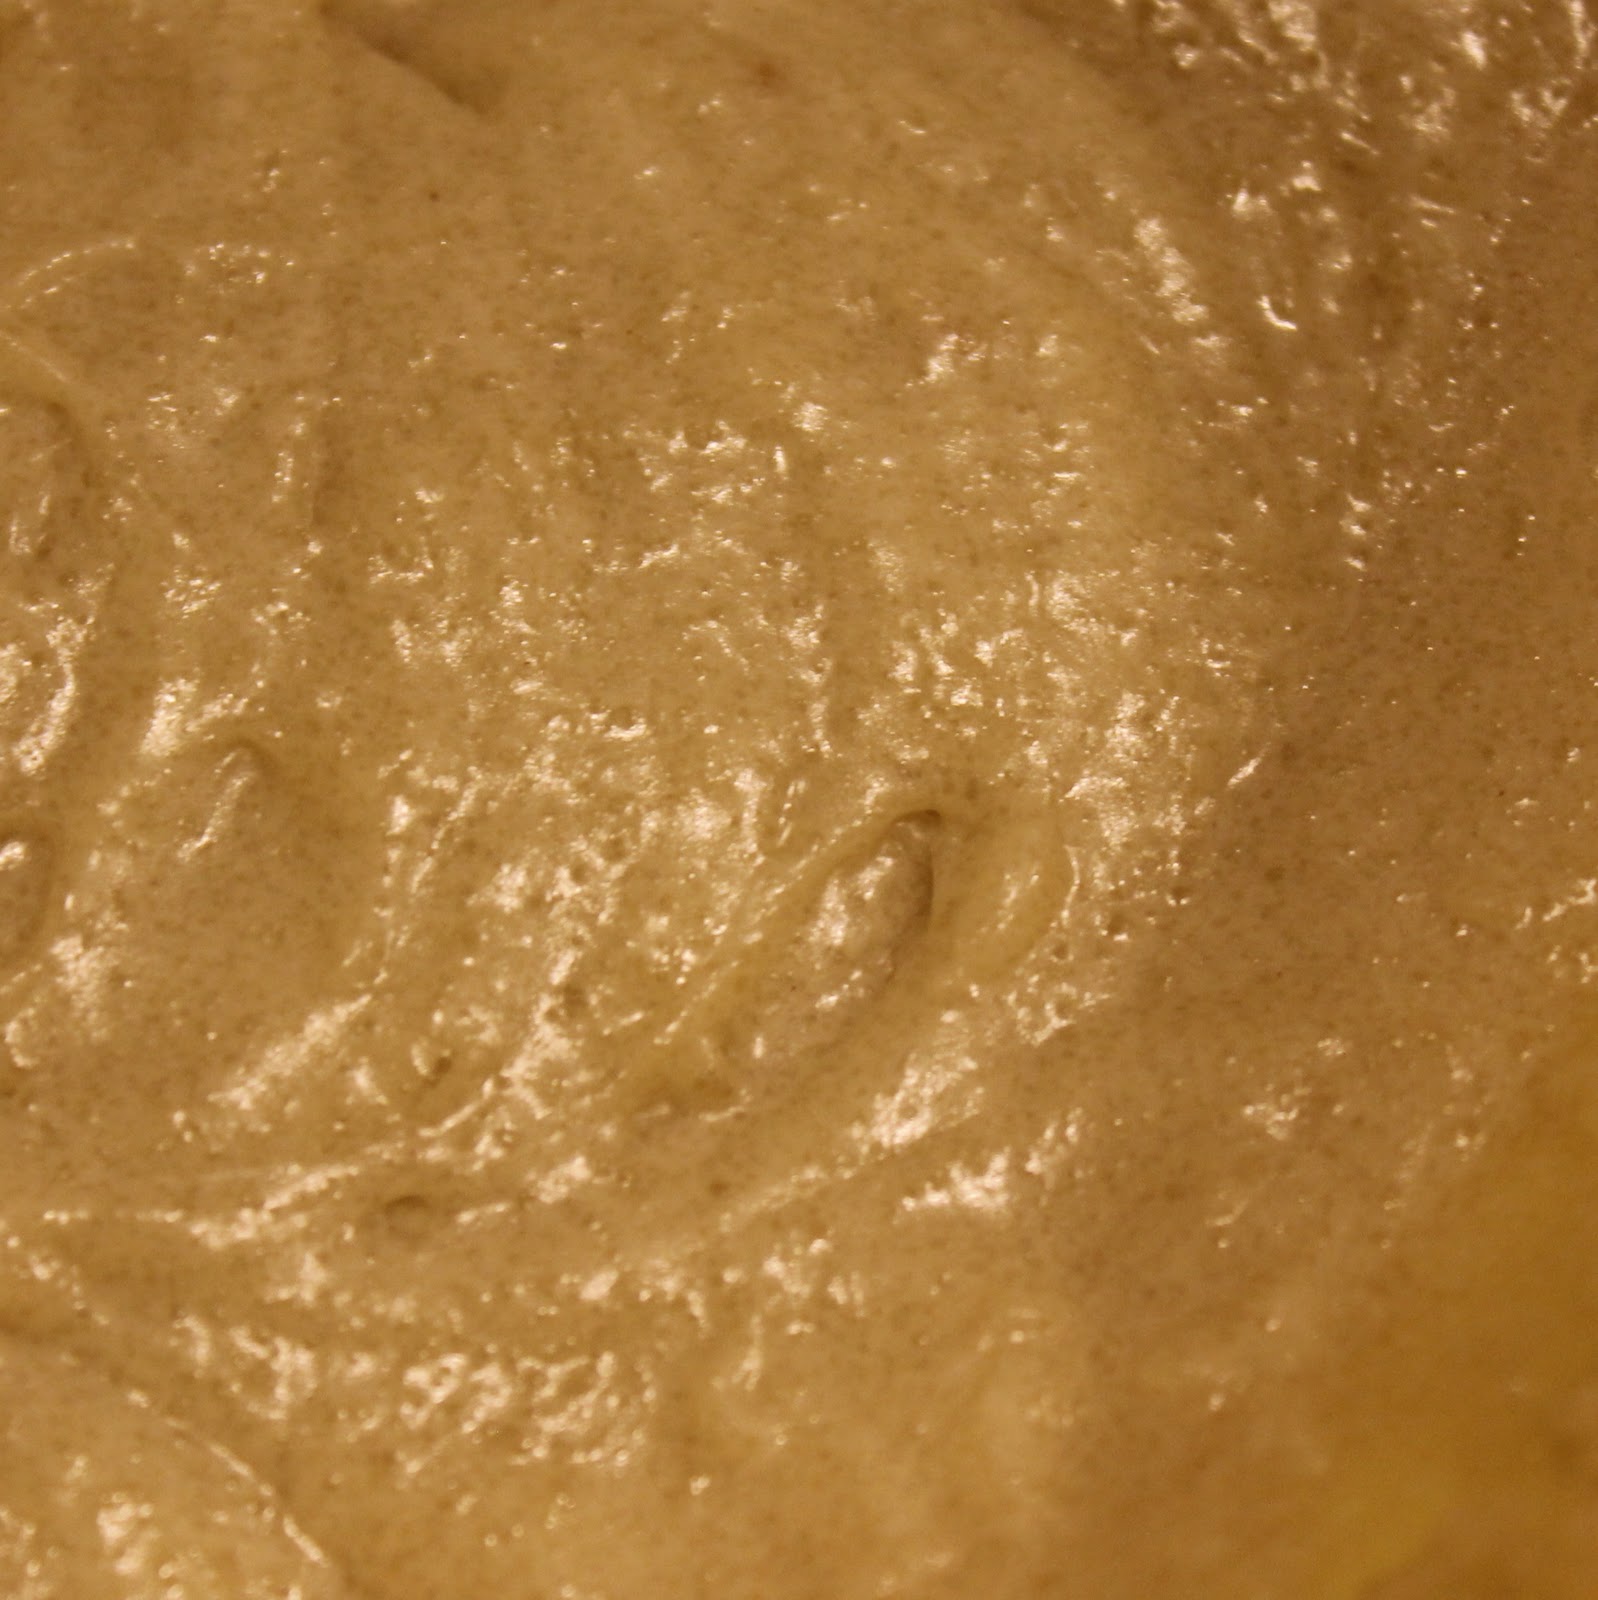
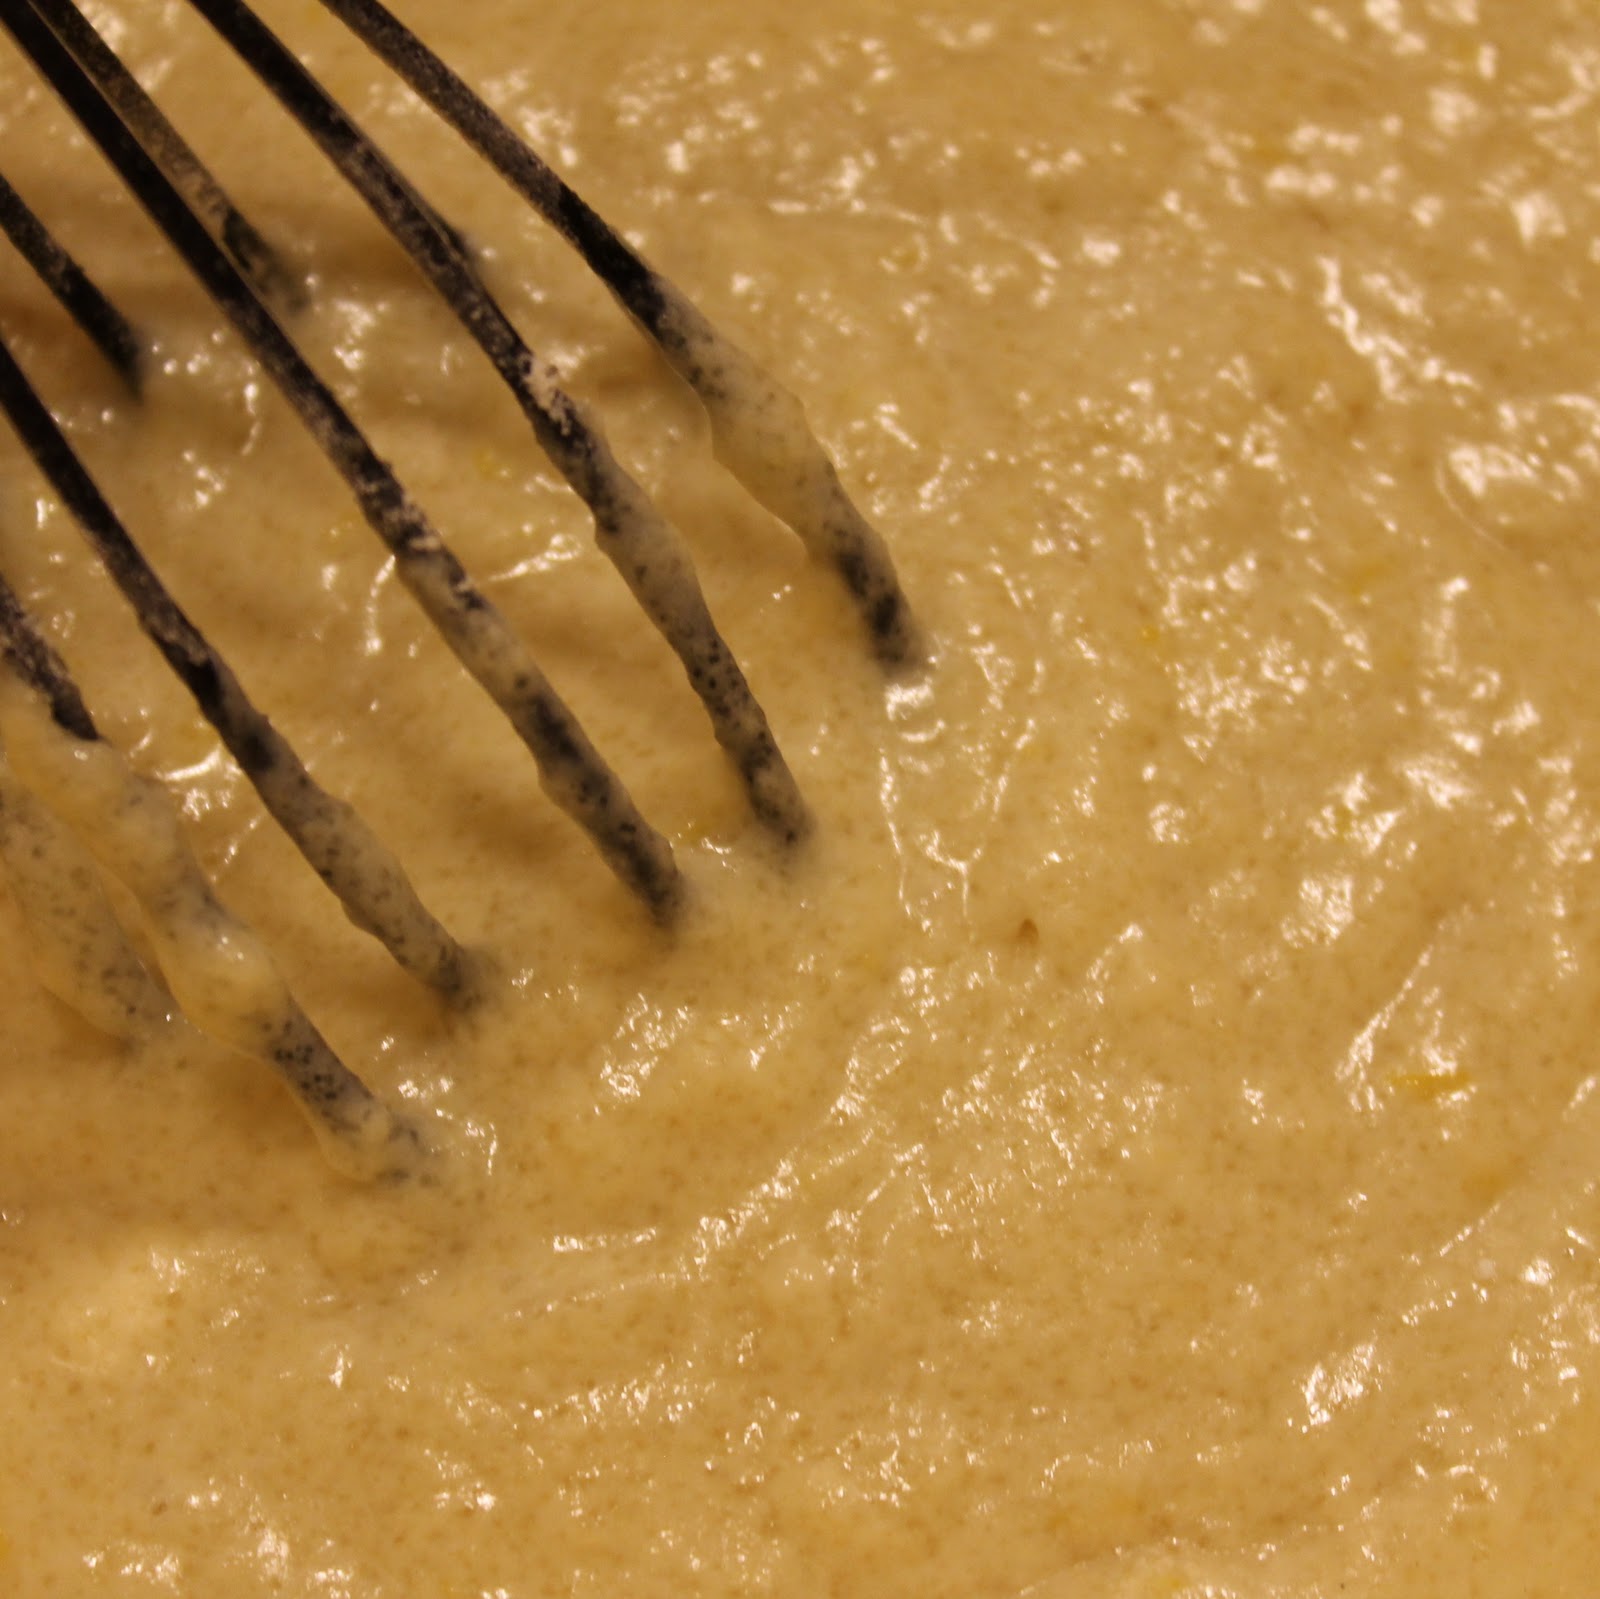
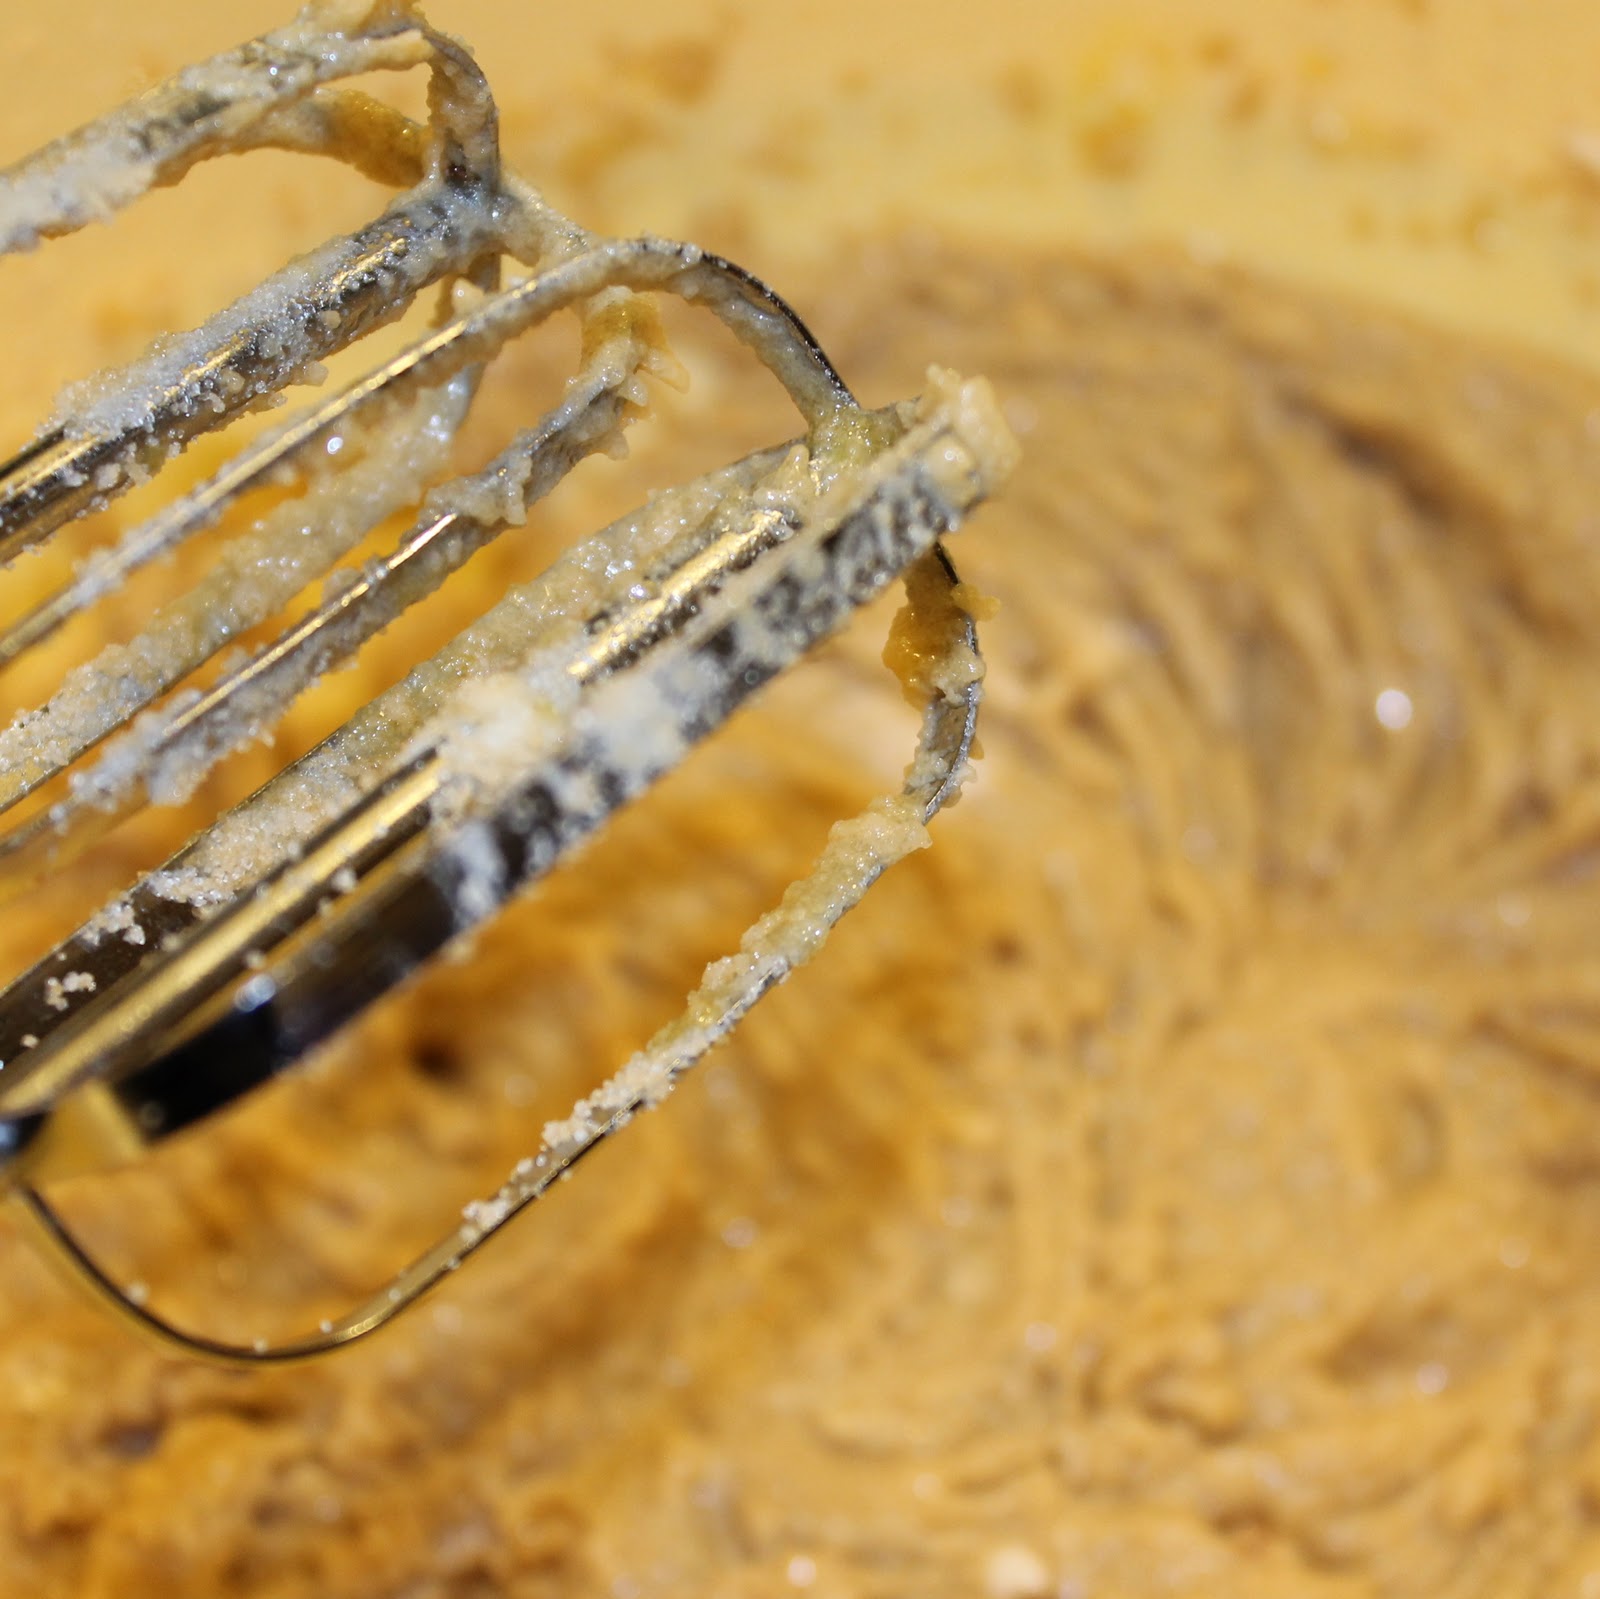
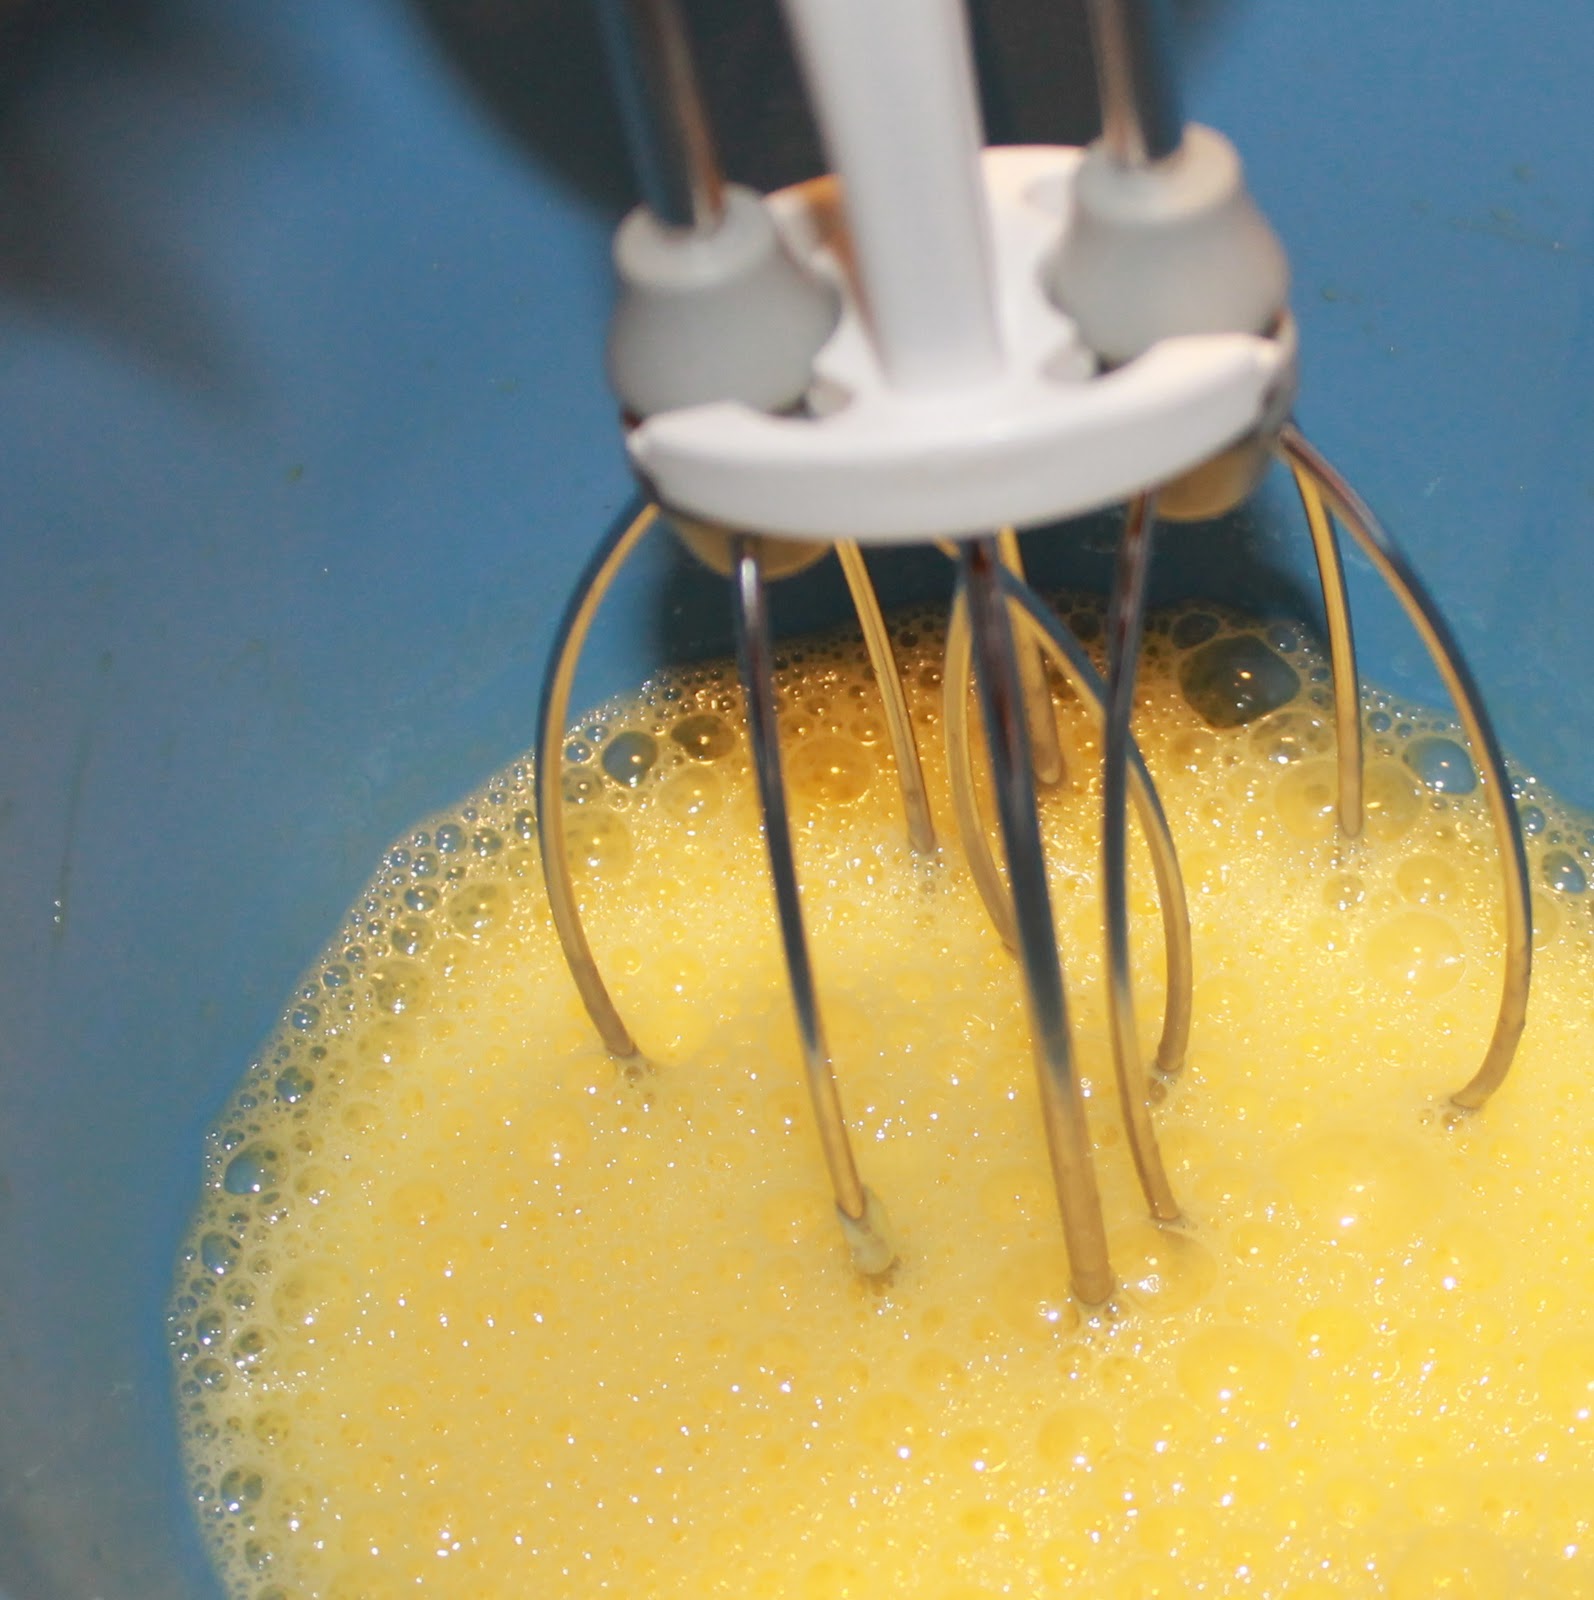
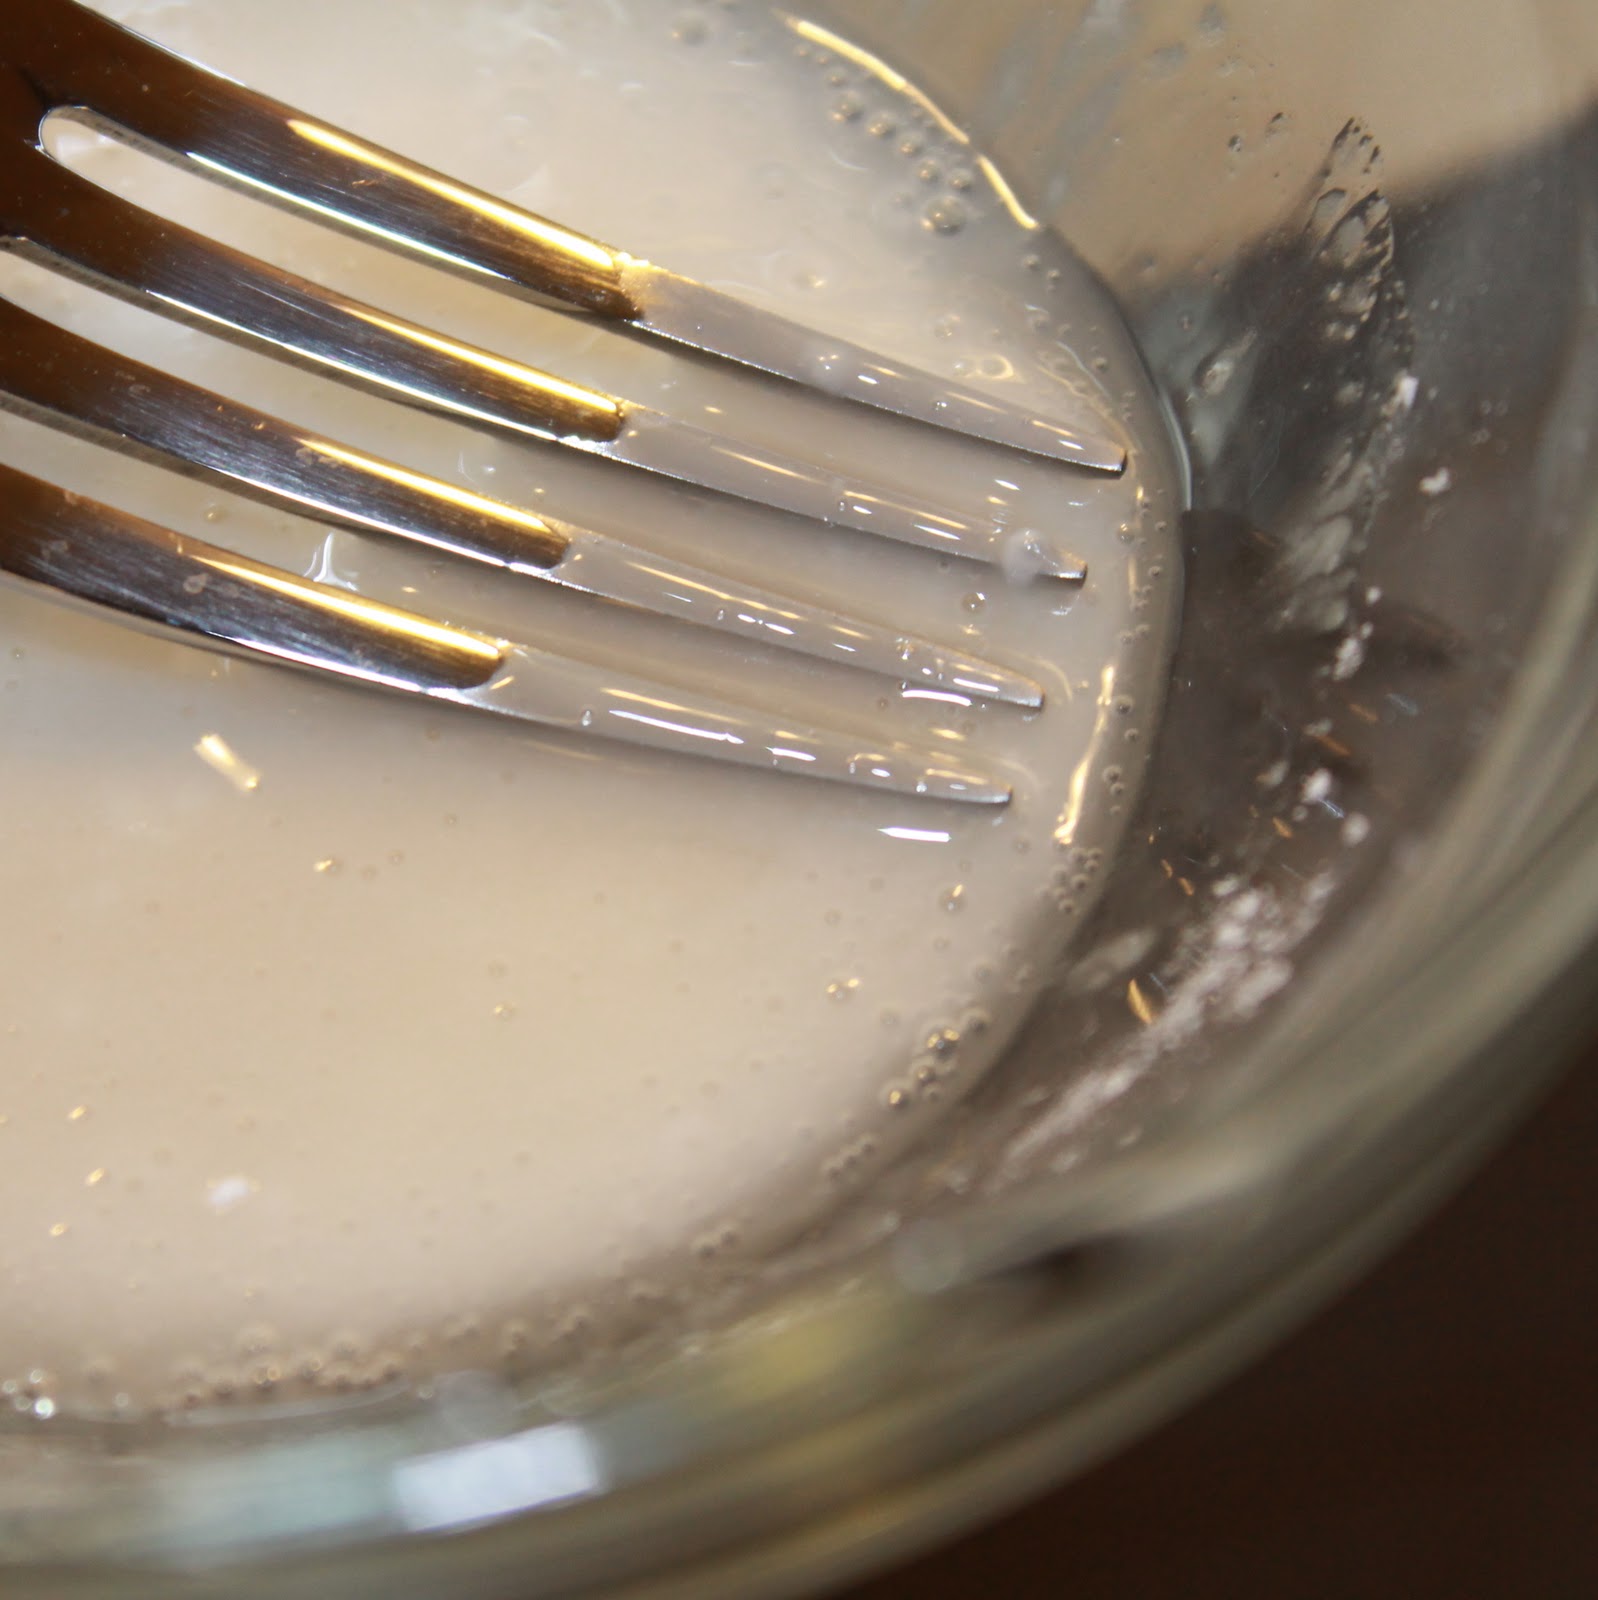
Beat the eggs together until light.
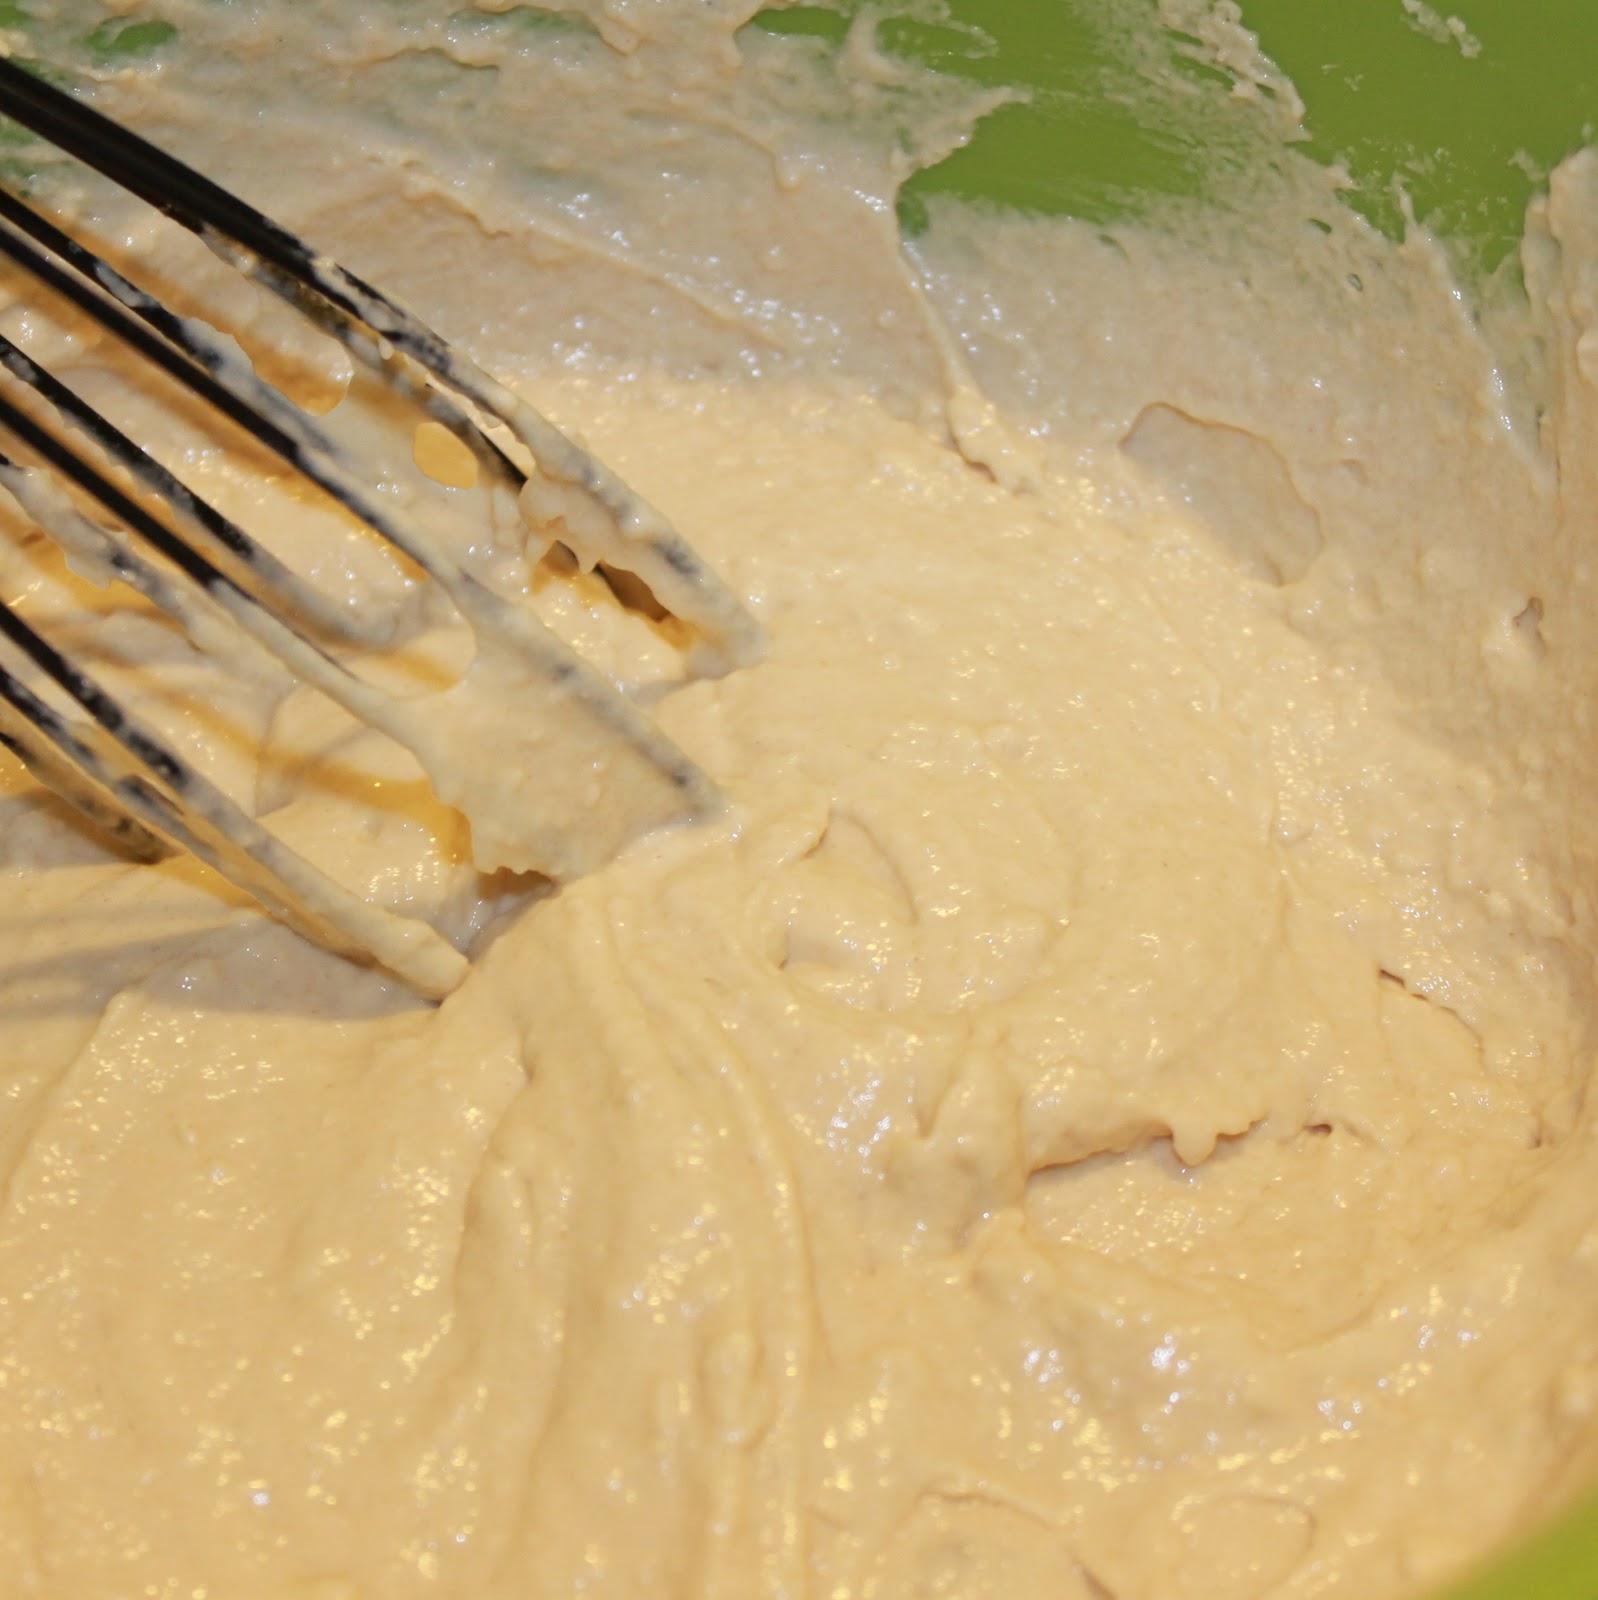
Add the almond milk and flour and mix to combine. Add the melted butter, salt and baking powder and mix to combine.
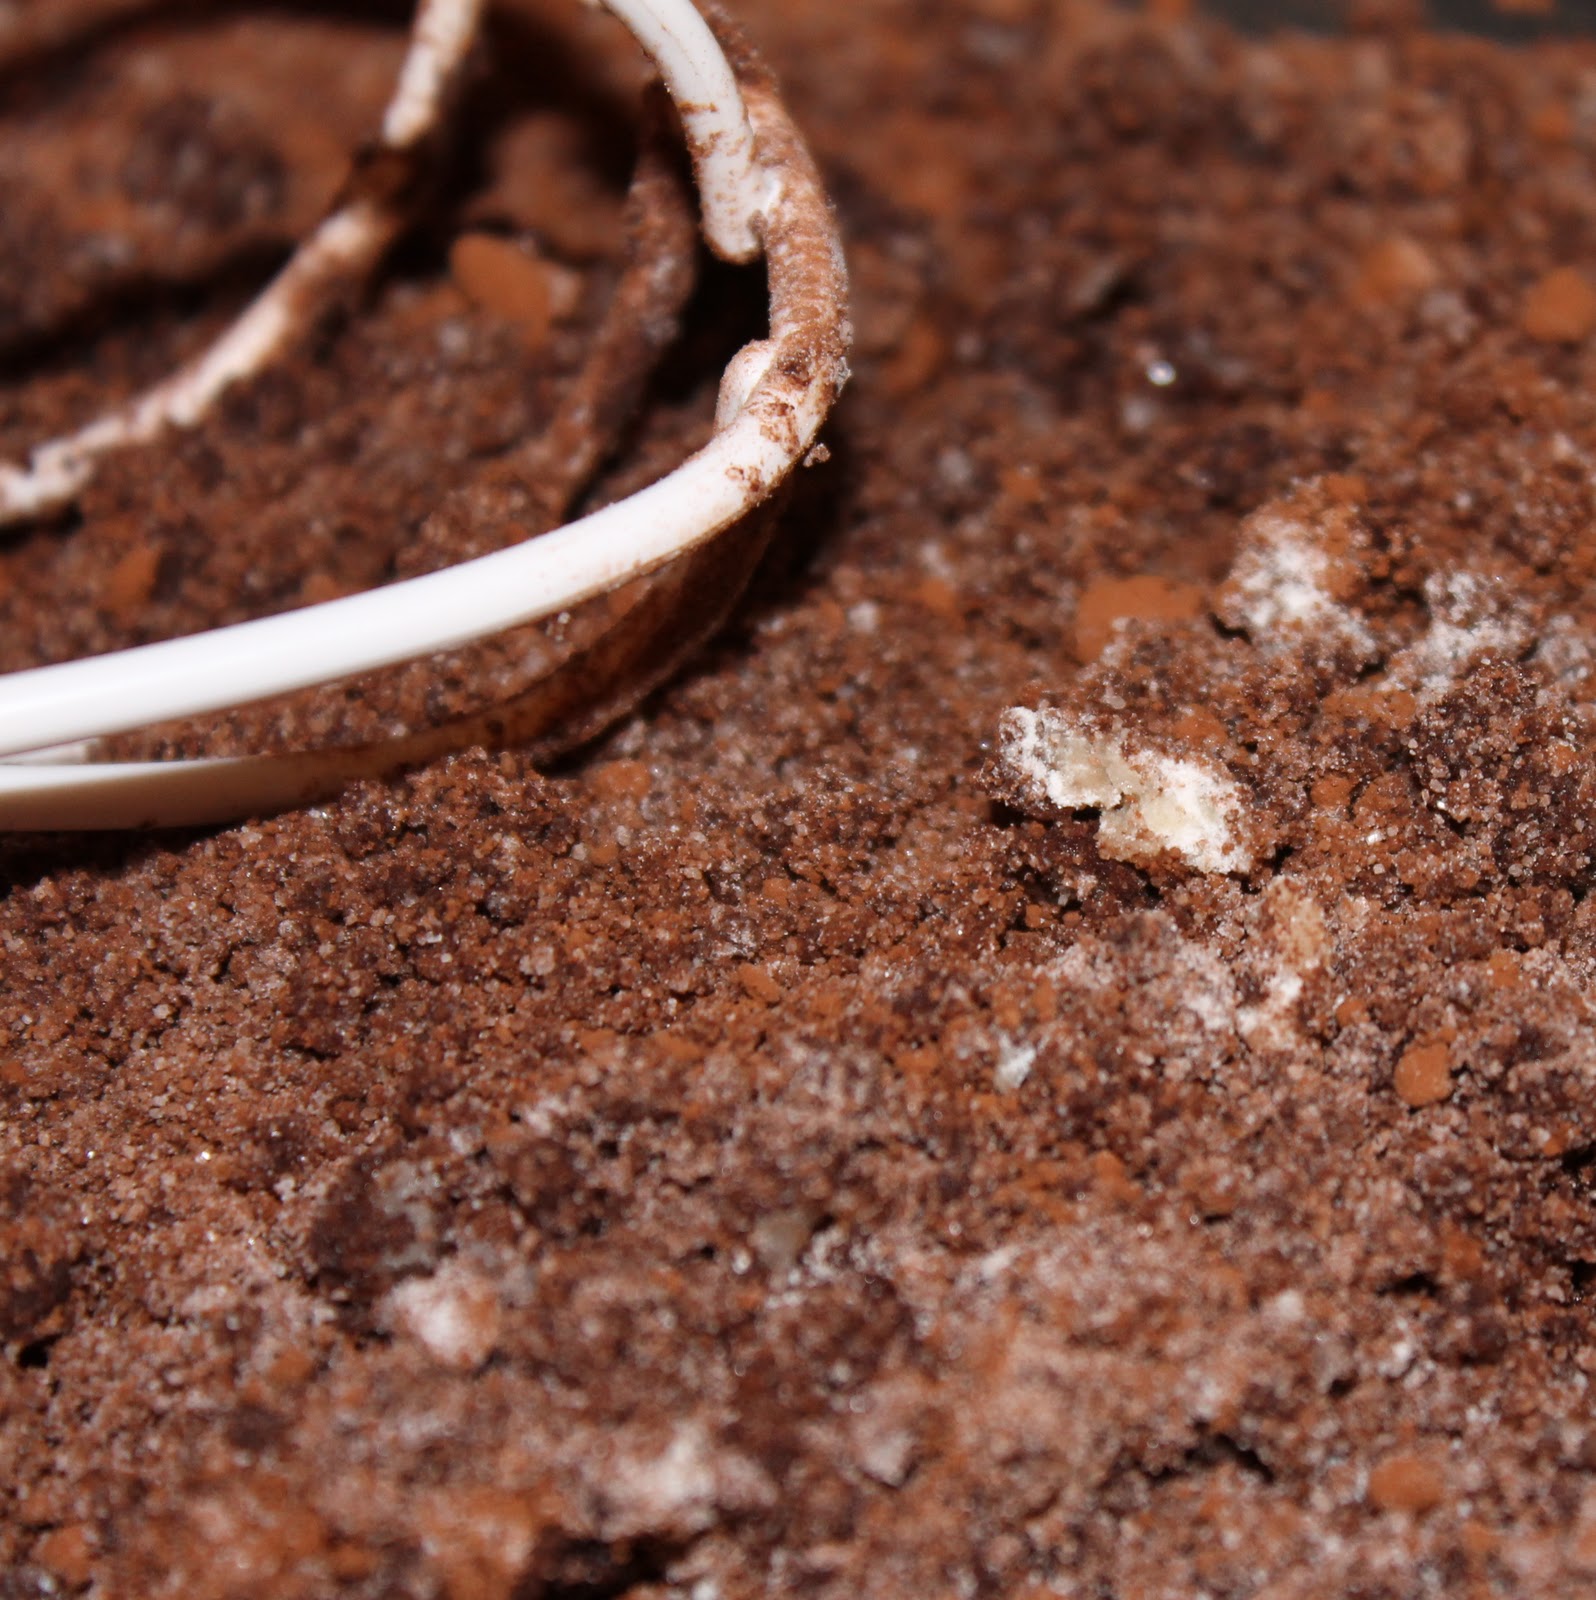
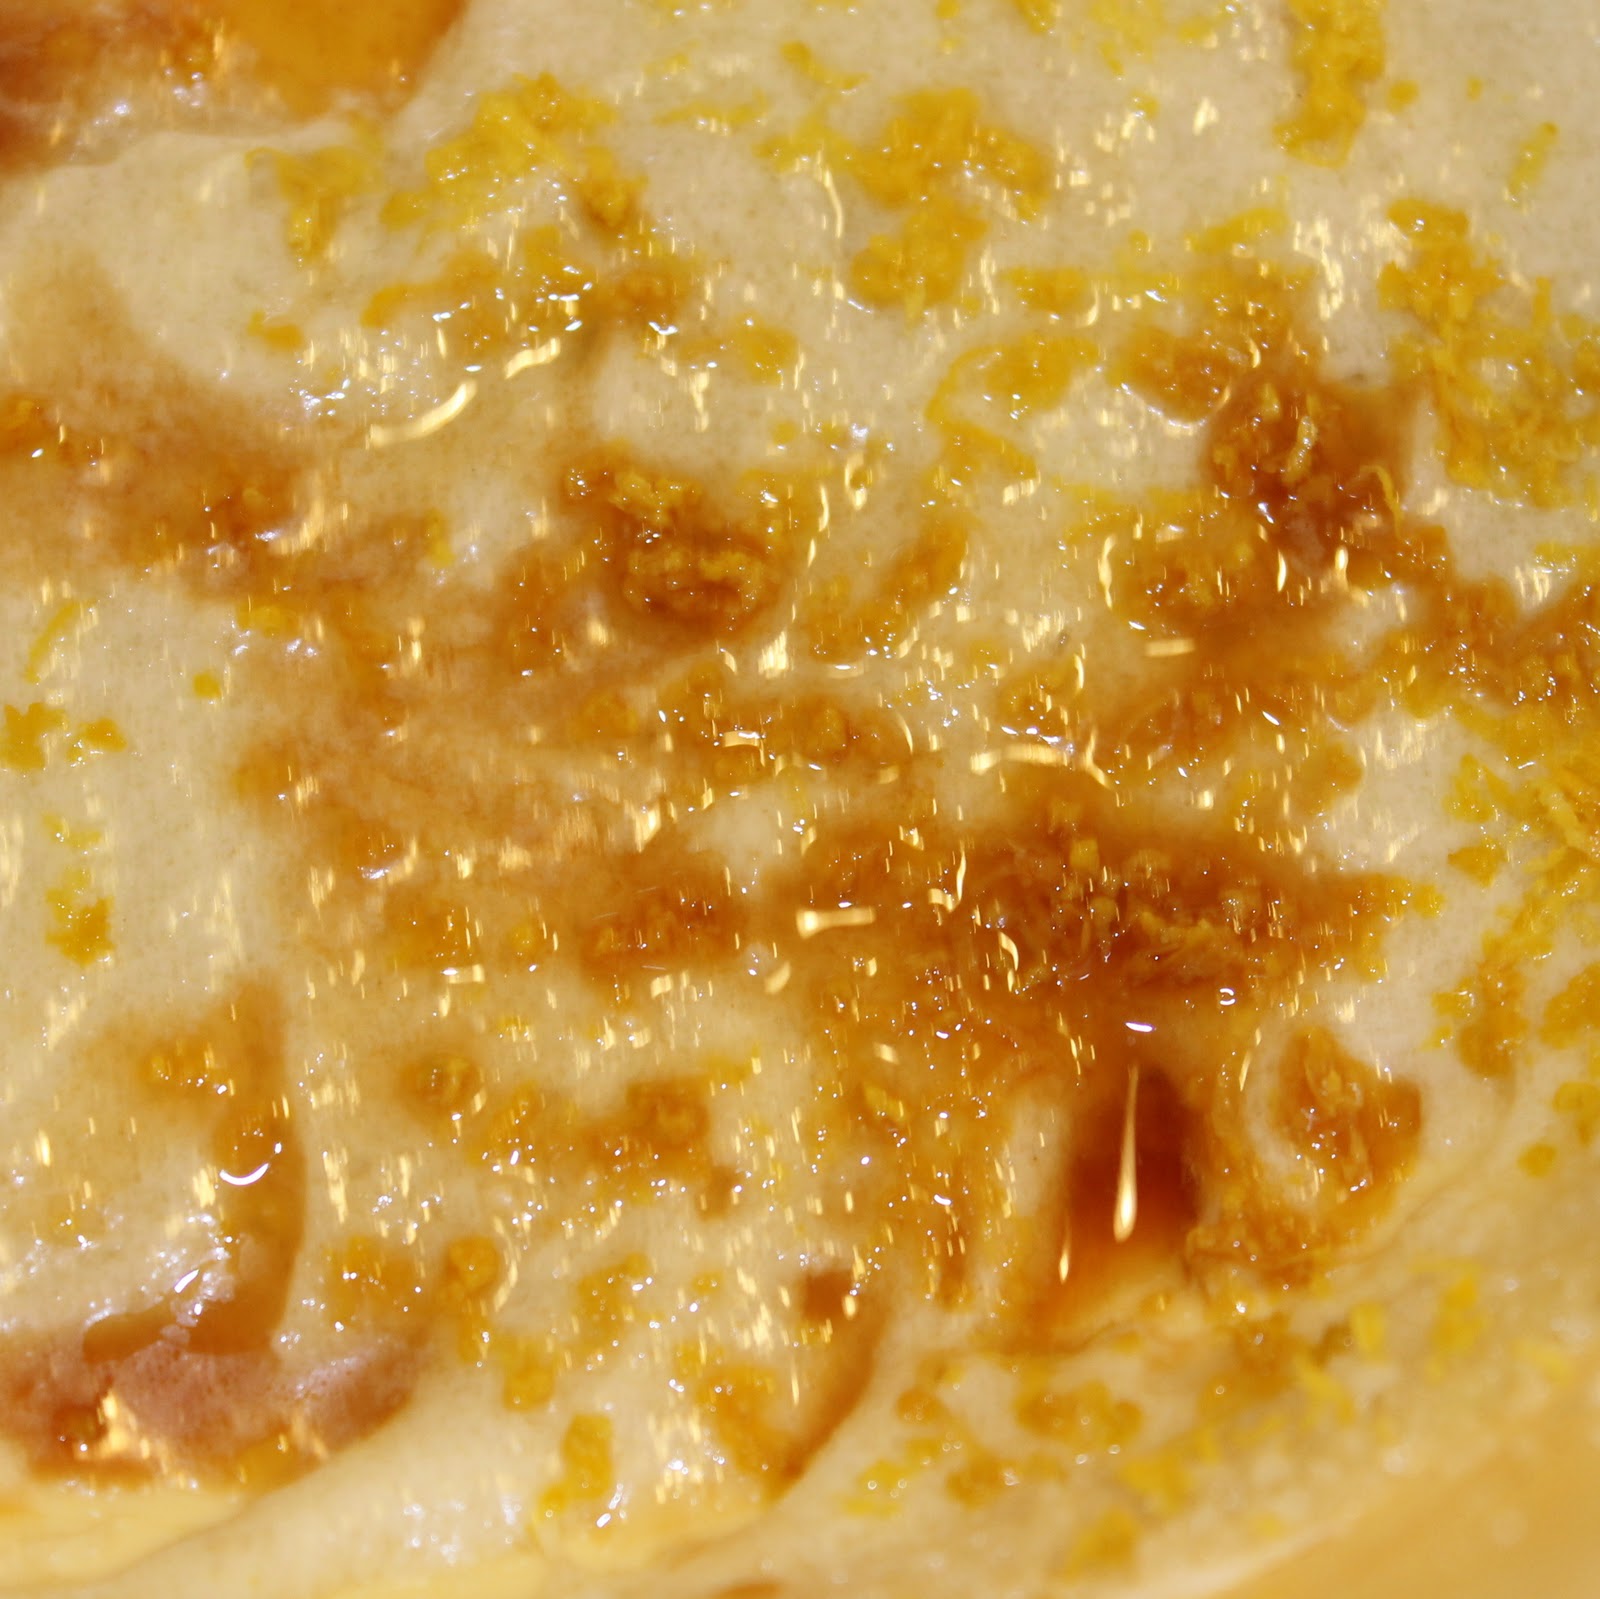
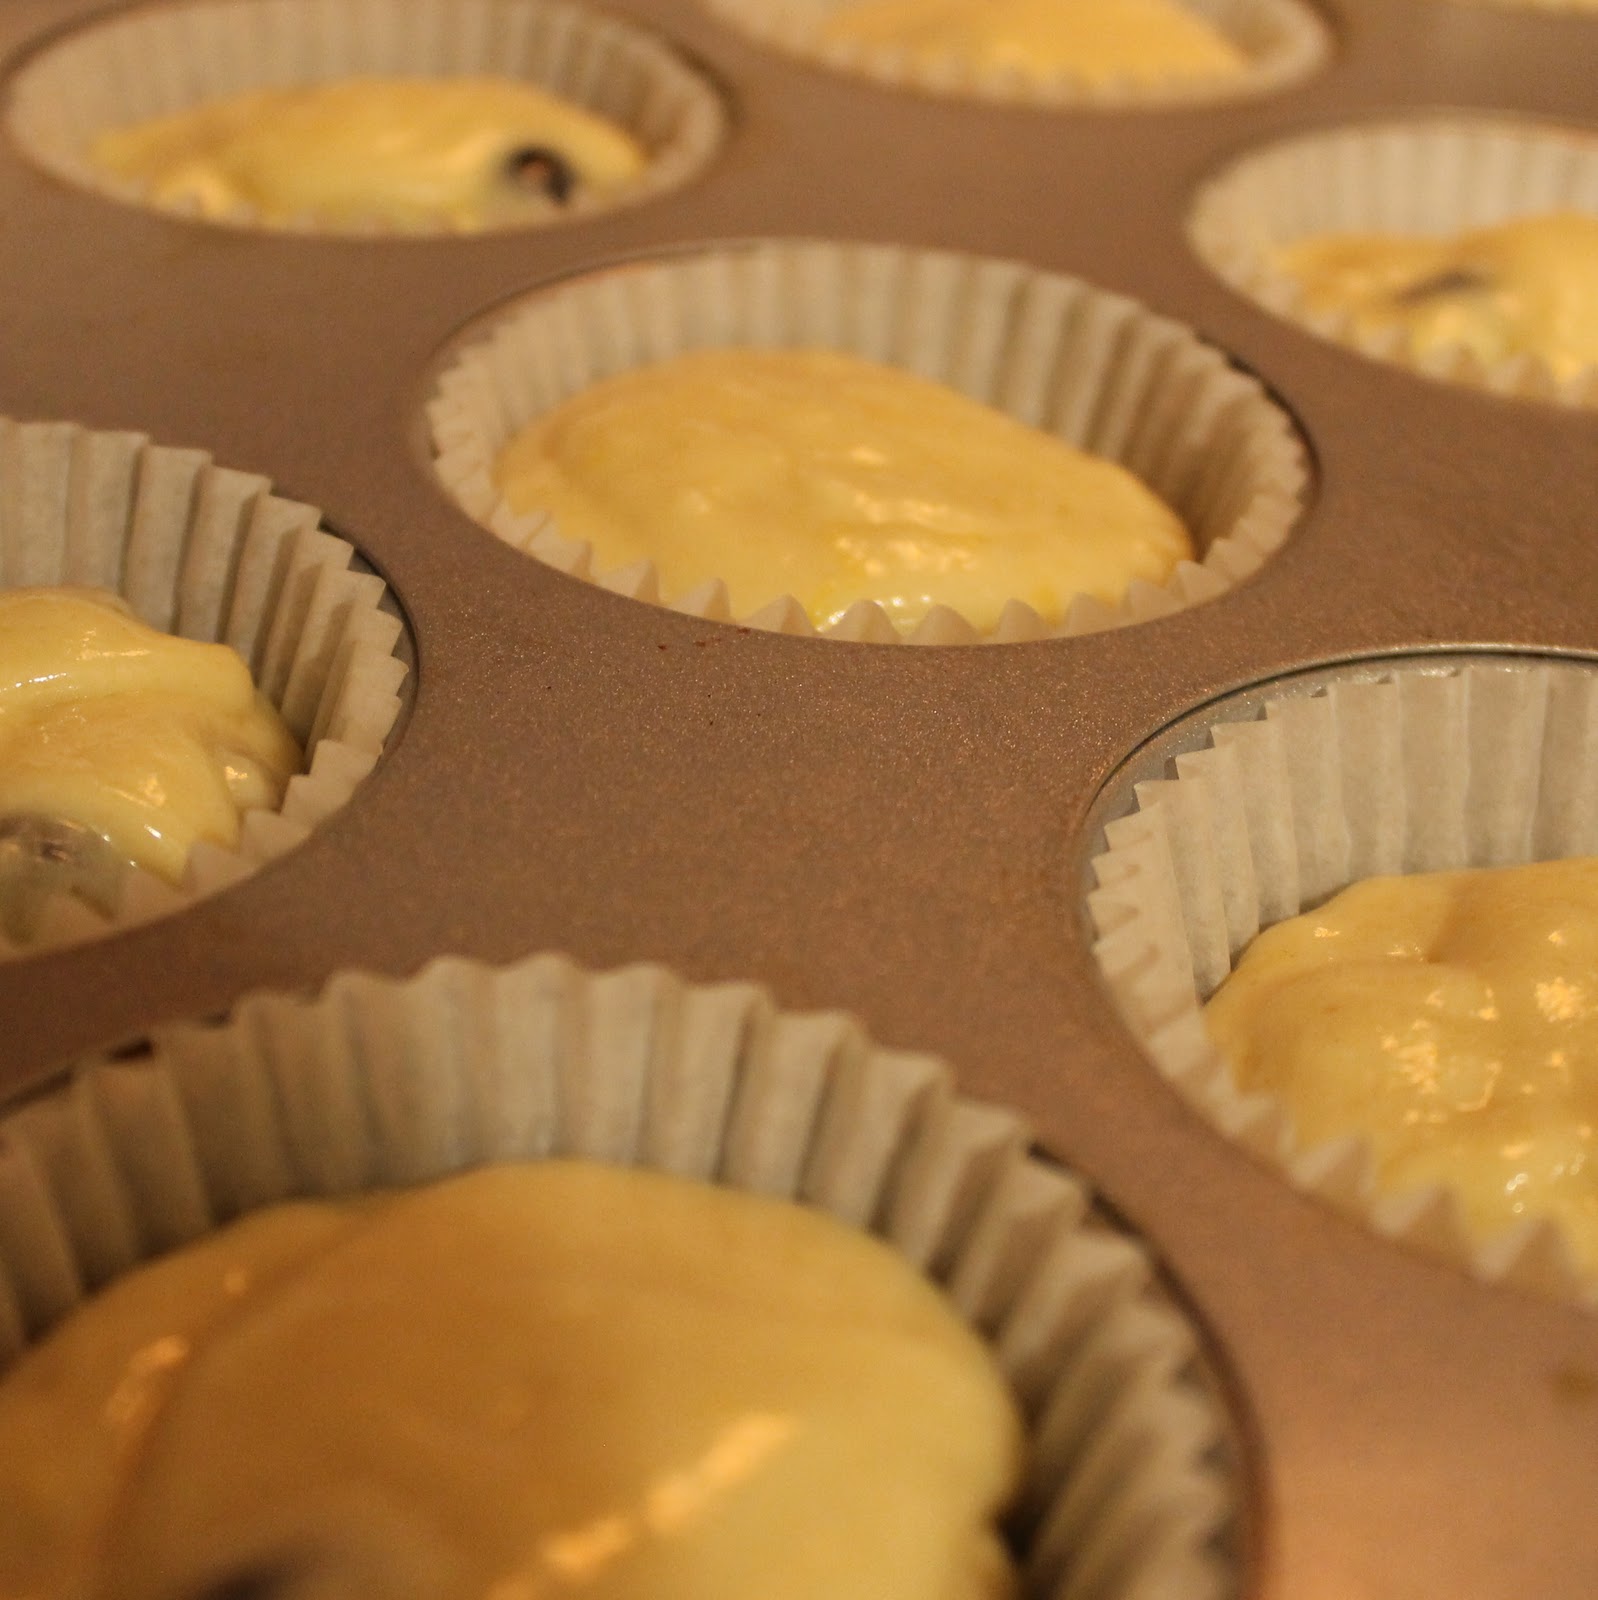
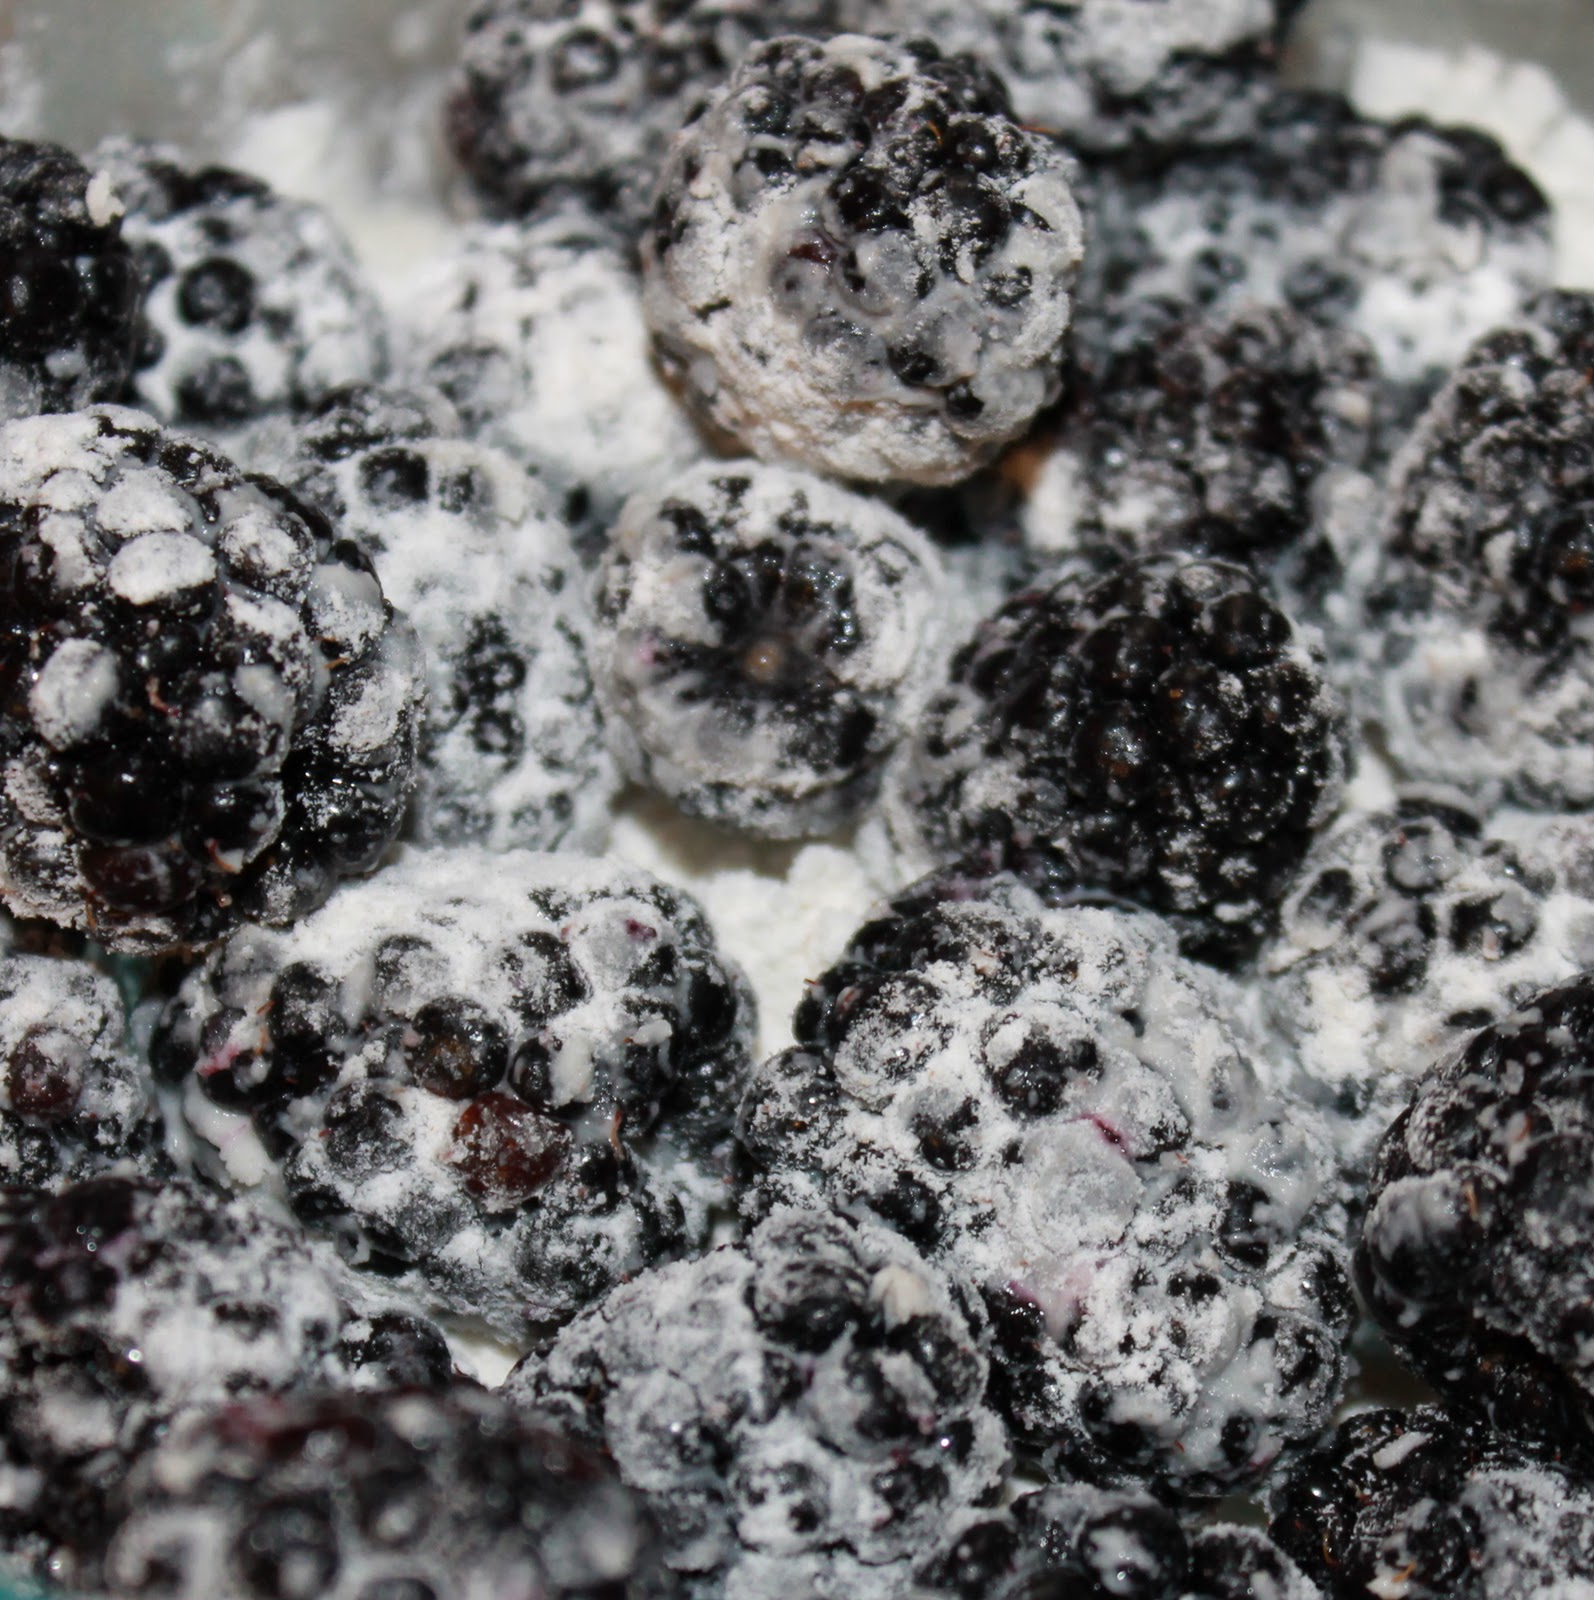
Wash the blackberries and dredge in flour.
Add the blackberries to the pudding and mix to combine.

The original recipe wanted me to put the batter into a pudding tin (I have no idea what a pudding tin is) and then place that in a pot with some boiling water and cook it this way, replenishing the water when needed, for 3 hours. Yep. Not happening.
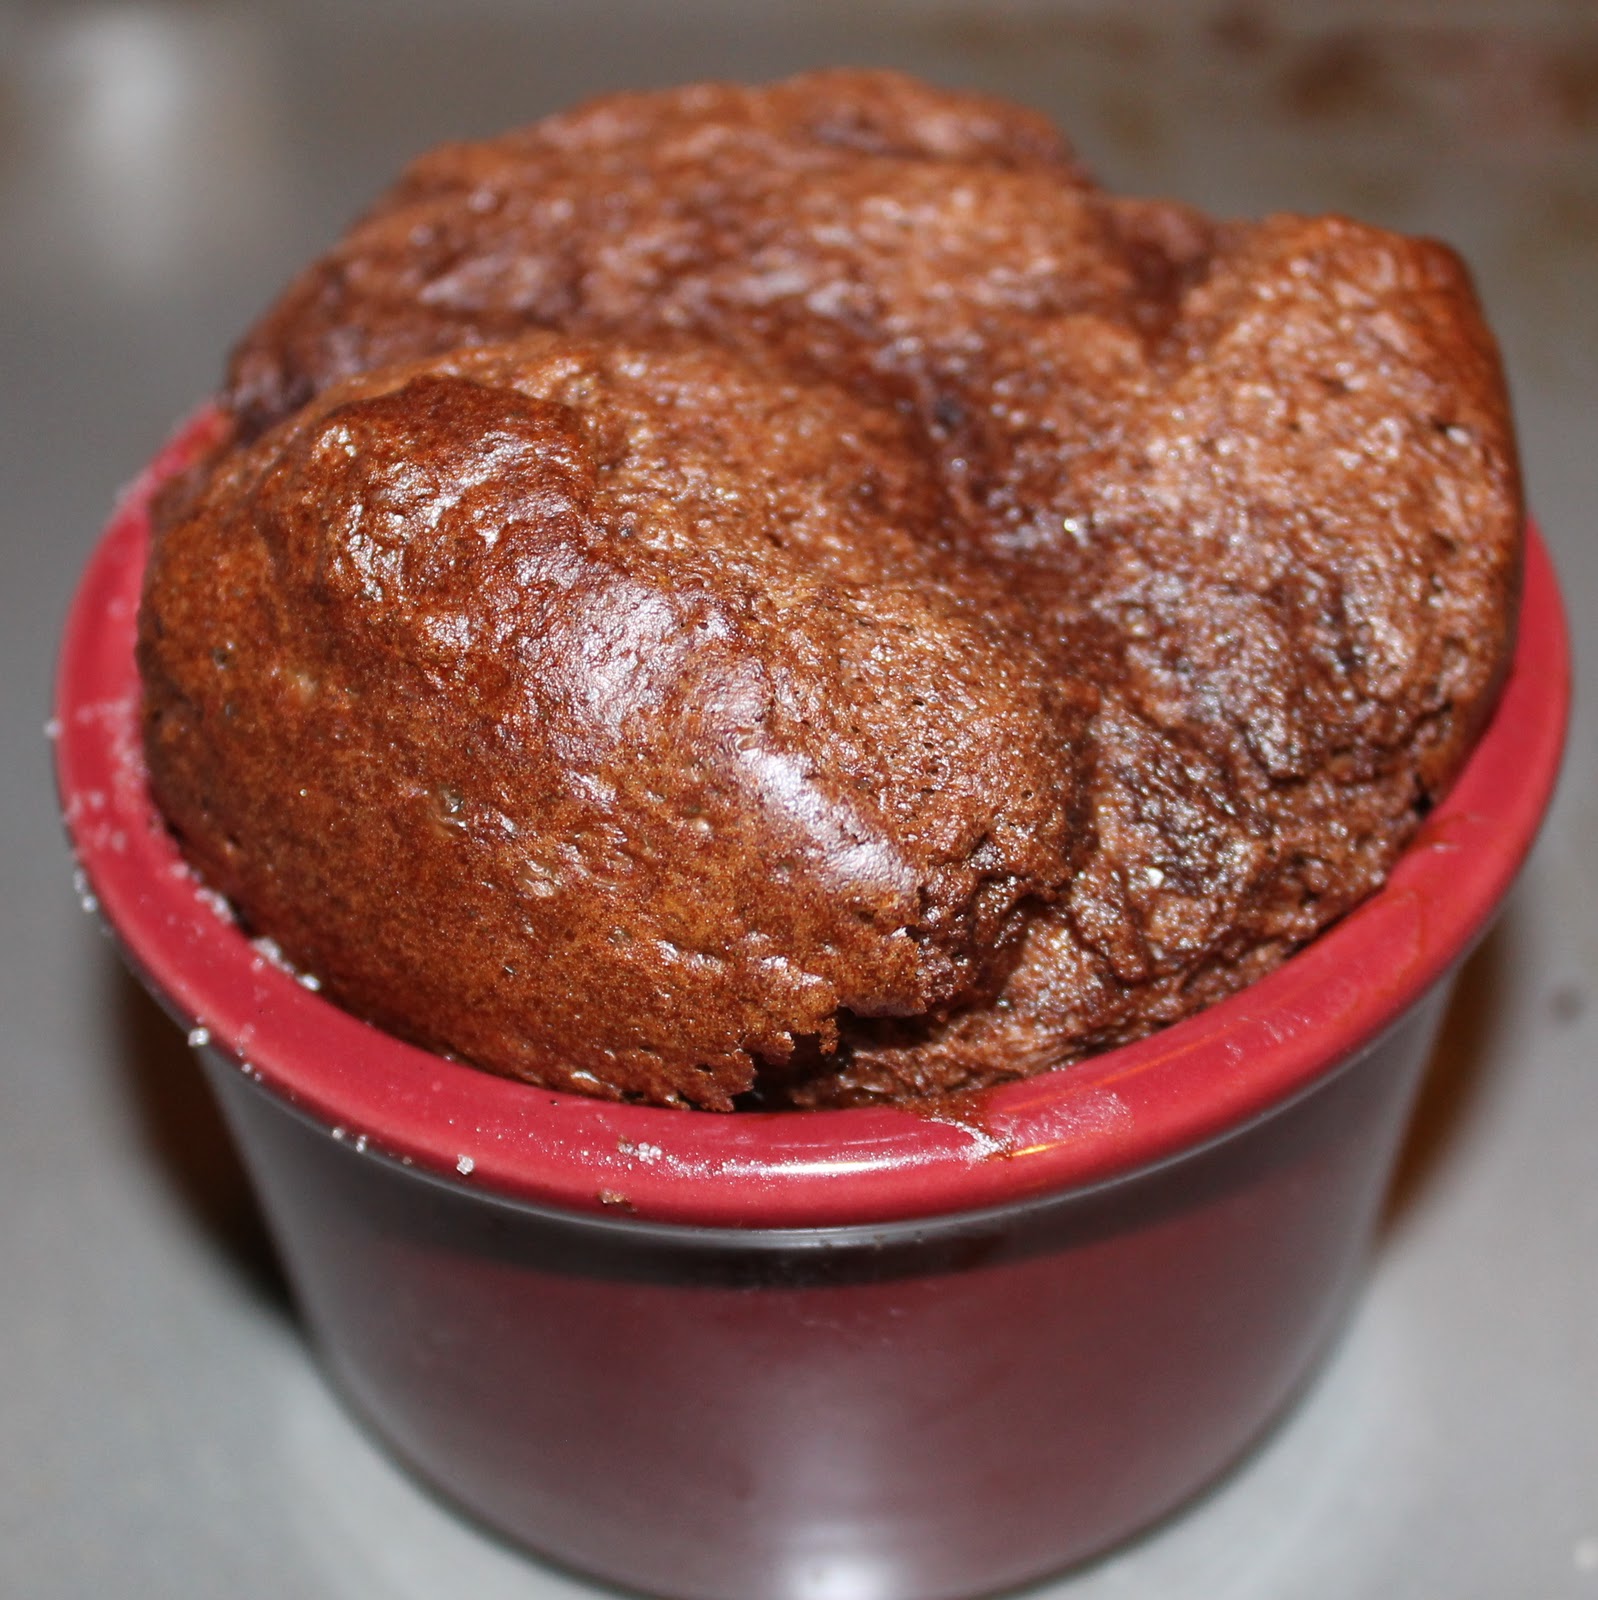
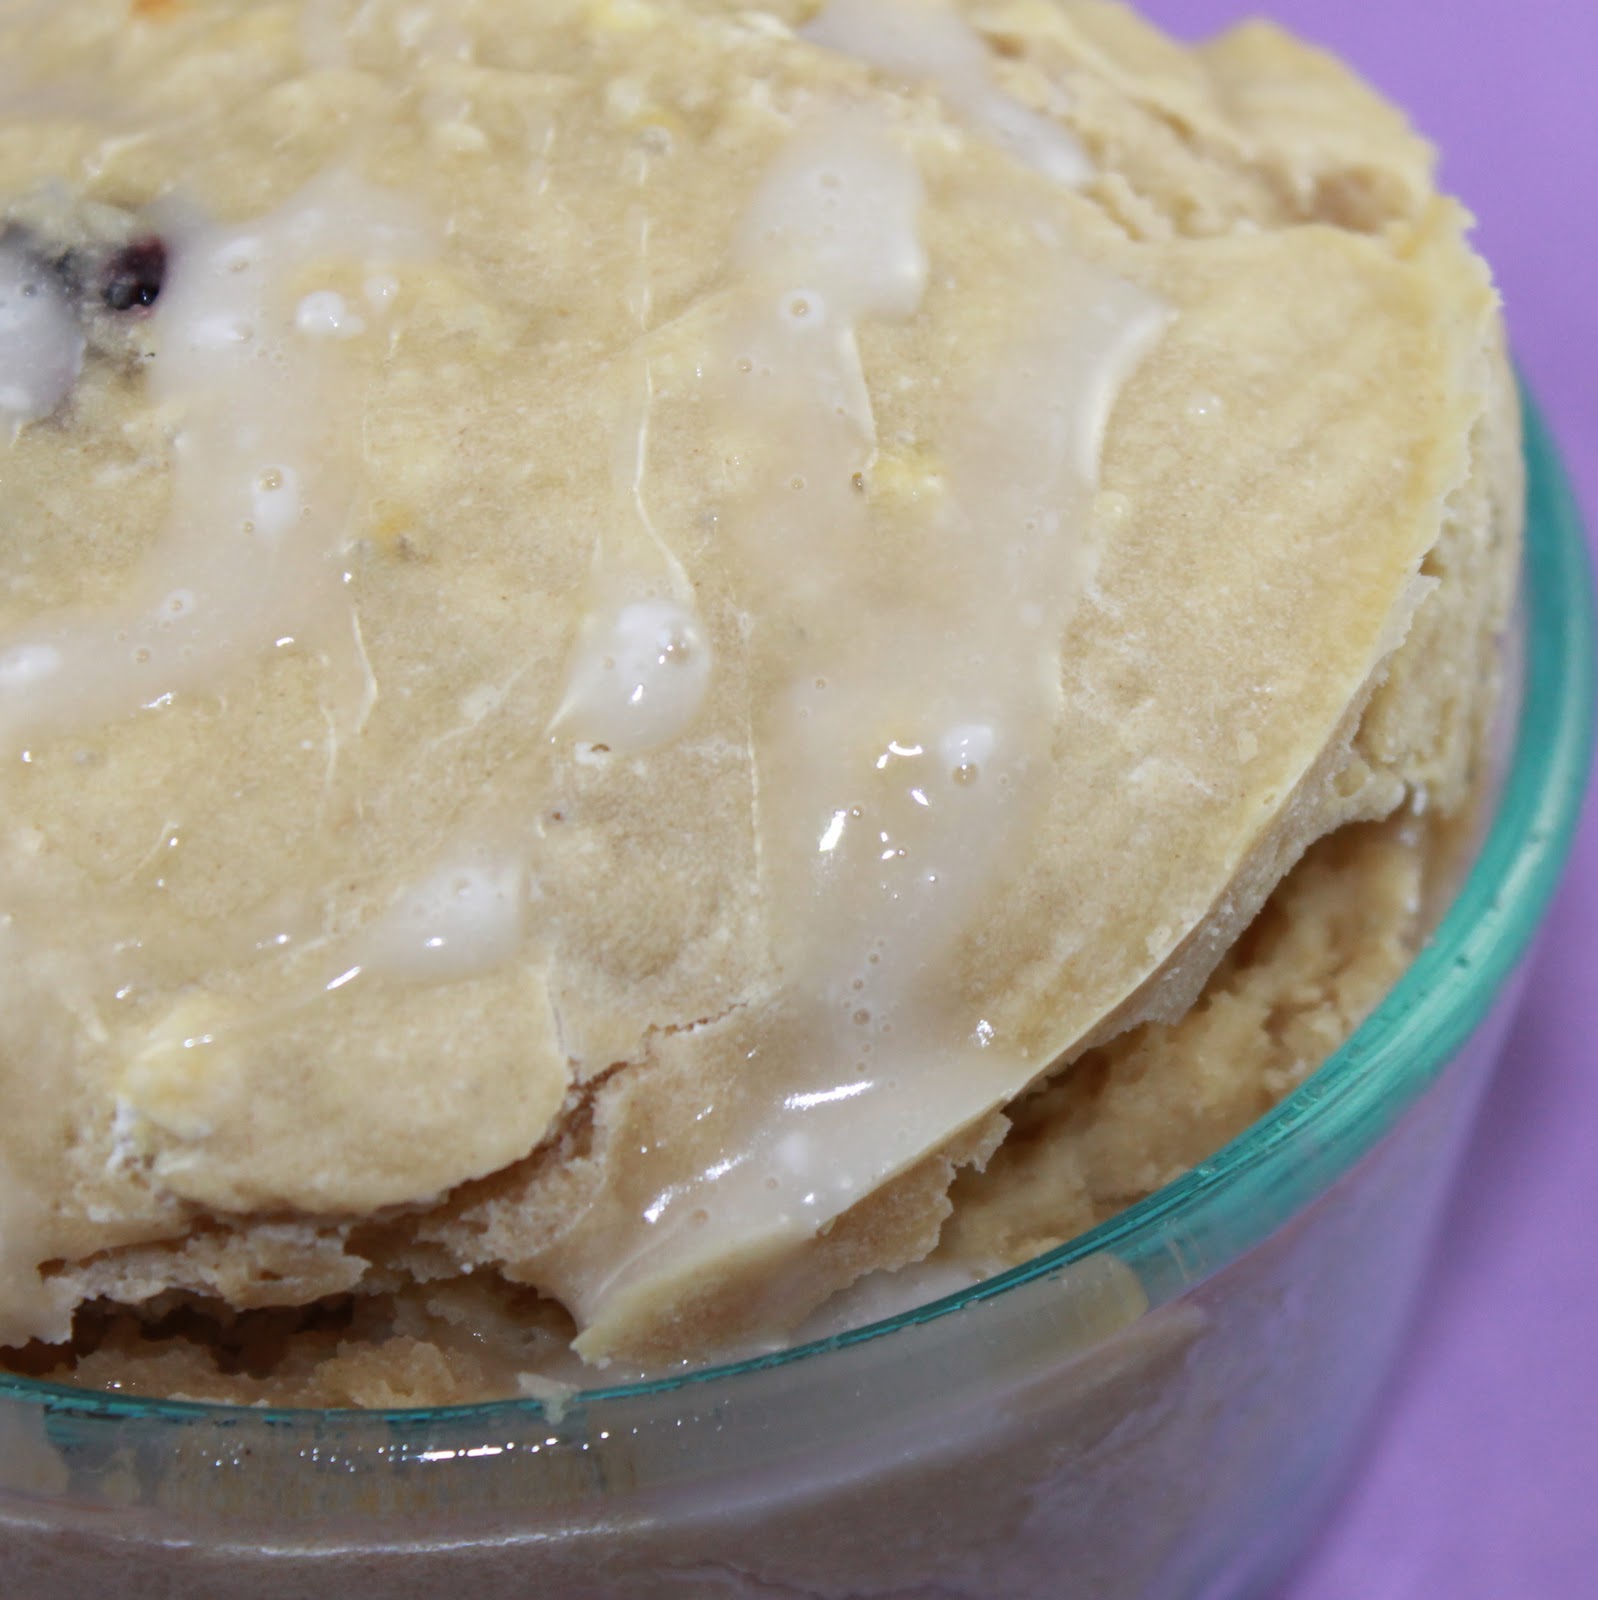
Instead, I preheated my oven to 350, added the batter to some Pyrex bowls (I used one medium and one small to use all the dough) and baked them for 40-50 minutes.

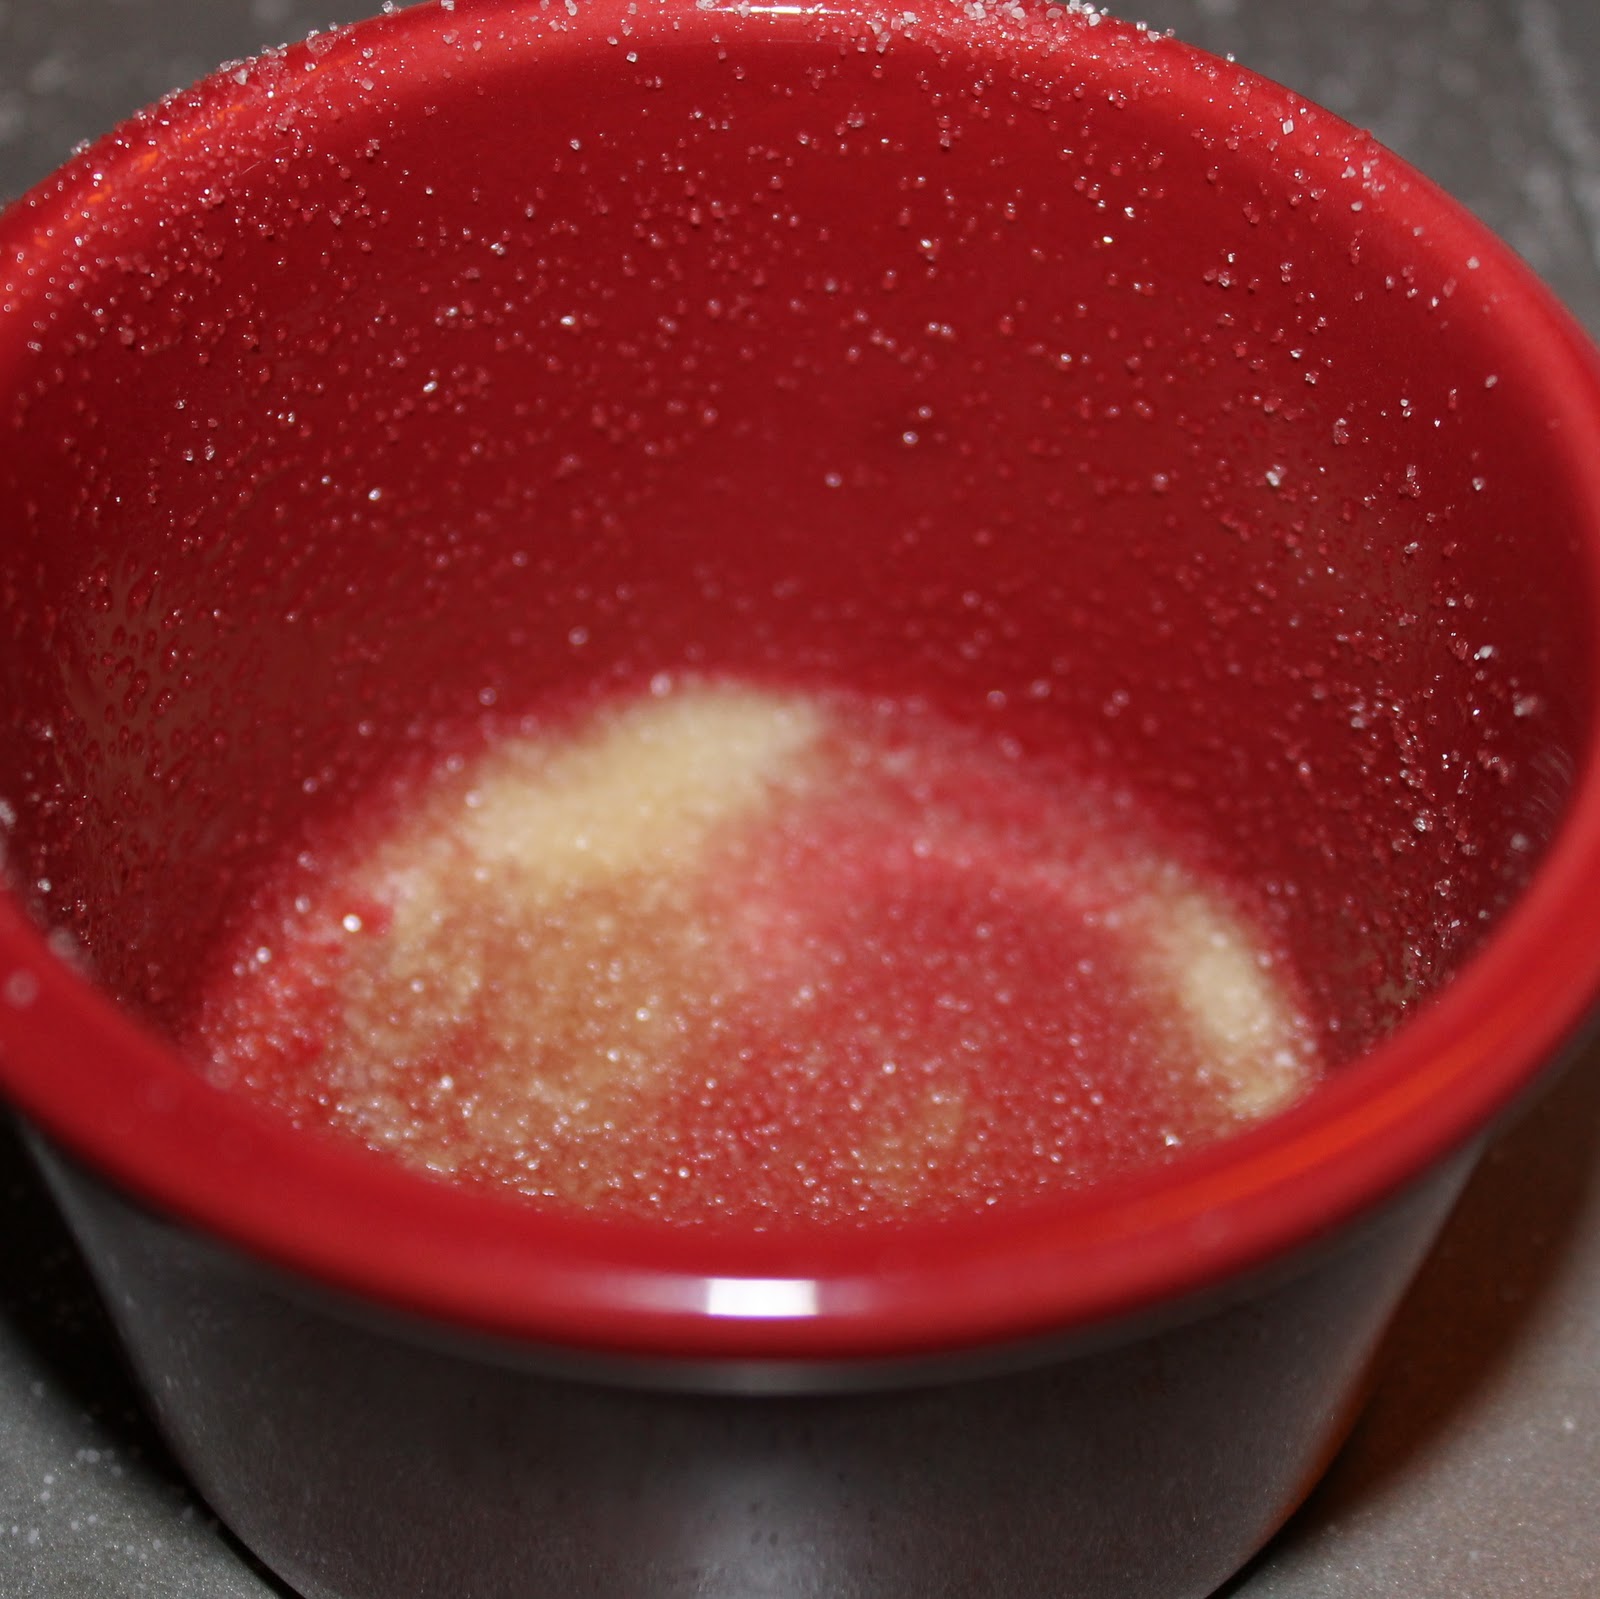
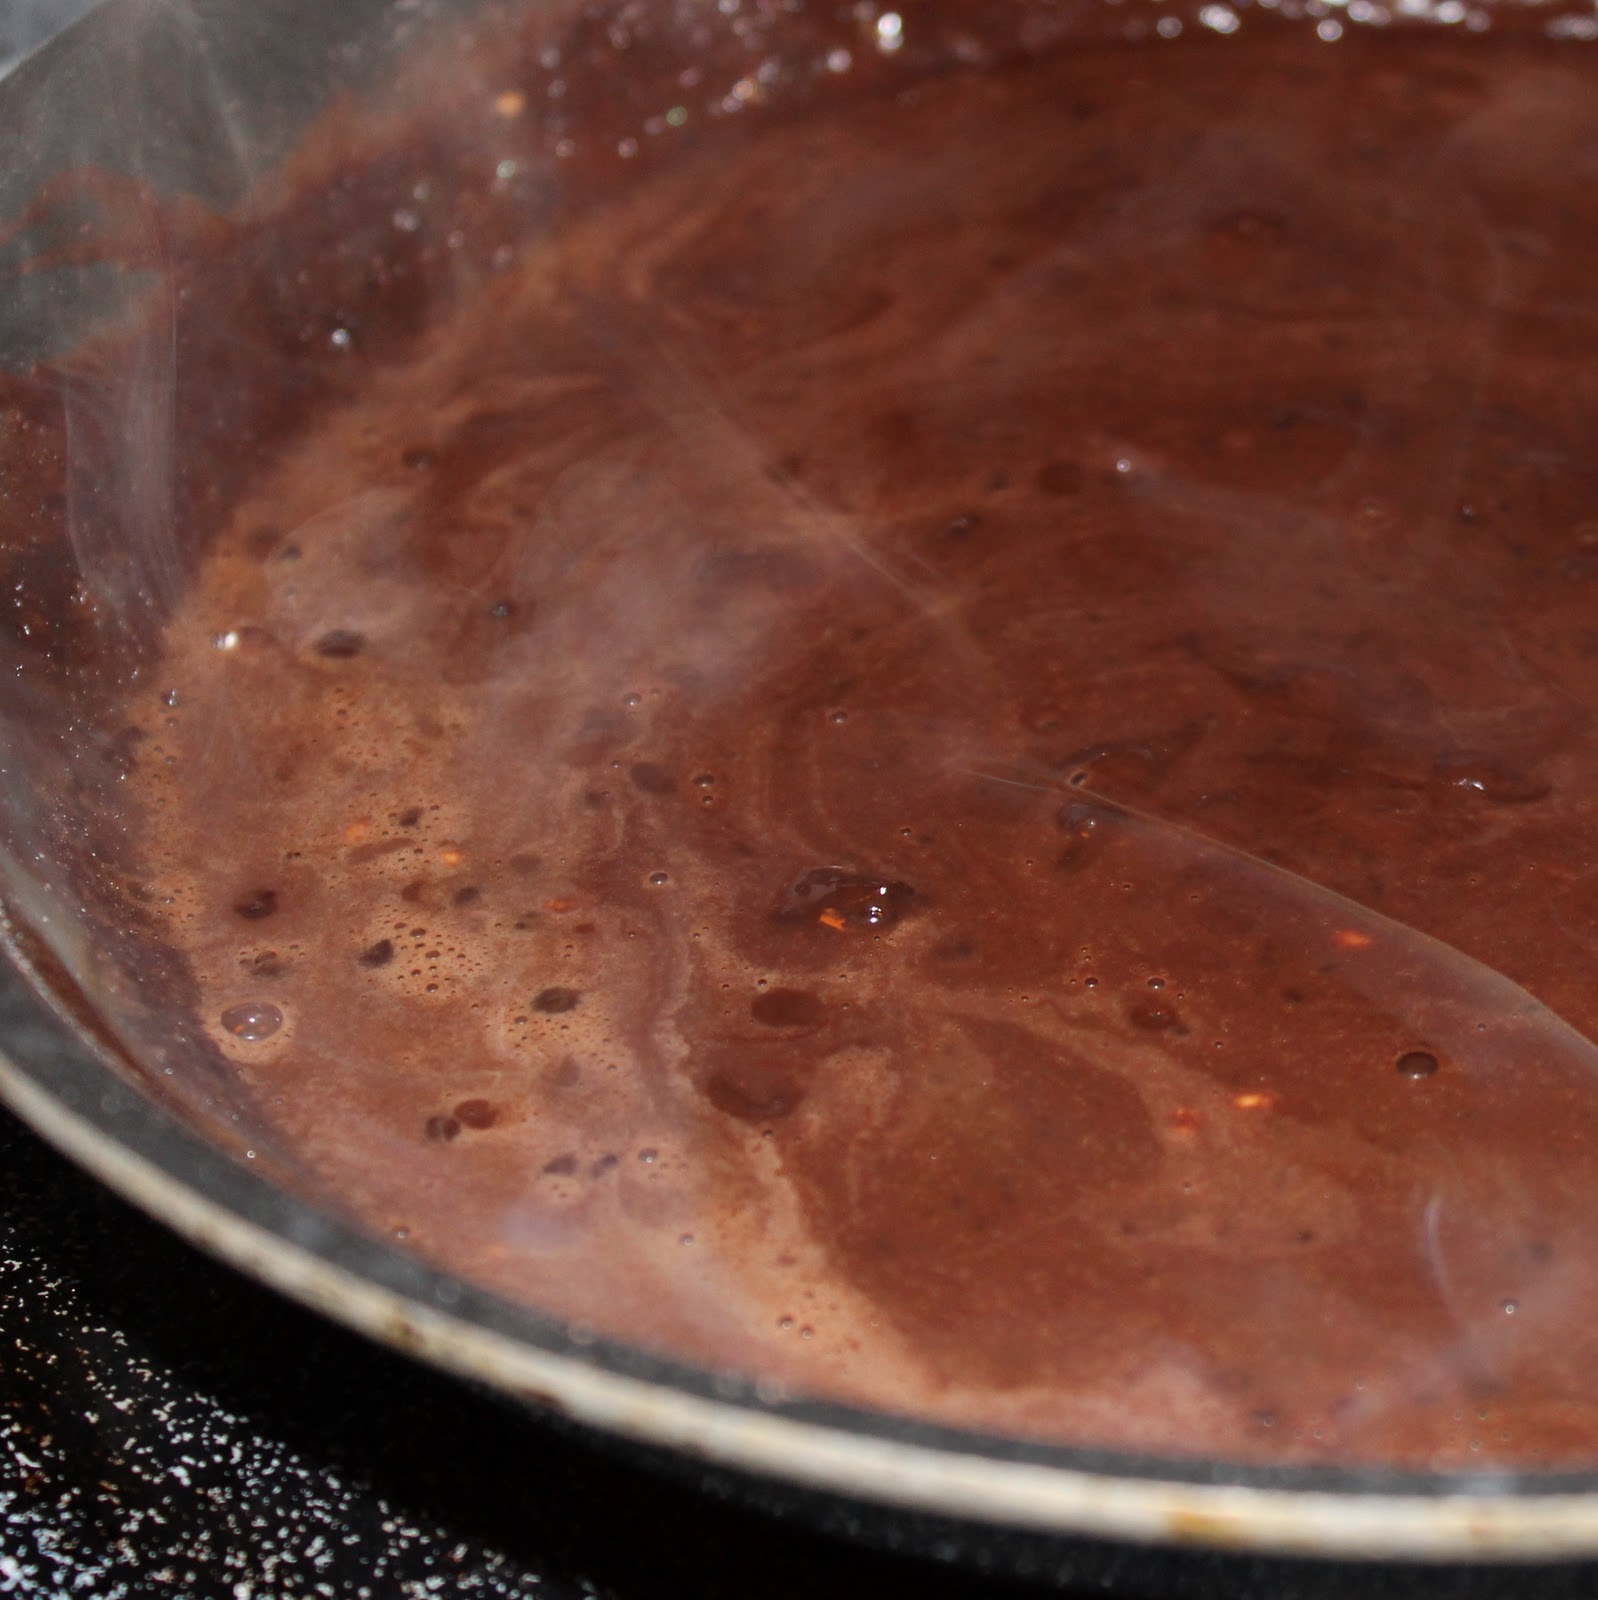
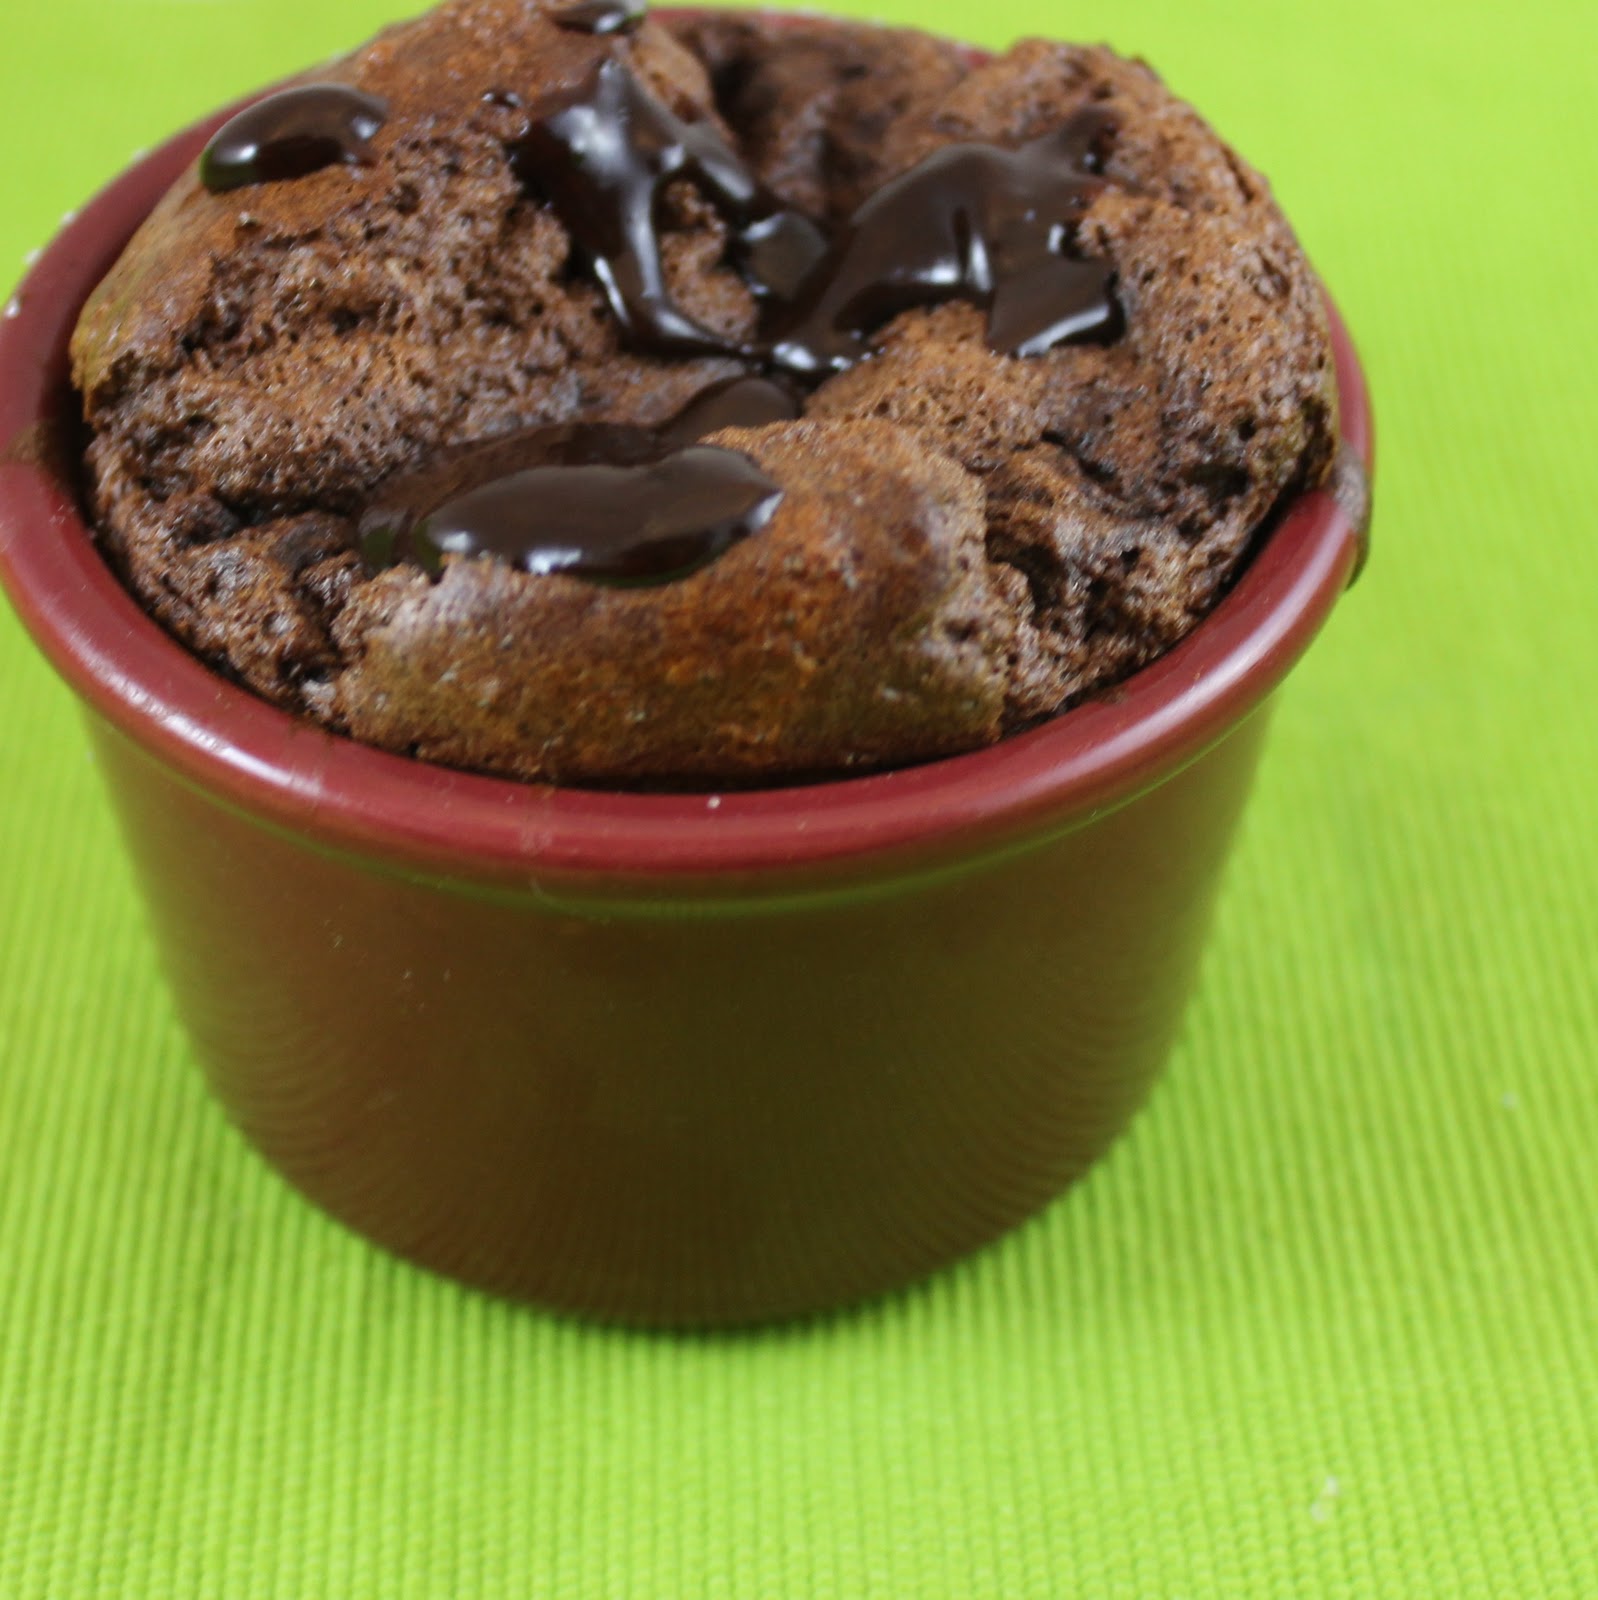
Because I have a ridiculous sweet tooth, I decided to add a little bit of a glaze to the top of the dessert. Combine 2 parts powdered sugar to 1 part milk. (I made 1 tablespoon powdered sugar to 1.5 teaspoons almond milk).
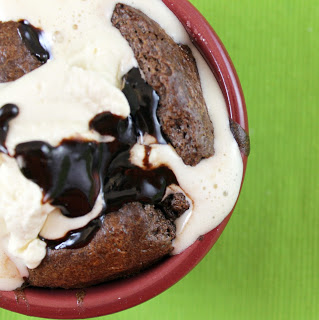
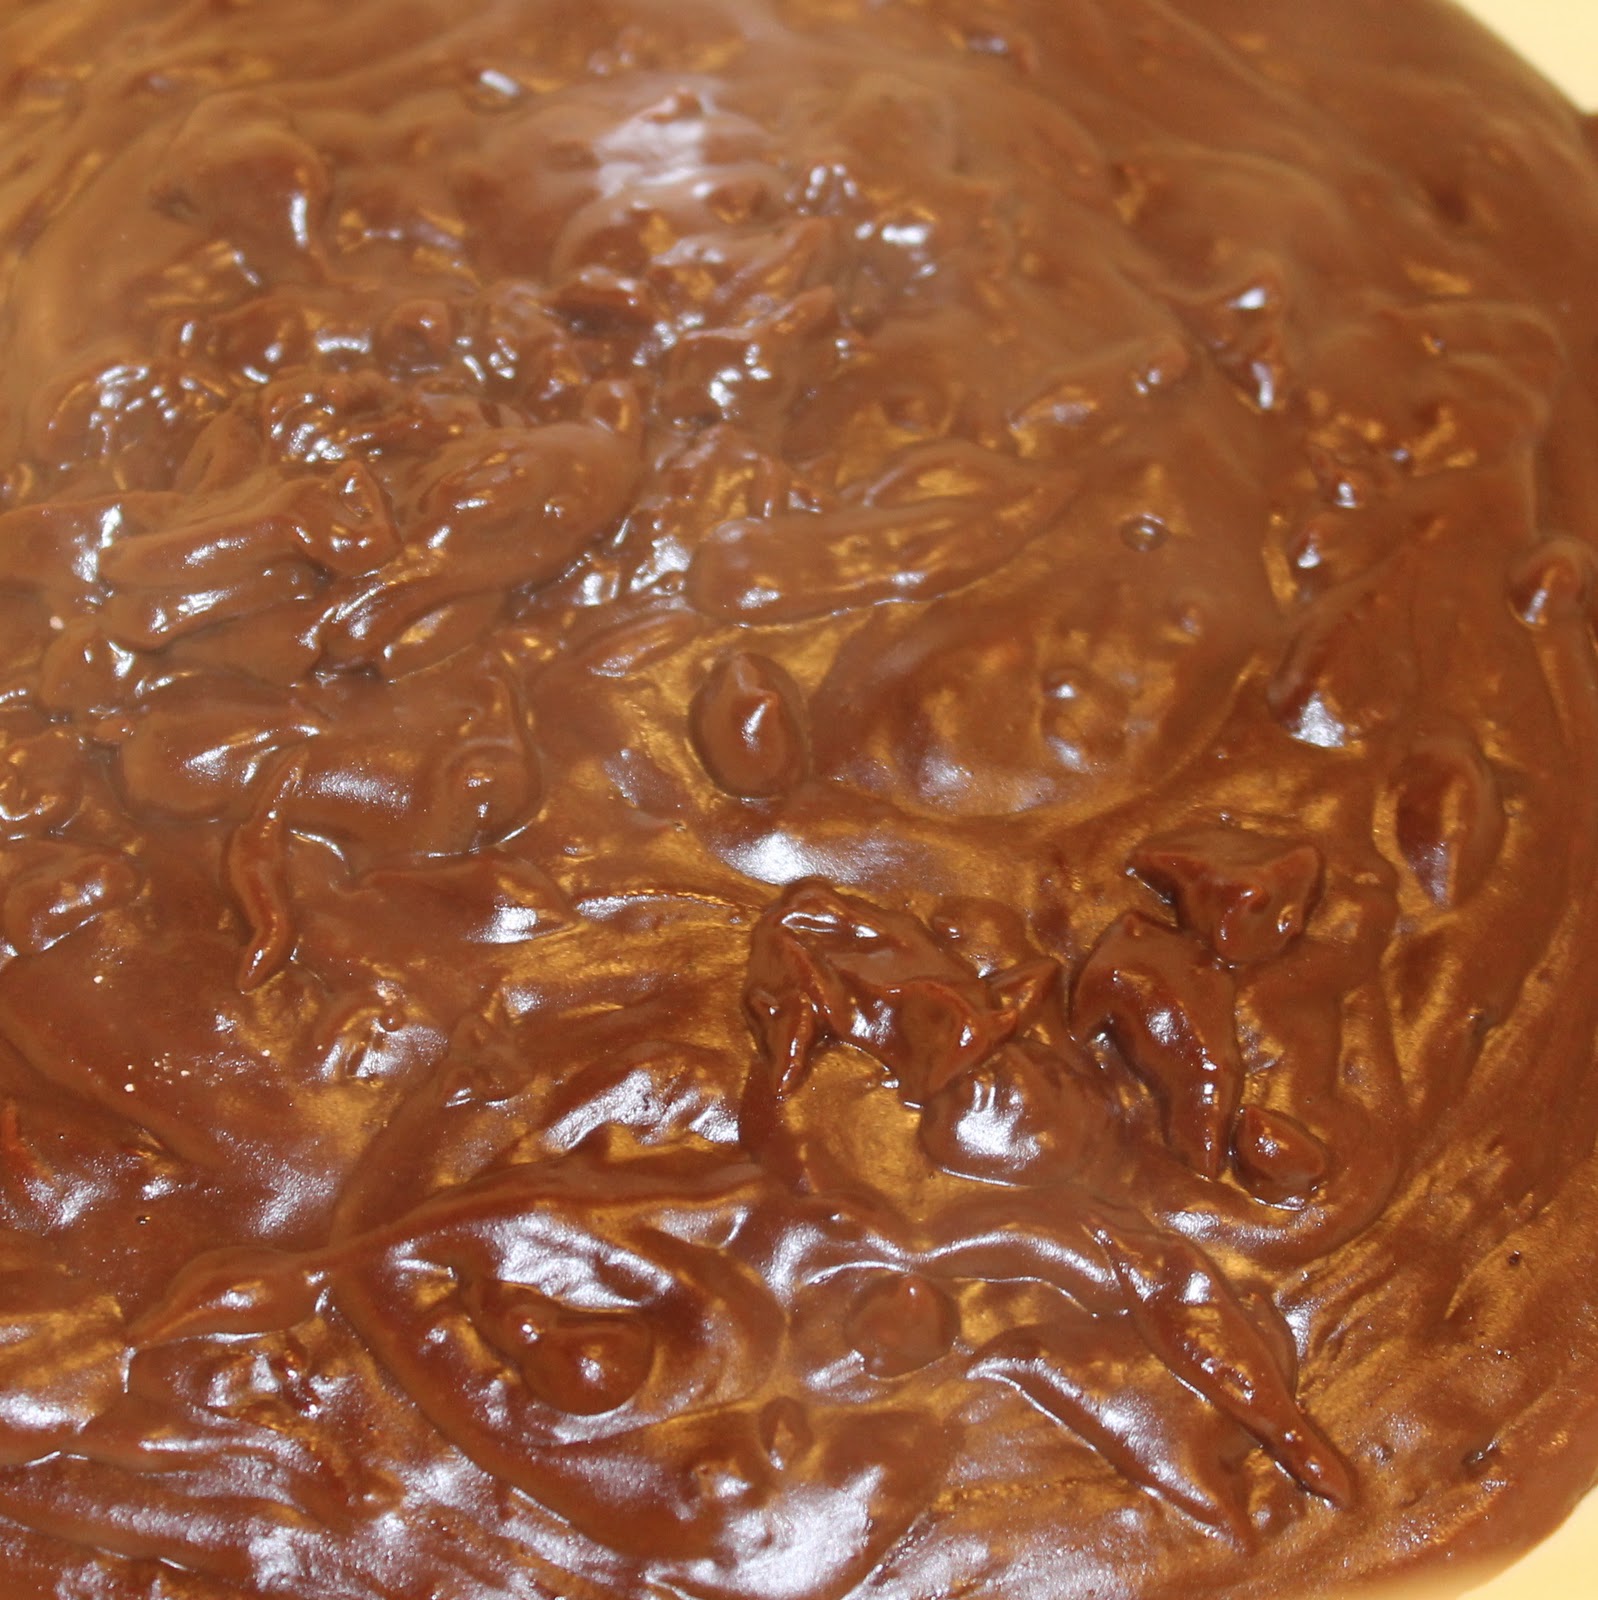
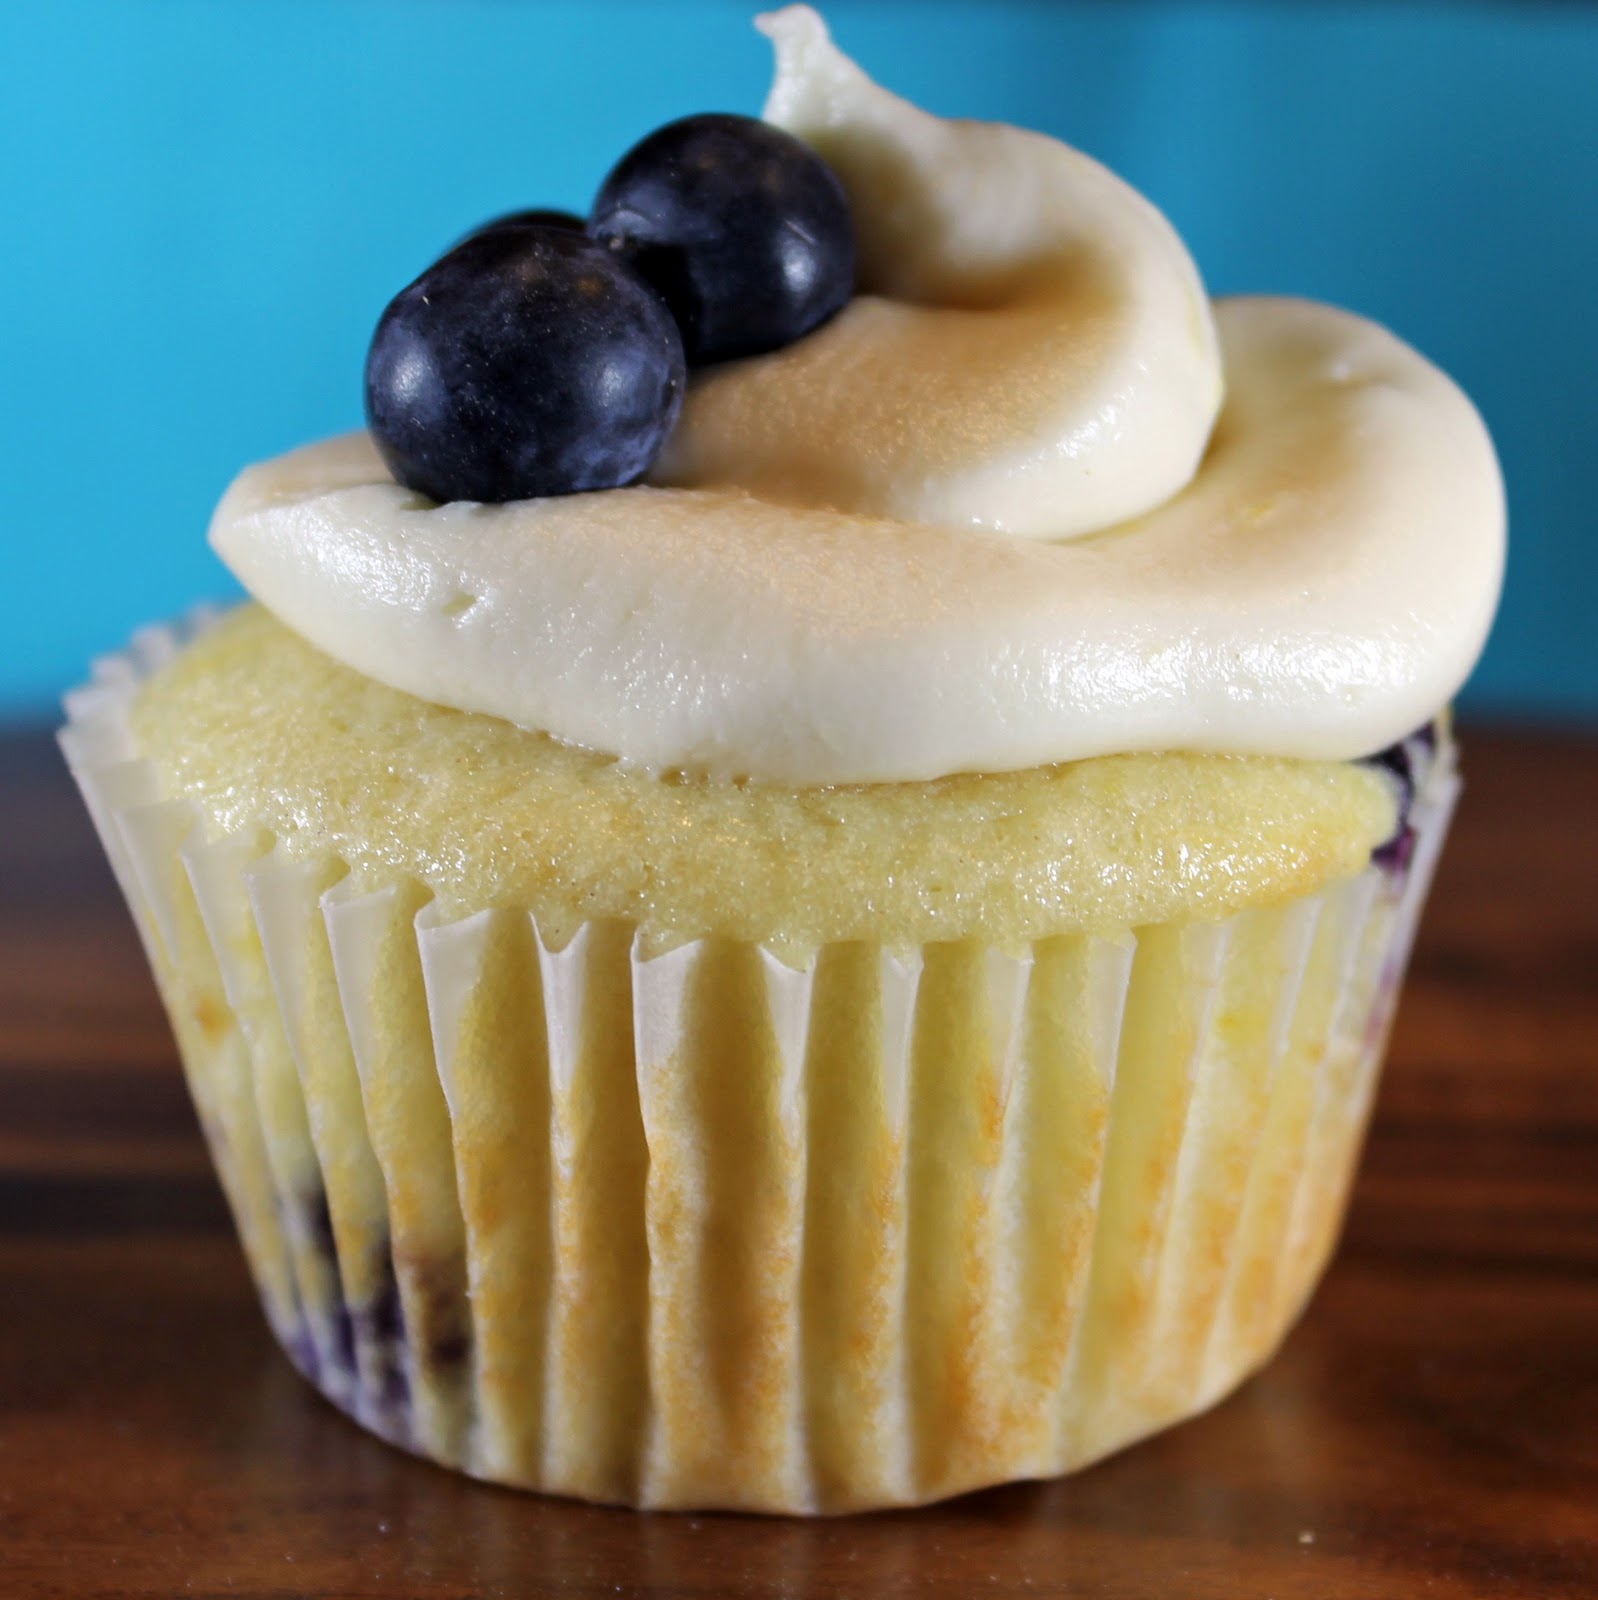
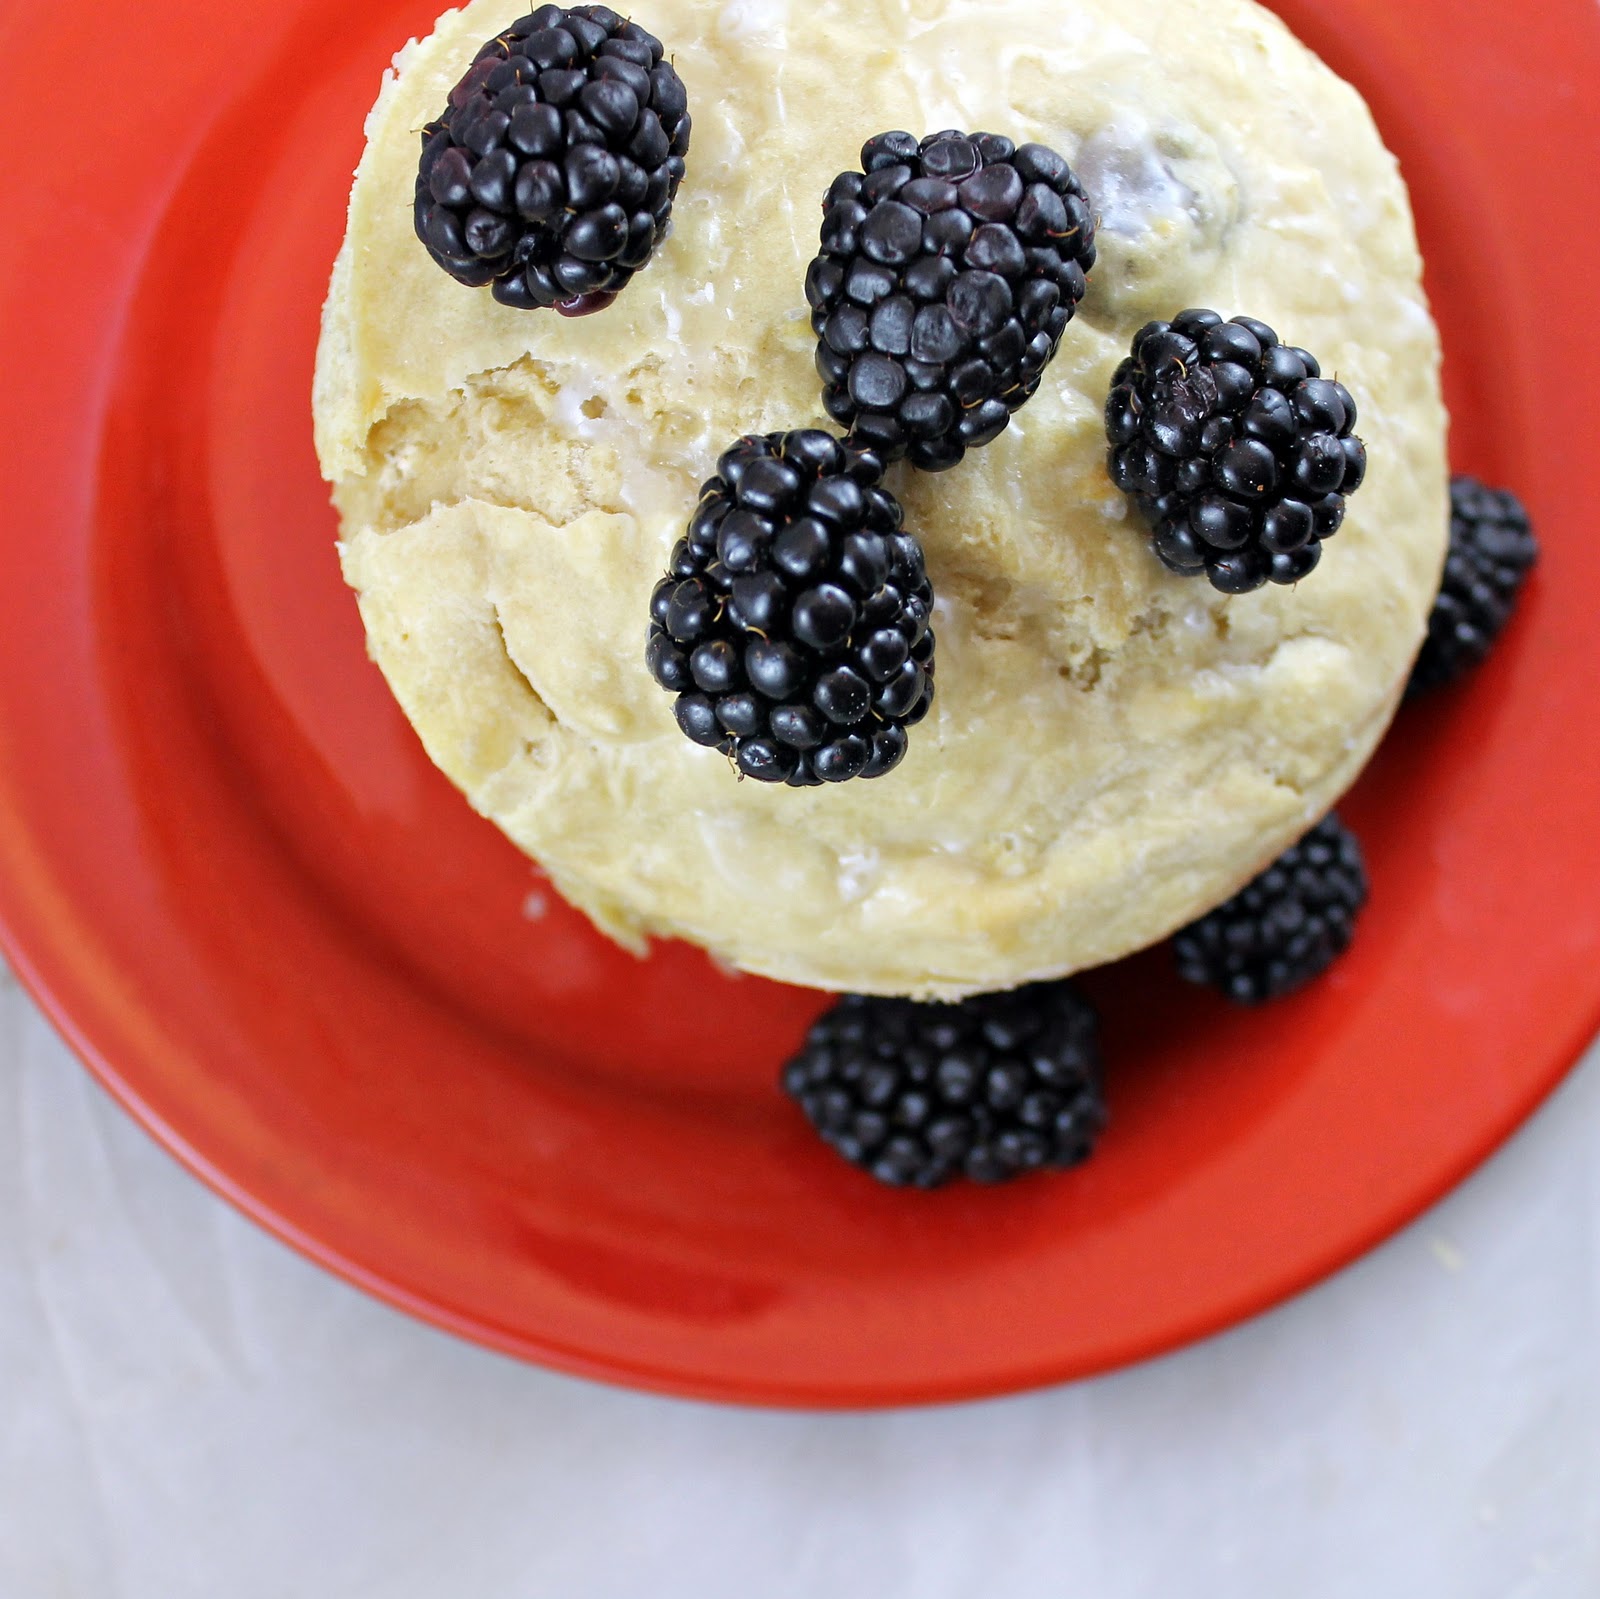
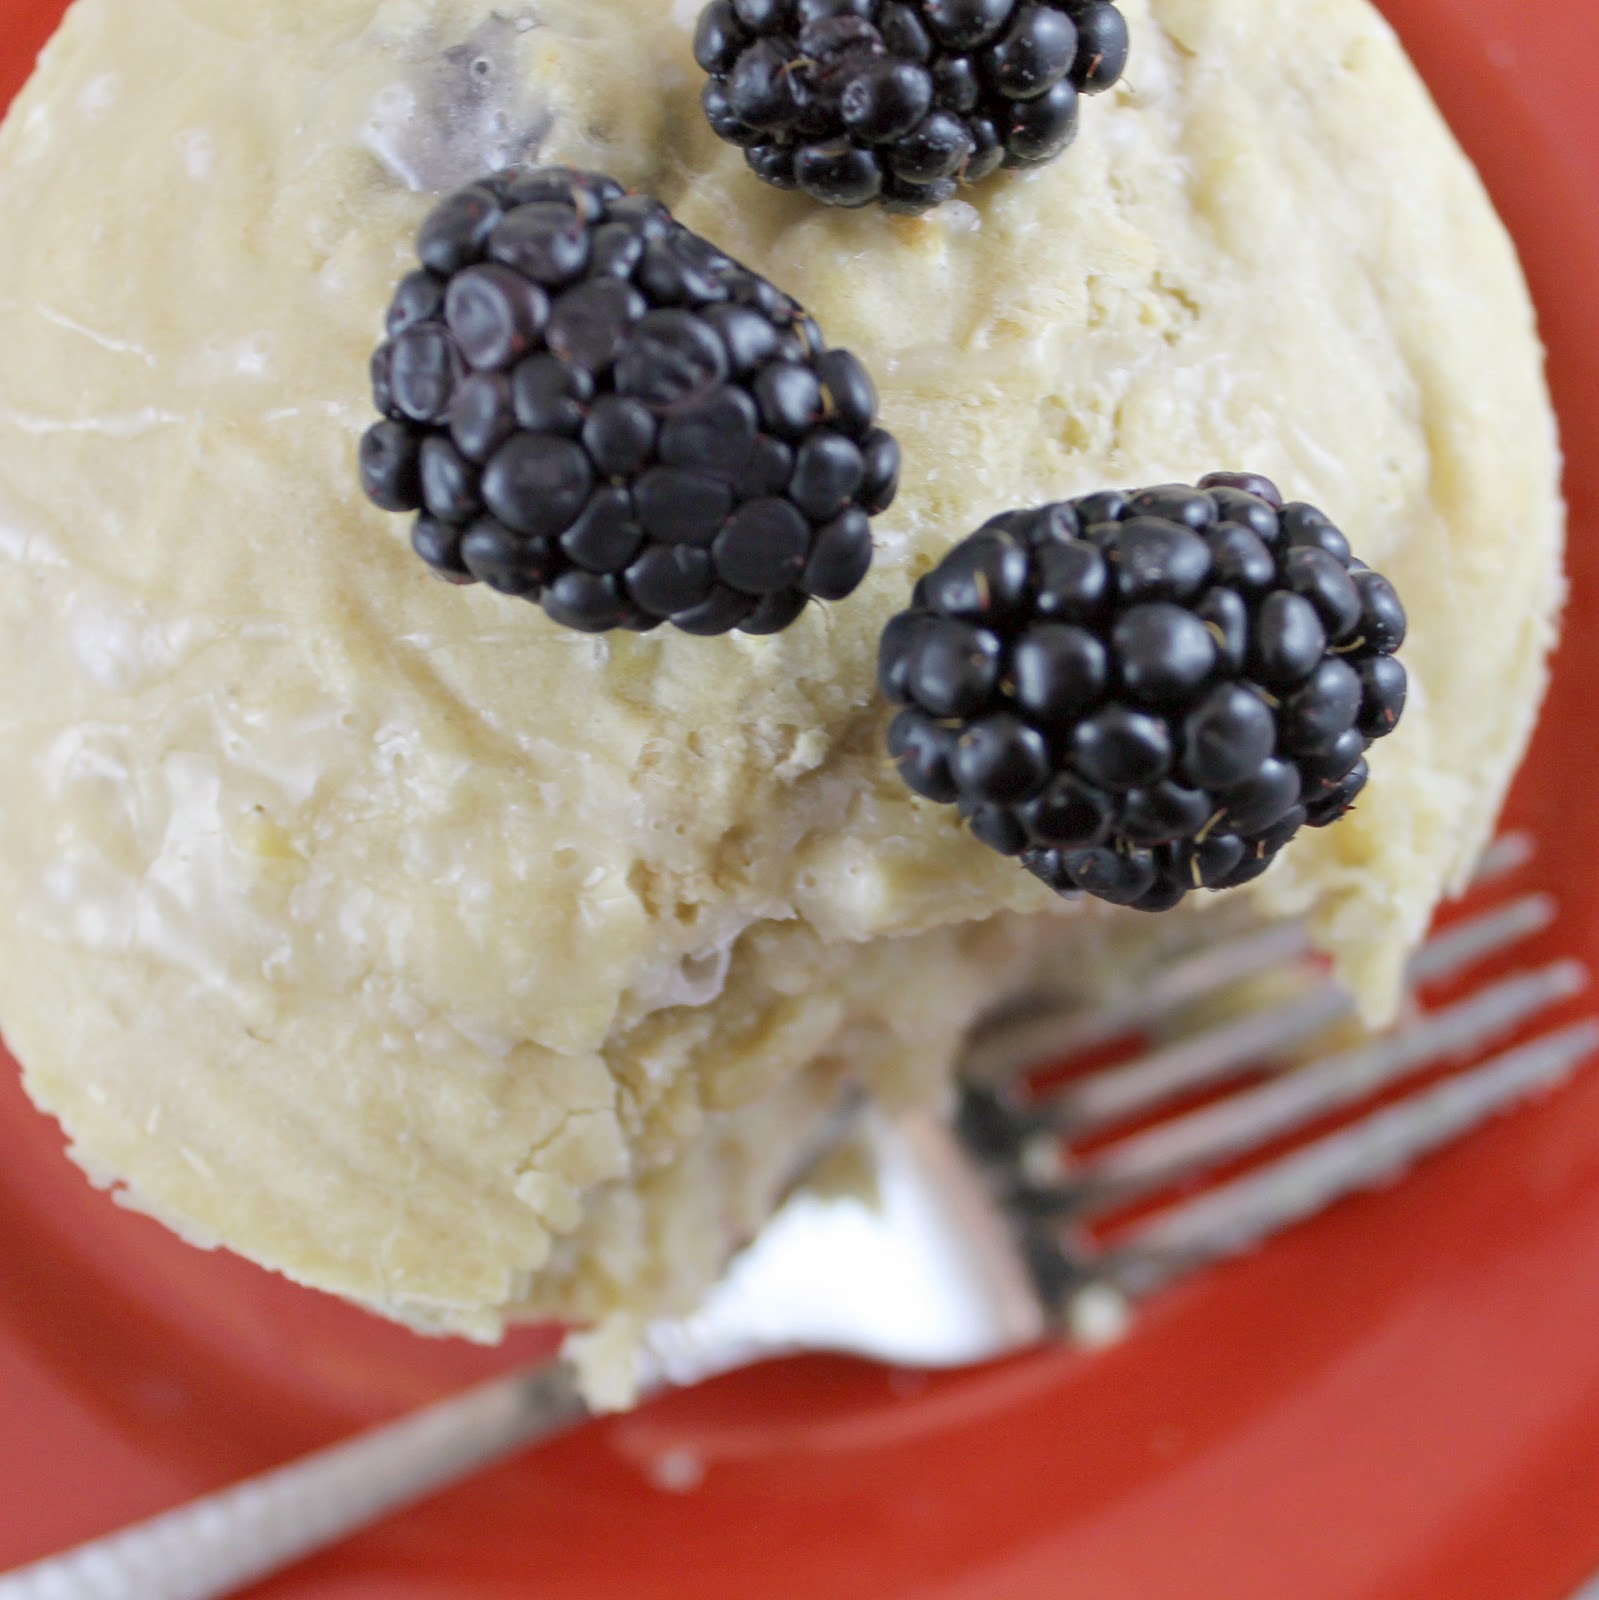
So how was it? Delicious of course! Look at that beauty!

I was a bit afraid of how this would turn out because I messed with the method of preparation. But it looks fine to me! I enjoyed the glaze on top to give it an extra pop of sugary goodness. The blackberries were nice and tart, so it was a good contrast. I was really happy with the almond milk in it as well!

Best thing about this recipe is that it can easily be adapted to include any kind of berry you choose. It’s a wonderful base recipe to let your creativity run wild.

I actually had a really hard time taking these photos; I kept trying to eat the pudding!


English Blackberry Pudding
A traditional English pudding made with blackberries and drizzled with a simple glaze
Servings 6
Ingredients
- 1 pint almond milk plus more for glaze
- 3 1/2 cups flour plus more for dredging the blackberries
- 1/2 teaspoon salt
- 3 eggs
- 1 tablespoon melted butter or margarine to make dairy free
- 2 heaping teaspoons baking powder
- 1 pint blackberries
- powdered sugar
Instructions
- Beat the eggs together until light.
- Add the almond milk and flour and mix to combine.
- Add the melted butter, salt and baking powder and mix to combine.
- Wash the blackberries and dredge in flour.
- Add the blackberries to the pudding and mix to combine.
- The original recipe wanted me to put the batter into a pudding tin (I have no idea what a pudding tin is) and then place that in a pot with some boiling water and cook it this way, replenishing the water when needed, for 3 hours.
- Instead, I preheated my oven to 350, added the batter to some Pyrex bowls (I used one medium and one small to use all the dough) and baked them for 40-50 minutes.
- Let cool.
- To make the glaze, combine 2 parts powdered sugar to 1 part milk and drizzle over the pudding while it cools.