Every Christmas, my mom makes an absolutely delicious trifle to give to neighbors and have for dessert on Christmas day. This trifle is so ingrained in our winter holidays that I’m pretty sure we aren’t allowed to show up to my aunt and uncle’s house without the trifle in hand. I’ve always loved the simplicity of trifles and wanted to try out a version using my favorite ingredient: pumpkin!
I was given the opportunity to enter a contest with nine other bloggers. The challenge is to use Walkers Shortbread products to make a new dessert, and luckily one of the categories was trifle! It was a sign!

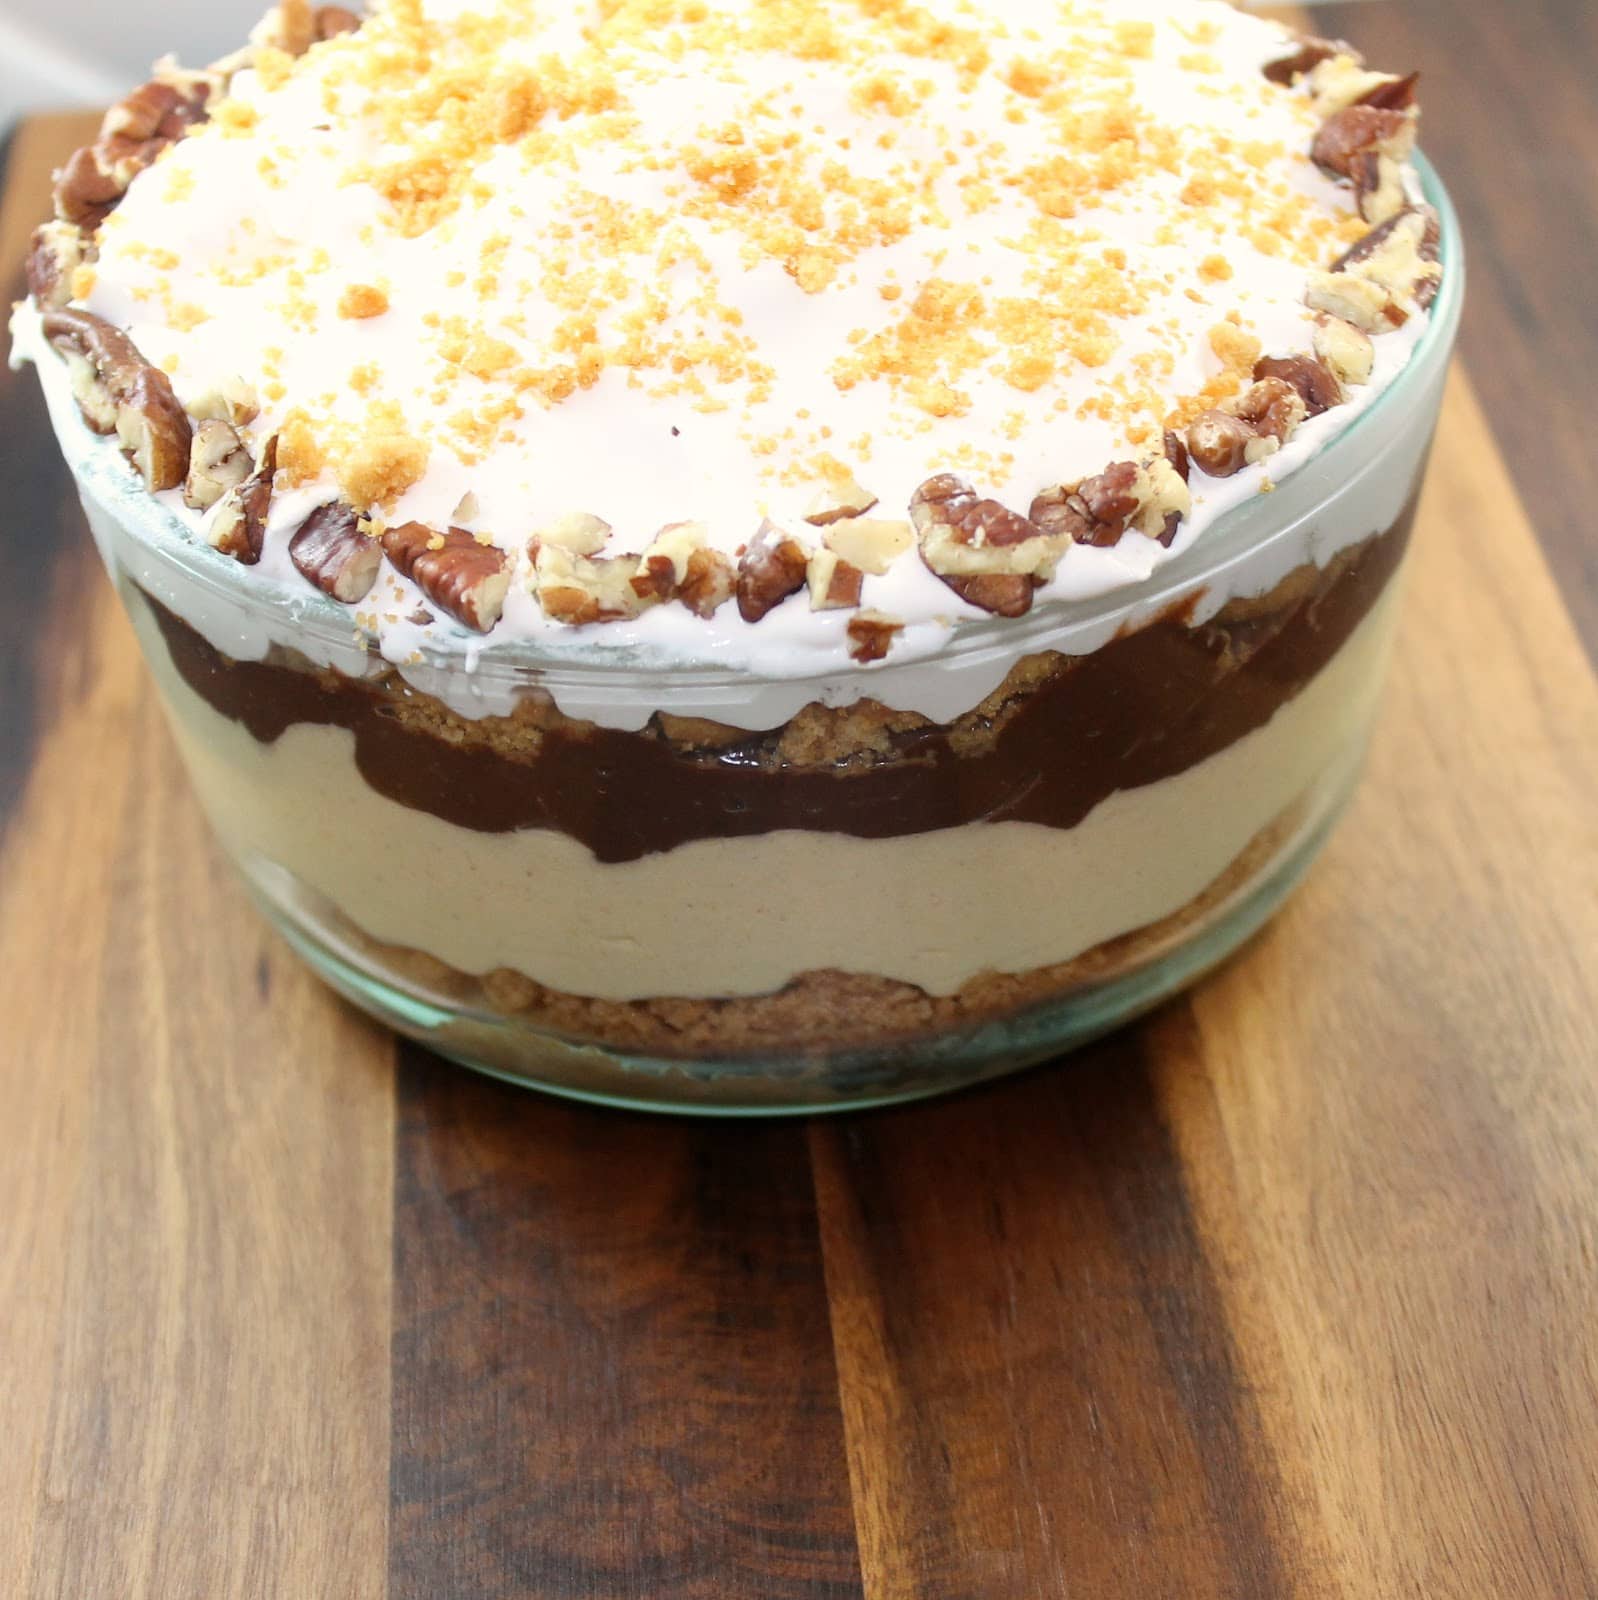
My mom’s trifle has custard, chocolate pudding, and rum-soaked pound cake slices with whipped cream and fruit on top. So I wanted to keep the general concept the same with my recipe. I decided to keep the chocolate pudding because, well, who doesn’t love chocolate pudding? A thought a pumpkin mousse would just be fantastic. I decided to make it a bourbon pumpkin mousse to add an extra layer of flavor. And of course instead of pound cake slices, I used Walkers’ Stem Ginger Biscuits and Pure Butter Shortbread. The trifle is topped off with whipped topping, pecan pieces, and a some more Walker’s cookie crumbs.
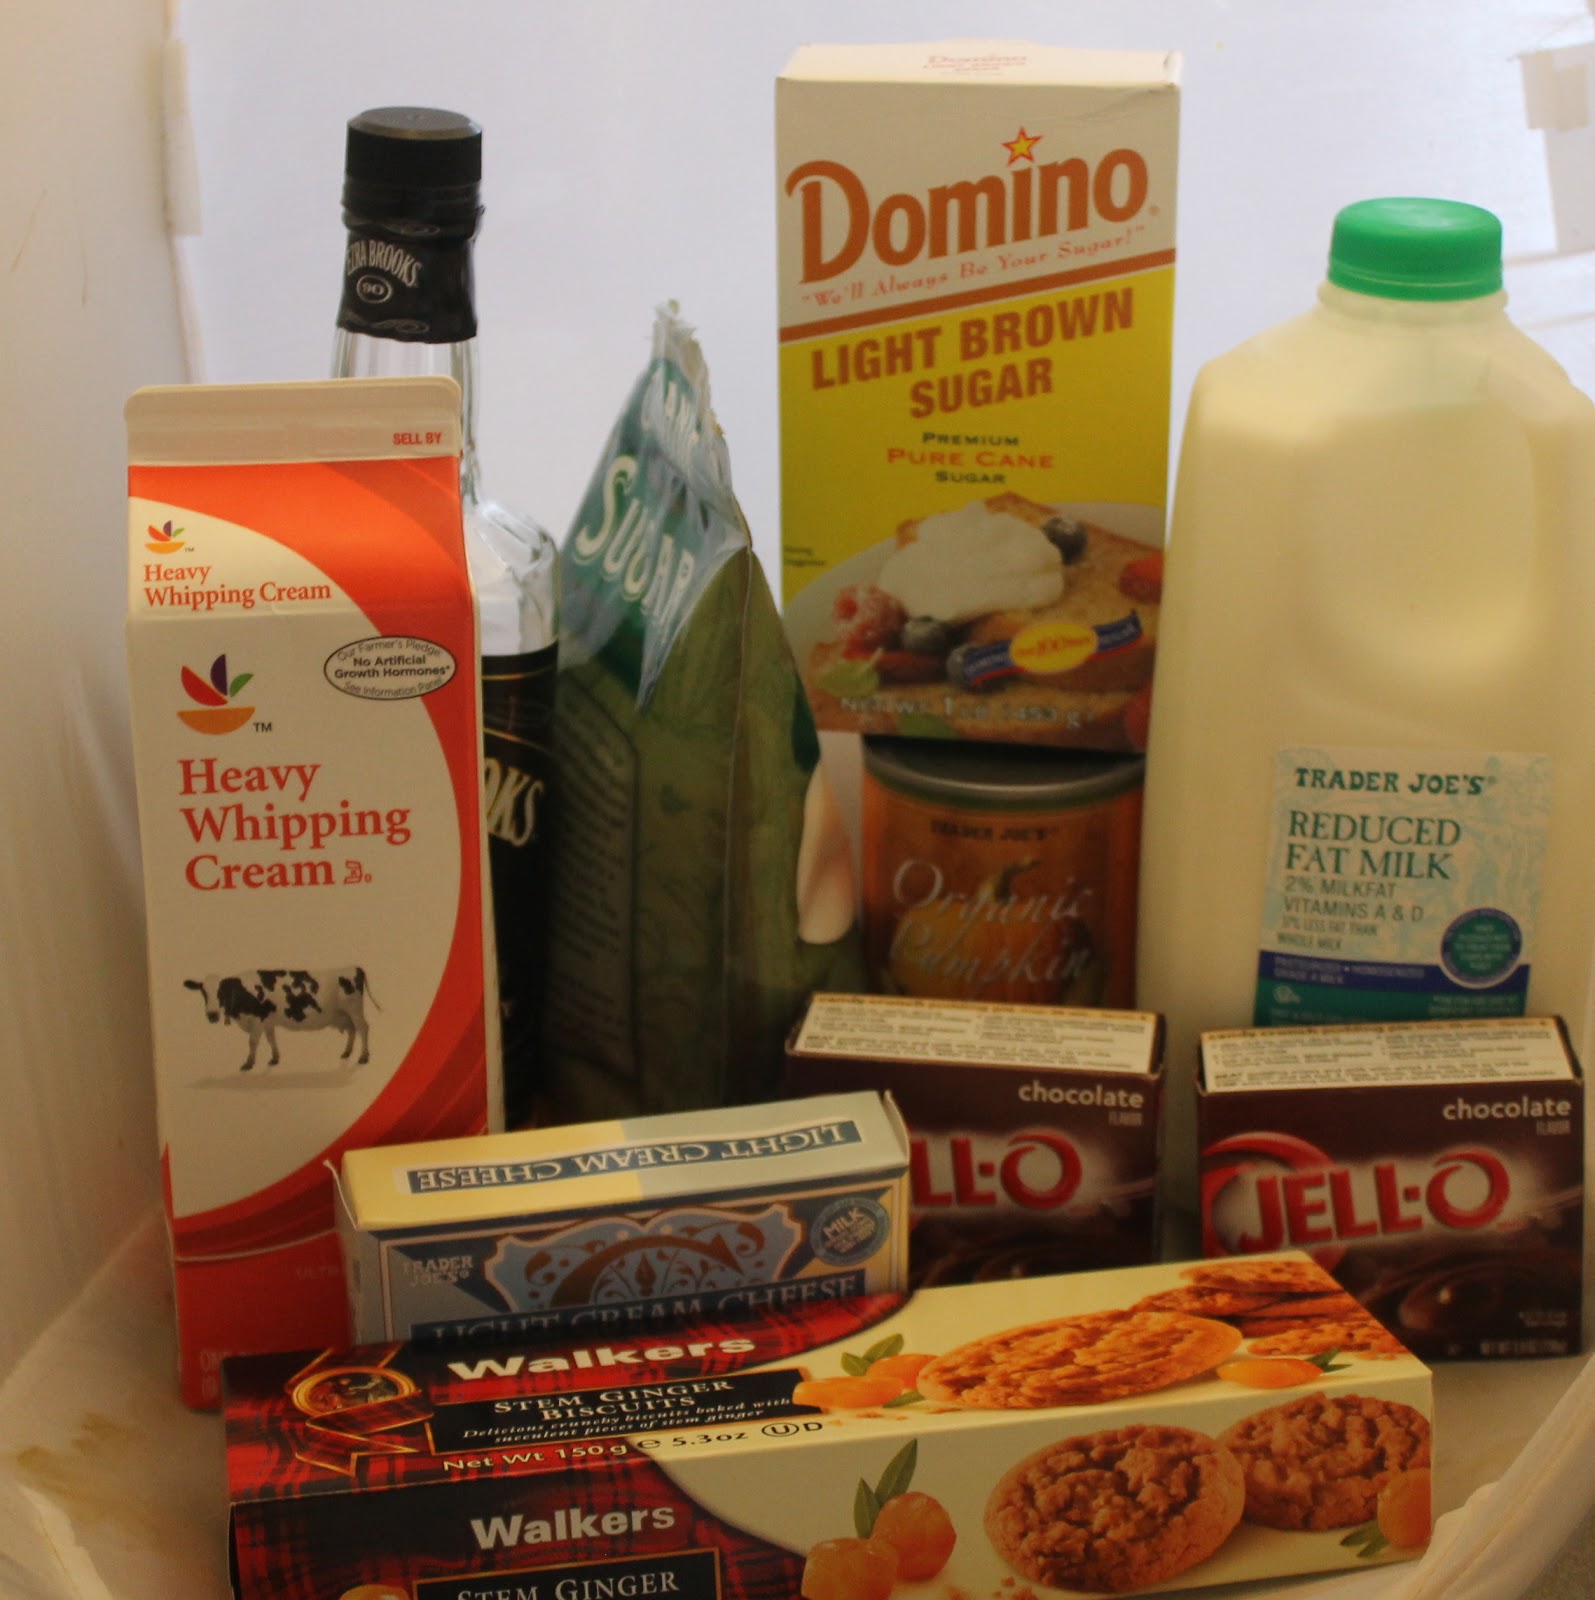
Ingredients:
- 1 box Walker’s Stem Ginger Biscuits
- 1 box Pure Butter Shortbread
- 3 cups milk
- 2 packages instant chocolate pudding
- 1 (15 oz) can pumpkin puree
- 1/2 teaspoon cinnamon
- 1/4 teaspoon nutmeg
- 1/4 teaspoon ginger
- 1/8 teaspoon allspice
- 1 teaspoon vanilla extract
- 8 ounces (1 package) cream cheese
- 1/4 cup firmly packed brown sugar
- 2 cups whipping cream
- 2 ounces bourbon (can omit if you’d like)
- 1/4 cup sugar
- 1 container whipped topping
- 1/4 cup pecans, roughly chopped
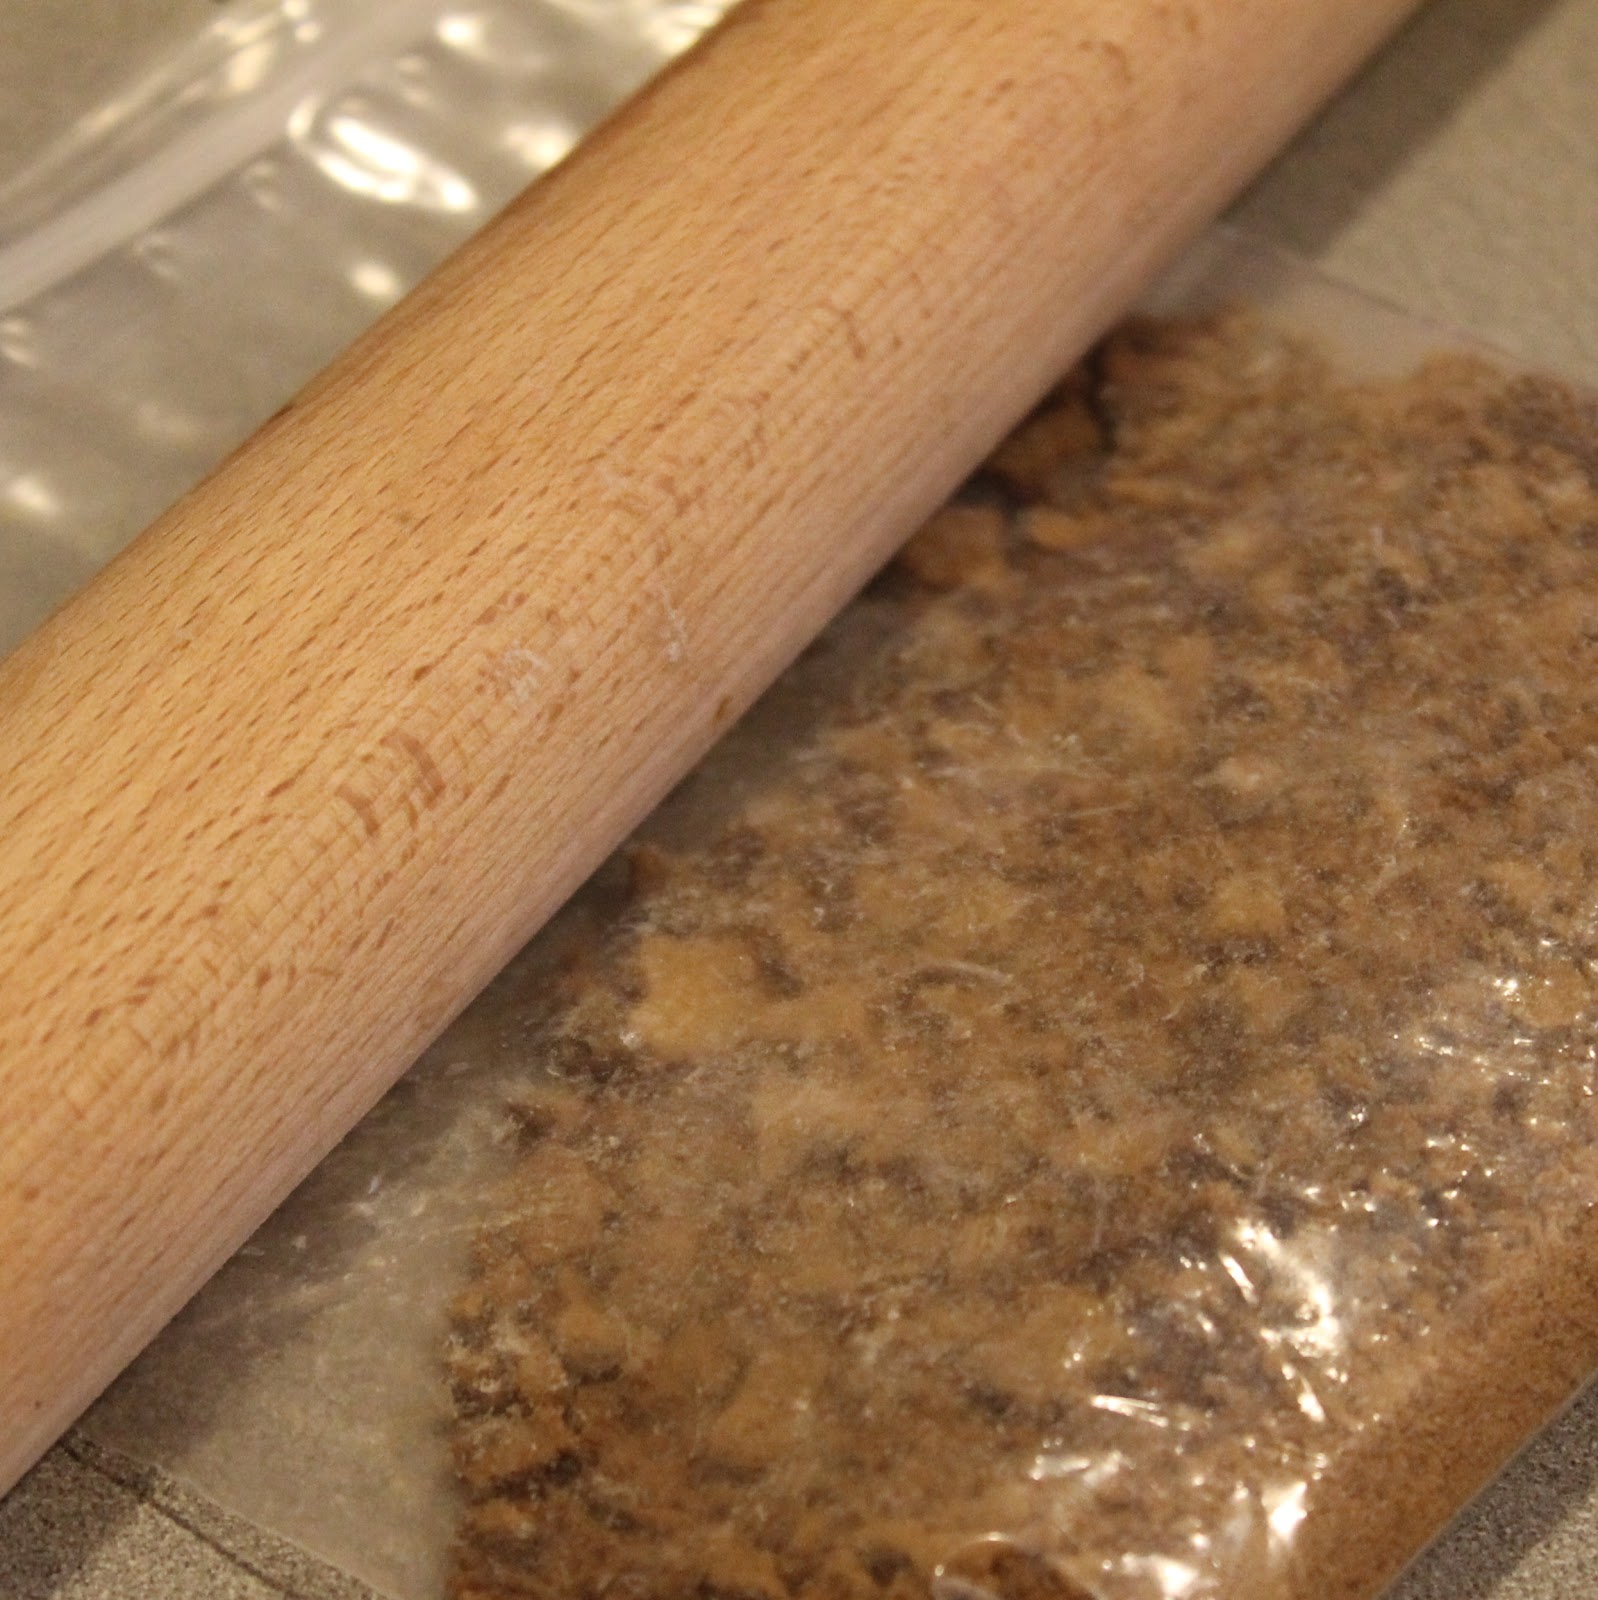
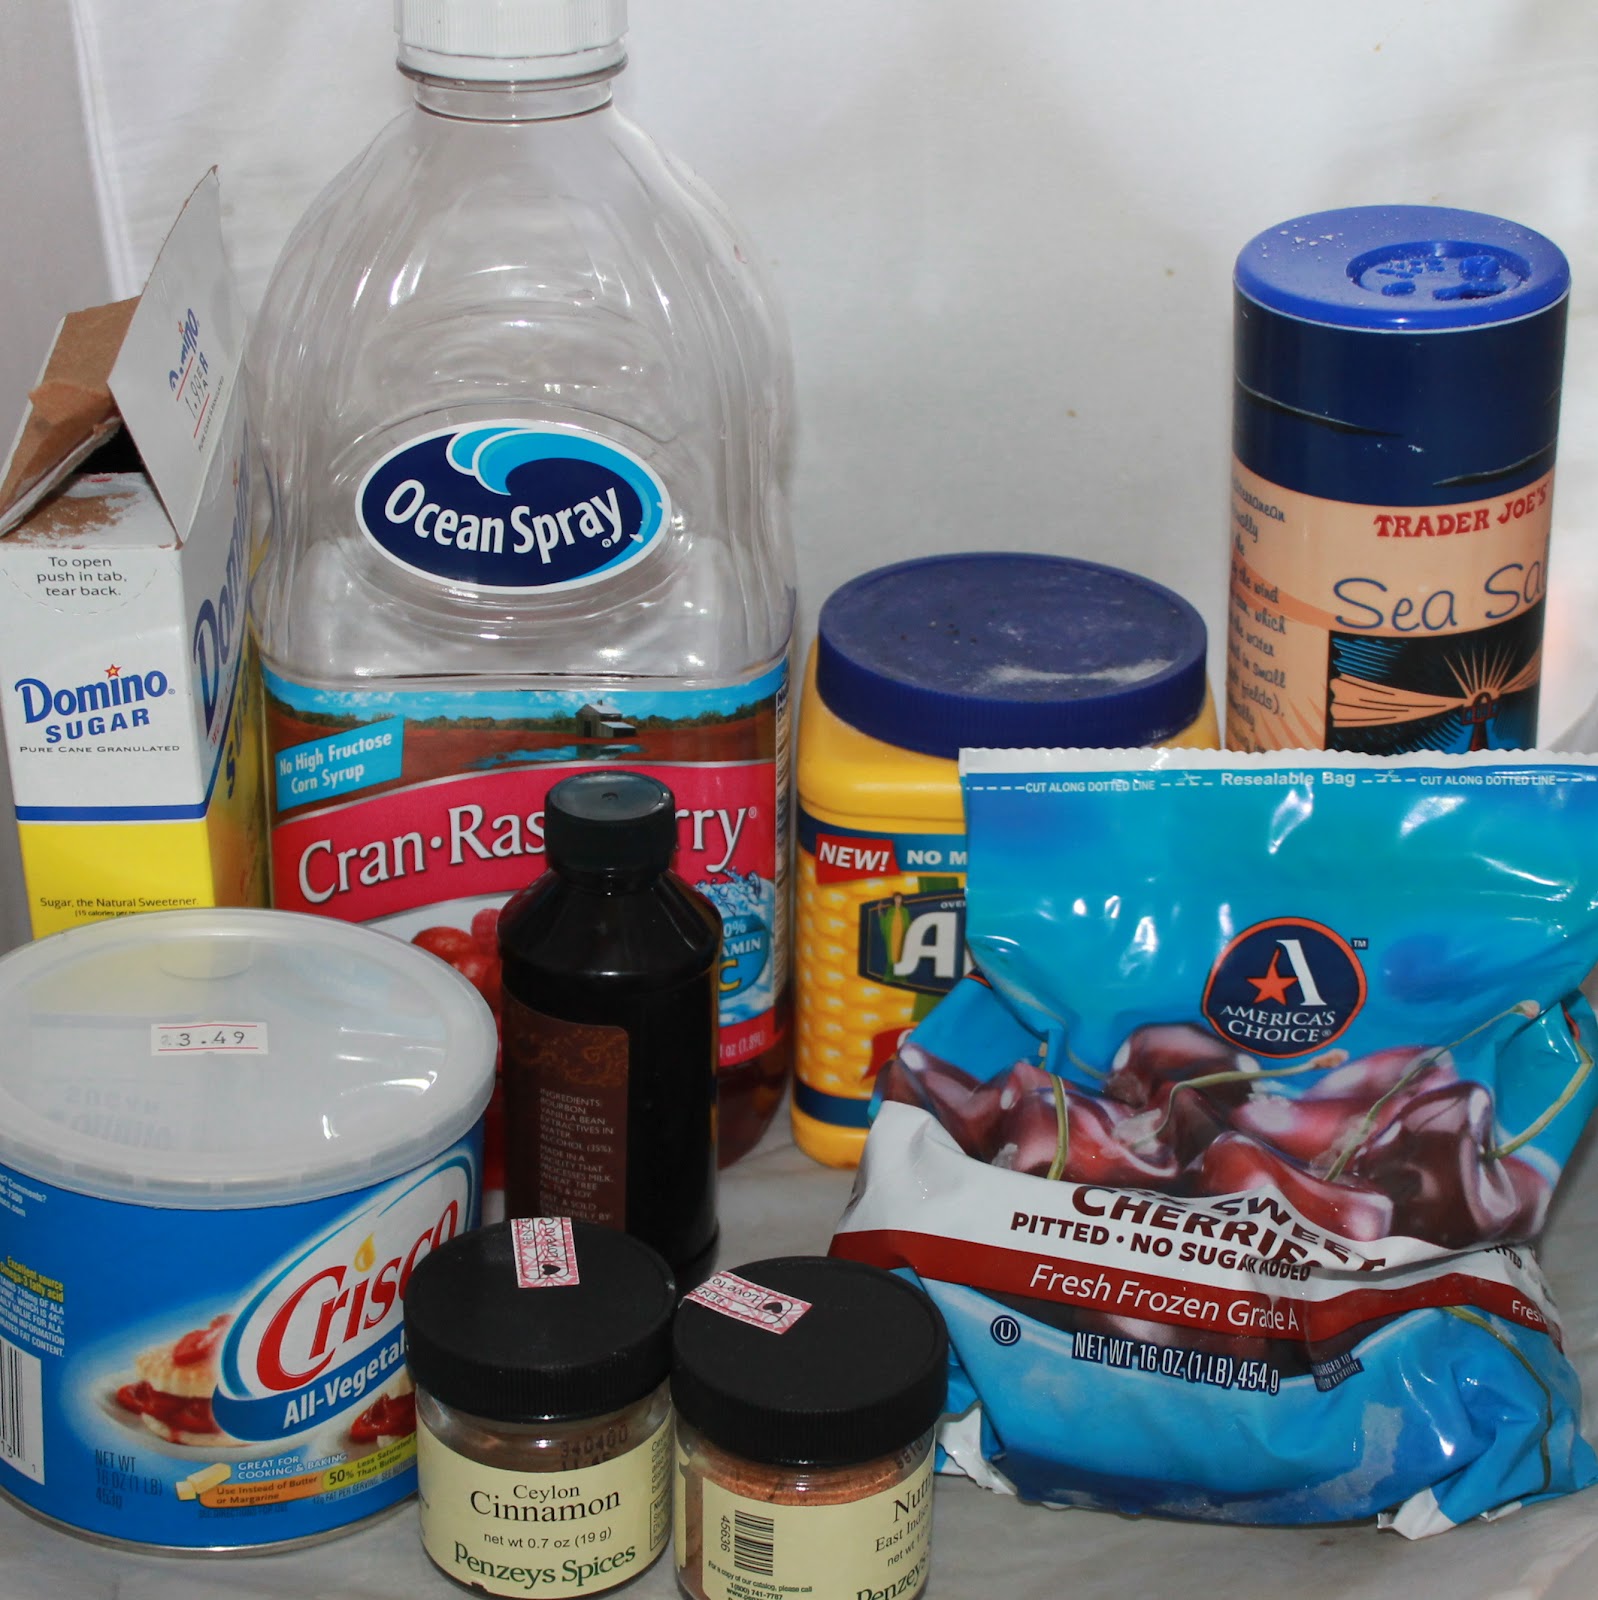
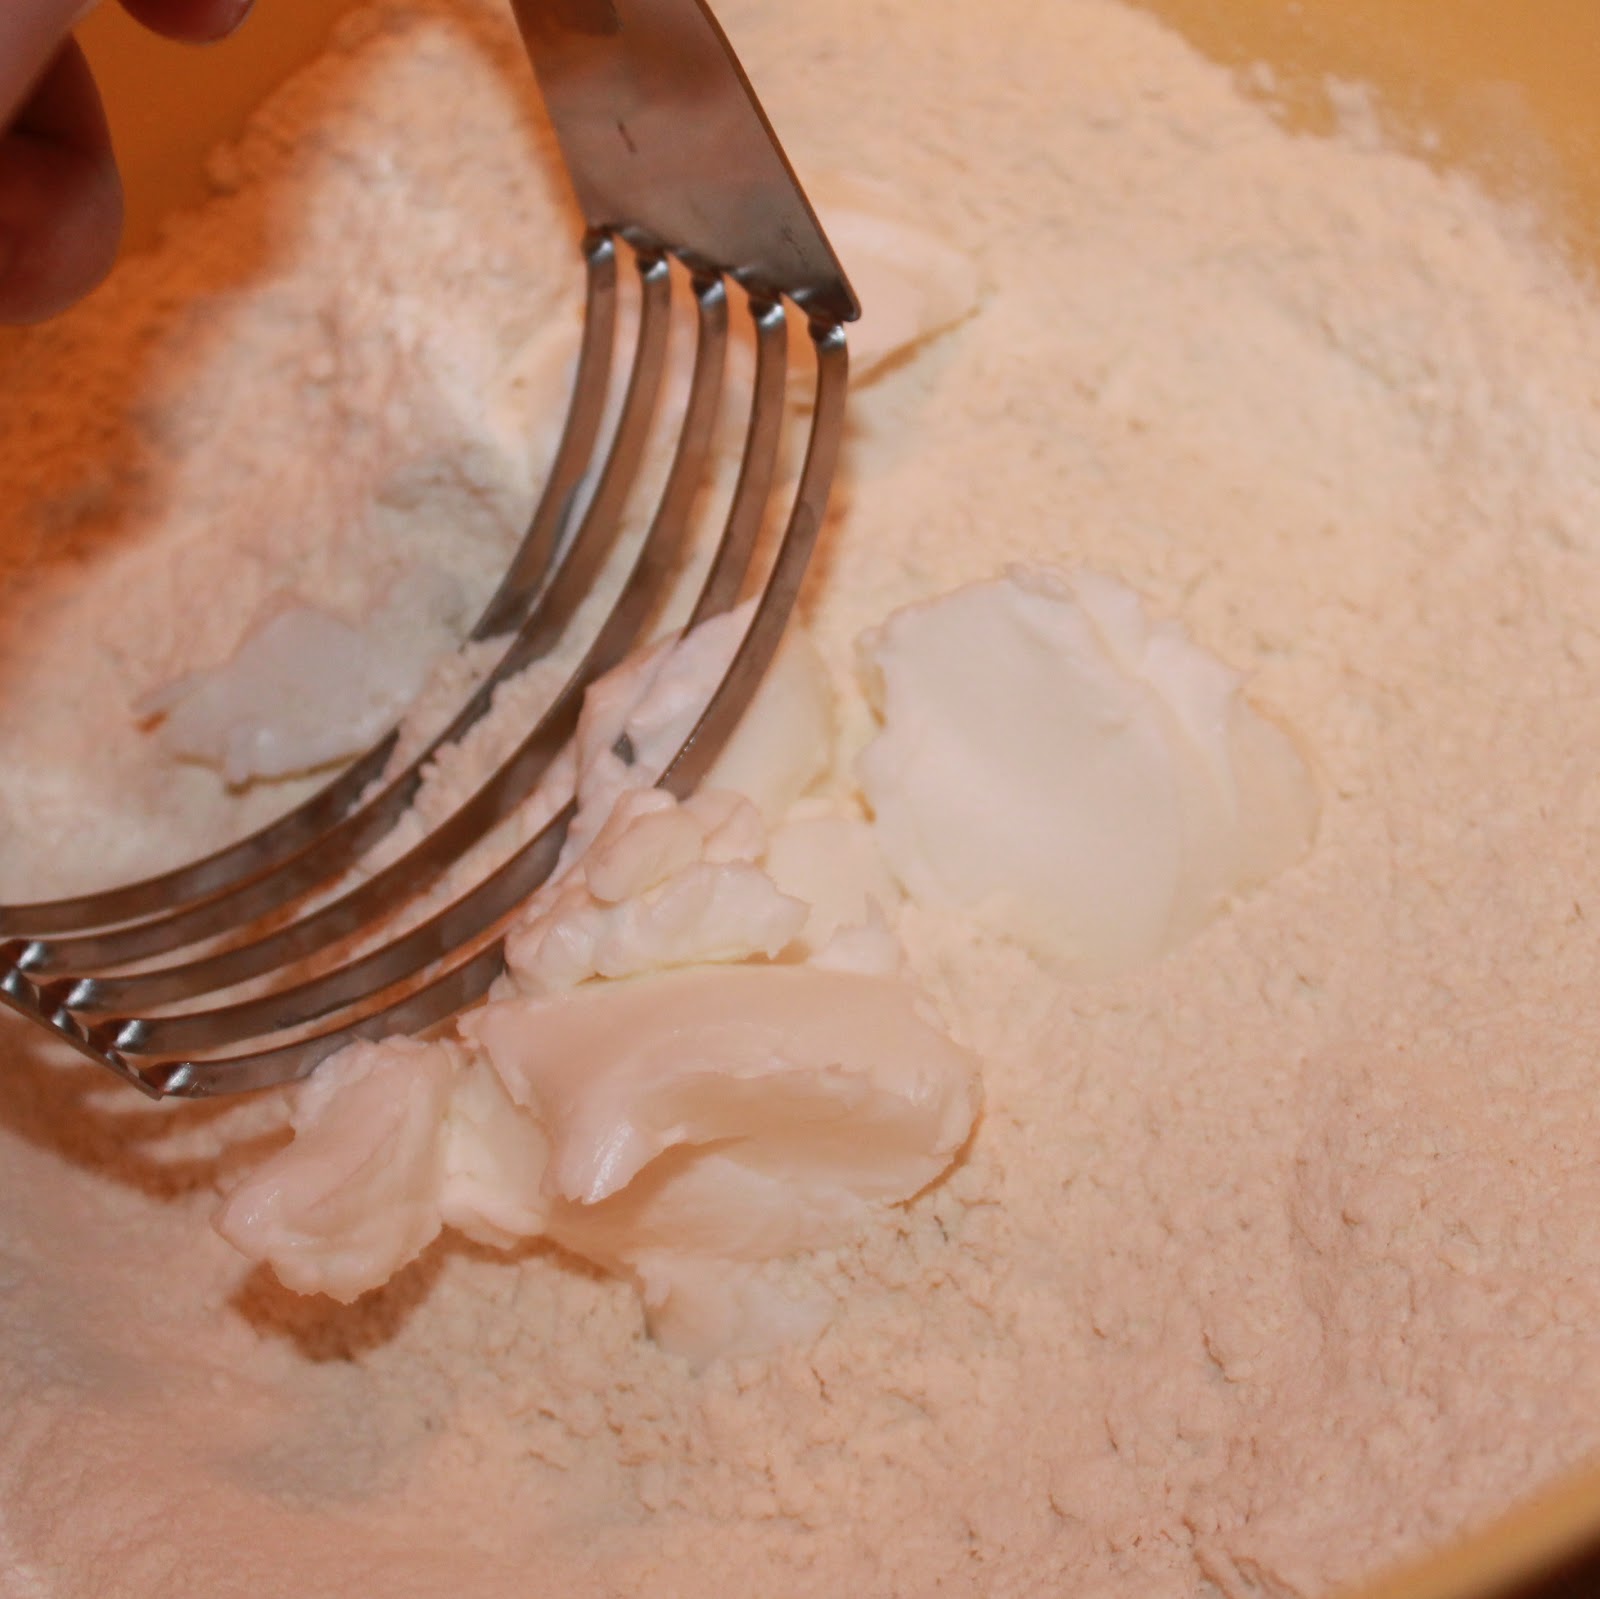
Begin by preparing your ingredients. Thaw your whipping cream. Roughly chop the pecans and set aside. Crush the biscuits and shortbread in separate ziploc bags, using a rolling pin.

Take one tablespoon of the stem ginger biscuit crumbs and set aside. Combine the remaining biscuit crumbs with the shortbread crumbs.
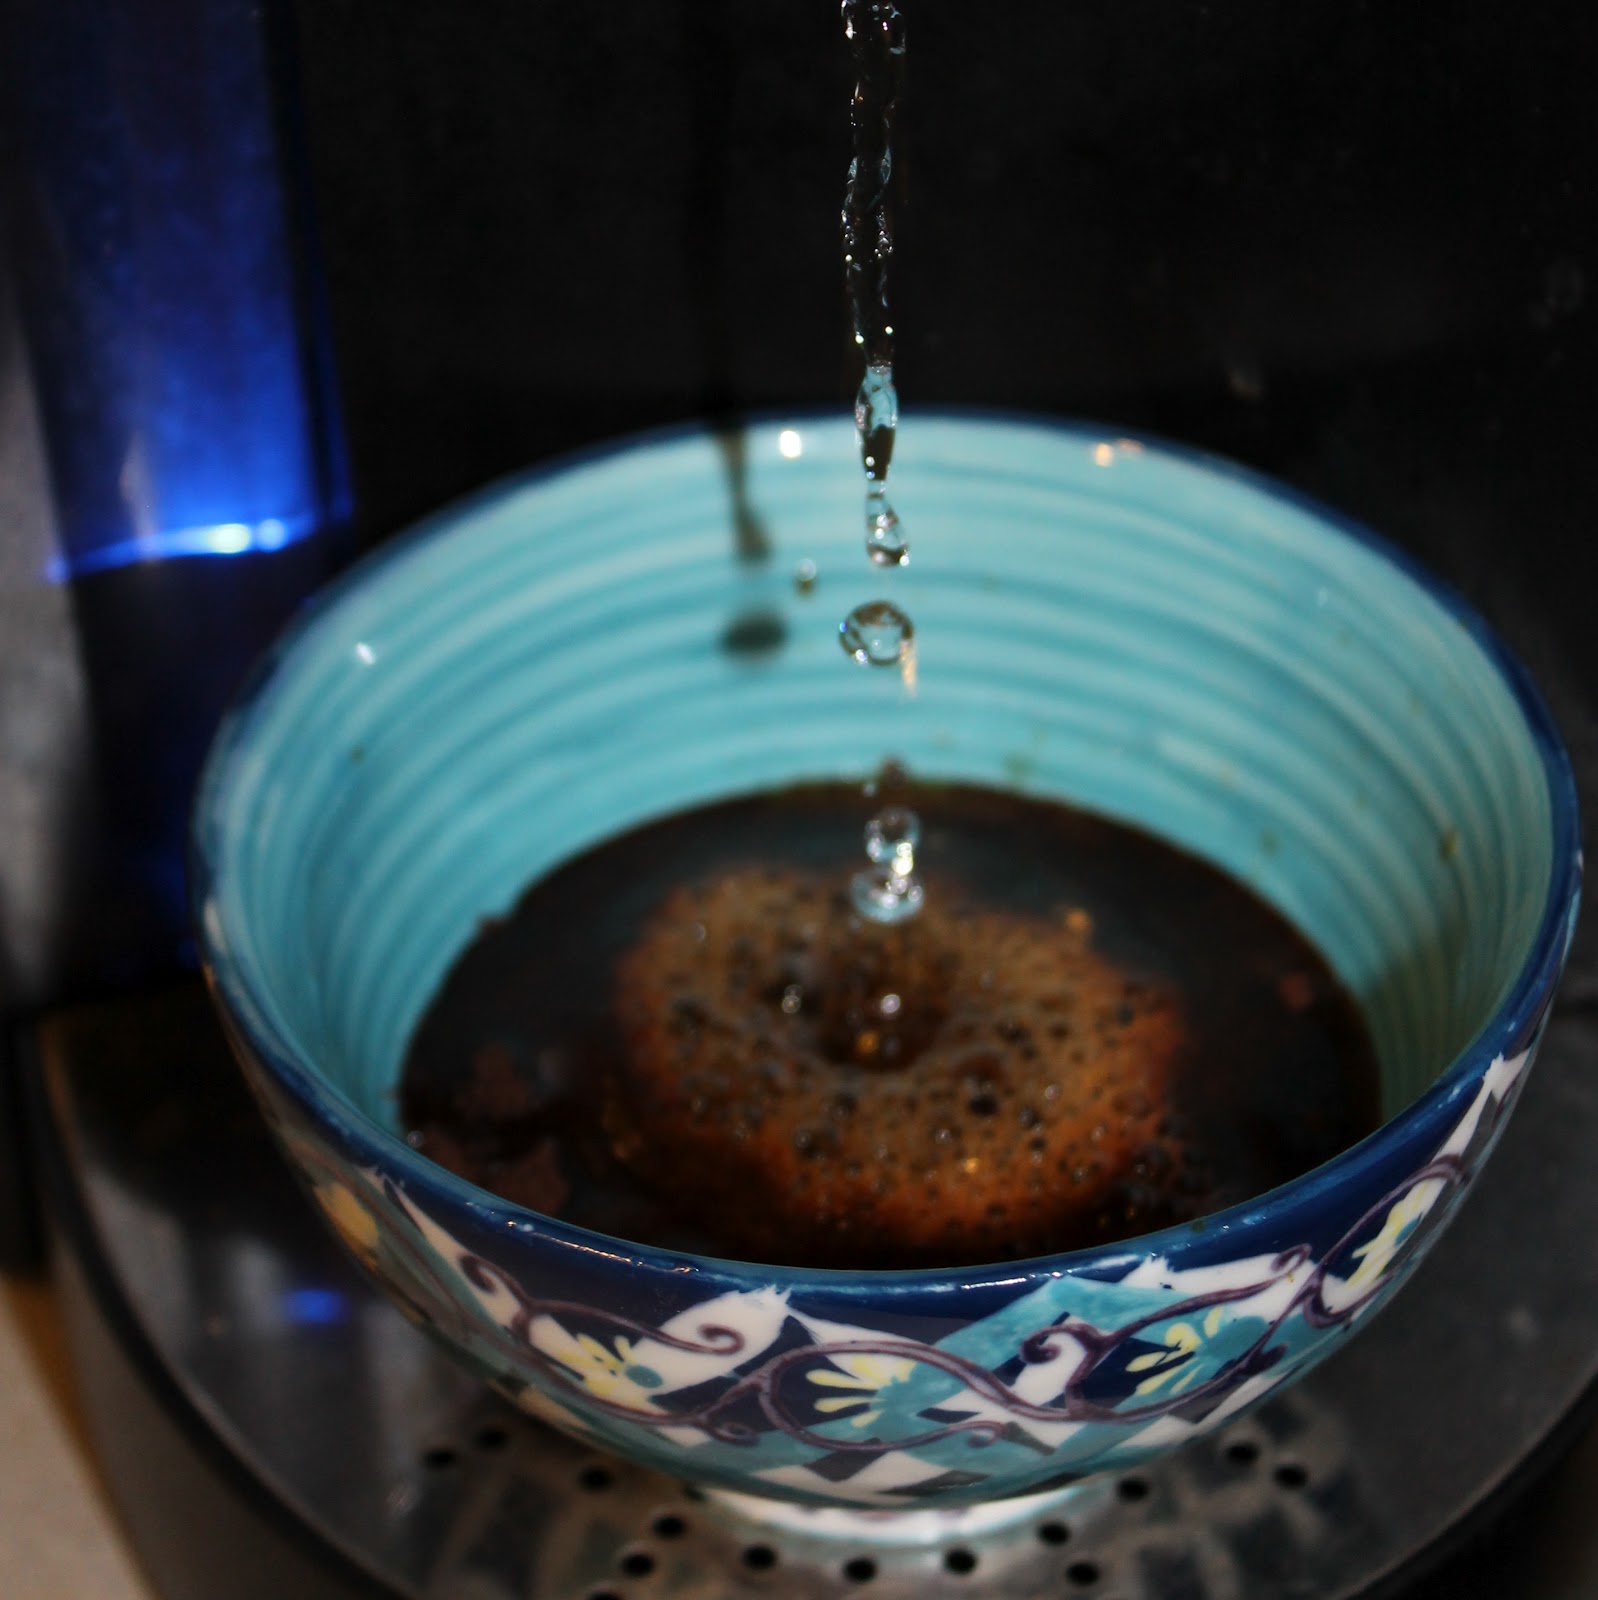
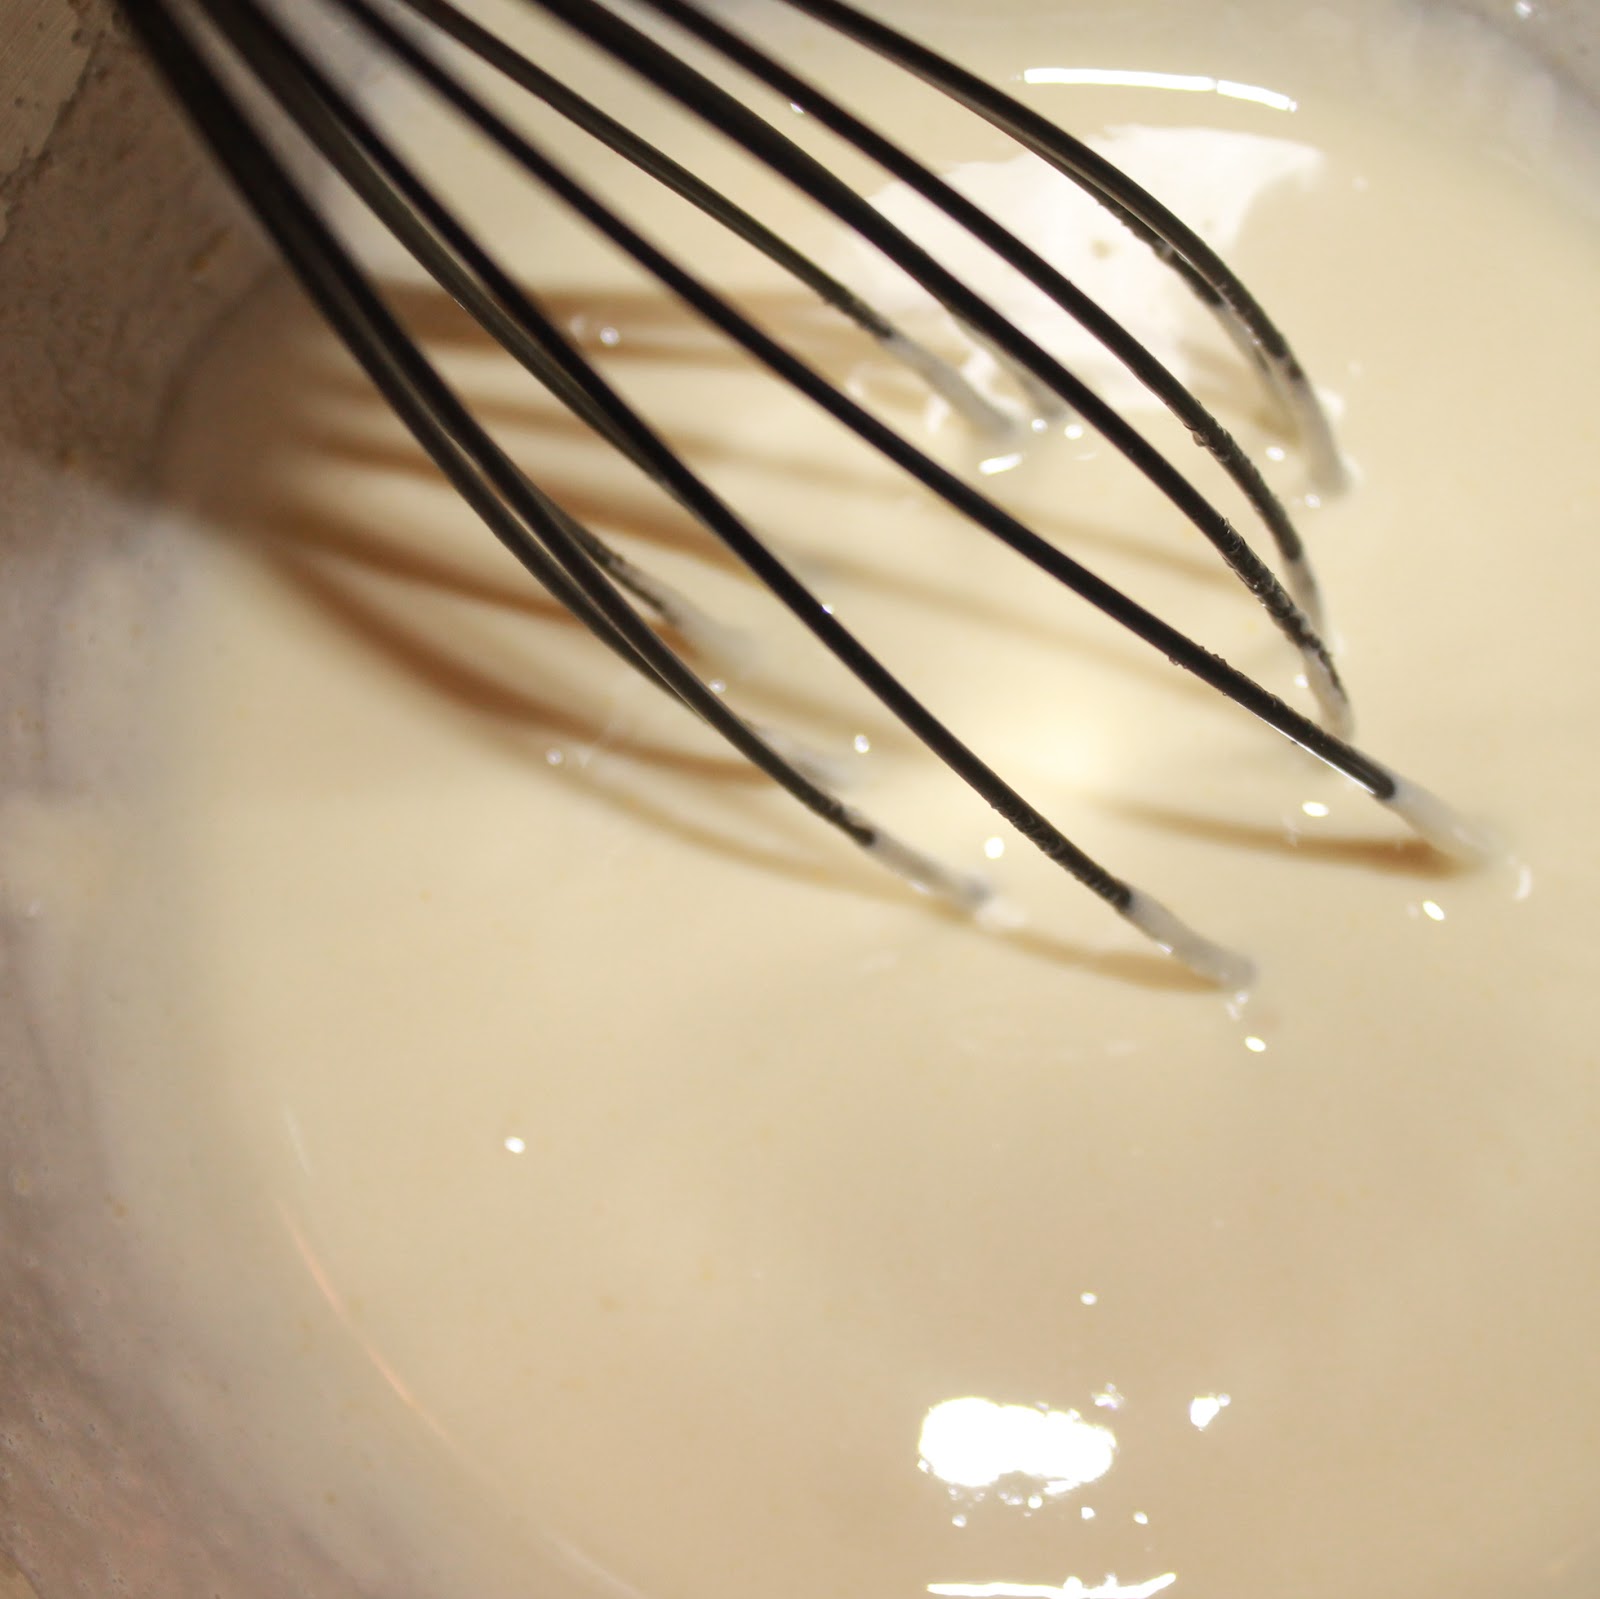
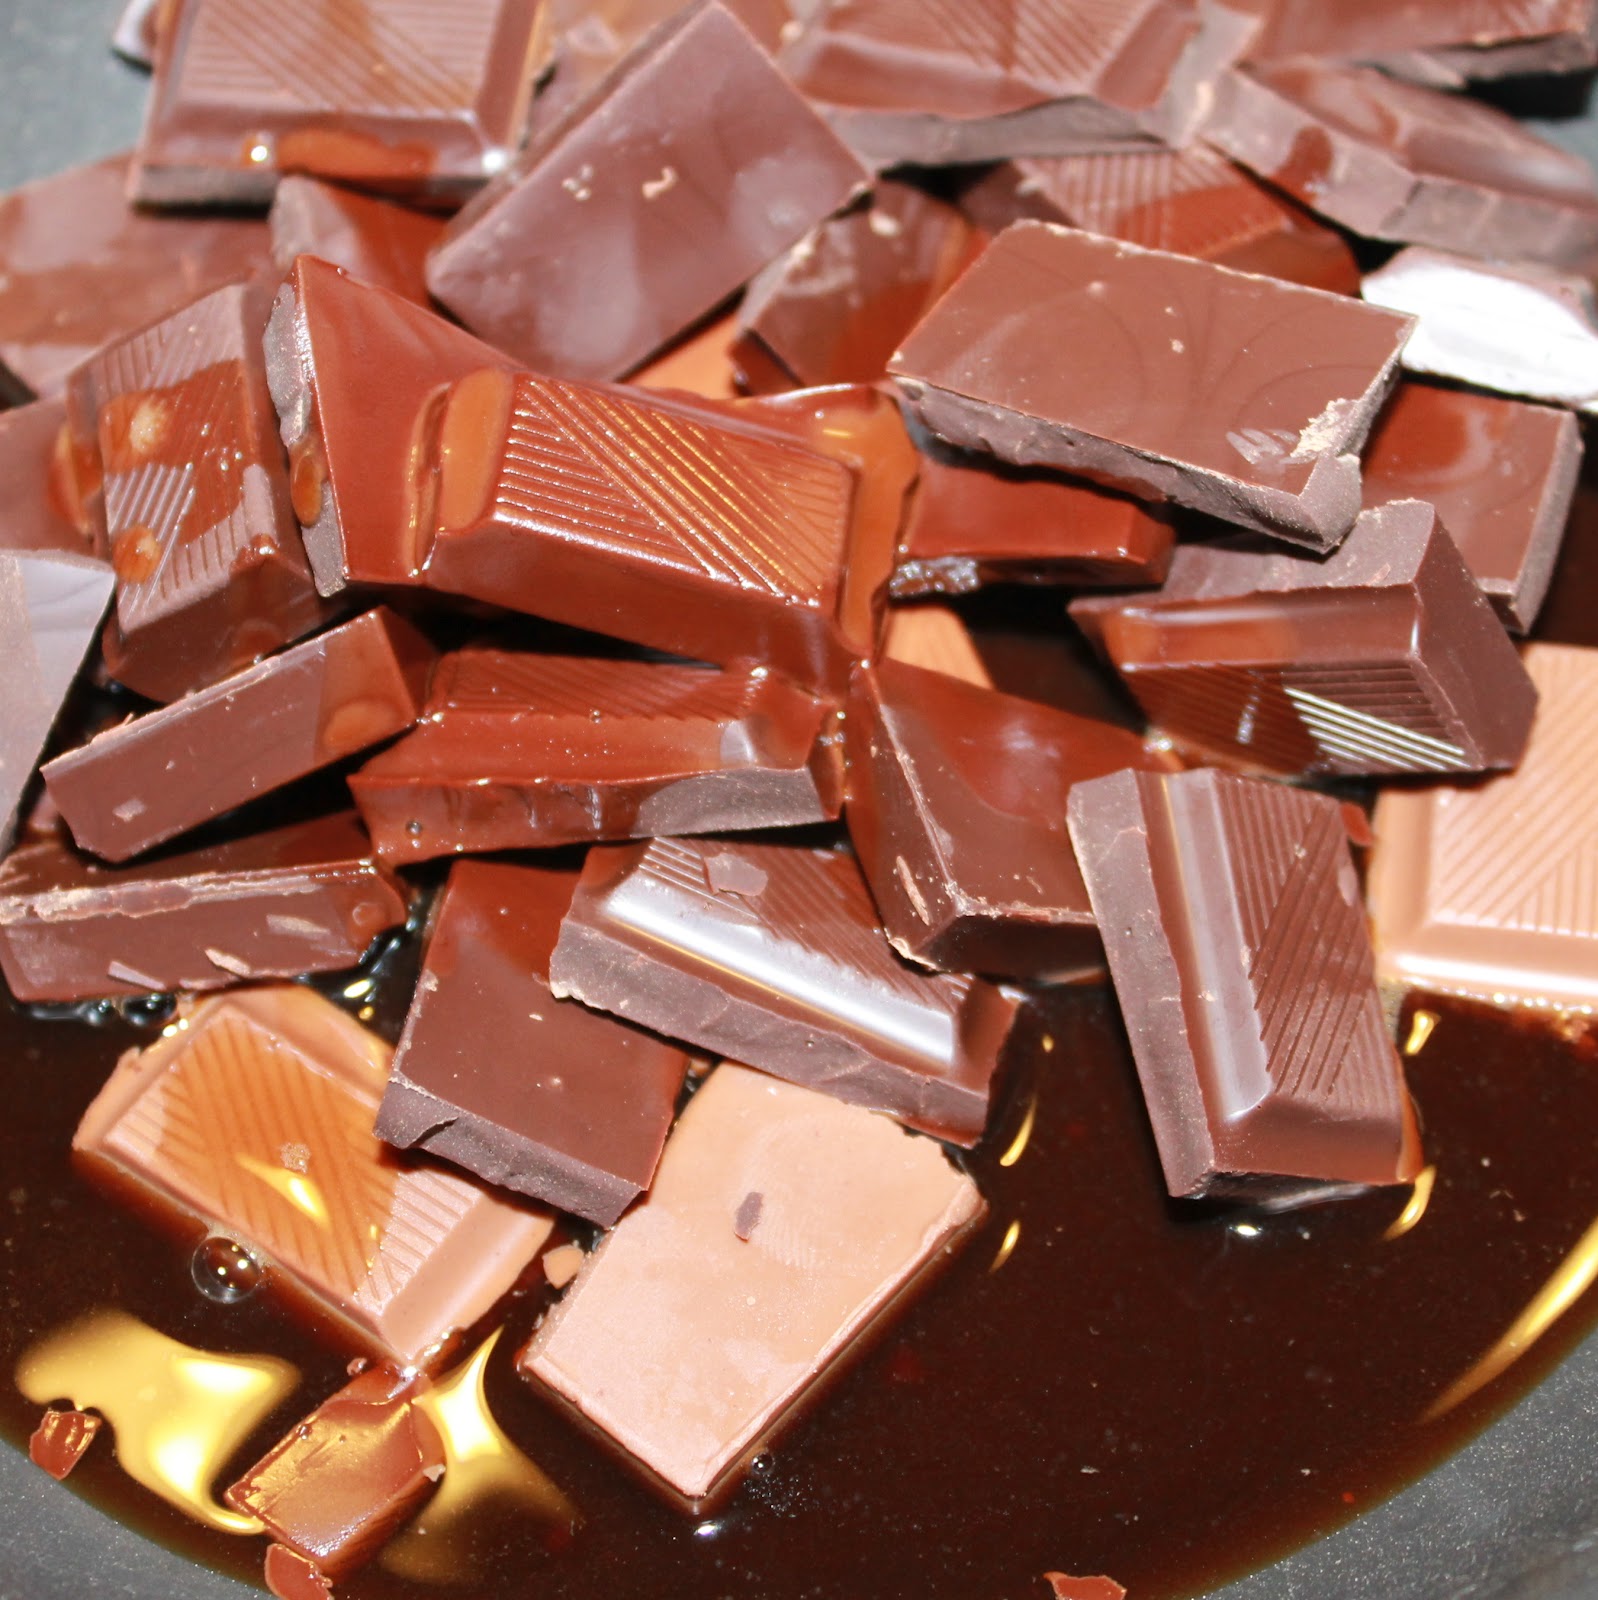
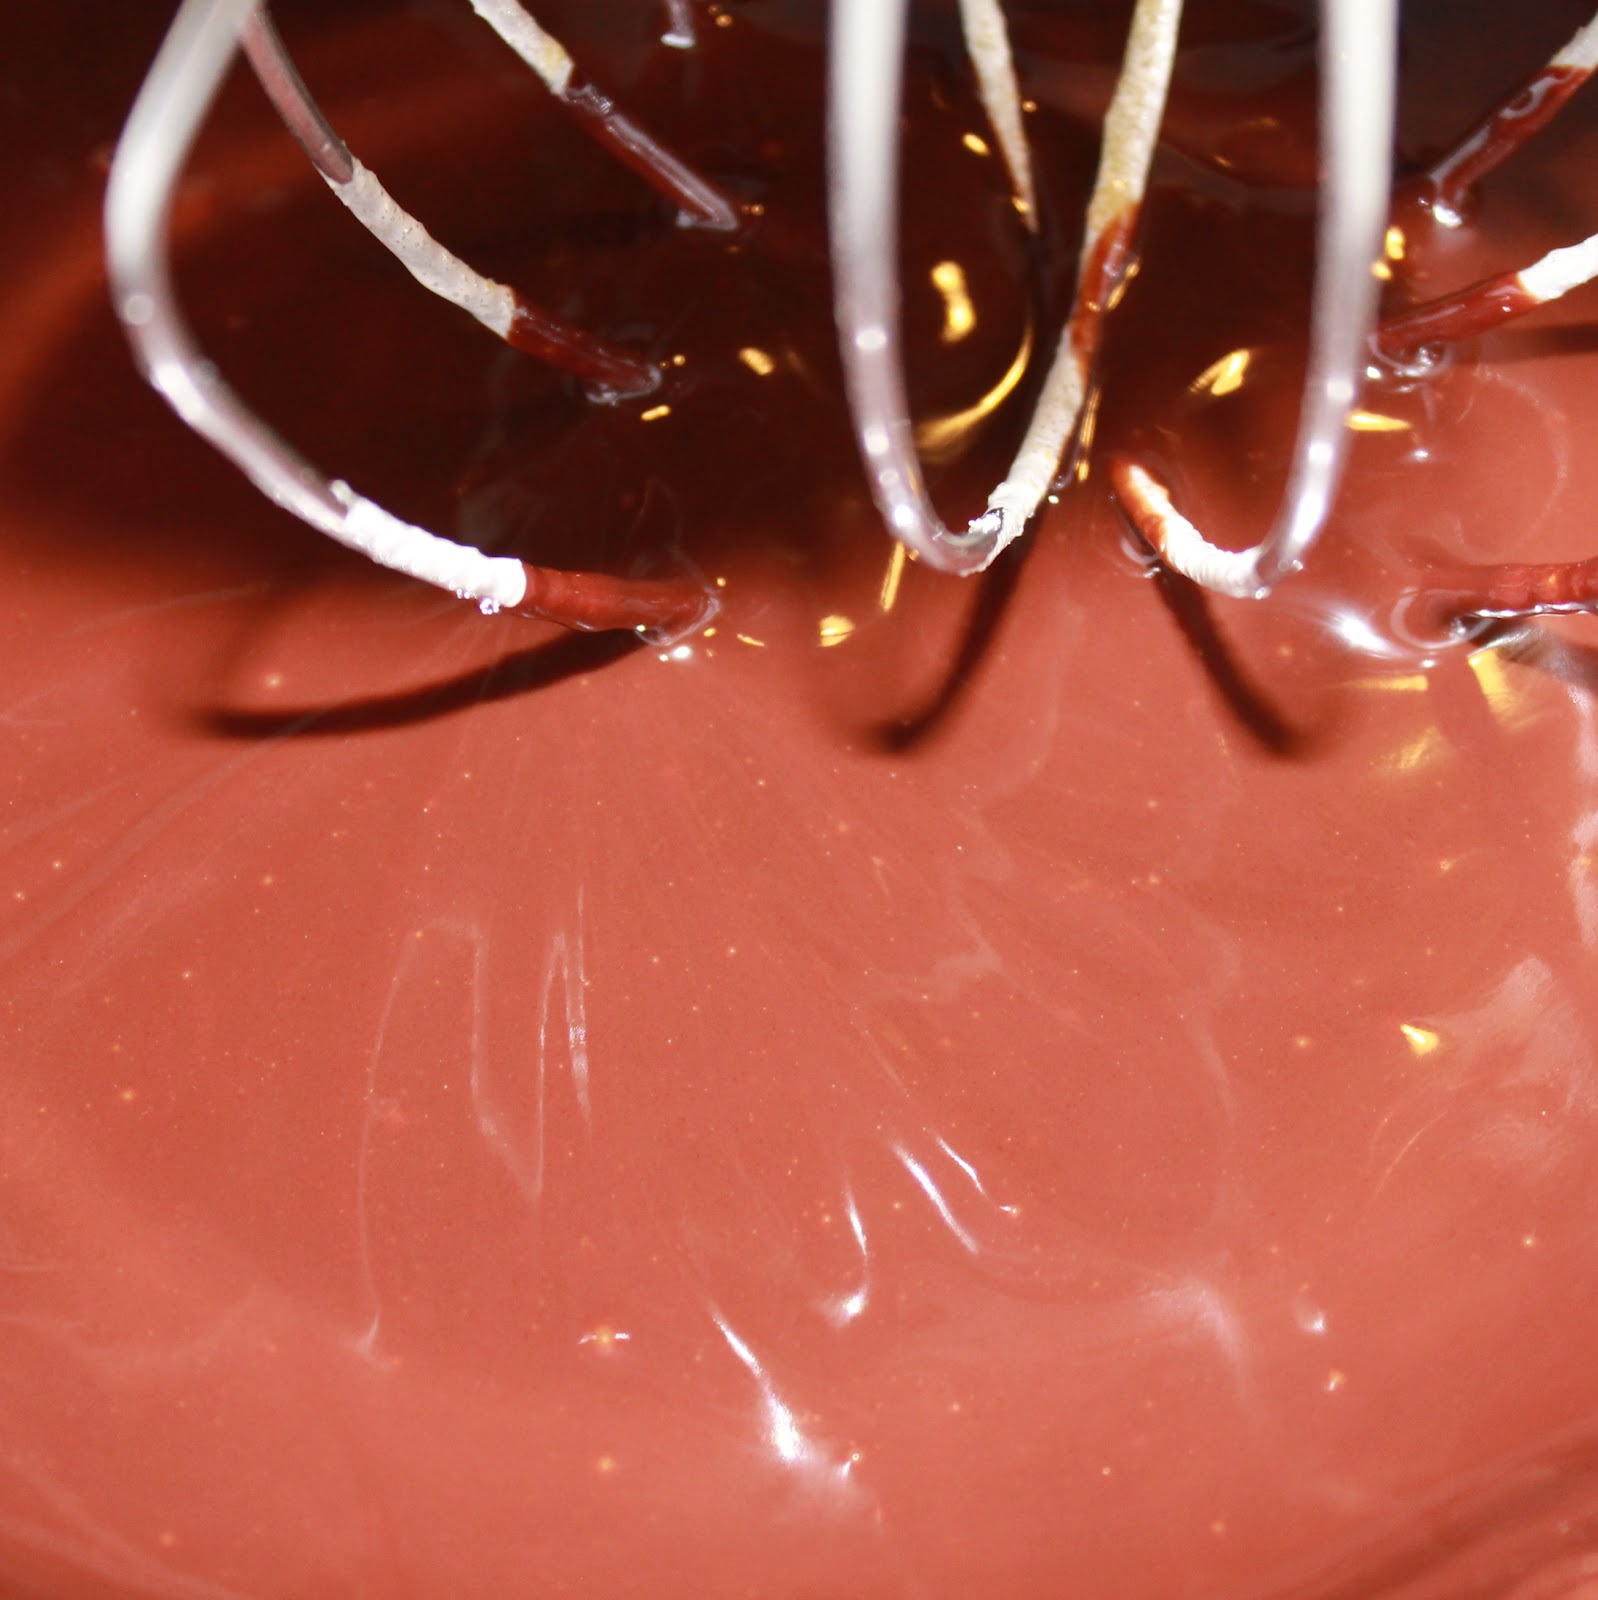
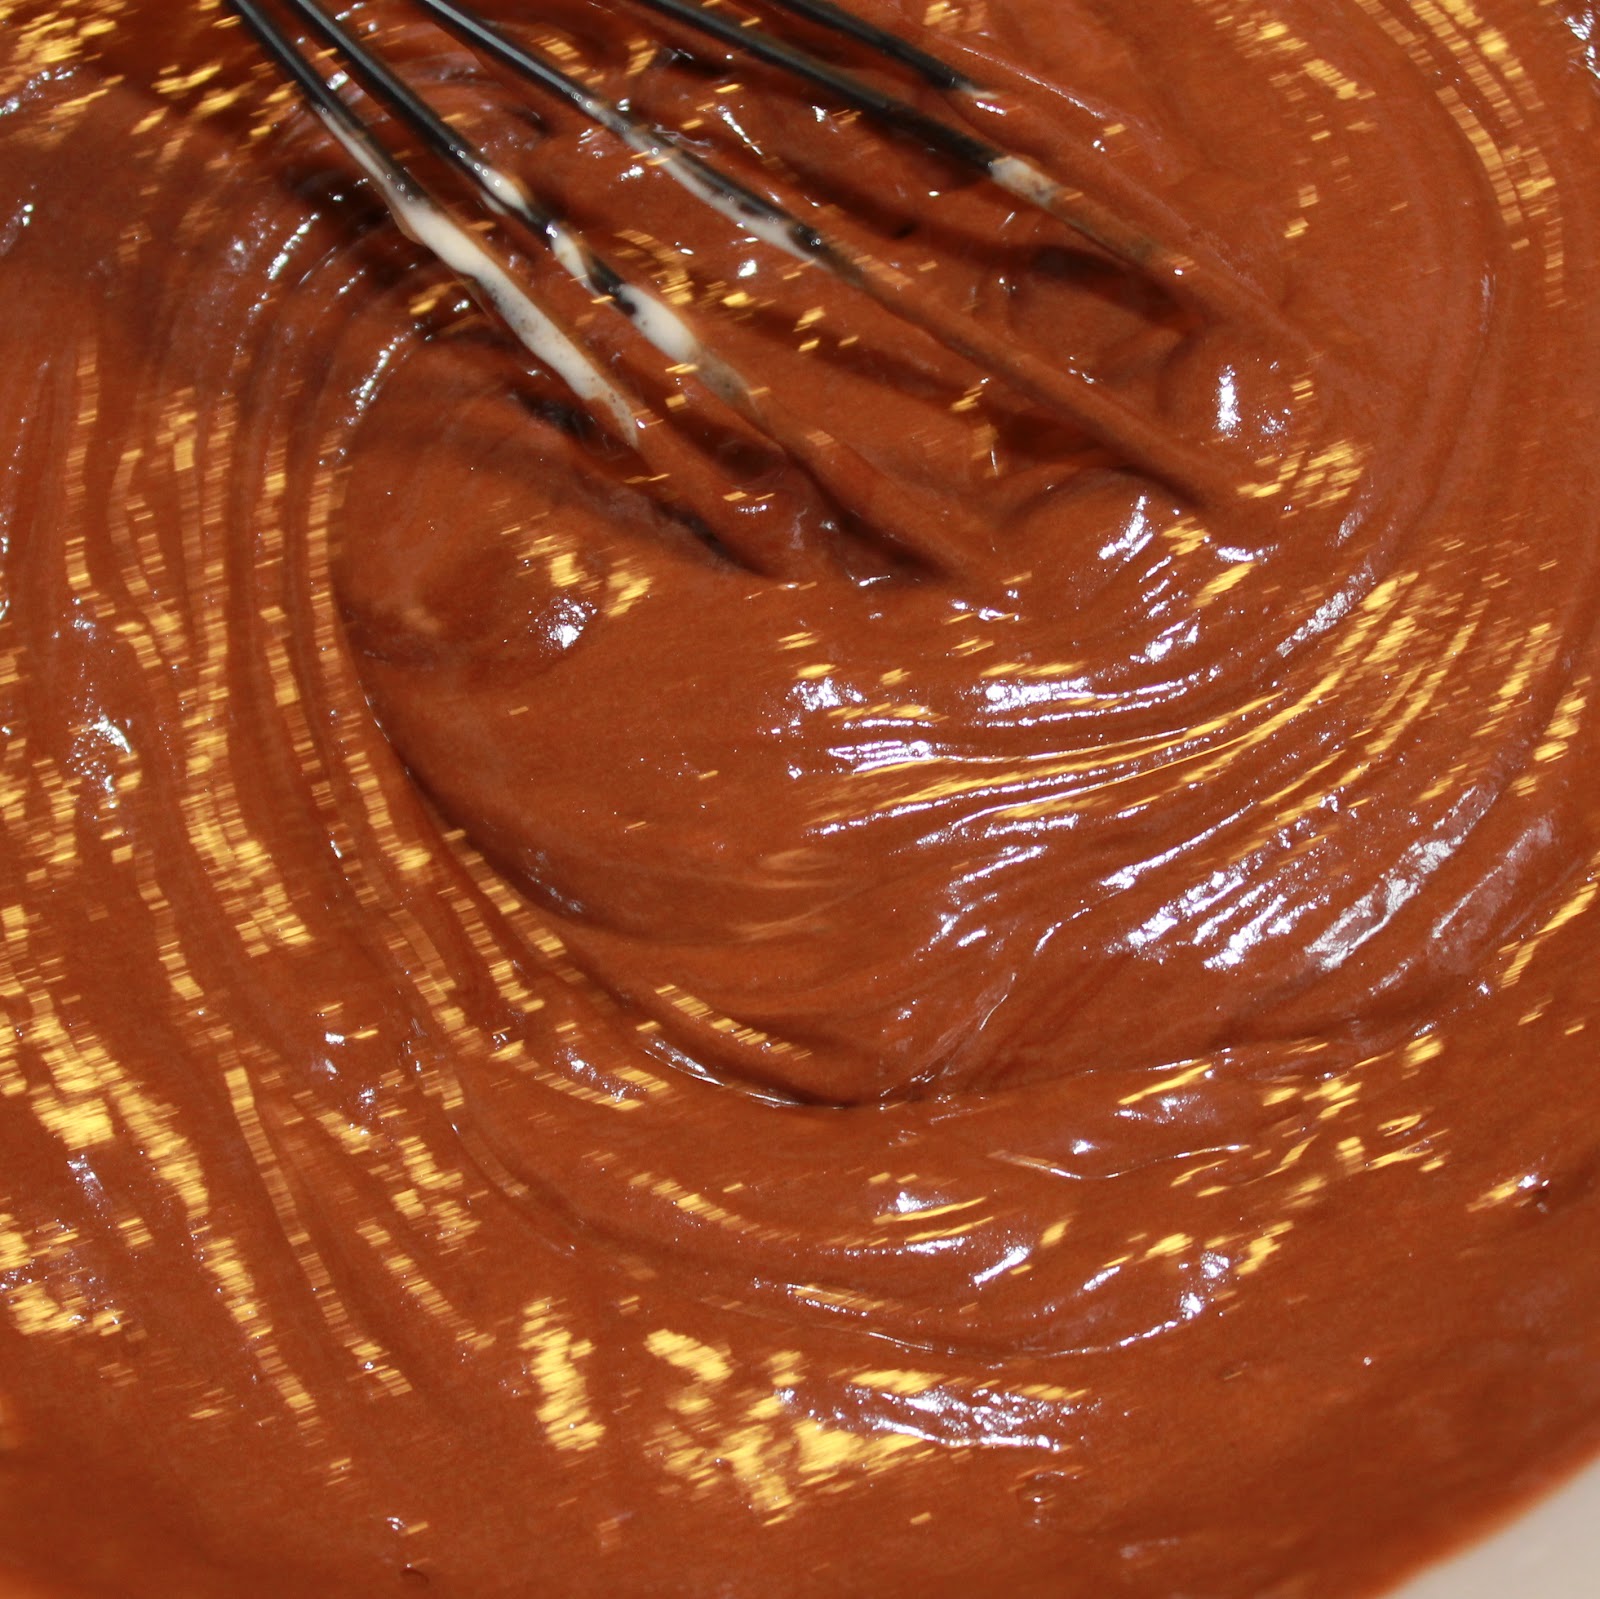
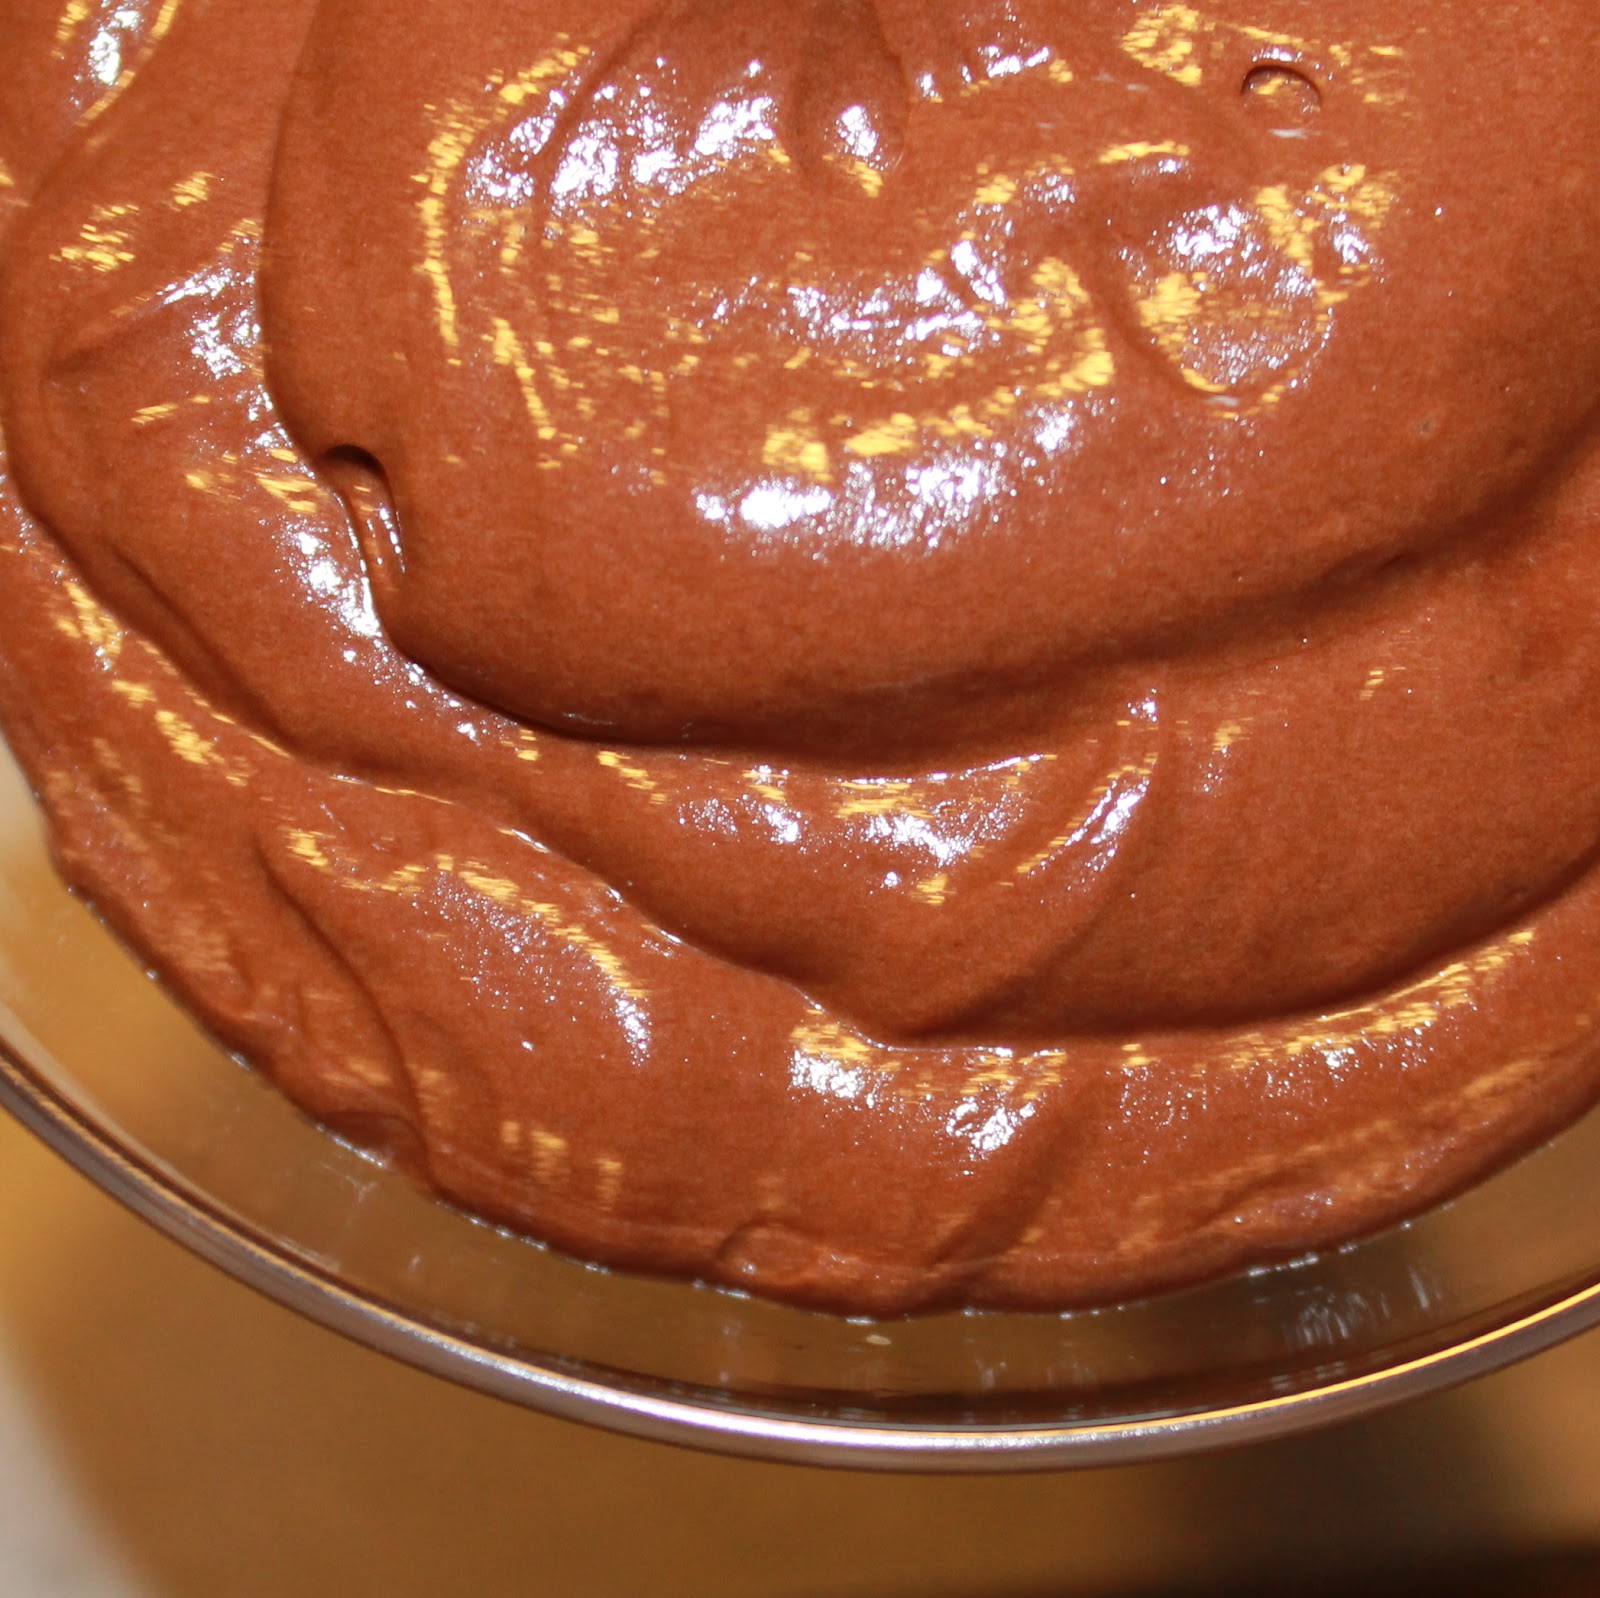
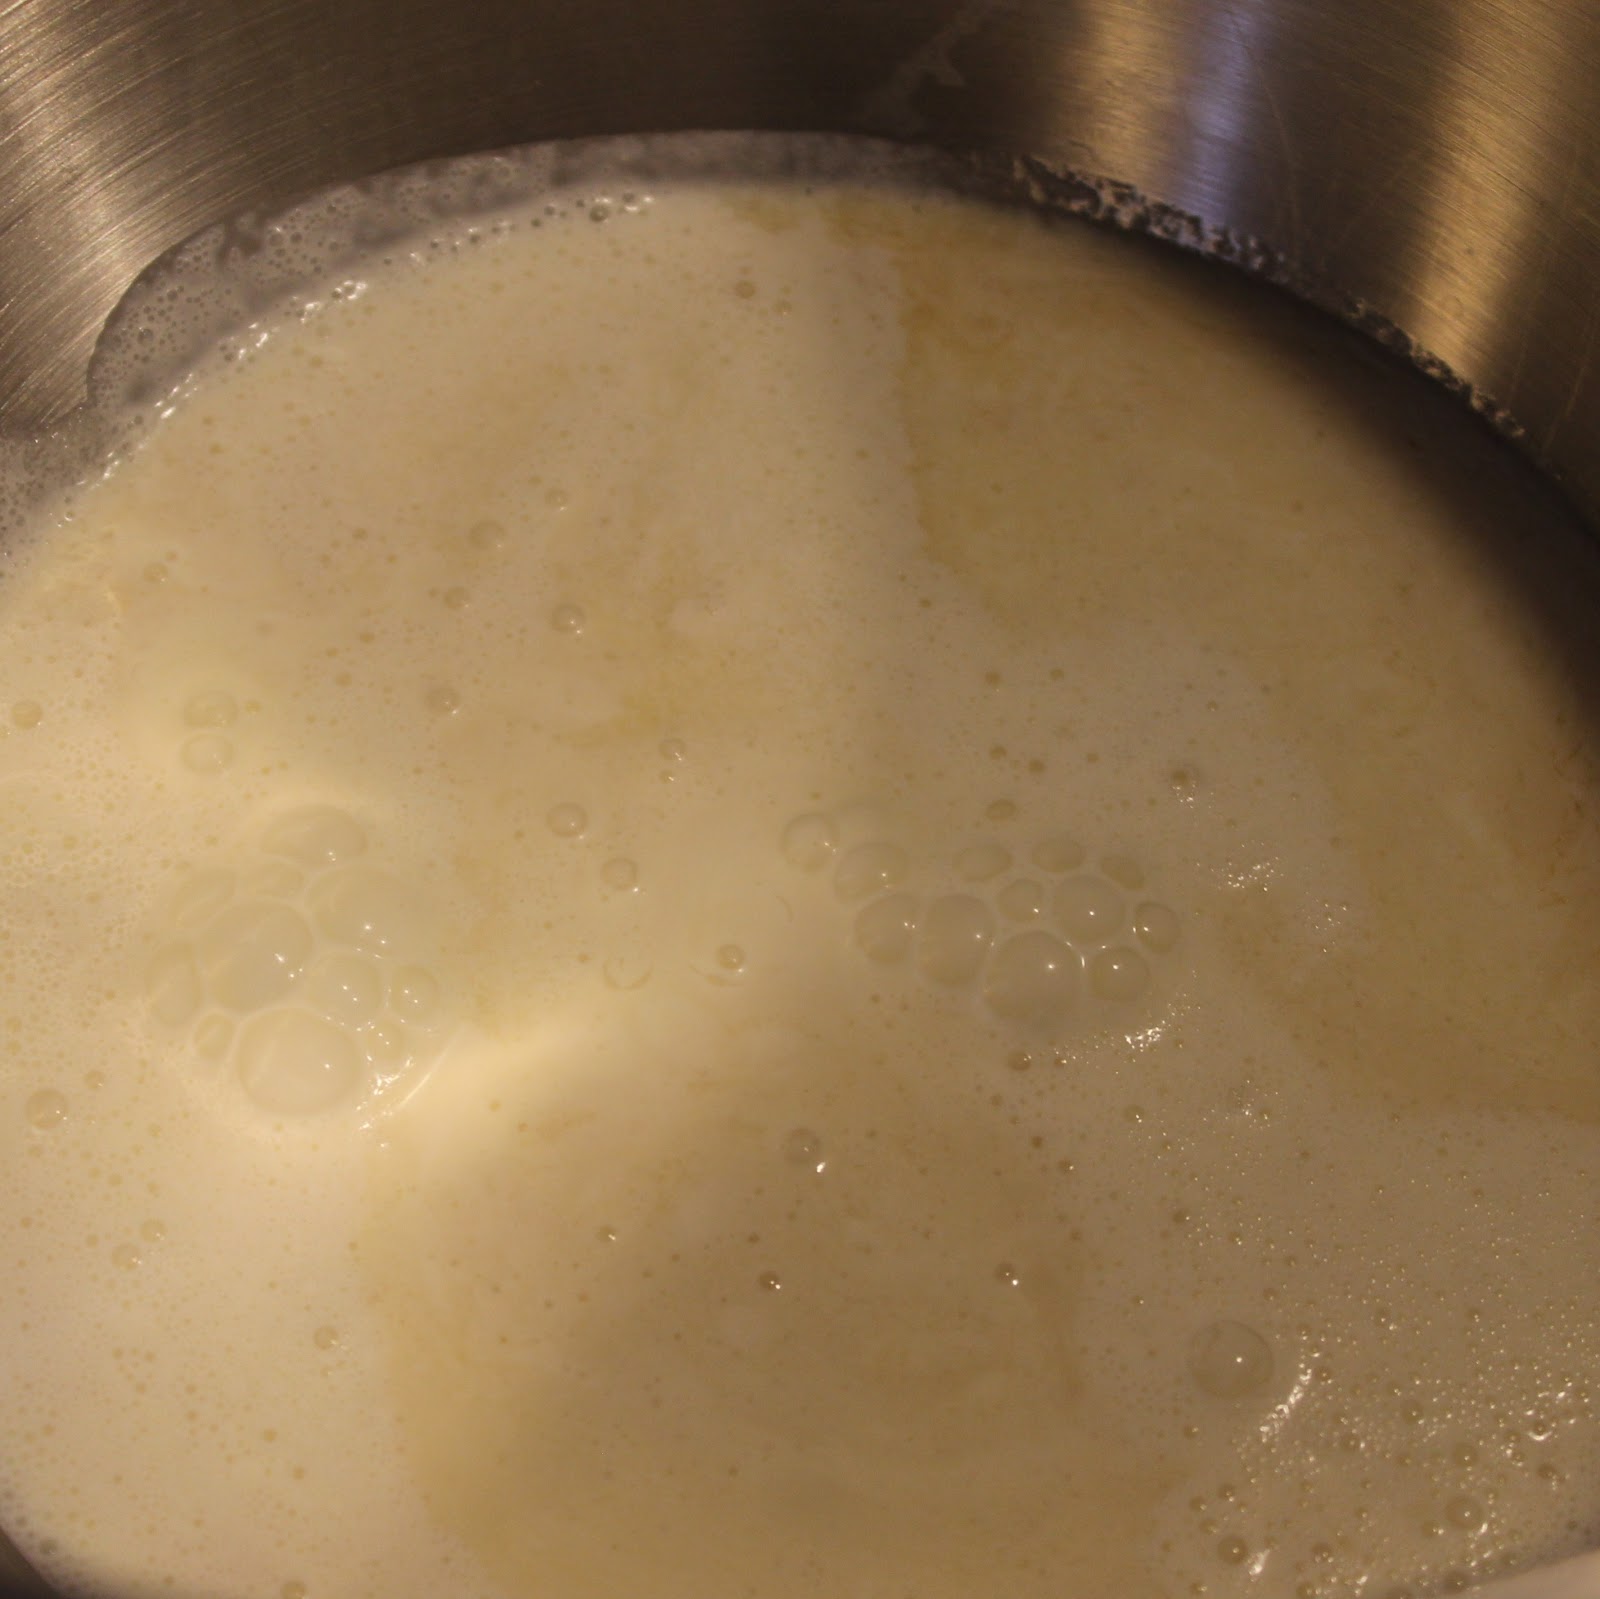
Prepare your chocolate pudding. Combine the two packs of instant pudding mix with three cups milk.

Mix for two minutes with a whisk. Refrigerate until ready to use.

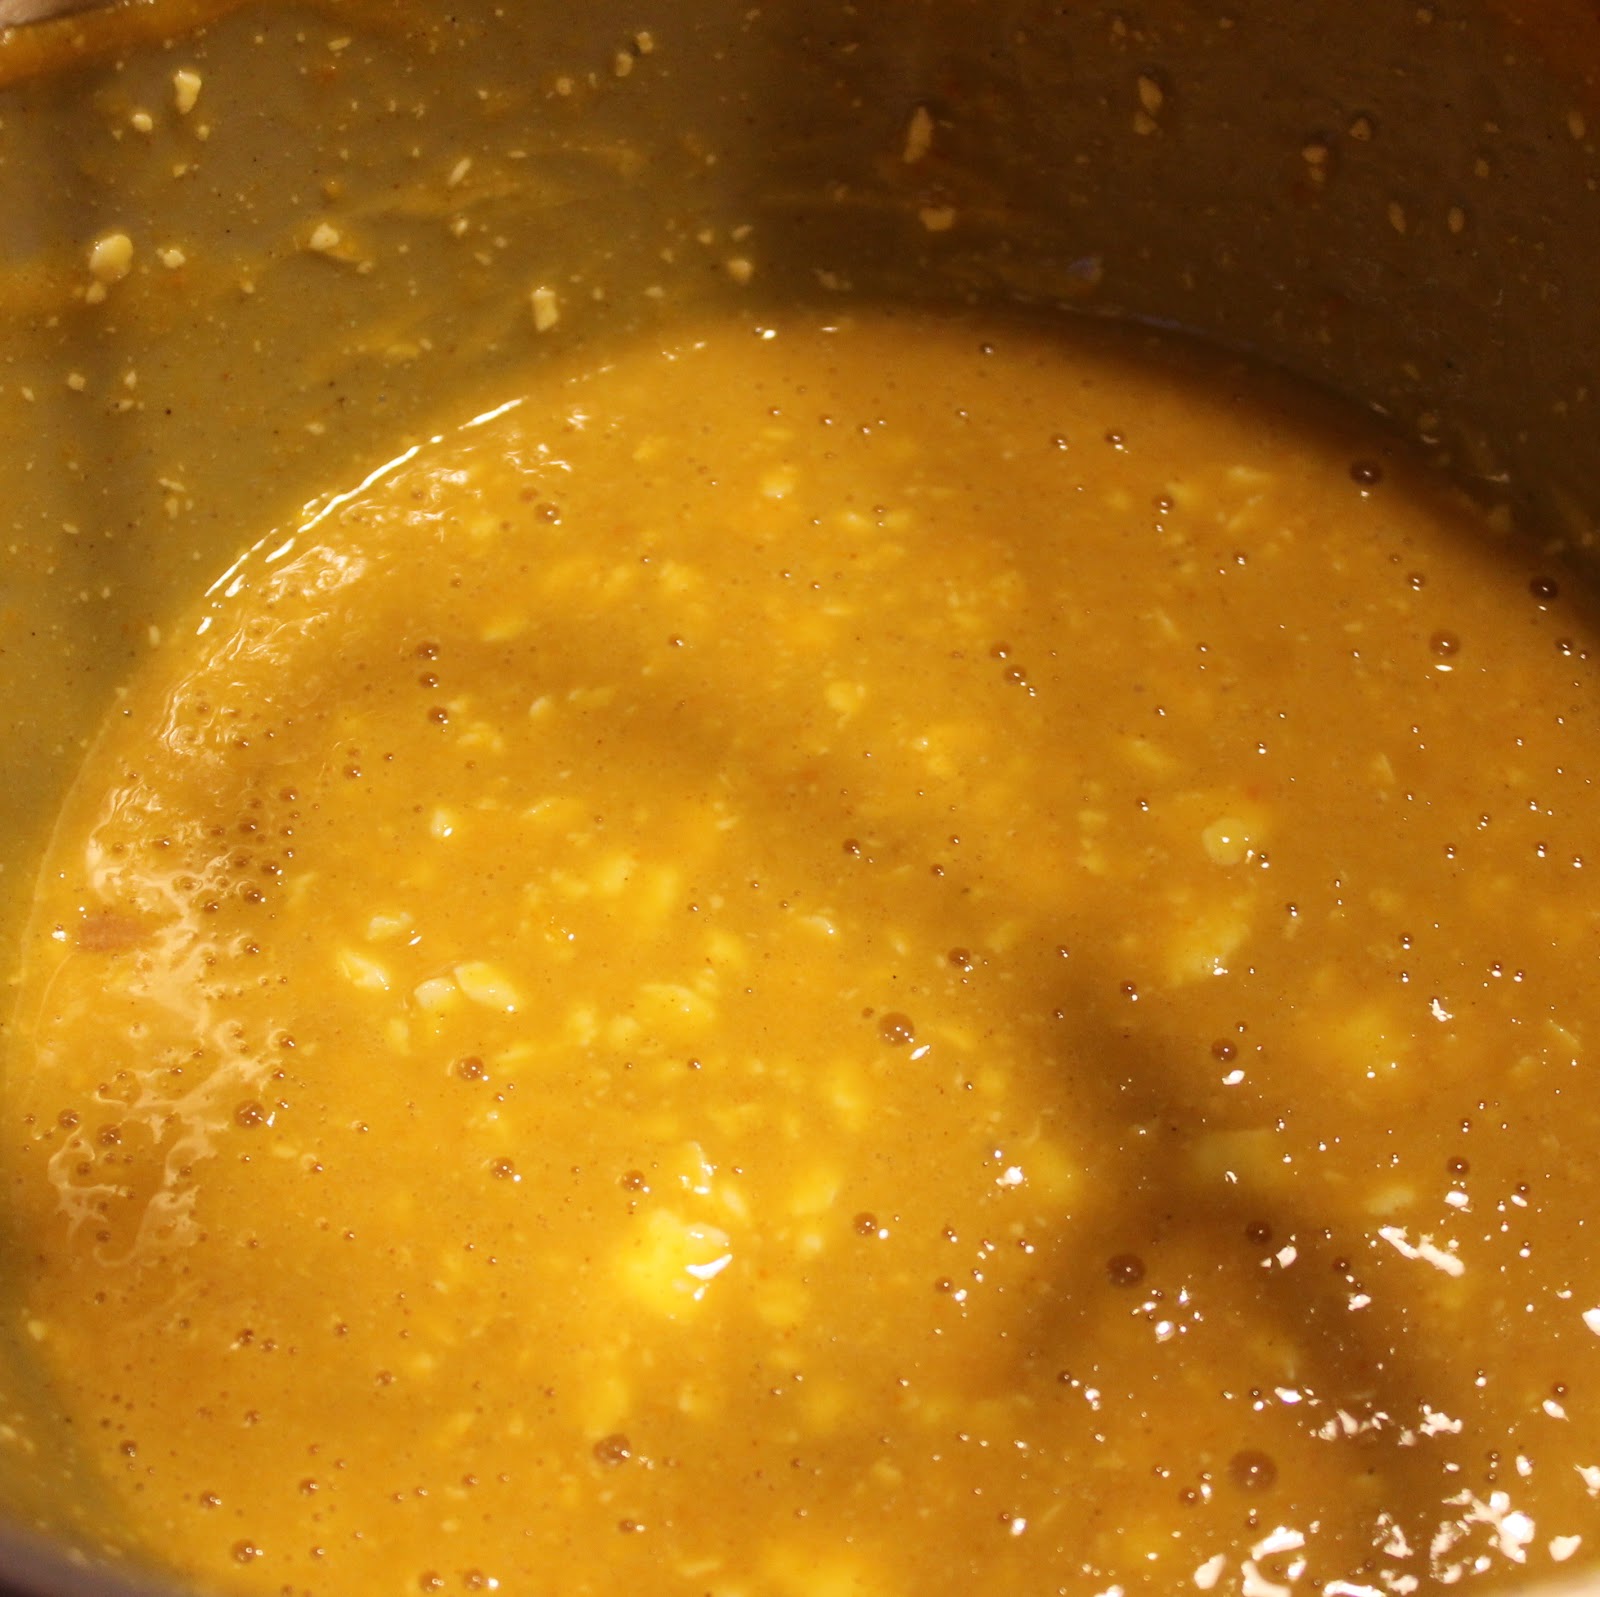
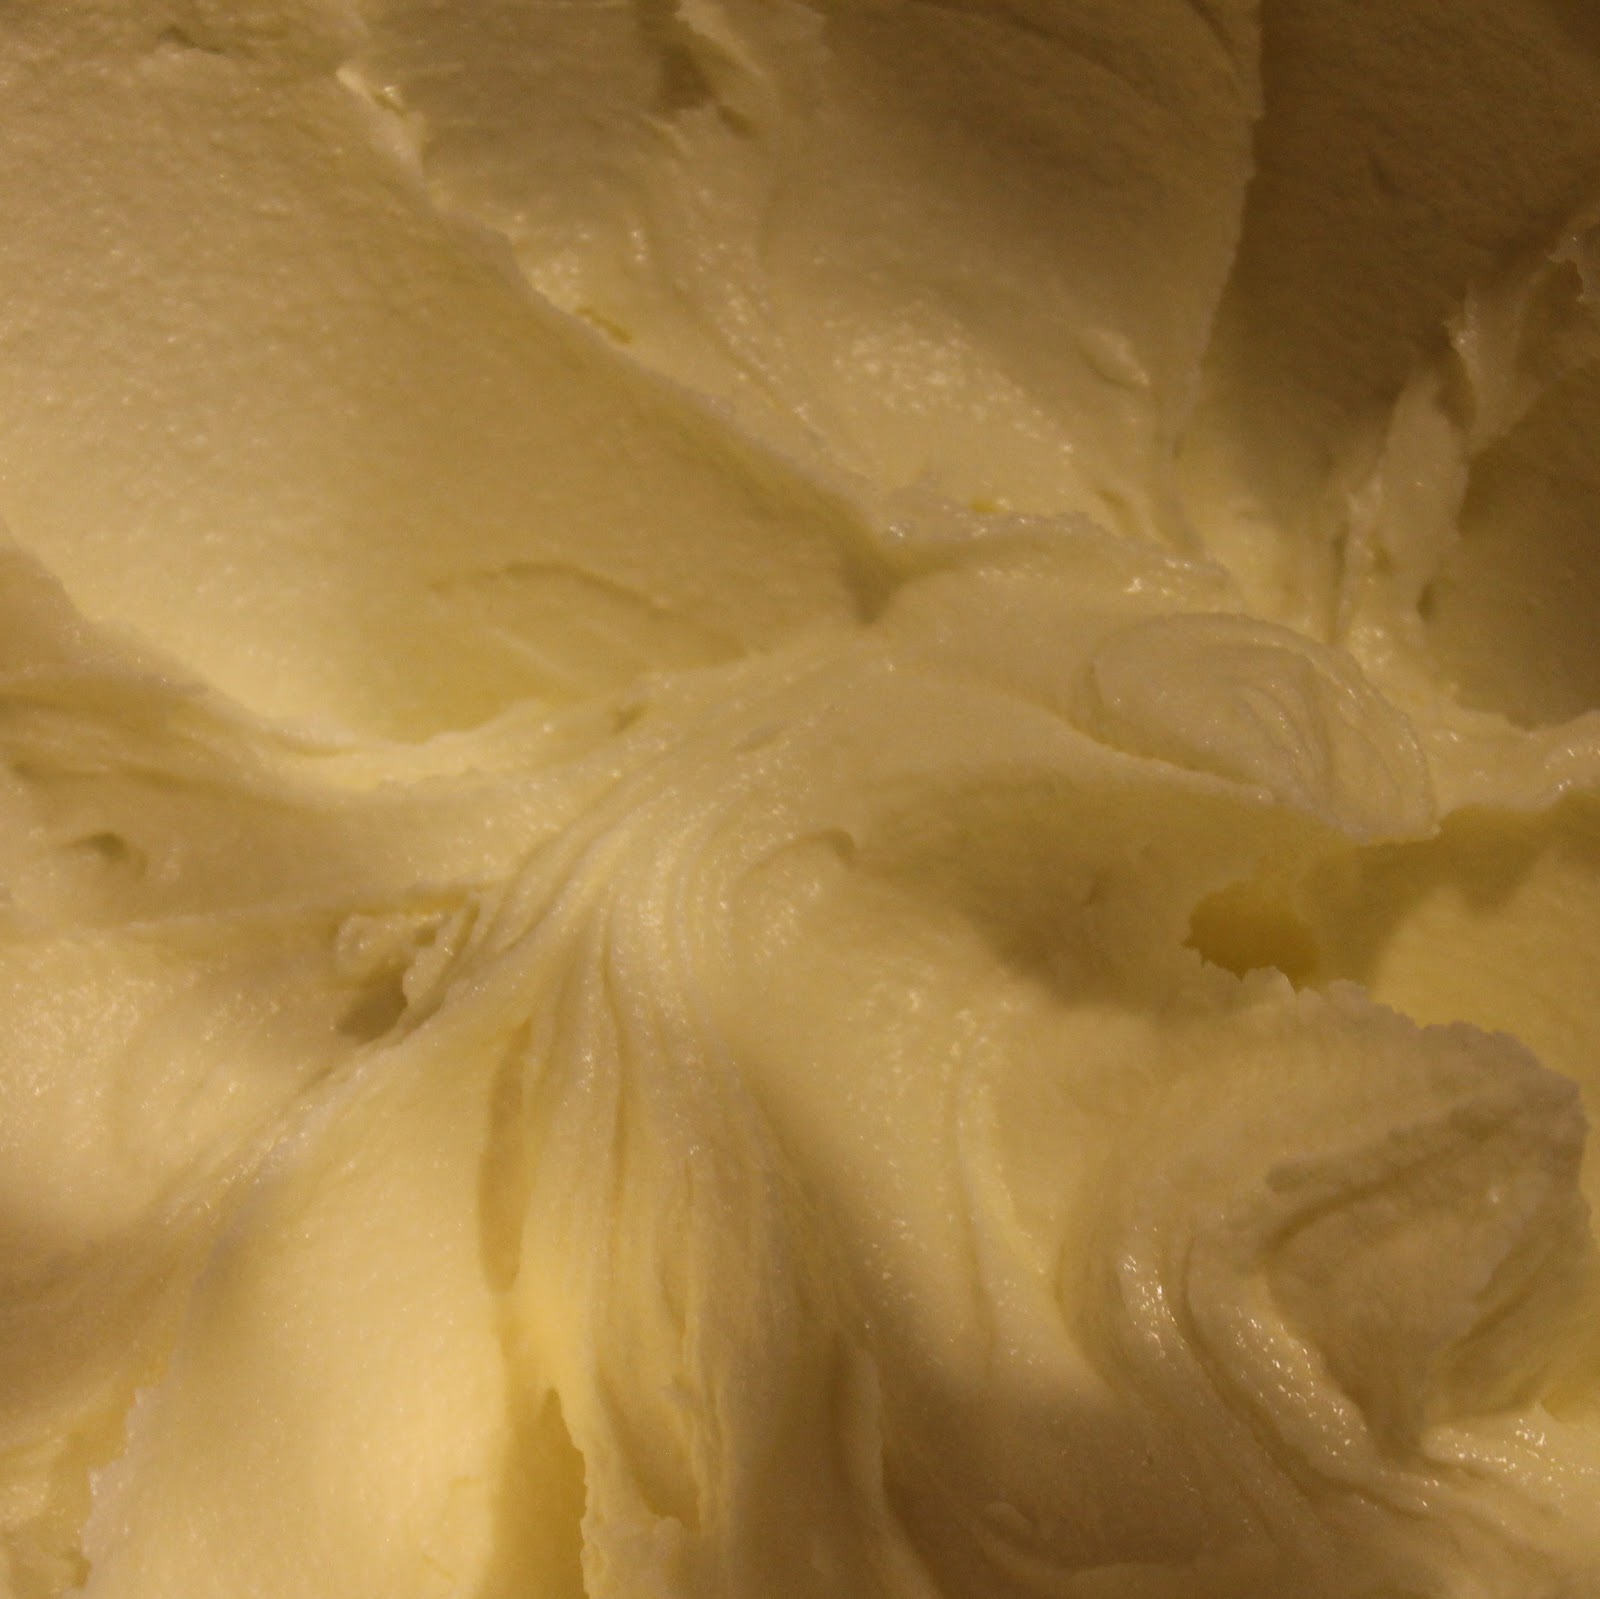
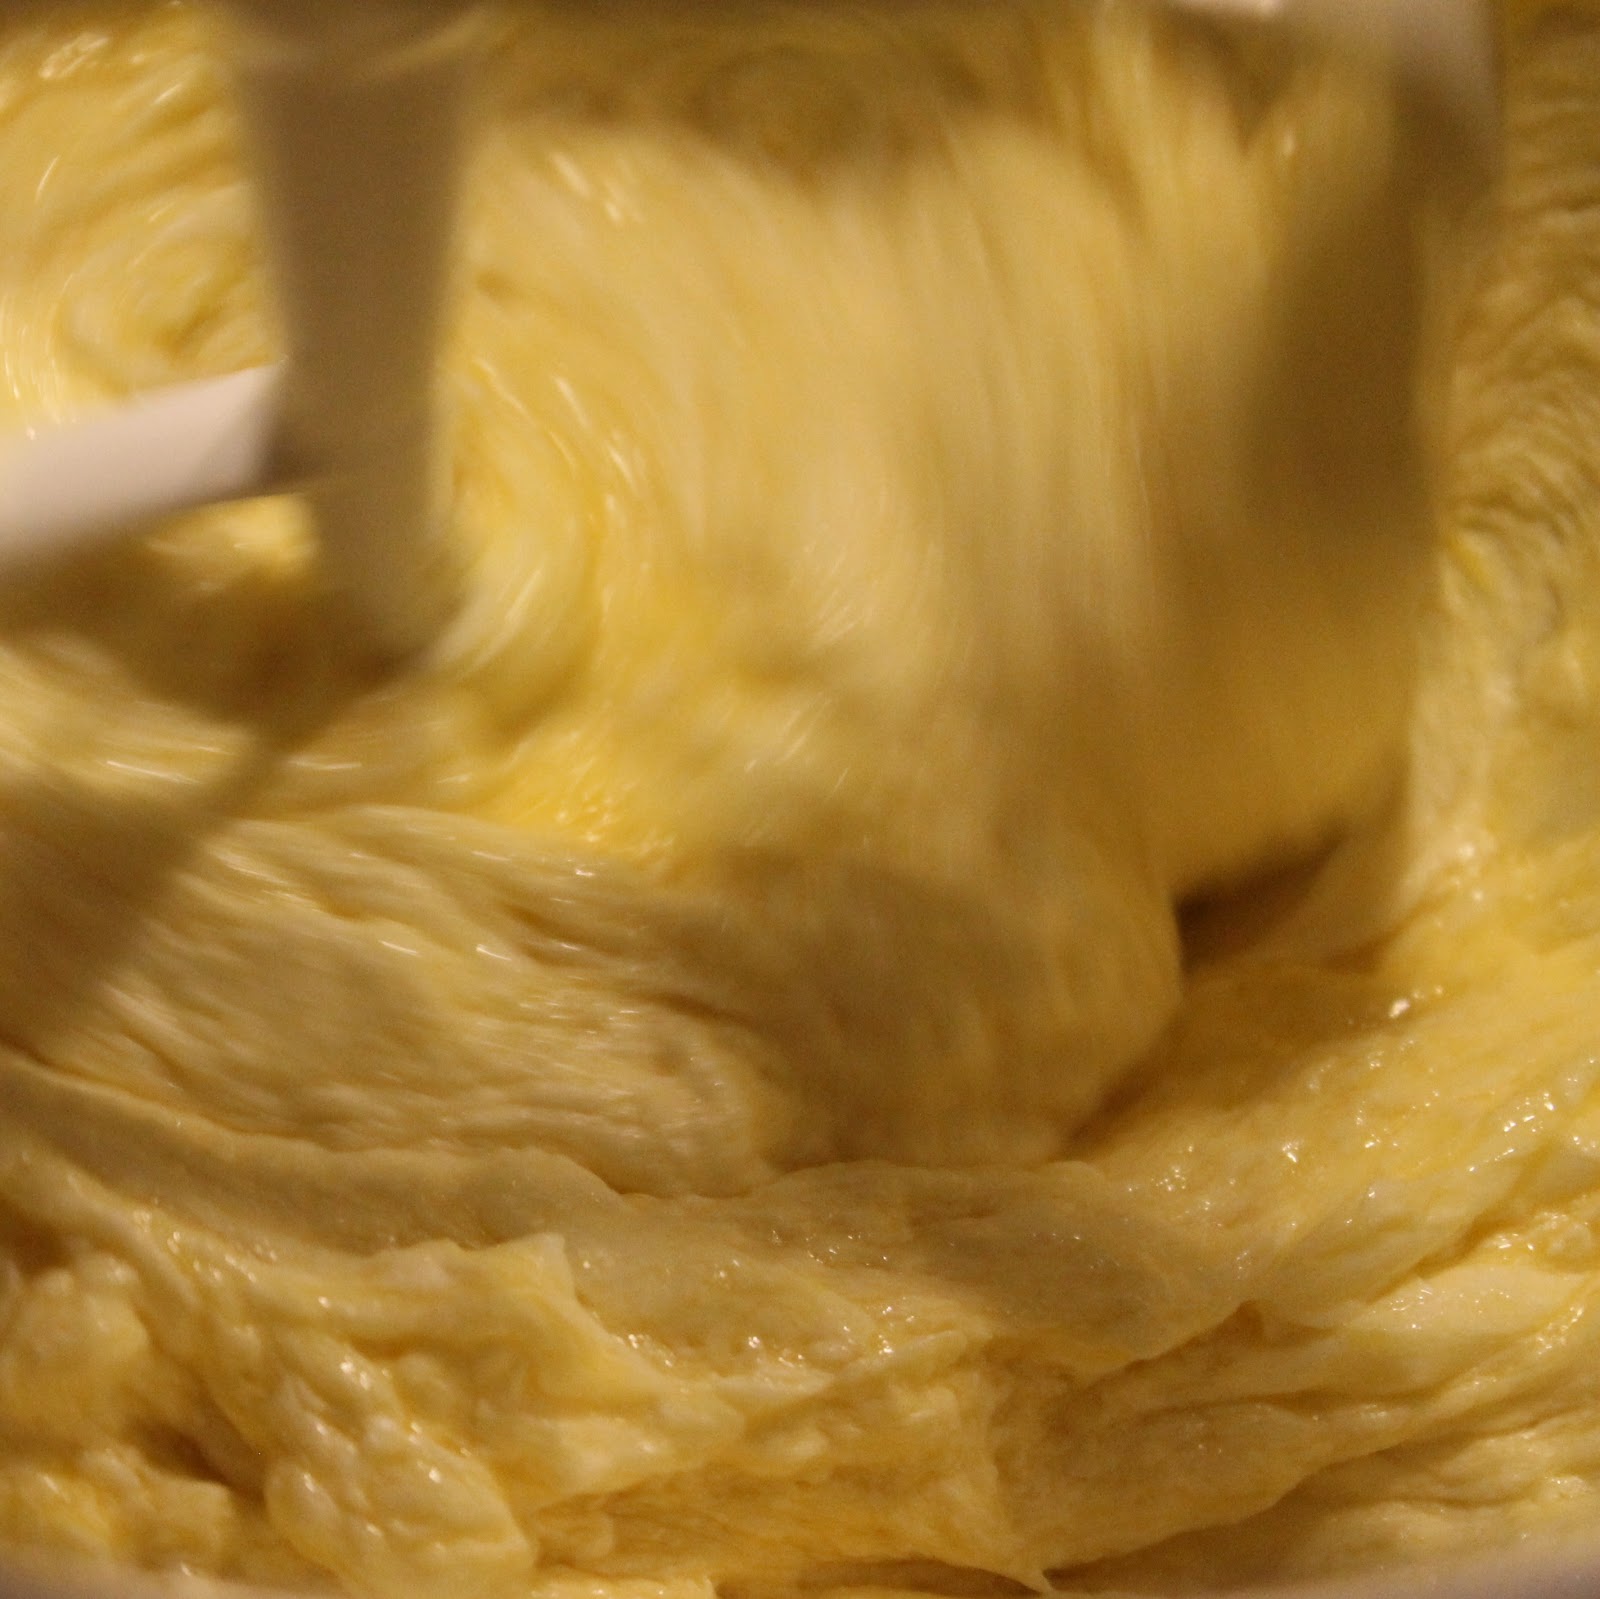
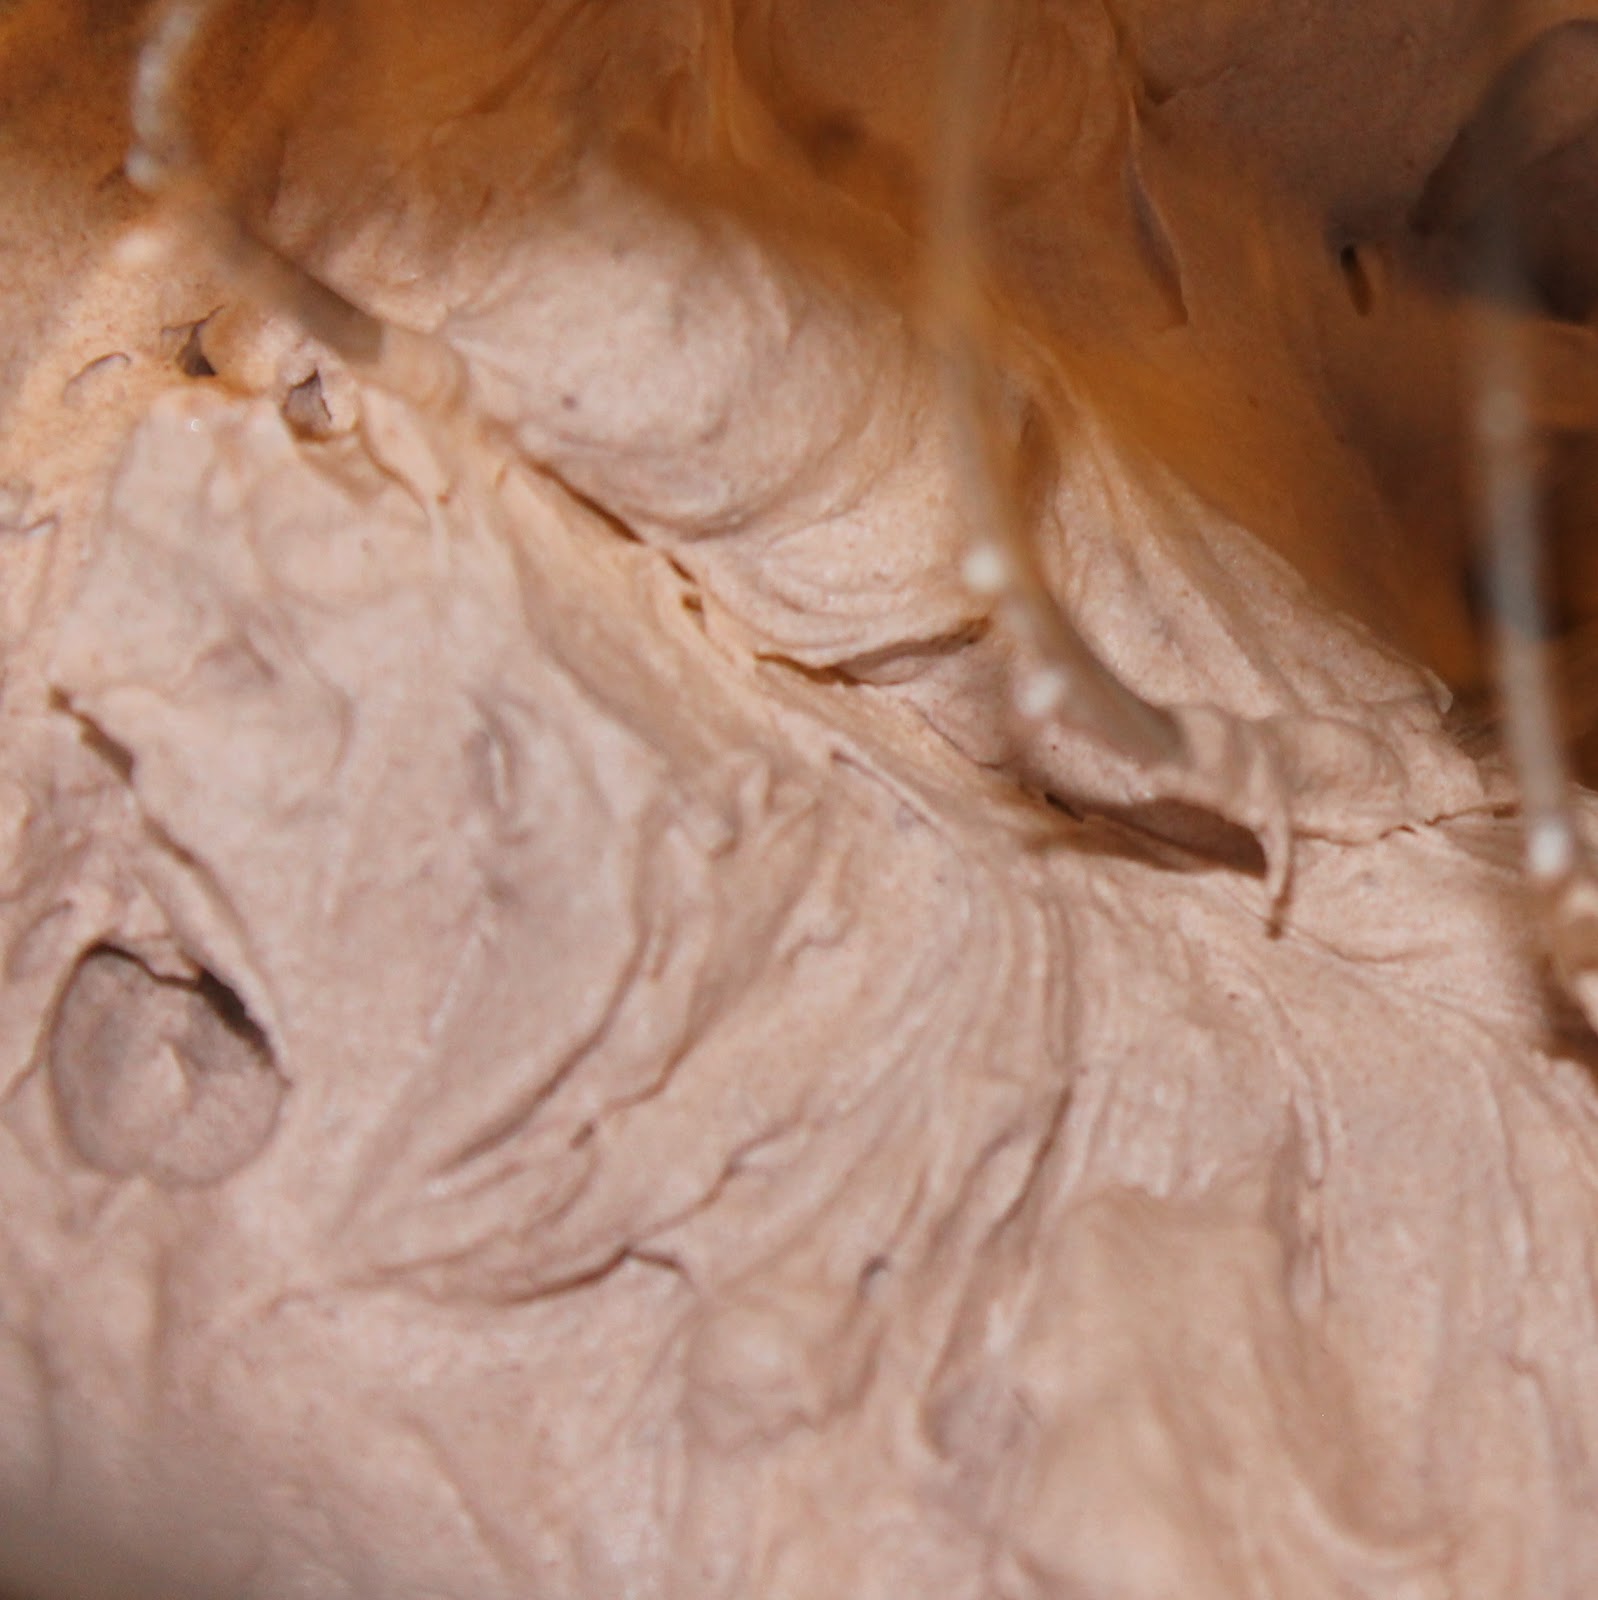
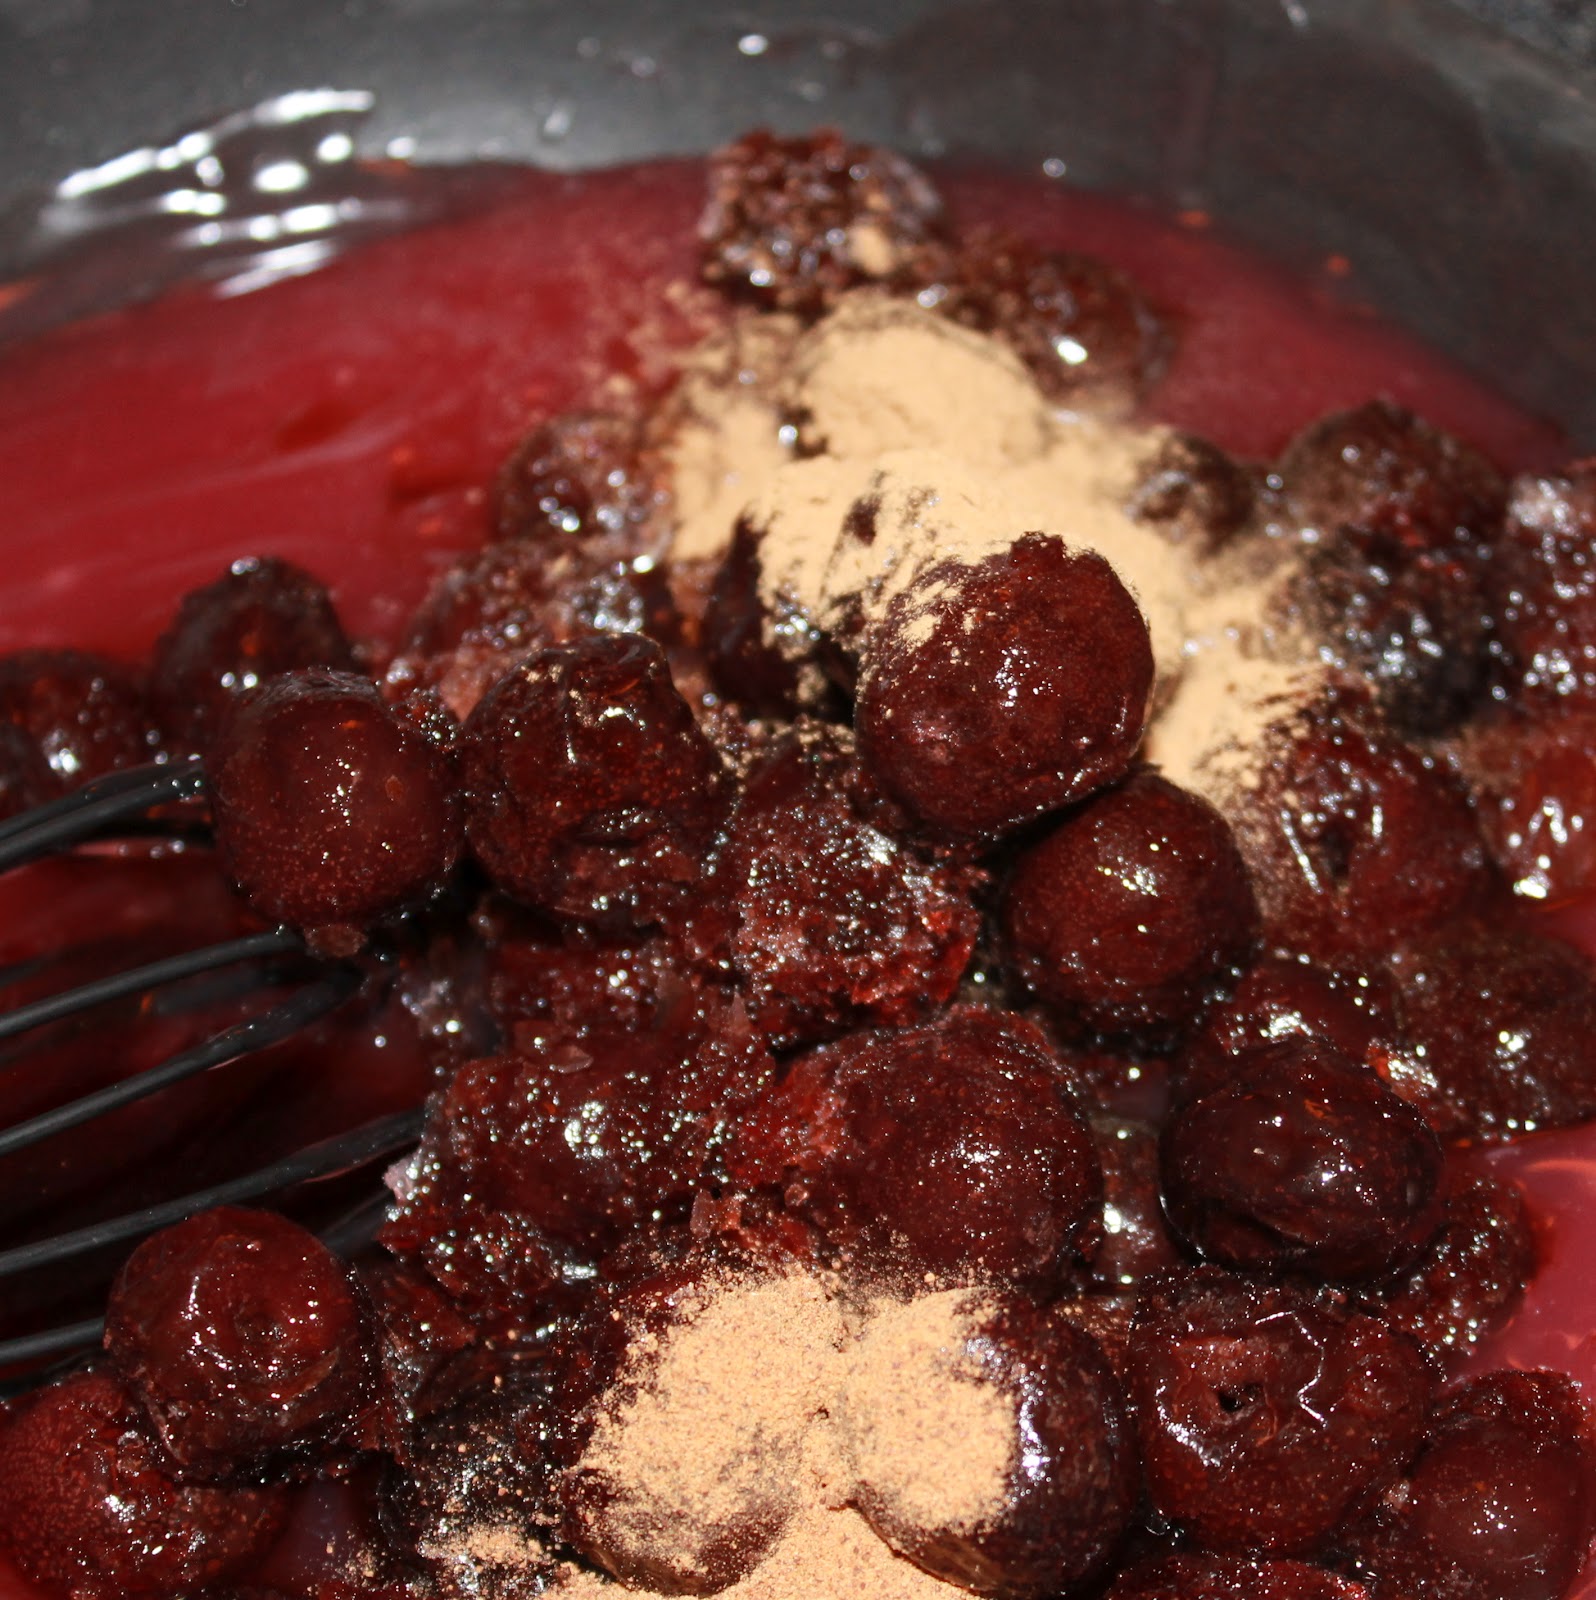
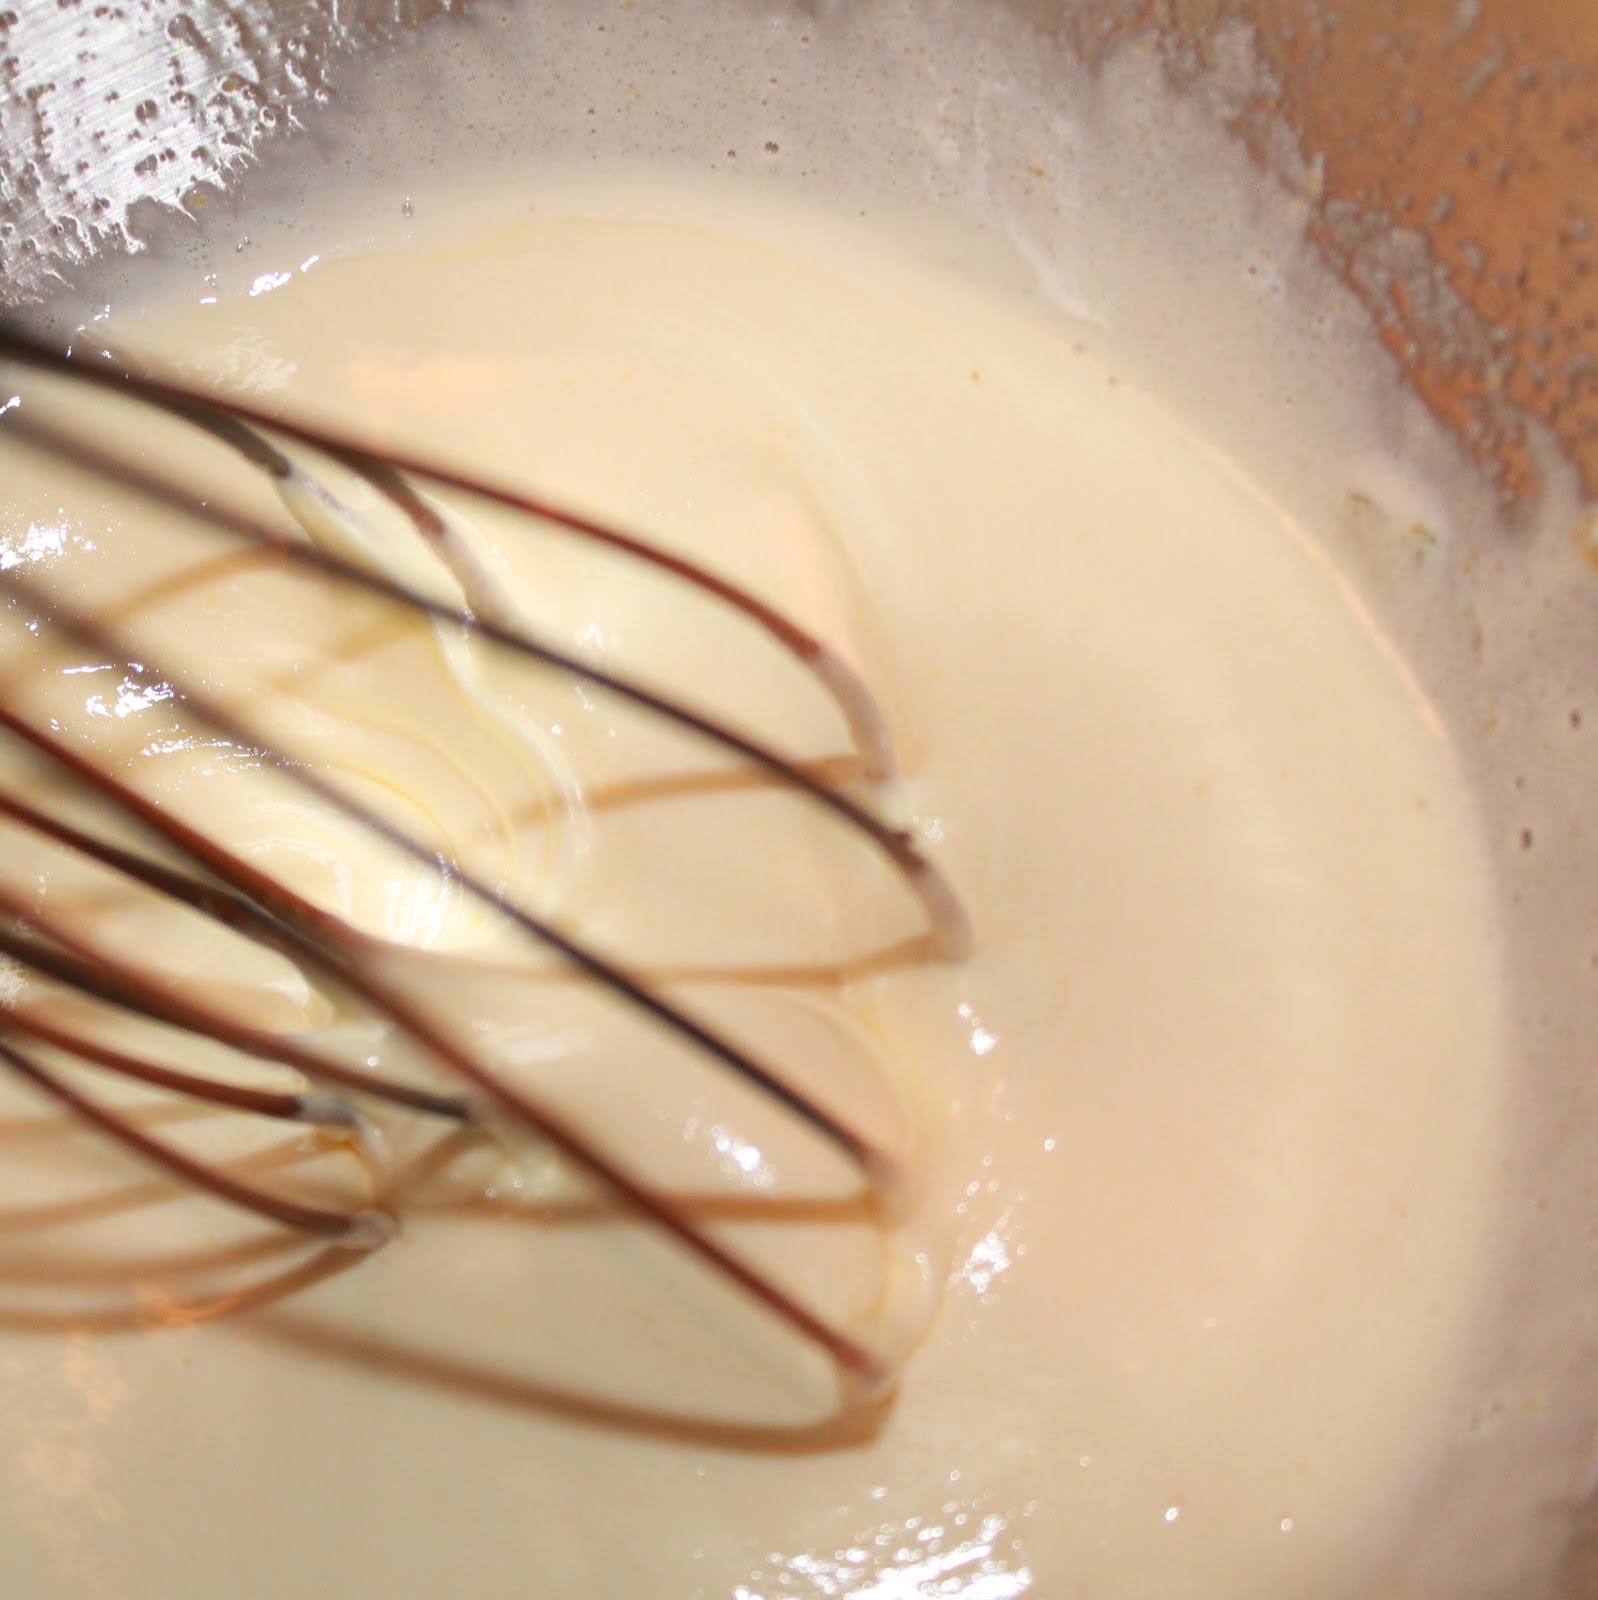
In a large bowl, combine 1 can pumpkin puree, the spices, vanilla extract, cream cheese, and brown sugar using a hand mixer.


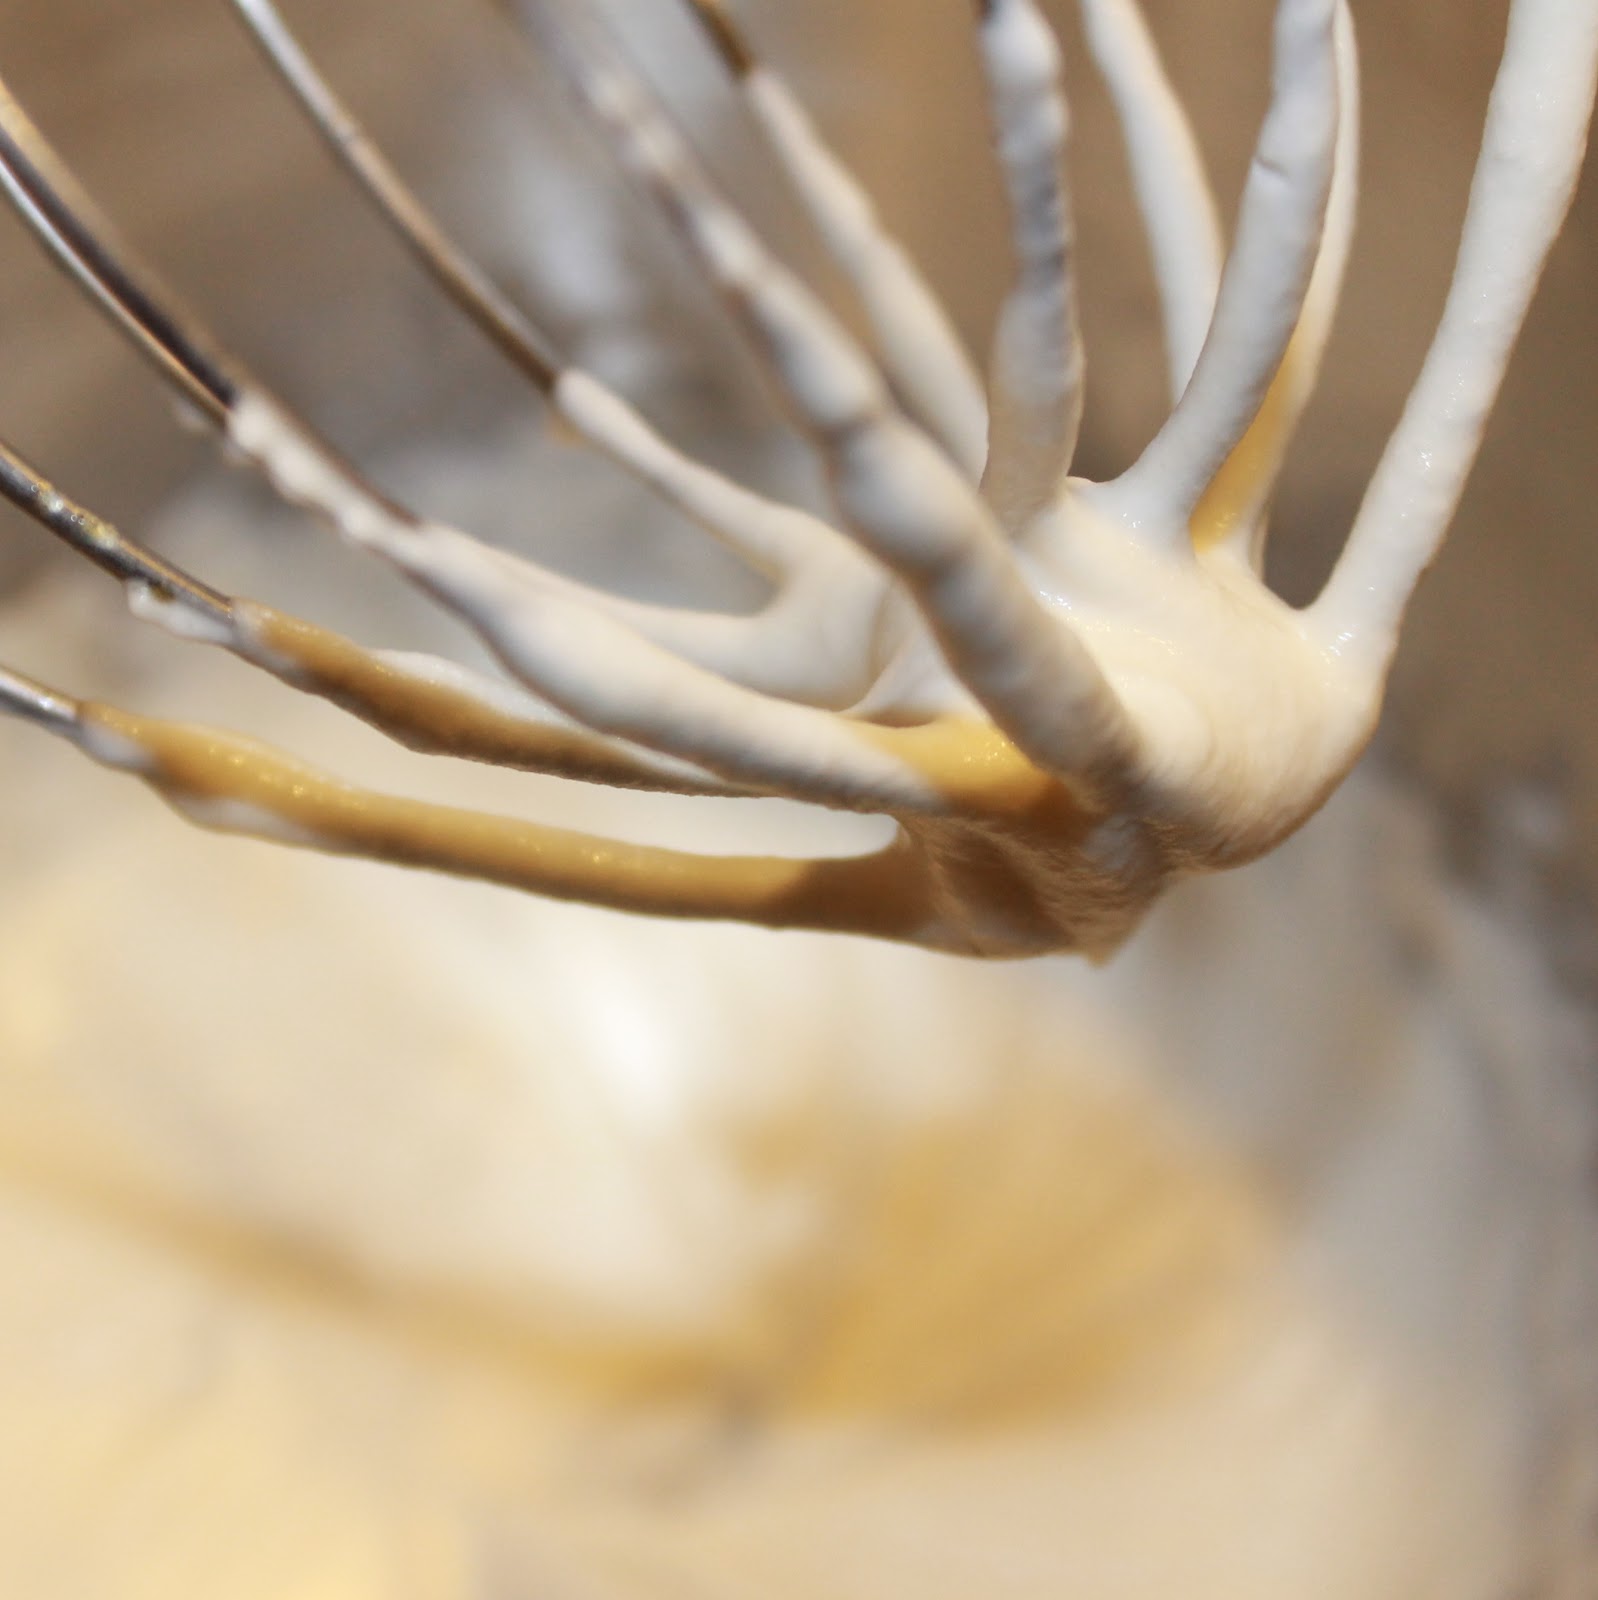
In a separate bowl, make whipped cream. Add two cups heavy whipping cream, 2 ounces bourbon, and 1/4 cup sugar and whip on high speed until soft peaks form (about 3 minutes).
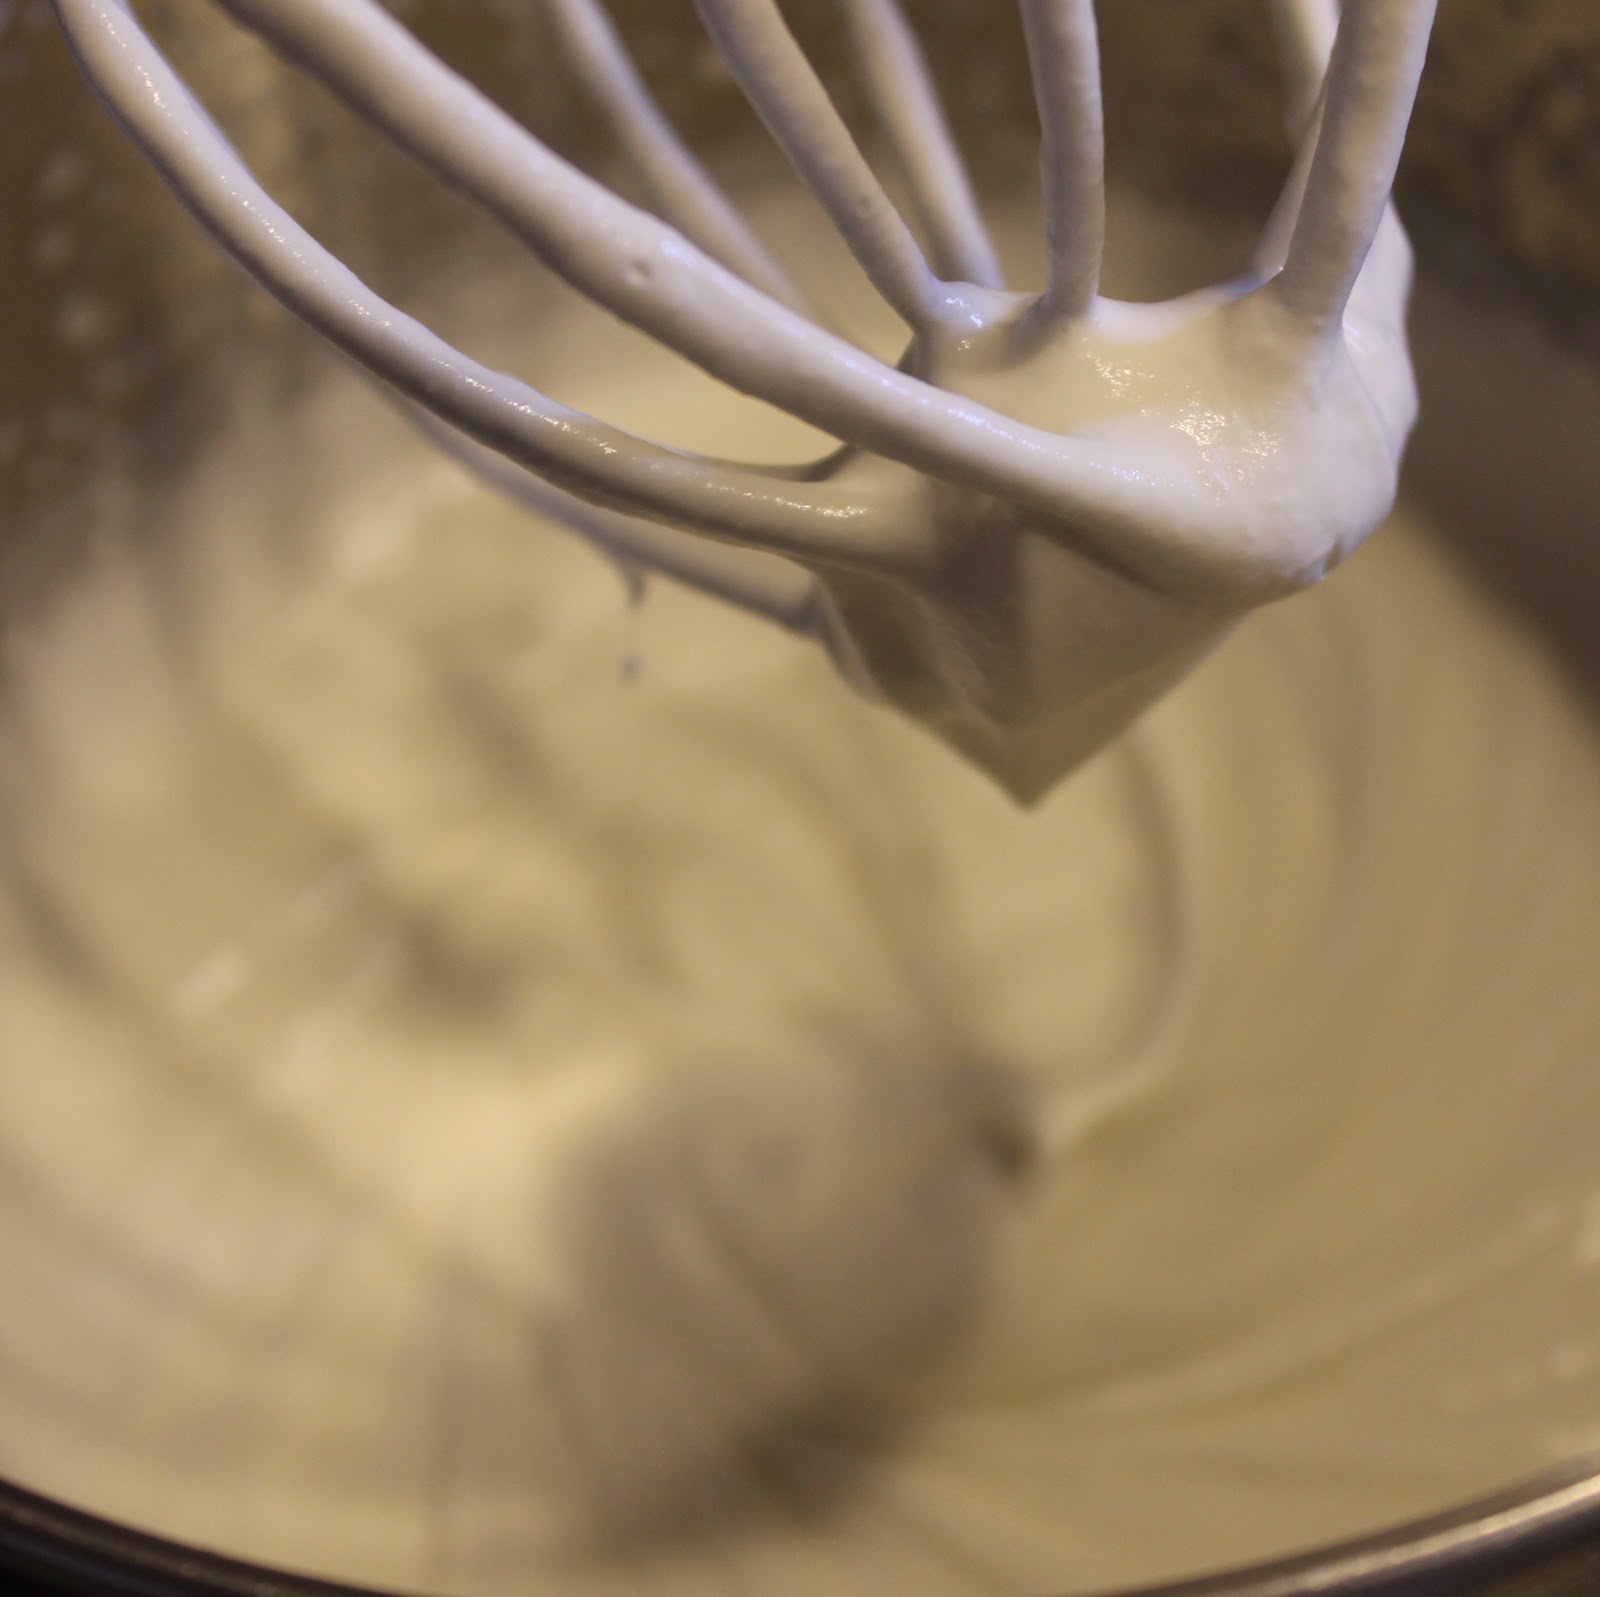
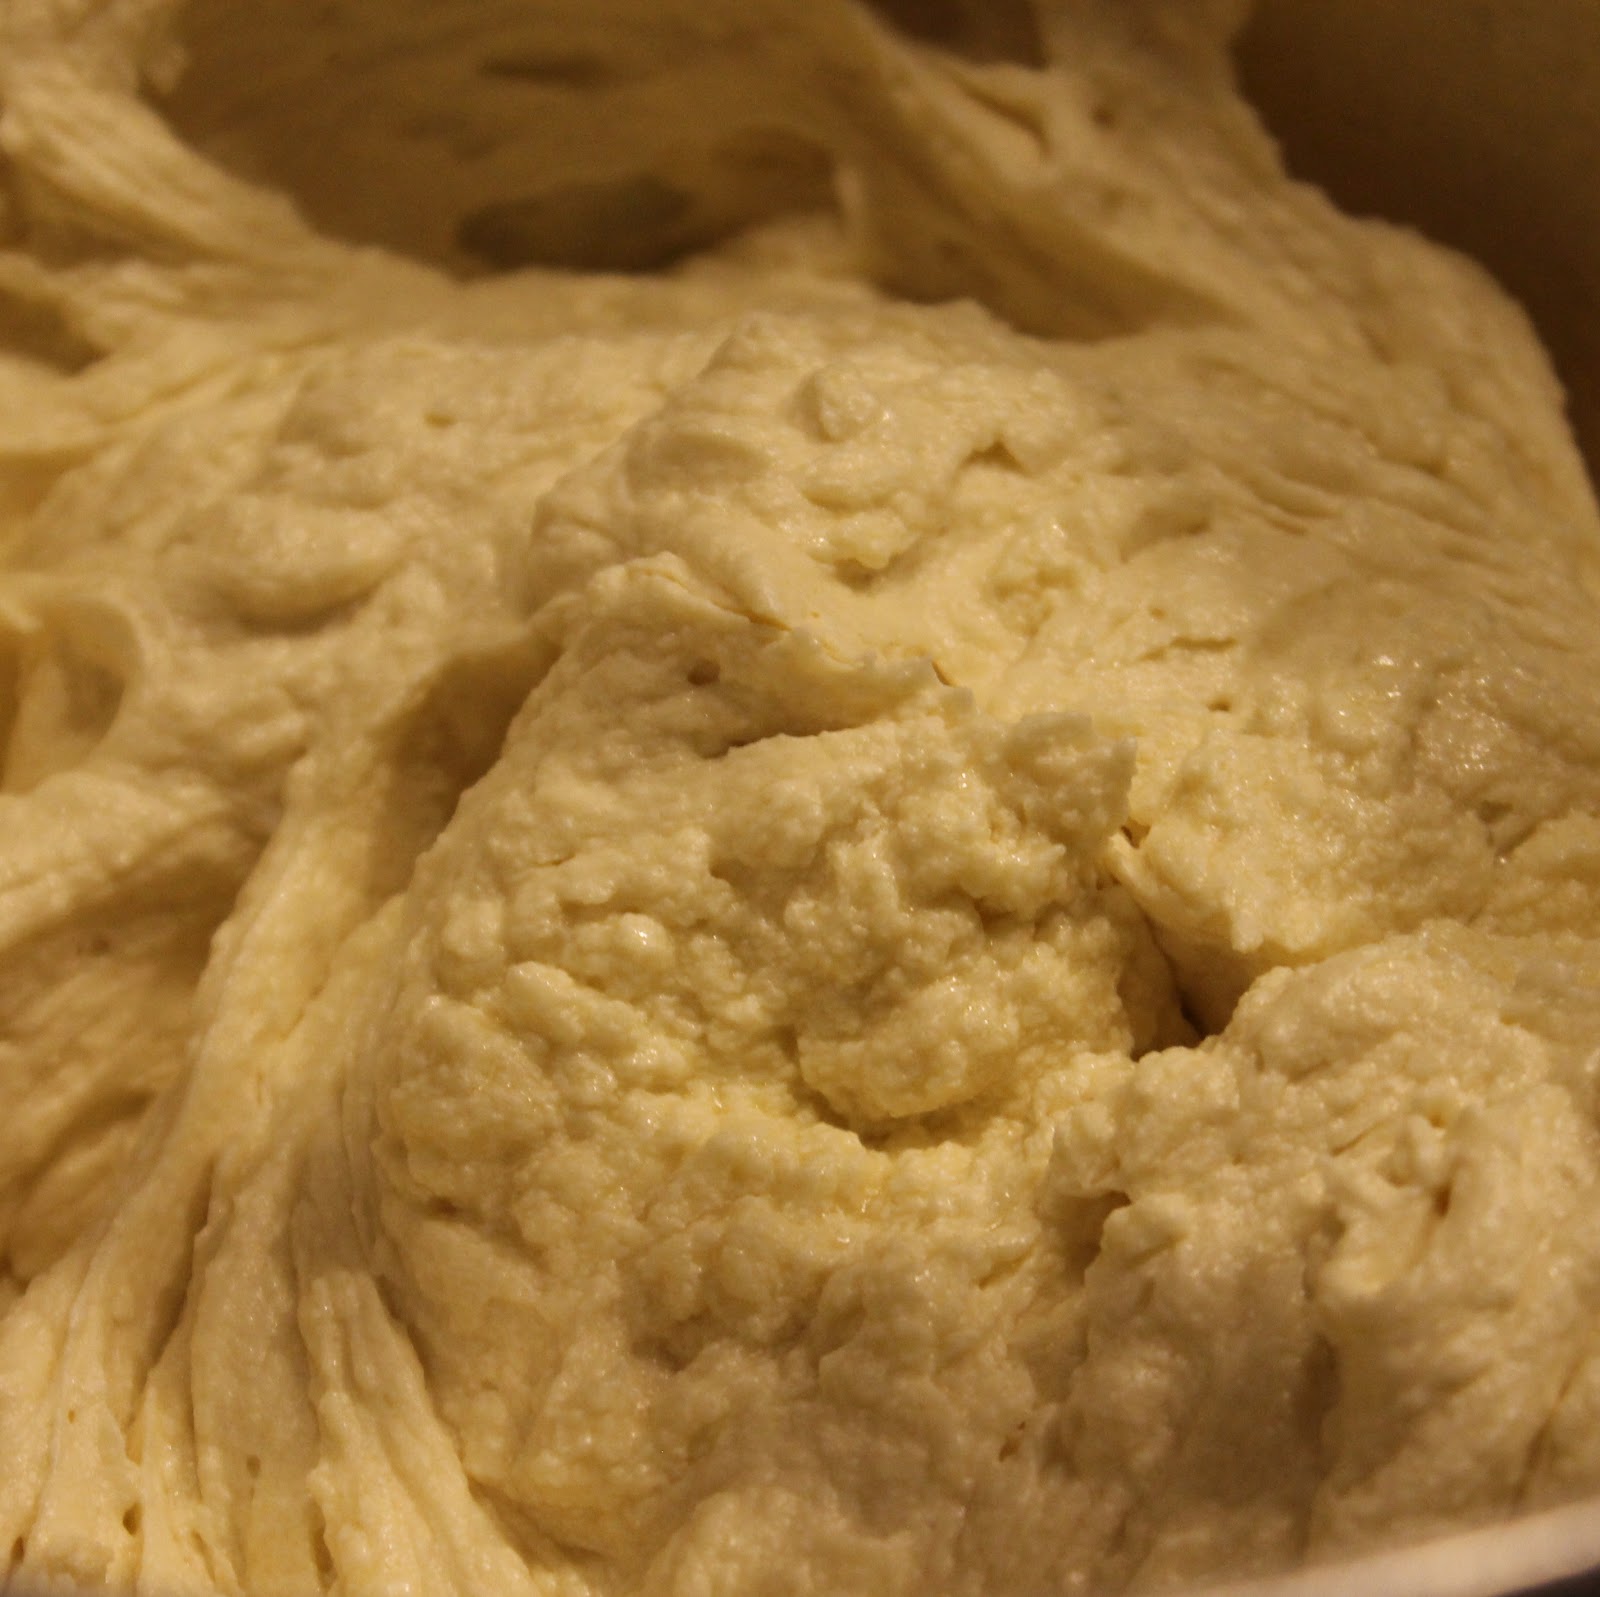
Fold the whipped cream into the pumpkin mixture. Refrigerate until ready to use.


Time to assemble! These are photos from my test batch so take note that I might be pointing out what I changed in comparison to the photo. Oh the joy of recipe development. You’ll need a clear bowl to get the full effect of the trifle.
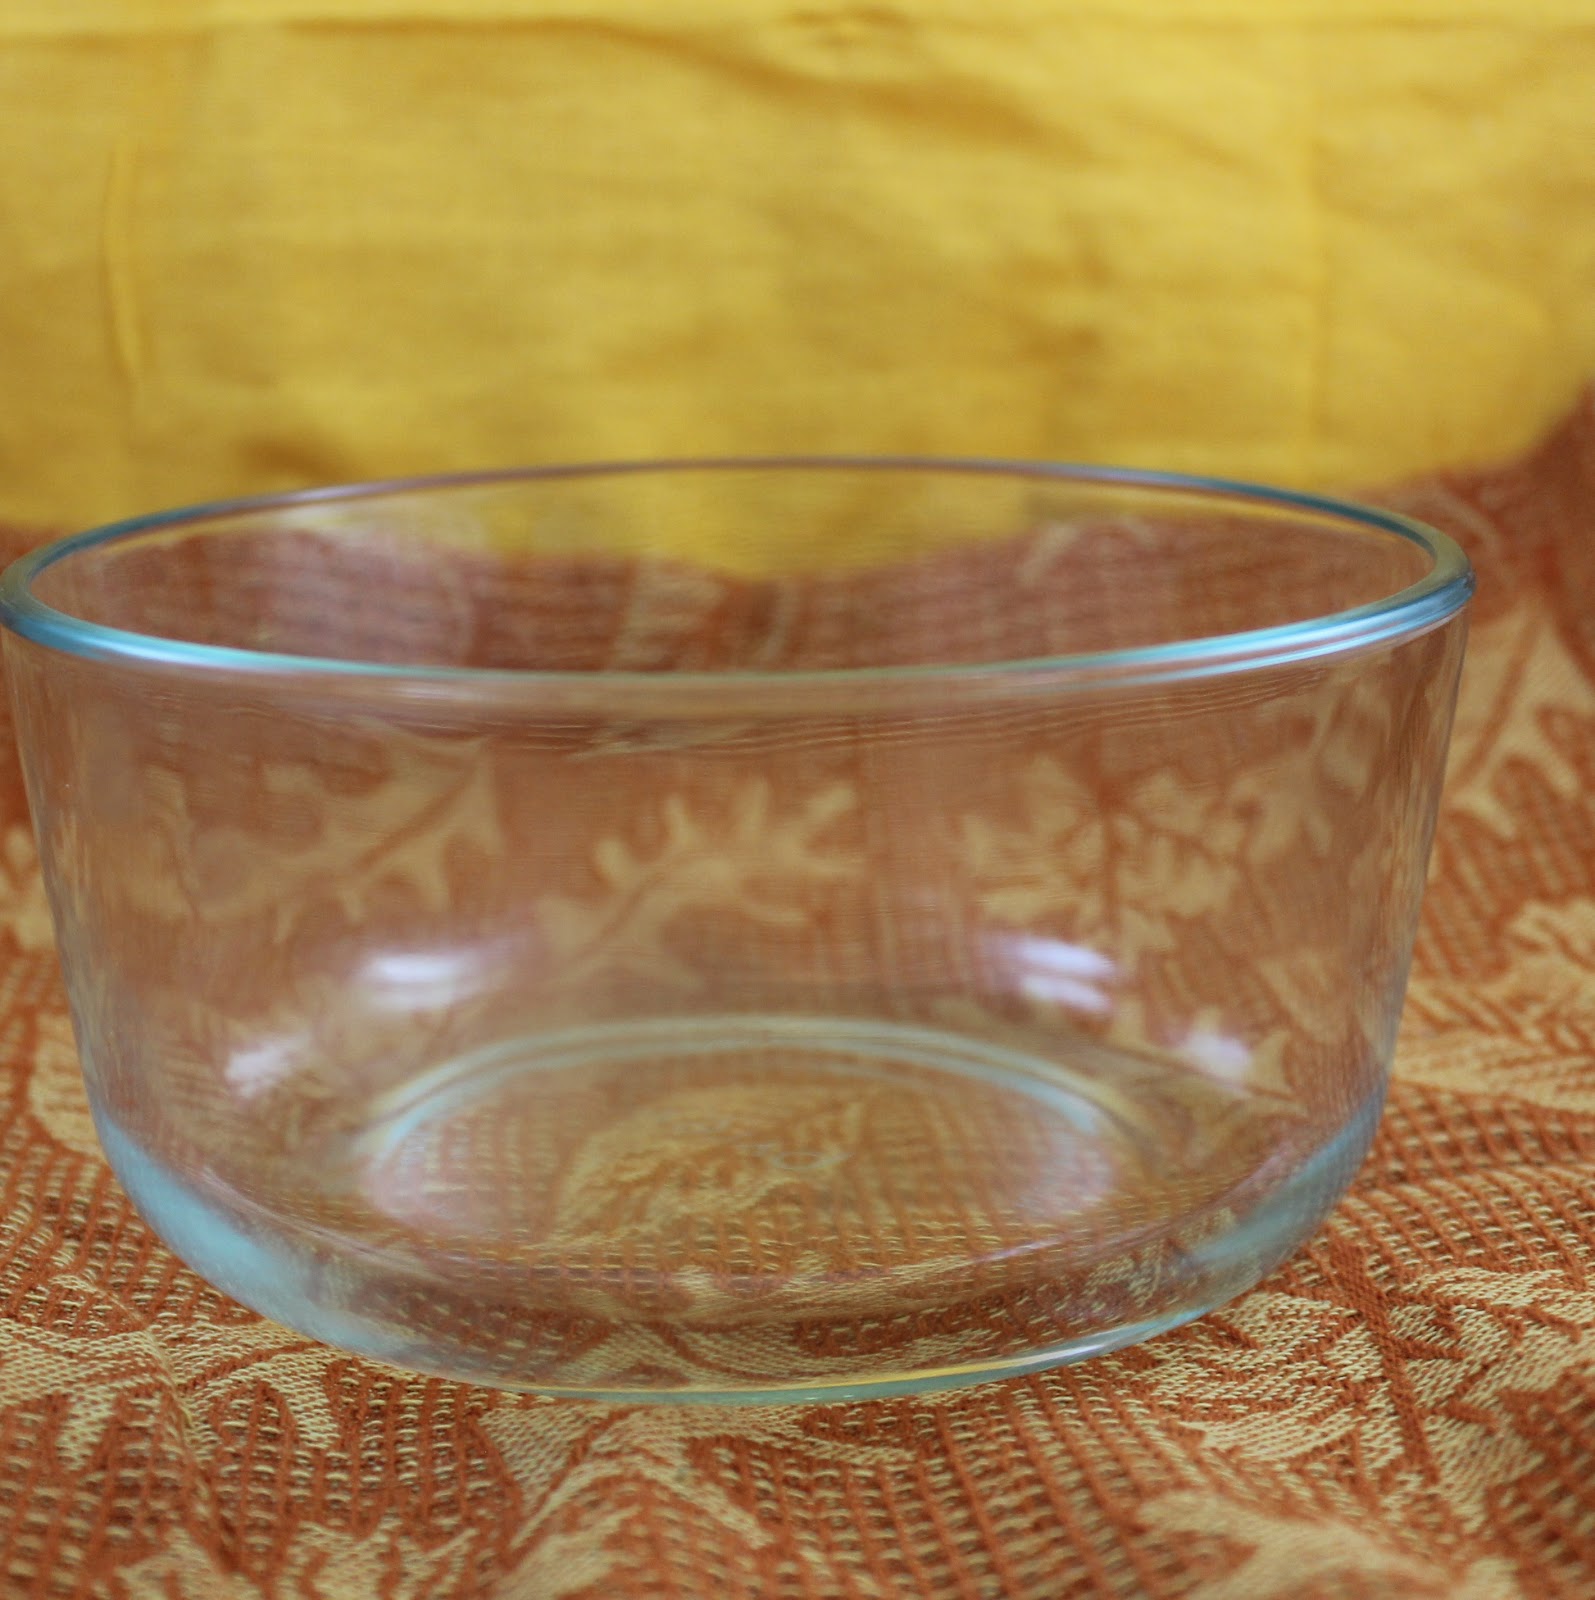
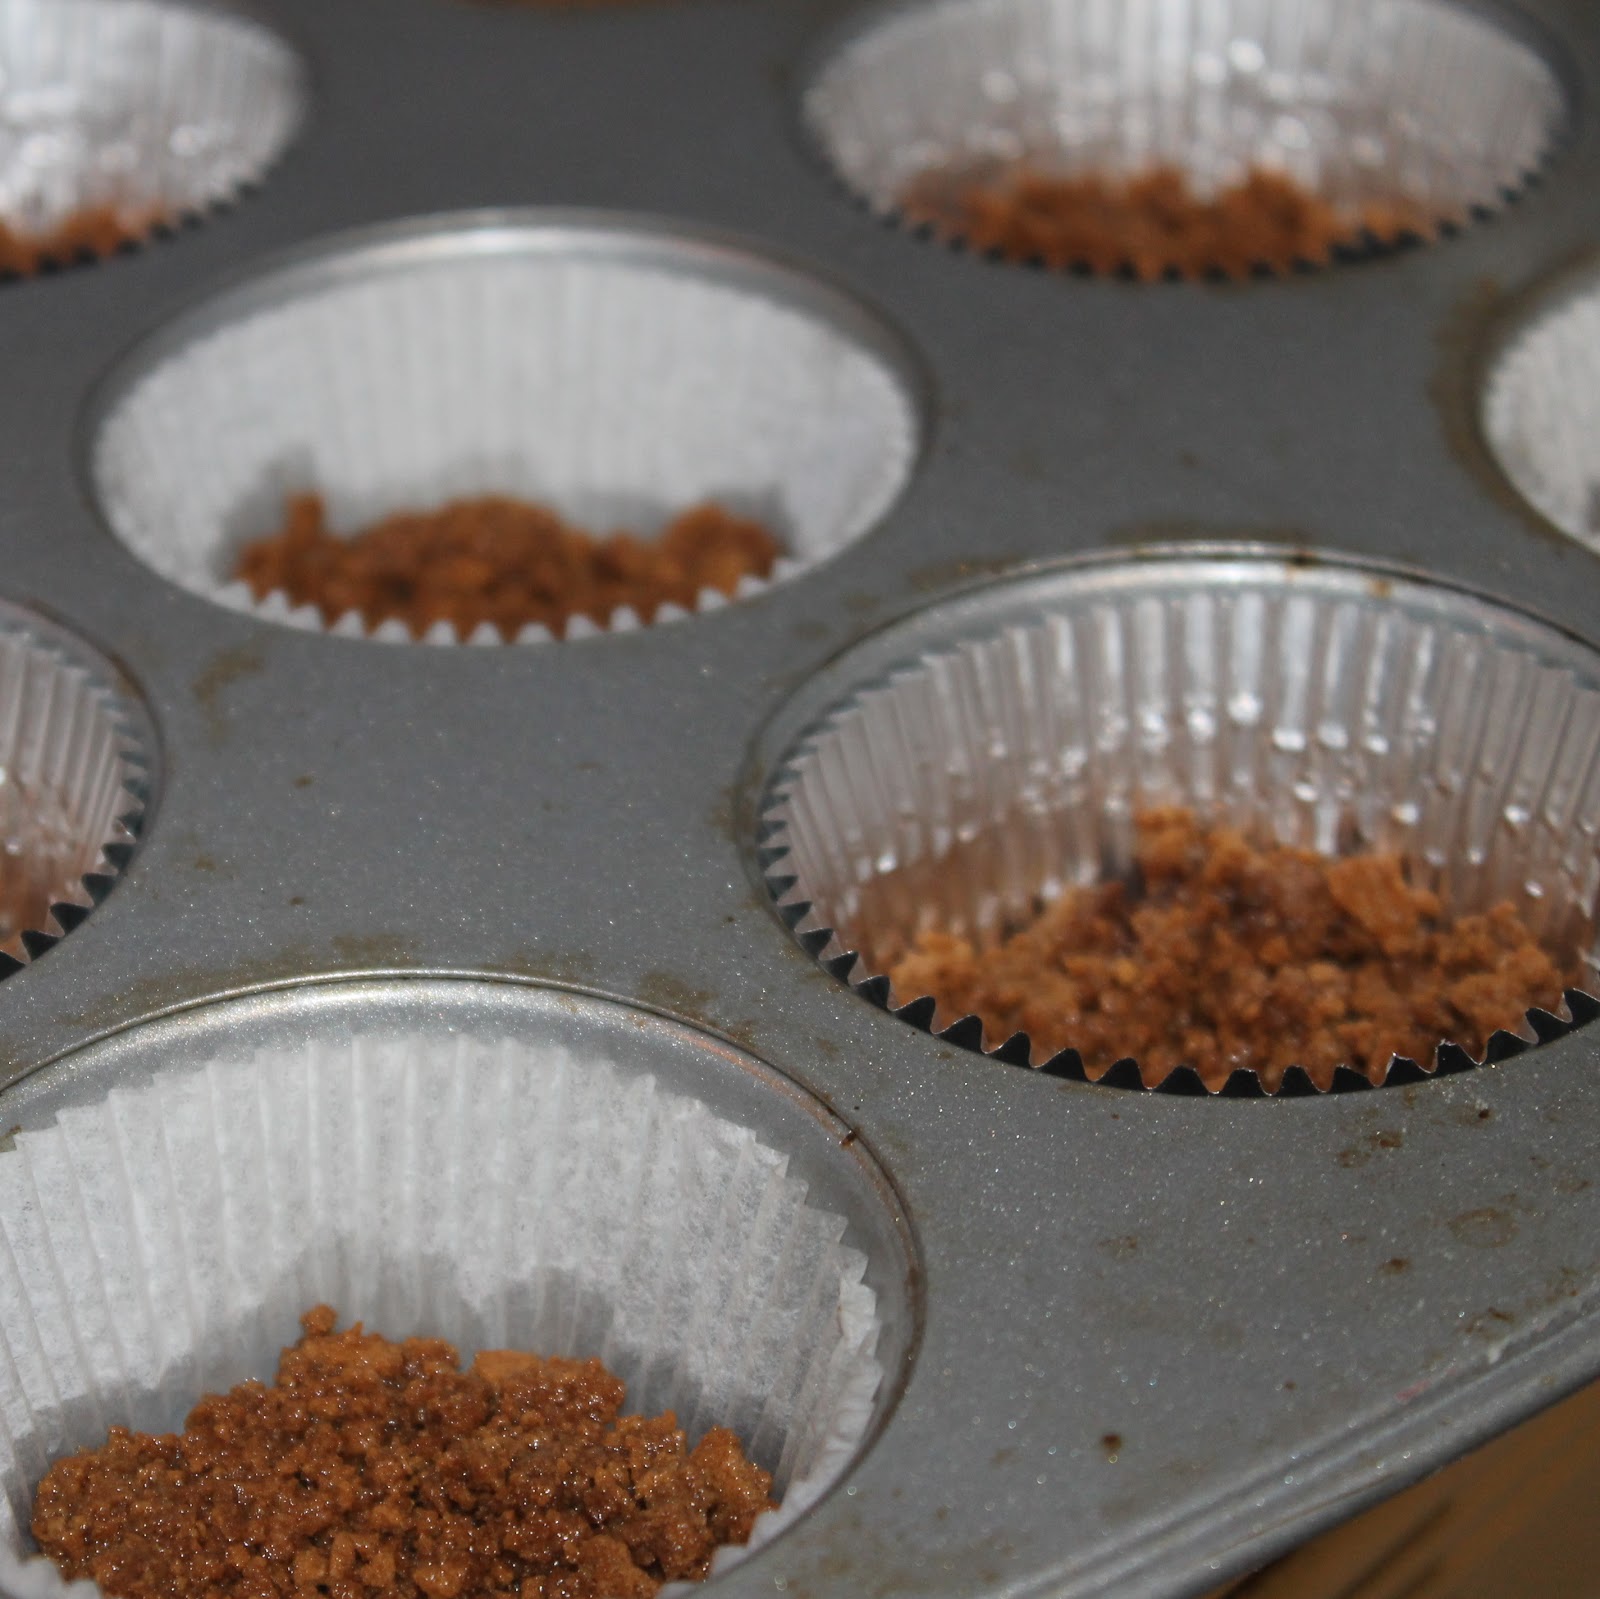
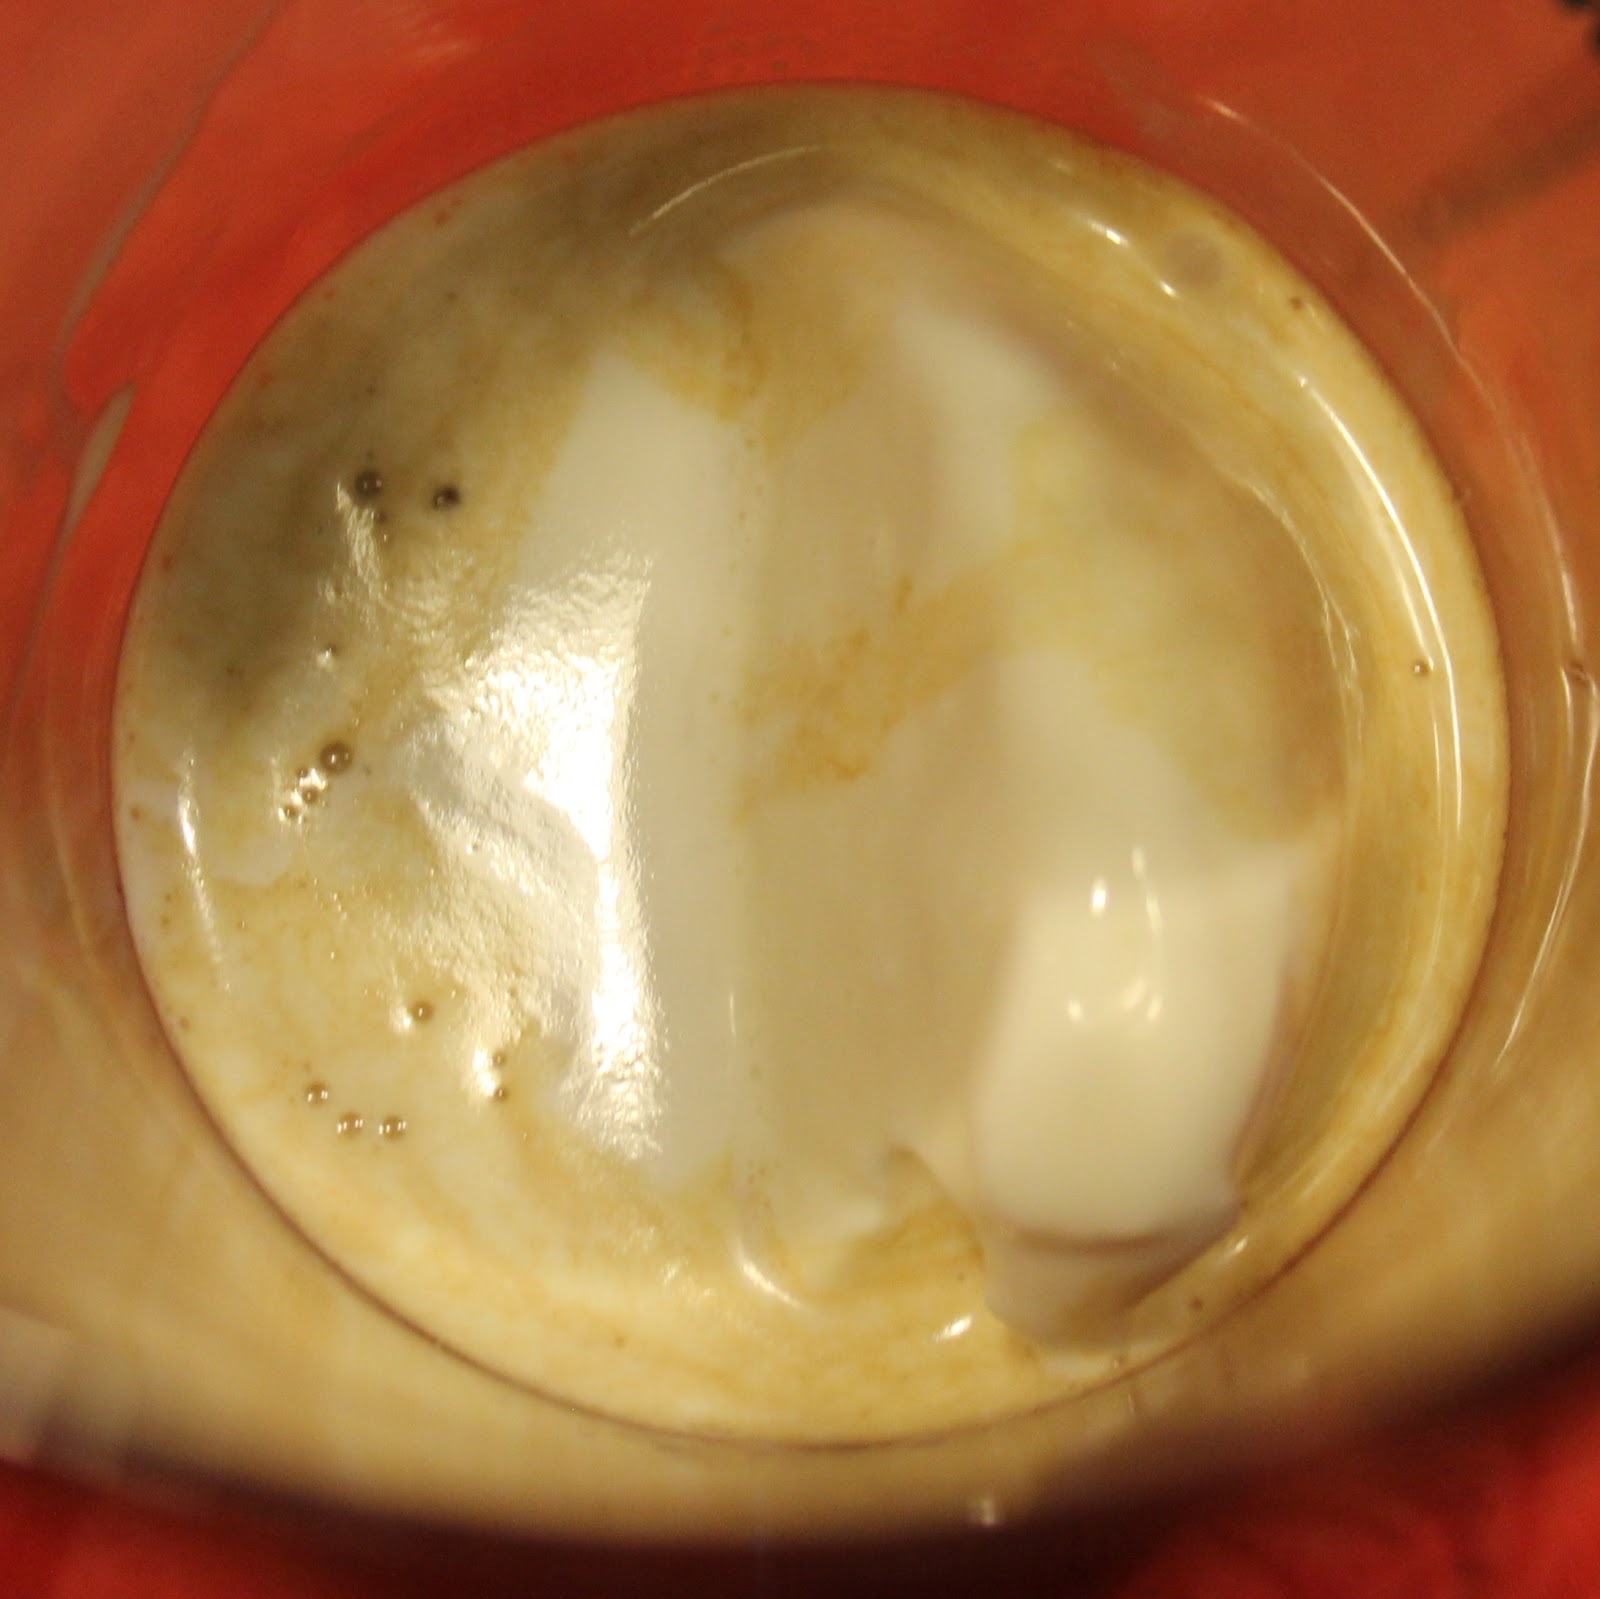
Arrange a layer of cookie crumbs at the bottom of a glass or plastic (see through) bowl. You want to be able to see it coming up the edges. (I initially added melted butter to form more of a crust. But that made the crumbs super sticky, so leave that out)

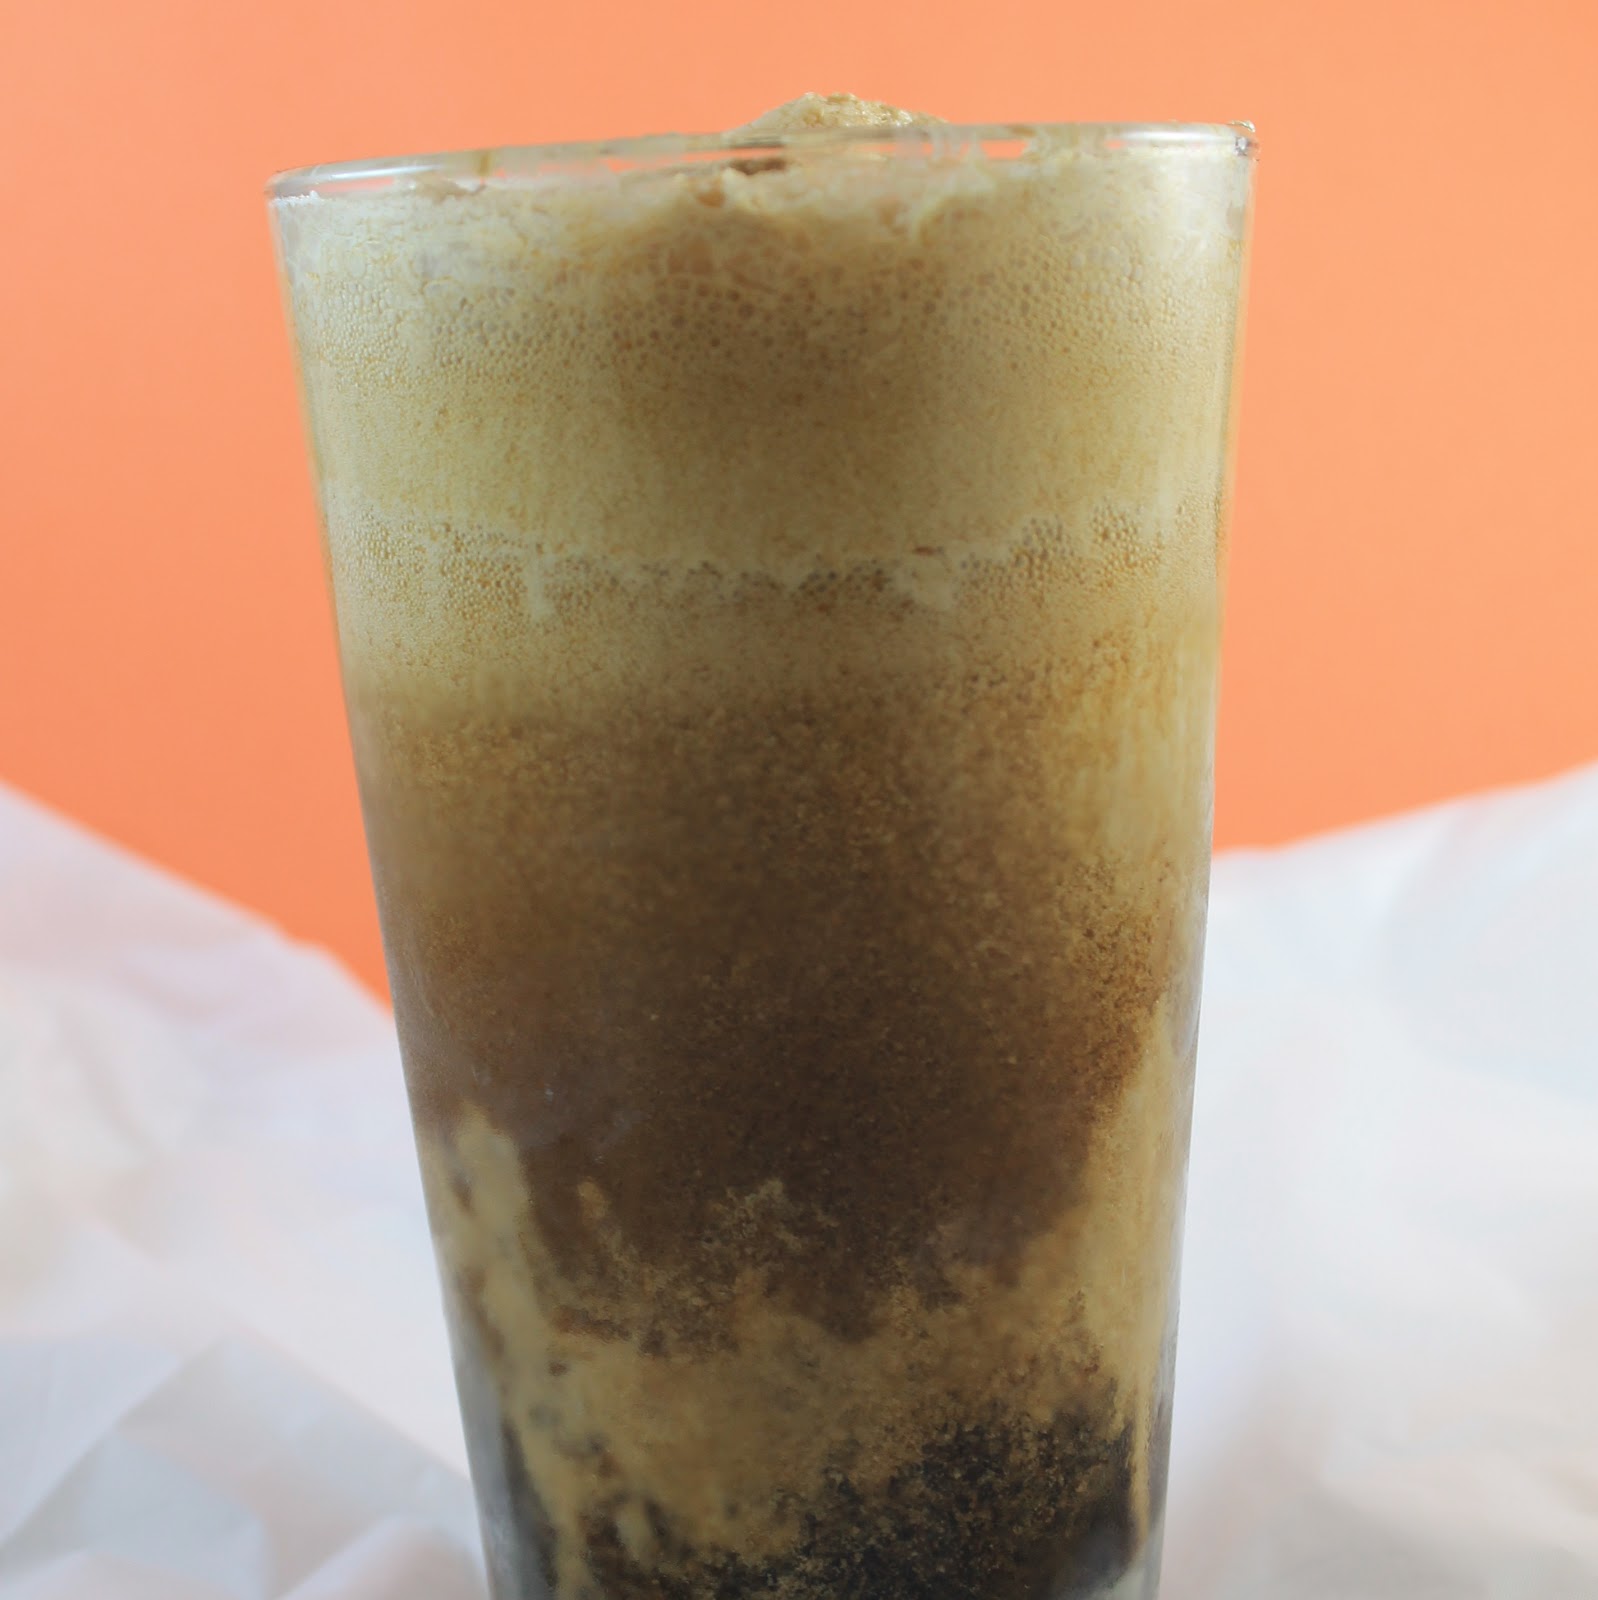
Add a layer of chocolate pudding next. I attempted to put the pumpkin mousse first, which was silly. The pudding is much heavier than the pumpkin mousse and sank into it. So go pudding, pressing it against the sides of the bowl, and then put the pumpkin mousse on top.
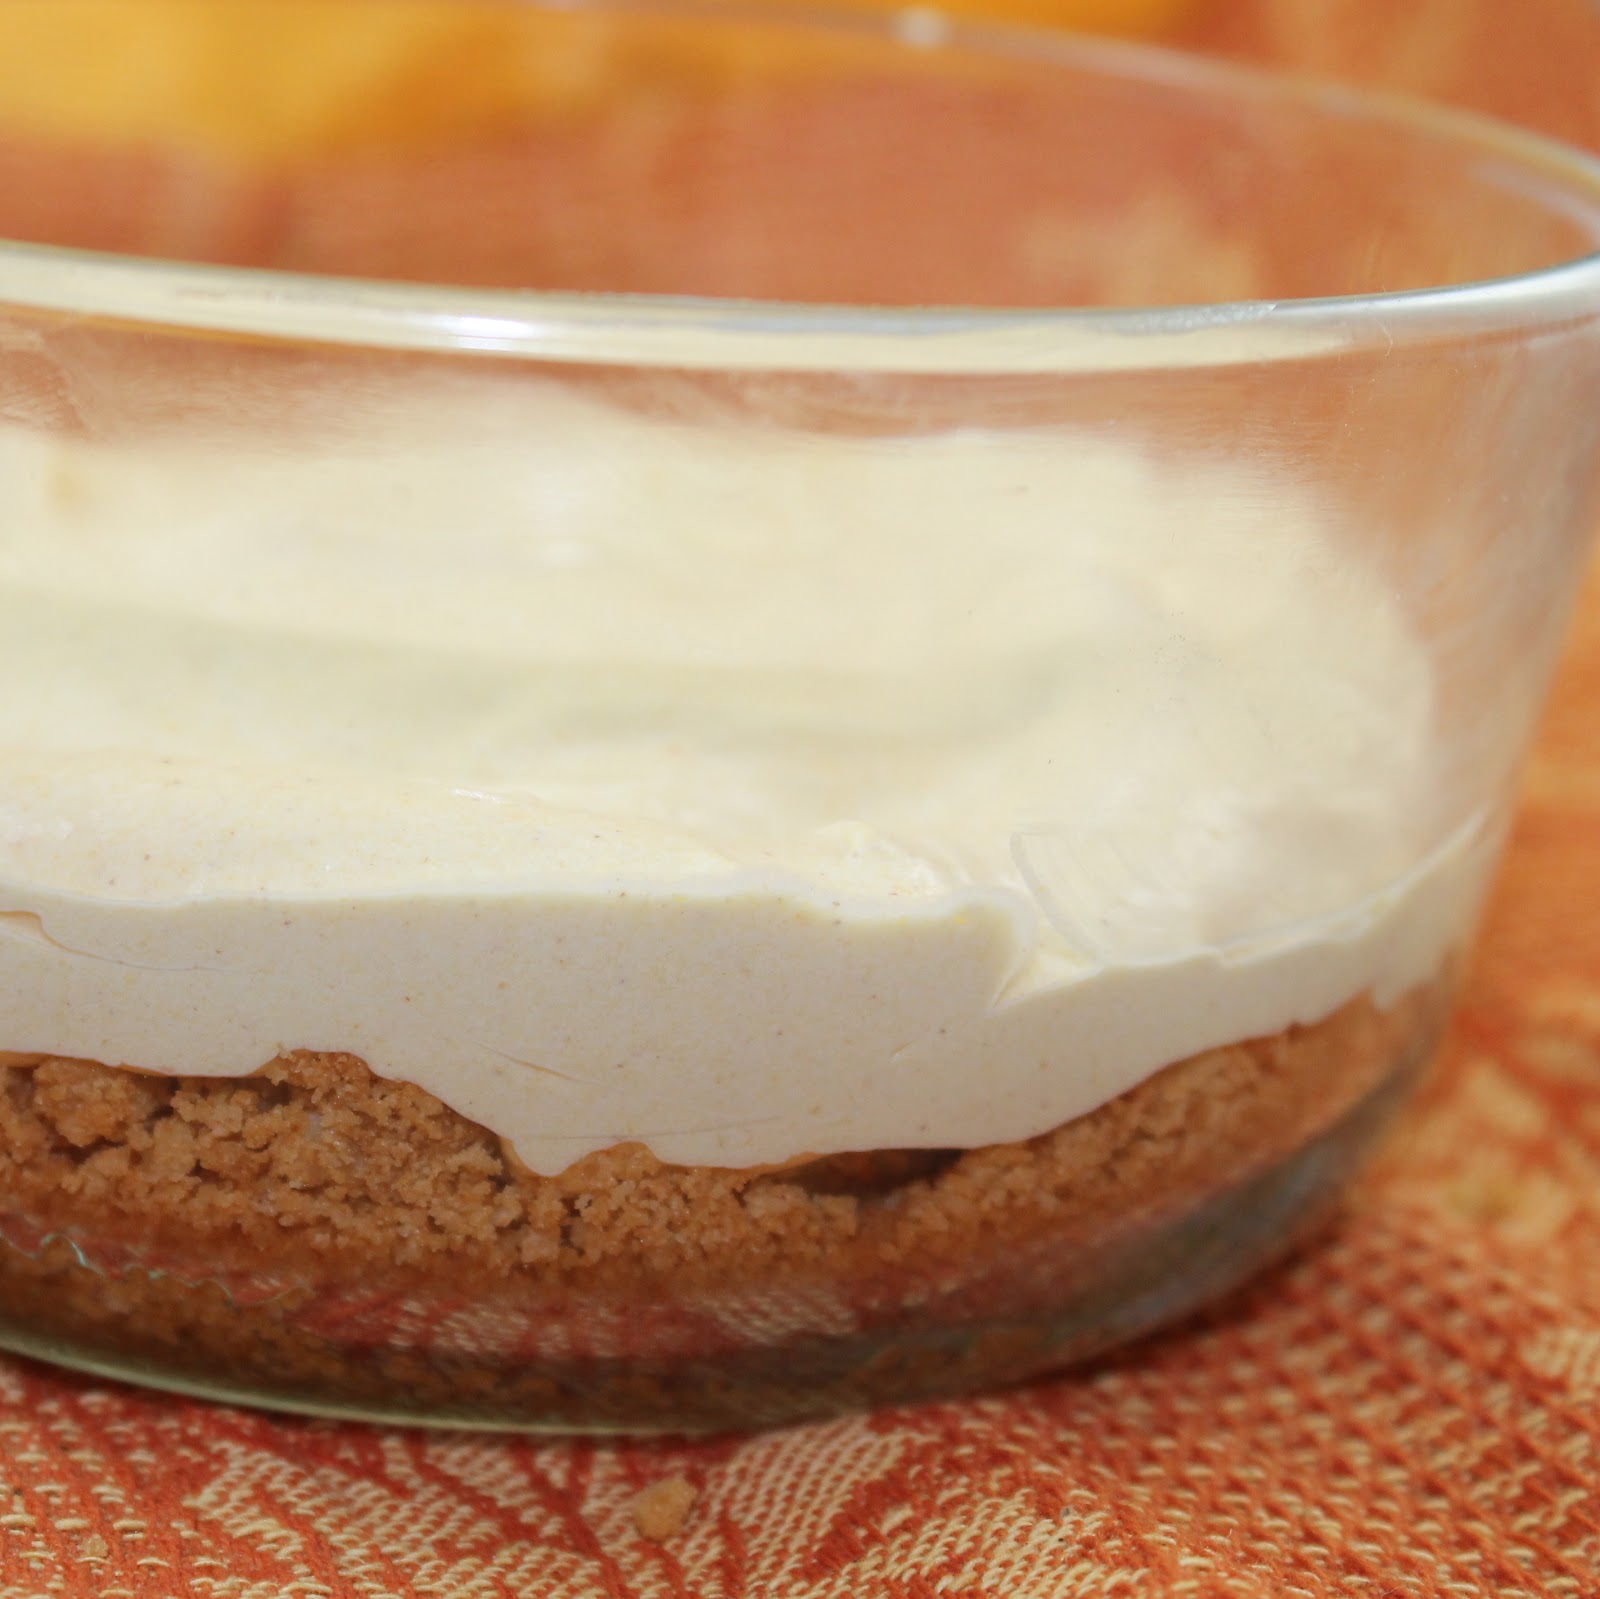

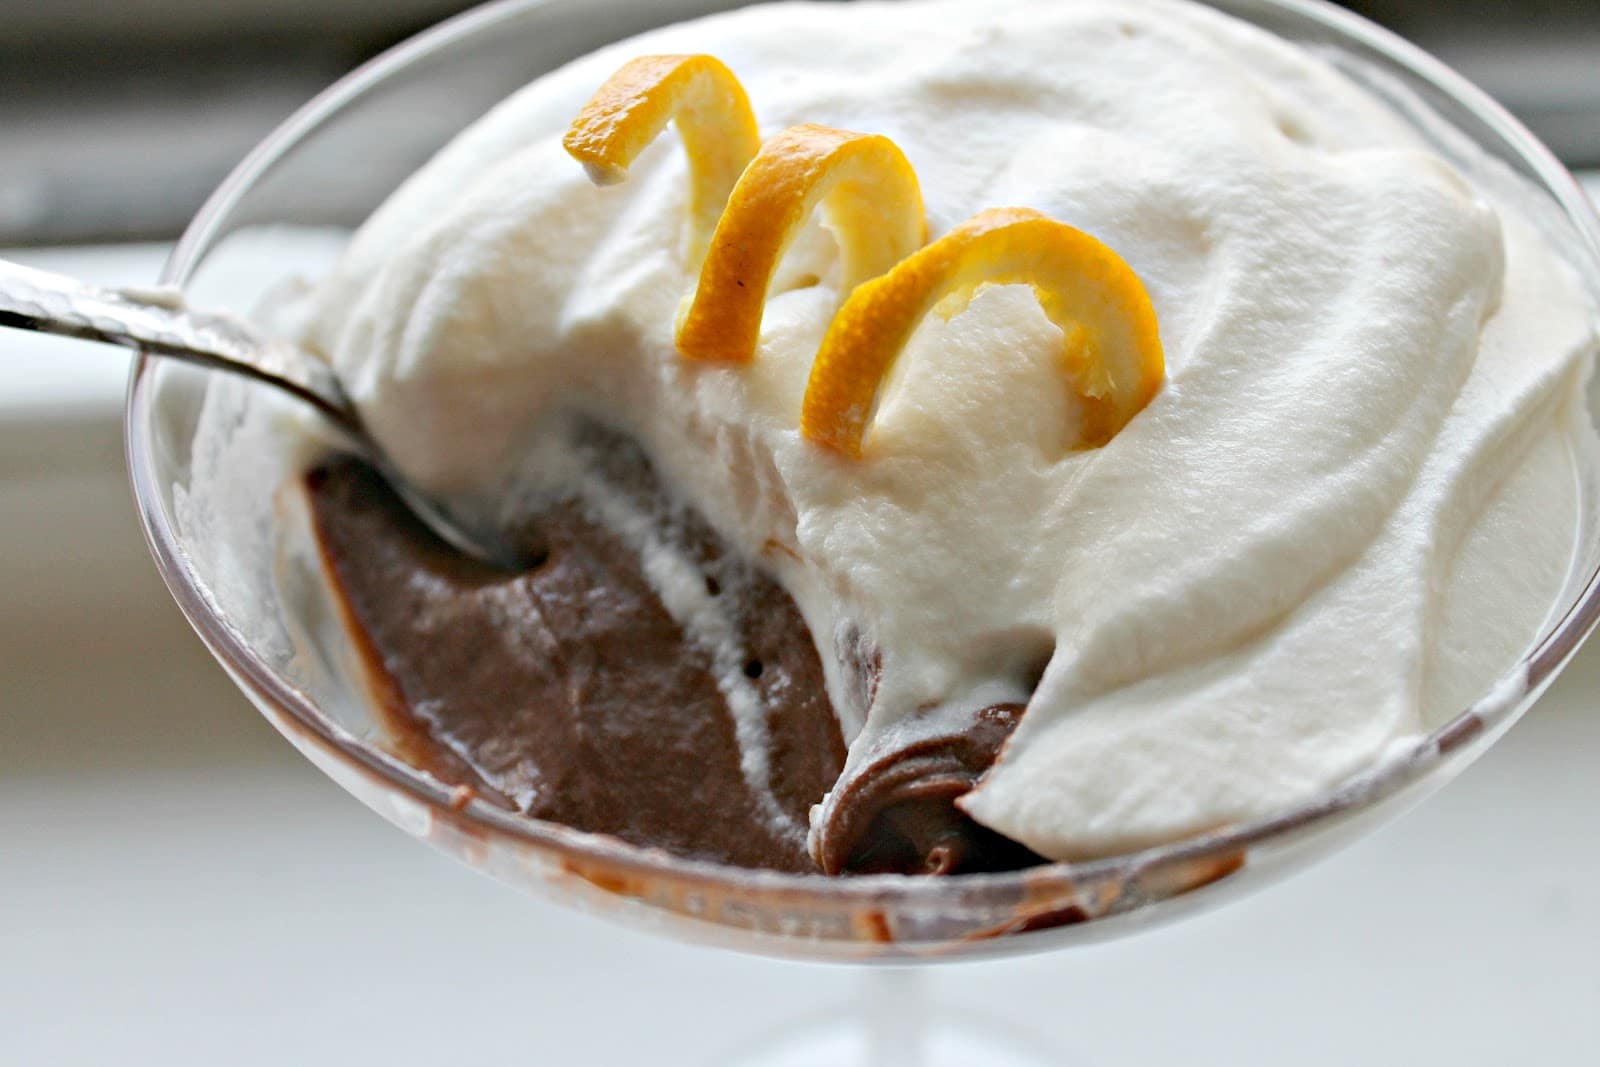
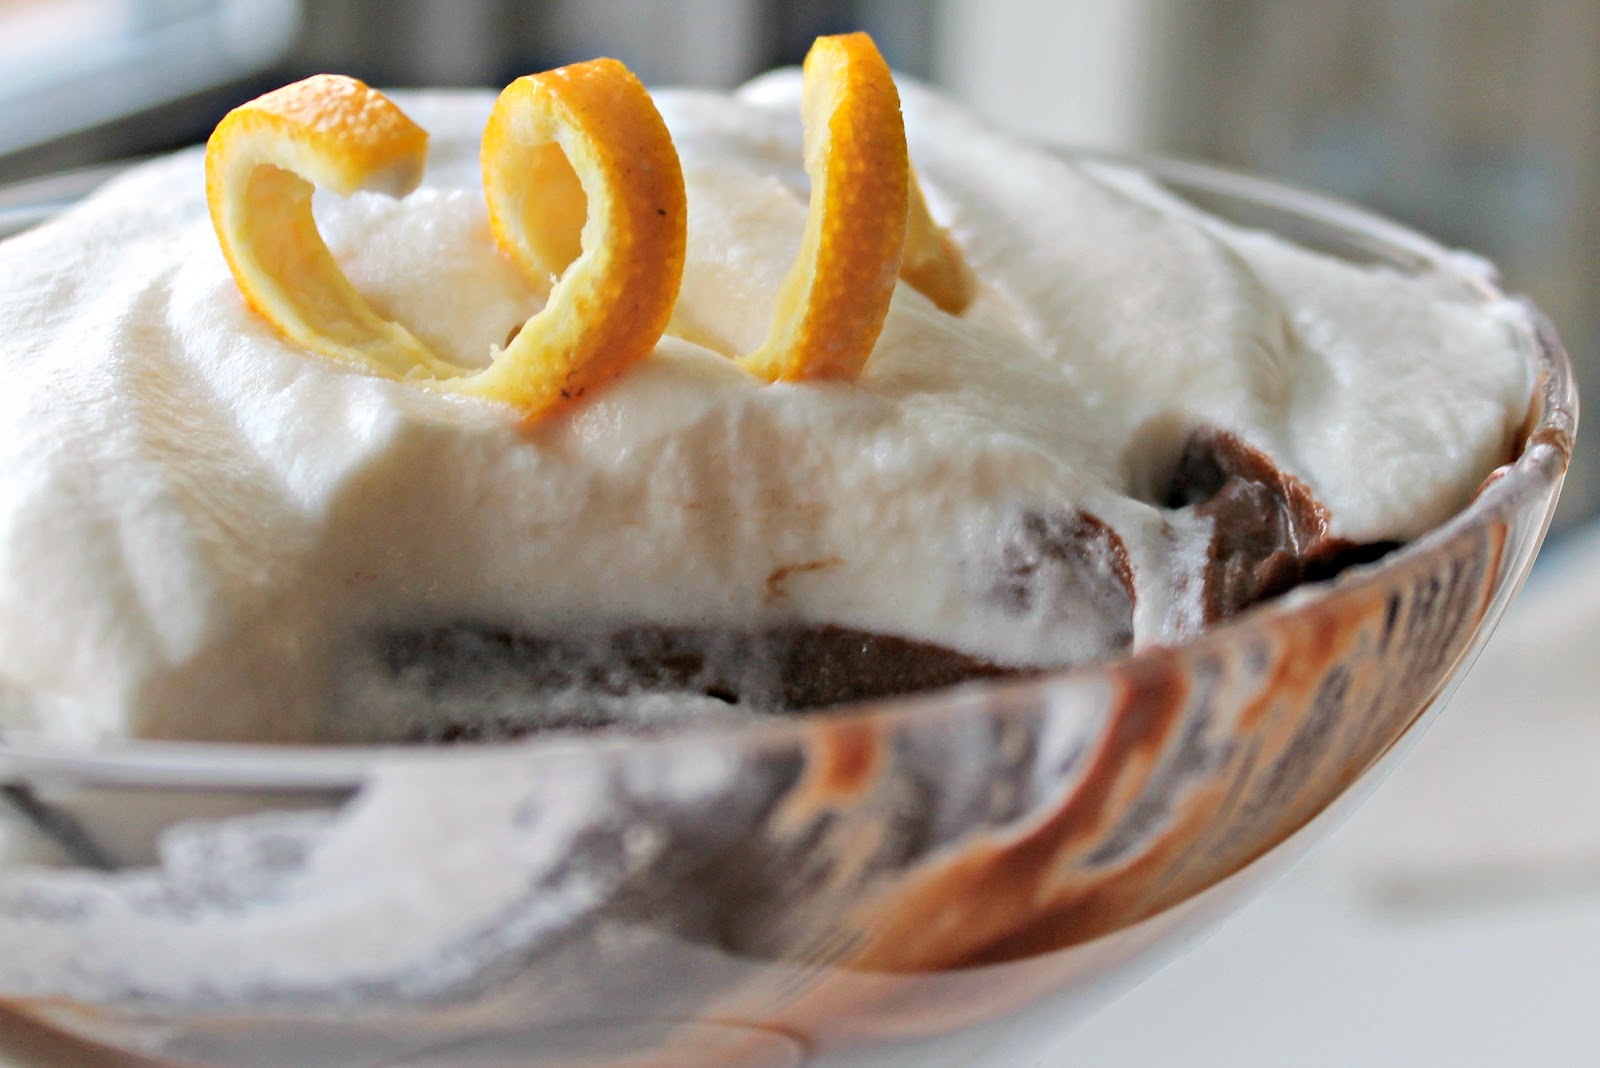
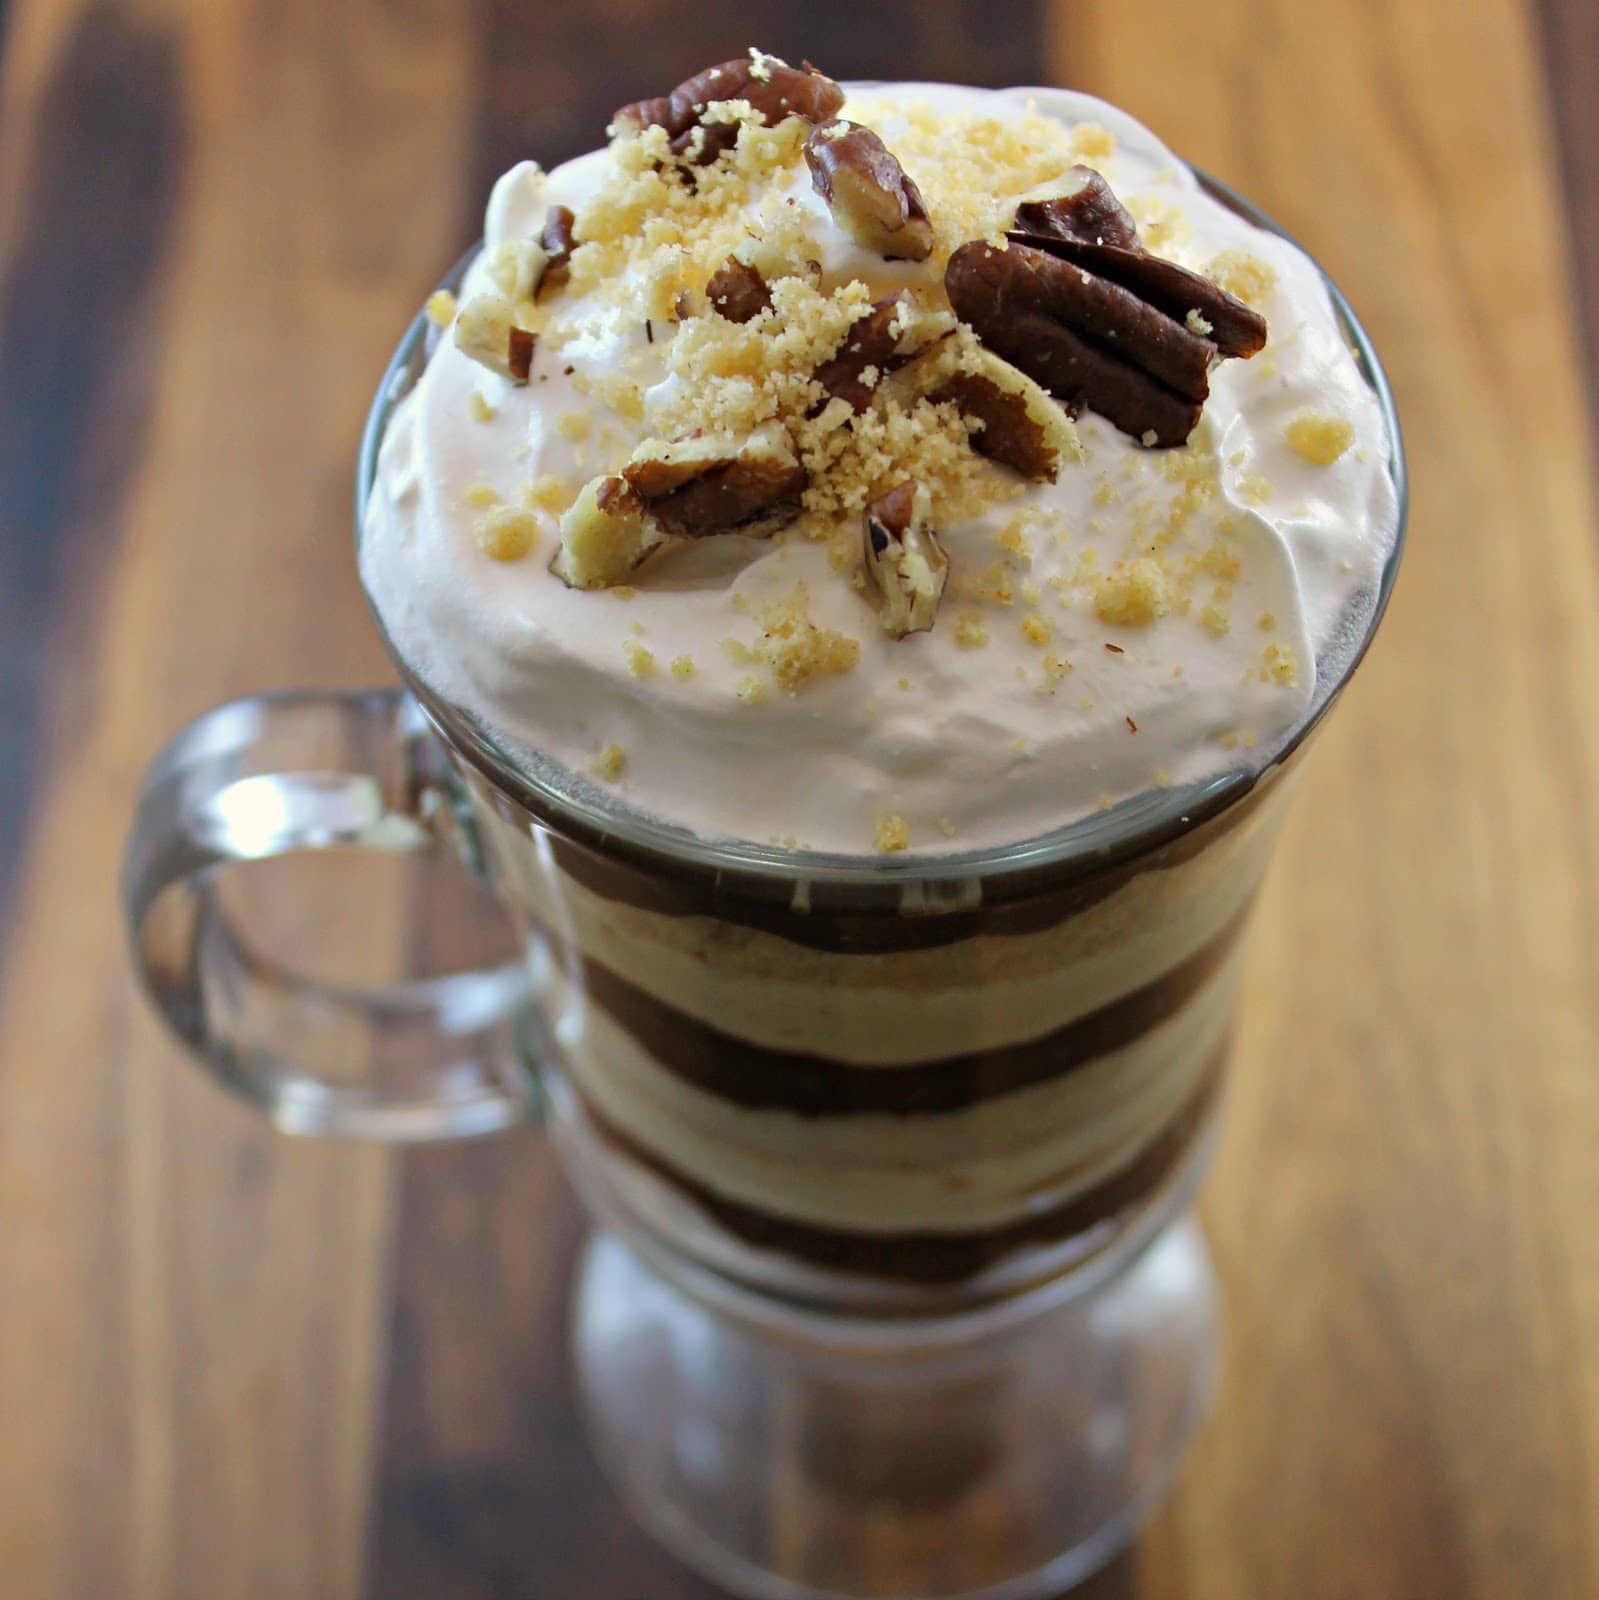
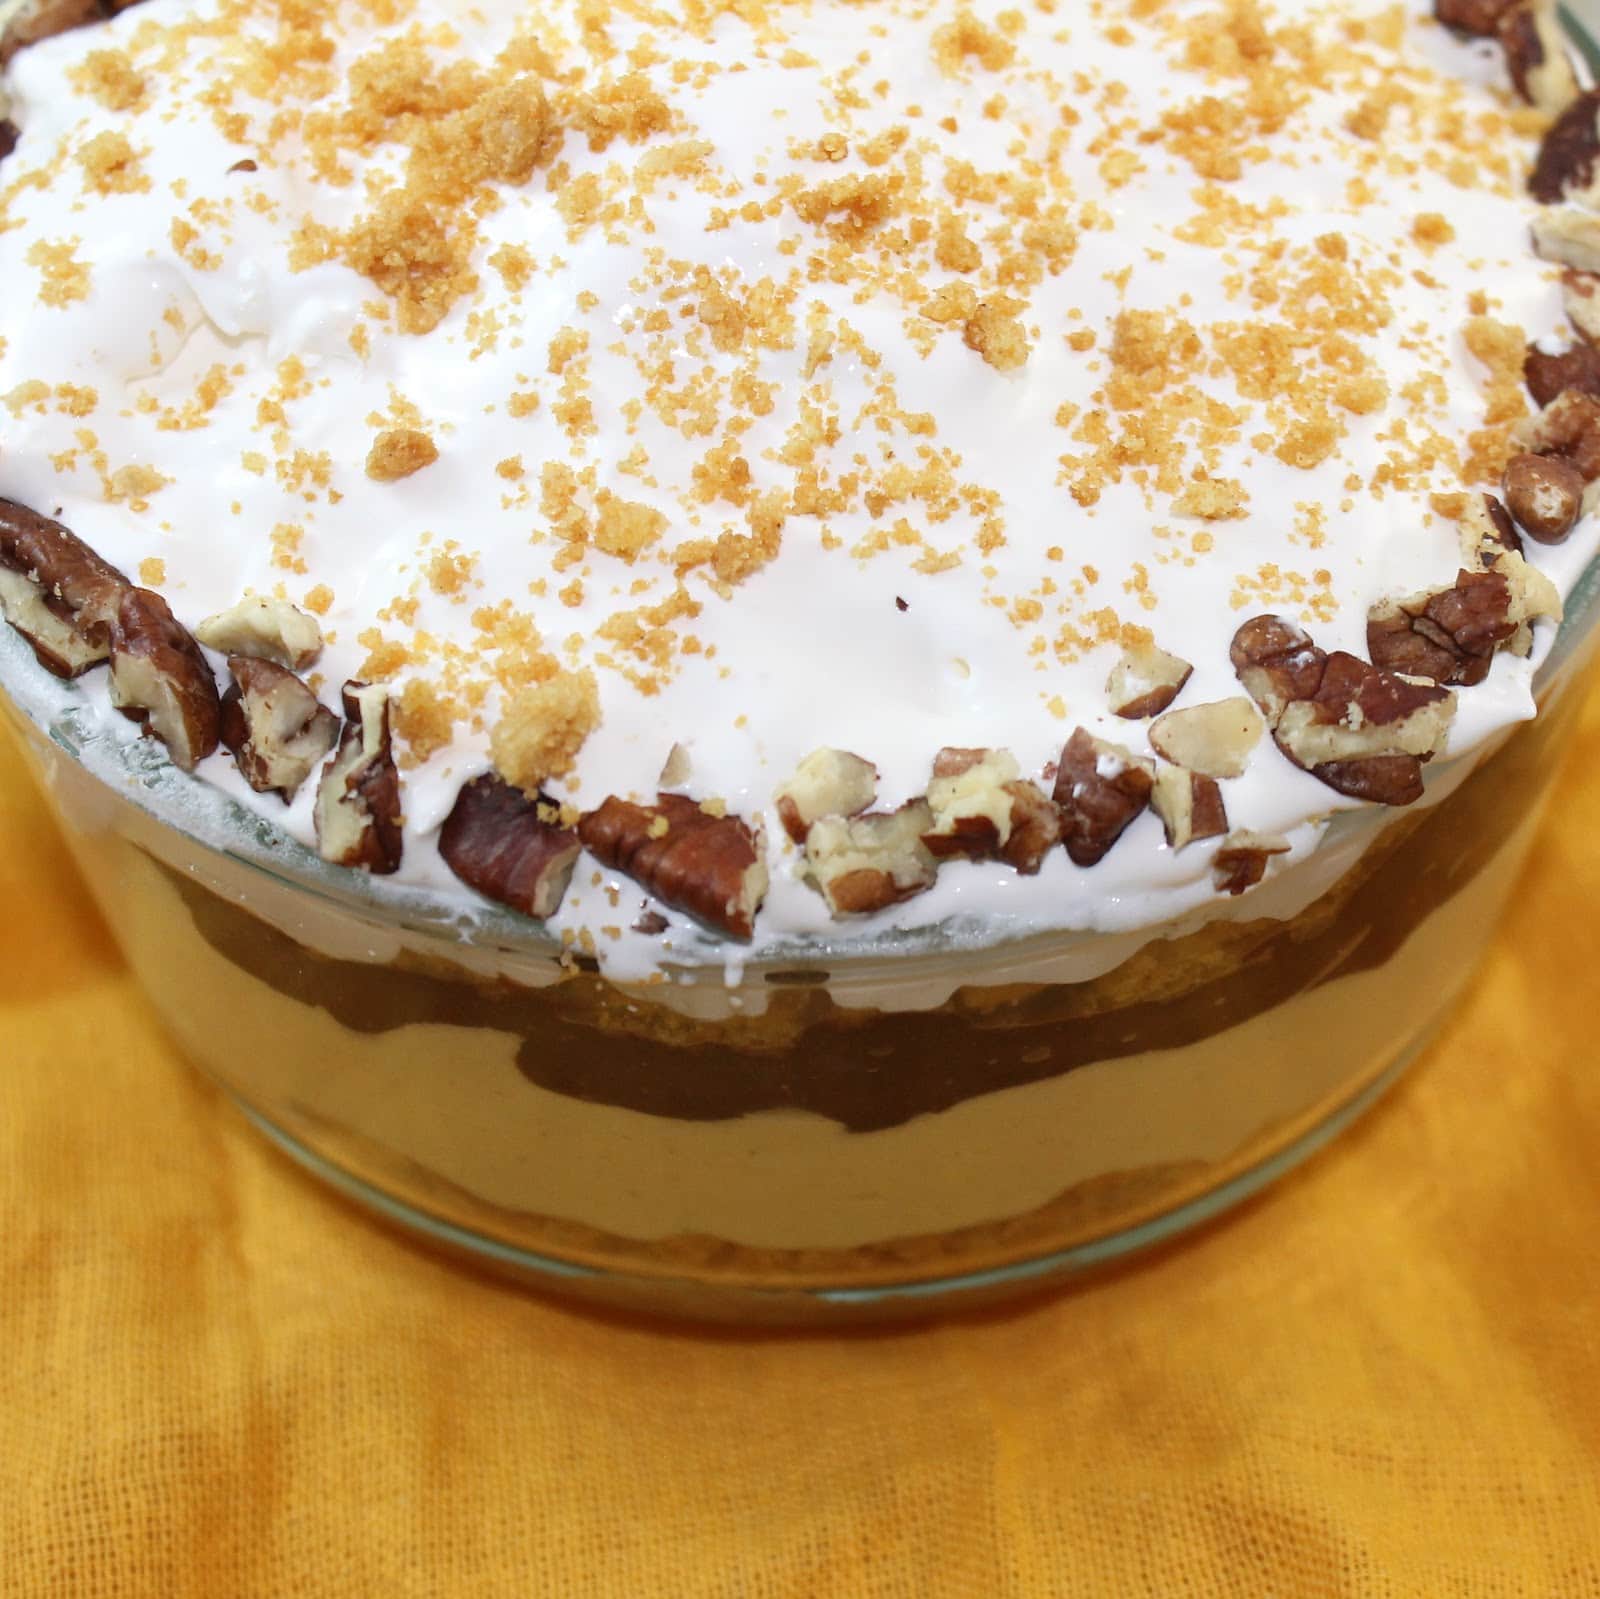
Continue this process until the bowl is filled. (Crumbs, pudding, mousse). I made a mini version so it didn’t take much to fill mine up. Top with the whipped topping.

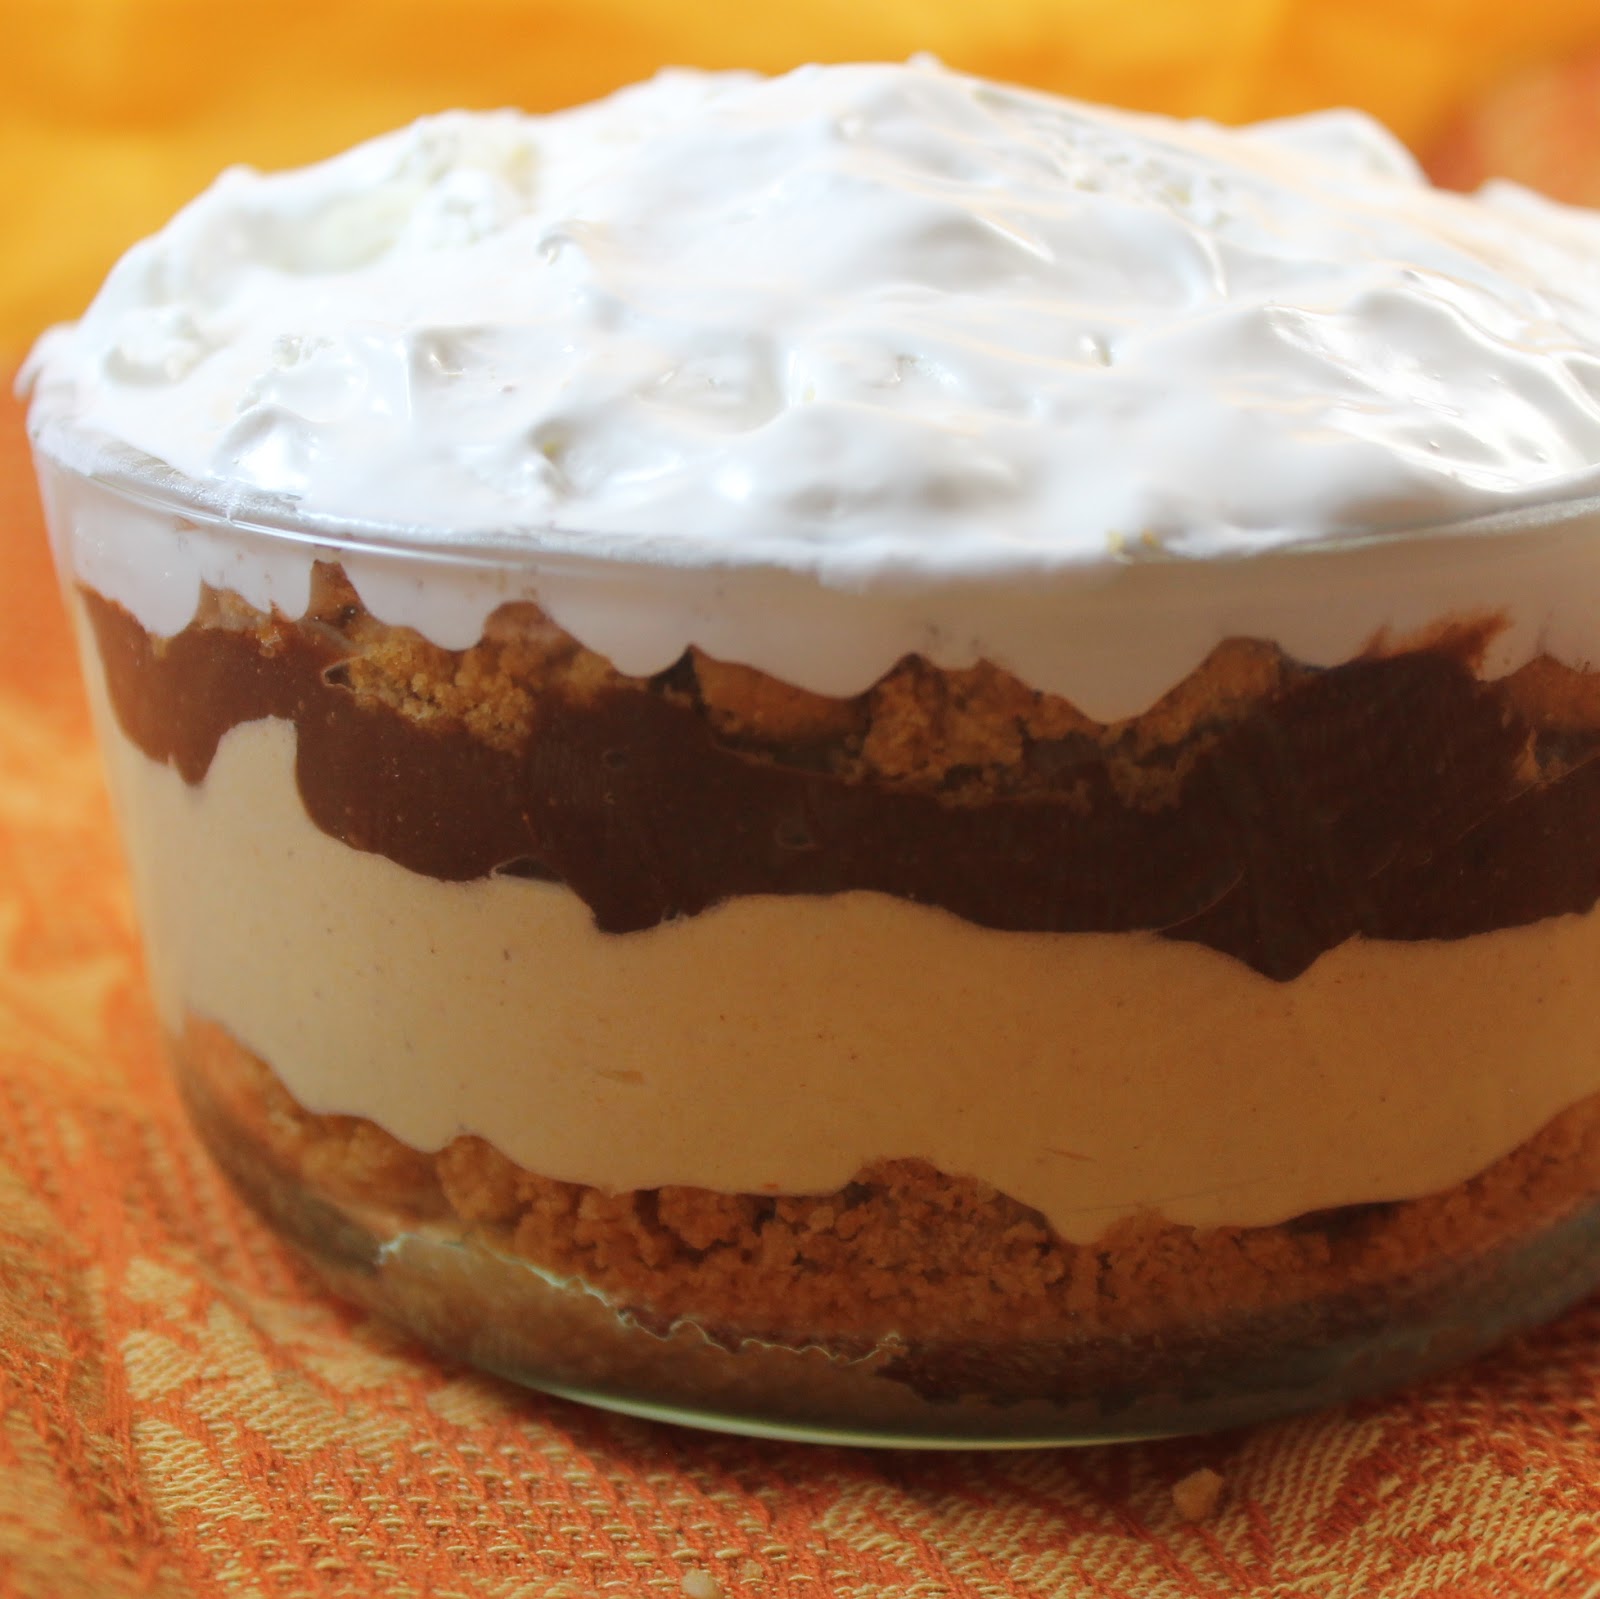
Rim the bowl with crushed pecans.

Sprinkle with the reserved ginger biscuits. I’d suggest refrigerating for a few hours to let the flavors meld together. You can also make it mostly ahead of time and just assemble a few hours before eating.

You clearly don’t have to have a steady hand to make these still look cool, although I do wish mine was a bit more uniform layer-wise. Ah well.

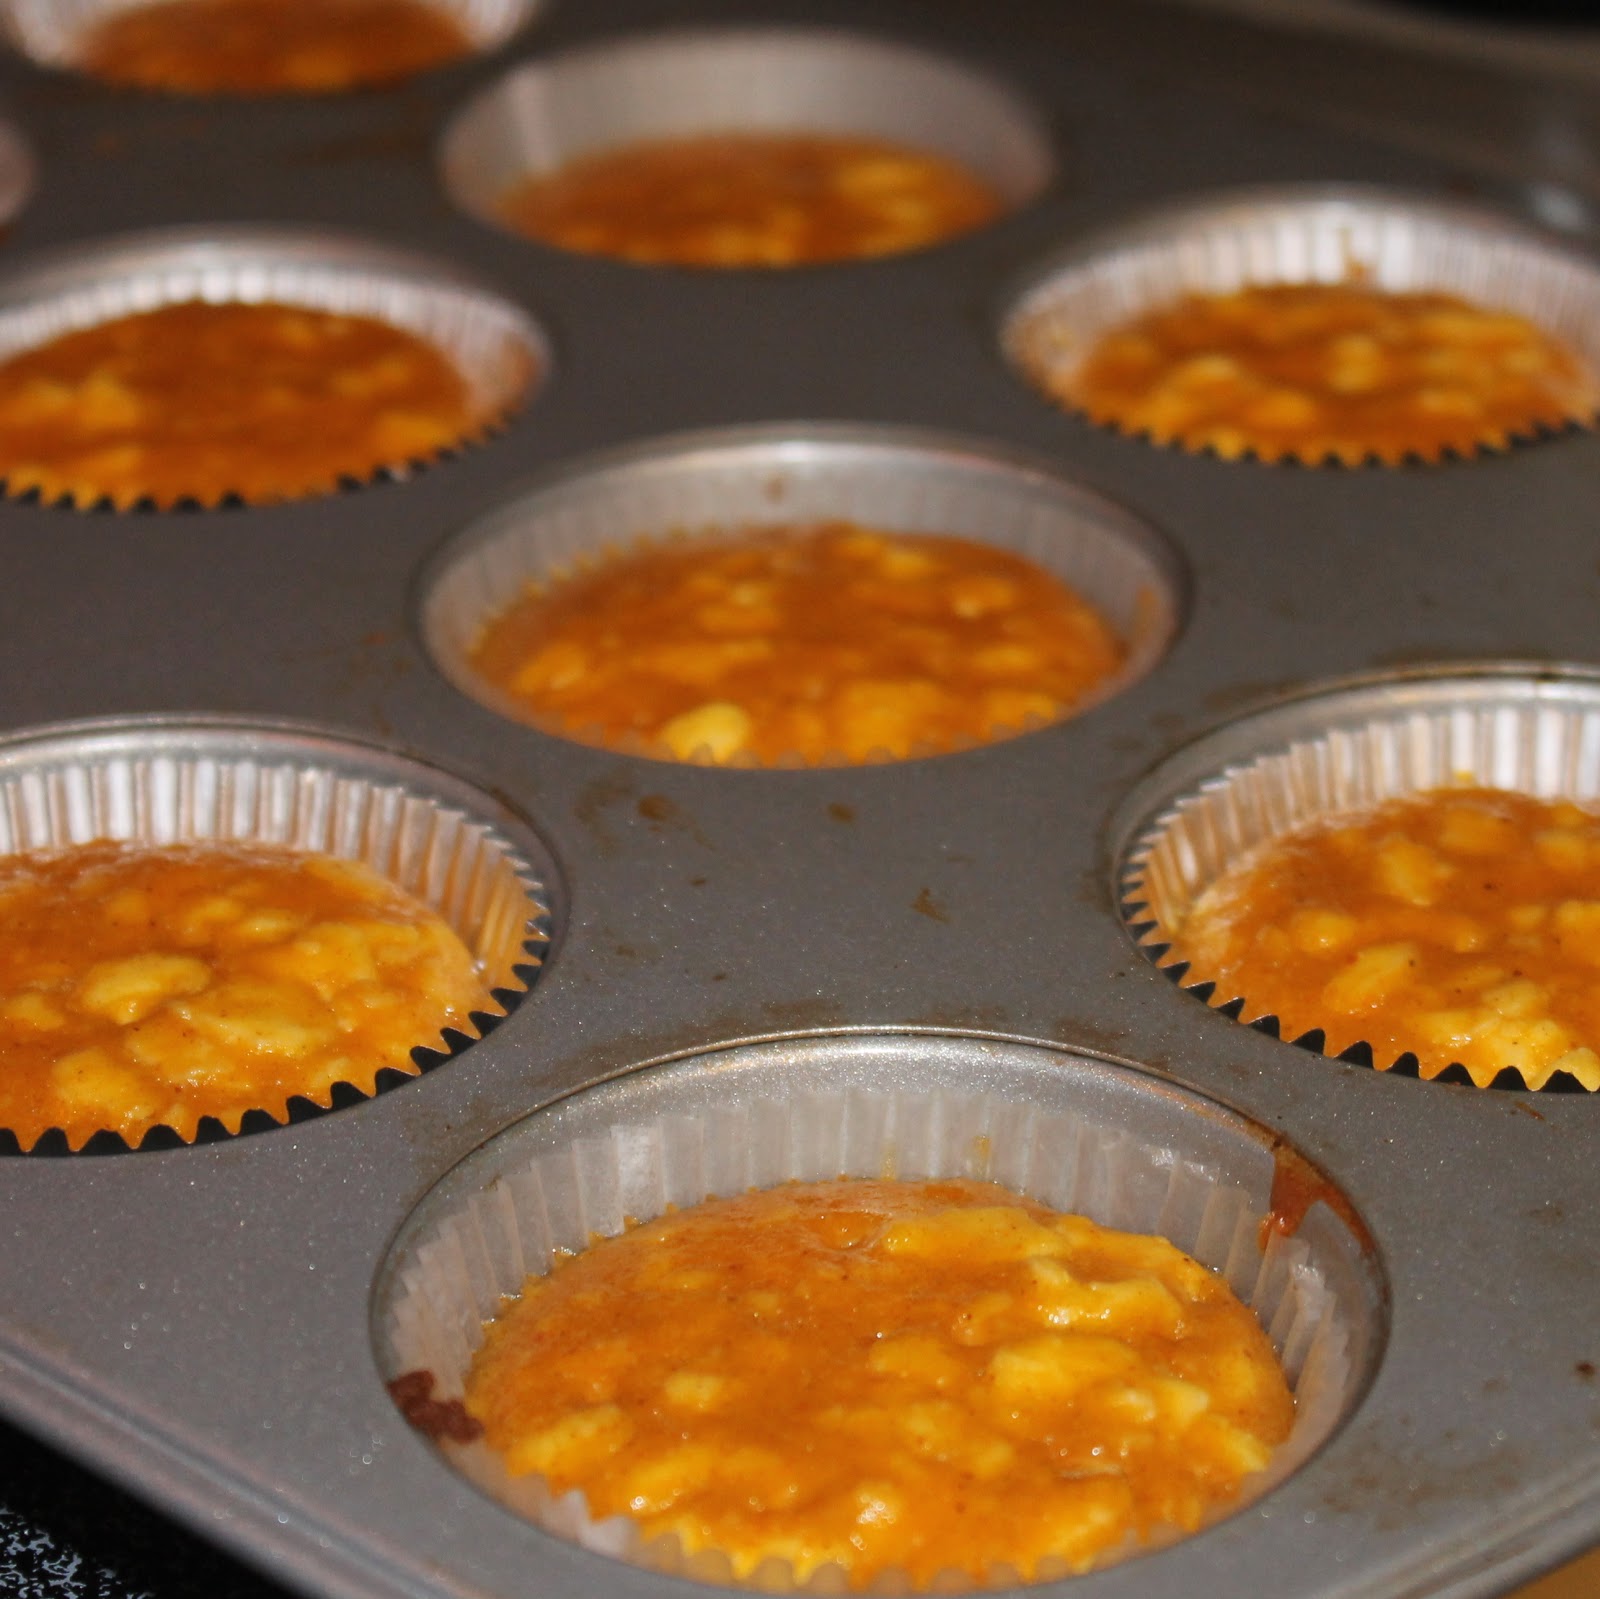
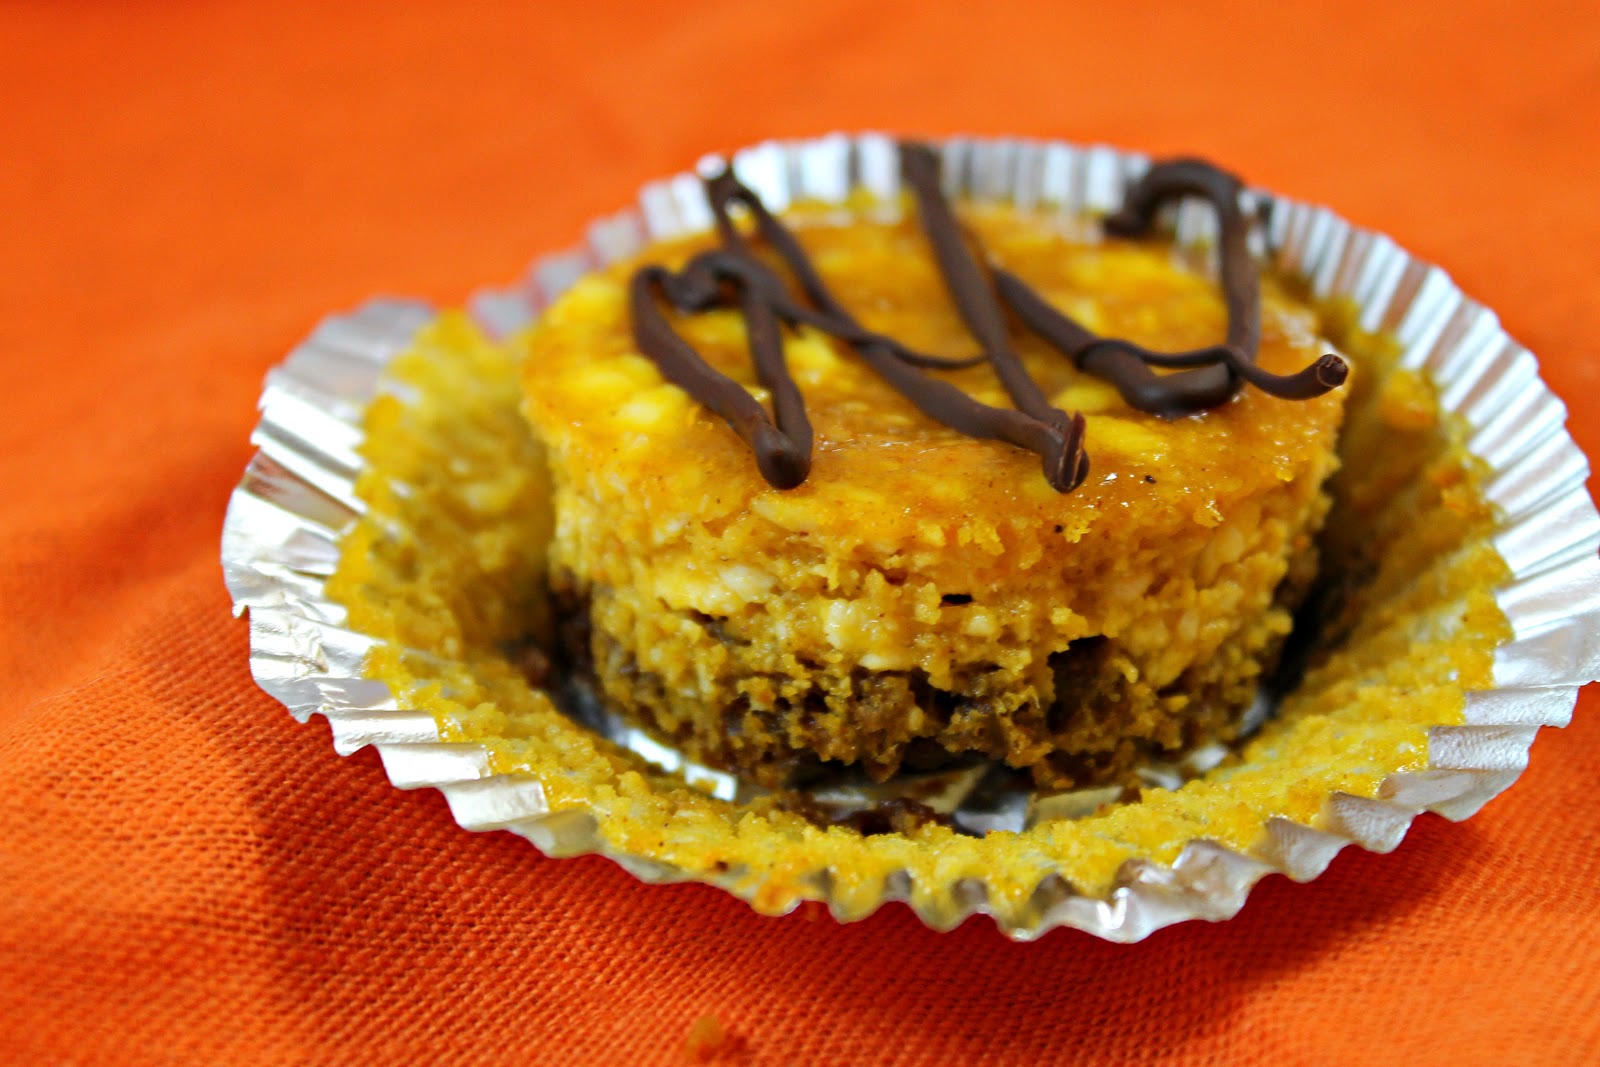
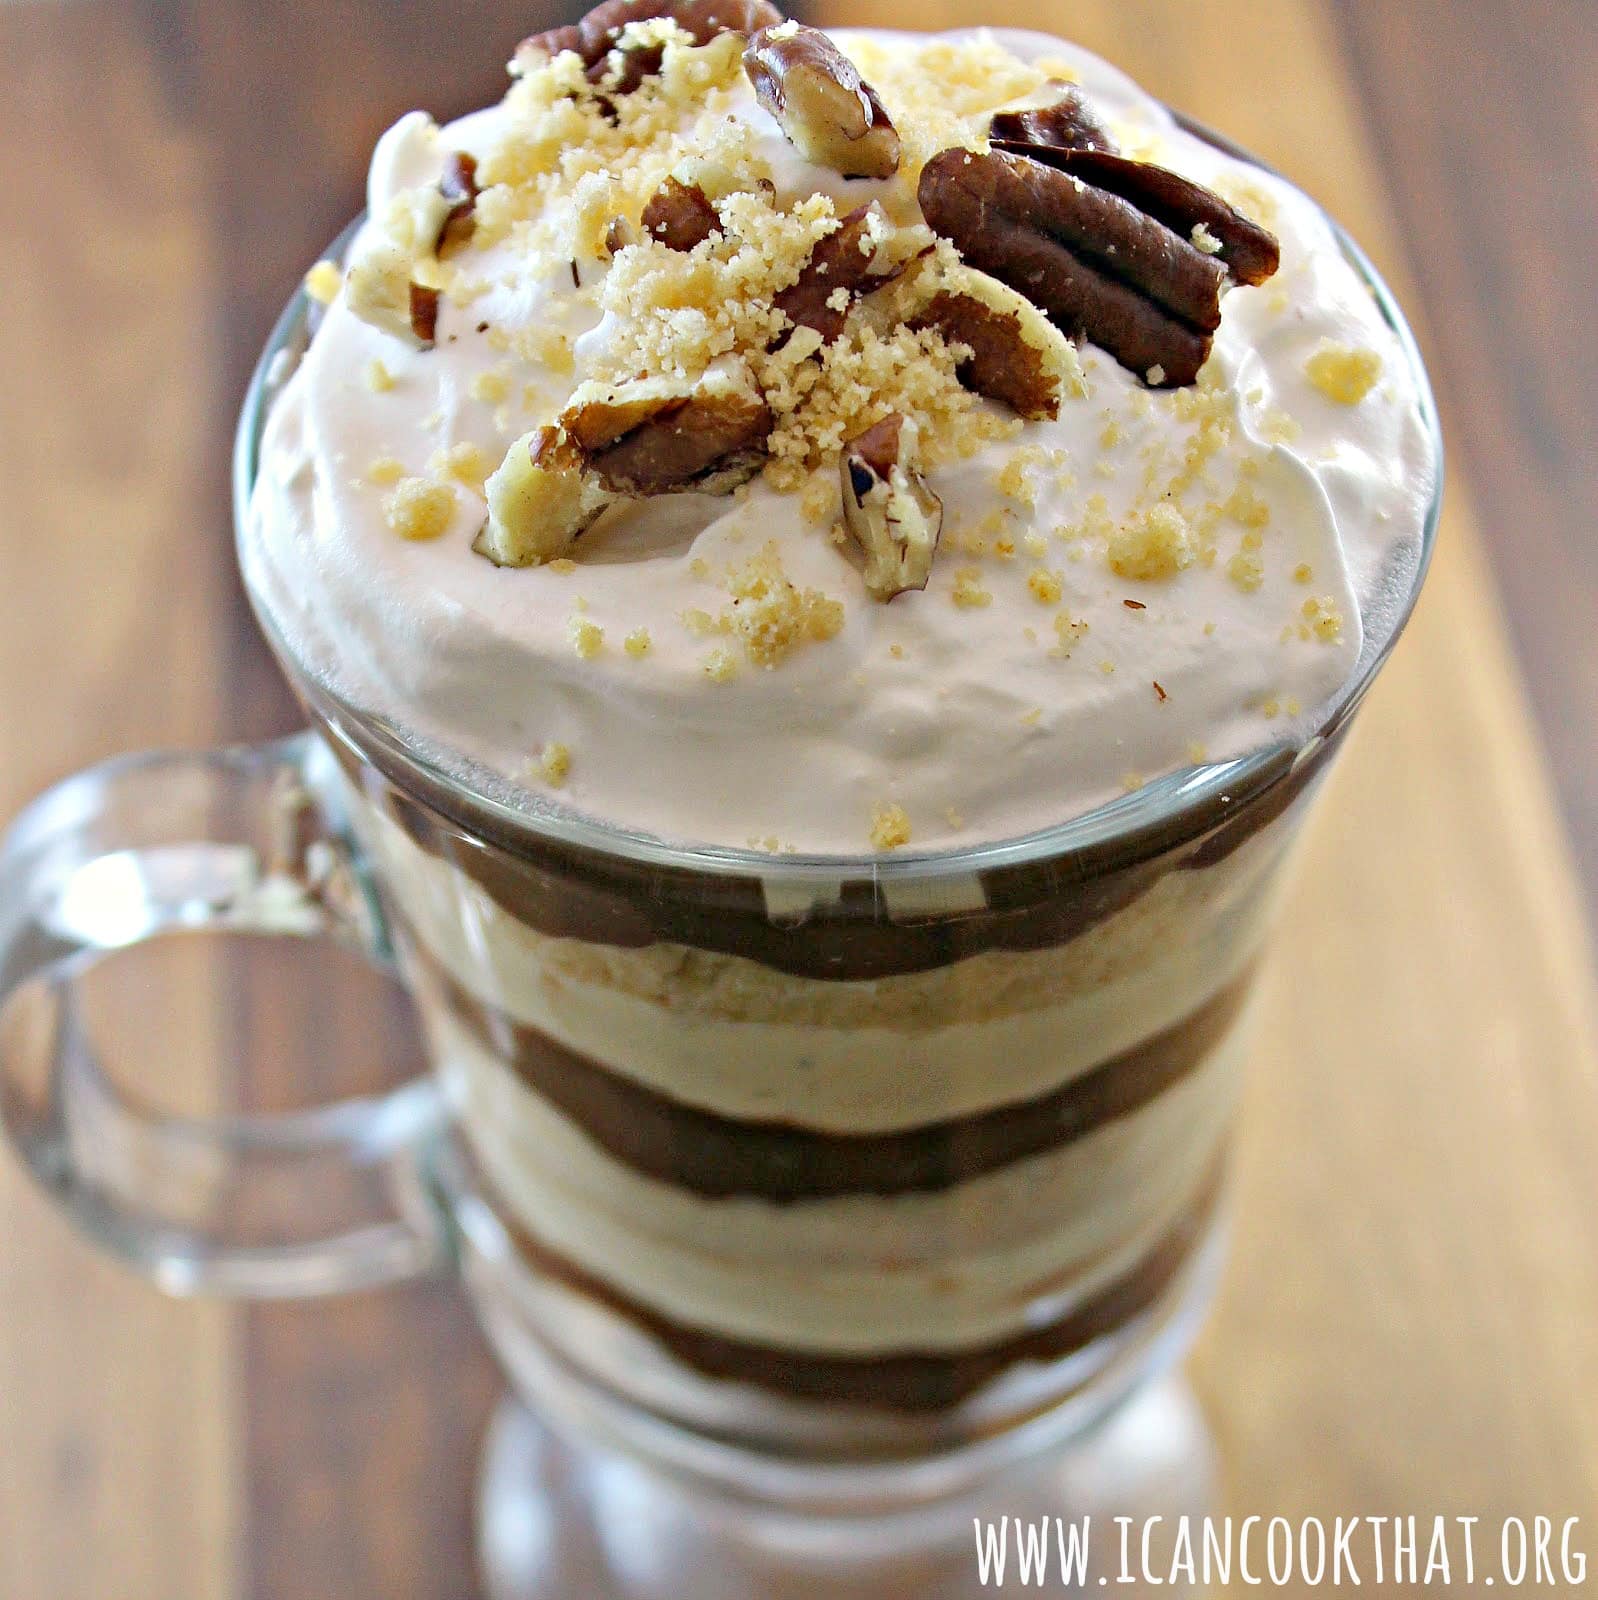
They are also easy to assemble as individual servings.
The flavors of this are rocking. Pumpkin, chocolate, gingerbread, and pecans were just made for each other. This is perfect for Thanksgiving, especially because it can be made ahead of time!
I will be entering this trifle in the contest on November 12 so send some good vibes my way that day!
Gingerbread Chocolate Pumpkin Trifle


Ingredients
- 1 box Walker’s Stem Ginger Biscuits
- 1 box Pure Butter Shortbread
- 3 cups milk
- 2 packages instant chocolate pudding
- 1 (15 oz) can pumpkin puree
- 1/2 teaspoon cinnamon
- 1/4 teaspoon nutmeg
- 1/4 teaspoon ginger
- 1/8 teaspoon allspice
- 1 teaspoon vanilla extract
- 8 ounces (1 package) cream cheese
- 1/4 cup firmly packed brown sugar
- 2 cups whipping cream
- 2 ounces bourbon (can omit if you’d like)
- 1/4 cup sugar
- 1 container whipped topping
- 1/4 cup pecans, roughly chopped
Instructions
- Begin by preparing your ingredients. Thaw your whipping cream. Roughly chop the pecans and set aside. Crush the biscuits and shortbread in separate ziploc bags, using a rolling pin.
- Take one tablespoon of the stem ginger biscuit crumbs and set aside. Combine the remaining biscuit crumbs with the shortbread crumbs.
- Prepare your chocolate pudding. Combine the two packs of instant pudding mix with three cups milk.
- Mix for two minutes with a whisk. Refrigerate until ready to use.
- In a large bowl, combine 1 can pumpkin puree, the spices, vanilla extract, cream cheese, and brown sugar using a hand mixer.
- In a separate bowl, make whipped cream. Add two cups heavy whipping cream, 2 ounces bourbon, and 1/4 cup sugar and whip on high speed until soft peaks form (about 3 minutes).
- Fold the whipped cream into the pumpkin mixture. Refrigerate until ready to use.
- Time to assemble! You’ll need a clear bowl to get the full effect of the trifle.
- Arrange a layer of cookie crumbs at the bottom of a glass or plastic (see through) bowl. You want to be able to see it coming up the edges.
- Add a layer of chocolate pudding next. I attempted to put the pumpkin mousse first, which was silly. The pudding is much heavier than the pumpkin mousse and sank into it. So go pudding, pressing it against the sides of the bowl, and then put the pumpkin mousse on top.
- Continue this process until the bowl is filled. (Crumbs, pudding, mousse). Top with the whipped topping.
- Rim the bowl with crushed pecans.
- Sprinkle with the reserved ginger biscuits. I’d suggest refrigerating for a few hours to let the flavors meld together. You can also make it mostly ahead of time and just assemble a few hours before eating.
Schema/Recipe SEO Data Markup by Yummly Rich Recipes
0.1
https://icancookthat.org/2012/11/gingerbread-chocolate-pumpkin-trifle.html