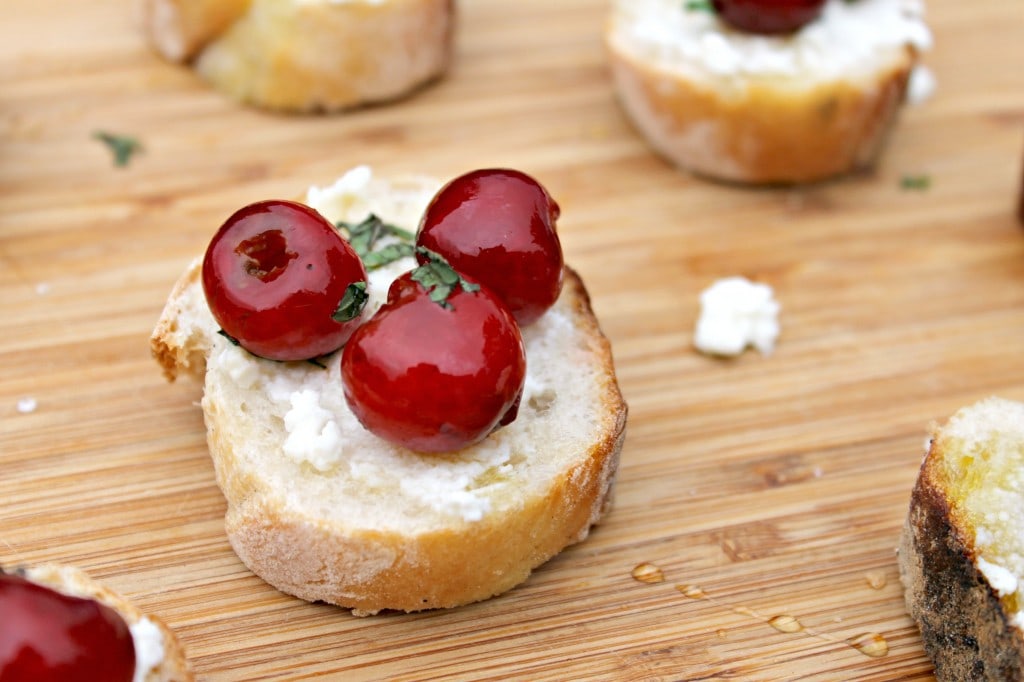
I continue to struggle with looking at a bunch of ingredients and imagining a meal. In general, I follow recipes and make a few changes to account for ingredients available or to suit my tastes. But yesterday, a friend and I came across fresh ricotta and the most beautiful fresh cherries. The cherries were slightly tart so I thought they would make an amazing “dessert alternative” or a somewhat sweet appetizer.
We topped toasted baguette pieces (also from the market) with some of the ricotta, pitted cherries, mint, and a touch of honey to make this Cherry Ricotta Bruschetta.
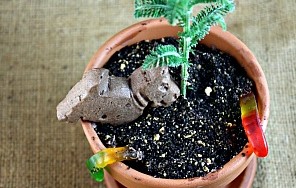
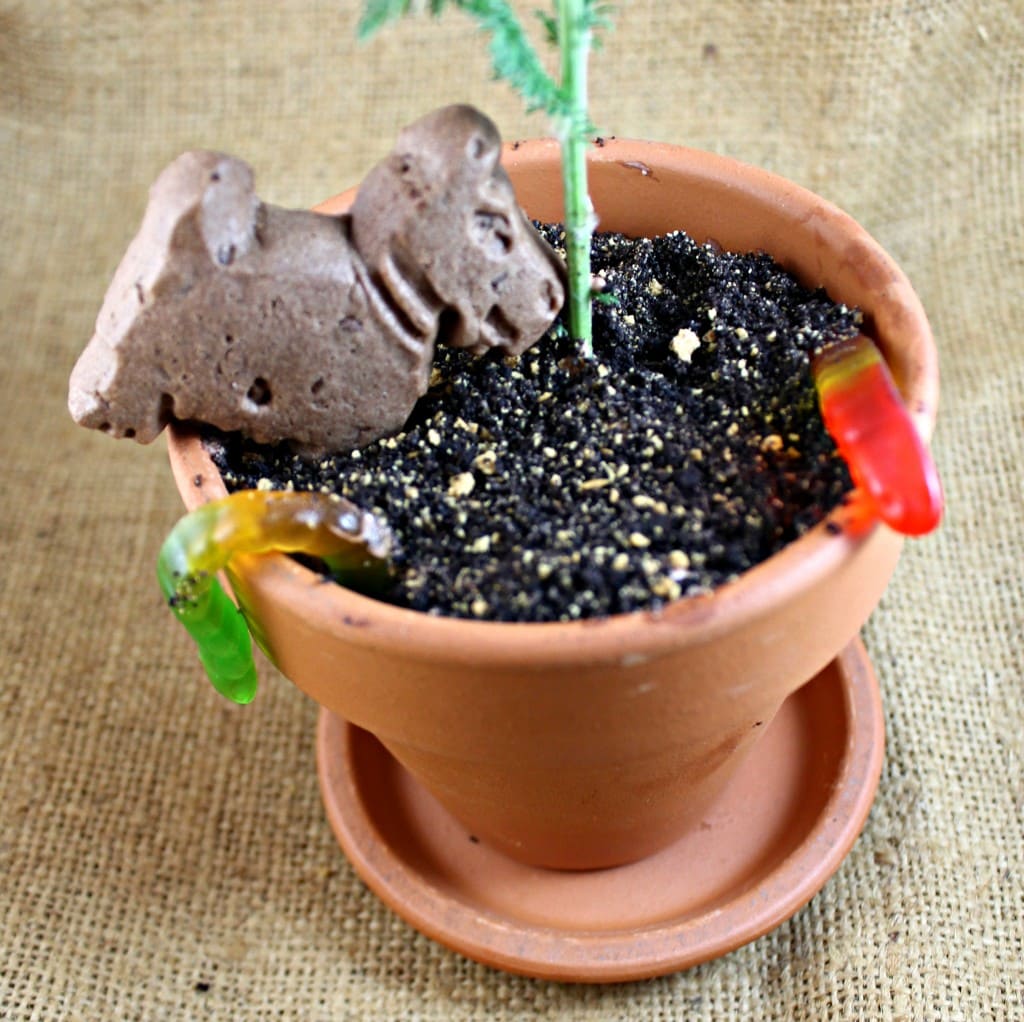
“Dirt” cake reminds me of hot summers, barbecues, and outdoor eating. When I was a kid, I used to get so excited for dessert once I spotted the flower pot set out on checkered tablecloth with the other desserts. These Dirt Flower Pots are really easy to make, requires no cooking, and looks just adorable. You can really dress it up with flowers, worms, or even mini Scottie dogs.
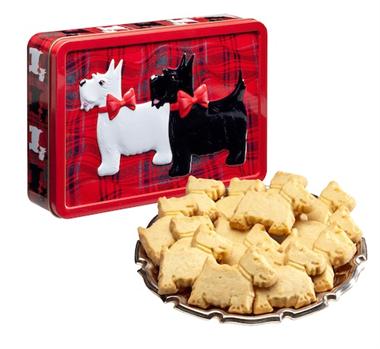
As a member of the Walkers Shortbread Ambassador program, I was sent packs of Walkers’ pure butter Scottie Dog Shortbread cookies, which help support the company’s sponsorship of The American Society for the Prevention of Cruelty (ASPCA). Walkers has recently launched a Chocolate version of the cookie as well. In 2012 (the original Scottie Shortbread was launched in January 2012, Walkers raised over $25,000 for the ASPCA. For 2013, the company has doubled its minimum donation amount to $50,000. Ten cents from the sale of every Scottie Dog Shortbread 3.9-ounce carton and 20 cents for larger cartons will be donated to the ASPCA.
To help spread the word about these cookies and their partnership, Walkers is giving away a Scottie Dog Tin! To enter, just use the widget below. Note: This Giveaway is now closed.
Source: walkersus.com
Now, back to the recipe. Let’s make some Dirt Flower Pots!
Ingredients (serves 8, or makes 4 small flower pots):
1 package of Oreos
2 graham crackers (optional)
2 packs of instant chocolate pudding
1/2 cup confectioners sugar
3 cups milk
8 oz cream cheese
8 oz whipped topping
1 box of Walkers Scottie Dog Shortbread Cookies (Chocolate or Original)
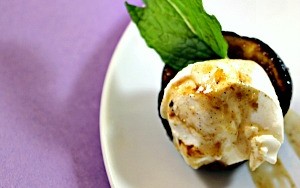
I mentioned in my previous post (Prosciutto, Fig, and Arugula Flatbread with Balsamic Reduction) that I have quite a few fresh figs at the moment. No complaints here, but I do want to use them all and not waste any, figs are delicious, and grilled mission figs are the best!
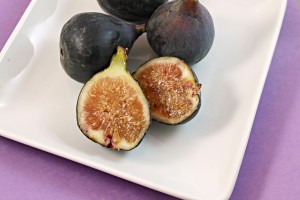
Not only are grilled mission figs super tasty, but they are good for you too. (I love when that happens!) According to California Figs, one serving of fresh figs (1/2 cup or 3-4 medium figs) delivers 5 grams of fiber (20% of your suggested daily value), 354mg potassium (10% DV), and 53mg calcium (6% DV) with just 120 calories. Figs are also fat, sodium, and cholesterol free.
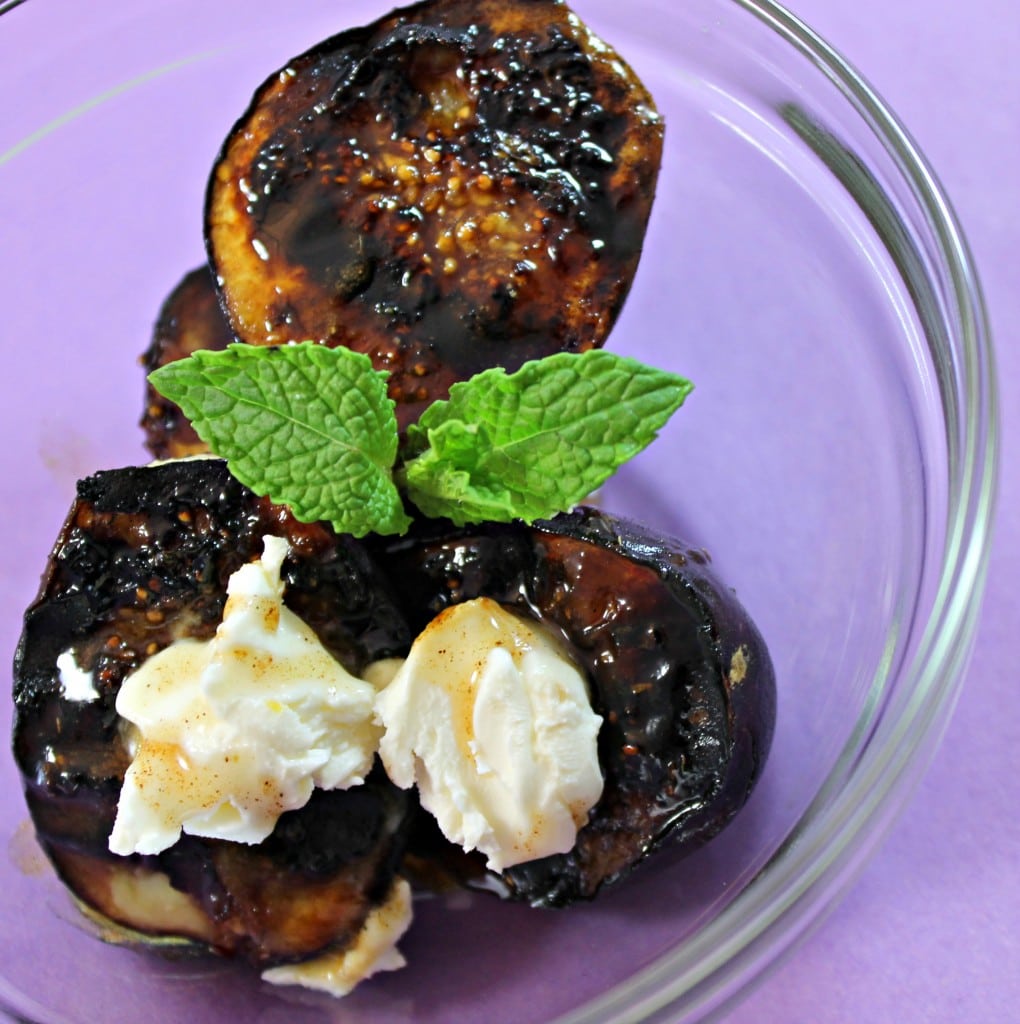
Dried figs are available all year round, but fresh figs have a shorter availability period. Mission Figs, which I am using in this recipe, are available longer than most figs and can be found fresh from late May through as late as November. Because they are mostly a summer produce, I just have to add them to the grill!
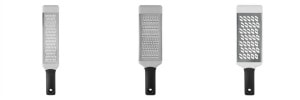
I also received a bunch of really awesome kitchen gadgets while at the conference. As I’ve mentioned in the past, I’m a huge fan of OXO and already had my own set of graters, so I actually have an extra set to give away! (Update: I actually have TWO sets to give away so there will be two lucky winners!) I use my set of graters all the time. The zester is my favorite, mainly because every time I work with any form of citrus, I make sure to zest it before juicing to add extra flavor to the dish. The coarse grater comes in handy with soft and semi-soft cheese, but can be used for anything that needs a larger grate. The medium grater is perfect for carrots, chocolate, and the like. What makes OXO stand out is the ease of use of these tools. After one use, you’ll know what I mean! So be sure to enter for a chance to win a set of these below.
Photos from OXO.com
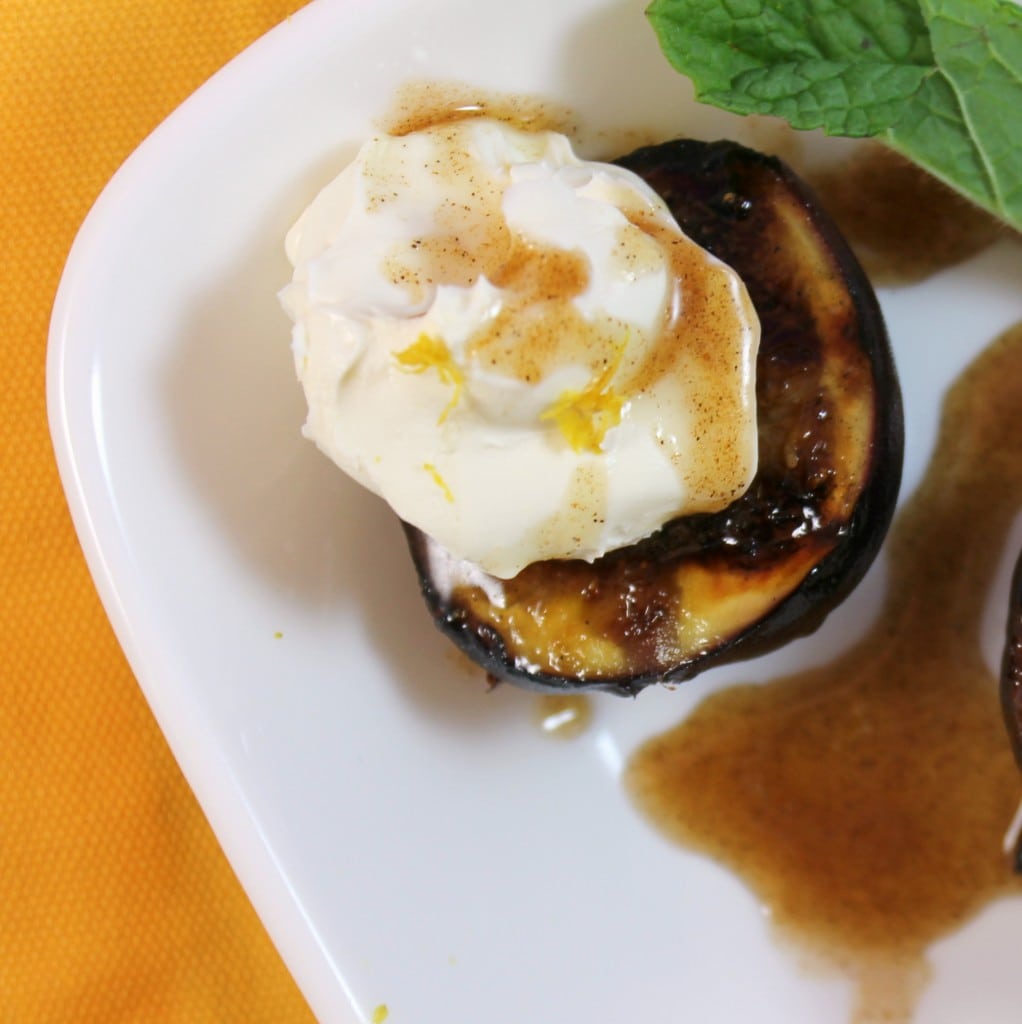
This recipe for Grilled Mission Figs with Mascarpone and Spiced Honey is based off a recipe on Whole Living. The only large difference is that I grilled the figs beforehand.
Ingredients:
4 large fresh, ripe figs, stems trimmed, halved lengthwise
Whenever I visit my friends who live on the Chesapeake, I try to bring some food. This time around, I am going with a dessert recipe! I found a recipe for a Tart with Grilled Fruit in a cookbook called Crazy About Pies that I bookmarked for my next trip to Maryland because we always end up grilling and I thought it would make a great complement to a barbecued dinner. I decided to instead make dark chocolate brownies to go with the grilled fruit instead of the tart. (I will have a post about Crazy About Pies in the near future, there are some amazing sounding recipes in this cookbook!) The recipe for dark chocolate brownies is adapted from an Alton Brown recipe.
Ingredients (makes 16 servings):
2 pints of ice cream, preferably fruit based (I used a strawberry almond milk ice cream)
Dark Chocolate Brownies
4 large eggs
1 cup sugar
1 cup firmly packed brown sugar
8 ounces melted butter (2 sticks) plus more for greasing
1 cup dark chocolate cocoa
2 teaspoons vanilla extract
1/2 cup flour
1/2 teaspoon kosher salt
Fruit
Fruit of your choice (about 1 cup): I used pineapple, kiwi, and watermelon
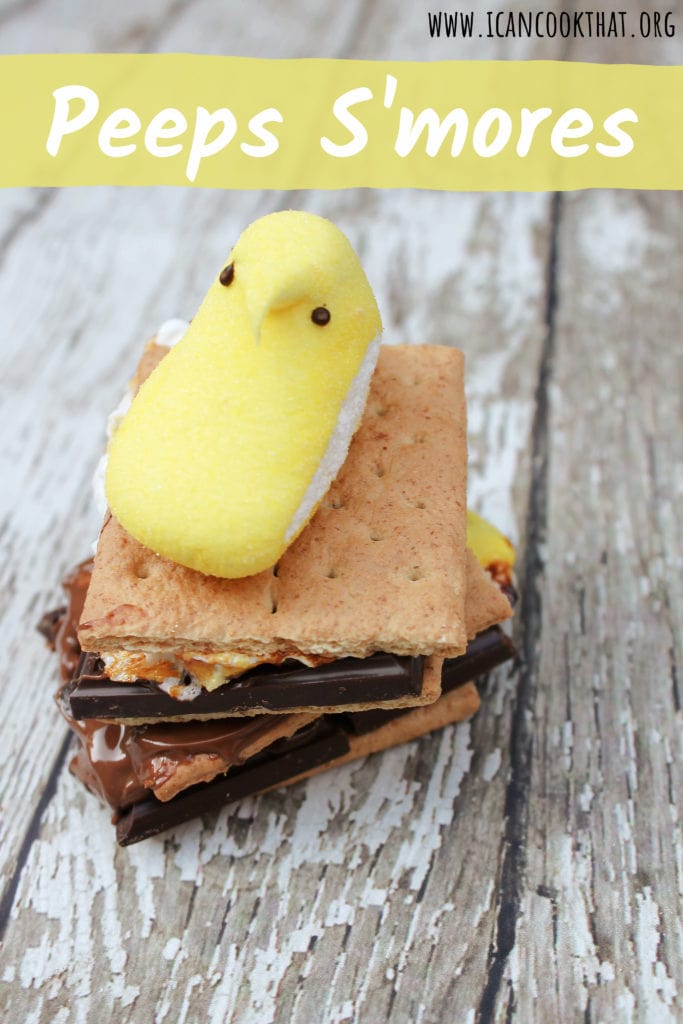
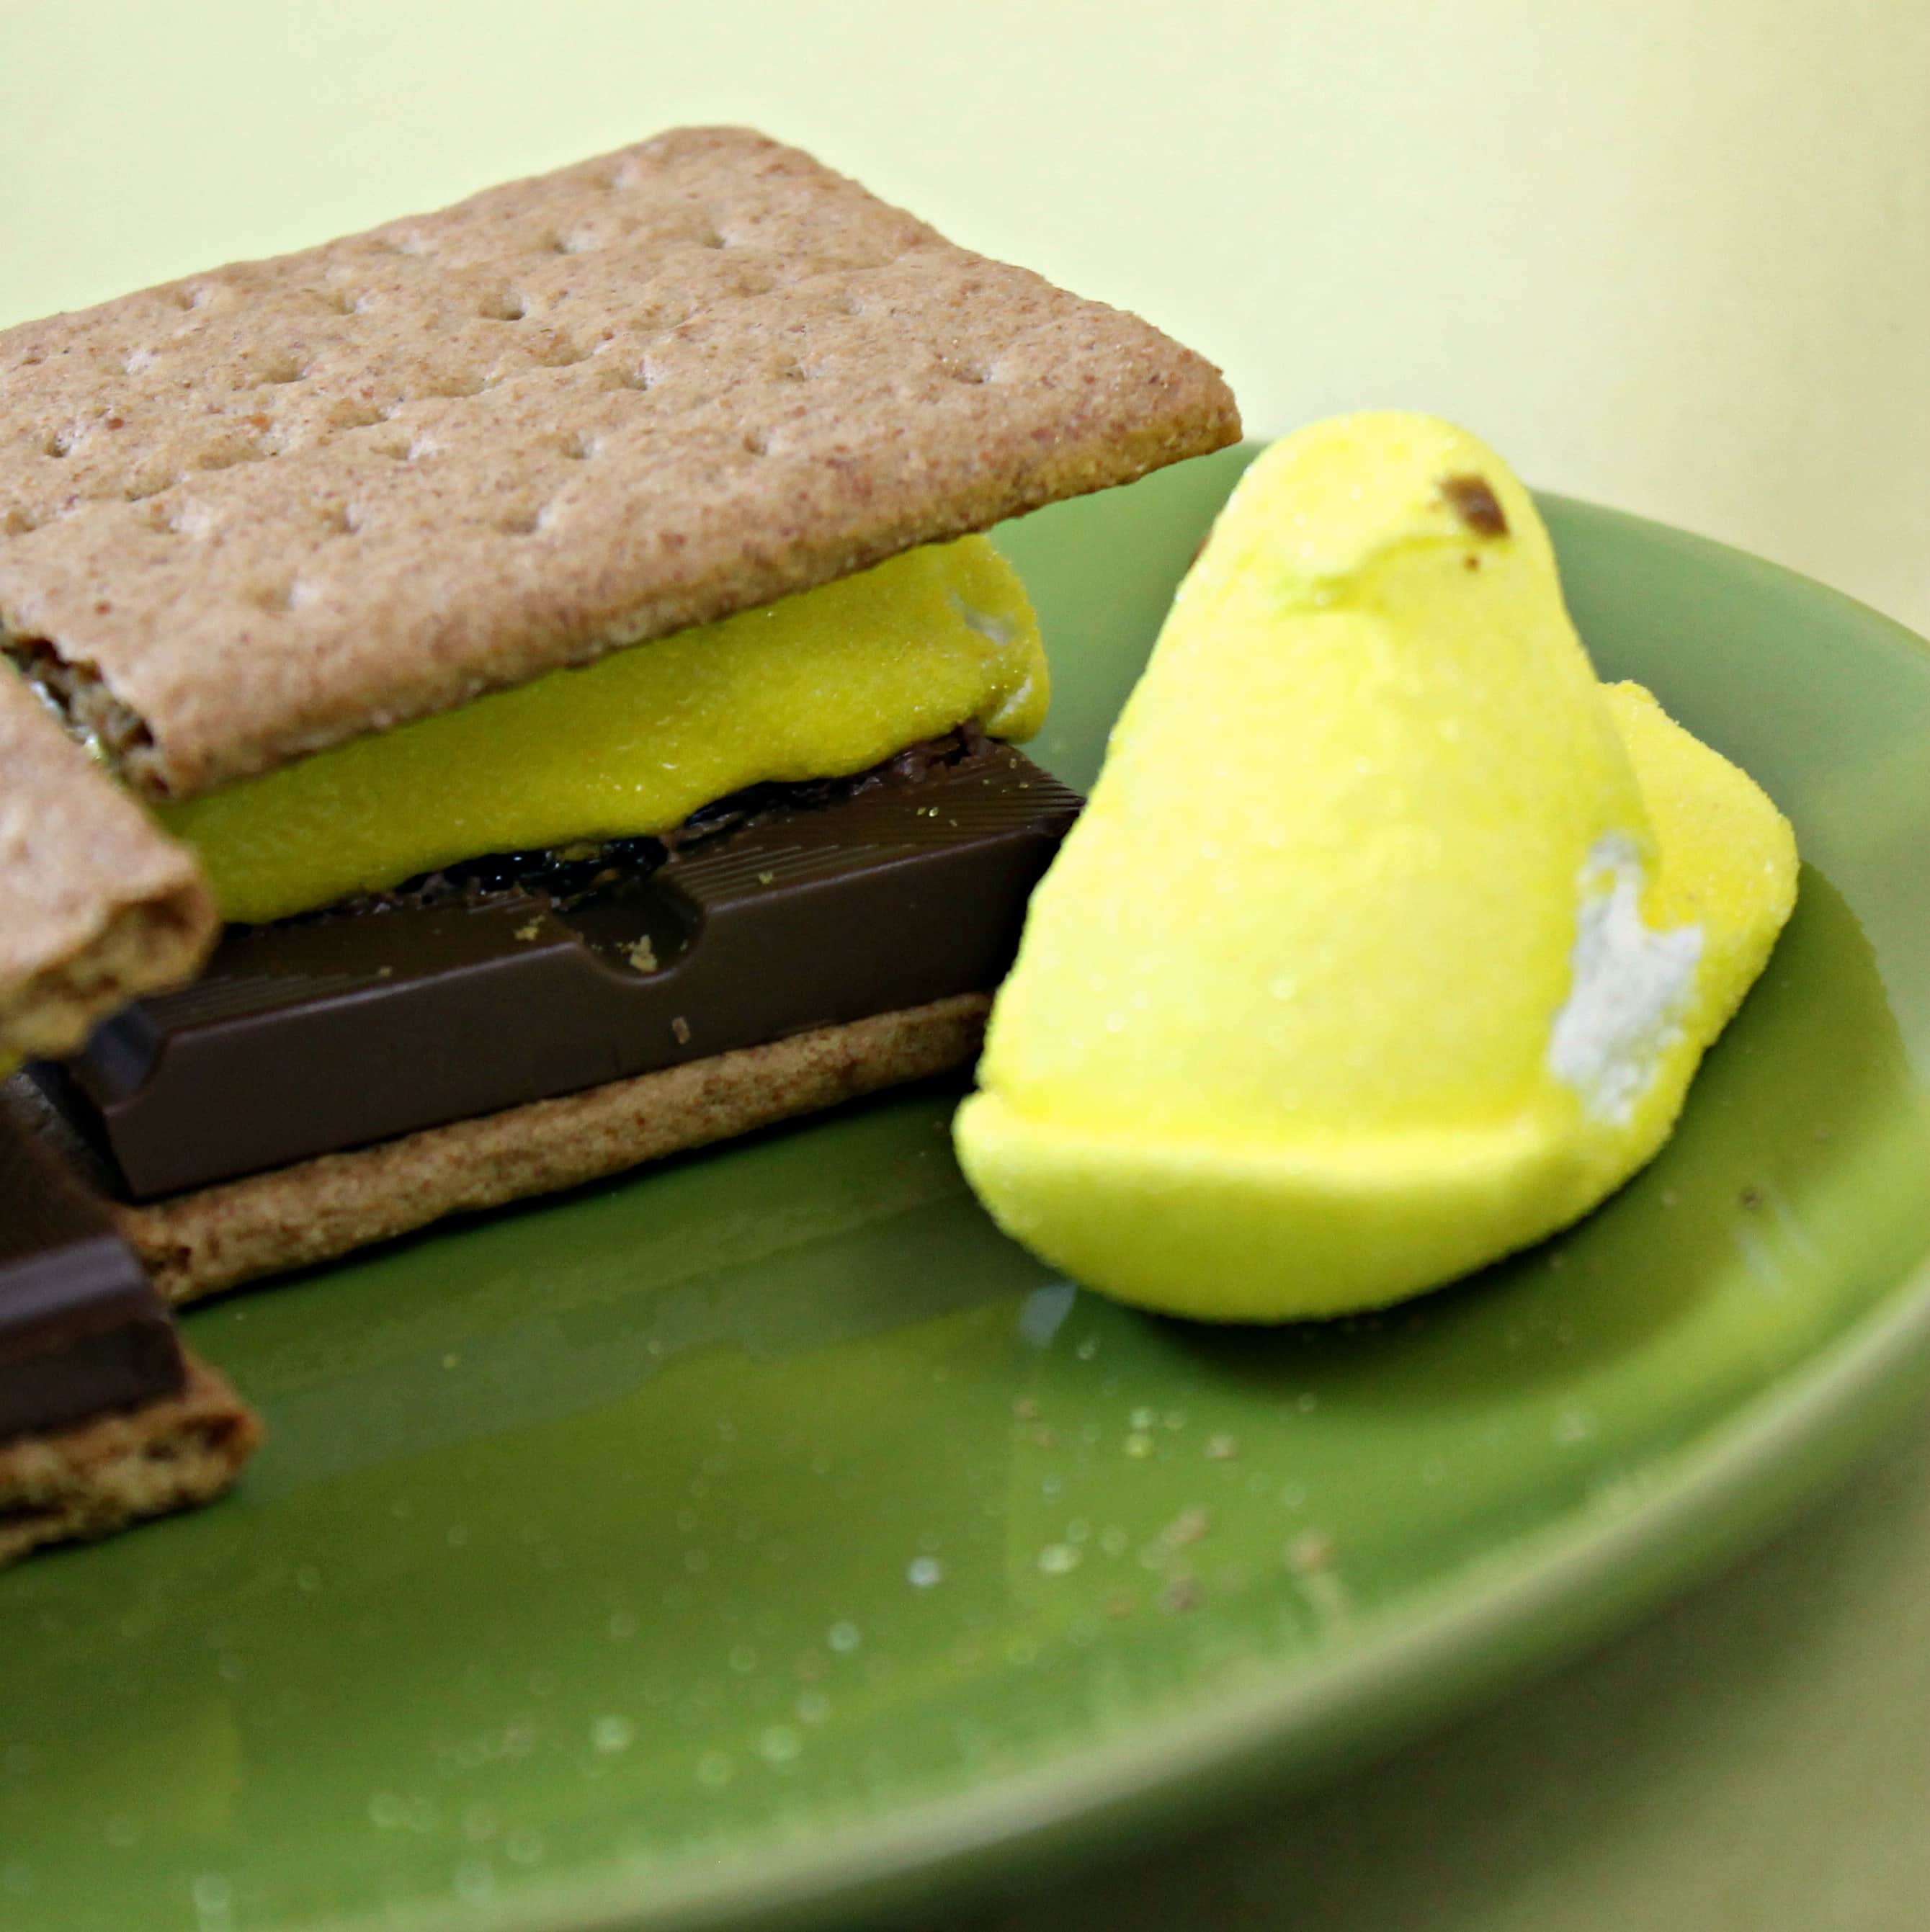
Anyone else still have a house full of Peeps following Easter? Those poor little marshmallow leftovers are past even their somewhat stale crunchy stage and are just kind of hanging around at this point. So I decided it was about time to put them to good use. Peeps S’mores time!
Ever since I made the S’mores Milkshakes, I have had S’mores on my mind. So what better way to utilize a house full of sugar coated marshmallows than by making a batch of festive after-Easter Peeps S’mores?
Ingredients (makes 2 servings):
2 graham crackers, halved
1 chocolate candy bar, halved (milk or dark, I prefer dark)
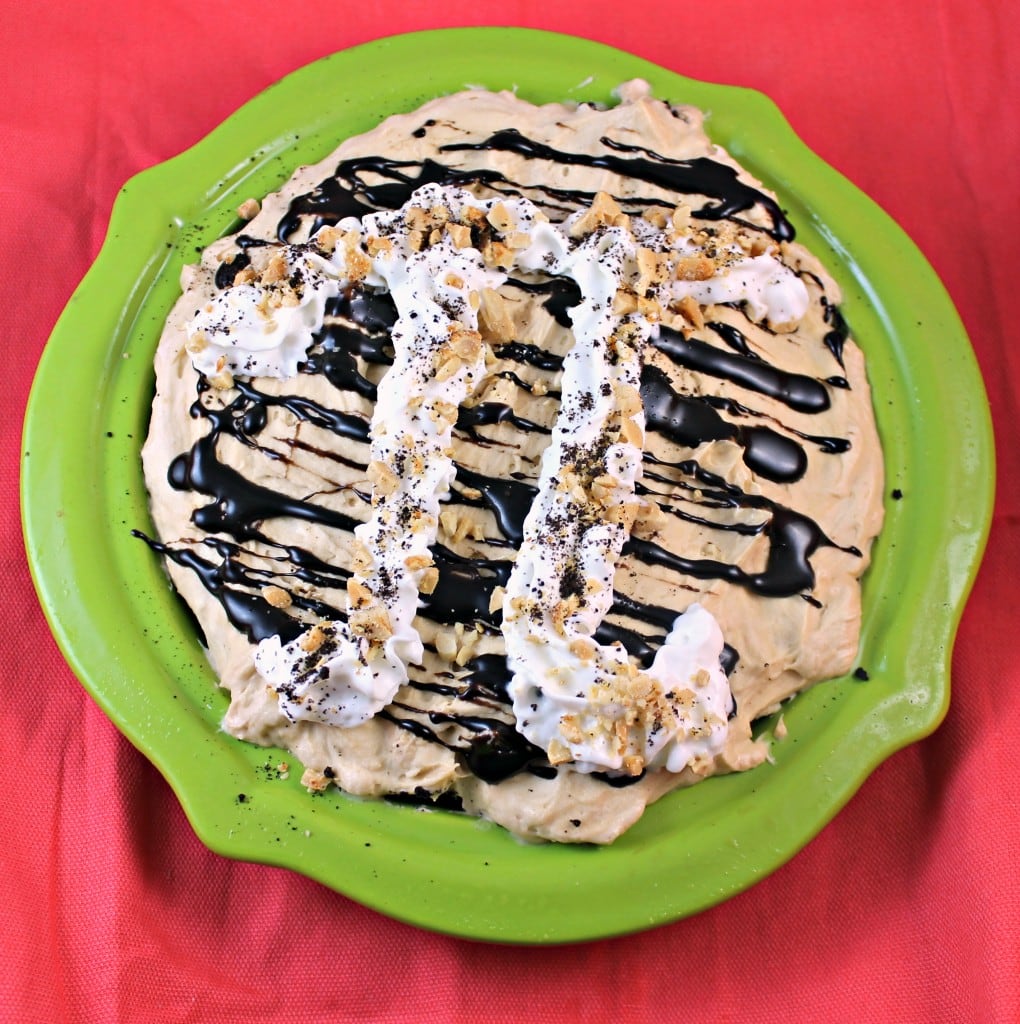
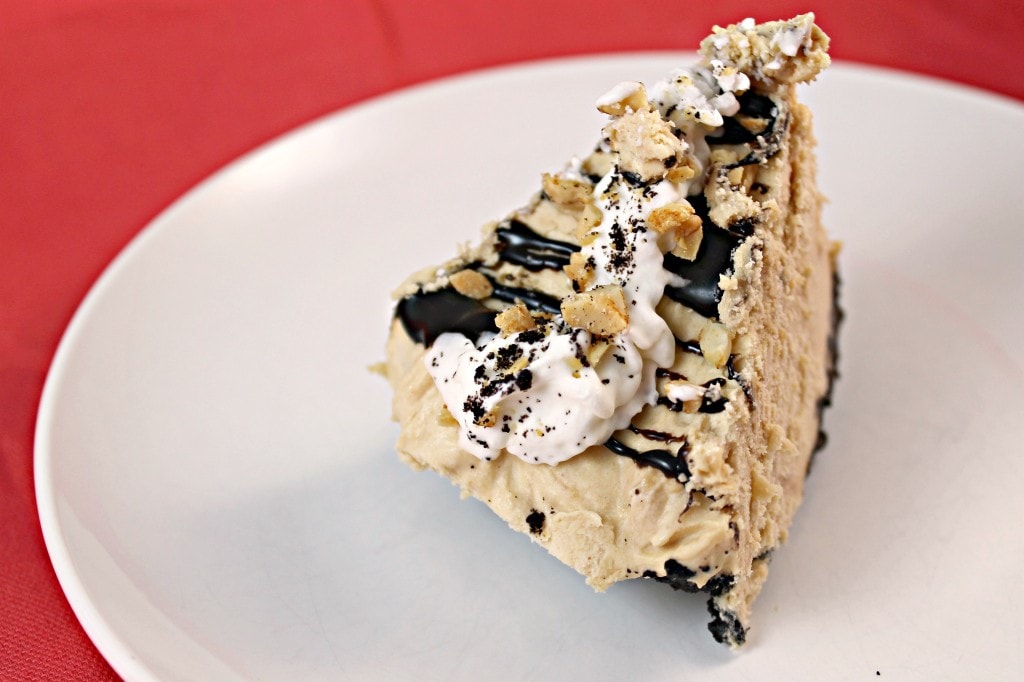
Happy Pi Day! As a Mathlete alum, Pi Day has always been a part of my nerdy math world. And what better way to celebrate than to make a pie, specifically a delicious Chocolate Peanut Butter Pie!
I have some other pie recipes on here, but I have had a hankering for peanut butter lately, so I am celebrating this year with a Chocolate Peanut Butter Pie. This is a FoodNetwork.com recipe but I decided to make my own crust (you are more than welcome to just buy one – use a 9-inch pie crust).
Ingredients:
Pie Crust:
1 package oreos
4 tablespoons butter, melted
Hot Fudge Sauce:
1/3 cup heavy cream
1/4 cup light brown sugar
1/4 cup light corn syrup
2 tablespoons unsweetened cocoa powder
1/8 teaspoon table salt
2 teaspoons vanilla extract
3.5 ounces milk chocolate, finely chopped
Peanut Butter Pie:
8 ounces cream cheese, at room temperature
3/4 cup confectioners’ sugar, plus 2 tablespoons, divided
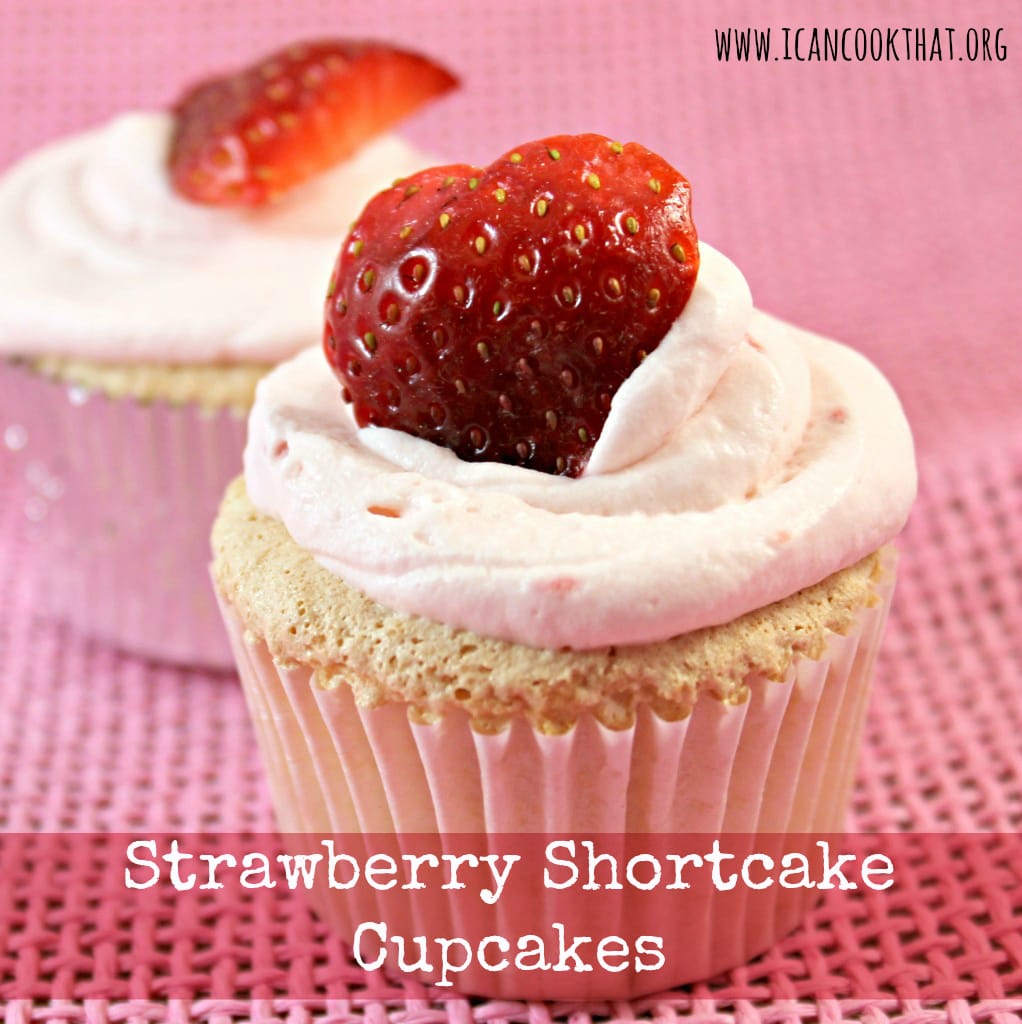
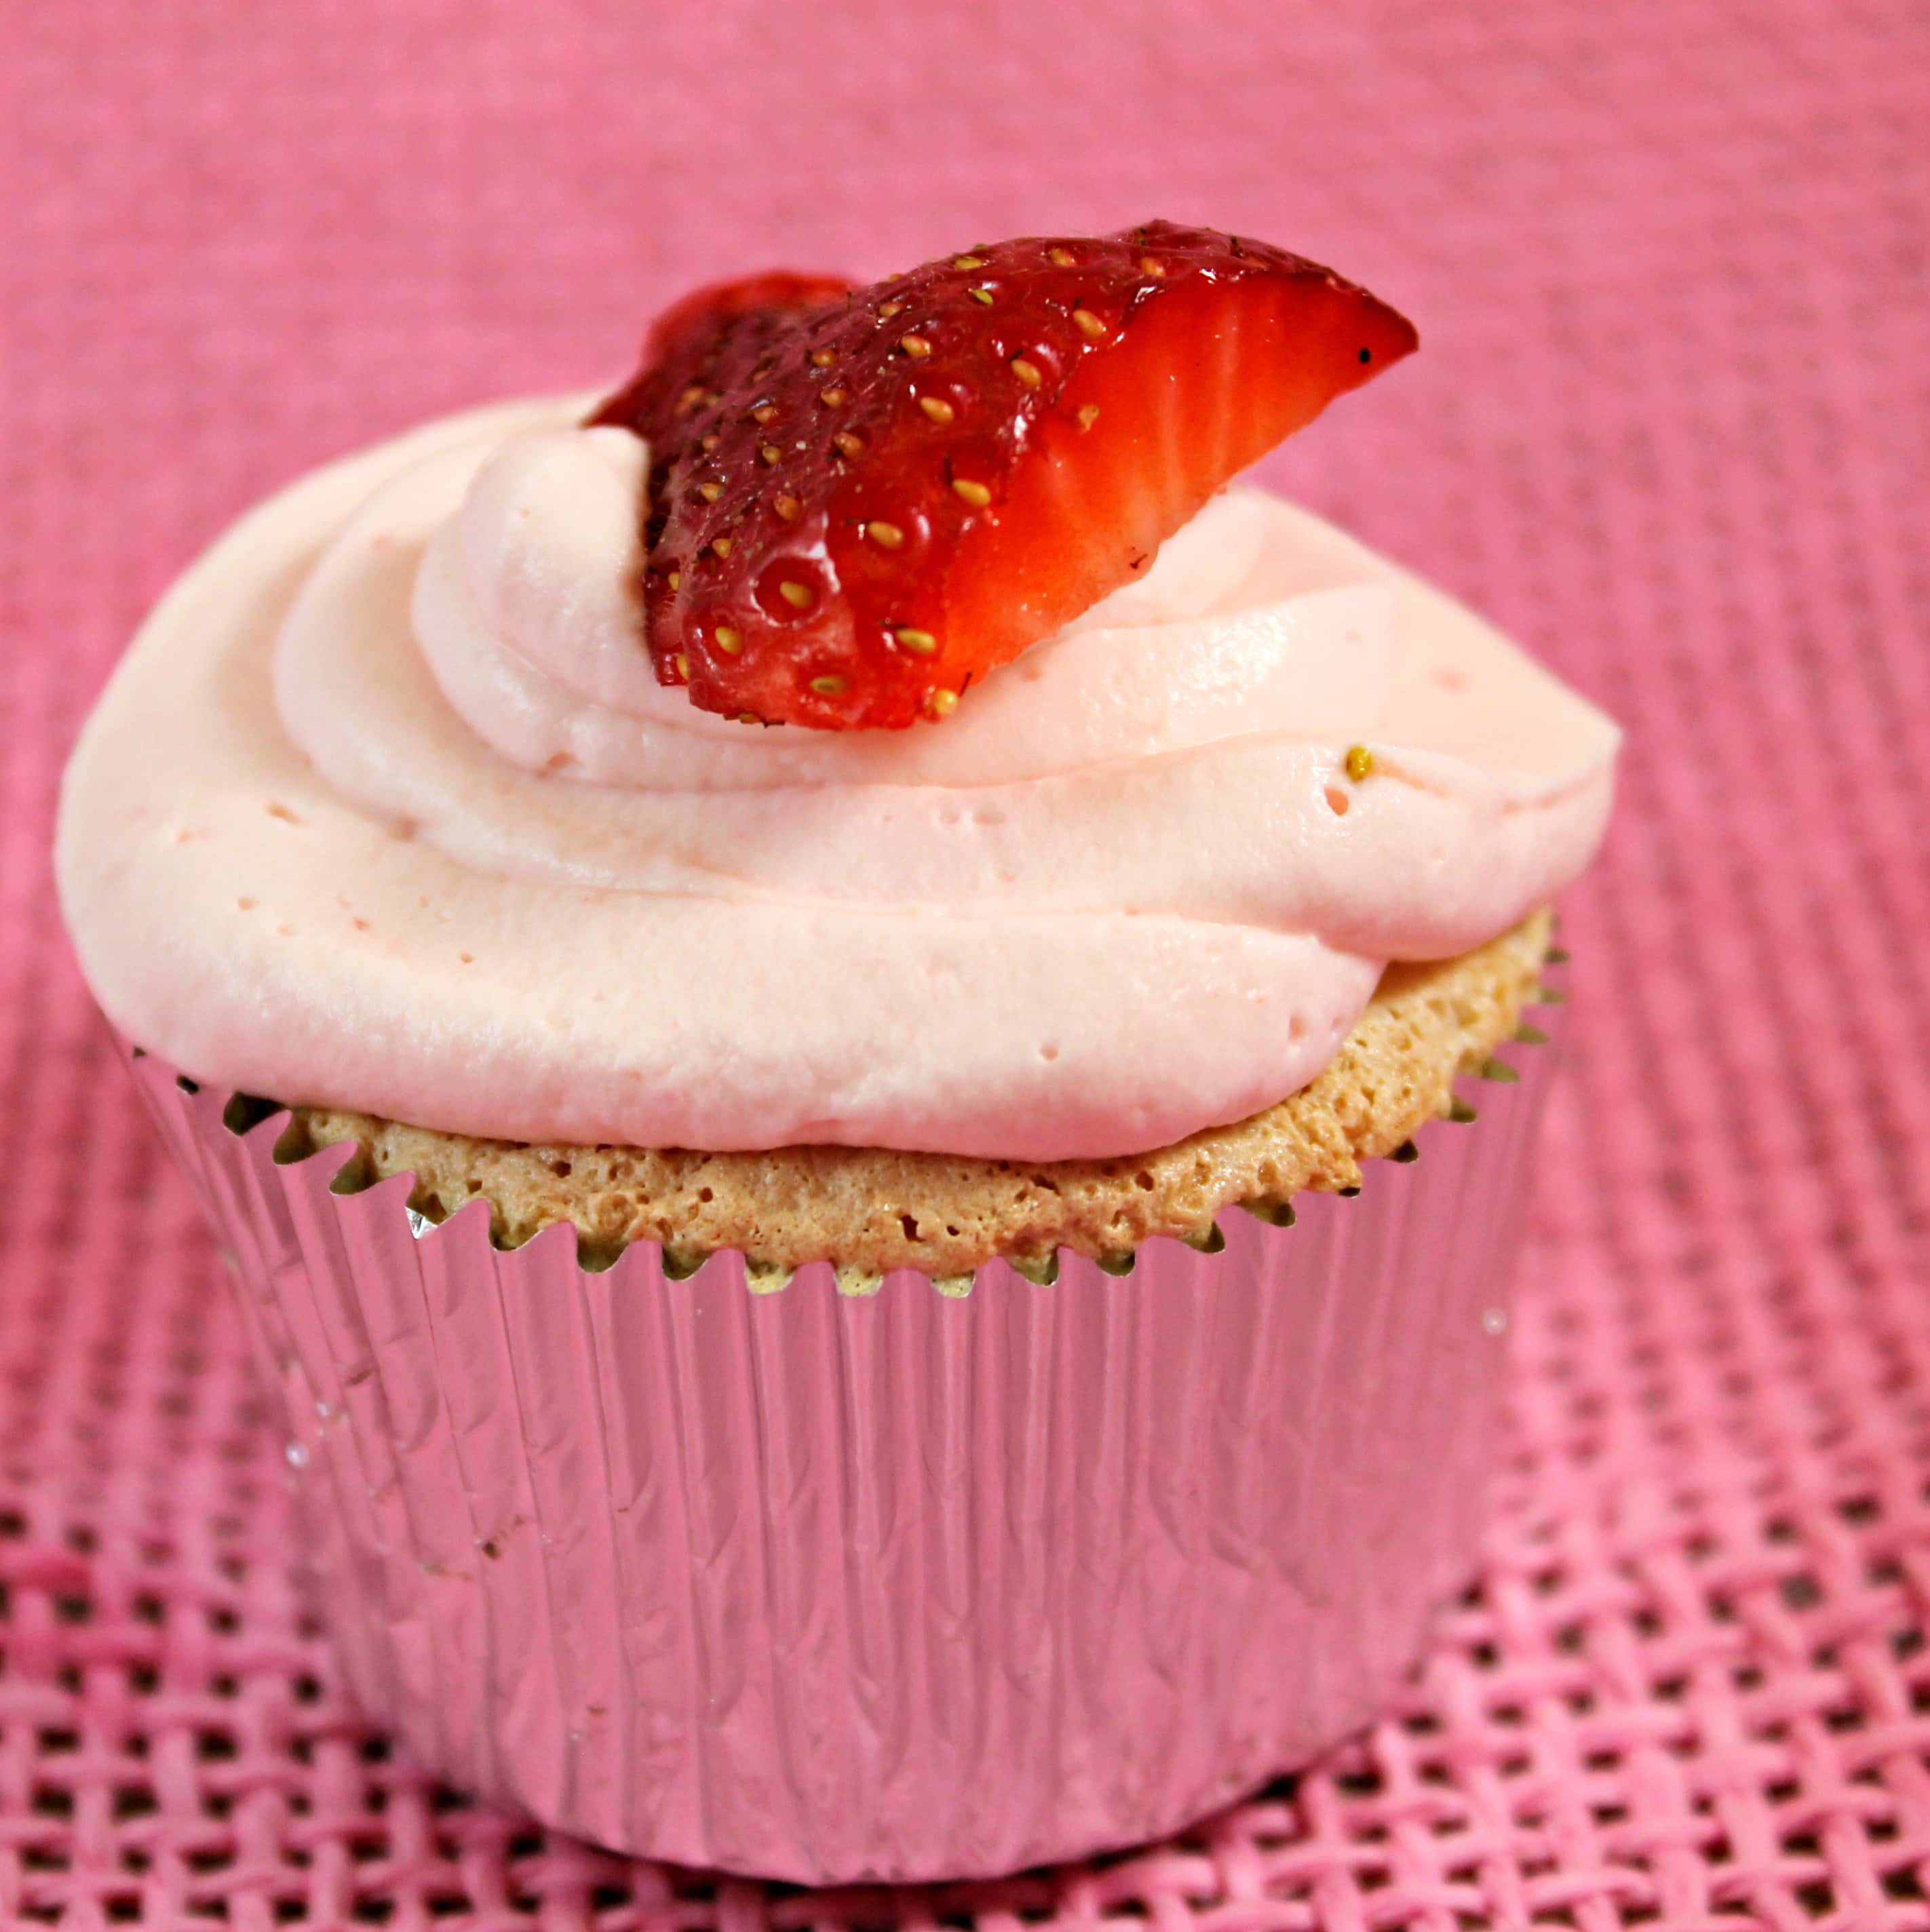
I’m so ready for spring. I’m sick of the cold and wind, although we didn’t have any snow this year. So I am going to force spring upon you in the hope of it pushing the warmer months up a little bit. When I think of spring, I always think of Strawberries. And what better way to show off strawberries than in Strawberry Shortcake, or more specifically, in Strawberry Shortcake Cupcakes? I decided to make them in cupcake form because, well, I like cupcakes. I used a Martha Stewart recipe for angel food cake to make the cupcake, filled the inside of the cupcake with a strawberry-sugar mixture, and topped it off with a strawberry whipped cream icing. These are pretty delicious if I do say so myself! Ingredients: Angel Food Cake Cupcakes:
1 cup cake flour (spooned and leveled)
1/4 teaspoon salt
12 large egg whites, room temperature
4 teaspoons lemon juice and zest from 1 lemon, divided
1 1/4 cups sugar
2 teaspoons pure vanilla extract
Strawberry filling:
3/4 container of strawberries, hulled and chopped
2 tablespoons sugar
Strawberry whipped cream:
1 8-oz container cream cheese
3/4 cup white sugar
1 1/2 teaspoon vanilla extract
lemon zest from lemon used in angel food cake
2 cups heavy cream
4-5 strawberries, stems removed and finely chopped
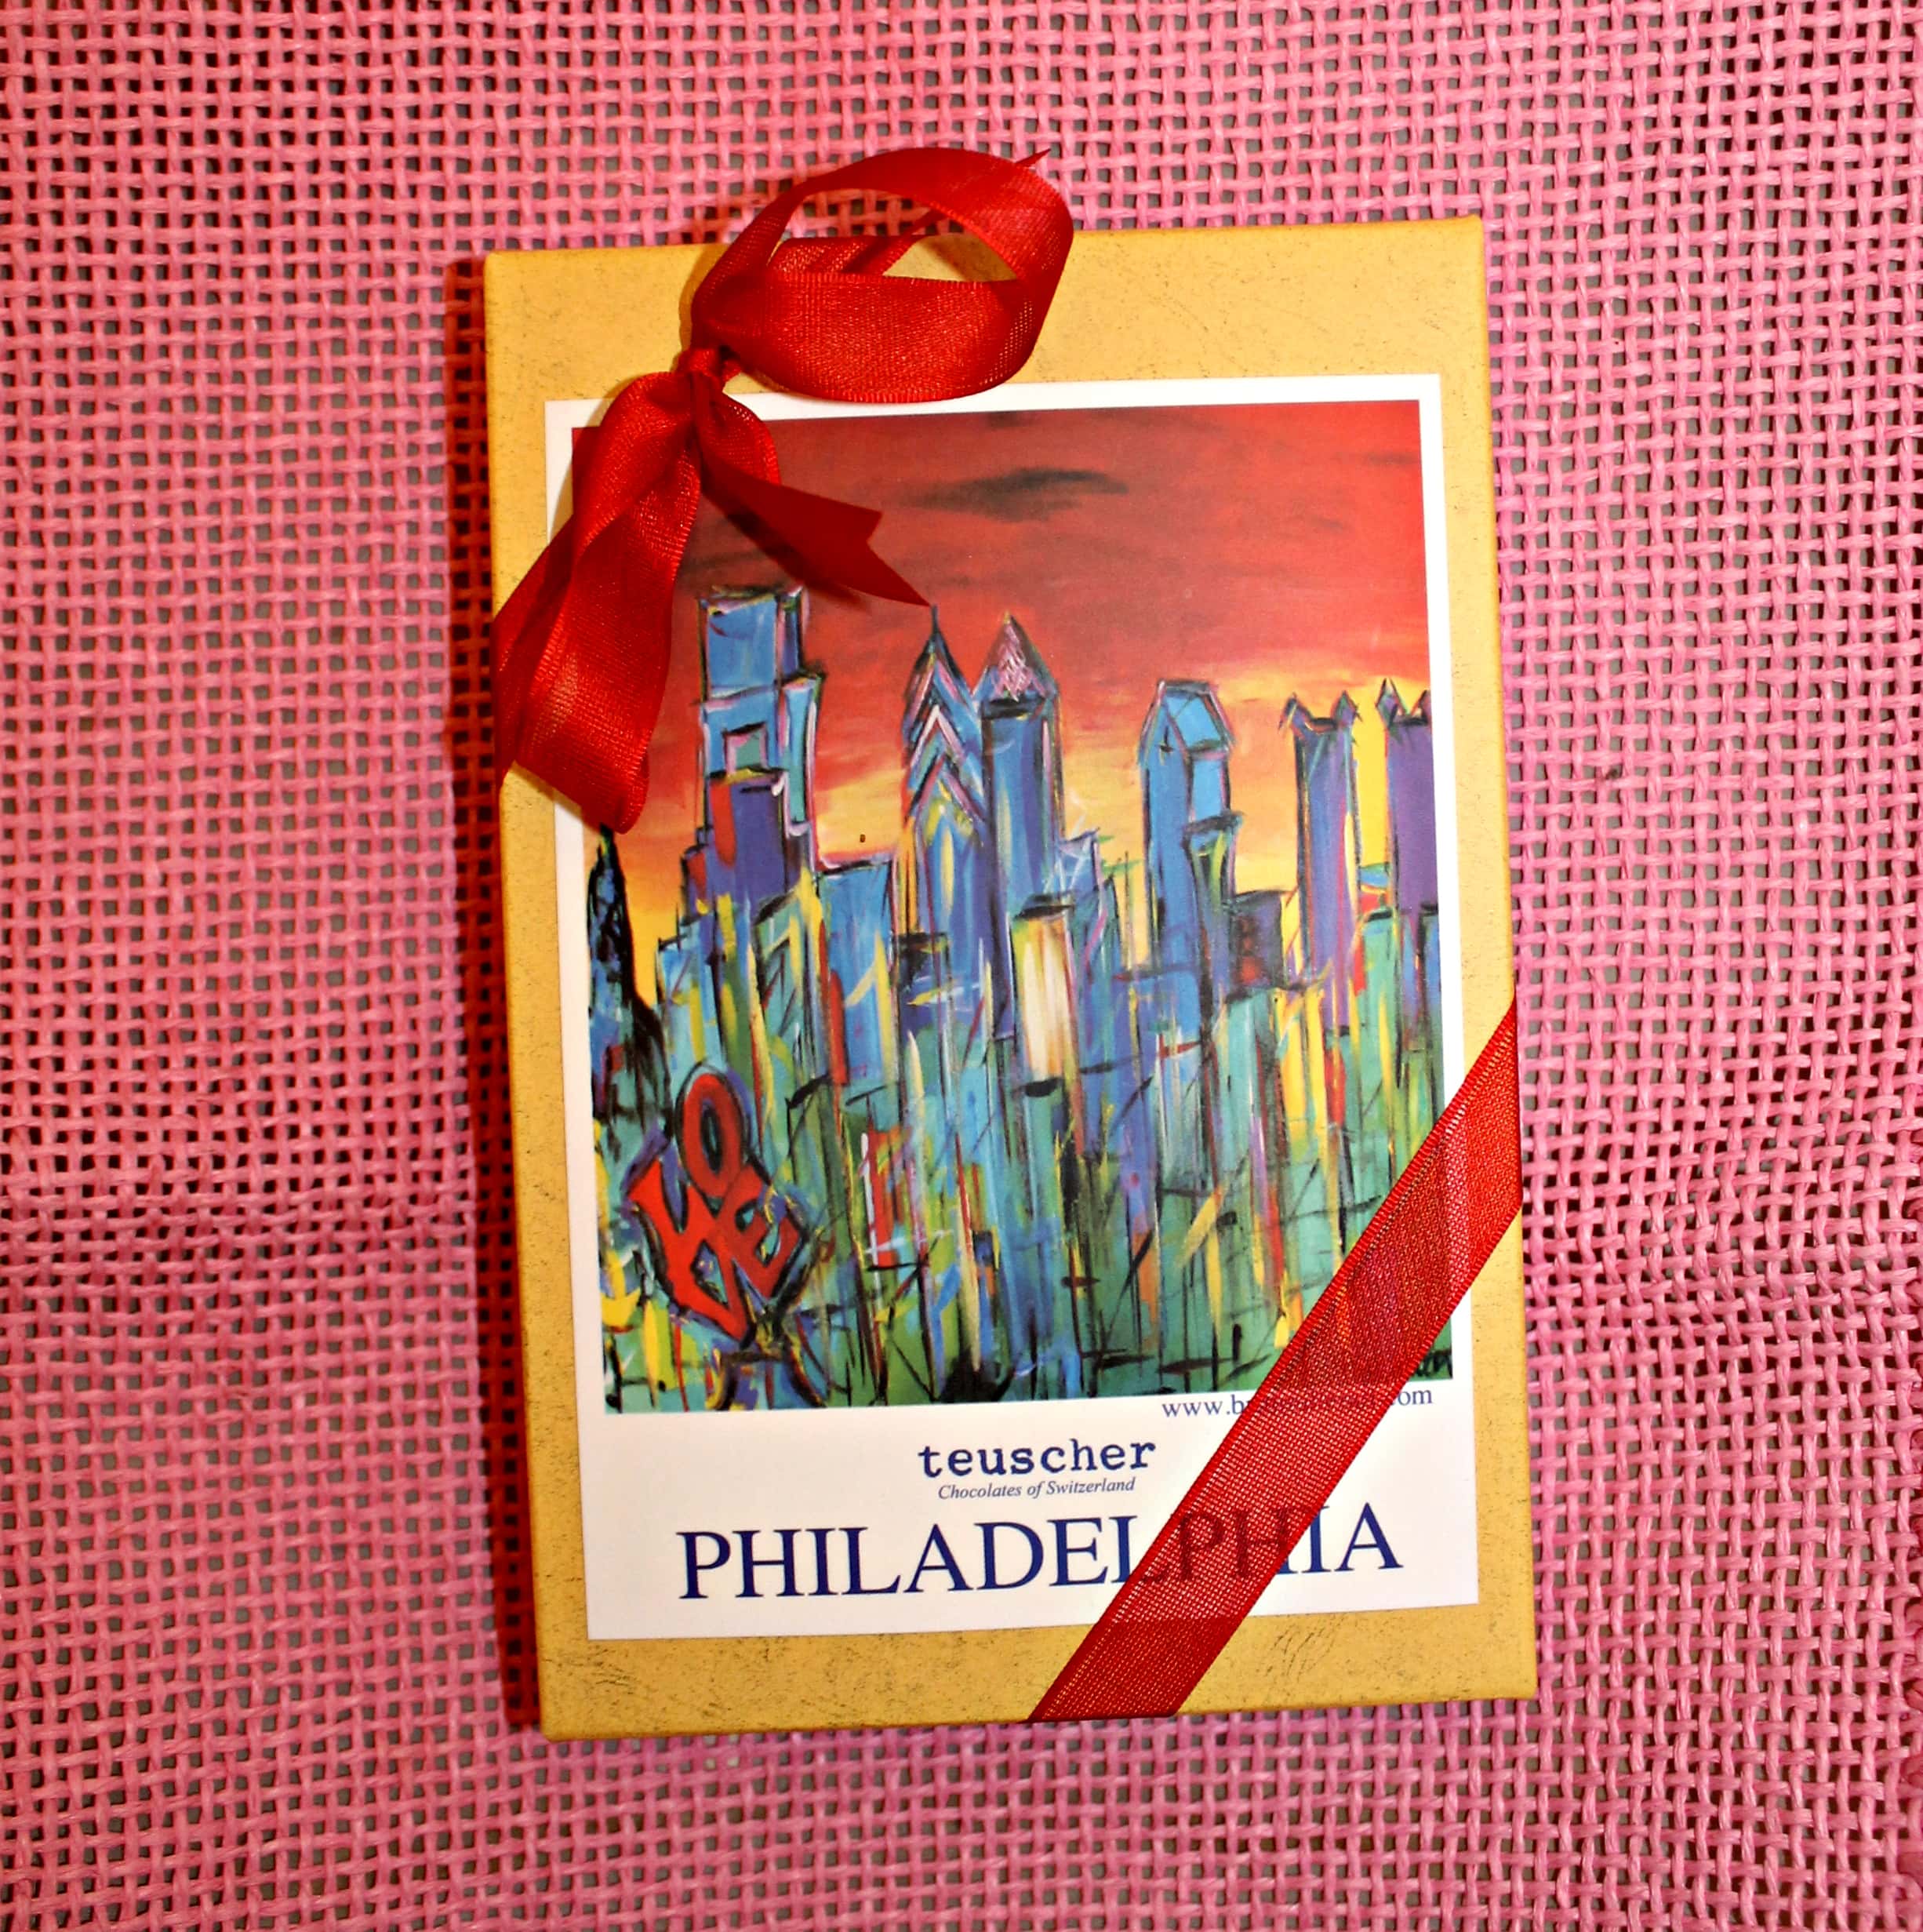
I like any excuse to brag about Philadelphia. I can’t help it, I’m proud of where I live. So I get even more excited when the bragging involves food. Recently, National Geographic named Teuscher Chocolates the Best Chocolate in the World. Teuscher hails from Zurich, Switzerland but we have our very own store here in Philadelphia.
Philadelphia actually has quite a chocolate history, we even used to have a Confectioner’s Row (N 3rd St in Old City in case you’re interested). Wilber Chocolate, Whittman’s, and even Hershey’s got their start in the Philadelphia confectionery scene. And many brands continue that tradition to this day, including Teuscher, located in the Bellevue.
To celebrate being the Best Chocolate in the World, Teuscher Philadelphia contacted a few of us local bloggers and offered to let us sample some of their chocolates. Honestly, who’s going to say no to that?!
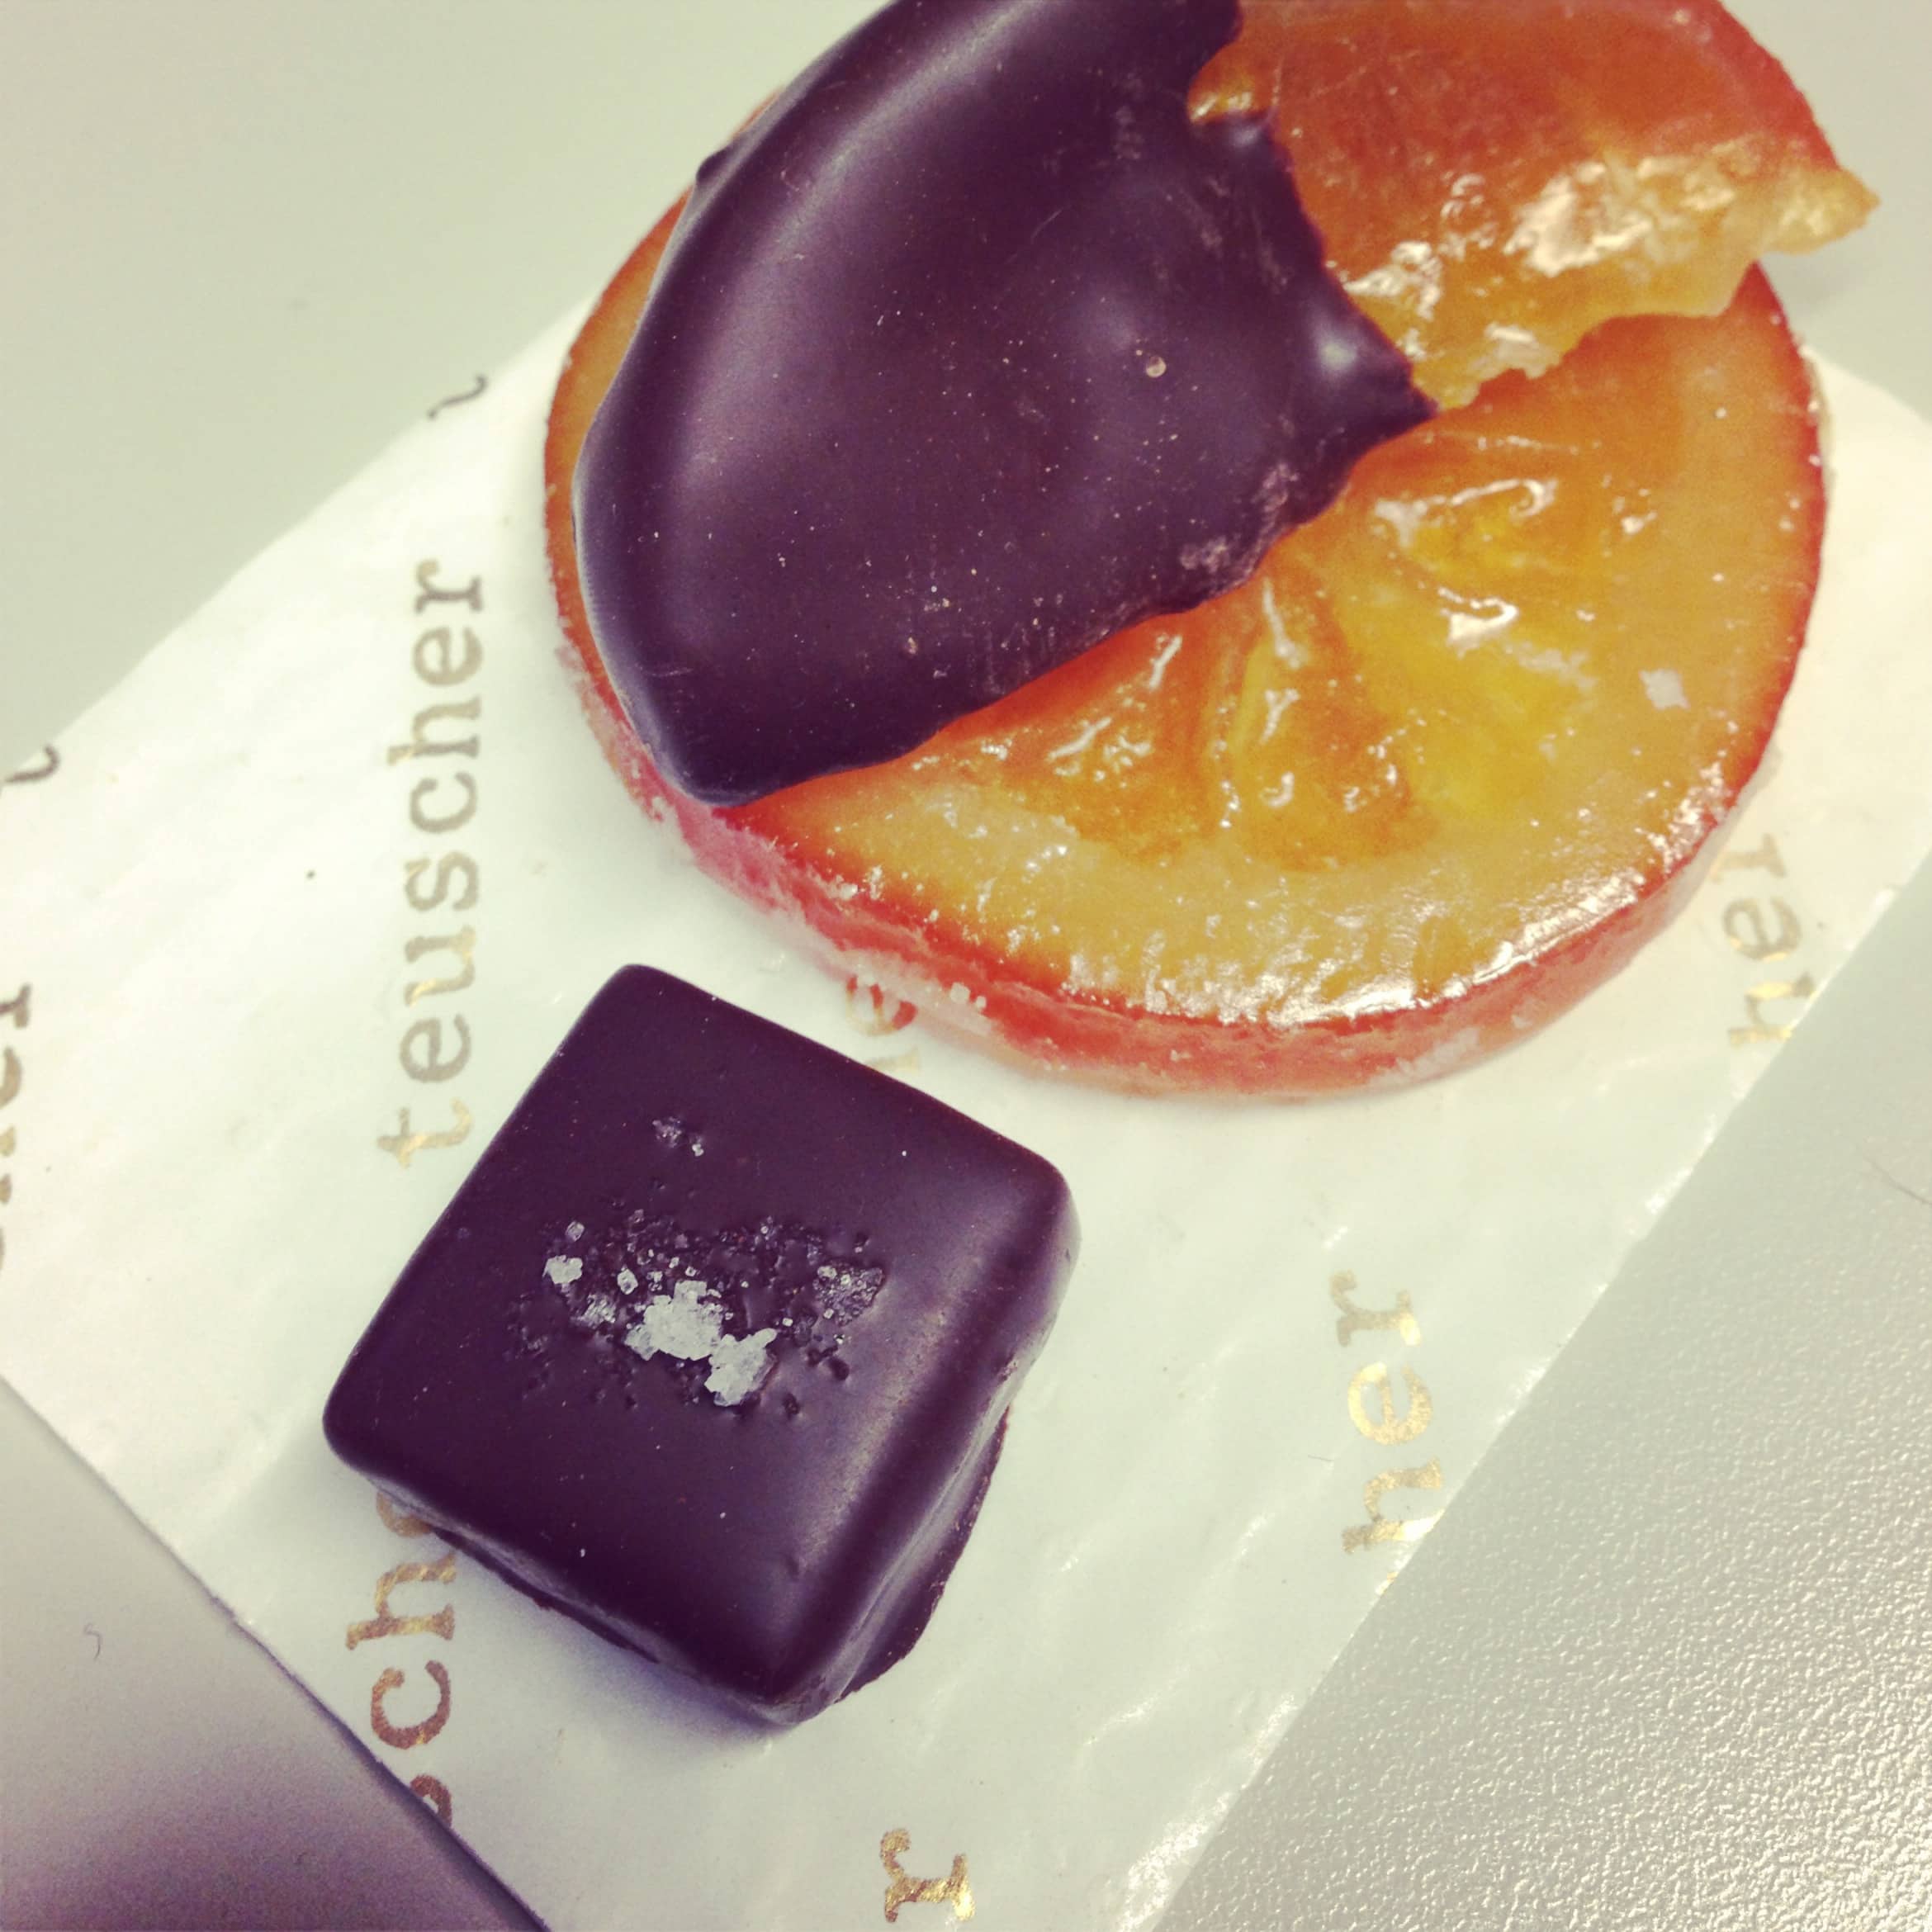
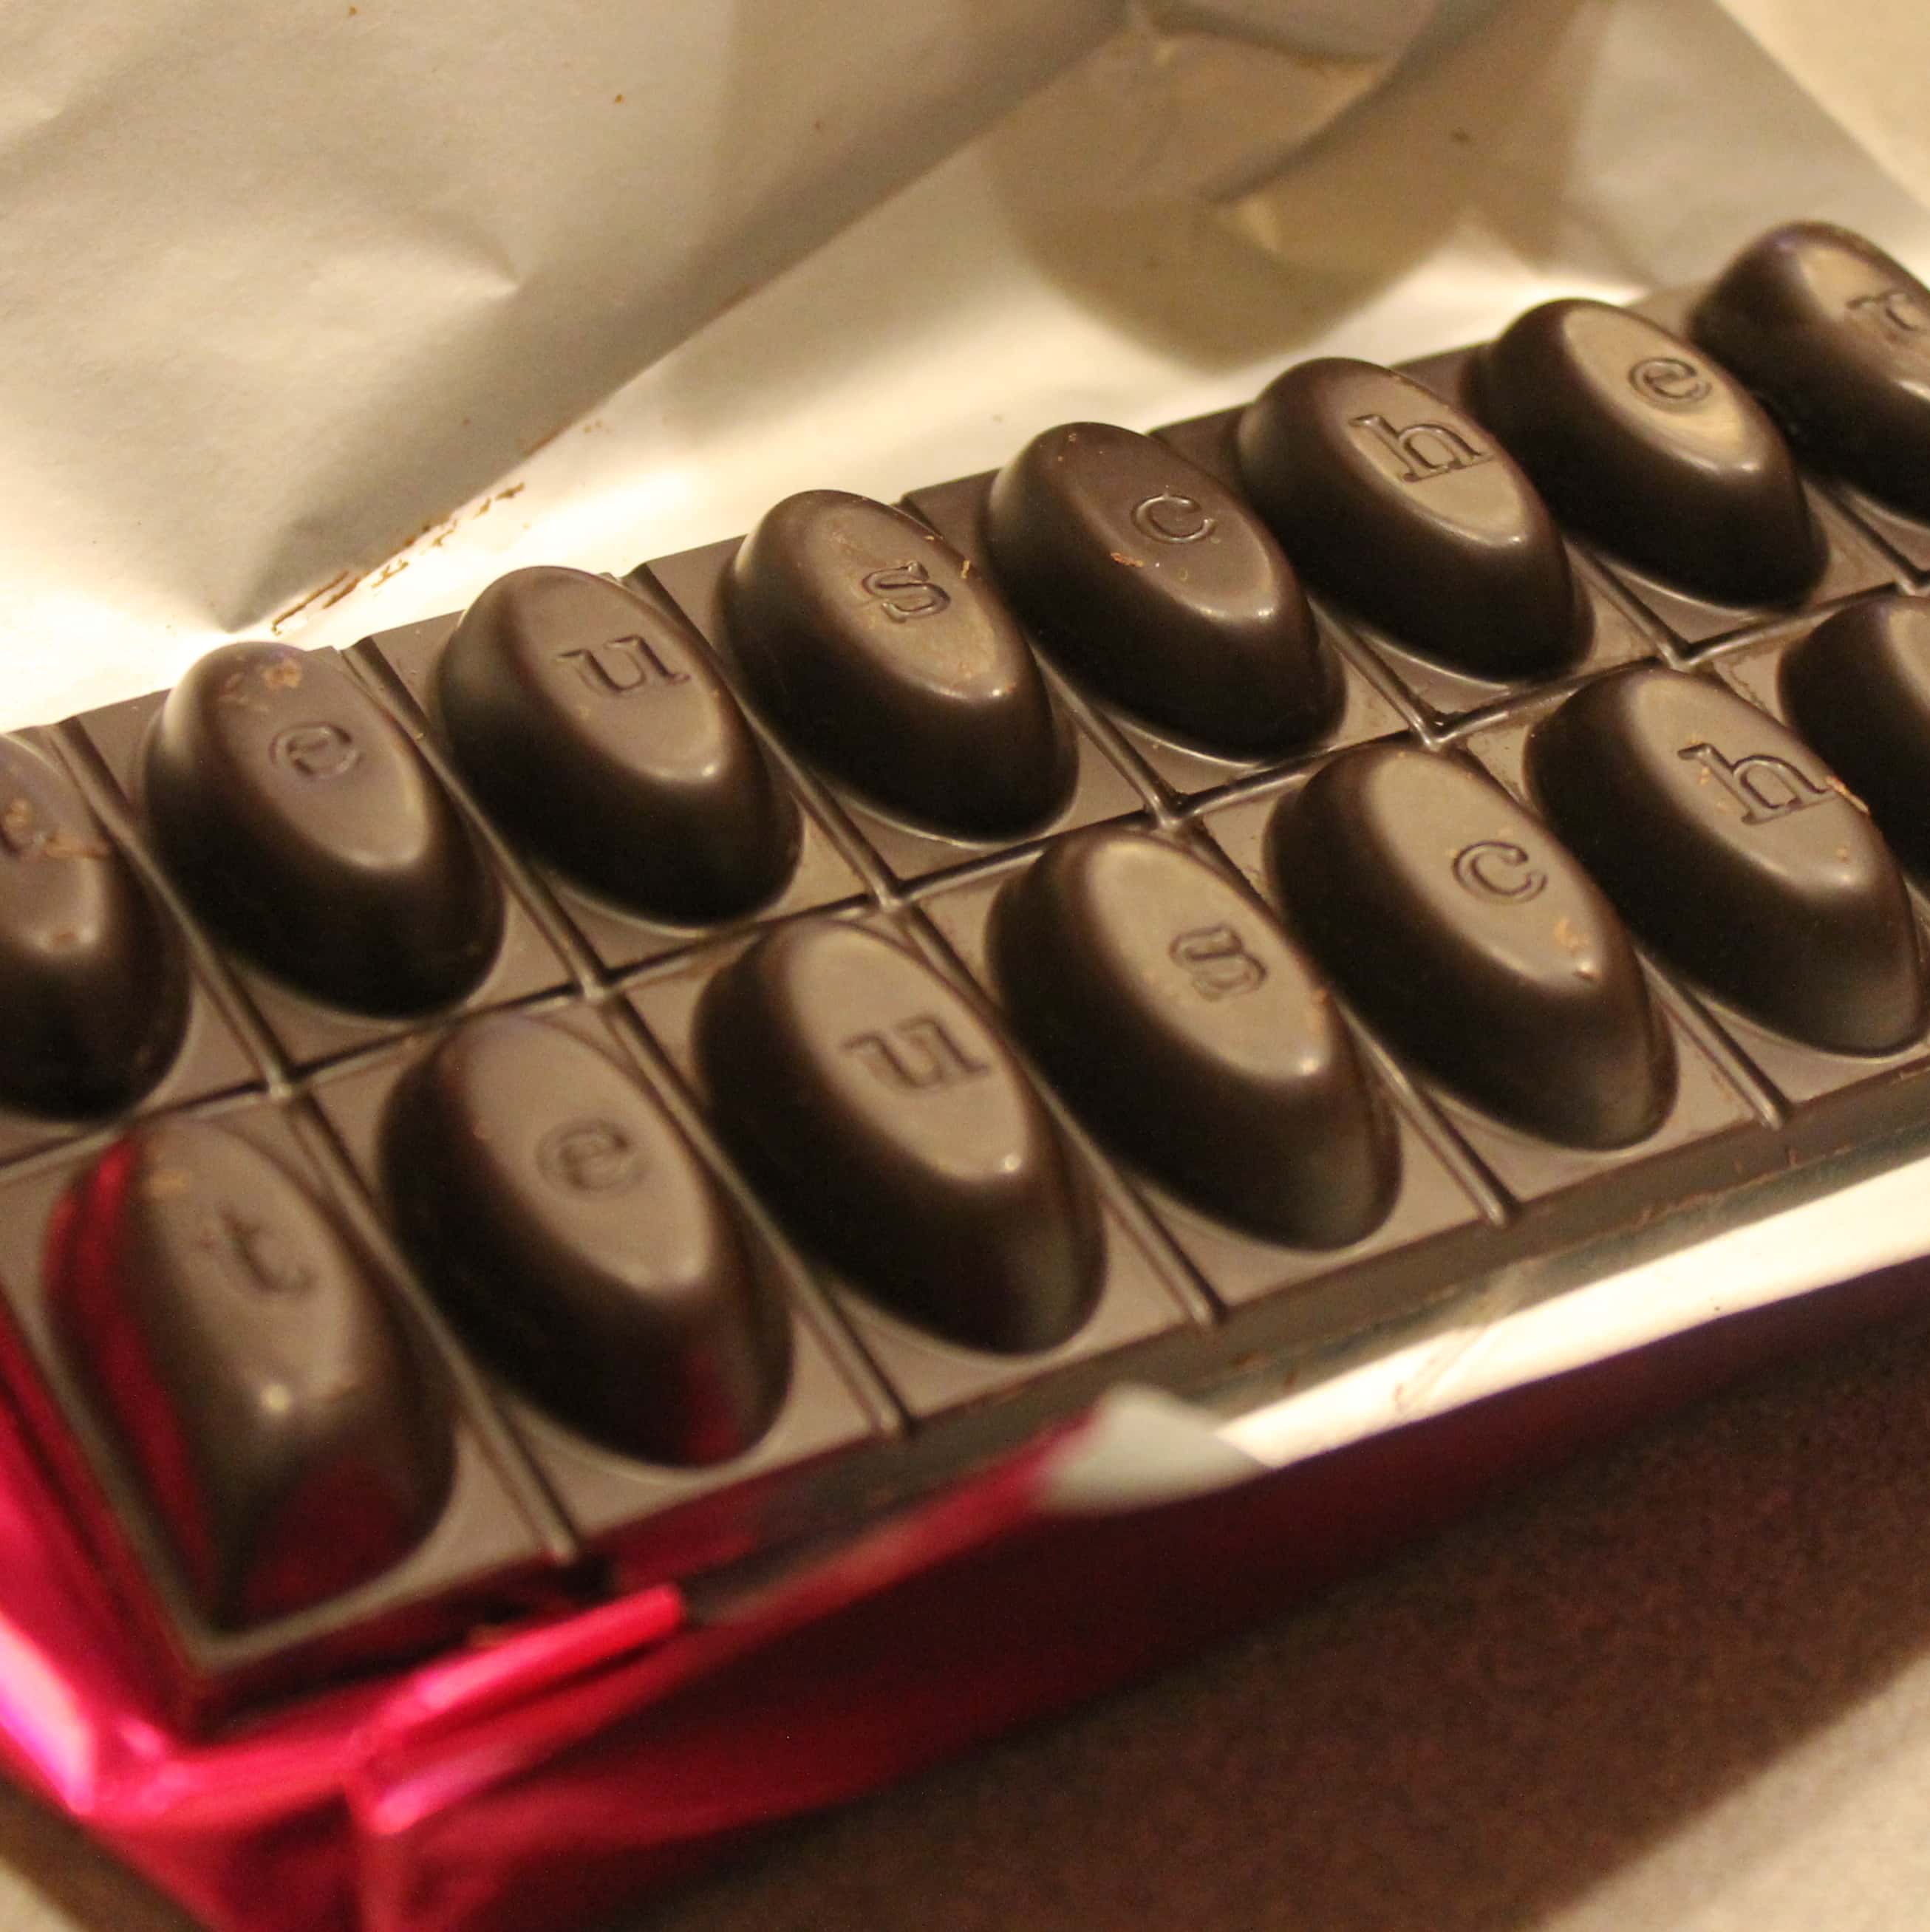
You may have seen some of my Instagram photos about their chocolates. Every piece seemed to be better than the last. I was hoarding them, eating one a day, until they sadly were all gone. The house specialty is not to be missed: the Classic Champagne Truffle. Made with dark chocolate ganache coated in milk chocolate with some Dom Perginon champagne creme, these are little bites of happiness and luxury. They even have Dark Chocolate Champagne Truffles! But their other choices really hold their own. The Chocolate Citrus Peels were amazing, but my ultimate favorite was the fleur de sel caramel. I cannot even put into words how good it was!
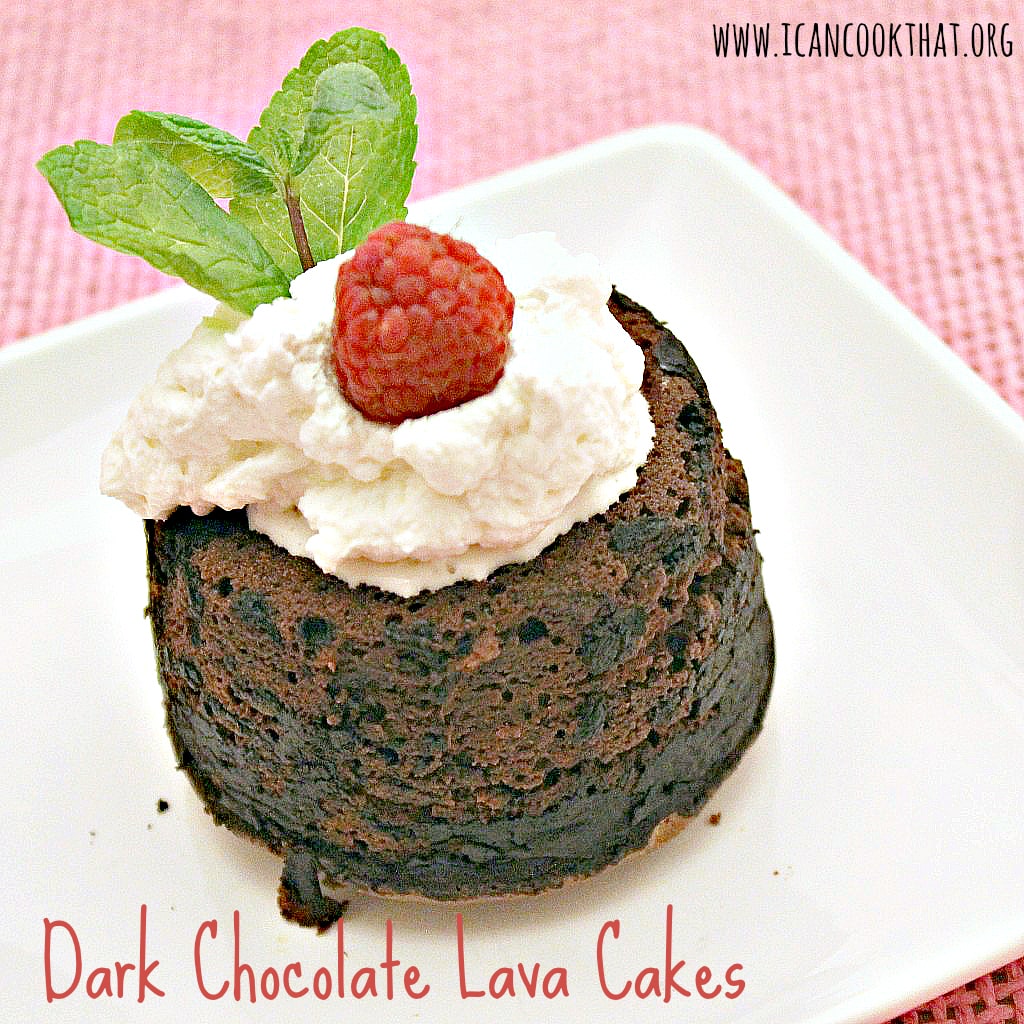
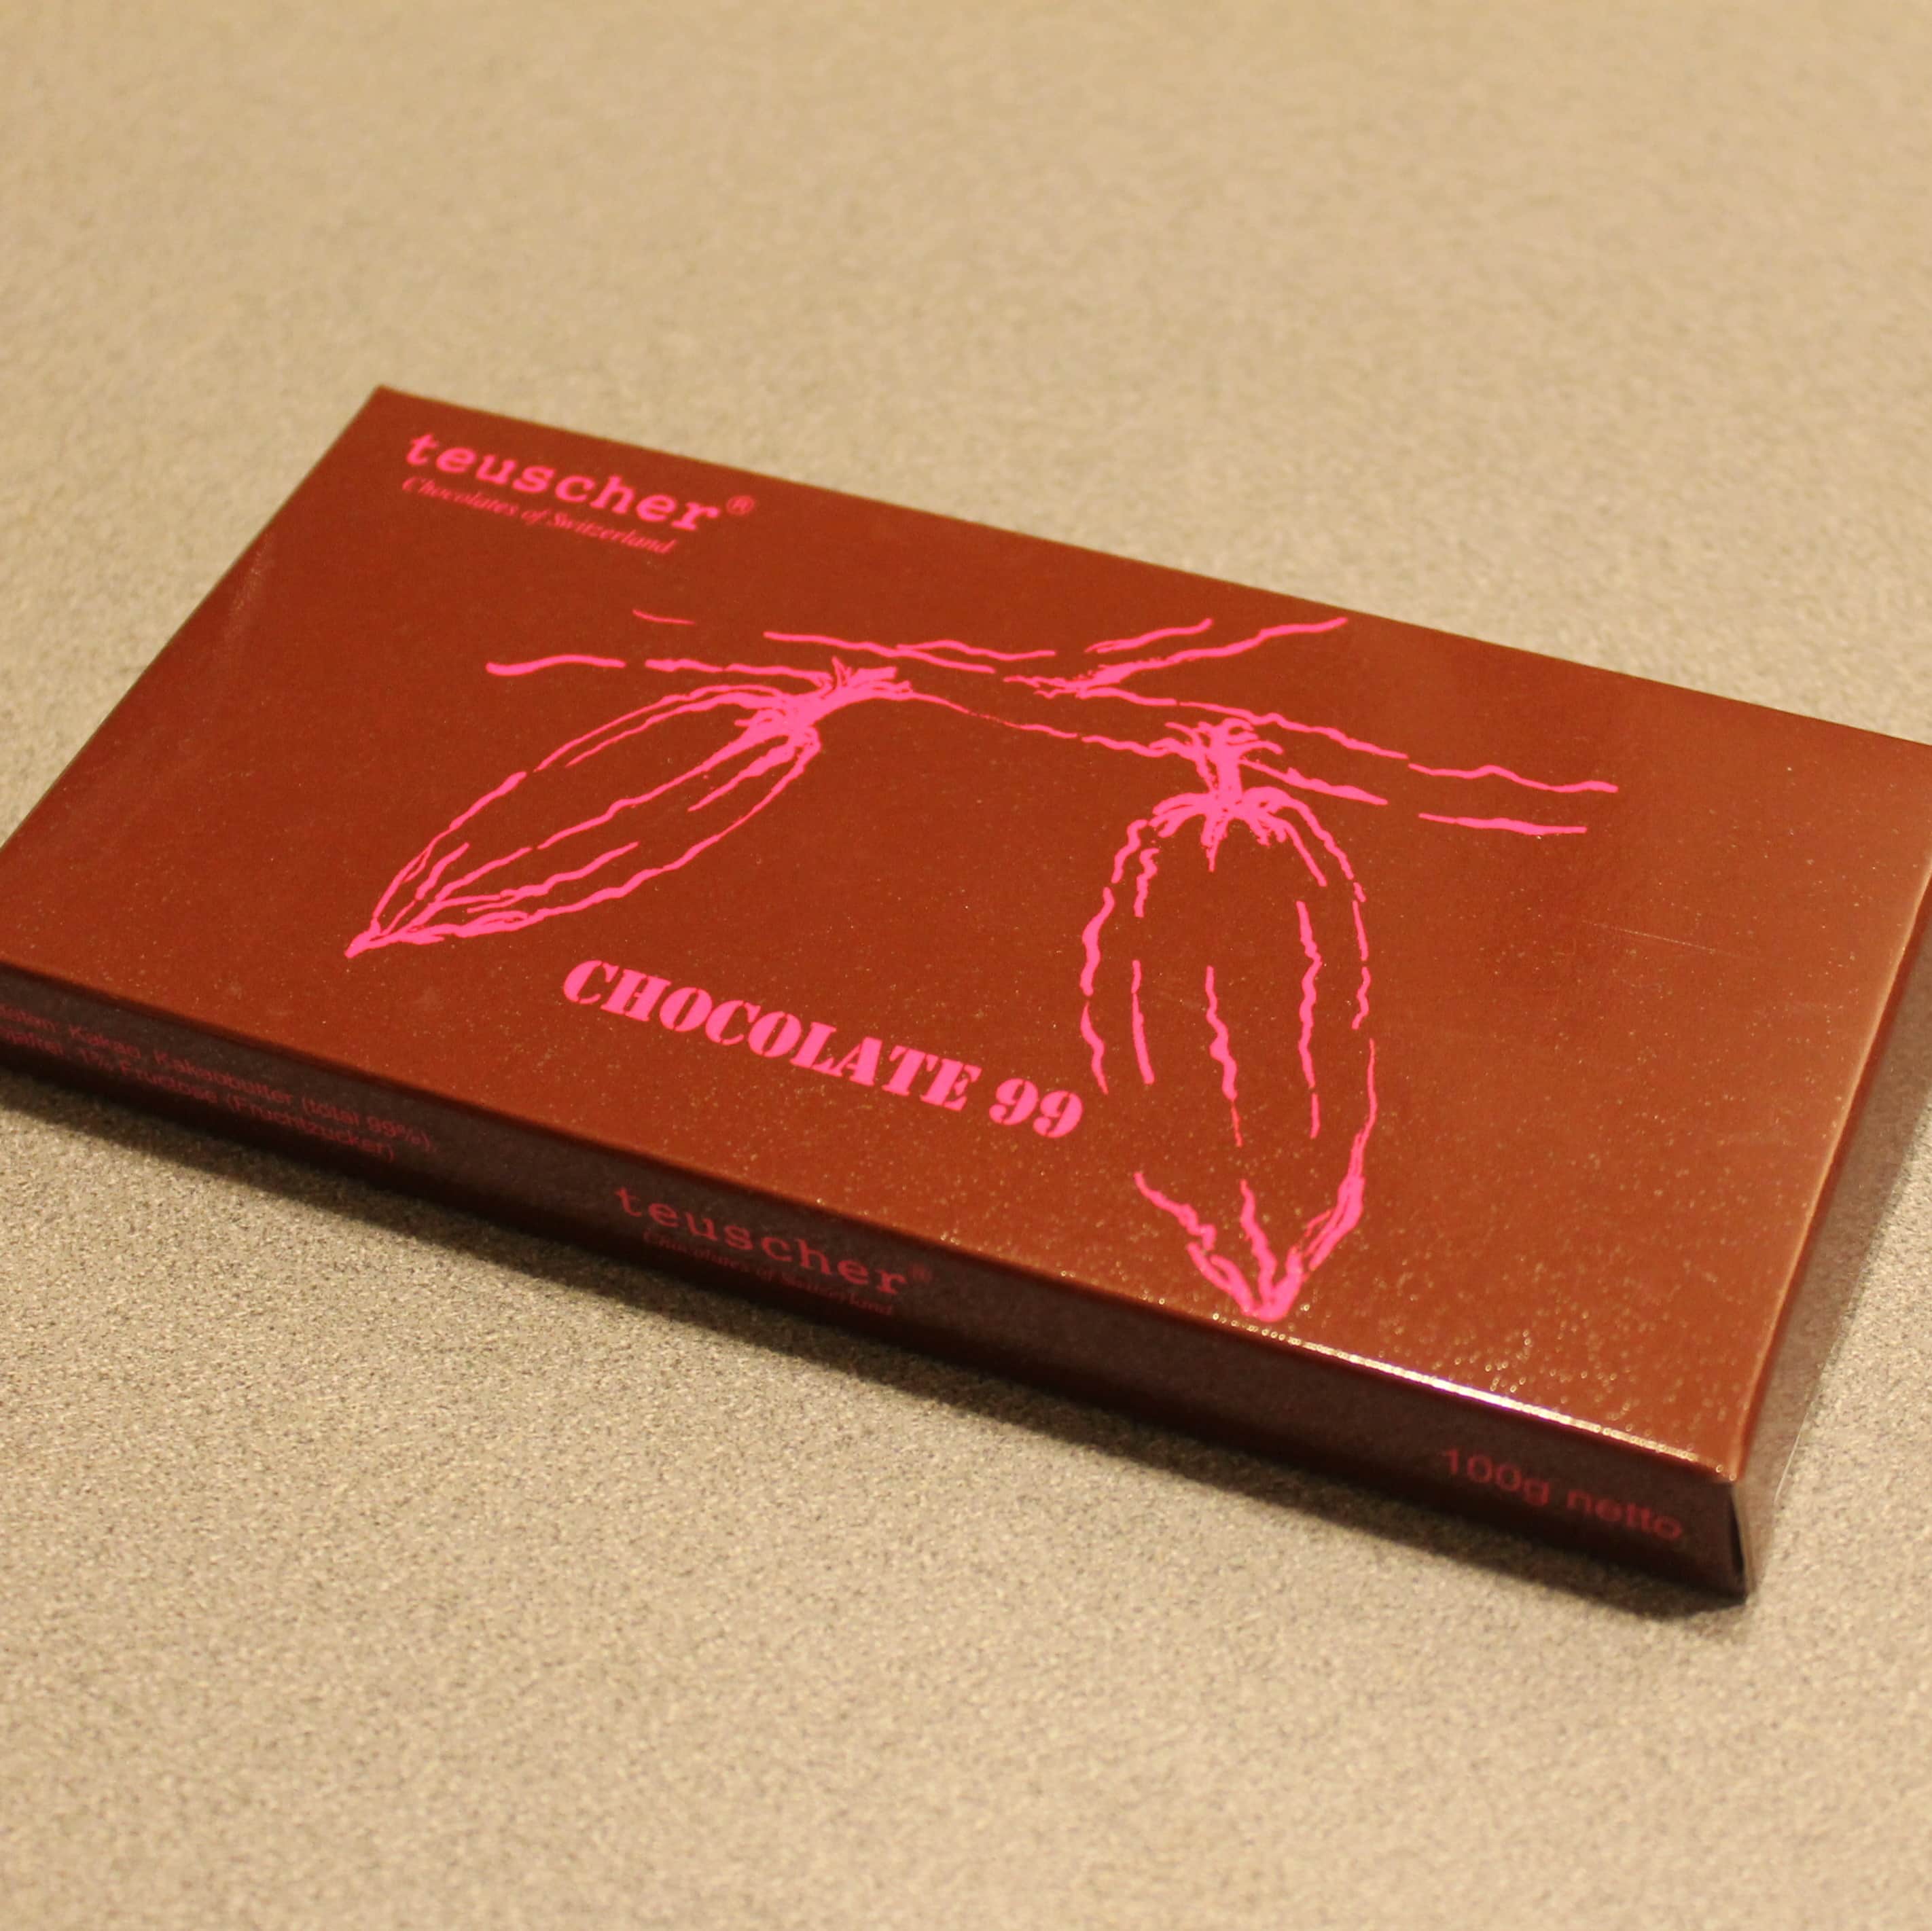
If that wasn’t enough to make me giddy, I also walked away with a bar of Teuscher’s Chocolate 99, a 99% chocolate bar that is somehow not overly bitter, perfect for baking. The chocolate has no chemicals, additives, or preservatives either.
To show off this beautiful chocolate, I decided to make Chocolate Lava Cakes, which are super easy to make and would impress any Valentine (hint hint). And because chocolate makes me feel oh so warm and fuzzy inside, I wanted to share some of this chocolatey goodness with one lucky reader! I am giving away an assorted box of Teuscher Chocolates! (More below)
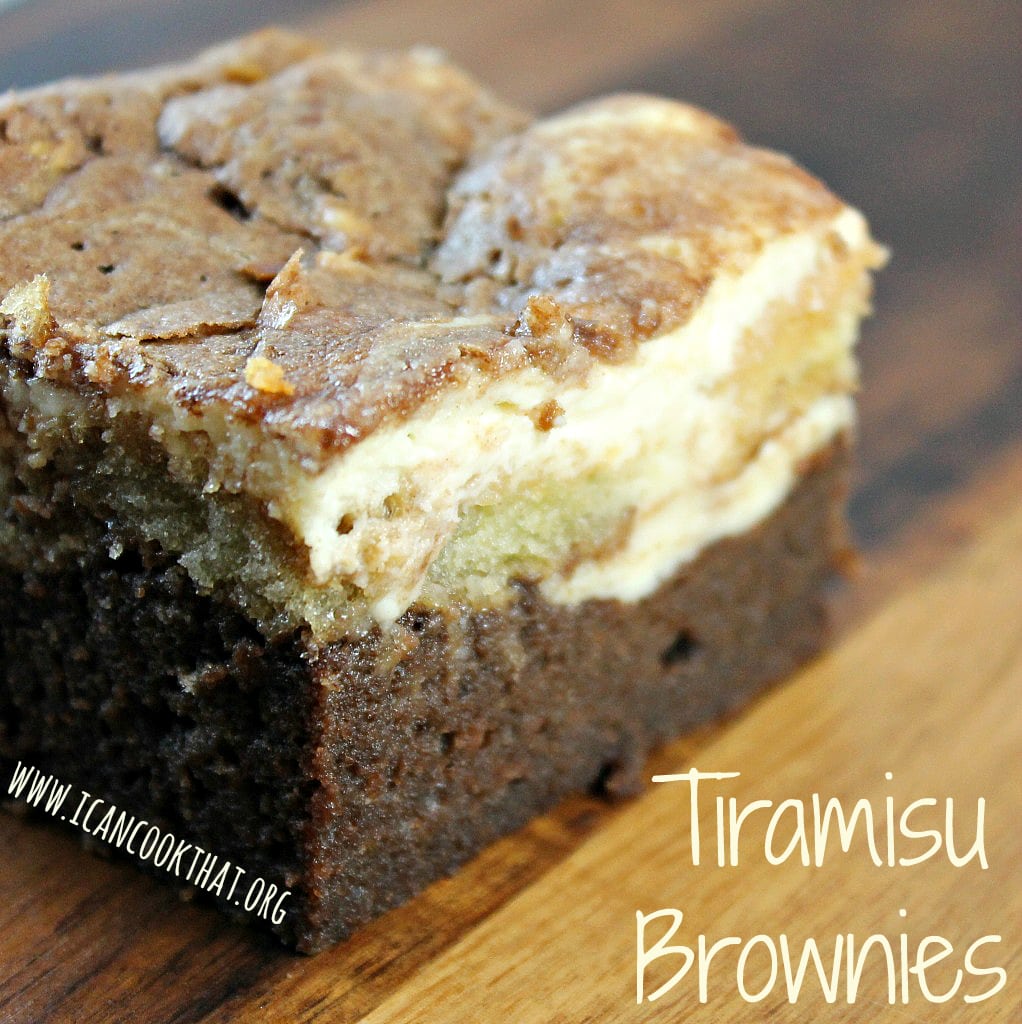
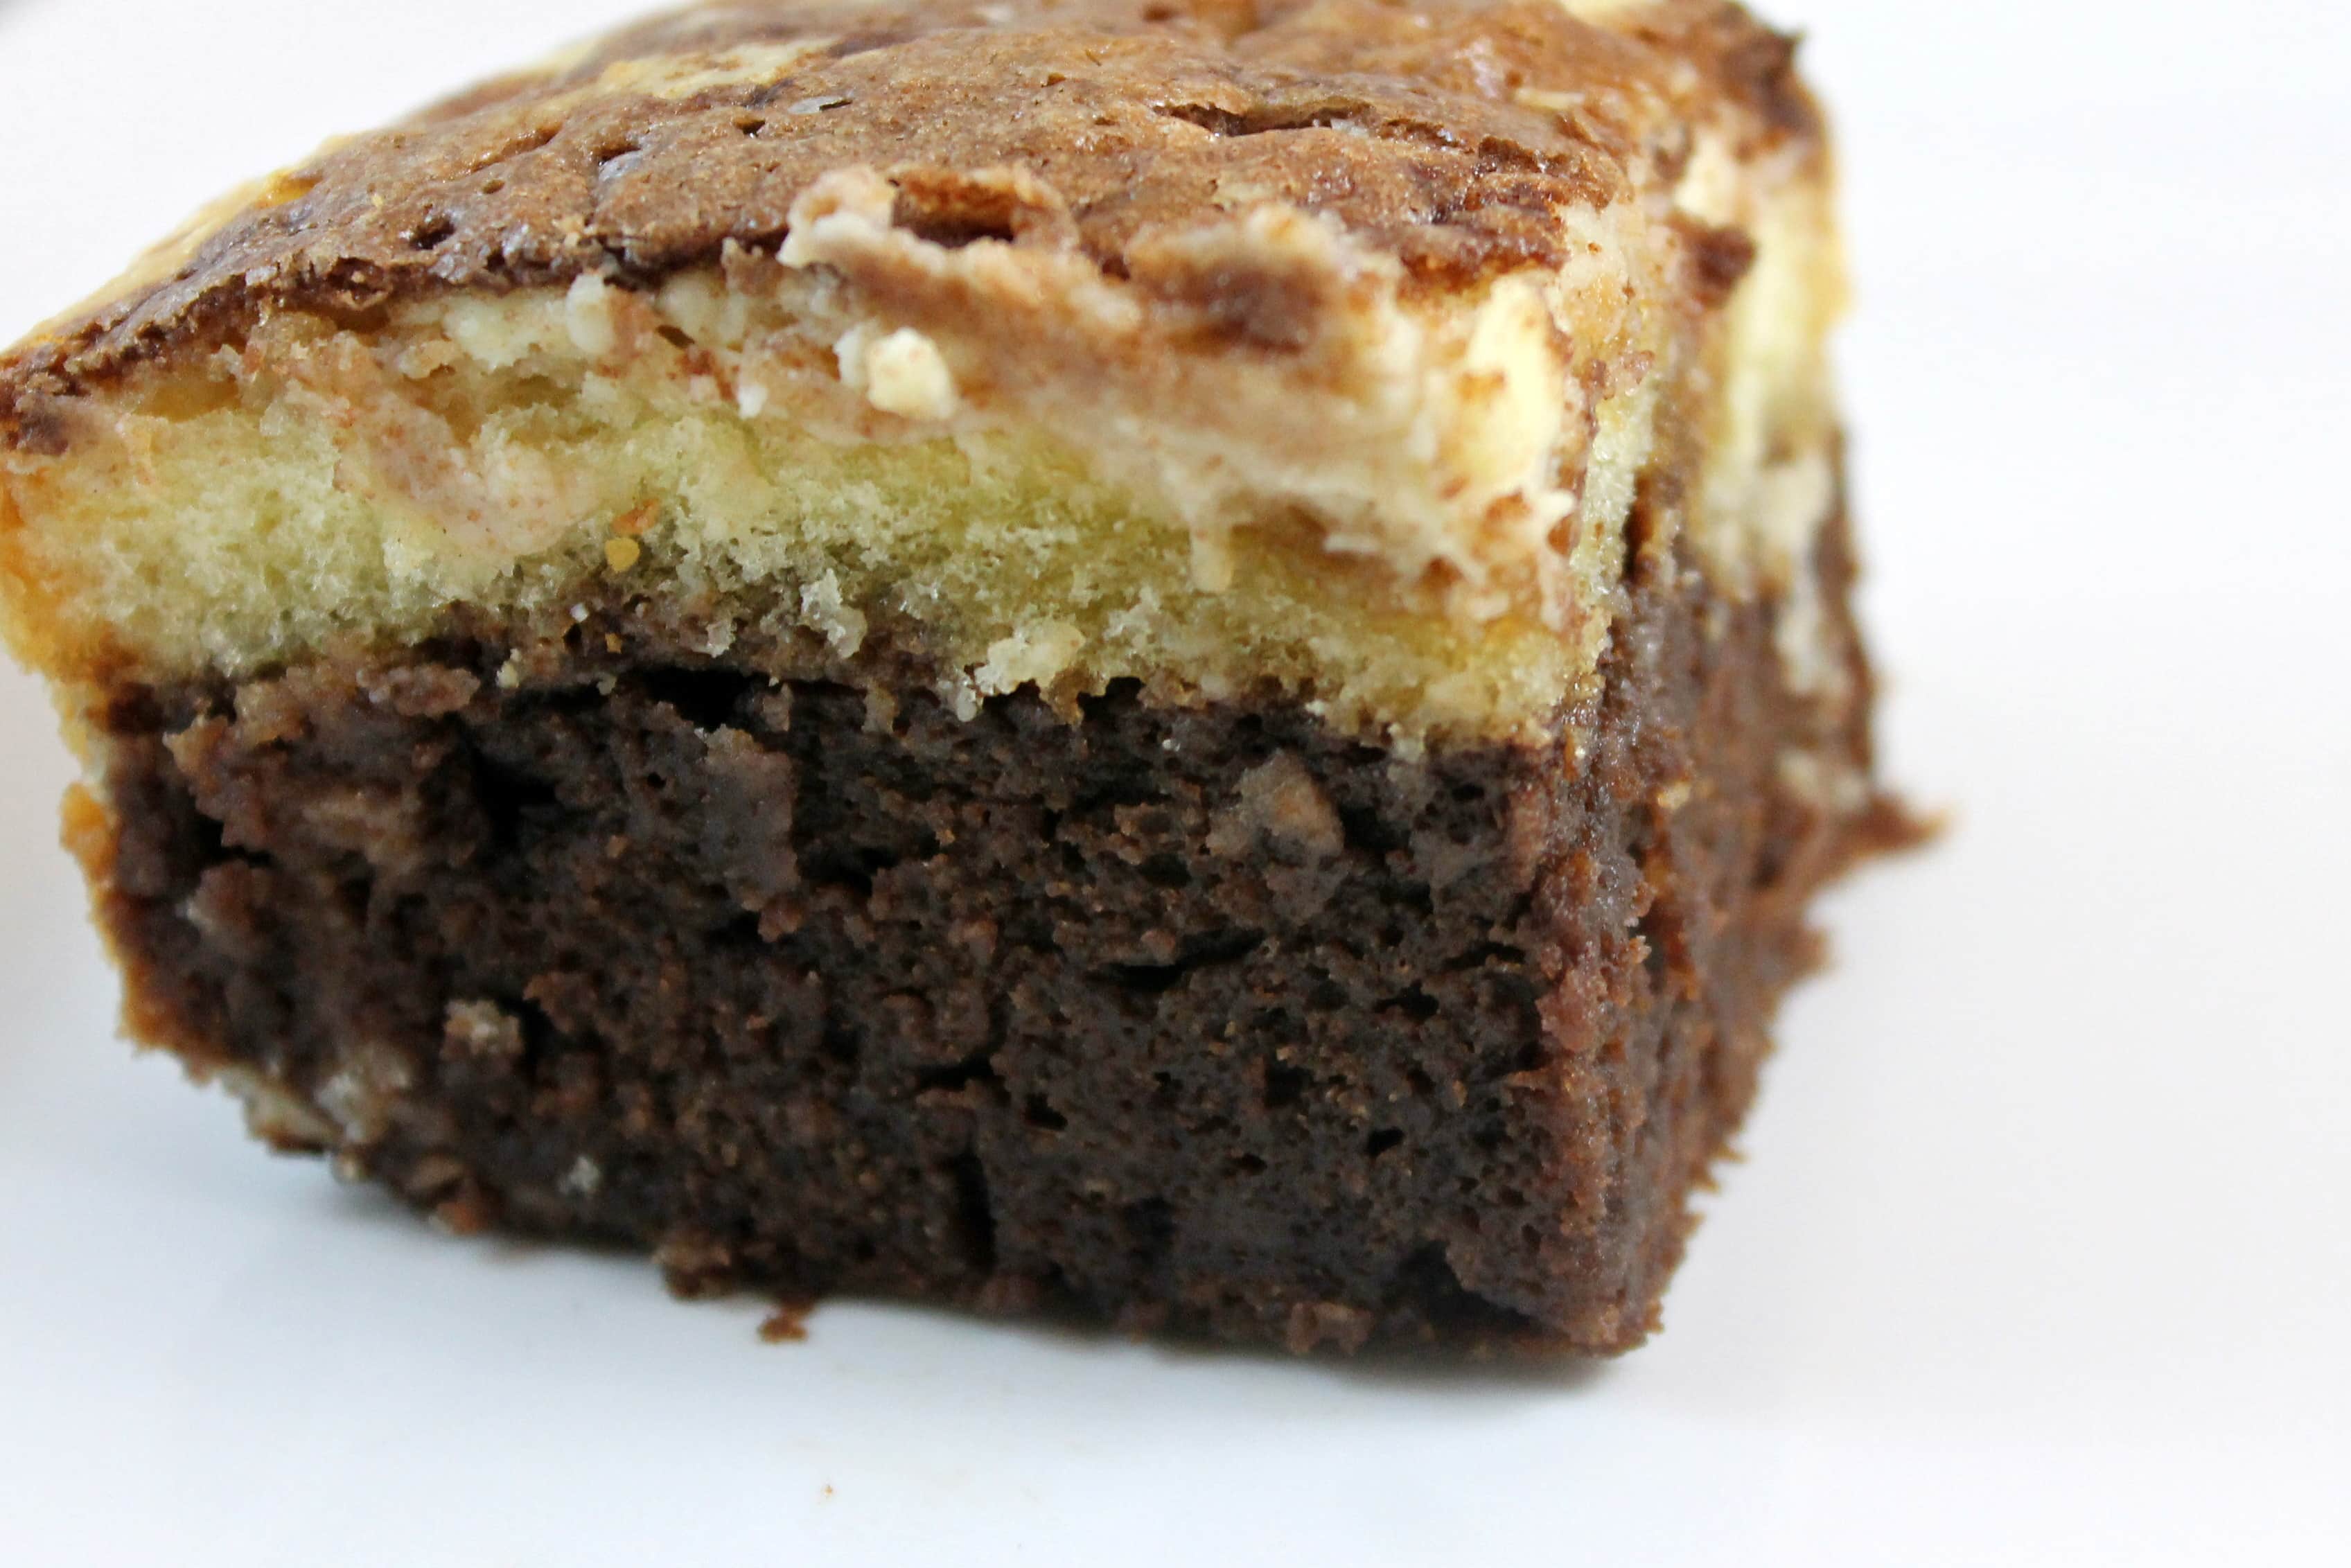
I am a huge fan of coffee and coffee-related foods, so tiramisu is obviously a favorite of mine. When the concept of Tiramisu Brownies was mentioned, I was immediately excited. What a fantastic combination of desserts!
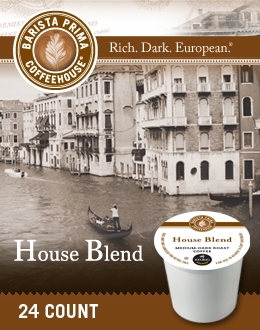
Barista Prima Coffeehouse® K-Cup® (paid link) packs are four dark, rich coffee blends that really deliver an intense flavor that are more bold and robust than other K-Cup offerings. The four flavors offered are: Colombia, House Blend, Italian Roast, and French Roast. I’ve had a Keurig for years now (I just had to retire my original Keurig and buy a replacement, sniffle) and am always really pleased with the coffee choices that can be found in K-Cup form. I tend to use coffee grounds in a bunch of recipes, especially ones that use chocolate, to really up the flavor.
Barista Prima was nice enough to send me a box of their House Blend K-Cups so I naturally wanted to make a dish that used these delicious grounds as well as a dessert that would be perfect paired with a cup of House Blend coffee. Many thanks to Barista Prima for also sending me this mouthwatering recipe!
Ingredients:
12 oz. chocolate chips
1 cup butter, softened
1 cup sugar
4 whole eggs
4 egg whites
1 cup cake flour (or normal flour if you can’t find it)
Last year, I made sugar cookies and attempted to decorate them myself (attempted being the key word). I may be getting better at cooking, but my decorating skills are still really sub par. I didn’t want to give away funny looking cookies again this year but wanted to still make sugar cookies. Cooking Light’s Chai Eggnog Sugar Cookies were the perfect choice. Plus, these cookies are really quick to whip up because you can absolutely use sugar cookie mix!
Ingredients:
1 chai tea bag
1 (17.5-oz.) package sugar cookie mix
1/2 cup melted butter
1 large egg
4 tablespoons eggnog, divided
1/2 cup powdered sugar
1/4 teaspoon freshly grated nutmeg
Note: These cookies are non-alcoholic so they are fine for all ages of cookie lovers.
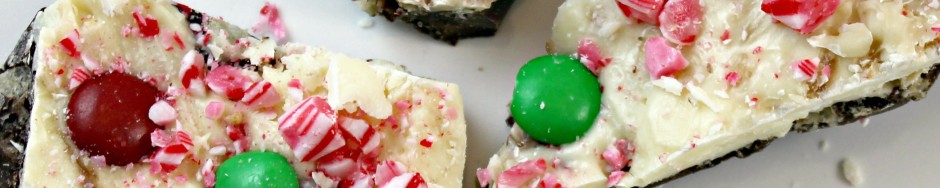
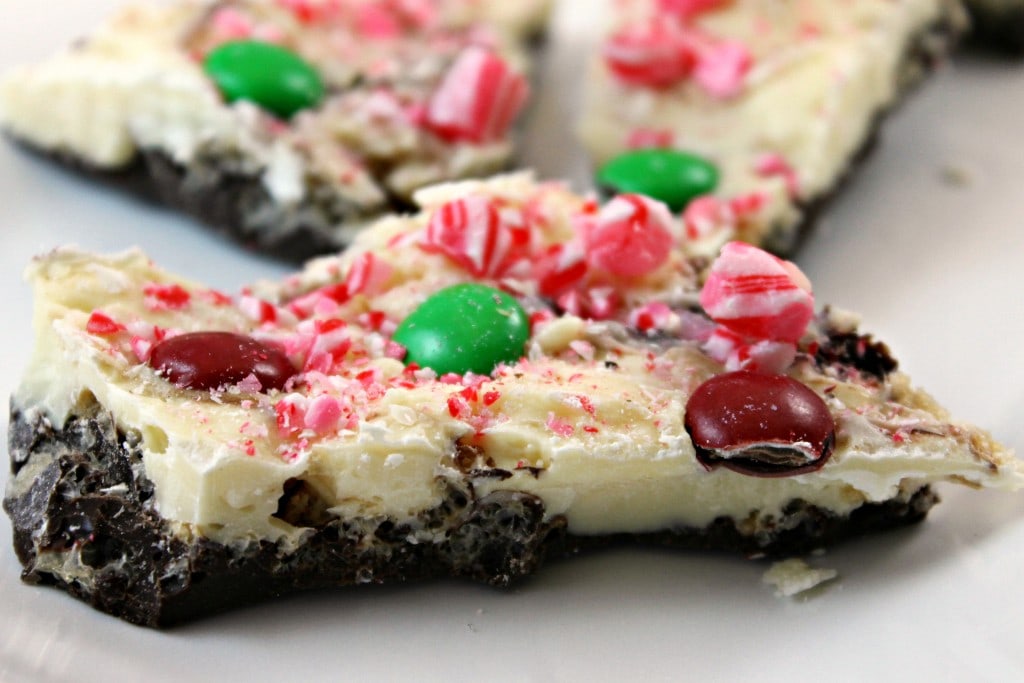
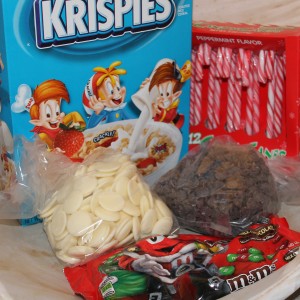
Chocolate Bark is one of my favorite holiday treats to make. Why? Because it is so darn simple. And people LOVE it. It is basically melted chocolate with some other deliciousness thrown in. Candy, pretzels, nuts.. whatever makes you happy. I wanted to make some bark to supplement my cookies this year and found this fantastic recipe from Baked Bree. Bree included some Rice Krispies cereal in between the layers to add a little bit of extra crunch to the bark, brilliant! The red and green M&Ms and candy canes make this the perfect holiday treat.
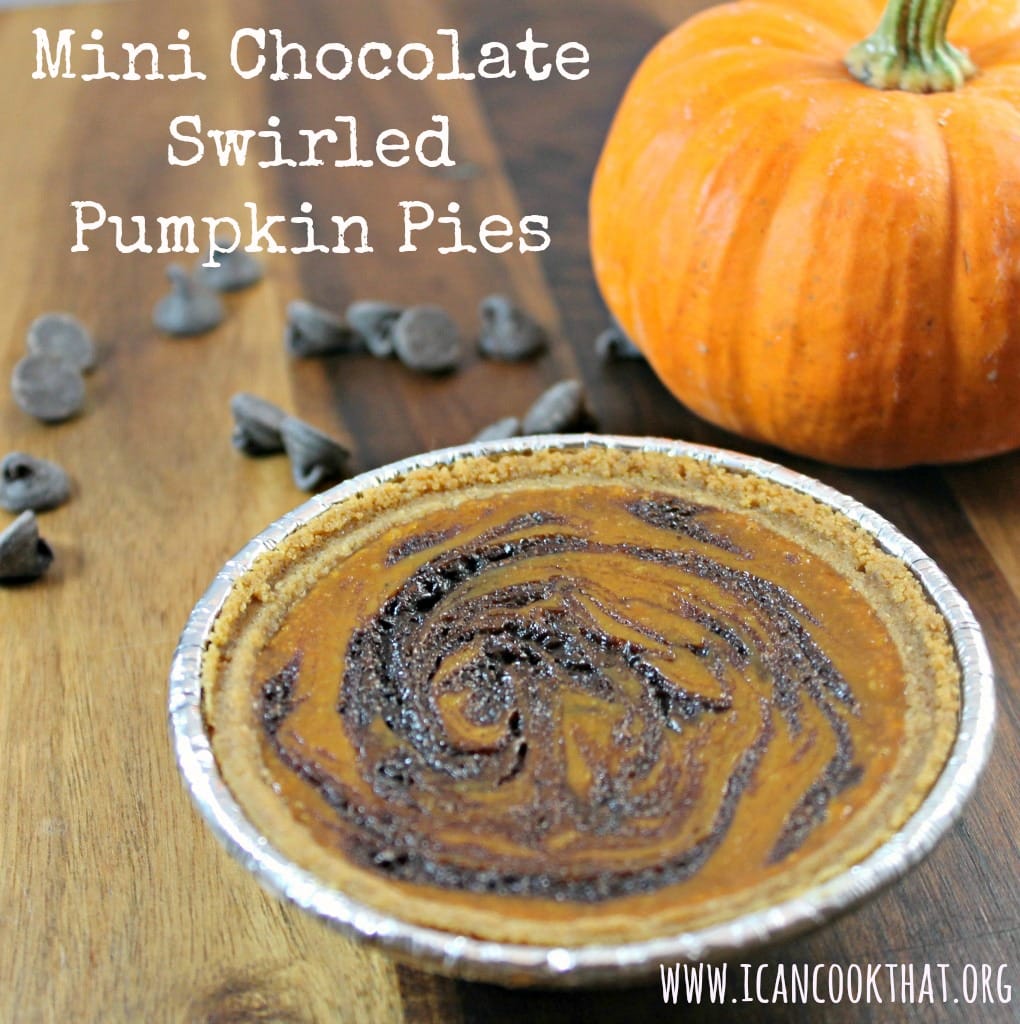
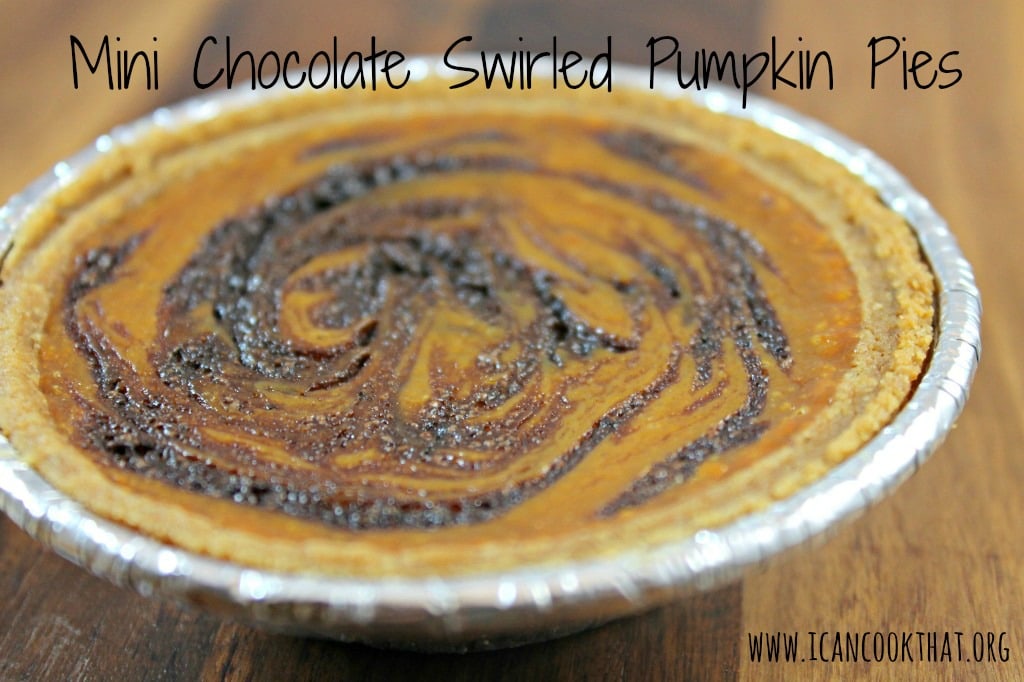
Just because Thanksgiving has passed doesn’t mean I can continue to deliver pumpkin-y goodness on this blog. This recipe for Chocolate Pumpkin Pie was featured on The Chew and I just loved the idea of it but wanted to make it a little bit my own, so instead I went with Chocolate Swirled Pumpkin Pies.
I didn’t want the pumpkin flavor to be lost in the chocolate so I decided to swirl a bit in at the end. And, because I’m apparently on a mini kick, I went with mini Chocolate Swirled Pumpkin Pies!
Ingredients:
3 oz Semisweet Chocolate Chips
2 tablespoons Unsalted Butter (cut into small pieces)
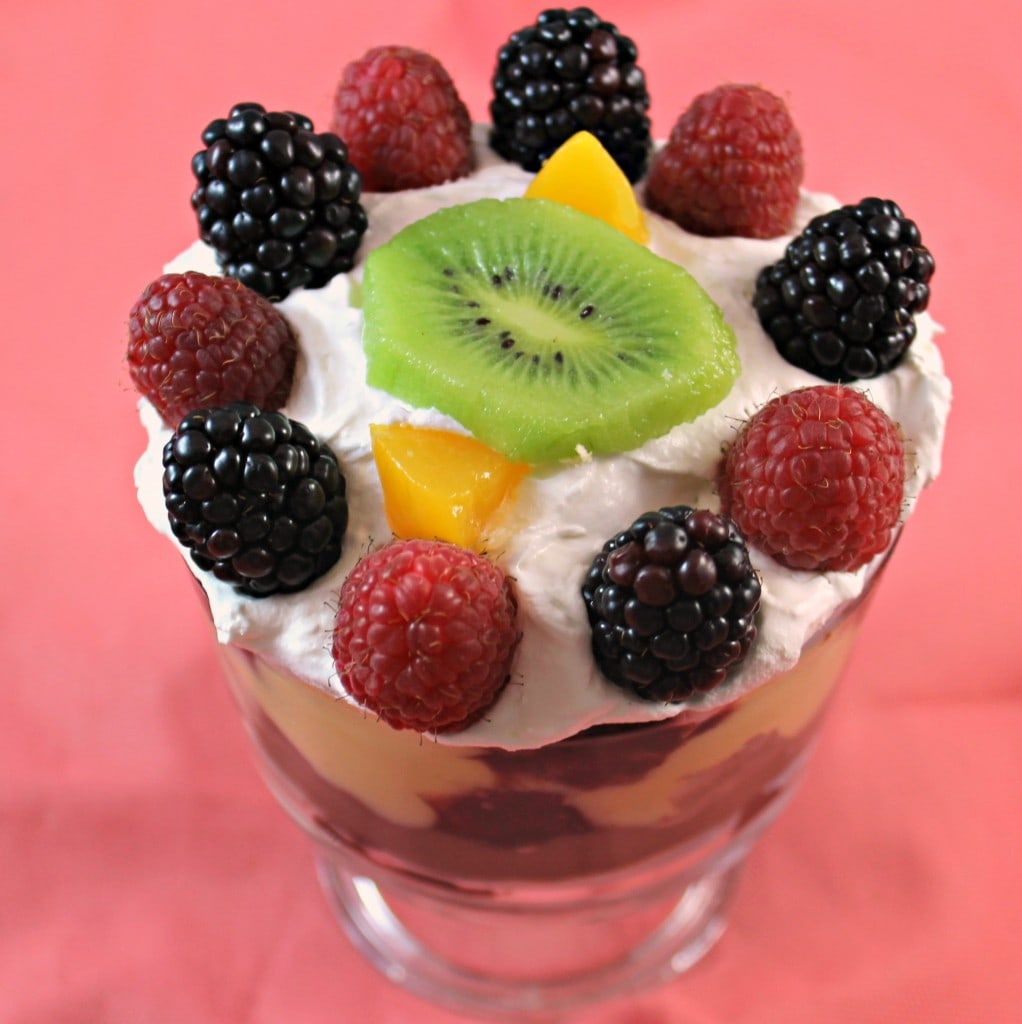
Each year, my mom makes a beautiful trifle for Christmas. I’m pretty sure at one point, she was only making one, but as the popularity of her trifle grew, she is now up to making 6+ for different holiday events, friends, and family. My sister and I grew up begrudgingly helping my mom make these Christmas trifles but we both have grown to love them and look forward to a bite of Christmas trifle every December.
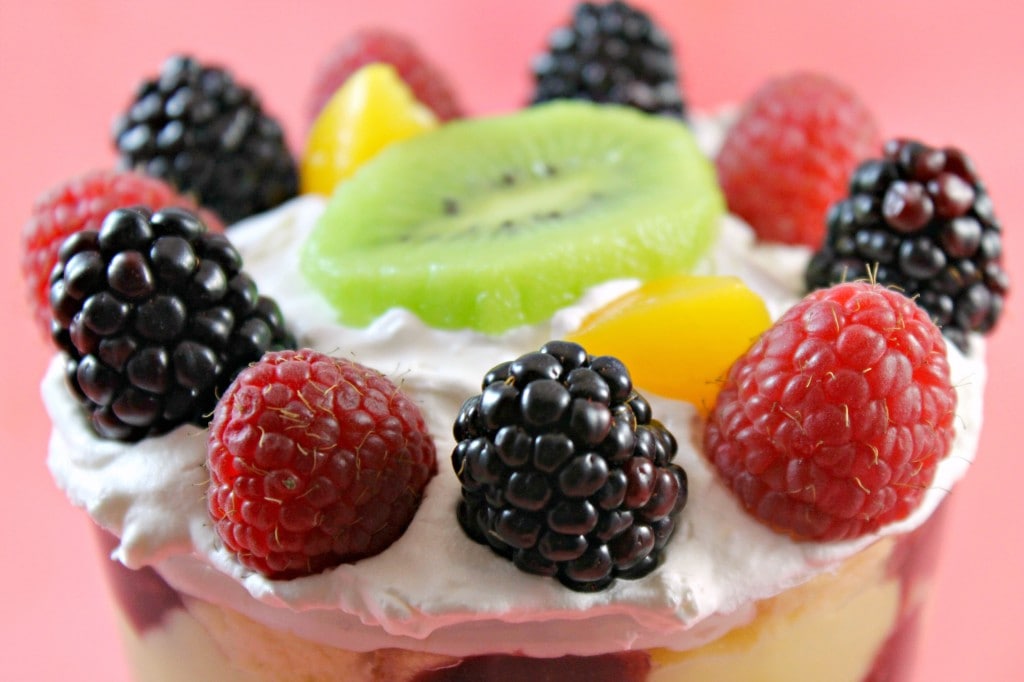
A trifle is just a layered dessert that is usually made with cake pieces, cream, pudding, and fruit. My mom tops her with a beautiful design of fruit: kiwi, peaches and raspberries. I wanted to make some trifle to share with this blog but a normal trifle can serve a whole family, so I made a mini version! To prepare a regular trifle, the process is just the same.
I highlighted Driscoll’s Berries in my trifle. I absolutely love their raspberries and blackberries so I wanted to have a higher ratio of berries in my trifle than may normally be used. Driscoll’s also sells really beautiful Strawberries and Blueberries that I have used in many many of my previous posts. Berries always add such beautiful color and flavor to a dish!
Note: Driscoll’s sent me coupons for free berries to make this recipe; my opinions are my own.
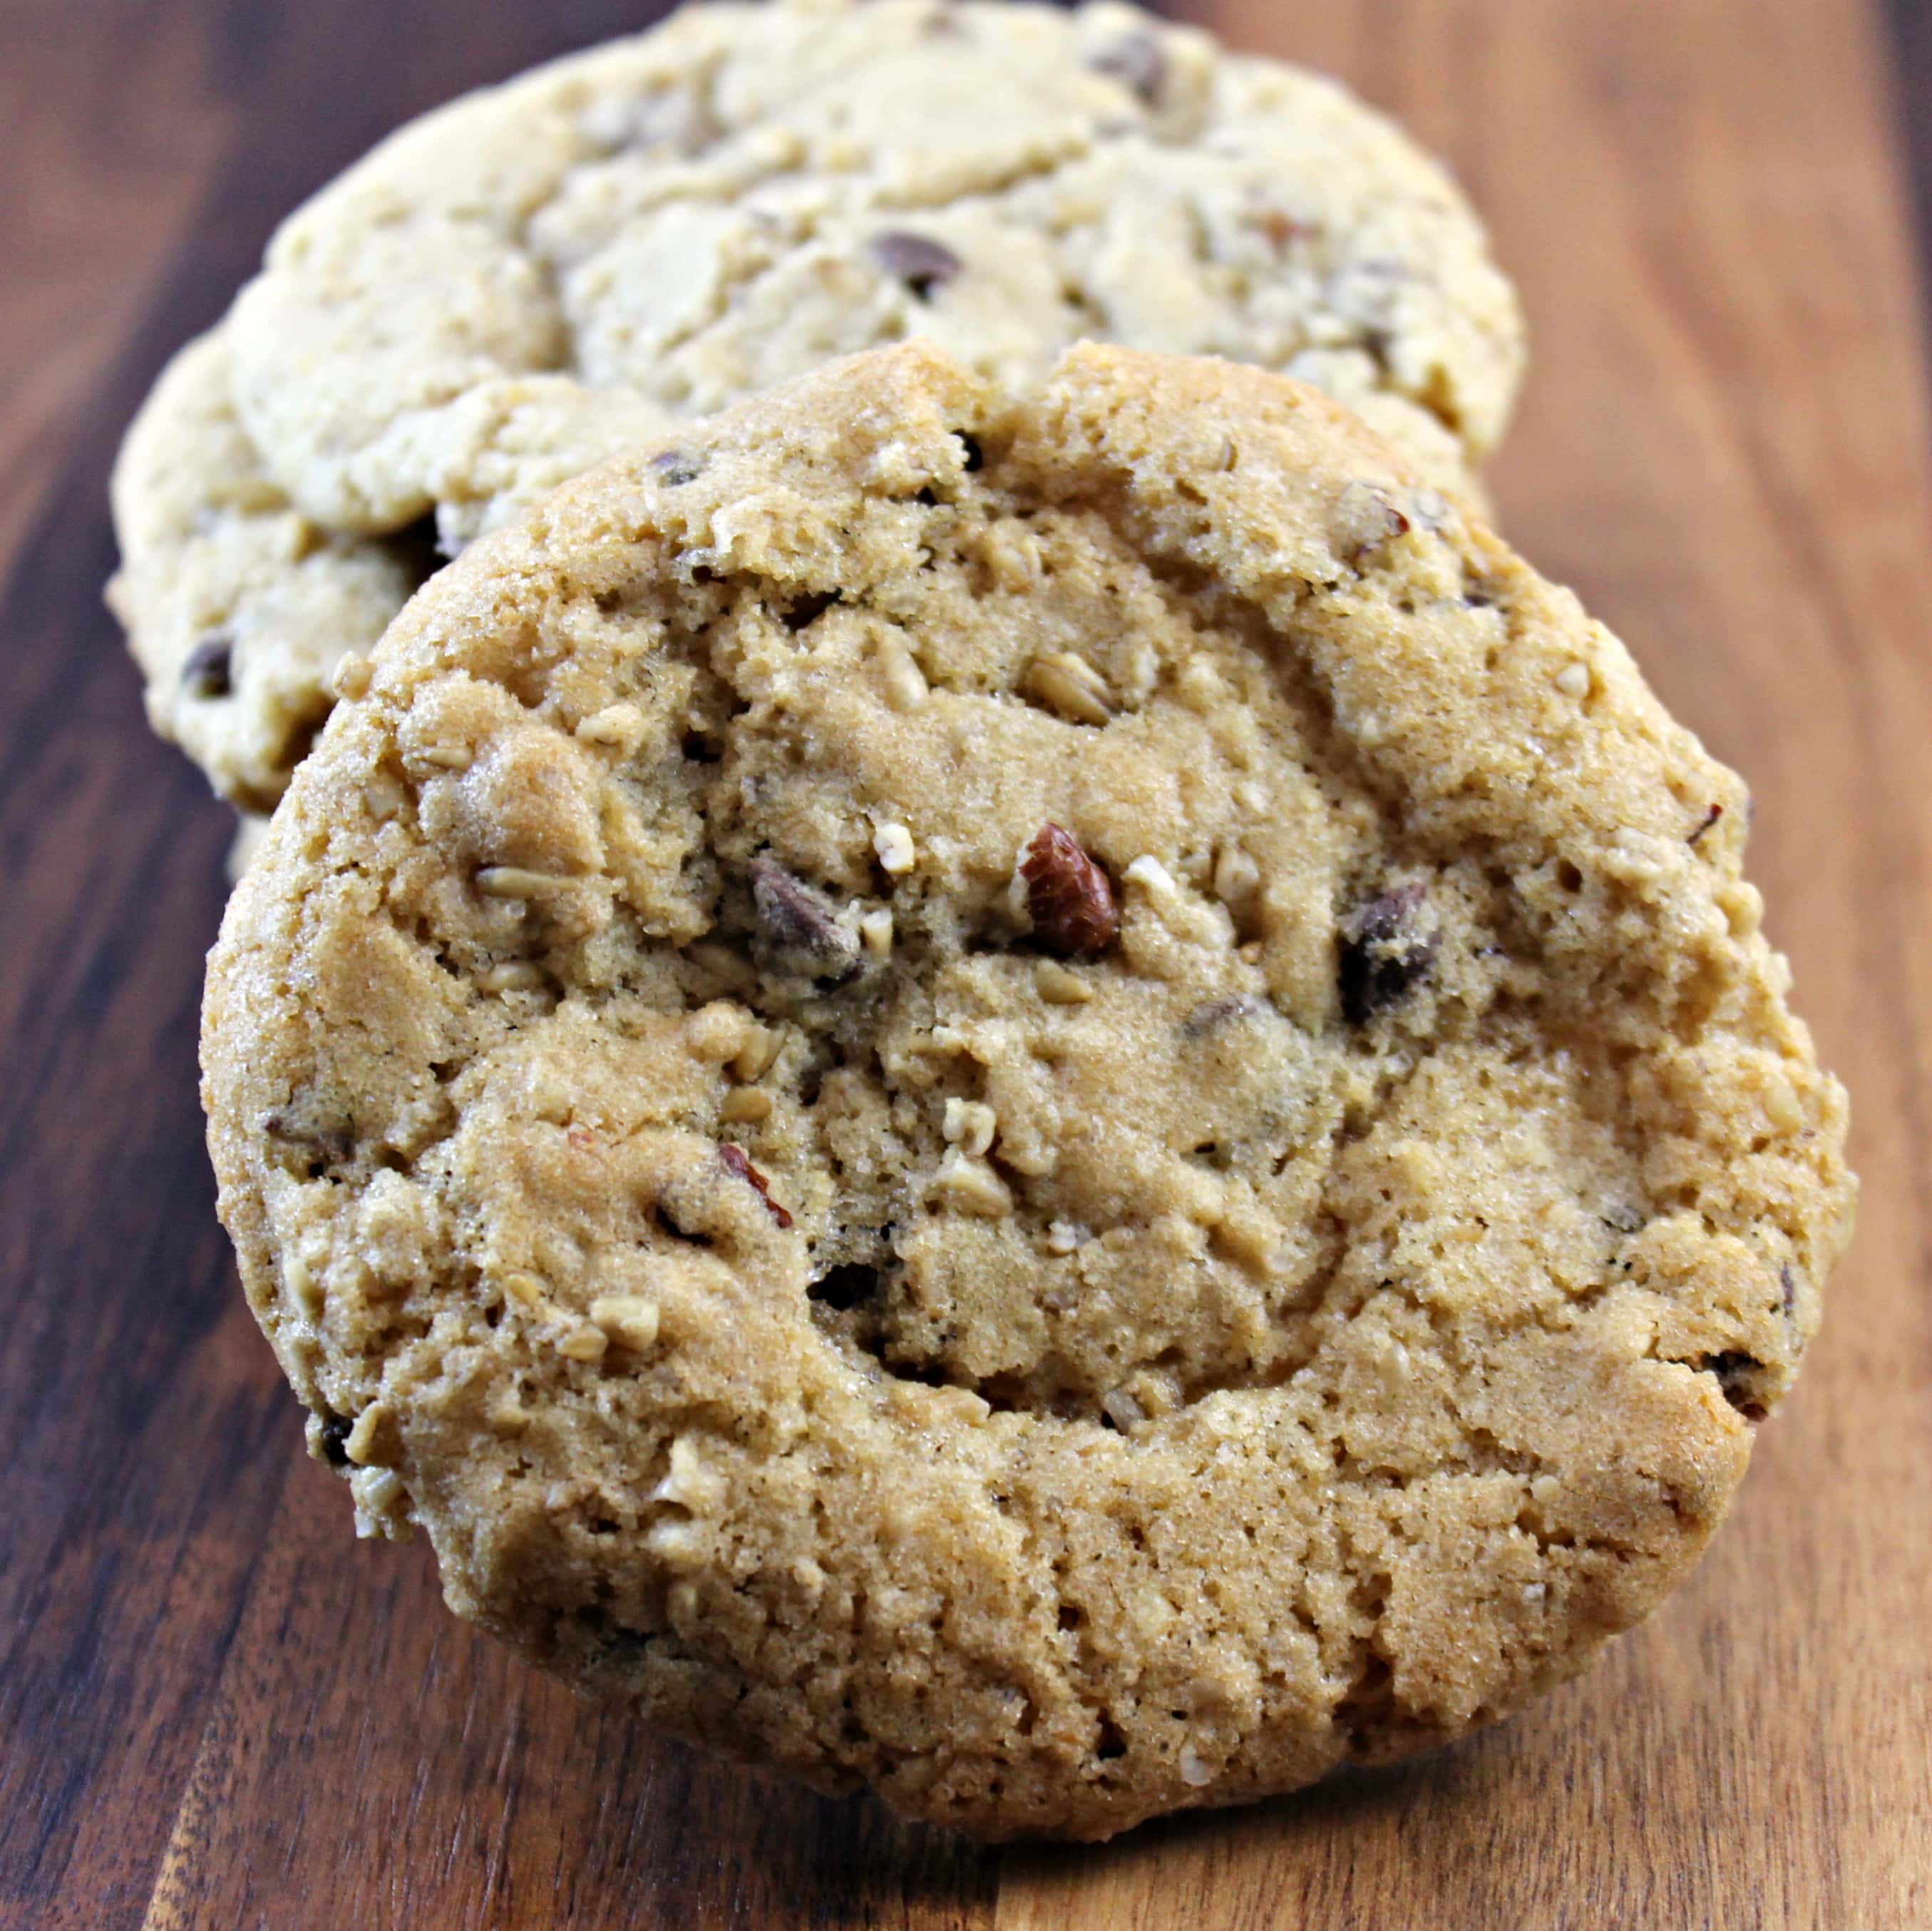
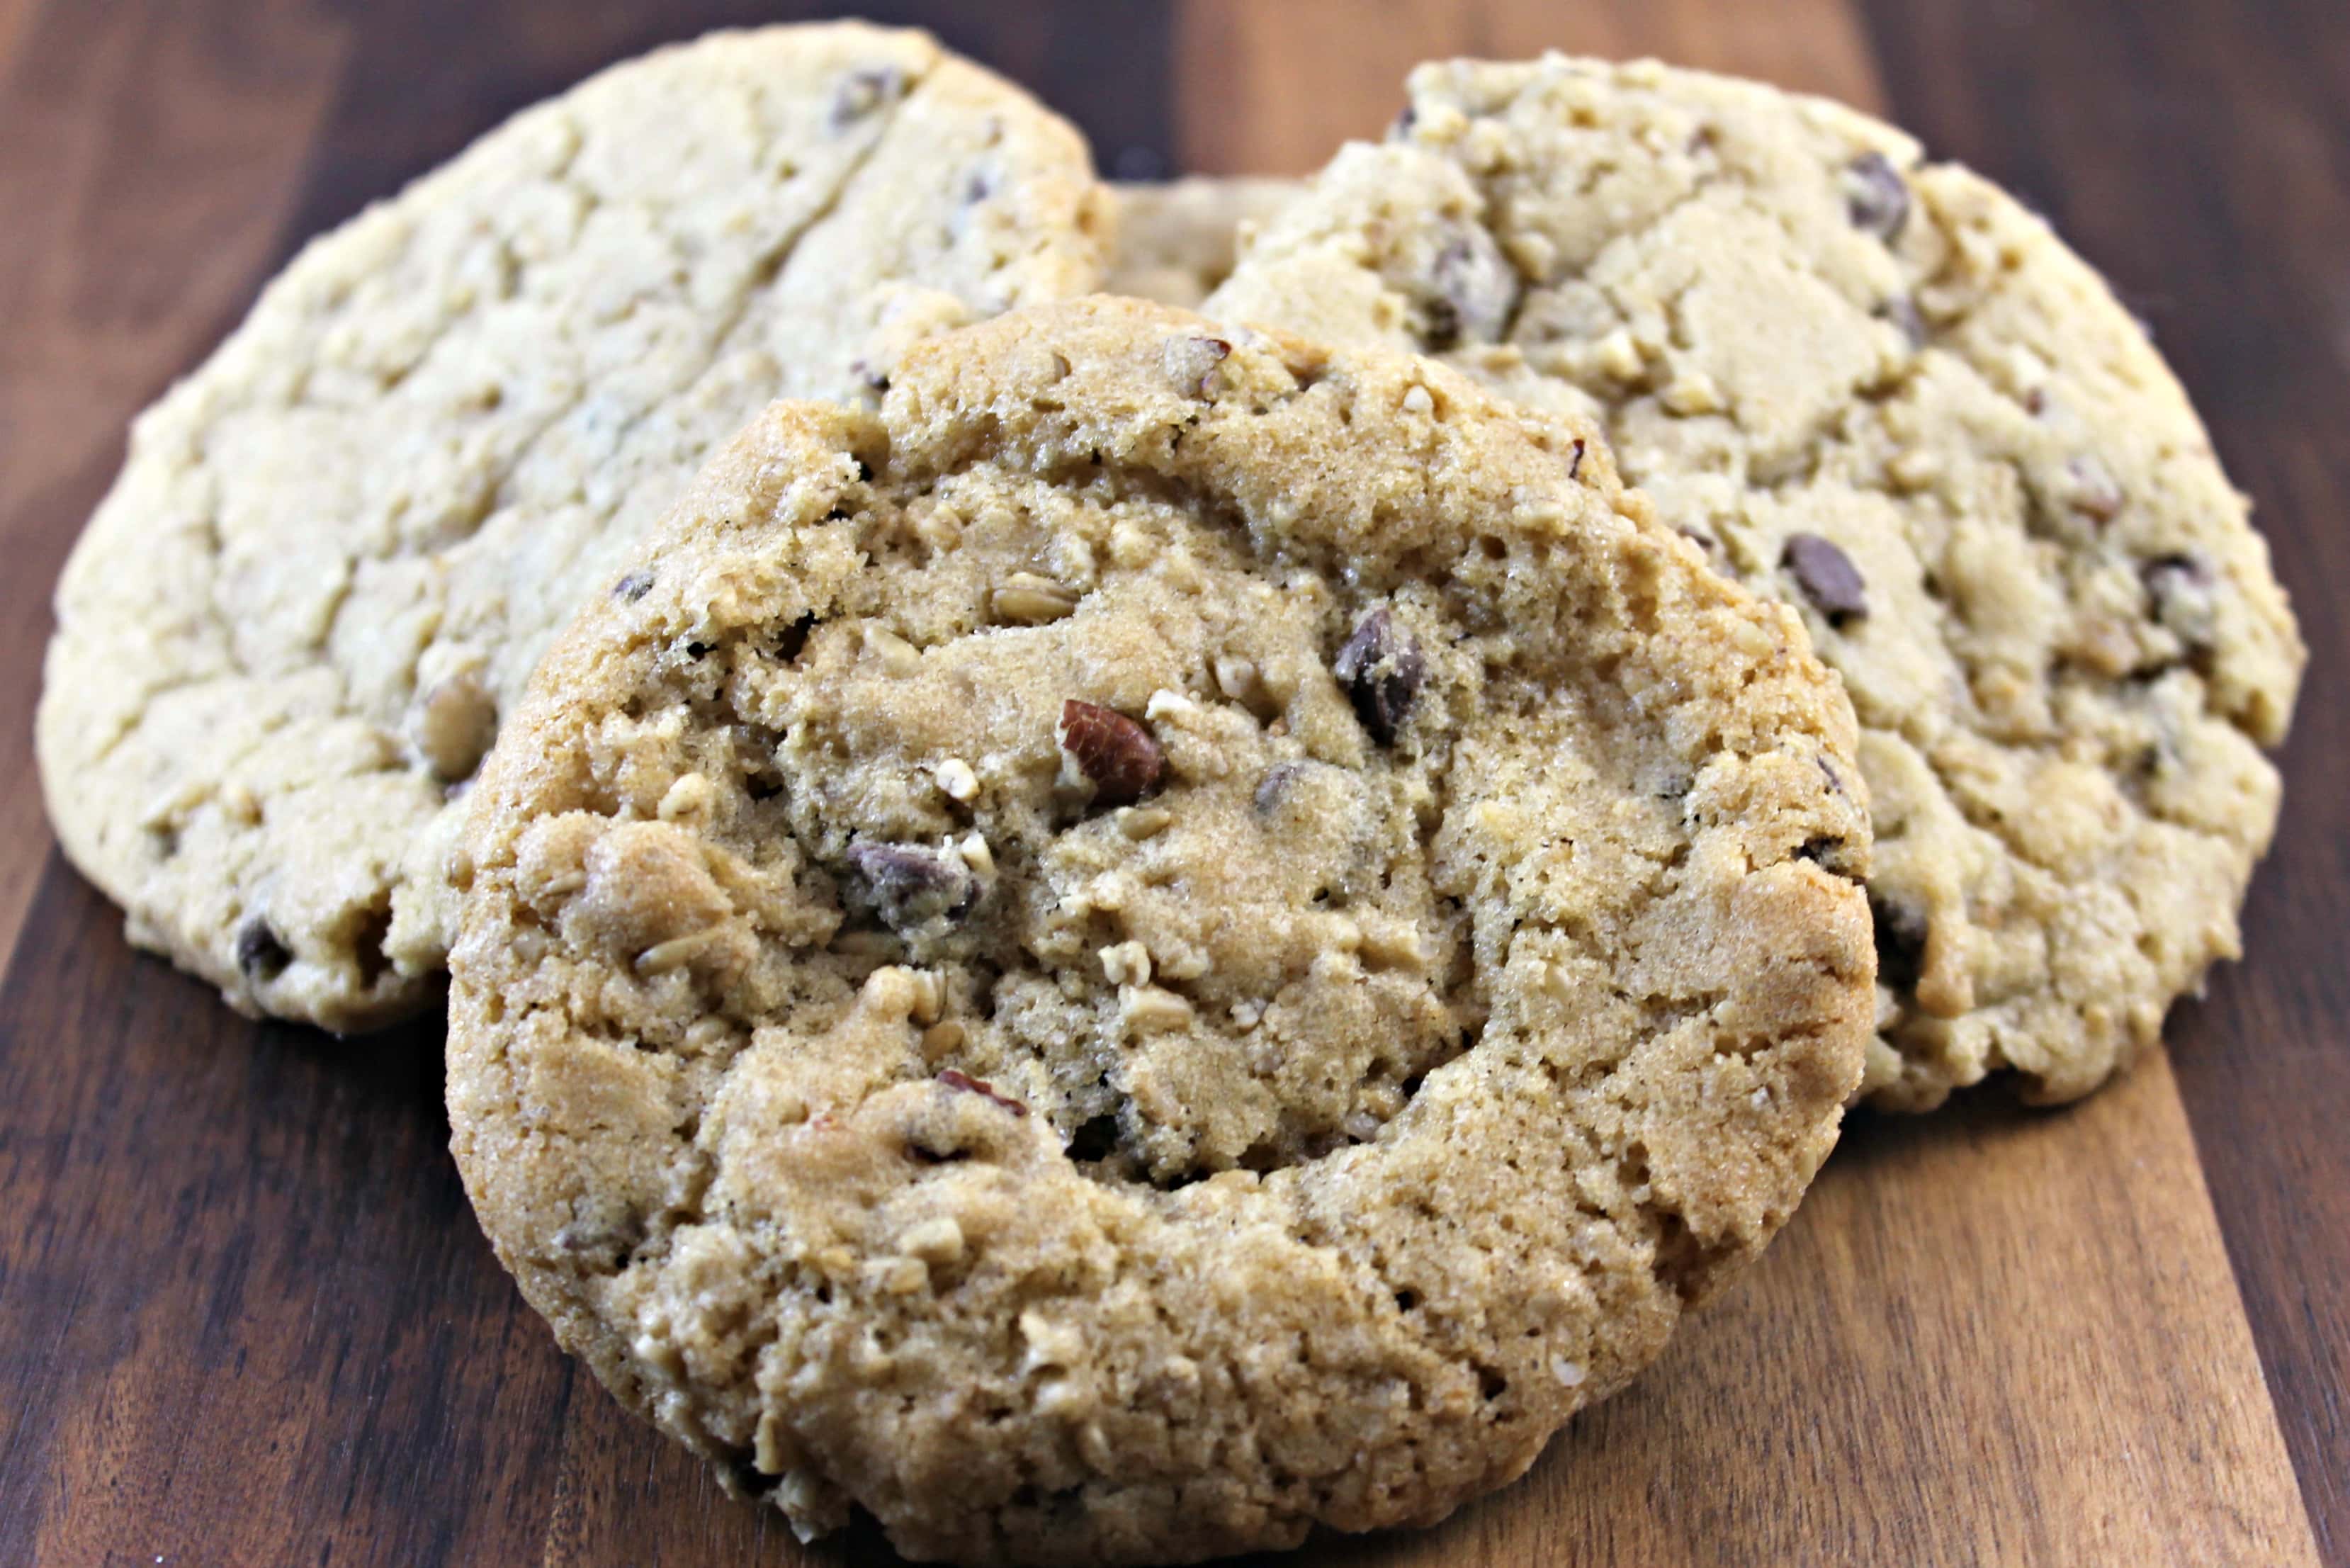
I am making these Oatmeal Chocolate Chip and Pecan Cookies to participate in the Great Food Blogger Cookie Swap. The Cookie Swap is in its second year and helps raise money for Cookies for Kids’ Cancer, a national non-profit organization committed to funding new therapies used in the fight against pediatric cancer, which claims the lives of more children in the US than any other disease. I was assigned three food bloggers and made one dozen cookies for each of them. In return, I received three different boxes of cookies from other bloggers.
I wanted to make a cookie that was a spin on a traditional cookie. This Cooking Light recipe for Oatmeal Chocolate Chip and Pecan Cookies was perfect: Oatmeal, Chocolate Chip, AND Pecans?! How delicious does that sound?!
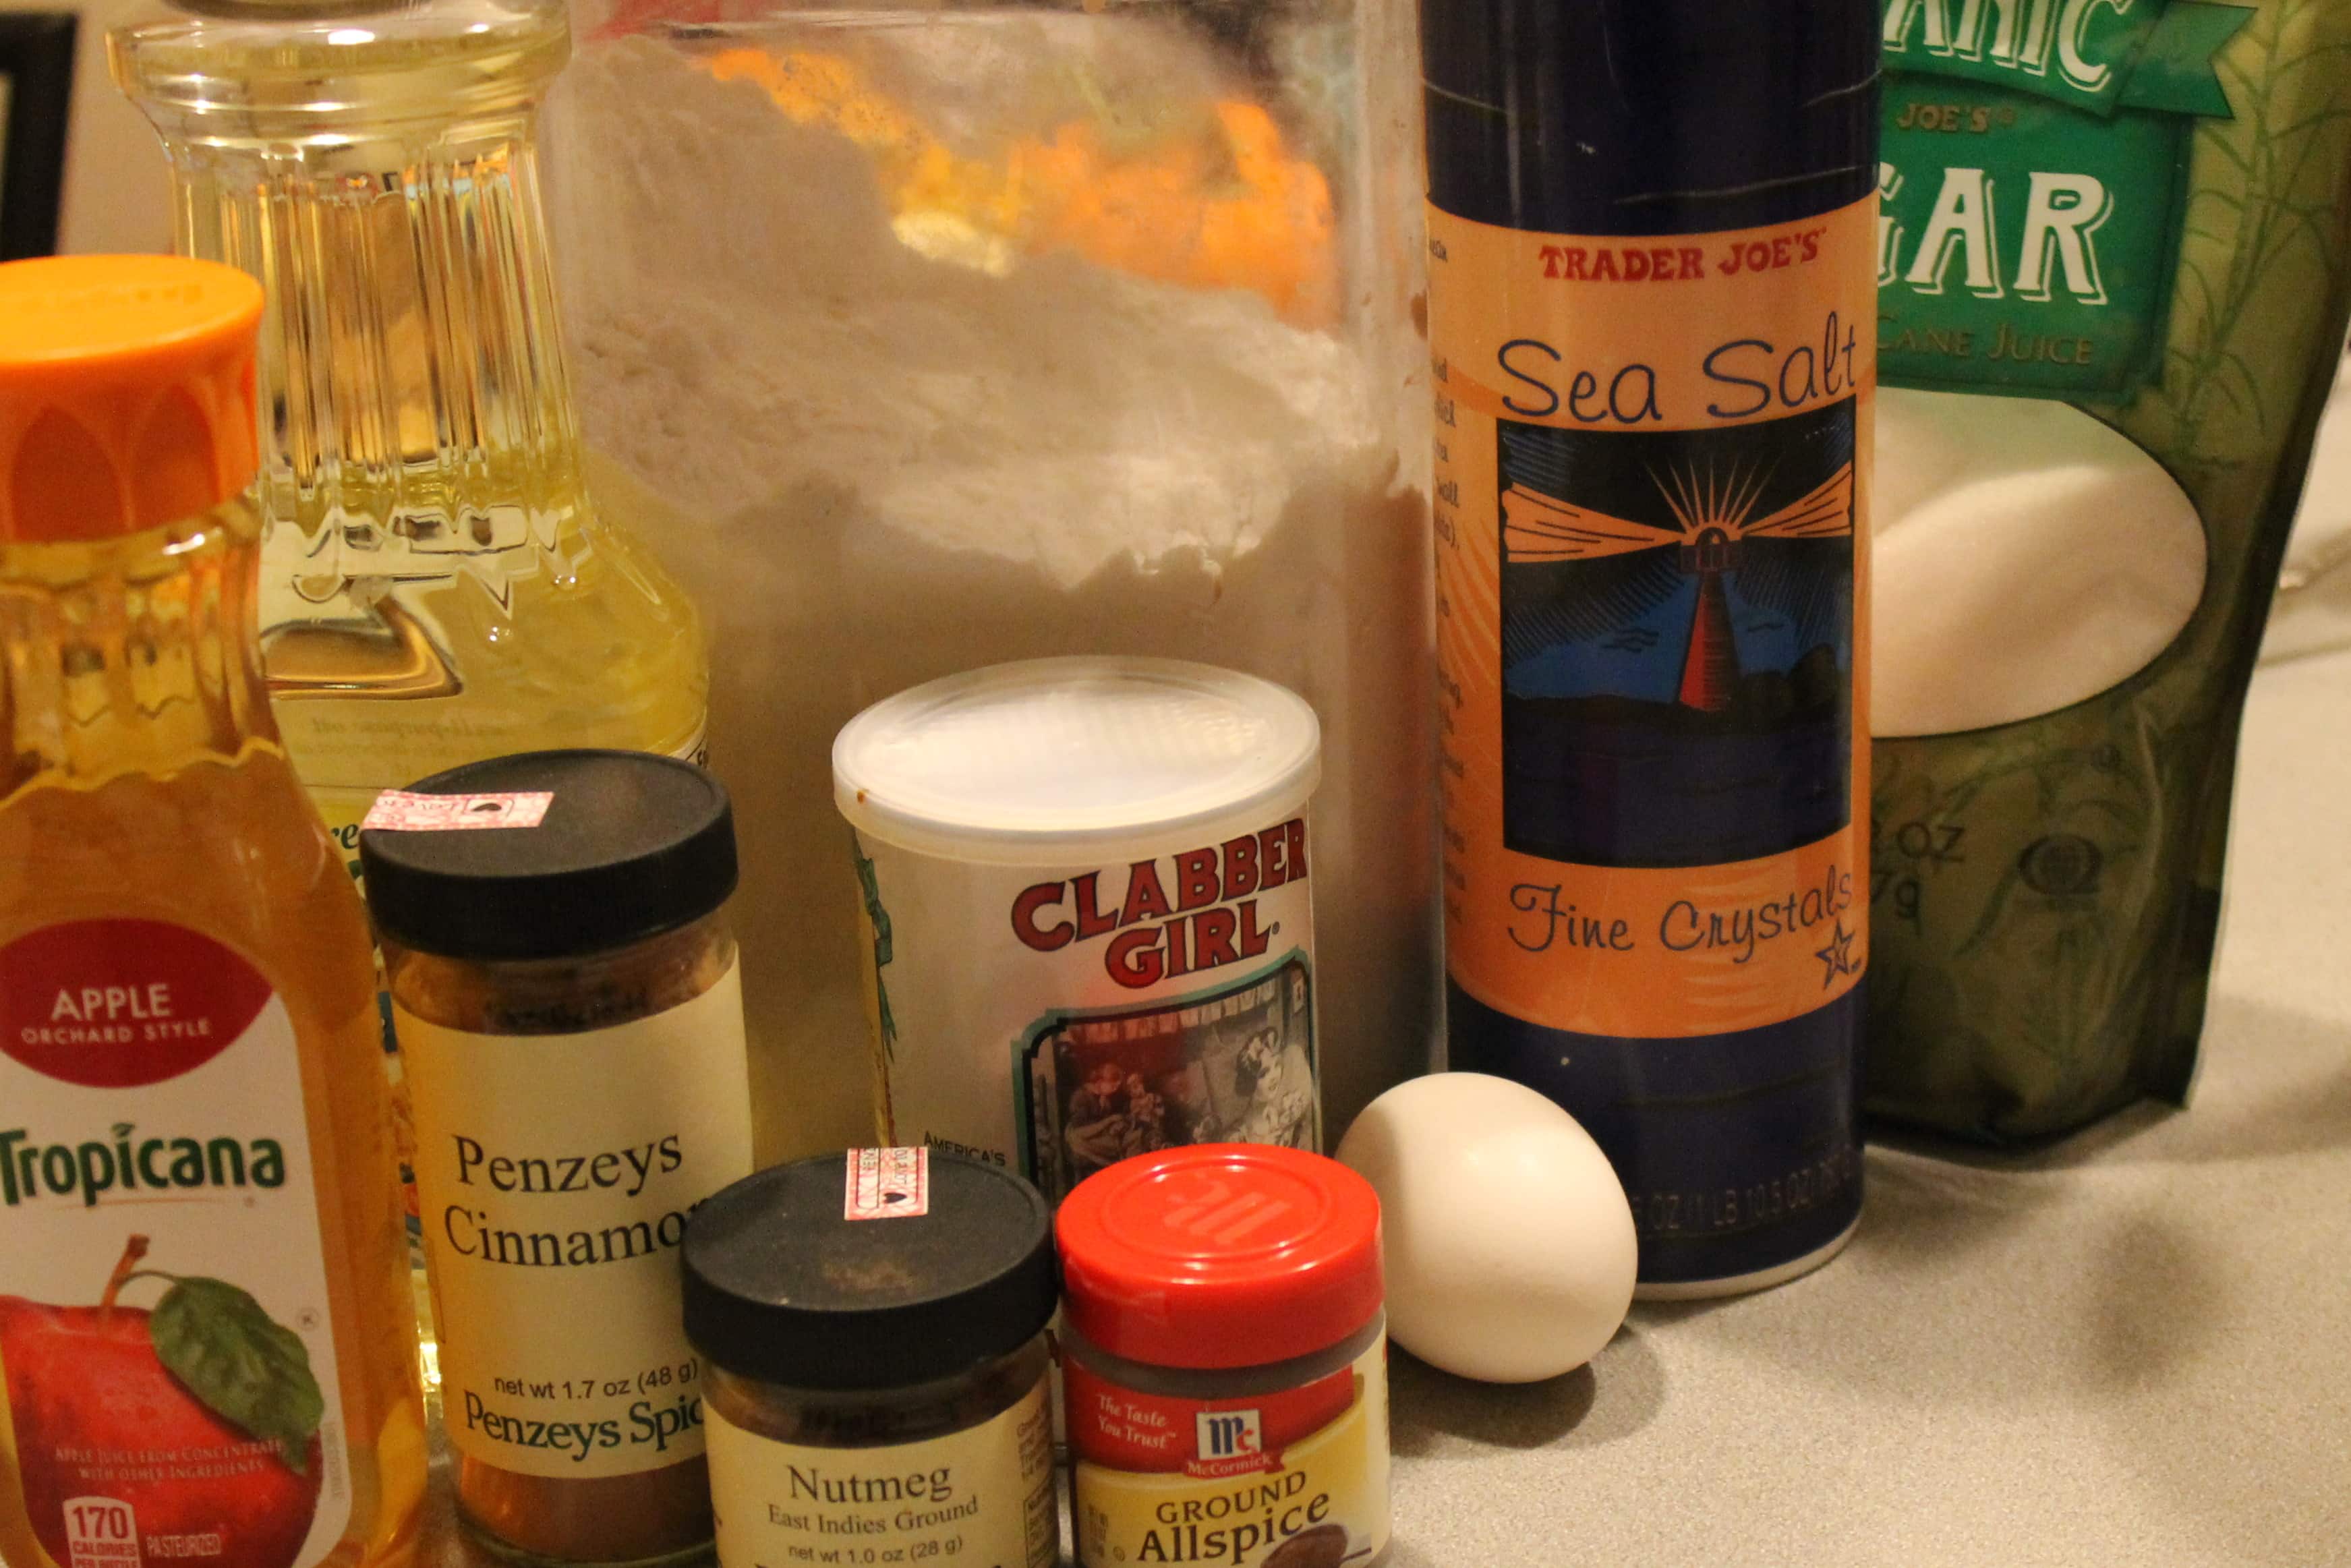
I wanted to make another batch of the Applejack Spiked Hot Cider but *gasp* I couldn’t find any apple cider anywhere! There must have been a Thanksgiving rush, but I wanted some darn Apple Cider. But then I remembered I bought a Babycakes Cake Pop Maker (paid link) and figured I could at least make Apple Cinnamon Donut Holes as a sweet apple-y substitute. (Because I couldn’t find apple cider, I substituted apple juice)