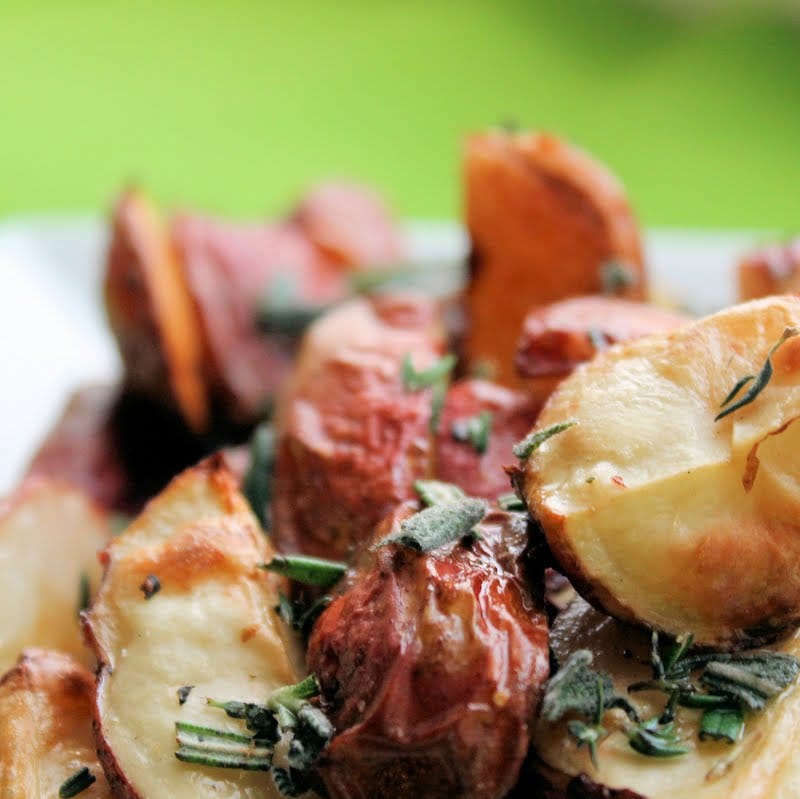
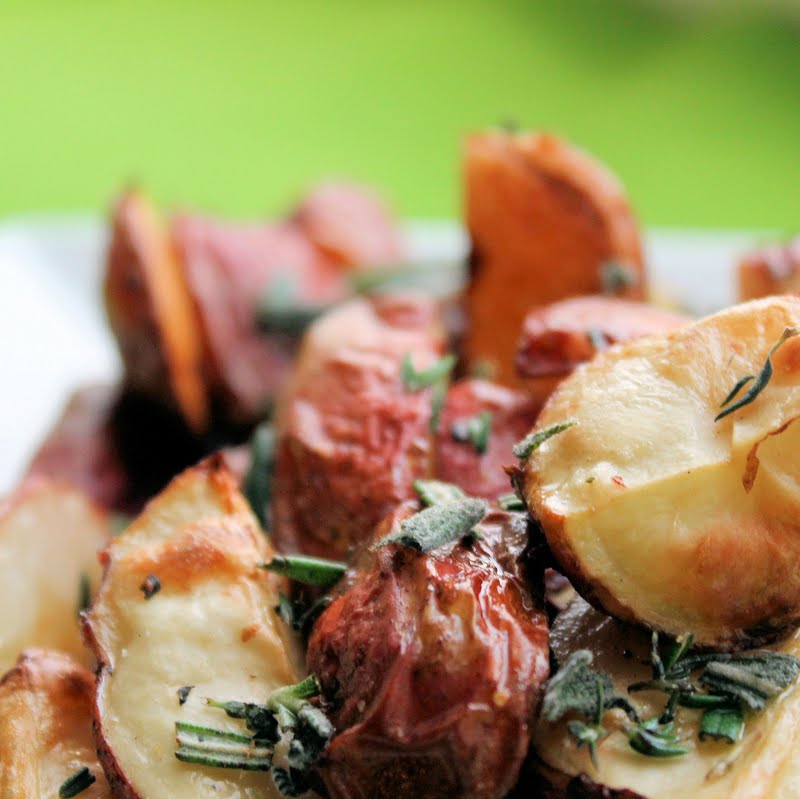
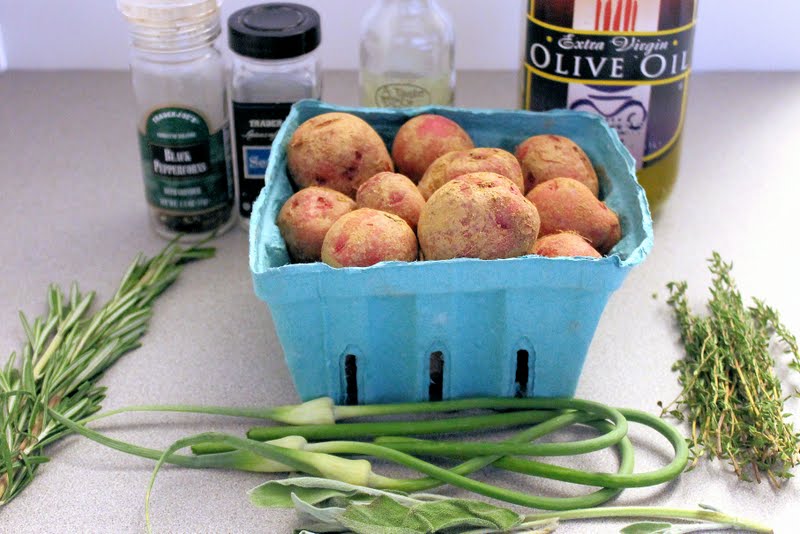
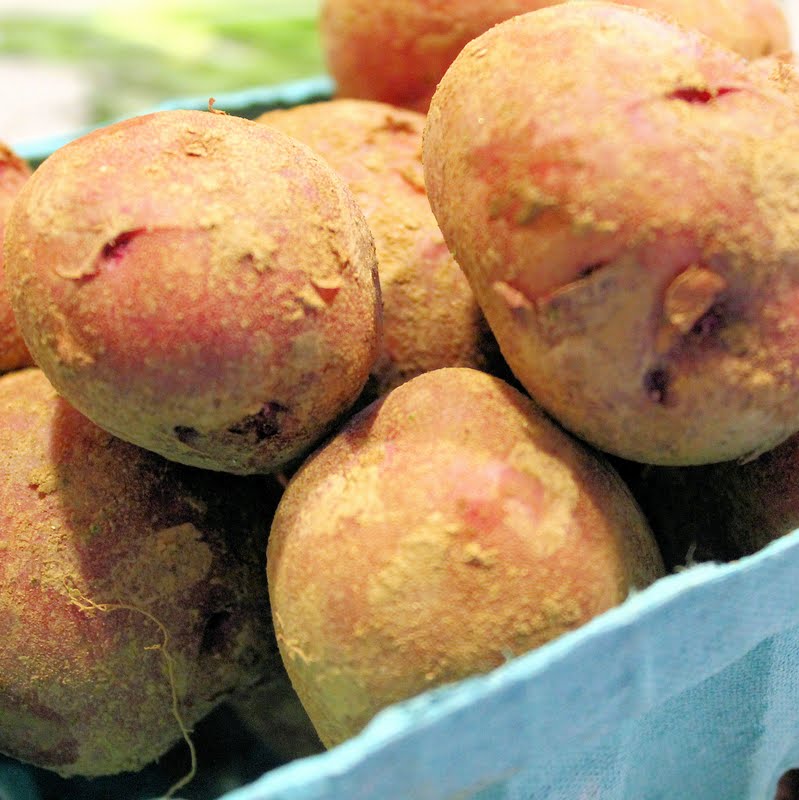
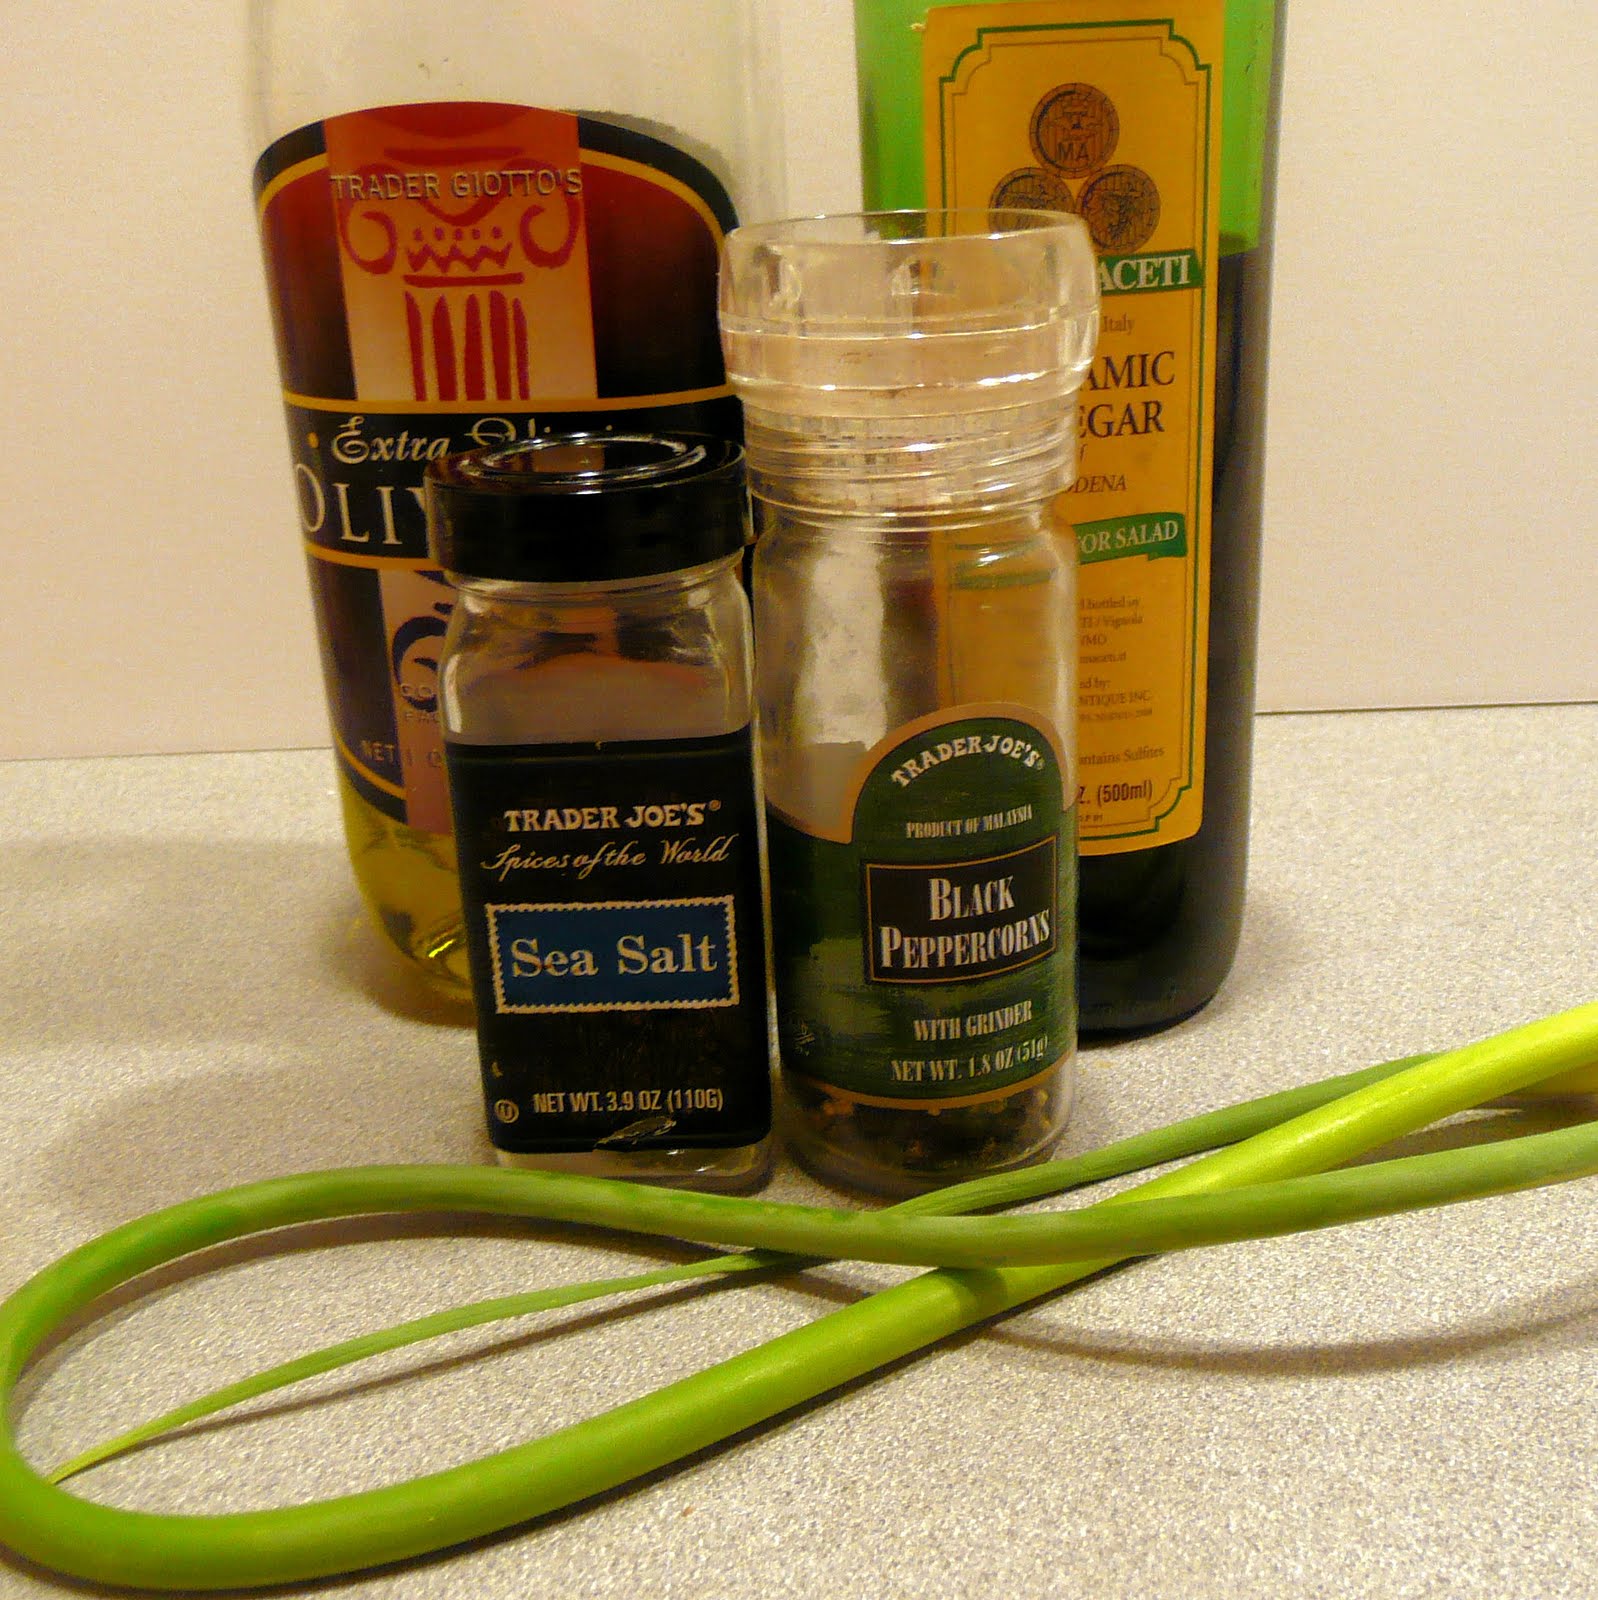
I was so excited to receive red potatoes in my CSA share this week. I love roasted red potatoes with fresh herbs, but I had a little bit of white truffle oil left that I wanted to use. I found this recipe for Truffled Roasted Potatoes from Cooking Light which sounded delicious.
Ingredients:
1 small container of red potatoes, washed and quartered
2 tablespoons olive oil
2 garlic scapes, chopped
Salt and pepper, to taste
1 tablespoon white truffle oil
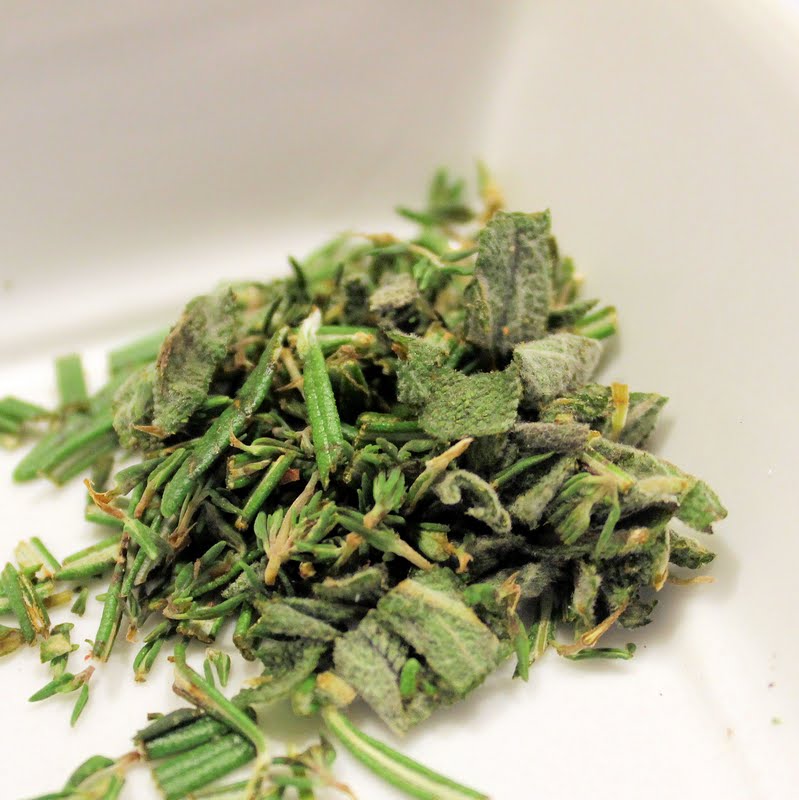
1 teaspoon each of chopped fresh thyme leaves, sage leaves, and rosemary
Preheat your oven to 450 degrees. Wash your red potatoes thoroughly, but gently. (The skin of red potatoes is fragile). I used a little brush to lightly buff off the dirt under warm running water.
before
after
Cut the potatoes into wedges: quarters for the larger potatoes, and halves for the smaller potatoes, and arrange on a cookie sheet.
Drizzle olive oil over the potatoes and sprinkle with garlic scapes, salt and pepper.
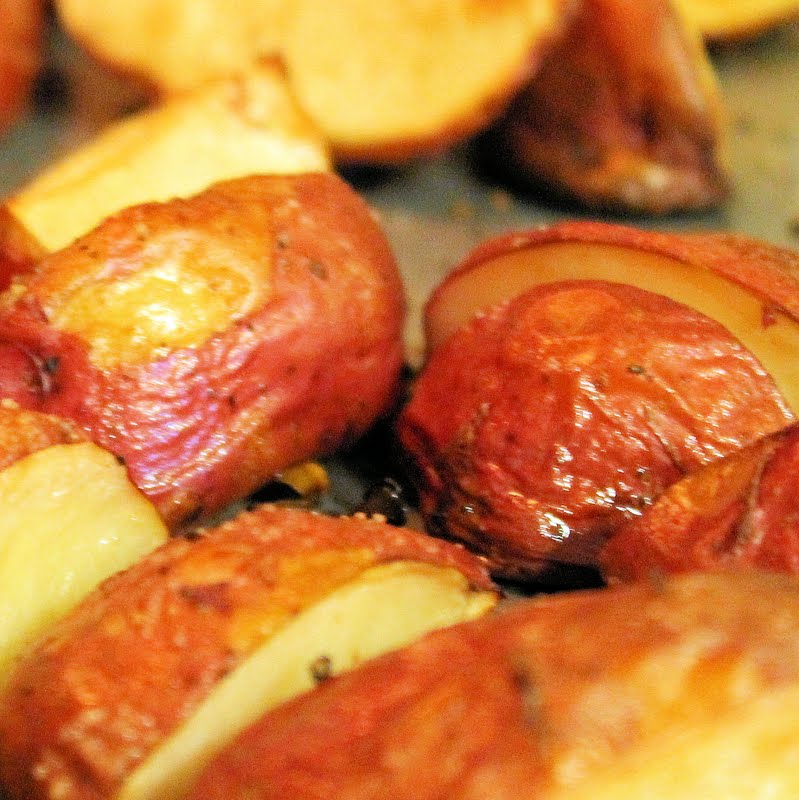
Bake at 450 degrees for 30 minutes or until the potatoes are brown and slightly wrinkled.
While the potatoes are cooking, chop your thyme, sage, and rosemary. Combine.
Remove the potatoes from the oven, drizzle with truffle oil, and sprinkle with the herb mixture.
This was fantastic. I honestly couldn’t stop eating the potatoes. Truffle oil is such a great ingredient, although it is a bit of a splurge. Truffle oil is usually added at the end of a dish, the oil is too delicate to be subjected to high heat. A little bit of truffle oil goes a long way though so do not overpour! When I make this recipe in the future, I plan on using normal minced garlic (2-3 cloves), the garlic scapes were quite burnt from the oven so I didn’t get any of the garlic taste from them. Boo.
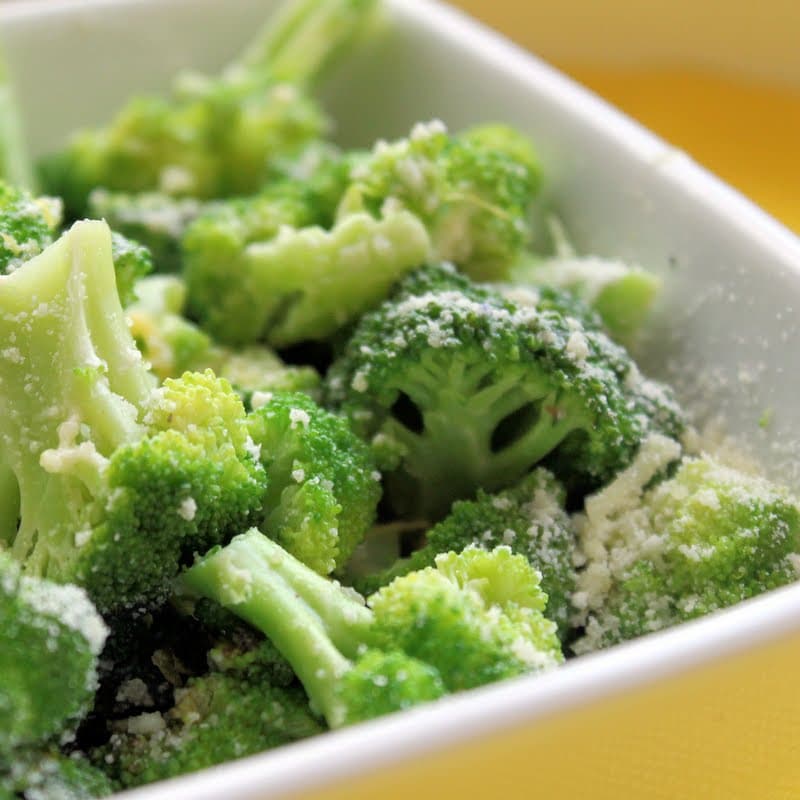
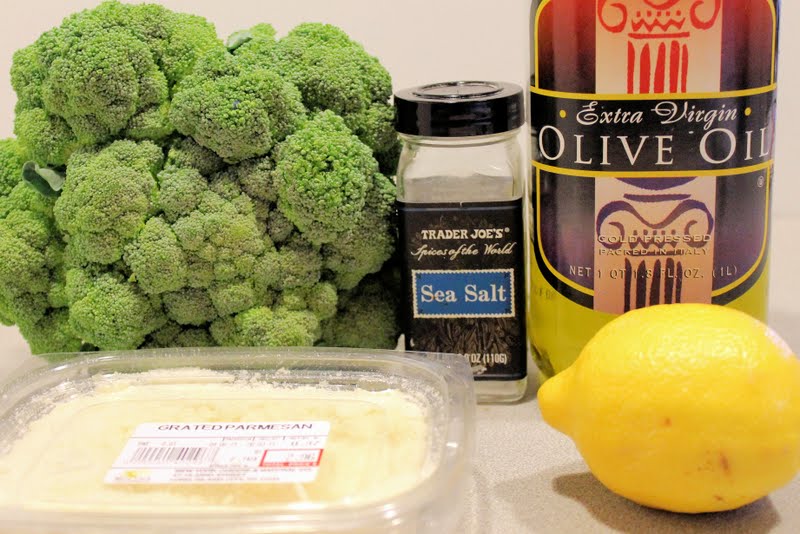
I’m not going to lie. Broccoli is not my favorite vegetable. I have a tendency to pass over it for more favored choices. But I received broccoli in my CSA half share this week, so I decided to give it another try. I used this recipe from Oxmoor House as a starting point, and adapted the recipe for my tastes.
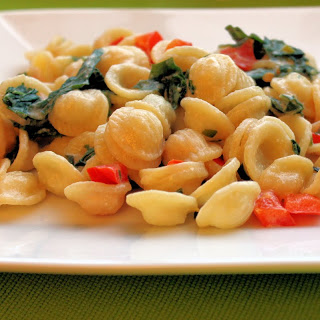
My CSA share came with Swiss chard this week. I wasn’t in the mood to do another leafy green side, so I looked for a recipe that incorporated the Swiss Chard within the main dish. I found this recipe in the Health section of the New York Times and thought it was worth a try.
Ingredients:
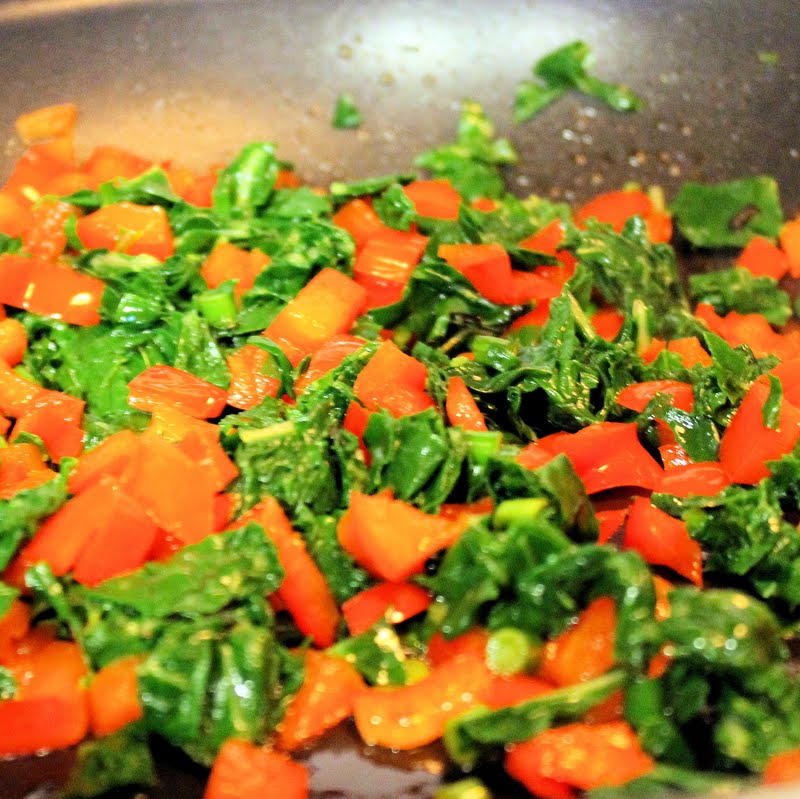
1 bunch of Swiss chard, stemmed and washed
1 tablespoon extra virgin olive oil
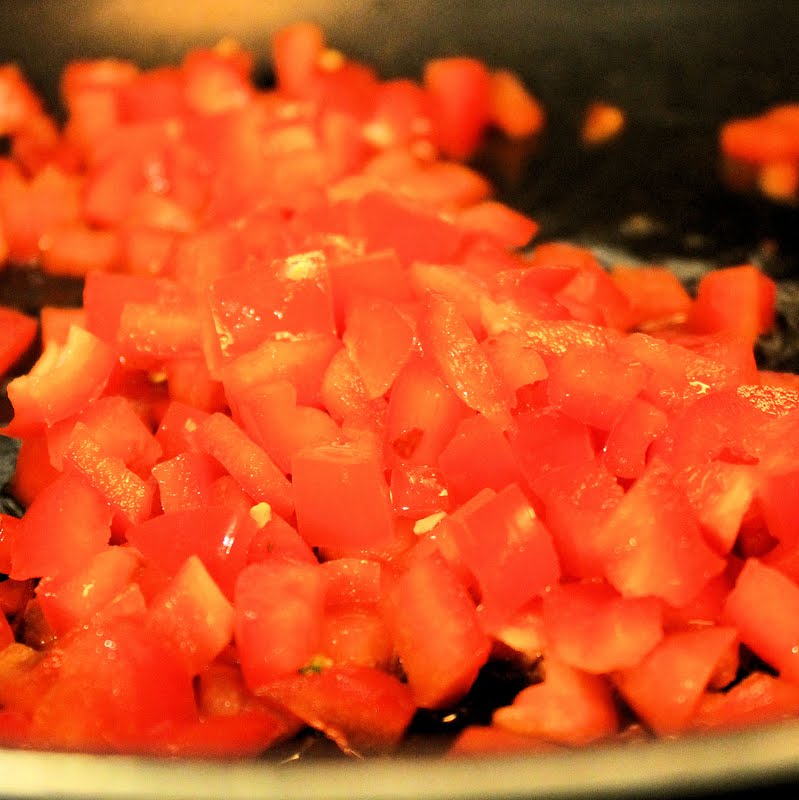
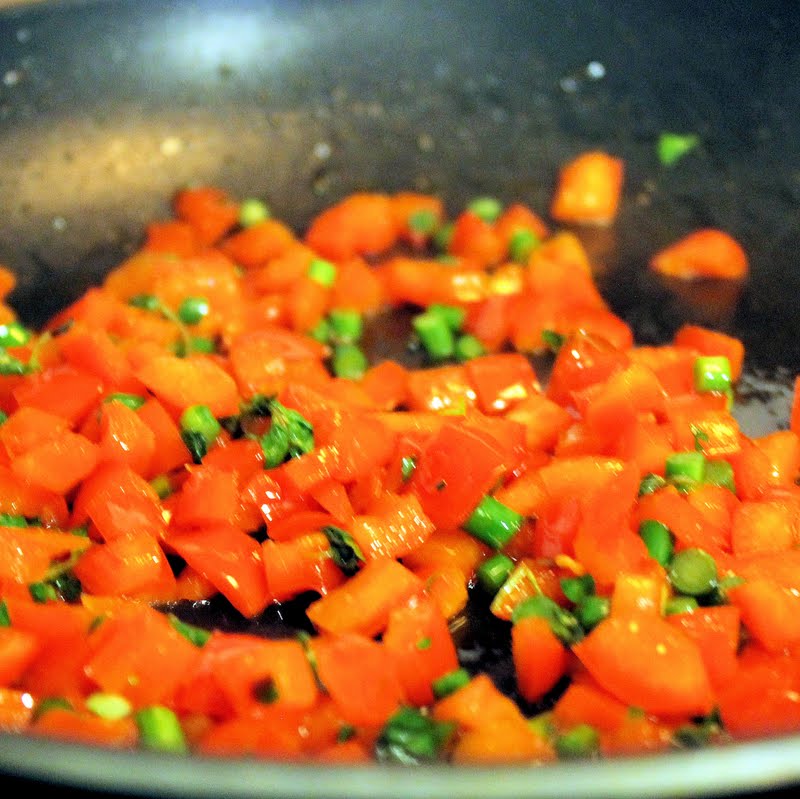
2 red bell peppers, finely diced
Pinch of red pepper flakes
2 garlic scapes, thinly sliced
Salt
1 teaspoon chopped fresh marjoram
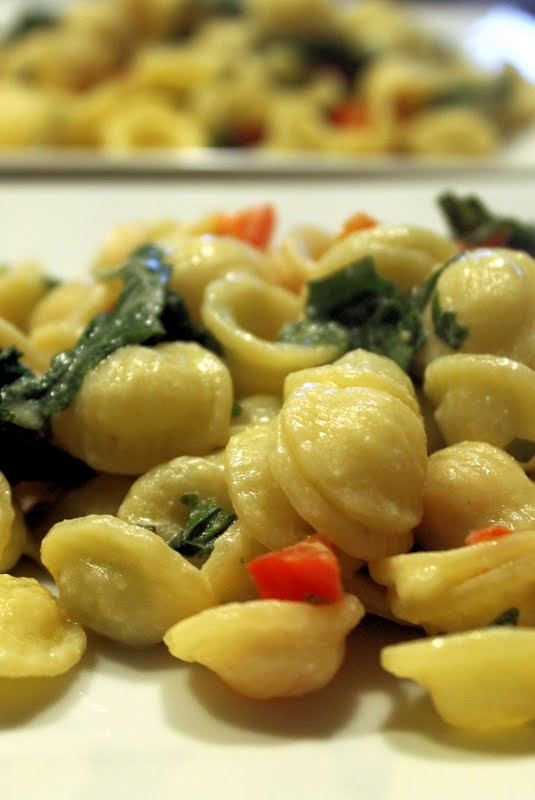
1 box of orecchiette
4 ounces goat cheese, crumbled
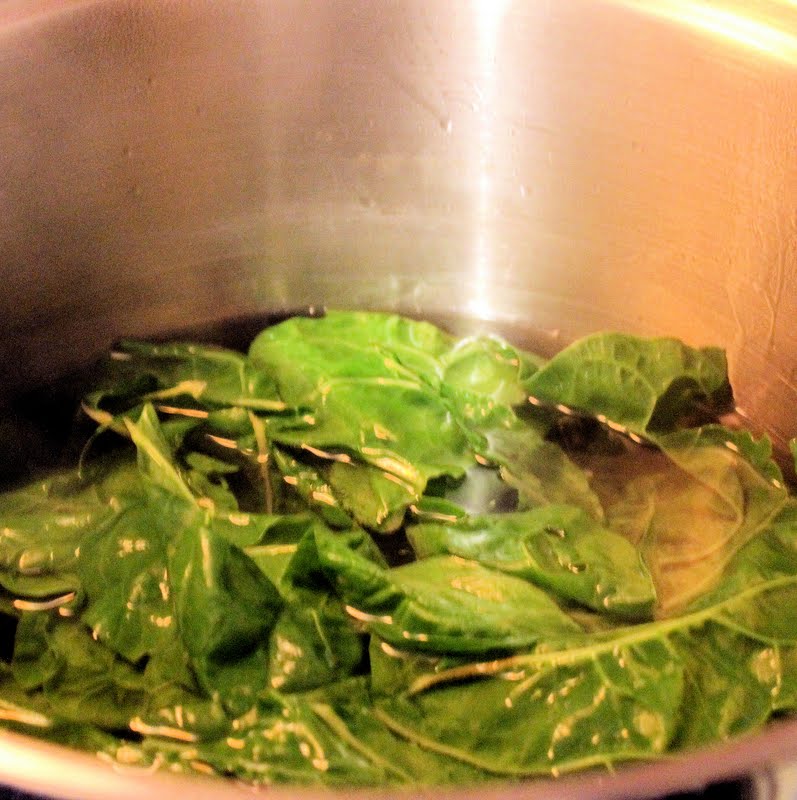
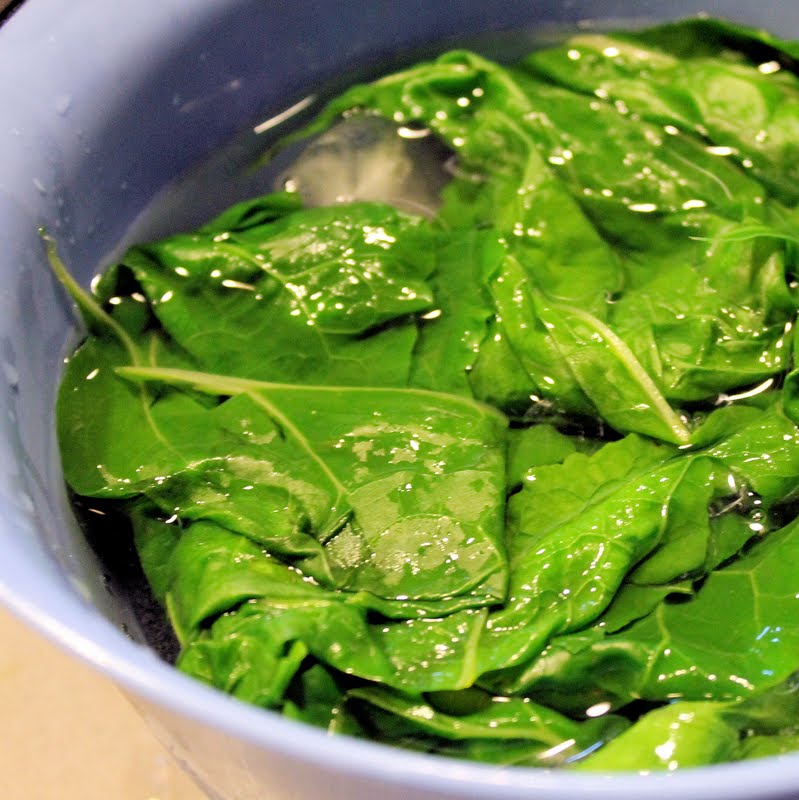
To begin, boil a pot of water over high heat. While the water is coming to a boil, prepare your Swiss chard. Add ice water to a bowl. When the water boils, add salt and the Swiss chard.
Boil for 2 minutes and remove using a slotted spoon and transfer to the ice water.
Reduce the heat of the leftover boiling water to a simmer. Drain the chard and squeeze the excess water out. Chop the Swiss chard and reserve.
In a saute pan, heat the olive oil and add the finely chopped peppers and a pinch of crushed red pepper. Cook for 8 minutes, stirring often.
Bring the pot of water to a boil again. Add the pasta, cooking until al dente as directed on the box. Reserve 1/2 cup of the pasta water. Drain the pasta and set aside.
In the saute pan, add the garlic scapes and salt, stirring to combine.
When combined, add the chopped Swiss chard and marjoram.
Stir and lower the heat to warm. Add the 1/2 cup of pasta water and stir in the goat cheese.
Add the orecchiette to the mixture and serve.
This was a nice alternative to the normal pasta with tomato sauce. The orecchiette helped catch some of the Swiss chard, peppers, and goat cheese so definitely use this type of pasta or another kind that can catch the ingredients. This made so much pasta, it will also be my lunch tomorrow. I have a feeling this will be better the next time around!
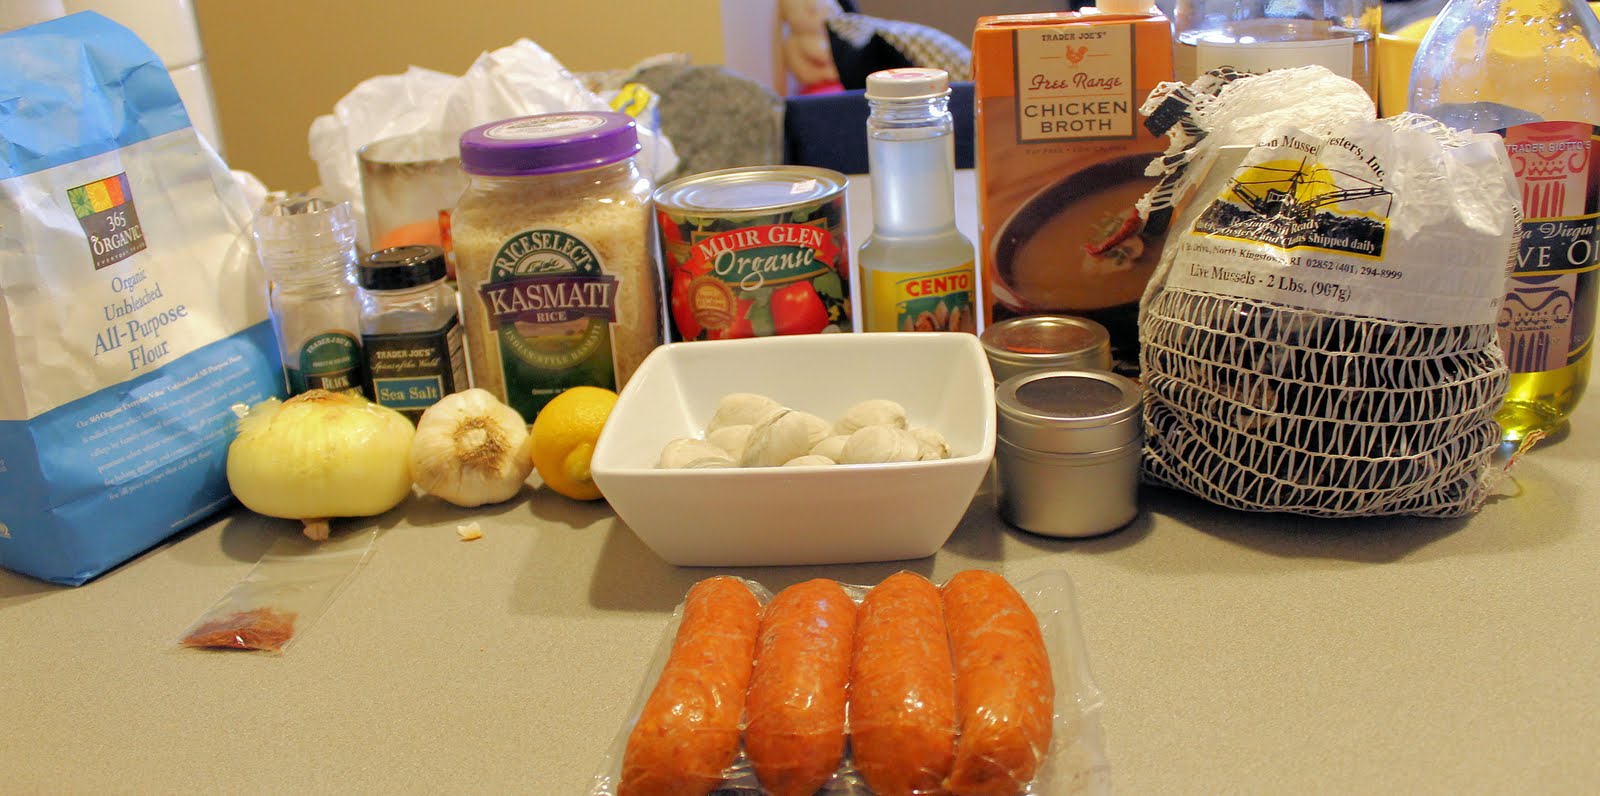
I wanted to challenge myself this weekend, so I decided to try to make paella. I don’t own a paella pan, and I honestly have no idea how to cook paella, so this should be quite the experience. I used a mixture of a recipe from Tyler Florence and one from Cooking Light, keeping my personal taste in mind.
Ingredients:
2 Spanish chorizo sausages, thickly sliced
1 Spanish onion, diced
4 garlic cloves, minced
3 tablespoons parsley (fresh if you have it)
1 (15-ounce) can whole tomatoes, drained and roughly chopped
1/2 teaspoon paprika
2 cups rice, whatever you have (long, short, doesn’t matter)
2 quarts plus 2 cups water
1/3 cup flour
1 cup dry white wine
2 cups chicken broth
1 teaspoon saffron threads
1 (8-ounce) bottles clam juice
1 dozen littleneck clams, scrubbed
2 pounds mussels, debearded and scrubbed
Olive oil
Salt and pepper, to taste
1/2 cup sweet peas, frozen and thawed (optional)
Lemon wedges, for serving (optional)
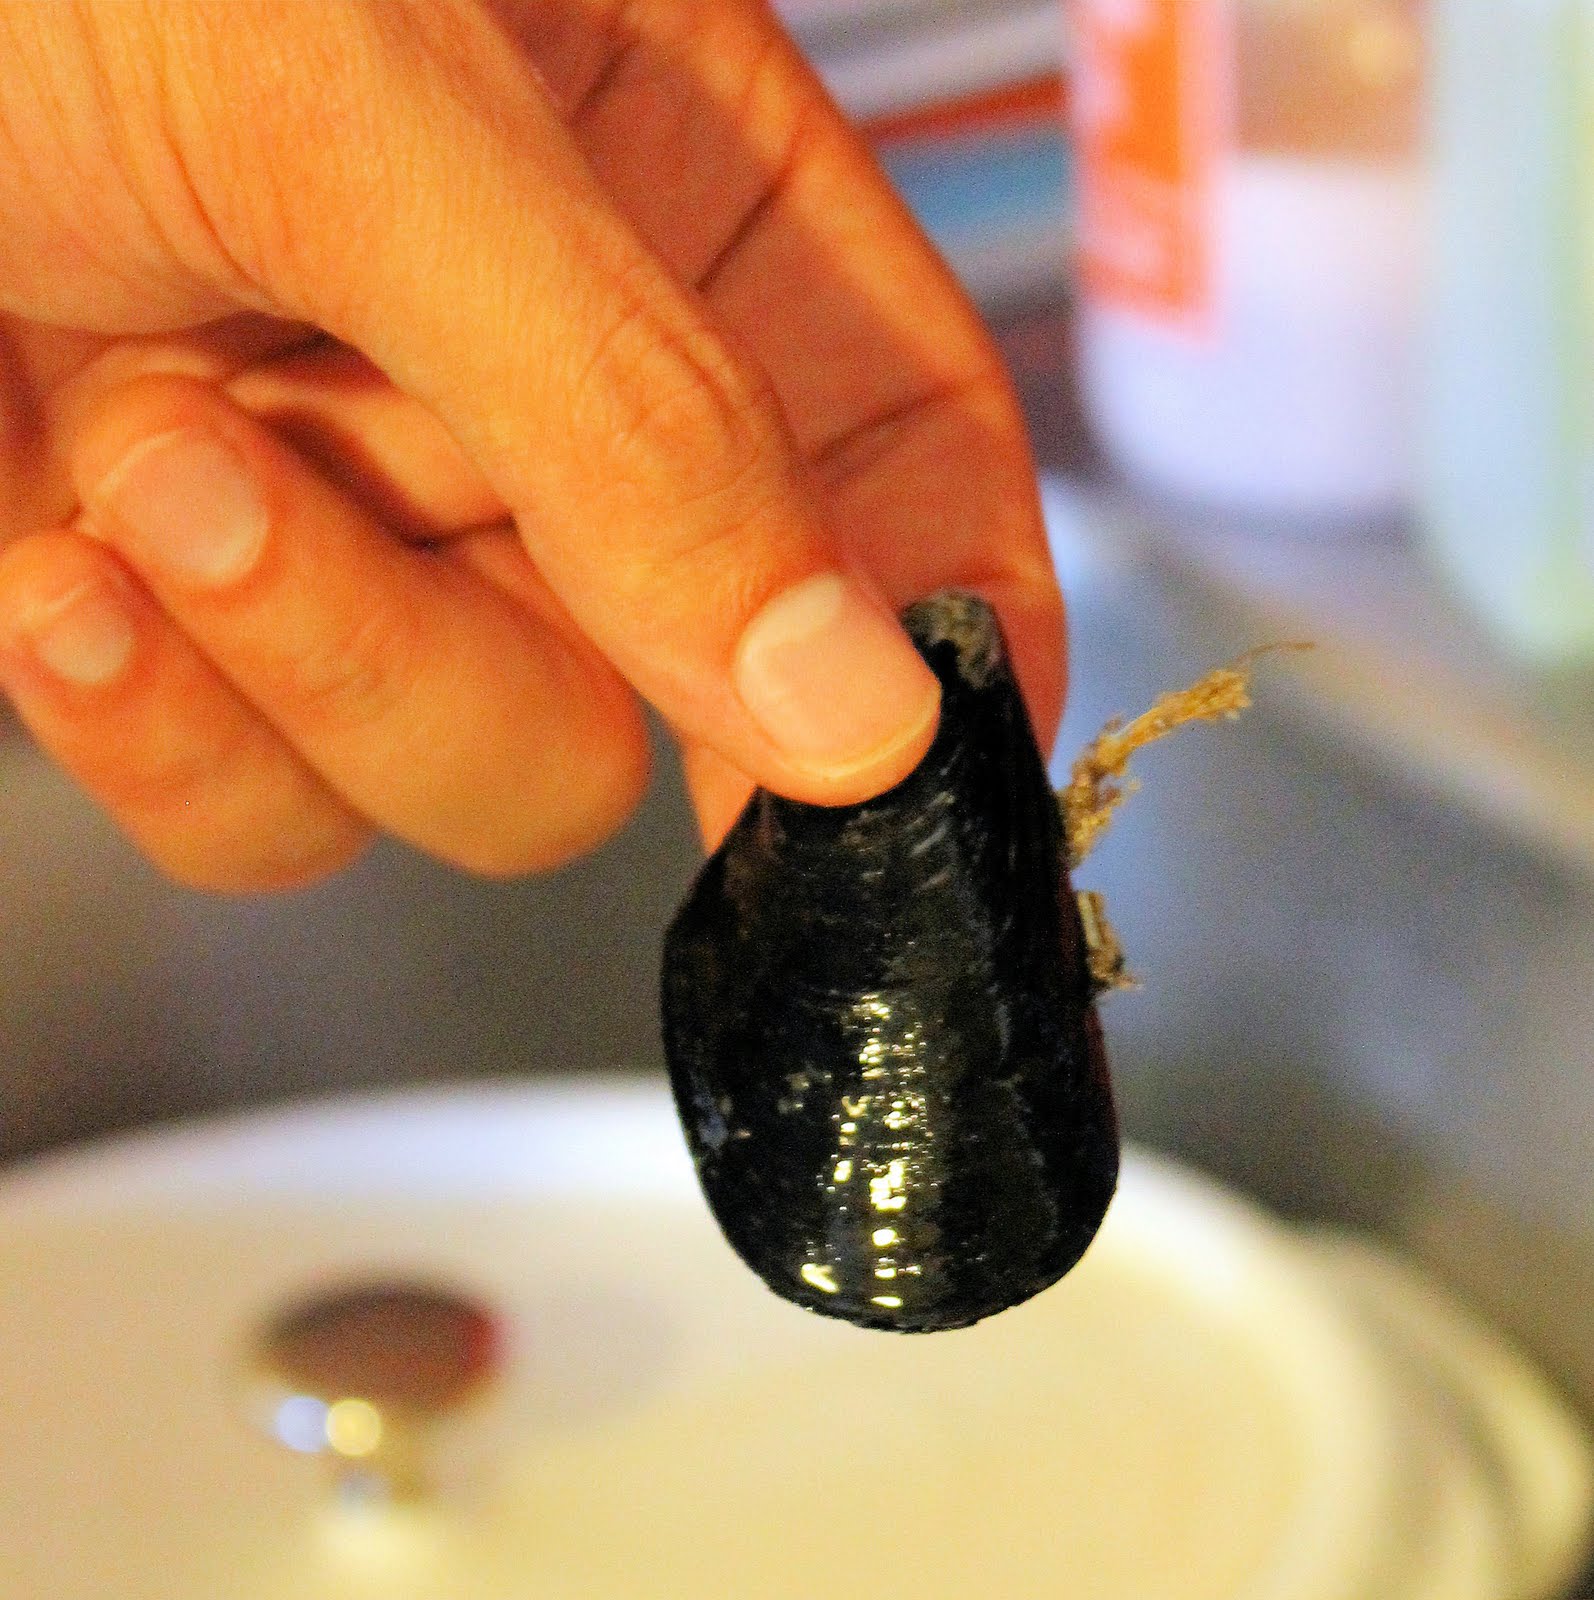
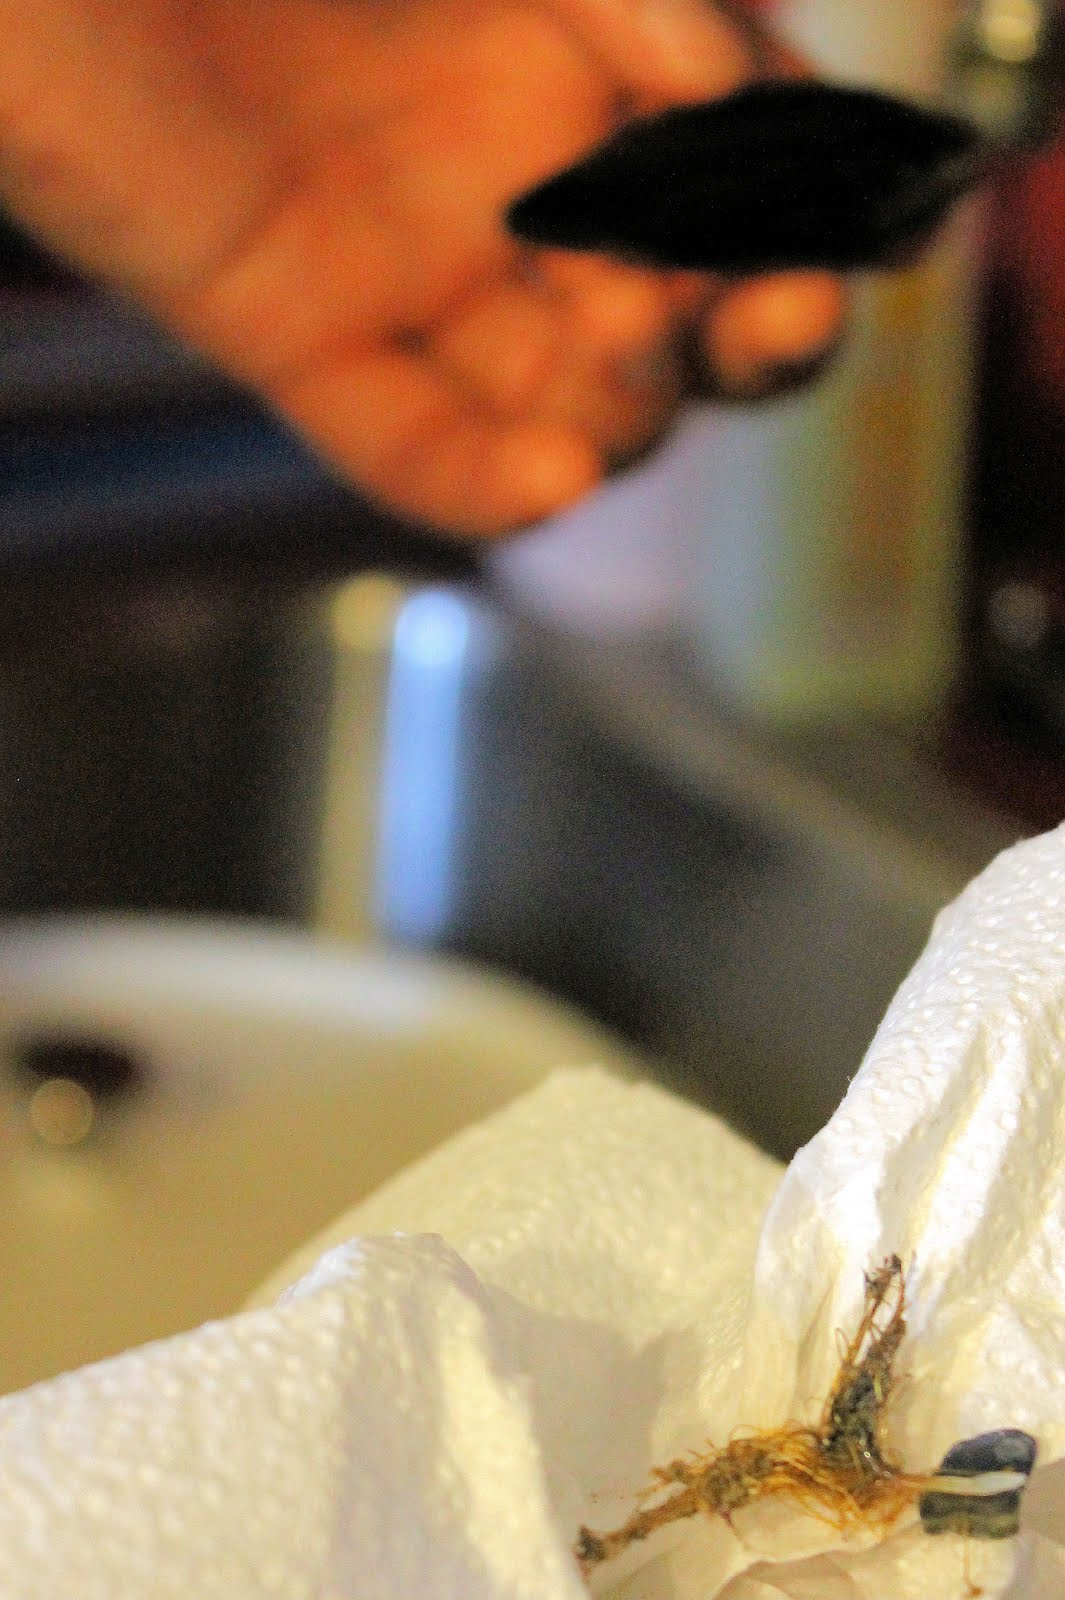
Begin by cleaning and de-bearding the mussels. I couldn’t handle doing this, so thankfully my boyfriend was willing to help.
That wiry-looking thing on the right side of the mussel, that’s the beard. To remove, pull towards the hinge part of the mussel and tug.
yuck
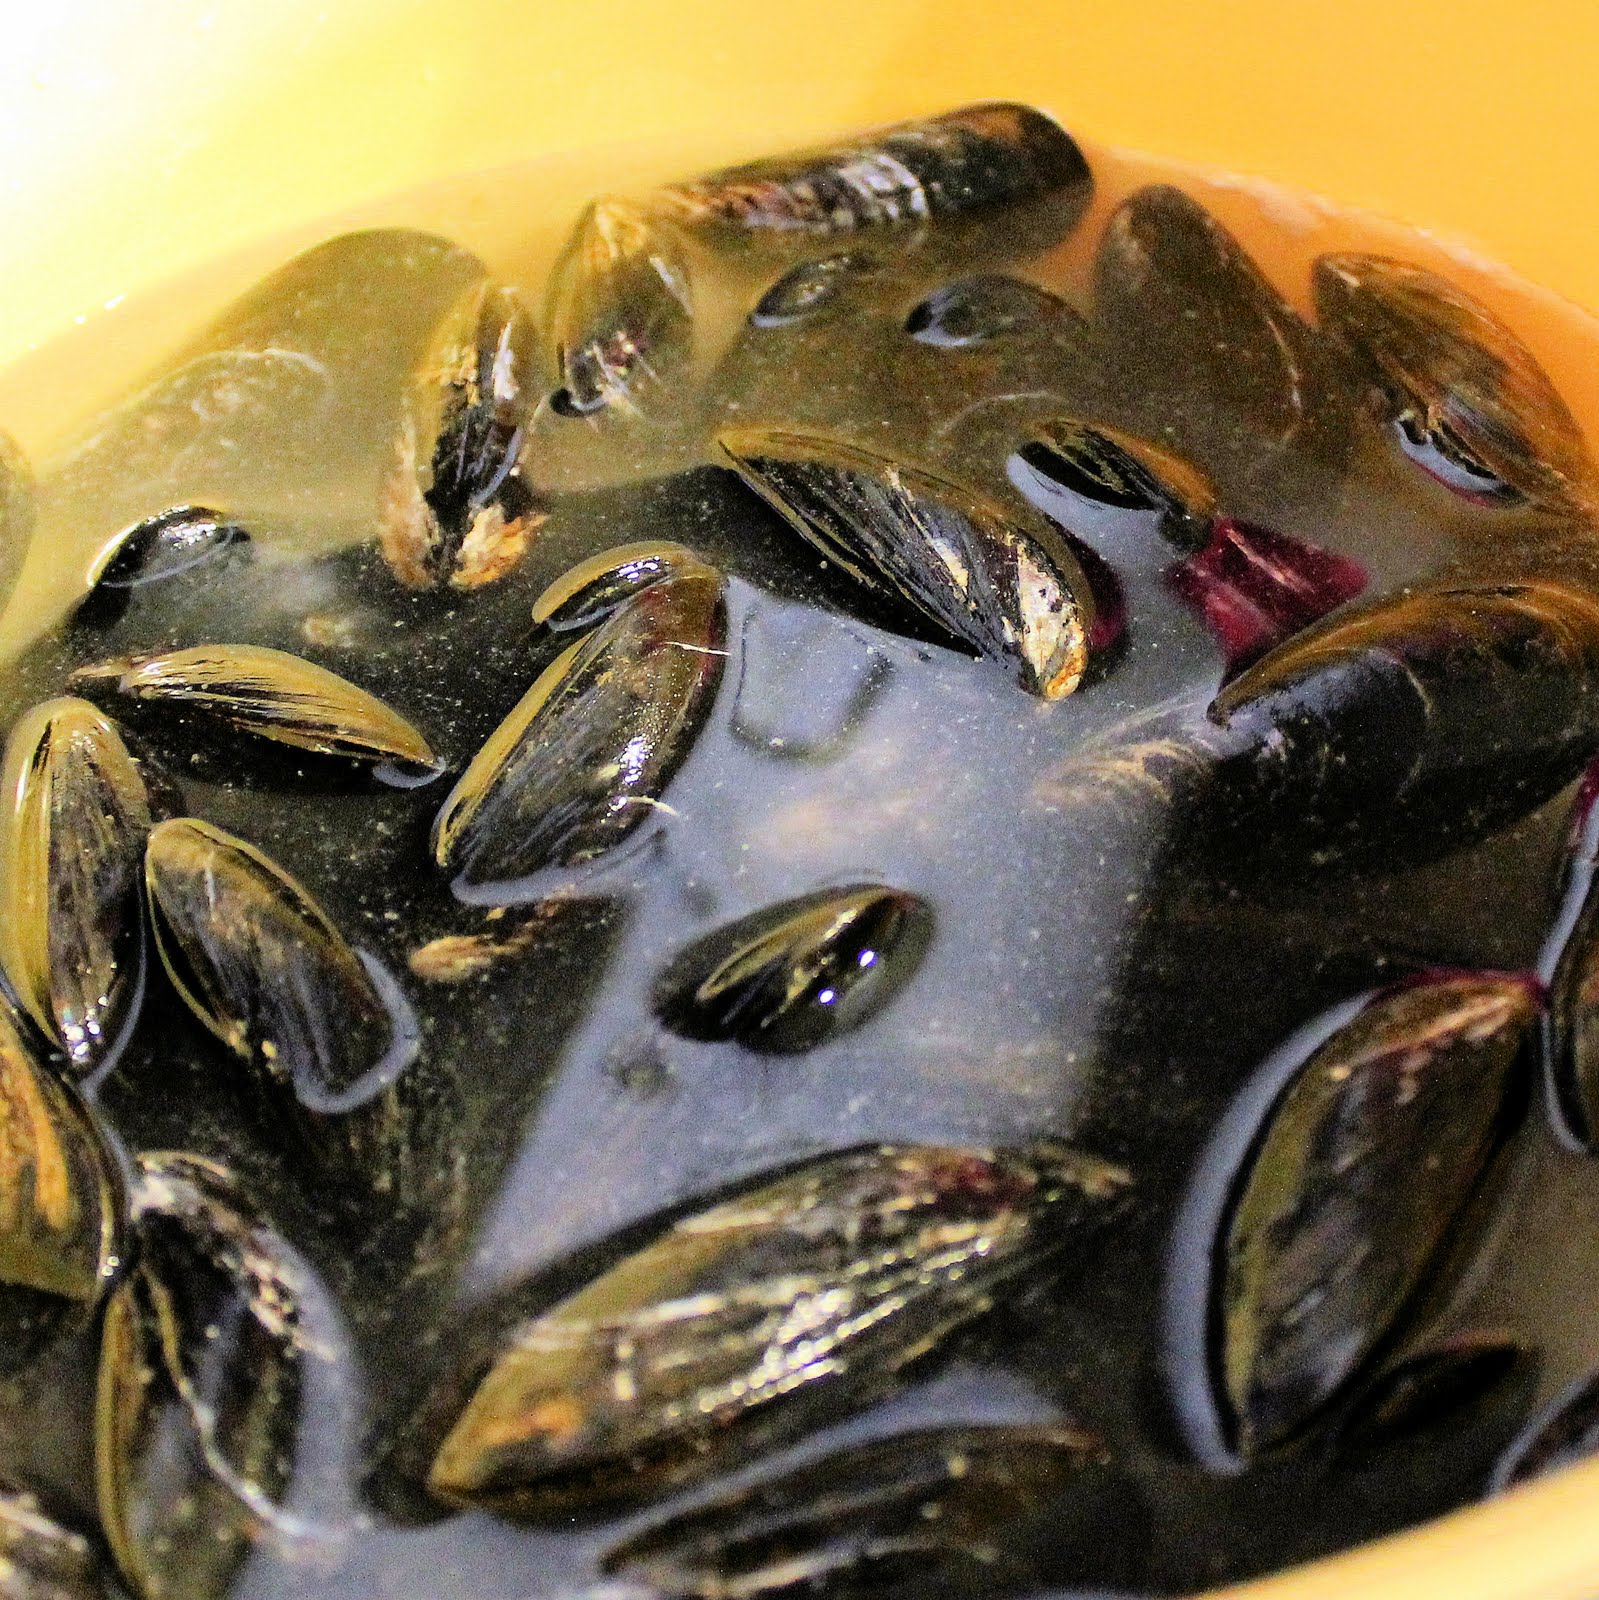
The beards won’t hurt you if you eat them, but they don’t look particularly appetizing. Scrub the mussels to remove any gook that might be left on them. Discard any mussels that are open or cracked. Do the same with the clams. Put the clams and mussels in a mixture of 2 quarts water and 1/3 cup flour for 20 minutes. This helps to remove any sand that may still be in the mussels and clams.
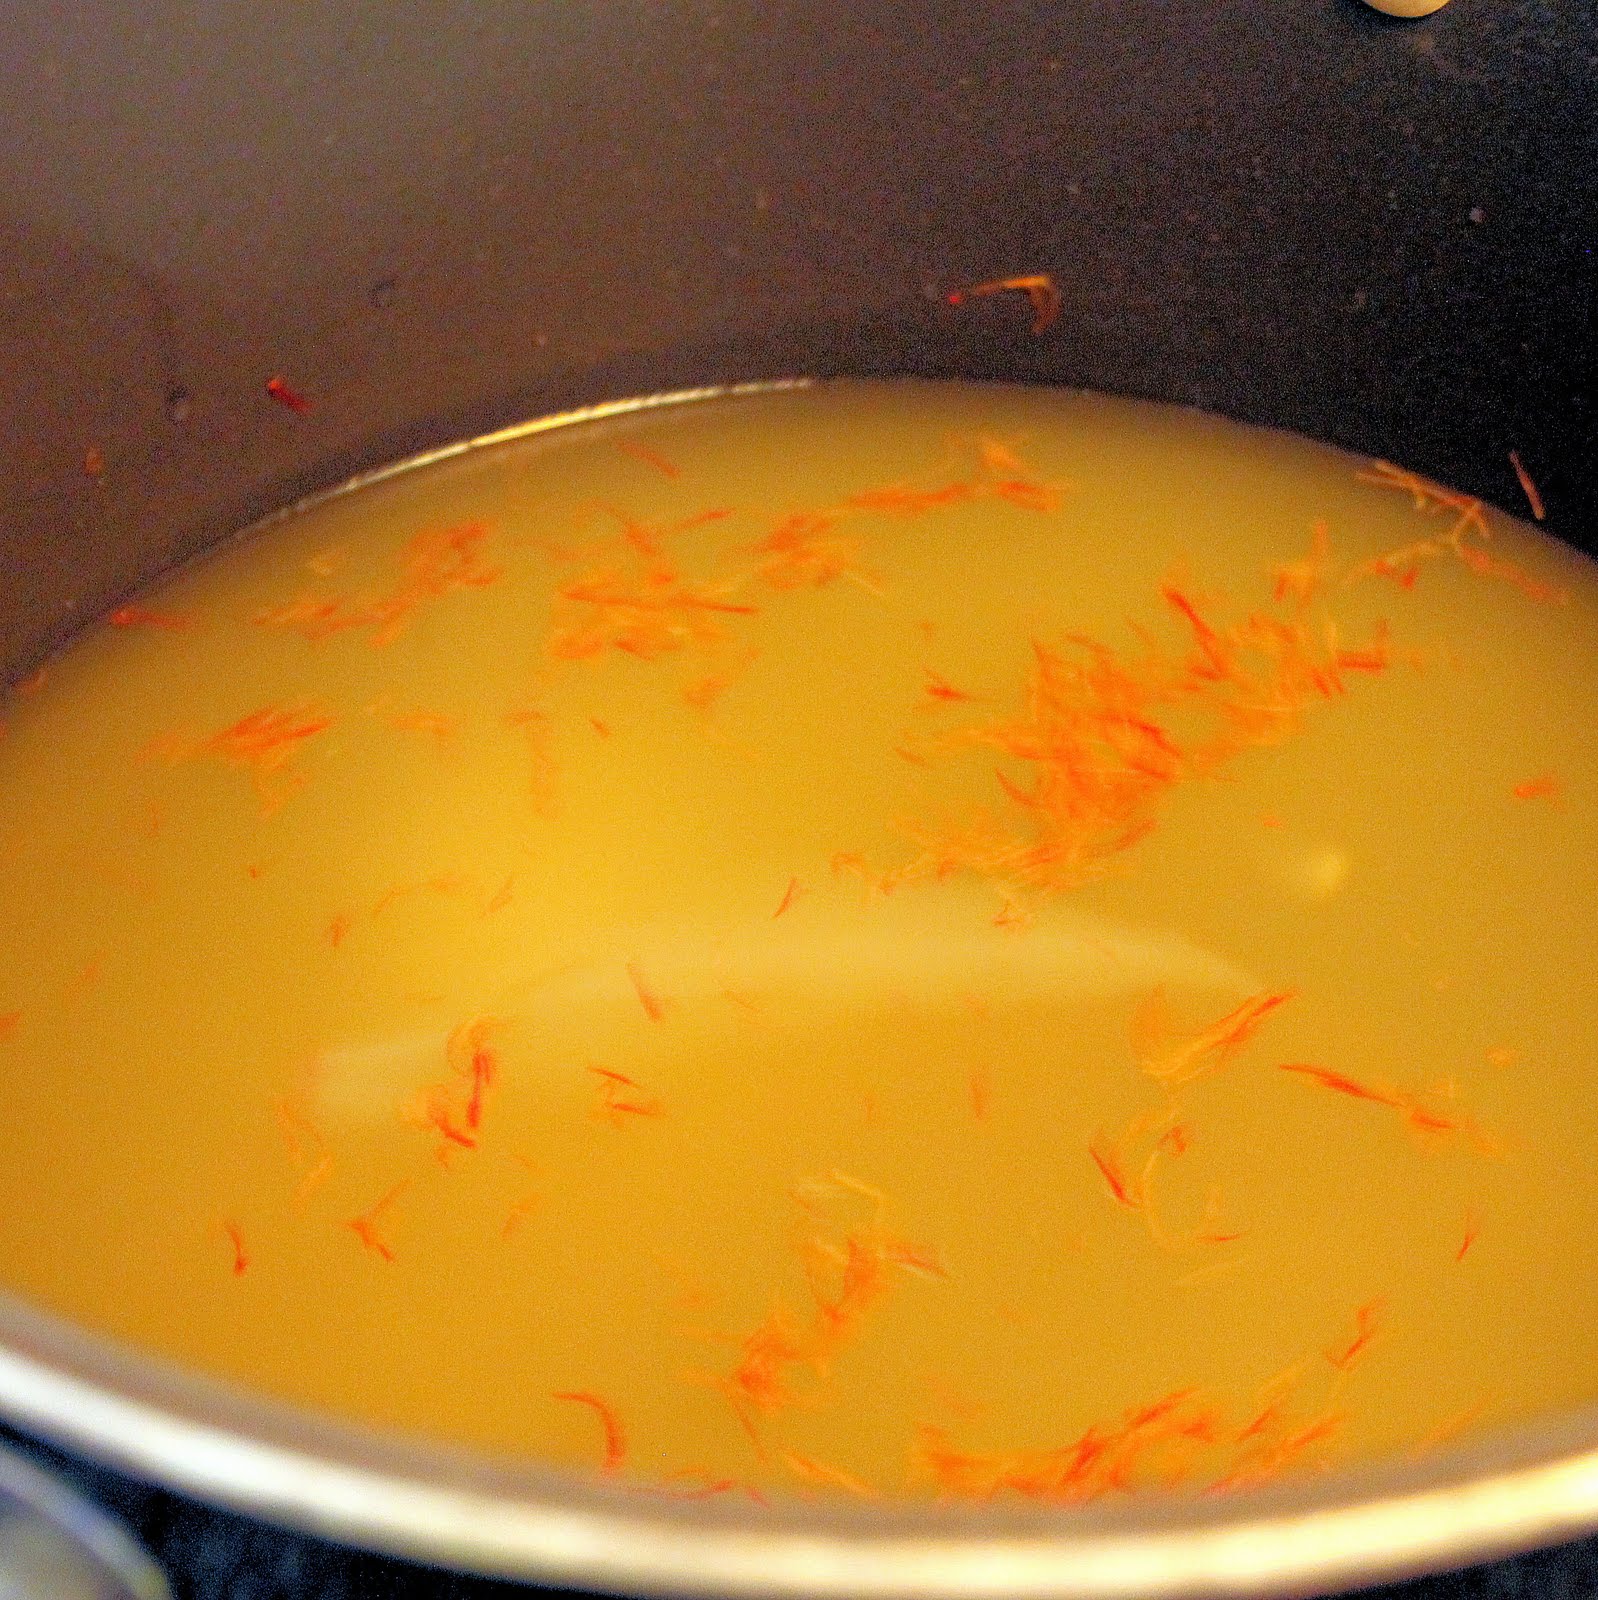
Add the chicken broth, 2 cups water, 1 cup white wine, clam juice and saffron to a pot over medium heat. Simmer, without boiling, then reduce to low to keep warm.
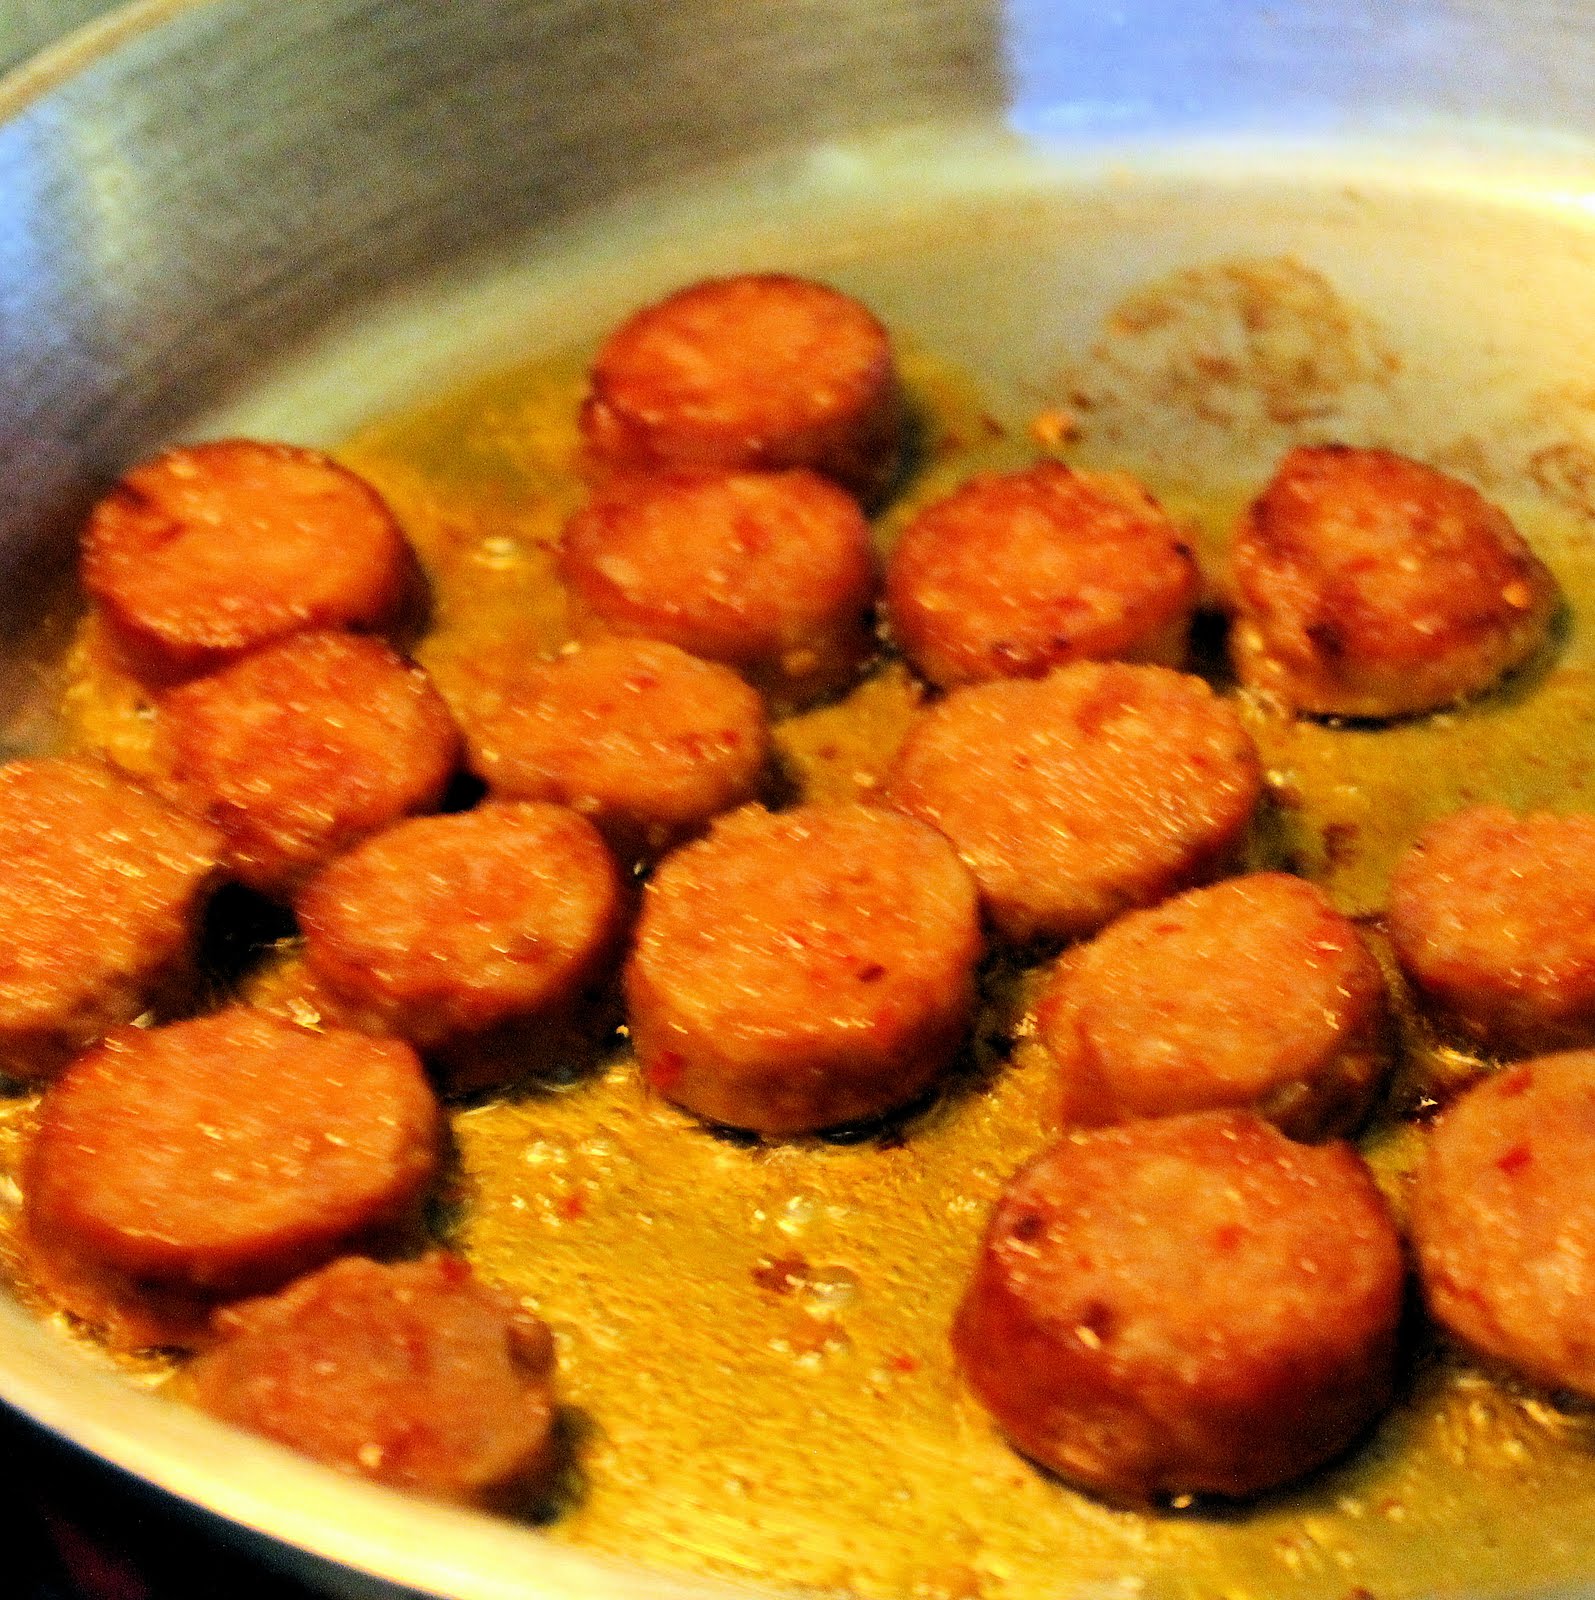
Heat a tablespoon olive oil over medium-high heat. Place the cut chorizo in the pan and cook until browned. Remove and set aside.
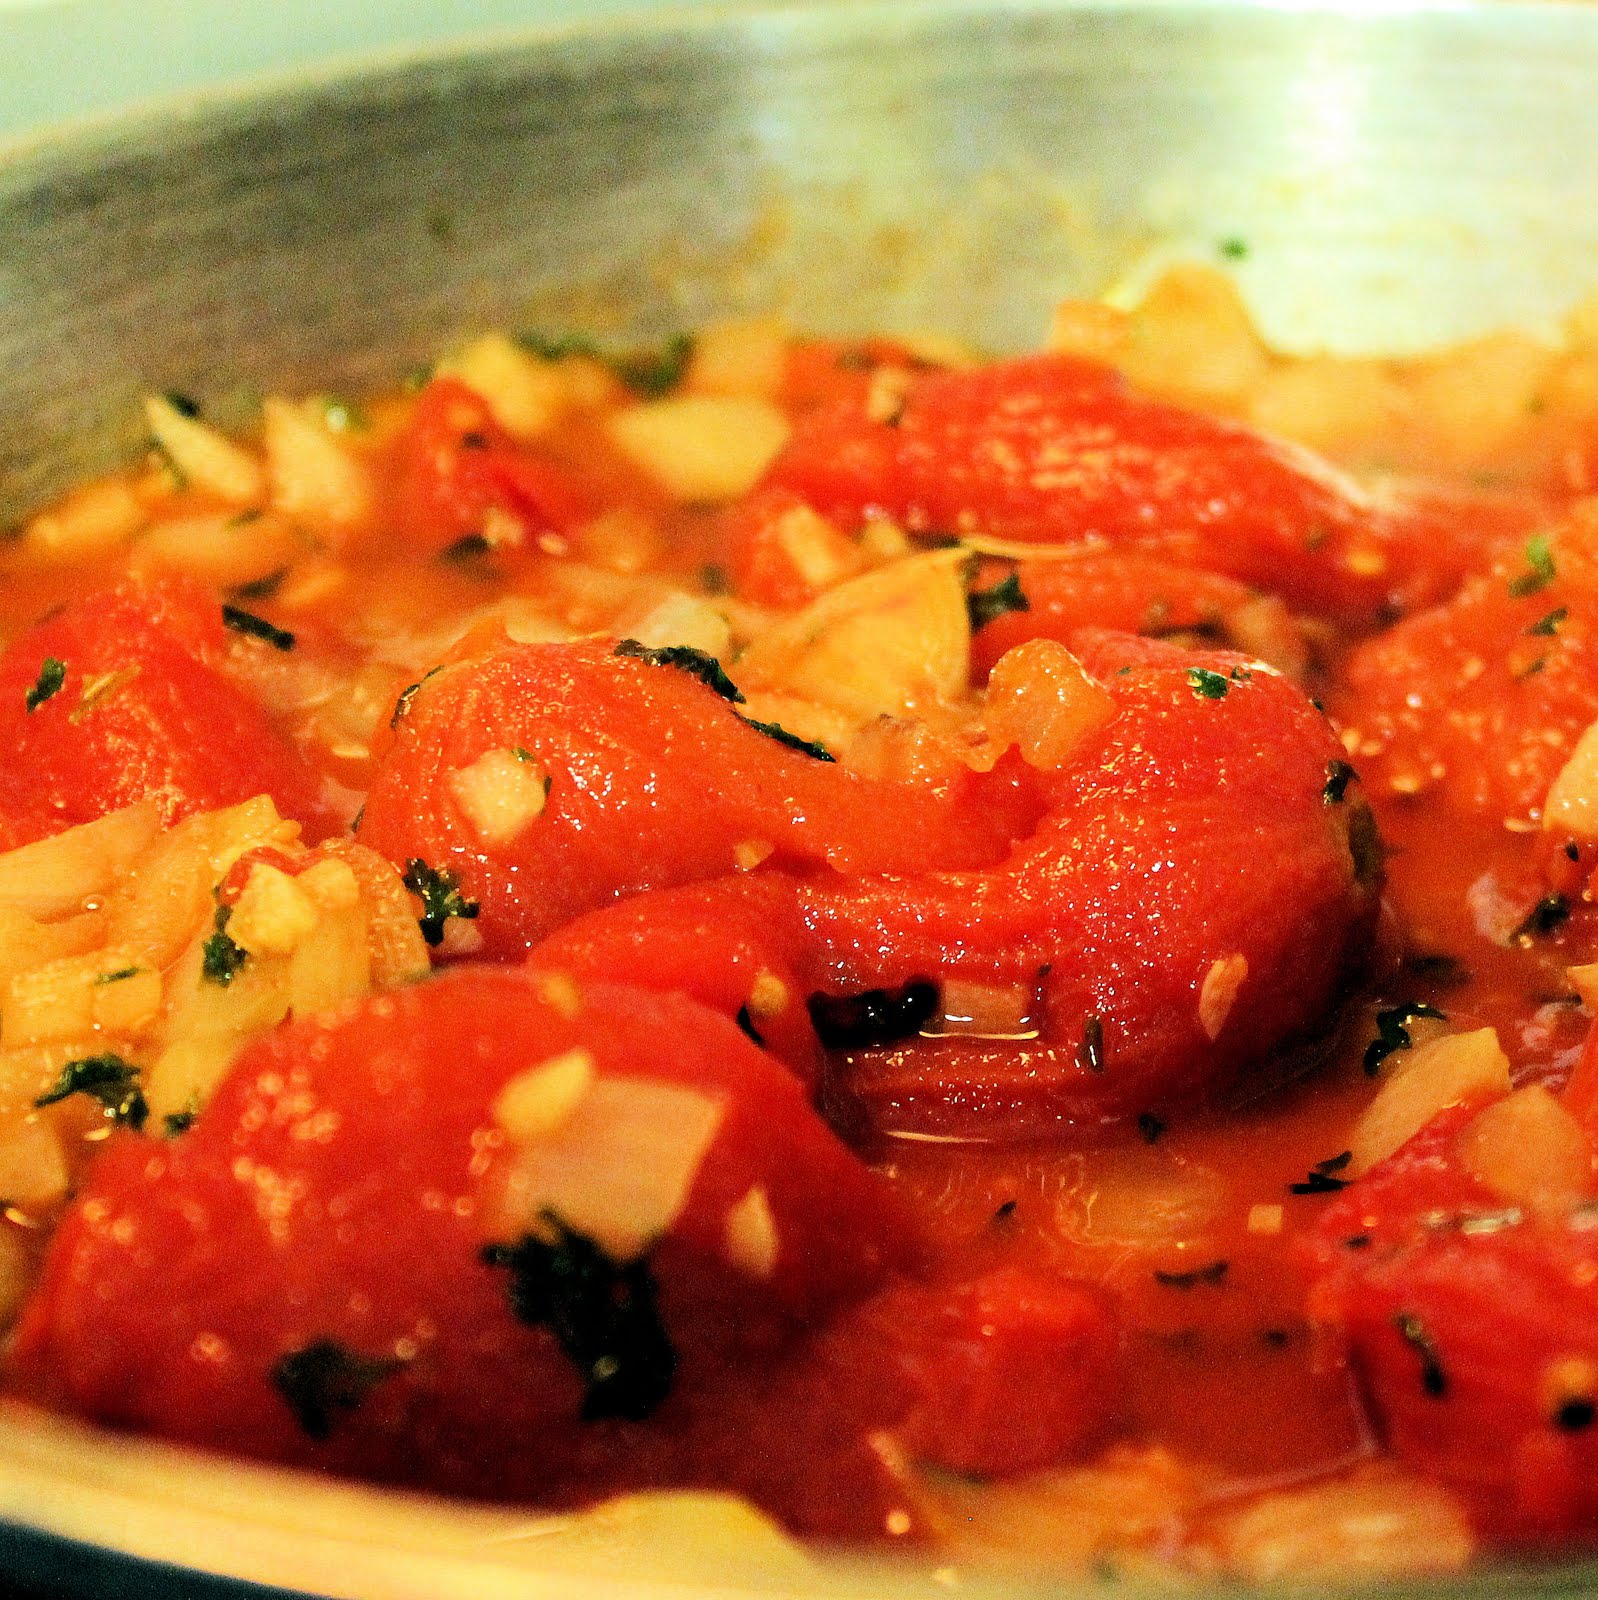
Reduce the heat to medium and add the chopped onions, garlic and parsley. Cook for 2 to 3 minutes.
Add the tomatoes and paprika and cook for 5-10 minutes until fragrant.
Add the rice, stirring to coat the rice.
Pour in the saffron broth, simmering for 10 minutes.
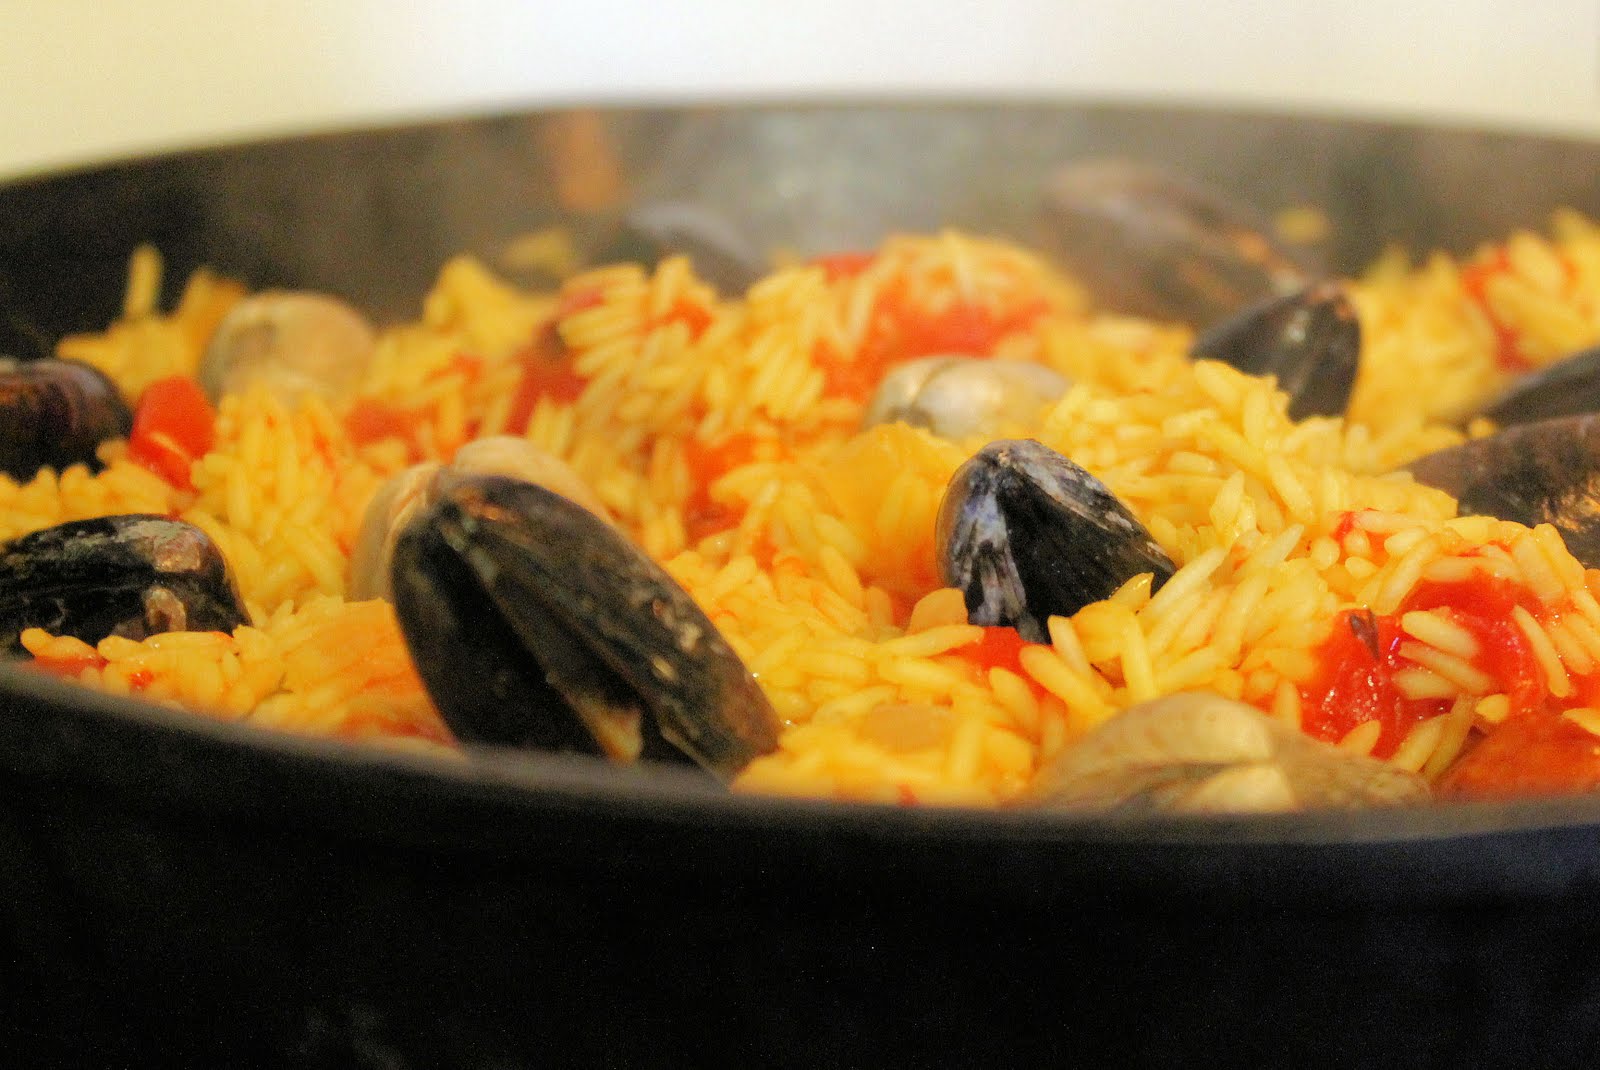
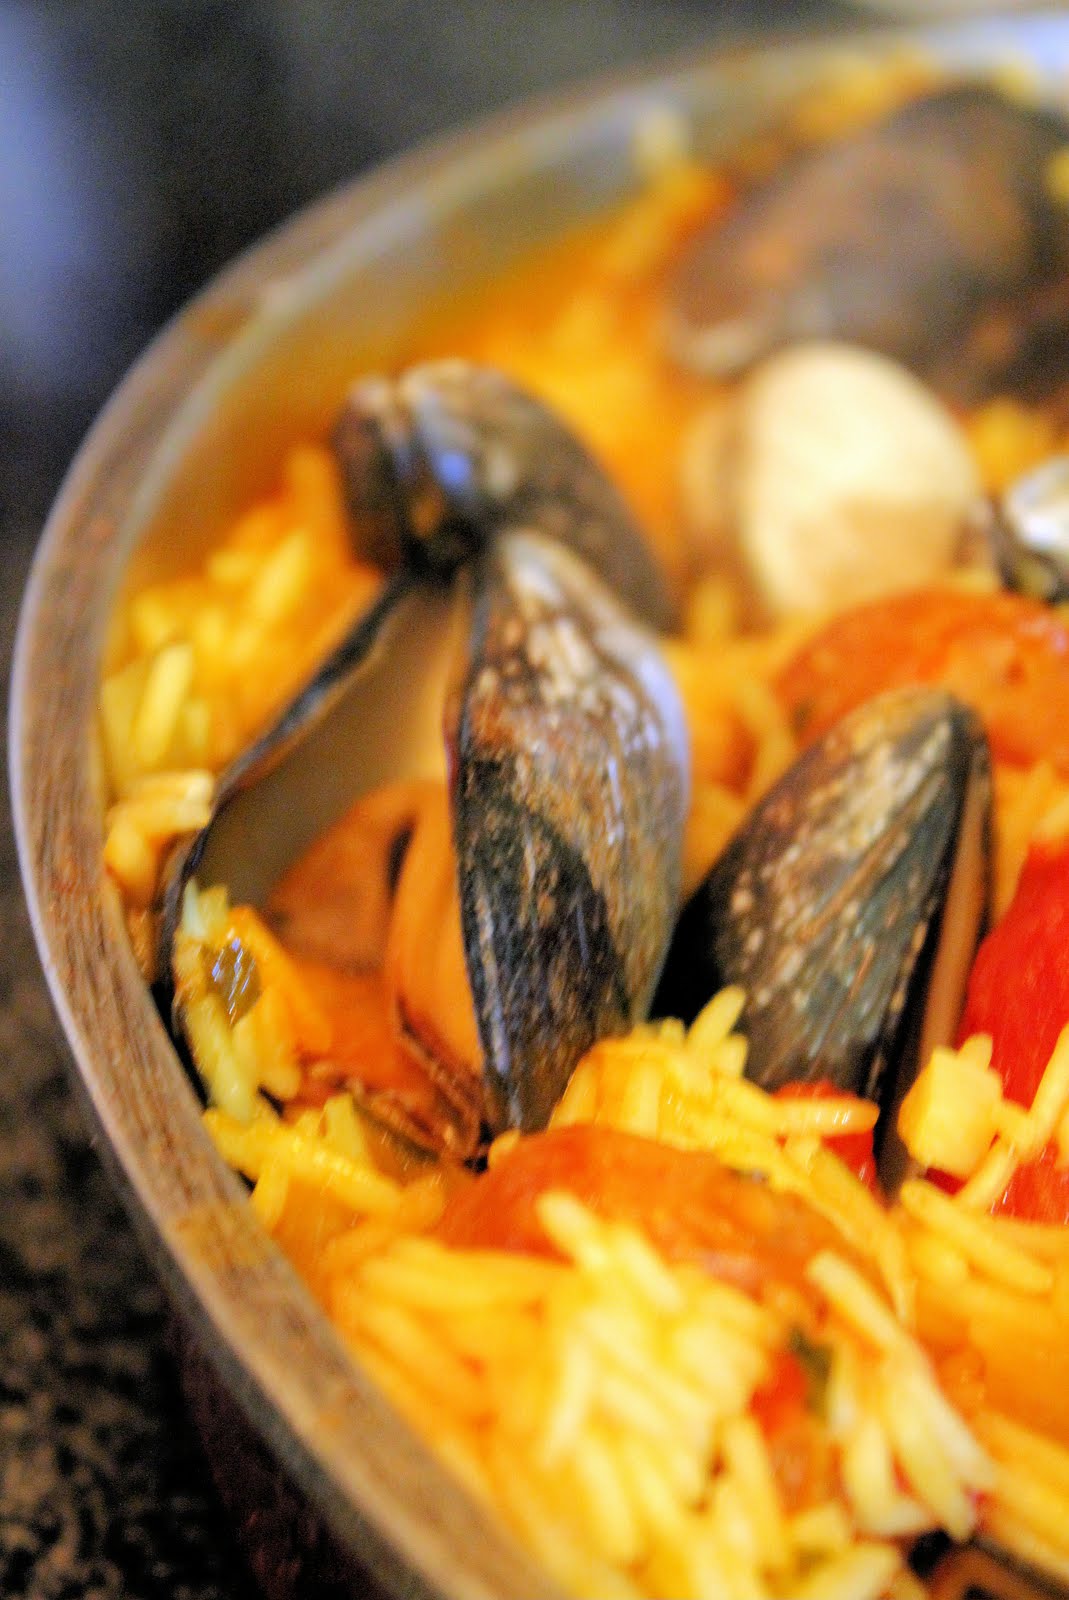
Add chorizo, clams and mussels, tucking the clams and mussels into the rice.
Cook for 15 minutes without stirring, until the rice is fluffy and you can smell the rice at the bottom beginning to toast. (This is known as socarrat… paella is supposed to have a toasted bottom.)
Remove from heat and allow to rest for 5 minutes (it will be really, really hot). Serve with lemon wedges and peas if desired. Season with salt and pepper if needed.
I have to give myself a little pat on the back for this one (as well as my boyfriend for his wonderful de-bearding skills). Although I was craving a bit more saffron taste, this dish really turned out well overall. It is quite a bit of work, but it produces a whole lot of food, at least 8 servings. As always, don’t eat any clams or mussels that don’t open. A bunch of my clams didn’t open, kind of a bummer. I also think the next time I make this, I would reserve the liquid from the tomatoes and add that in as well for a little extra flavor.
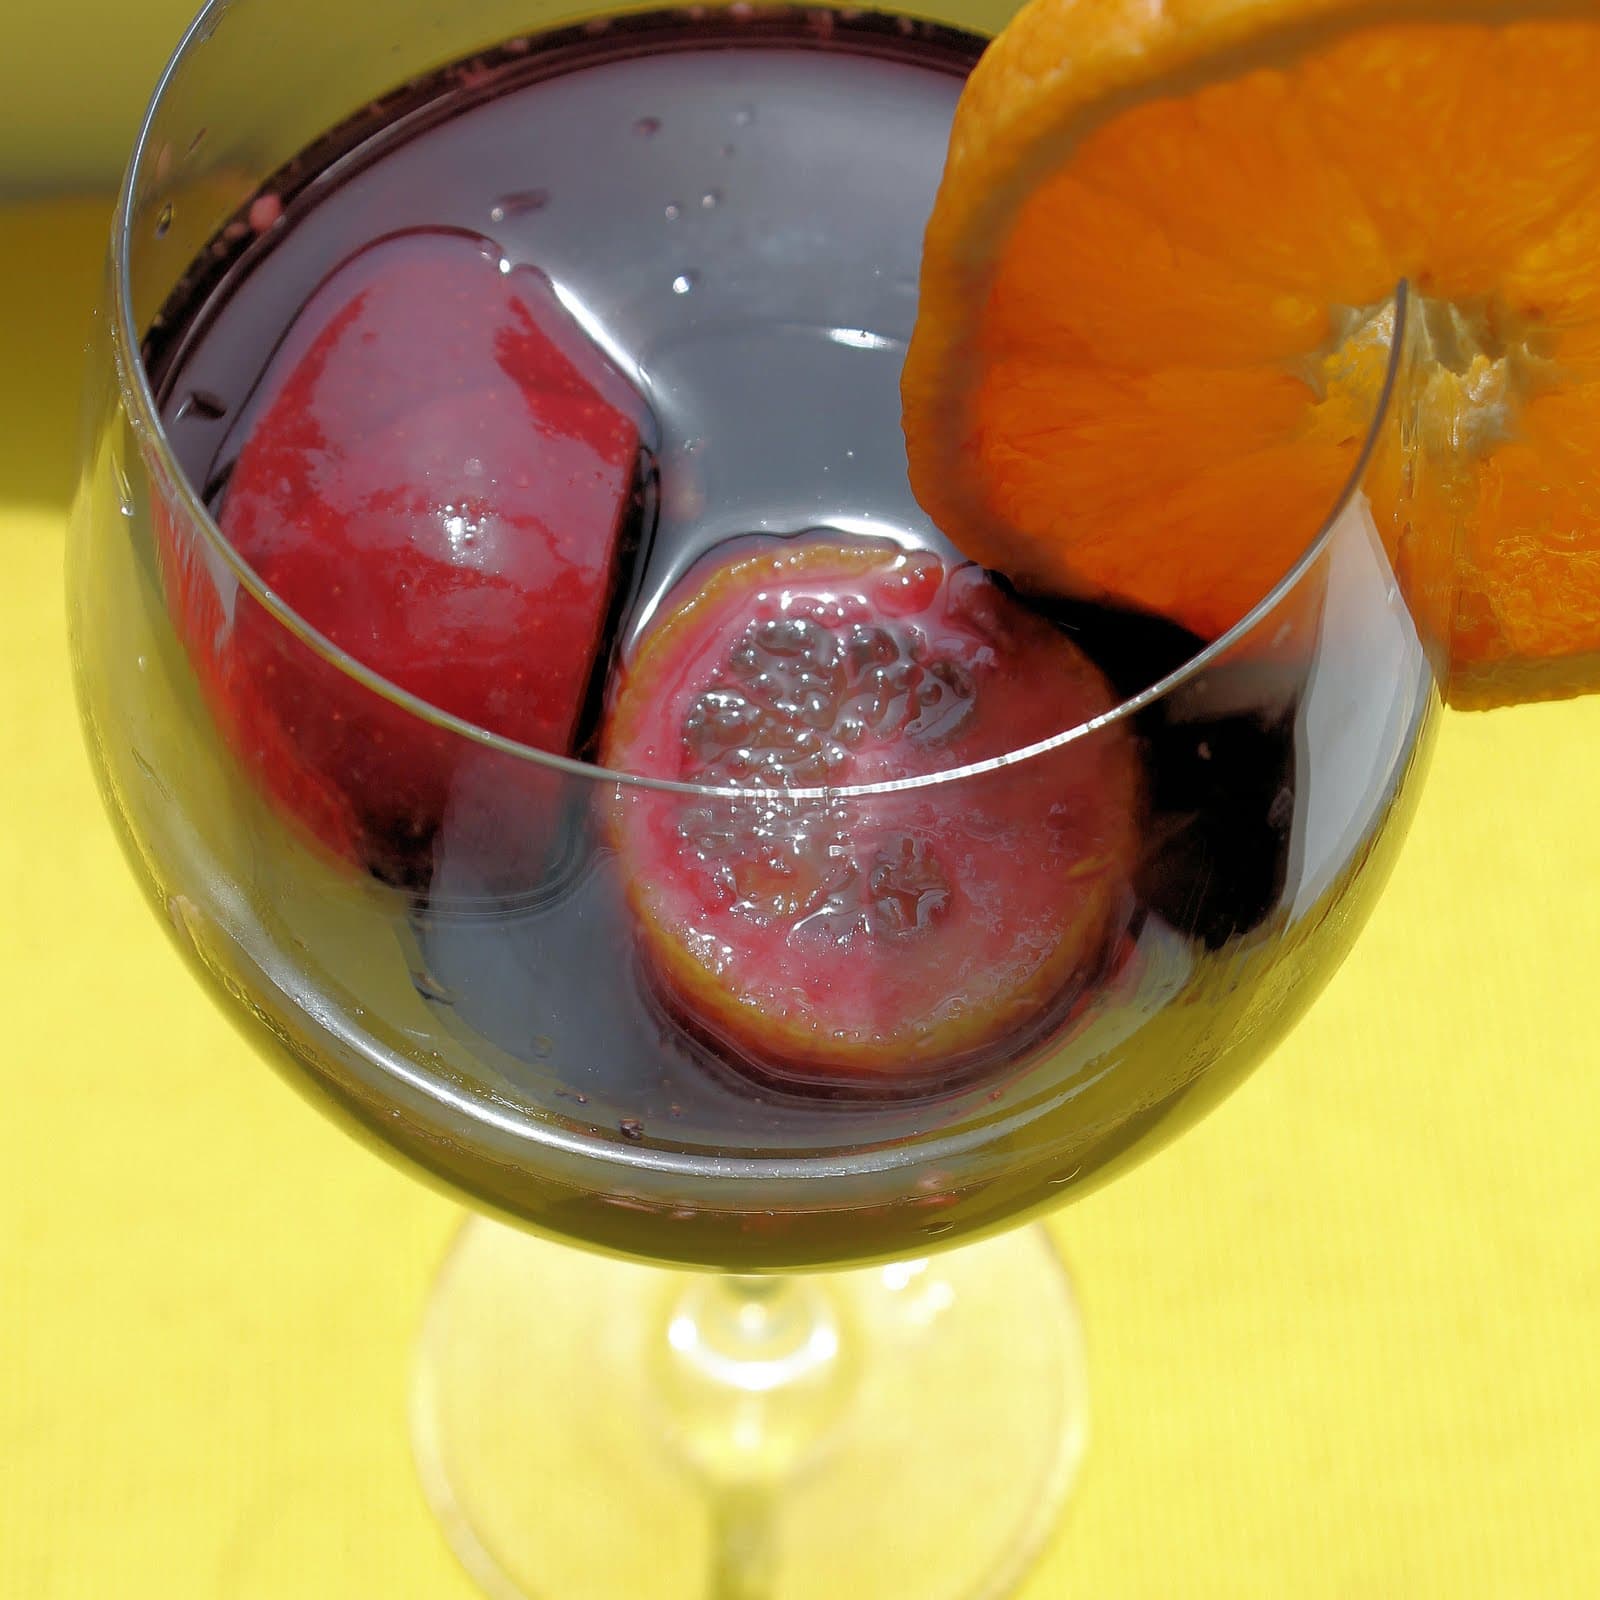
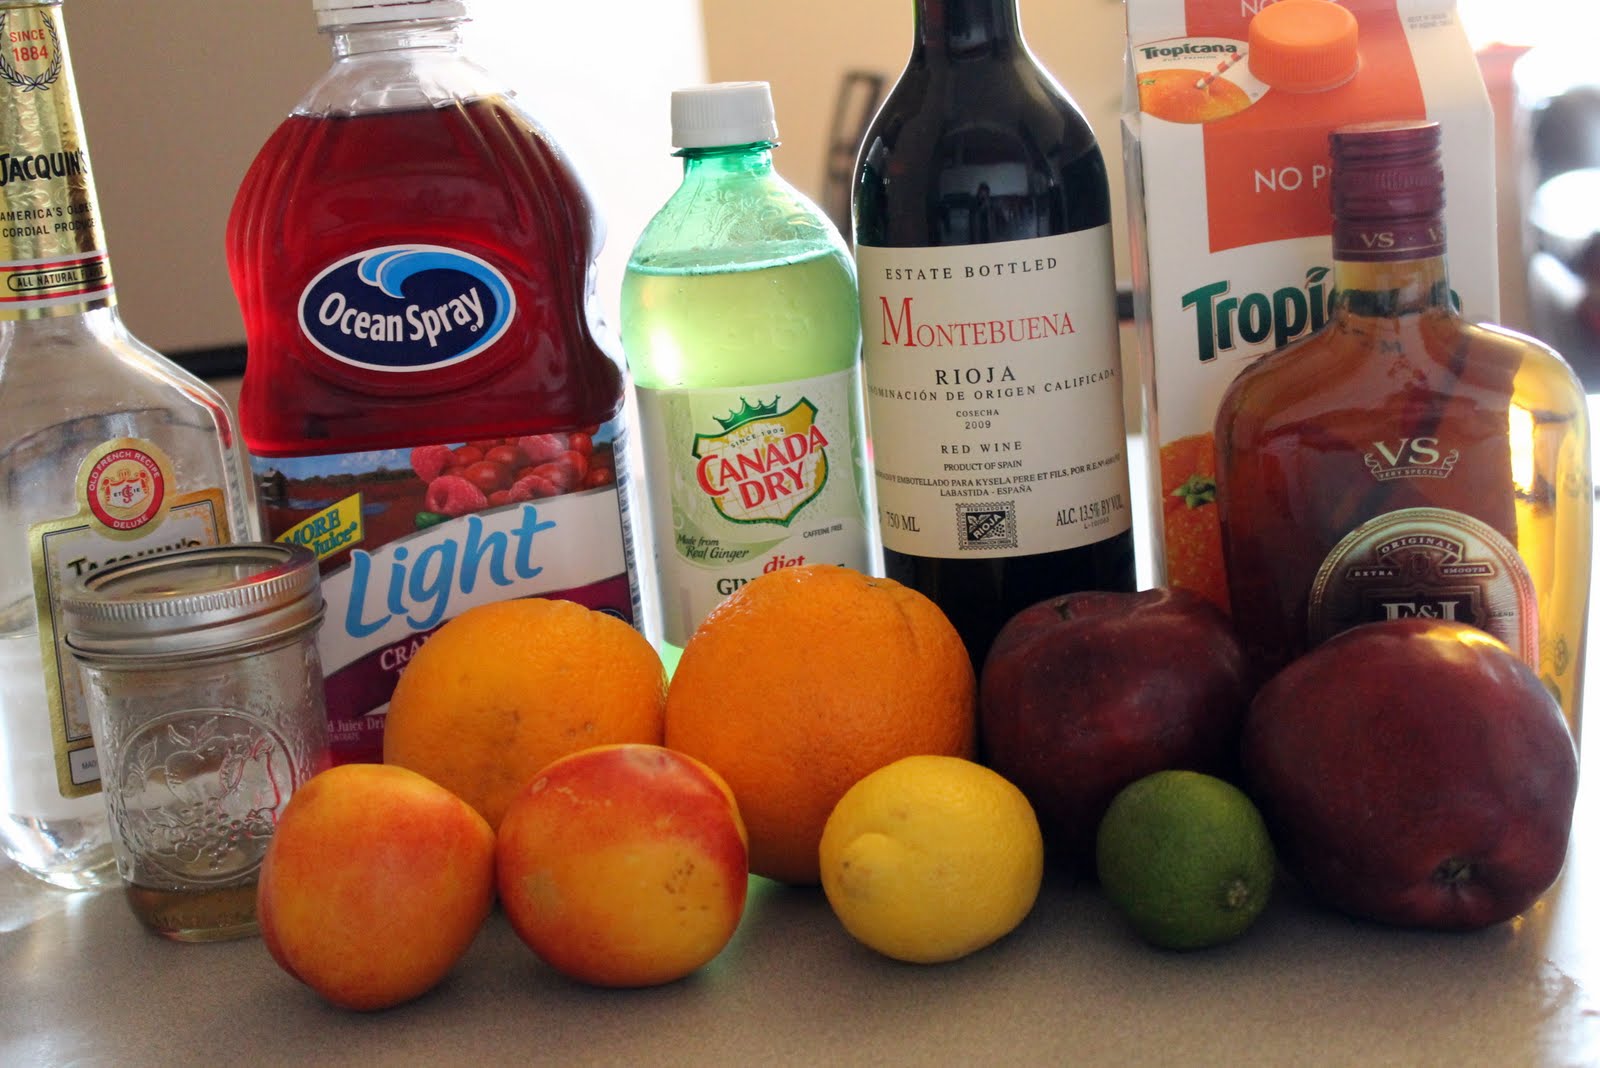
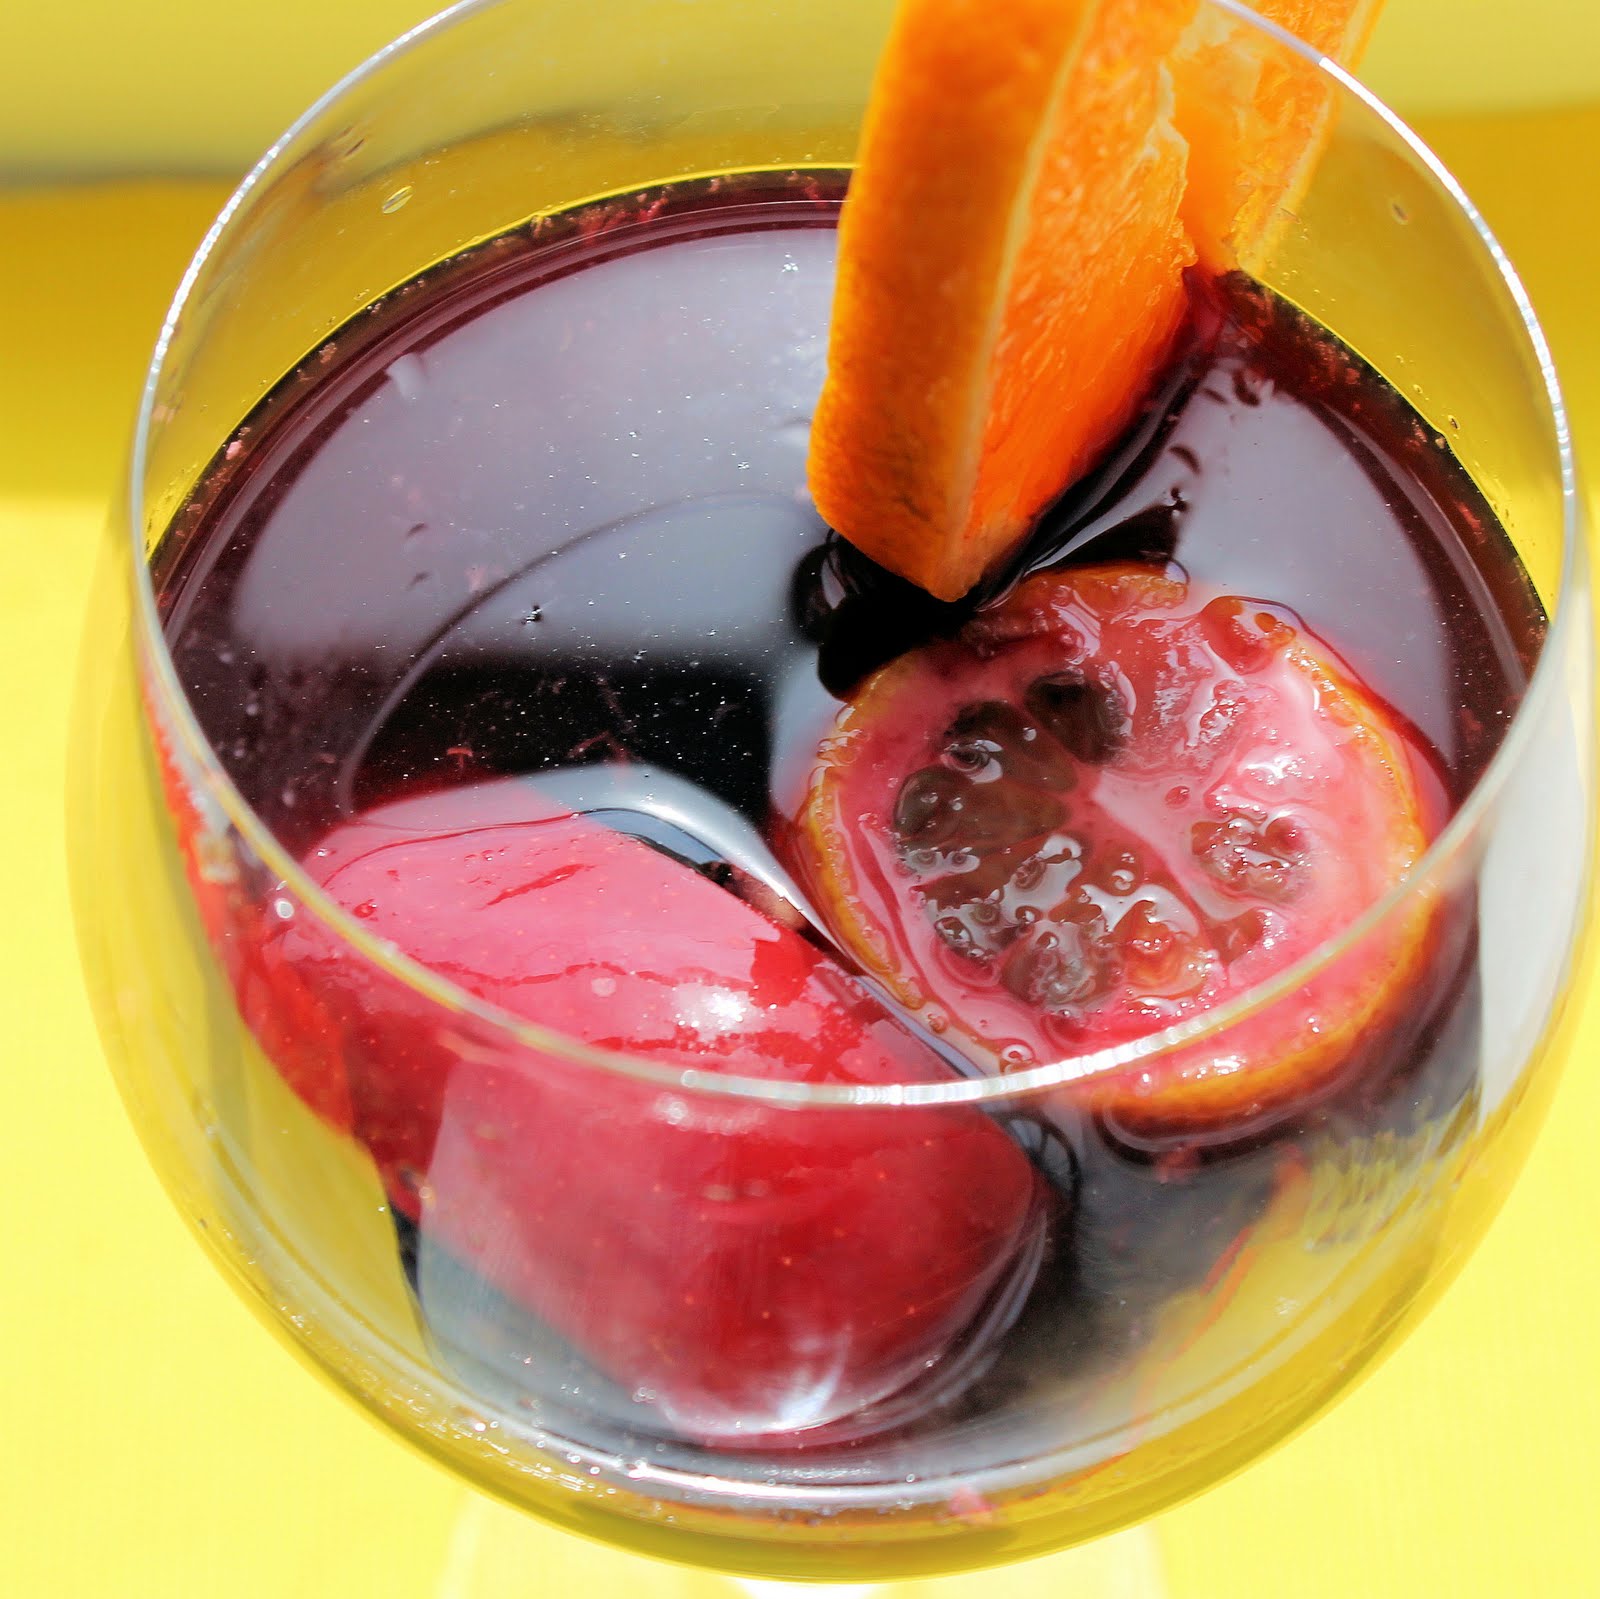
For Father’s Day, I wanted to make my dad a somewhat traditional sangria. He is a man who has nothing and wants nothing (which is probably a result of having two daughters and a wife who want everything), but he does love a good sangria. I hope he likes it!
Ingredients:
1 bottle of Rioja wine
1/2 cup brandy
1/4 cup triple sec
1/2 cup orange juice
1/4 cup cranberry juice
3 table spoons simple syrup
1 apple, cored
1 orange, cut into thin slices
1 lemon, cut into thin slices
1 lime, cut into thin slices
1 peach/nectarine, pitted and cut into wedges
Ginger ale, to taste
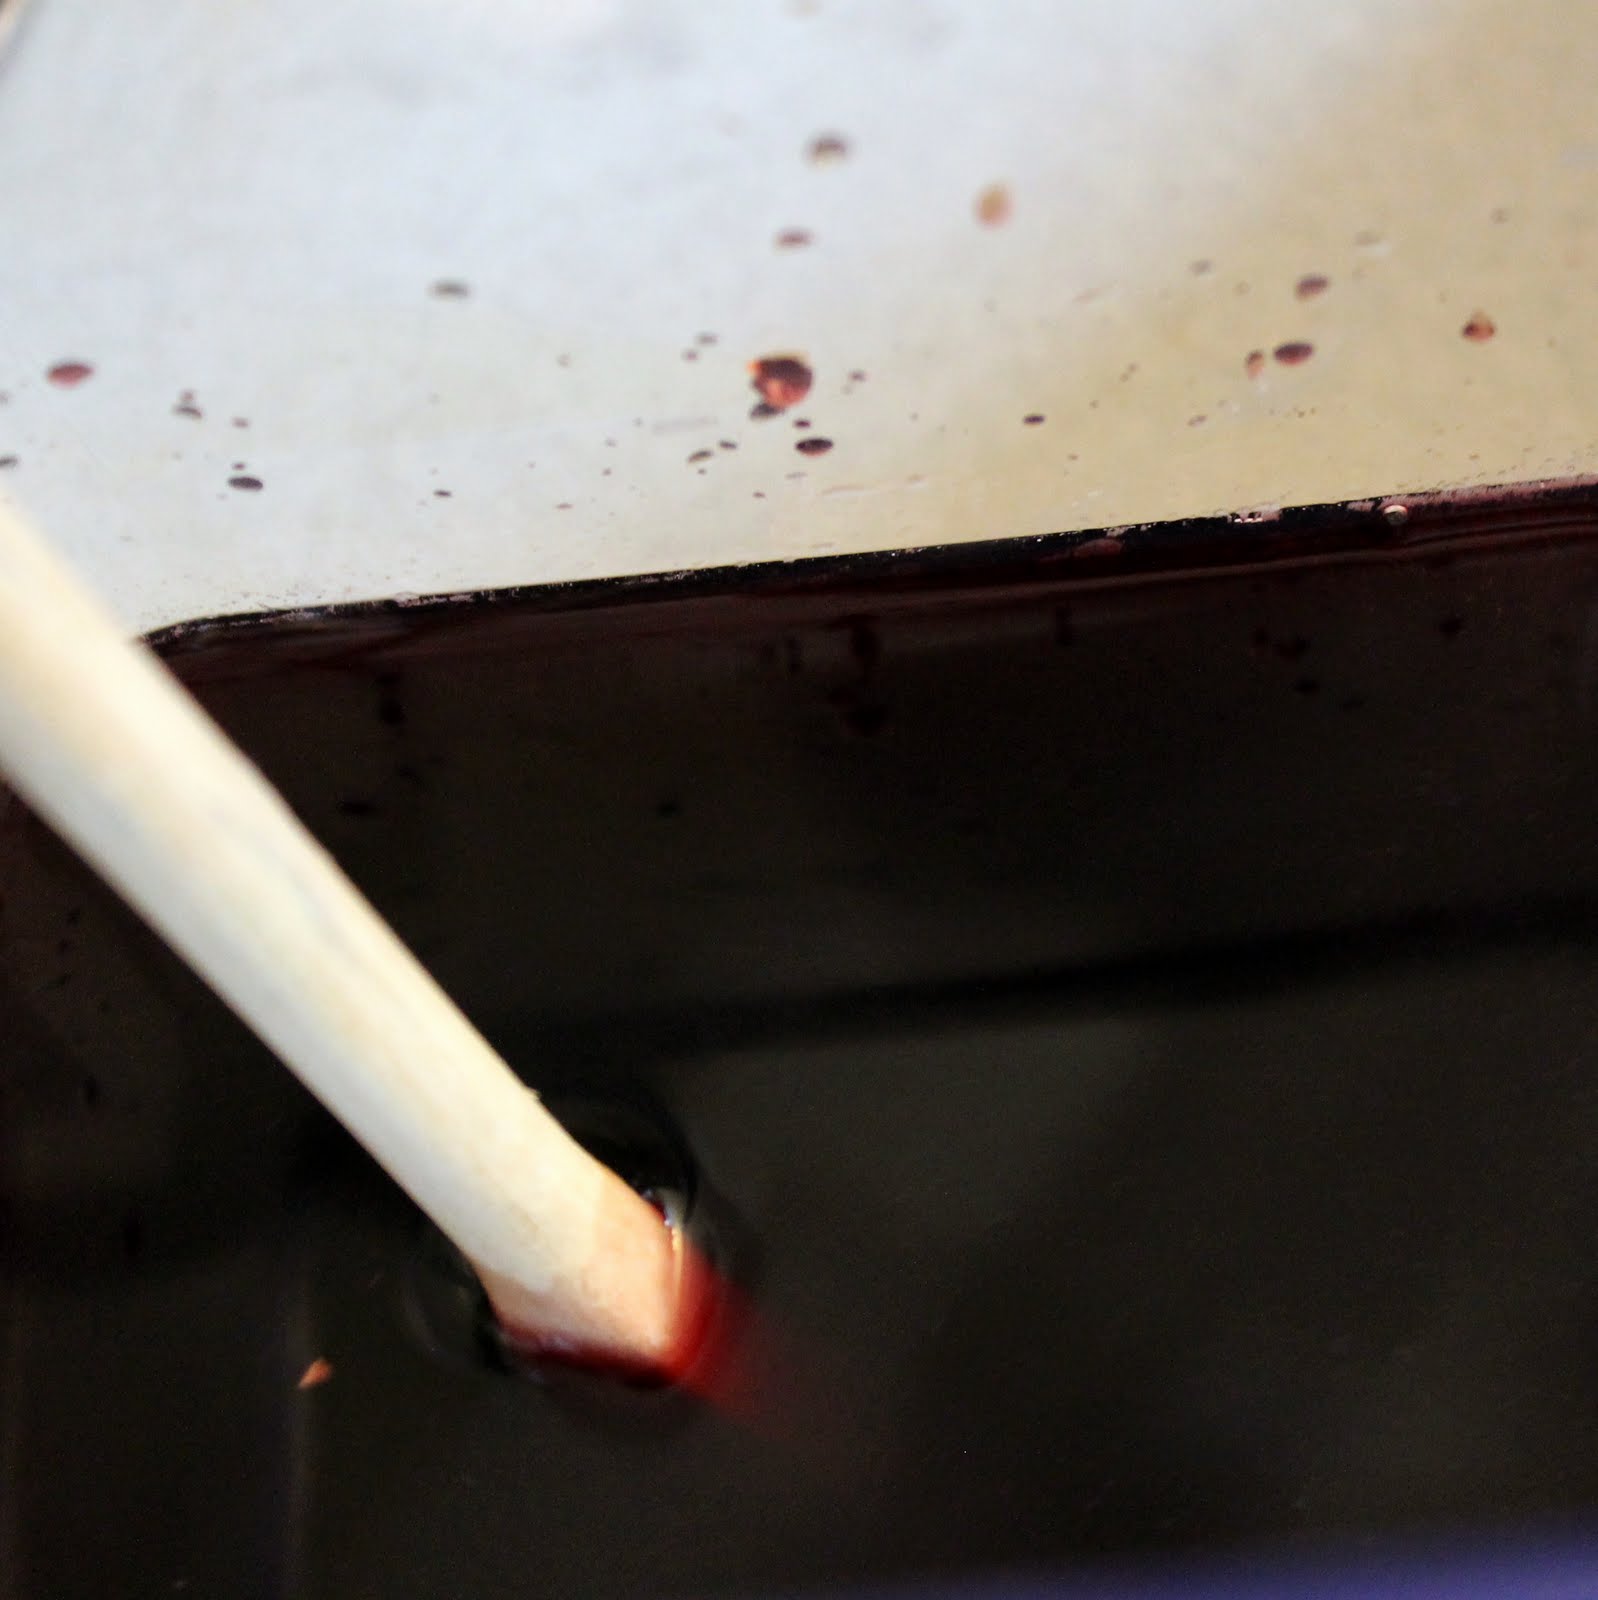
Combine the wine, brandy, triple sec, orange juice, cranberry juice and simple syrup. Stir.
Prepare all of your fruit.
Add the fruit to the wine mixture and refrigerate for about 1 hour.
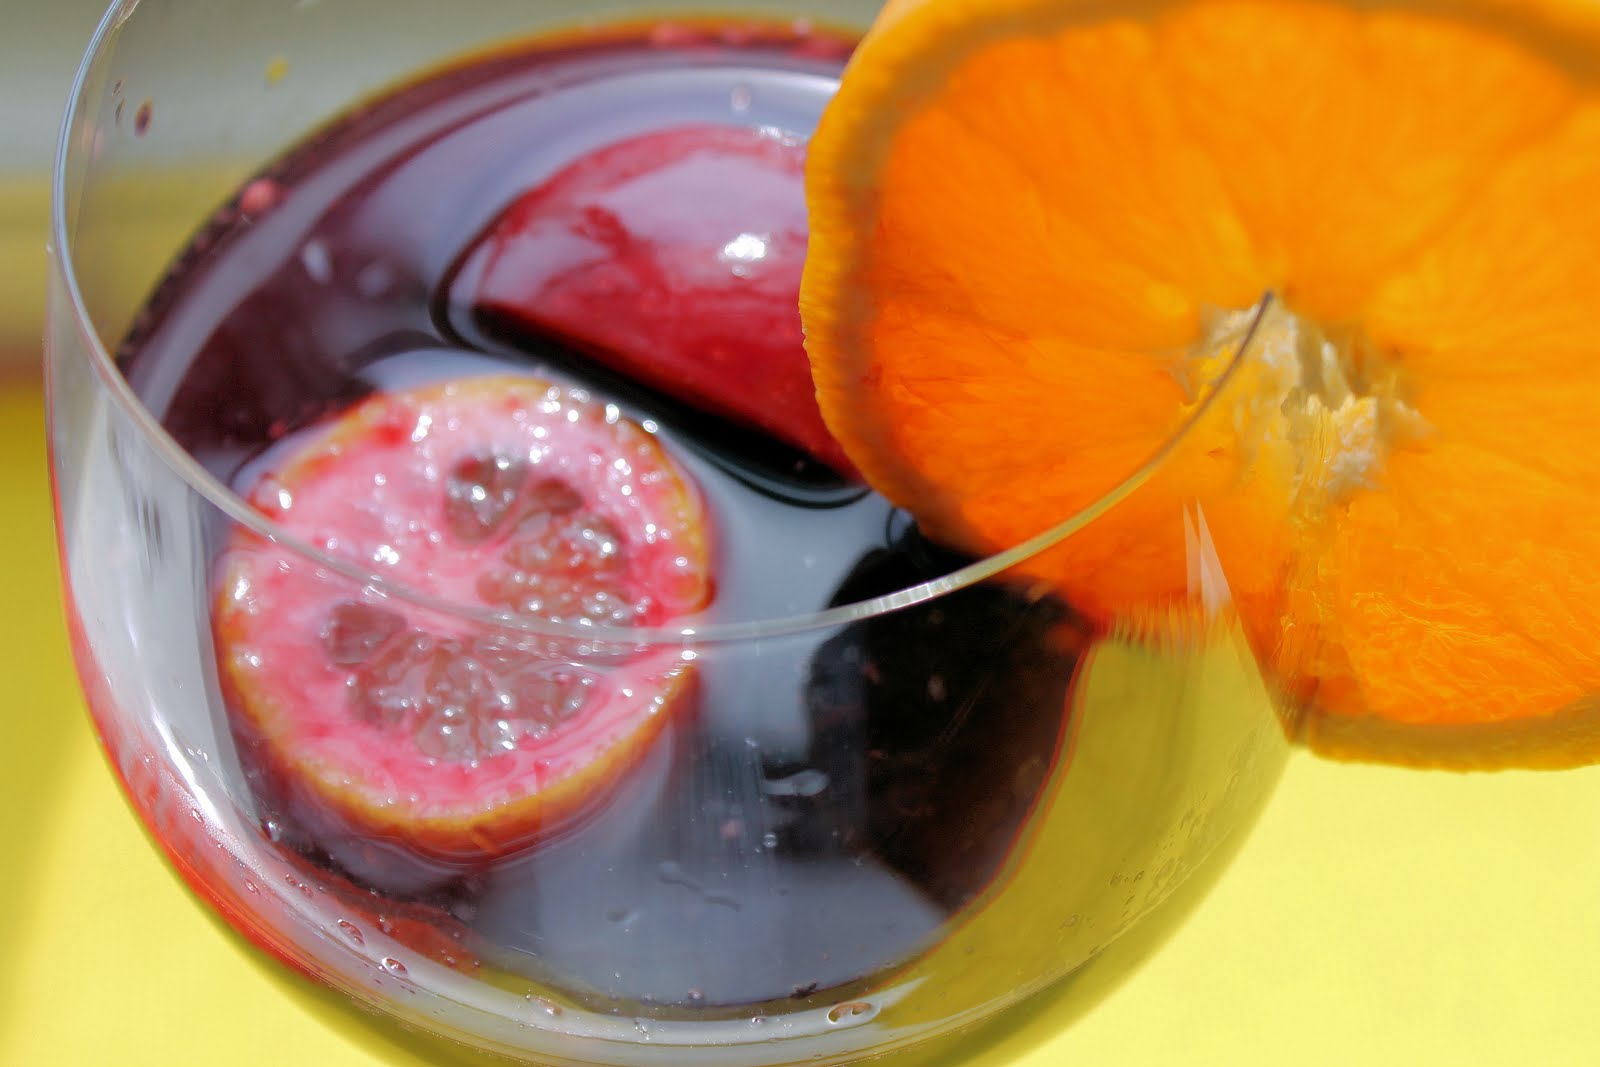
When ready to serve, pour sangria into a glass and top with the ginger ale to taste.
I took only one sip of this, so my dad will have to be the true judge of this recipe. It seemed to taste good to me: not too sweet and still a hint of actual wine. You can make a bunch of substitutes for this recipe. If you don’t have the time to make simple syrup, just use 3 tablespoons sugar and stir until it dissolves in the wine mixture. Feel free to substitute or eliminate some of the fruit choices: blackberries would also be a nice addition in the sangria.
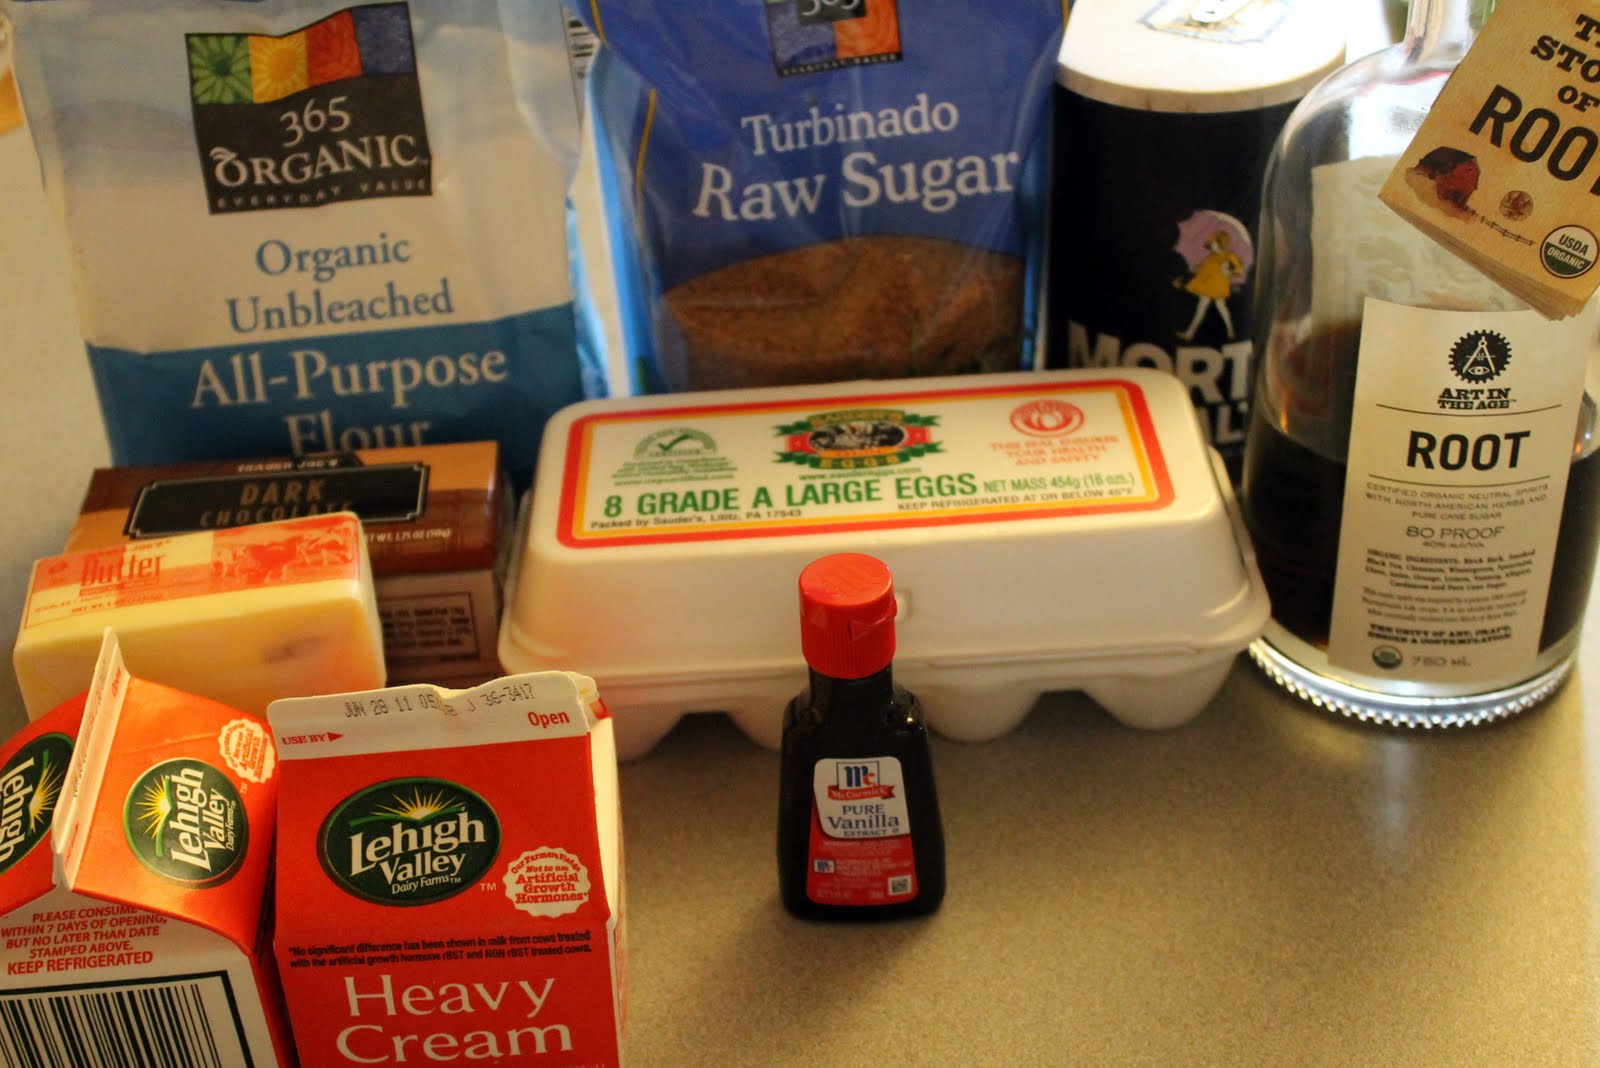
I have wanted to try to incorporate ROOT into my cooking for a while now. ROOT is basically the alcoholic version of root beer. For the history/back-story, check out their website. Here is also a video on the stuff:
The spirit contains birch bark, smoked black tea, cinnamon, wintergreen, spearmint, clove, anise, orange, lemon, nutmeg, allspice, cardamom and pure cane sugar so I thought it would go really well in a chocolate cake. I used this rum cake recipeas a starting point, and substituted in ROOT and dark chocolate, as well as a little instant espresso coffee to enhance the chocolate flavor.
Ingredients for the cake:
6 ounces coarsely chopped dark chocolate
1/2 teaspoon instant espresso coffee
5 ounces (1-1/4 sticks) unsalted butter
2/3 cup ROOT
4 large eggs, separated
1-1/4 cups sugar
1 cup flour
Pinch saltIngredients for the chocolate glaze:
1 cup heavy whipping cream
8 ounces roughly chopped dark chocolate
1/2 teaspoon espresso powderIngredients for Chantilly cream (optional):
1/2 cup plus 1 Tablespoon heavy whipping cream
1/4 teaspoon vanilla extract
3/4 teaspoon sugar or to taste
Small pinch salt
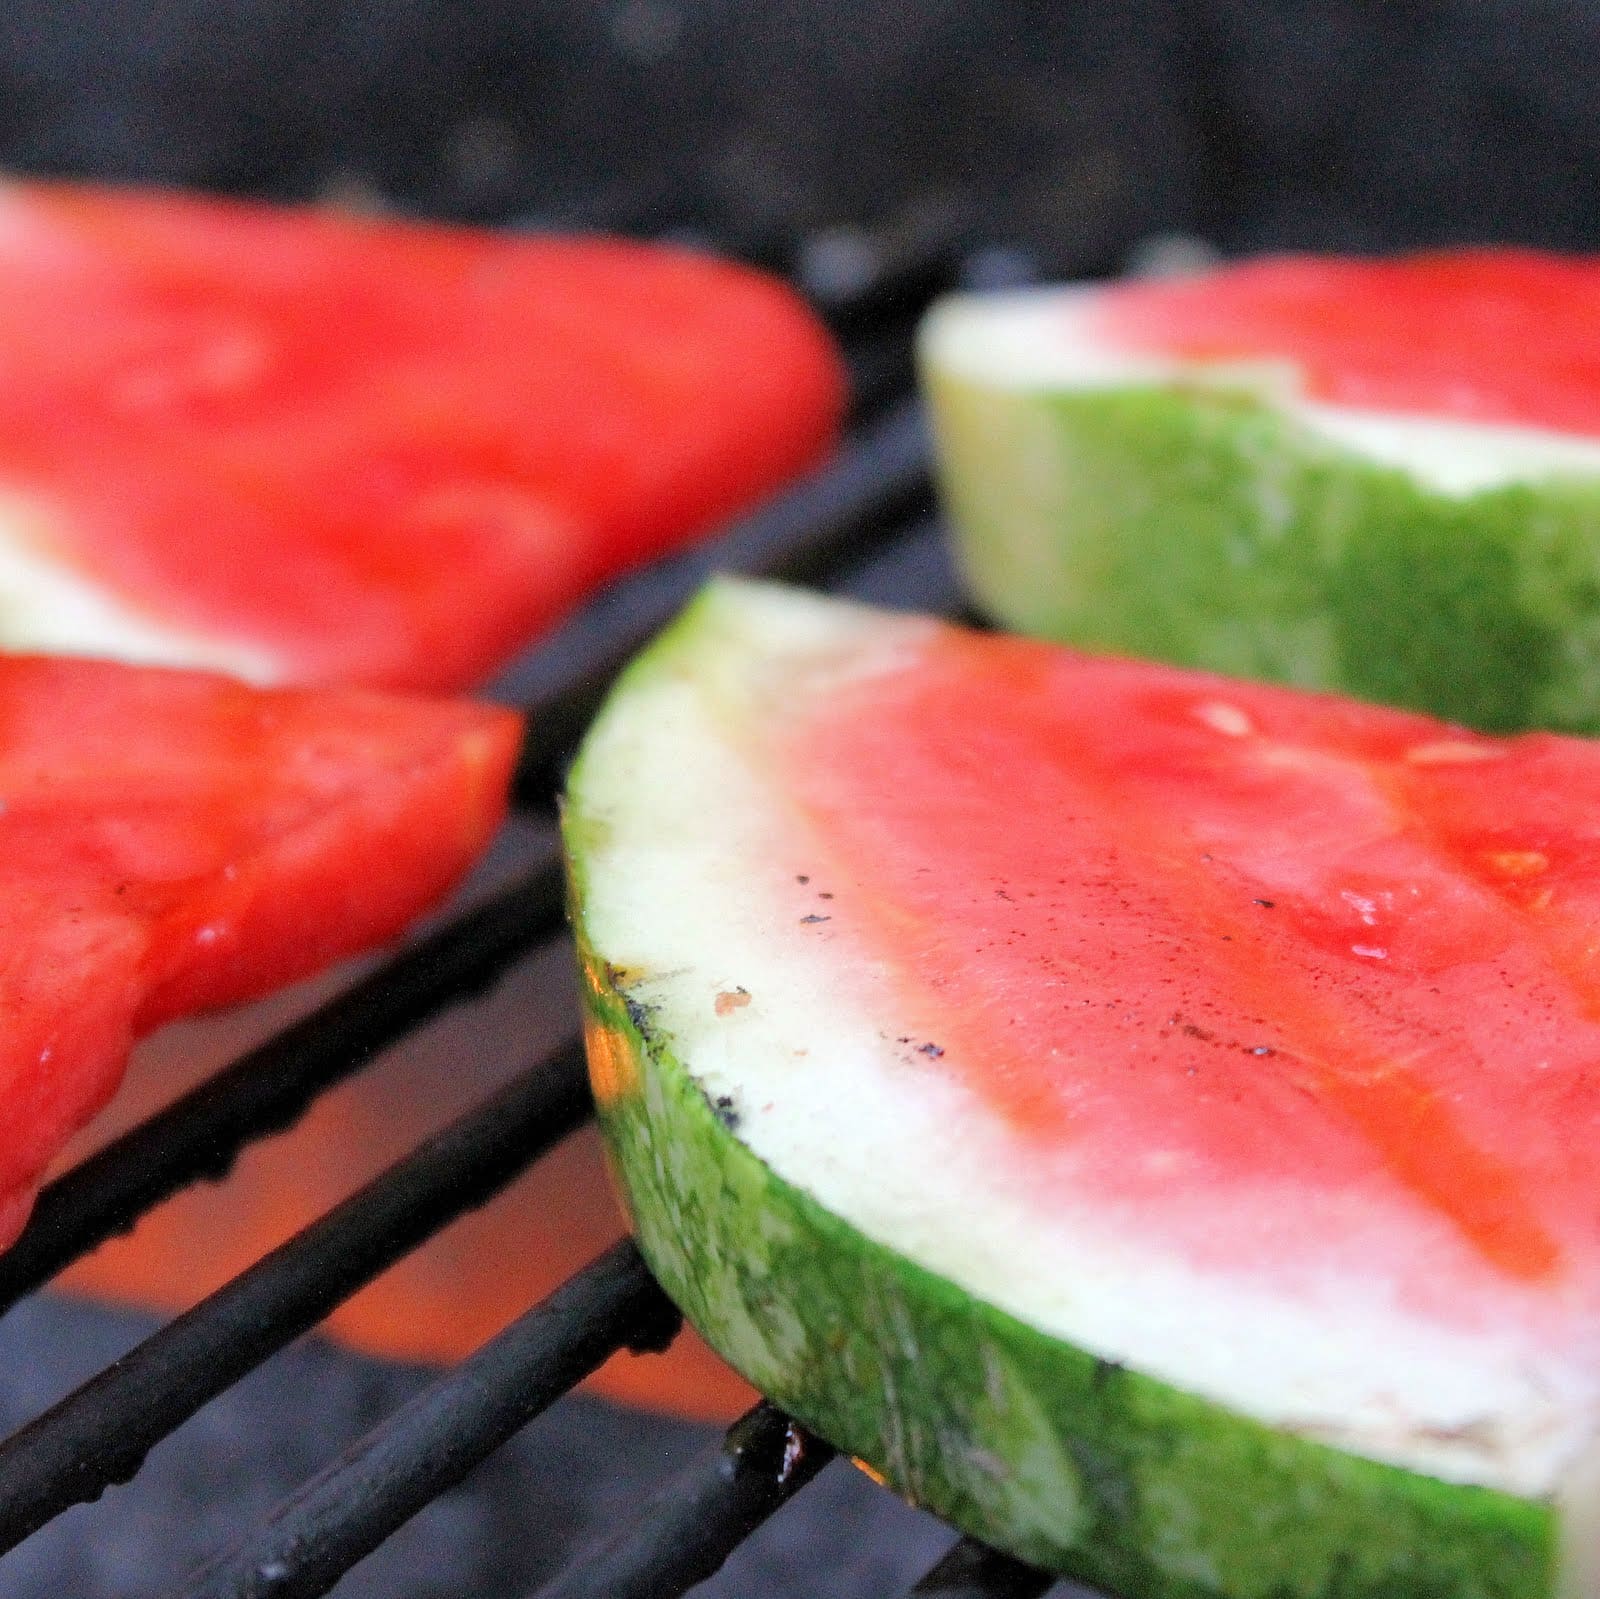
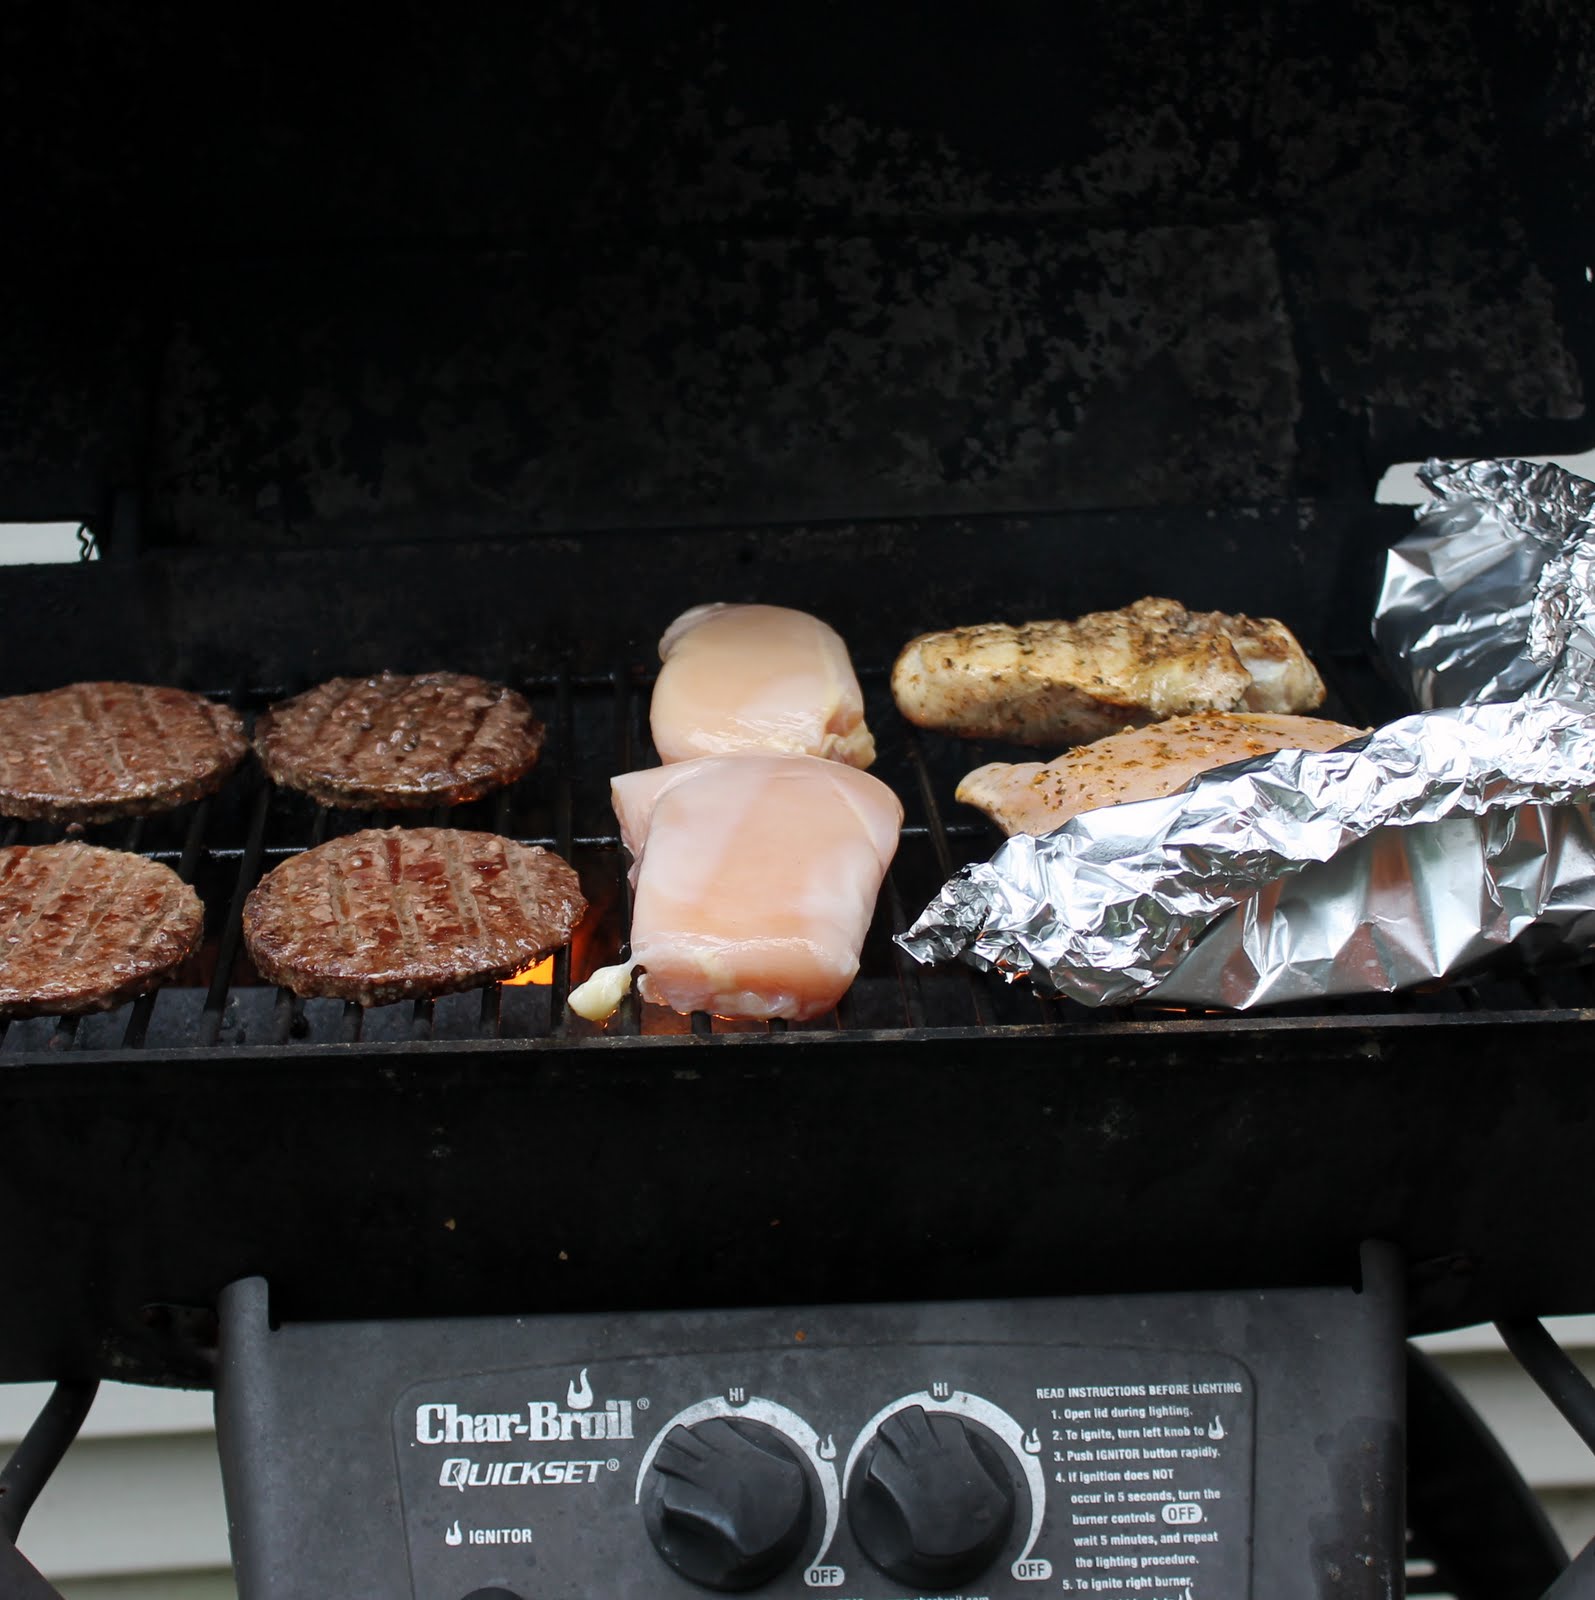
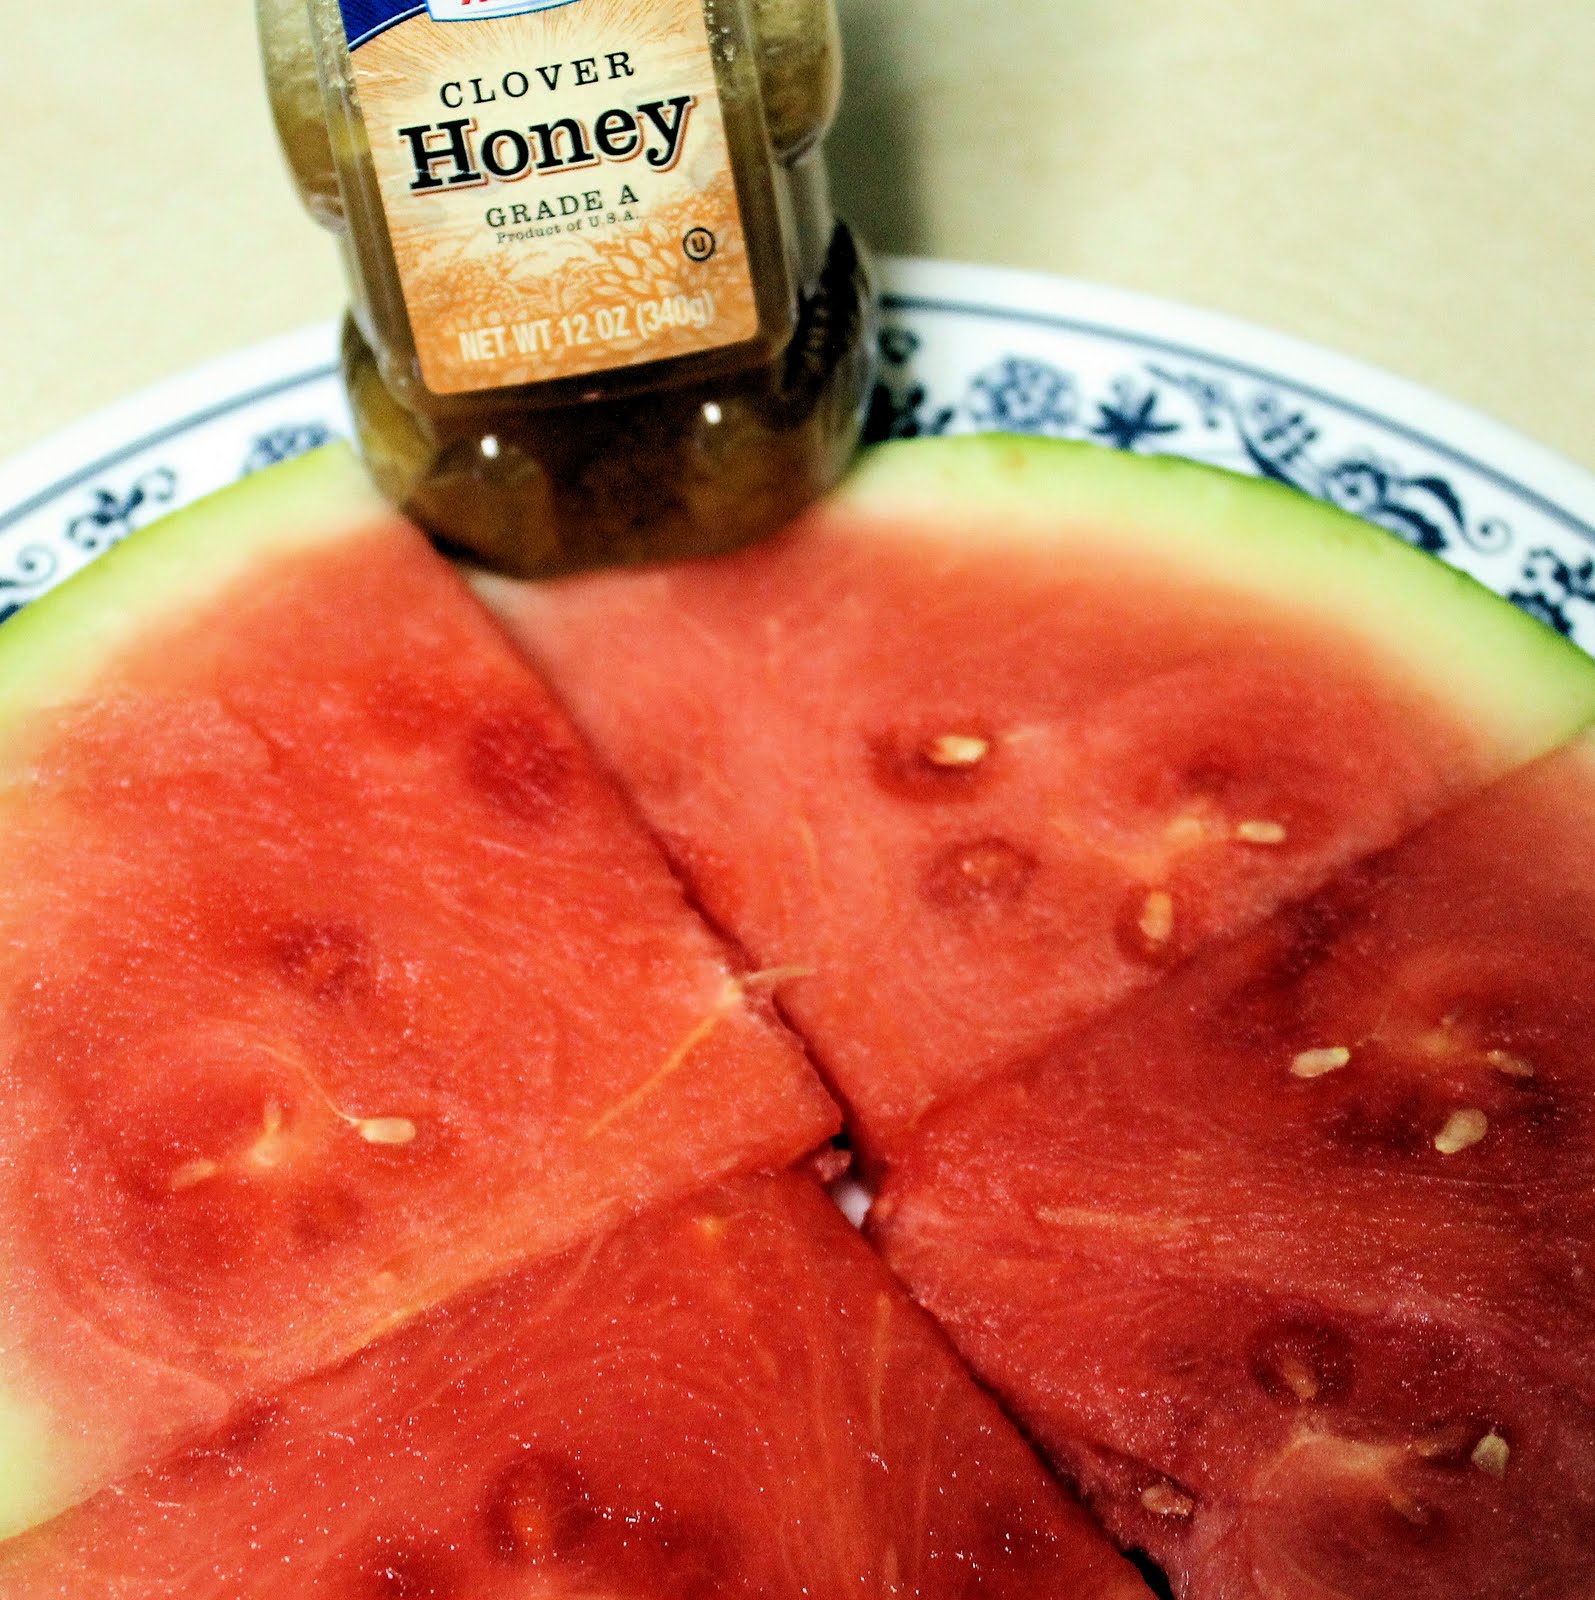
We kind of went on a grilling spree this week. (And by “we” I mean my boyfriend and his roommate. I only did the prep work.)
We were throwing basically anything on there. Burgers, chicken, asparagus, salmon… and watermelon. So. Here’s a super simple recipe for grilled watermelon!
Ingredients:
Honey
Sliced watermelon
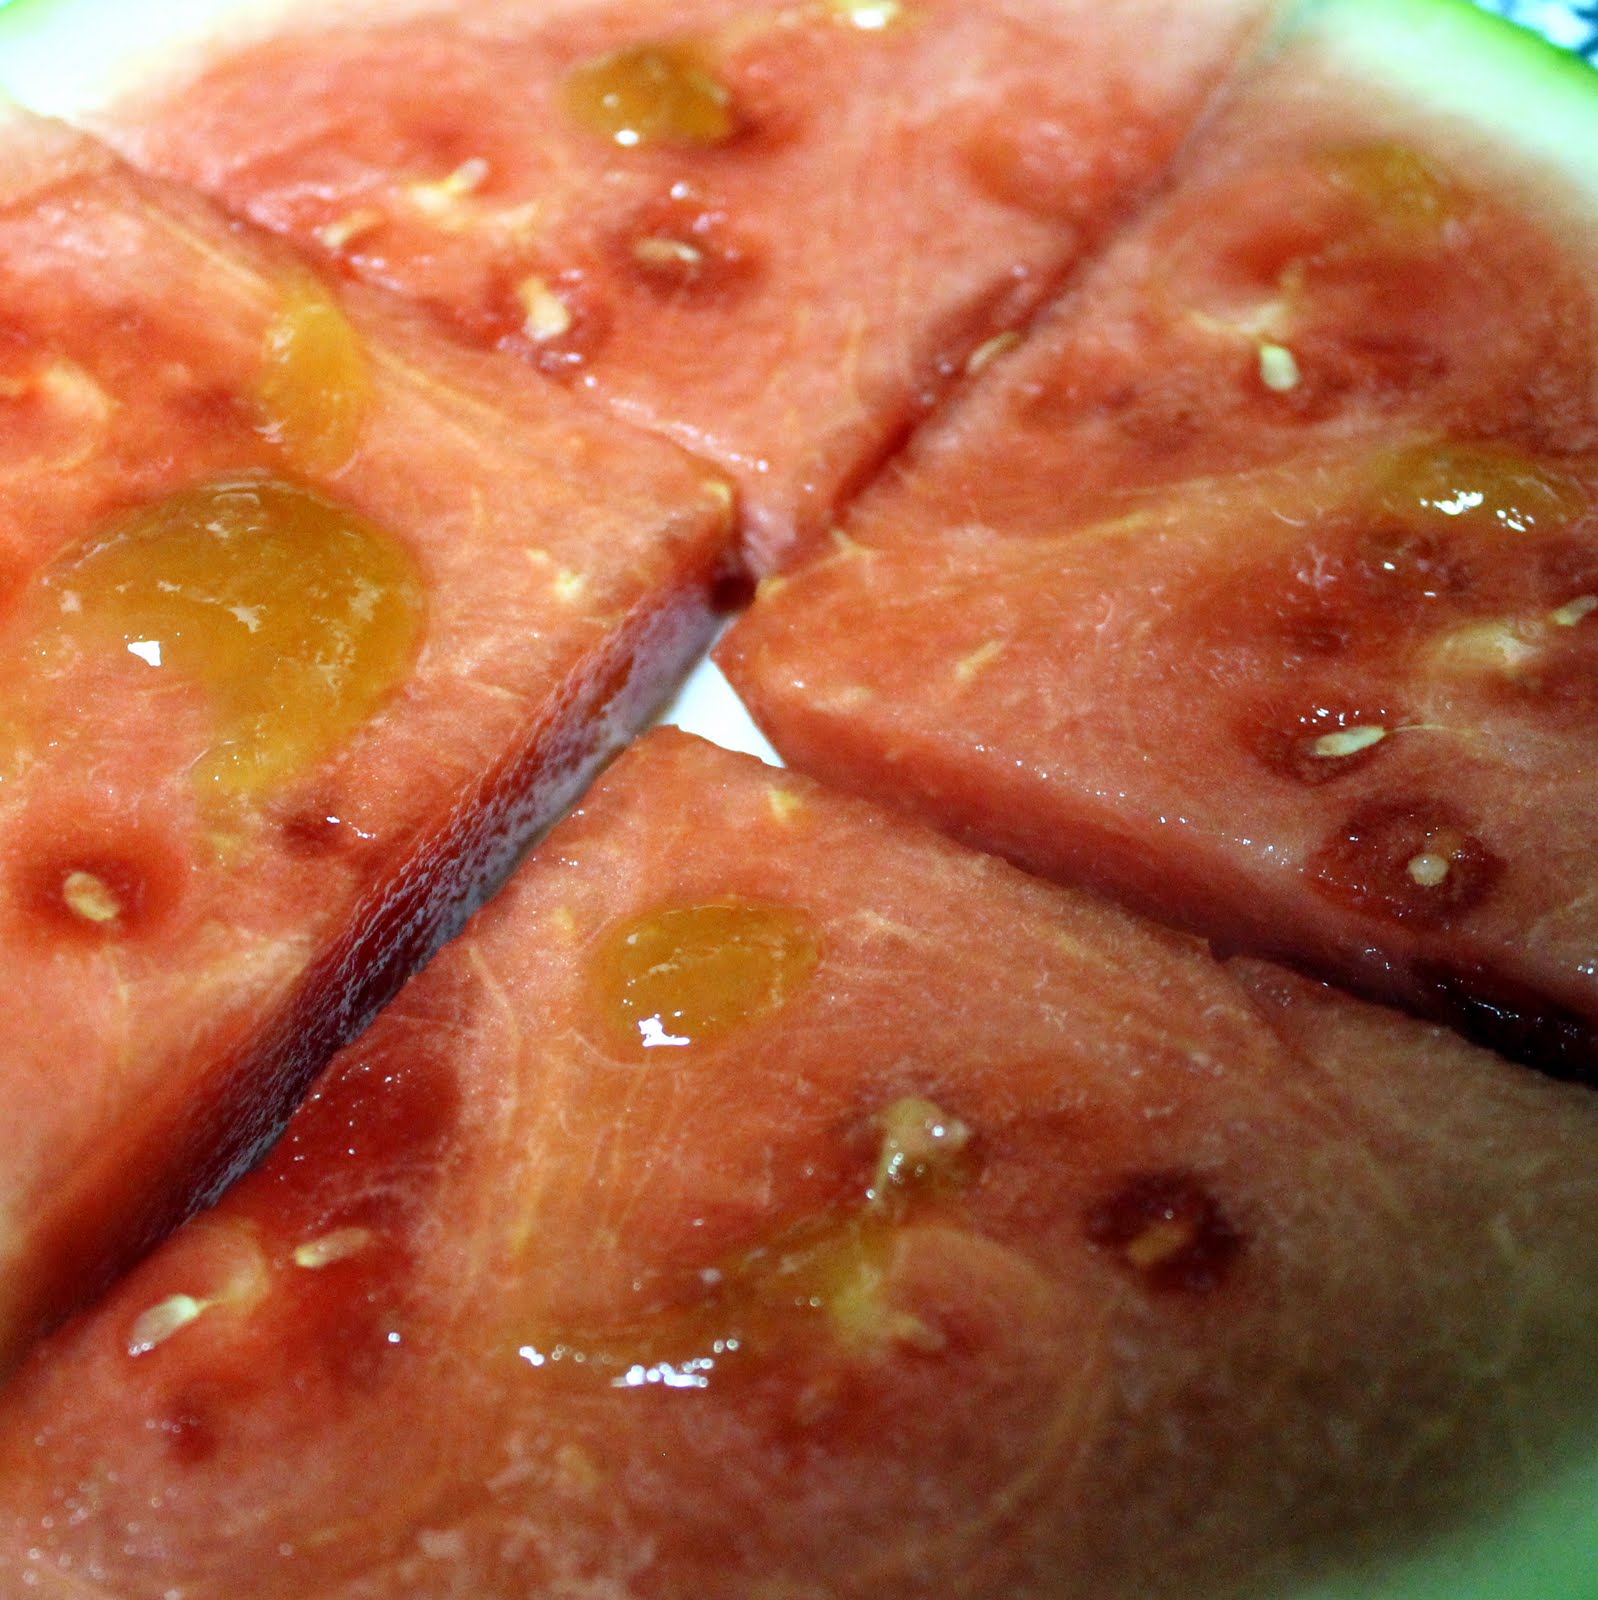
Spread a little bit of honey on each piece of watermelon.
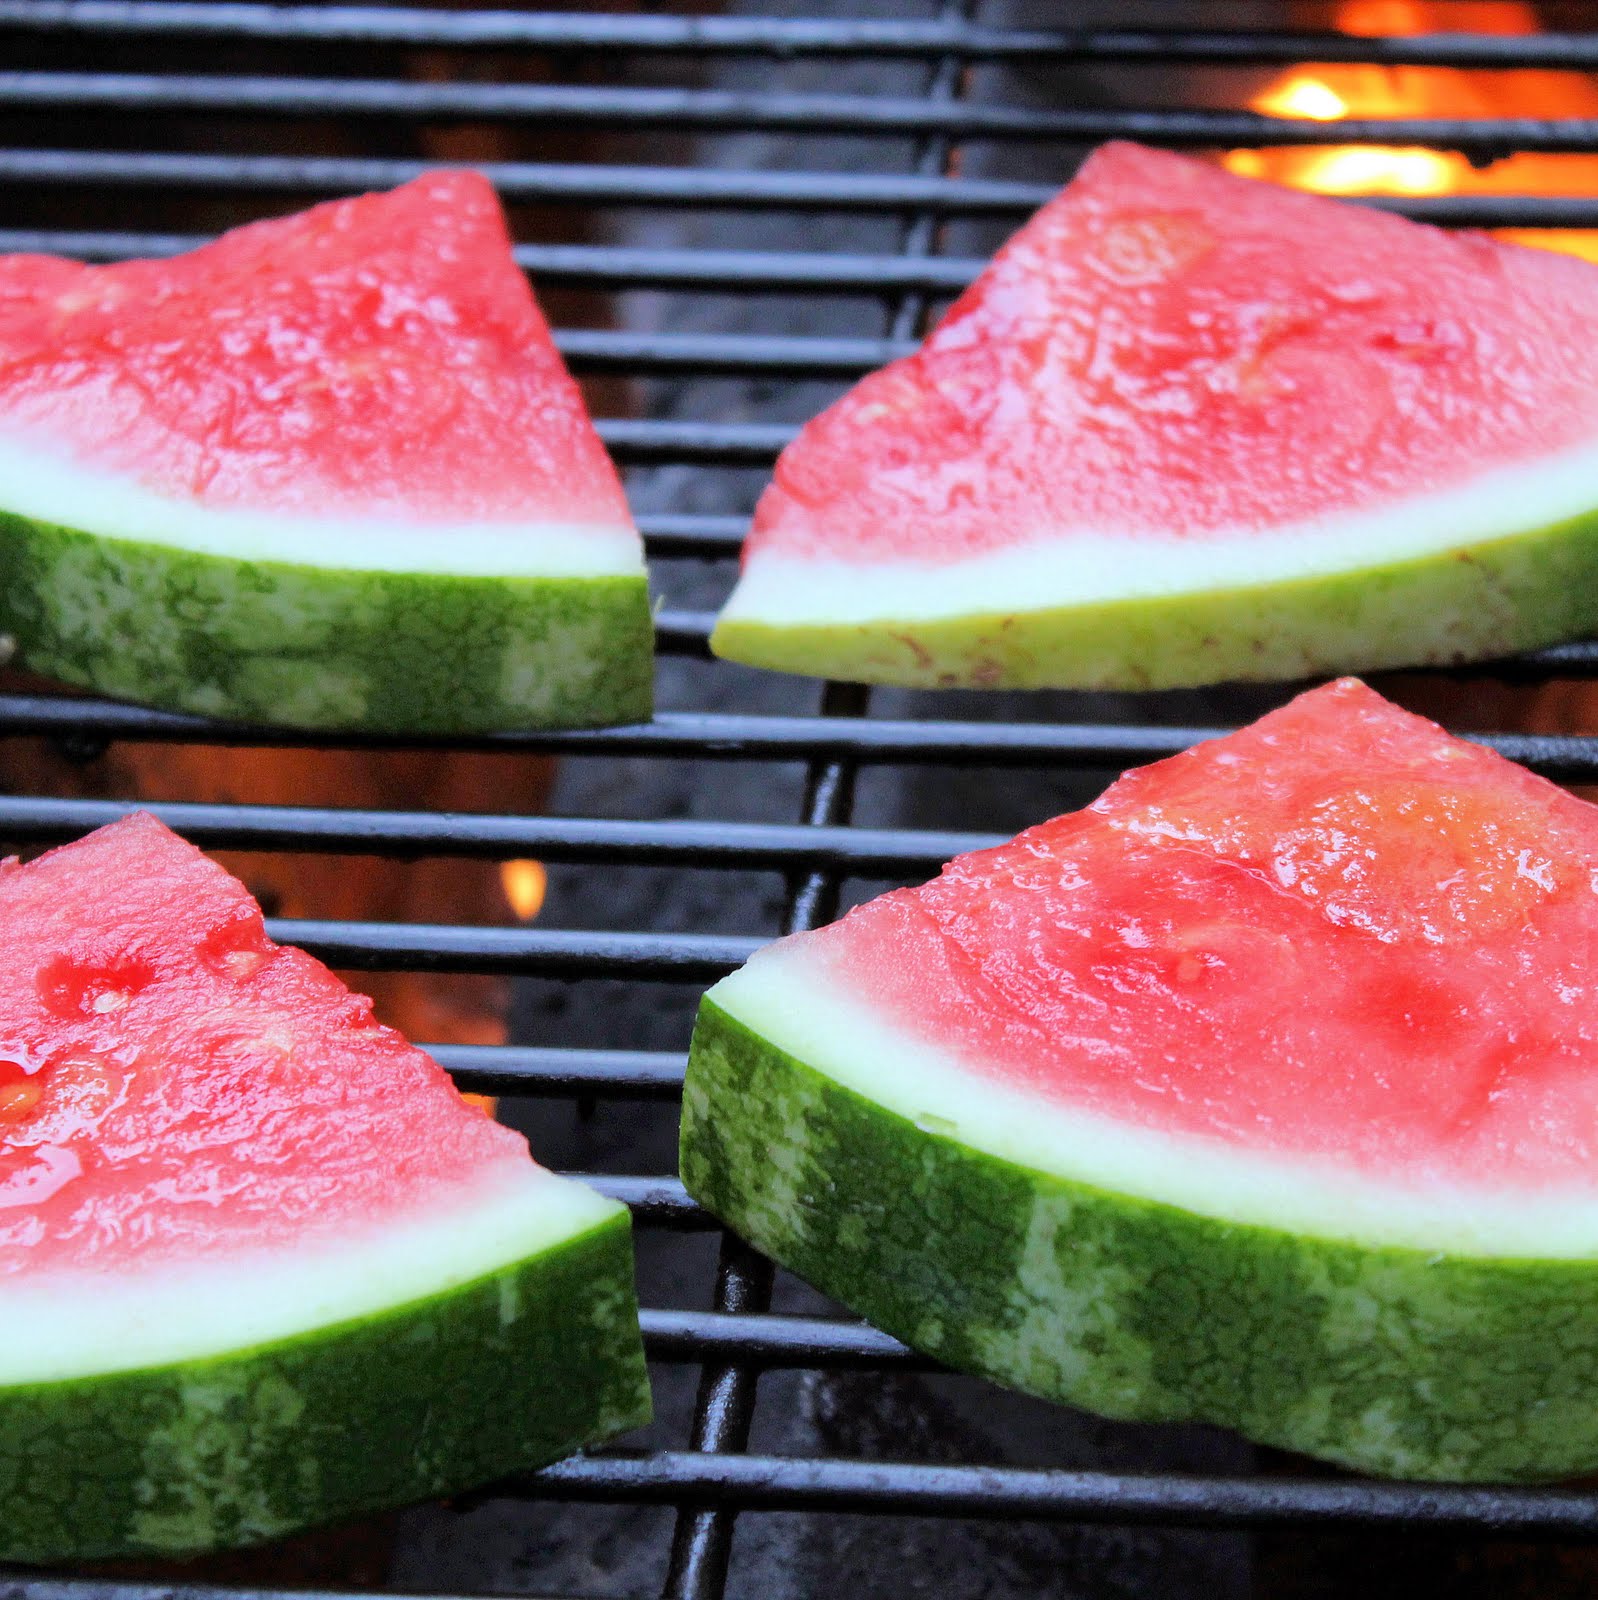
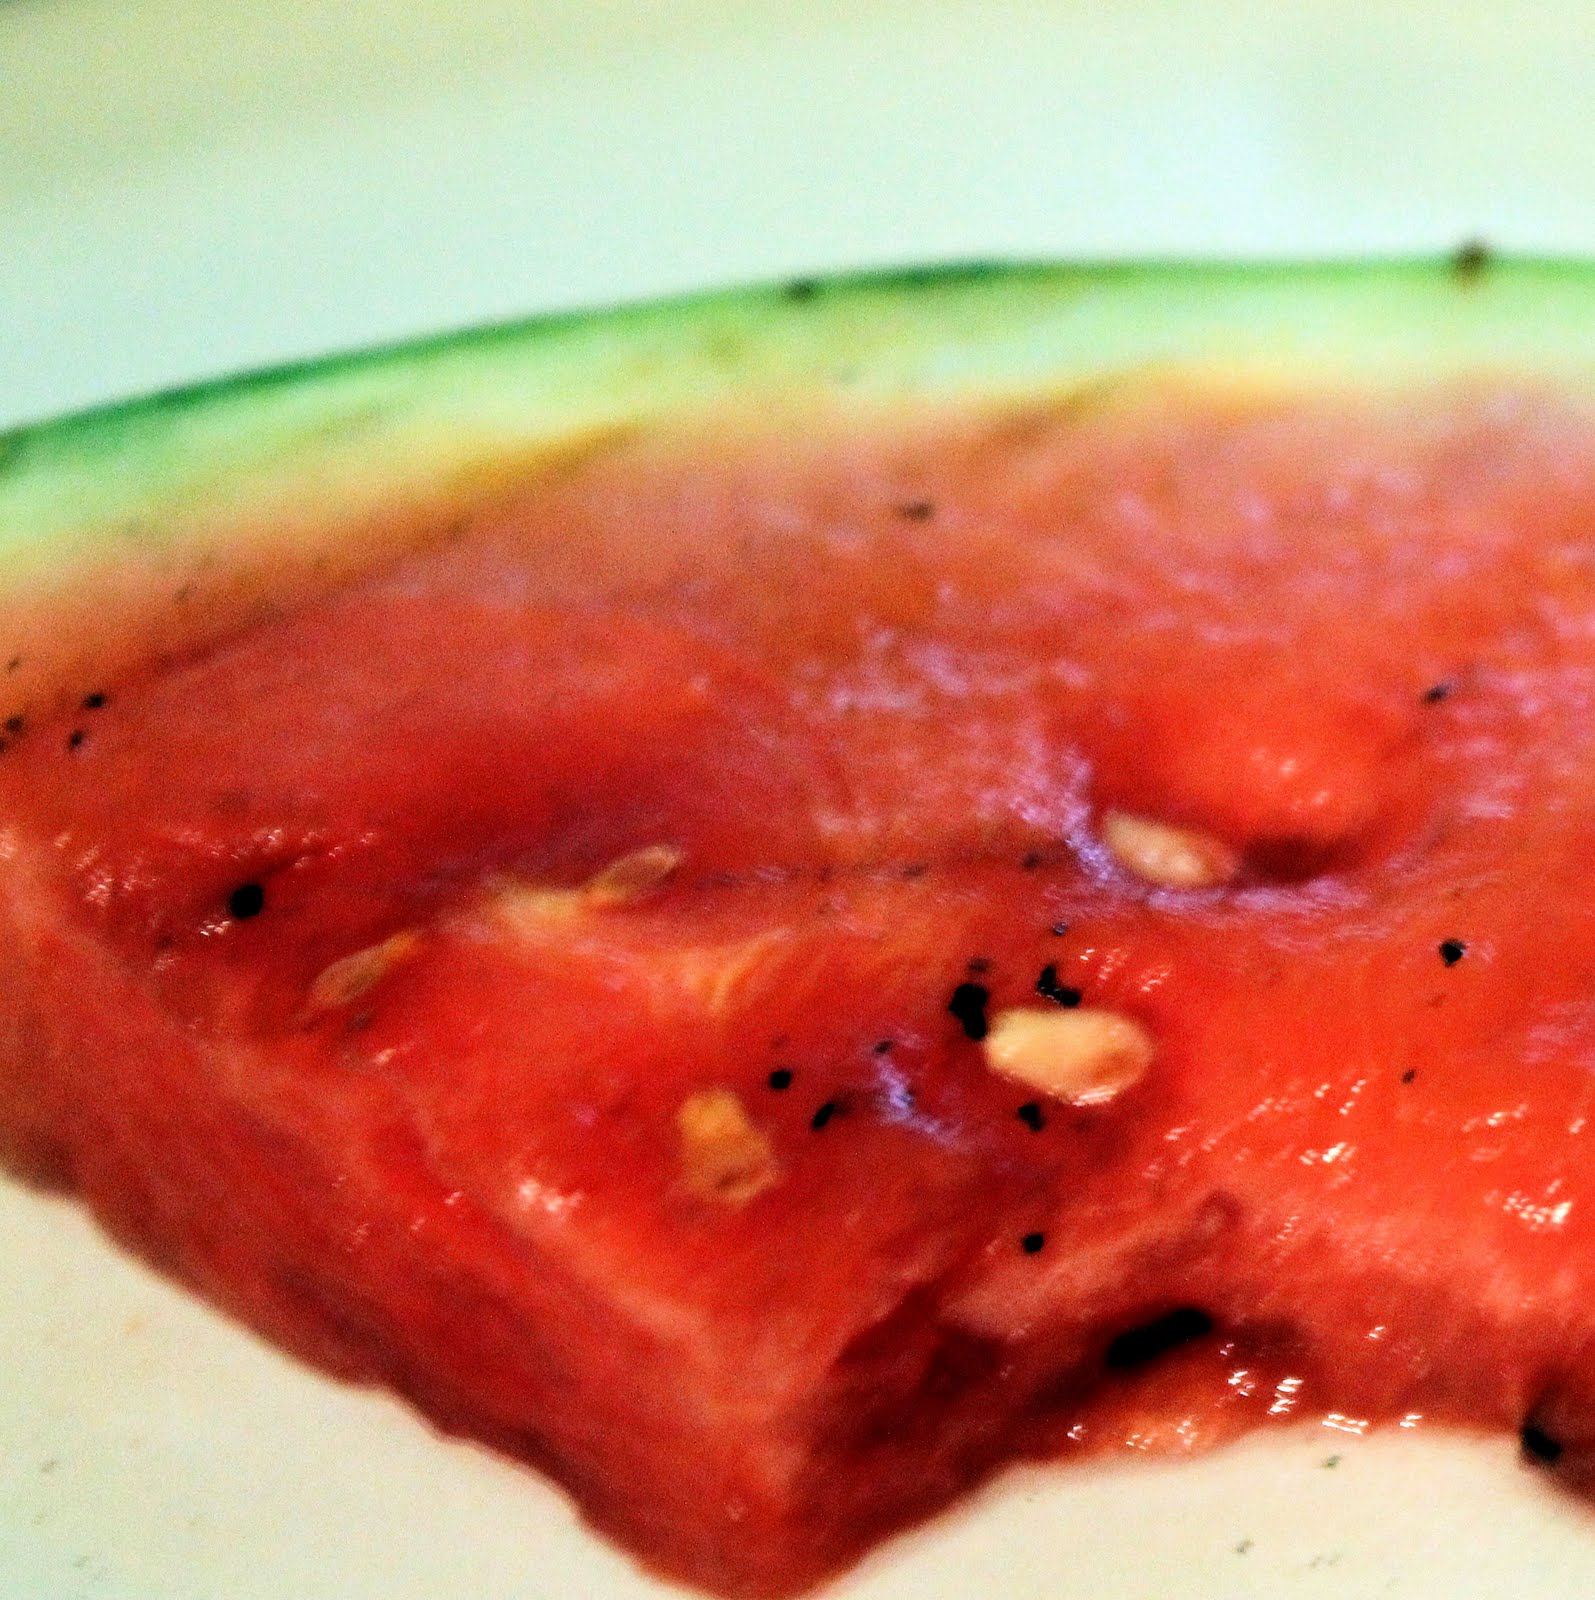
Place on a grill for about 2 minutes on each side.
Or until grill marks appear on the watermelon.
It’s amazing that grilling watermelon for a few minutes completely changes the taste of the watermelon. It’s quite tasty! The sugars in the watermelon and honey caramelize, making a new taste to the fruit. Yum!
Tonight, I get a night off from cooking! Sort of. My boyfriend and his roommates are firing up the grill and doing the hard part, so all I have to do is make various marinades for the food. We had some asparagus lying around so I decided to just make a simple marinade to make this Grilled Marinated Asparagus.
Ingredients:
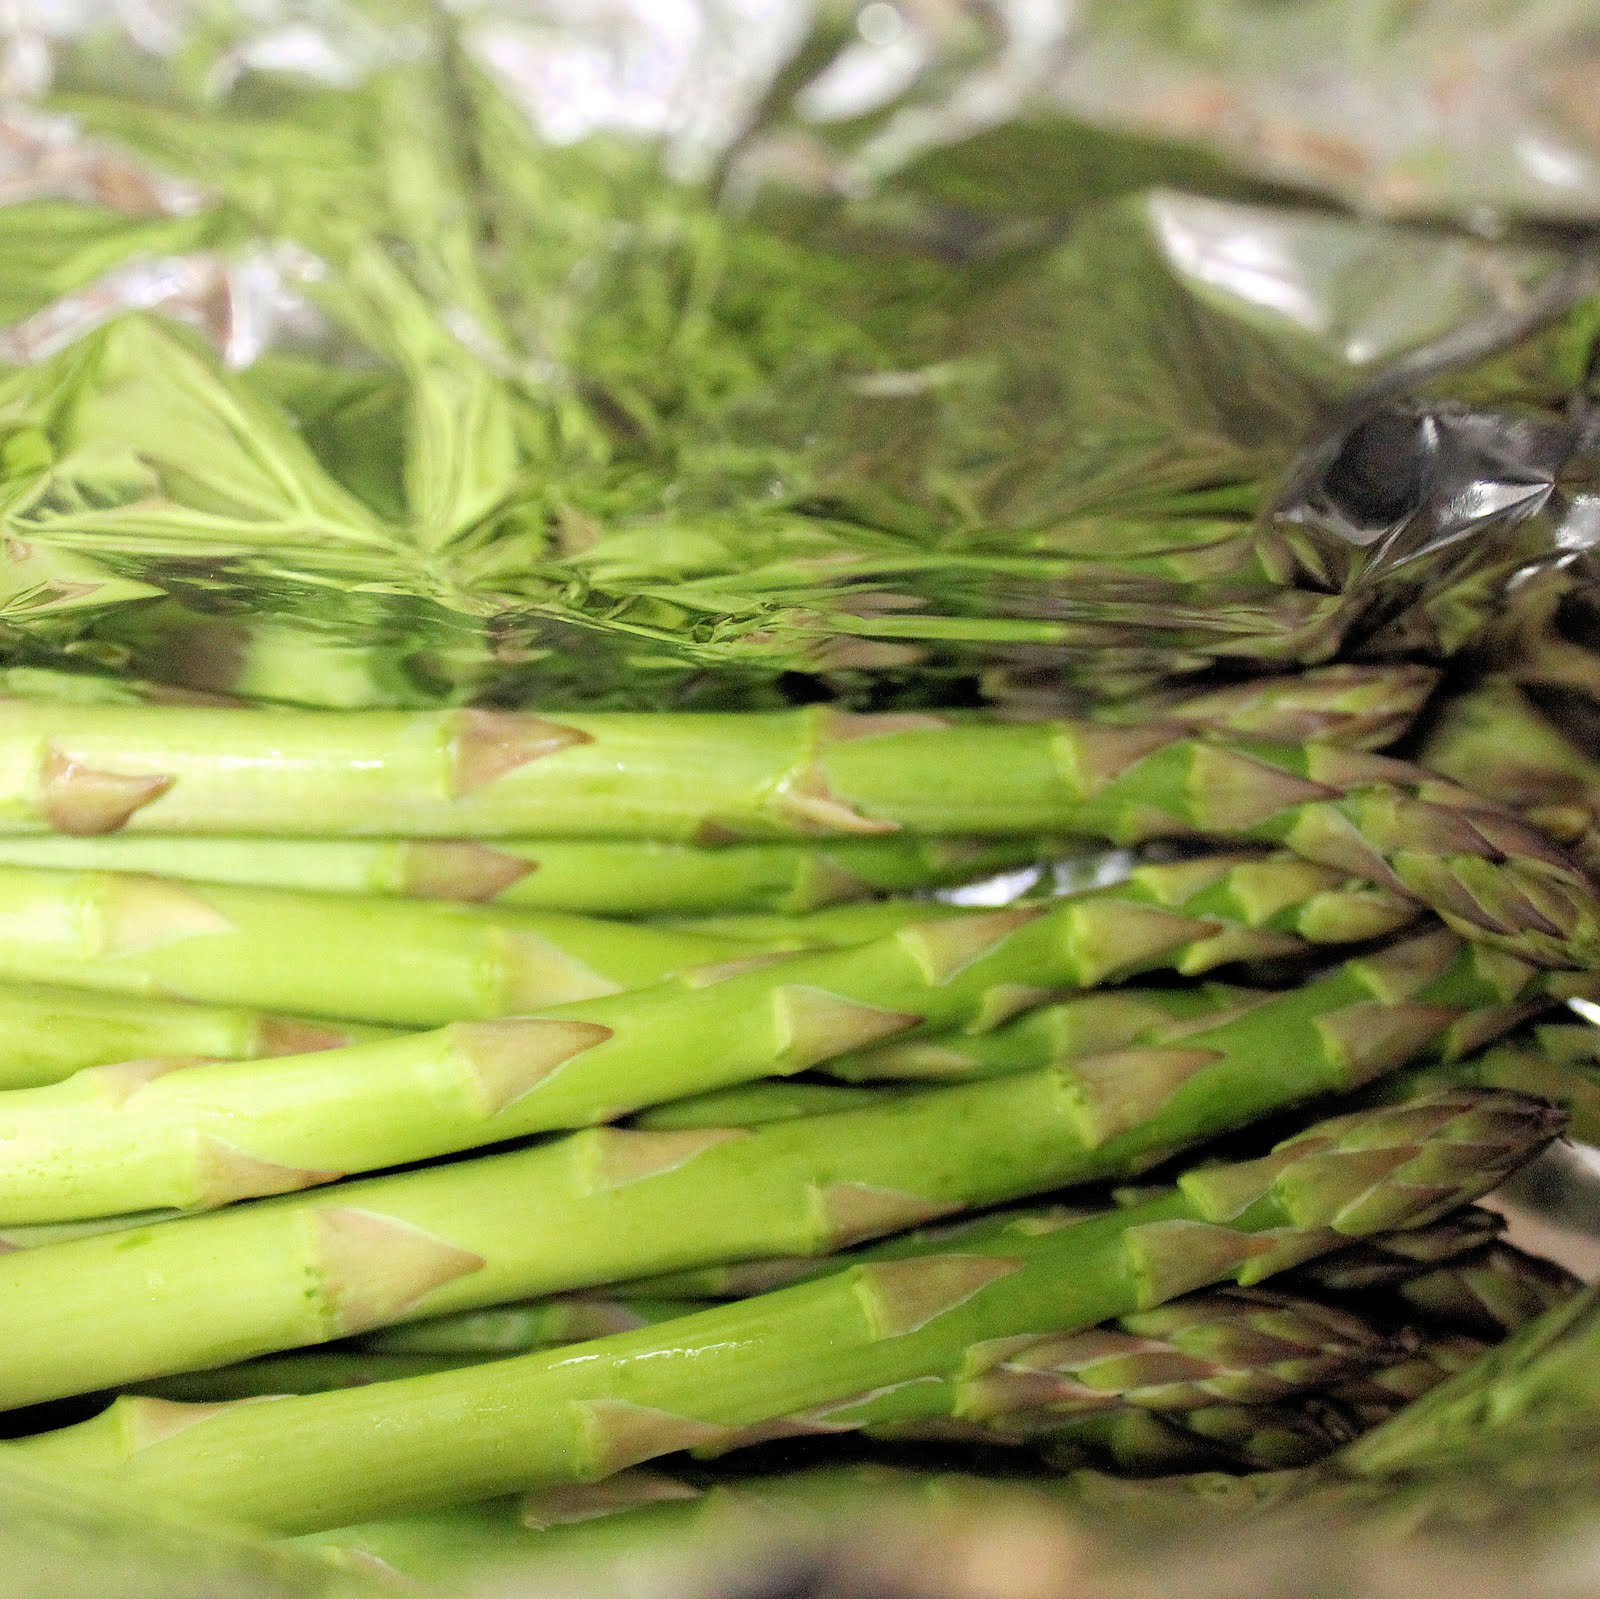
1 bunch of asparagus
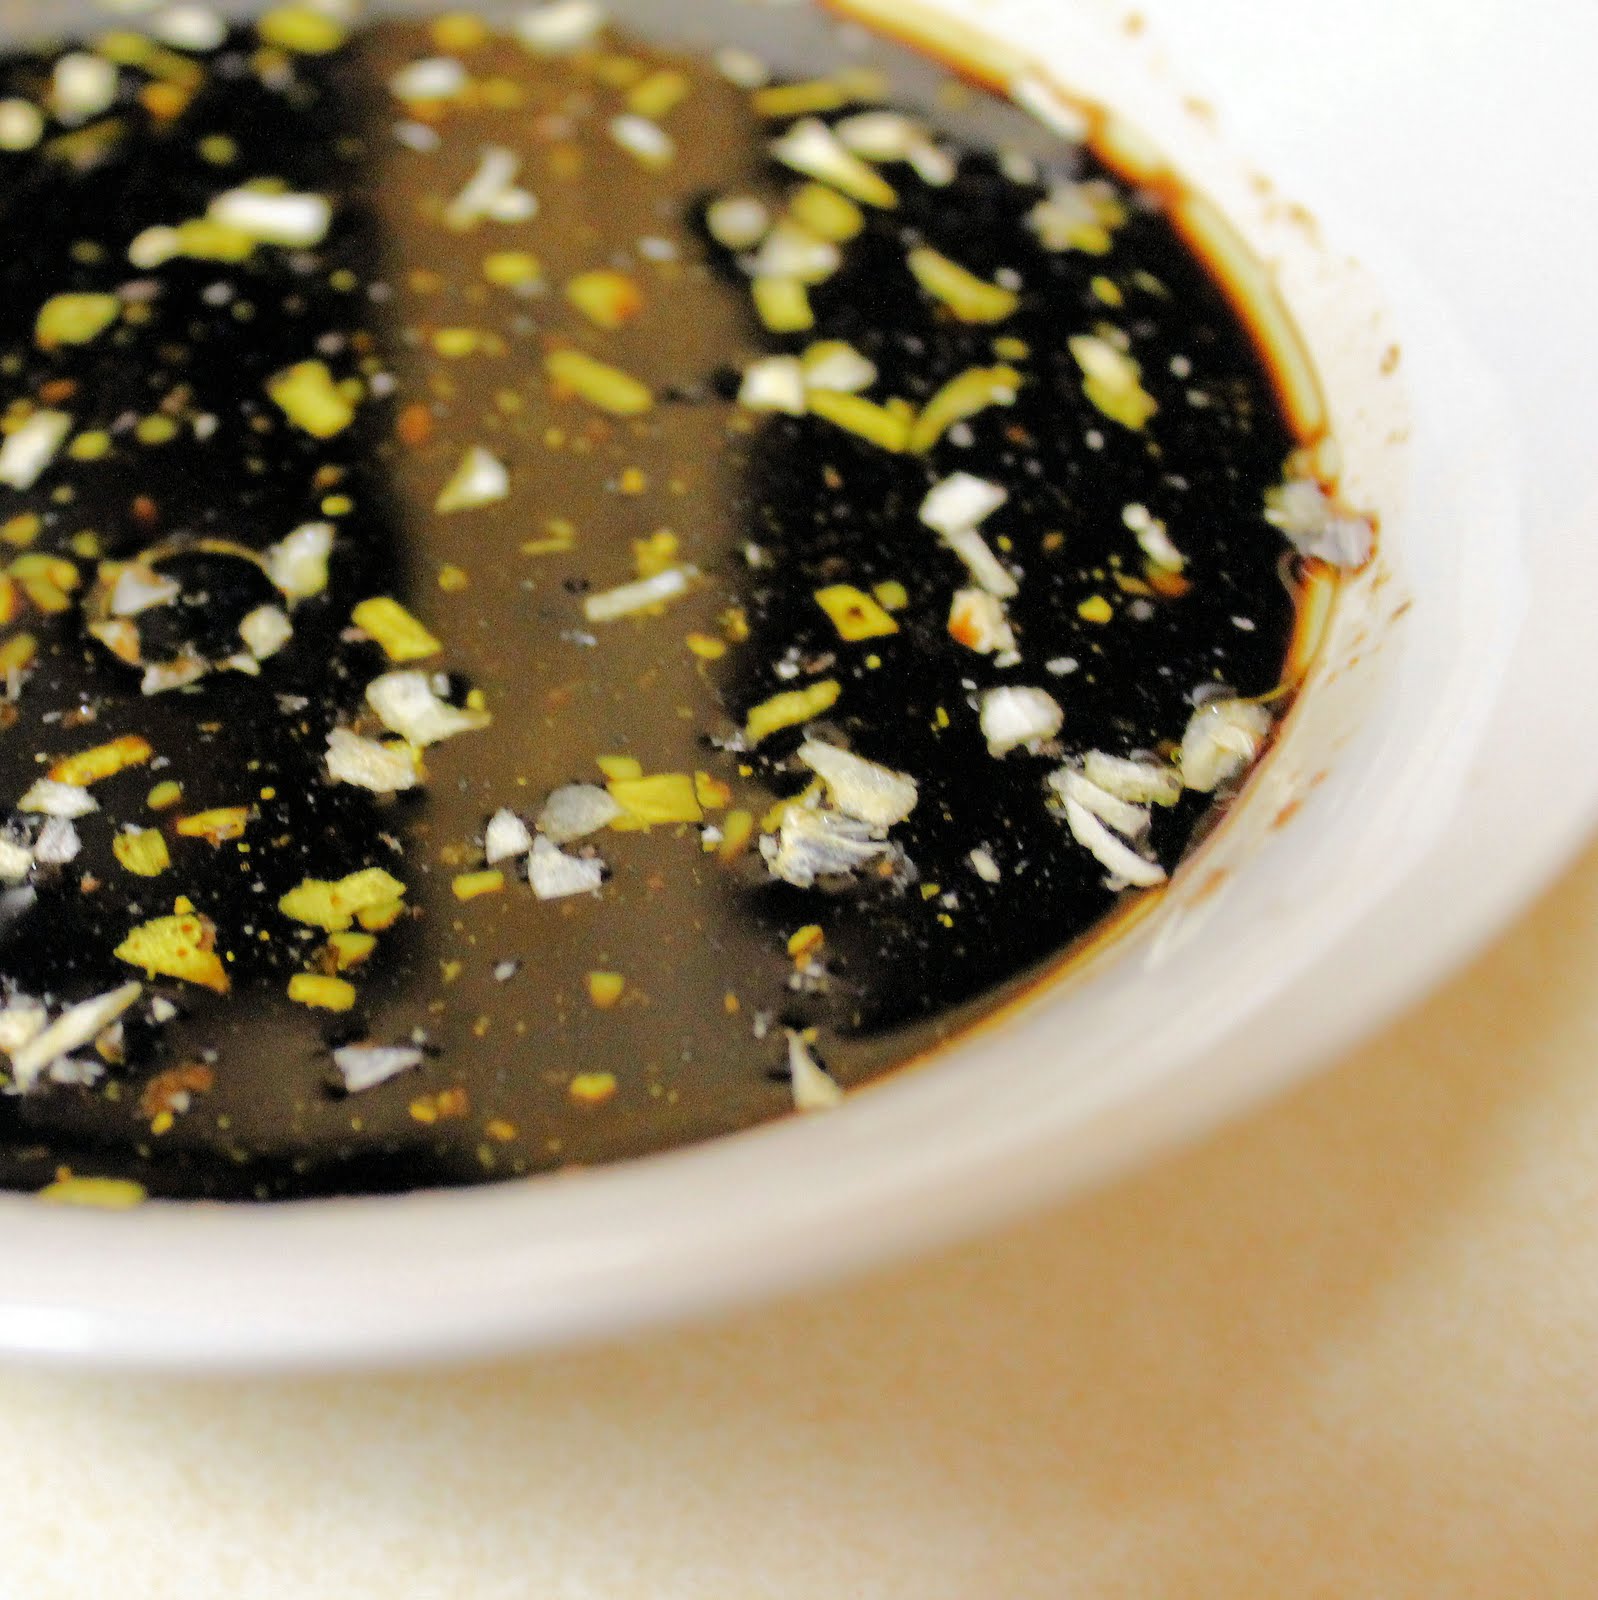
1/2 cup balsamic vinegar
2 tablespoons olive oil
1 tablespoon minced garlic (about 2 large garlic cloves)
1 teaspoon Worcestershire sauce
1/4 teaspoon chopped onion flakes
Salt and pepper, to taste
Combine all the ingredients not including the asparagus. Mix well.
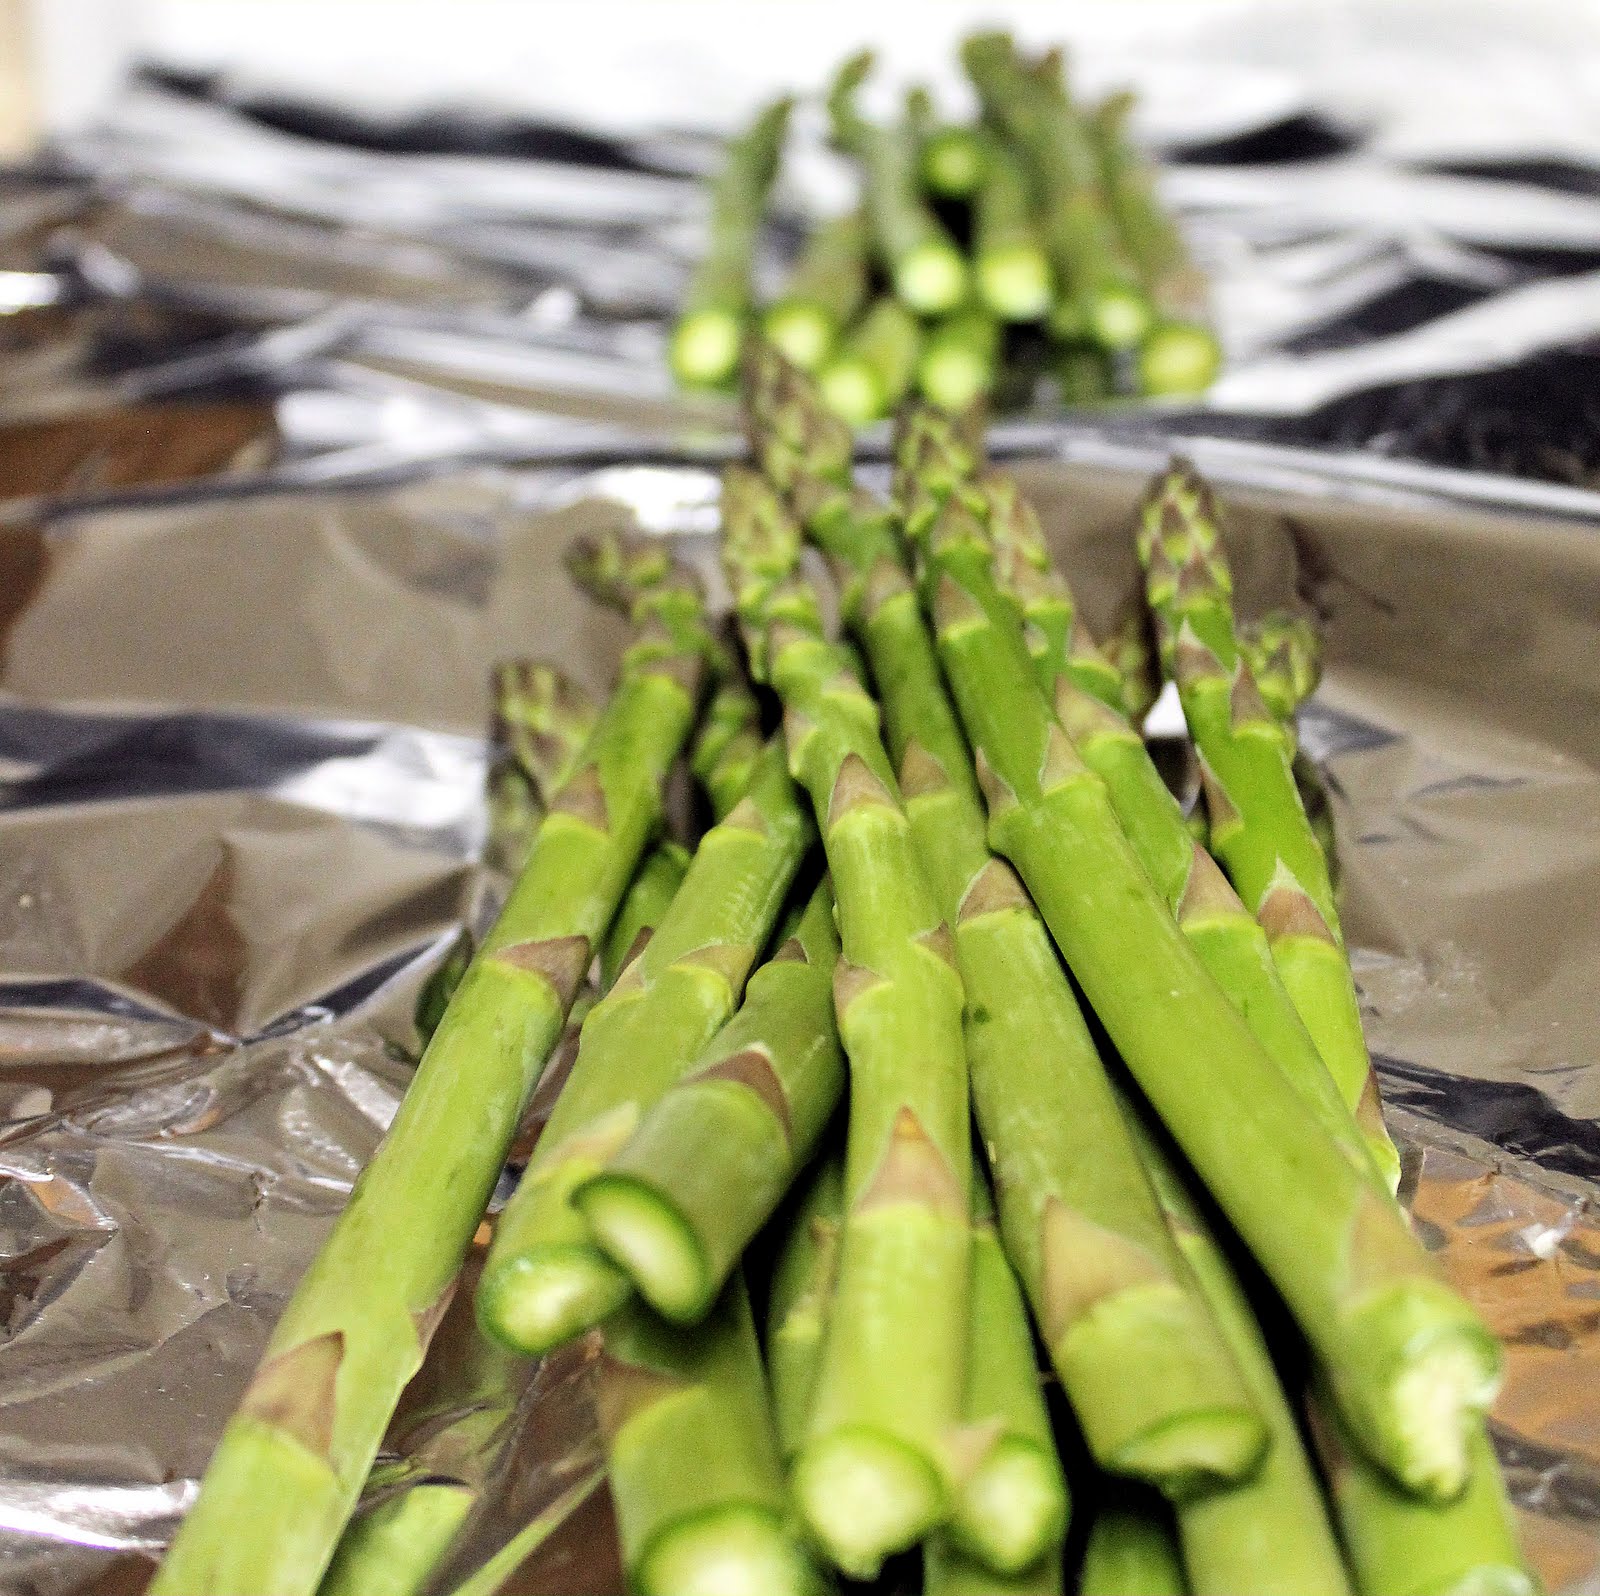
Prepare the asparagus. Remove the rough bottoms of the stems. Asparagus tends to snap where the tougher part ends, or you can just cut the asparagus where you think it needs to be trimmed.
asparagus ends
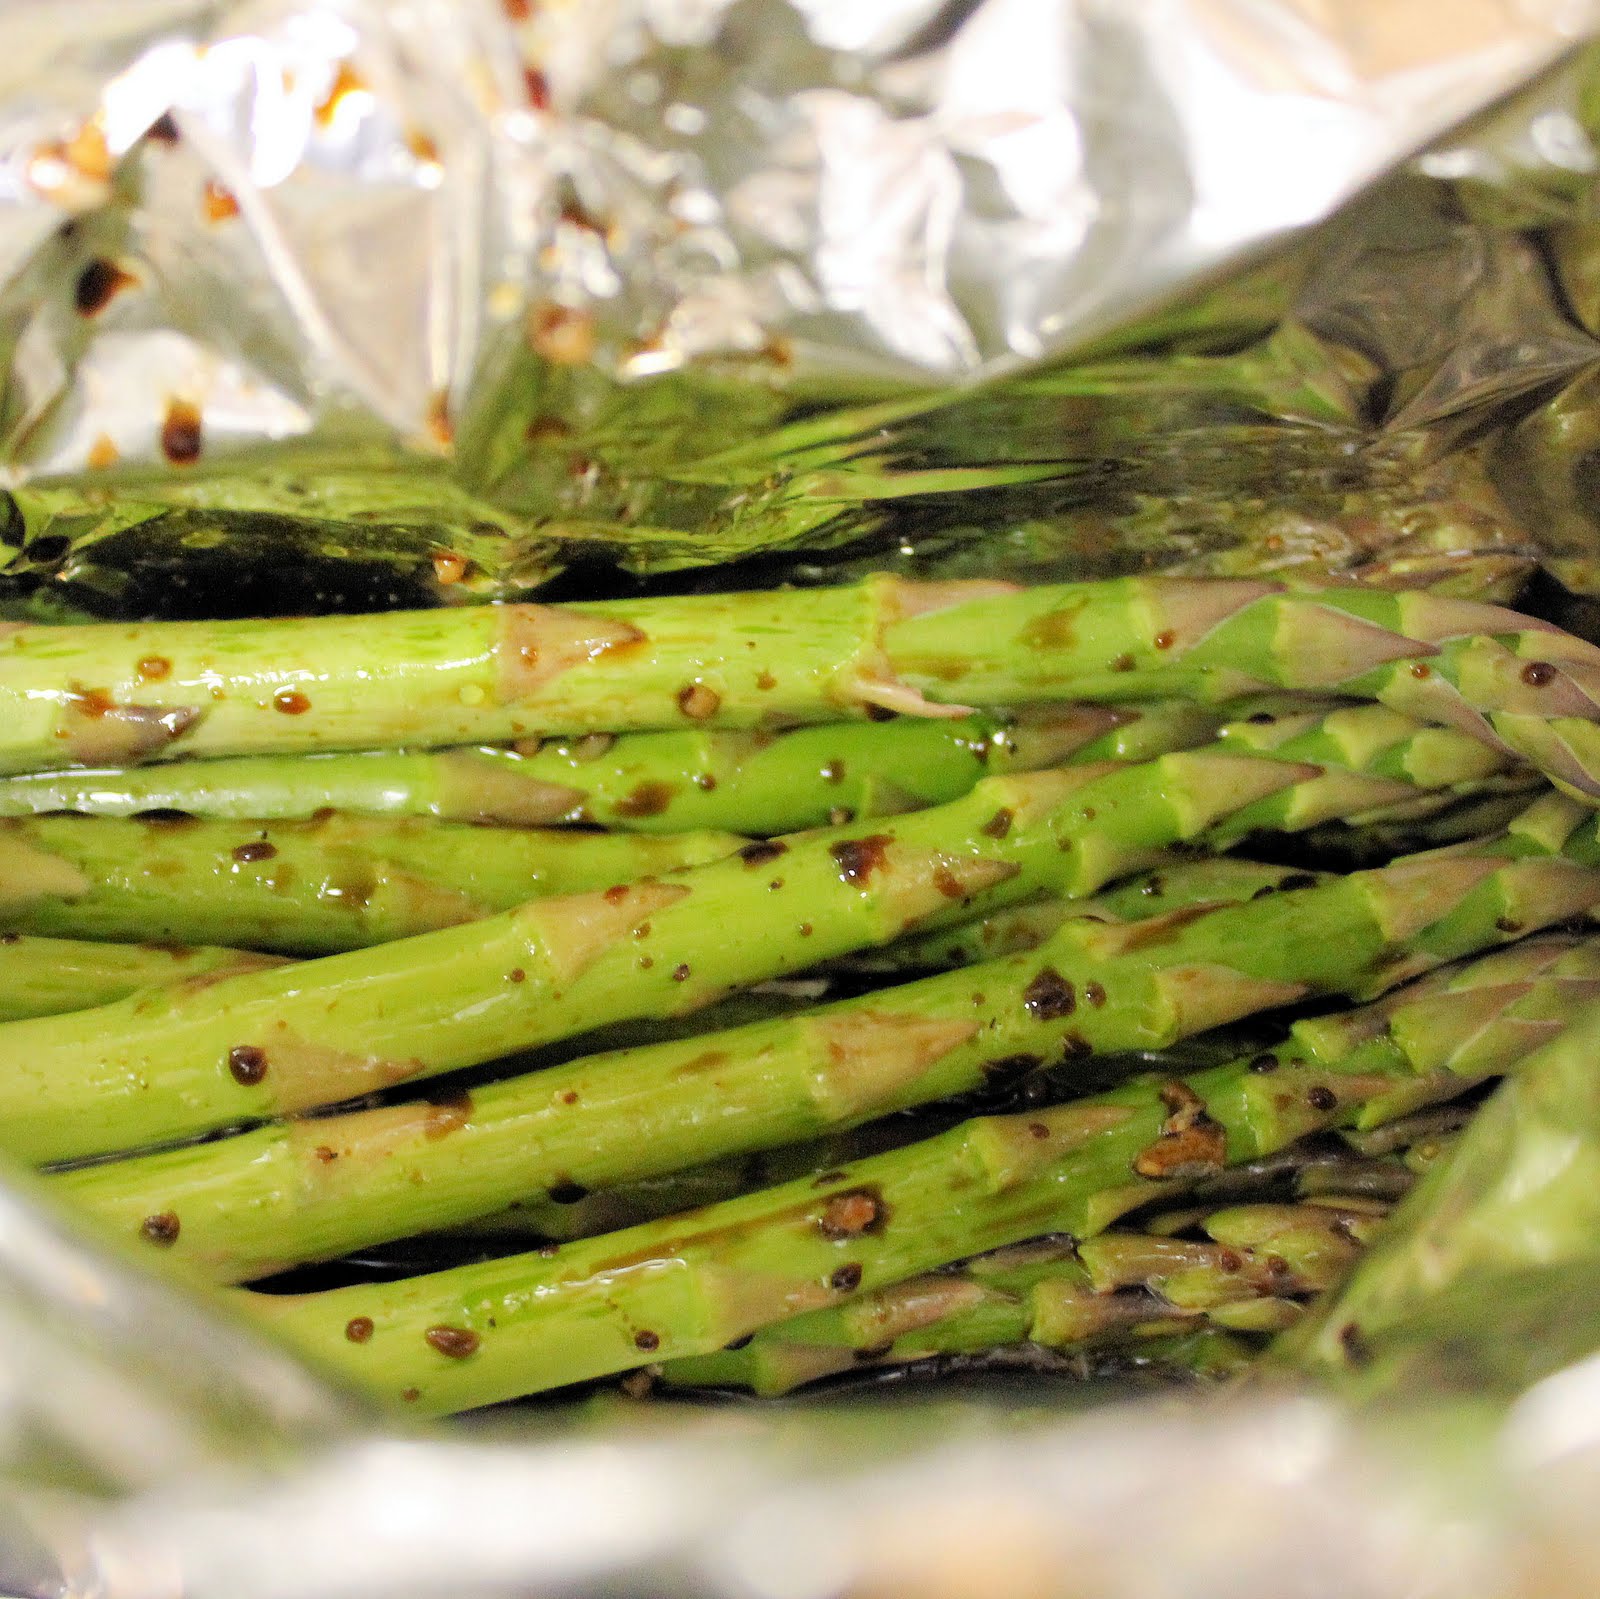
Place the asparagus on a large piece of tin foil. You will make a little packet out of the tin foil.
Fold up each side of the tin foil, twisting the ends so that they stay together.
Pour the marinade over the asparagus.
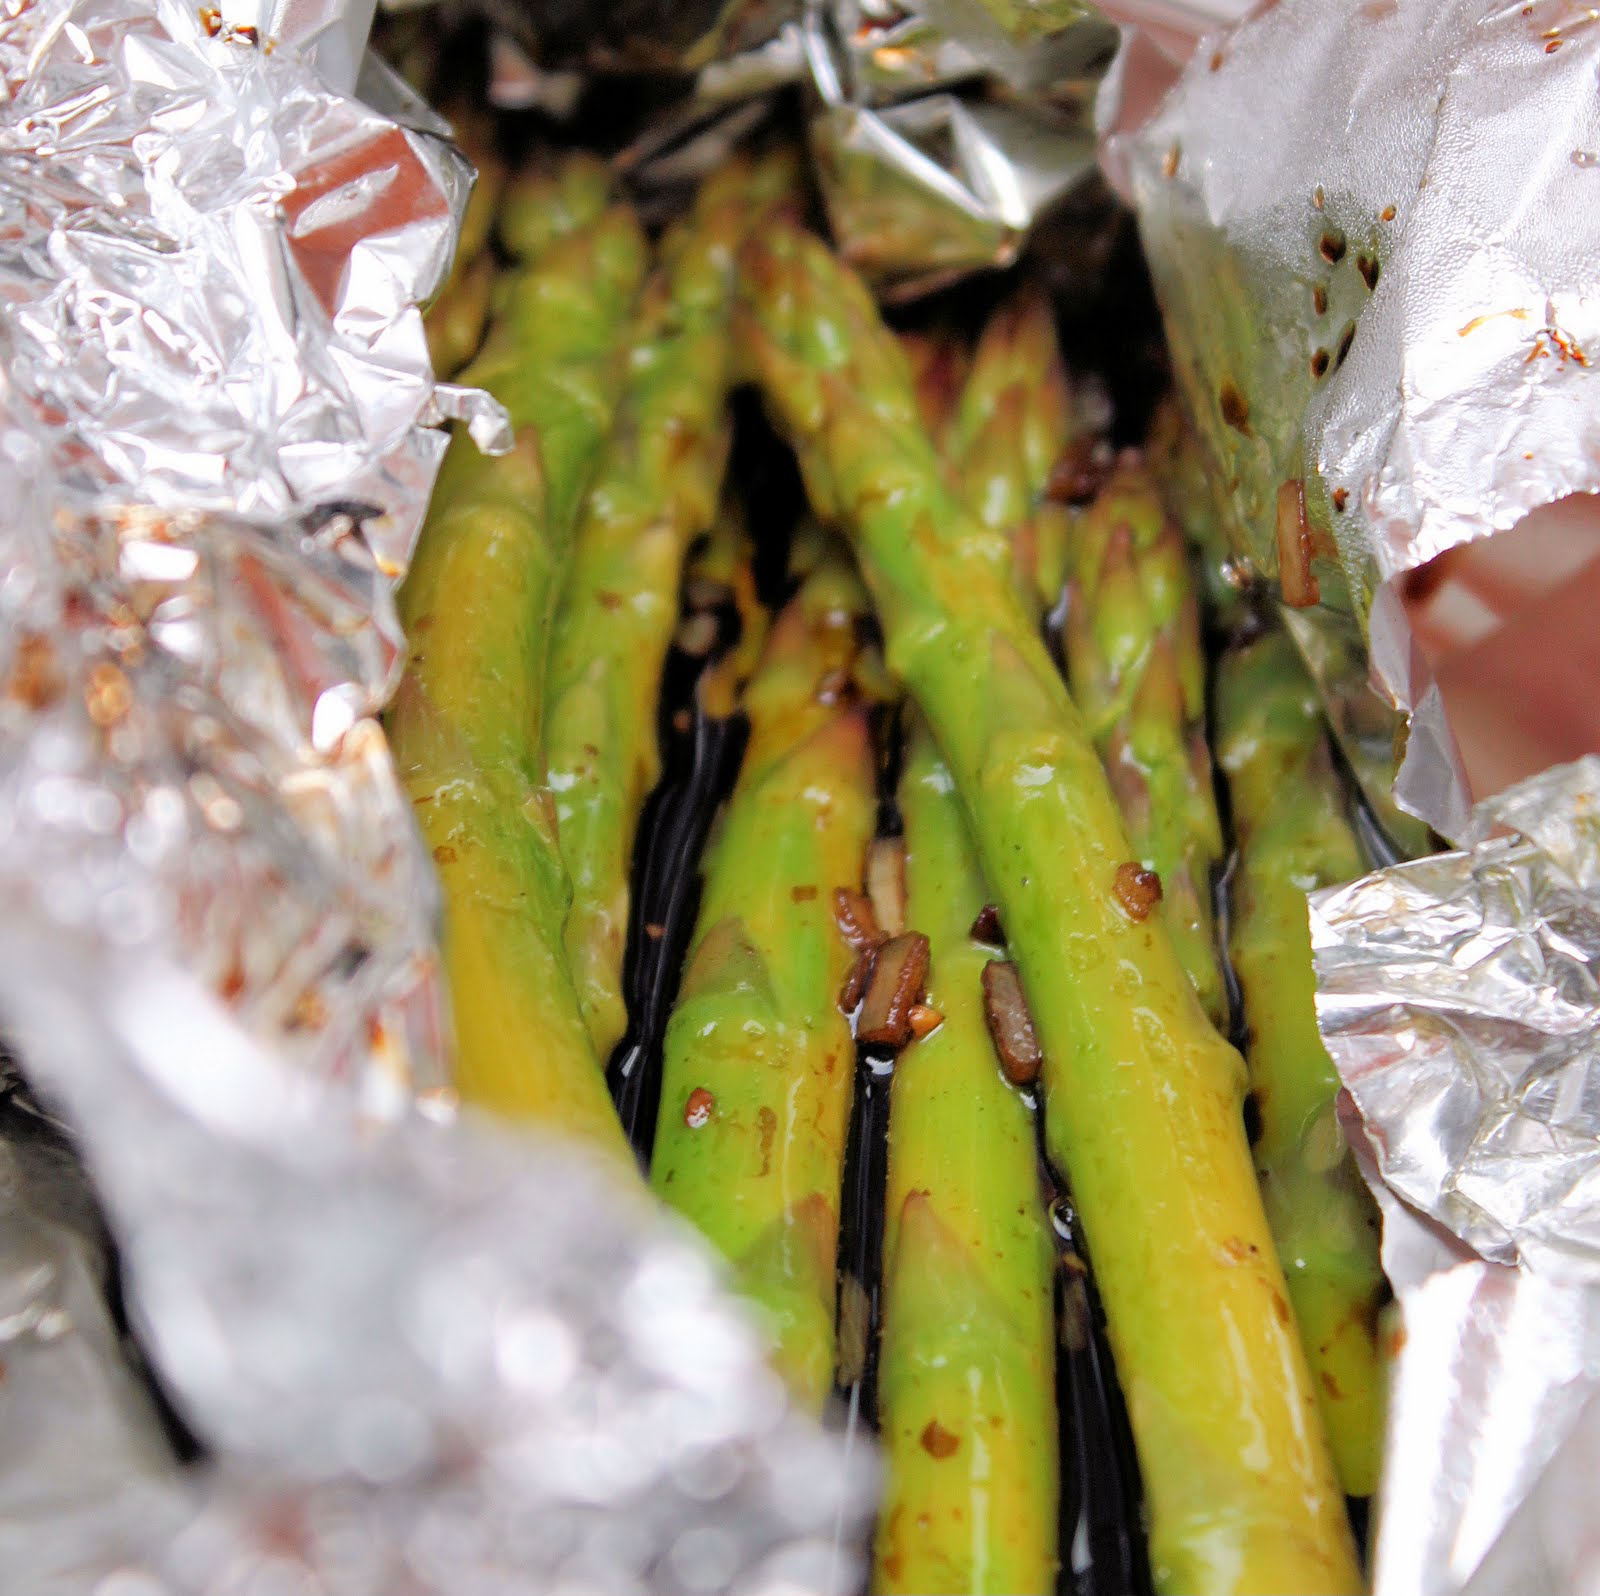
Close the foil and marinate for at least one hour. You can either remove the asparagus from the foil and place the asparagus right on the grill, cooking for 6-8 minutes, turning carefully half way through, or you can put the asparagus on the grill in the foil, cooking for about 10 minutes. Either way, grill until the asparagus is tender but still has a crunch to it.
there it is. in the tin foil
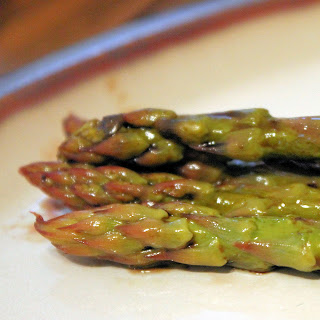
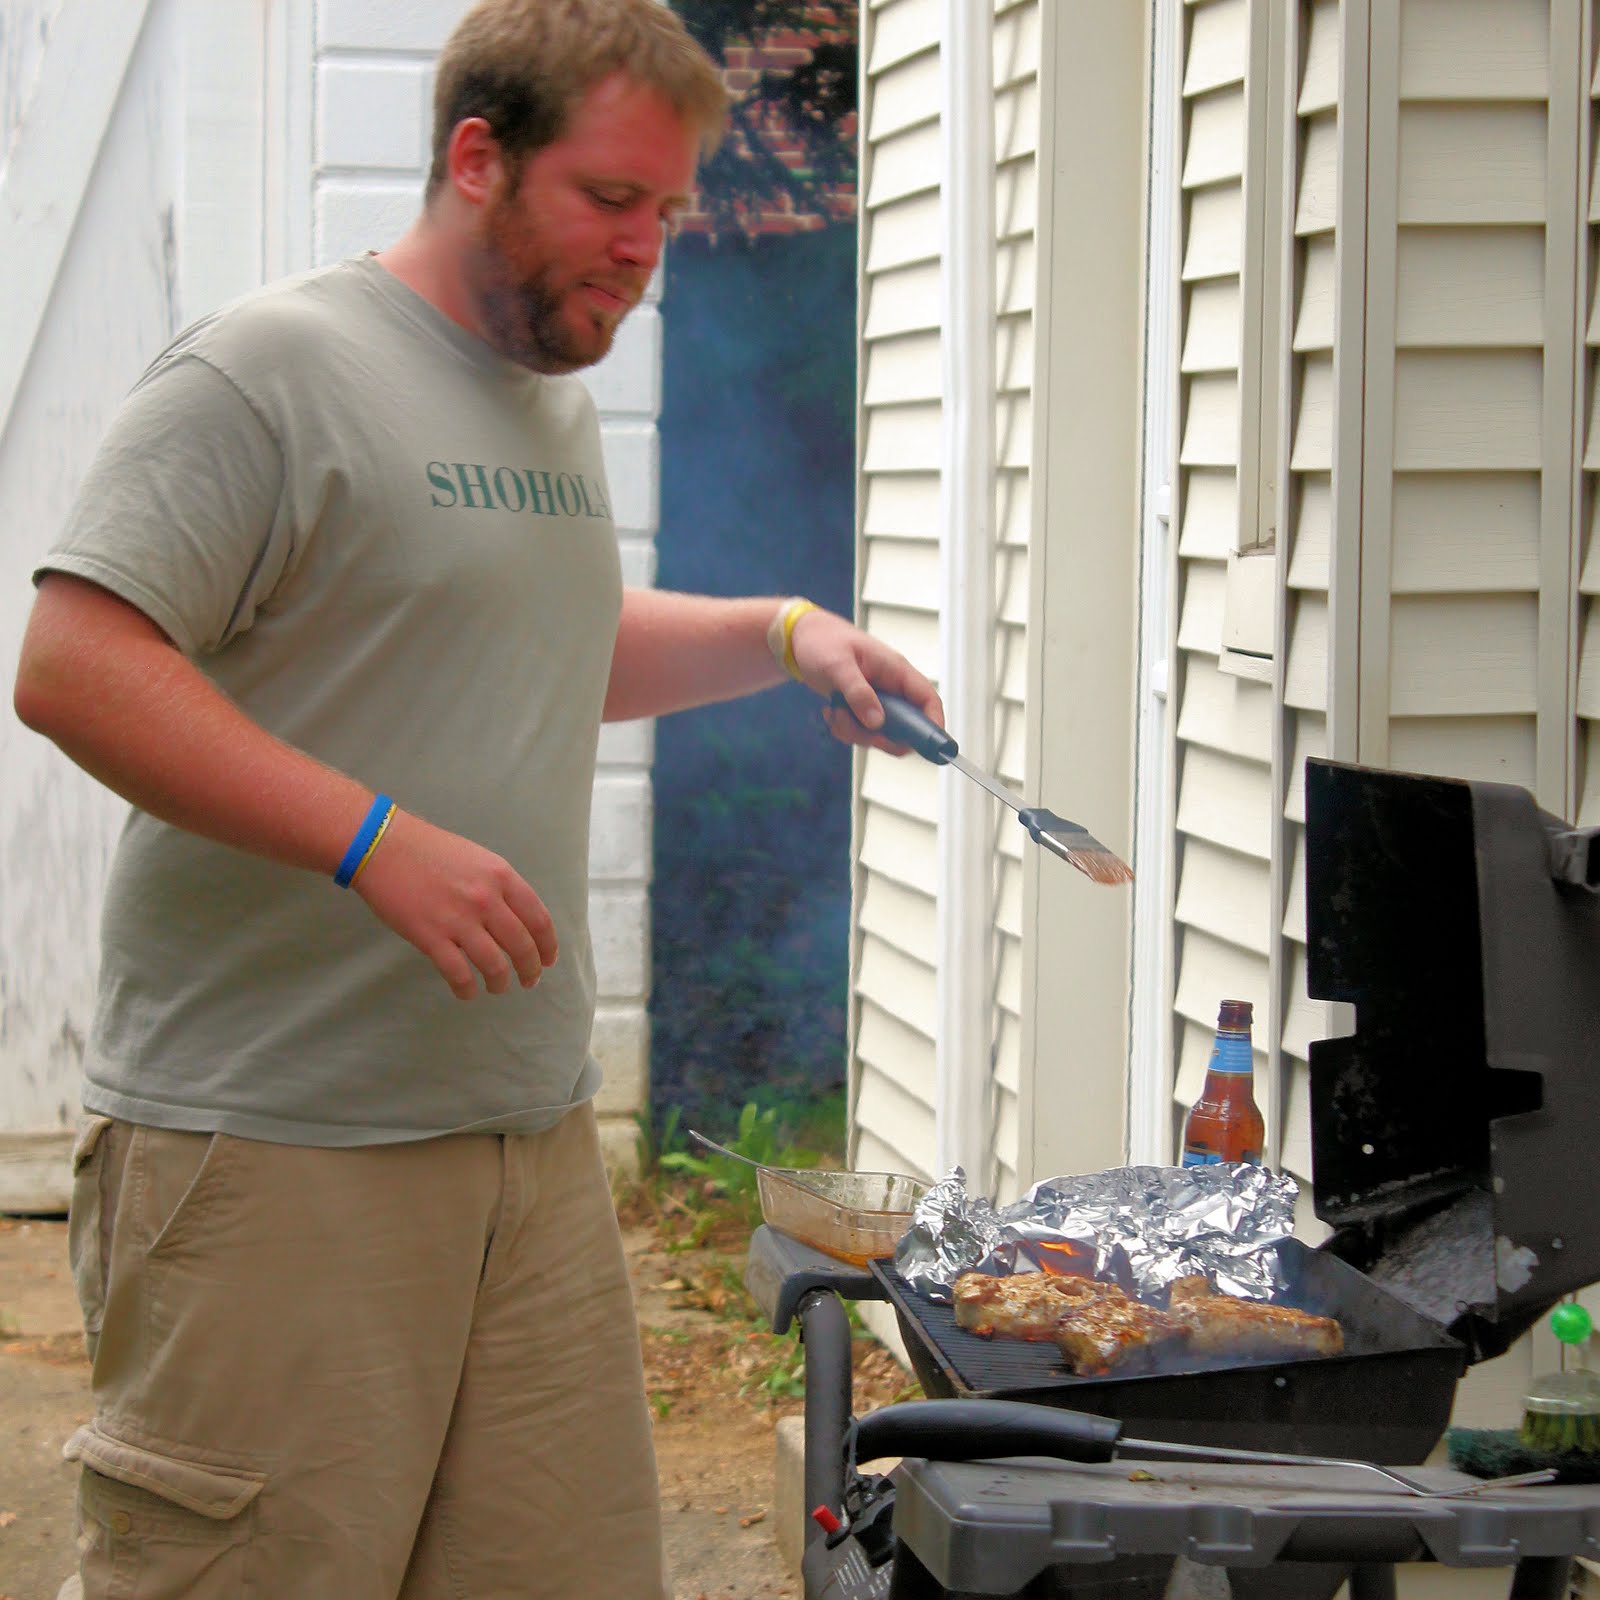
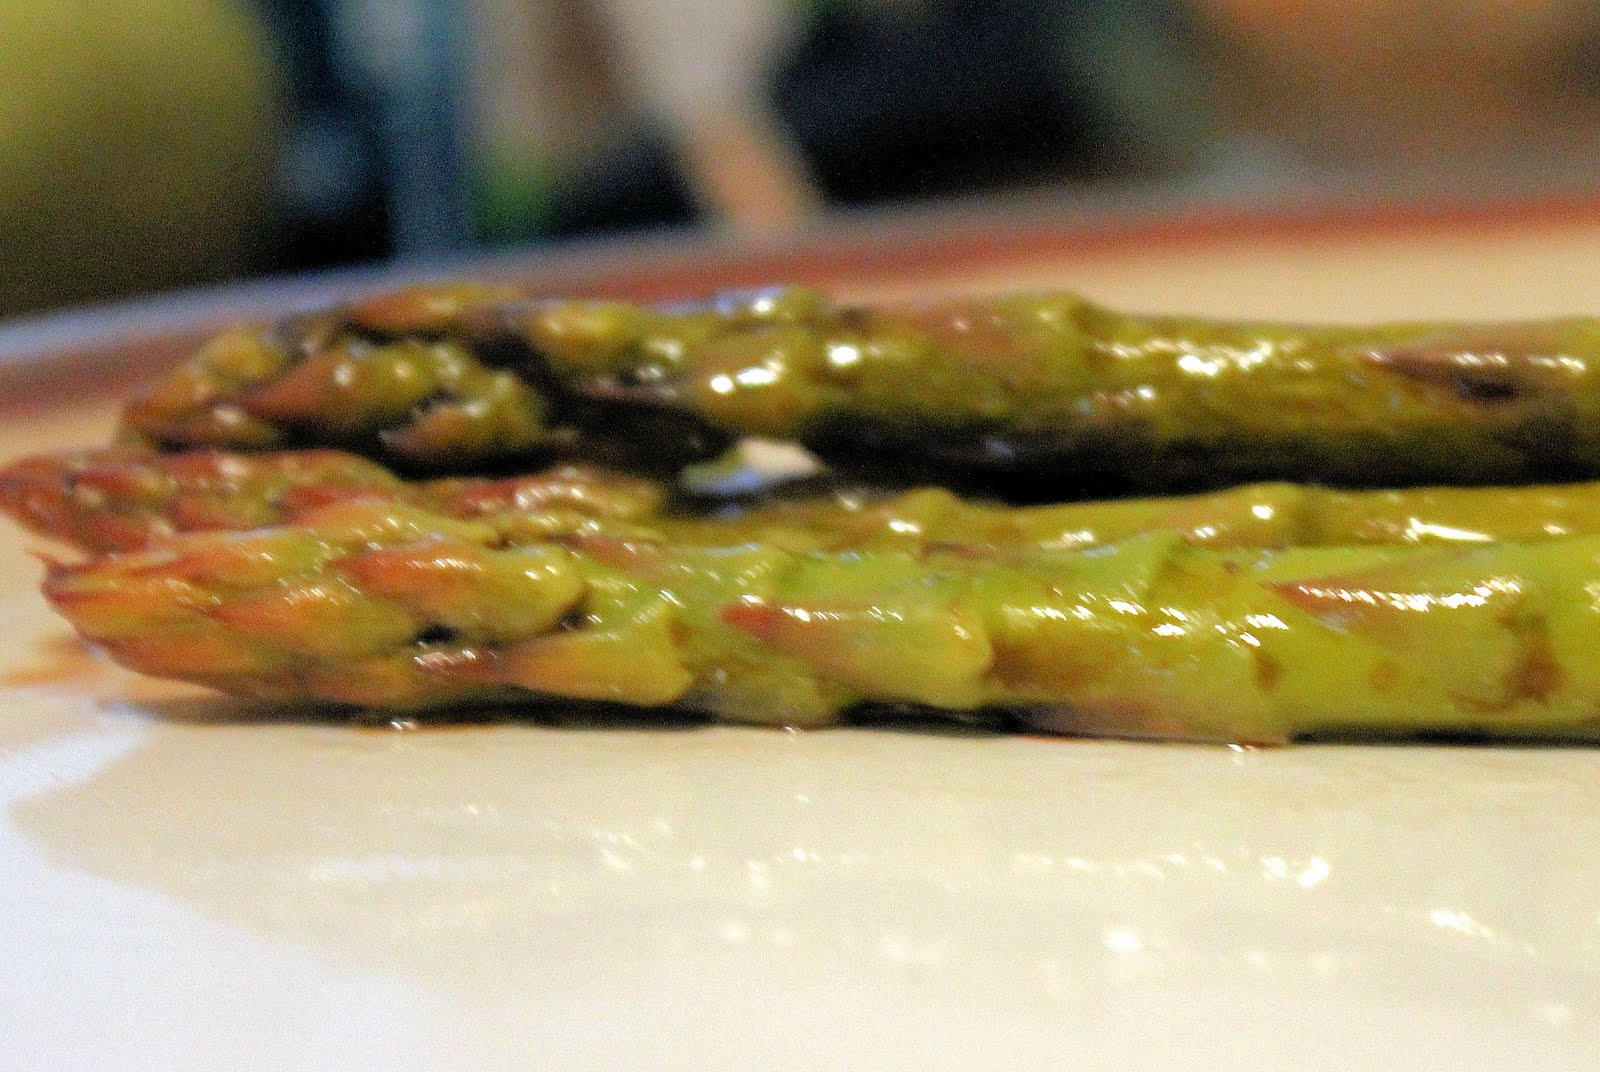
This turned out really well. The balsamic vinegar and Worcestershire sauce add a bit of tangy-ness to the asparagus without overpowering the delicious natural flavor of asparagus. Many thanks to the grill masters:
Tim
Kevin
for not letting my asparagus get soggy. It was great to only have to do the prep work on a dish… a girl could get used to this!
1 tablespoon minced garlic (about 2 large garlic cloves)
1 teaspoon Worcestershire sauce
1/4 teaspoon chopped onion flakes
Salt and pepper, to taste
Instructions
Combine all the ingredients not including the asparagus. Mix well.
Prepare the asparagus. Remove the rough bottoms of the stems. Asparagus tends to snap where the tougher part ends, or you can just cut the asparagus where you think it needs to be trimmed.
Place the asparagus on a large piece of tin foil. You will make a little packet out of the tin foil.
Fold up each side of the tin foil, twisting the ends so that they stay together.
Pour the marinade over the asparagus.
Close the foil and marinate for at least one hour. You can either remove the asparagus from the foil and place the asparagus right on the grill, cooking for 6-8 minutes, turning carefully half way through, or you can put the asparagus on the grill in the foil, cooking for about 10 minutes. Either way, grill until the asparagus is tender but still has a crunch to it.
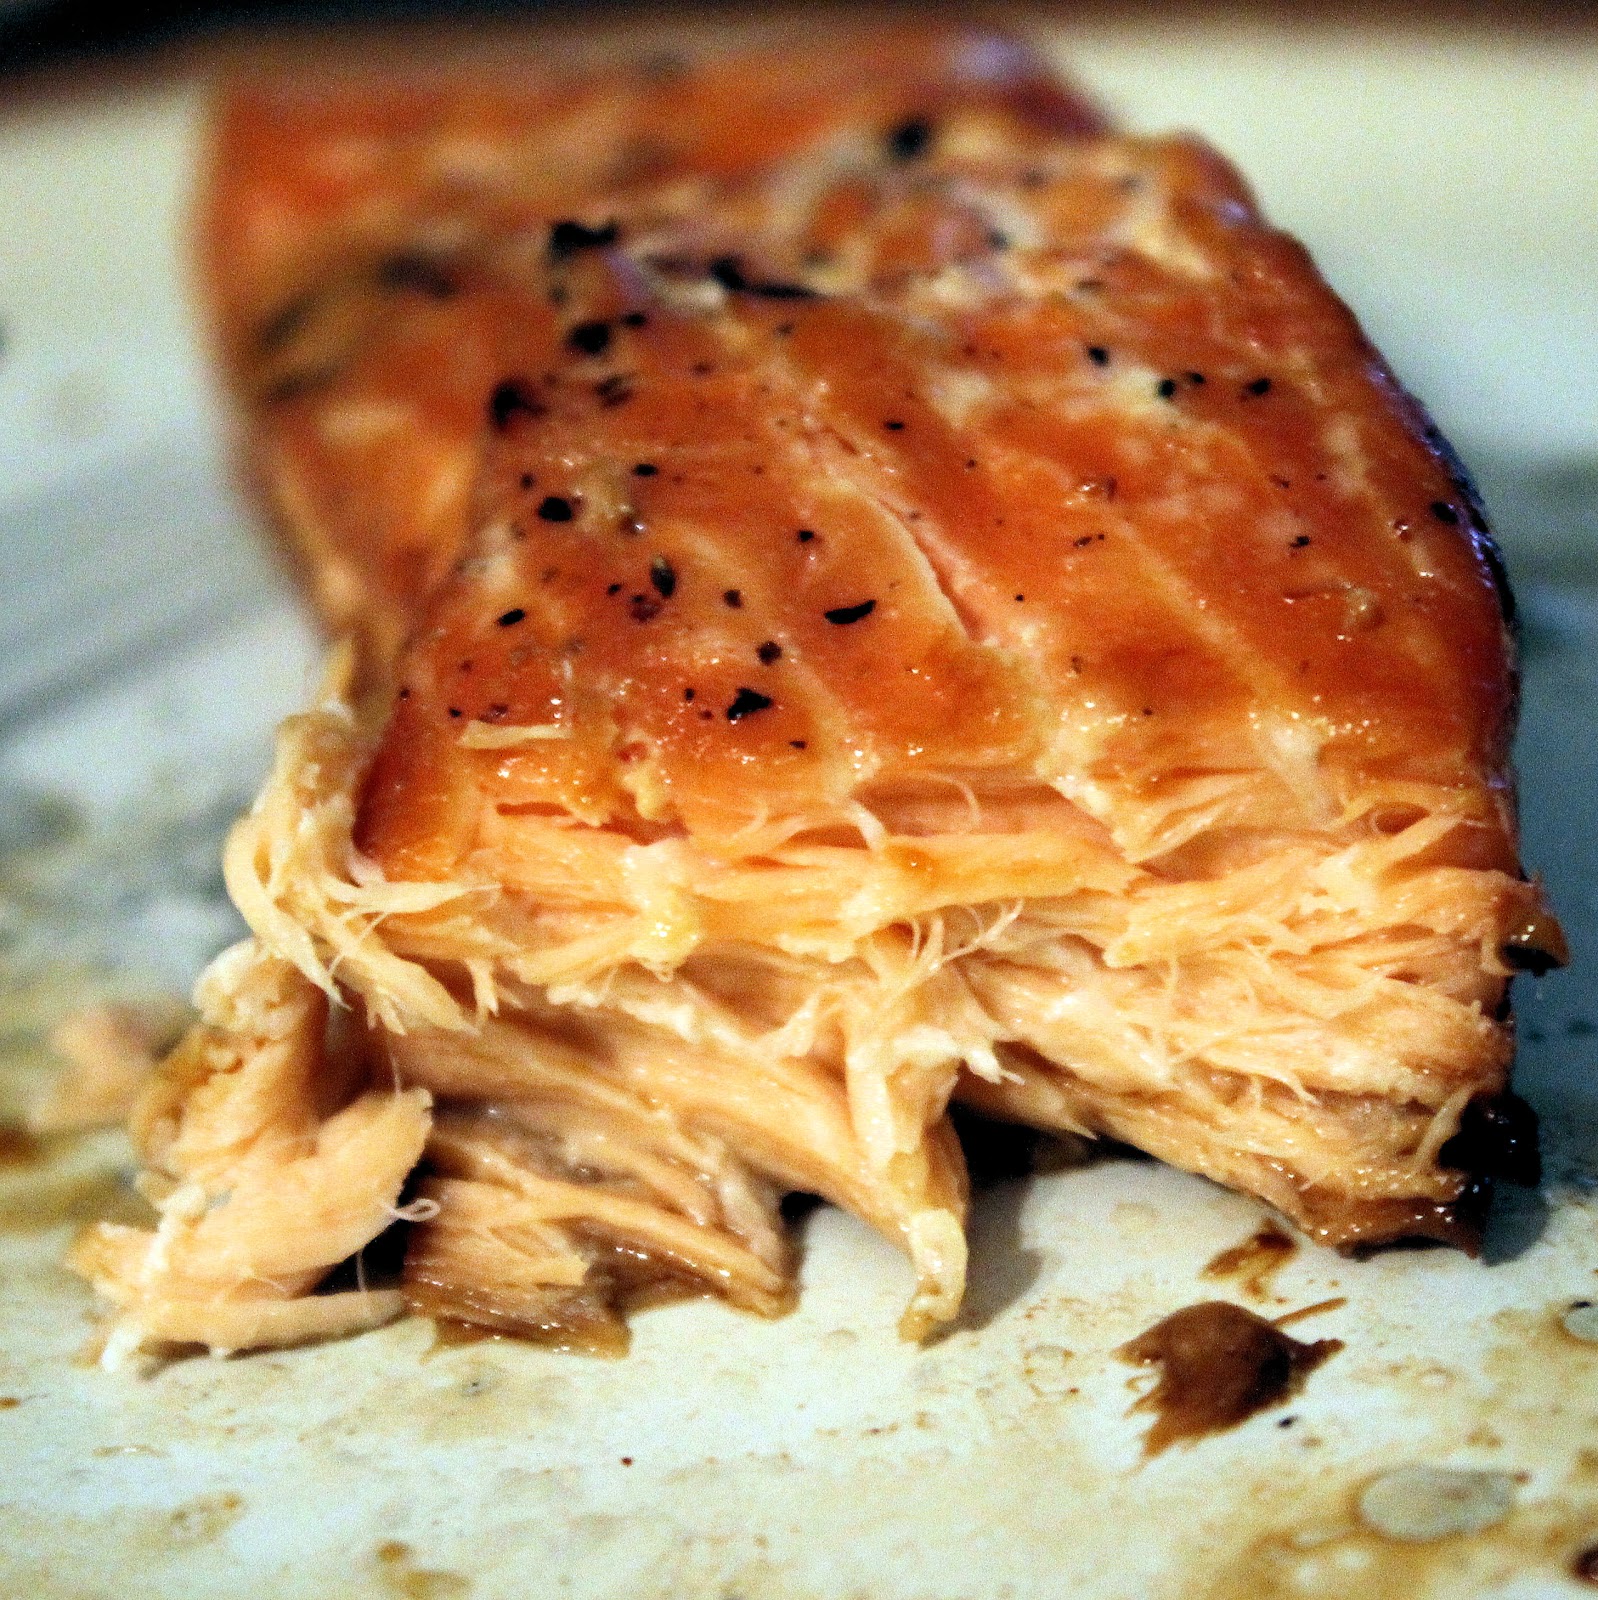
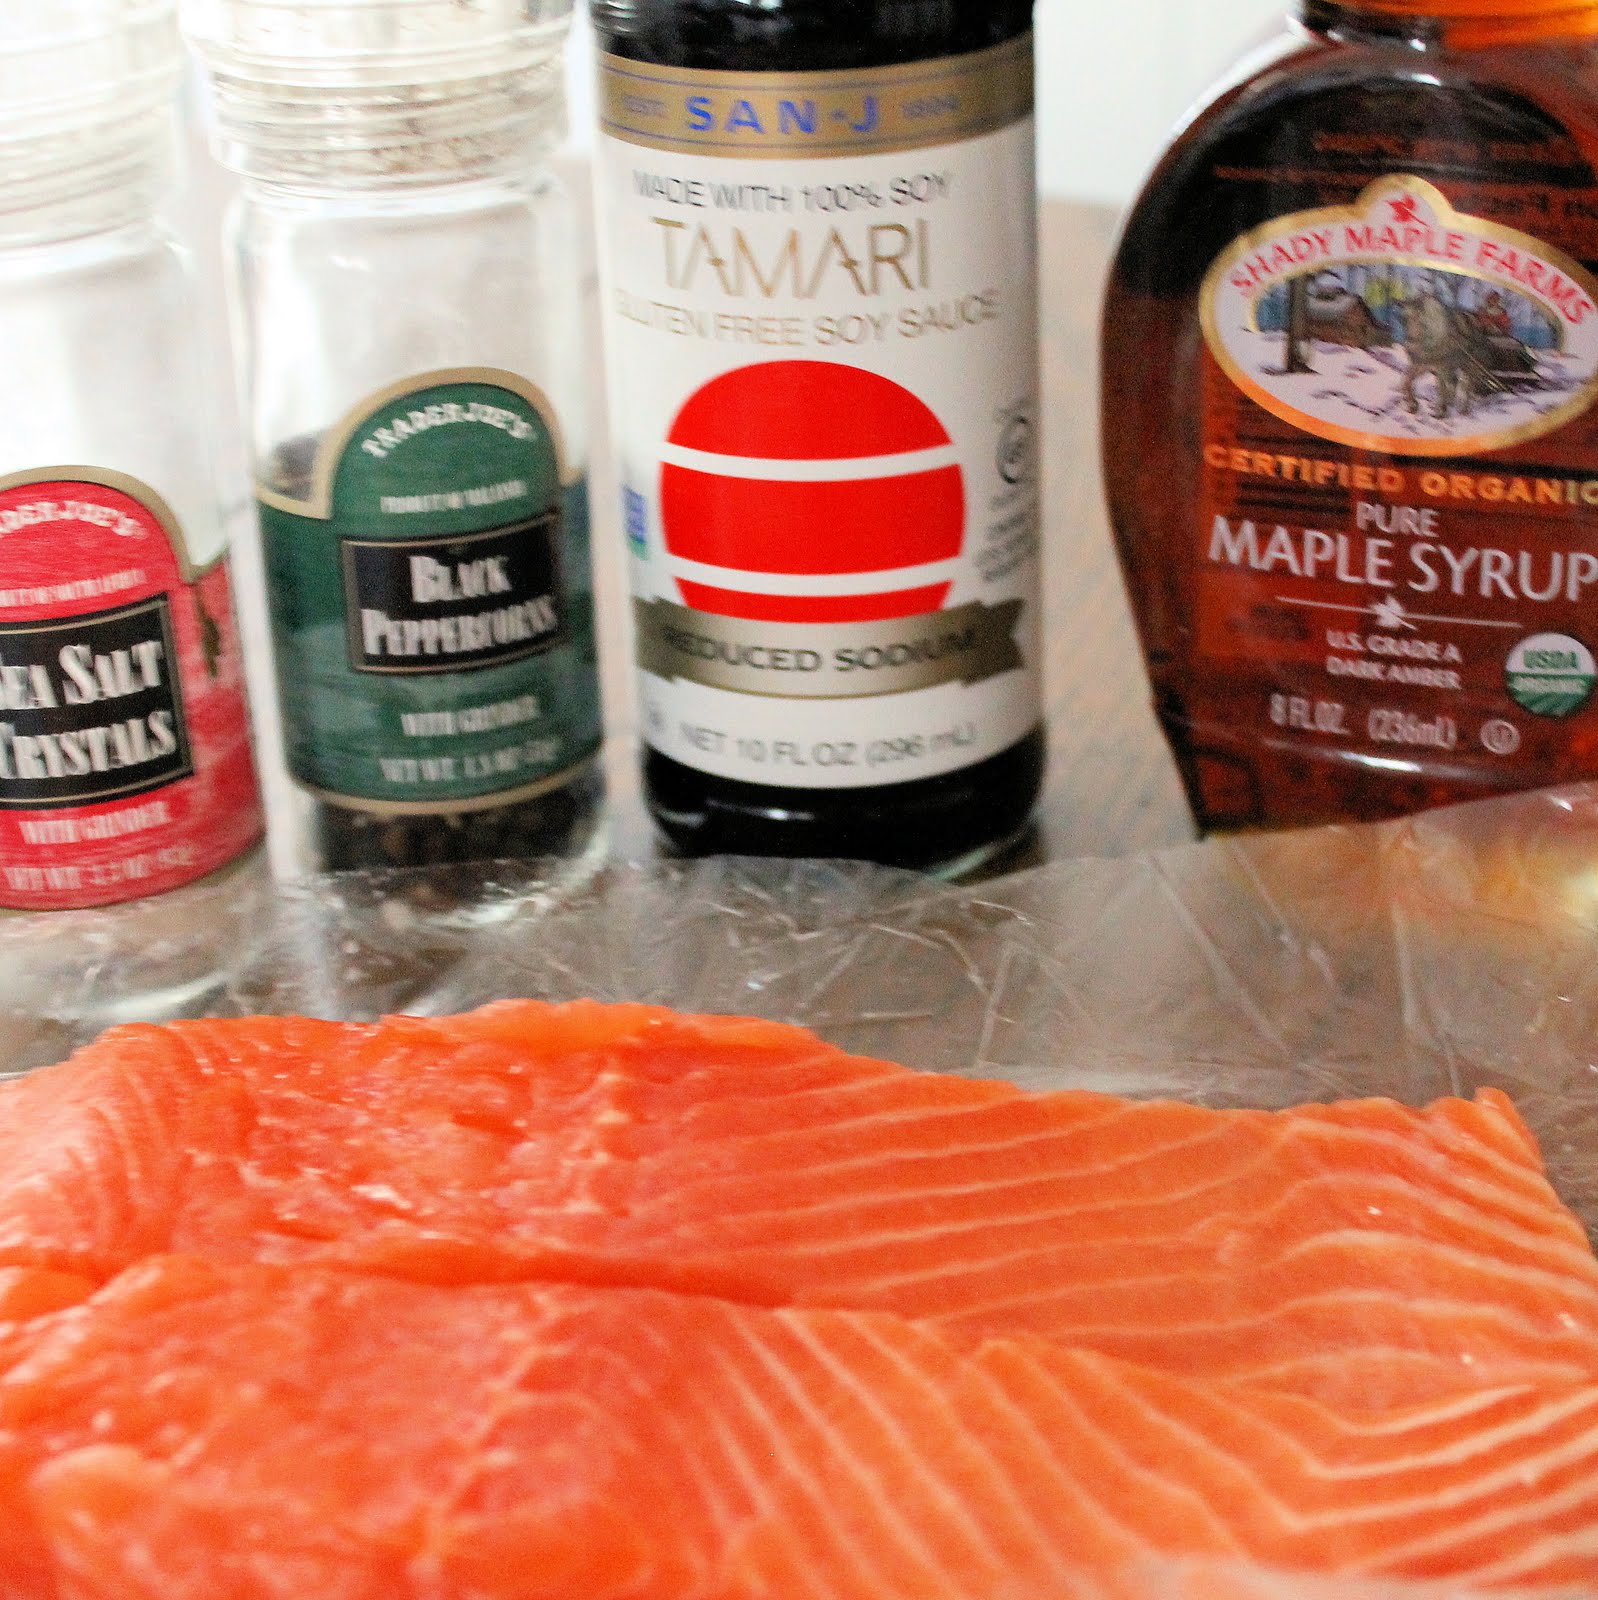
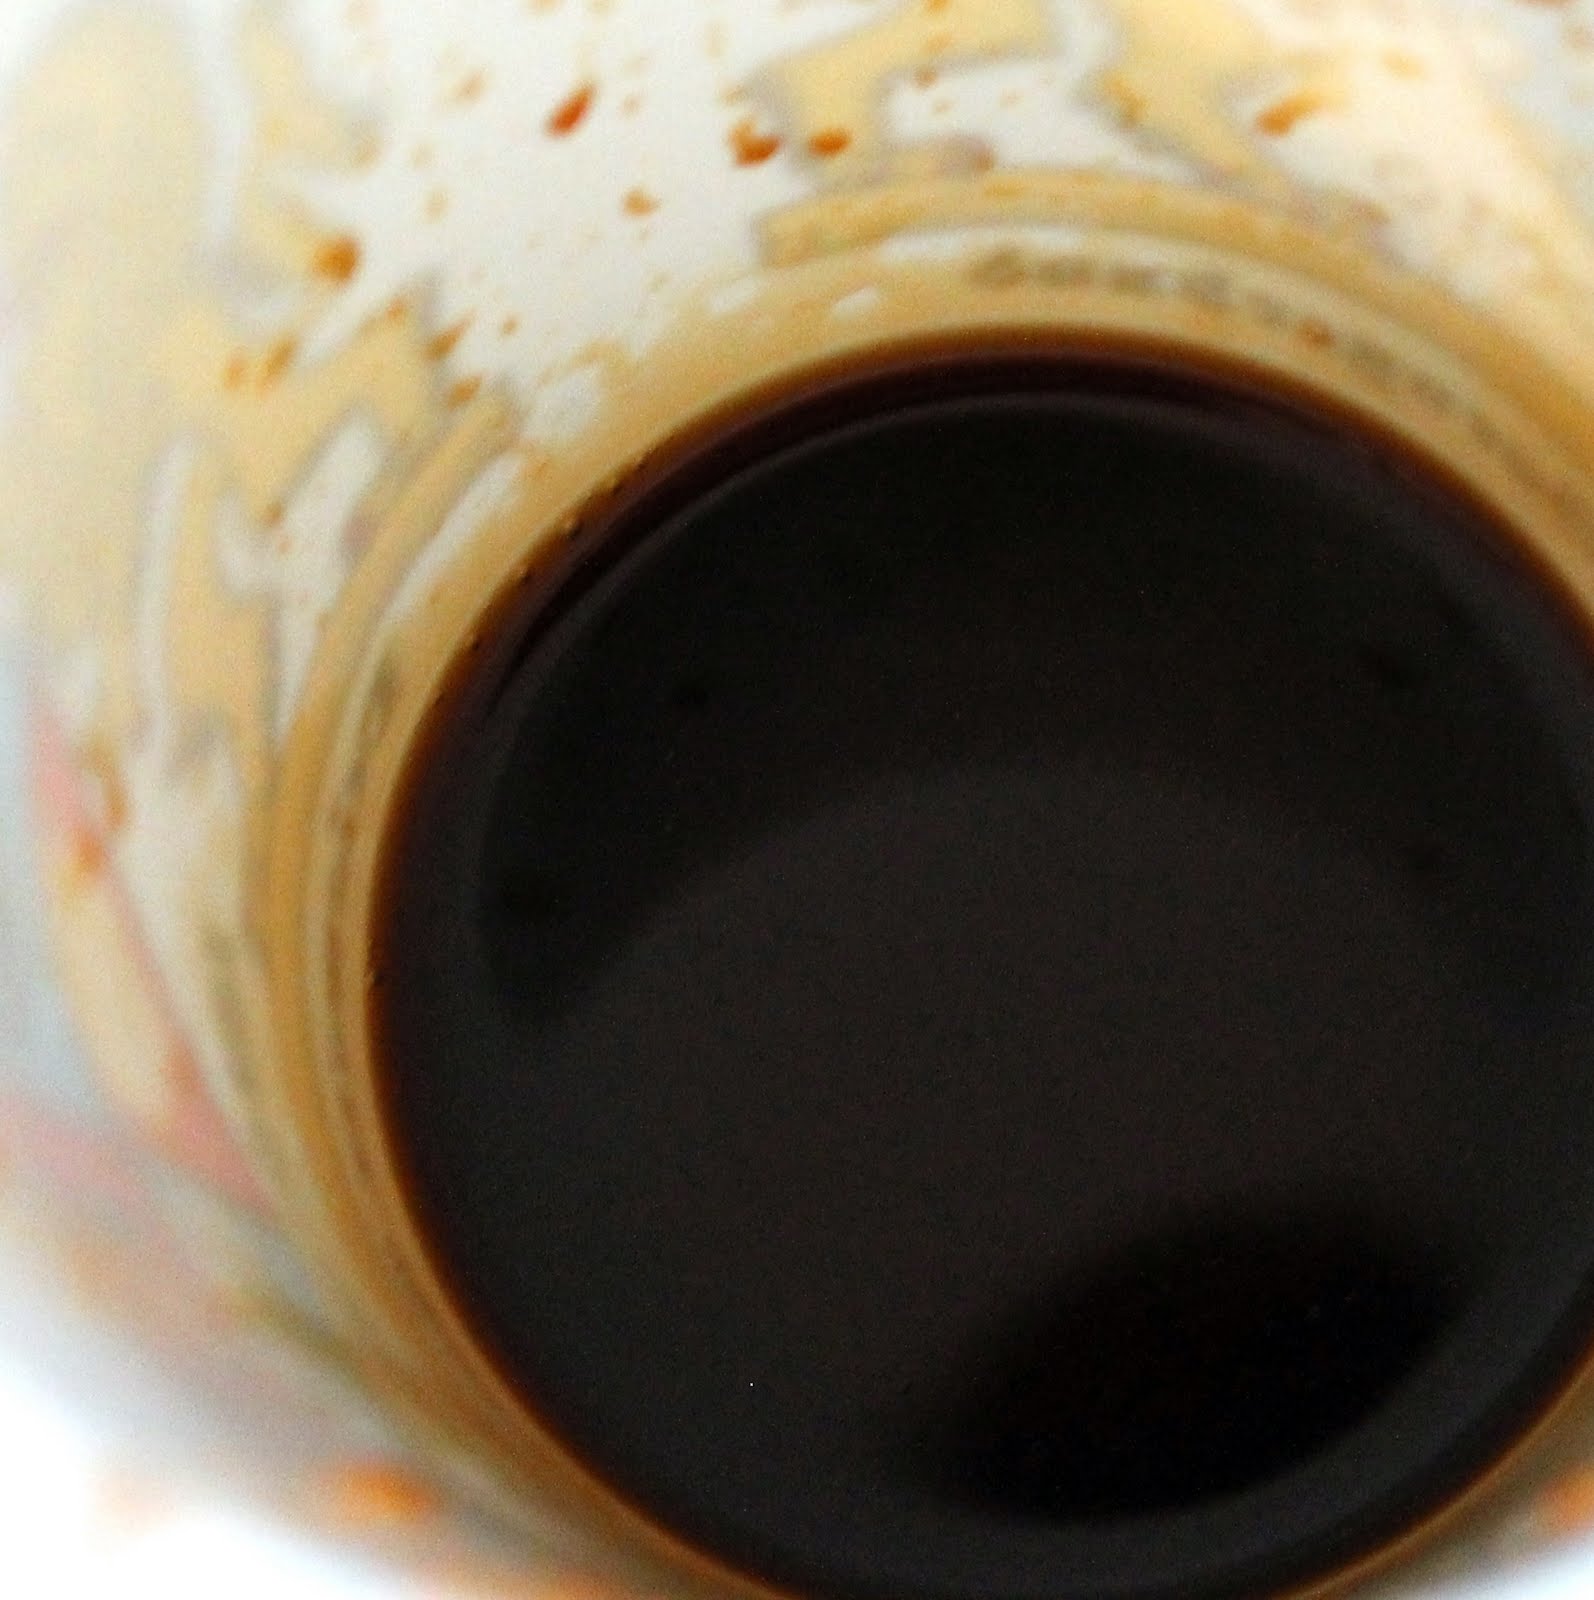
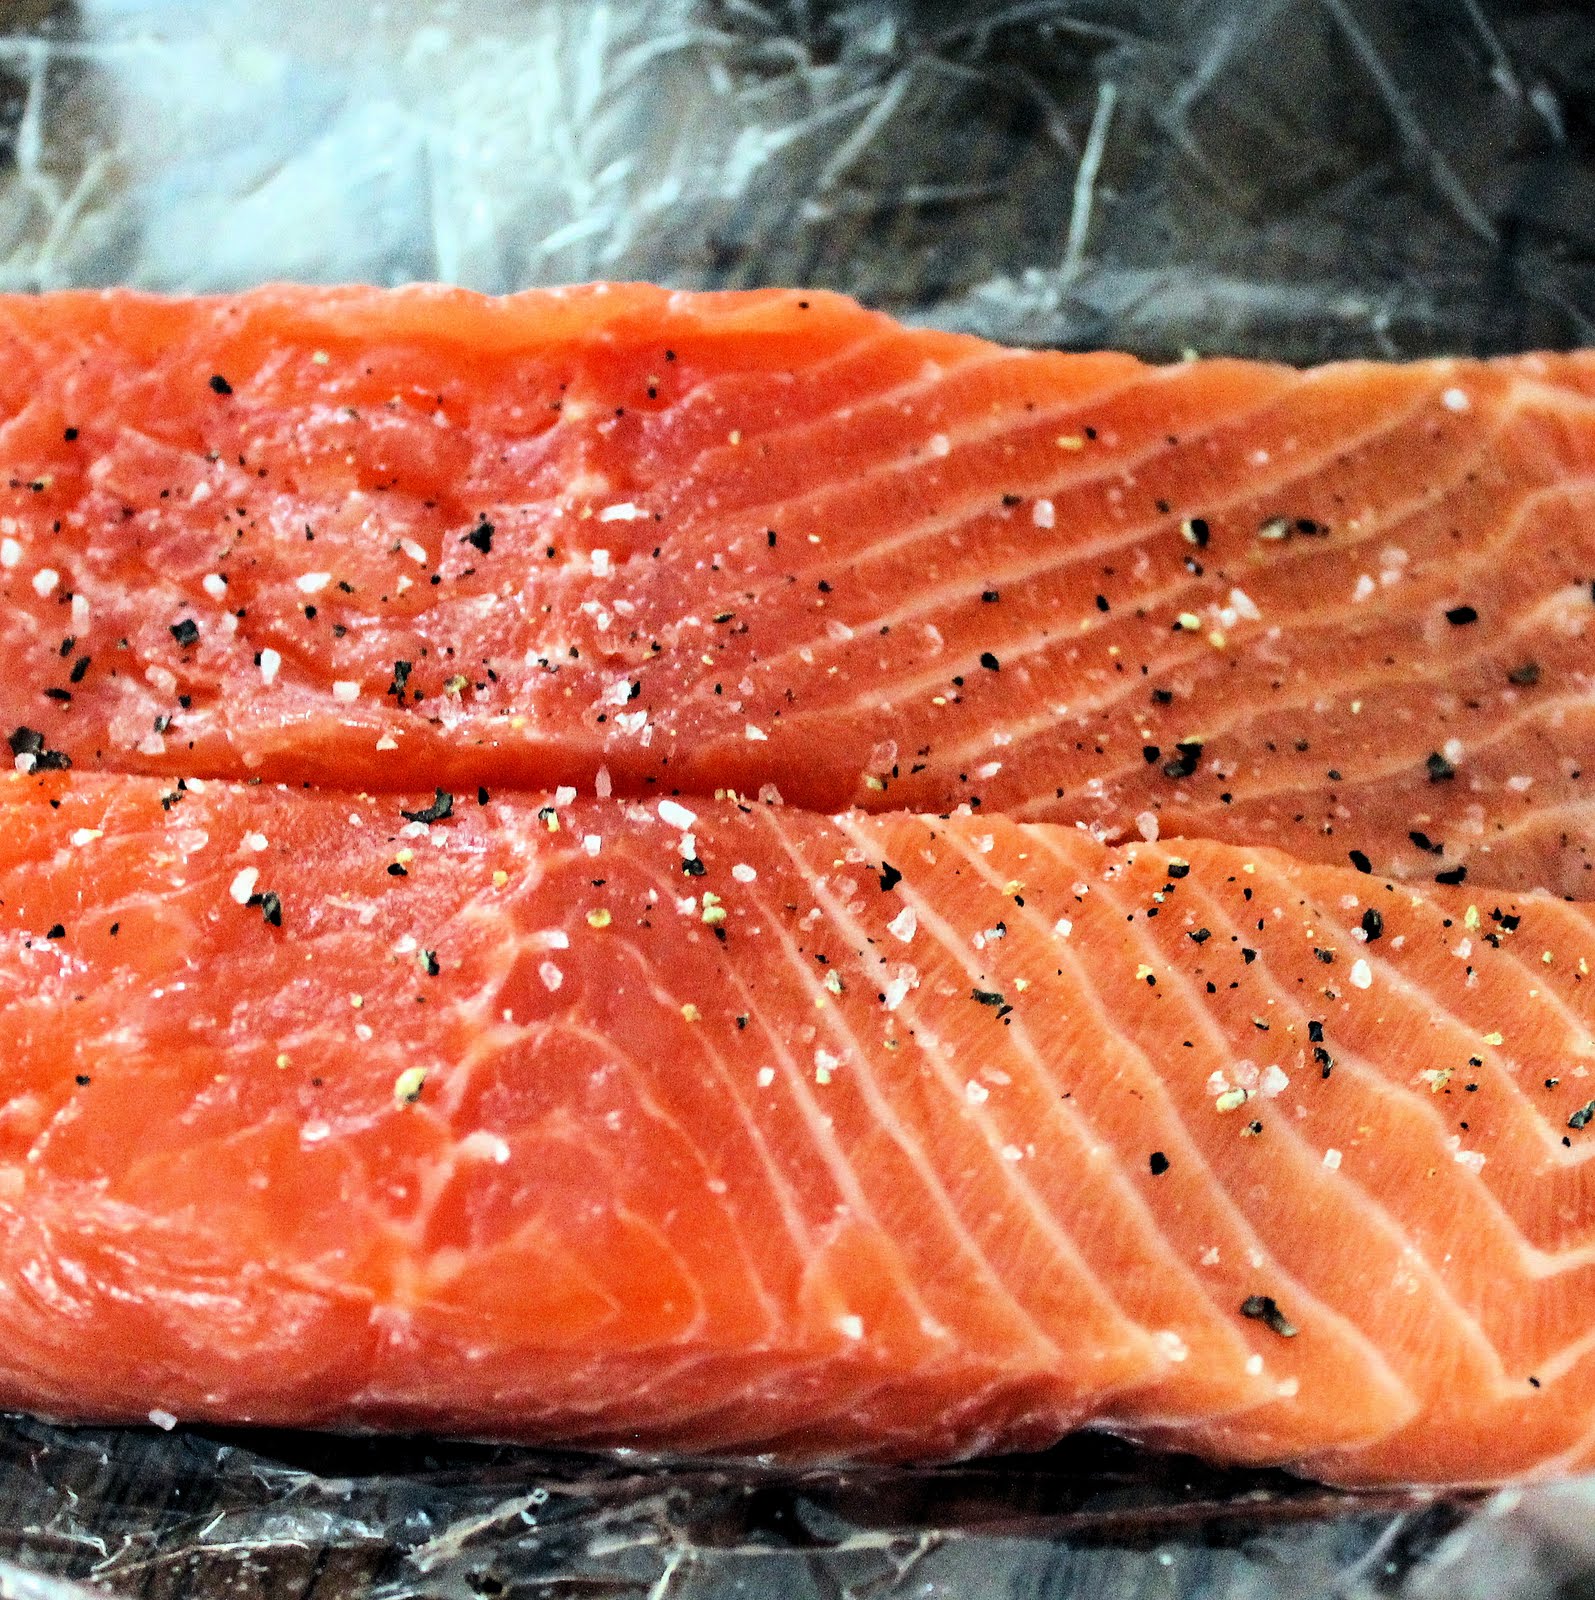
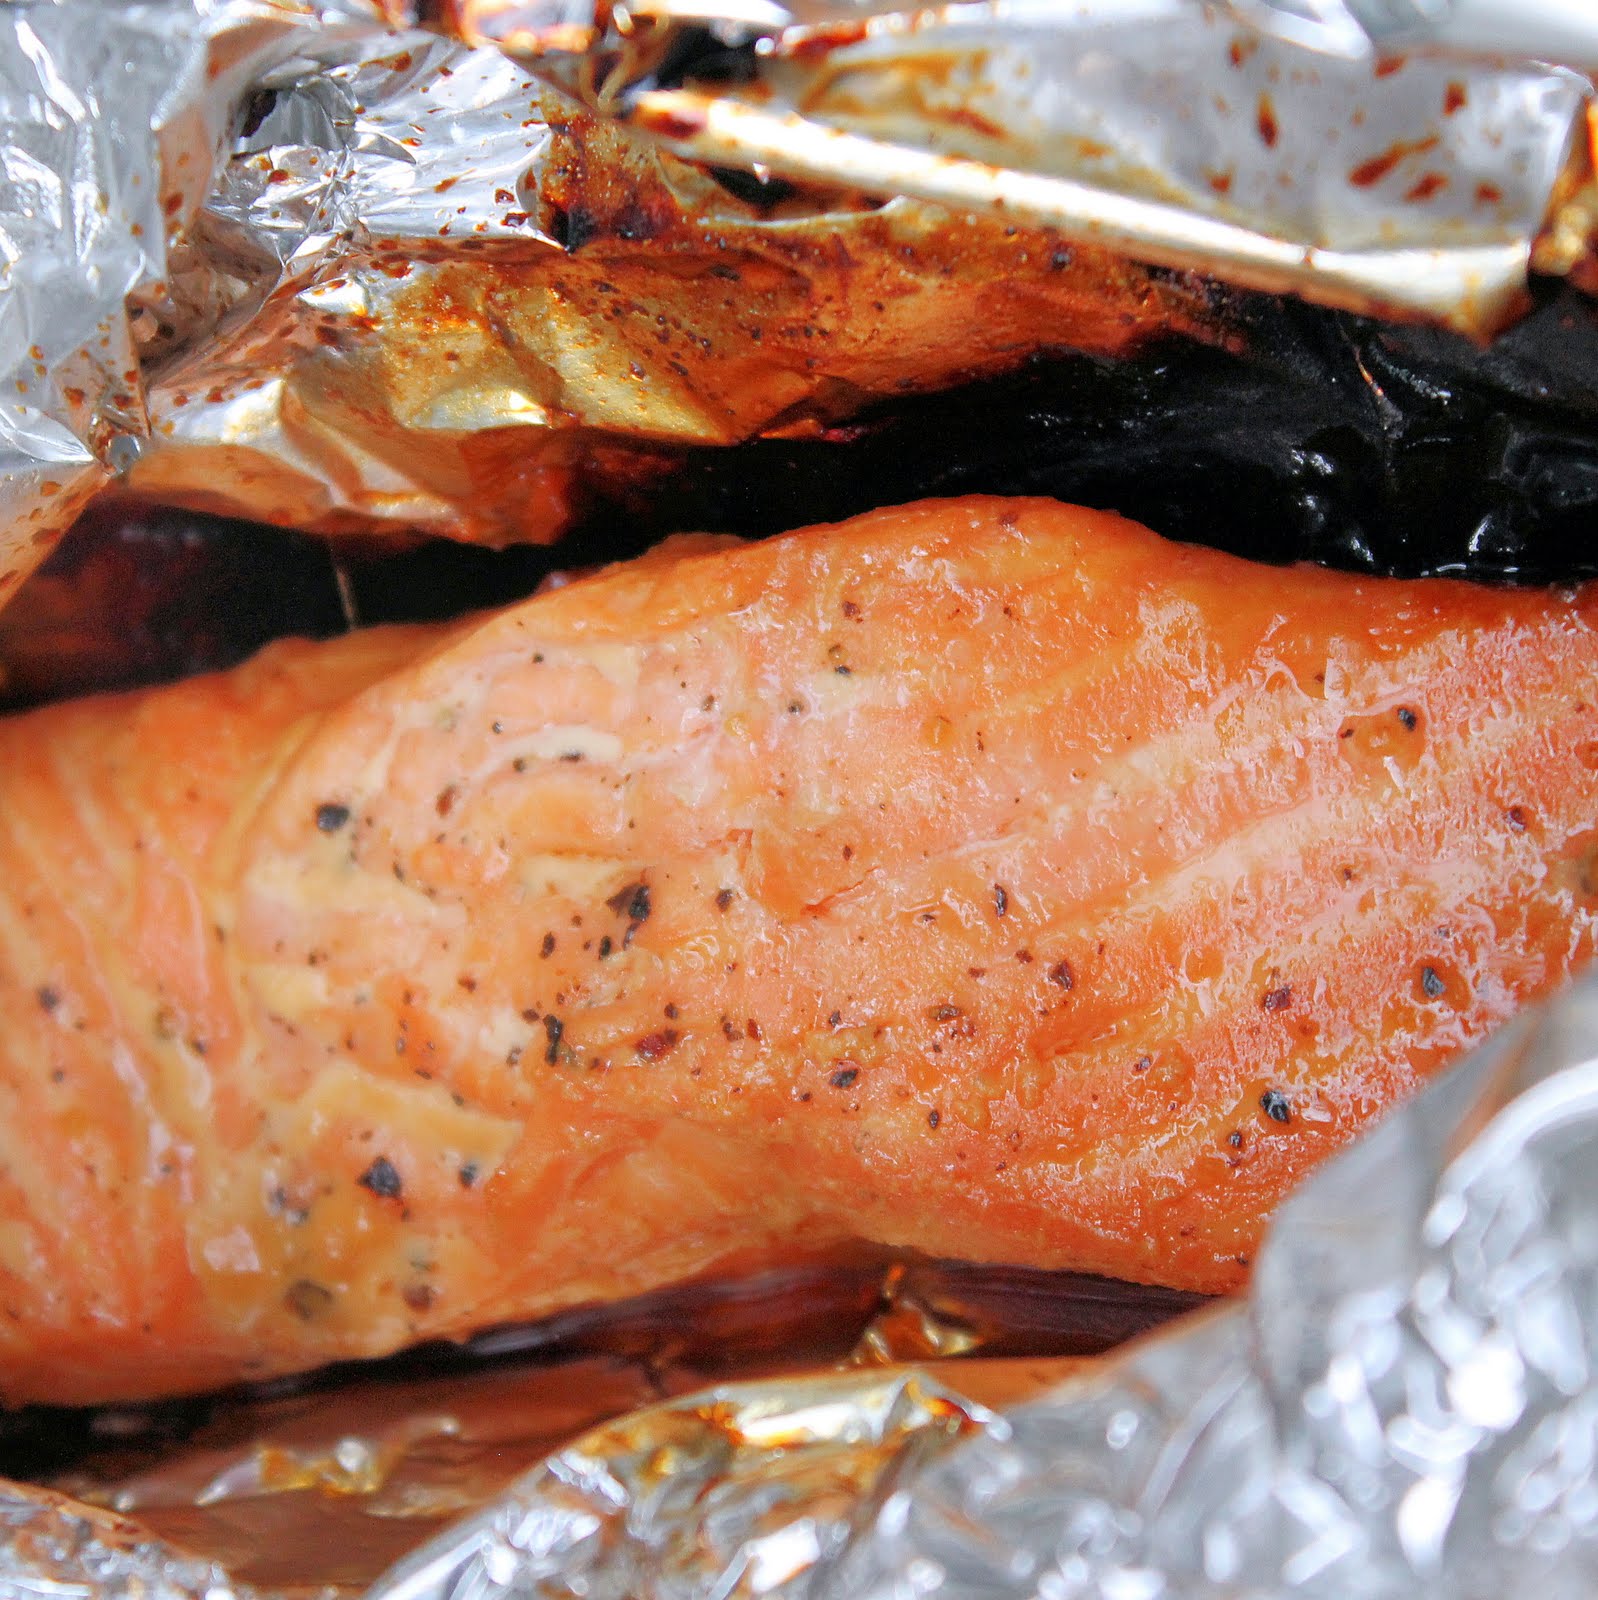
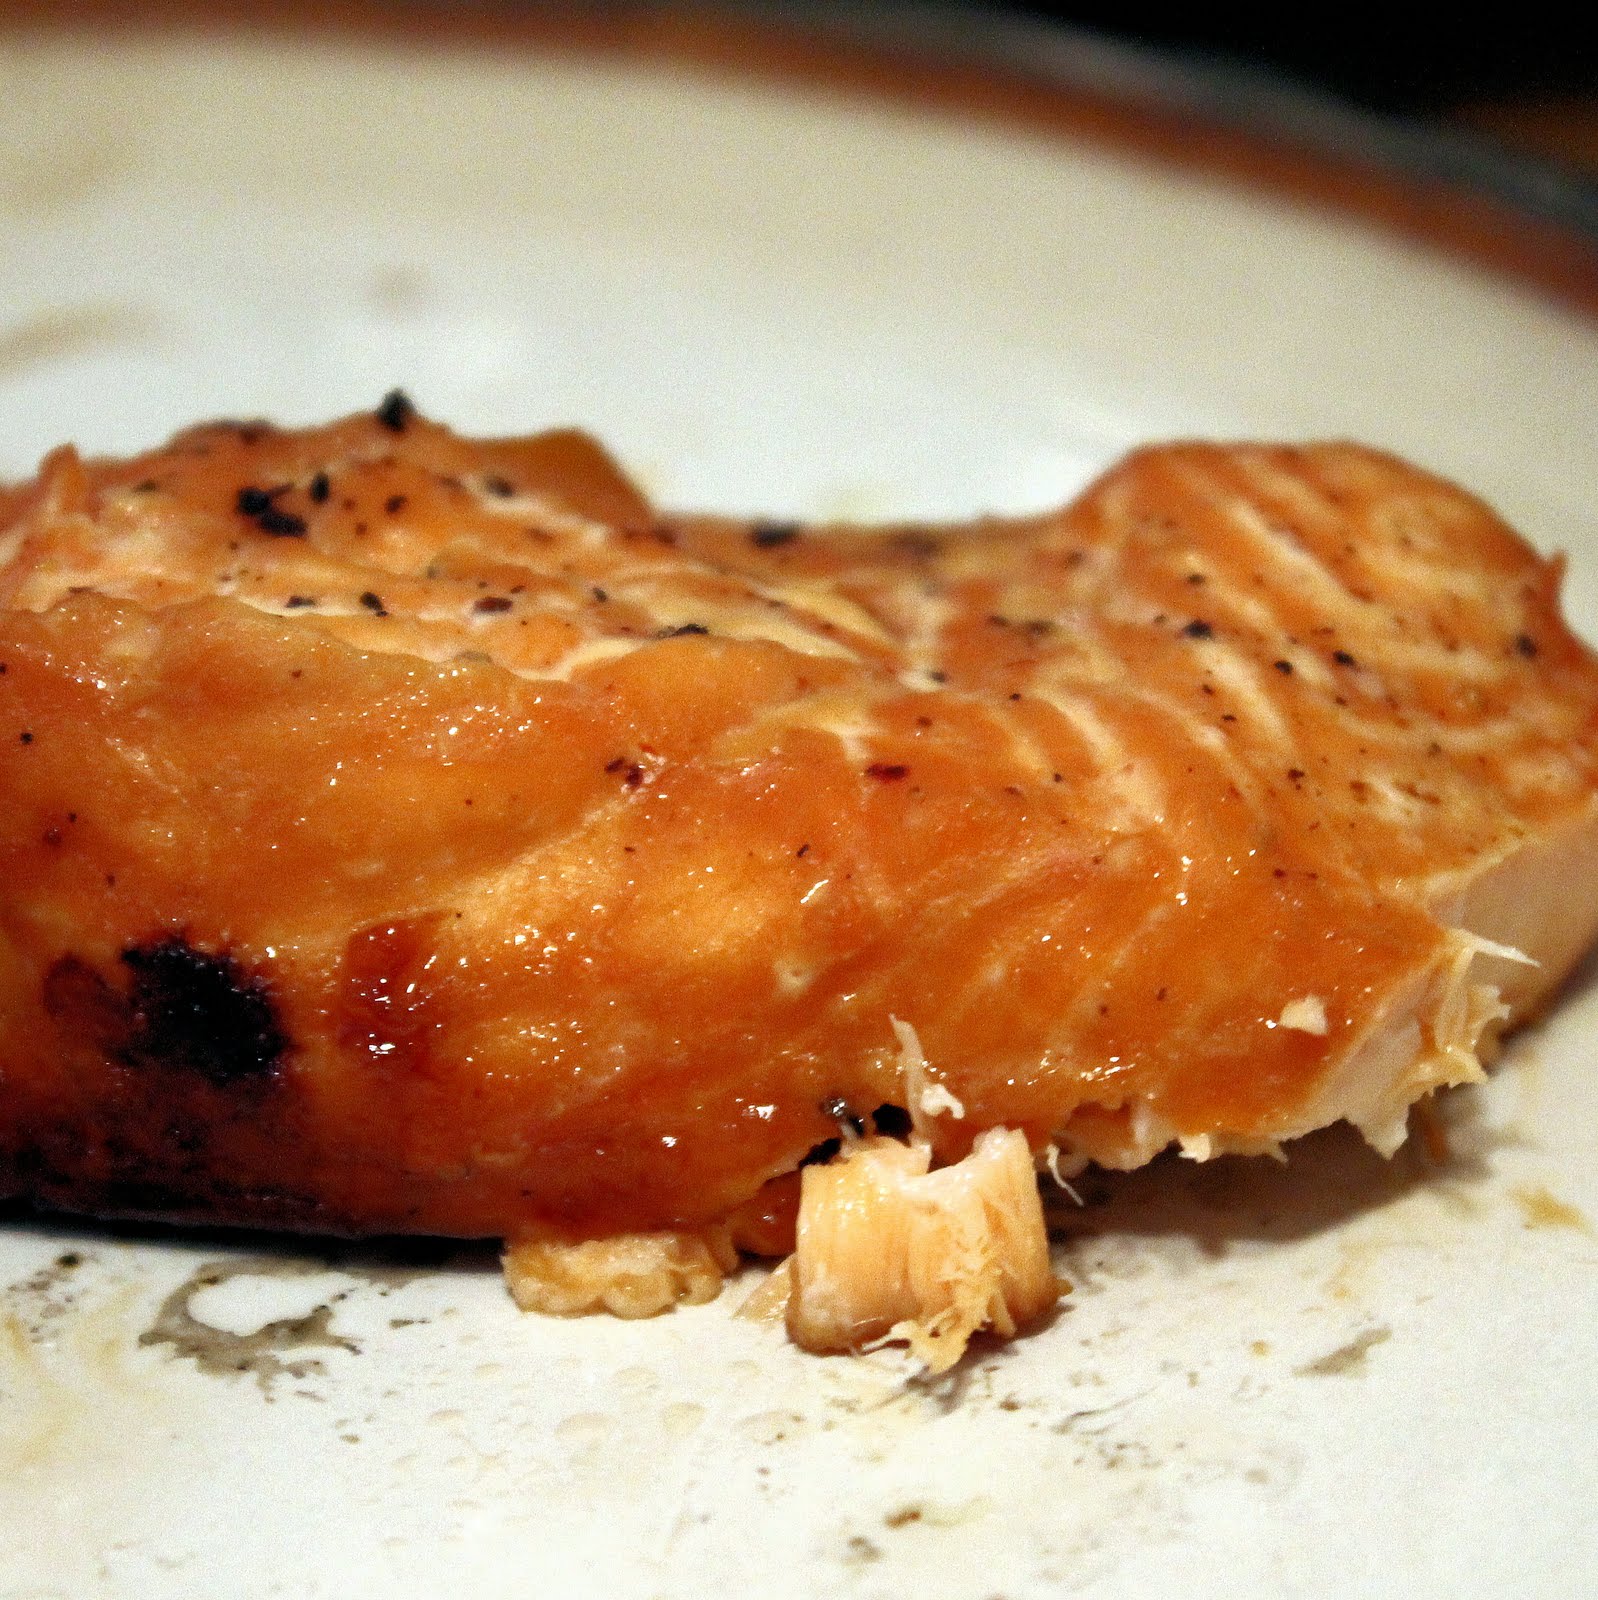
Are you ready for the easiest salmon recipe, perhaps ever? The name says it all: maple-soy glazed salmon. You just use equal parts maple syrup and reduced sodium soy sauce.
Ingredients:
2 pieces of 5 oz salmon fillets, skin on
2 tablespoons maple syrup
2 tablespoons reduced sodium soy sauce (or coconut aminos to make gluten free)
salt and pepper, to taste
Combine the maple syrup and soy sauce.
Top the salmon fillets with salt and pepper.
Drizzle the maple-soy mixture equally over the salmon.
I bought my salmon from a supermarket in Wilmington that inexplicably only had salmon without the skin. What the heck? Normally, I would just grill the salmon, skin side up for 2-3 minutes and then flip the salmon, skin side down and cook until done. Because we had to take into account the whole no-skin issue, we wrapped the salmon in tin foil and popped it on the grill for a good 10 to 15 minutes. (Special thanks to Kevin and Tim for doing the actual grilling part!)
It still turned out great! The sauce caramelizes a bit, adding some sweetness to the salmon. I really wish it could have been straight on the grill to add some charring but it was not to be. Sigh. If anyone gets the chance to actually try it this way, please let me know how it turns out!
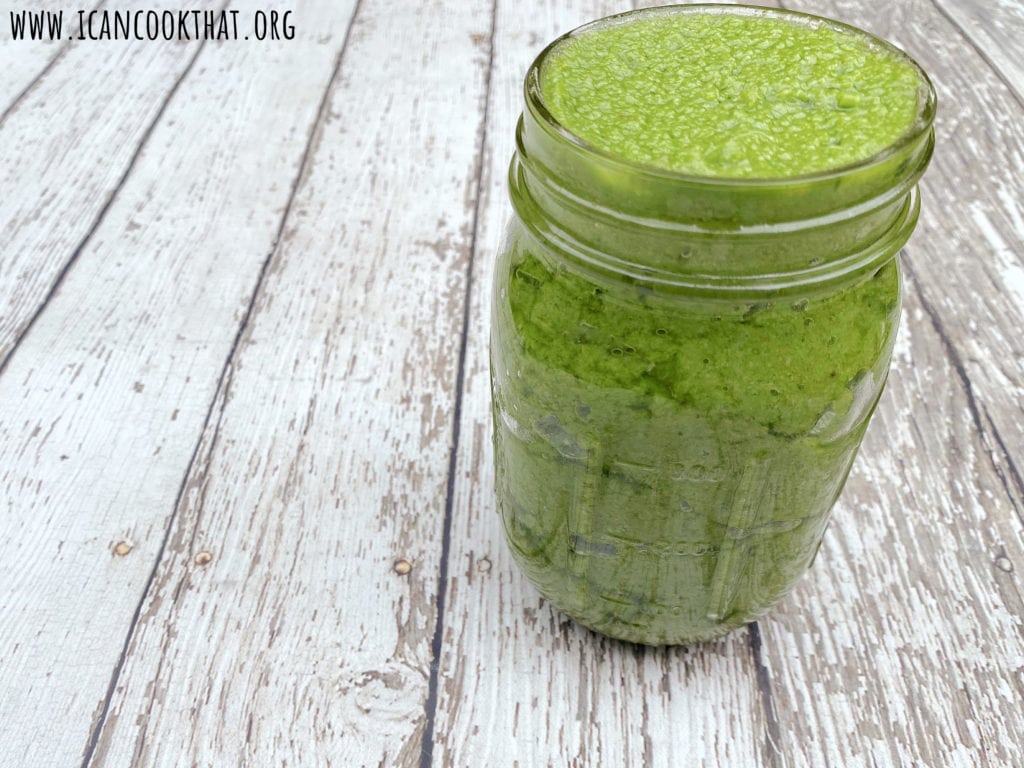
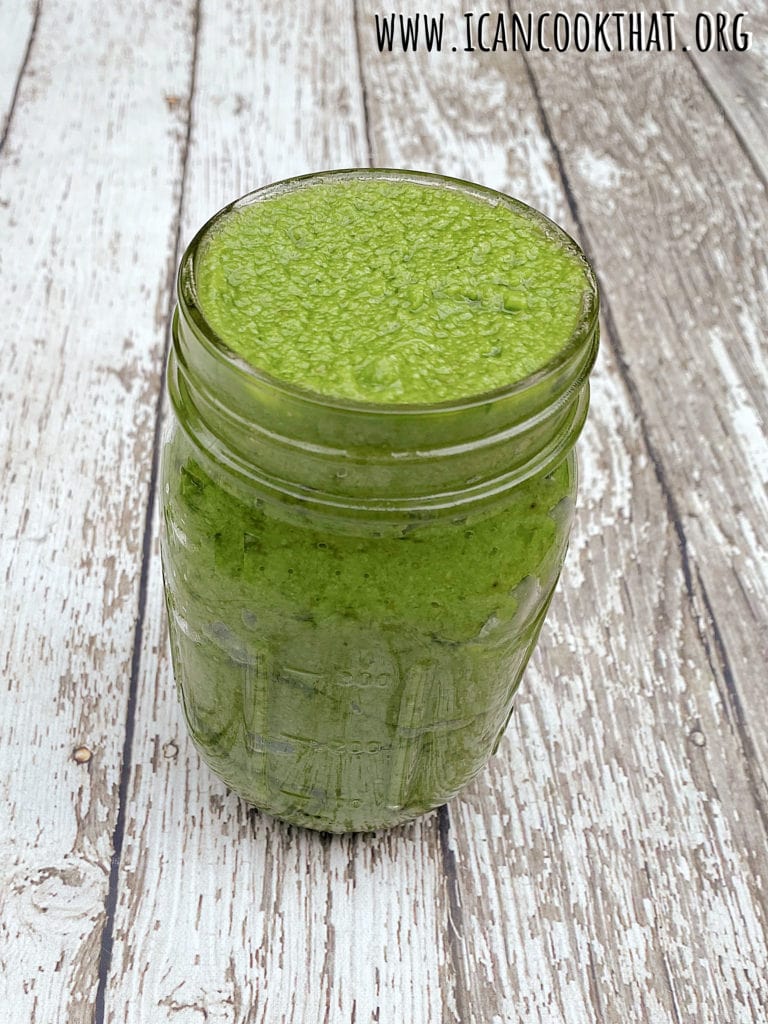
The warm days in Philadelphia keep on coming, so I think it’s time to attempt making the summer favorite: gazpacho. I wanted to do an heirloom gazpacho, but I am presently cooking out of Wilmington and the local store does not carry any. Sigh. I used this recipe from Cooking Light and just changed some of the ingredients to fit what I could find in the store.
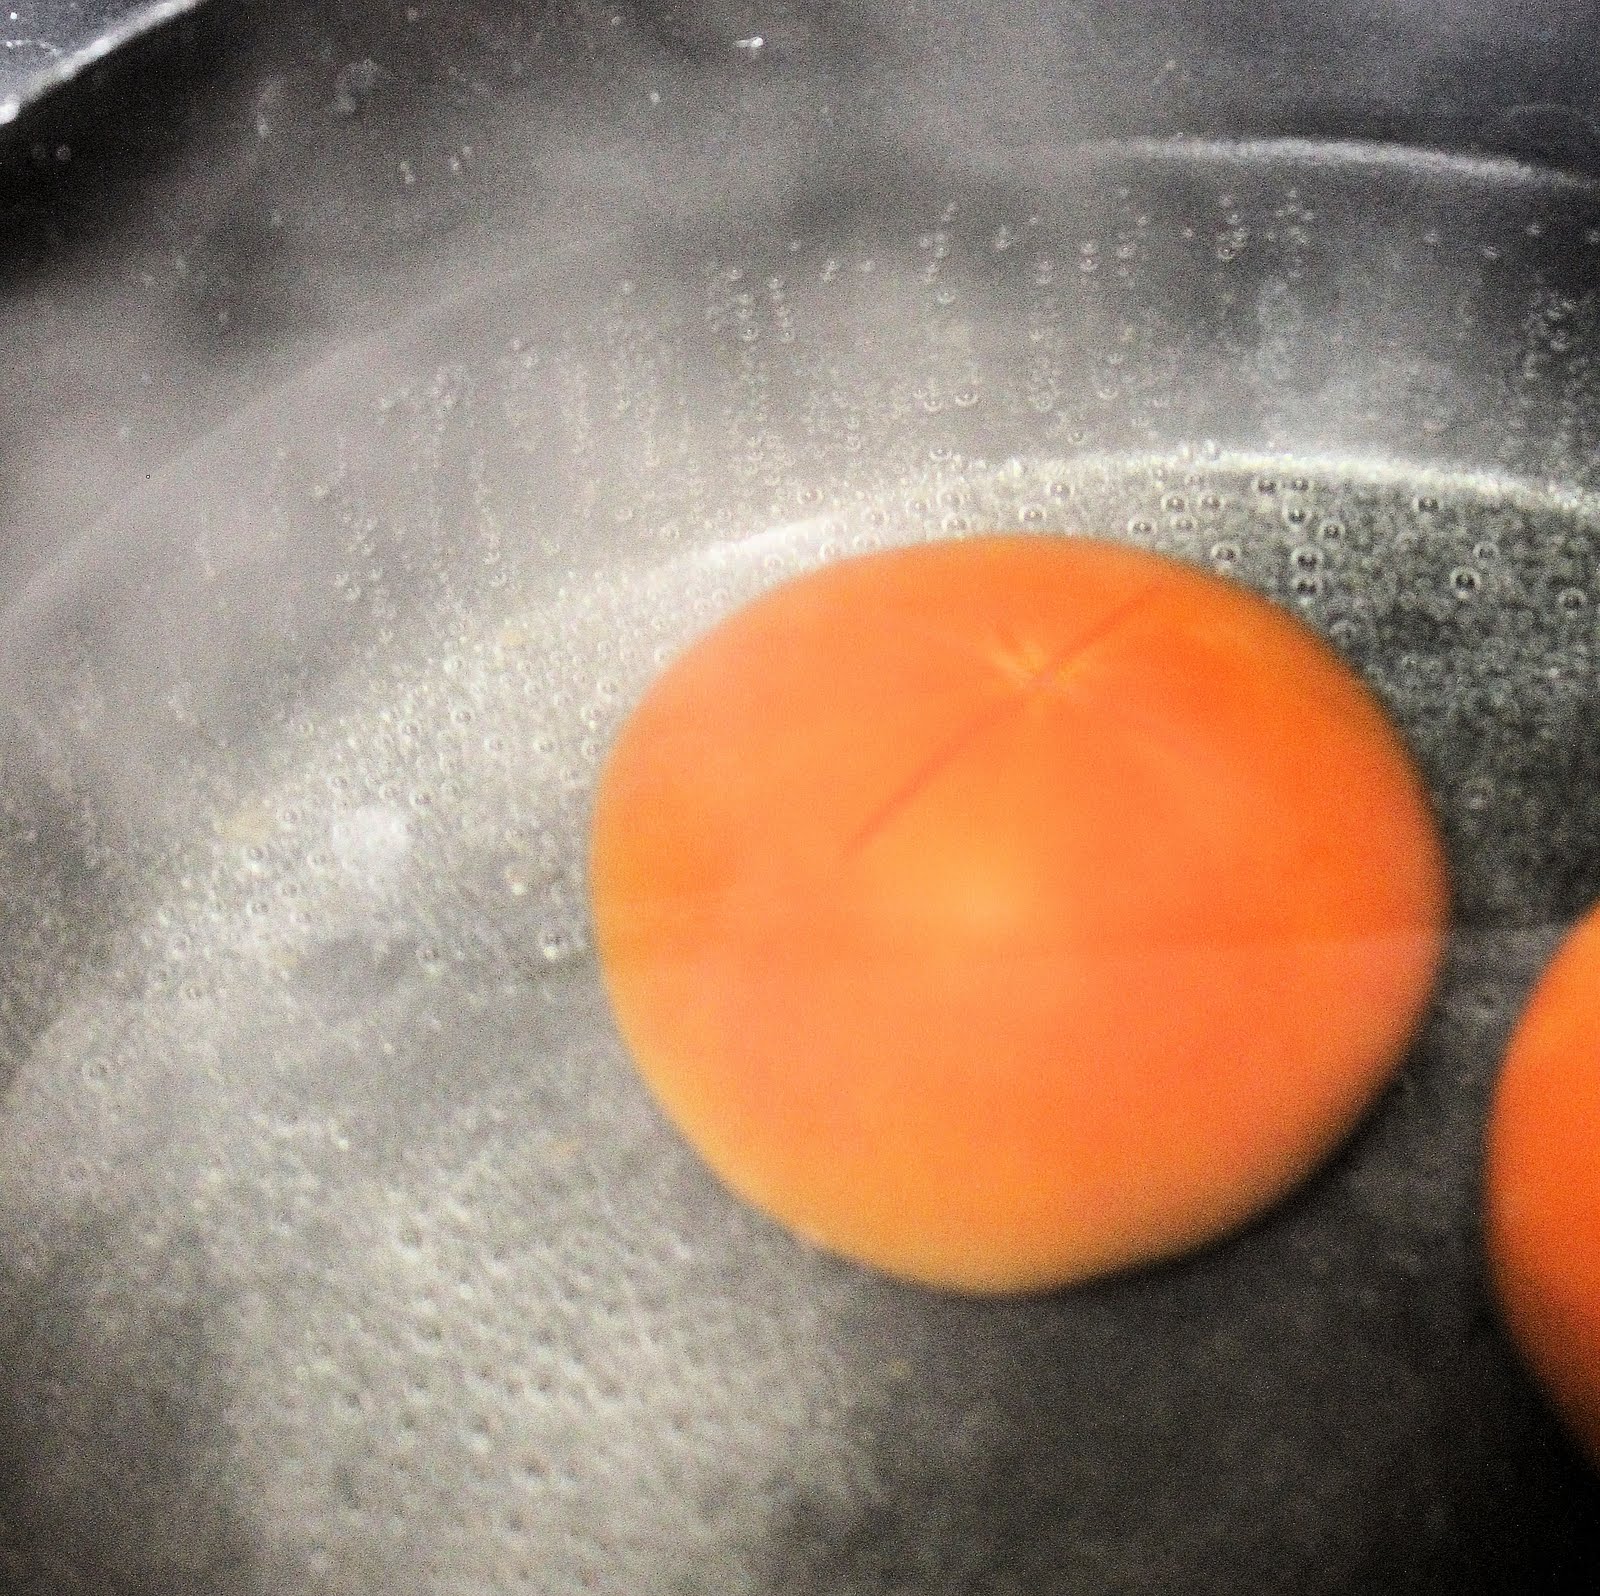
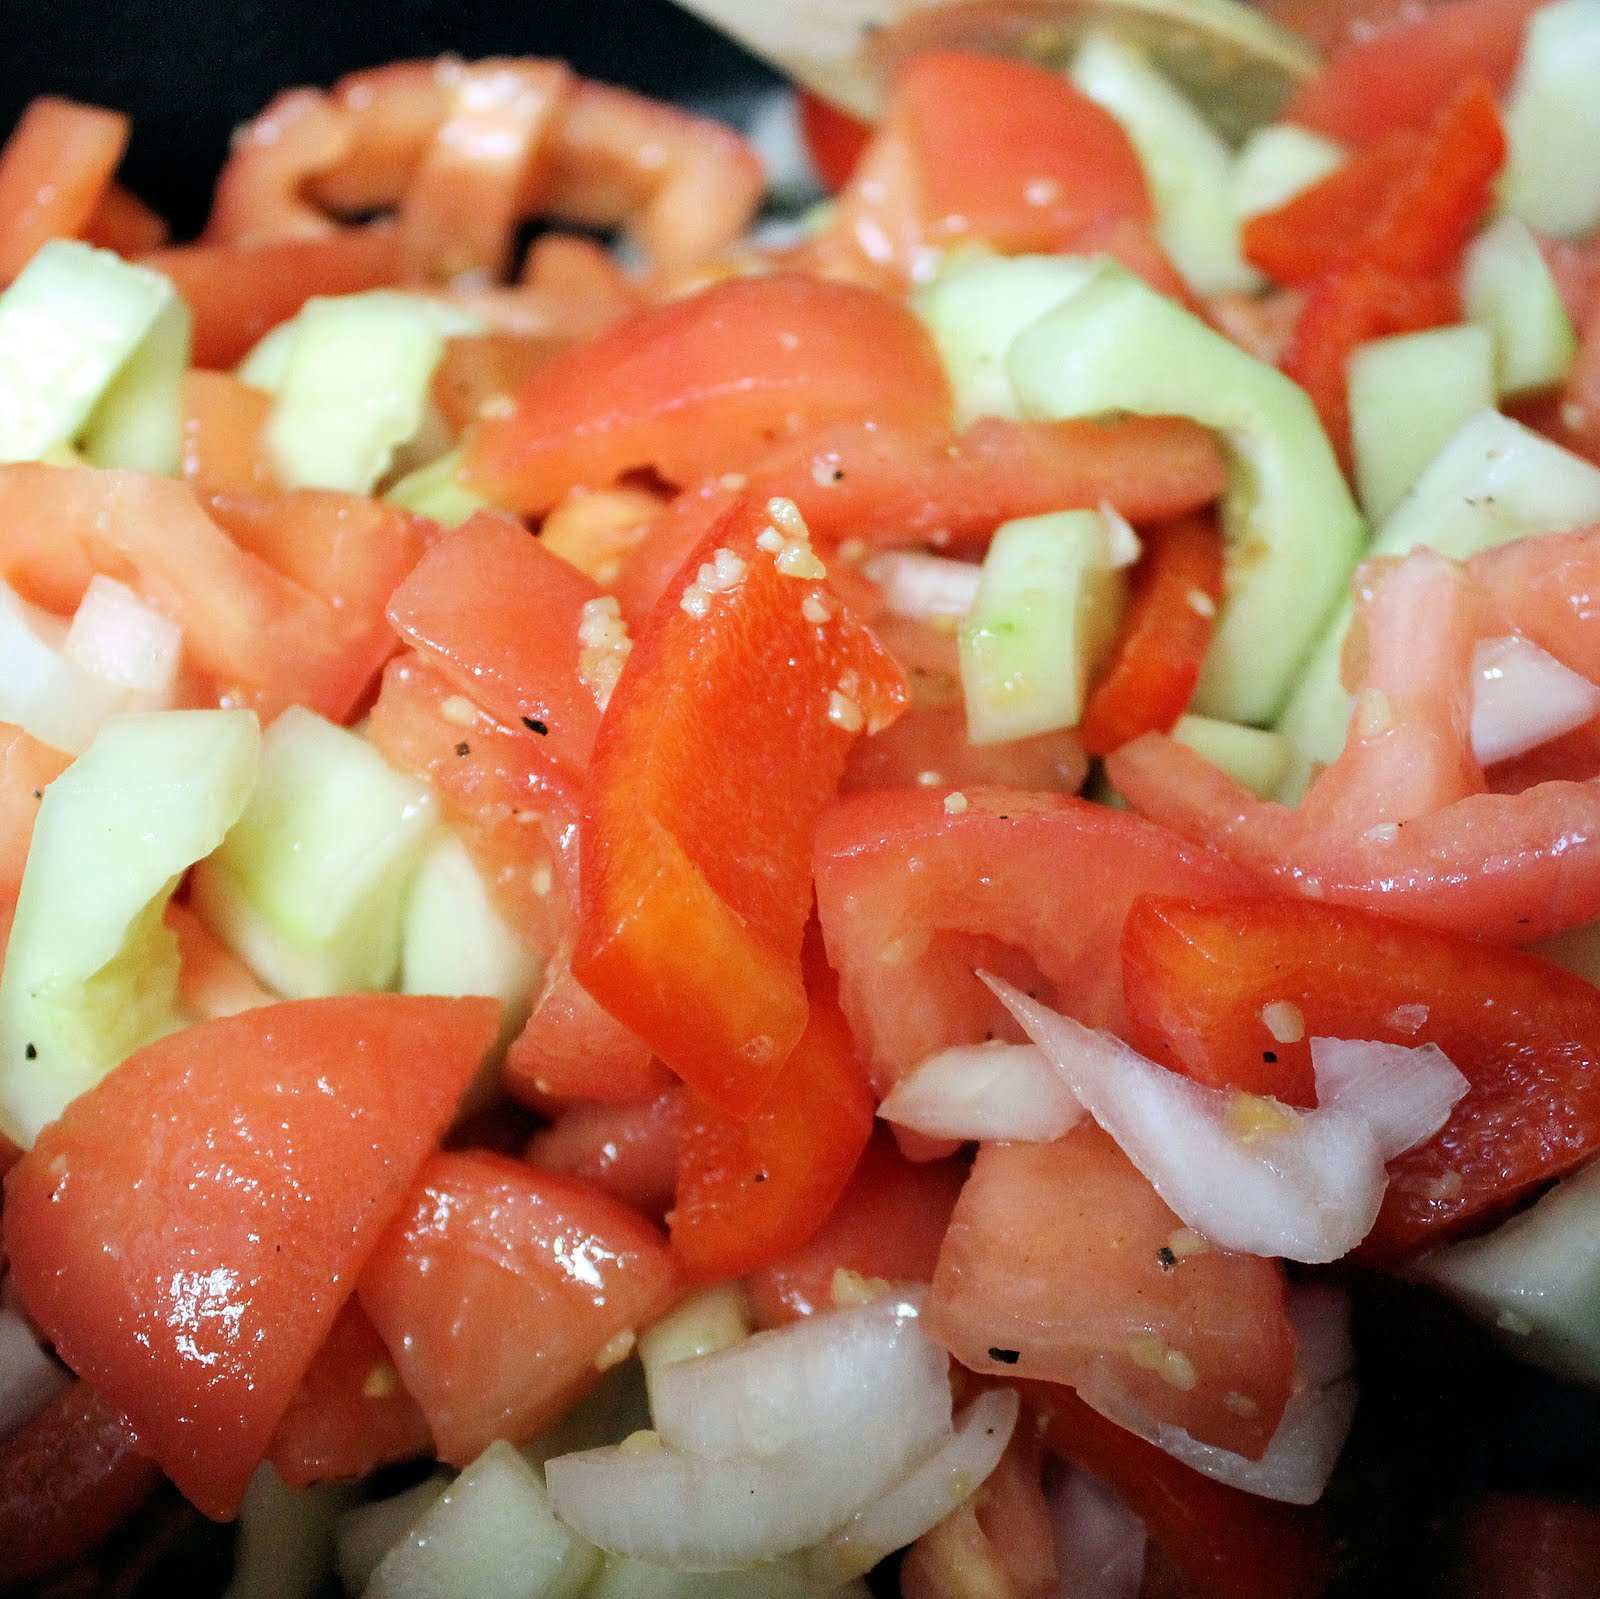
To begin, prepare all of your ingredients. Peel and seed 2 cucumbers. To learn how to seed a cucumber, check out my post here. Roughly chop the onion and red bell pepper. To peel a tomato, prepare a bowl with ice water and bring another pot of water to a boil.
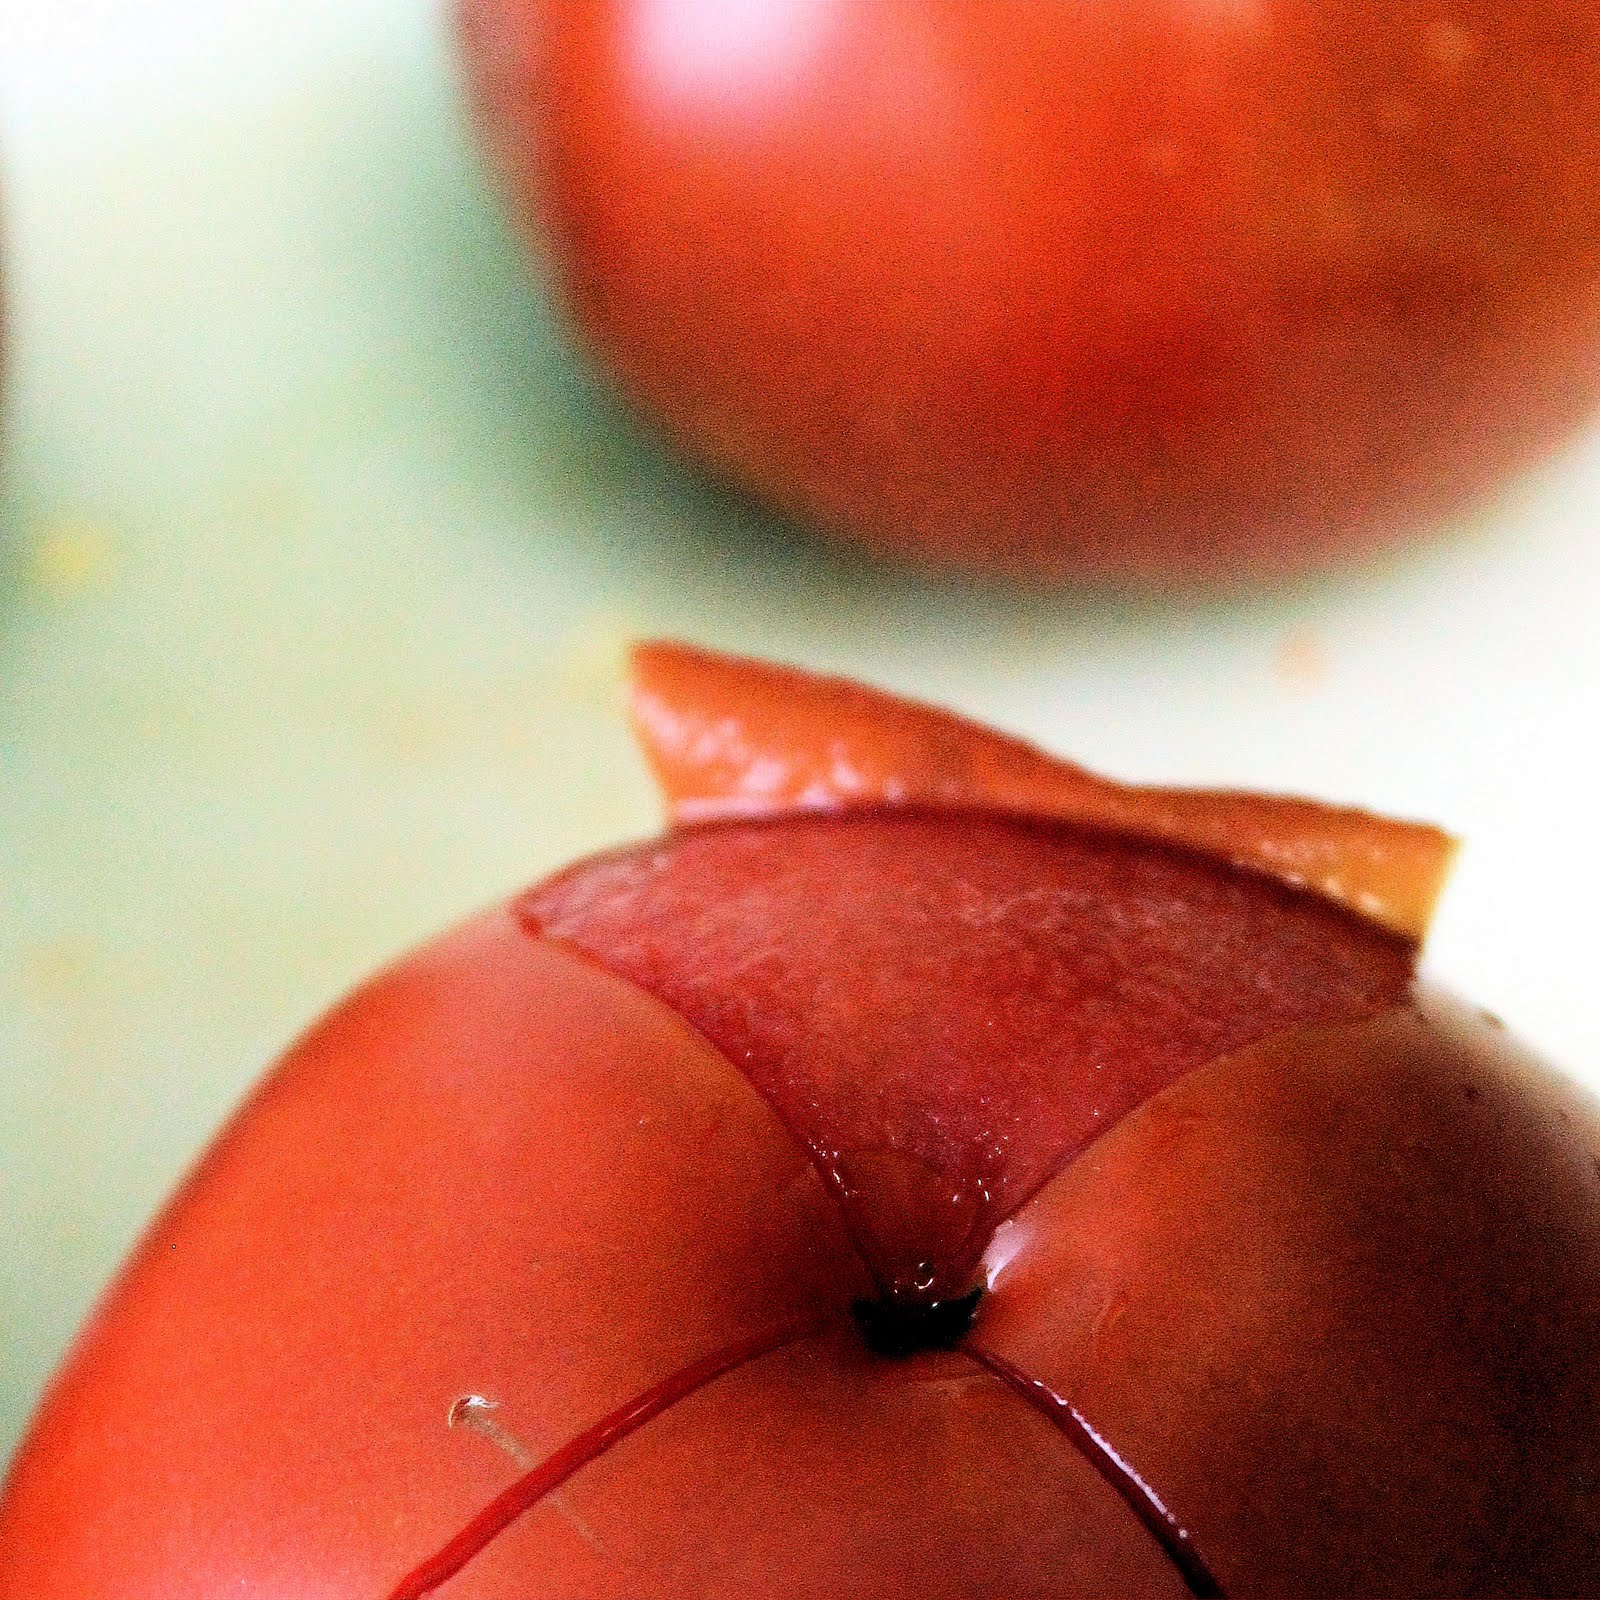
On the bottom side of the tomatoes, cut an X into the skin.
When the water is boiling, place 2 tomatoes at a time into the water.
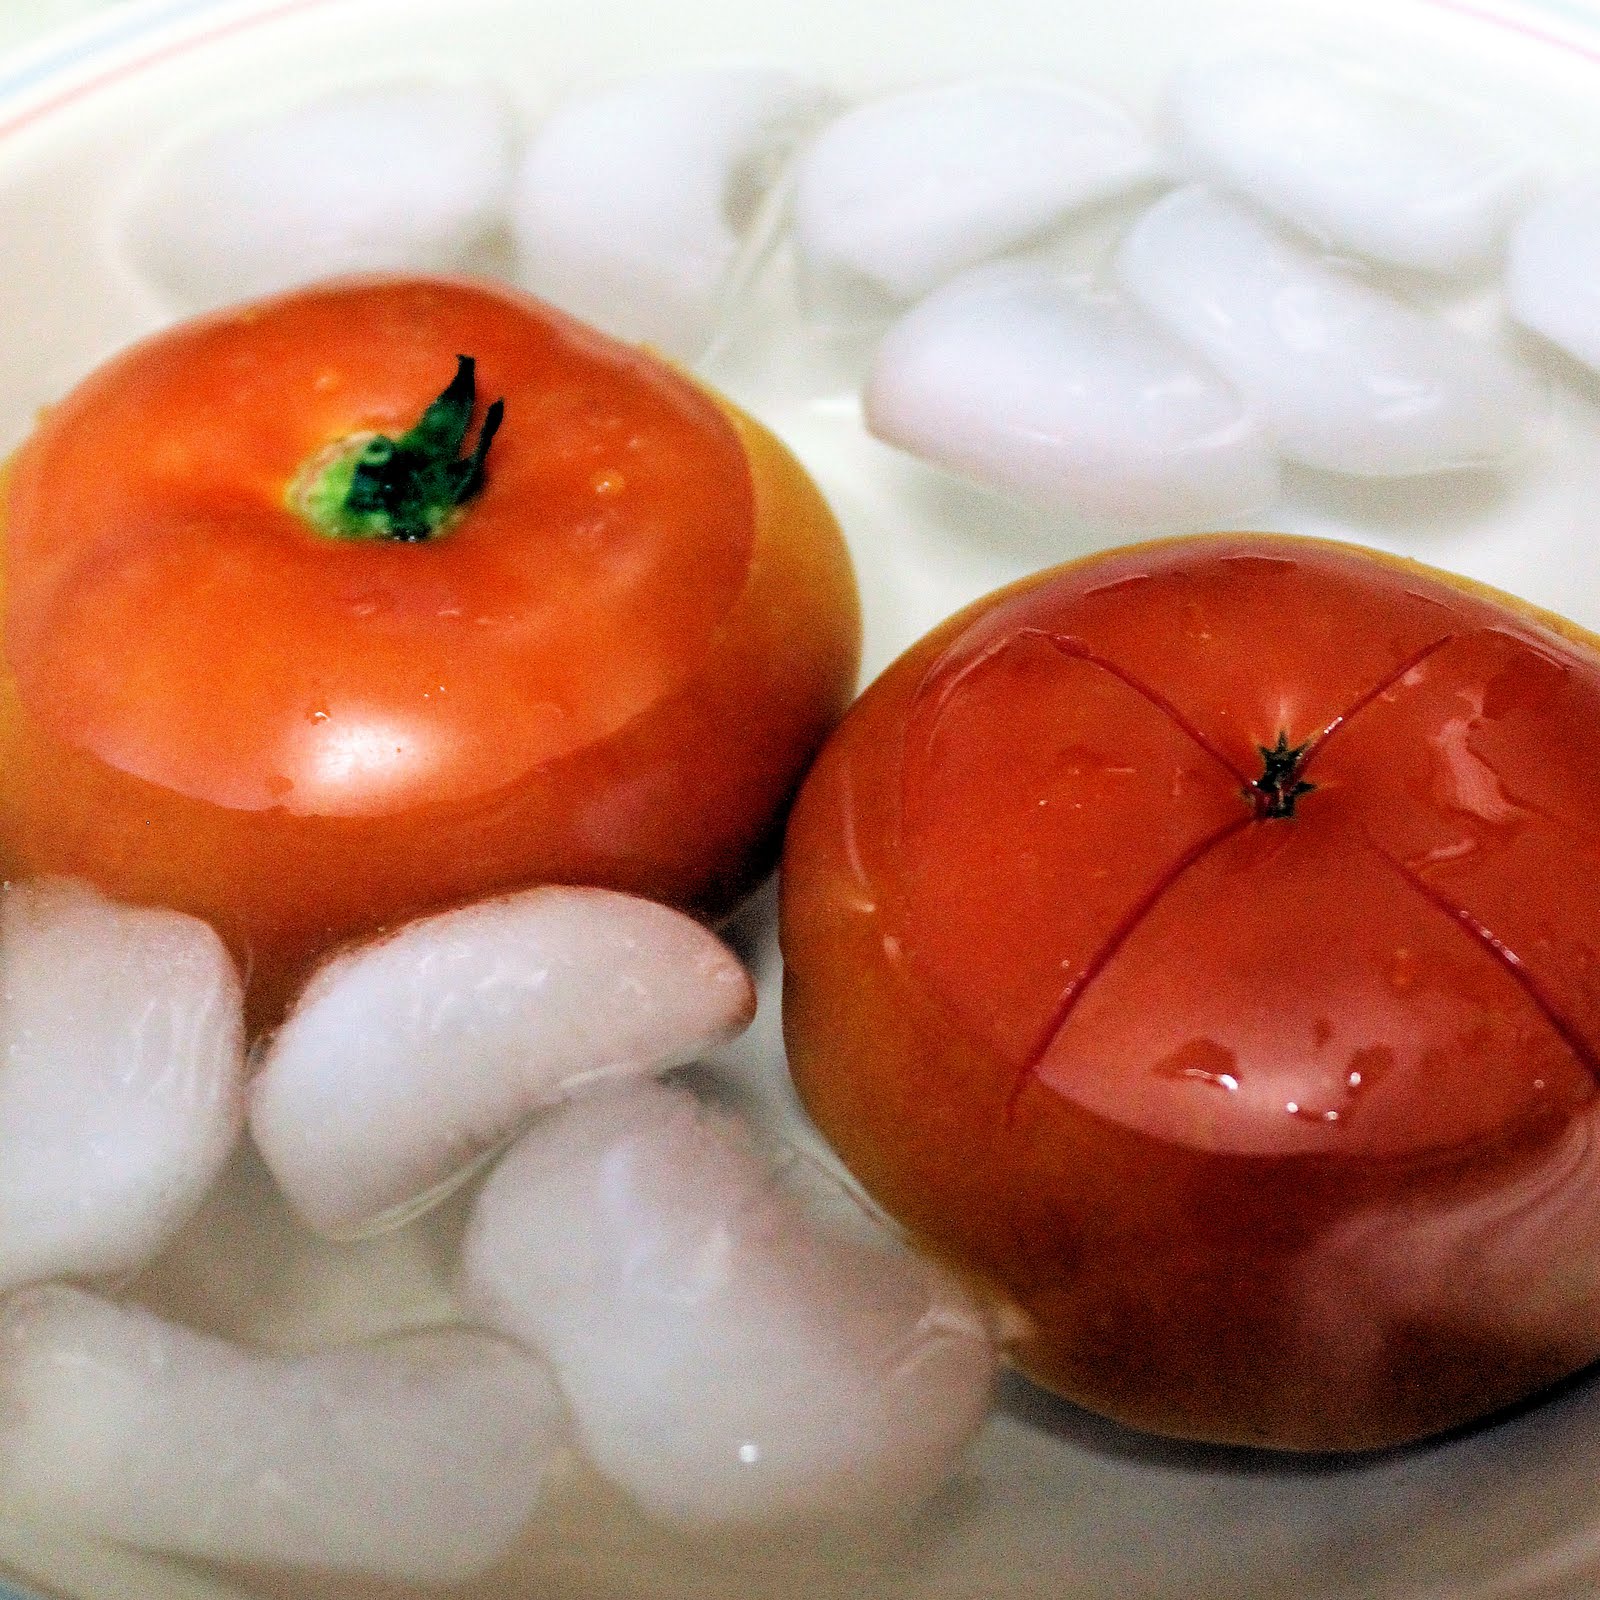
Keep in the water for 15 to 20 seconds, remove, and place in the ice water.
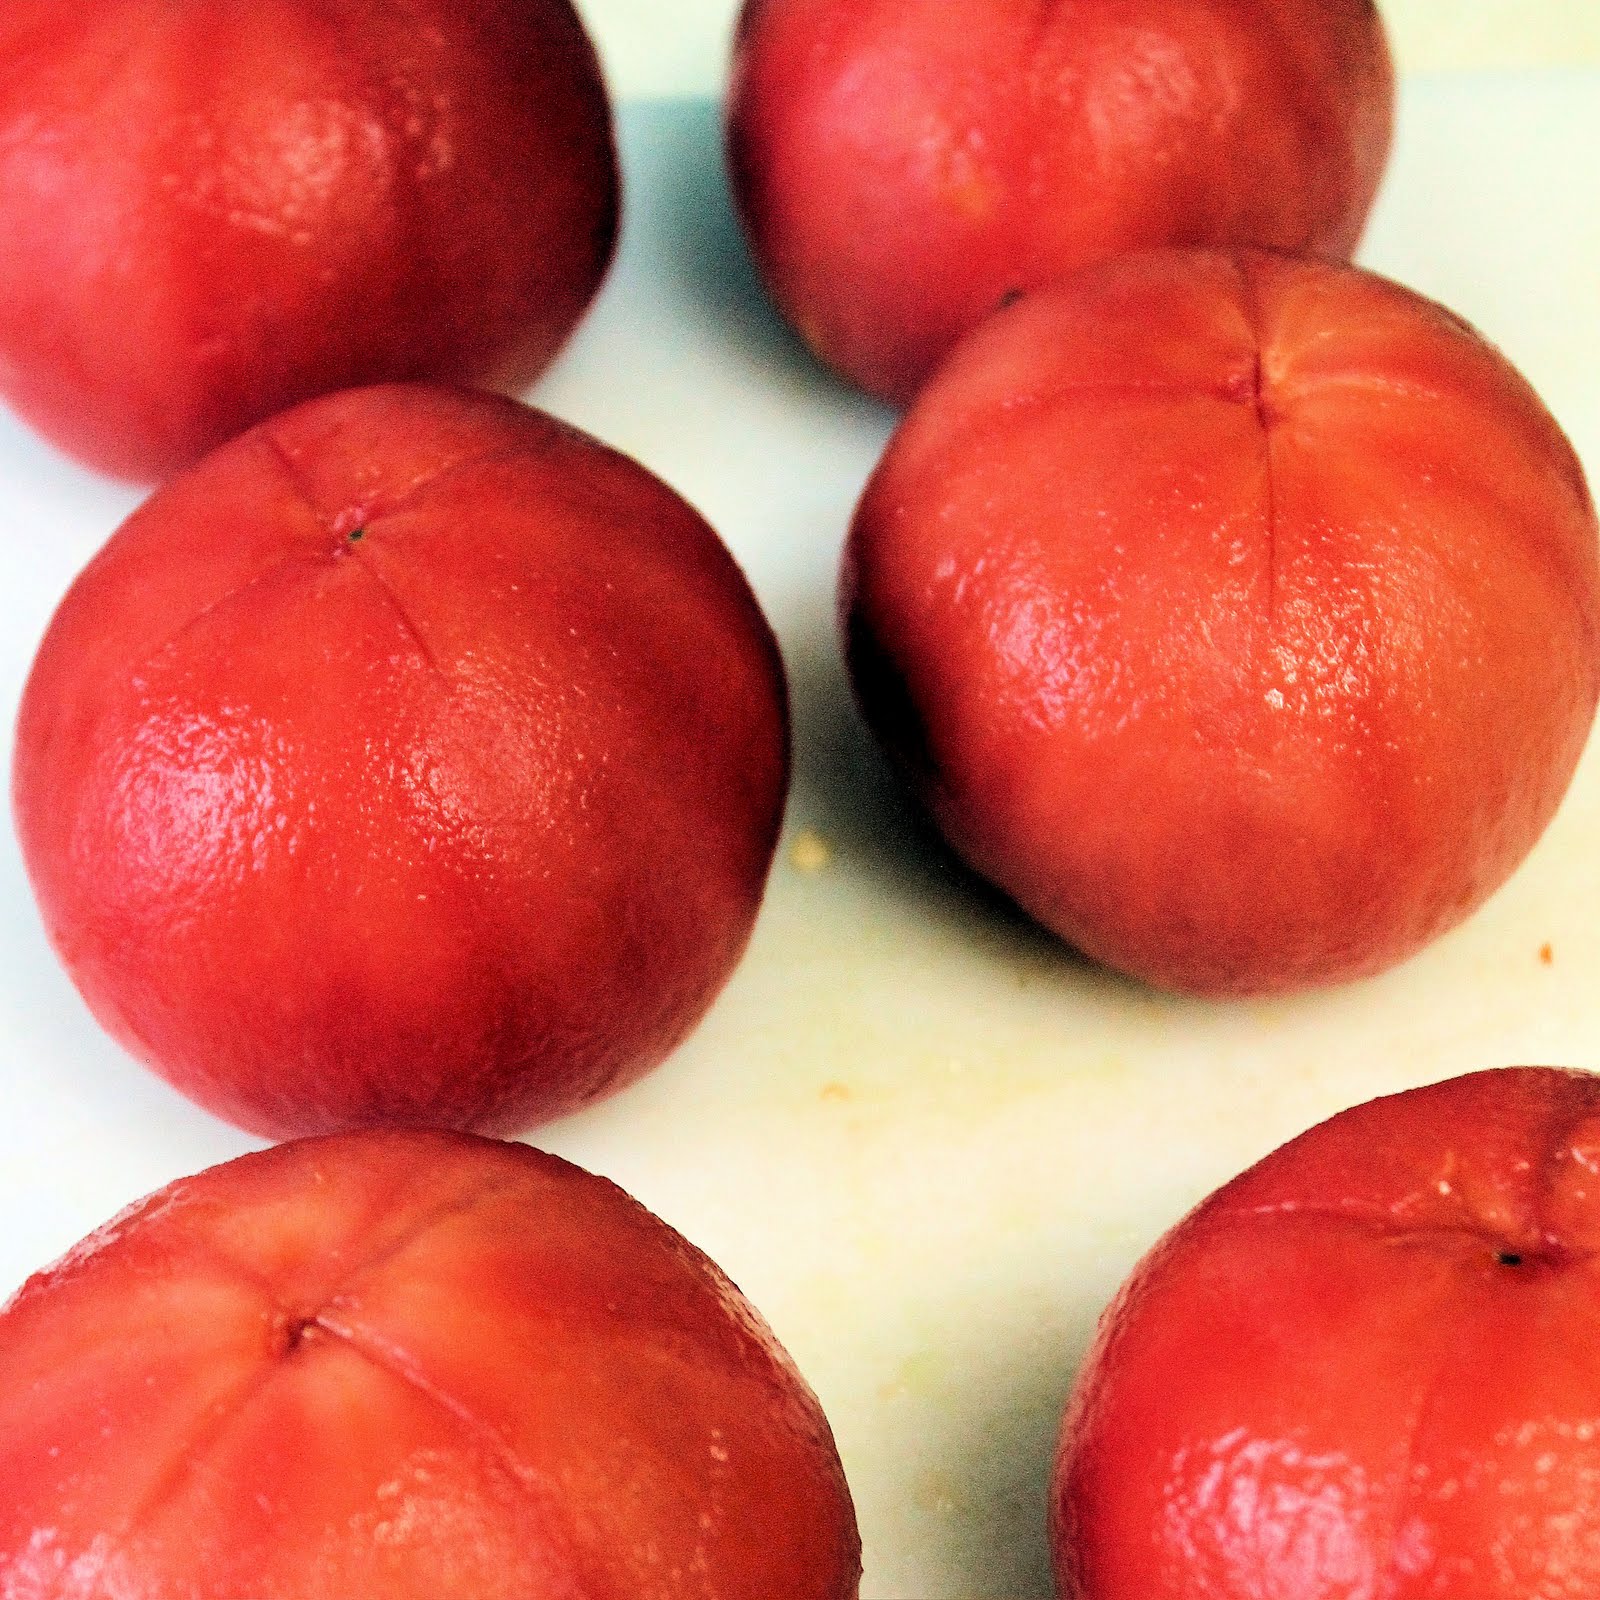
Once cooled, use a knife to peel away the skin from the X.
Repeat with remaining tomatoes.
To seed the tomato, cut the tomato in half and use a spoon to scoop out the seeds. Discard the seeds and roughly chop the tomatoes.
Prepped Veggies
To make the gazpacho, combine first 9 ingredients (up to the garlic).
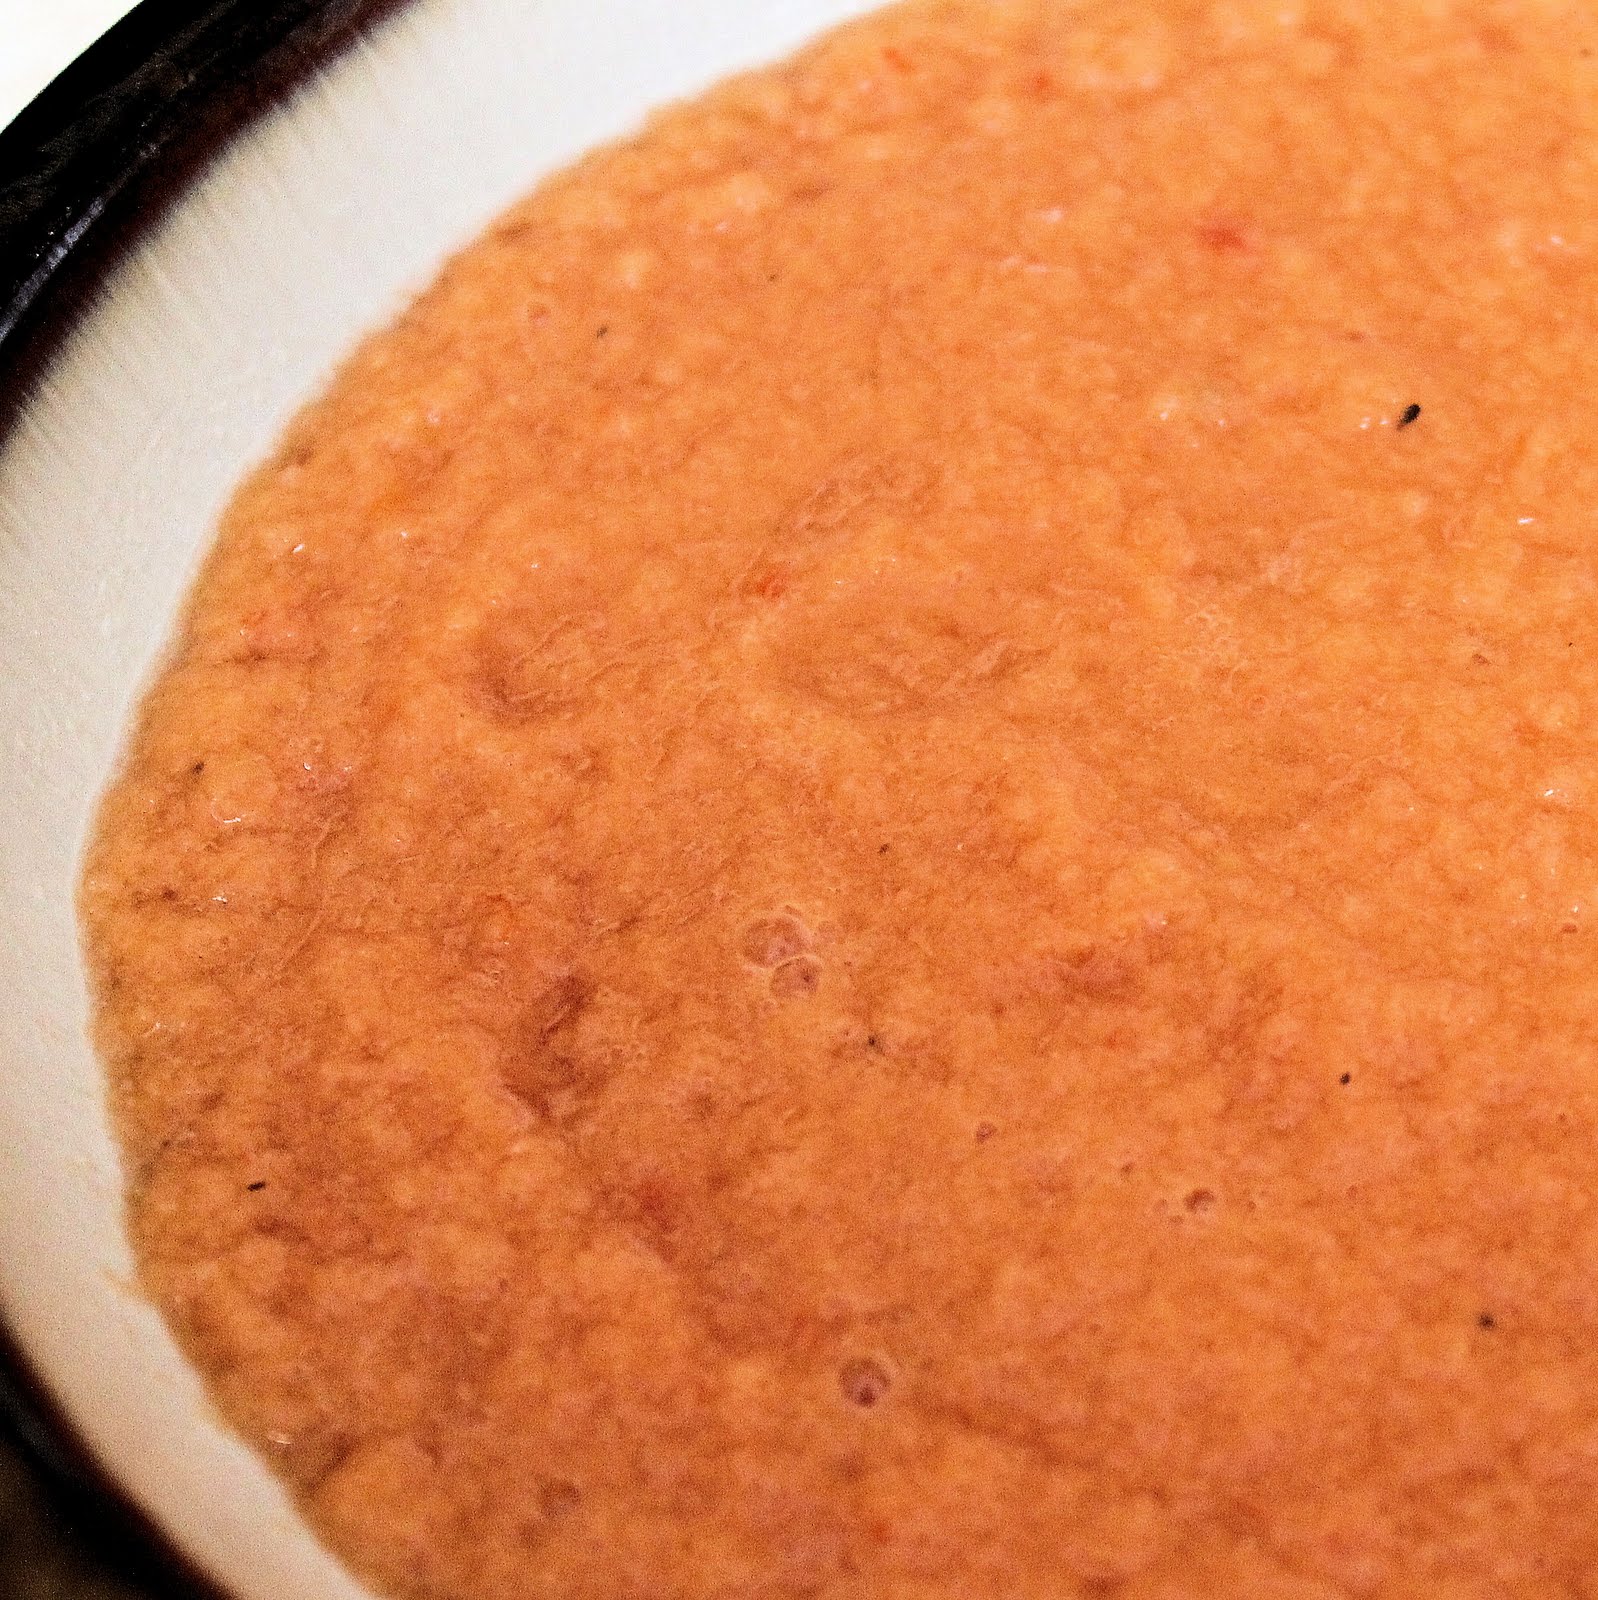
Add 1/3 of the mixture to a food processor and blend until smooth. Pour into a large bowl and repeat with the remaining 2/3 vegetable mixture. Cover and chill.
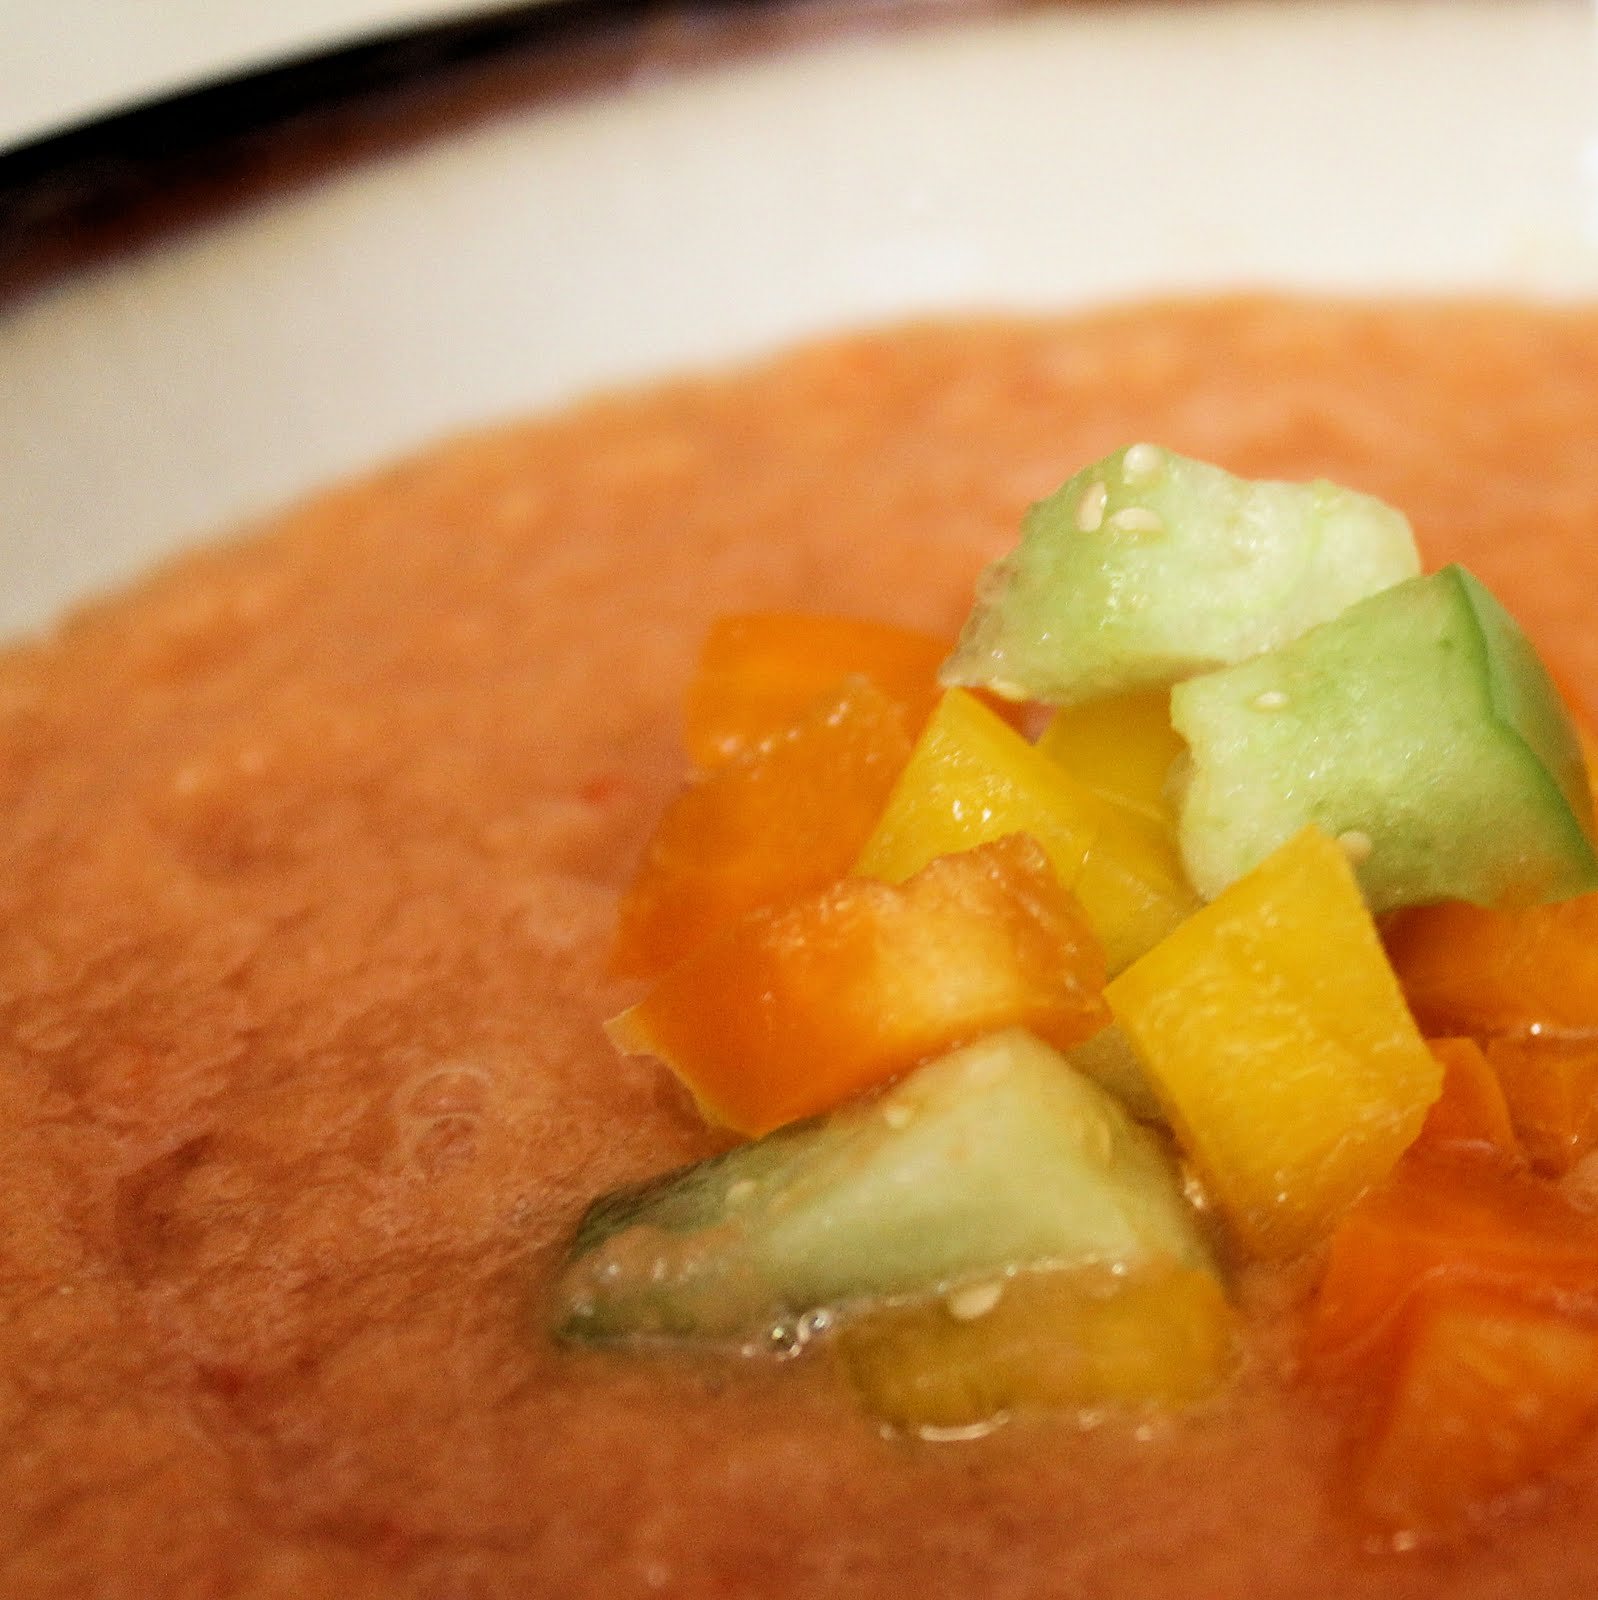
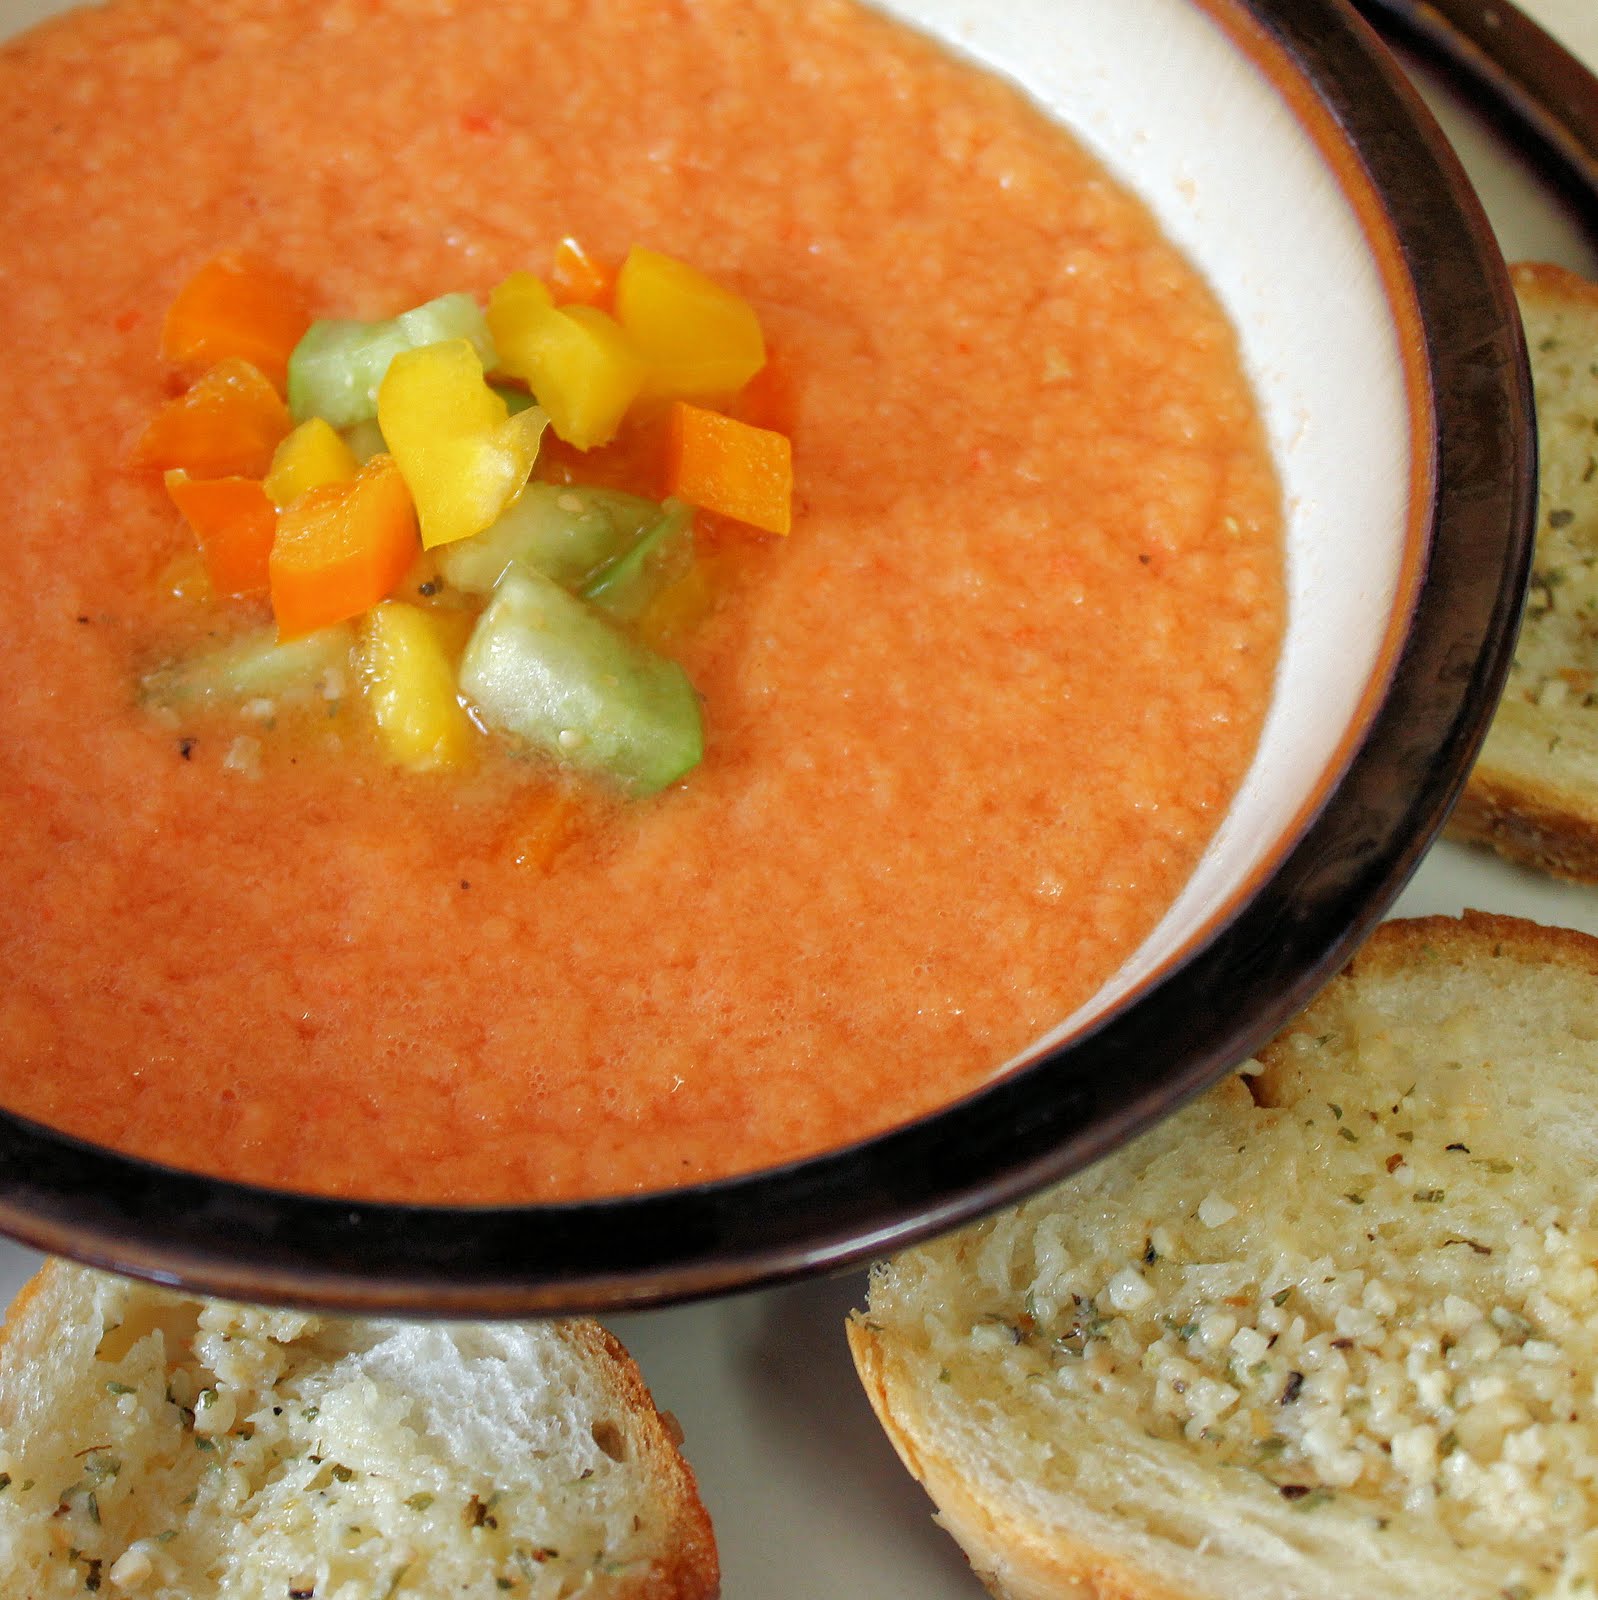
When ready to serve, spoon gazpacho into bowls. Finely chop your yellow and orange peppers and tomatillo. Combine the peppers and tomatillo.
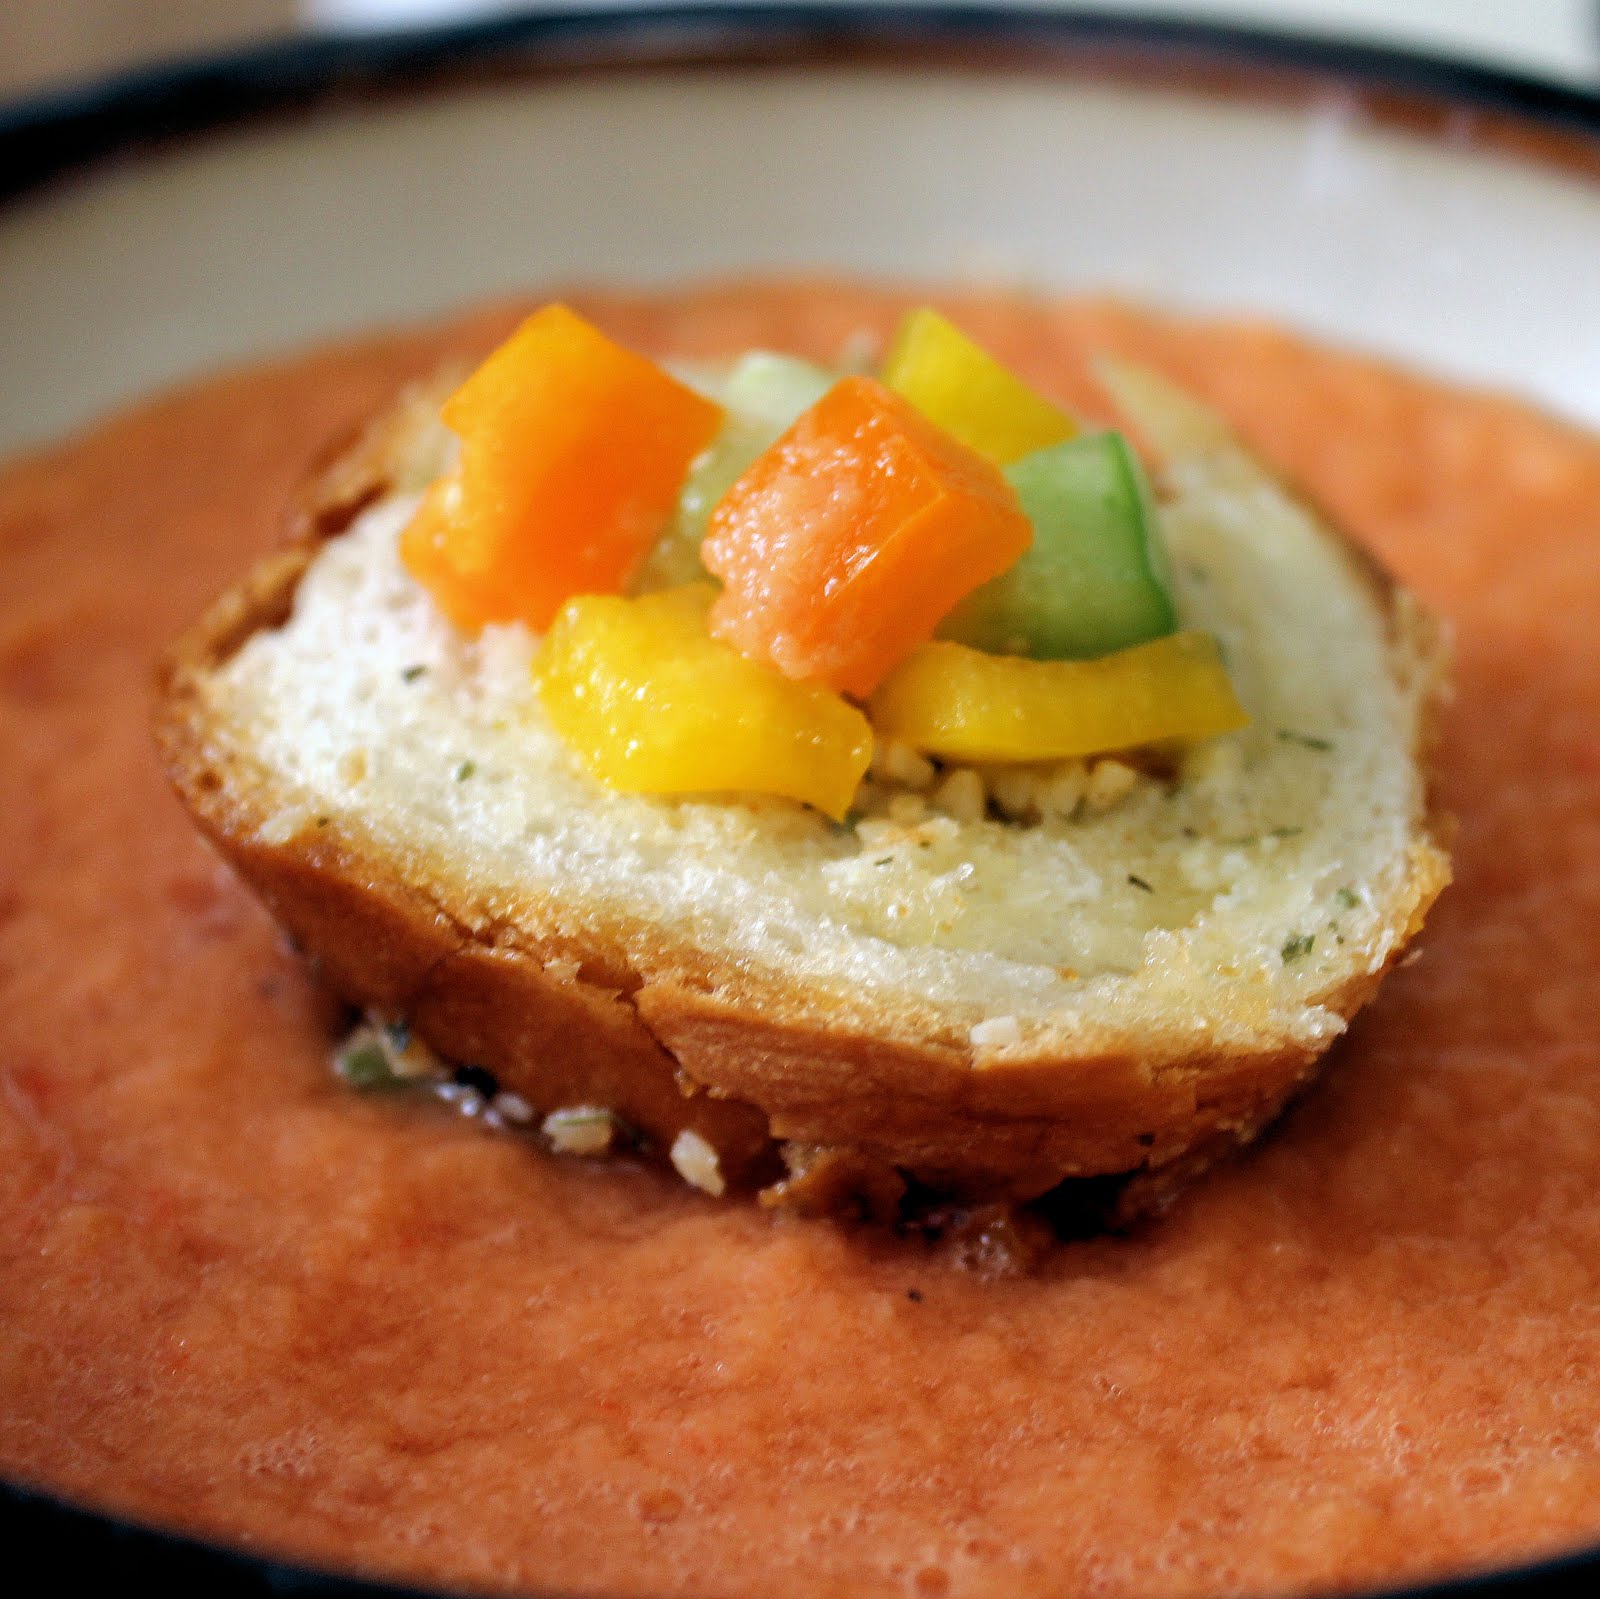
Add 2 tablespoons of the mixture to each bowl. If you’d like, you can also add a piece of garlic bread (or just a crusty piece of day old bread), 1 tablespoon goat cheese, or a teaspoon of sour cream.
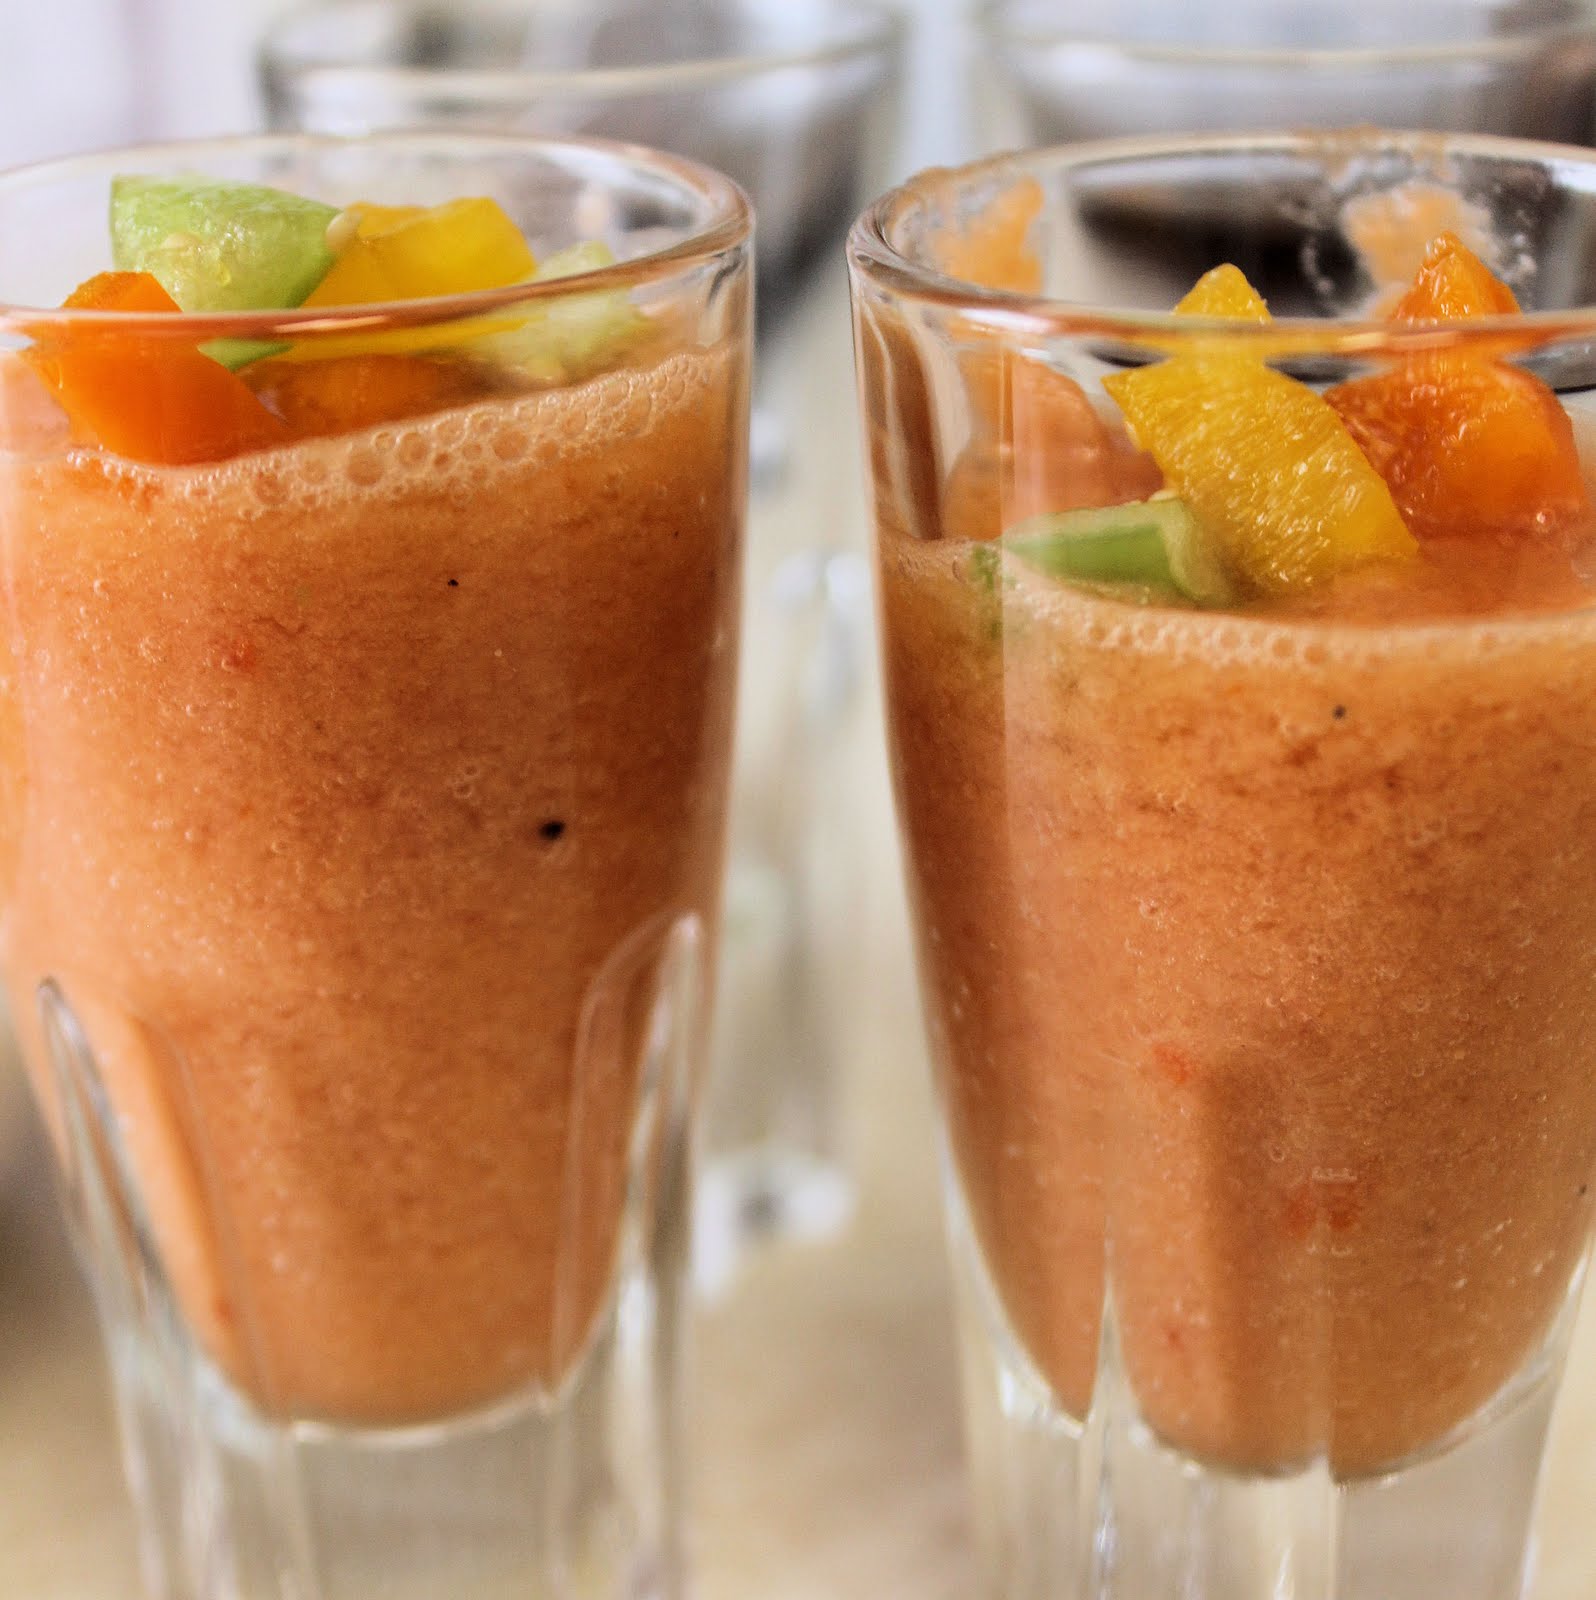
This would also be a nice appetizer. Pour the gazpacho into shooter glasses and top with a teaspoon of the pepper tomatillo mixture.
You can also use the gazpacho as a pureed salsa. Prepare garlic bread. Put on a plate with a bowl of gazpacho in the center with a spoon. Guests can spoon gazpacho on top of the bread, or use the bread to dip into the gazpacho.
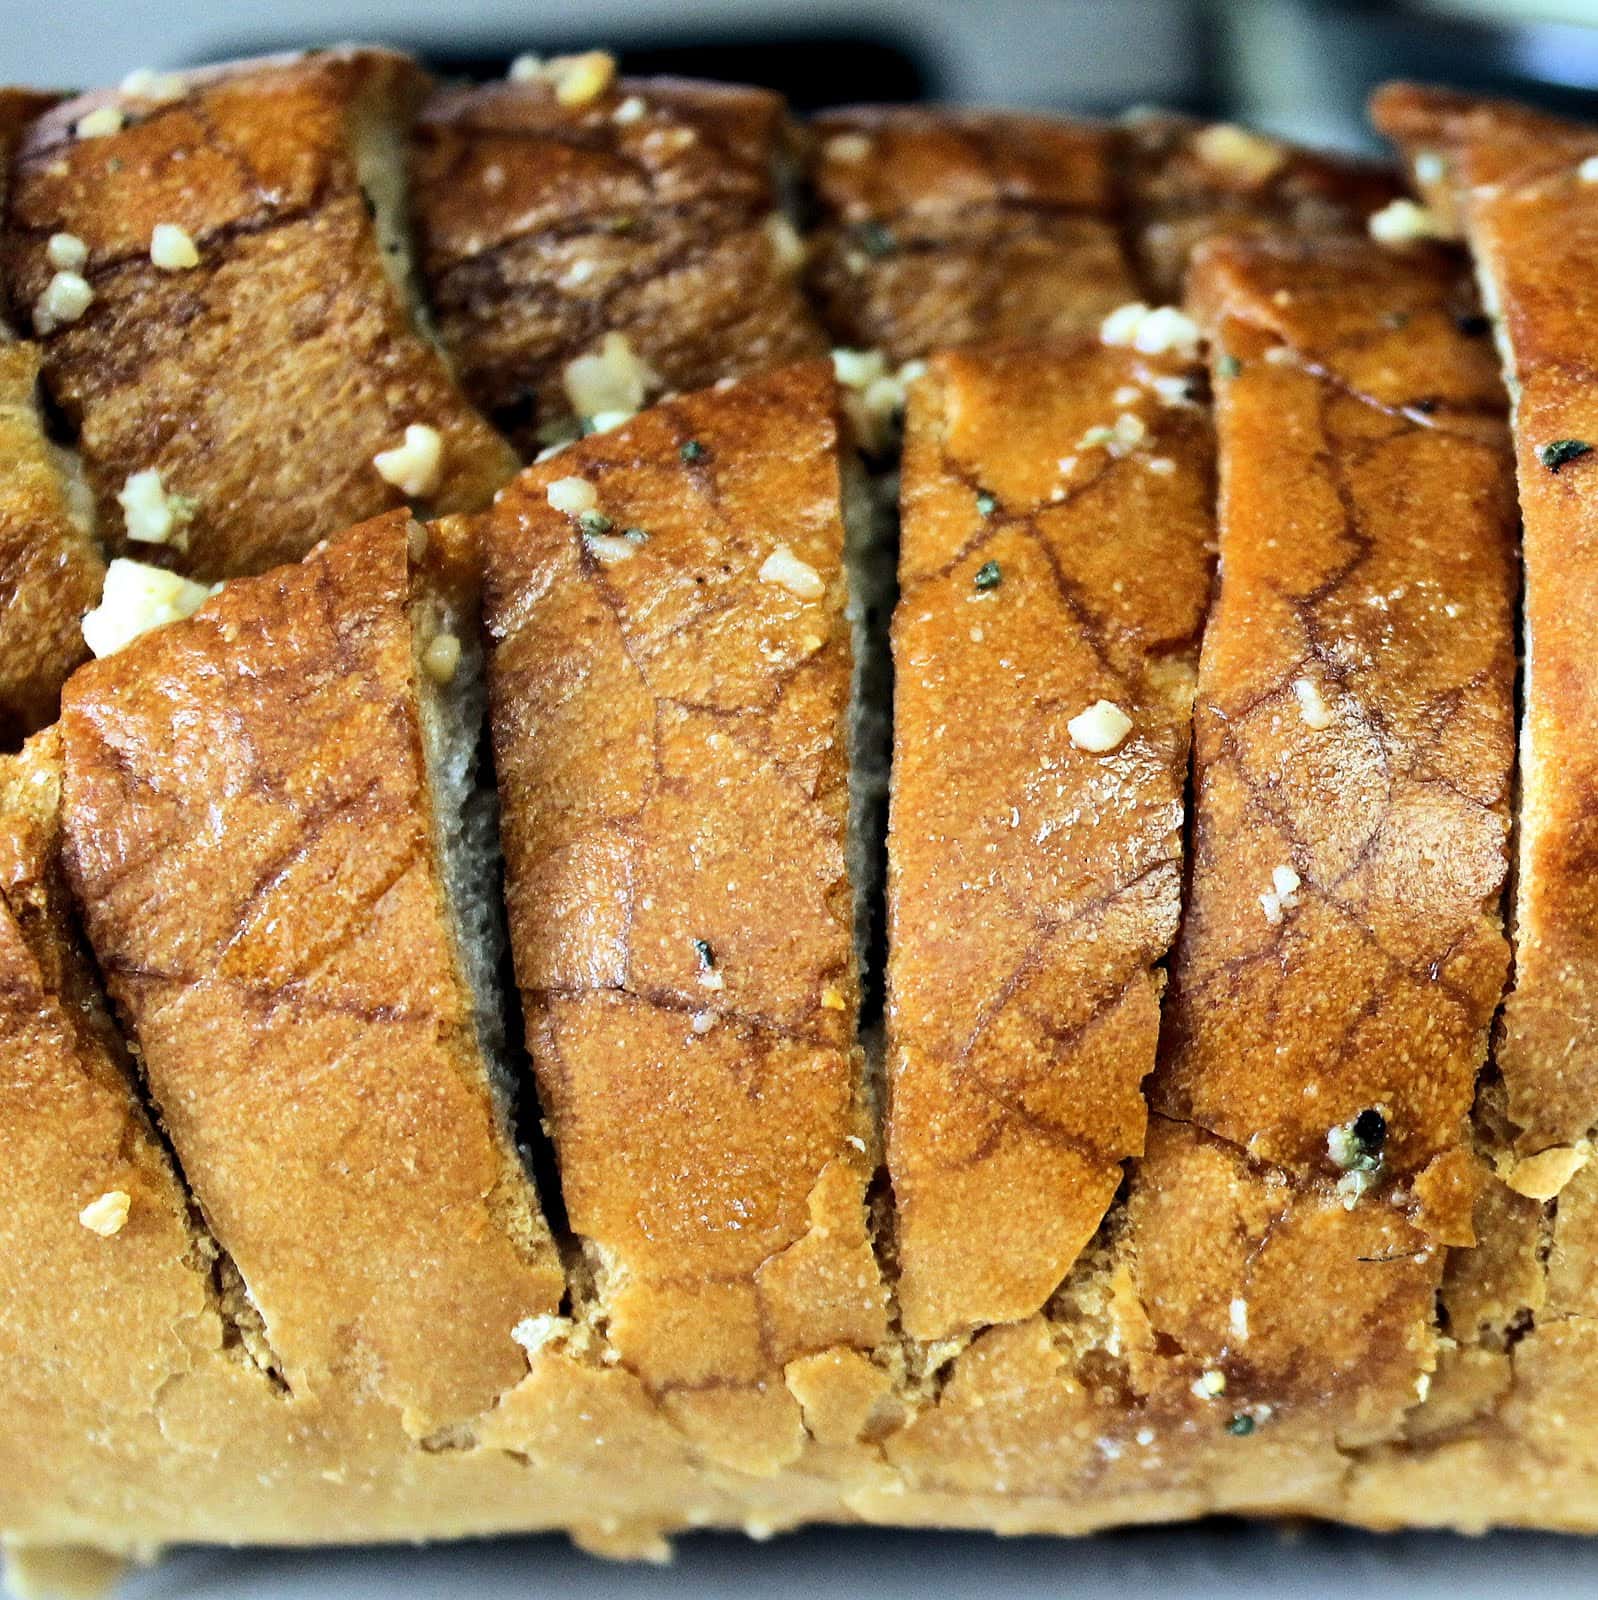
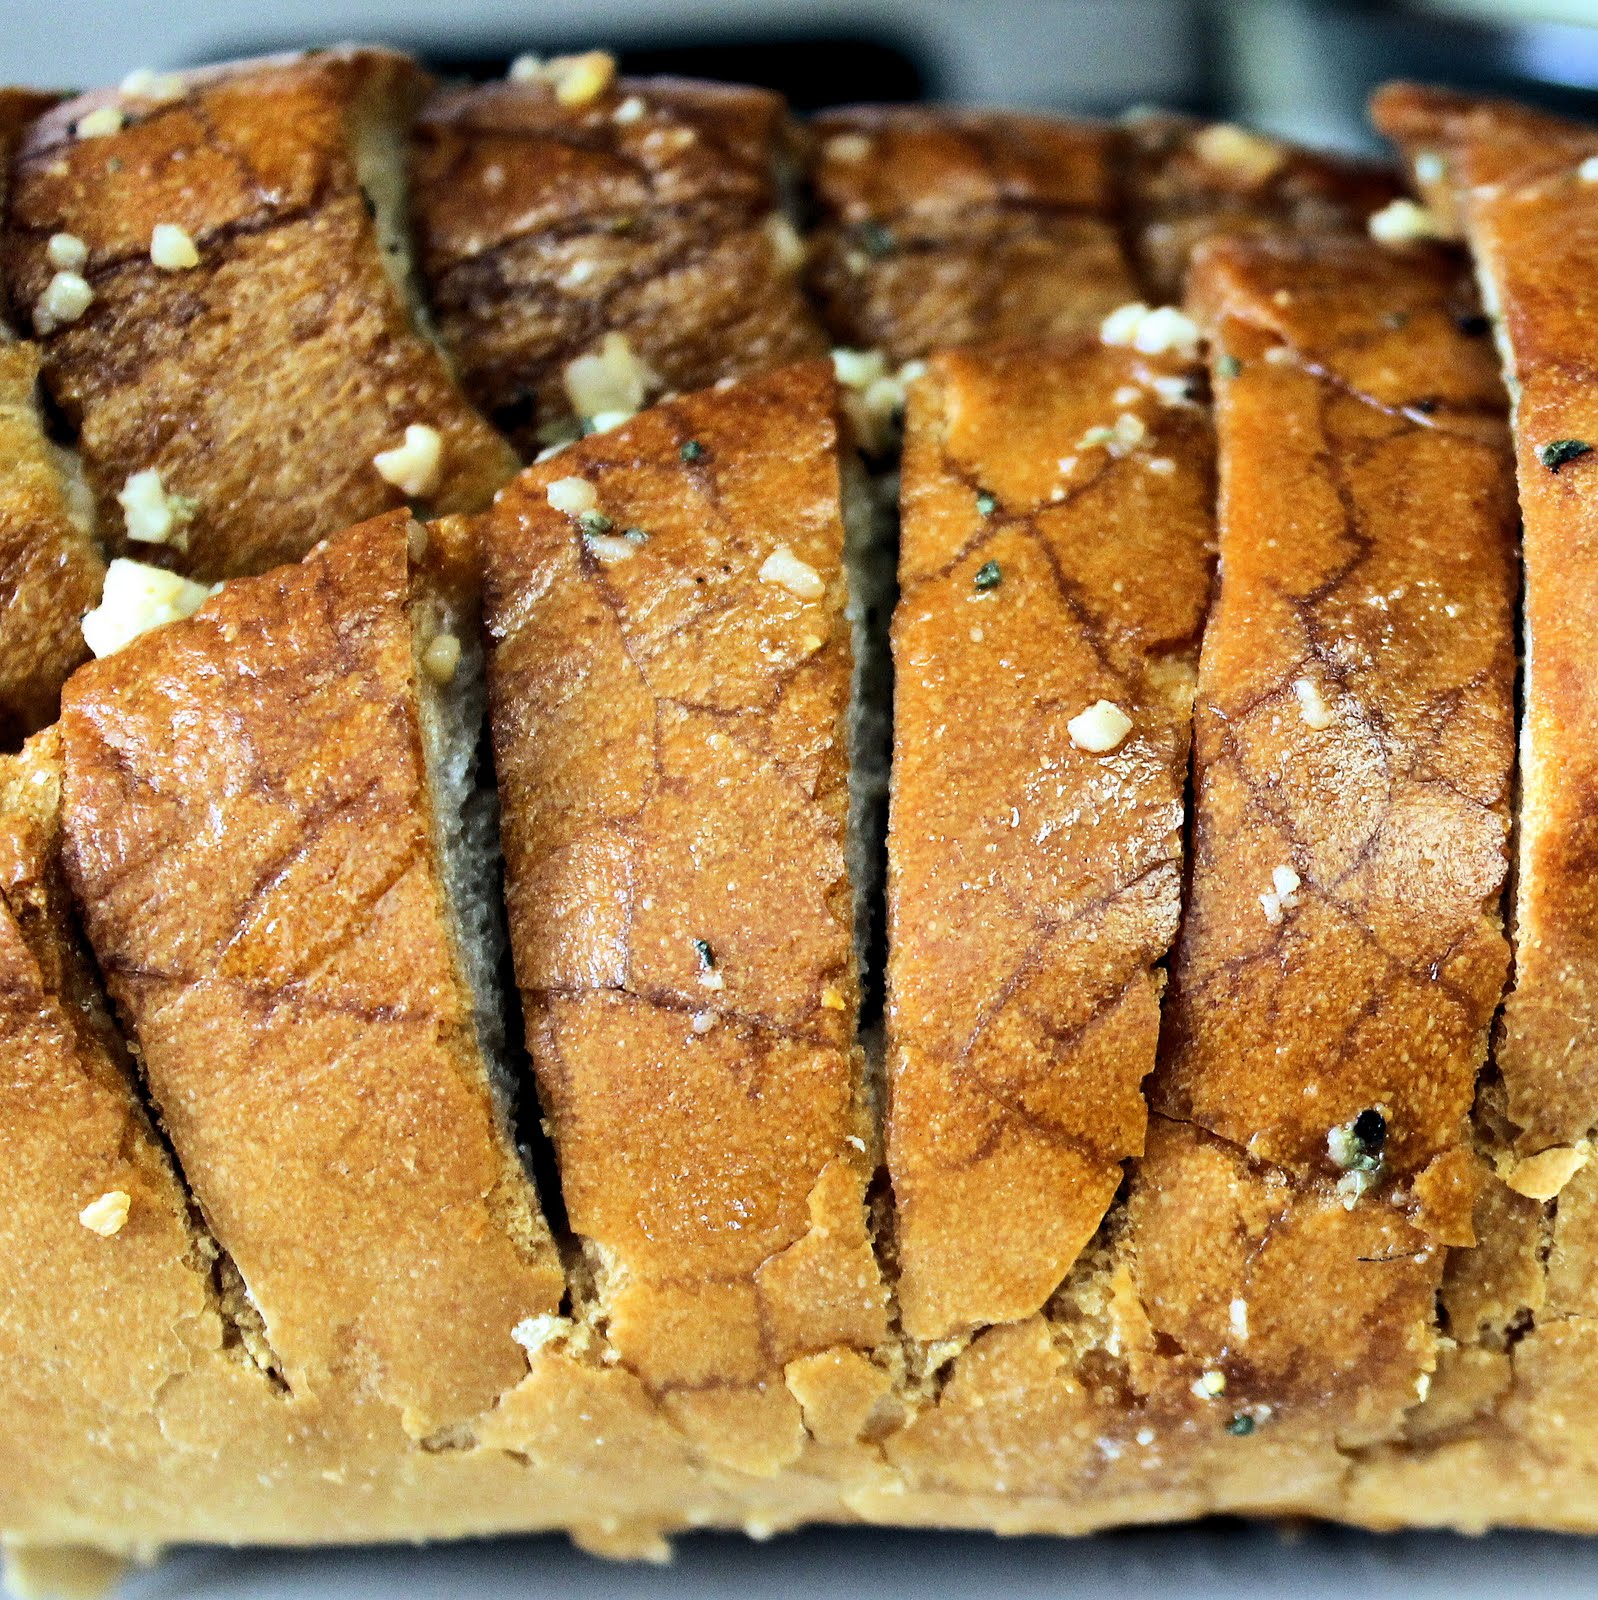
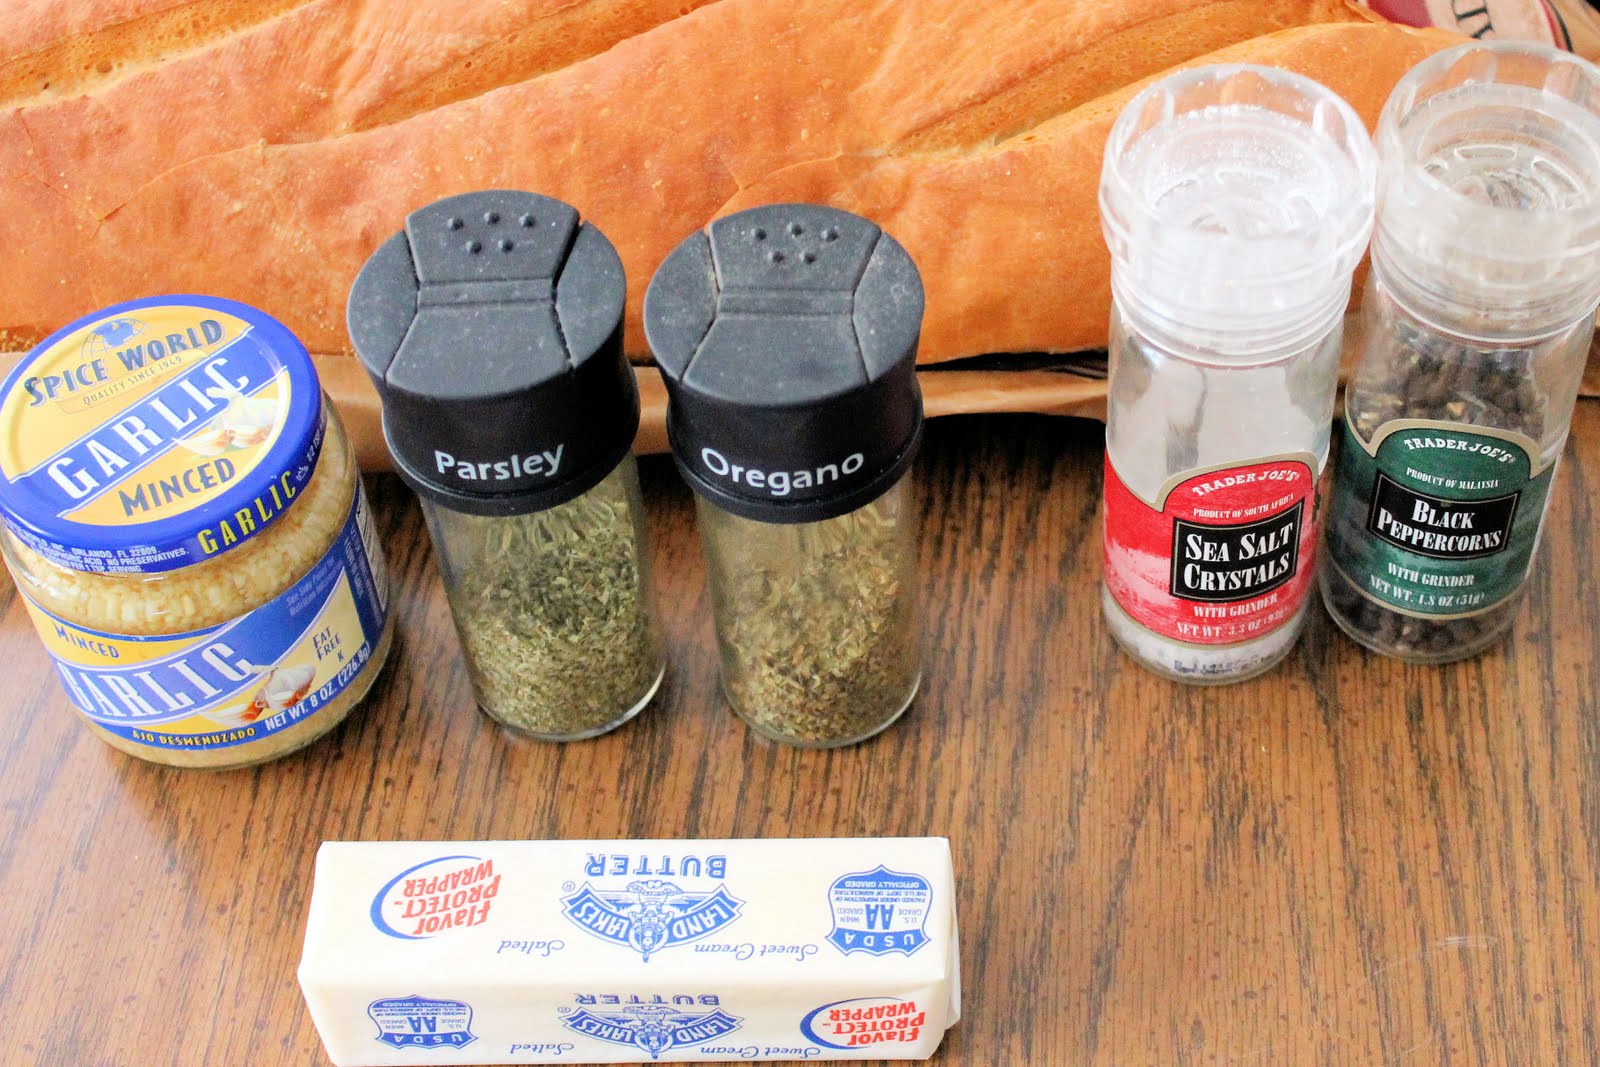
I love garlic bread. It’s really easy to make and is the perfect accompaniment to spaghetti or soup. Here is a quick recipe to make garlic bread.
Ingredients:
1 loaf of French Bread
2 sticks unsalted butter, softened
5 cloves of garlic, minced
1 tablespoon parsley
1 tablespoon oregano
1 tablespoon grated Parmesan cheese
Preheat the oven to 350 degrees. Mix the butter, garlic, parsley, oregano, and Parmesan cheese. Slice the bread, but not all the way through.
Divide the butter mixture evenly between each piece.
Wrap the bread in aluminum foil and cook for 15 minutes.
Serve right out of the oven. You can either slice the bread all the way through, or just serve it as is and tear off a piece as needed. This recipe makes a softer garlic bread. If you prefer a toasty garlic bread, broil the bread for 2 to 3 minutes instead.
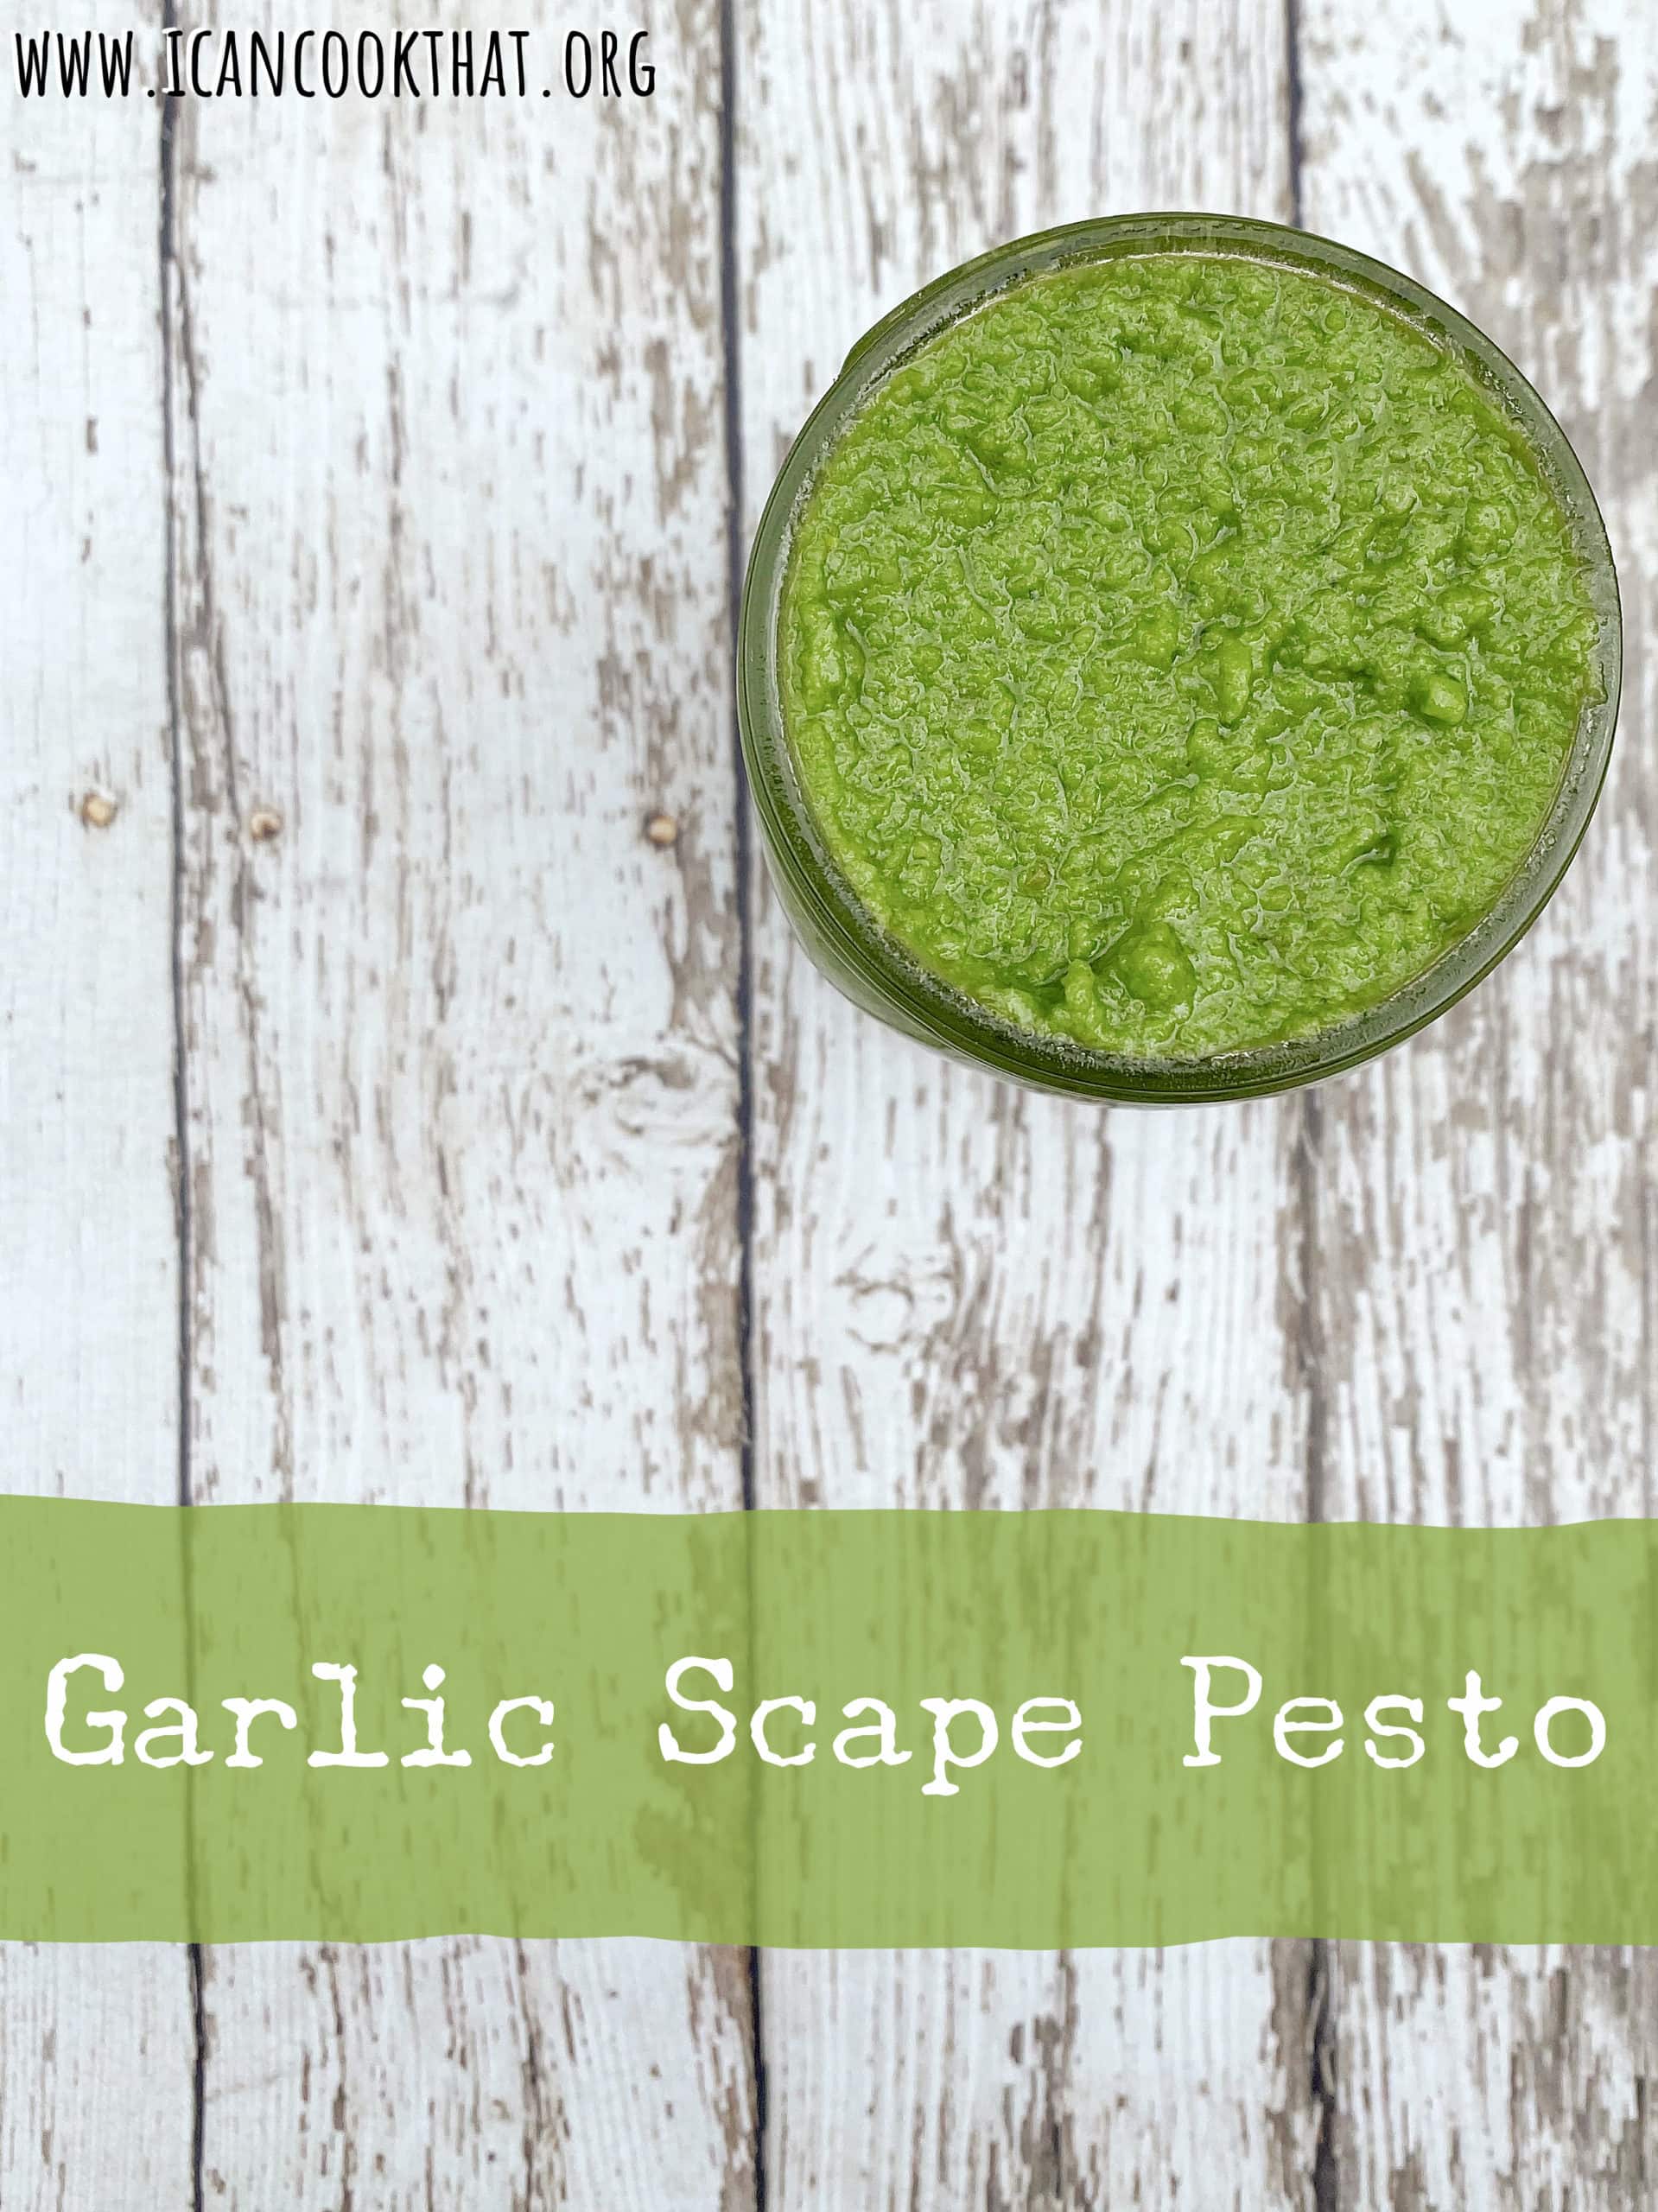
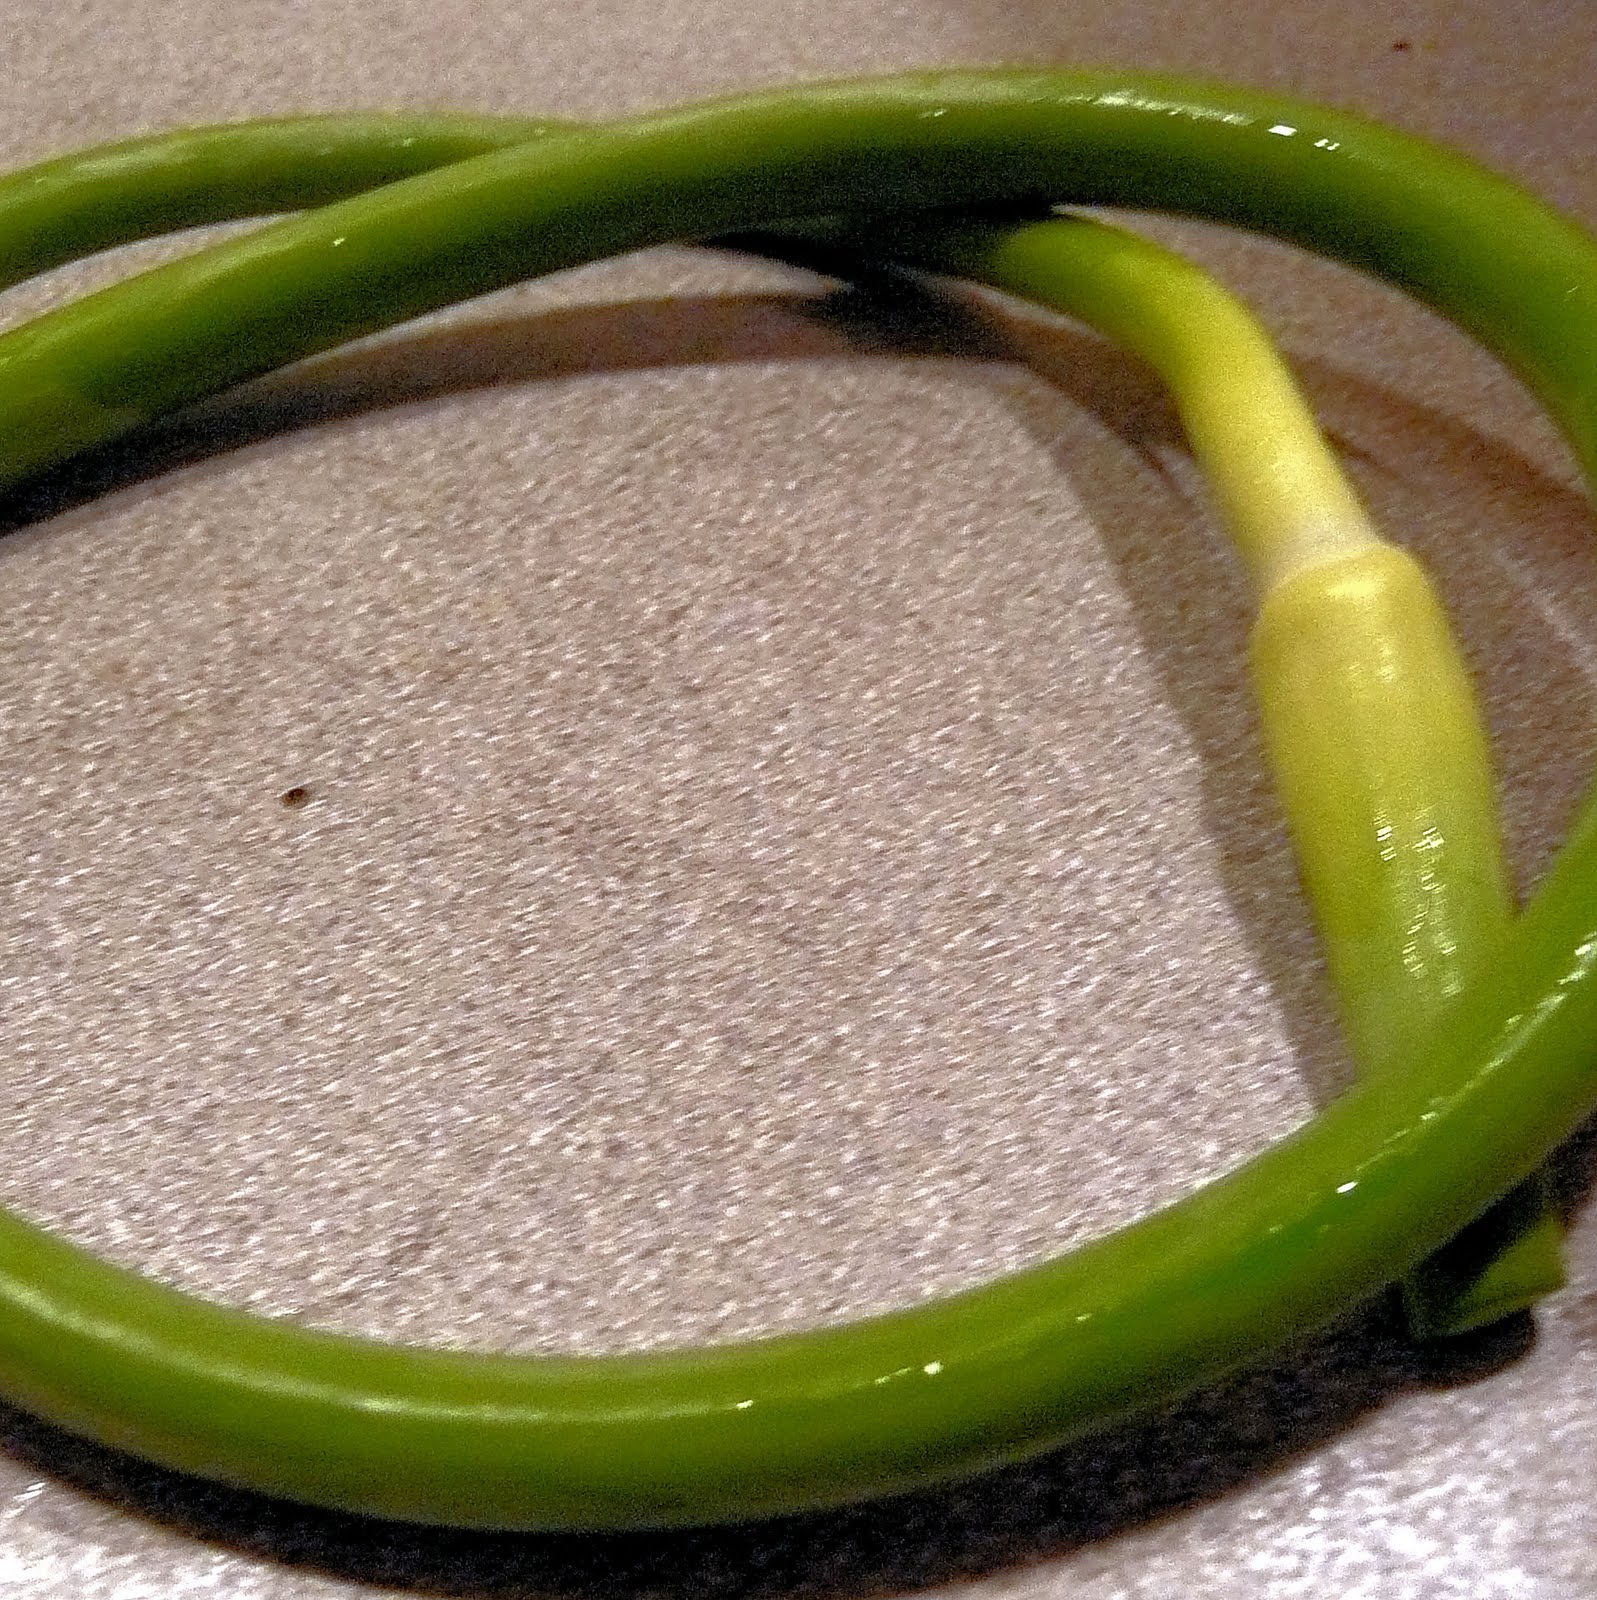
I’m sure you read this post title and was wondering why I’m making Garlic Scape Pesto.
This week, I received garlic scapes with my CSA half share. What the heck is a garlic scape you may ask?
When garlic is growing, the scape is the green shoot that pops out of the earth. Farmers need to trim these so that the garlic can continue to grow. But the actual green shoot also packs in a bunch of garlicky goodness, although more mild and with a touch of grass smell.
The scapes are kind of scary looking but I was willing to try using them, who knows when I’ll come across these again! Because they are a more delicate version of garlic, scapes are best used raw.
I came across a recipe for Garlic Scape Pesto on the blog In the Kitchen and on the Road with Dorie which seemed like a good way to use a bunch of the scapes. I substituted walnuts for the almonds, mainly because my poor boyfriend is allergic and I didn’t want to mistakenly serve him something with almonds in it, and I added in some basil to help cut some of the scape flavor. I also cut the recipe in half to test it out, I can always make more later!
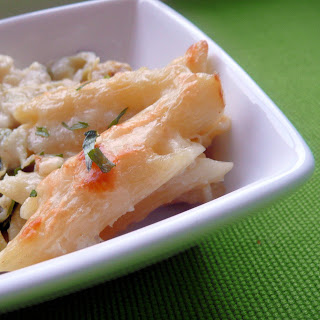
I have been really panicking about using all of my CSA ingredients this week. I am headed to the beach next week and can’t stand the idea of these ingredients going to waste! Thankfully, Cooking Light had a recipe that incorporated a lot of the ingredients I received this week.
Ingredients:
4 flour tortillas
Cooking spray
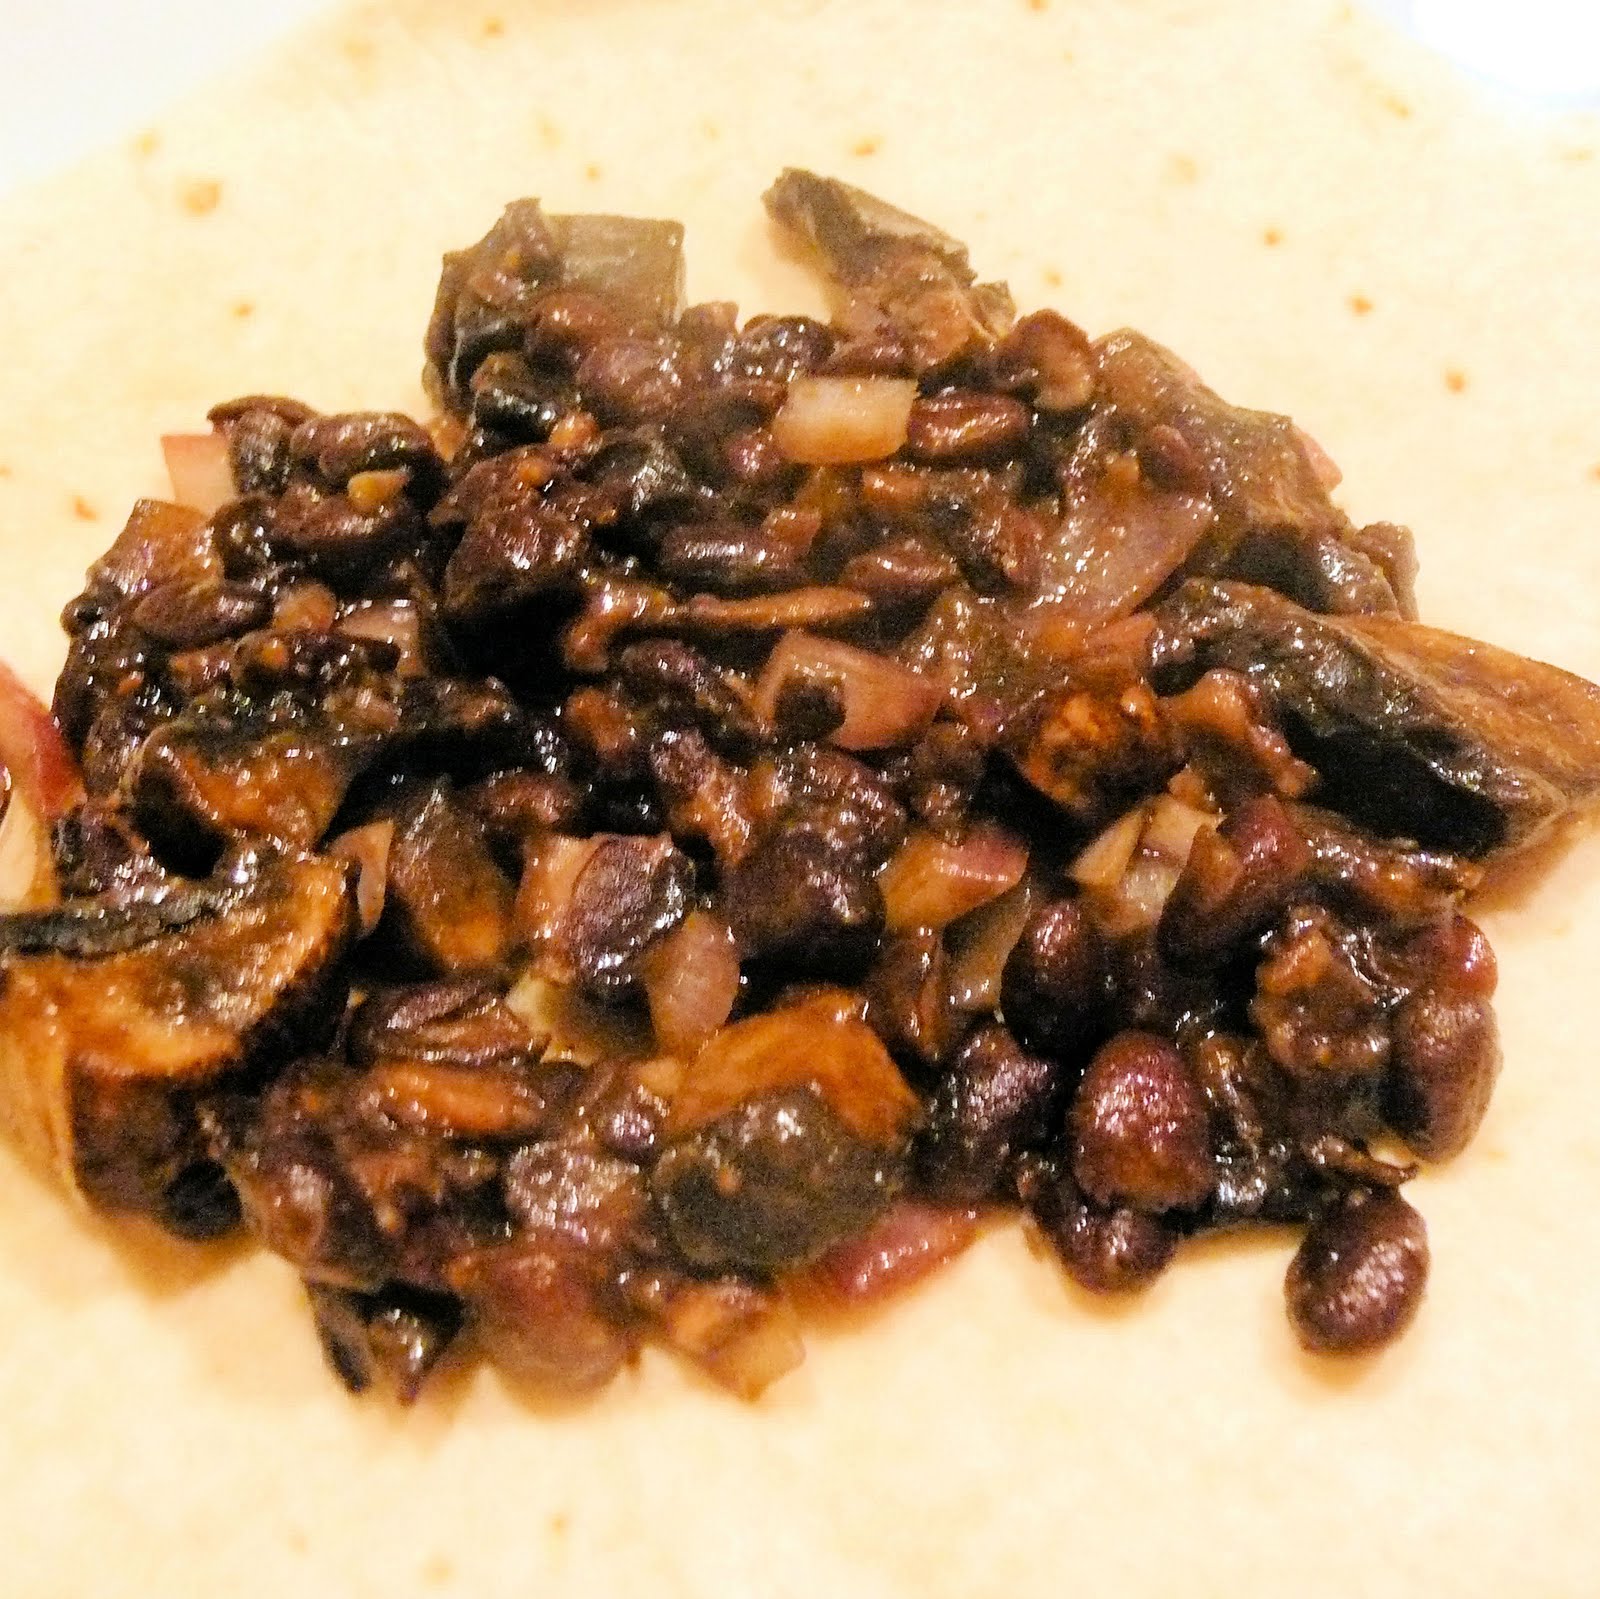
2 portobello caps, chopped
2 tablespoons balsamic vinaigrette (recipe below)
1 cup black beans, rinsed and drained
1 teaspoon minced green chilis
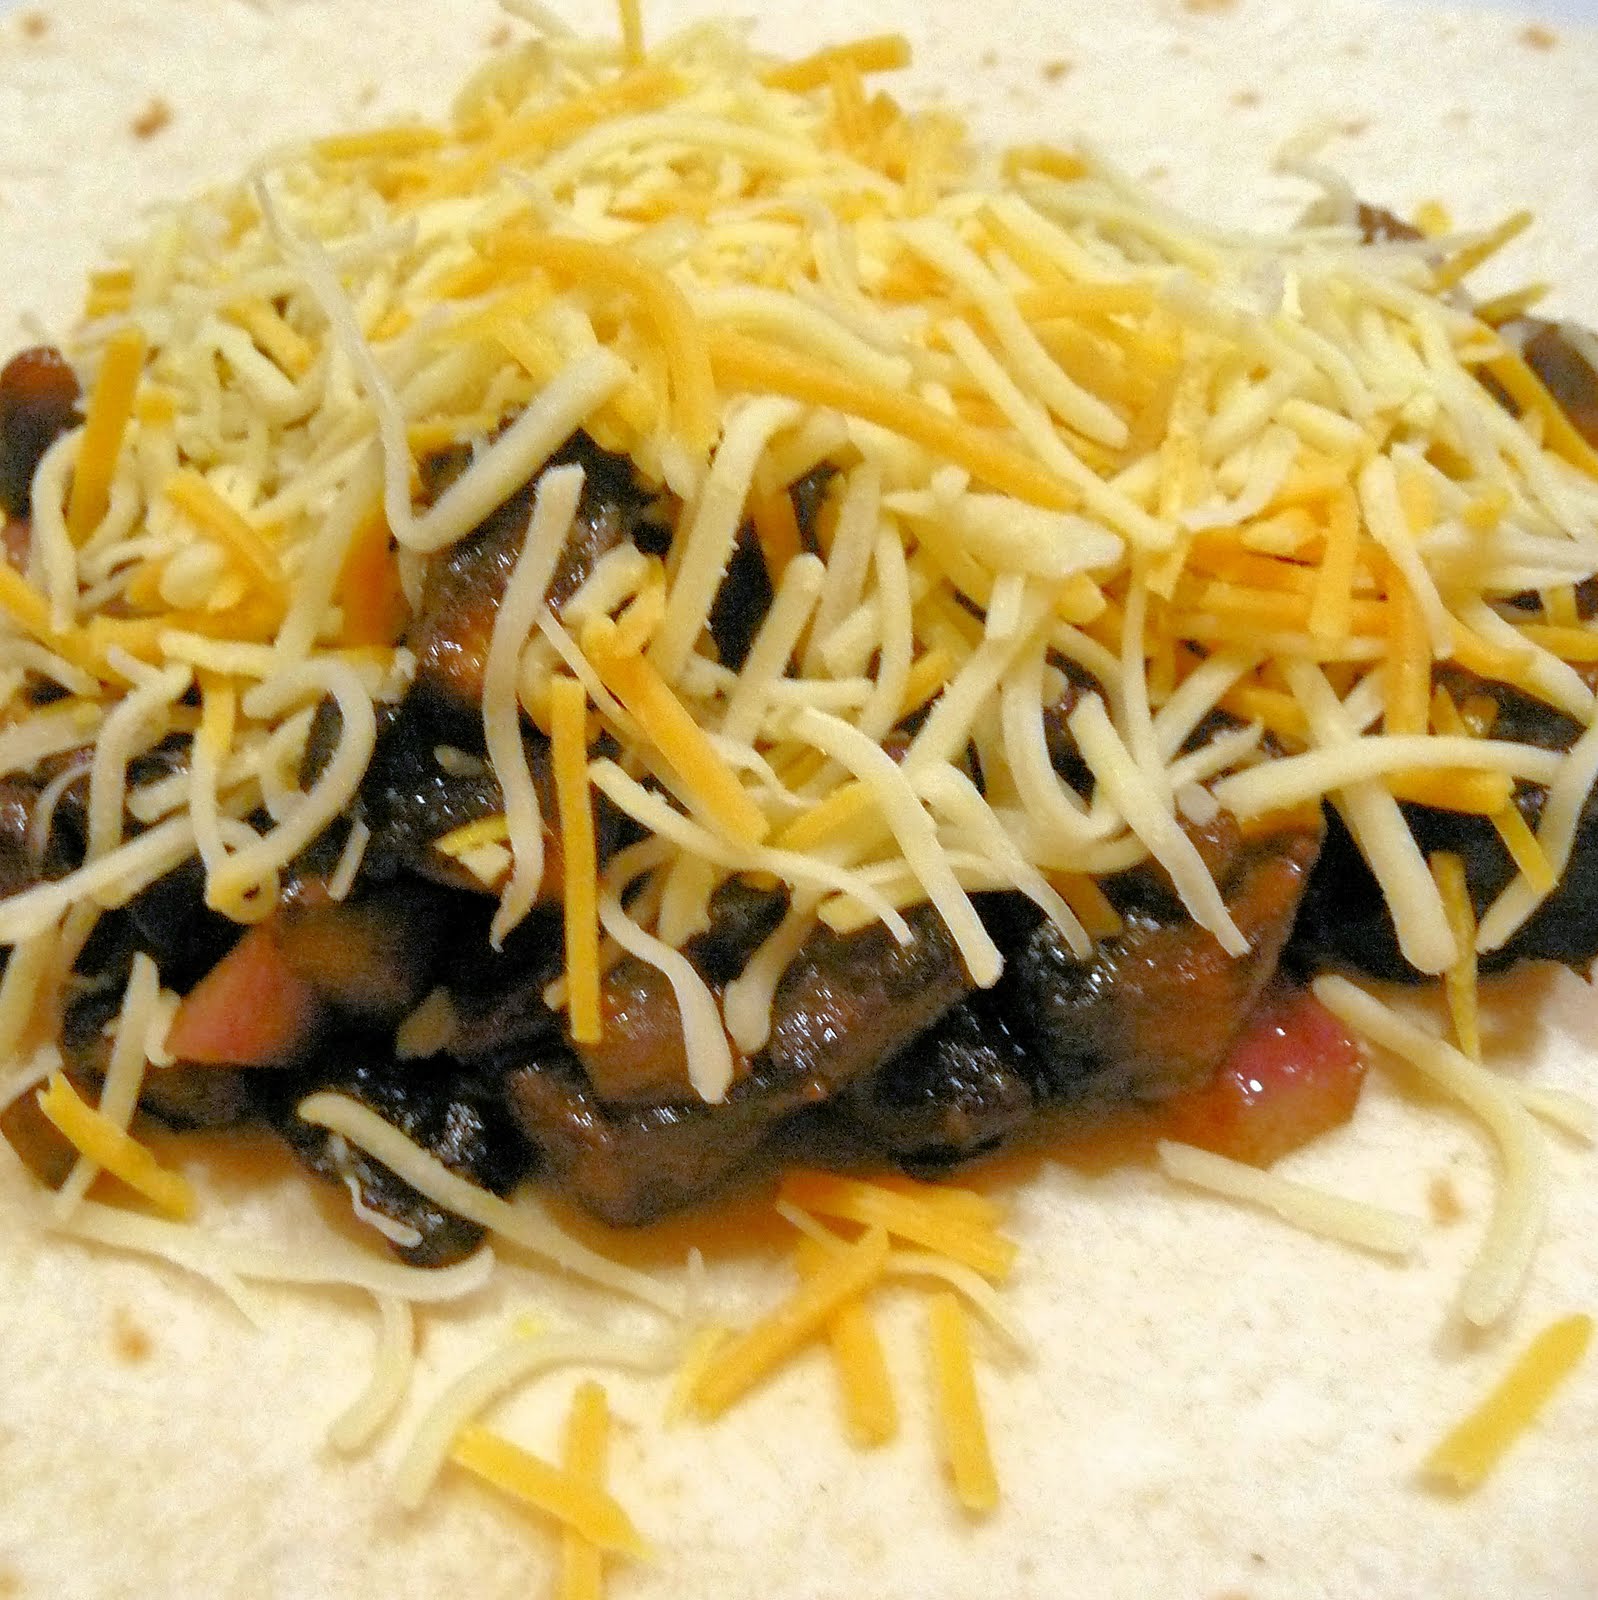
1 cup preshredded 4-cheese Mexican blend cheese
1/4 cup chopped red onions Fresh Salsa
Sour Cream, optional
Ingredients for the balsamic vinaigrette:
(you’ll have some leftover for a salad later)
1/4 cup balsamic vinegar
2-3 cloves of garlic, minced (I used 1 garlic scape… came with my CSA share)
1/2 teaspoon salt
1/2 teaspoon freshly ground black pepper
3/4 cup olive oil
To make the vinaigrette, add the vinegar, garlic, salt, and pepper to a bowl and whisk until the salt dissolves. Add the oil in a slow steady stream, whisking constantly. You can also just add the ingredients to a jar and shake to combine.
Place your tortillas on a plate and cover with a damp paper towel. Microwave for 1 minute and leave in the microwave while preparing the rest of the dish.
Cook your mushrooms in a saute pan coated with cooking spray. If you don’t have cooking spray, use a bit of olive oil, maybe a teaspoon. Saute the mushrooms for 2 minutes, or until tender.
Add the vinaigrette, black beans, onions and green chile. Cook for 1 to 2 minutes, until the liquid evaporates. Mash the mixture slightly. If you have a potato masher, Cooking Light suggests using that. I don’t, so a fork will have to do!
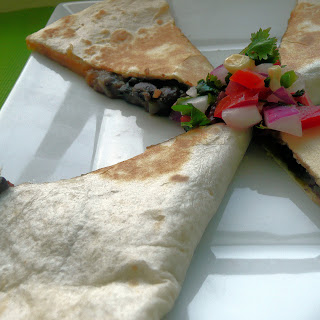
Spoon 1/4 of the mixture onto each tortilla.
Divide the cheese equally among the tortillas.
Fold the tortillas in half.
I have a panini grill/griddle, so I used that to cook the quesadillas. If you do not have one, just use the same saute pan you used to make the black bean mixture, just wipe it down well before! Coat with cooking spray and place two quesadillas on the griddle/pan. Cook 2 to 3 minutes on each side or until the cheese is melted. If using a griddle, I cooked them for about 5 minutes. Repeat with remaining quesadillas.
Cut each quesadilla into three wedges. Serve with salsa and sour cream.
I was afraid this wouldn’t have much flavor, but the vinaigrette and slight spice from the green chilies added just enough interest without going over the top. I couldn’t get enough of this dish! The salsa was a perfect complement as well. I am definitely adding this to my list of repeat meals.
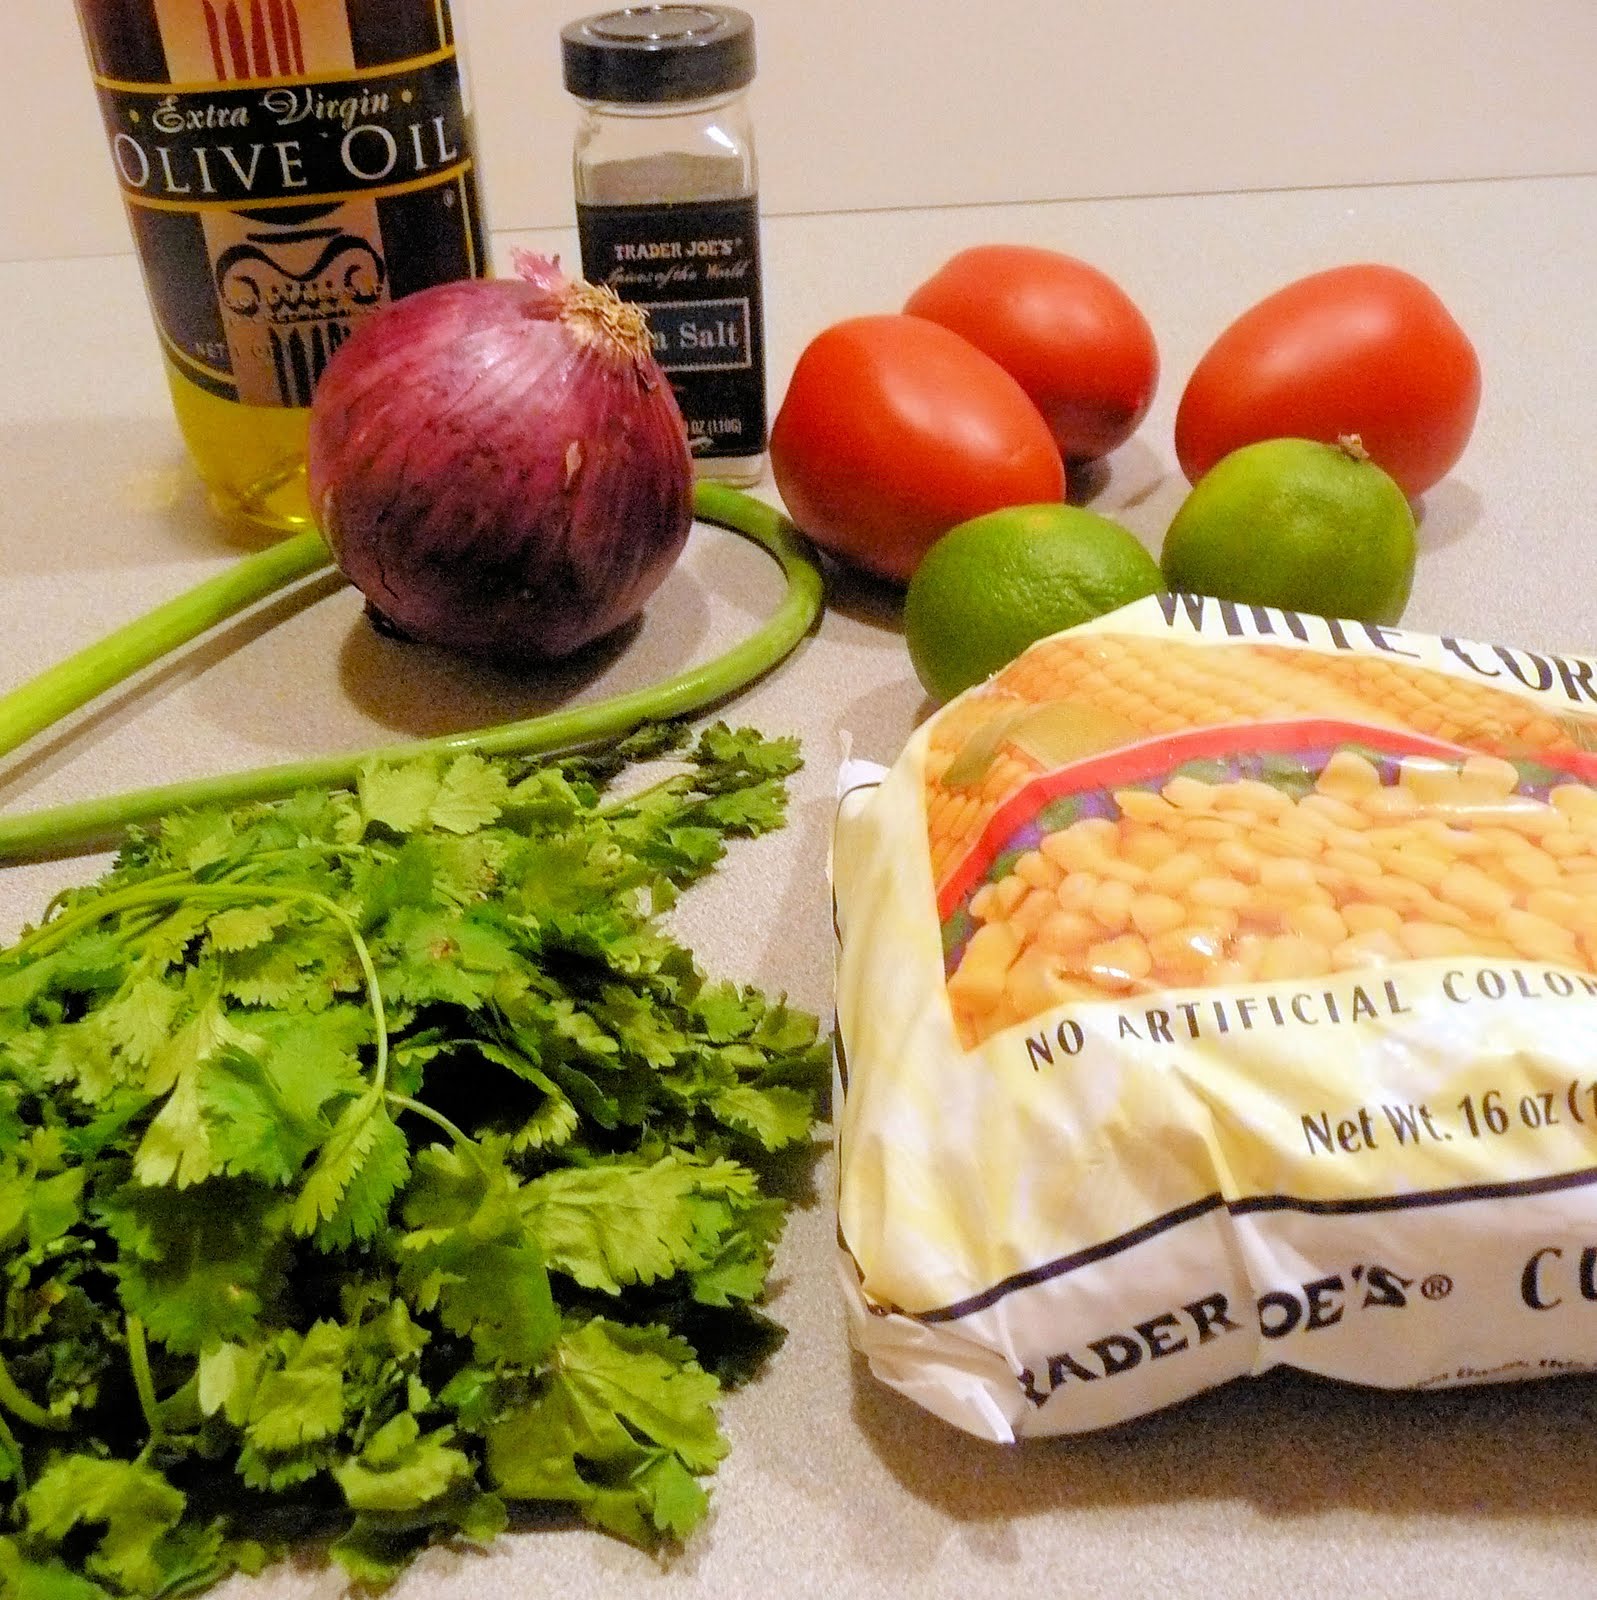
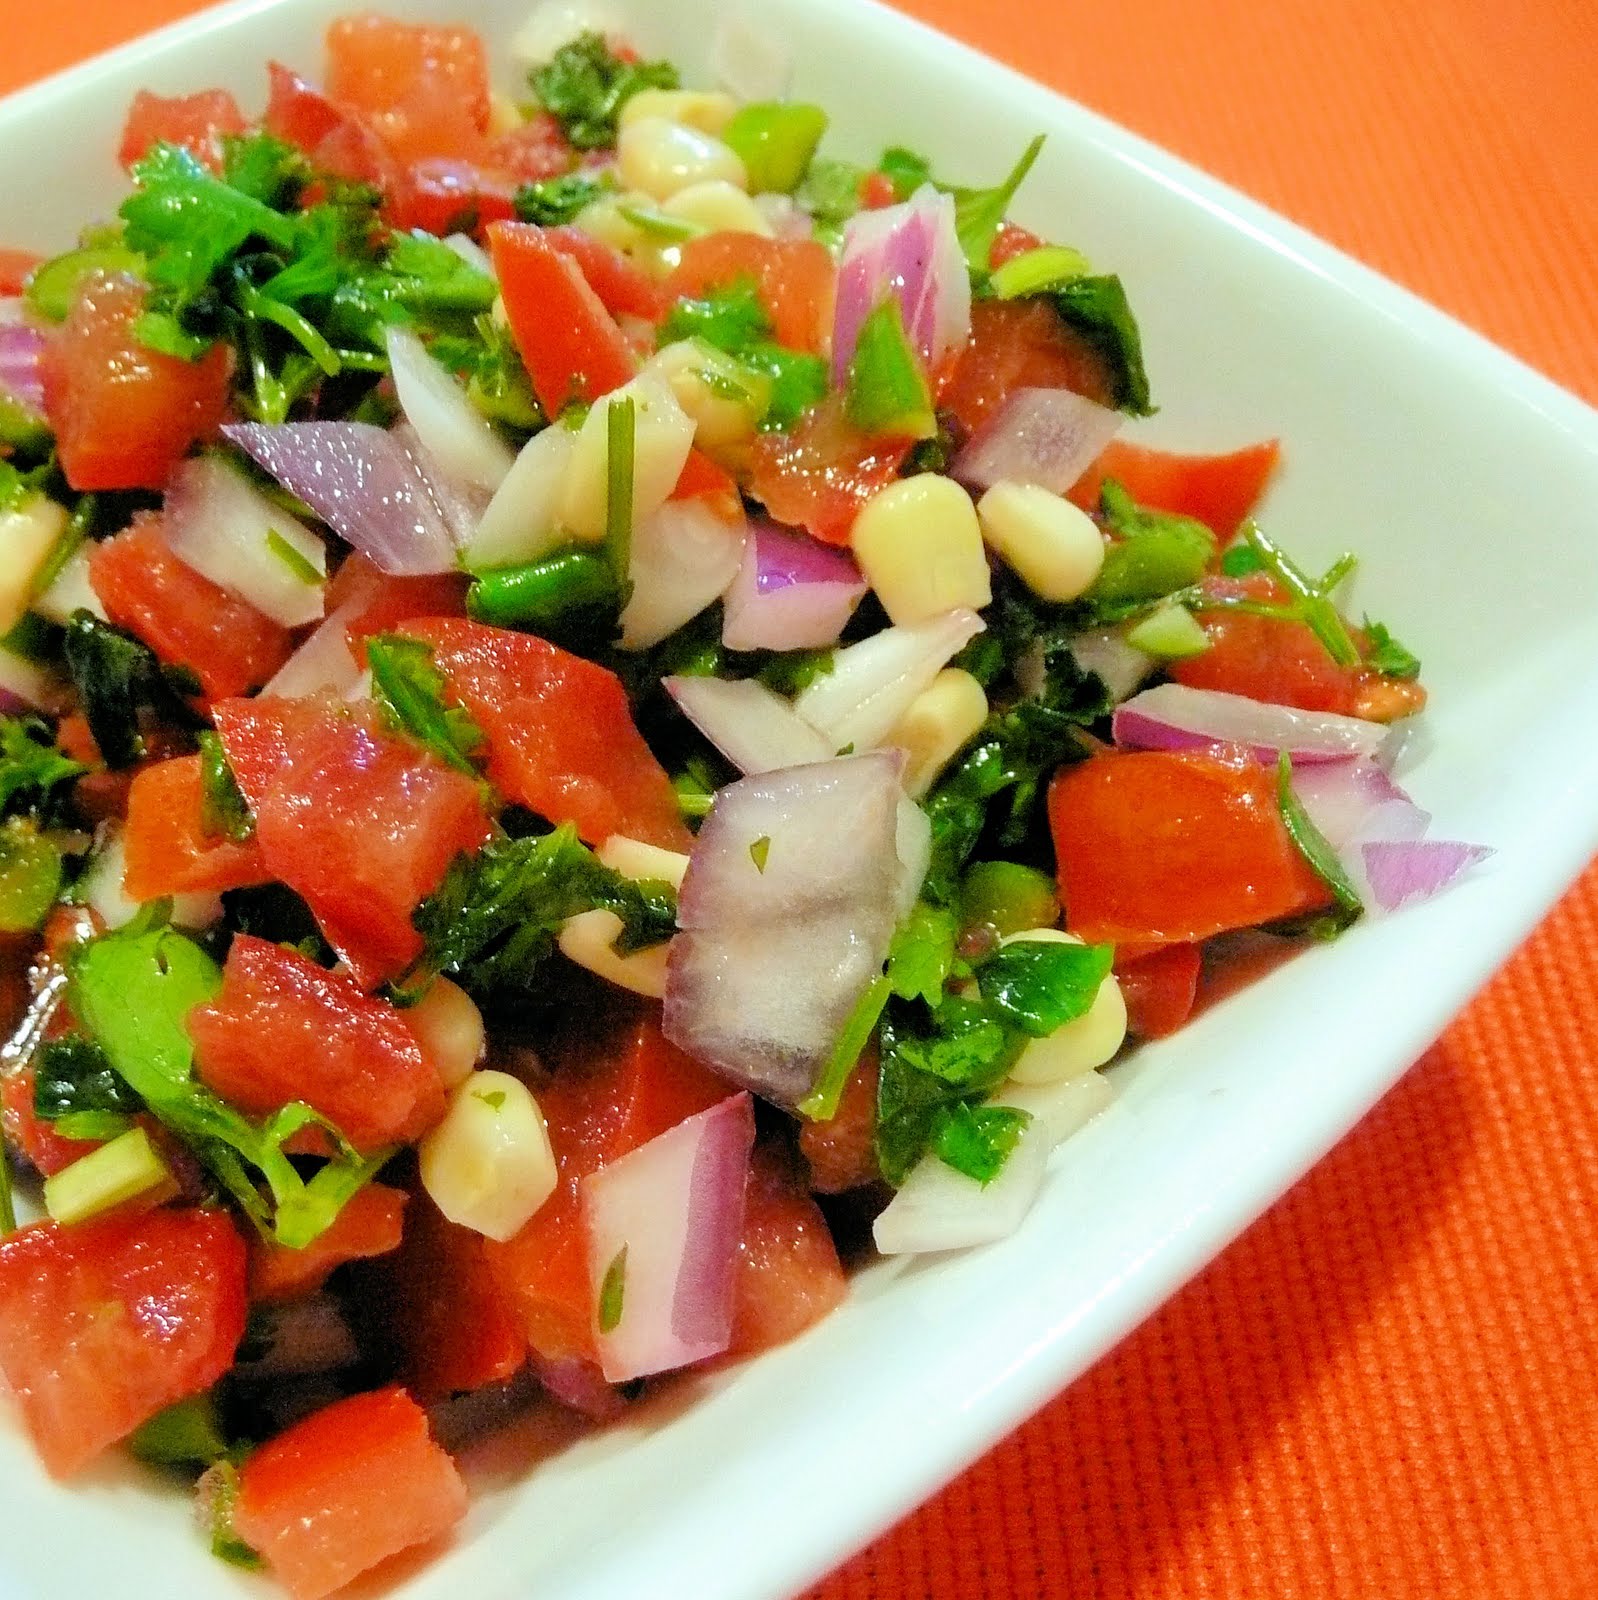
I wanted to make quesadillas, and it called for salsa. I realized I had all of the ingredients needed to make my own on hand, so I decided to try coming up with my own salsa.
Ingredients:
3 chopped and seeded tomatoes
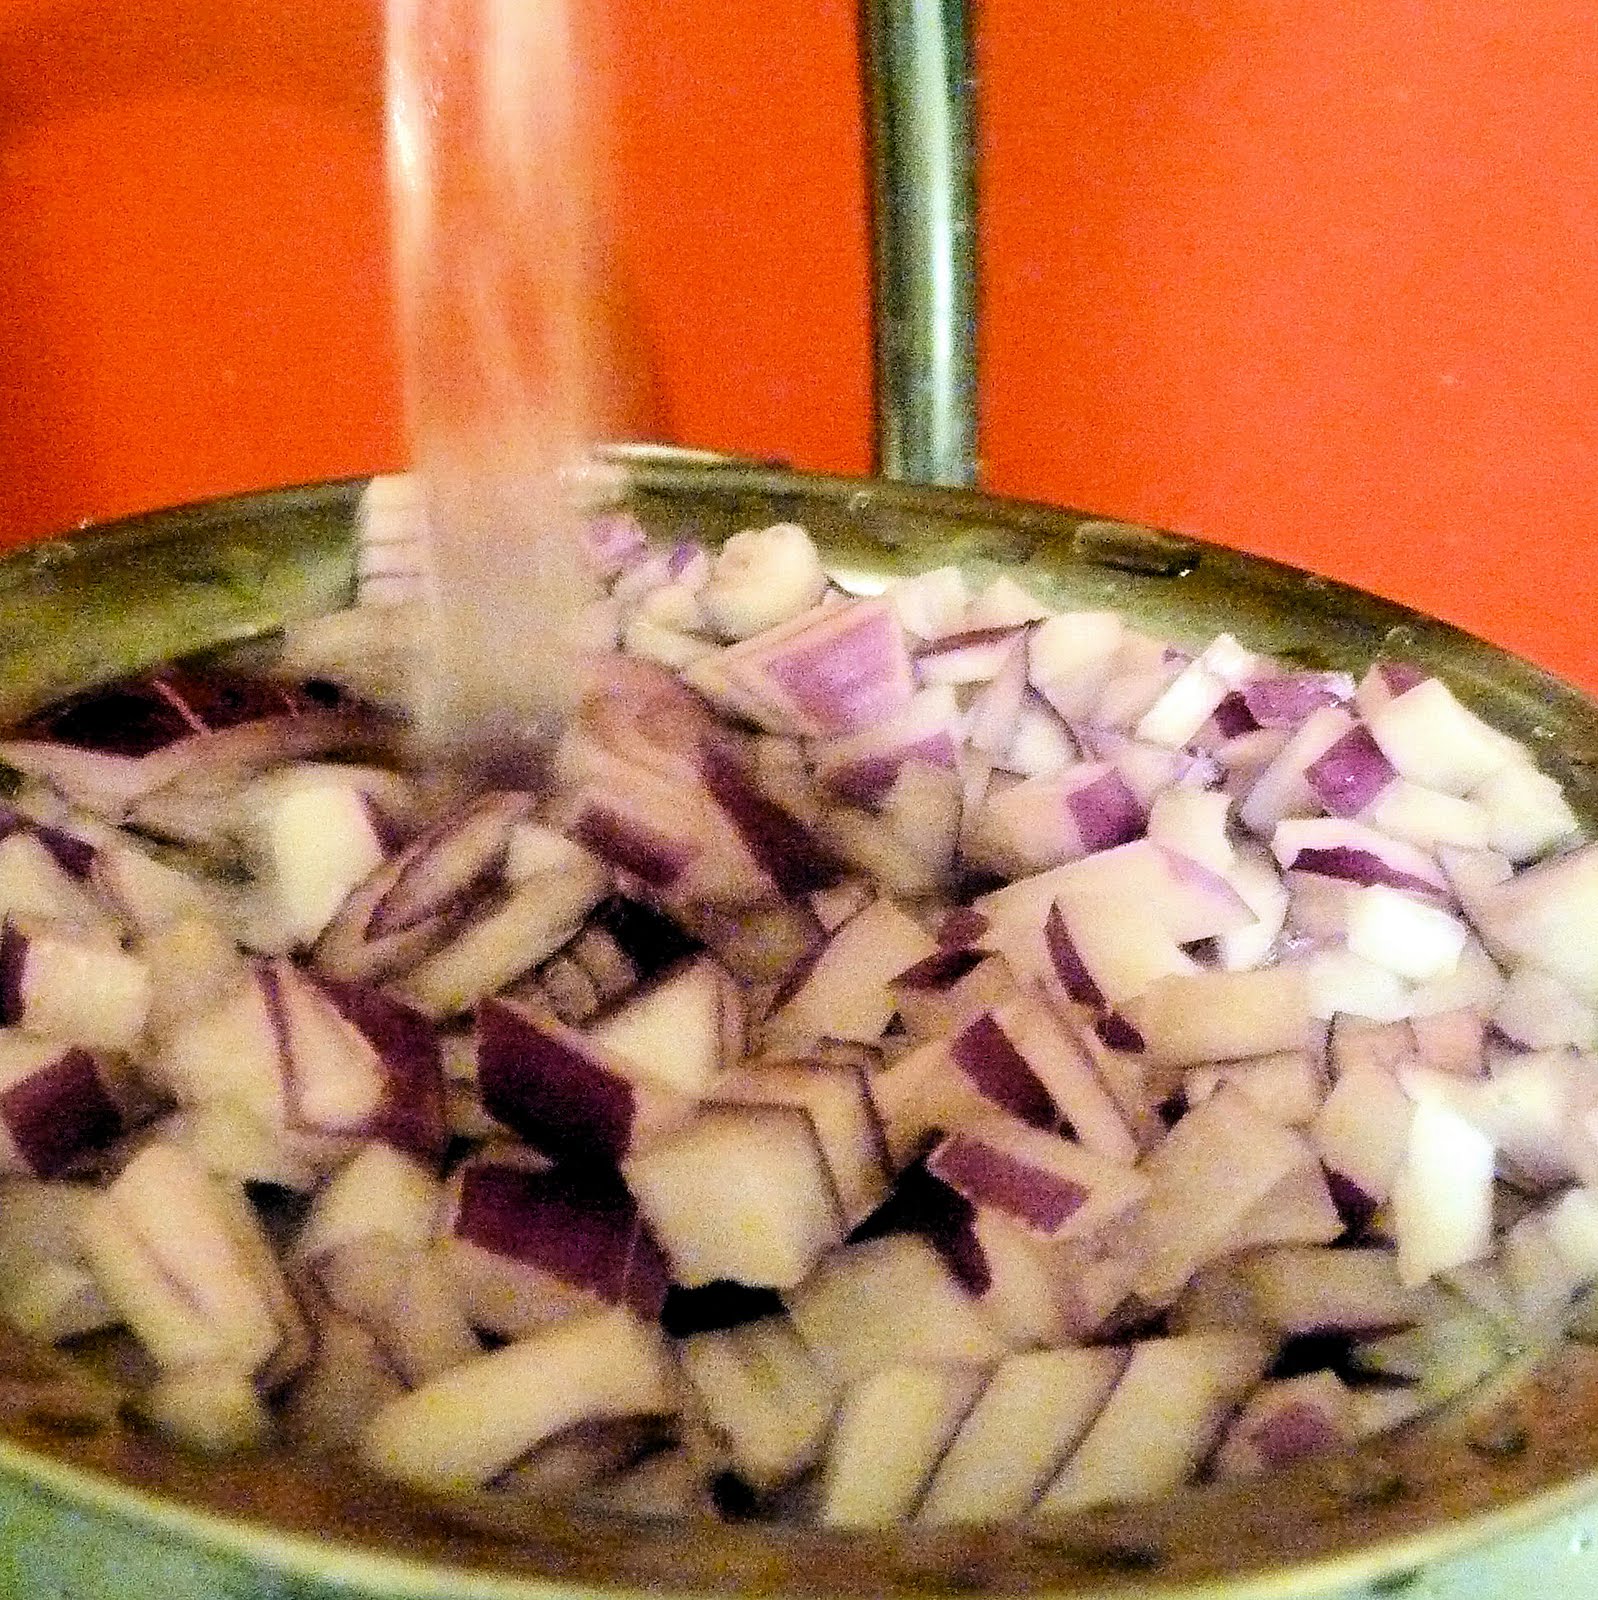
1 red onion, finely chopped
1 garlic scape, finely chopped (or 2 garlic cloves)
1/4 cup chopped fresh cilantro
3 tablespoons fresh lime juice
1/2 teaspoon kosher salt
1/4 cup corn kernels (I just used frozen)
I have no clue why I put olive oil in the pic, sorry
To make the salsa, first rinse the chopped onions under very cold water. This will help remove some of the bite associated with raw onions.
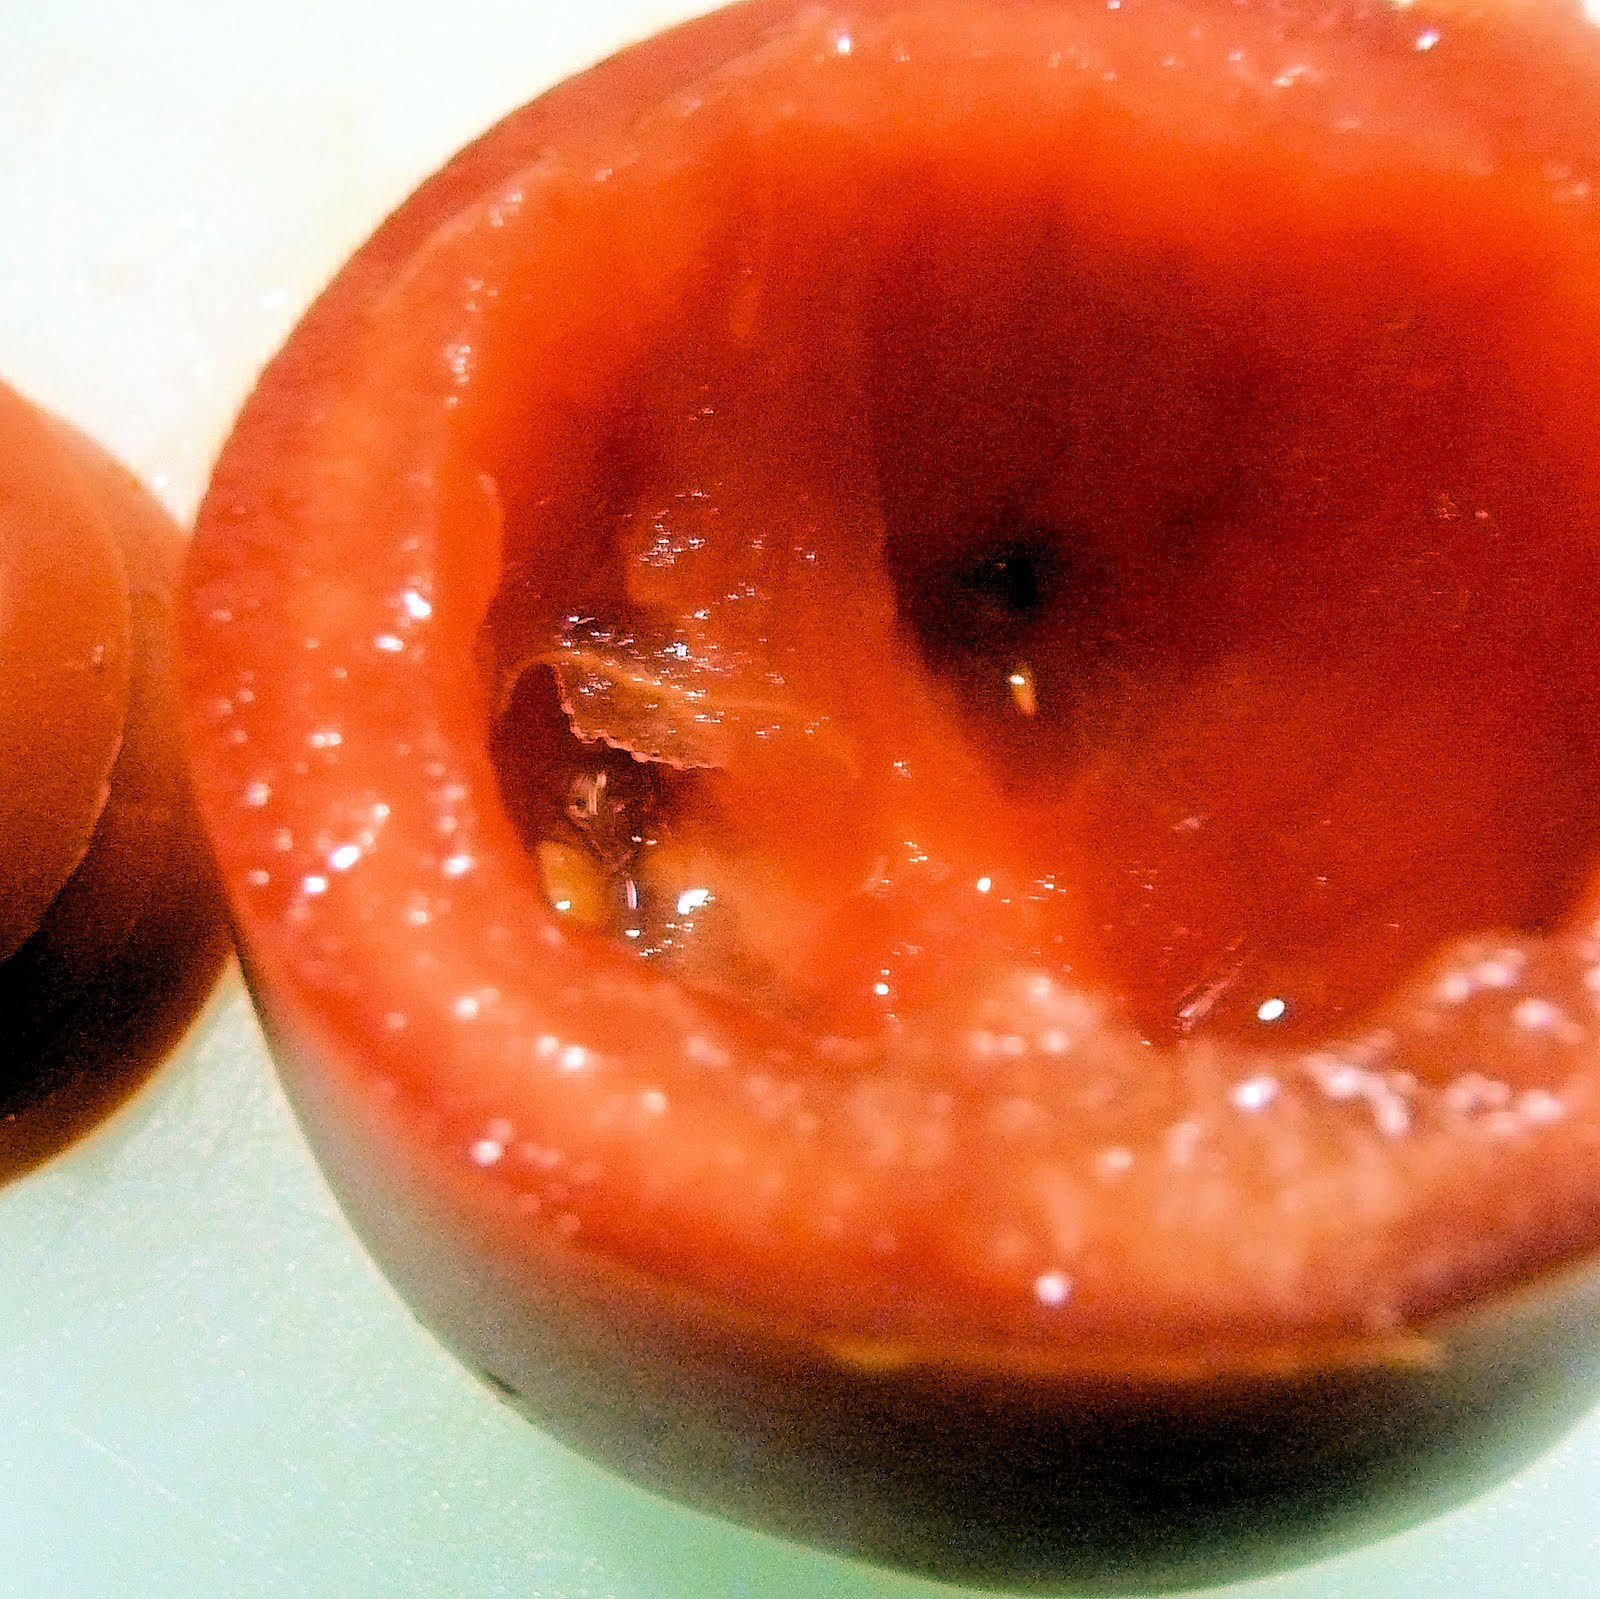
To seed the tomatoes, cut off one end of the tomato and use a spoon to scoop out the seeds.
Dice the tomato.
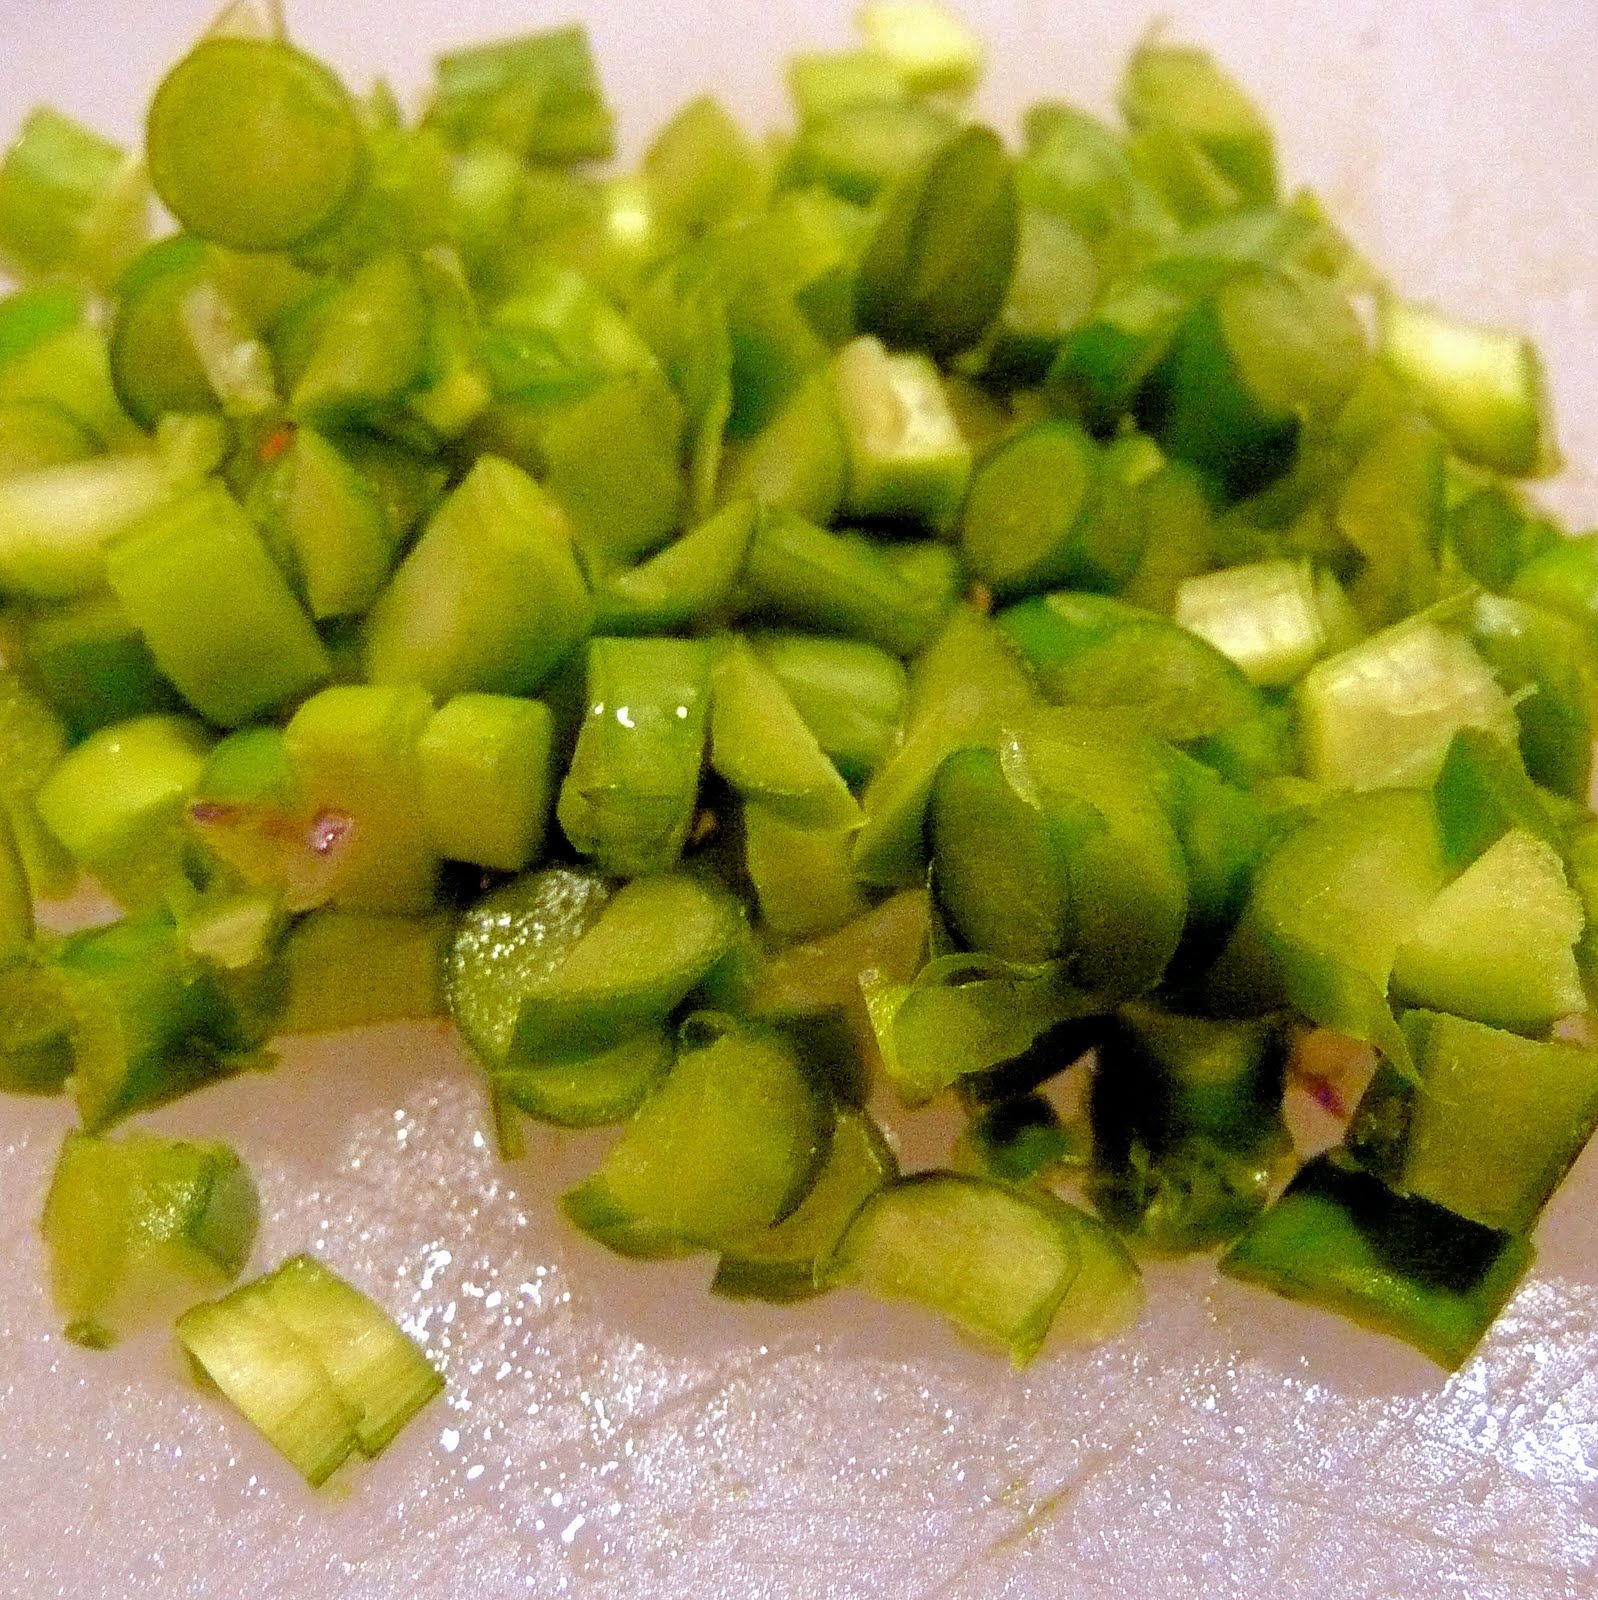
Chop the scape as finely as possible
Cut the cilantro.
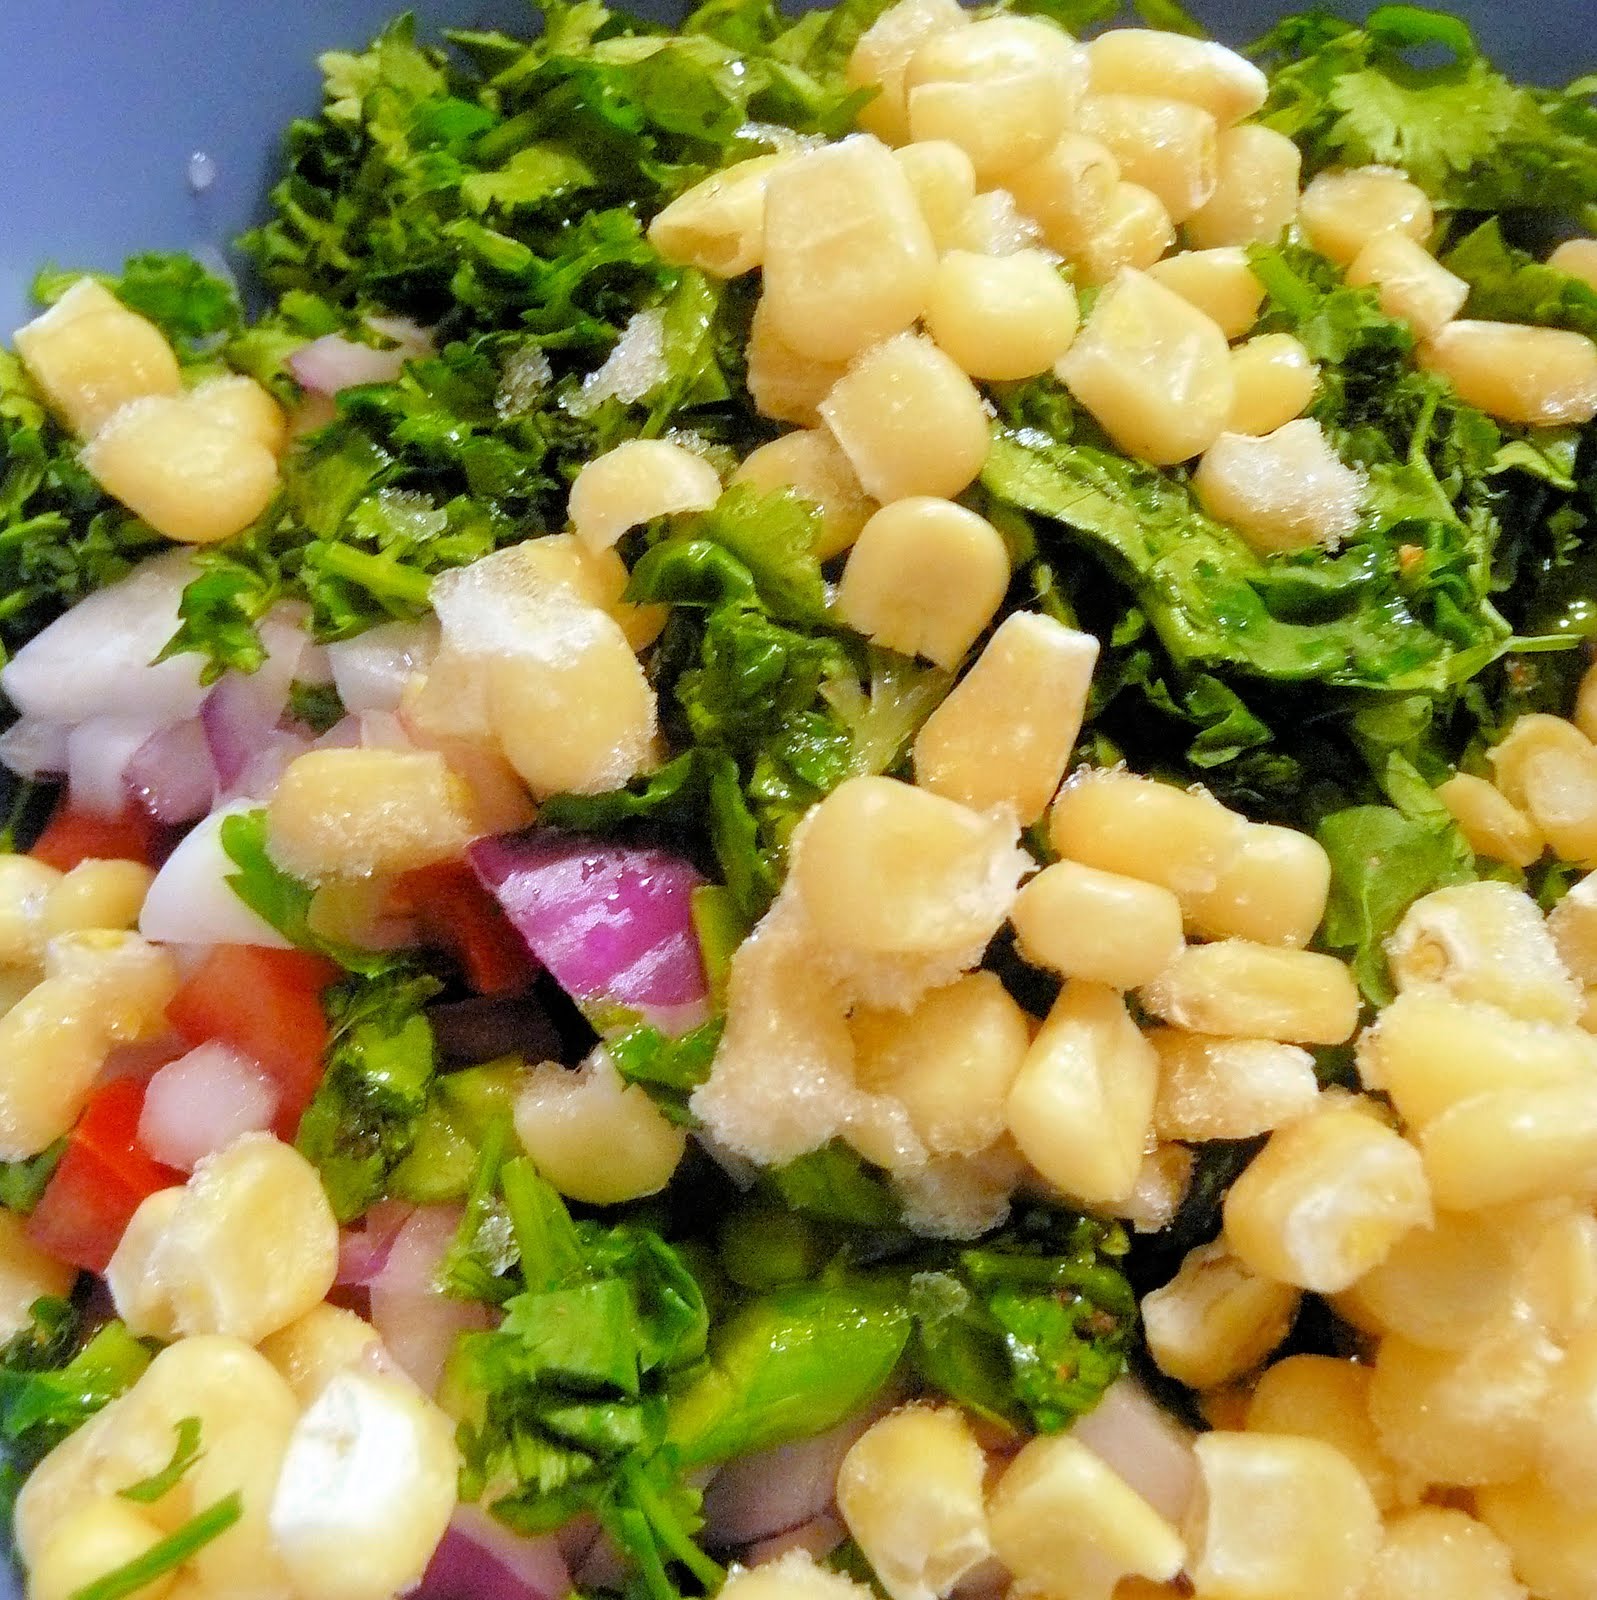
Combine the onions, garlic, chopped tomatoes, cilantro, lime juice, corn, and salt. Allow to refrigerate for a few hours to get the best flavor, or overnight.
The corn will defrost in the fridge
There is nothing like fresh salsa. This recipe can be adapted to what makes you happy as well; feel free to add some jalapenos or another hot pepper to add some spice. As I’ve said before, a lot of color in a dish makes me so happy. The red, green and yellow brighten up the whole meal. There is enough flavor in this salsa to serve at a party with some tortilla chips, but I can’t wait to try it with my quesadilla!
To make the salsa, first rinse the chopped onions under very cold water. This will help remove some of the bite associated with raw onions.
To seed the tomatoes, cut off one end of the tomato and use a spoon to scoop out the seeds.
Dice the tomato.
Chop the scape as finely as possible
Cut the cilantro.
Combine the onions, garlic, chopped tomatoes, cilantro, lime juice, corn, and salt. Allow to refrigerate for a few hours to get the best flavor, or overnight.
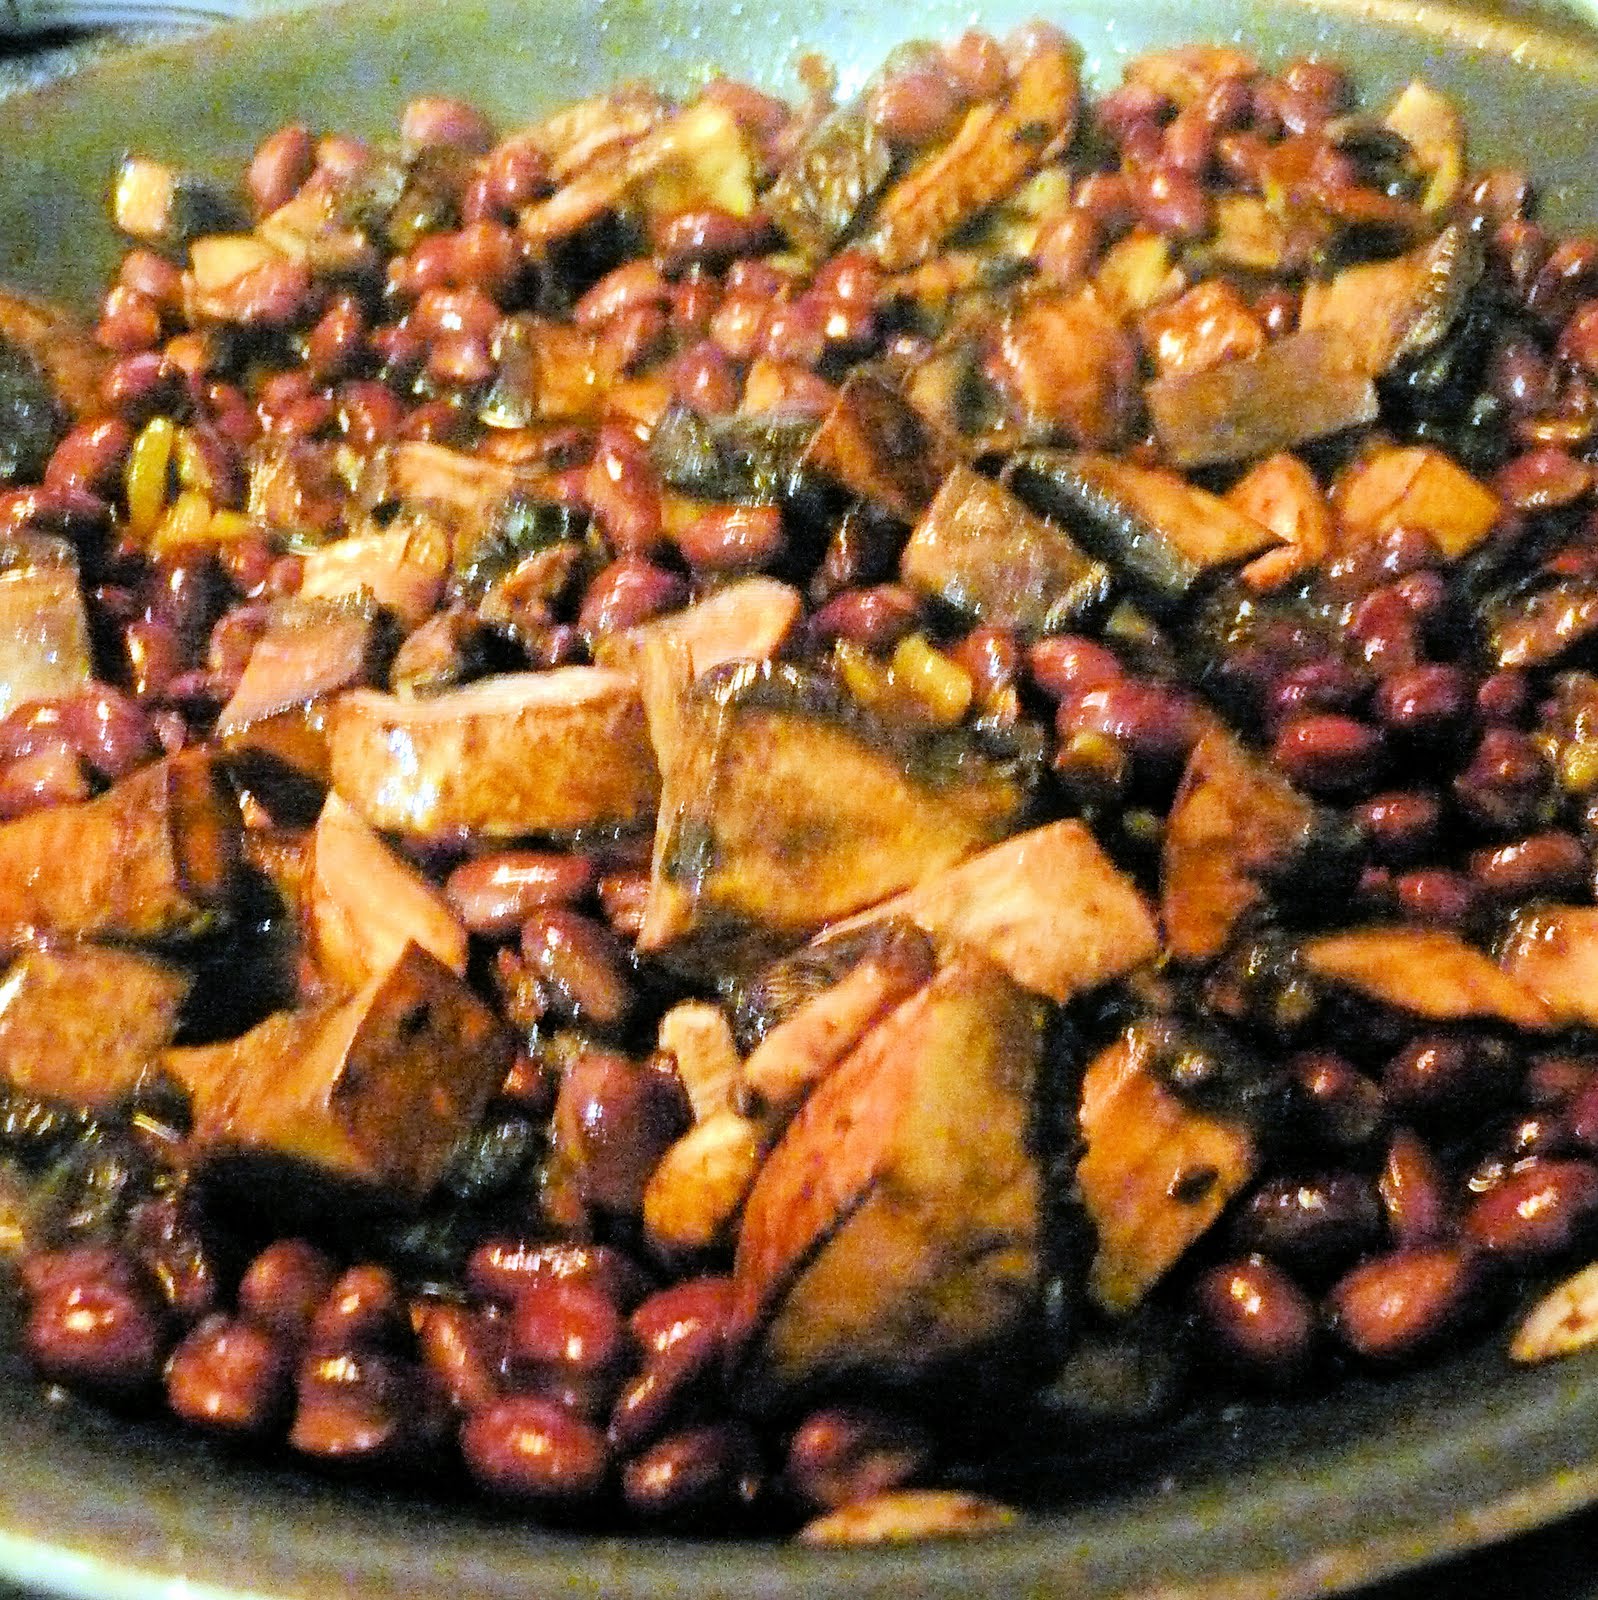
I have no idea why the concept of a food swap stresses me out so much. But trying to find a recipe for this month was so difficult! I finally found this recipe from a blog called The Bad Girl’s Kitchen; she has a whole section of freezer-friendly meals.
Ingredients (I was making 10 servings):
Salt
2 pounds penne
8 tablespoons olive oil
6 cans of artichoke hearts, rinsed and chopped
1 medium onion, minced
8 medium garlic cloves, minced (about 8 teaspoons)
Zest from 1 lemon
1/4 cup unbleached all-purpose flour
2 cups low-sodium chicken broth
1 cup dry white wine
2 cups heavy cream
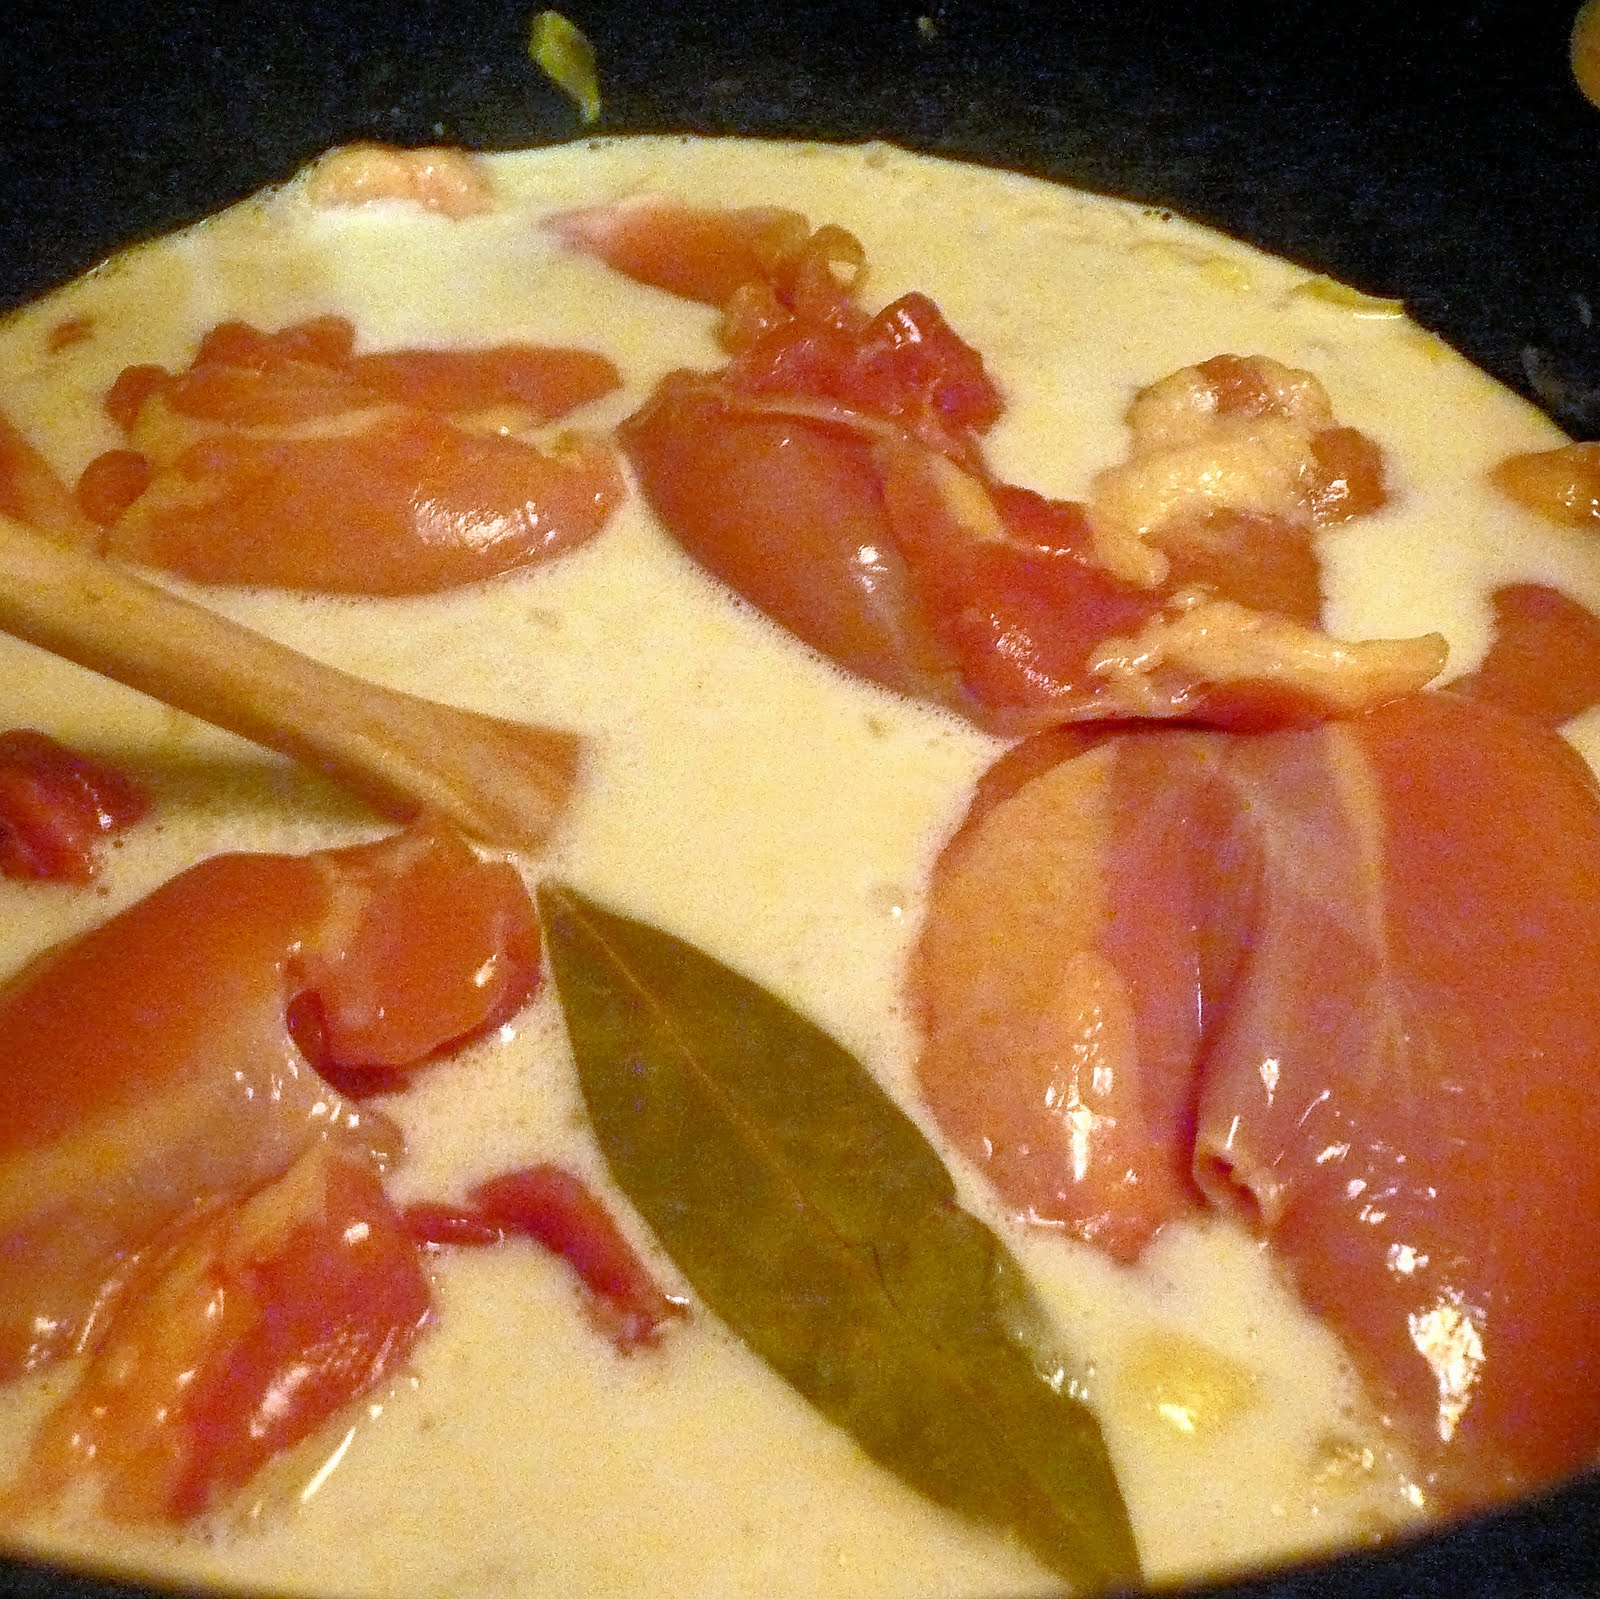
2 pounds chicken thighs
3 bay leaves
1 1/2 cups frozen peas
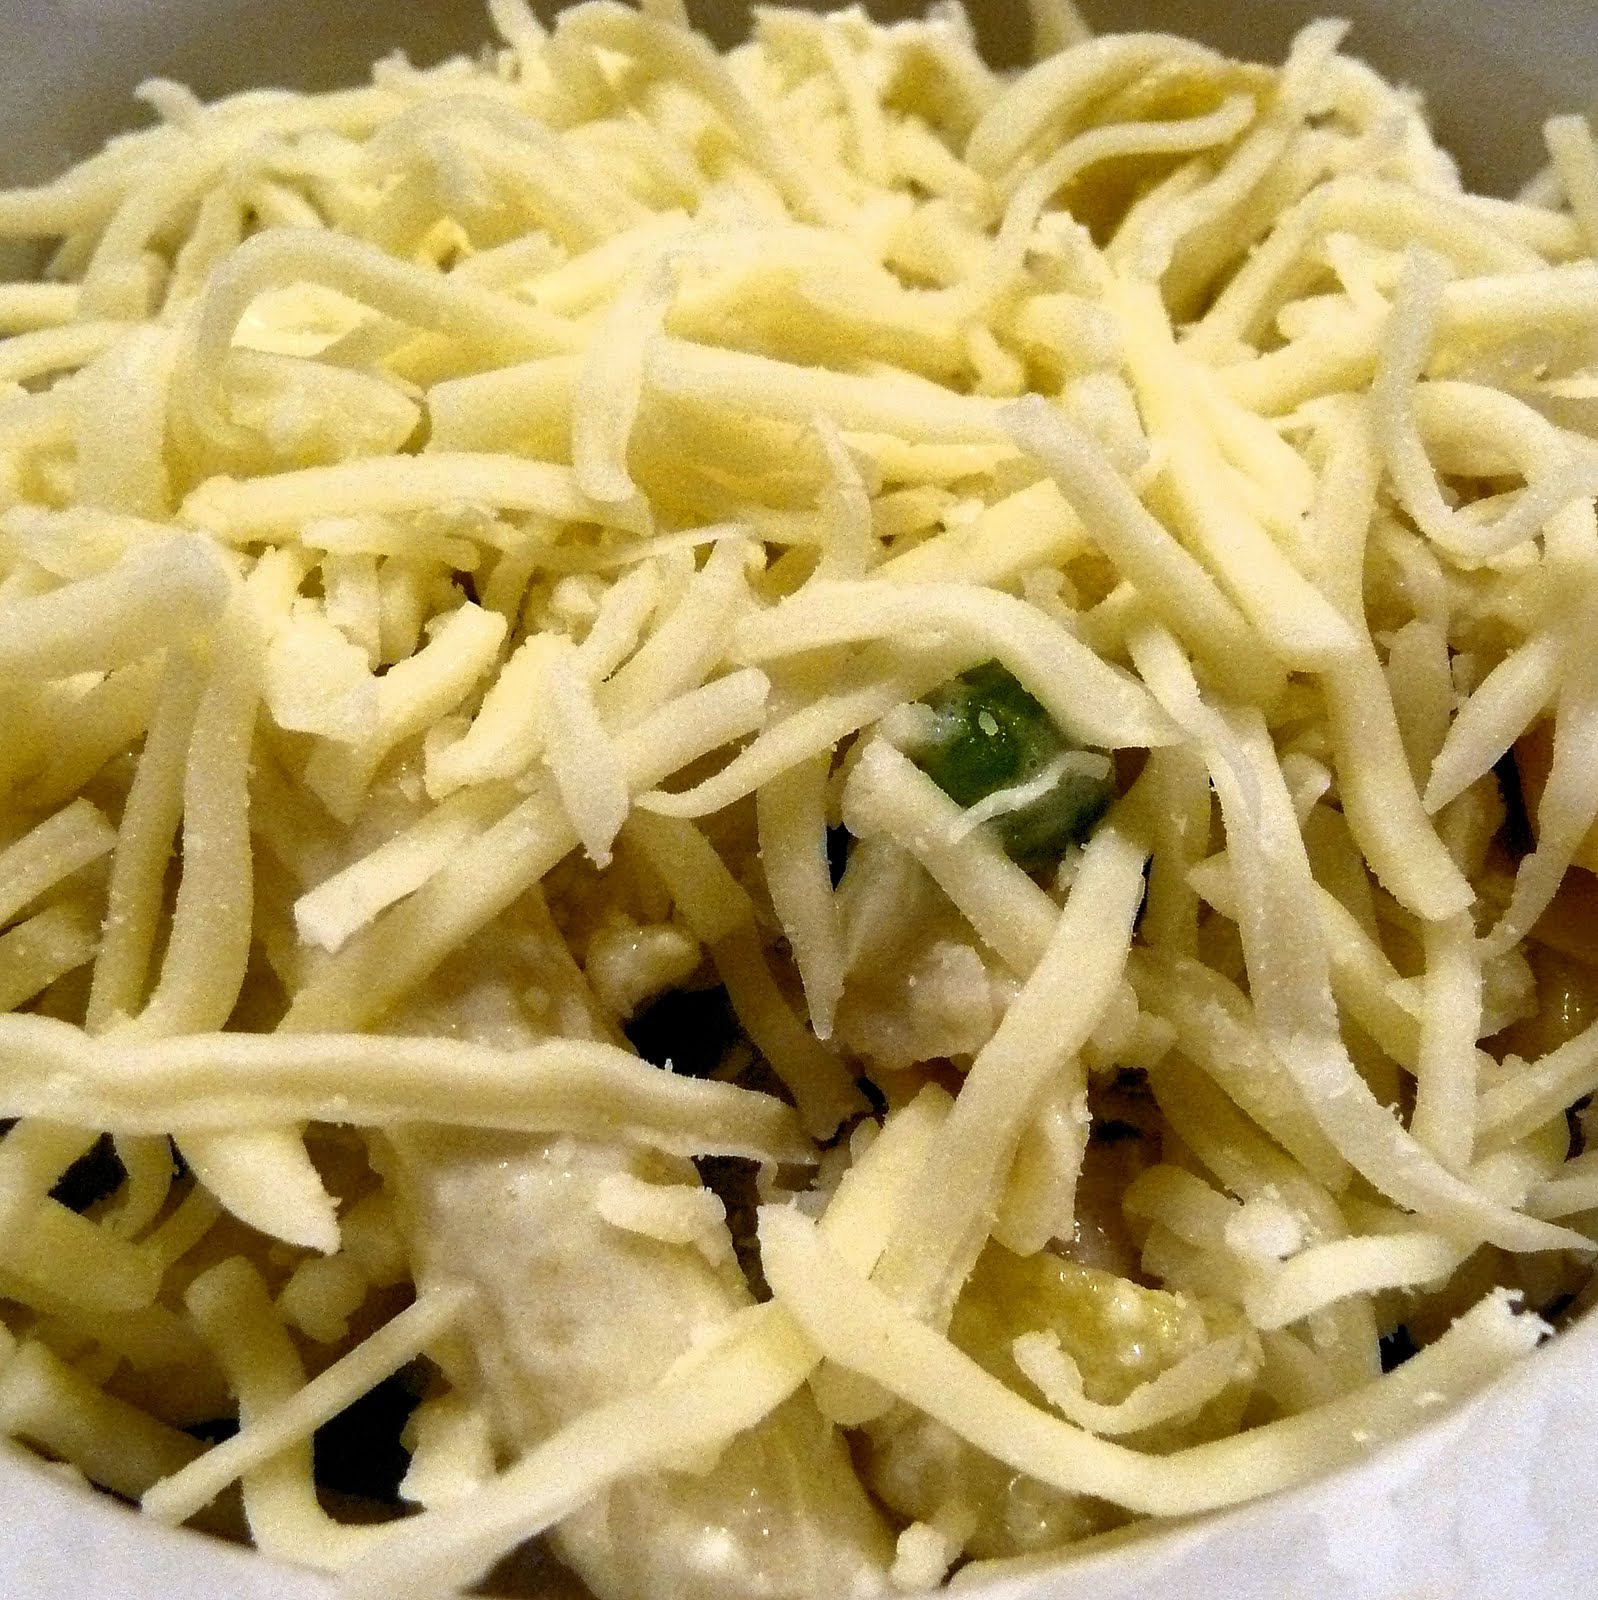
16 ounces shredded Italian cheese blend (about 2 cups)
3 tablespoons fresh lemon juice
Ground black pepper
3 tablespoons minced fresh tarragon leaves
that’s quite a few ingredients
To cook the pasta, boil water in a pasta pot over high heat. Add a tablespoon of salt and the pasta and cook for 5 minutes (it will be very al dente– they will cook fully in the oven later). Drain pasta in a colander and toss with two tablespoons olive oil. Set aside.
Prep your artichokes, onion, and garlic.
In a large pot, heat 6 tablespoons olive oil over medium heat. Add the artichokes, onion, and 1 teaspoon salt. Cook until the artichokes are lightly browned (about 10 minutes).
Add the garlic and lemon zest and cook for about 30 seconds. Stir in the flour and cook, stirring constantly, for 1 minute. Slowly whisk in the broth, wine, and cream.
Add the chicken and bay leaves and bring to a simmer. Reduce heat, cover, and cook for about 20 minutes, or until the chicken registers 160 degrees.
Remove from heat and discard the bay leaves. Remove chicken and set aside to cool. When cooled, shred into bite-sized pieces. Stir the chicken back into the sauce, adding the pasta, peas, 2 cups cheese and lemon juice. Stir until combined and season with salt and pepper.
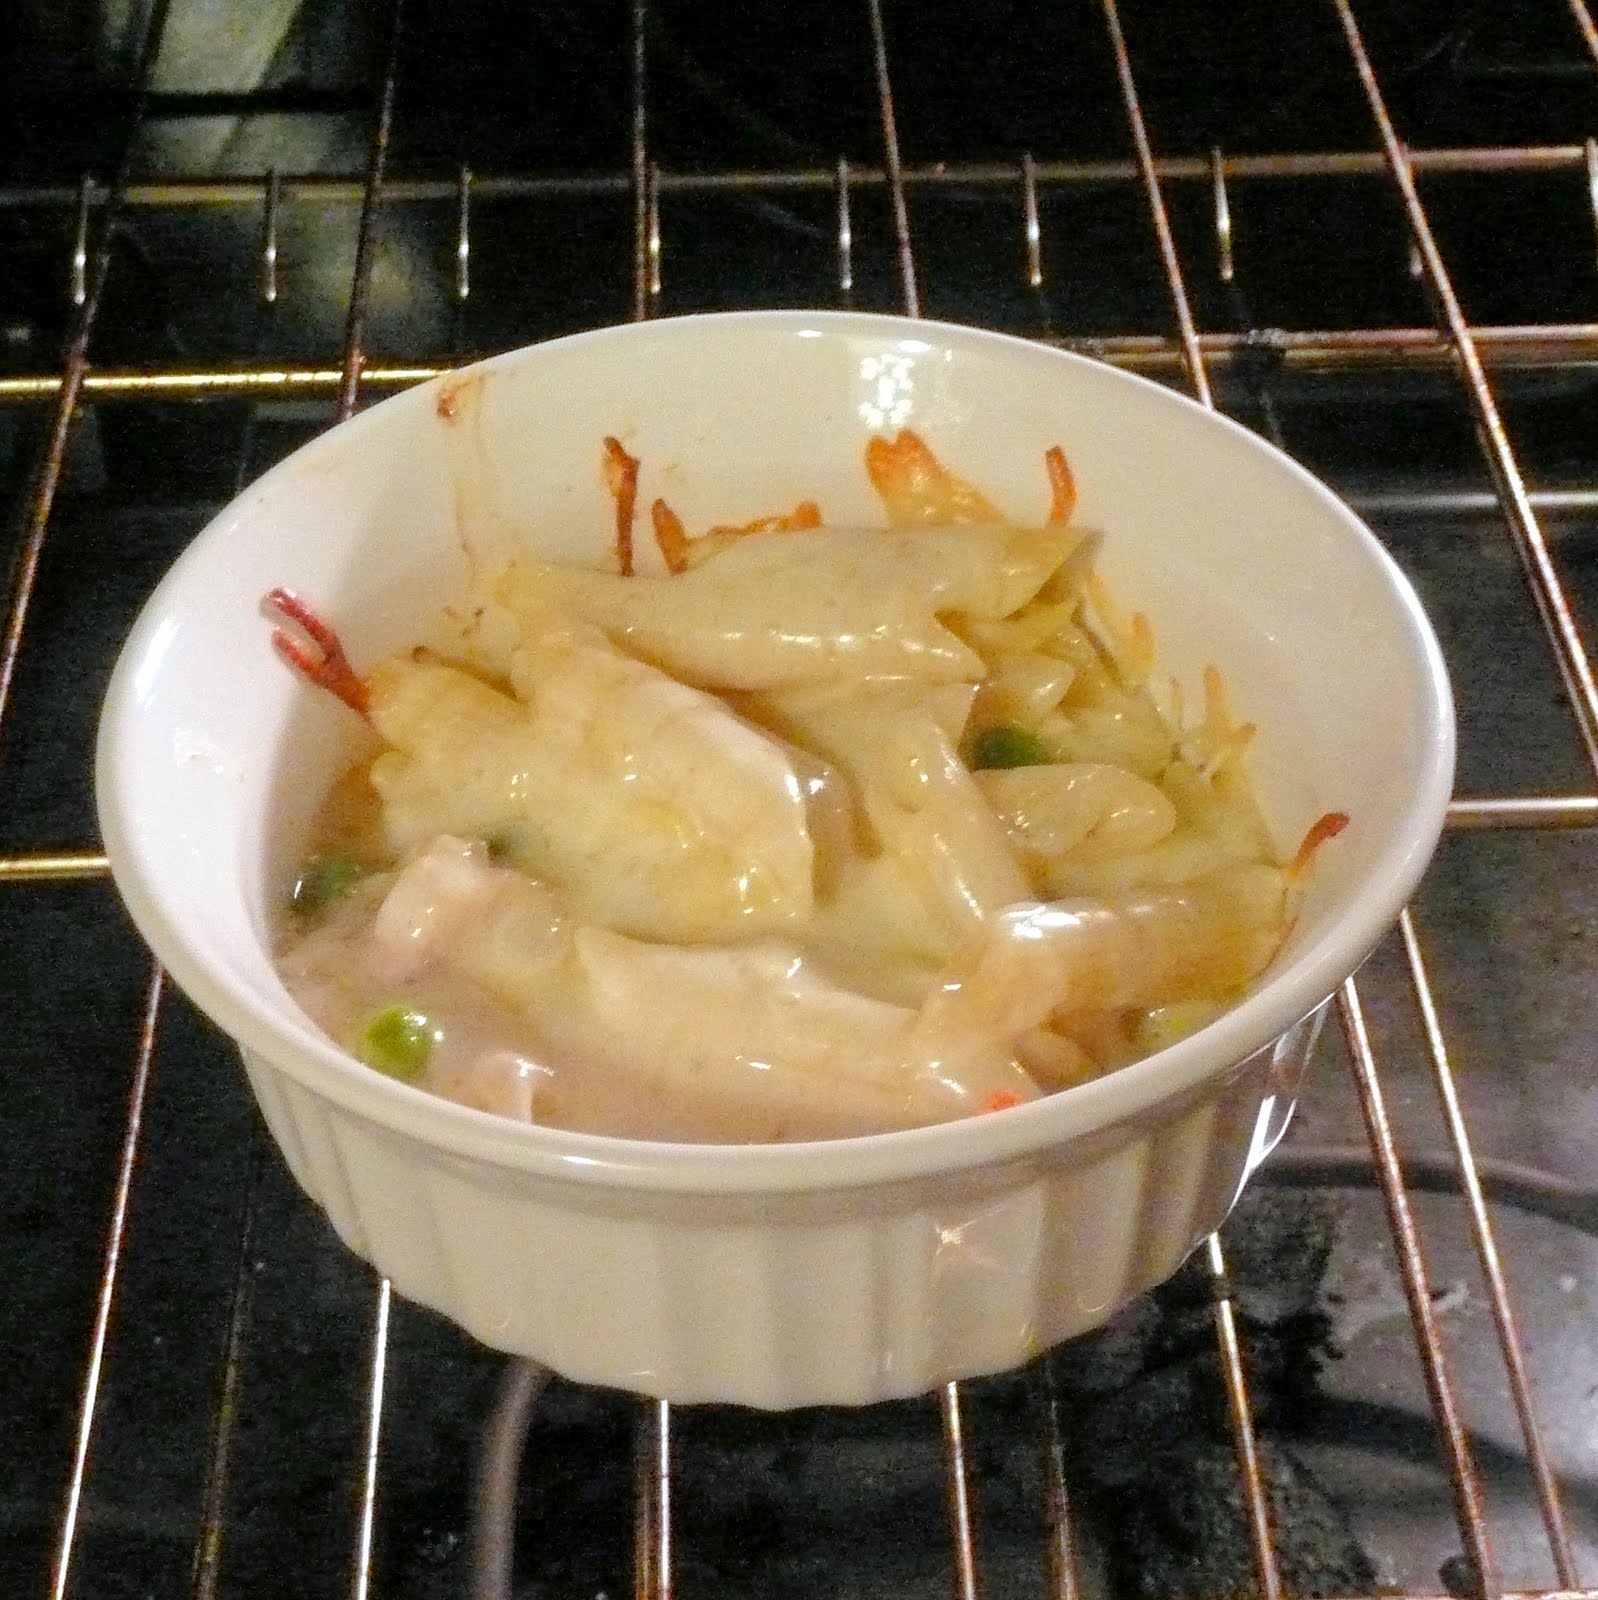
I transferred these into tupperware dishes. I included a freezer bag of cheese and put them in the freezer.
To cook, thaw the meal in the refrigerator (about 24 hours). Add to a casserole dish and top with the cheese.
Preheat the oven to 400 degrees. Cover with aluminum foil sprayed with vegetable spray. Bake for 20 to 30 minutes.
Remove foil and bake for another 15 to 20 minutes. Sprinkle with tarragon and serve.
Whew. I heated up a tiny portion of this, just to make sure it was edible. Well, it was more than edible, it was really quite good! I was impressed with how much flavor was in the dish. Thanks for such a great recipe Bad Girl’s Kitchen!