This weekend, I was given the opportunity to attend a nifty event outside of Philadelphia, at the King of Prussia Mall. Sponsored by Cadillac, Share Our Strength, and Bon Appetit, the Cadillac Culinary Challenge Test Drive was one snazzy event.
From 10 am to 6 pm on Saturday and Sunday, attendees were given the opportunity to check out and test drive different Cadillac models as well as attend three culinary demonstrations (held at 11:30am, 2pm and 4pm). I actually got to be one of the judges for the 2pm challenge on Sunday which was a great experience.
Chef David Burke competed against Philadelphia’s own Chef Walter Staib, cooking a meal right there in front of an audience.
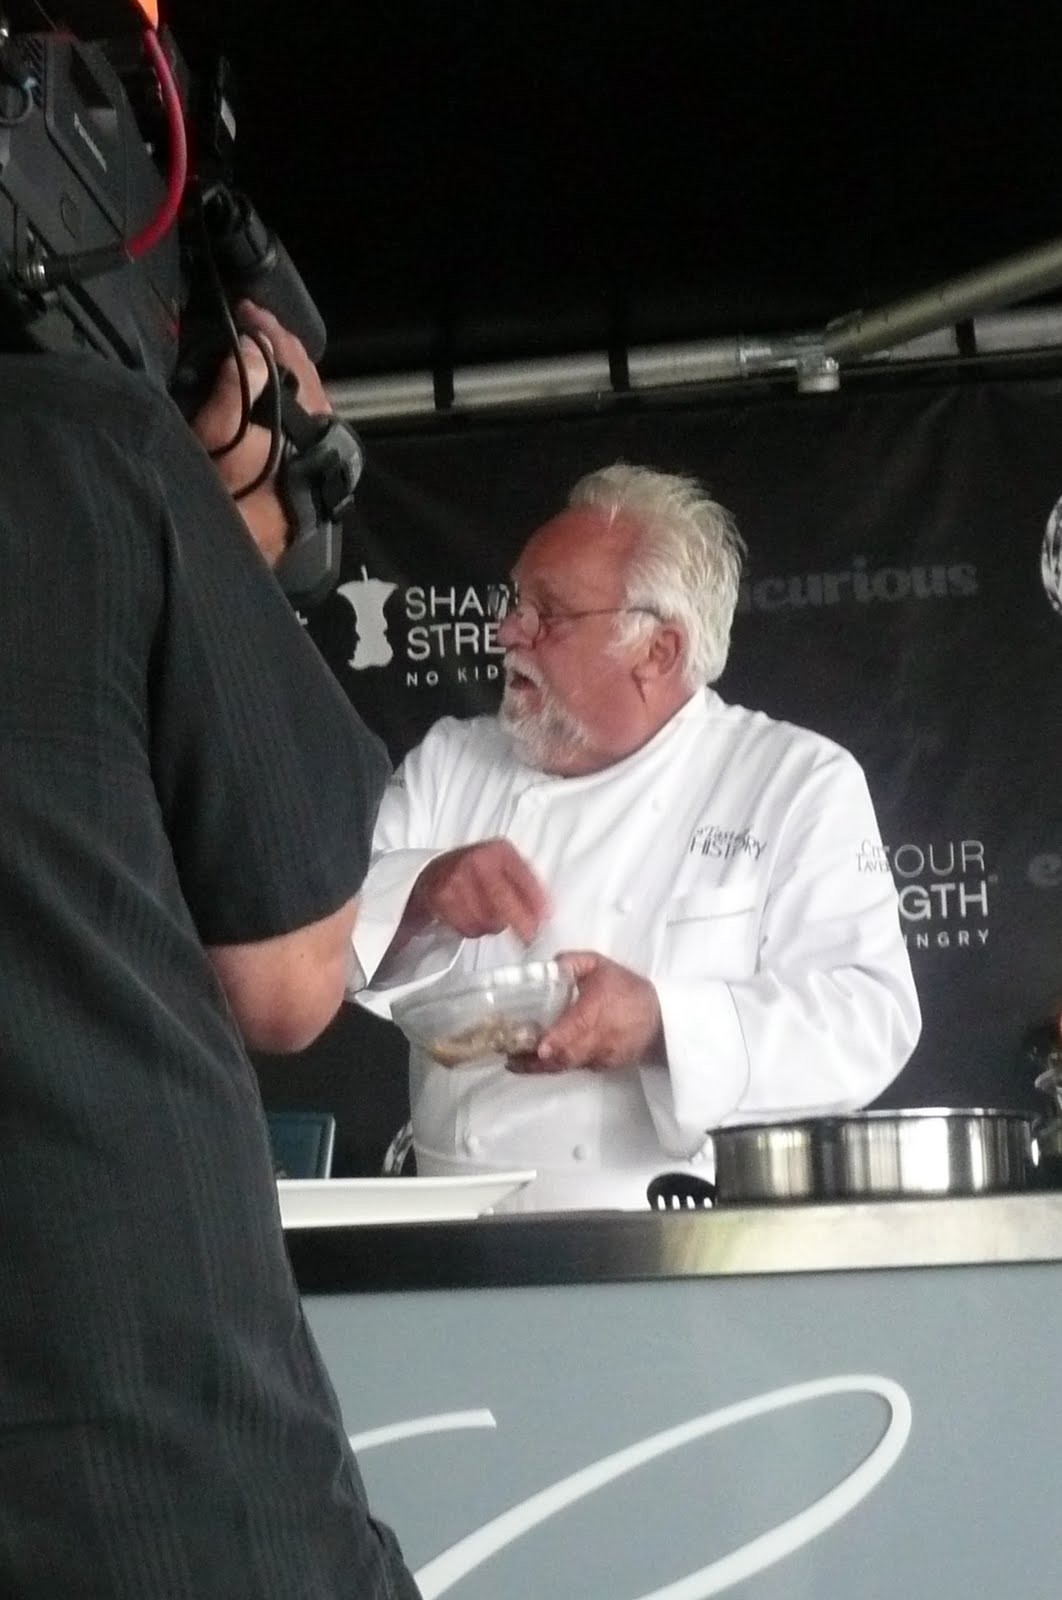 |
| Walter Staib |
 |
| David Burke |
The chefs were given the theme of “Old Philadelphia versus New Philadelphia,” with Chef Staib making Chicken Napoleon a la Jefferson and Chef Burke cooking a 55-Day Dry-Aged Cheese Steak with Mushroom Chips (yes, a guy from New Jersey made a “four star cheese steak” in the hometown of wiz wit).
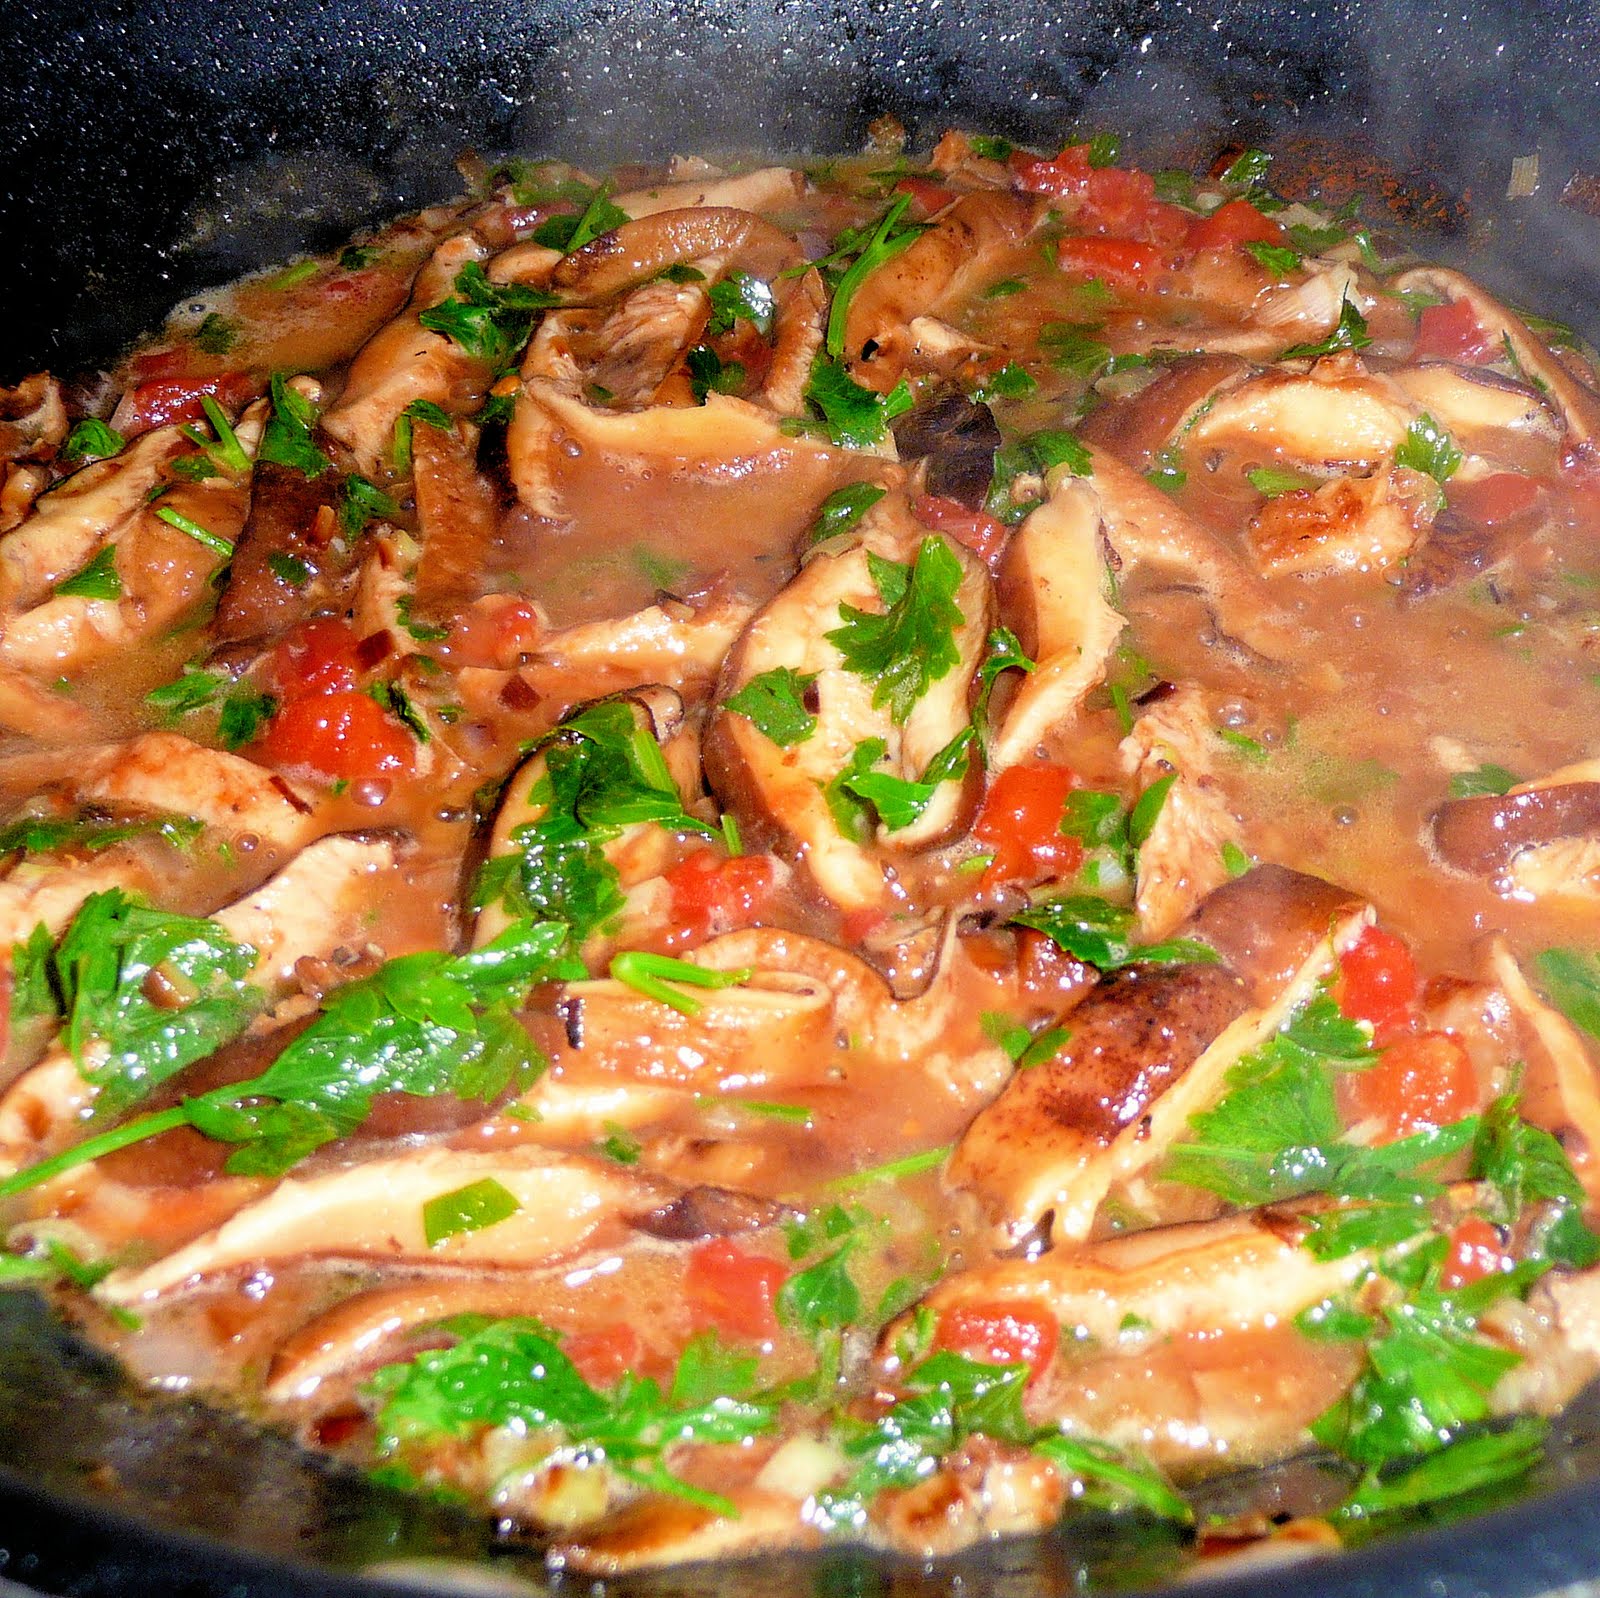
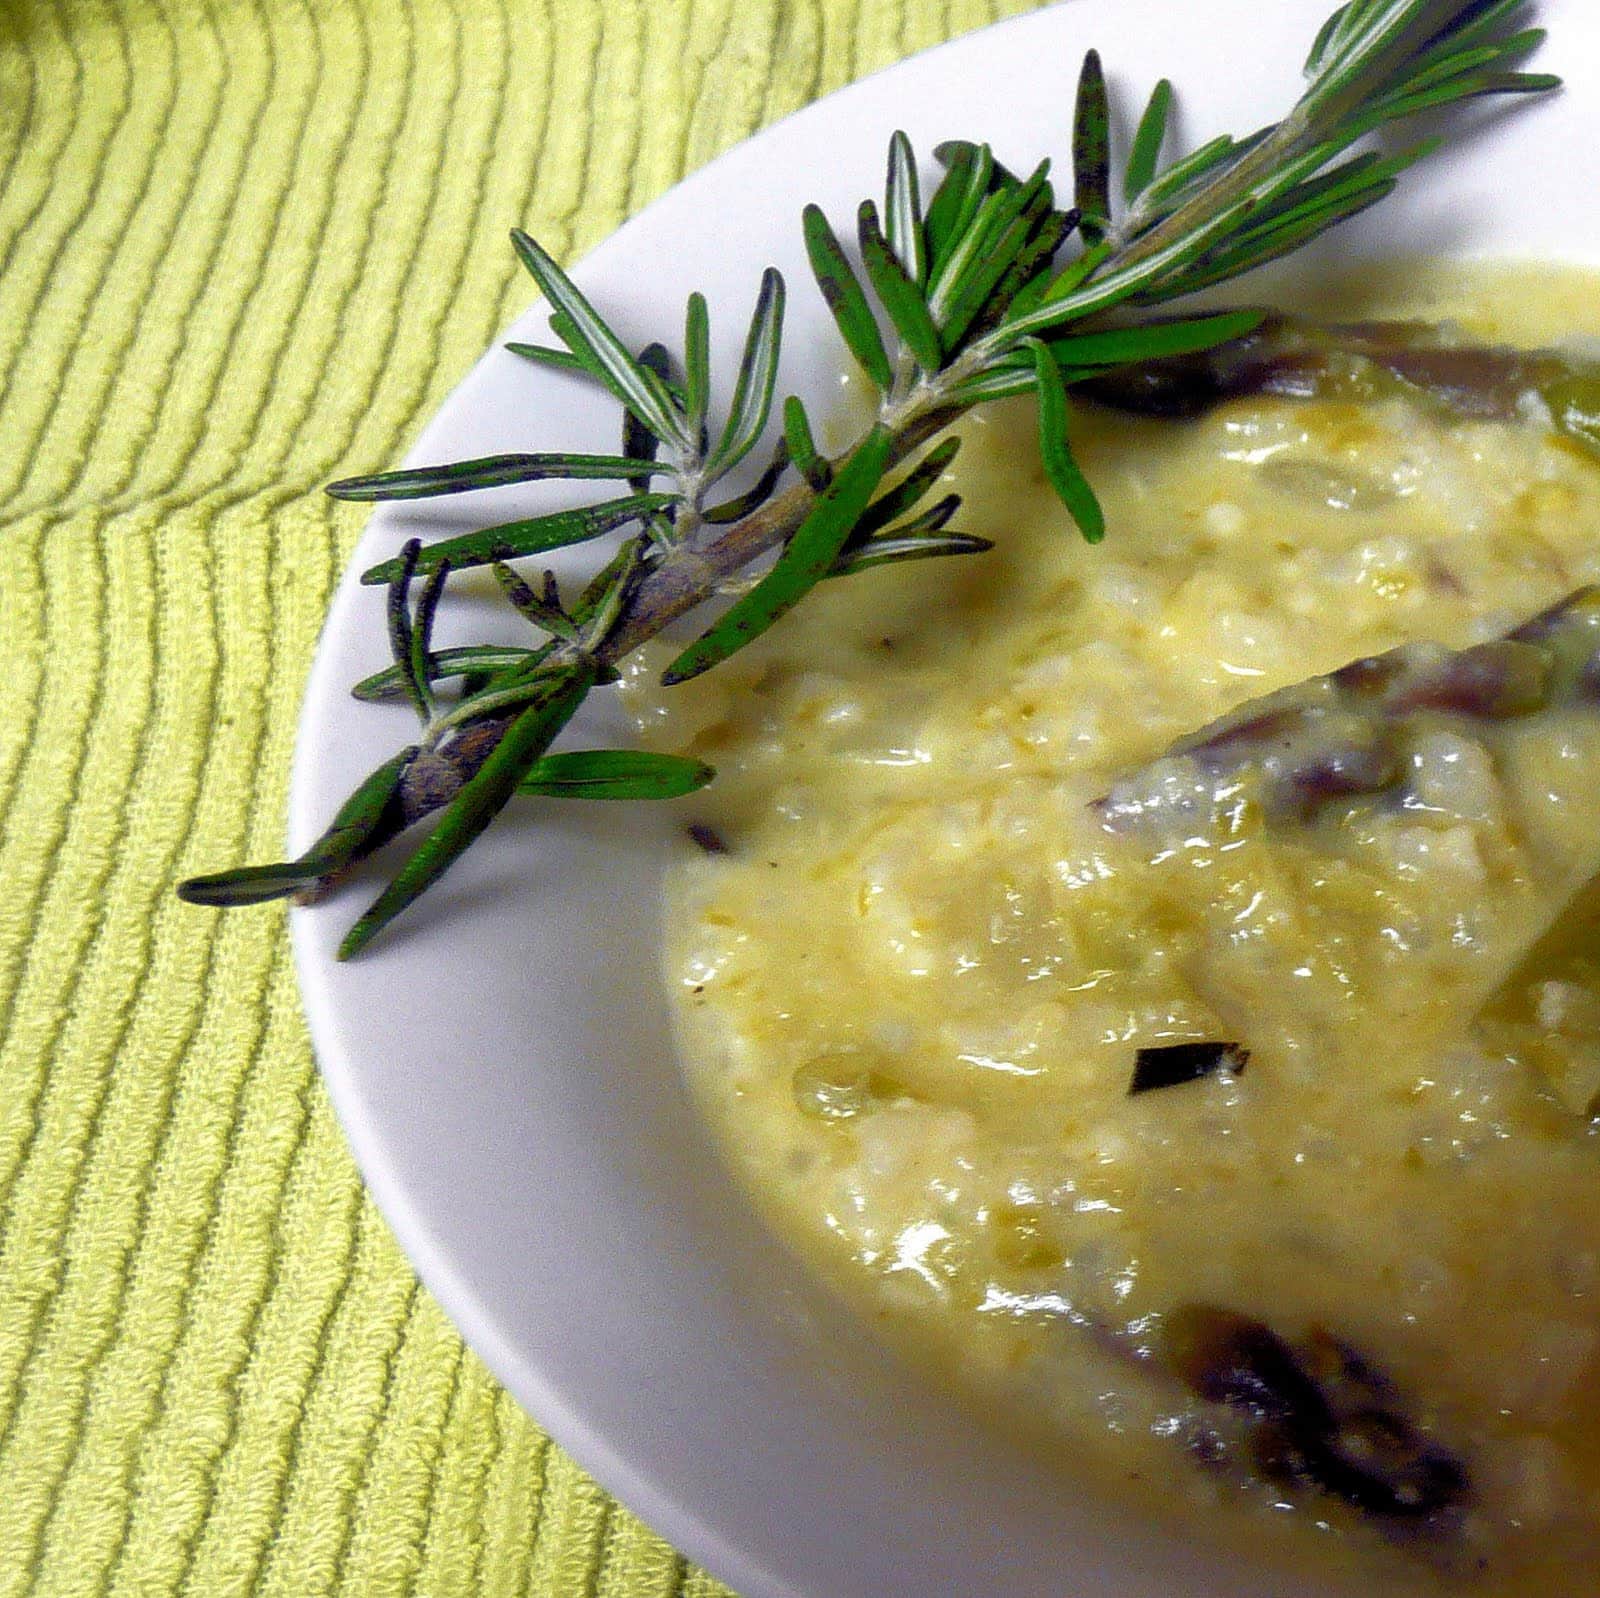
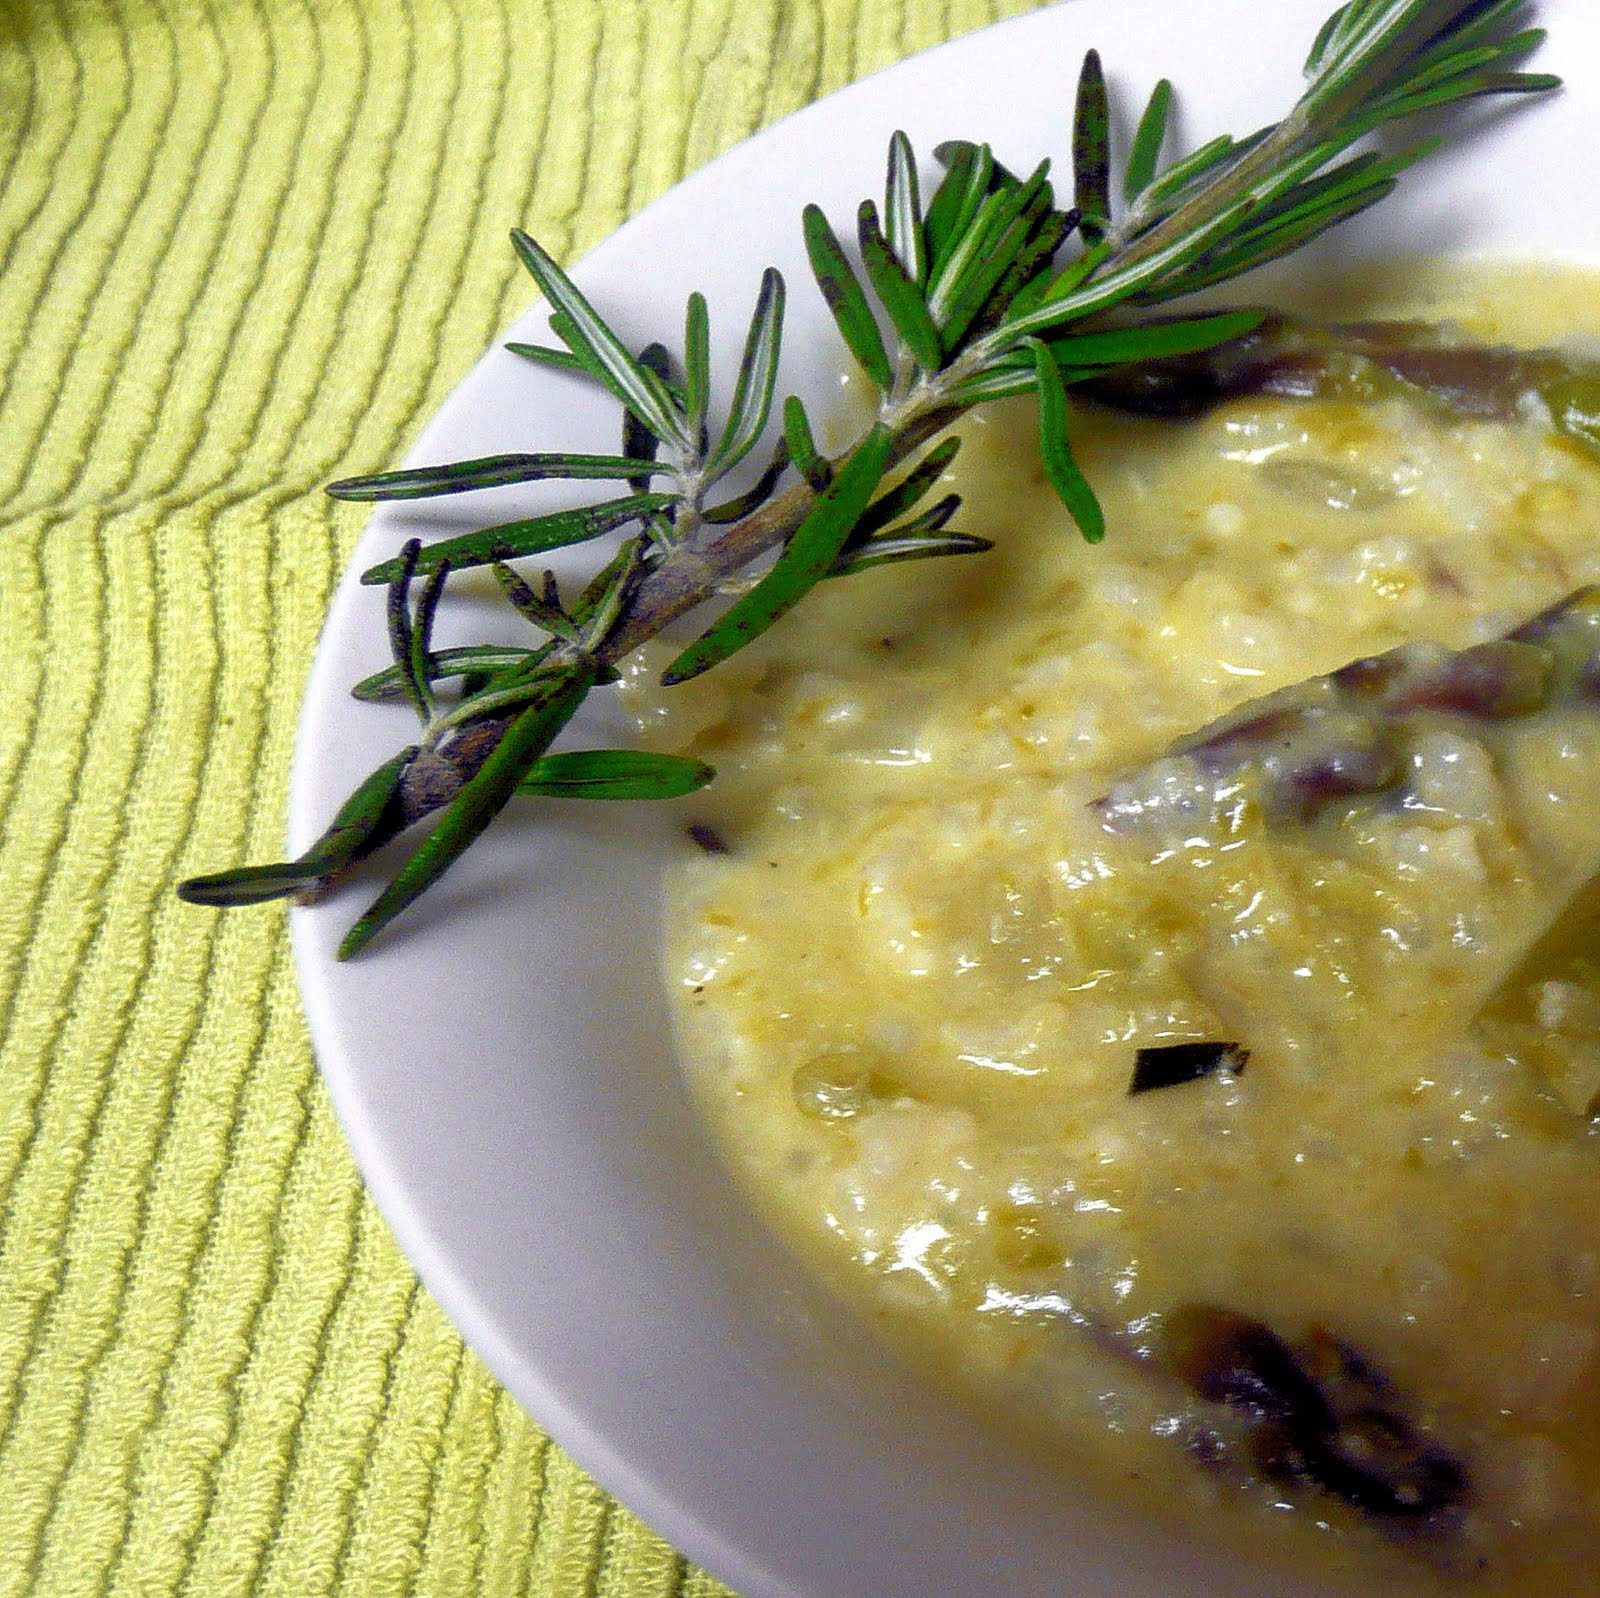
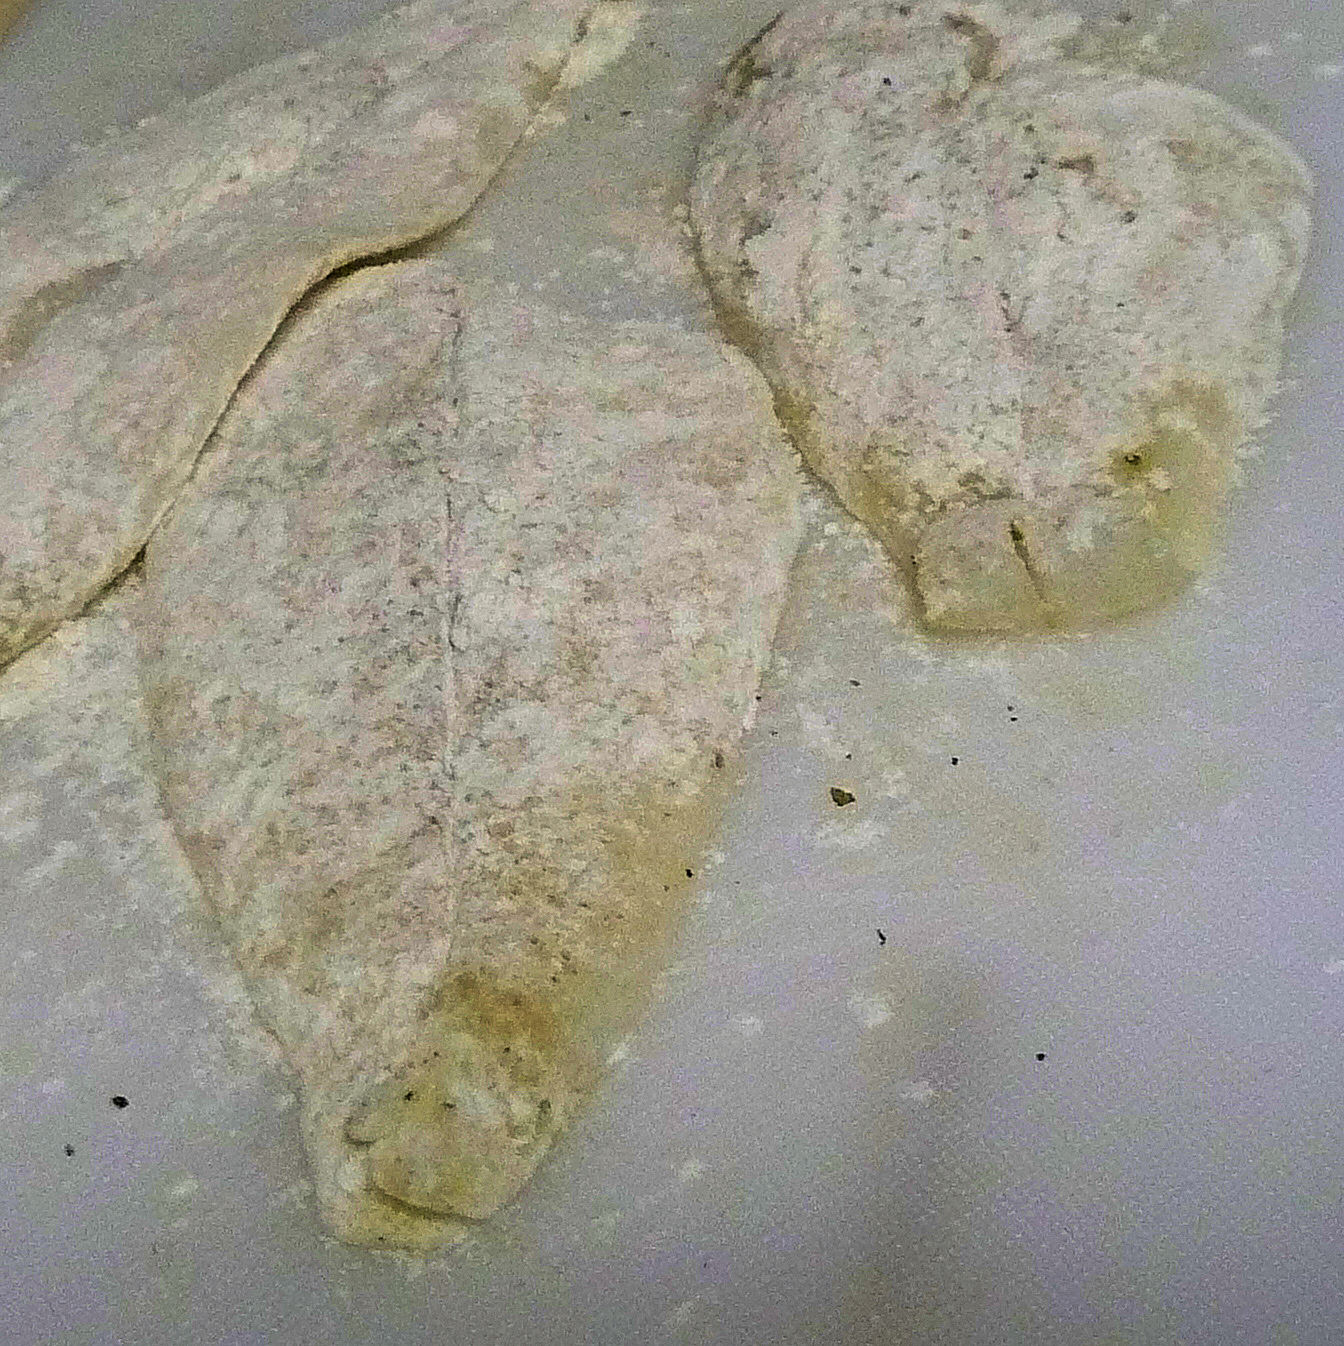
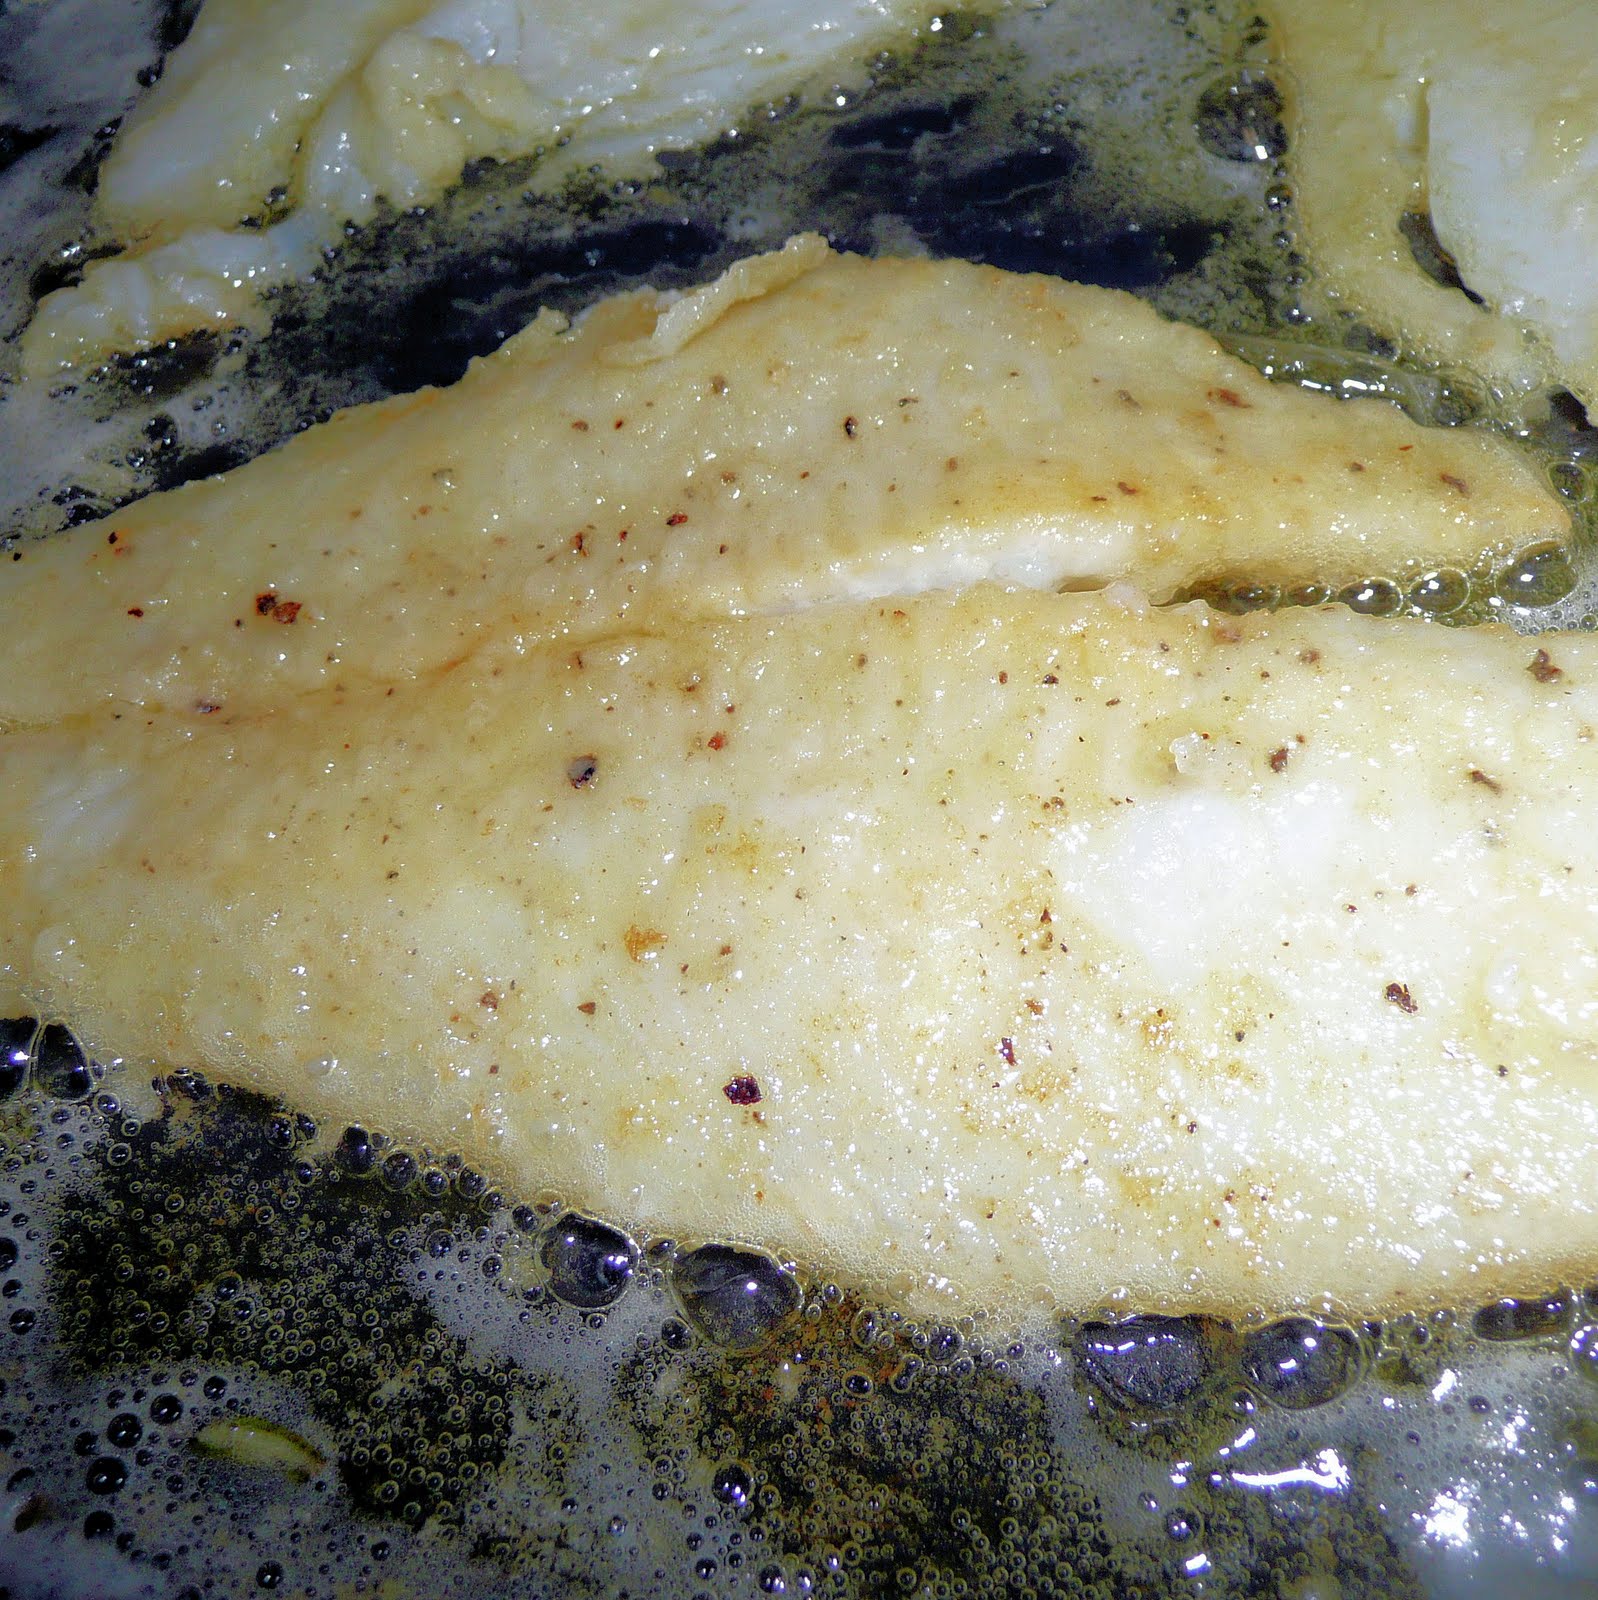
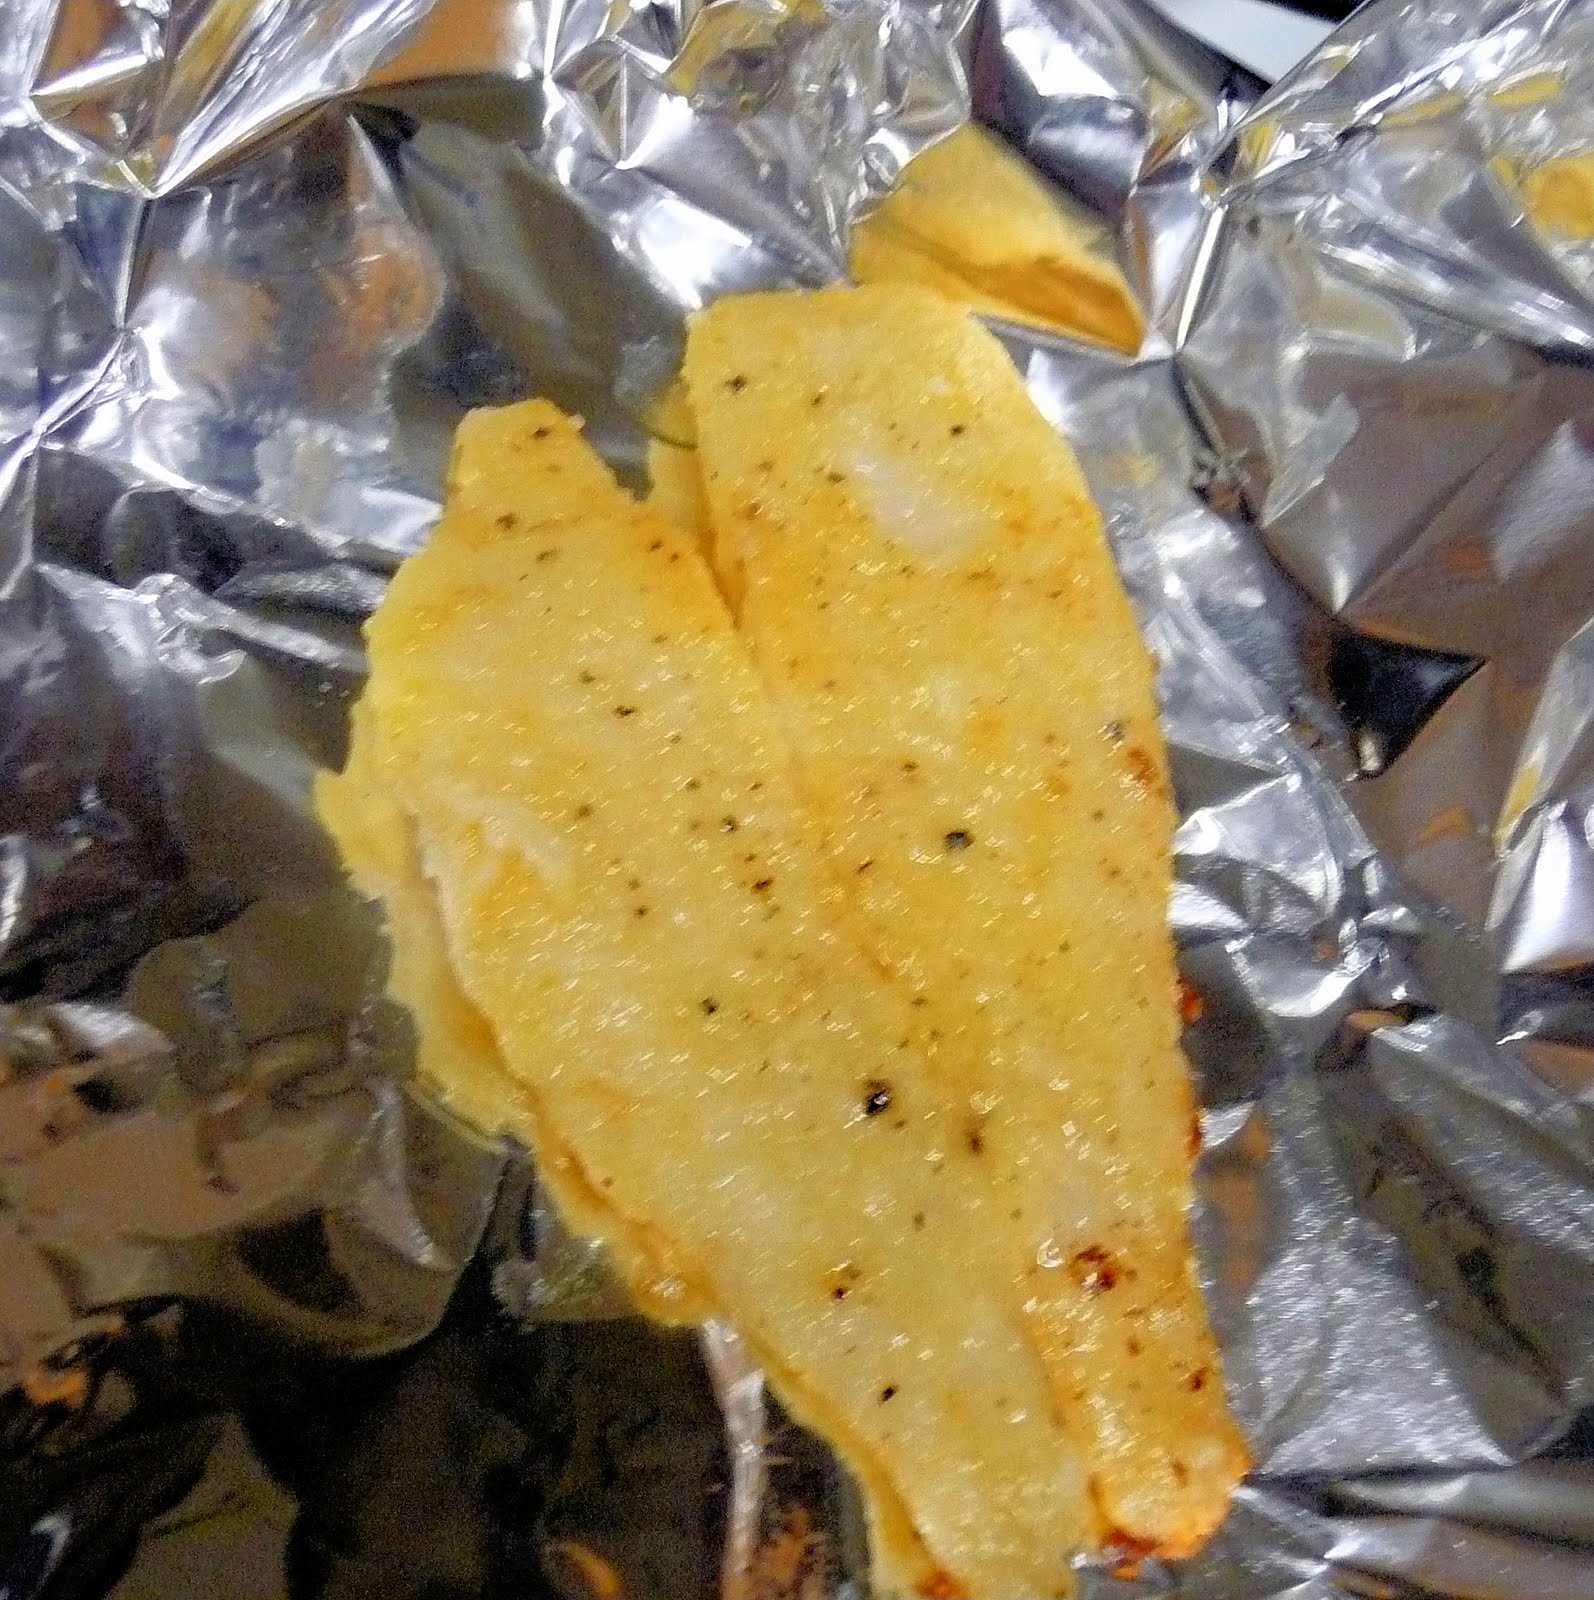
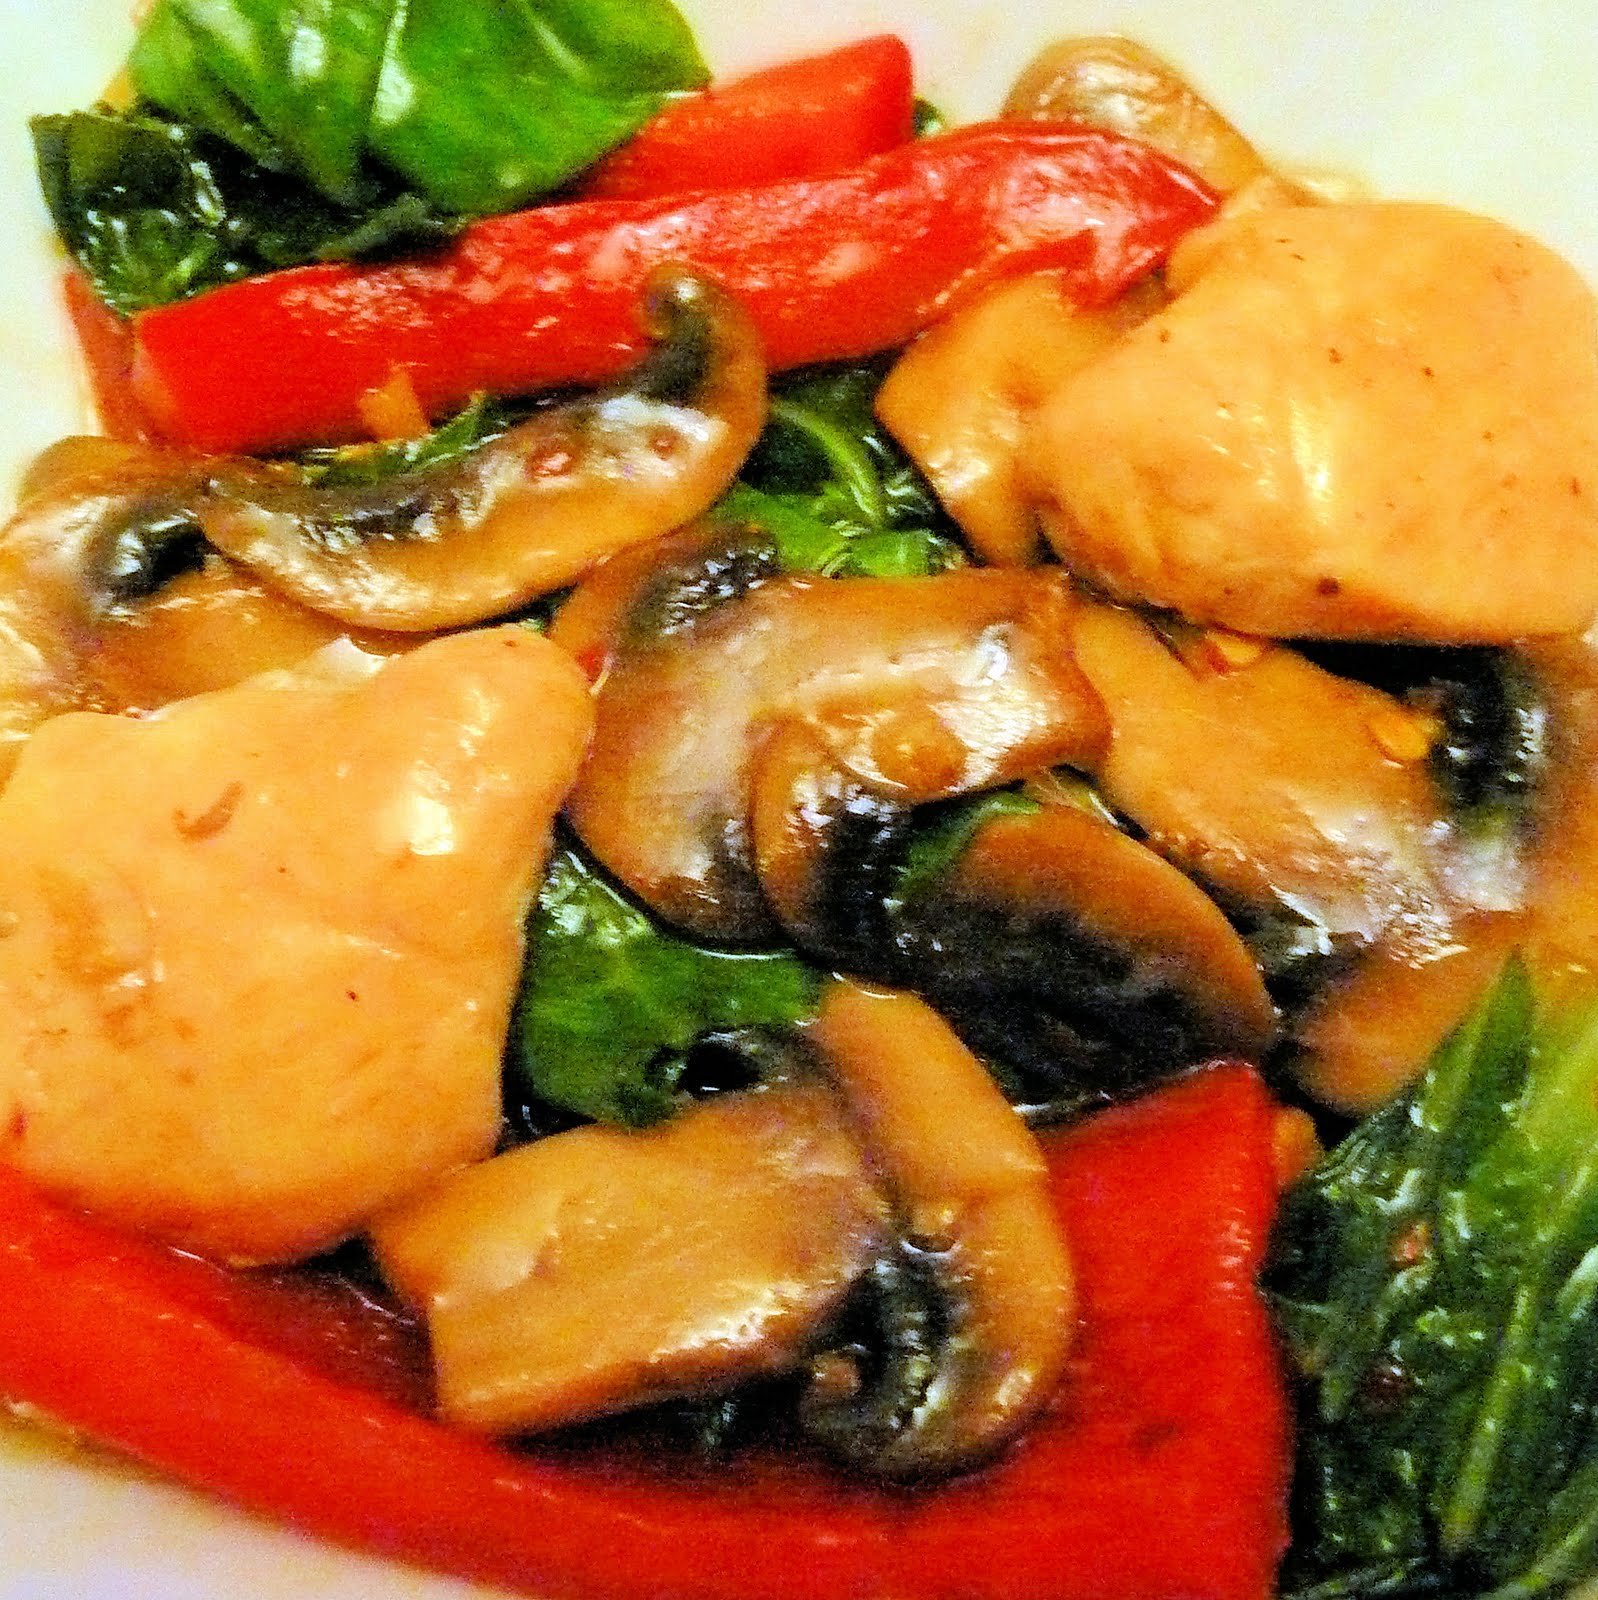
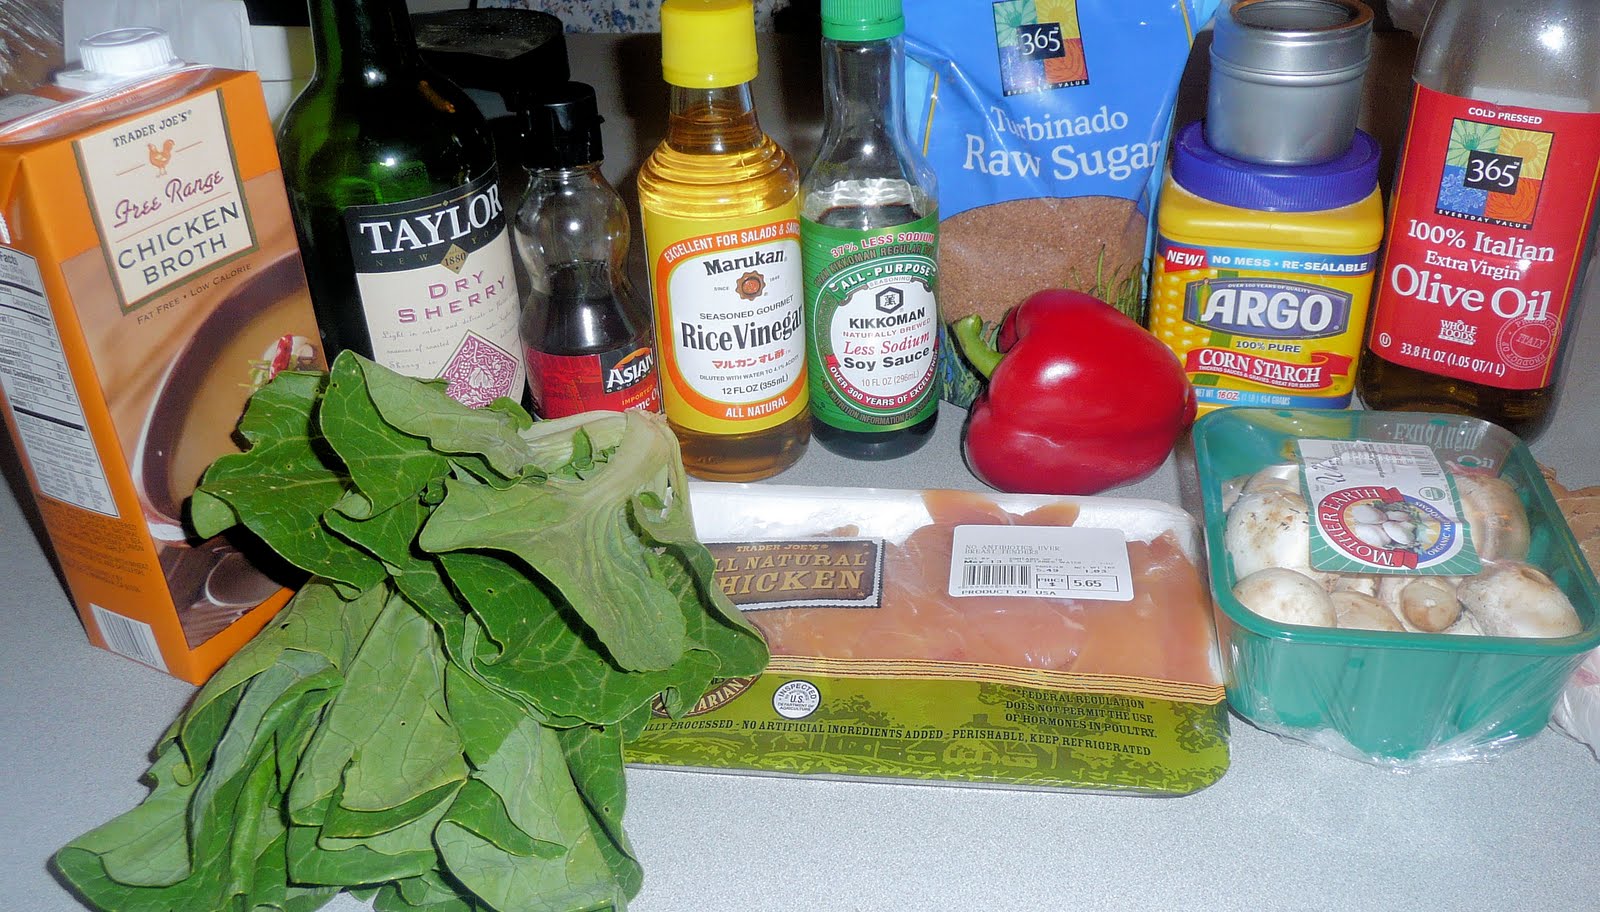
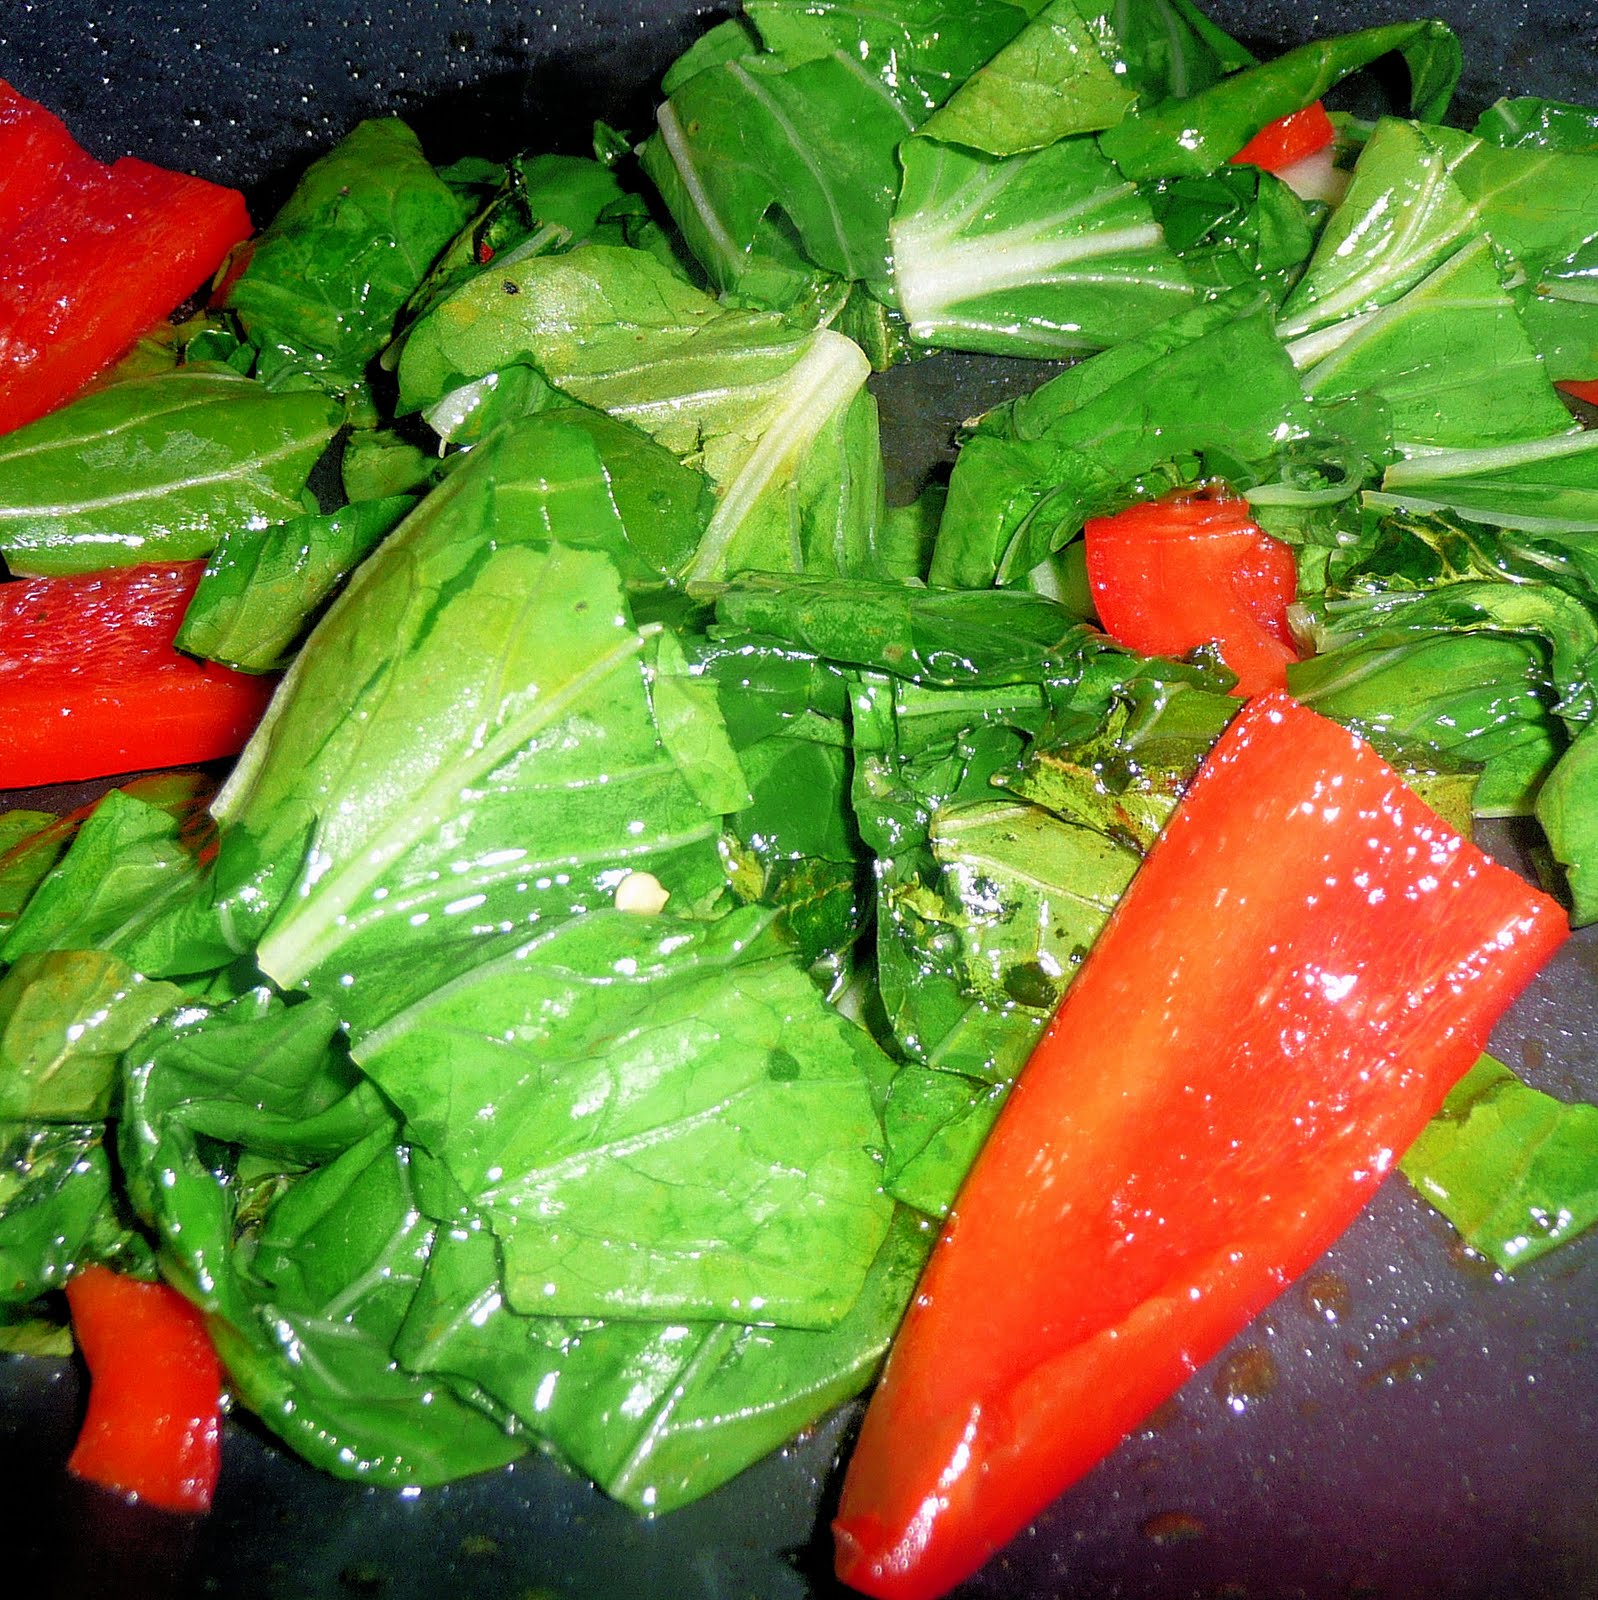
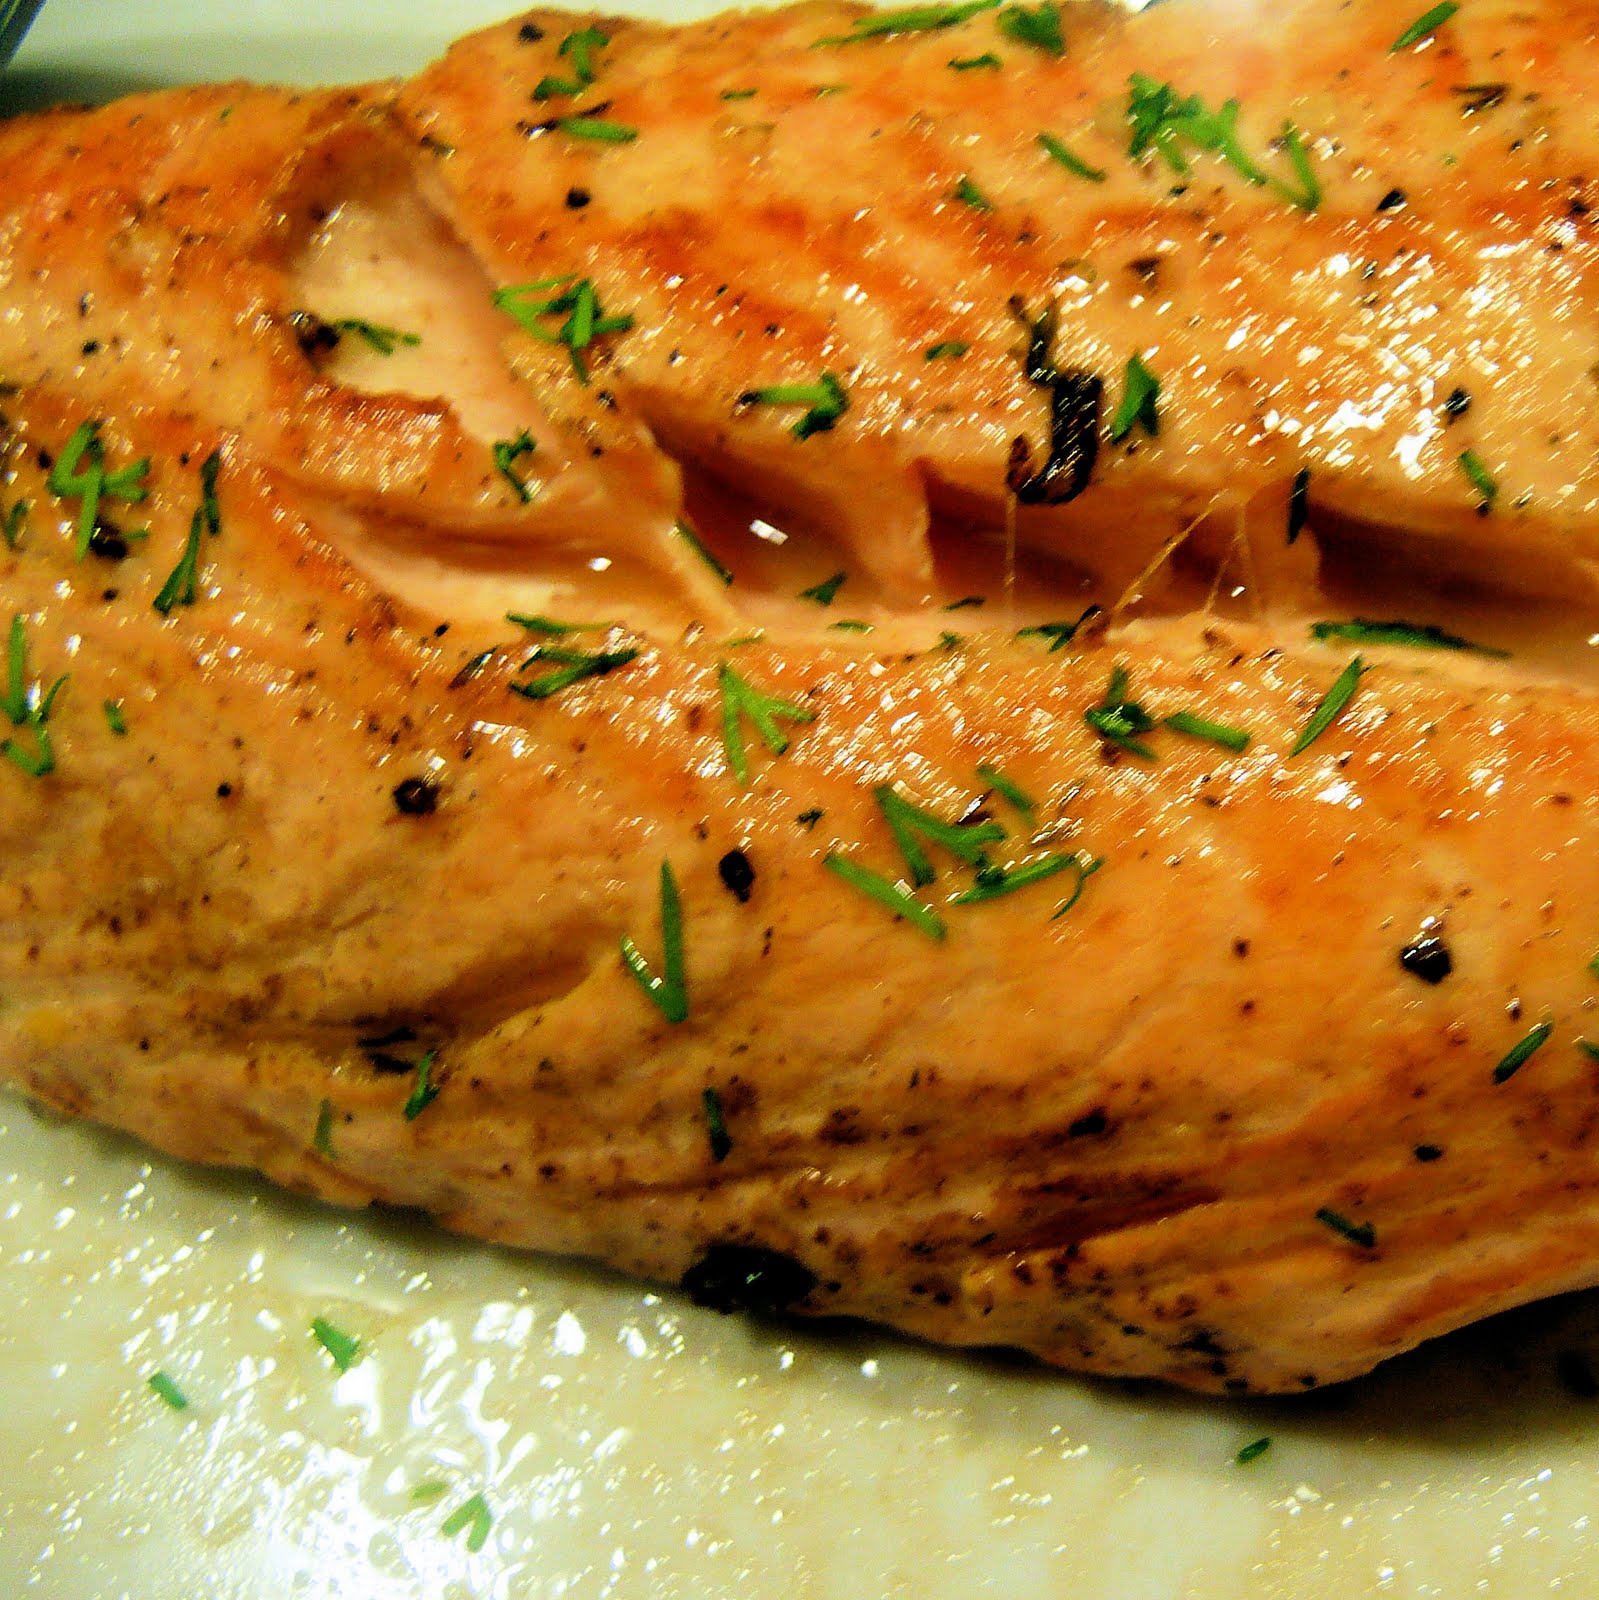
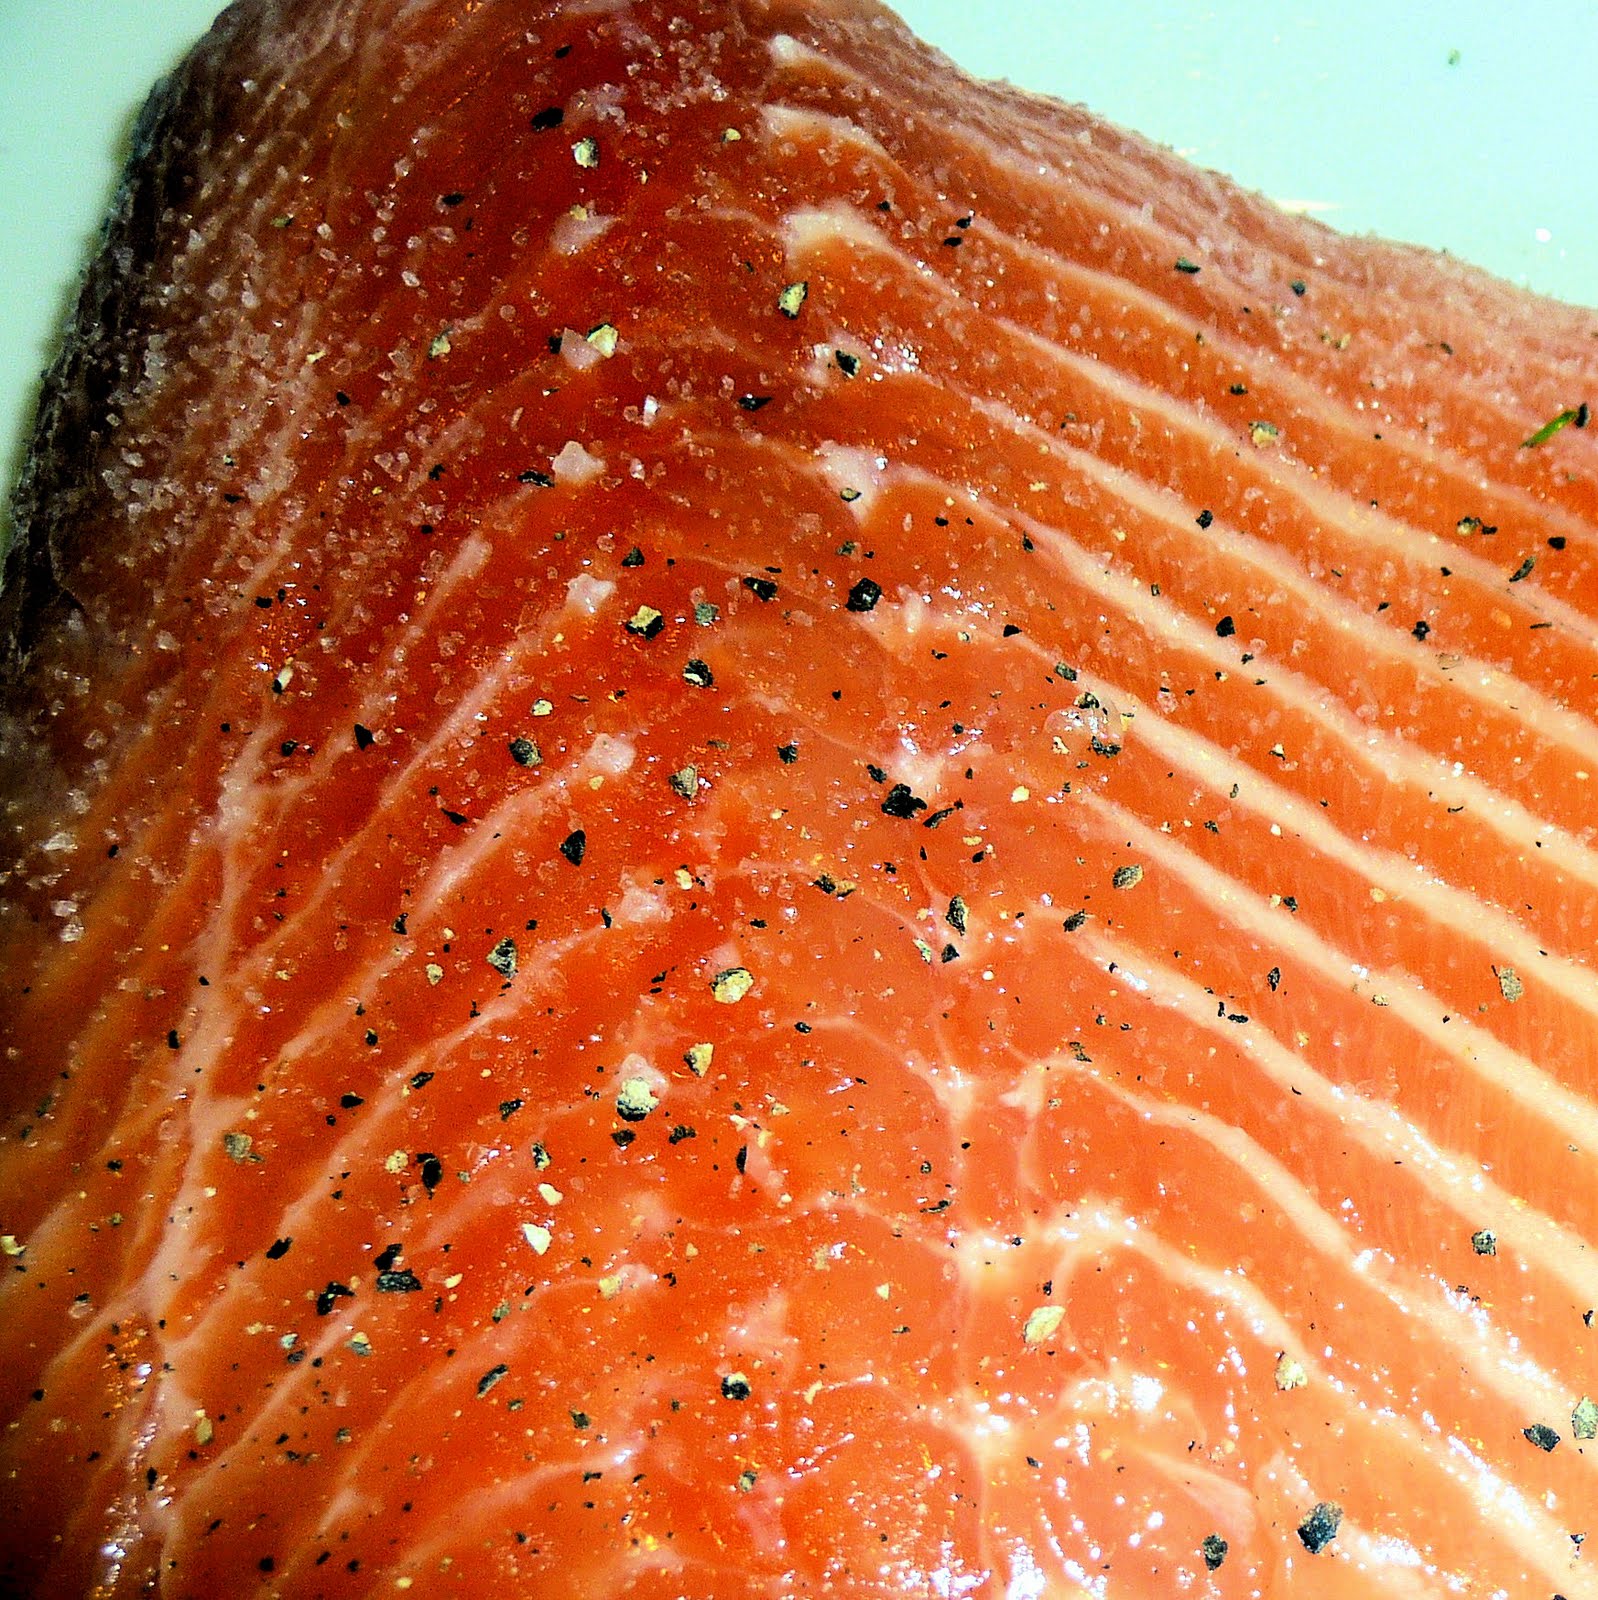
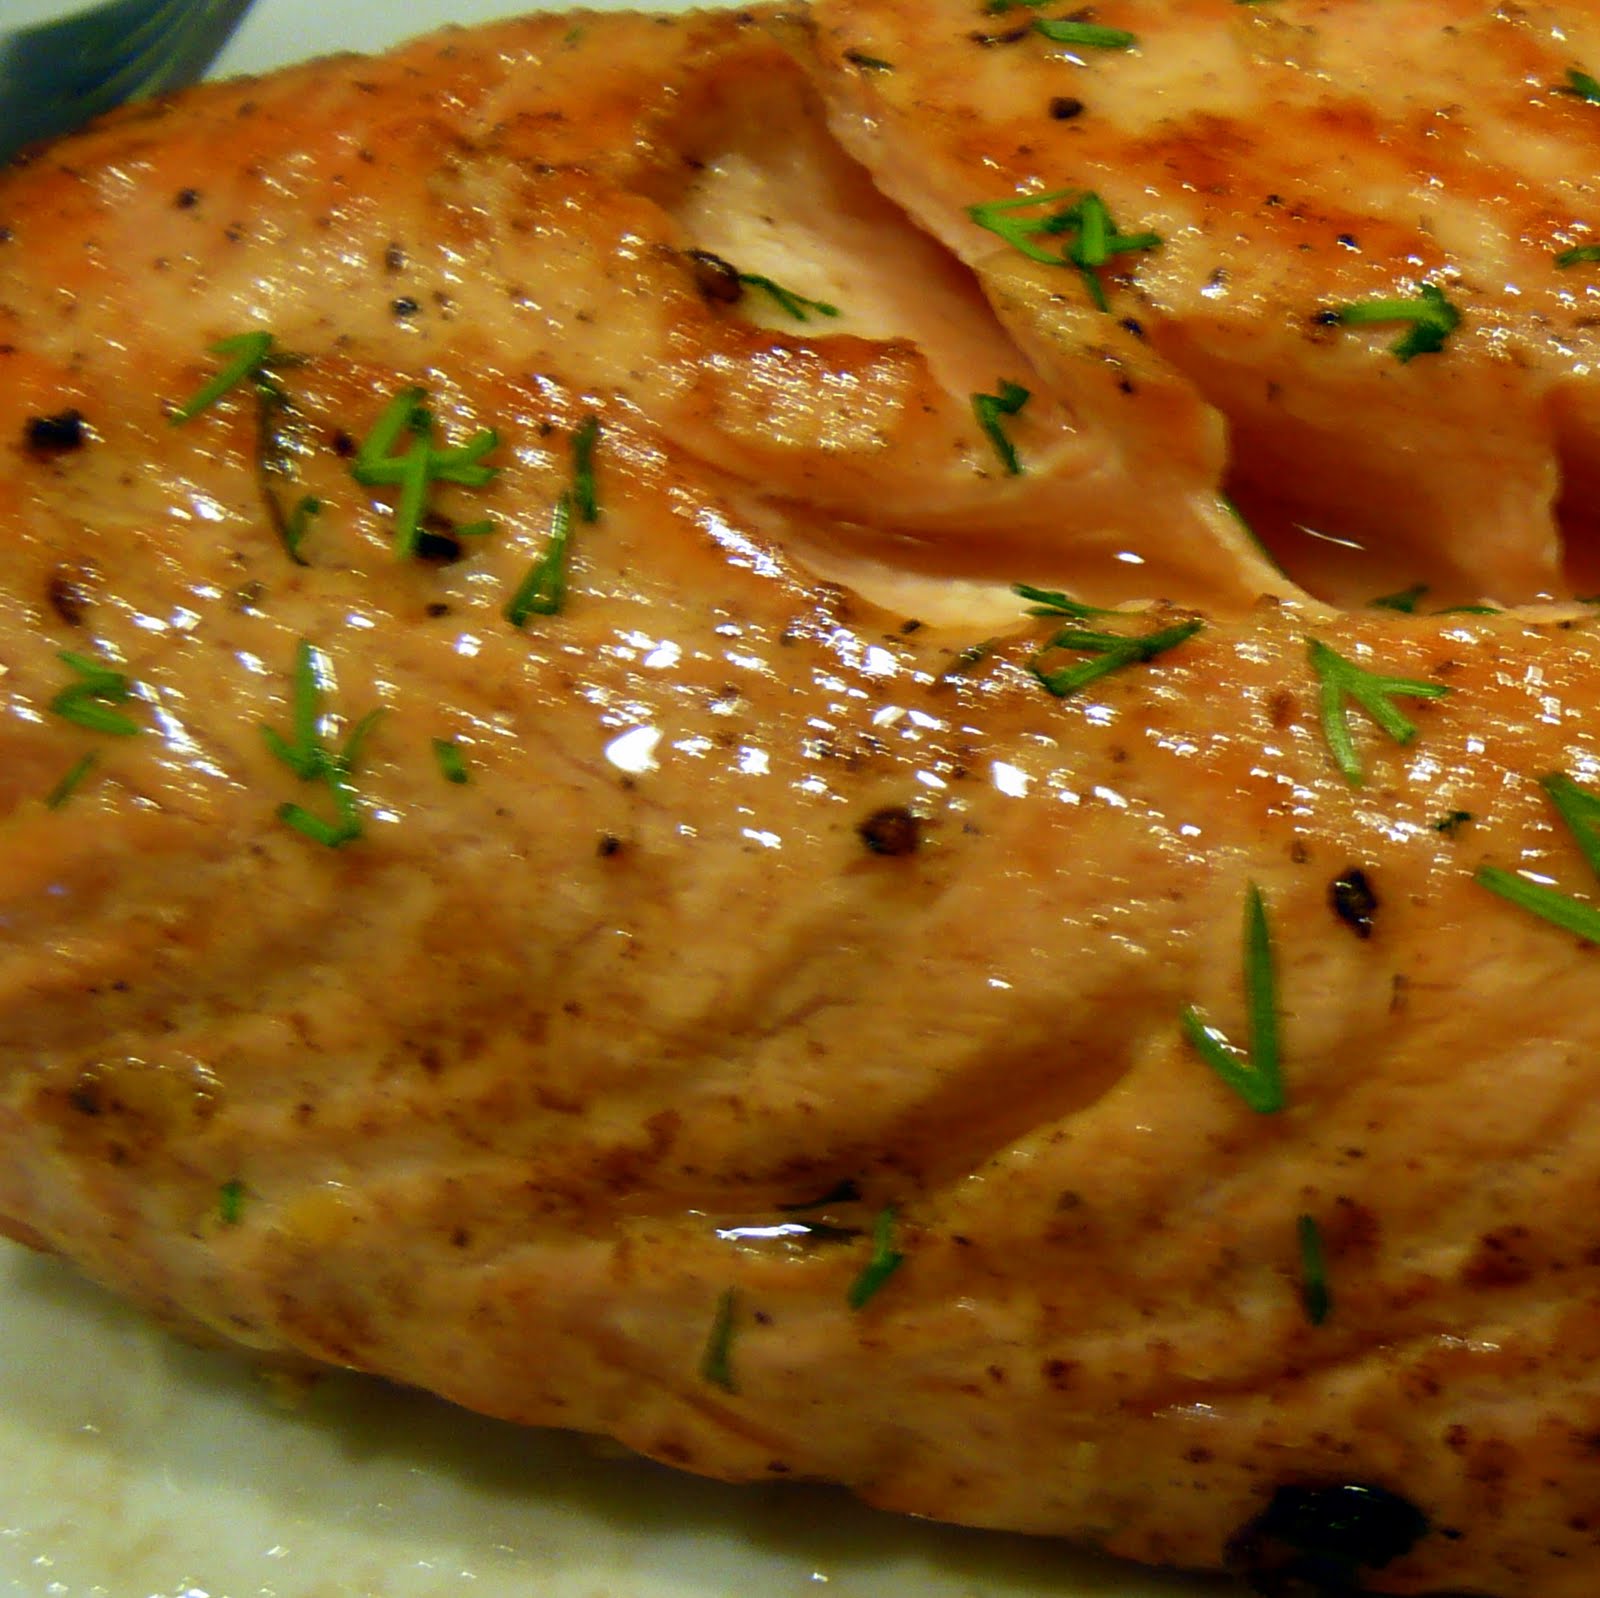
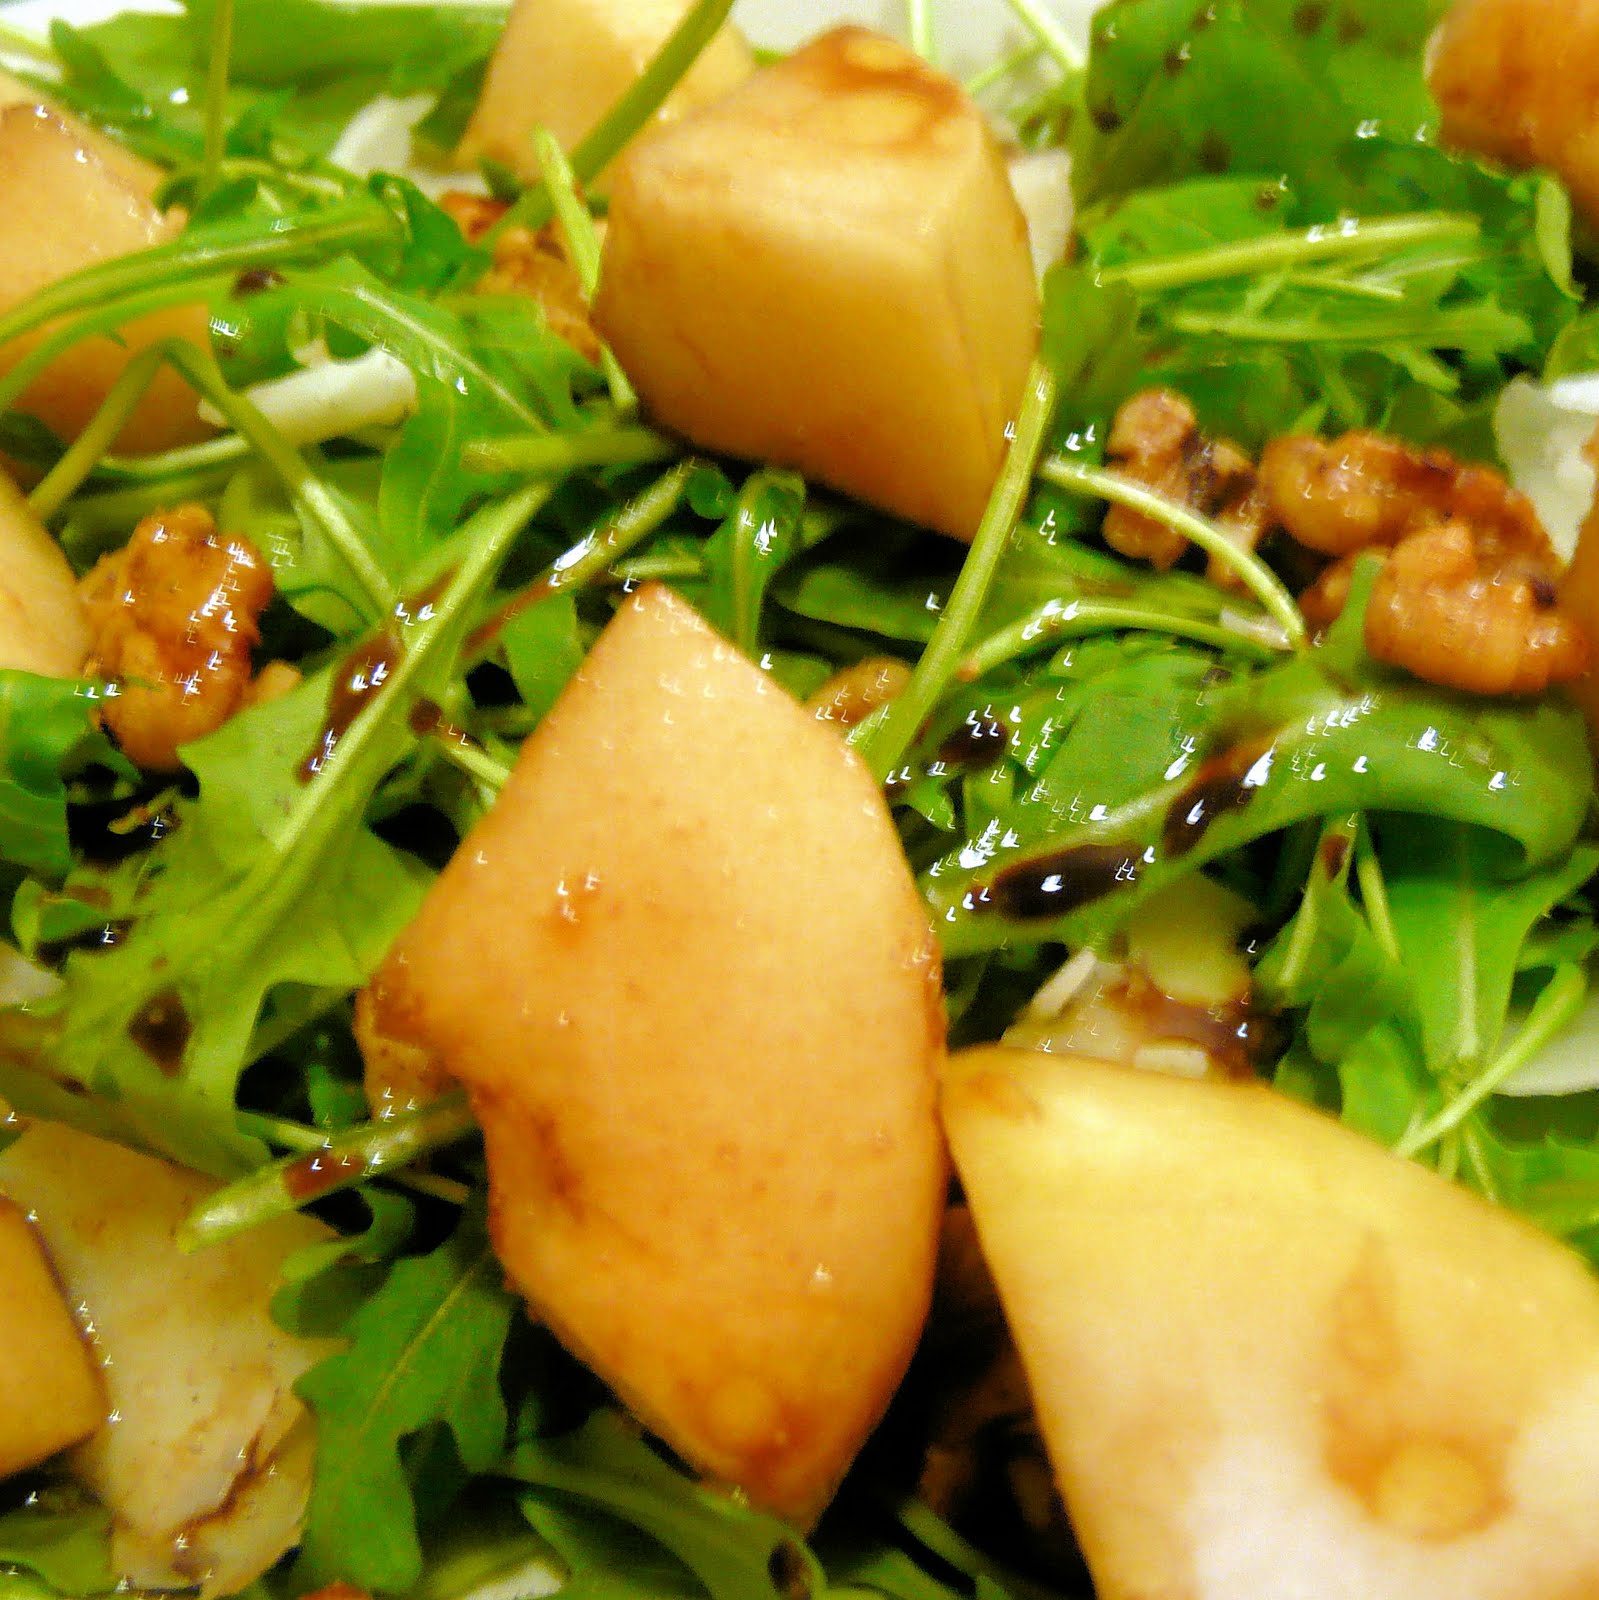
Chef Walter Staib’s Chicken Napoleon was comprised of an angel hair pasta frittata, wilted dandelion greens, and chicken doree. I can’t say I’m that much of a frittata fan, they just don’t usually have me coming back for more. But the pasta frittata was fantastic. Chef Staib mentioned that the reason he used a pasta frittata in the dish was because Jefferson is credited with introducing pasta to the United States (Thanks for that, Jefferson!). This was my first time having dandelion greens, and I was really impressed with the flavor! The greens are slightly bitter, which was a really nice mix with the frittata and chicken. Chicken doree is chicken breast marinated in tarragon leaves and oil, covered in flour and egg wash, and sauteed. The chicken had a nice crispy texture, but was still so moist inside. What a lovely mix of flavors!
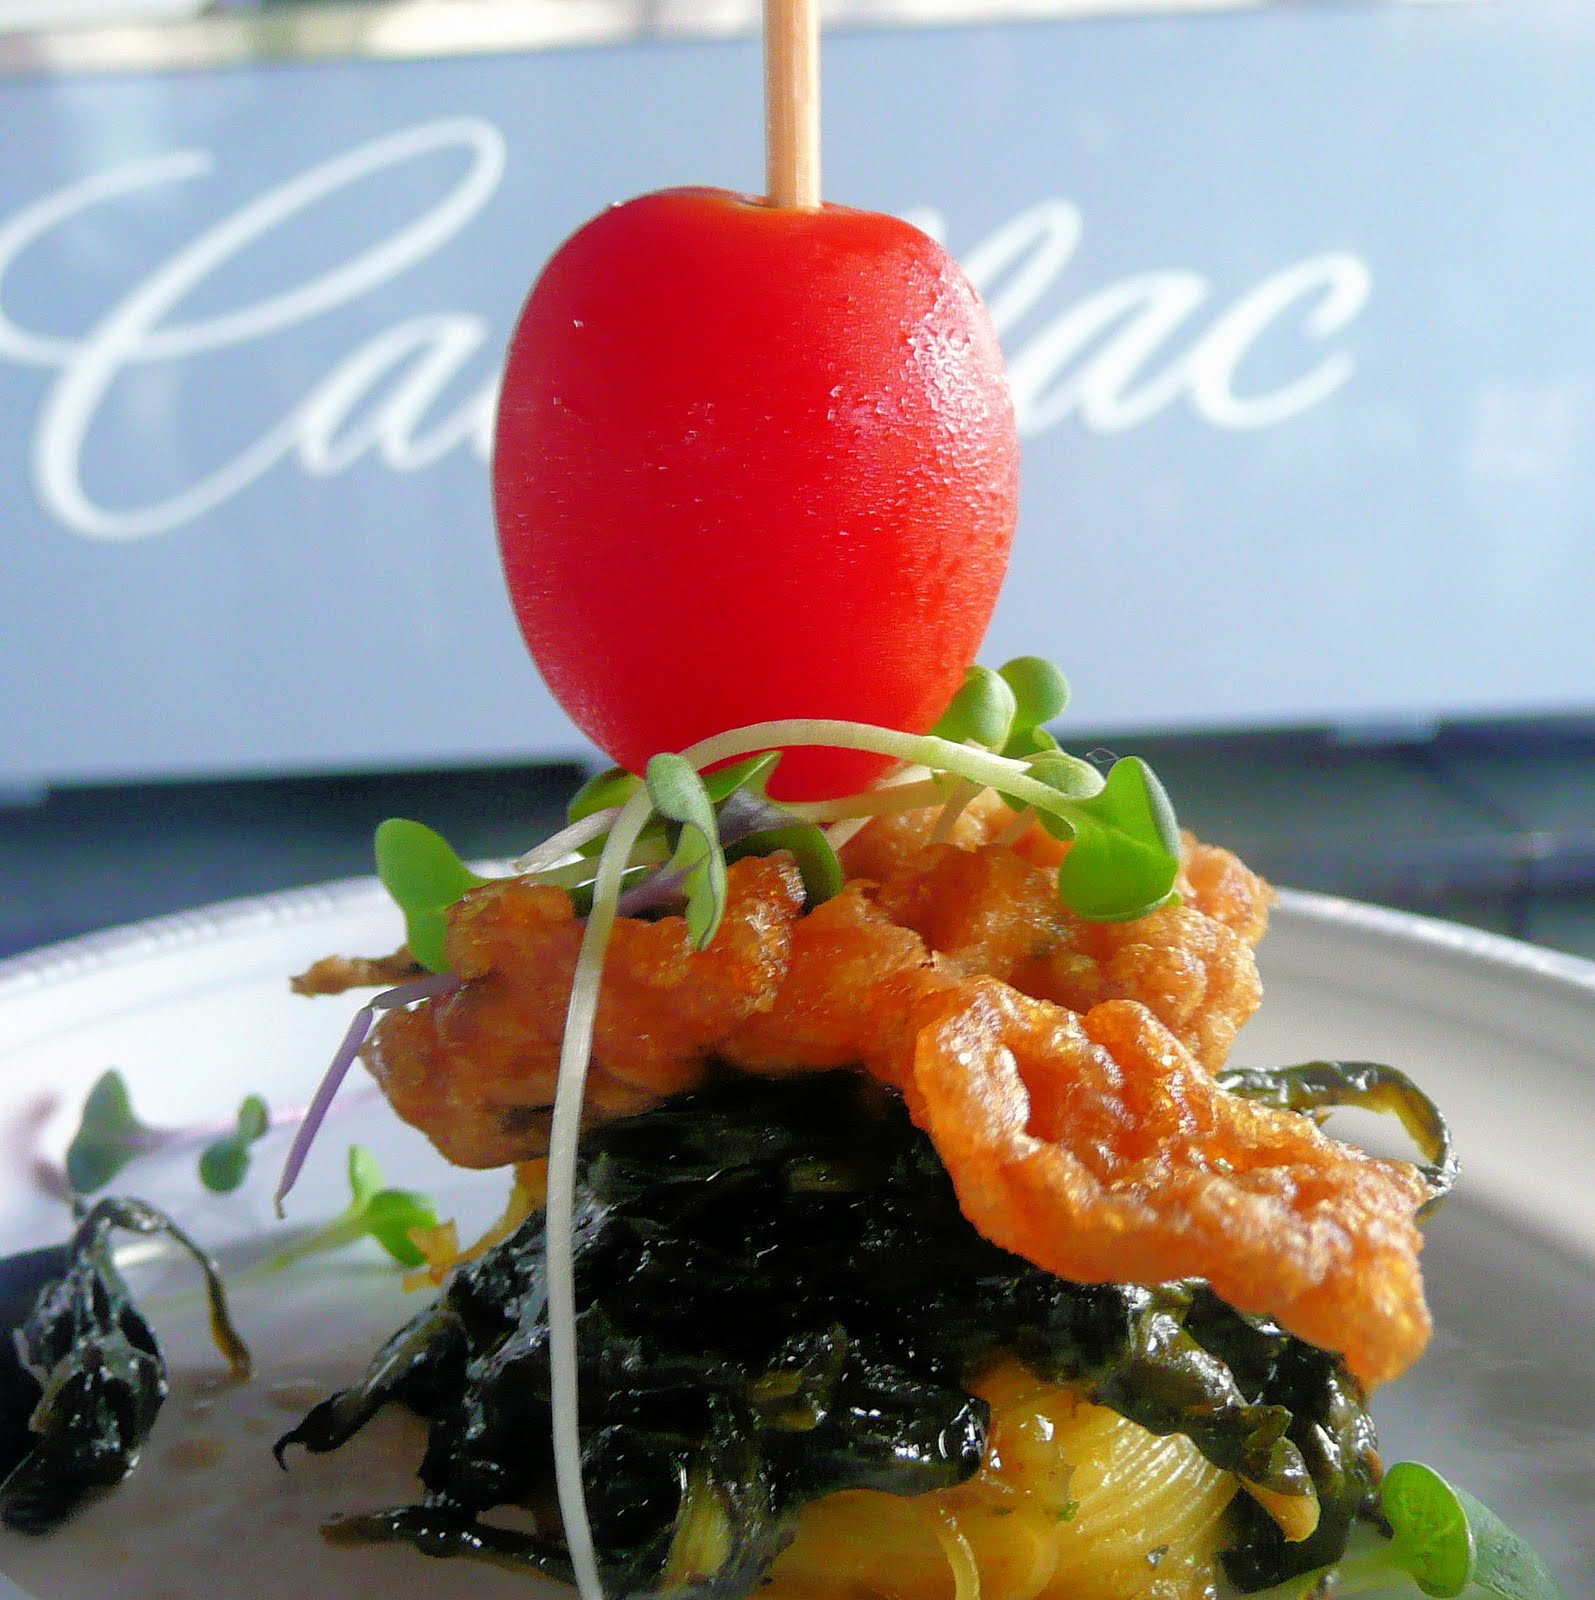 |
| Chicken Napoleon a la Jefferson |
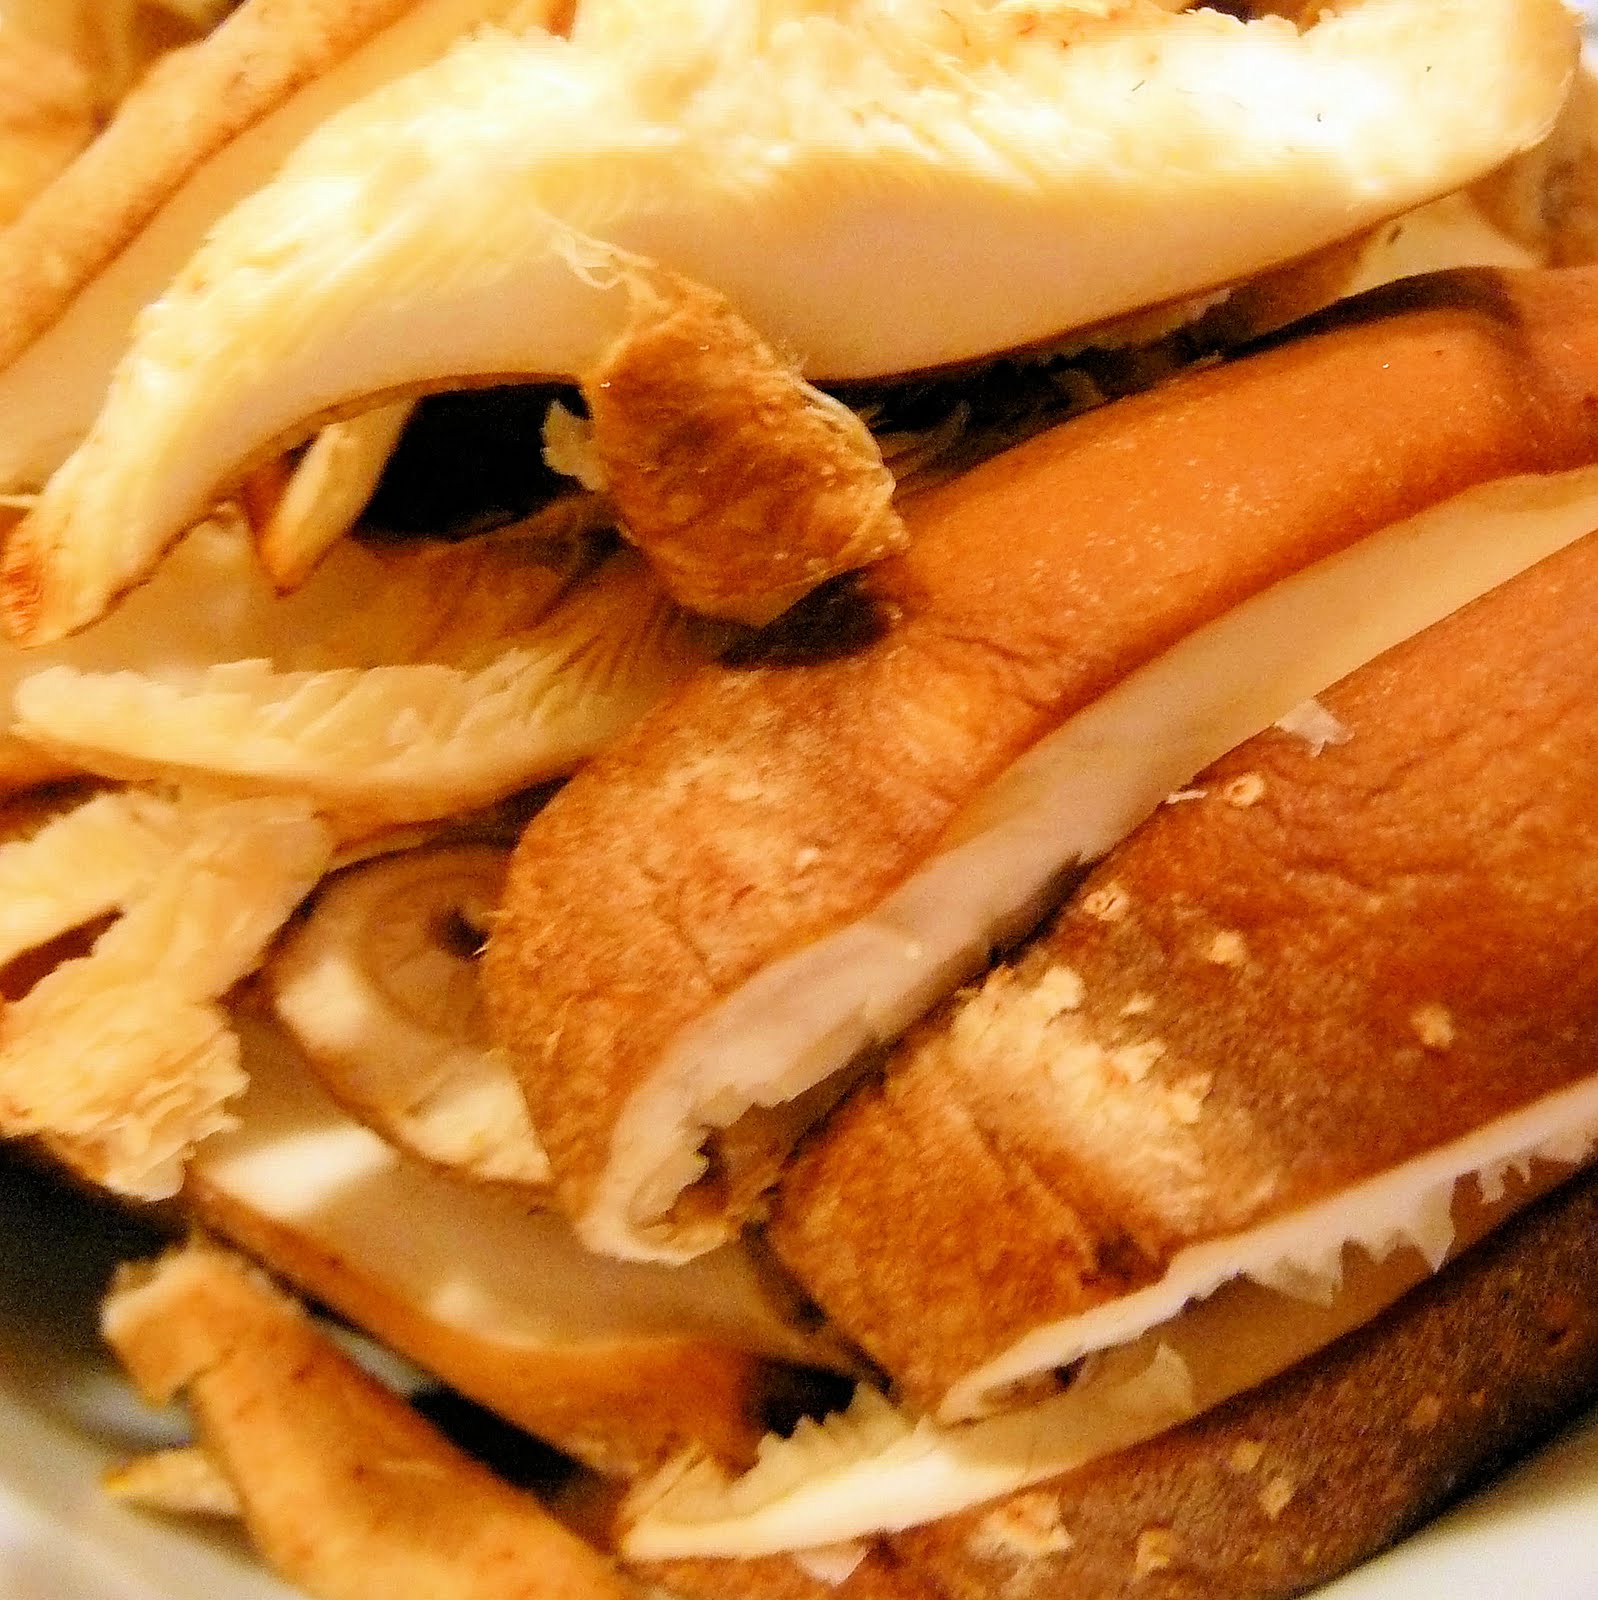
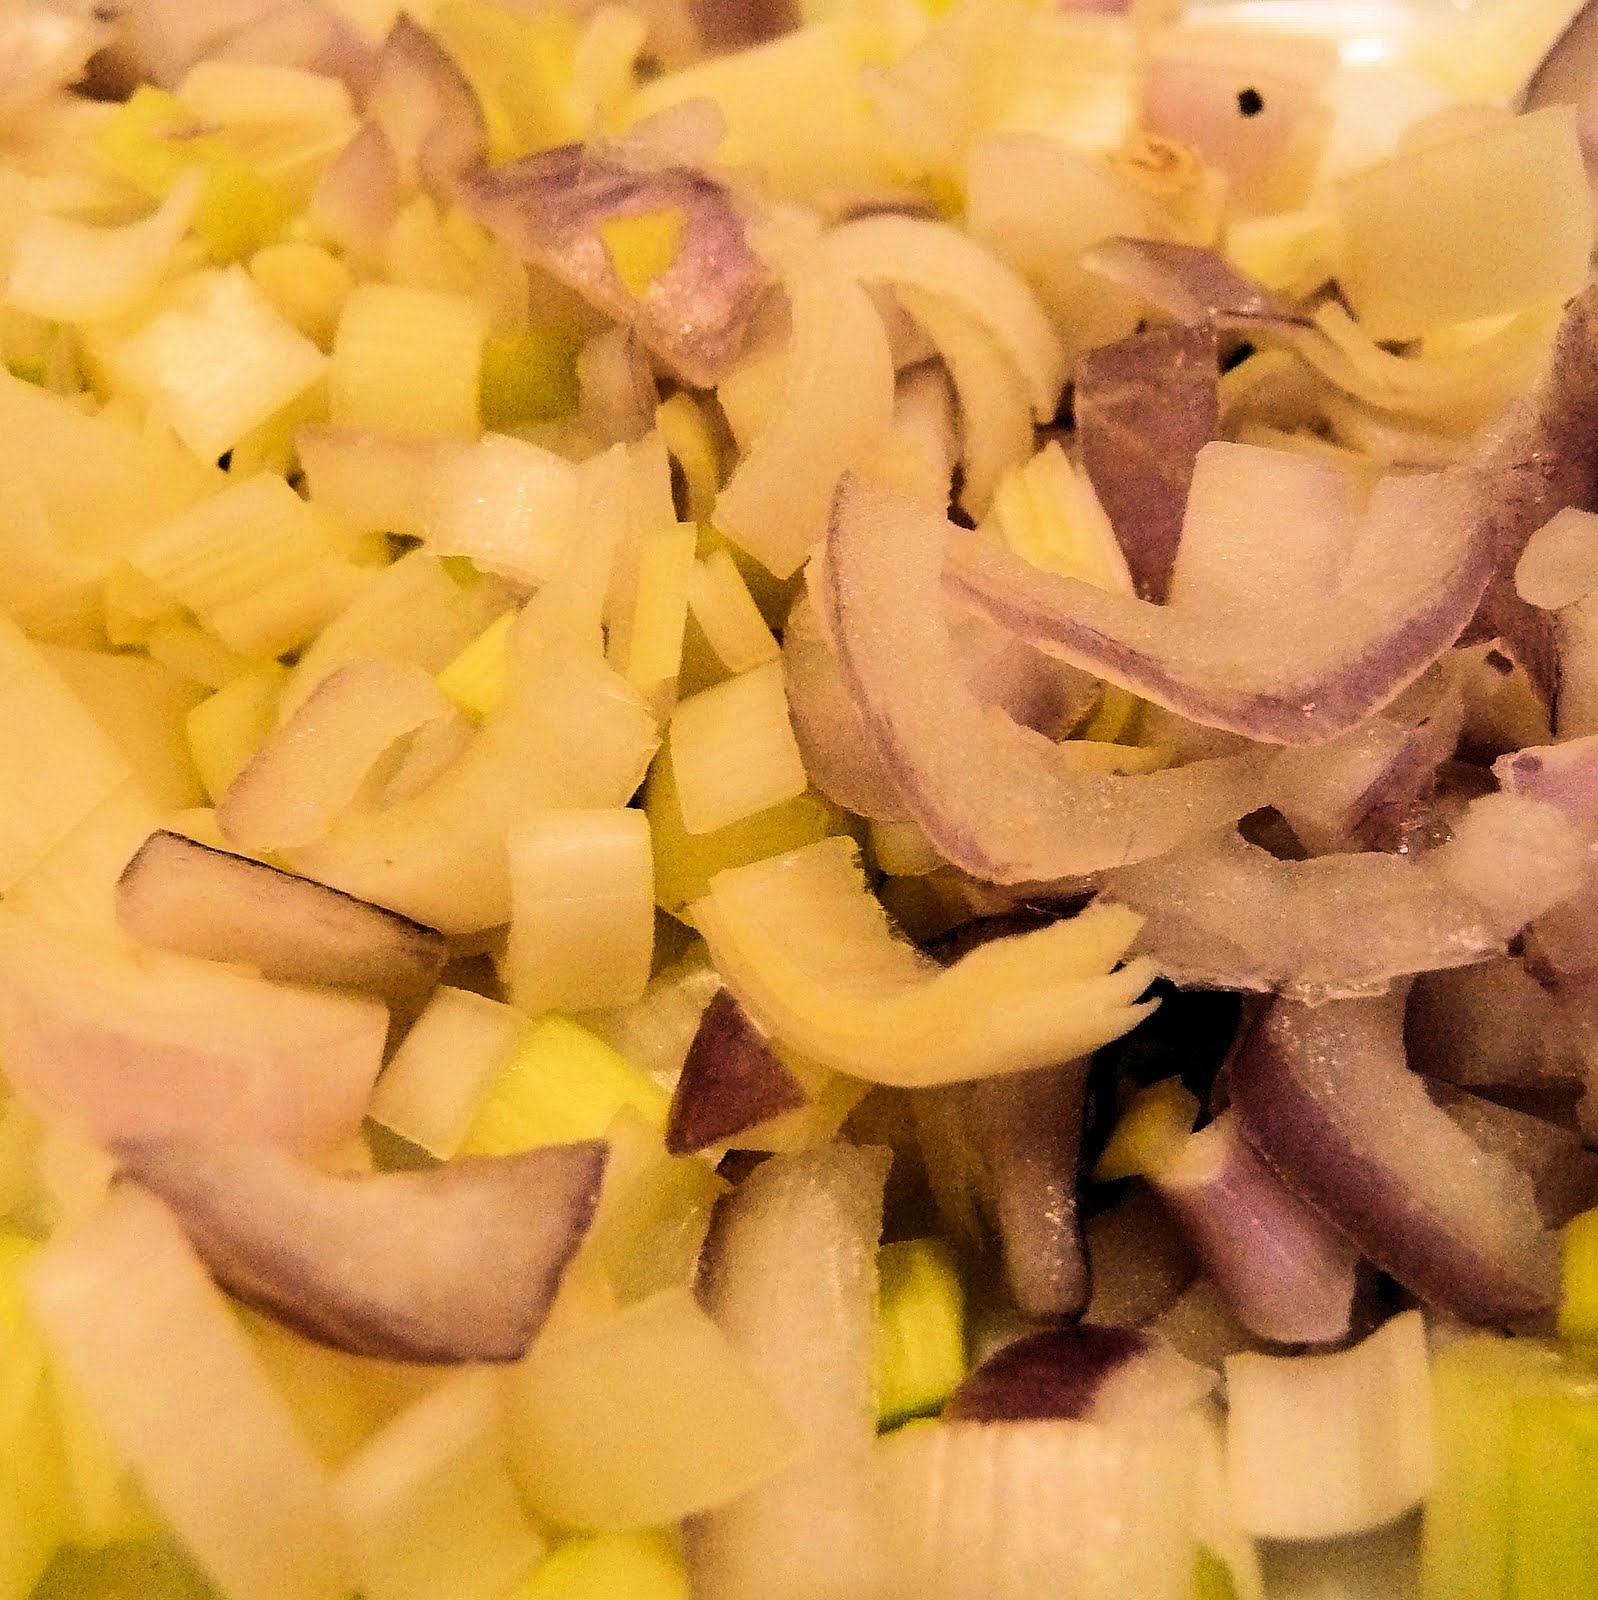
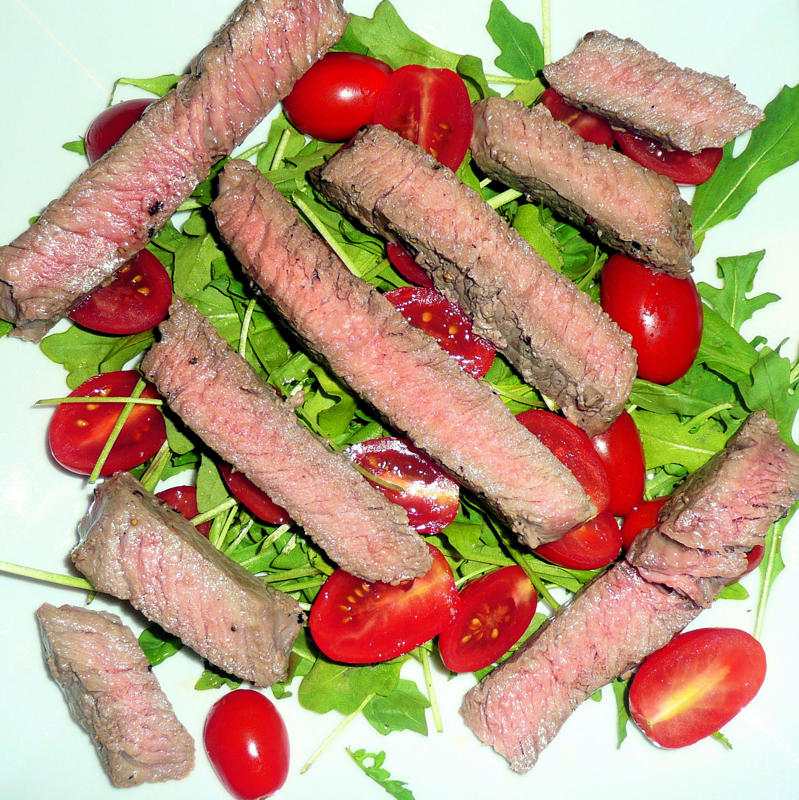
Chef David Burke’s high-end cheese steak was all about the quality of ingredients. Chef Burke used thinly sliced 55-day dry-aged beef, aged provolone, caramelized onions and shallots to make one of the most delicious cheese steaks this Philly-bred girl has ever had. The dry-aged-beef, a signature of Chef Burke, is dried in a salt cave for, you guessed it, 55 days. The beef was so tender and had so much flavor that not even the provolone could overpower it. The onions also added a nice sweetness to the earthiness of the rest of the dish. The mushroom chips, made of very thinly sliced Portobello mushrooms were a great addition.
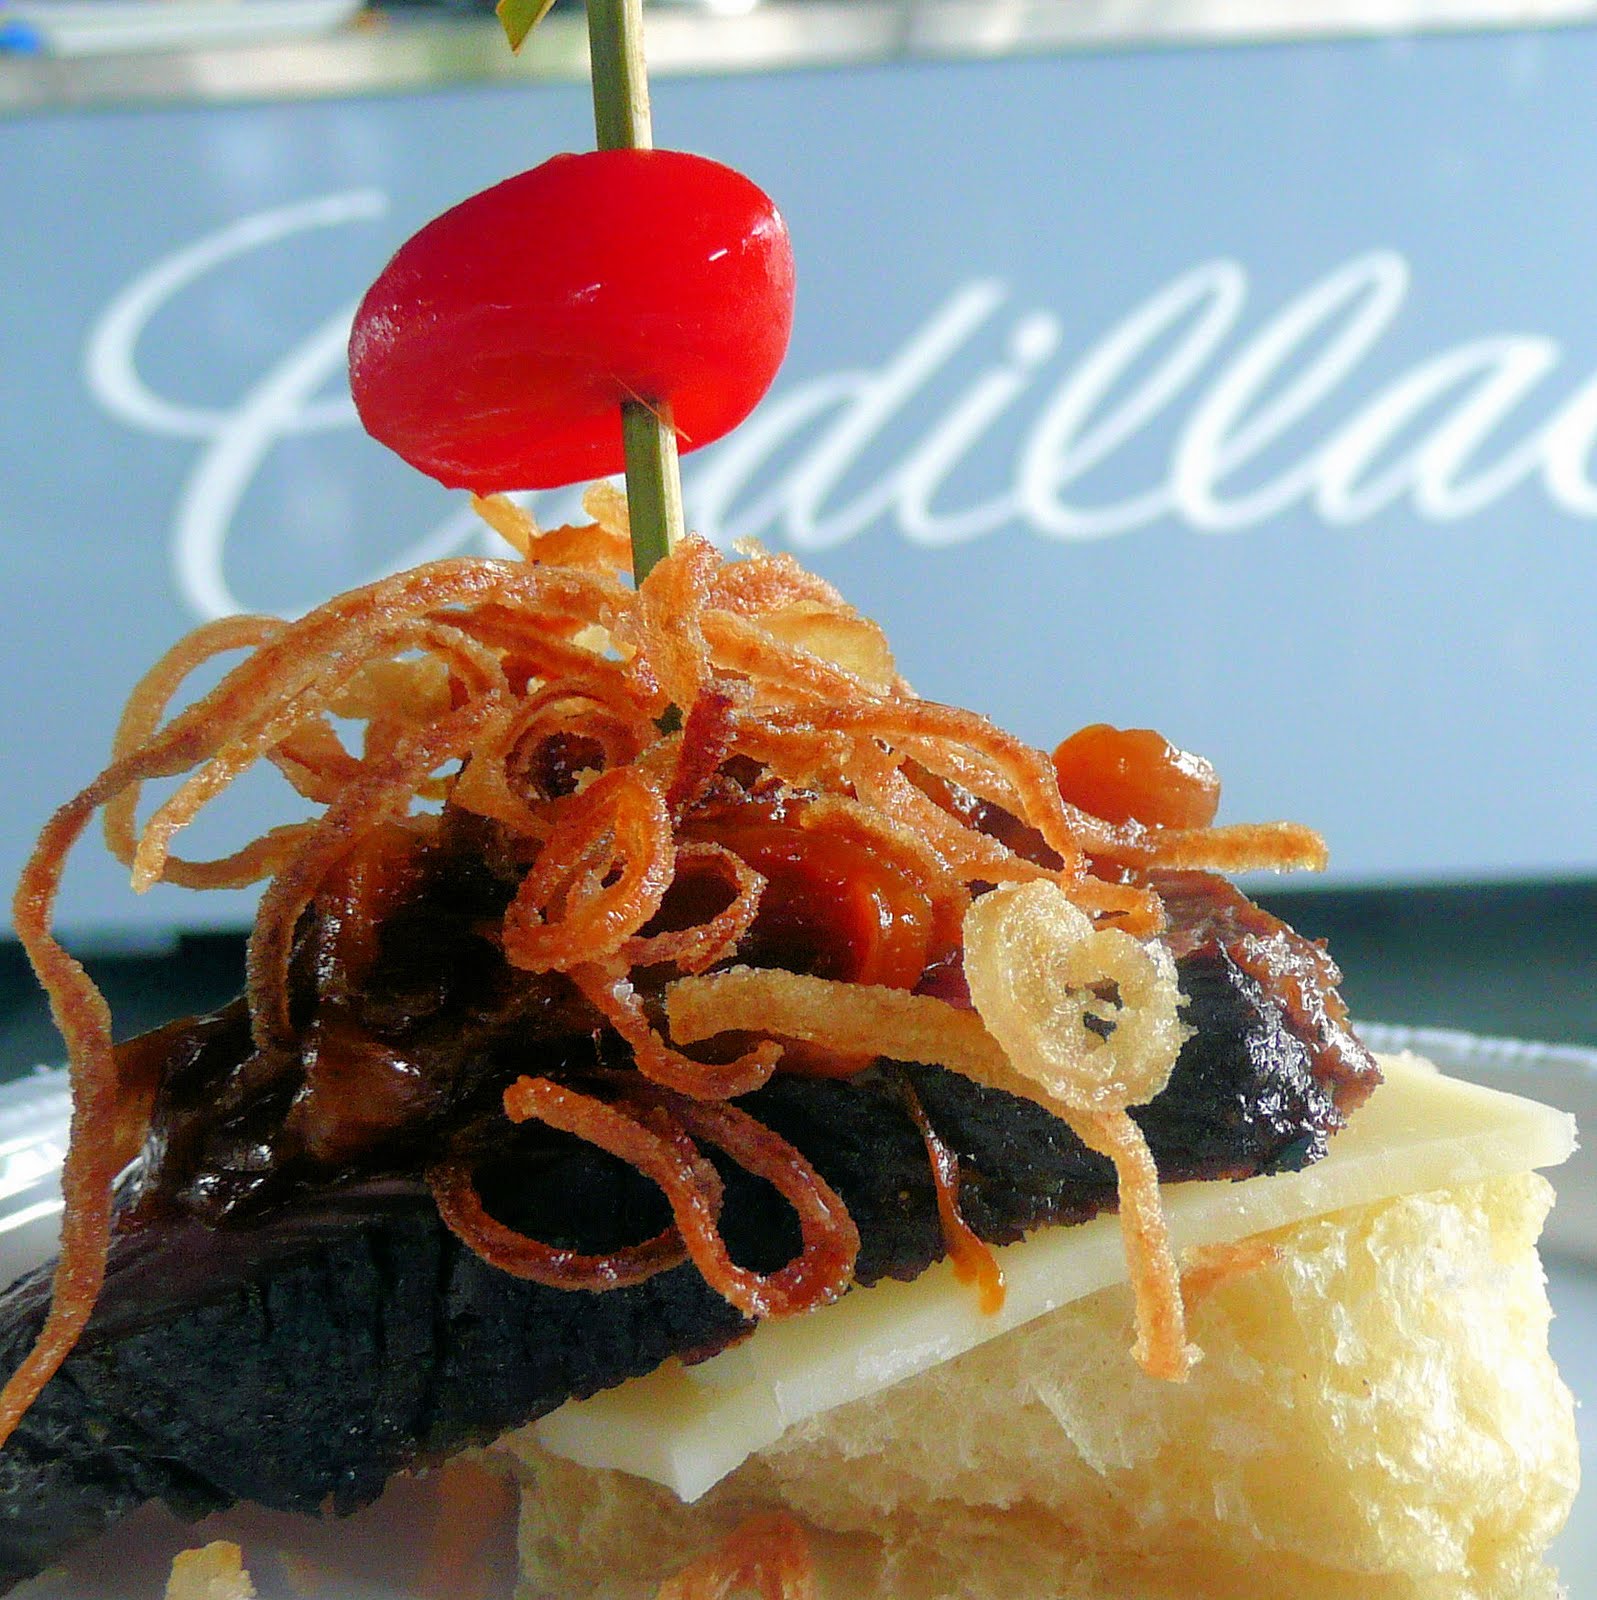 |
| 55-Day Dry-Aged Cheese Steak |
It really was a tough call in between these two. In fact, the audience ruled it a tie. However, a few other judges and I decided that although Chef Burke’s dish was fantastic, the creativity of Chef Staib’s dish won us over.
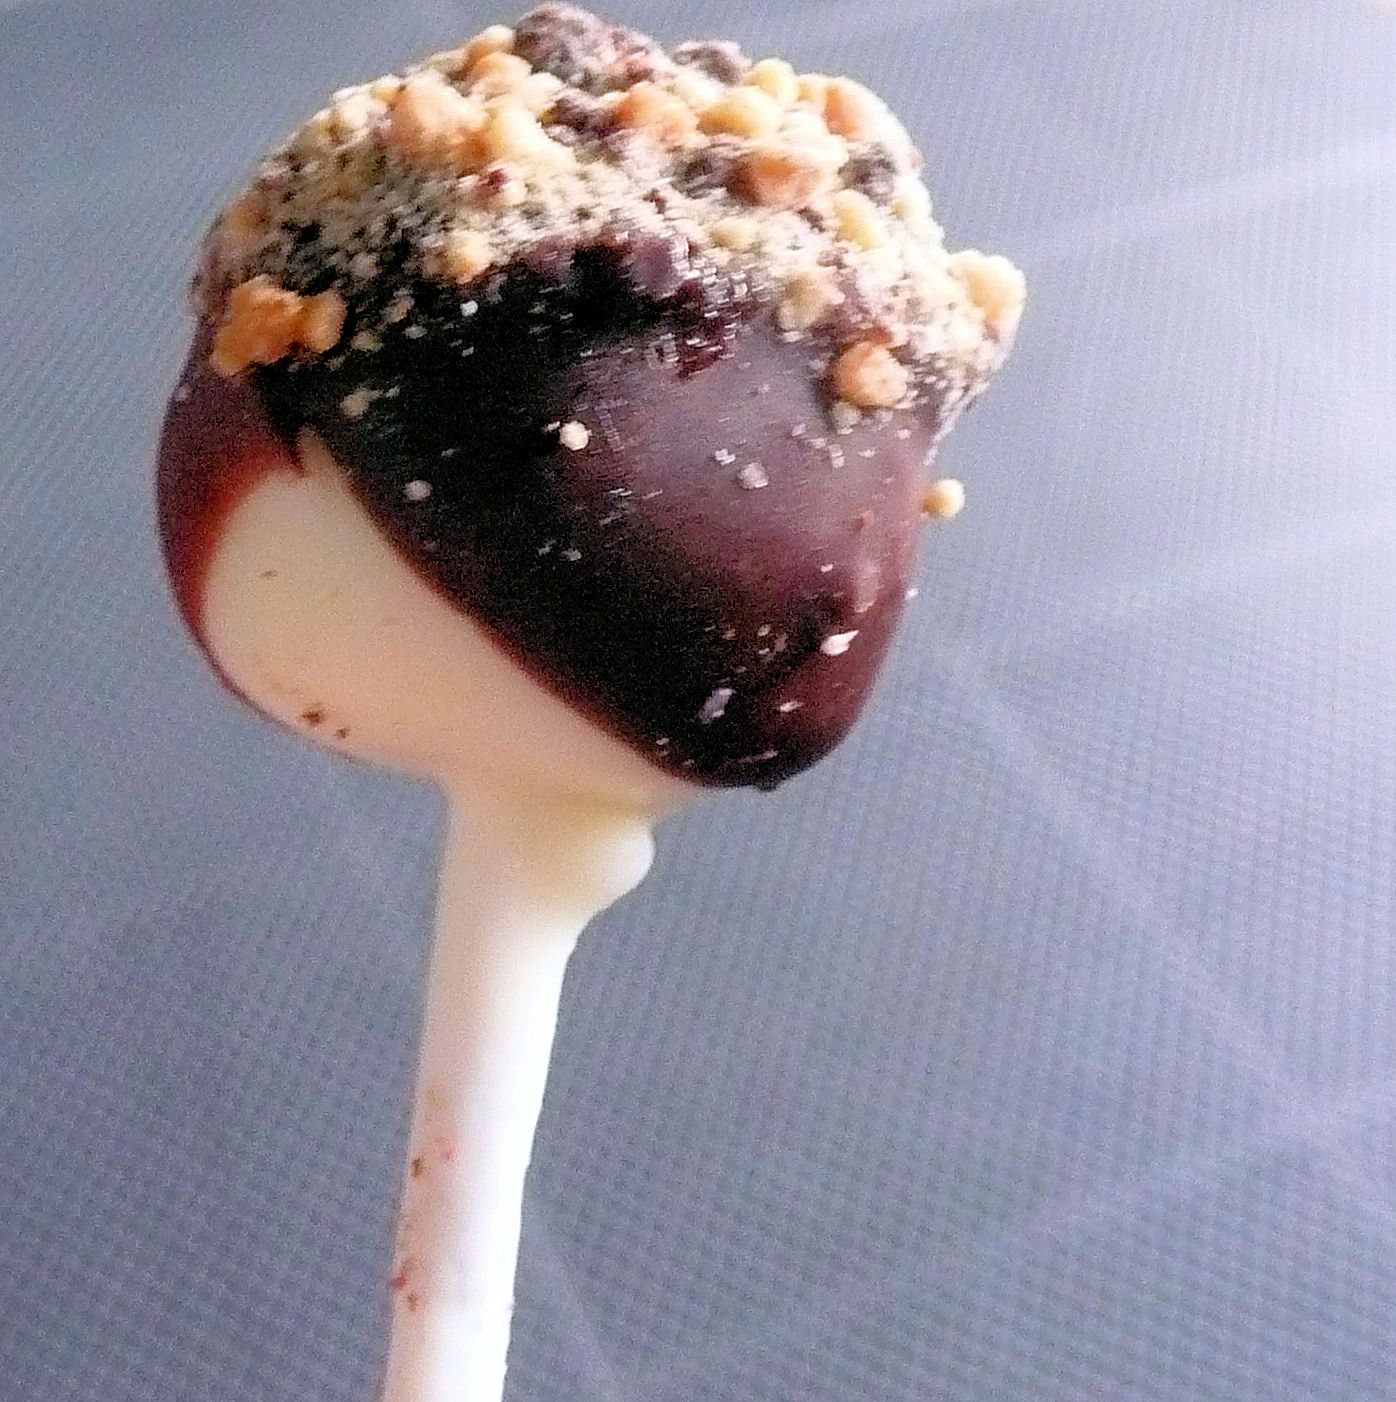
Despite not ruling in his favor, Chef Burke was still a good sport and gave the audience Philly Cheesecake pops, a perfect end to two perfect meals.
The event handed out copies of the recipes for these two dishes, so I can’t wait to have the opportunity to try making these at home (although I don’t think I’ll be using 55-day dry-aged beef, sigh.)
I also had the opportunity to judge a twitter recipe contest. The contest, called the “135-Character Recipe Challenge” was really simple: just tweet a recipe to @Cadillac including the hashtag #r140 to participate and must use the secret ingredient, which is “cheese”. There were some really great responses (how they did a recipe in 135 characters is beyond me!), but I eventually chose @ambercollins7‘s recipe for bruschetta: “Bake plum tomatoes in balsamic vinegar, basil& salt until softened at 400degrees.Top on sliced baguette pieces with goat cheese.Enjoy! #r140” Yum! Amber won The Bon Appetit Cookbook: Fast Easy Fresh for her wonderful recipe. Congratulations Amber!
Cadillac is actually having a bunch of these events across the country, so be sure to check if one is coming near you. The entire event is free, so it is definitely worth checking out! To see if the Culinary Challenge will be near you, check out their website, cadillacchallenge.com. You can also find more information through cadillac’s twitter and facebook pages. (You can also register for the free event through that facebook page link) I believe each city will also have its own twitter contest so be sure to participate!