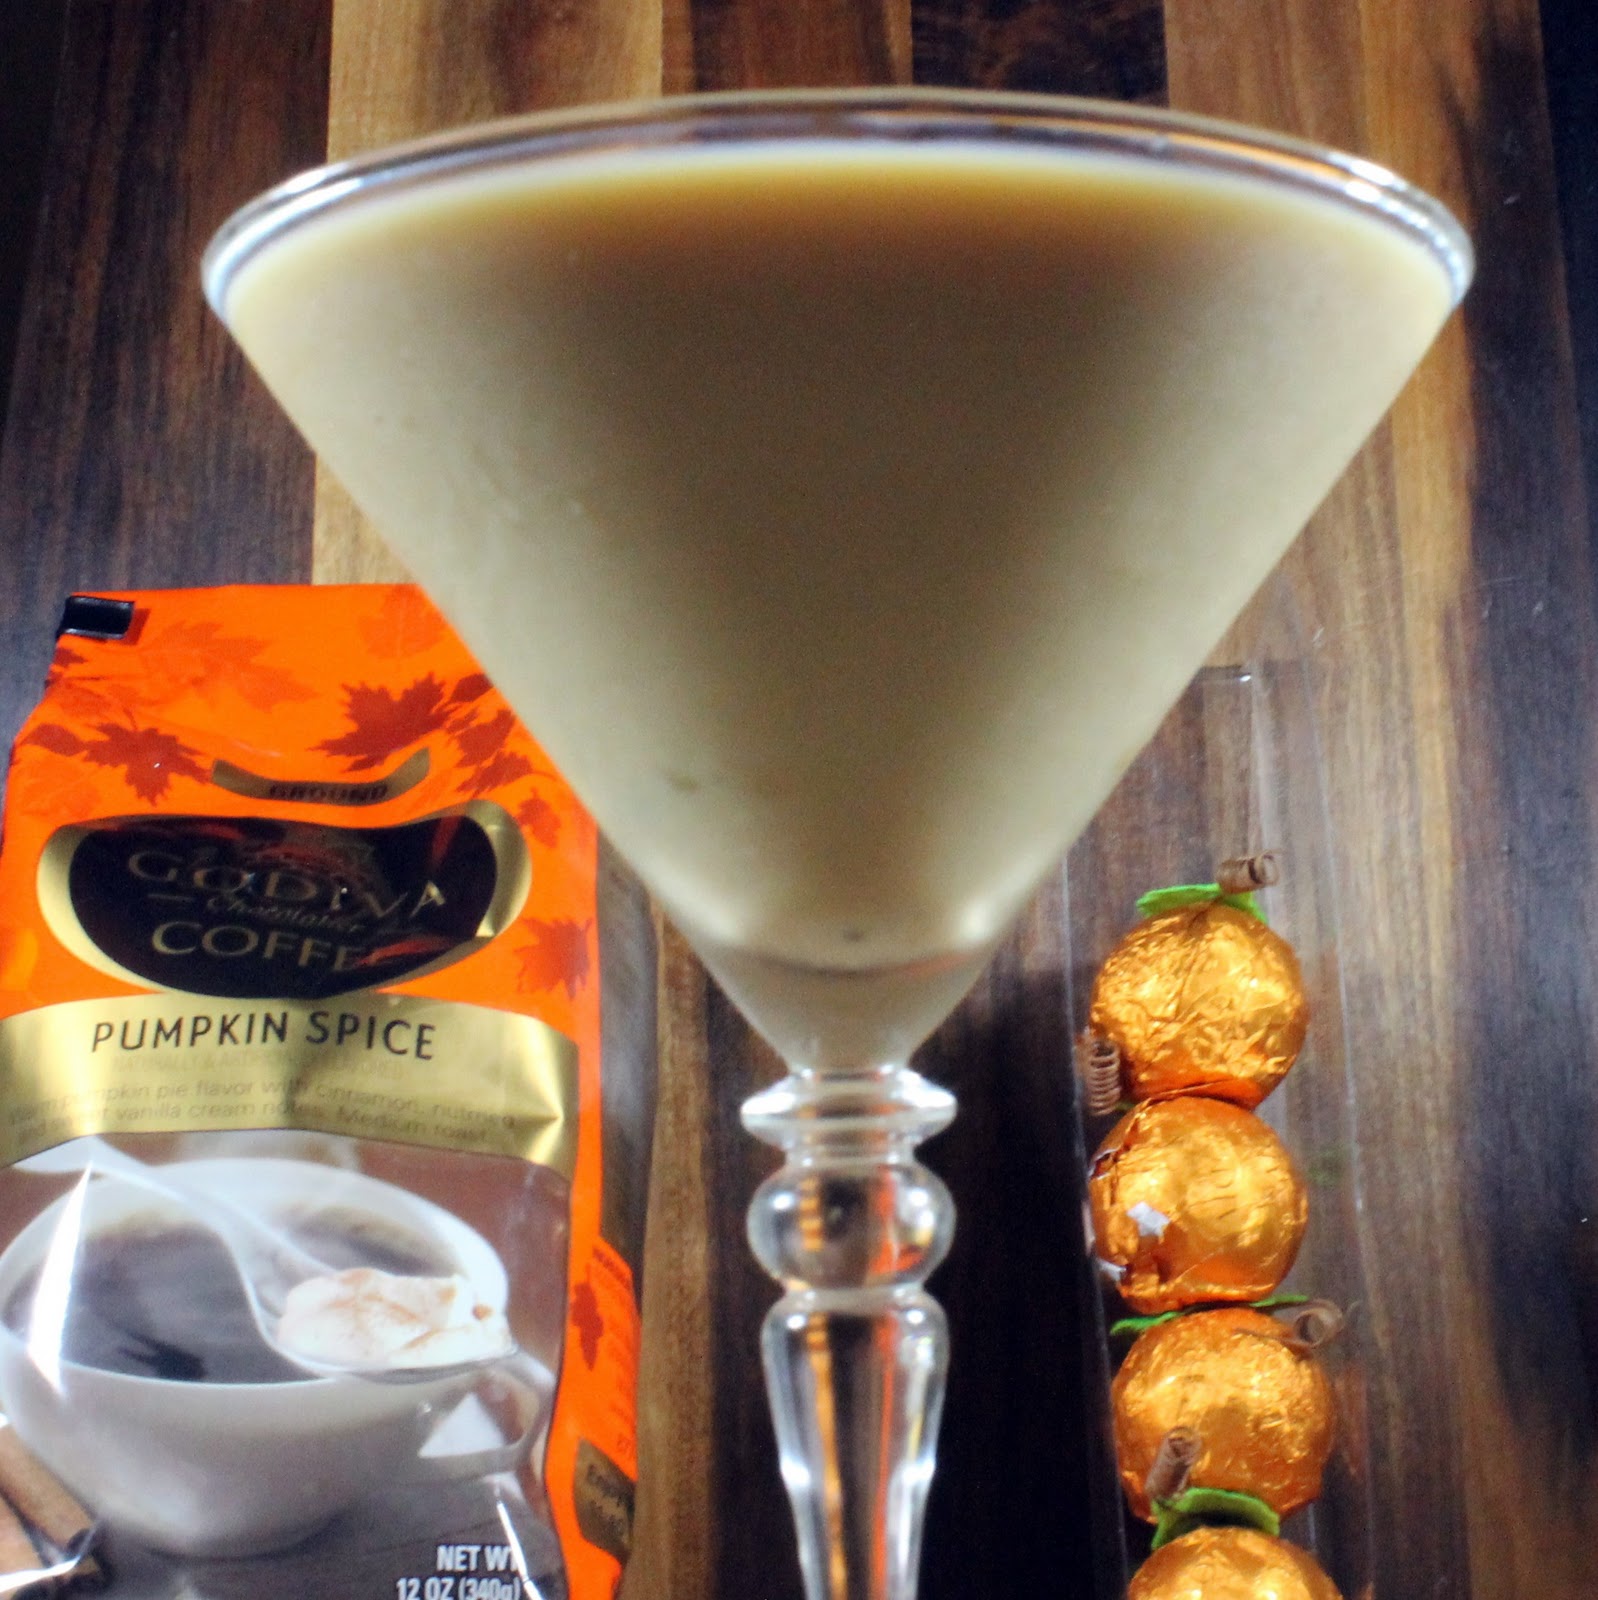
I am in love with fall, it is by far my favorite time of year. It is the only time of year I can give into my love of all things pumpkins and not get funny looks. Sadly, I feel like the autumn season seems to be getting shorter and shorter, so I need to get as much “fall” food and drinks as I can. As a member of Foodbuzz’s Tastemaker Program, I was lucky enough to receive two different limited edition fall coffees from Godiva: Pumpkin Spice and Caramel Pecan Bark.
The coffees are based off of Godiva’s Pumpkin Spice Truffles and their signature Caramel Pecan Bark. The Pumpkin Spice coffee has a wonderful pumpkin pie taste, with hints of nutmeg and cinnamon. The Caramel Pecan Bark has notes of toasted pecan and caramel. I couldn’t wait to try them!
I decided to make two different recipes for each coffee to really test out their flavor. The weather in Philadelphia has continued to be pretty darn humid, so I made a few chilled coffee drinks. I also decided to use some of the coffee grounds to make my own Caramel Pecan Bark.
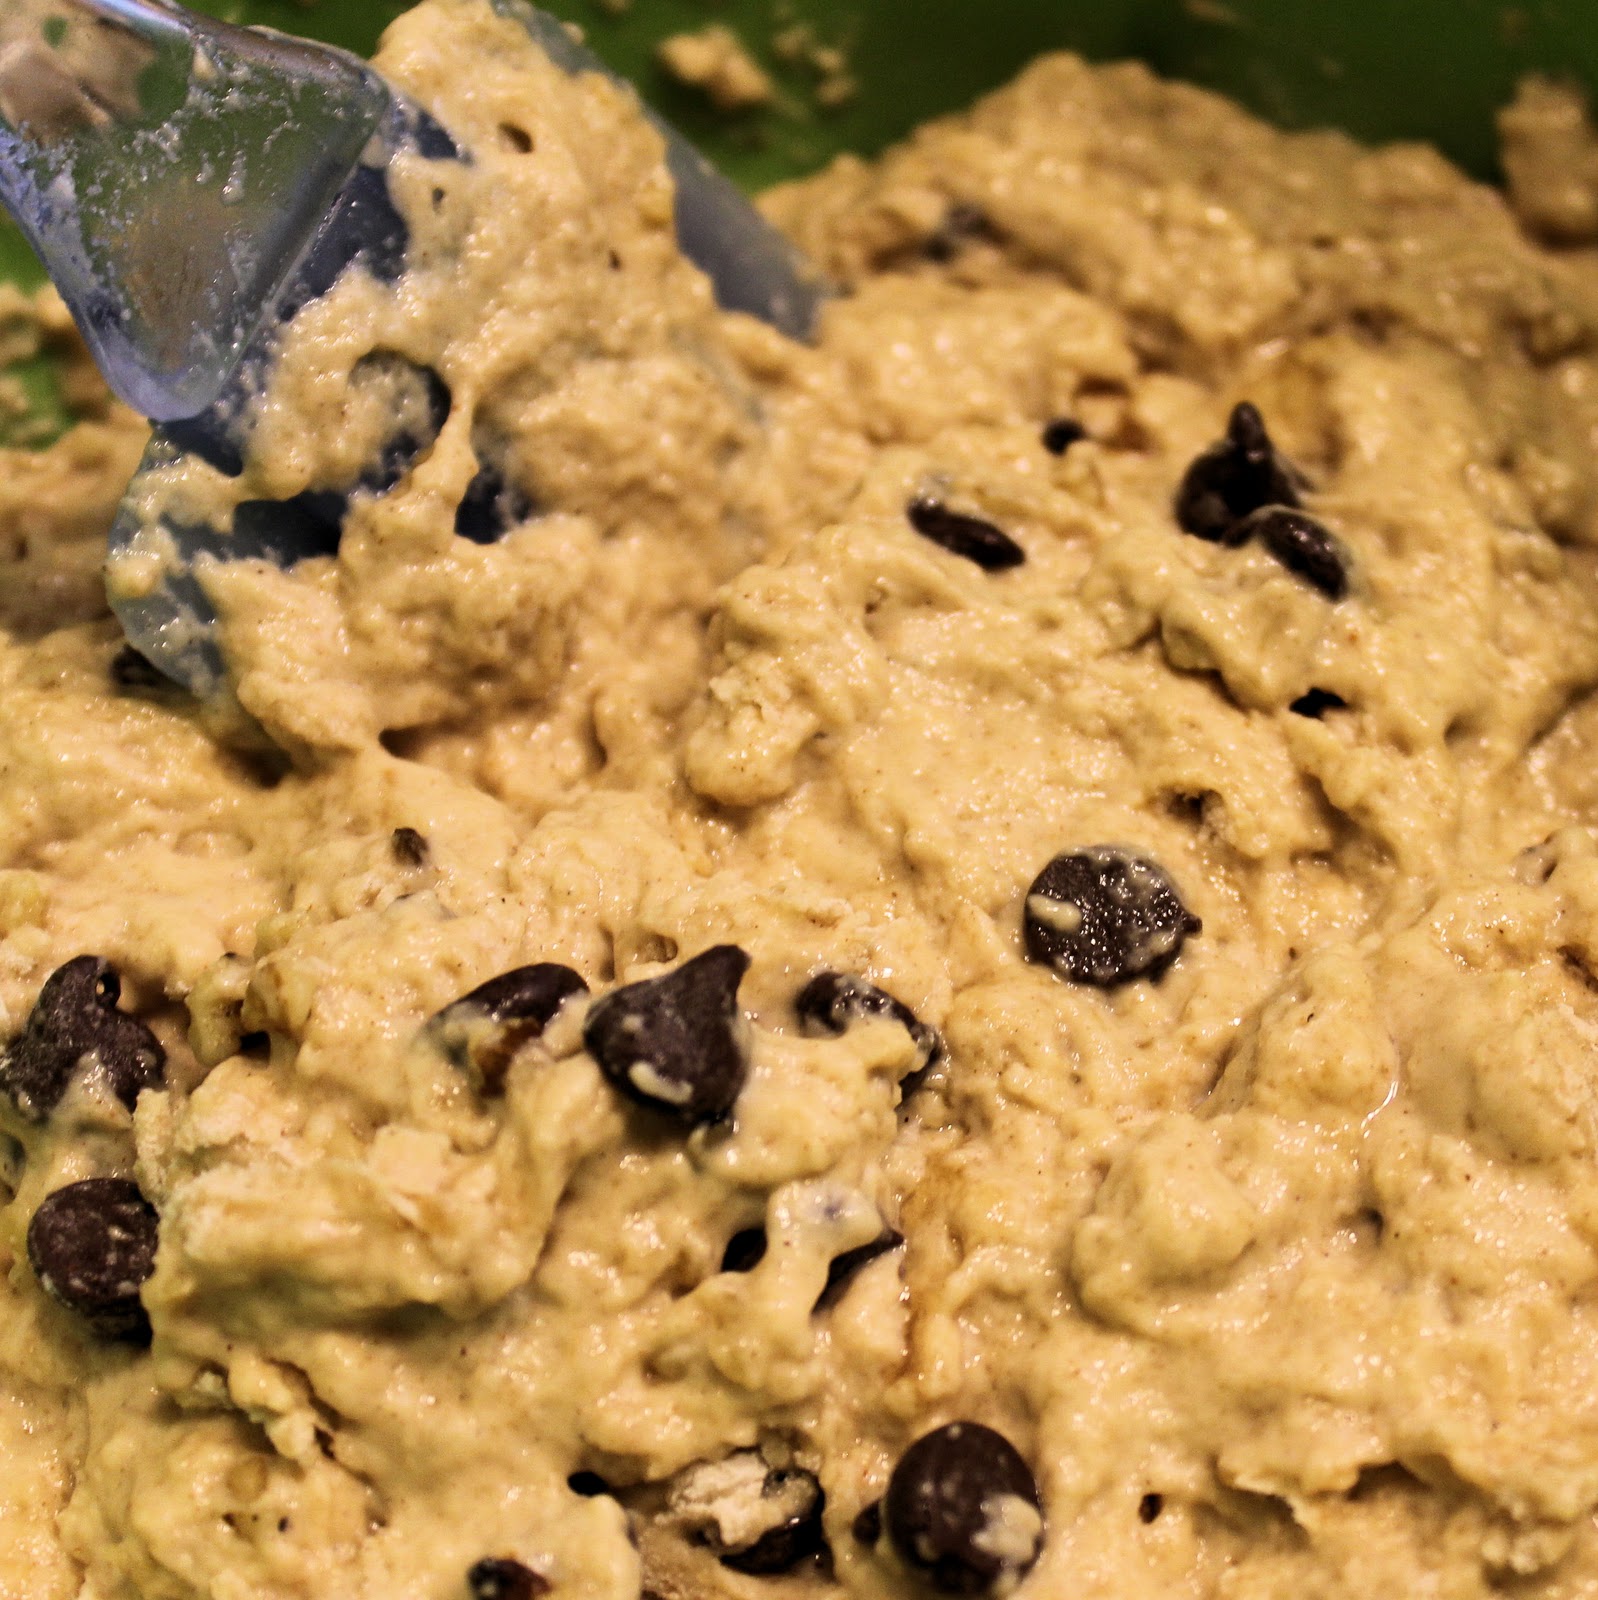
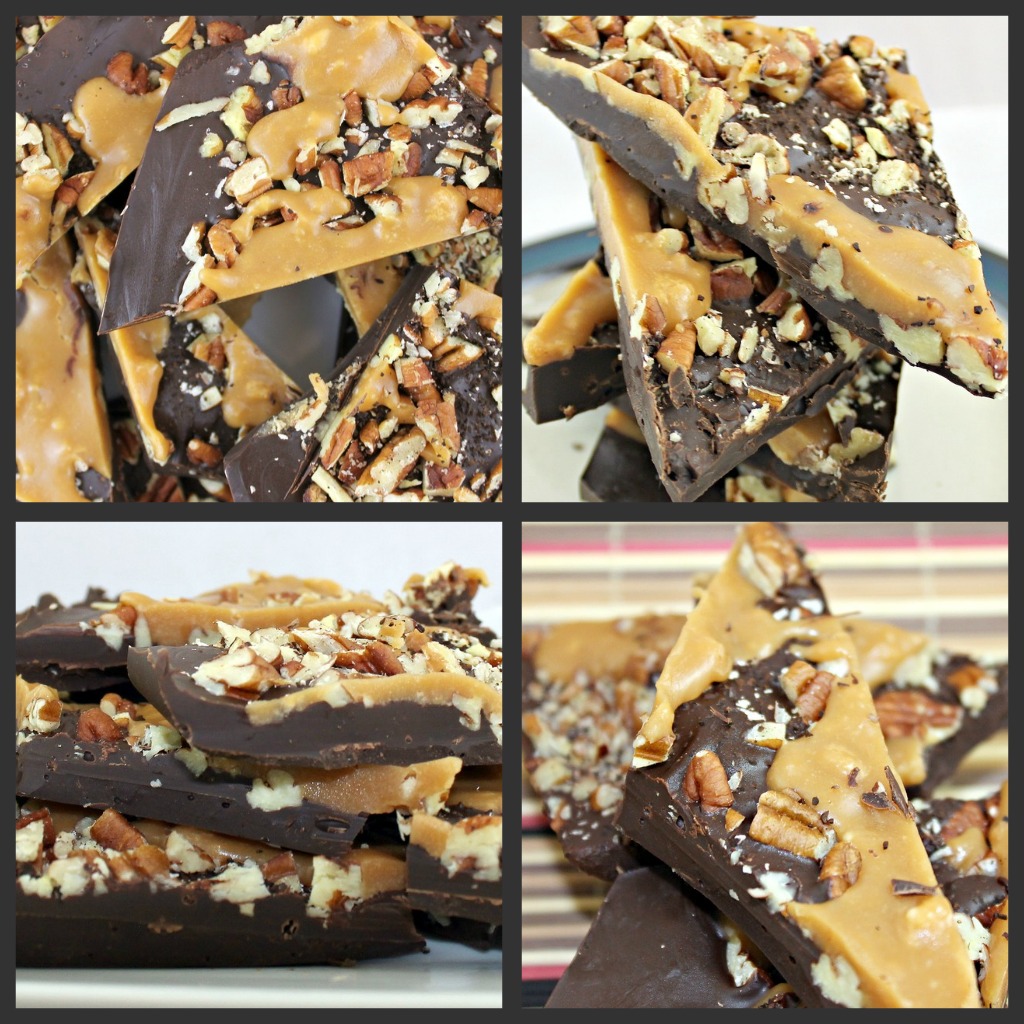
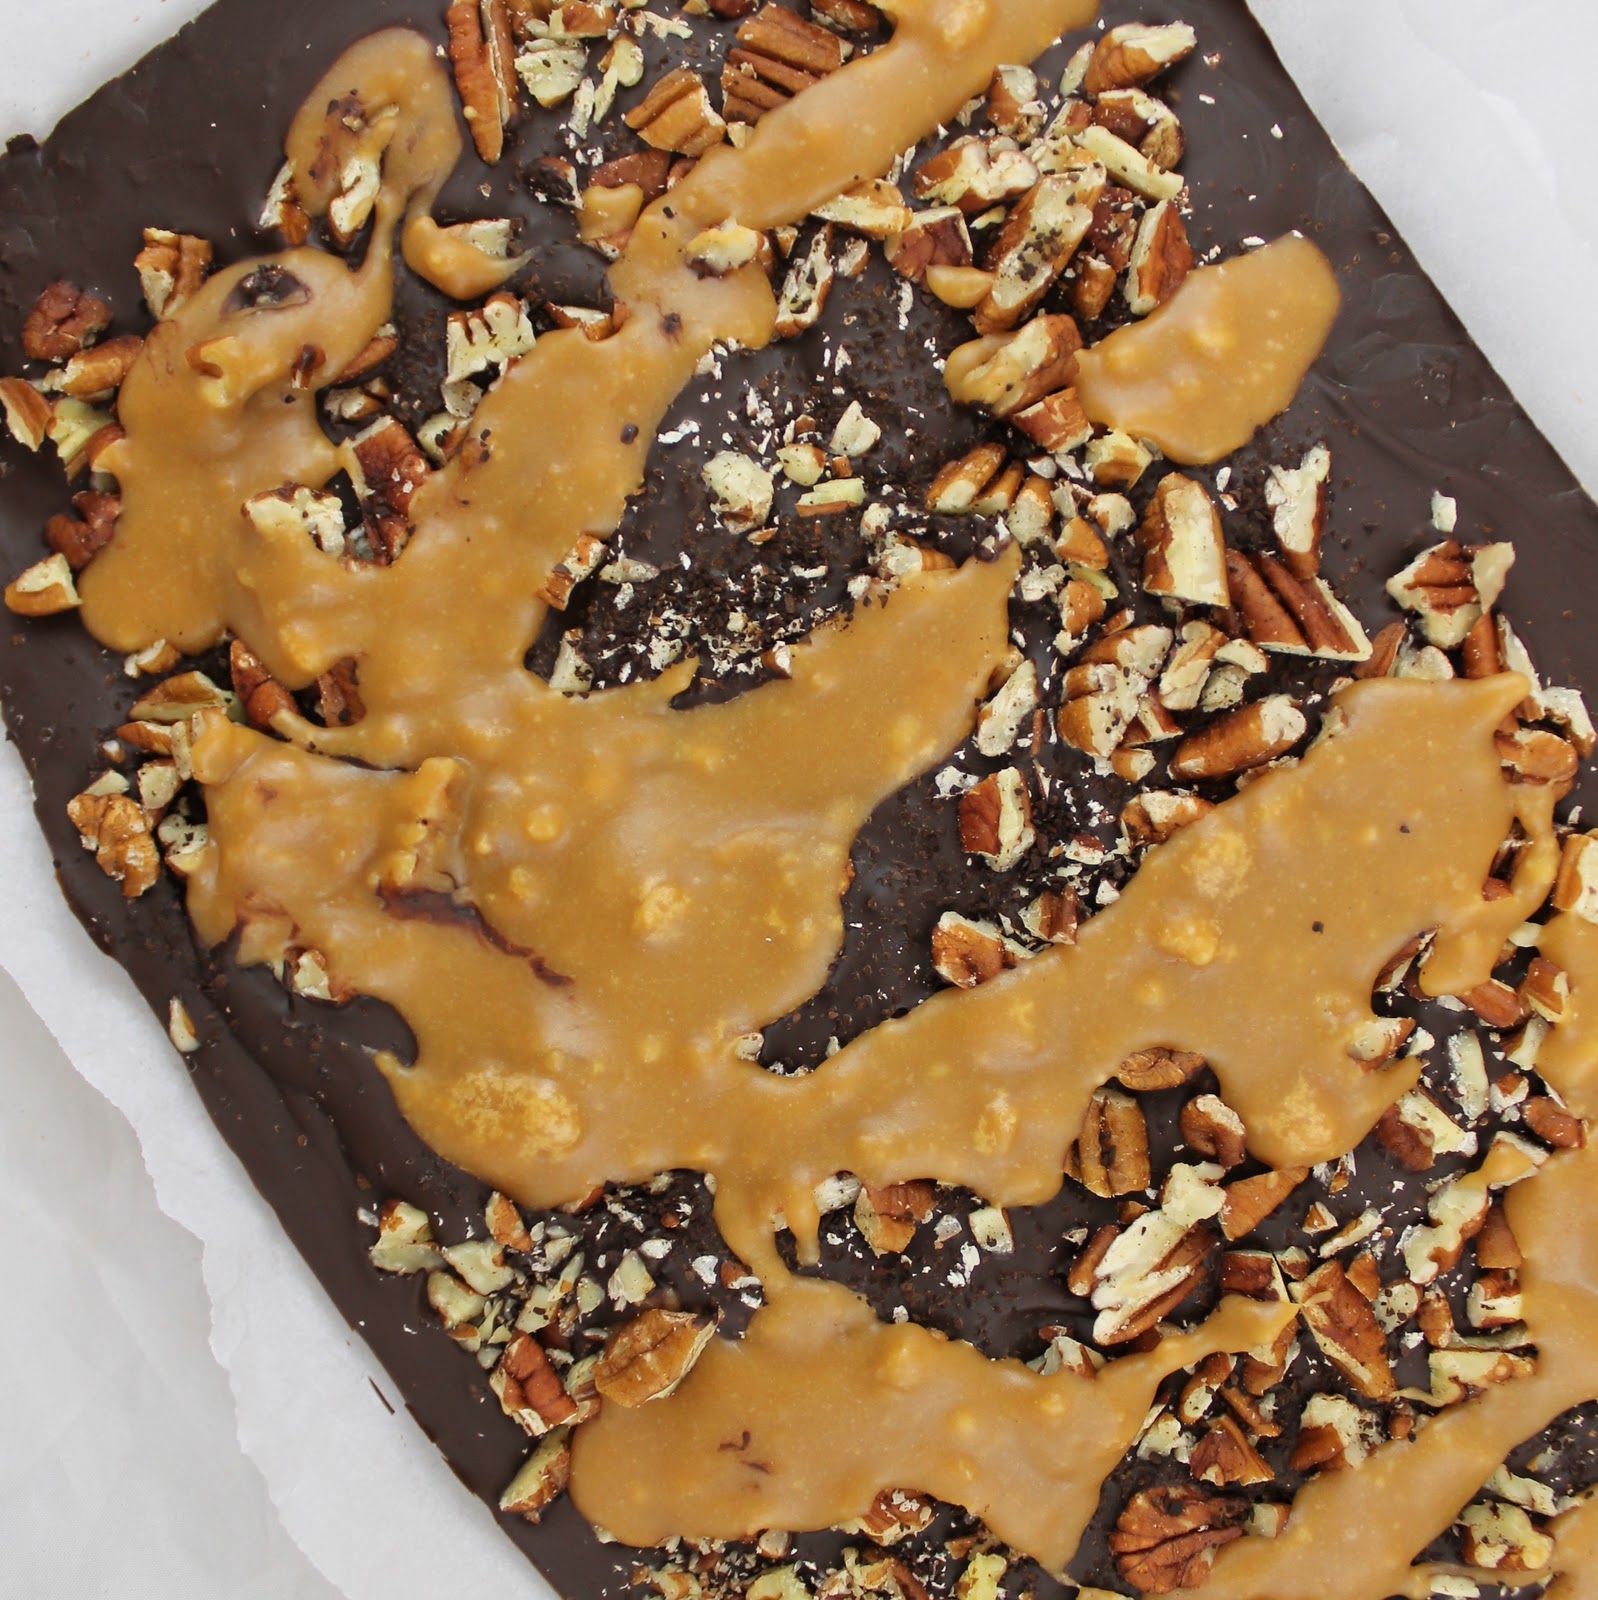
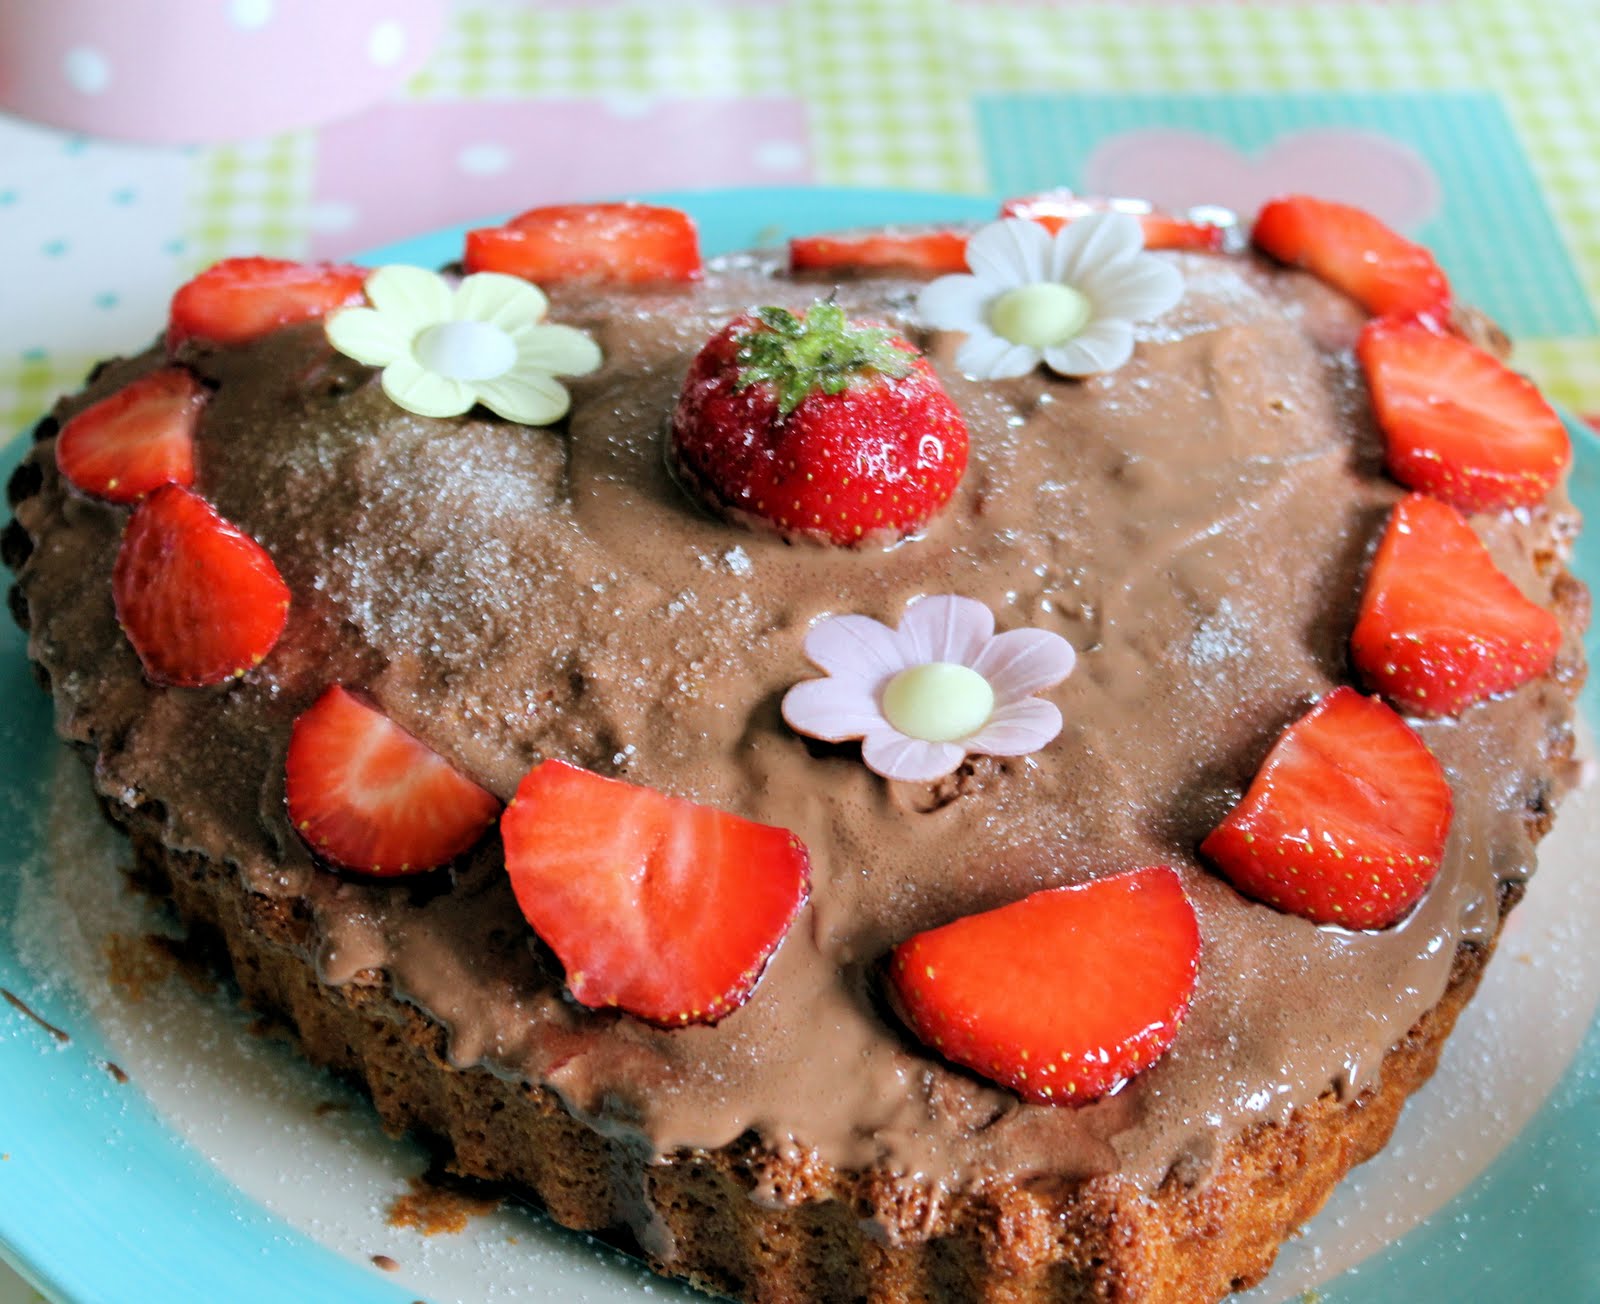
First to make the Caramel Pecan Bark. Making bark is really simple and makes a great gift or easy party dessert. I incorporated some of the coffee grinds to enhance the flavor of the chocolate.
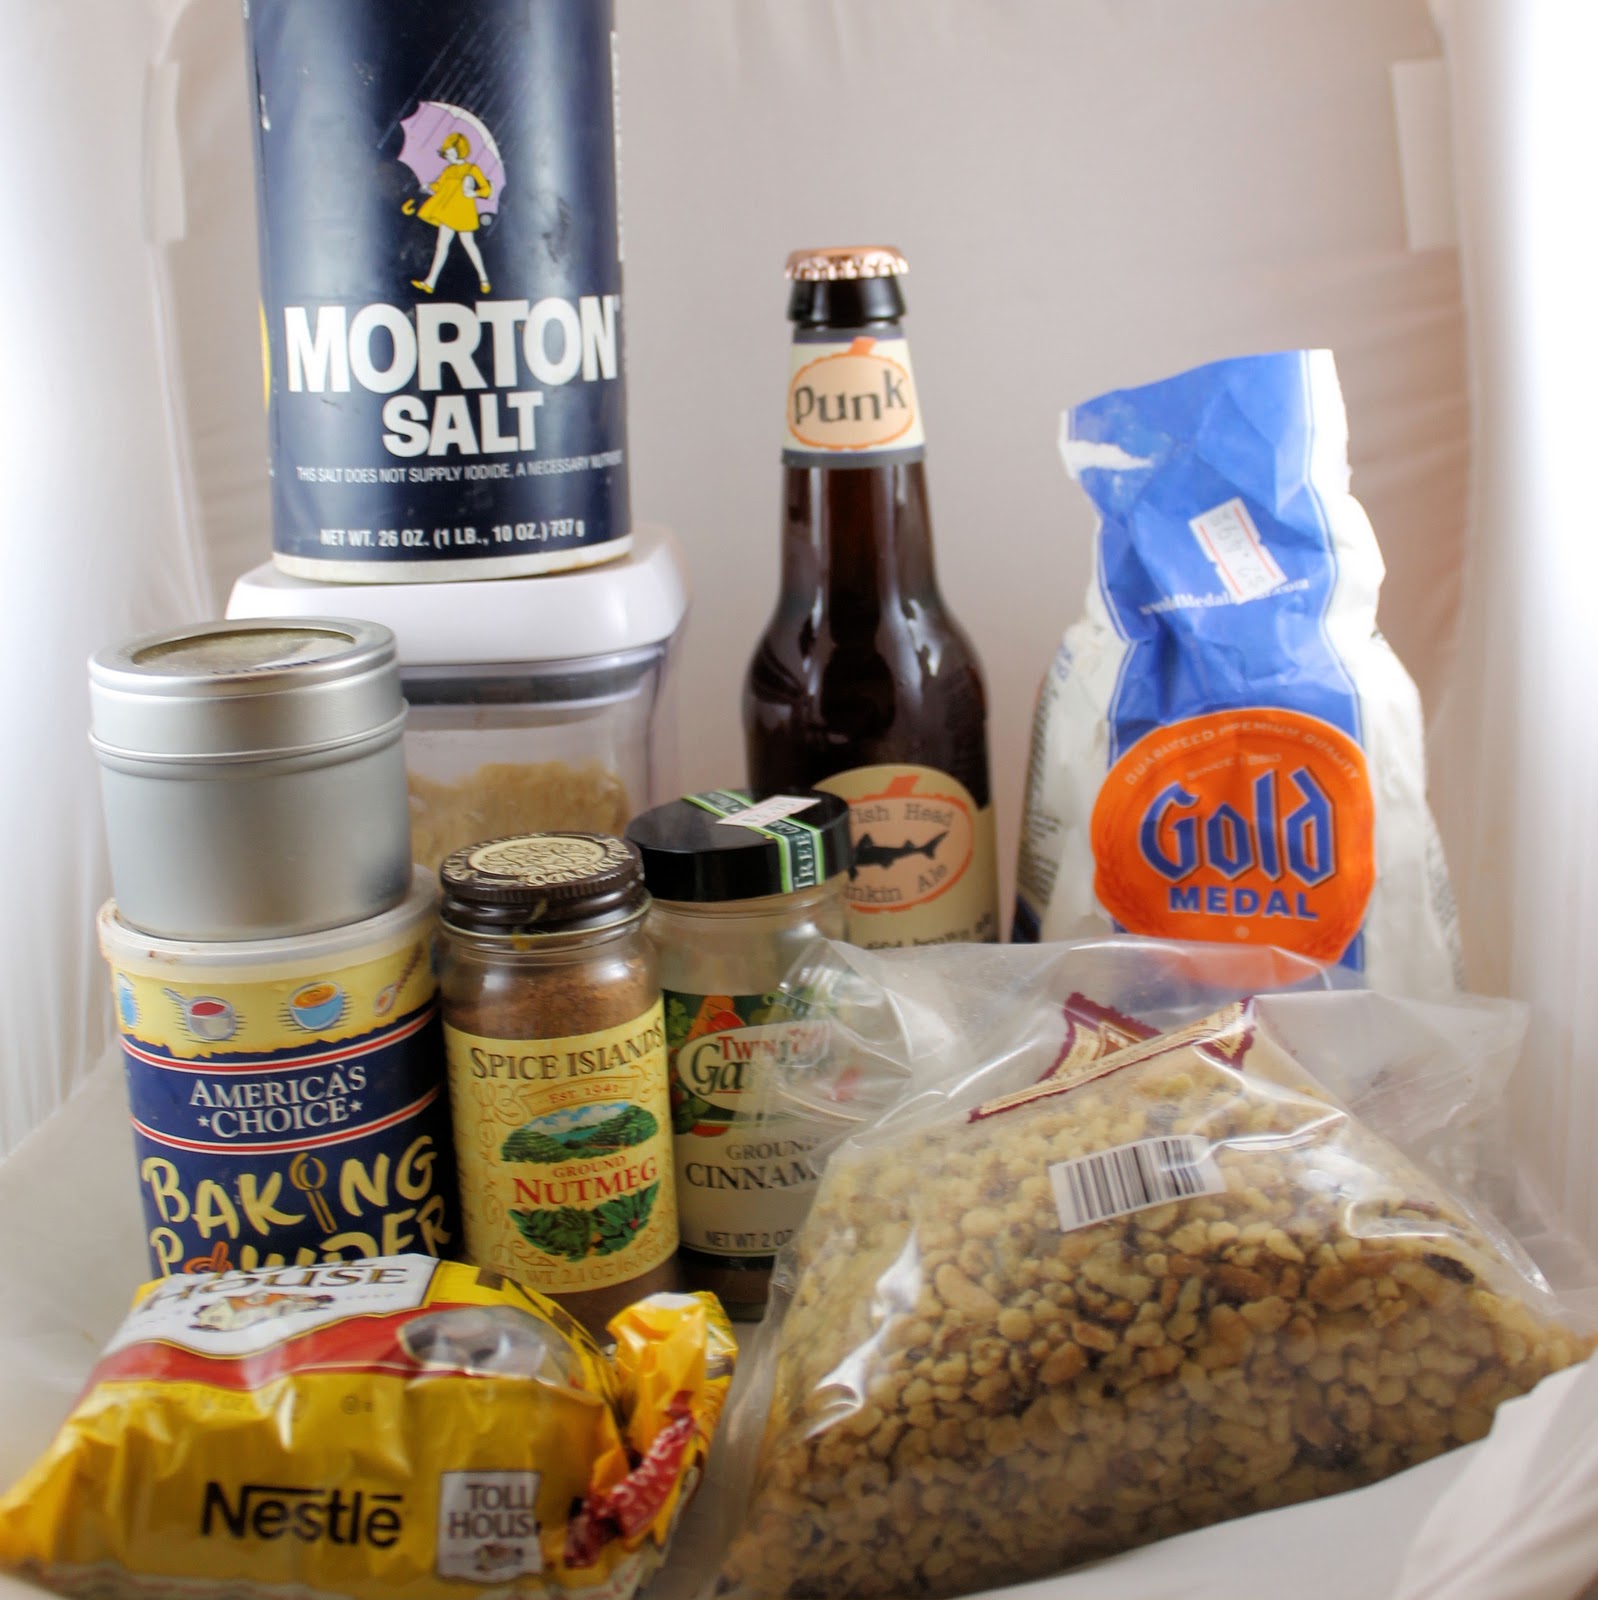
Ingredients:
16 oz dark chocolate, chopped
1/2 cup sugar
3 tablespoons butter
2 teaspoons whipping cream
1/2 cup pecans, chopped
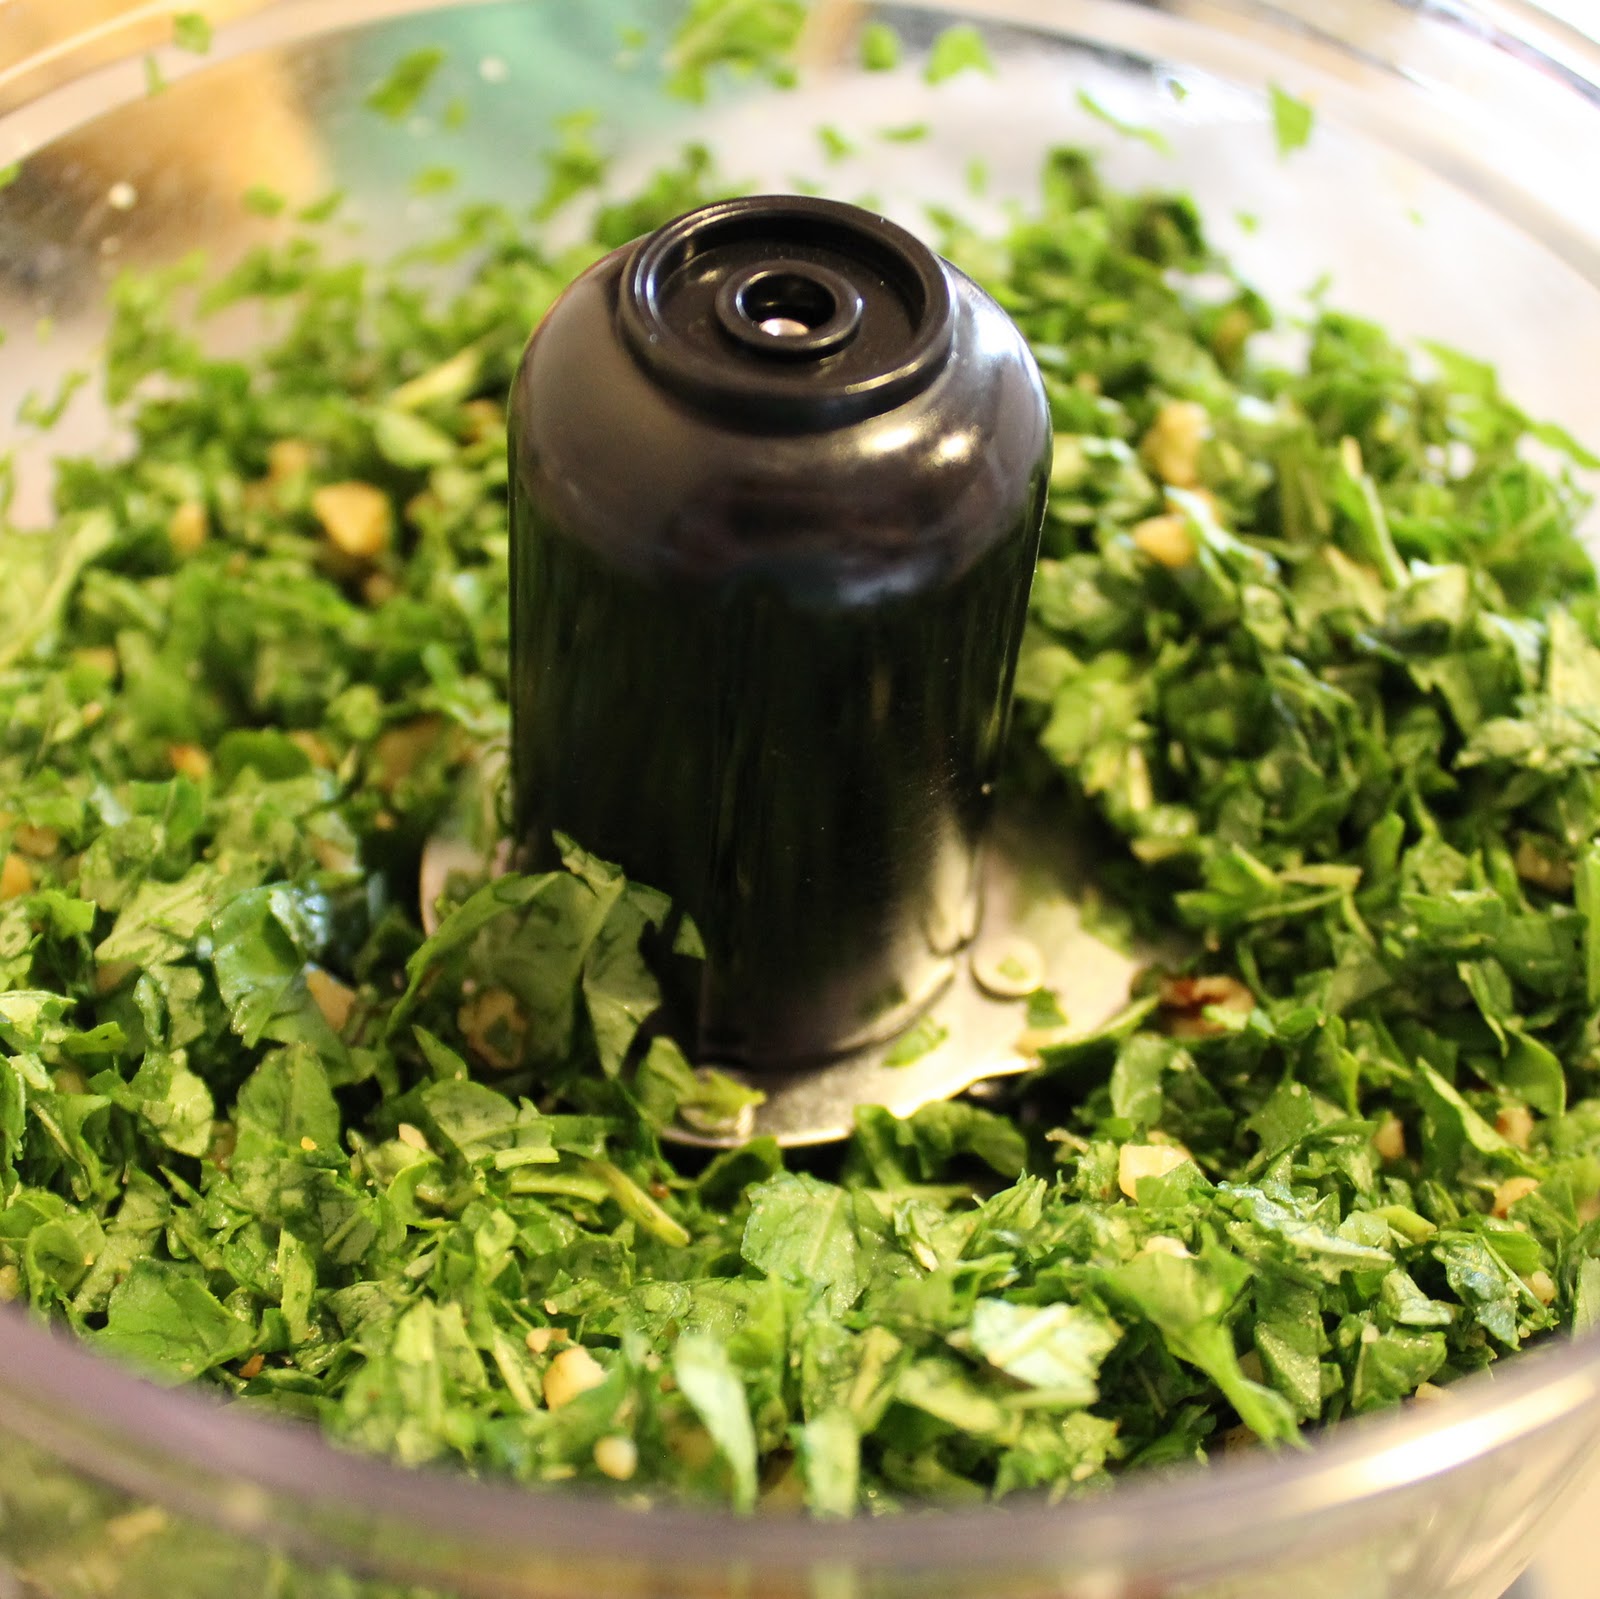
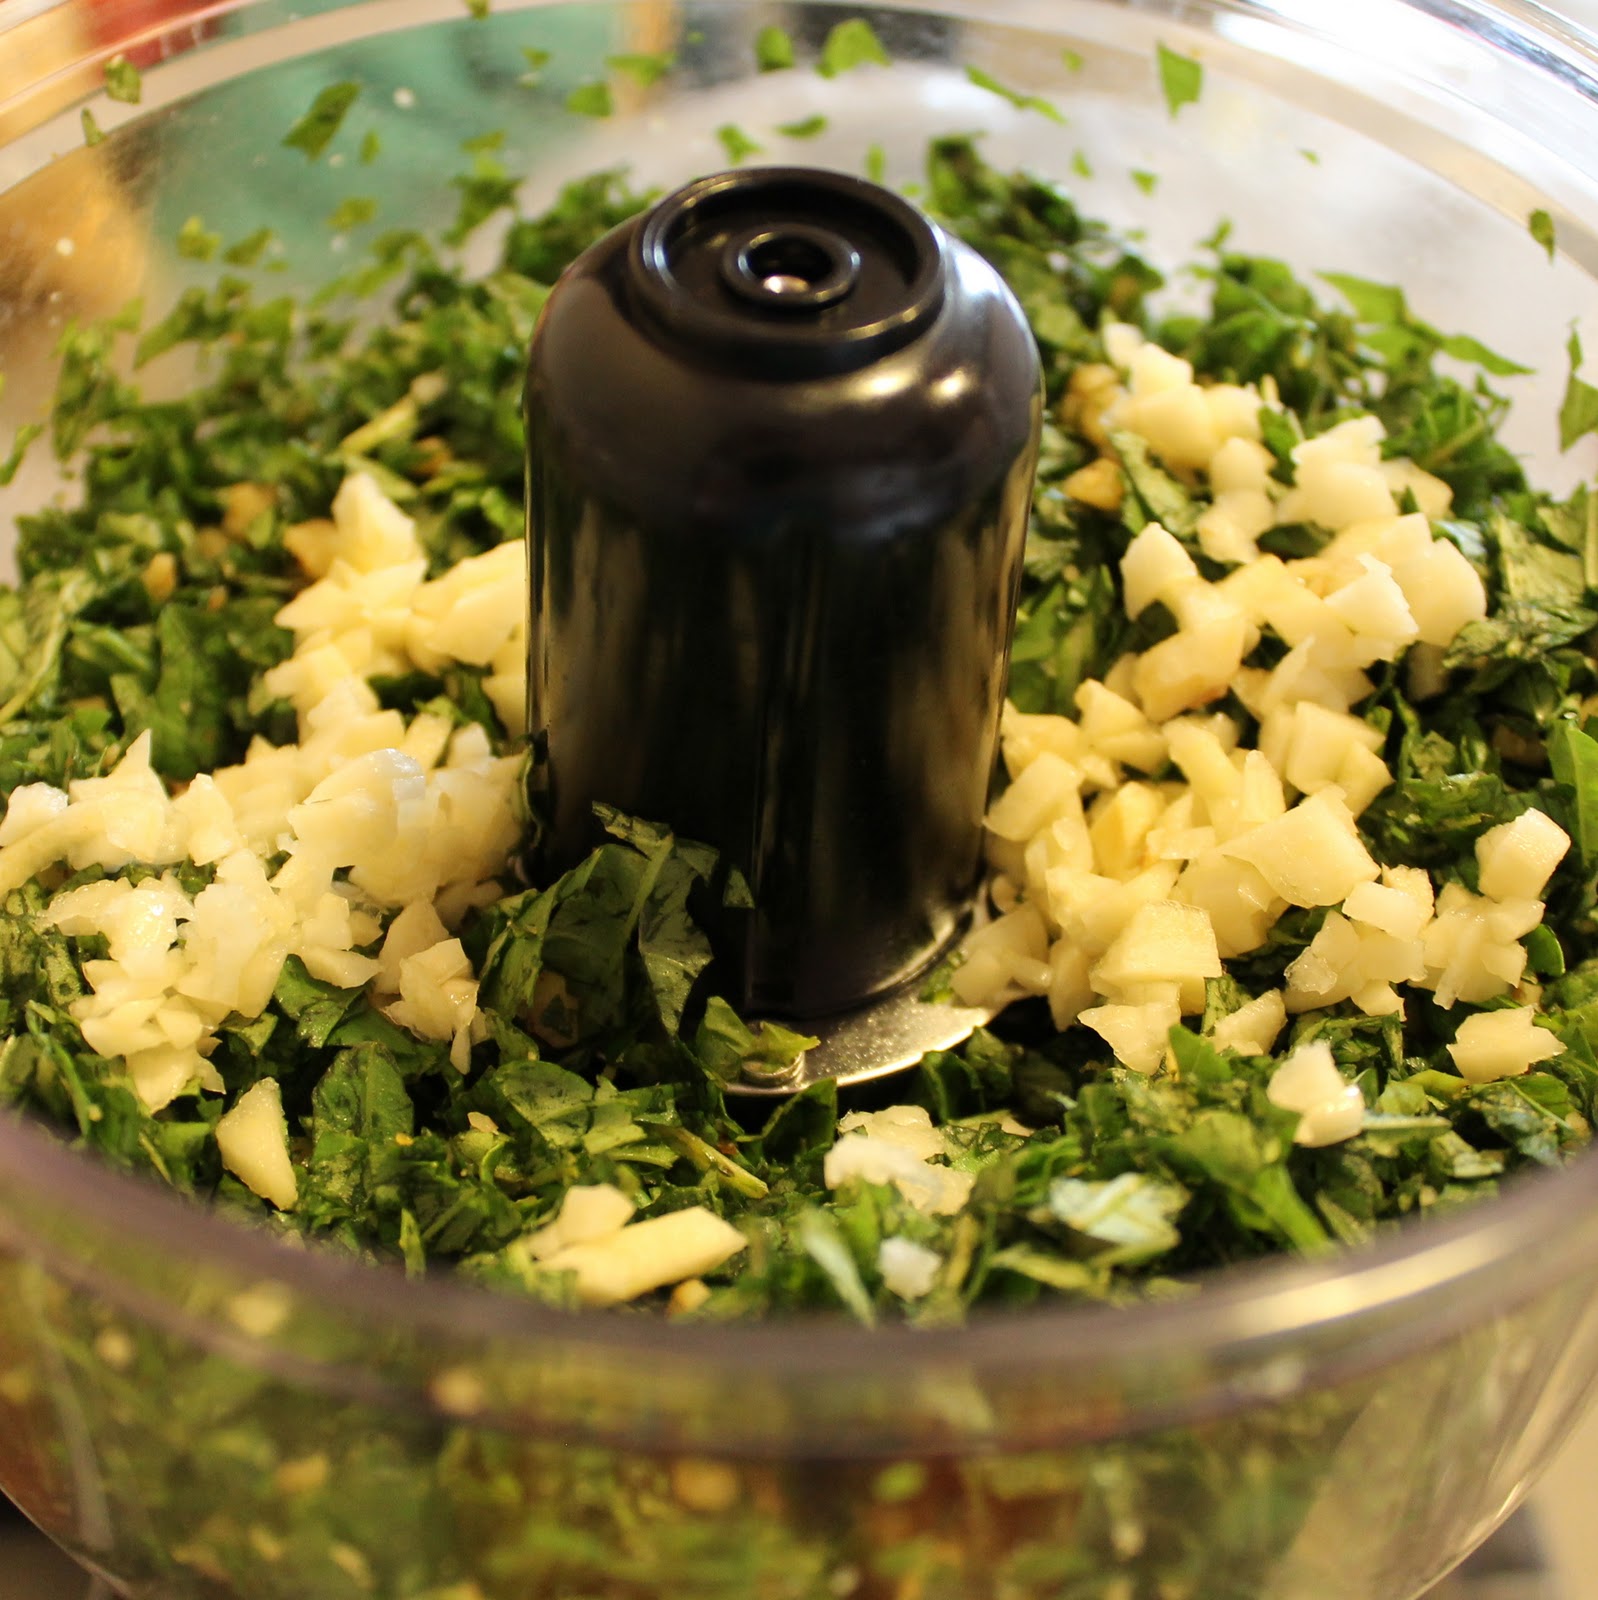
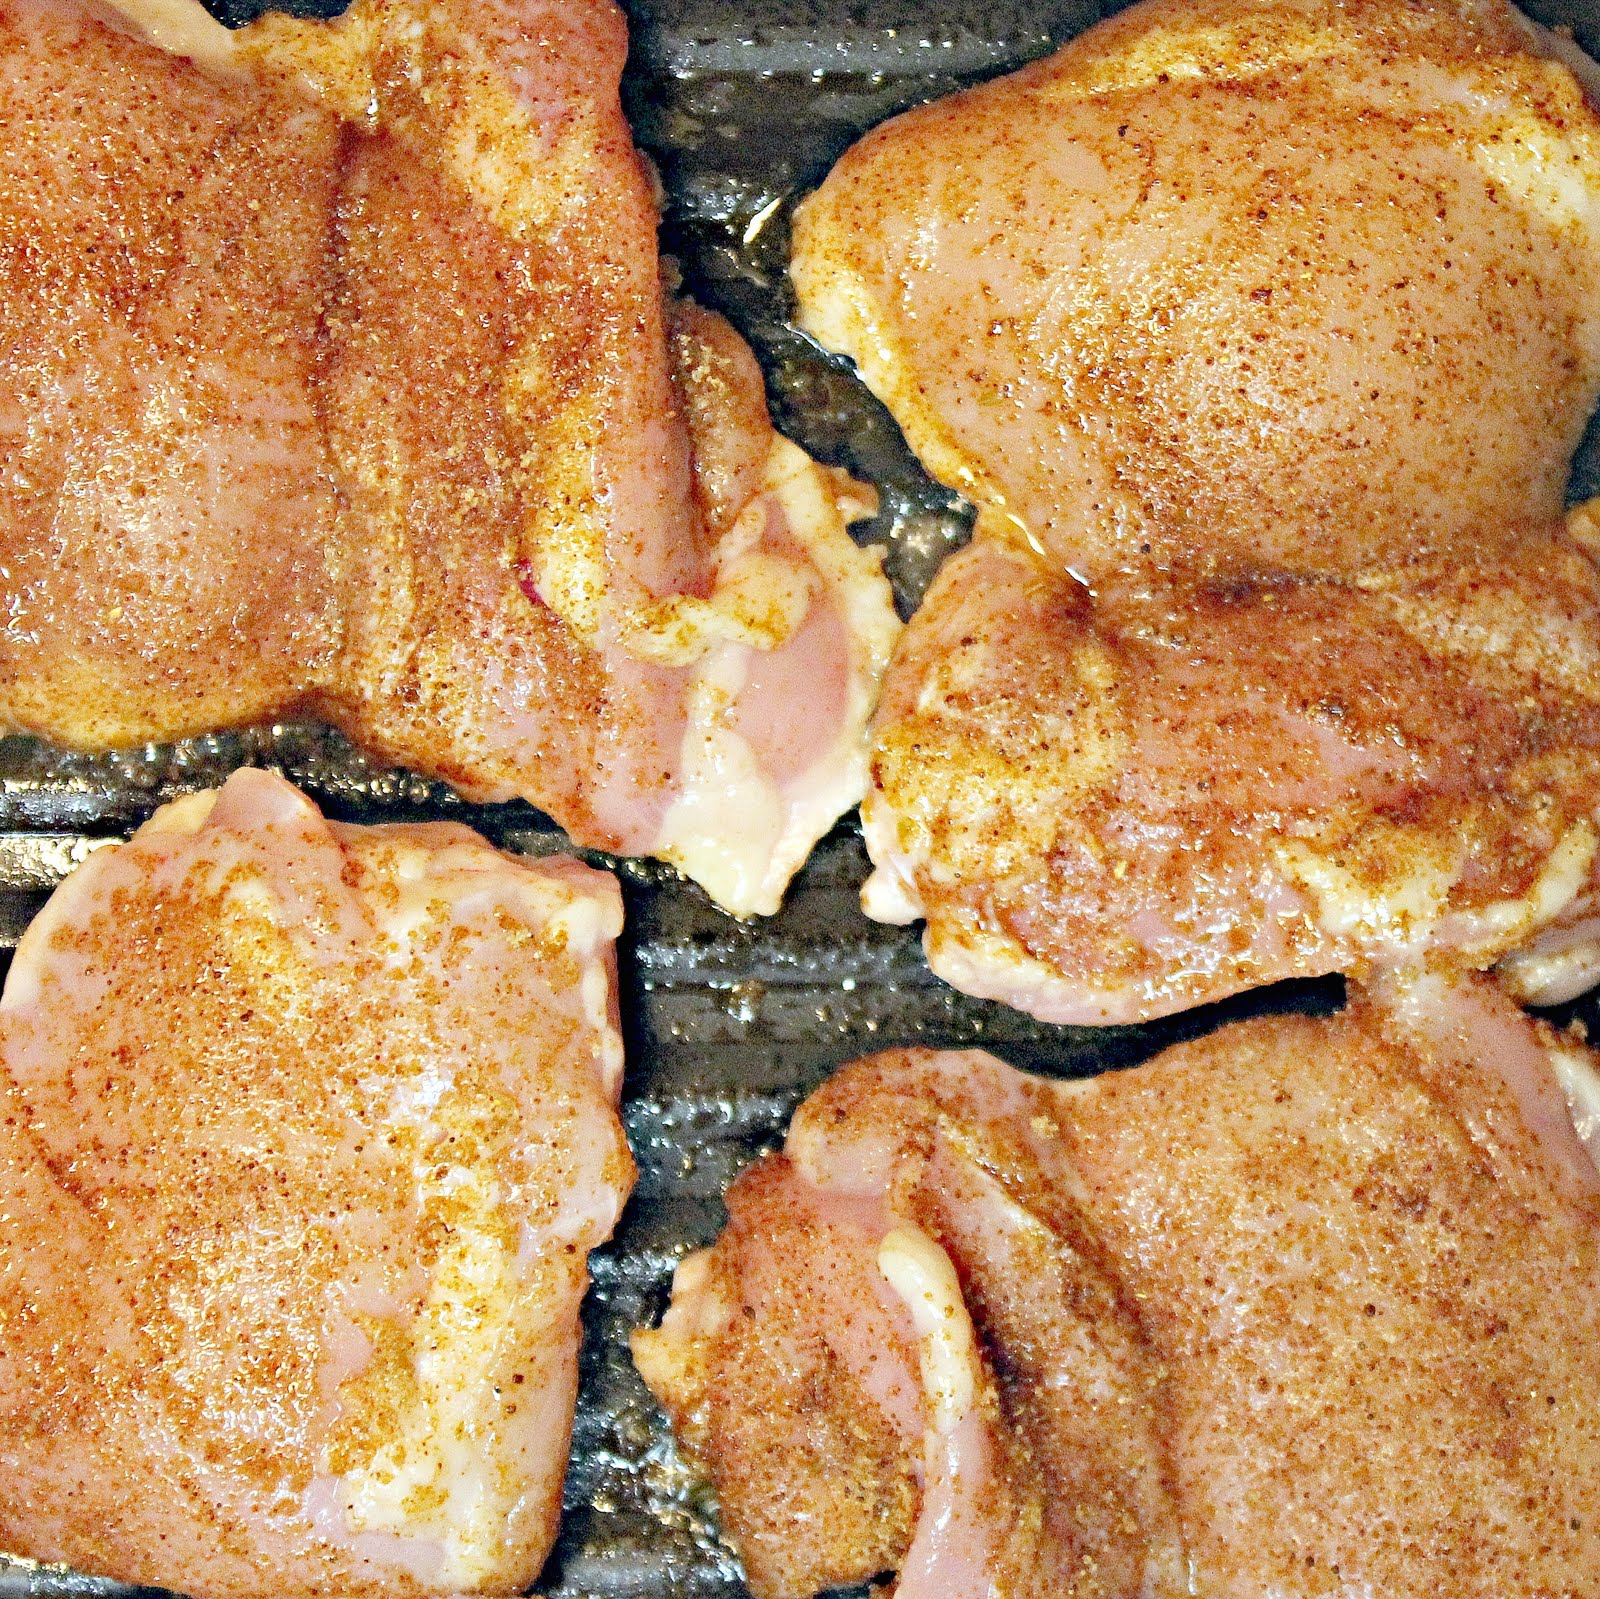
Begin by chopping your chocolate. I was feeling particularly lazy so I just used my food processor.
Preheat your oven to 250 degrees. Line a pan with parchment paper and spread the chopped chocolate evenly on top. Bake for 5 minutes or until melted. Using a spatula, spread the melted chocolate evenly so that it is the same thickness throughout.
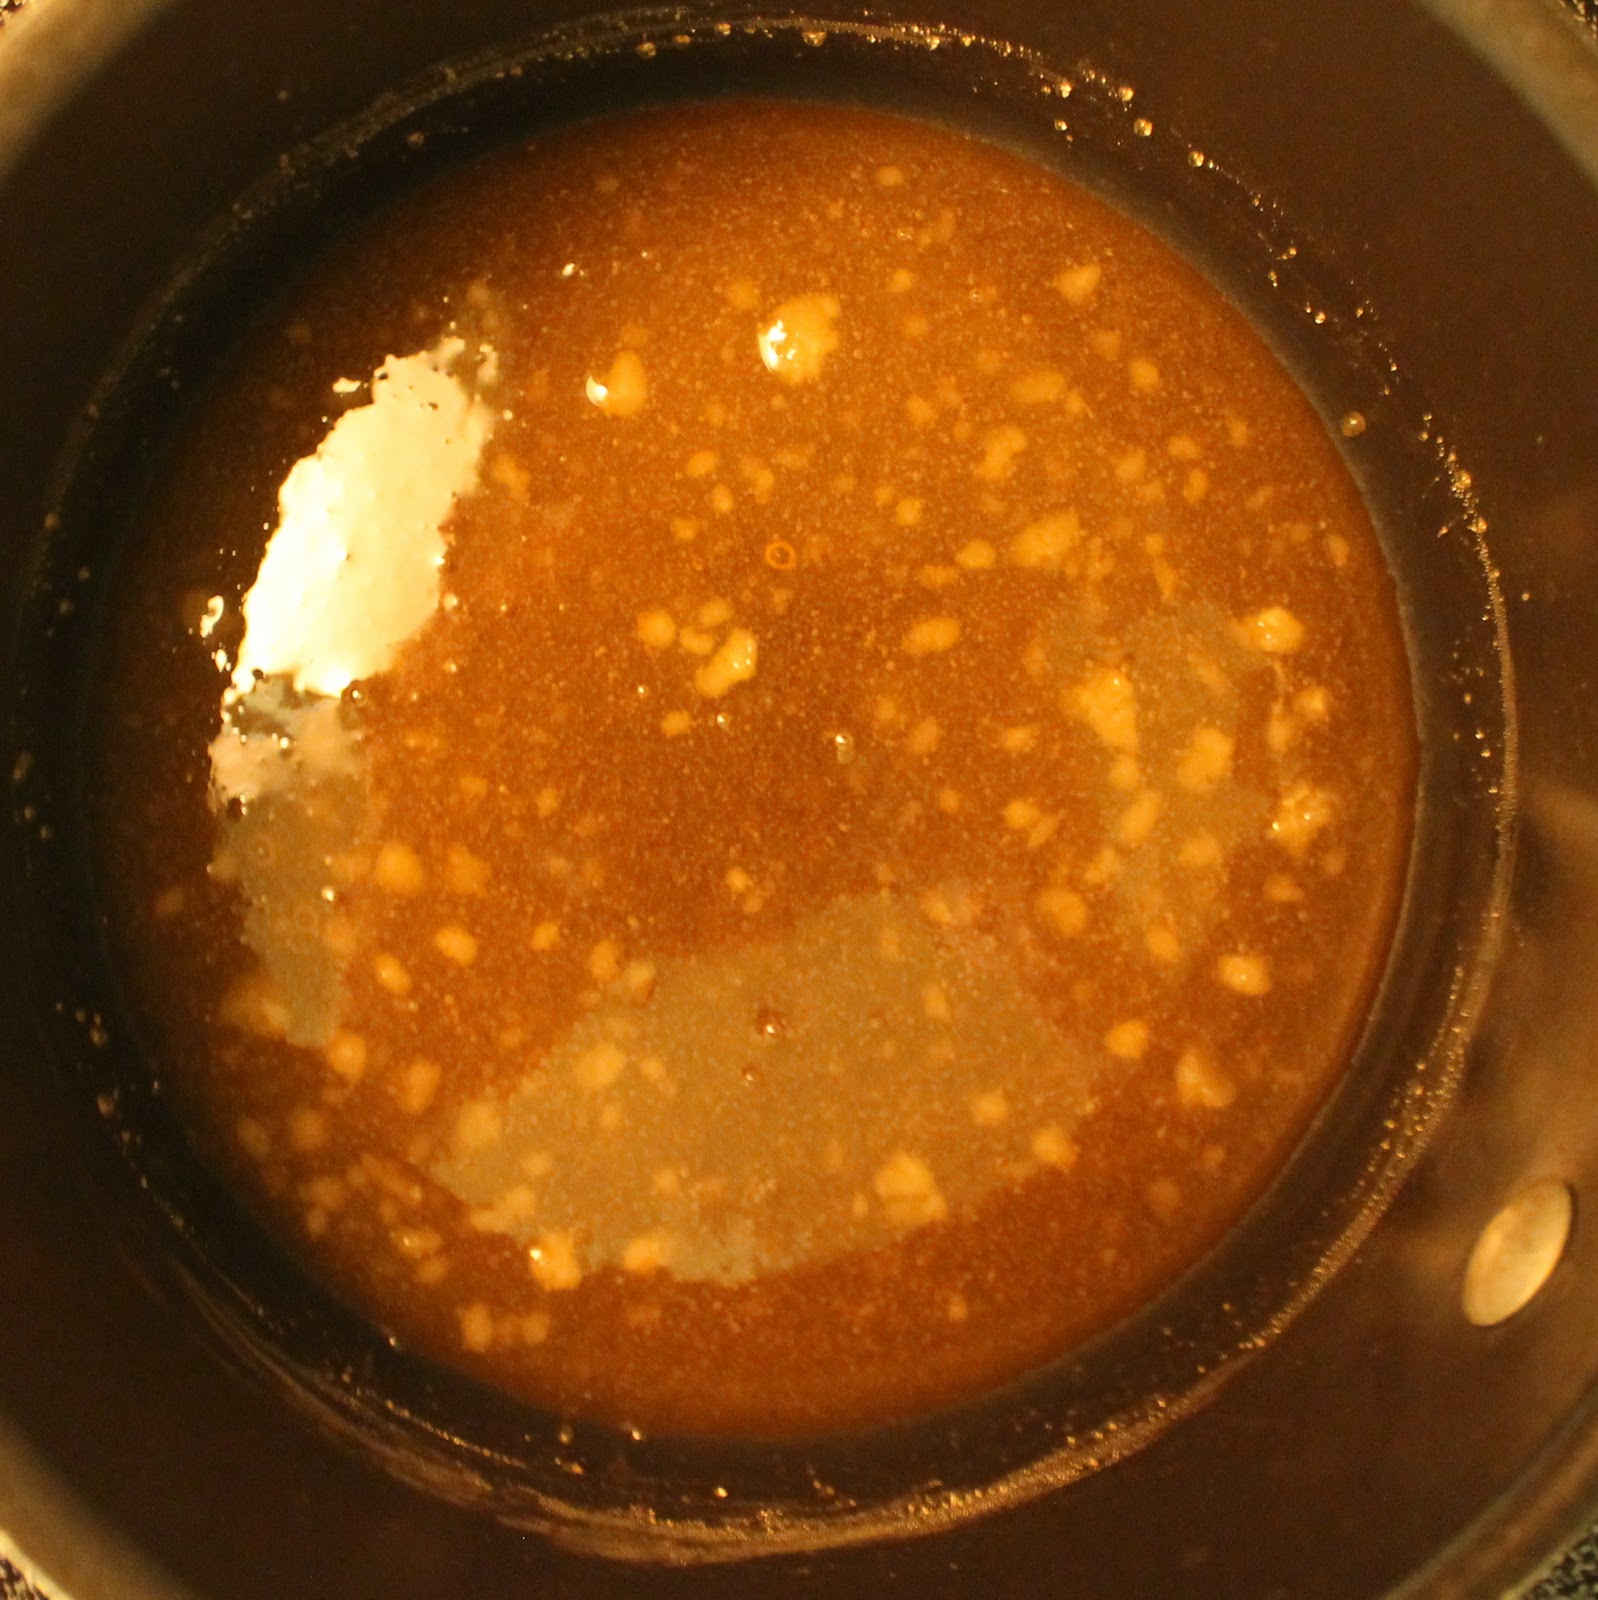
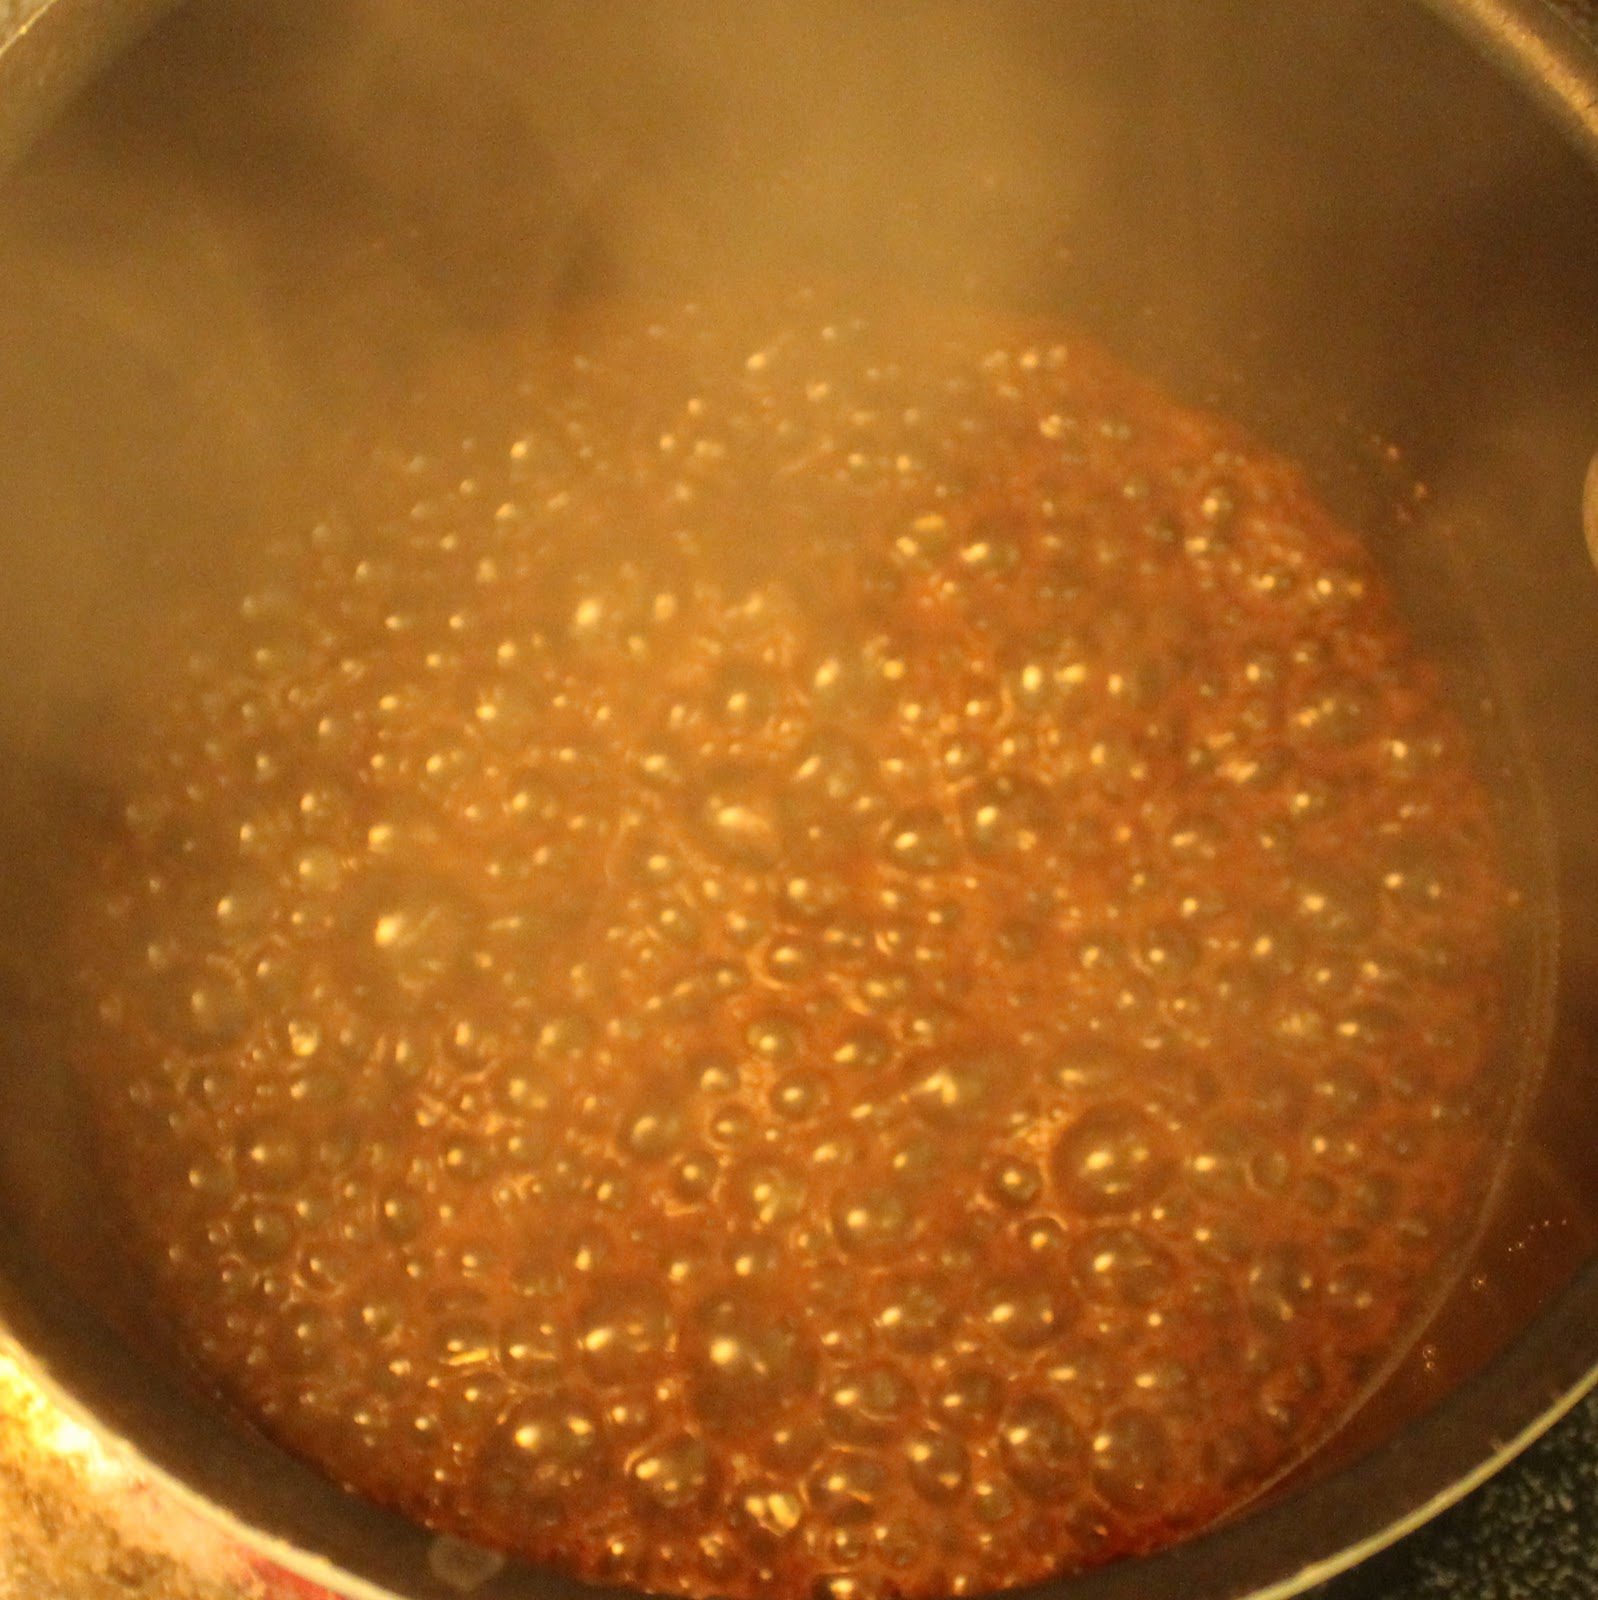
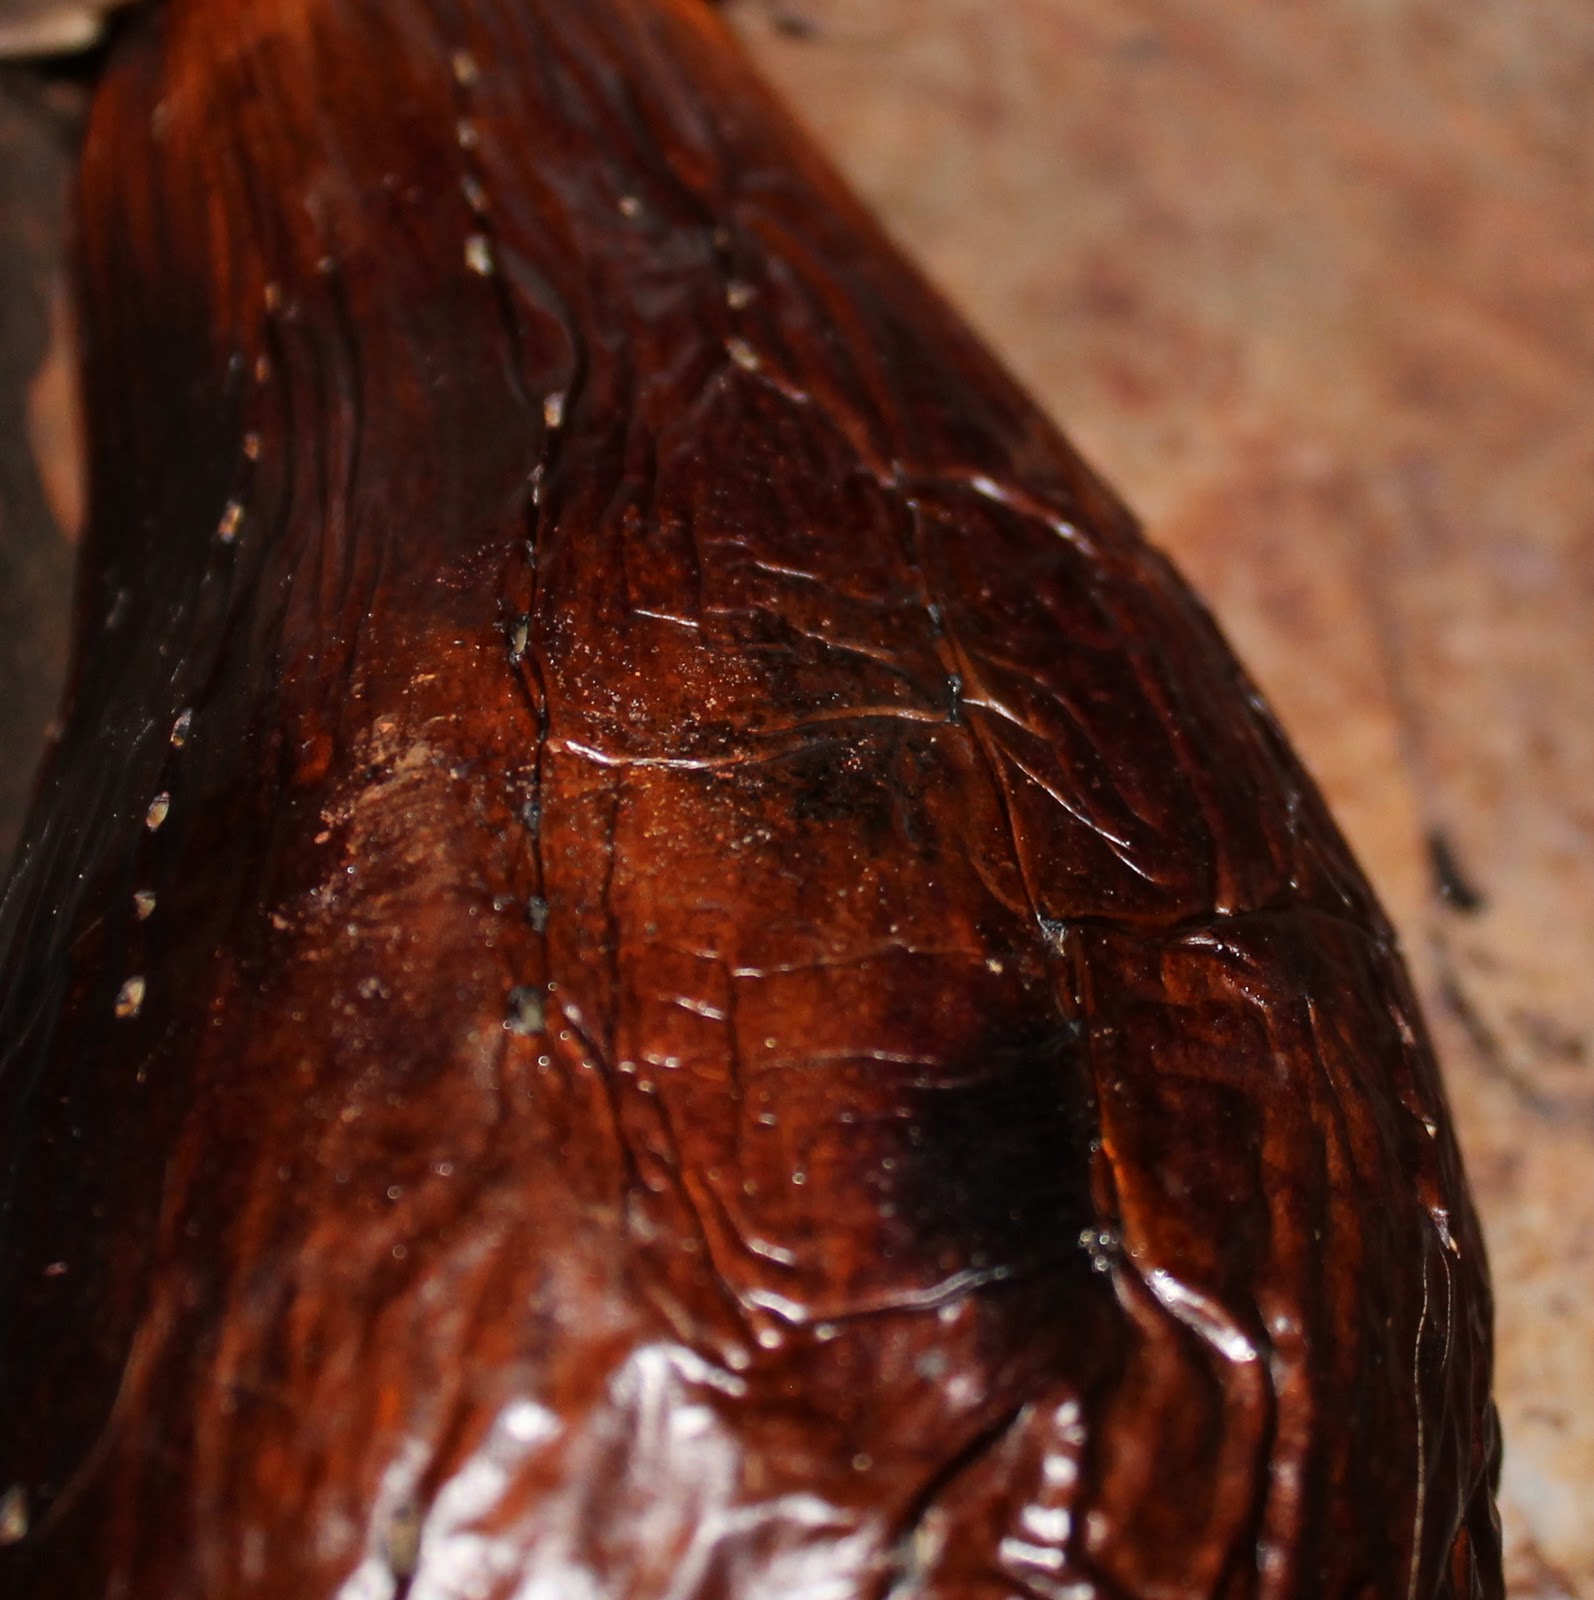
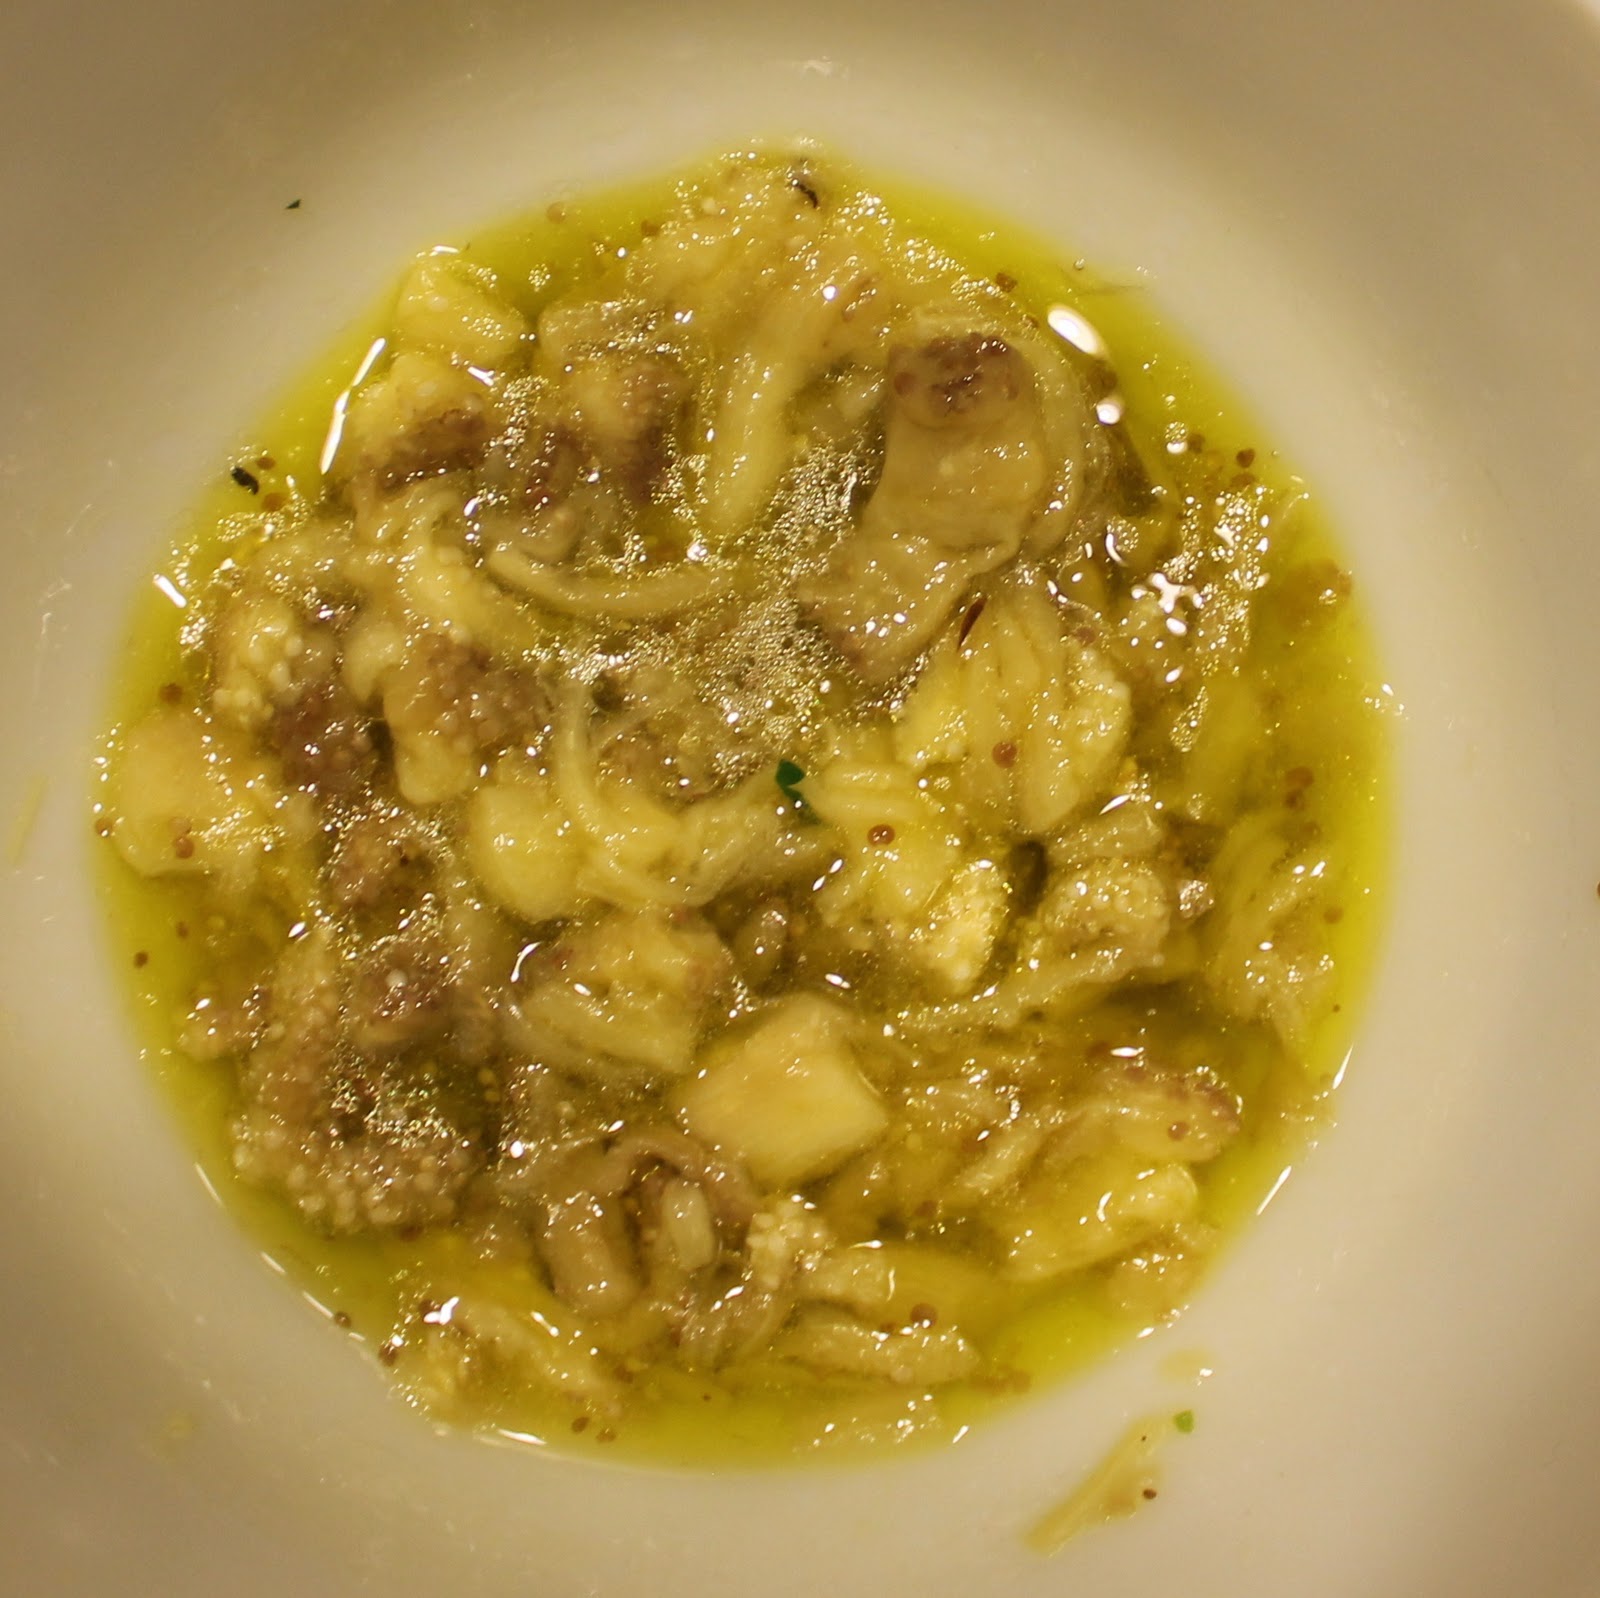
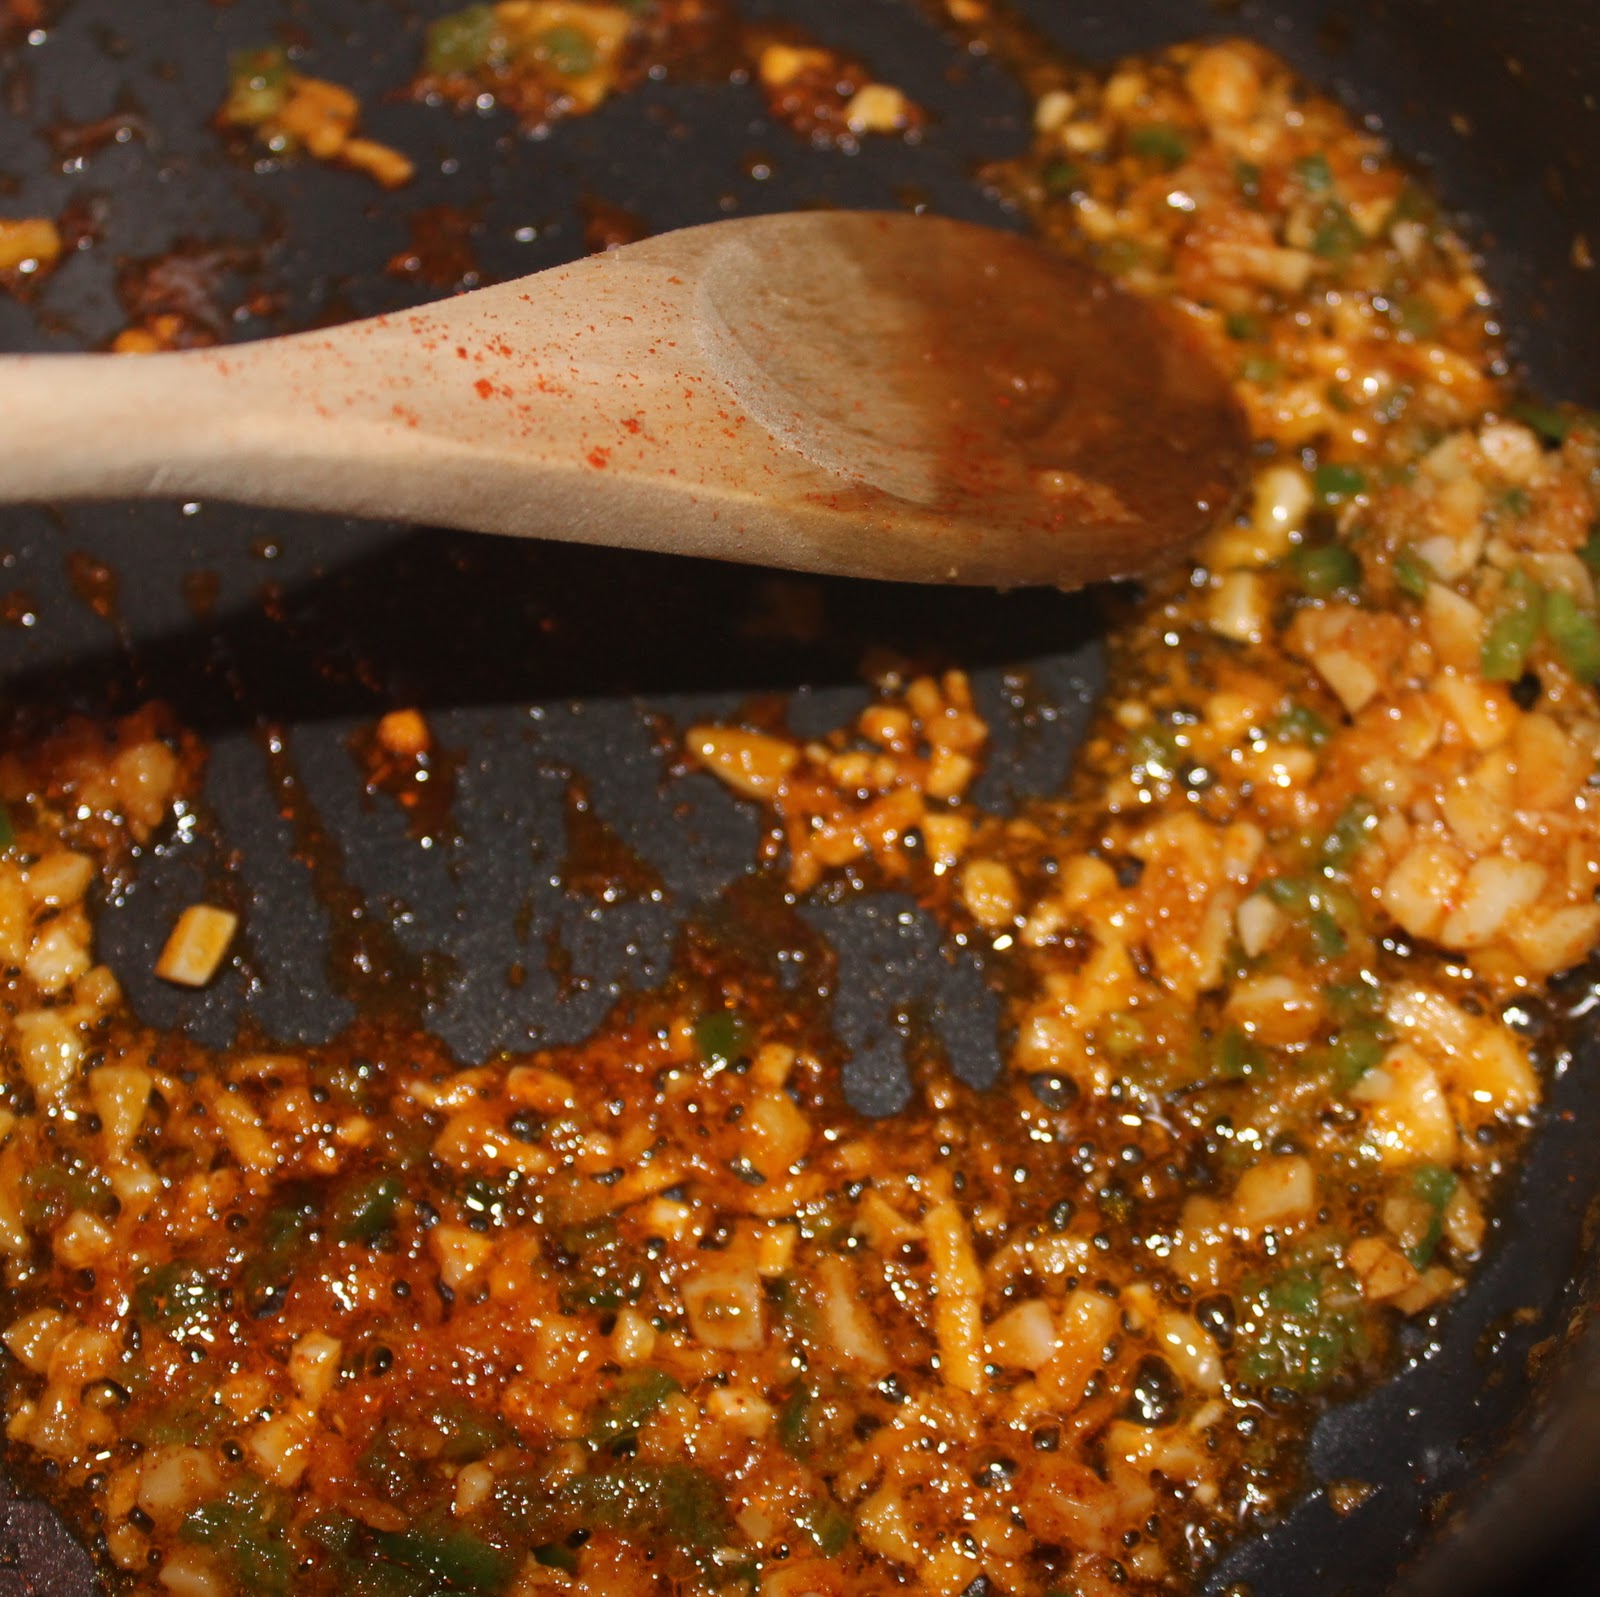
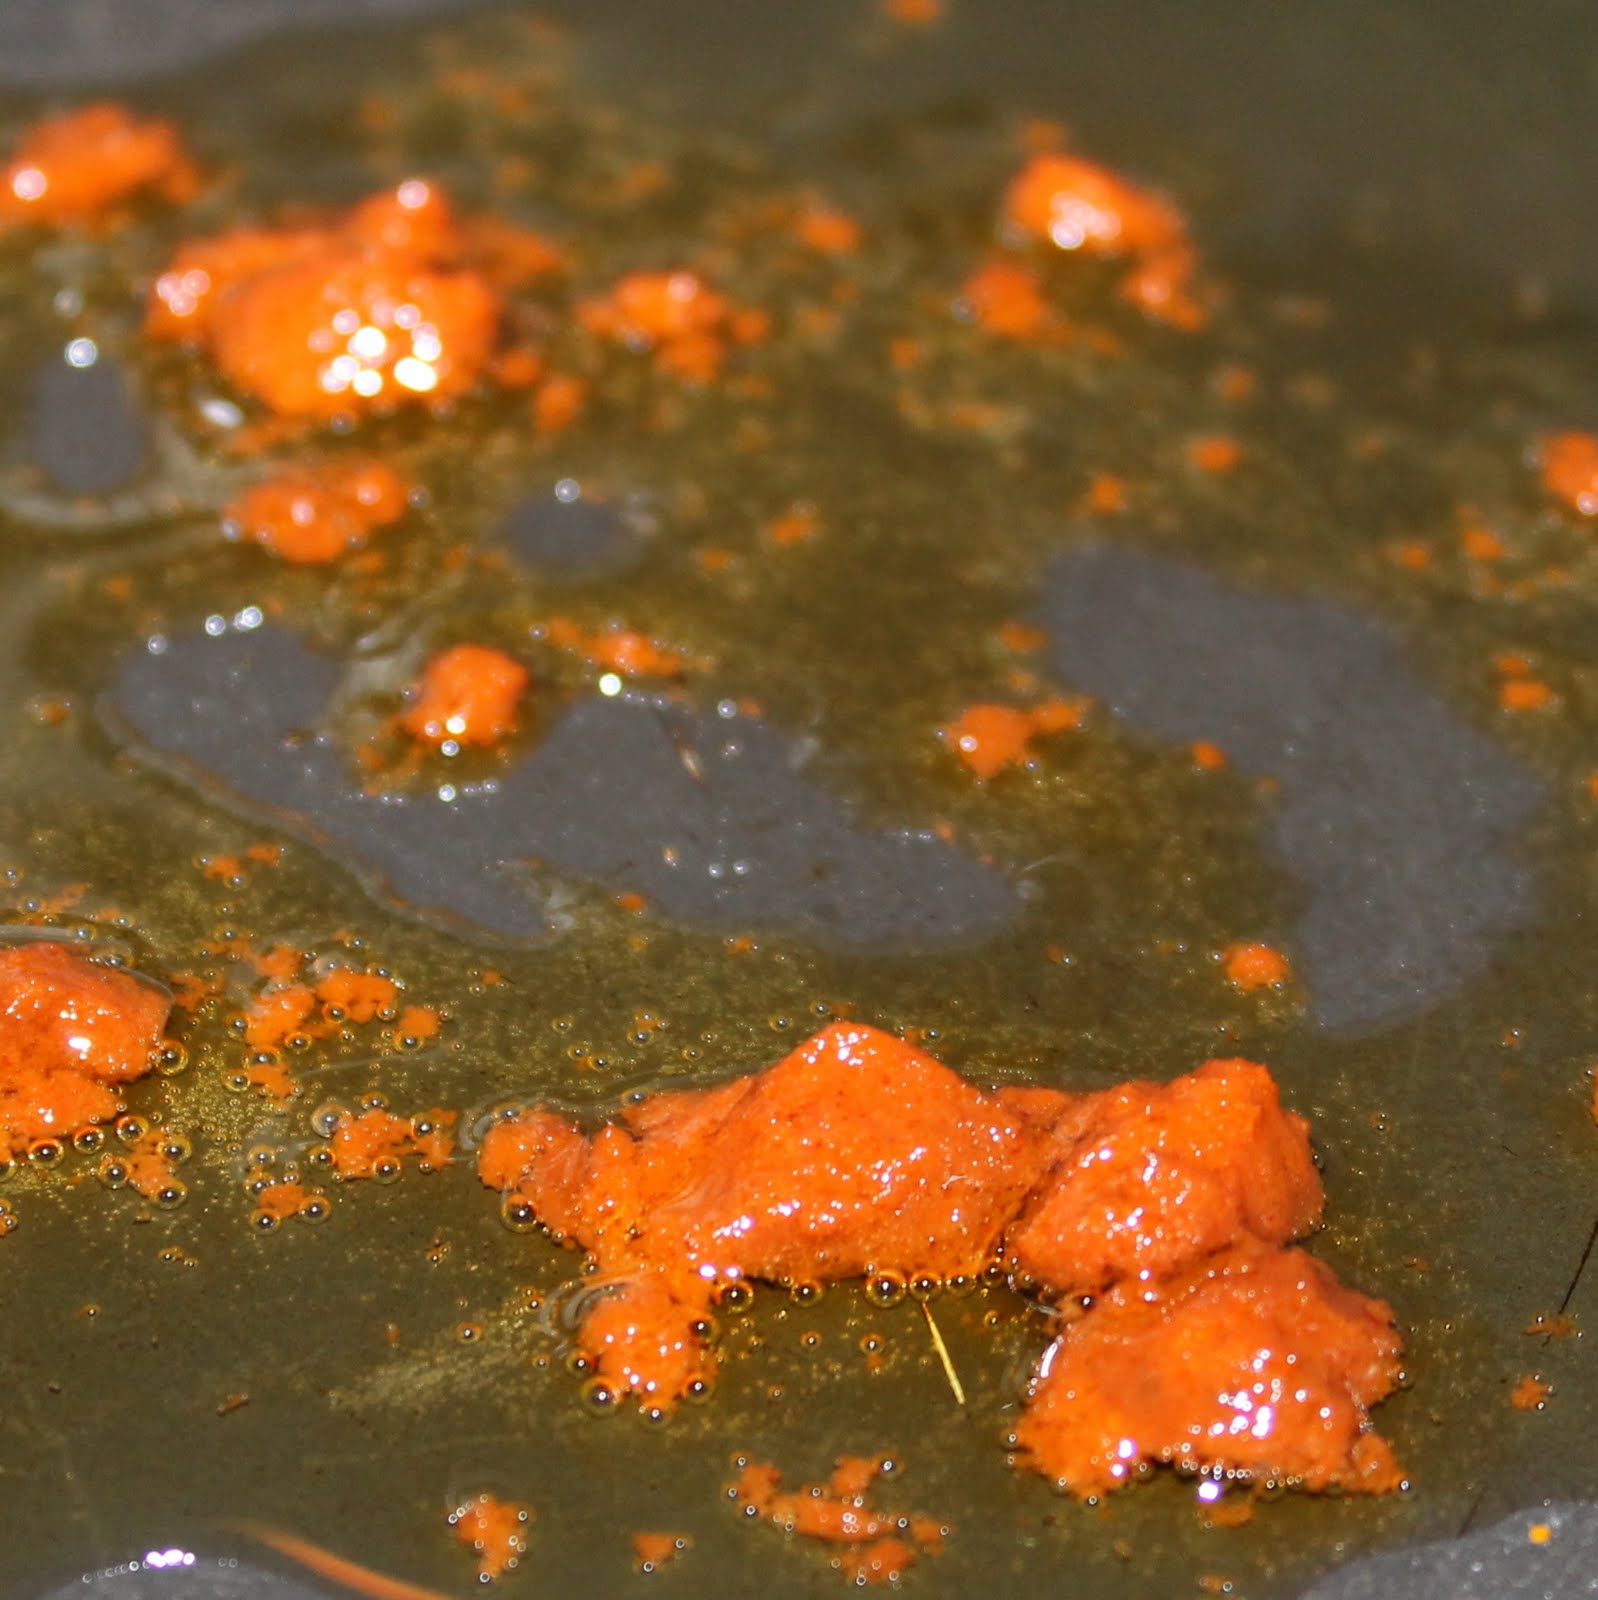
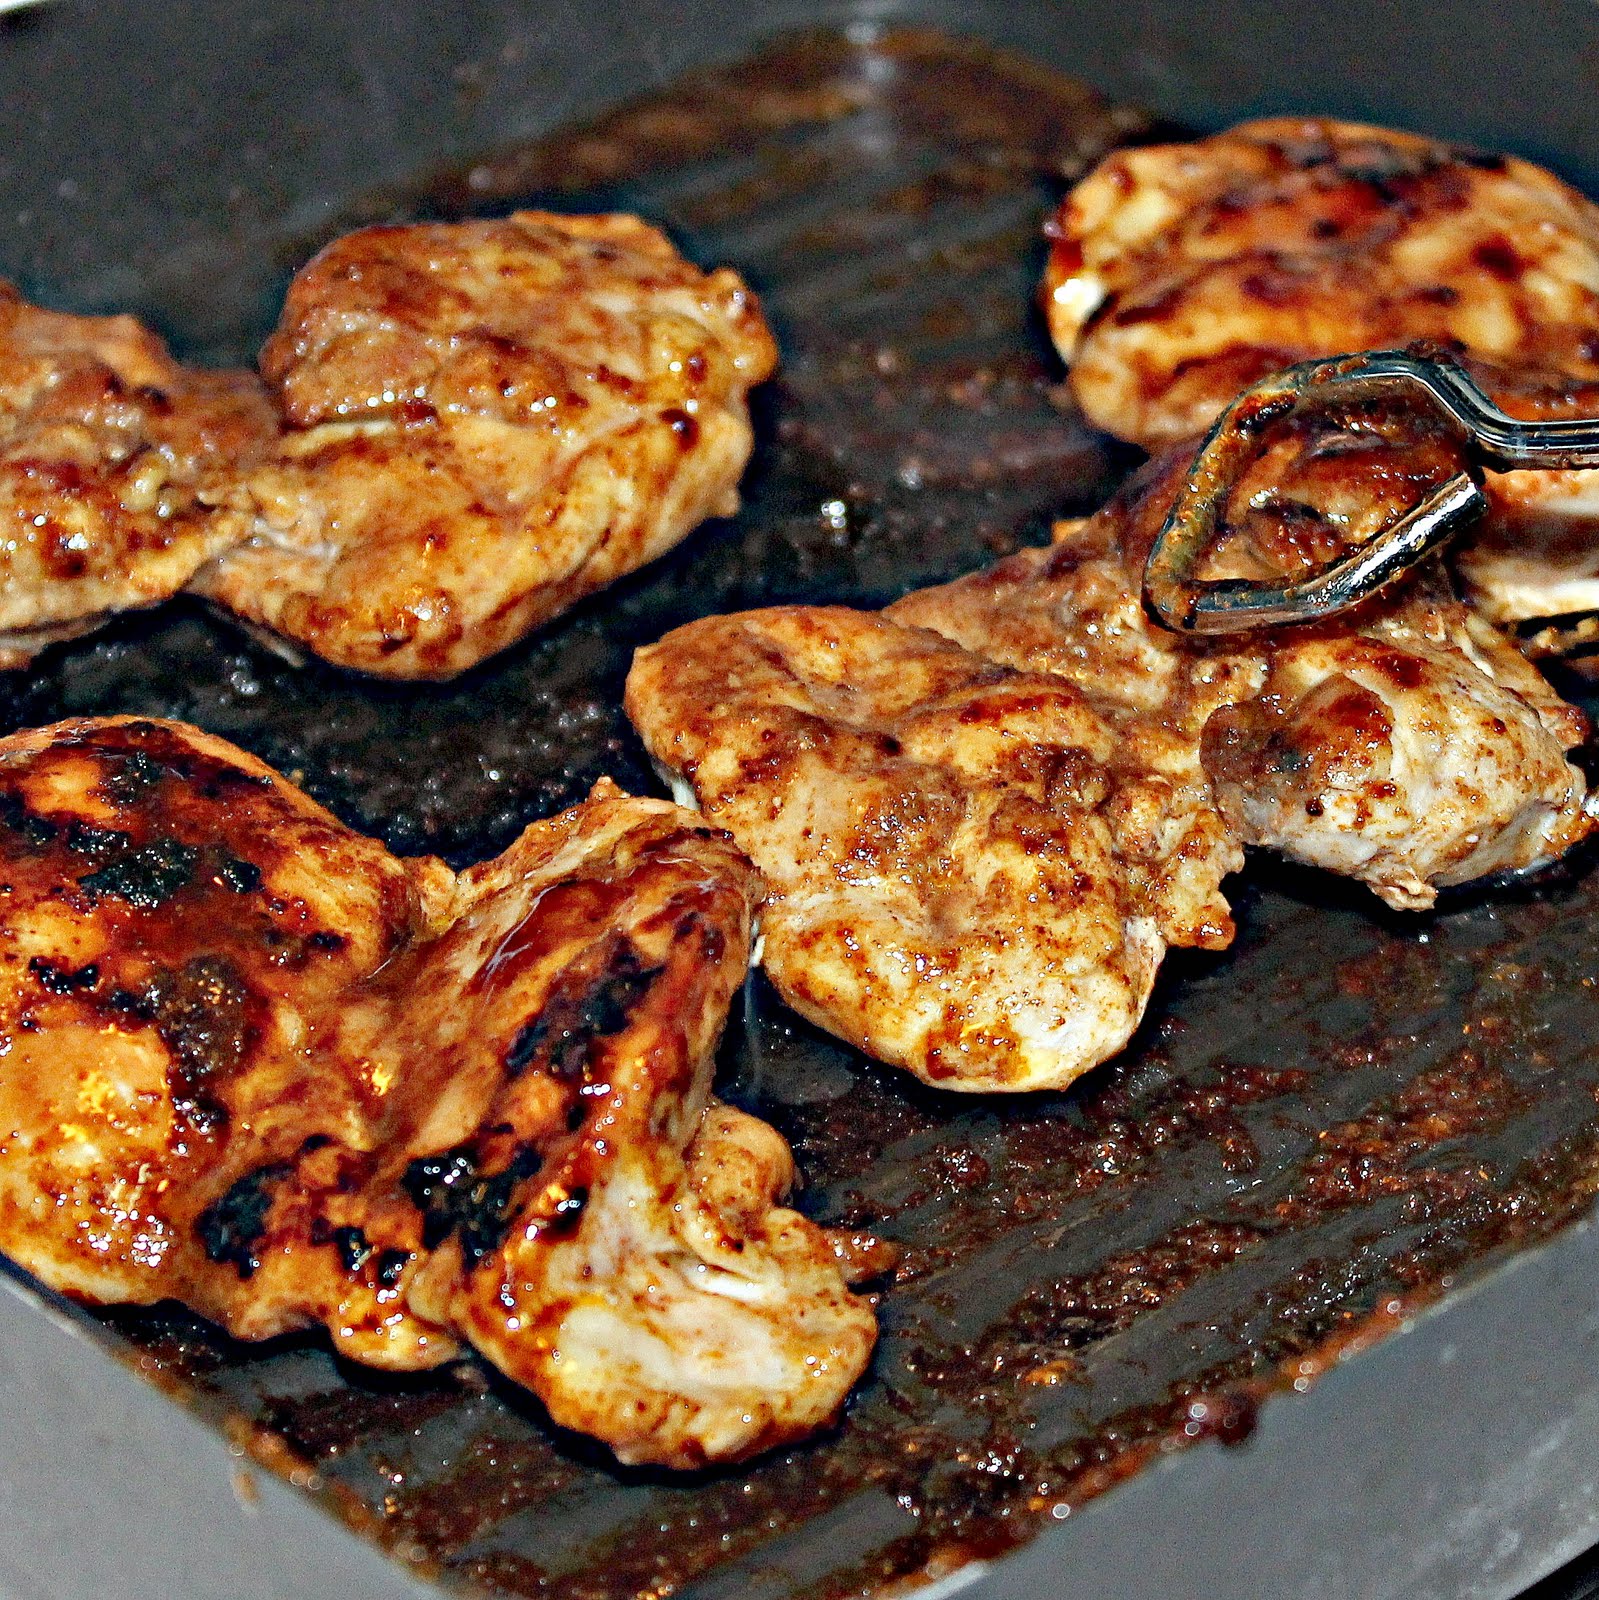
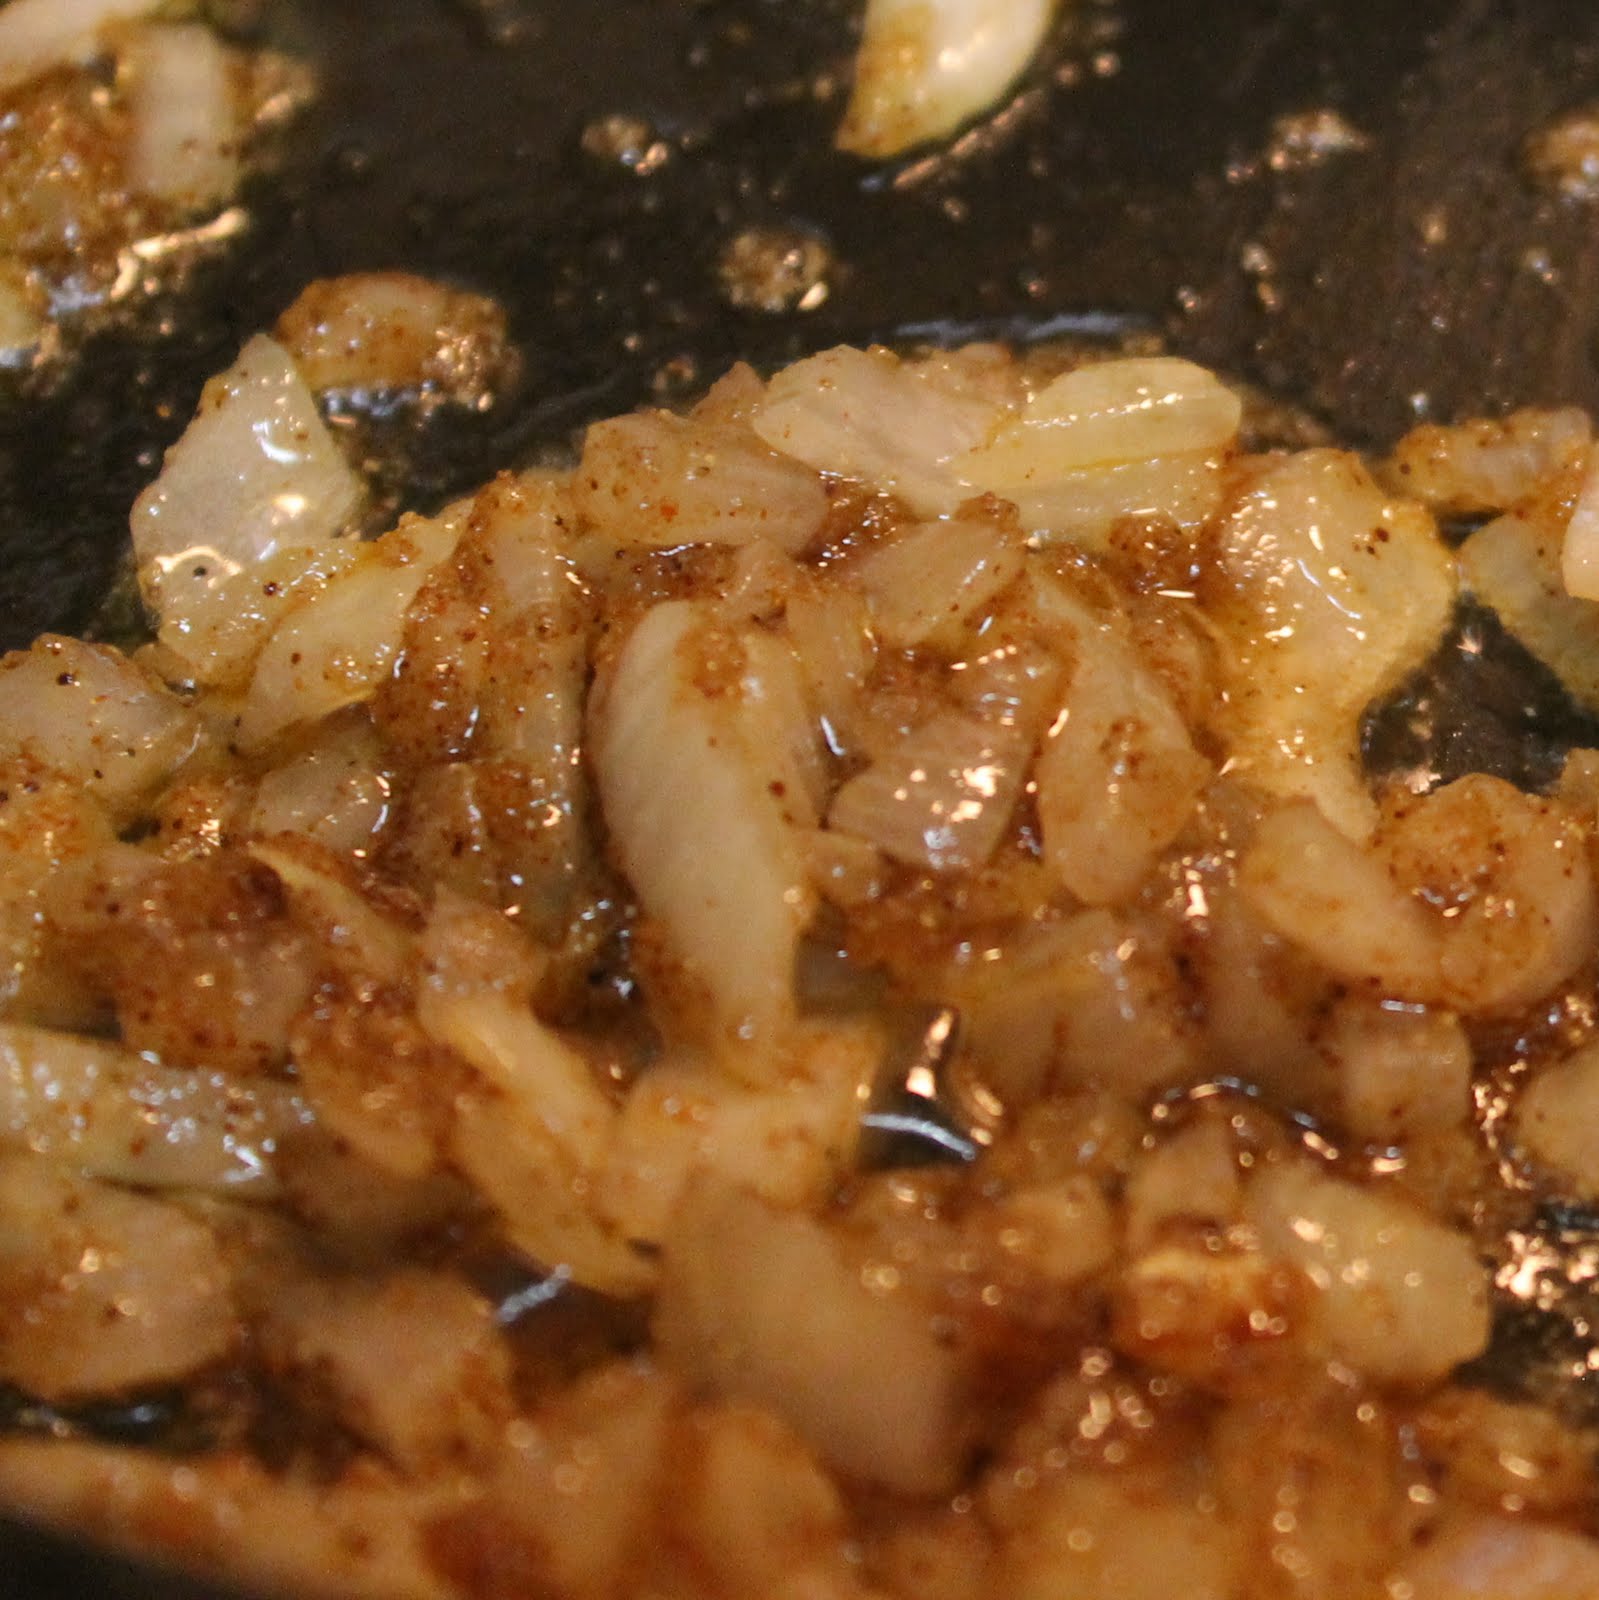
While the chocolate is melting, make the caramel. Add the sugar to a pan over medium high heat. As soon as it begins to melt, begin to whisk vigorously until mostly melted. (see photo) Take care not to burn the sugar!
Add the butter and whisk to combine. Be careful, it will bubble!
Remove from heat. Wait 10 seconds and add the cream, whisking to combine.
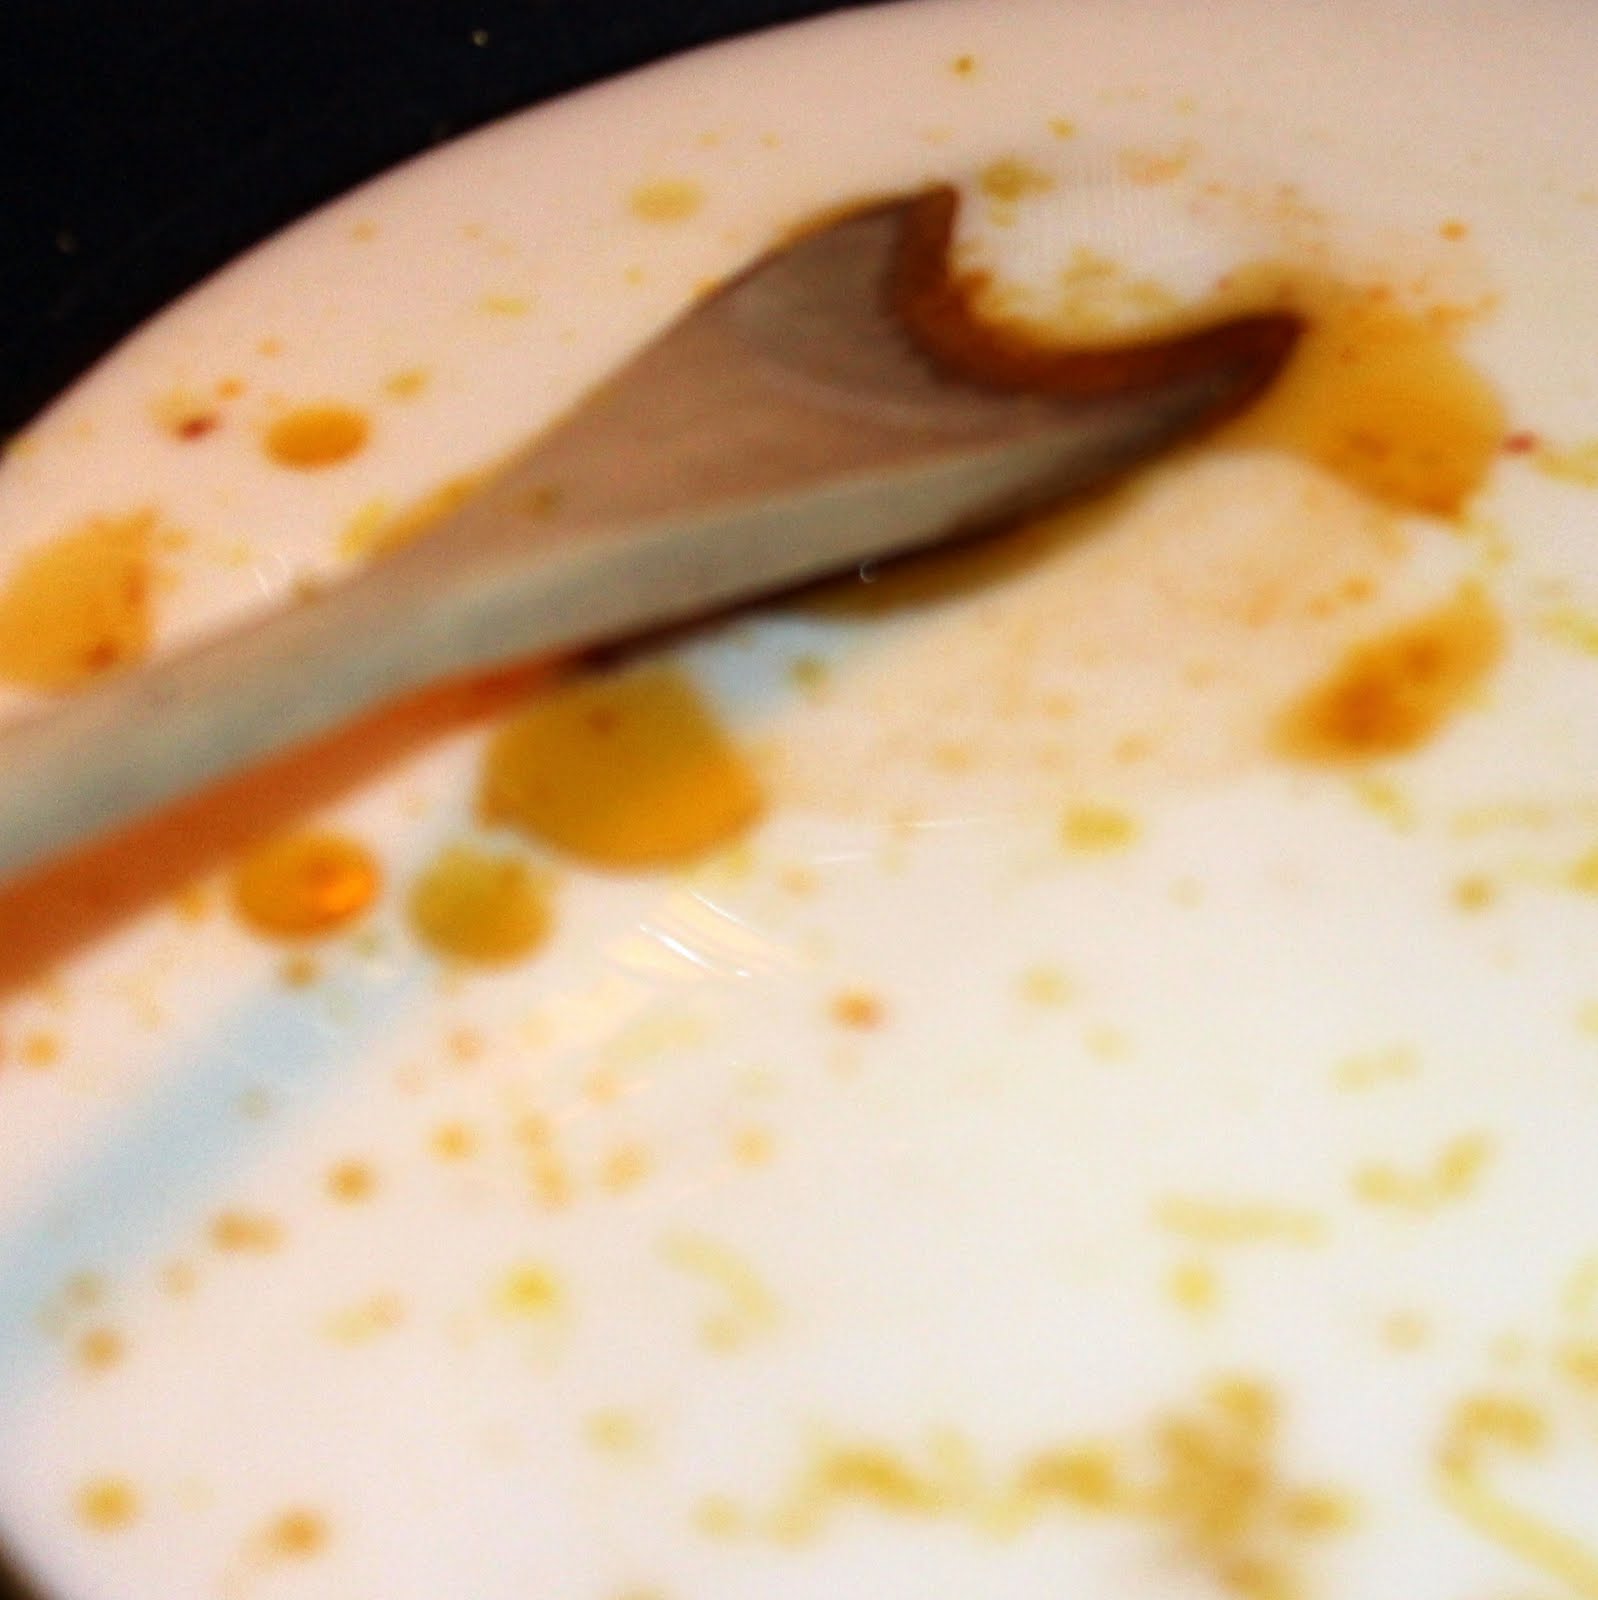
If you’re not feeling particularly gutsy, feel free to just purchase caramel sauce. Making the caramel can be tricky, it took me two tries. I burnt the first one so badly that my entire condo filled with smoke! Oops.
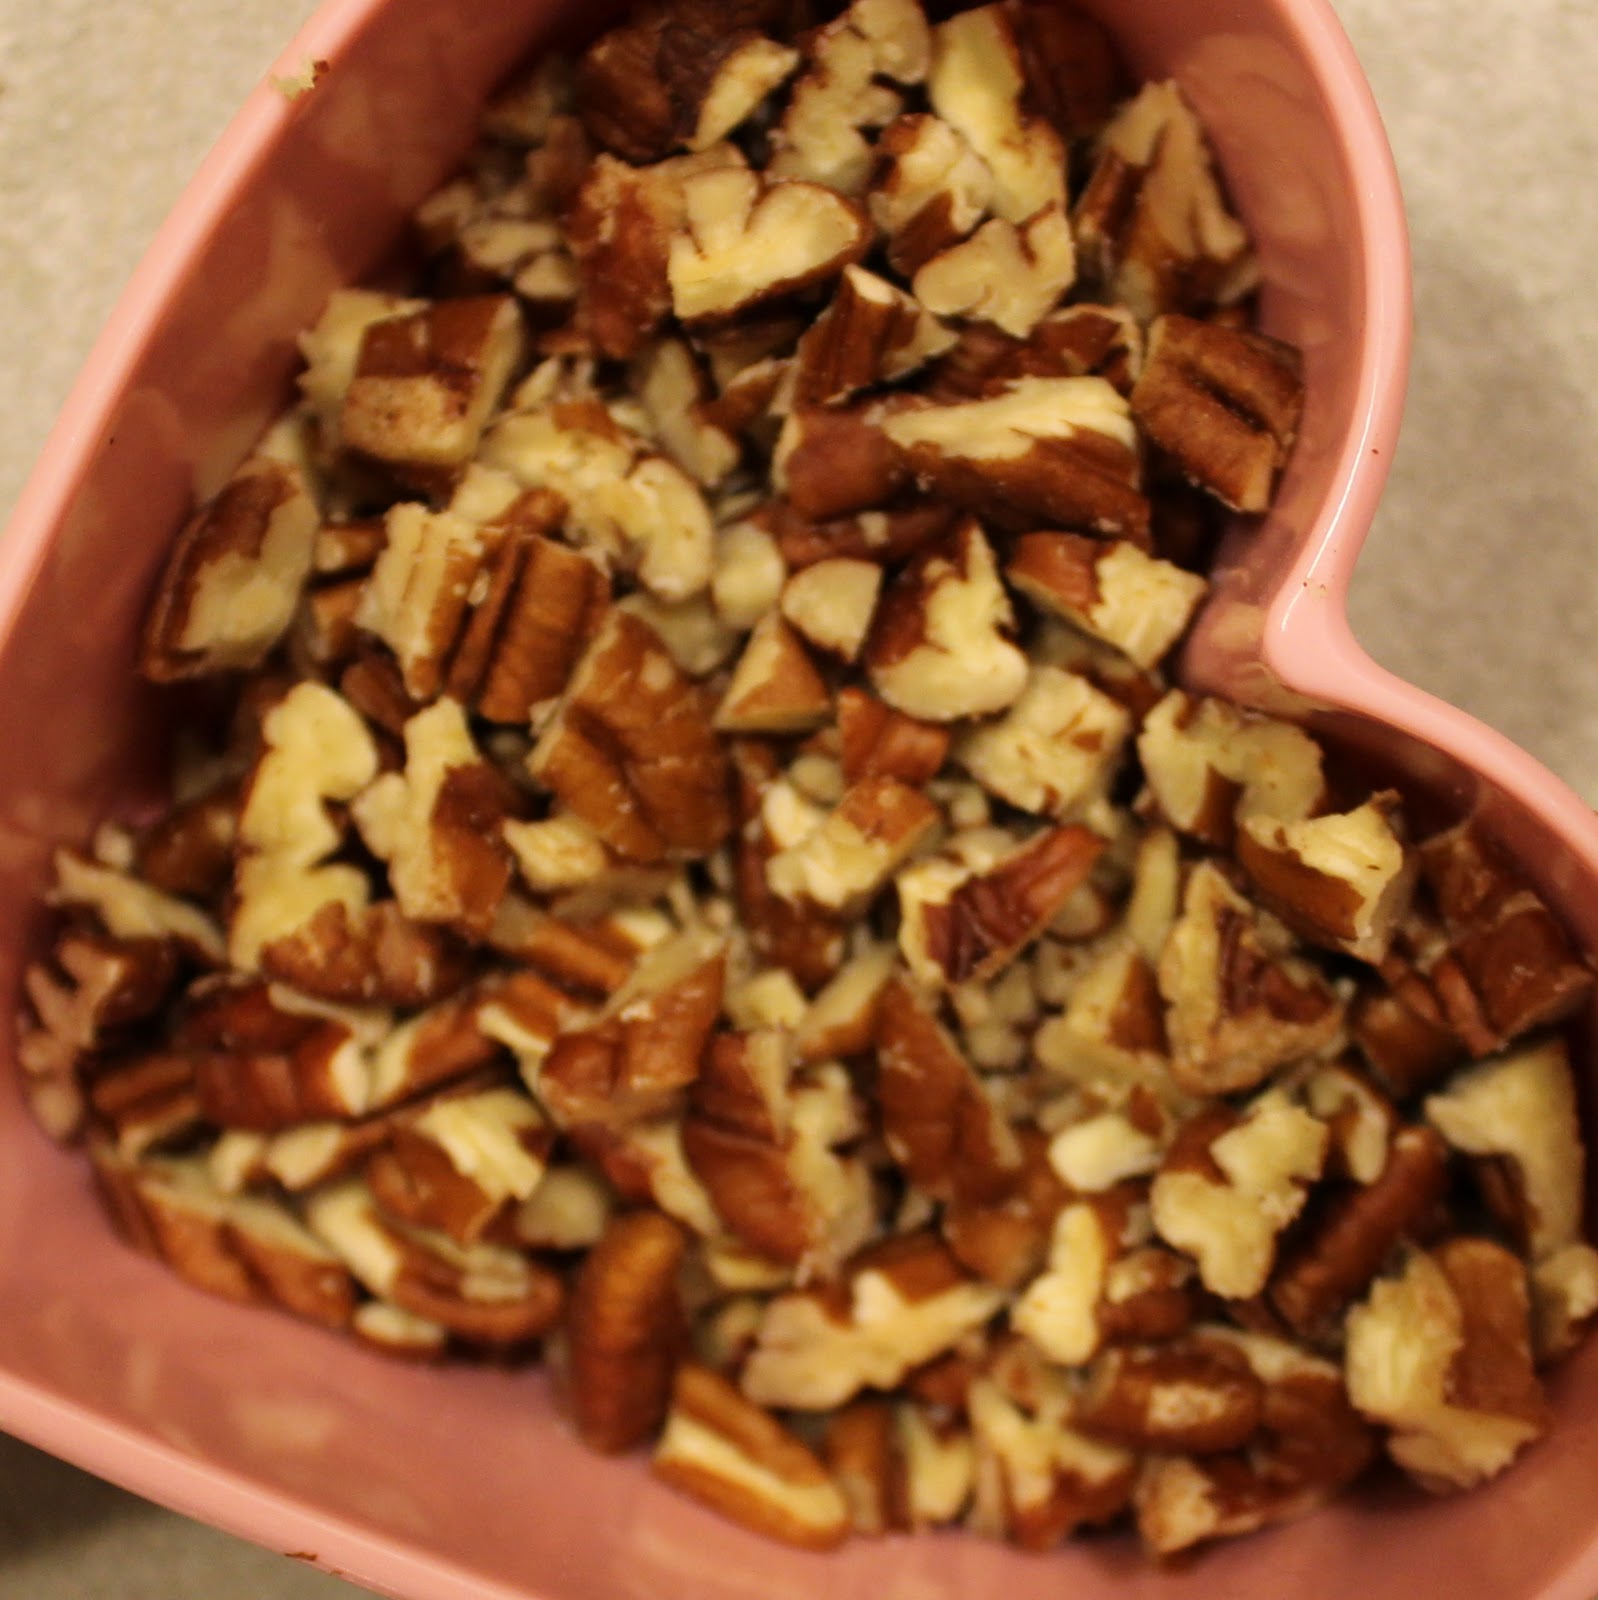
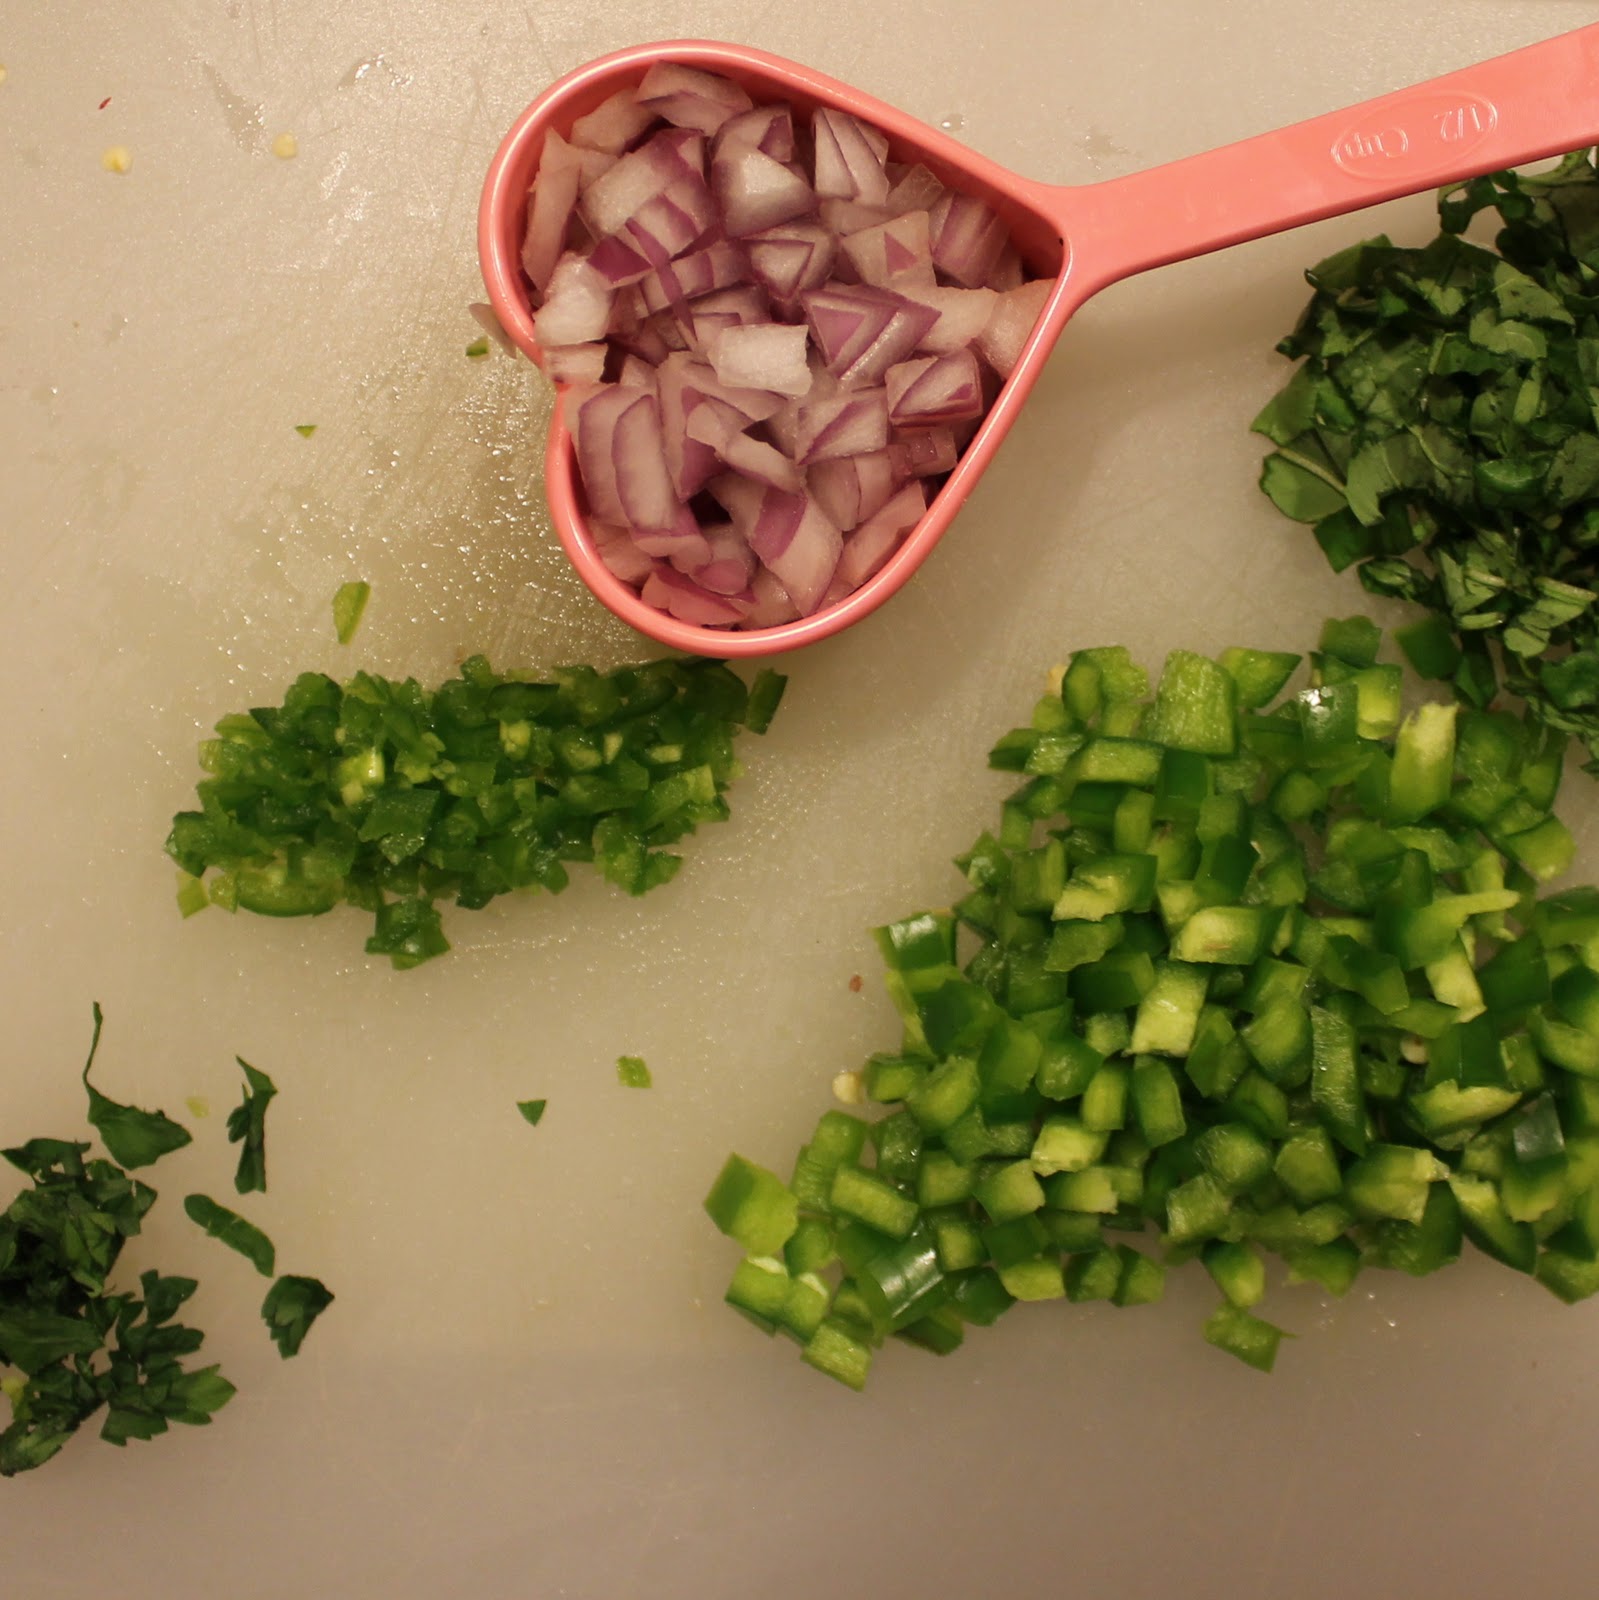
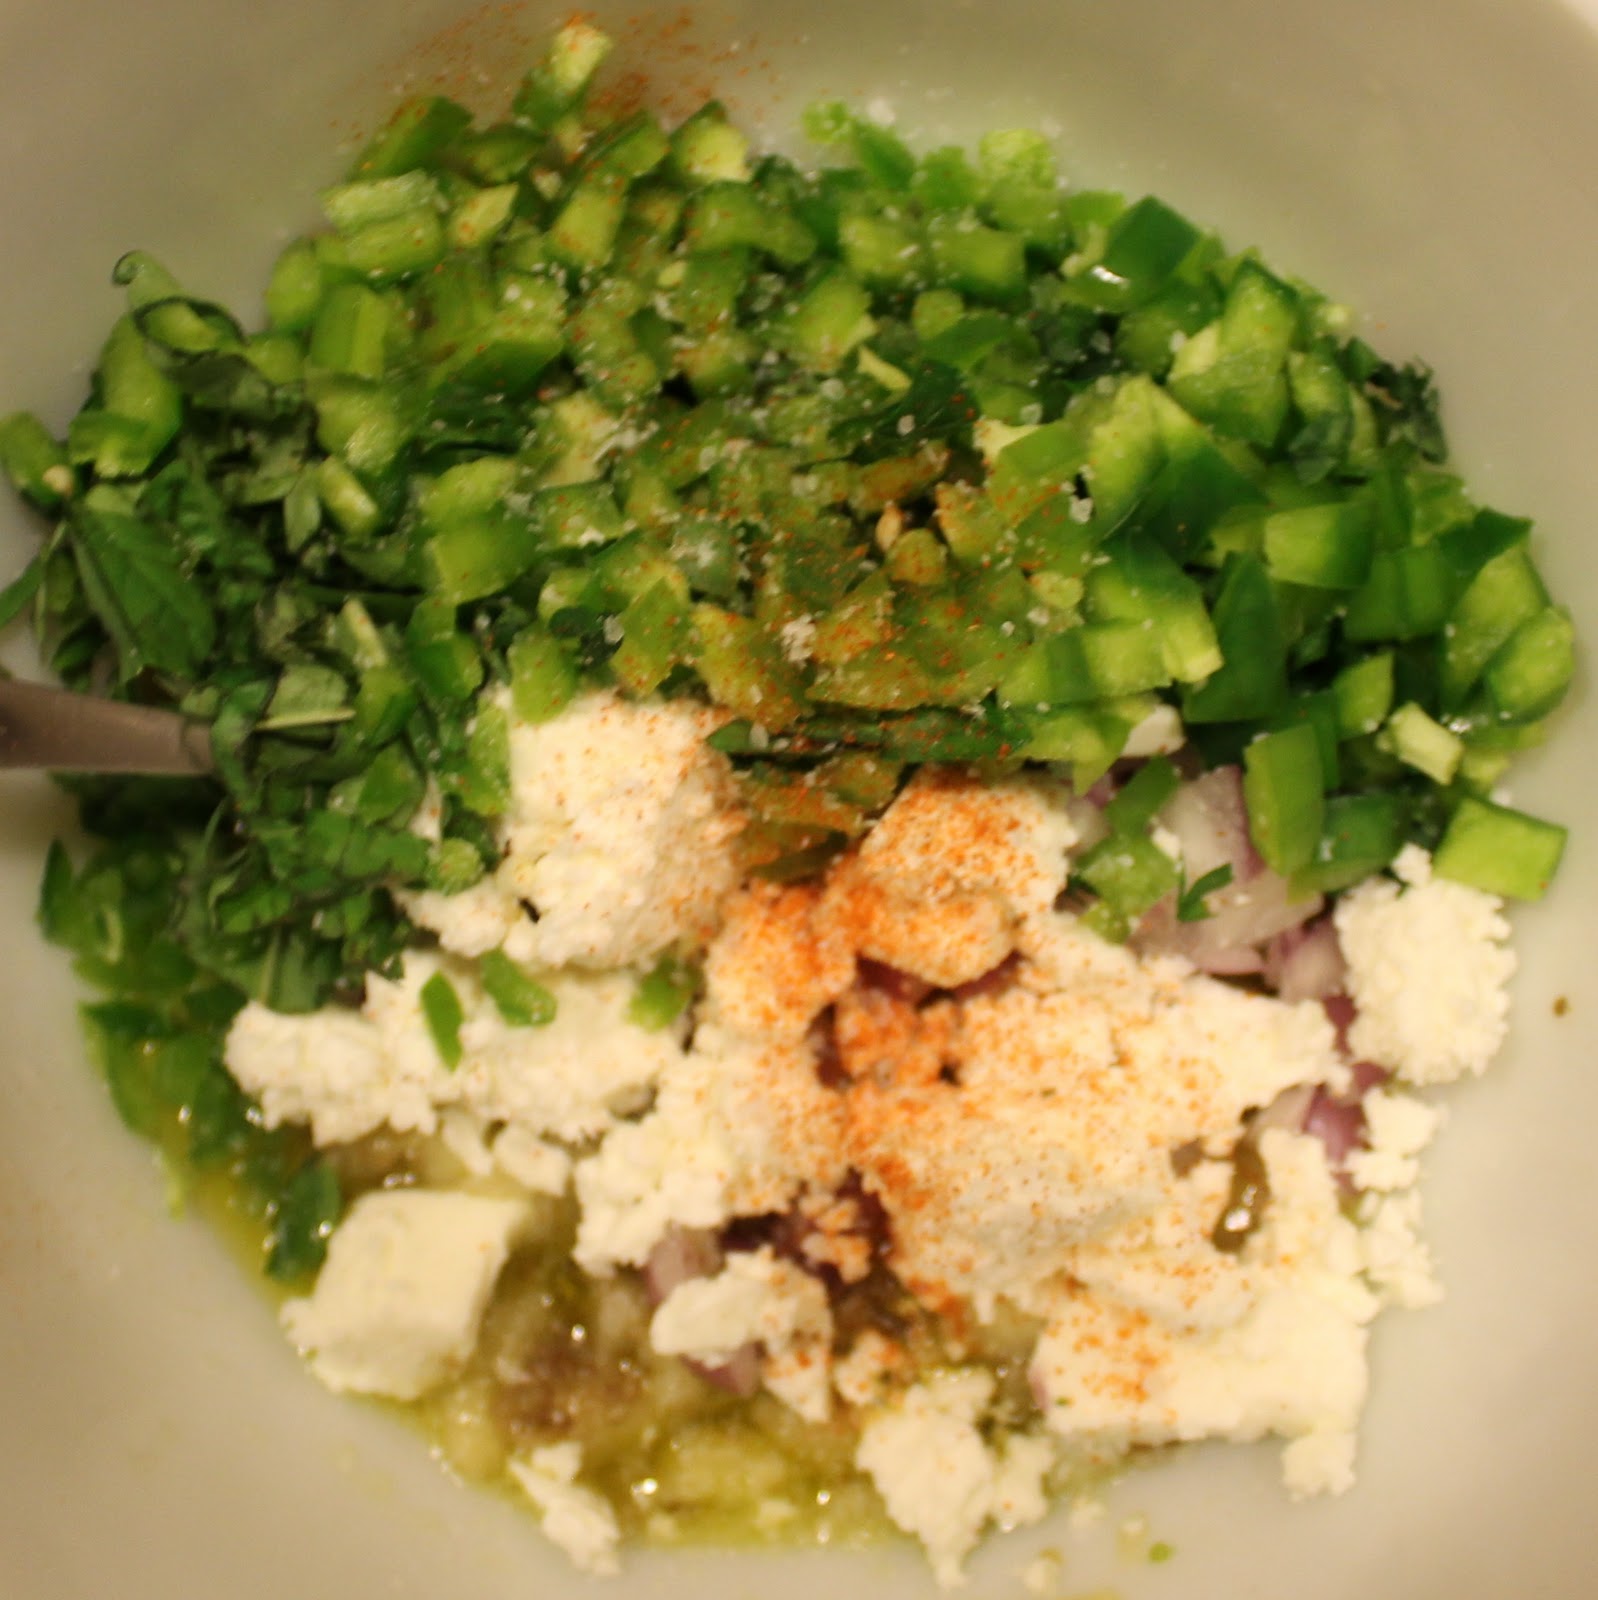
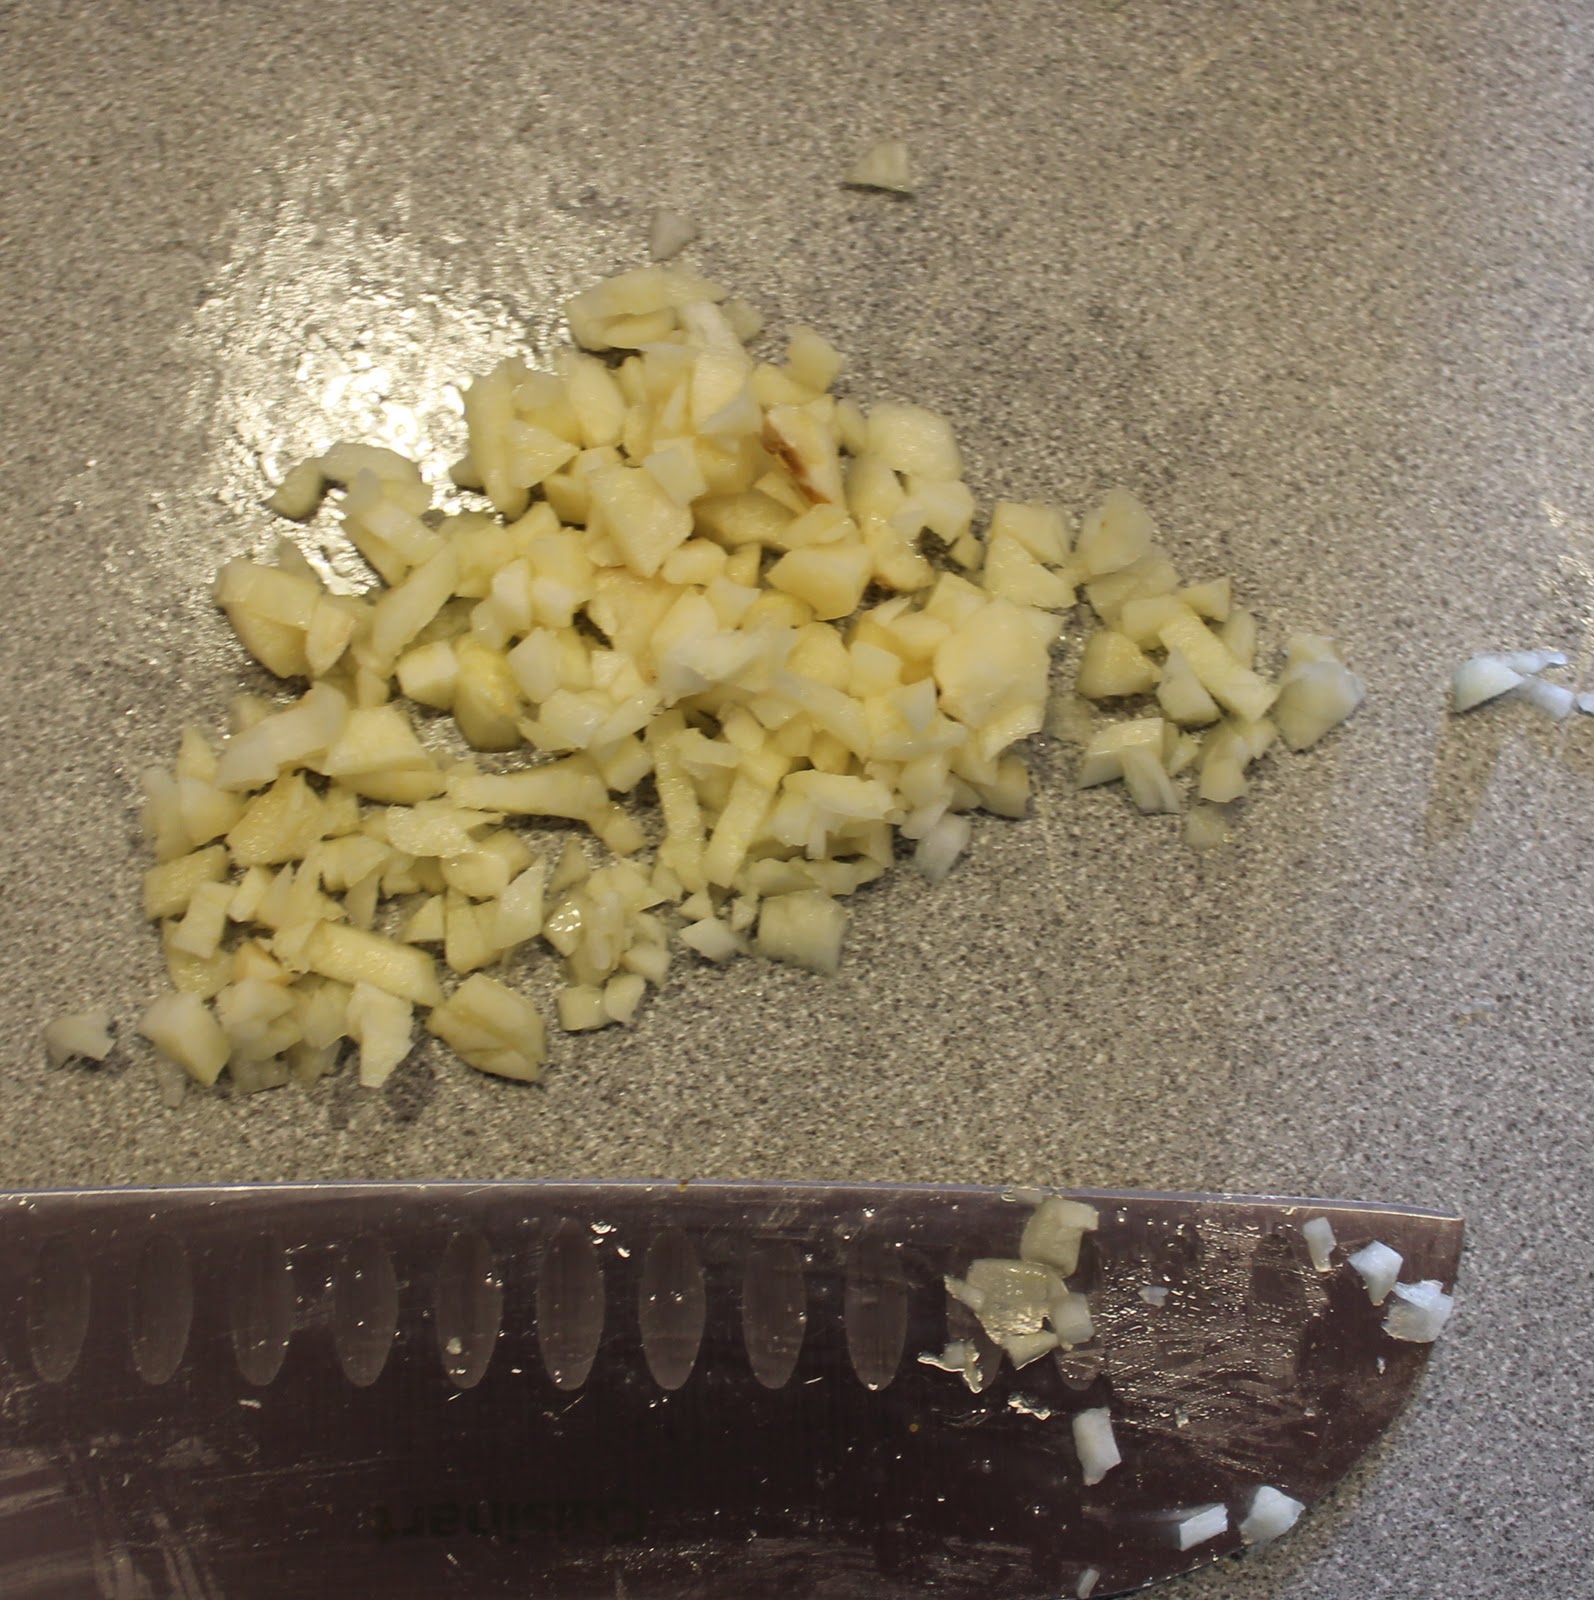
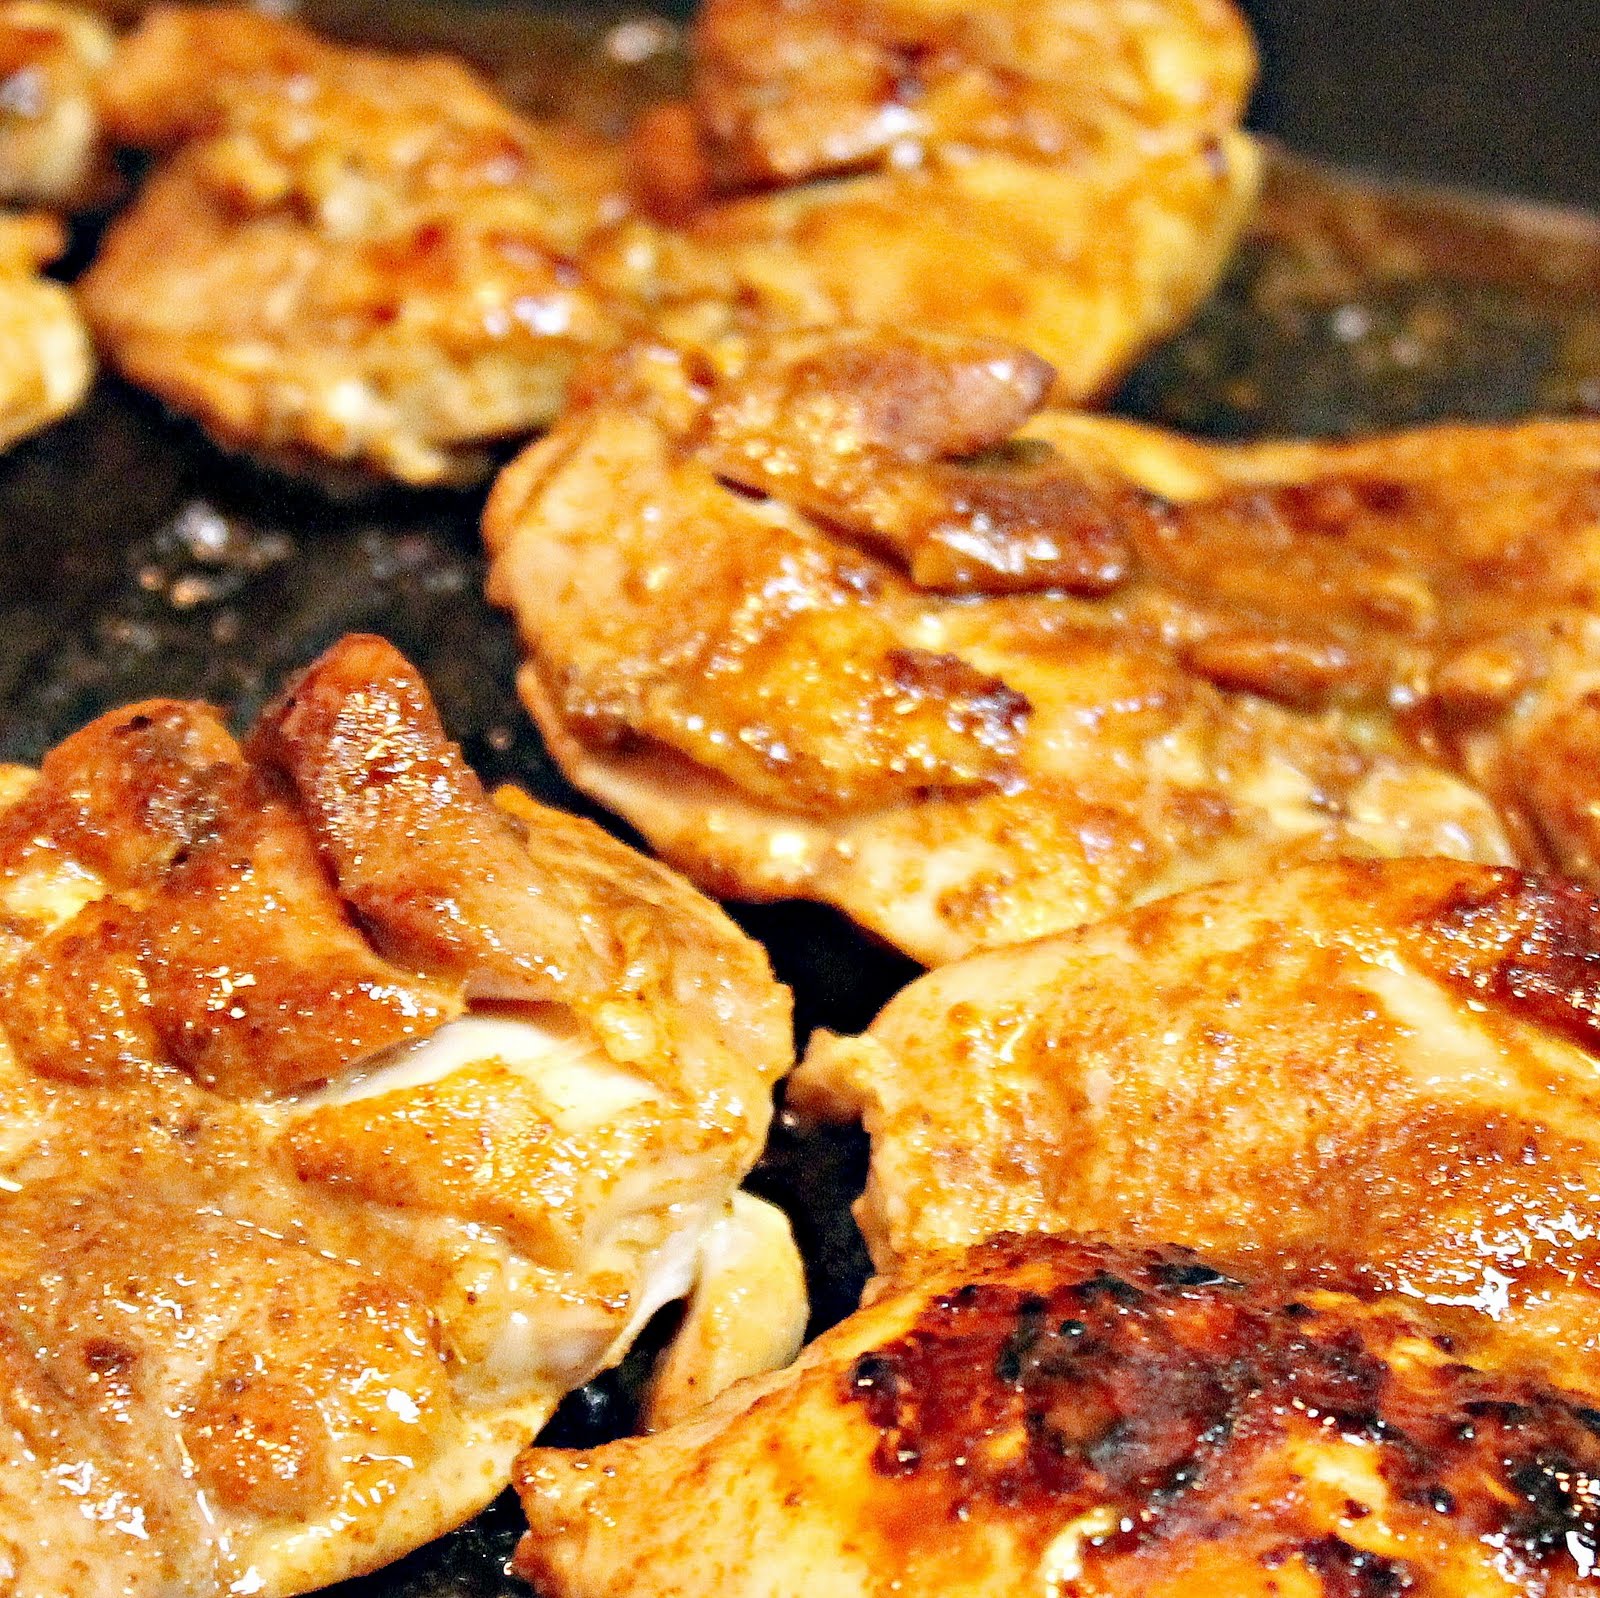
Chop the pecans. I used raw pecans; for extra flavor use toasted.
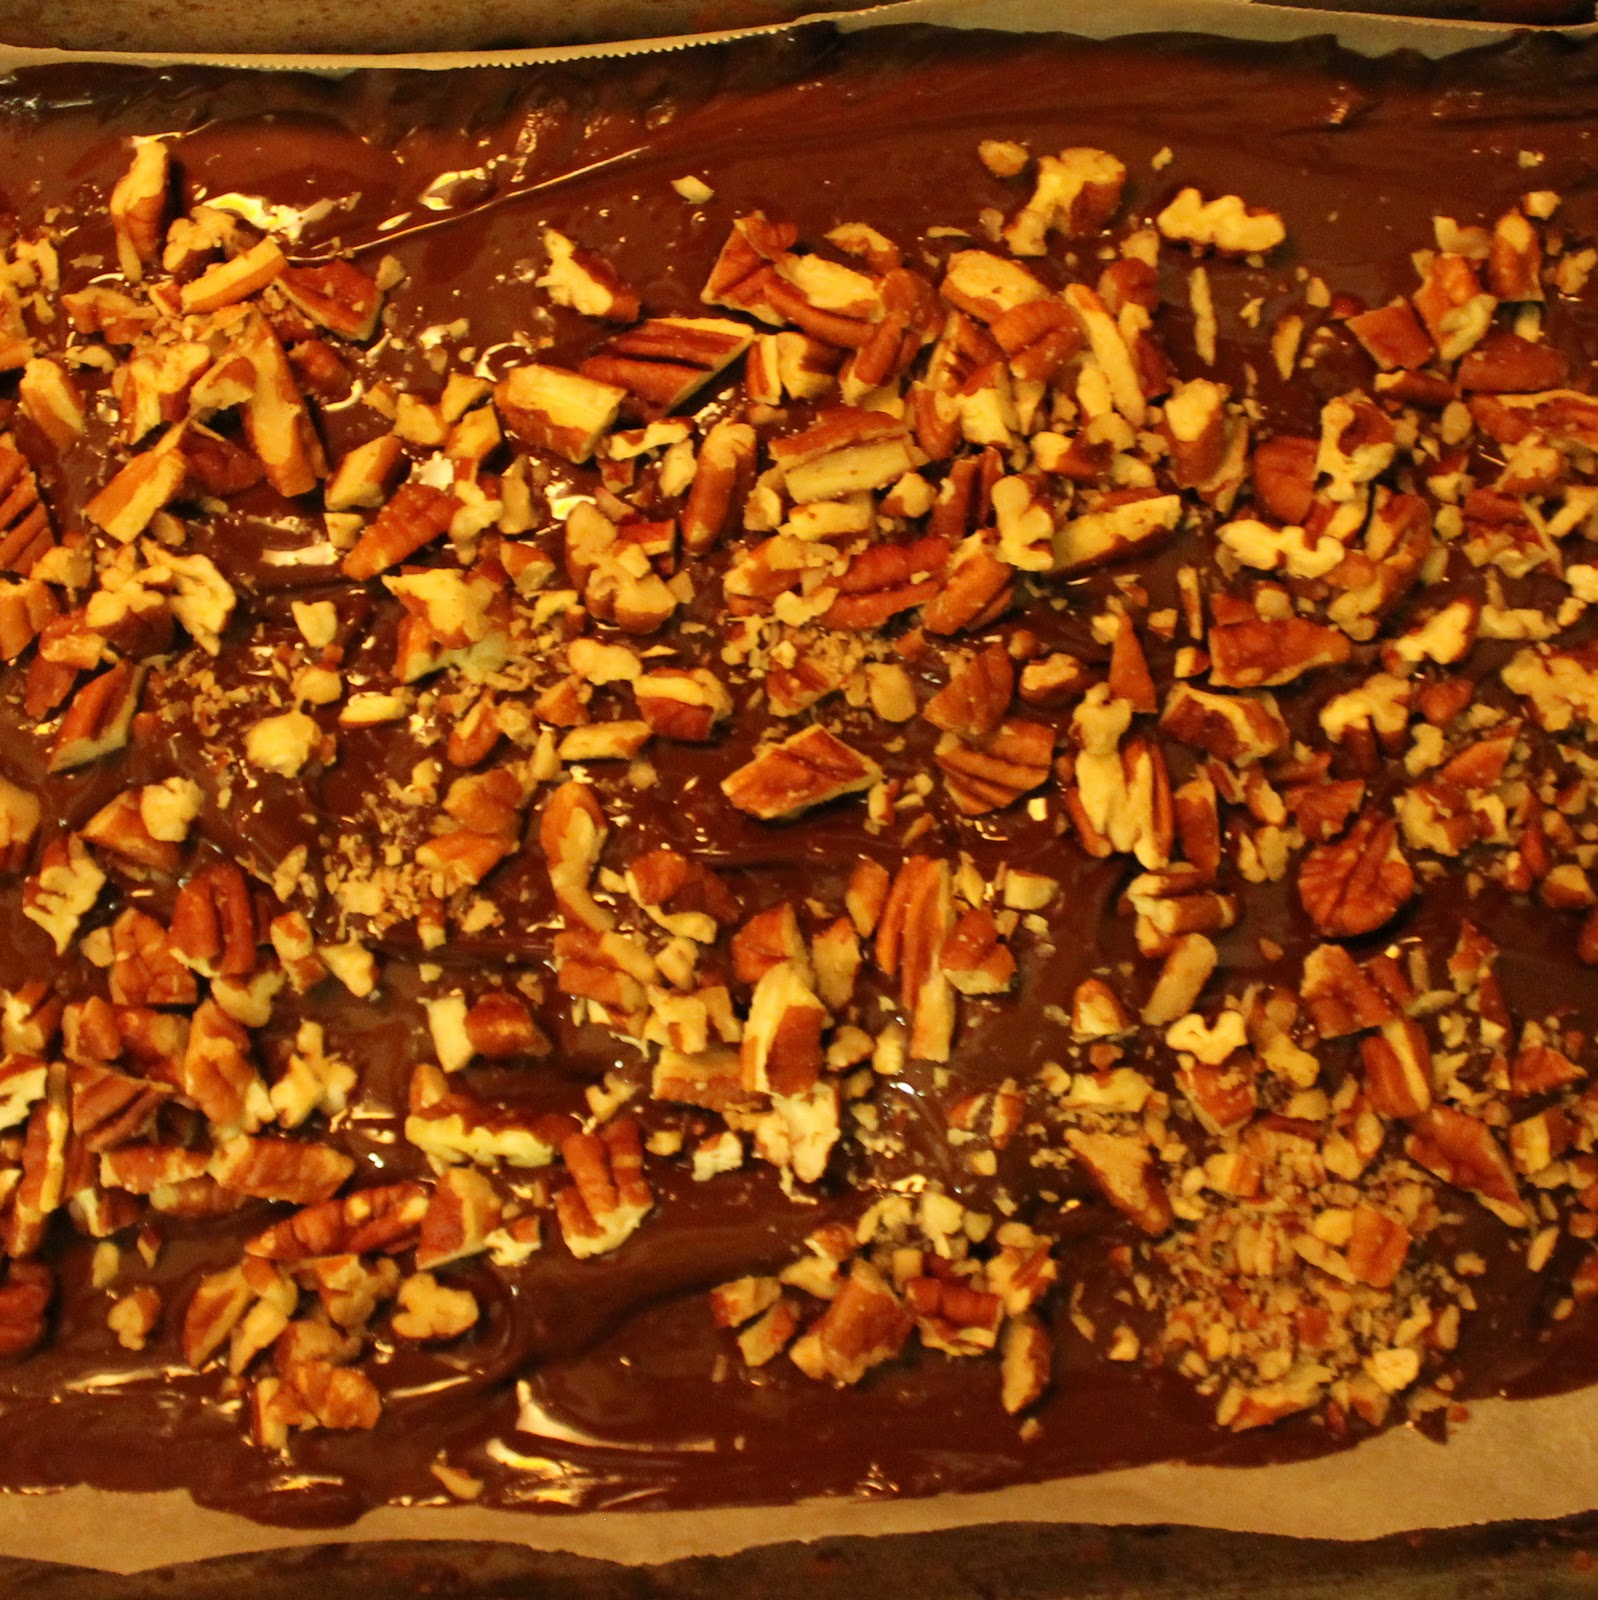
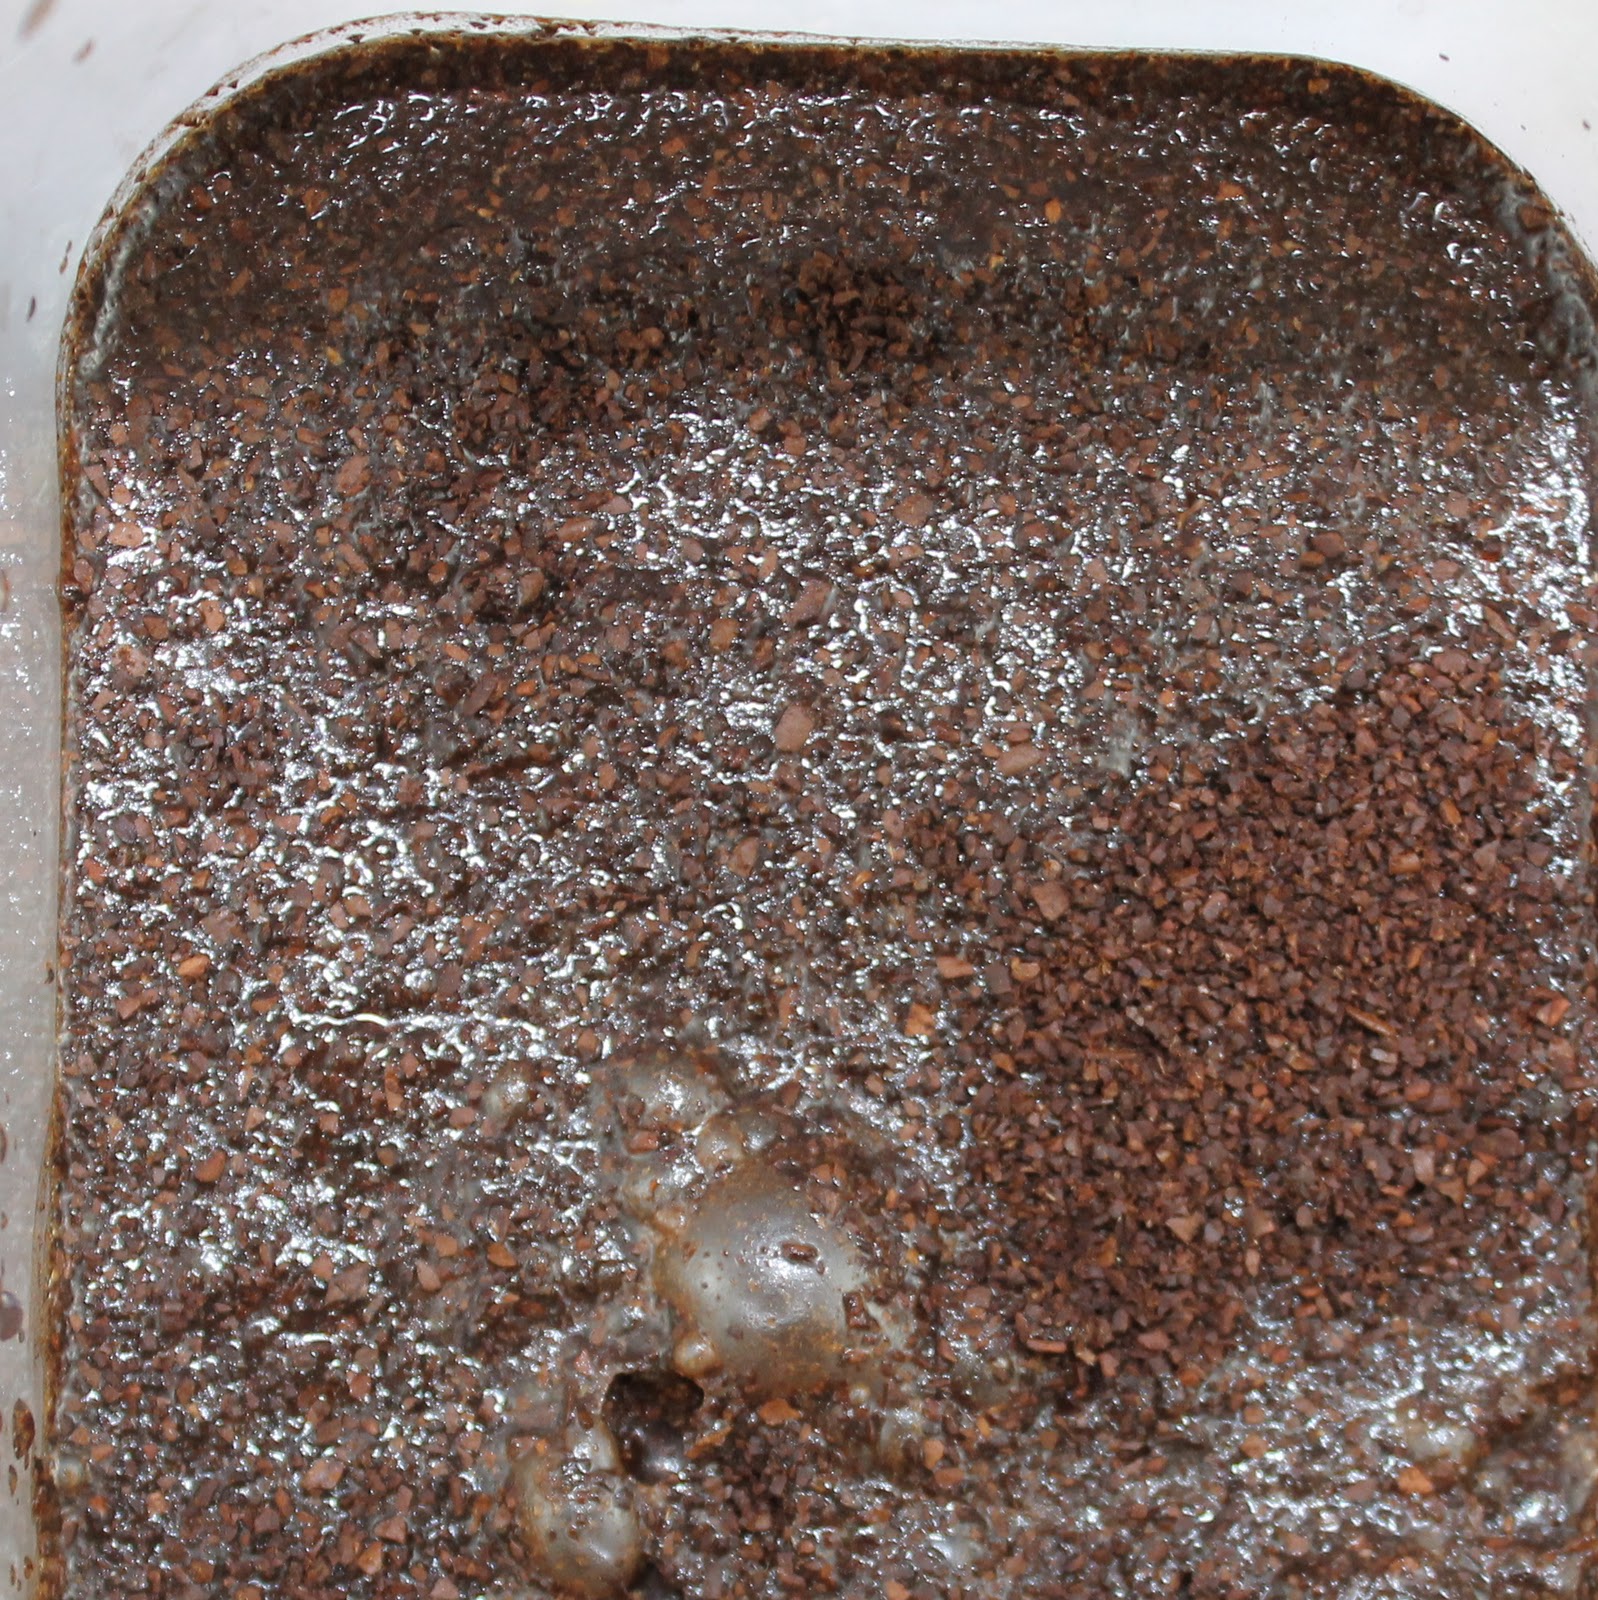
Sprinkle the pecans over the melted chocolate.
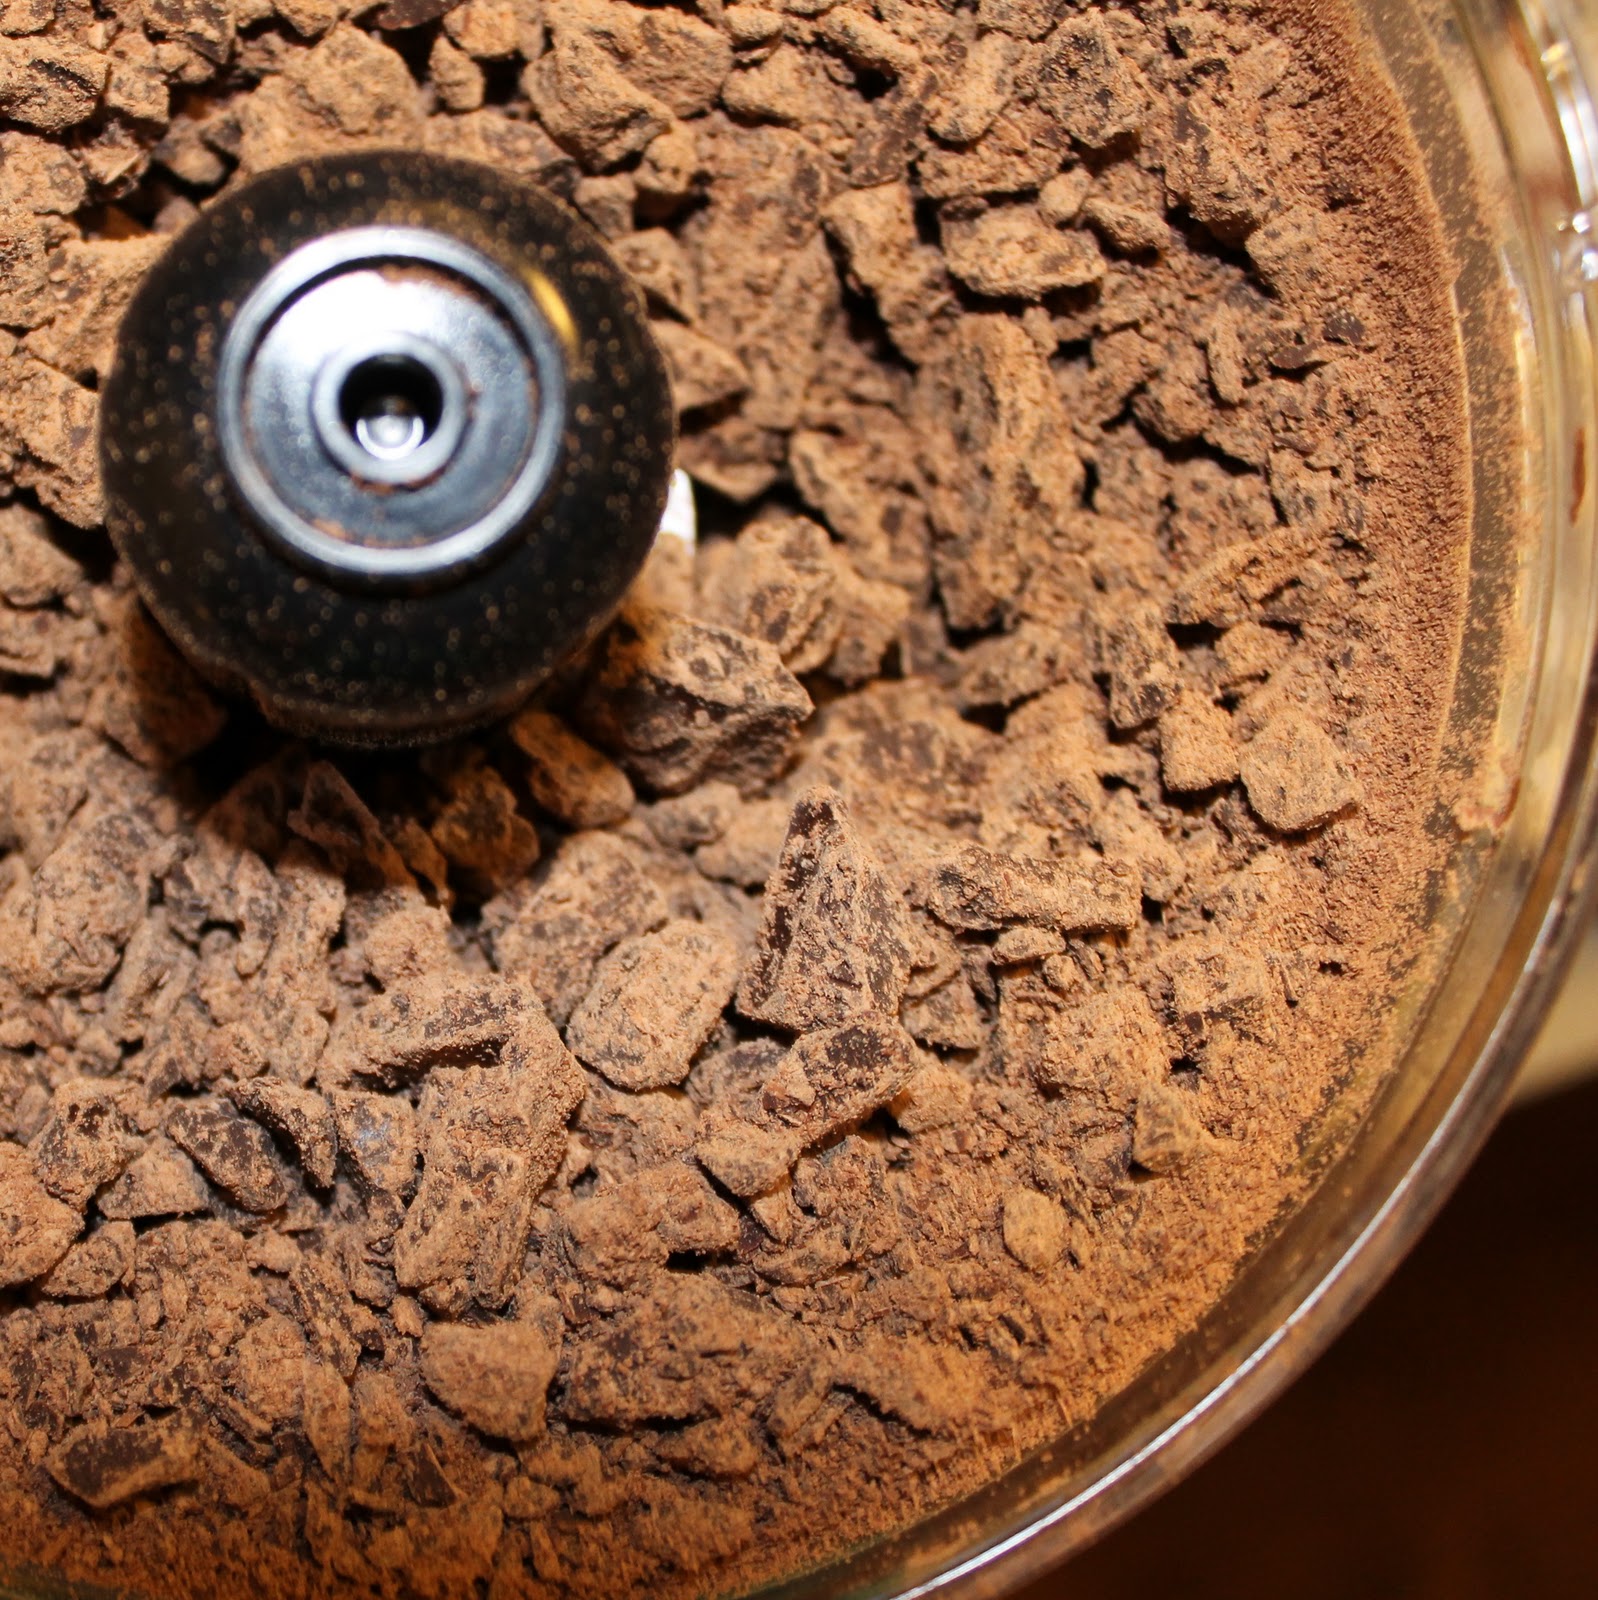
Sprinkle on the coffee grounds and top with the caramel.
Refrigerate for at least 2 hours to allow to harden.
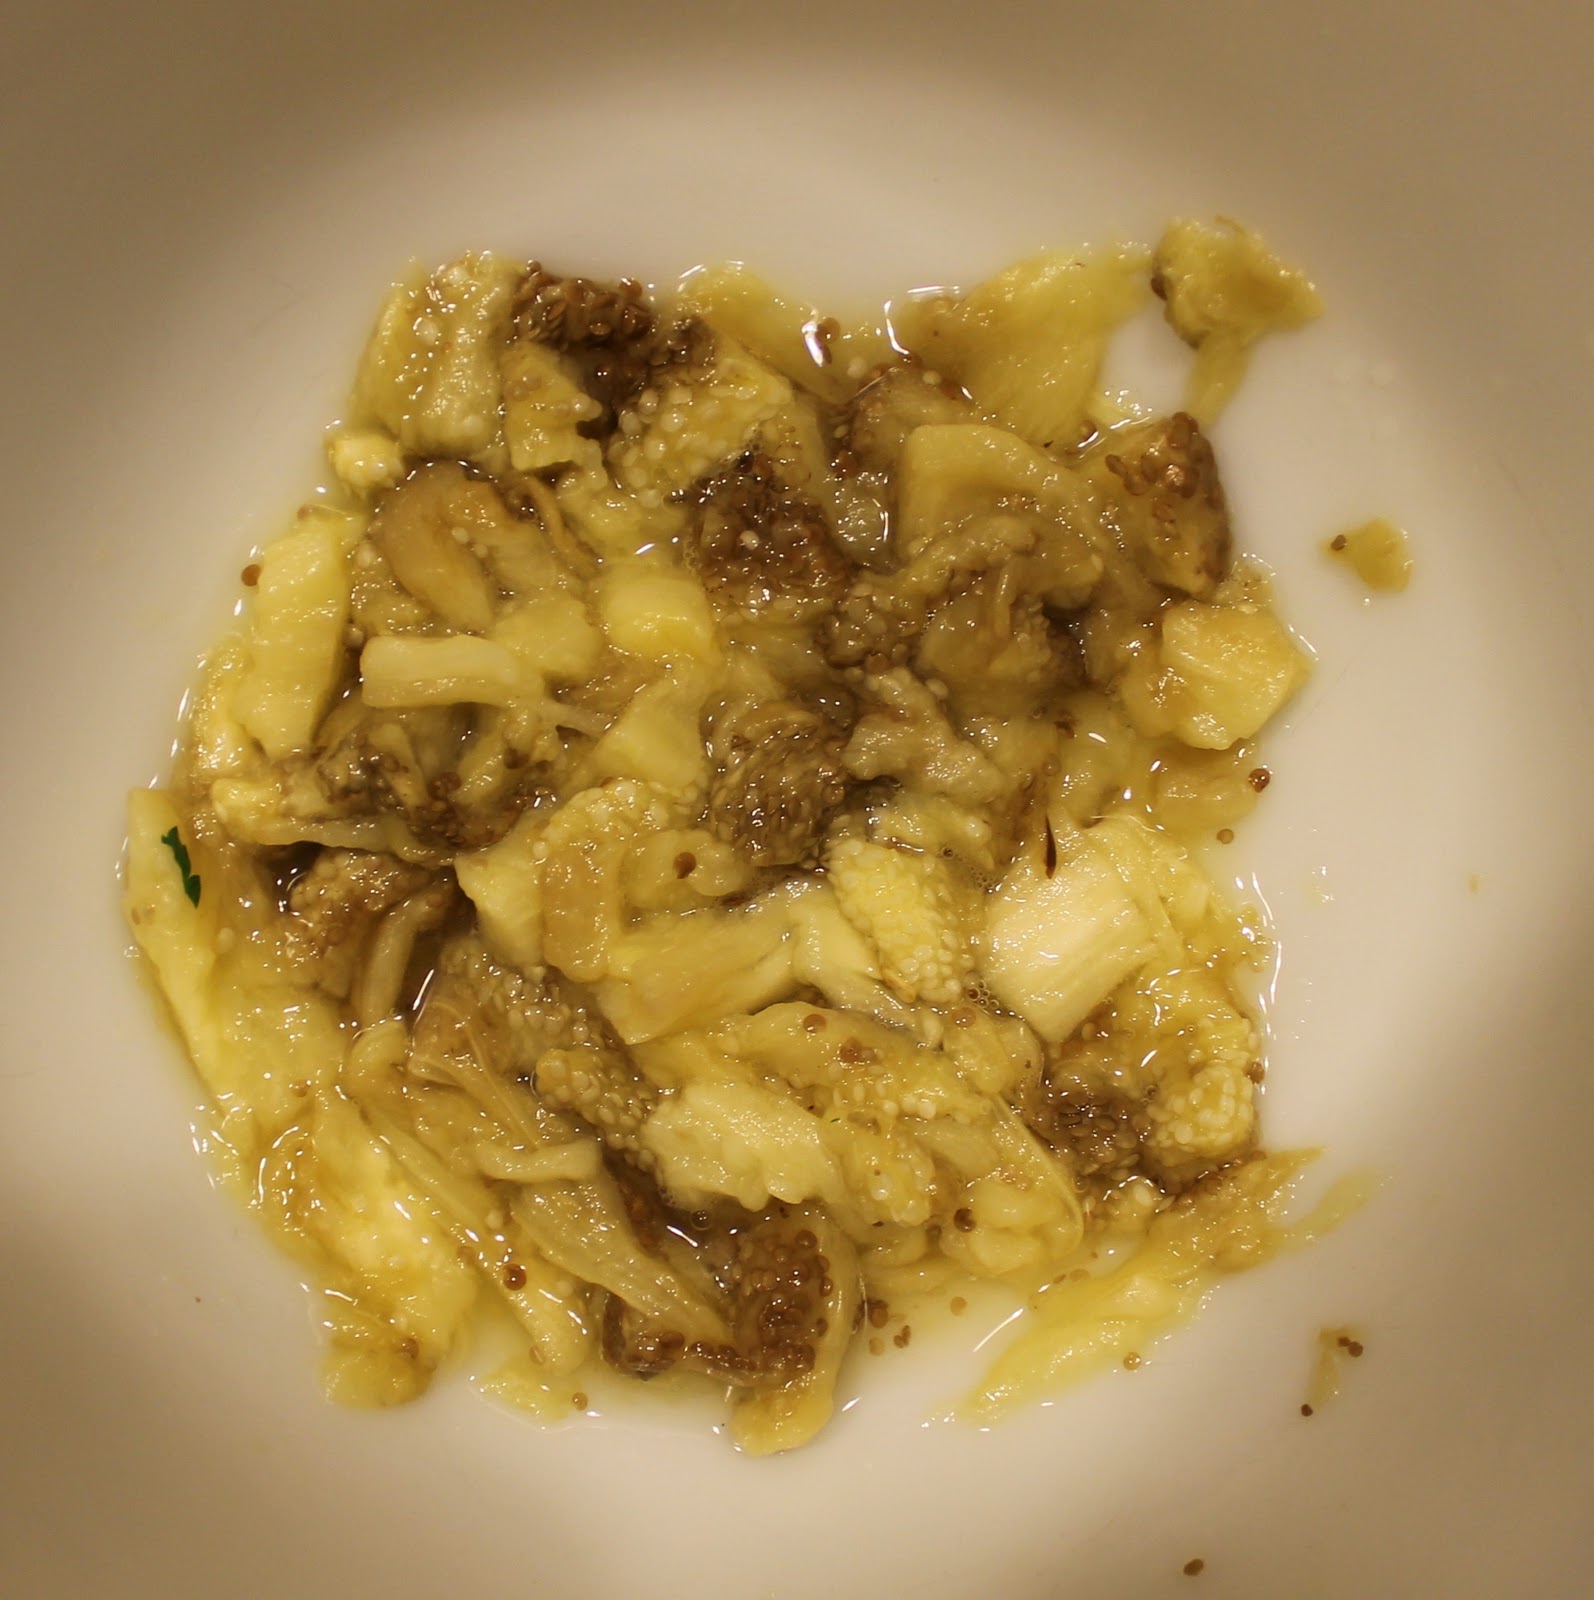
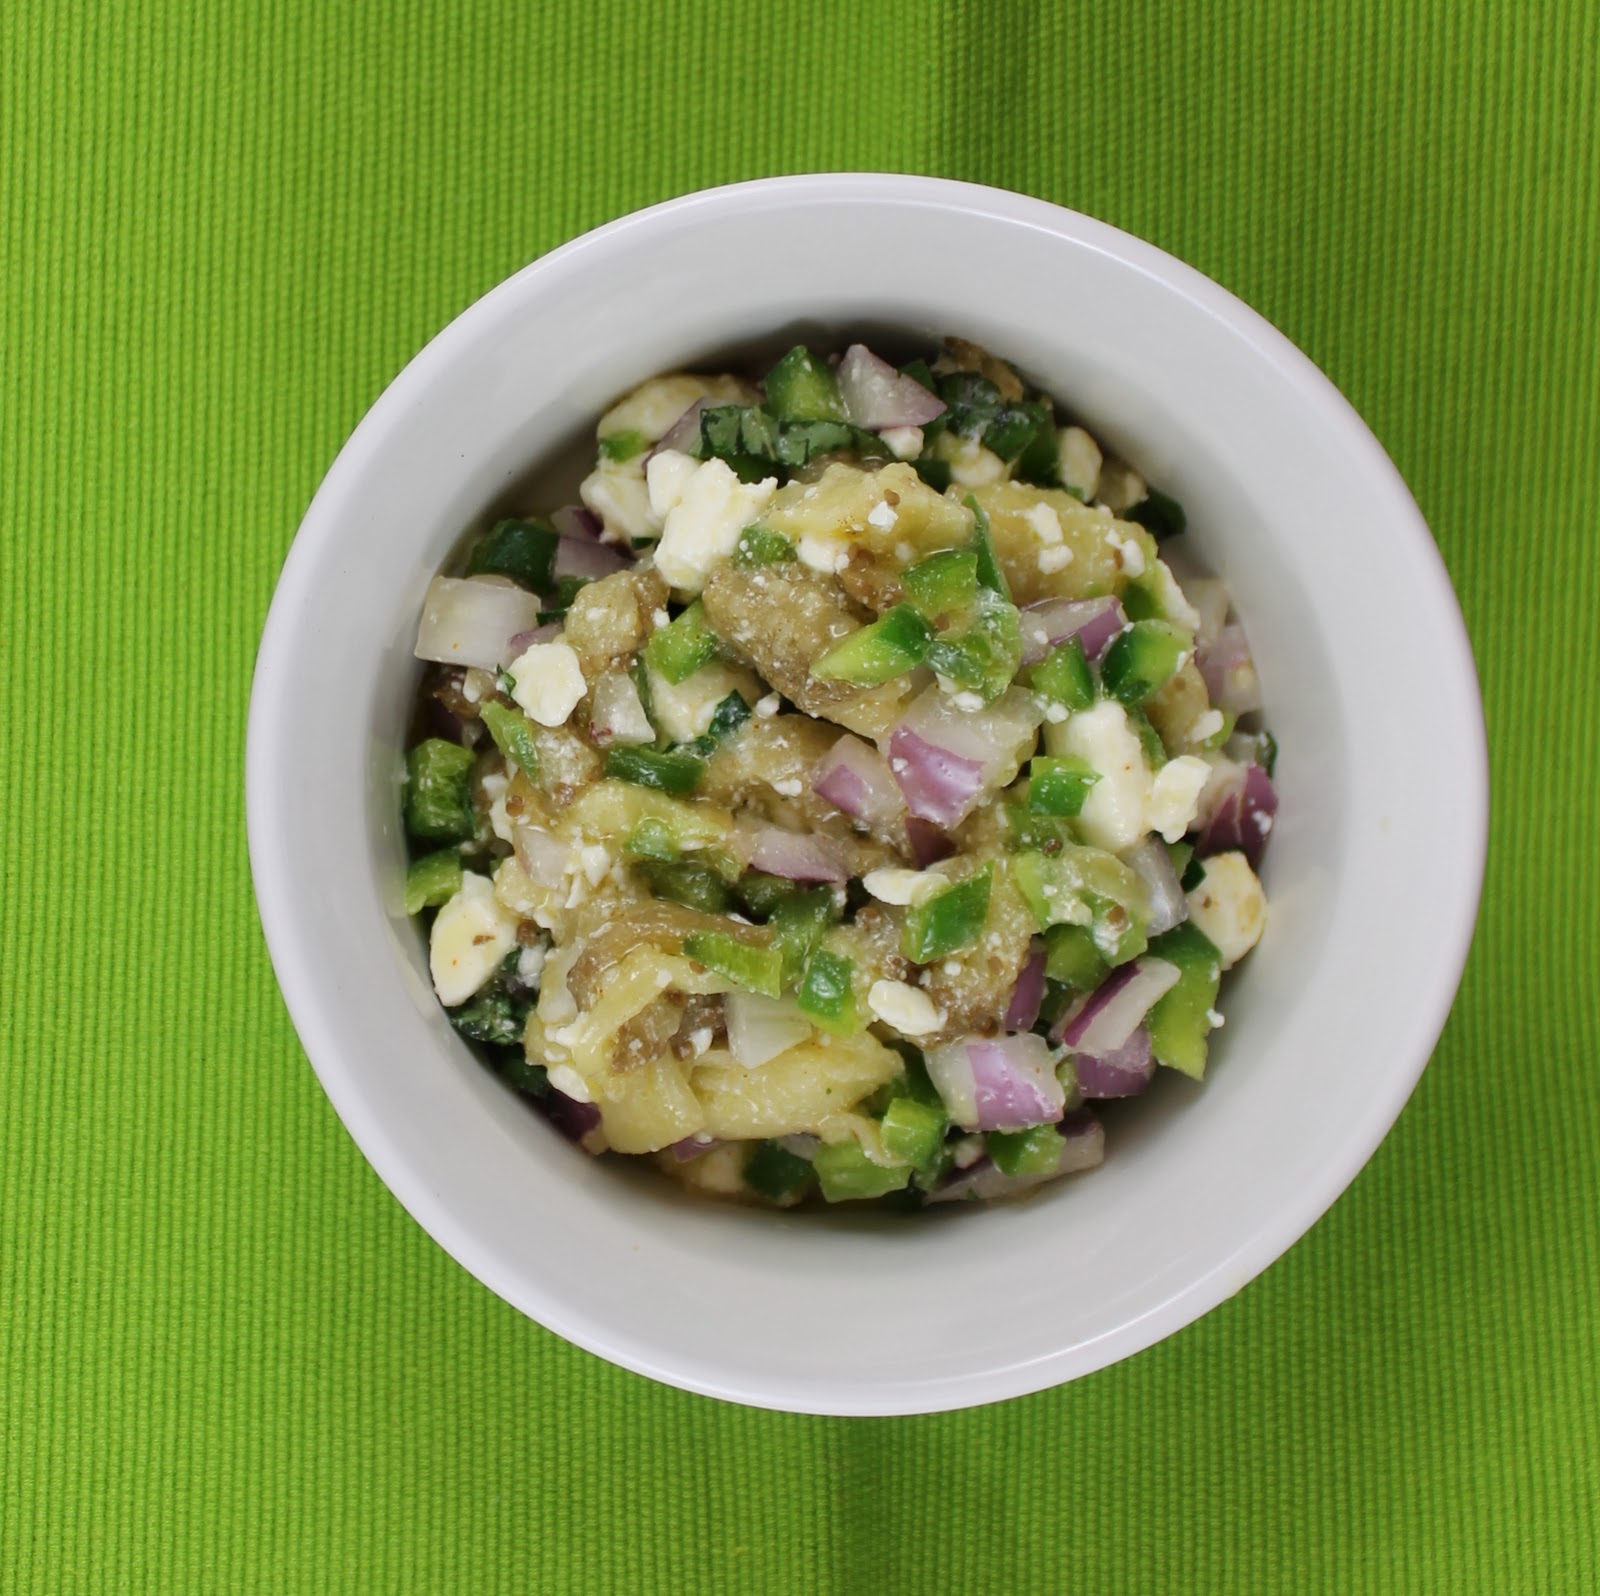
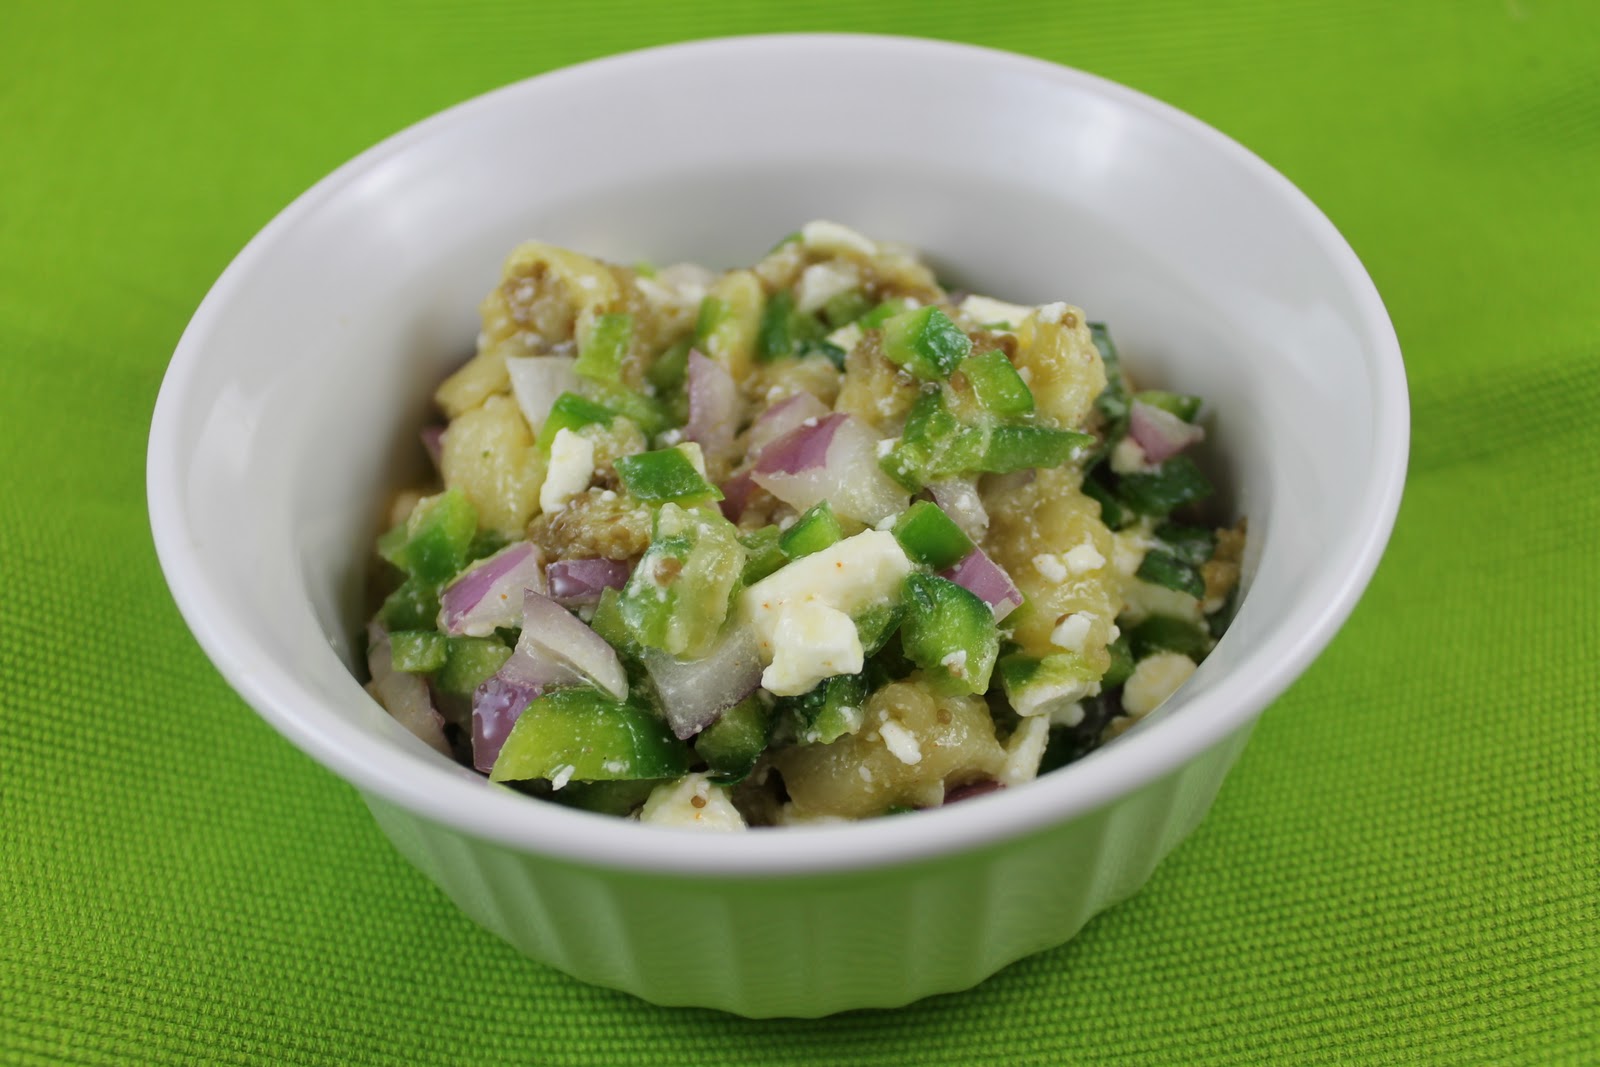
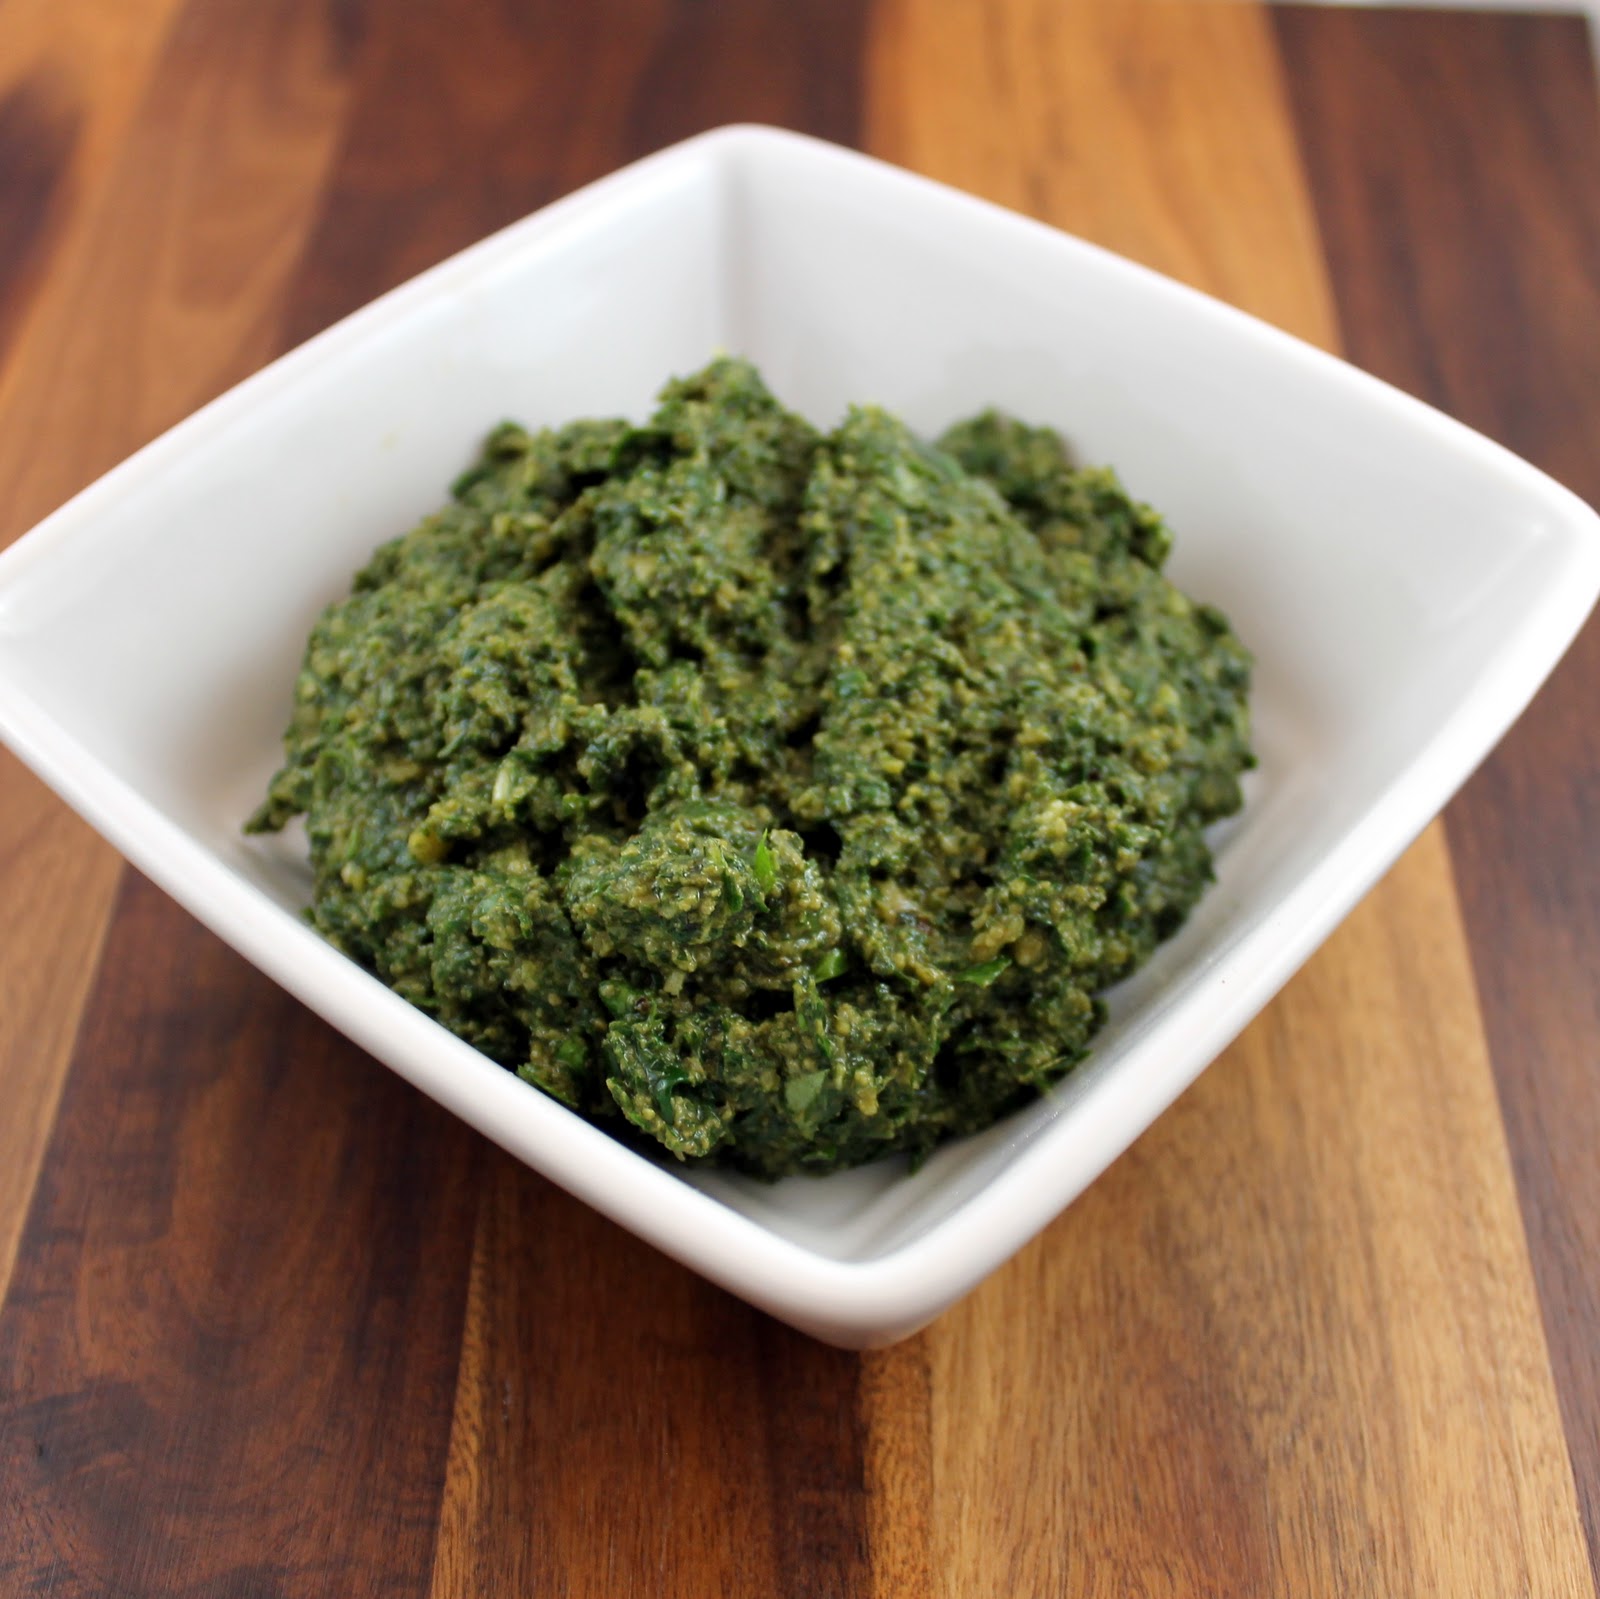
Break into uneven pieces, so as to resemble bark.
Yum! I think next time I make this, I think I would add just a bit of sea salt to finish it off. However, this was delicious on its own!
On to the drinks. First up is a
Pumpkin Spice Martini, adapted from a recipe sent to me by
Food Jaunts. She was nice enough to let me post it on here, so thank you very much! If you have a minute, be sure to check out her blog, it’s fabulous!
Ingredients:
3 oz brewed Pumpkin Spice coffee, cooled
1 oz vanilla vodka
1 oz Godiva chocolate liqueur
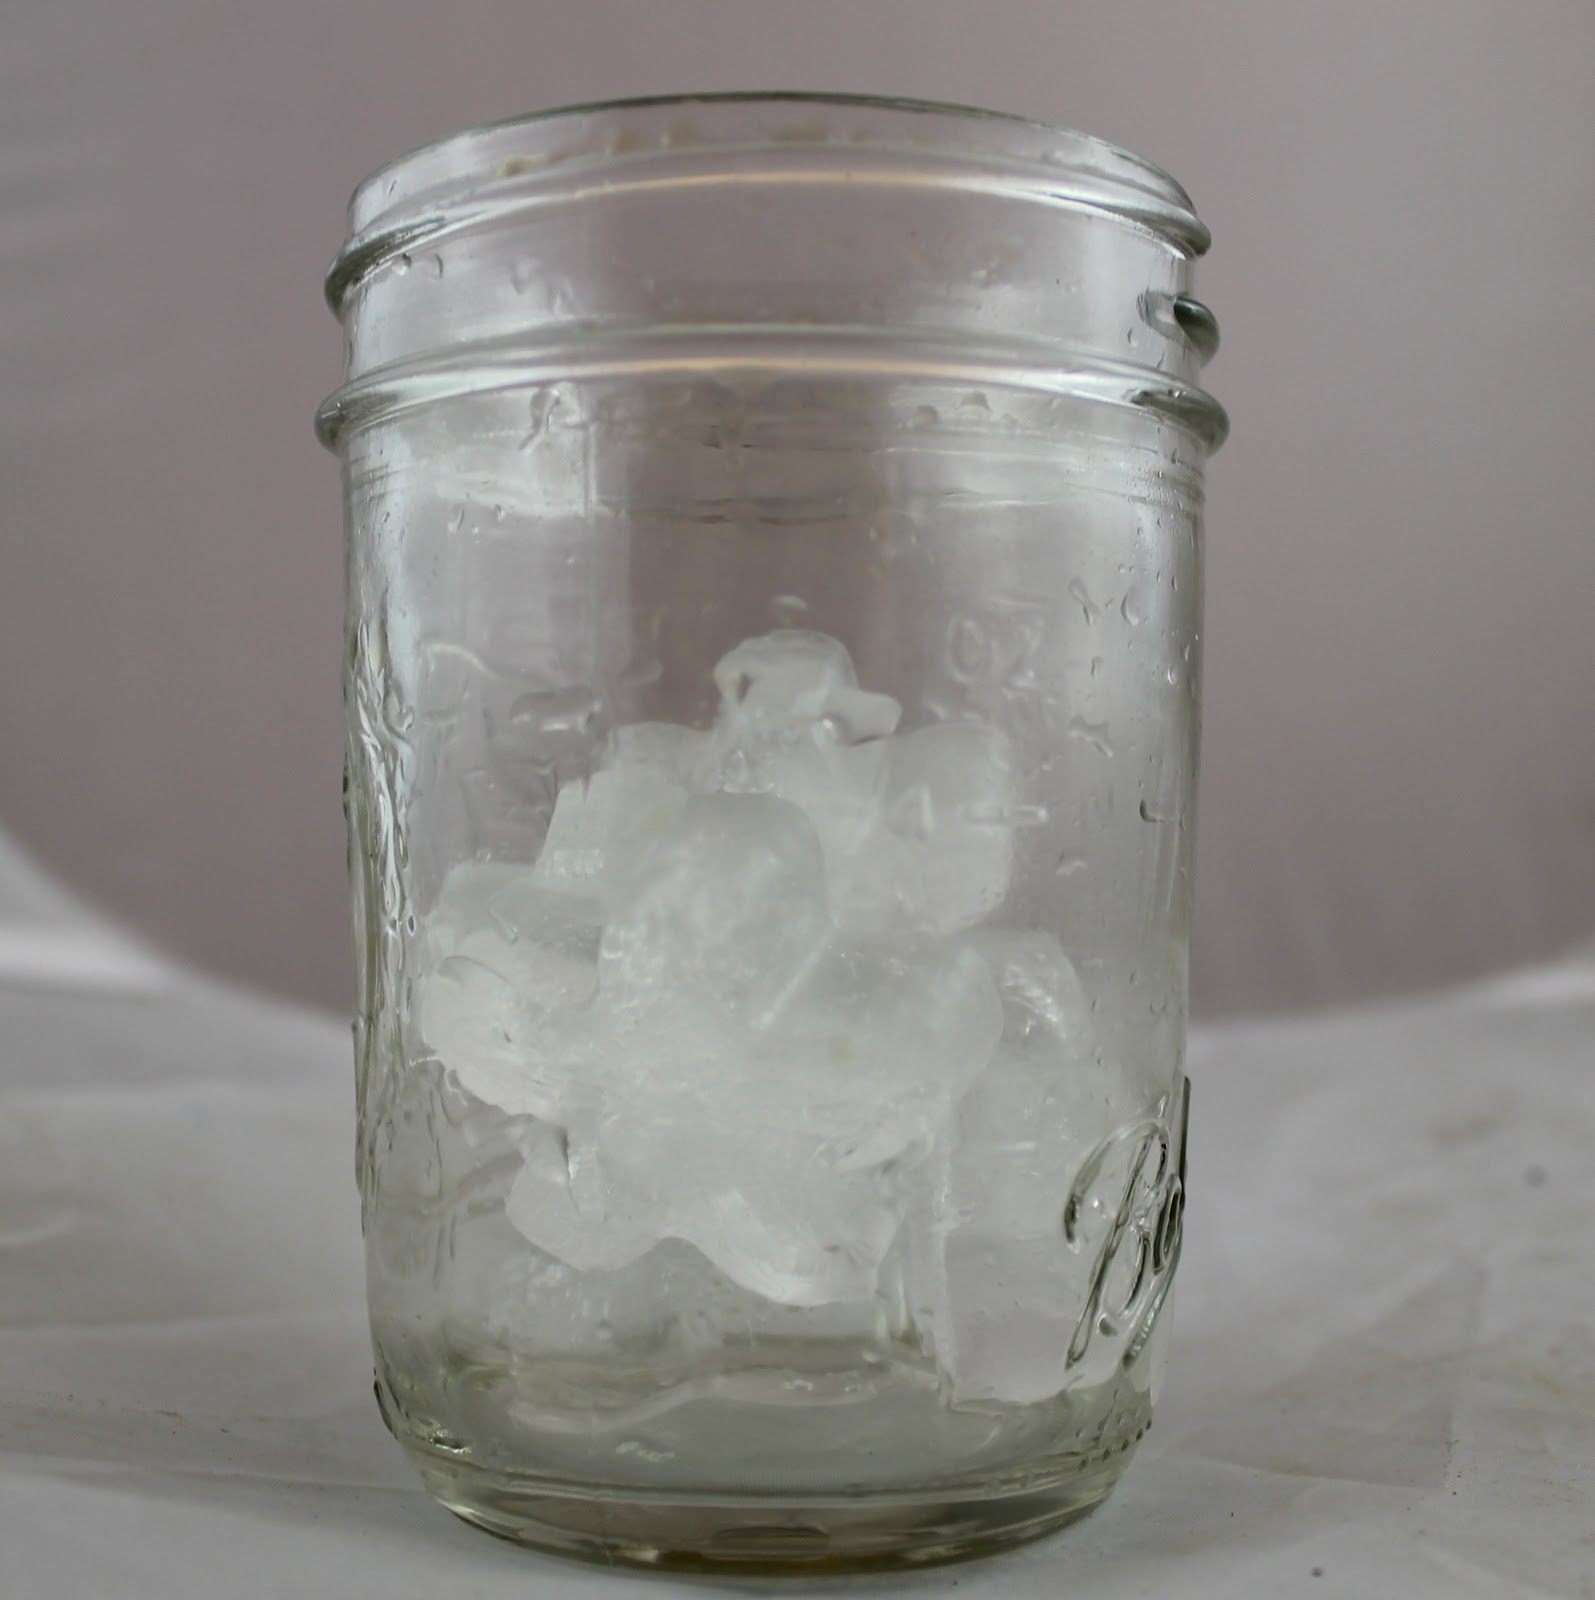
Ice
Begin by brewing your coffee. Set it aside and allow it to cool to room temperature.
Add ice to a shaker. Pour in the vanilla vodka, Godiva liqueur, and coffee. Shake and strain into a martini glass.
If you don’t have a shaker, you can use anything that has a secure lid. Just be sure to use a strainer over the martini glass so that no ice enters the glass.
I absolutely loved this drink, I wish more martinis tasted this good! The vanilla, chocolate and pumpkin spice flavors delivered a smooth and tasty drink.
You can add whole coffee beans to the martini glass for some extra flair if you’d like. They’ll float to the top!
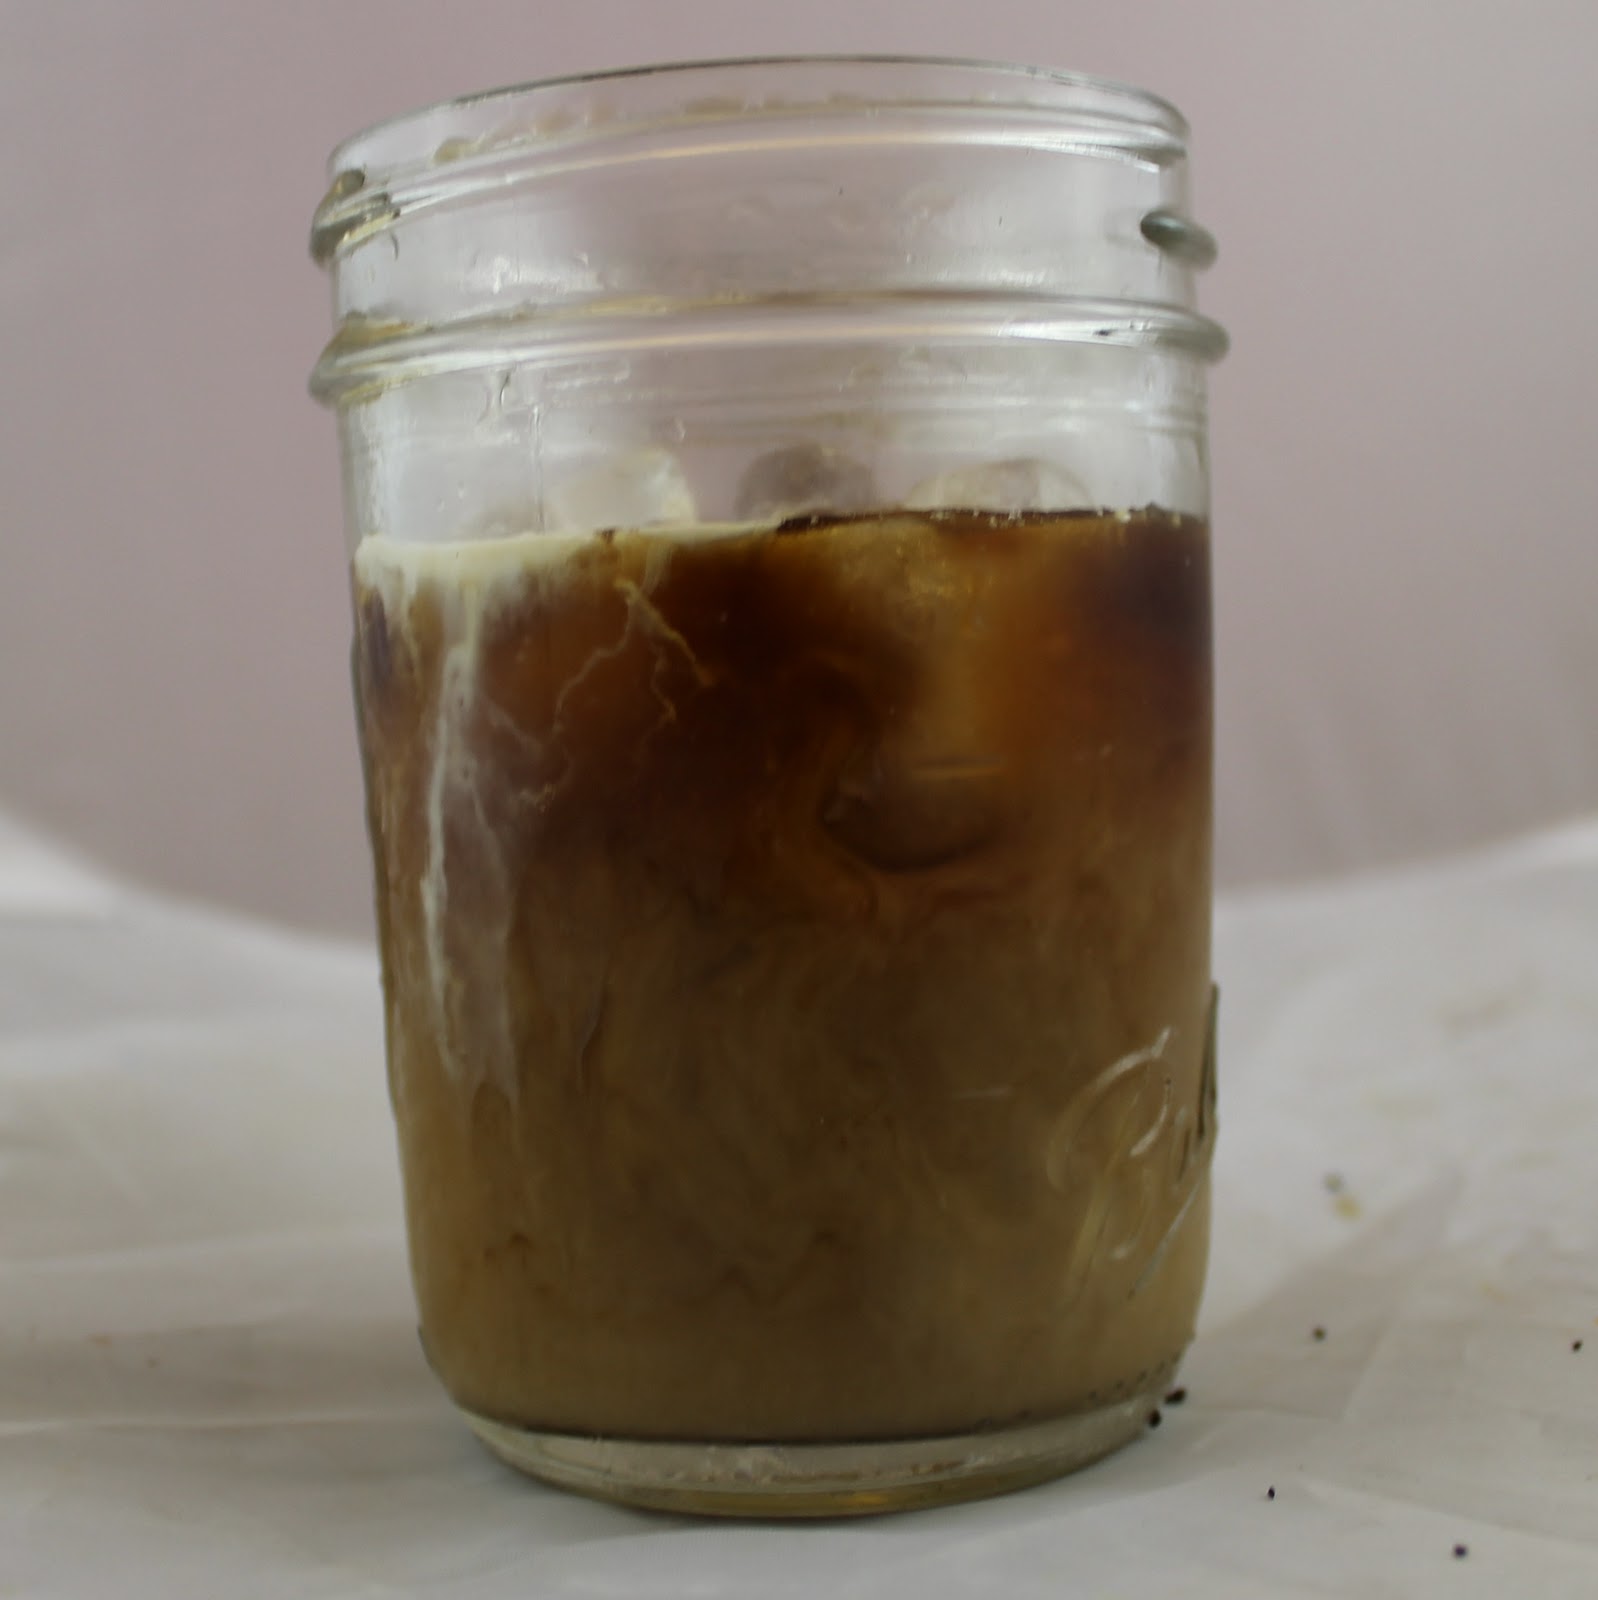
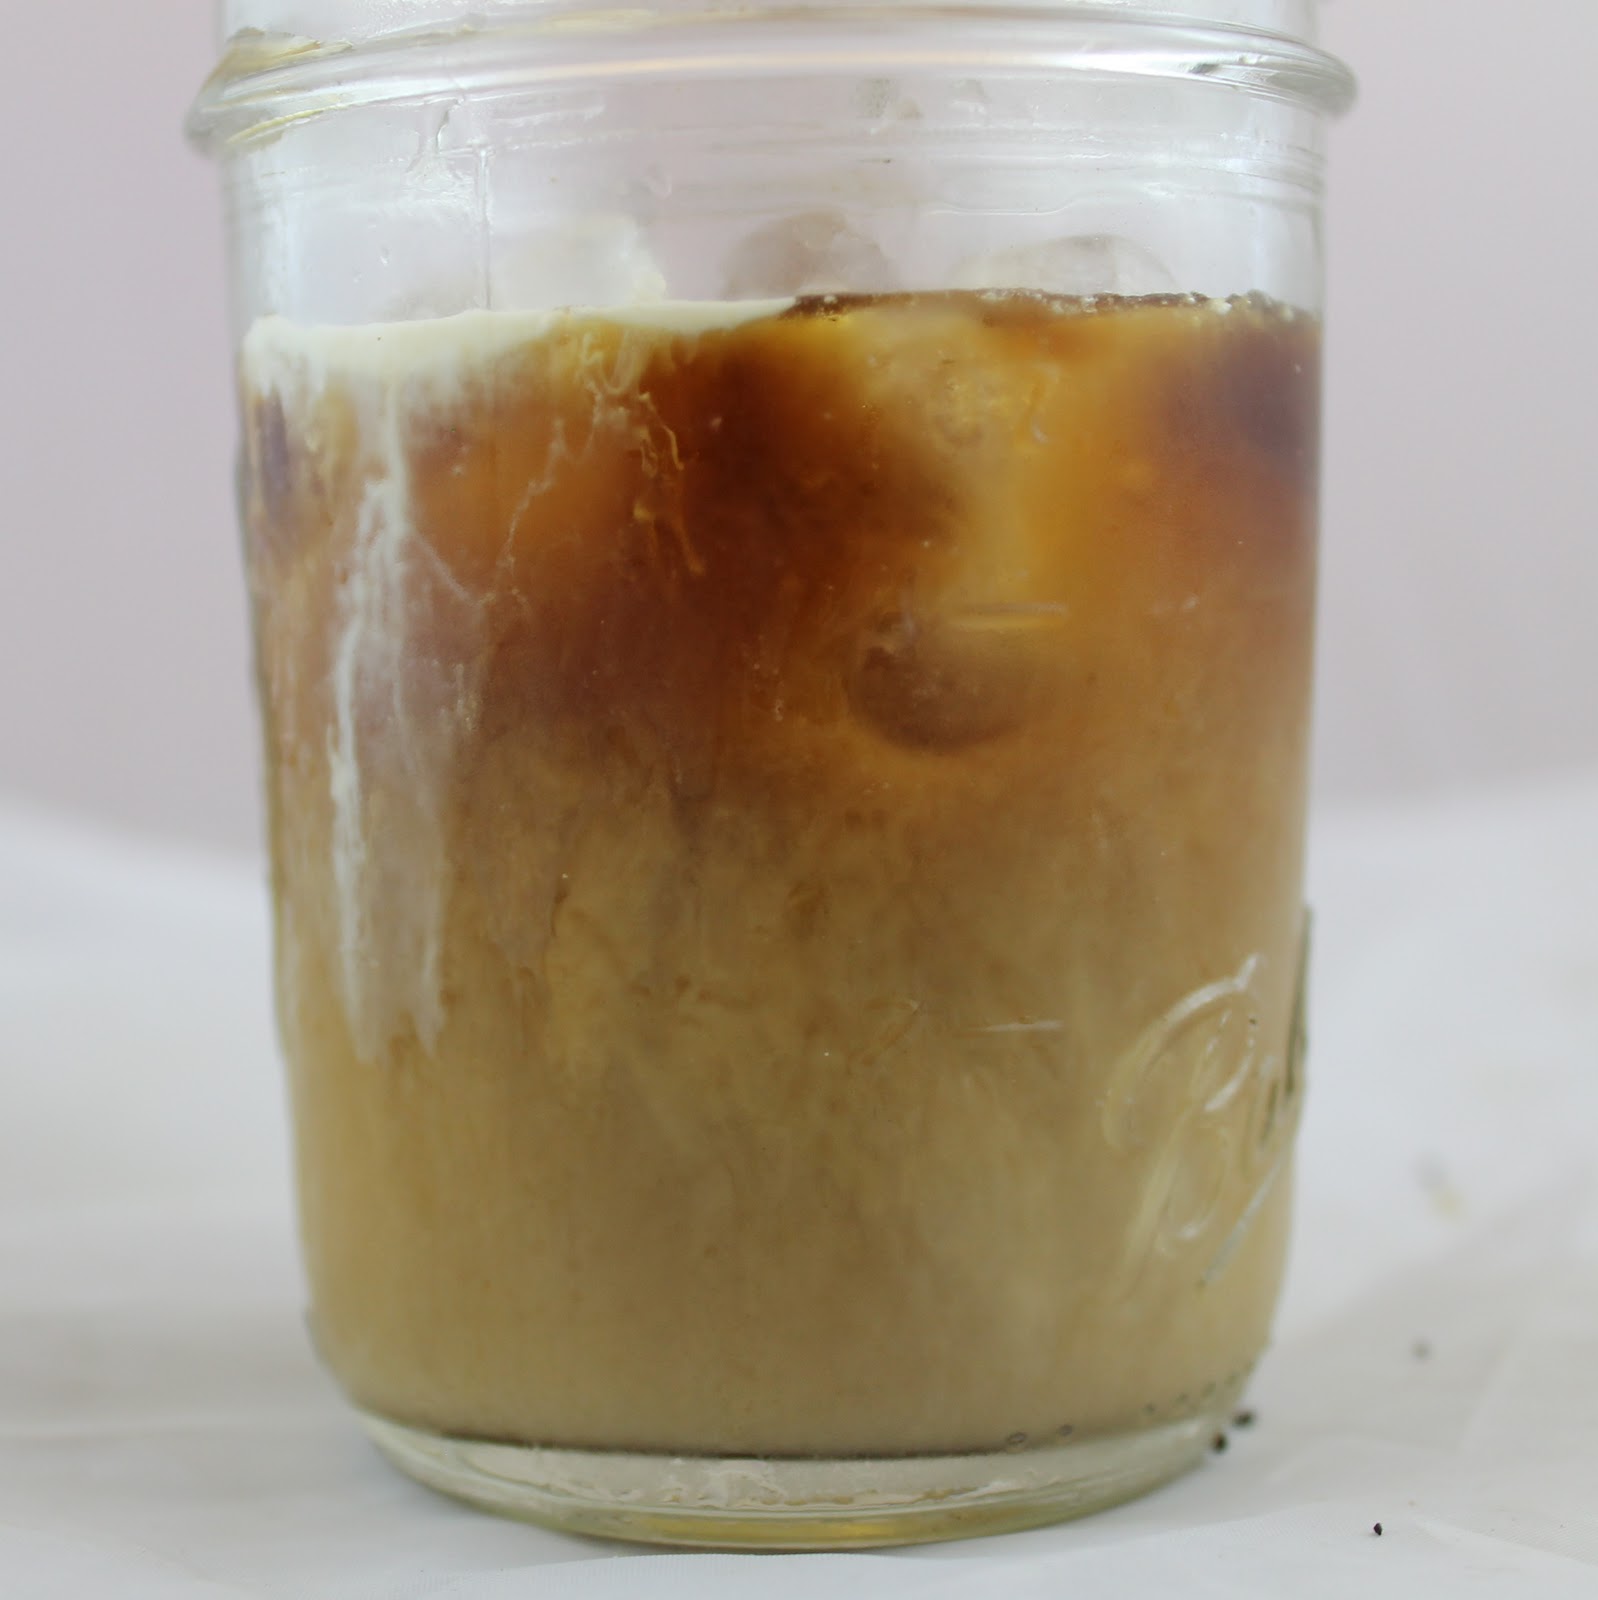
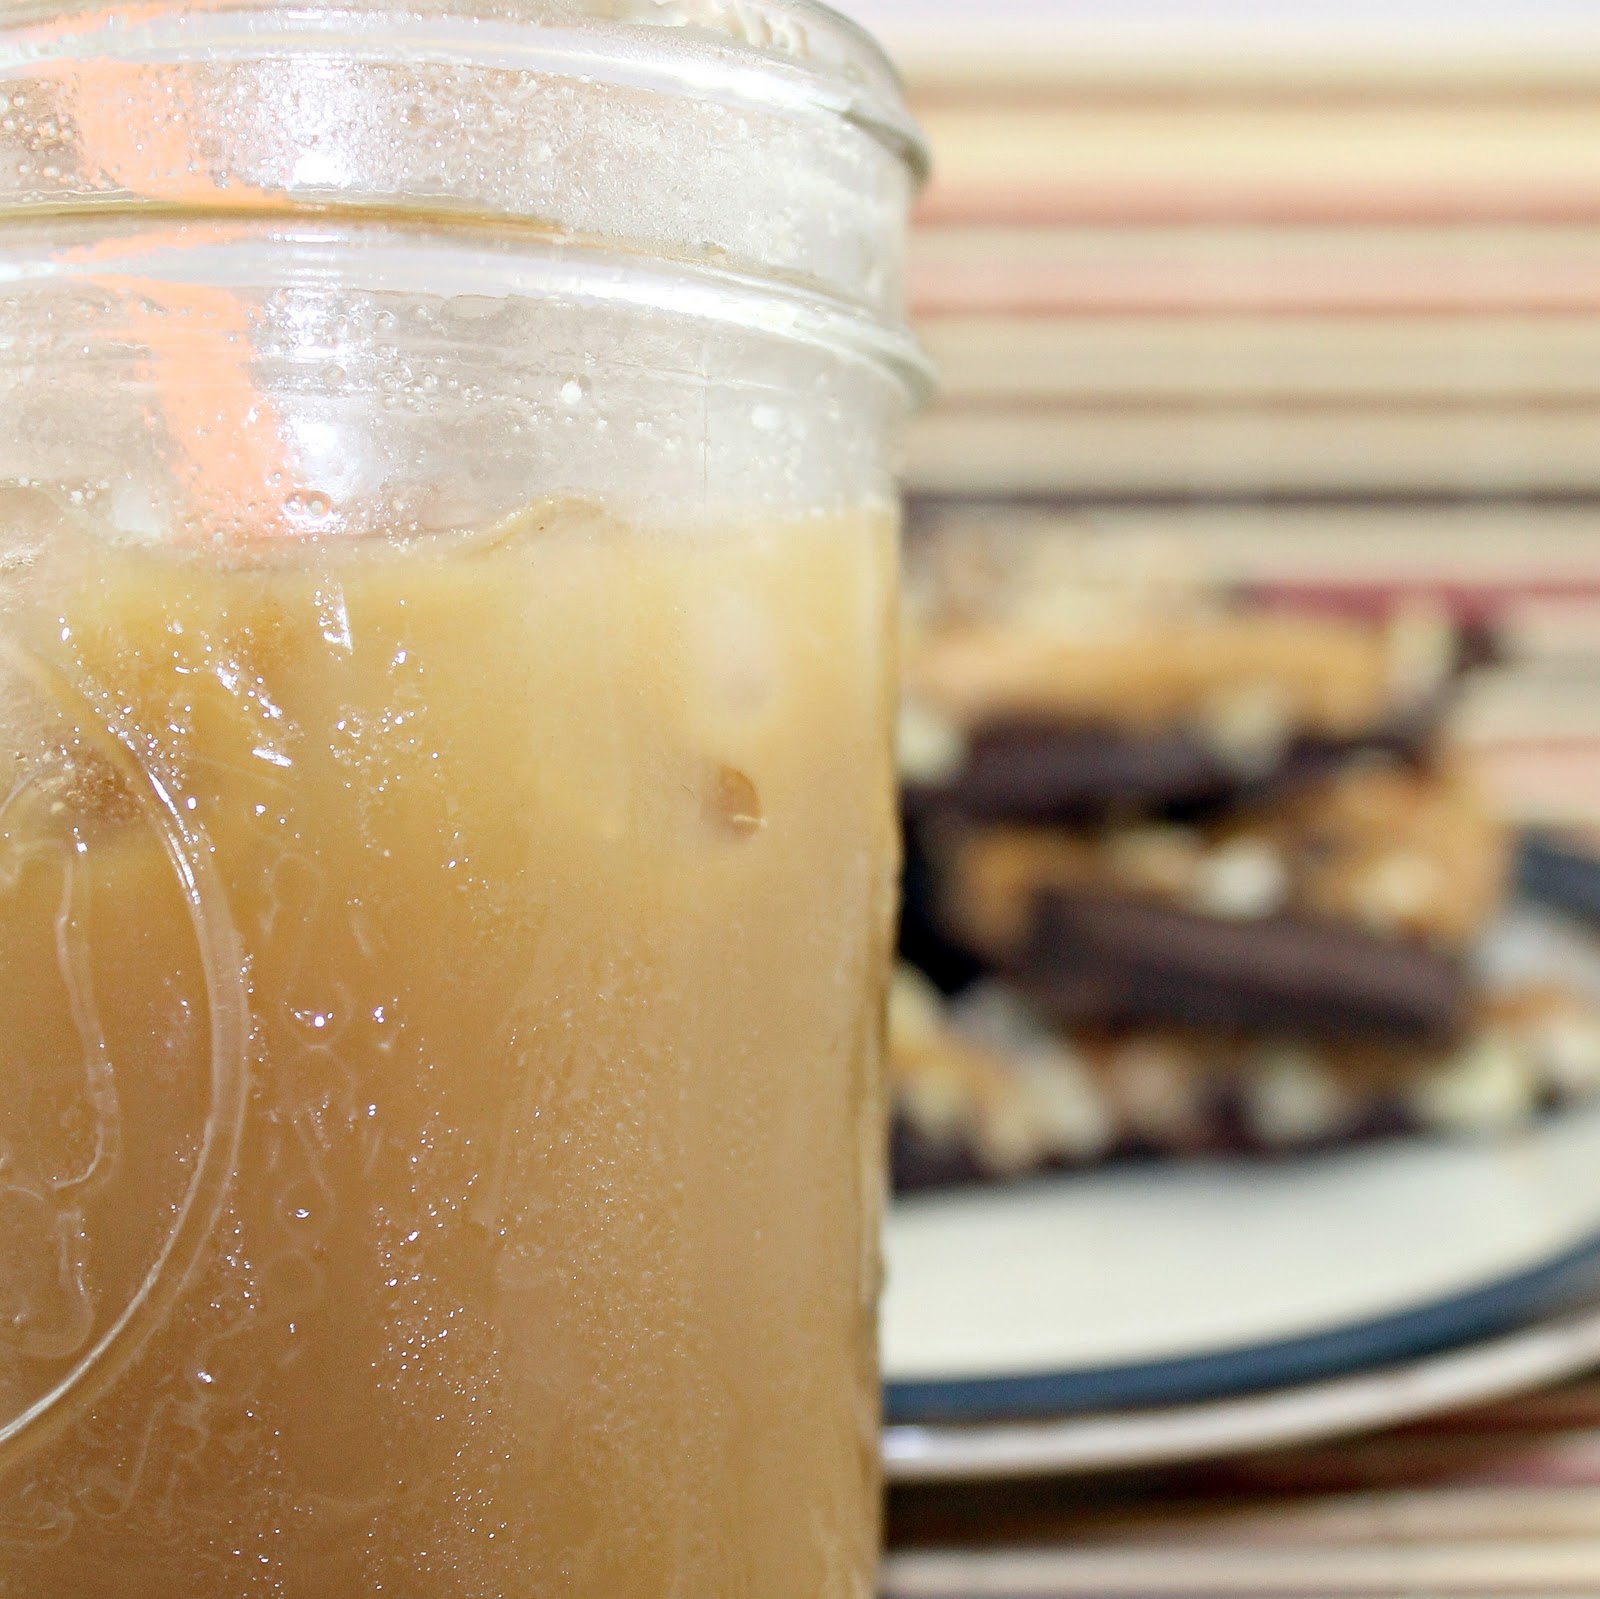
In my attempt to be creative, I’m pretty sure I ended up making a chilled Caramel Pecan Bark Vietnamese Coffee. Either way, it was tasty!
Ingredients:
6 oz brewed Caramel Pecan Bark coffee, cooled
2 tablespoons condensed milk
2 tablespoons milk
A few ice cubes
Whipped cream
Extra coffee grinds or chopped pecans for garnish
Begin by brewing your coffee and allowing it to cool.
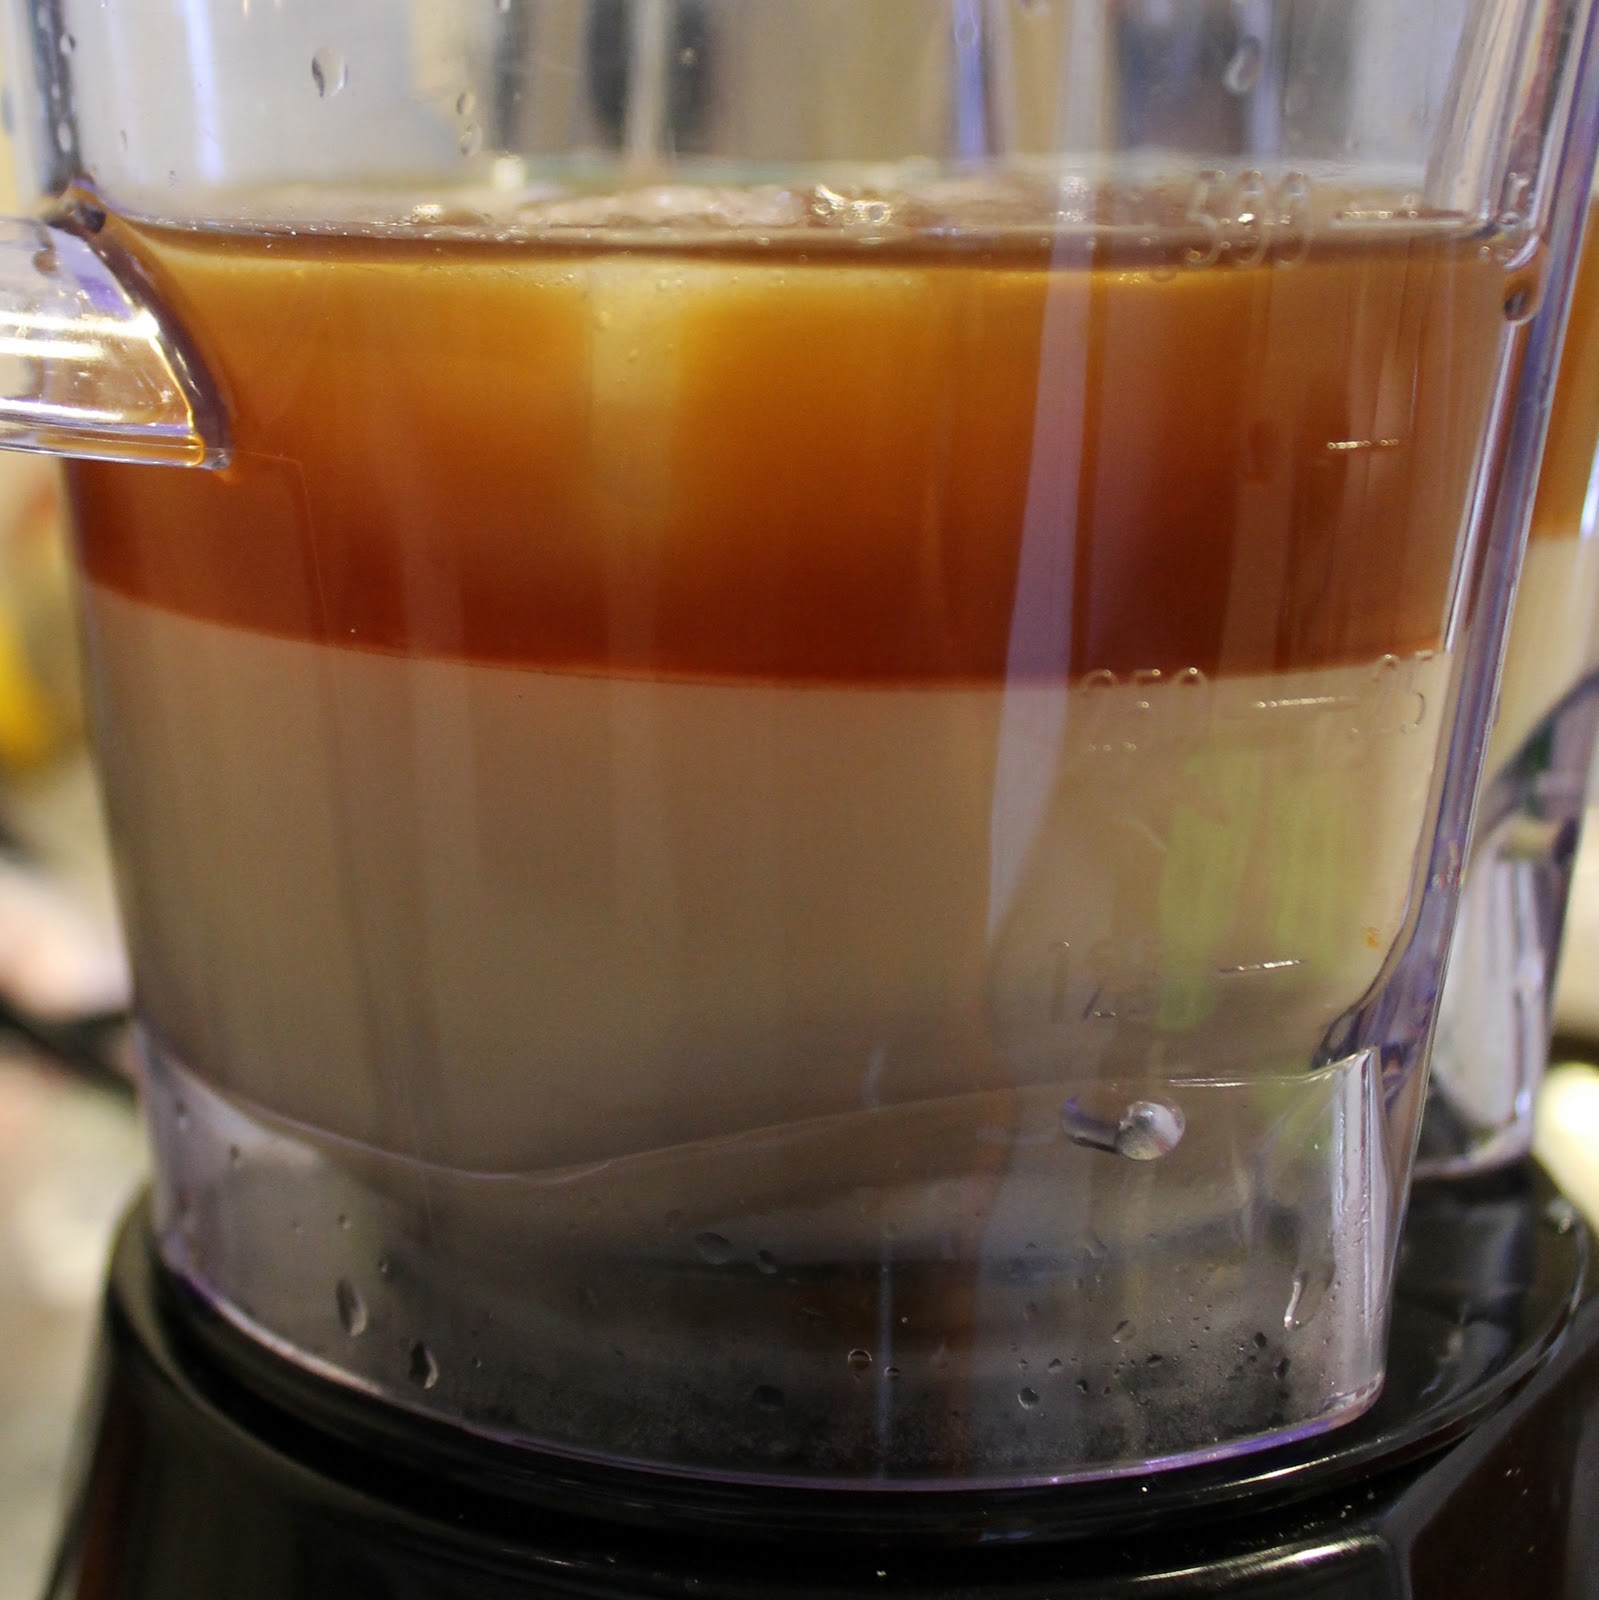
Add the coffee, condensed milk, and milk to a blender.
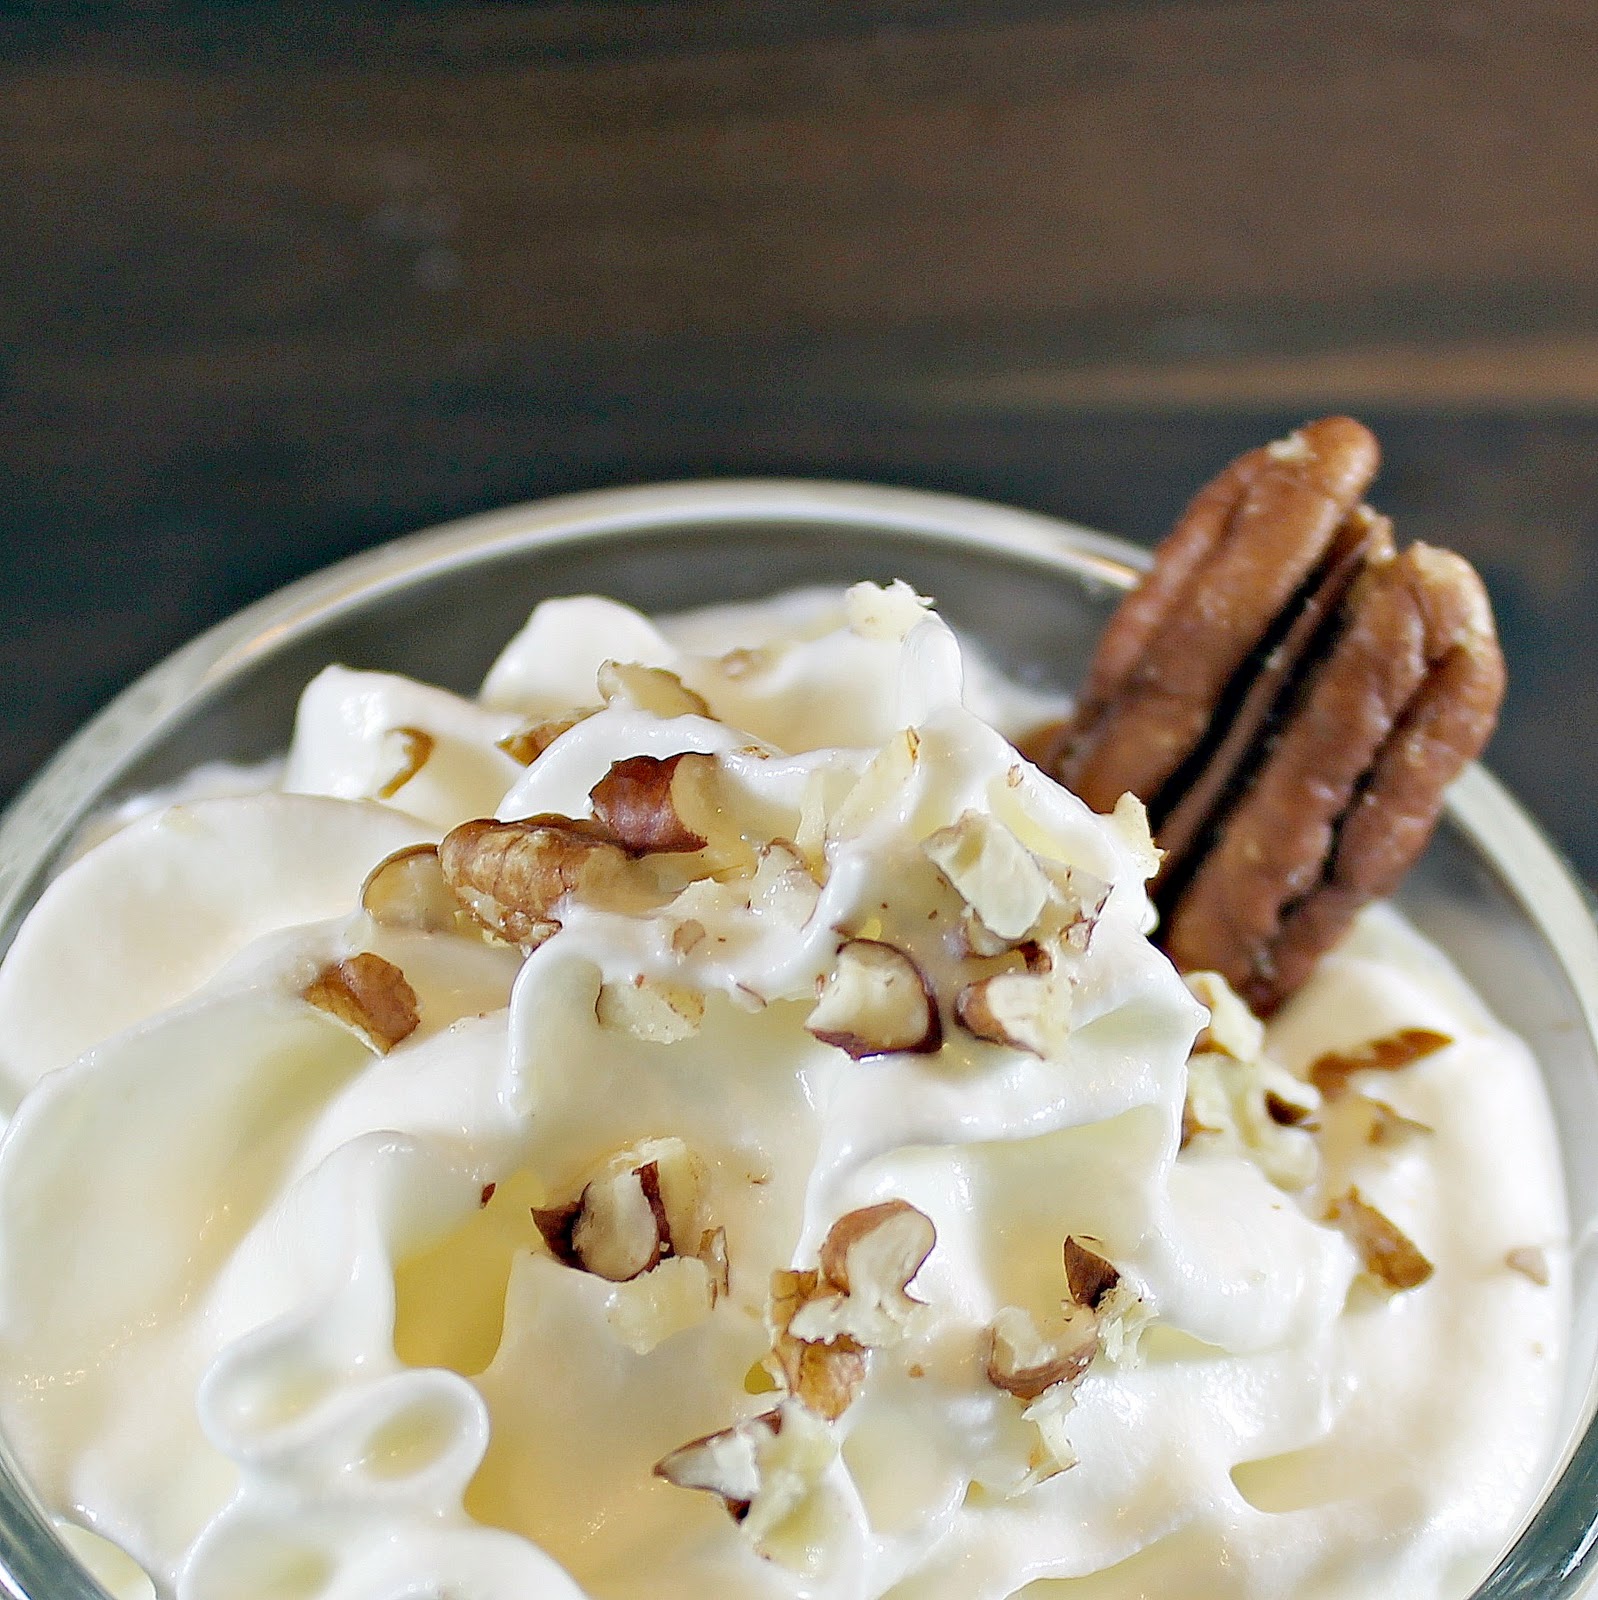
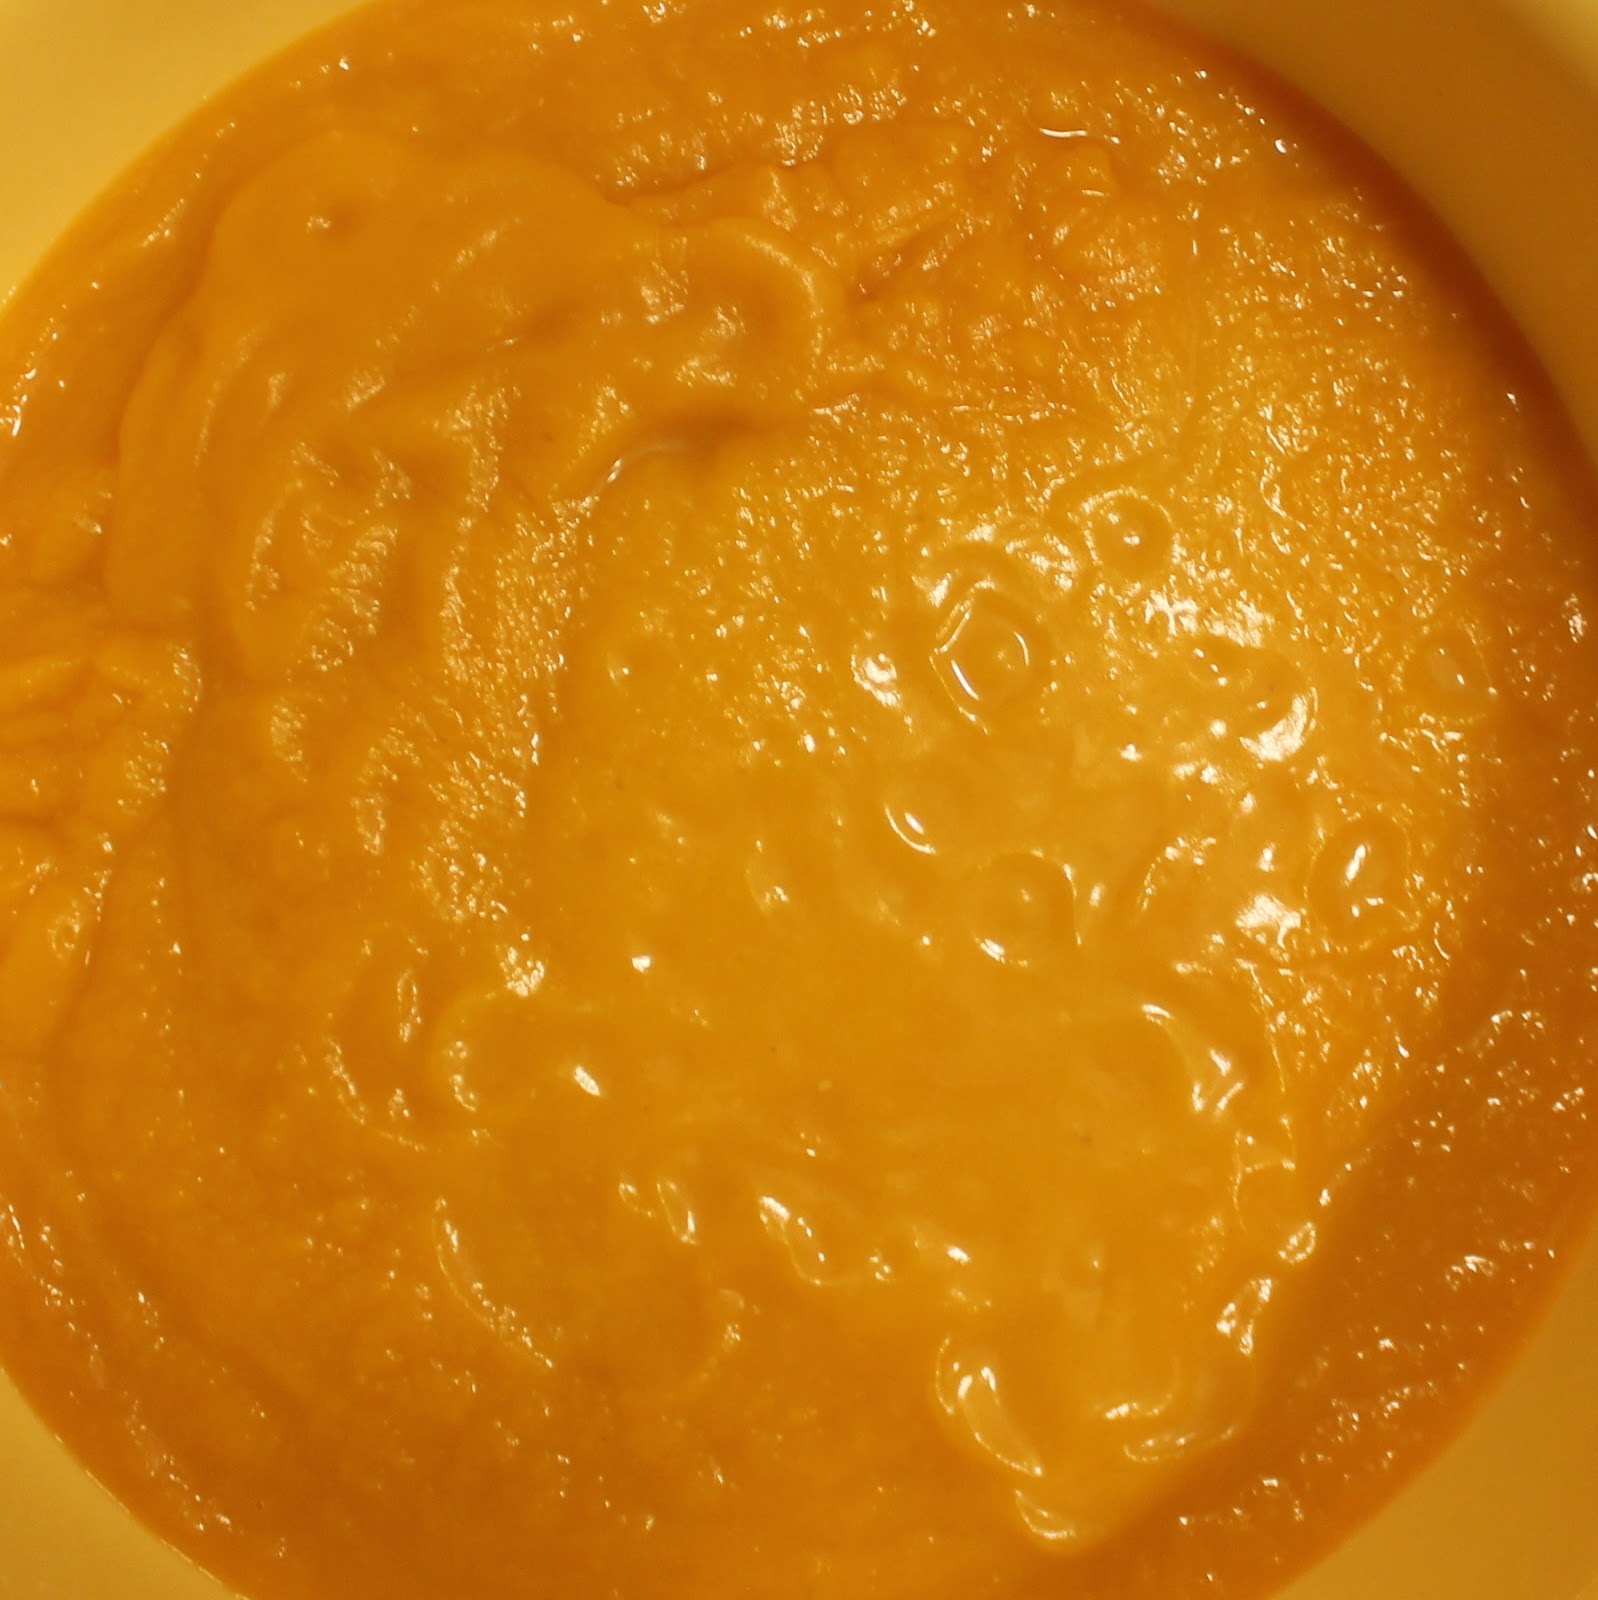
Add ice and blend until pureed. Pour into coffee mugs and top with whipped cream, coffee grounds, or pecans if desired.
Condensed milk is already sweetened with sugar, so I personally don’t think you need any more sweeteners in this. If you have a big sweet tooth, sub out the milk with more condensed milk.
I love how this tasted! It was more of a dessert drink than a coffee drink but I’m ok with that. The caramel and pecan flavors still shown through, making a really delicious treat.
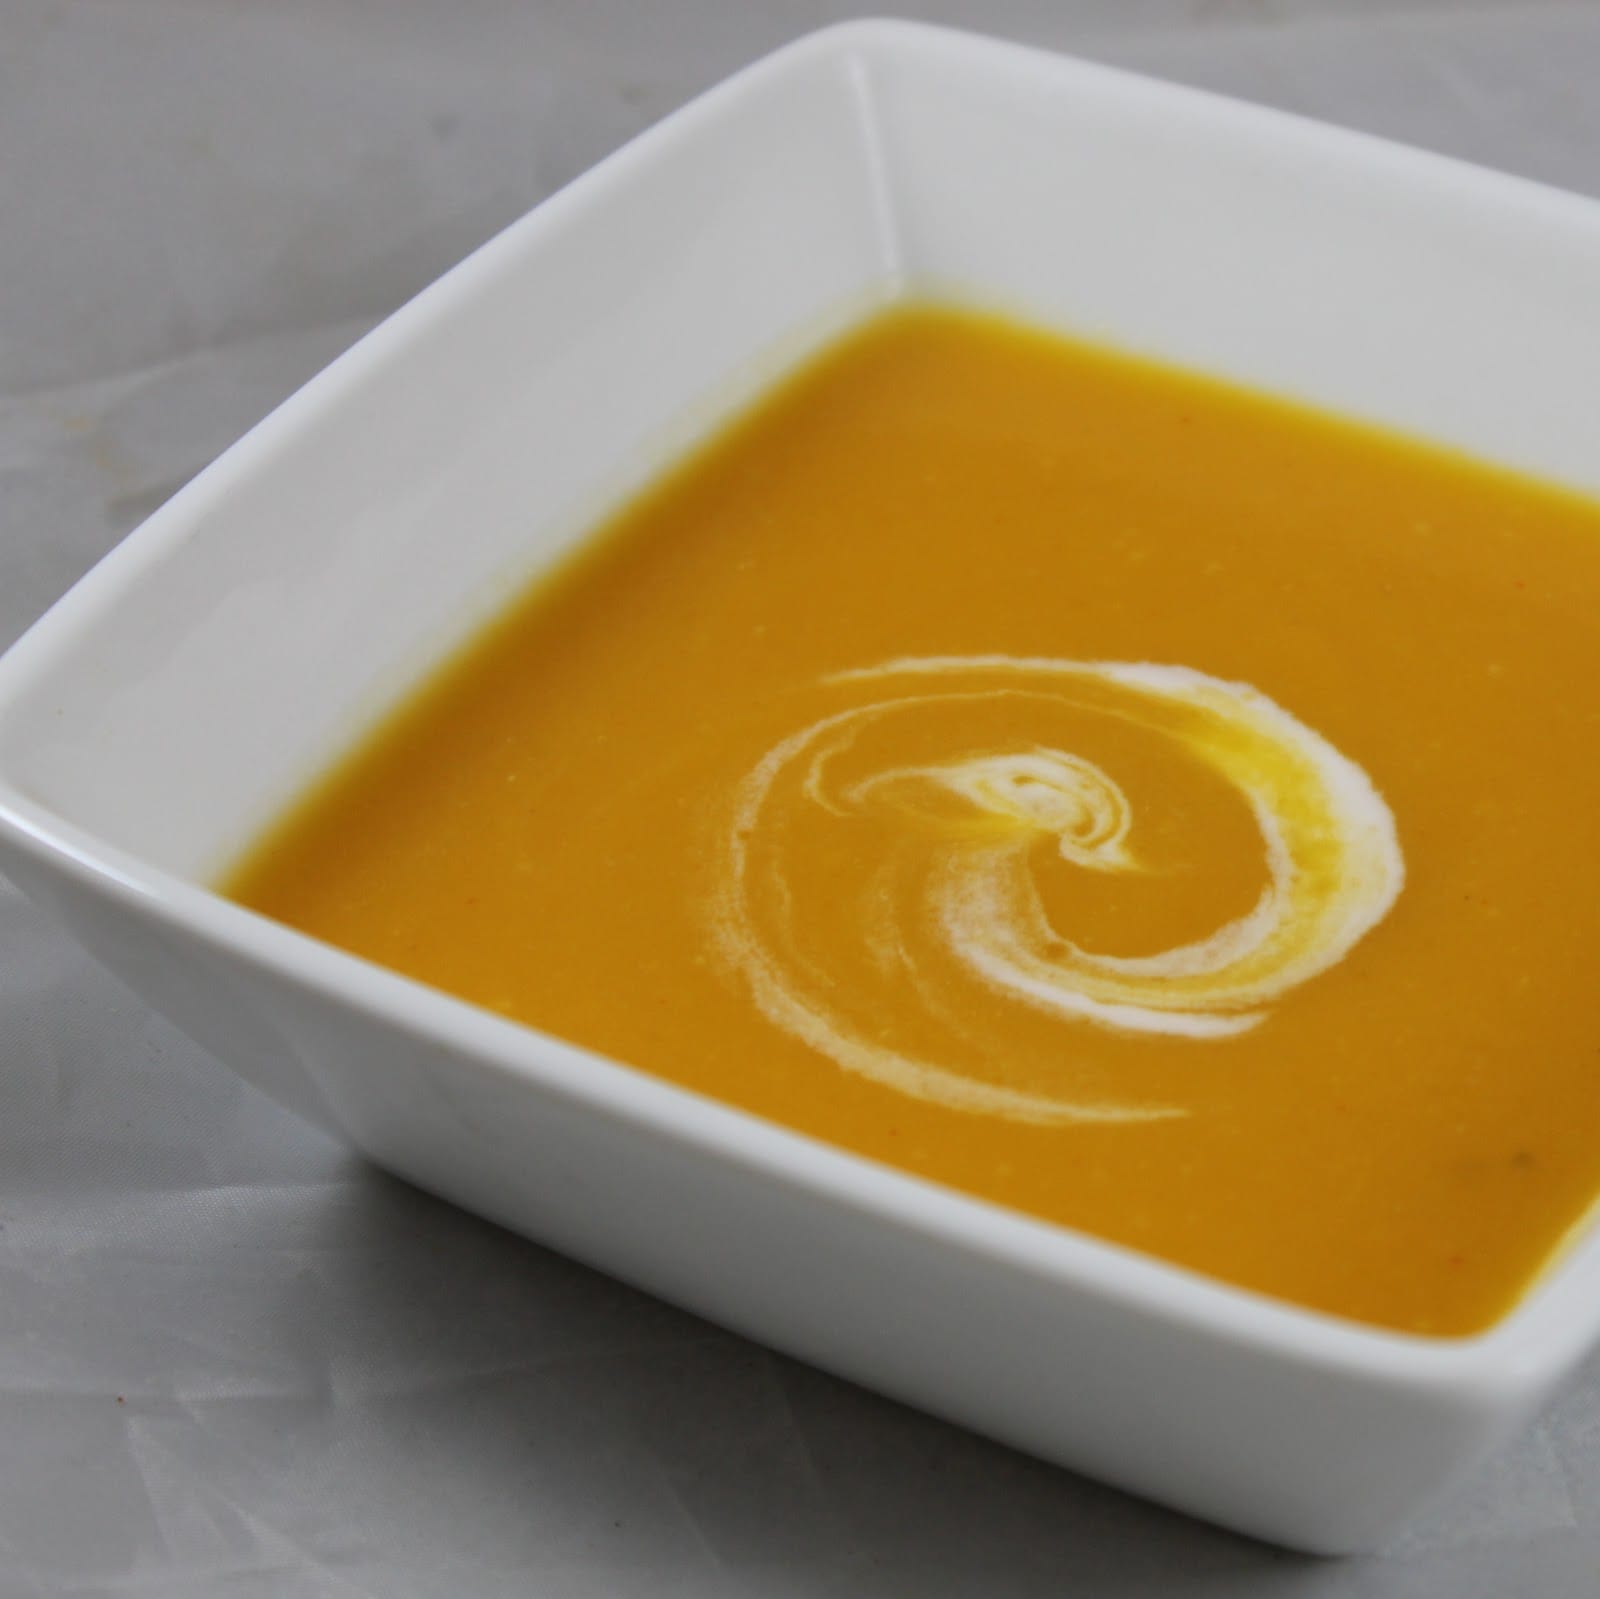
No coffee post would be complete without
Iced Coffee. This recipe takes some make ahead time, but is so worth it, so that your coffee isn’t watered down. I found this recipe on
The Pioneer Woman and was really impressed with the results!
Ingredients:
1/2 cup Caramel Pecan Bark coffee grounds
2 cups cold water
Ice
Milk, cream, or half & half (whatever you prefer)
Sweetener, if desired
Note: you will need a cheesecloth for this recipe.
Add the coffee grounds to a container that has a lid.
Pour in the cold coffee and mix to combine.
Allow to “brew” for at least 8 hours. Place a fine mesh strainer over a medium bowl. Place a few layers of cheese cloth over the strainer and pour the coffee mixture into the strainer. Give it a while to strain through. Use a spoon to press through the remaining liquid.
Add ice to a glass.
Pour the coffee into the glass, filling it just over half full.
Add your milk/cream/half & half. Stir to combine.
Sweeten the iced coffee if desired. (Note: the Caramel Pecan Bark coffee has some sweetness to it, so I didn’t think it needed any sugar)
This is perfect to serve with the bark!
I don’t think I will ever make iced coffee another way again. The flavor of this was amazing, not even a little bit watered down!
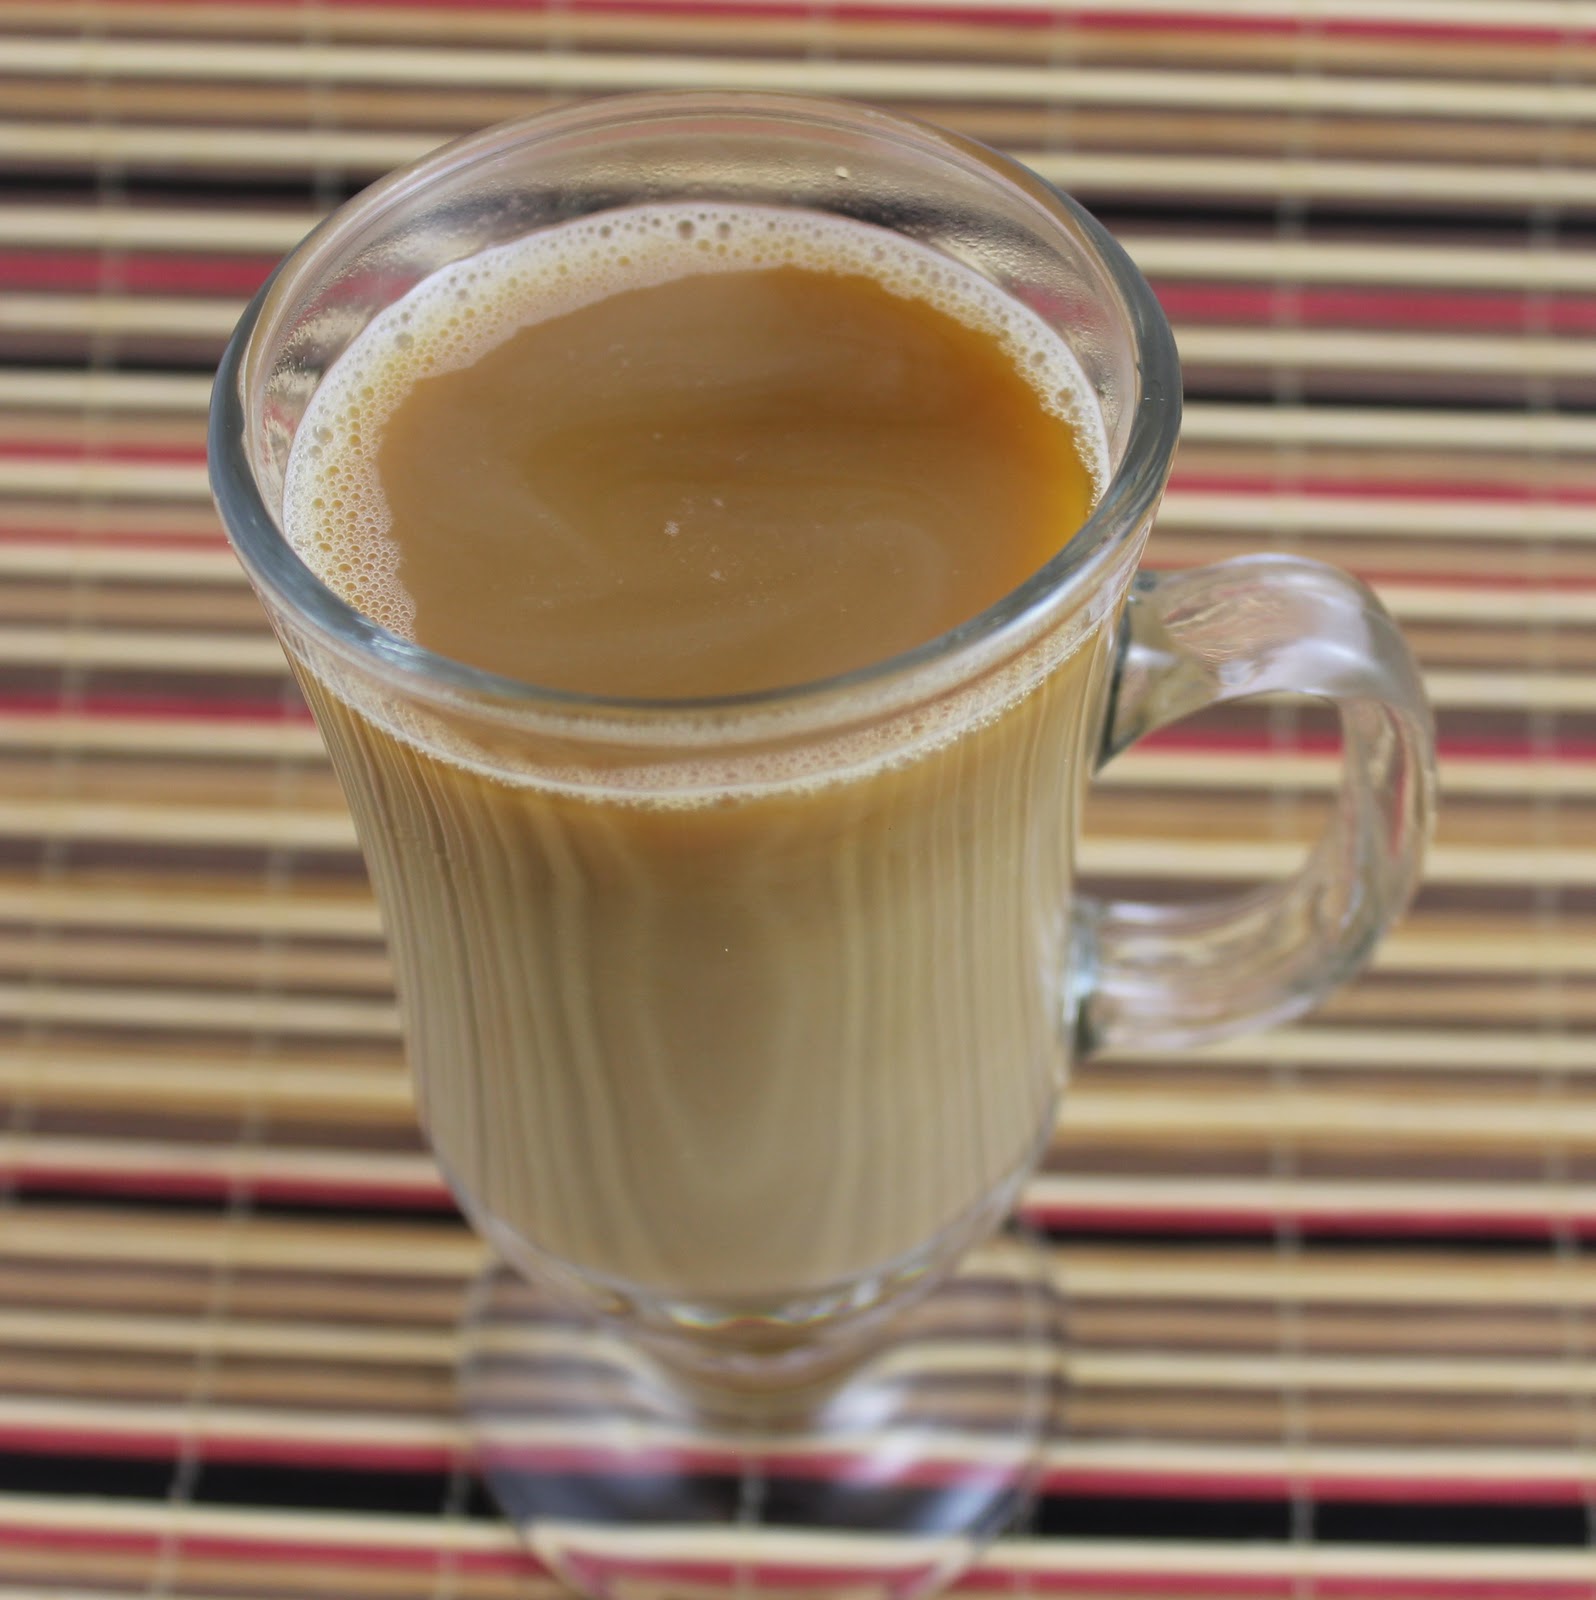
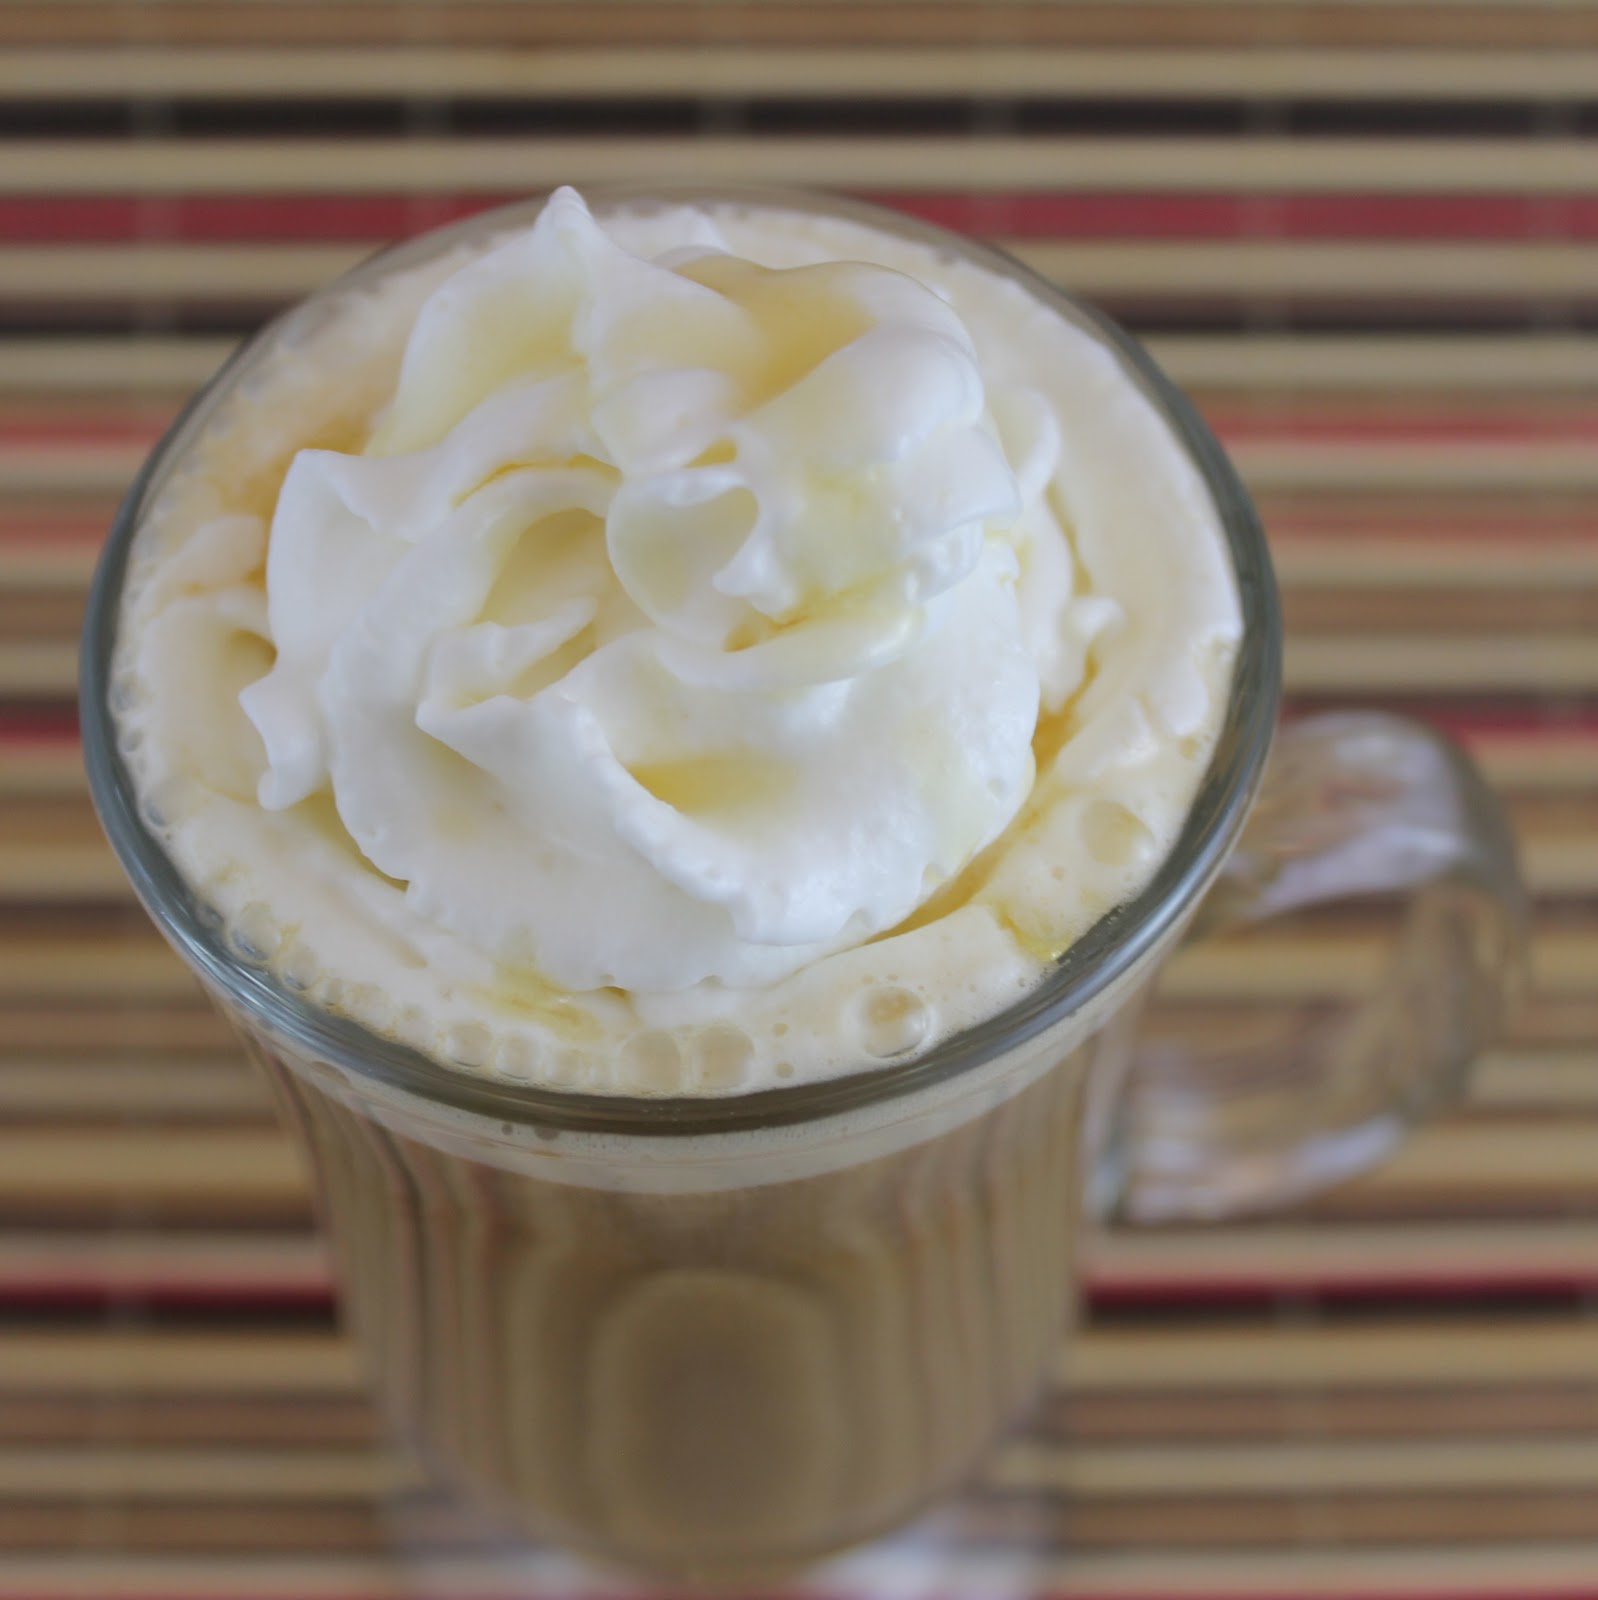
Last but not least, I decided to try a recipe for a
Pumpkin Spice Latte, right off of the
GodivaCoffee.com website.
Ingredients:
6 oz brewed Pumpkin Spice coffee
3 teaspoons pure maple syrup, divided
4 oz warm milk
Whipped cream, if desired
Begin by brewing your coffee. Add the coffee to a mug of your choice and keep warm.
Heat the milk over medium heat until warm. If you’re feeling fancy, use a whisk to whip the milk until frothy. Add 2 teaspoons maple syrup and the milk to the coffee. Stir to combine.
Top with whipped cream and drizzle with the remaining 1 teaspoon of maple syrup.
This is a great “fancy” coffee drink to make at home when, like me, you don’t own an espresso machine. The flavors are very similar to popular pumpkin spice lattes out there and is so simple to make!
I hope some of my experimentation will inspire you to come up with some of your own recipes. The Godiva fall coffees make for a great base. I am so excited to enjoy this coffee for the rest of the season!


