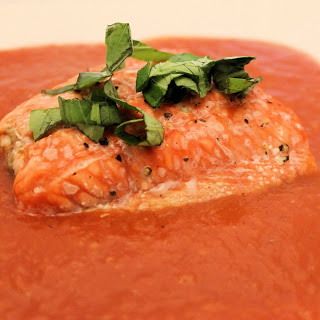
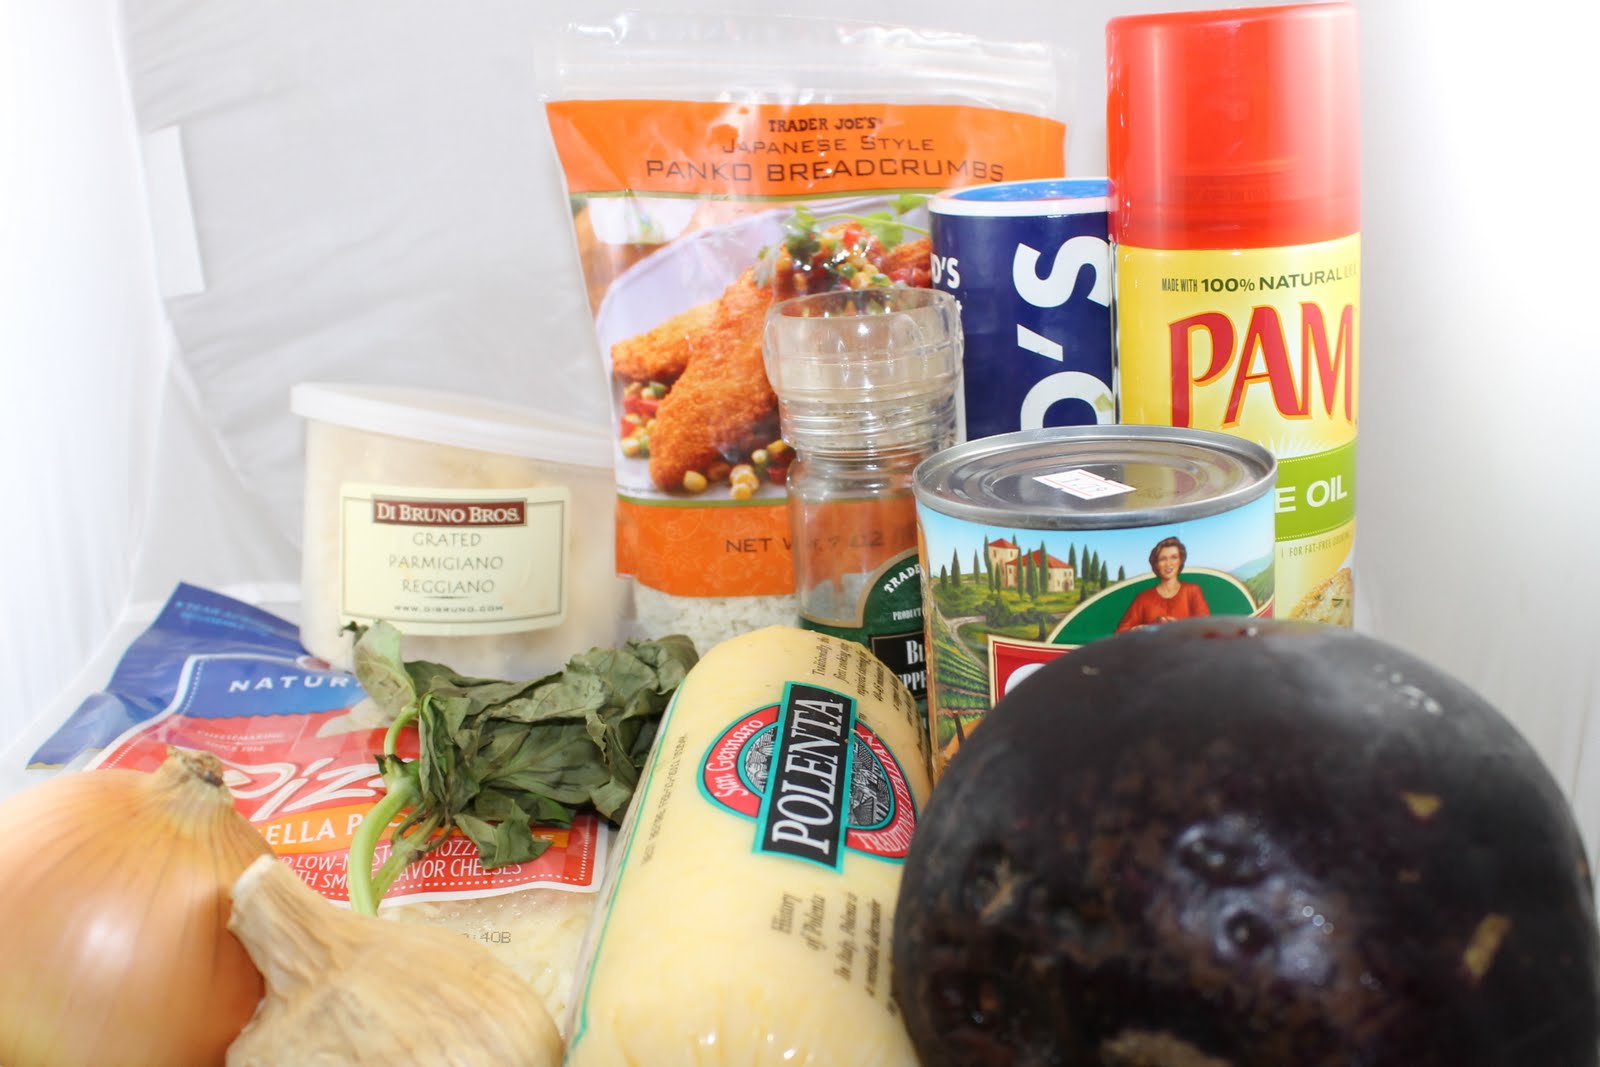
I received another eggplant in my CSA share this week so I thought I’d attempt Eggplant Parmesan. I saw this slightly different version of the recipe on MyRecipes.com, originally from Sunset Magazine and thought I’d give it a try.

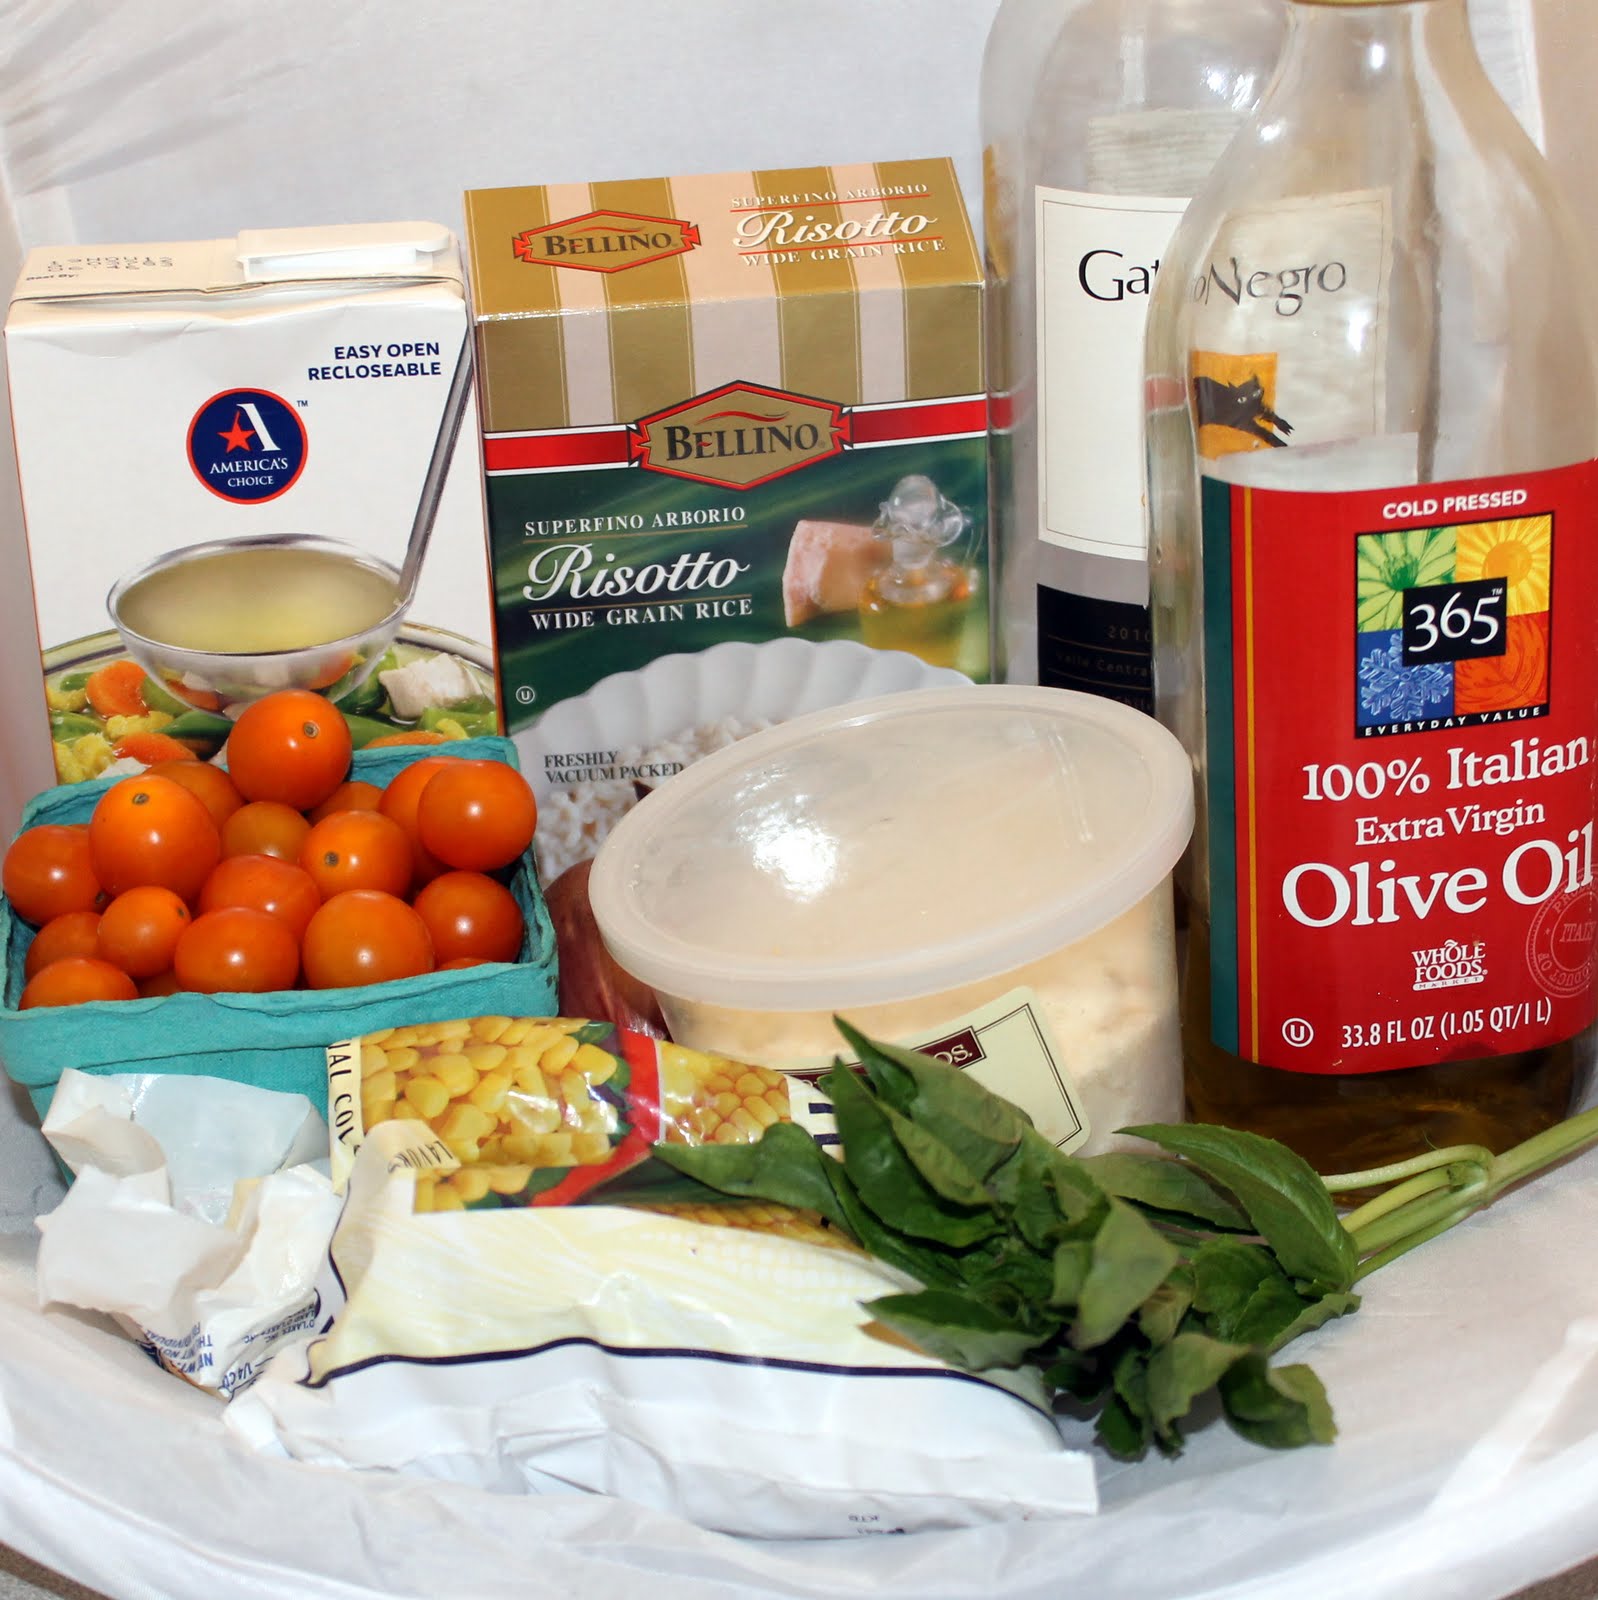
Ingredients: (makes 2 servings)
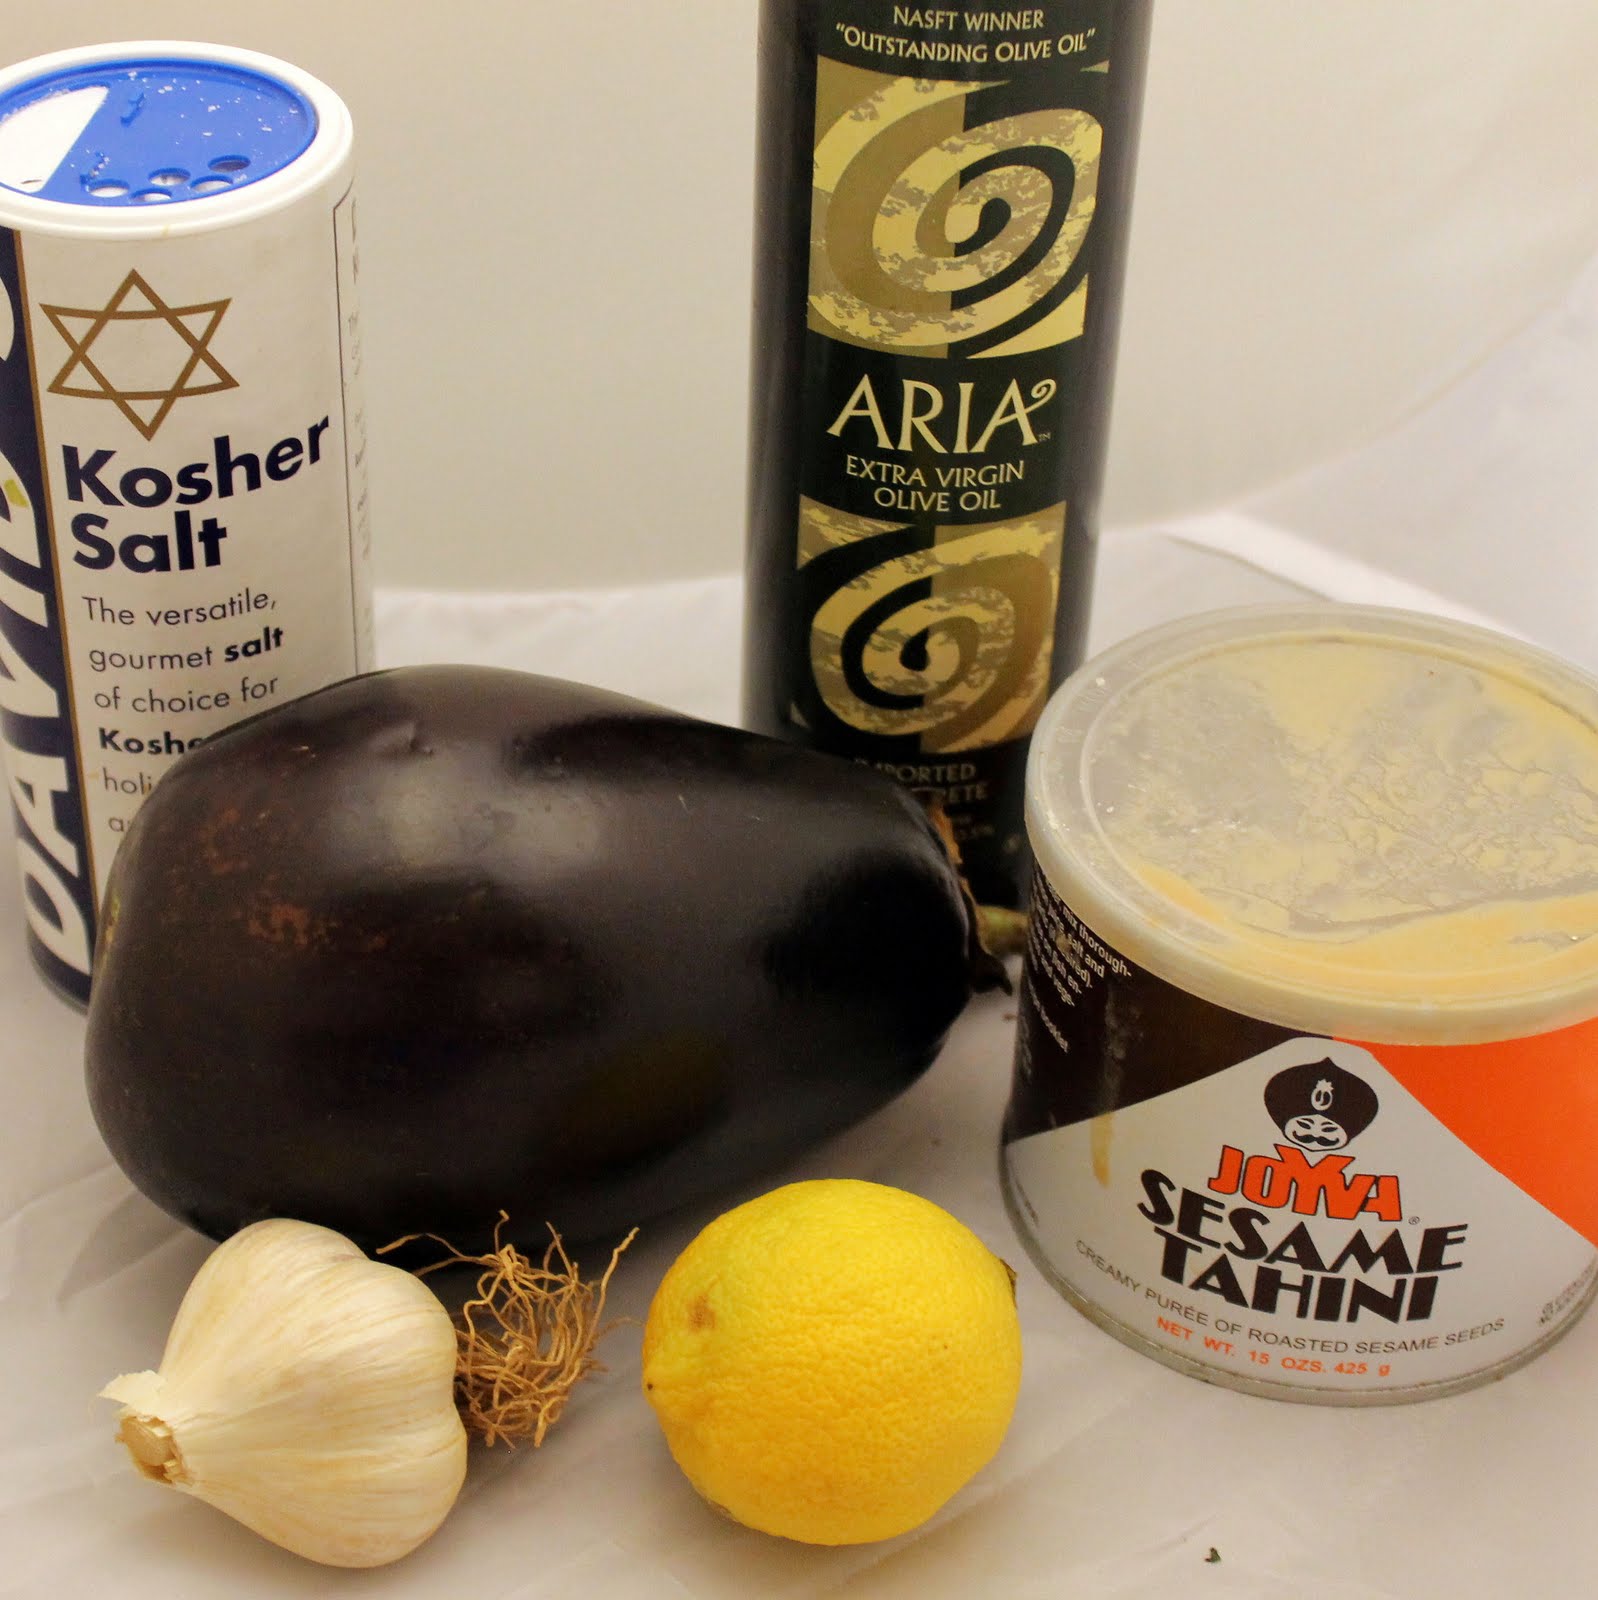
1 eggplant
1/2 tube cooked polenta
Olive oil cooking spray
1 onion, peeled and chopped
3 cloves garlic, minced
2 tablespoons chopped fresh basil leaves or 2 teaspoons dried basil
1 can (14 oz.) tomato purée
1/4 cup water
Salt and pepper, to taste
3/4 cups shredded part-skim mozzarella cheese (6 oz.)
1/4 cup grated parmesan cheese
2 tablespoons panko breadcrumbs
Preheat your oven to 425 degrees. Begin by preparing your eggplant. Rinse the eggplant and cut off both ends. Cut the eggplant crosswise into 4 equally thick slices.

Using only half of the tube of polenta, cut the polenta crosswise into 4 equal slices.
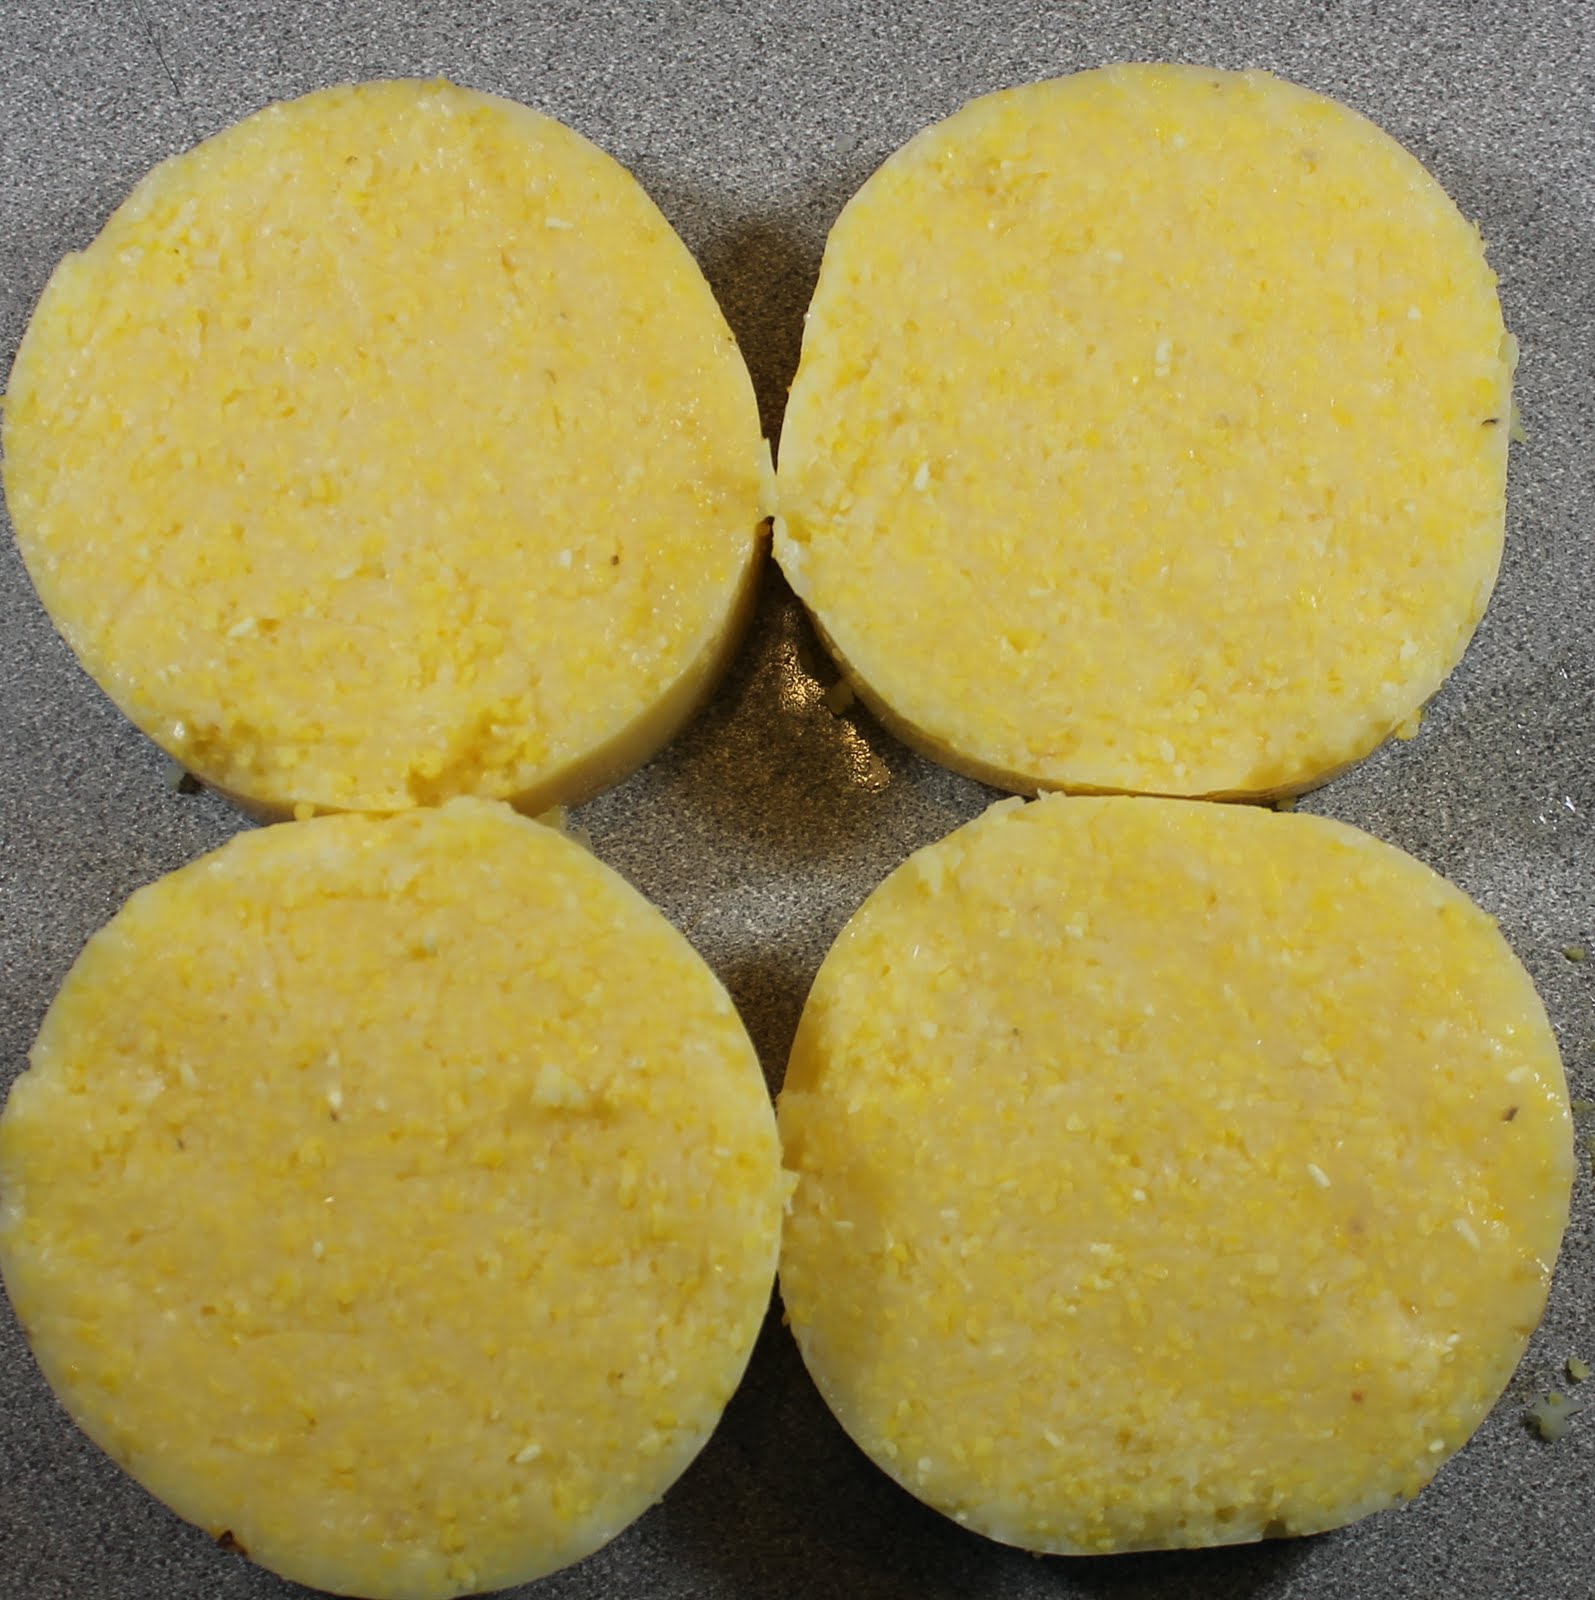
Lightly spray a cookie sheet with the cooking spray and add the polenta and eggplant to the sheet. Spray another layer of the cooking spray on the slices.

Cook for 20 minutes, or until the eggplant is soft and the polenta is heated through.
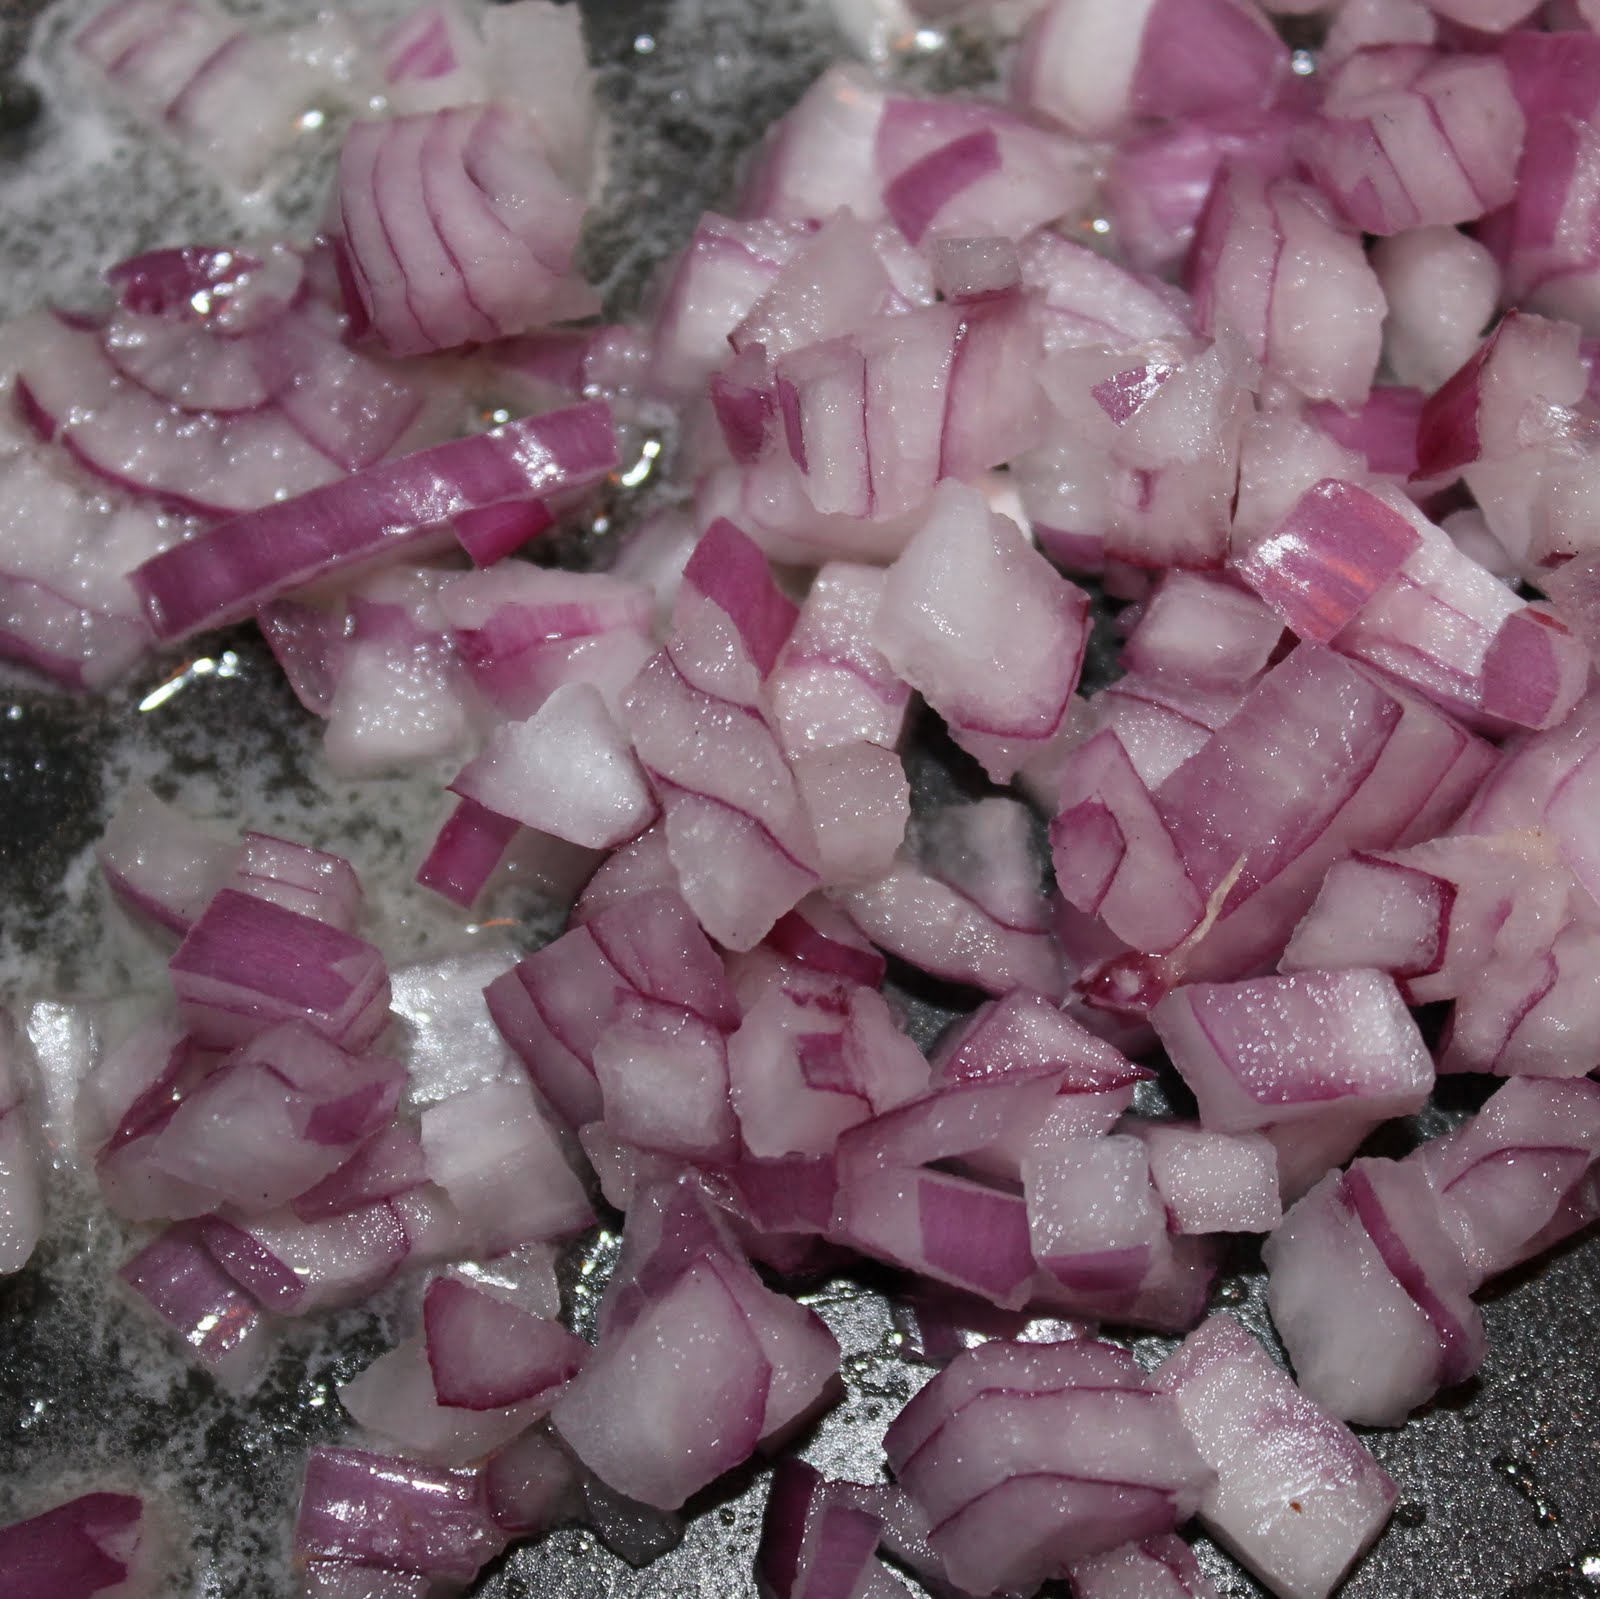
While the eggplant and polenta are cooking, prepare your onion, basil and garlic.

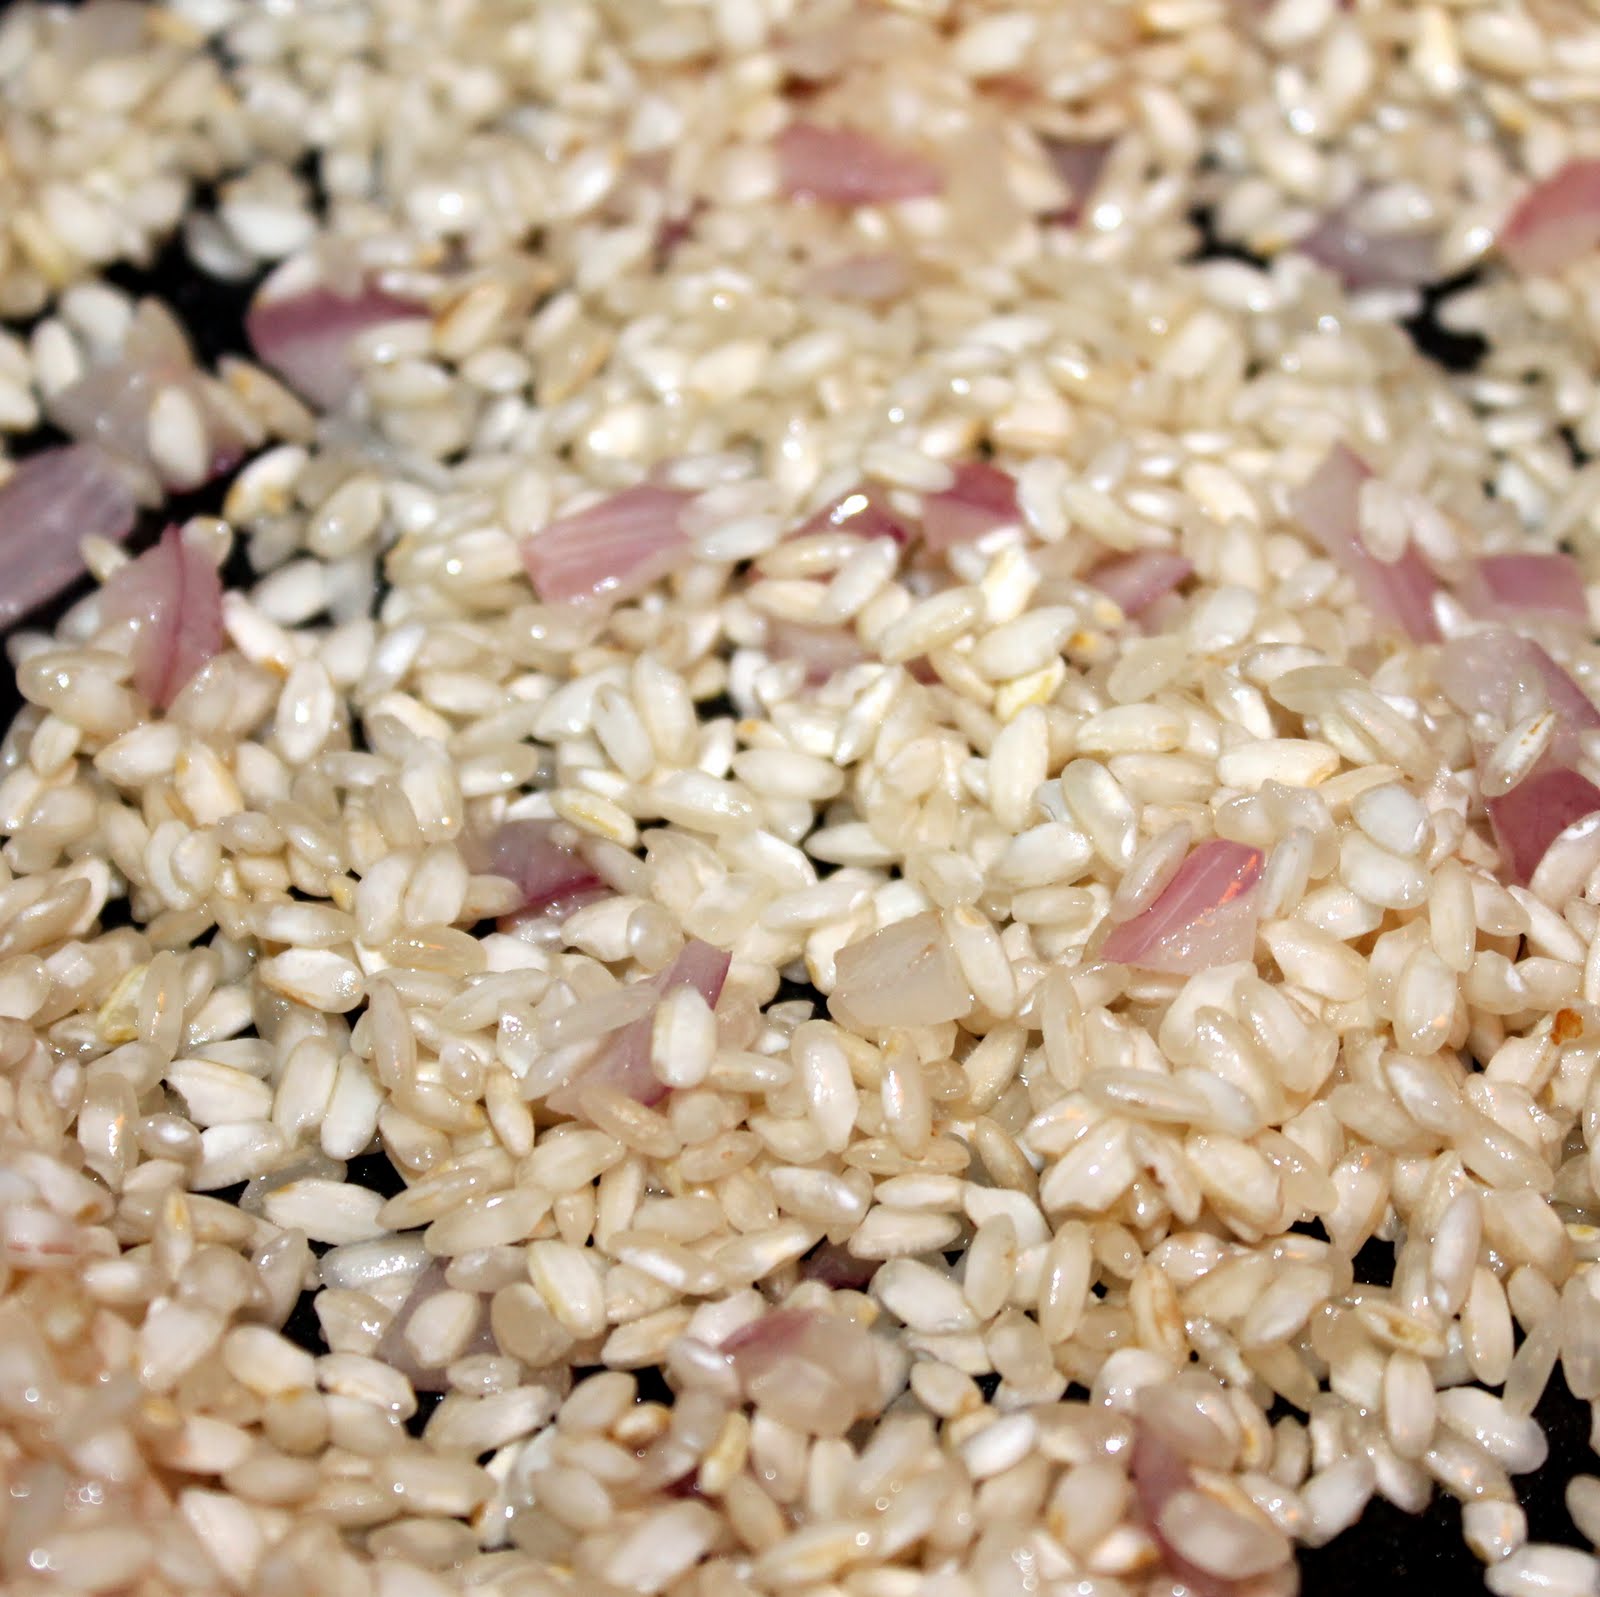
Heat a saute pan over medium-high heat and add the onion, garlic and basil.
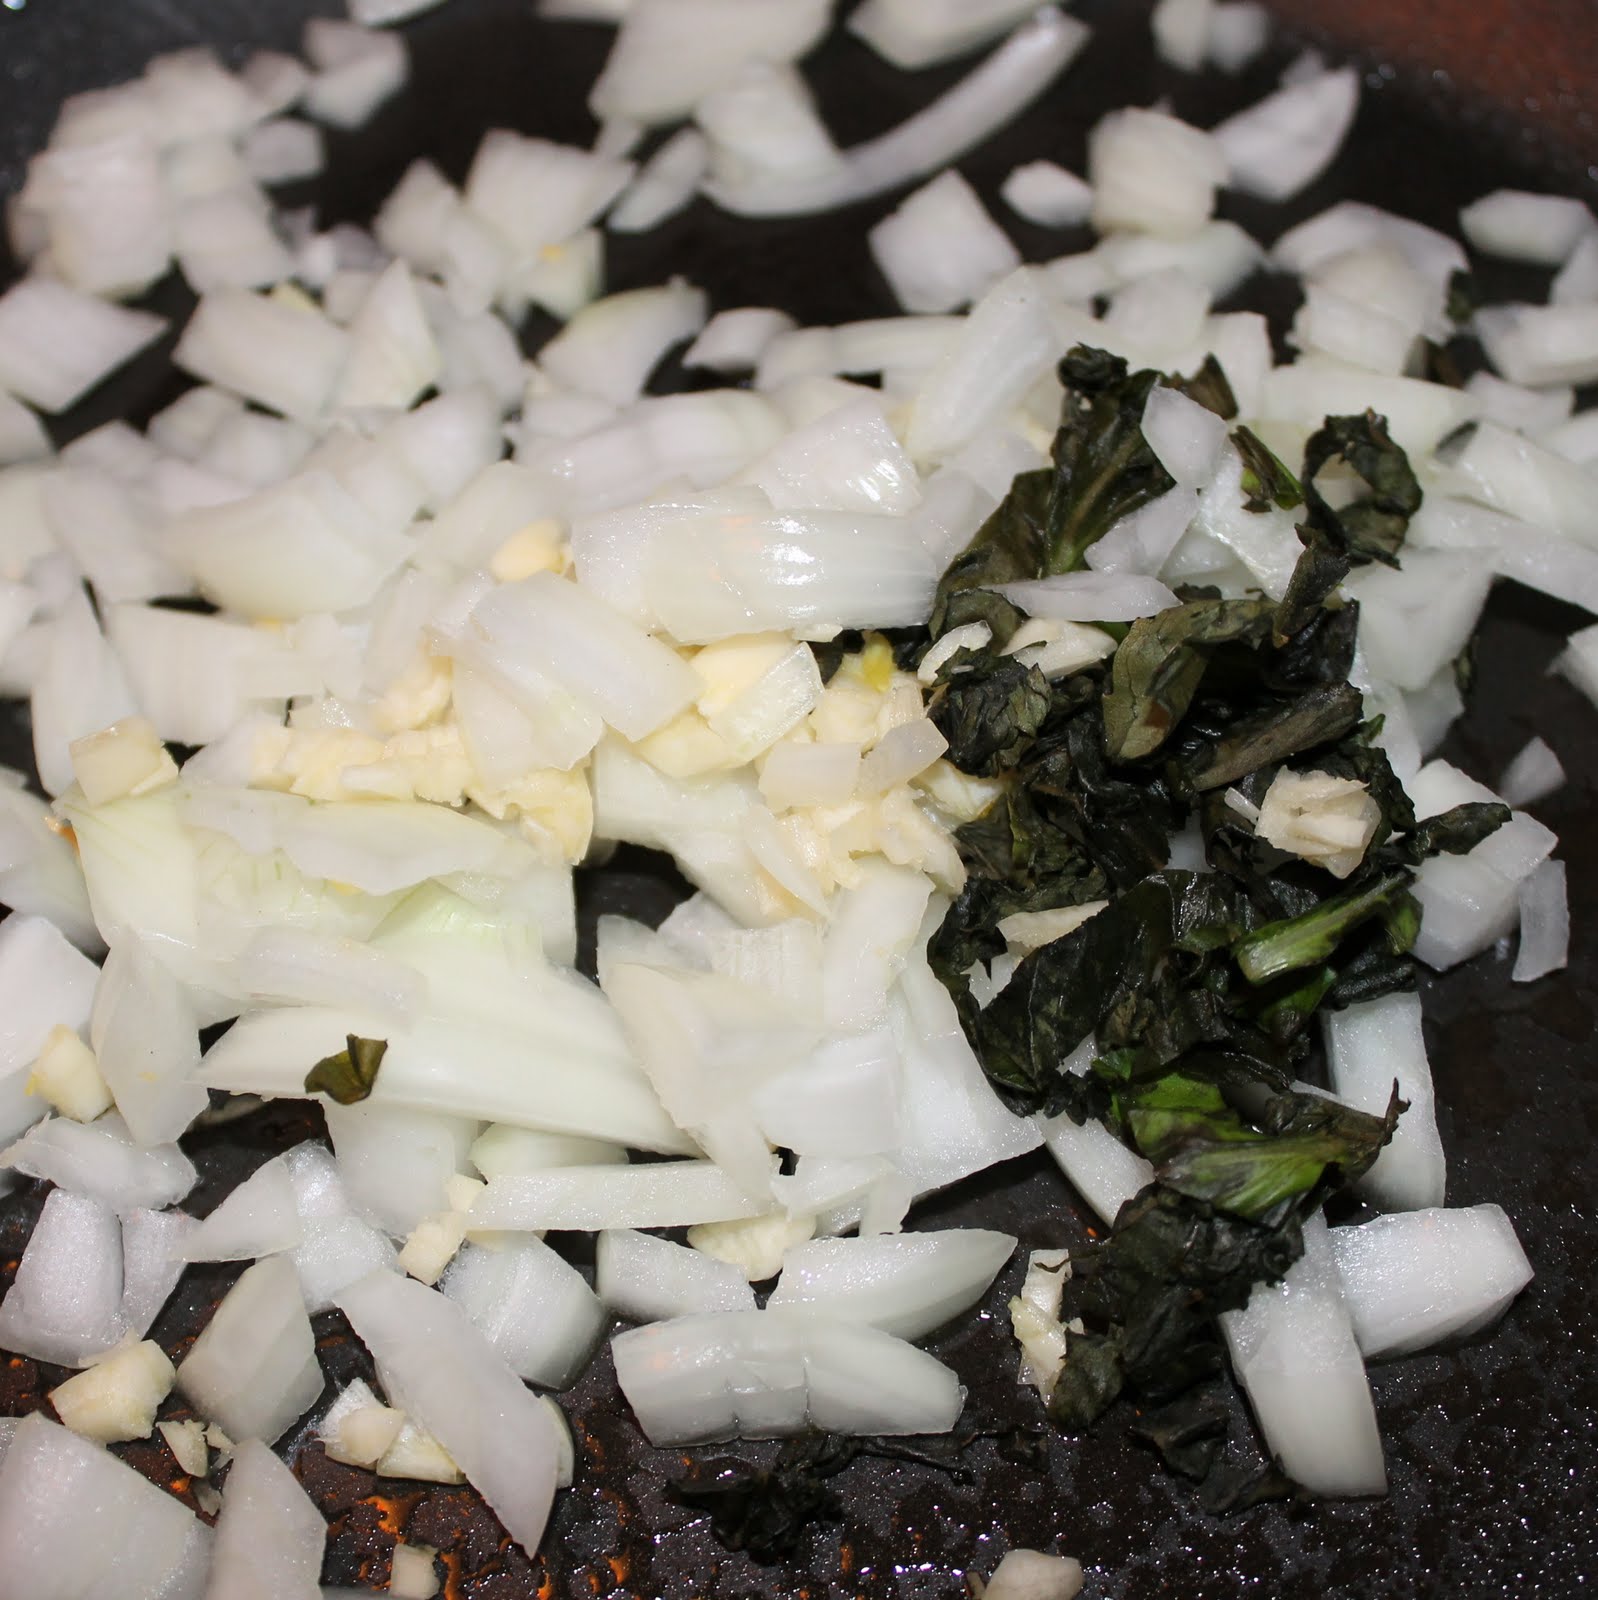
Cook until the onion is lightly browned, about 5 minutes.
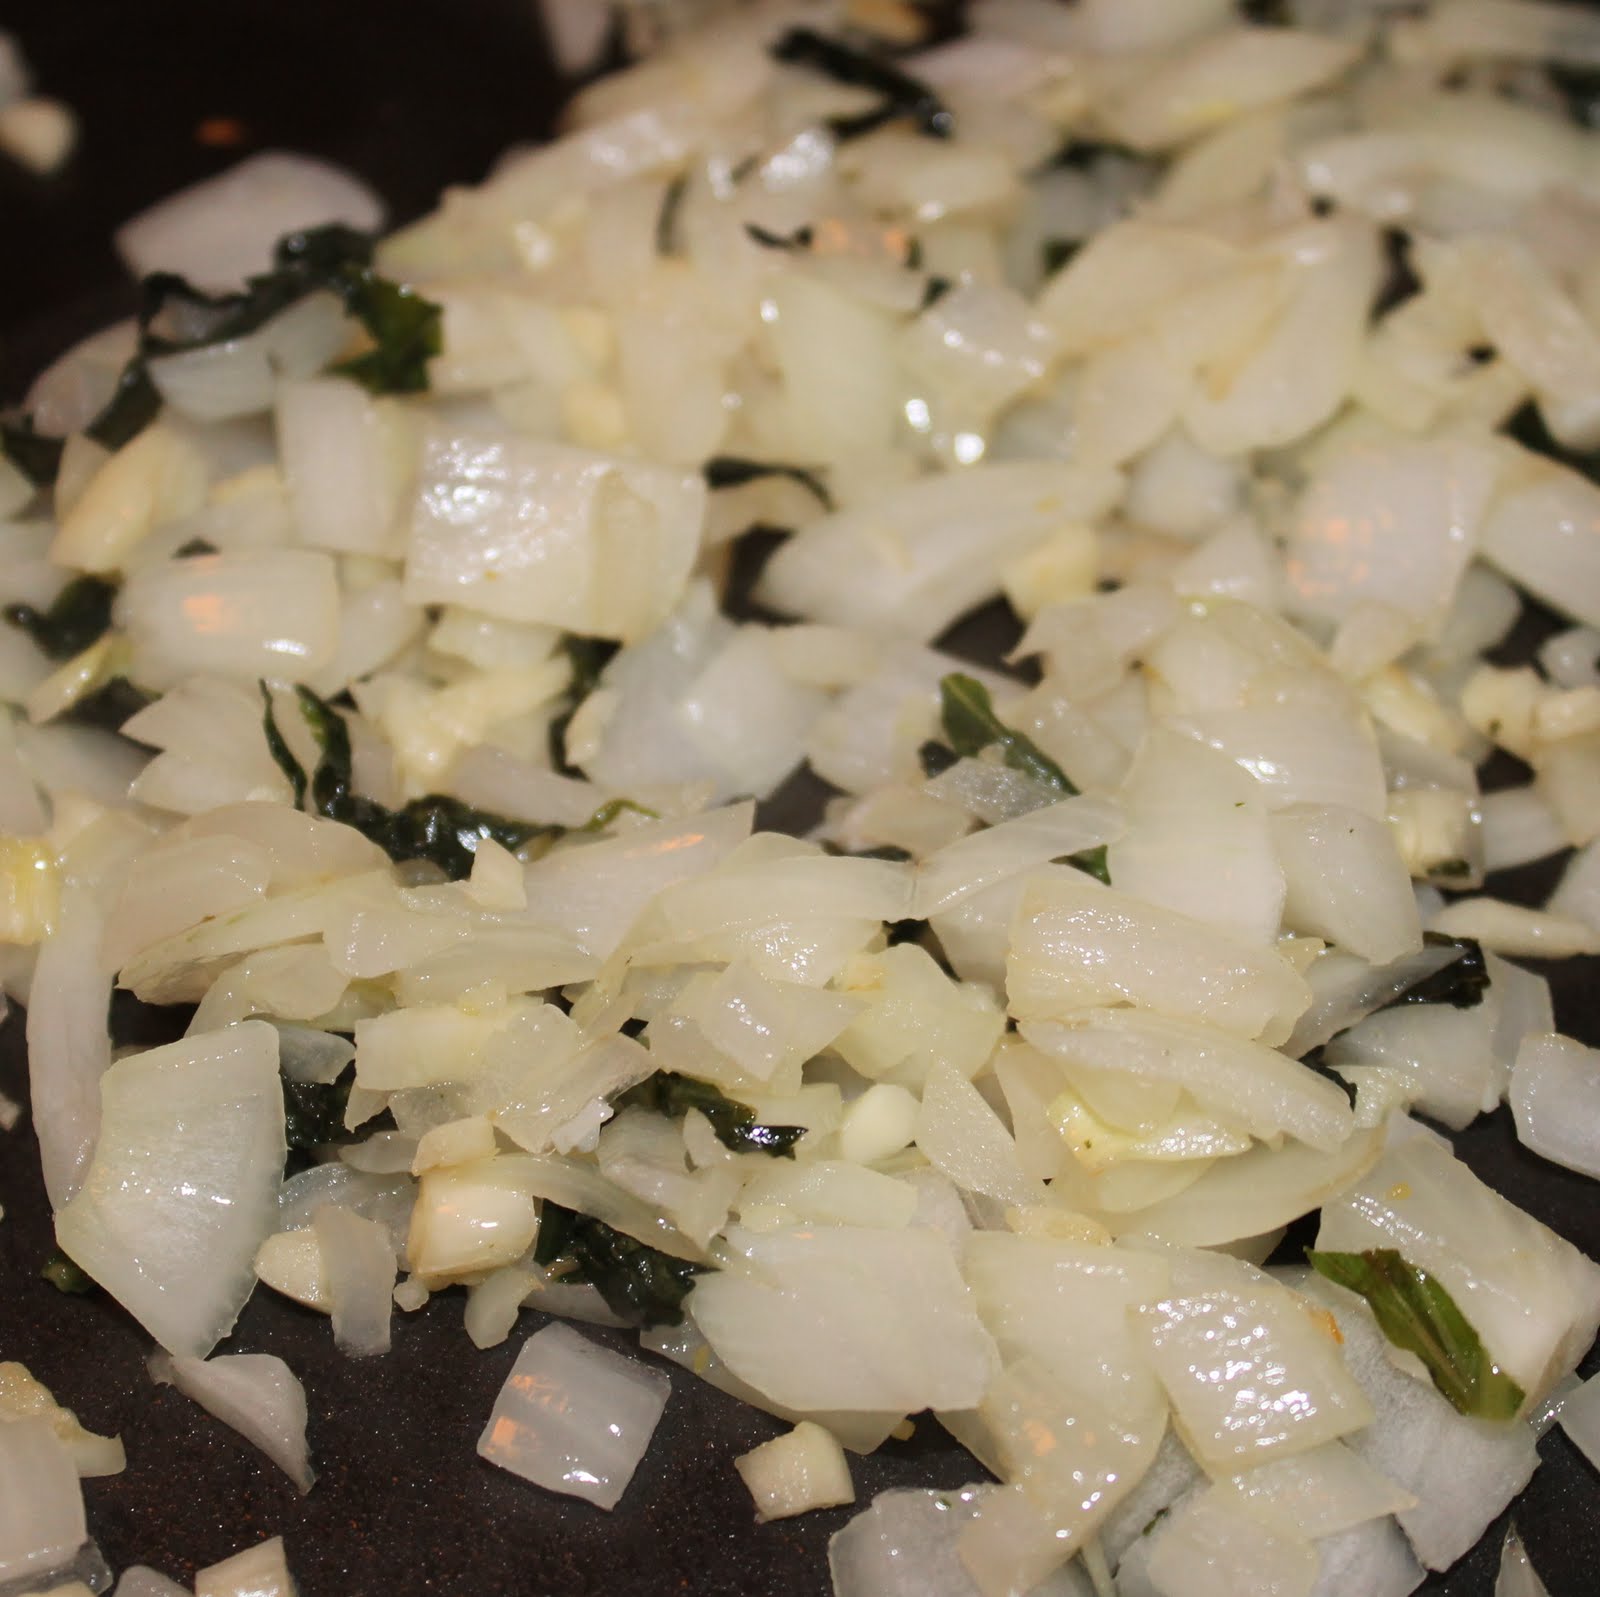
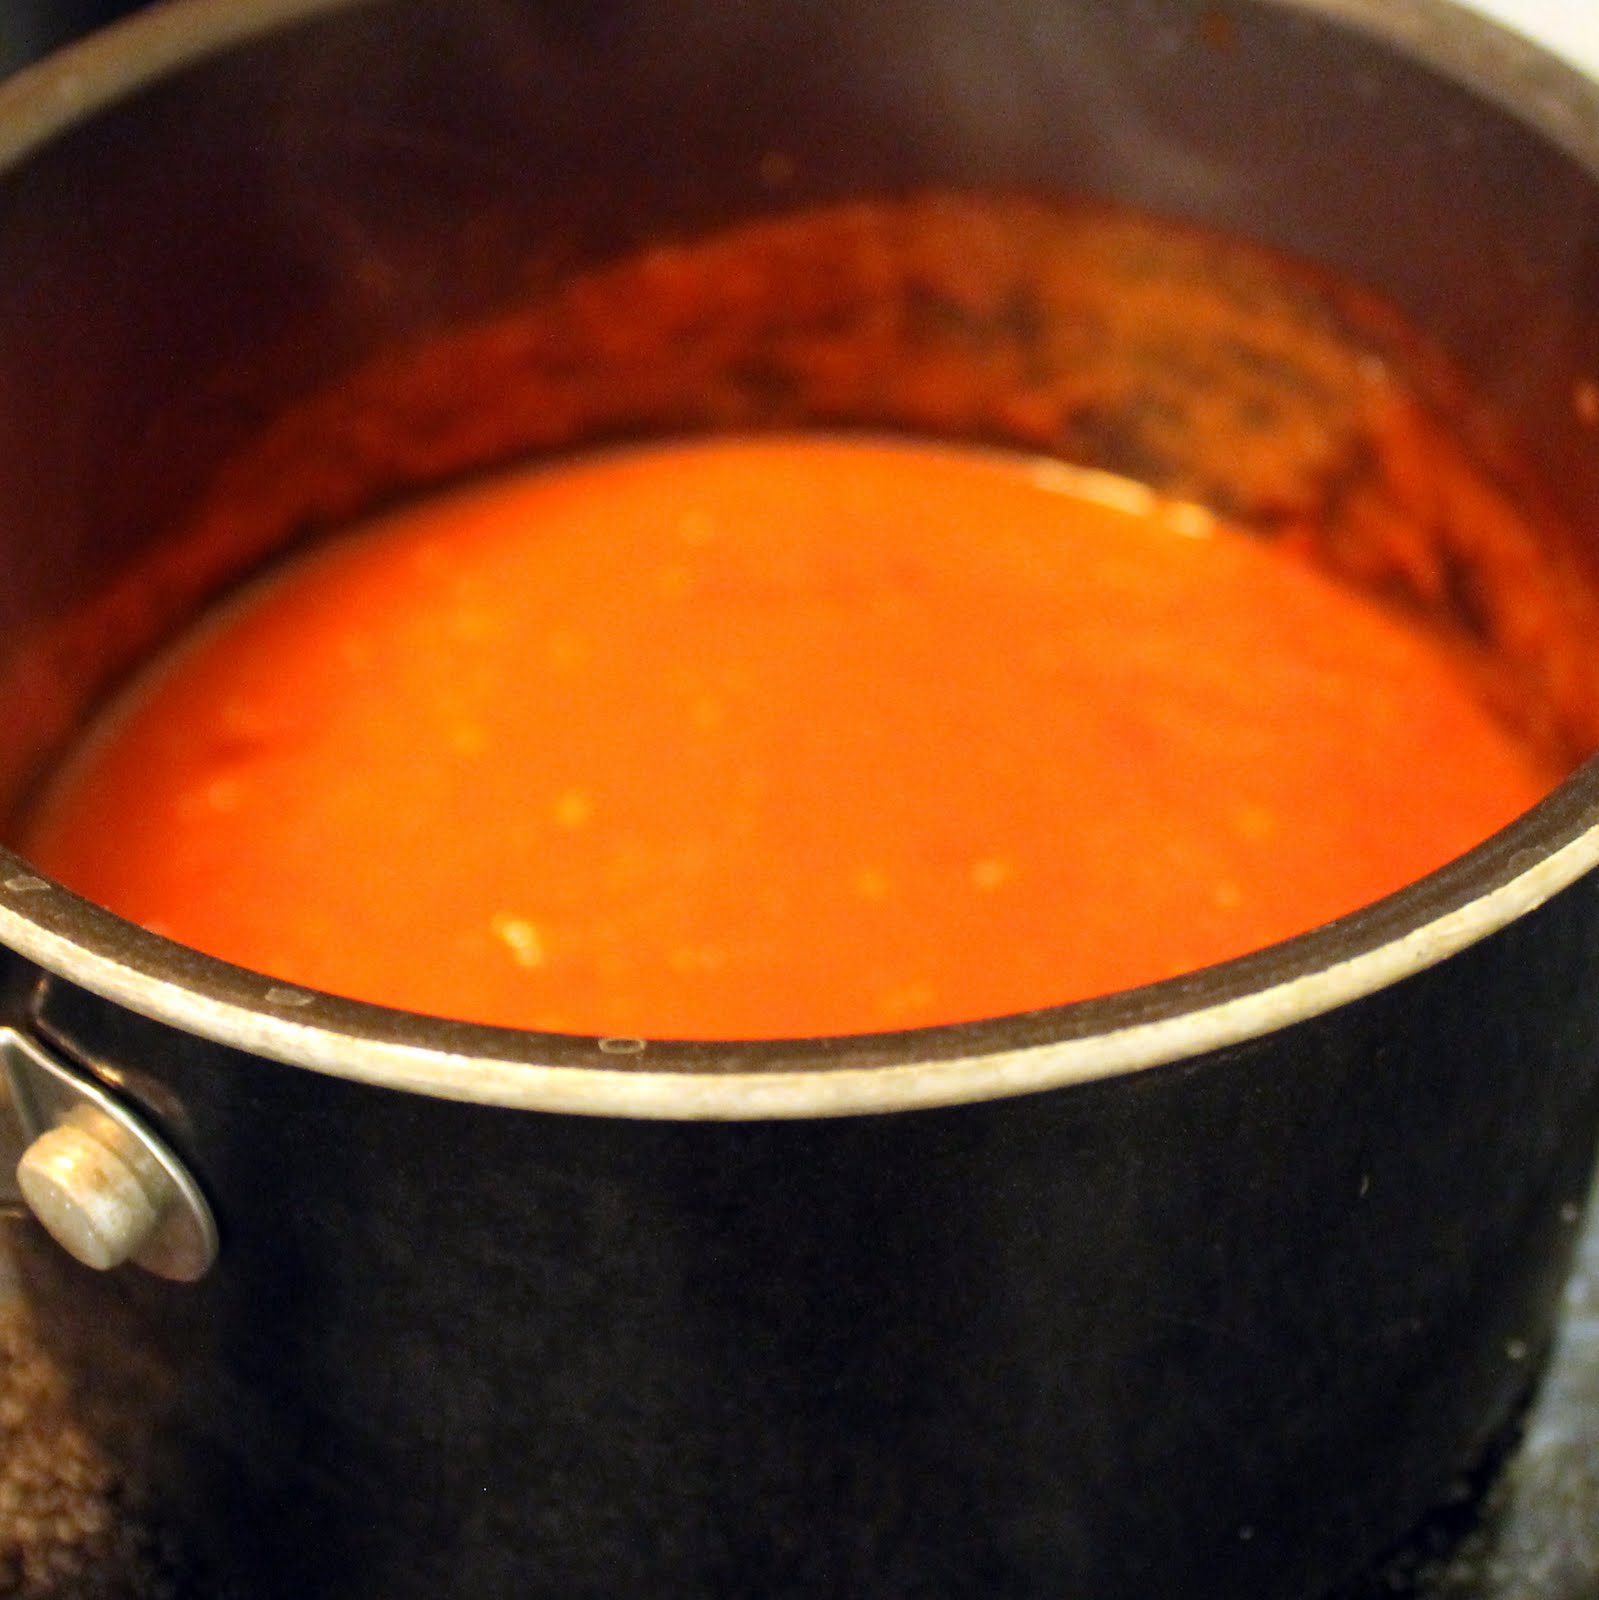
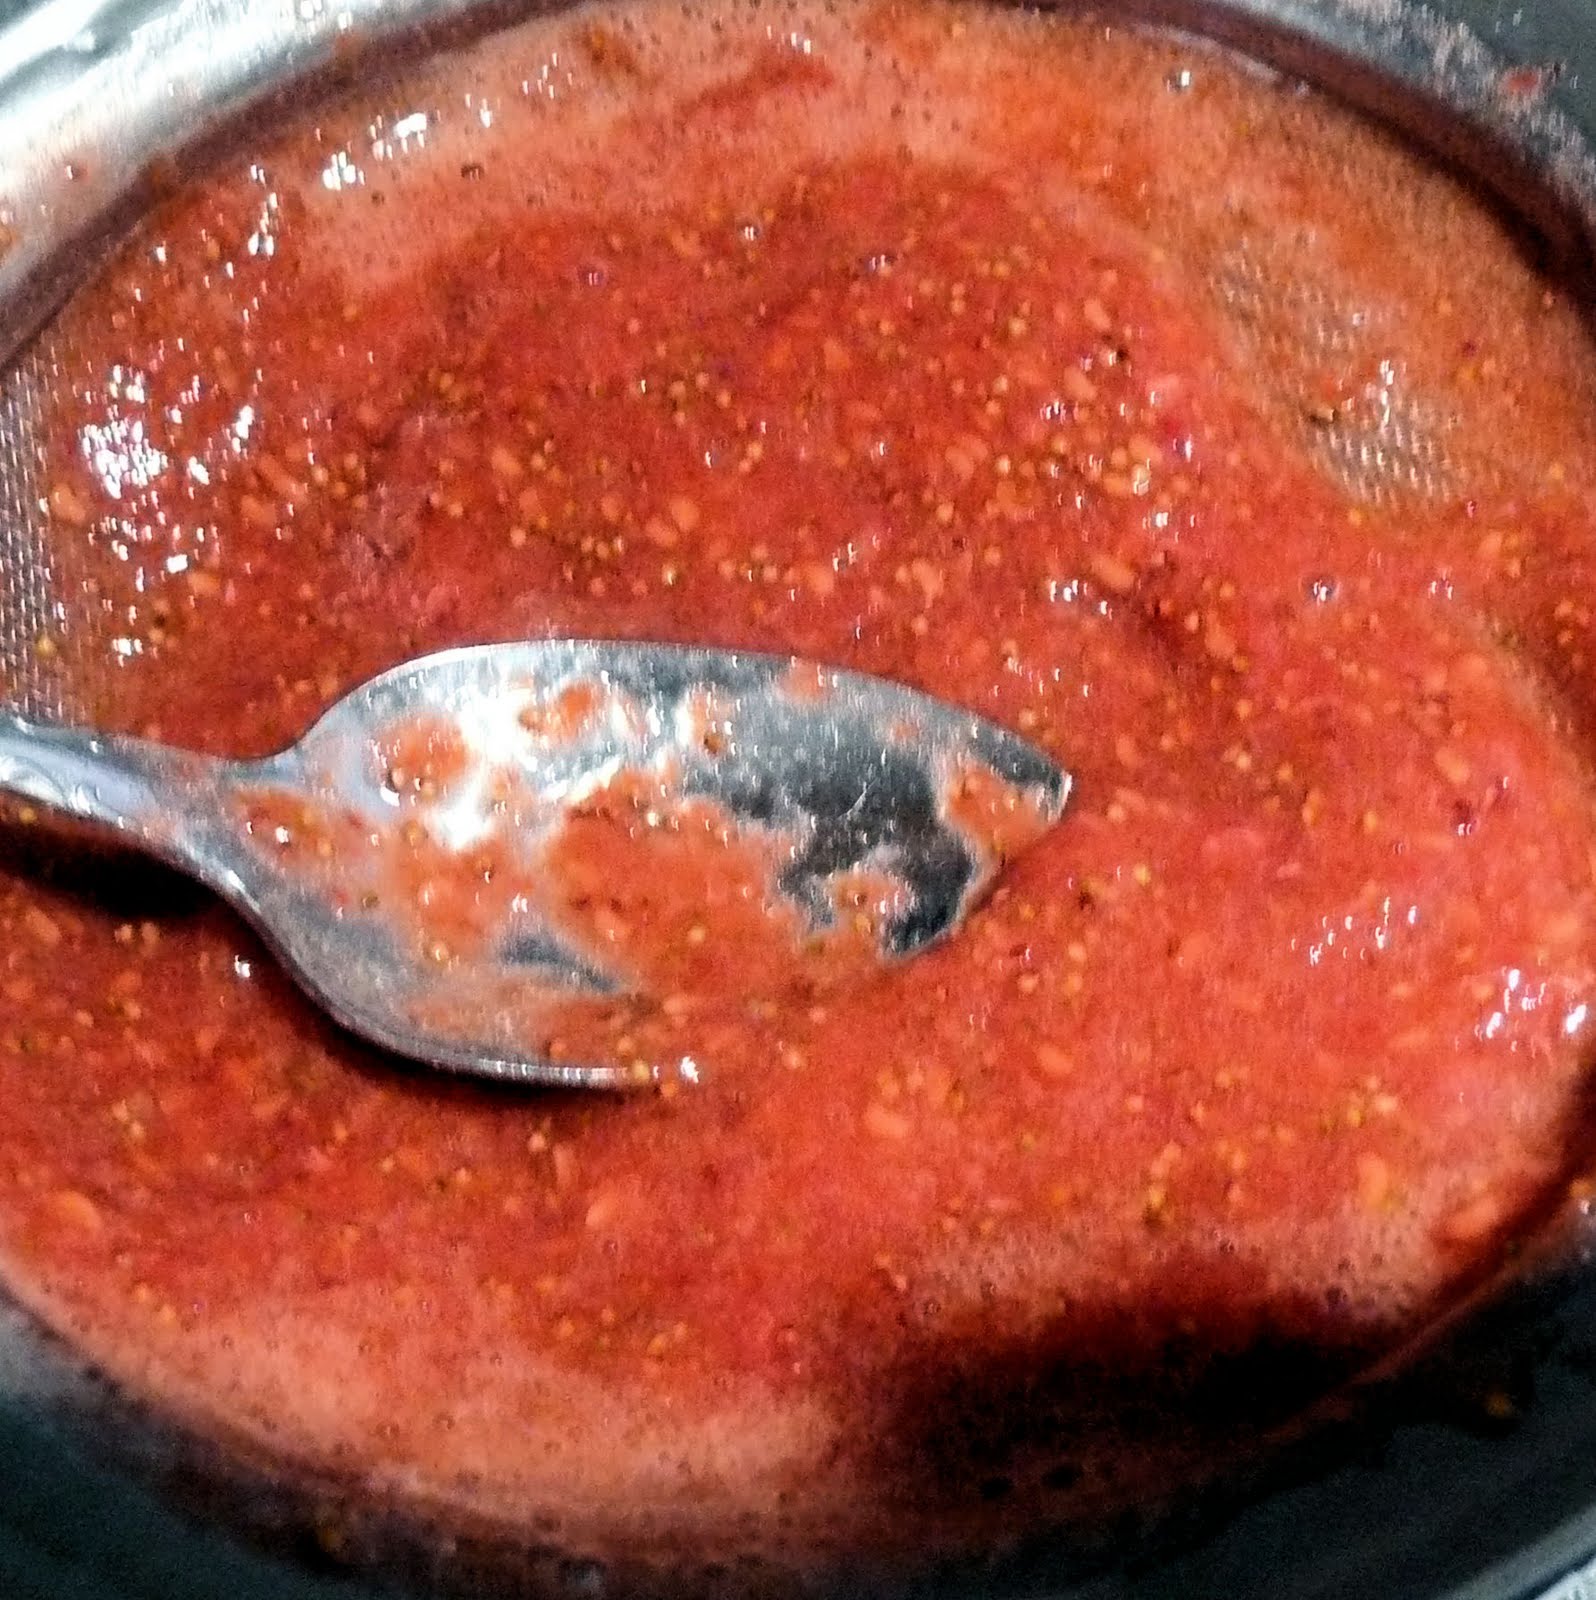
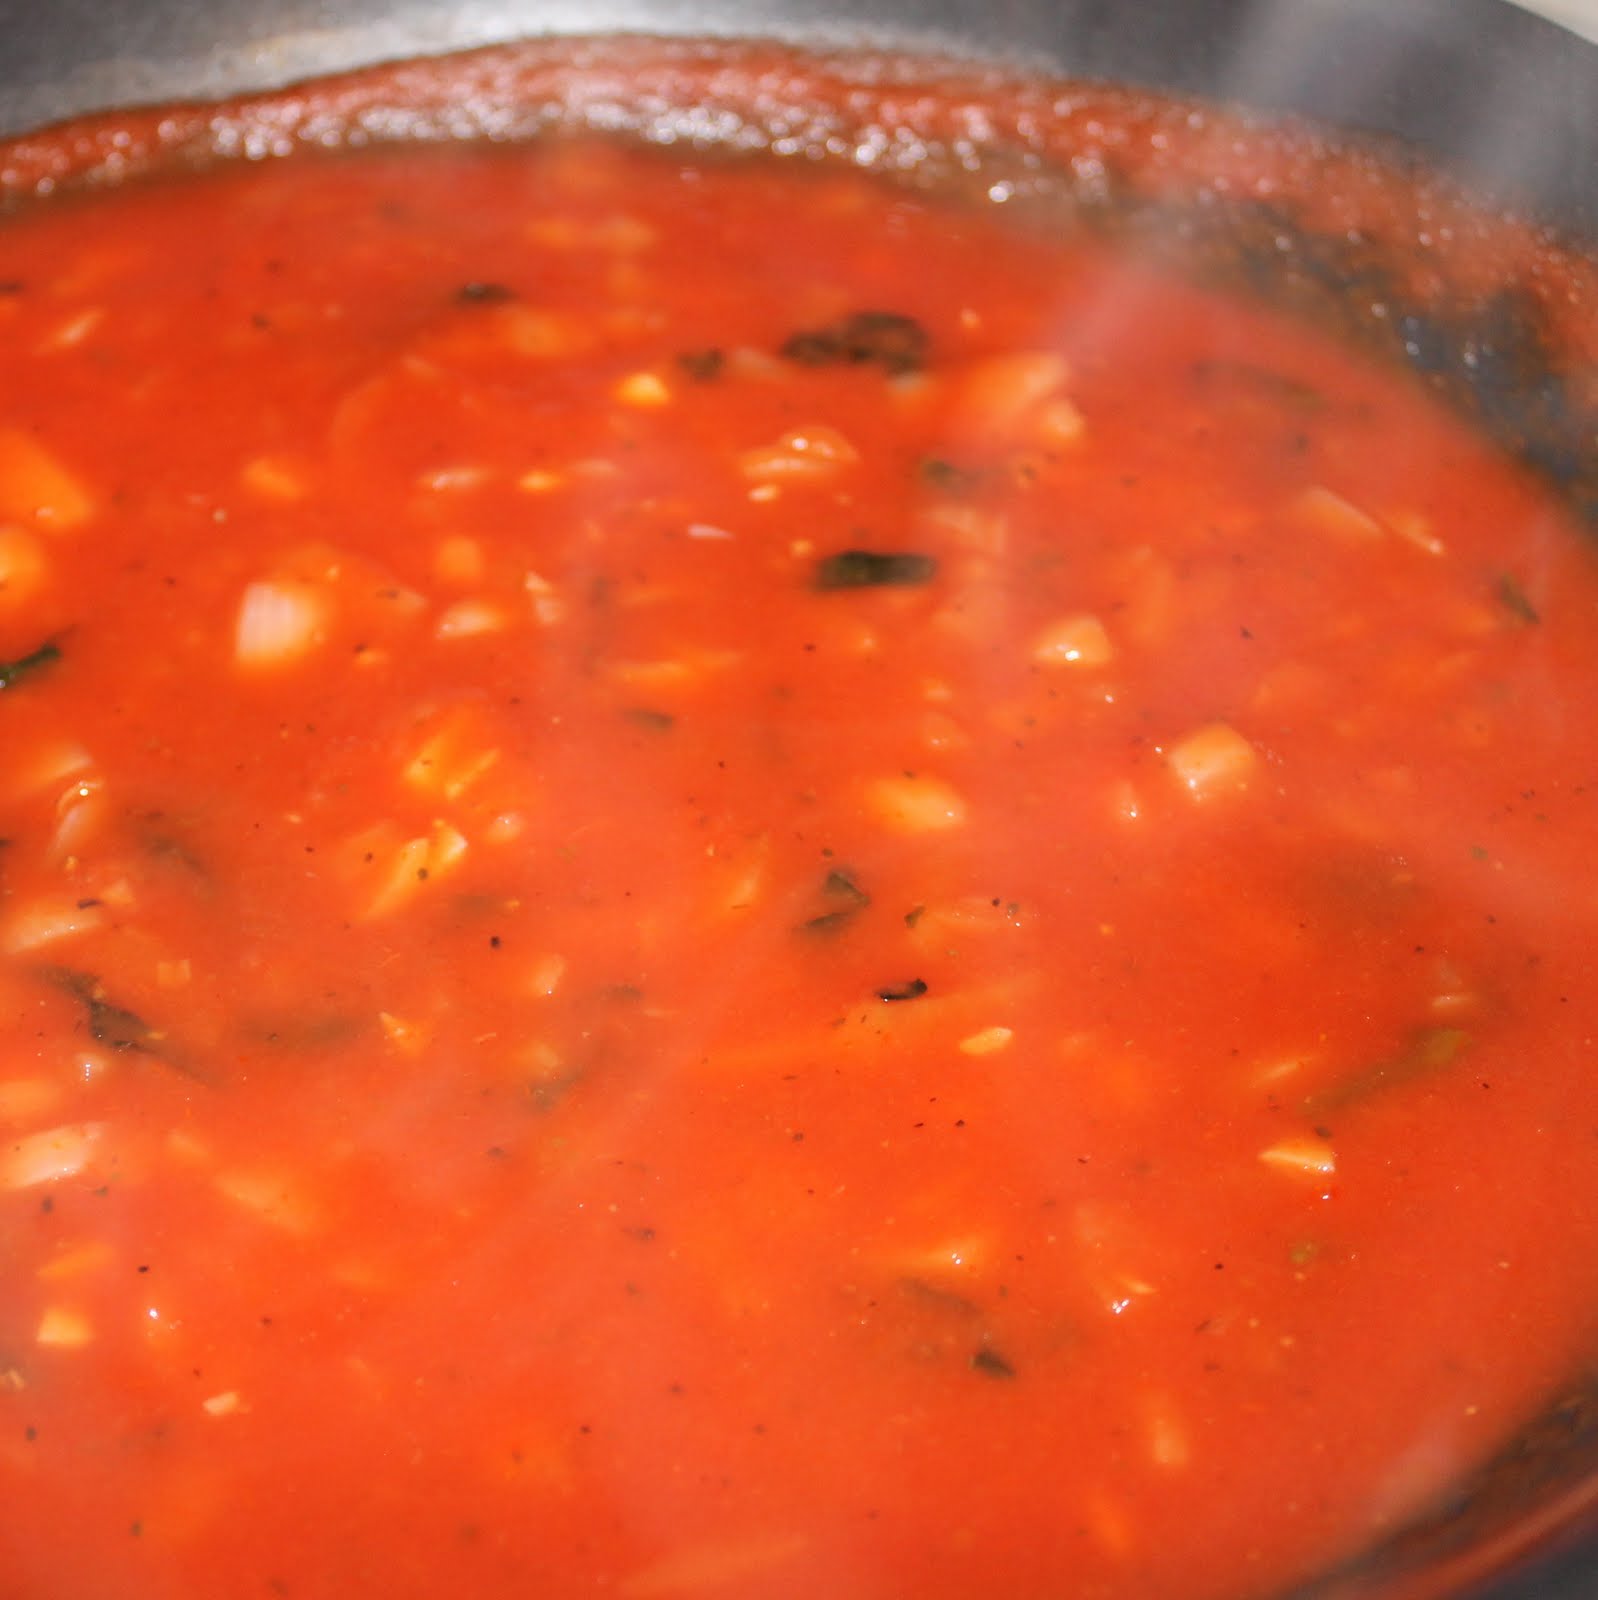
Add the tomato puree and 1/4 cup water.
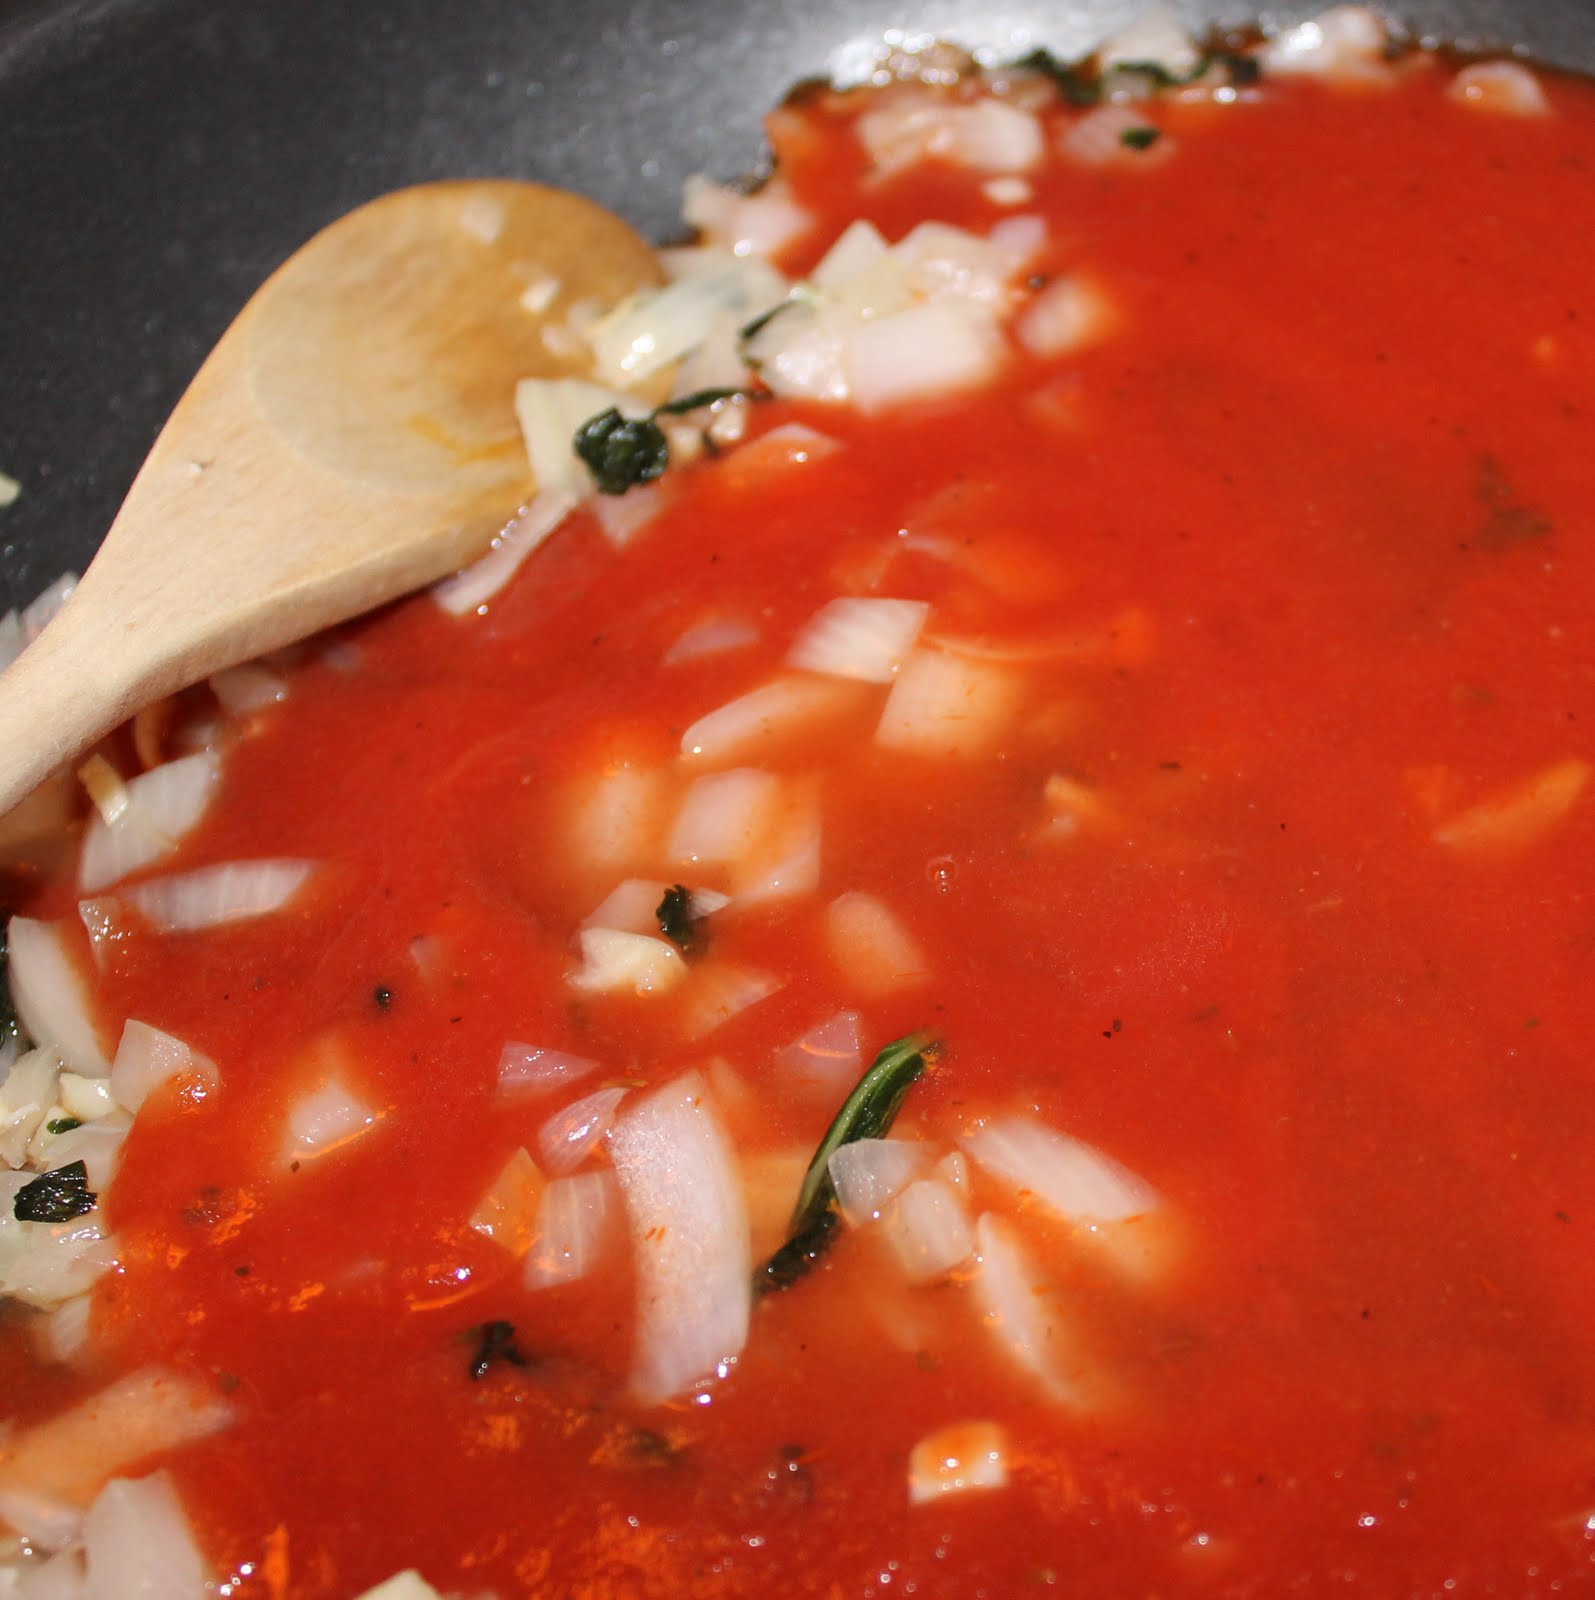
Stir to combine. Simmer uncovered for about 10 minutes, stirring occasionally. Add salt and pepper to taste. Reduce heat and cover to keep warm until the eggplant and polenta are finished cooking.
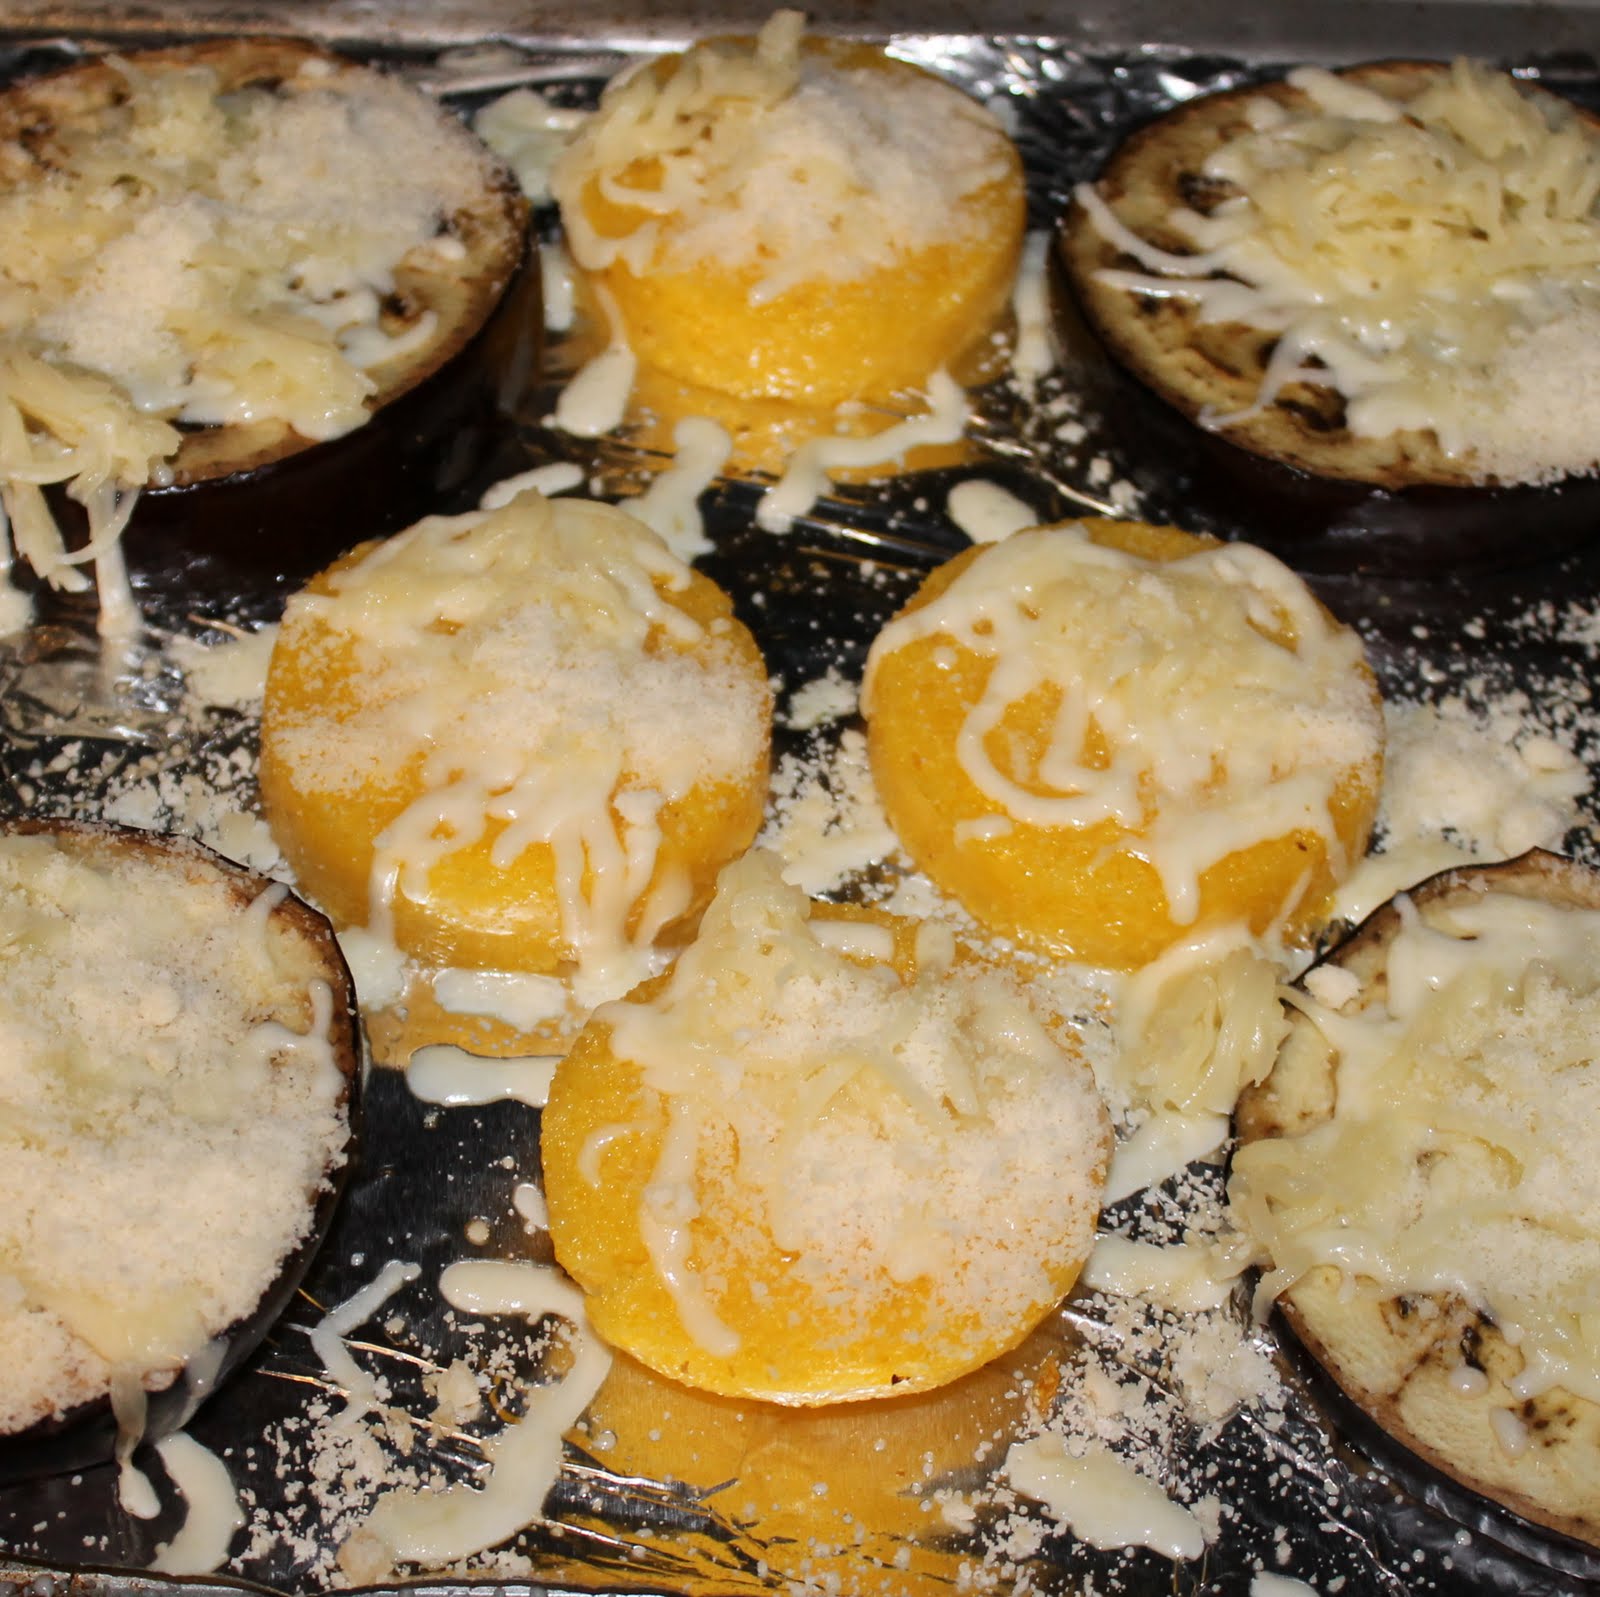
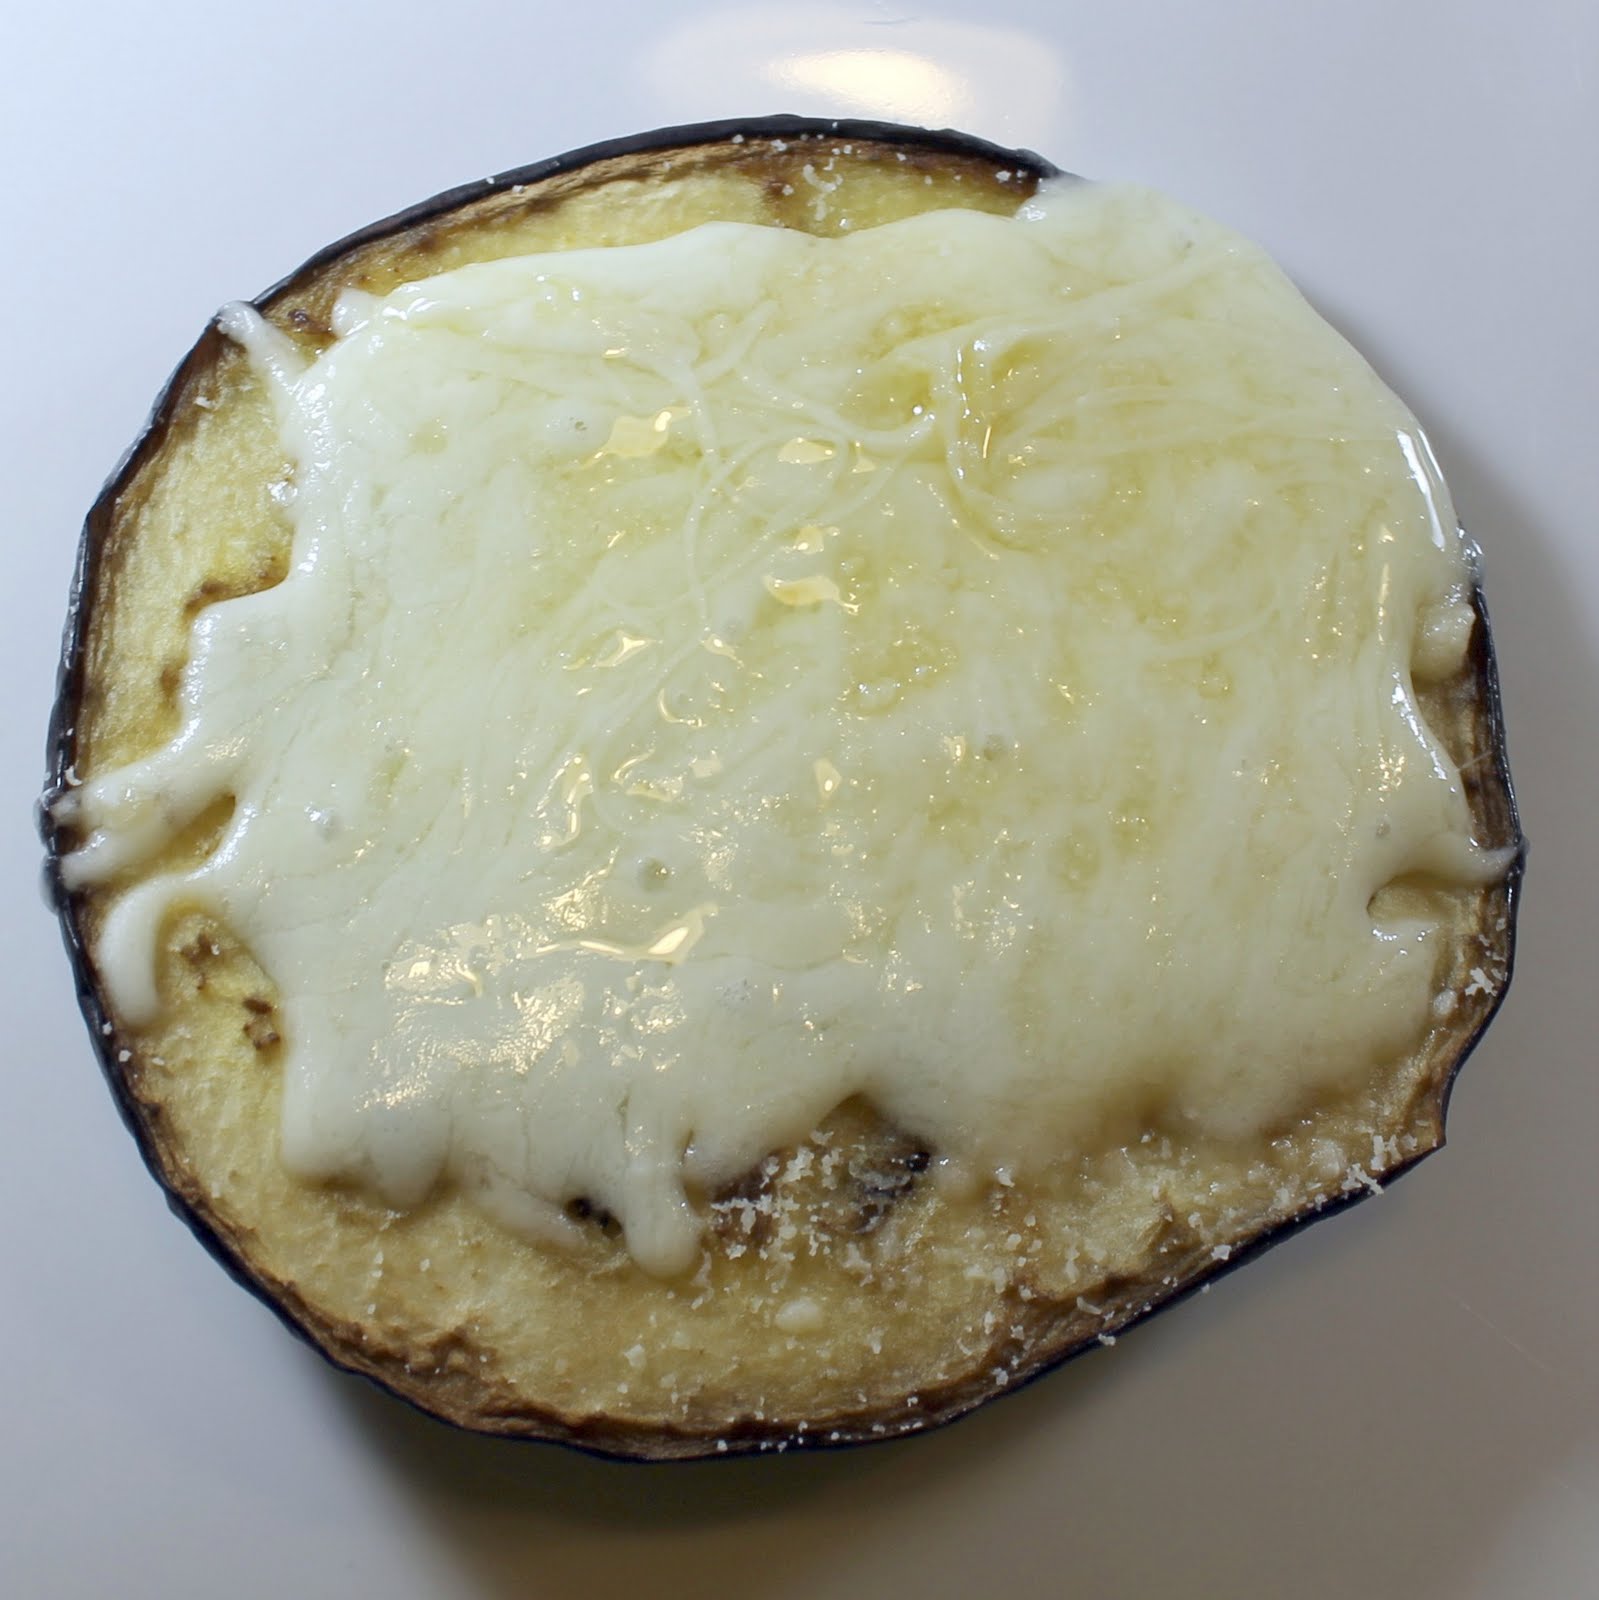
When the rounds are heated, sprinkle mozzarella and Parmesan cheeses over the slices. Return to the oven and bake until the cheese is melted, about 2 minutes.
To assemble, add one of the larger slices of eggplant to a plate.
Top with 1 tablespoon tomato sauce.

Add one polenta slice.
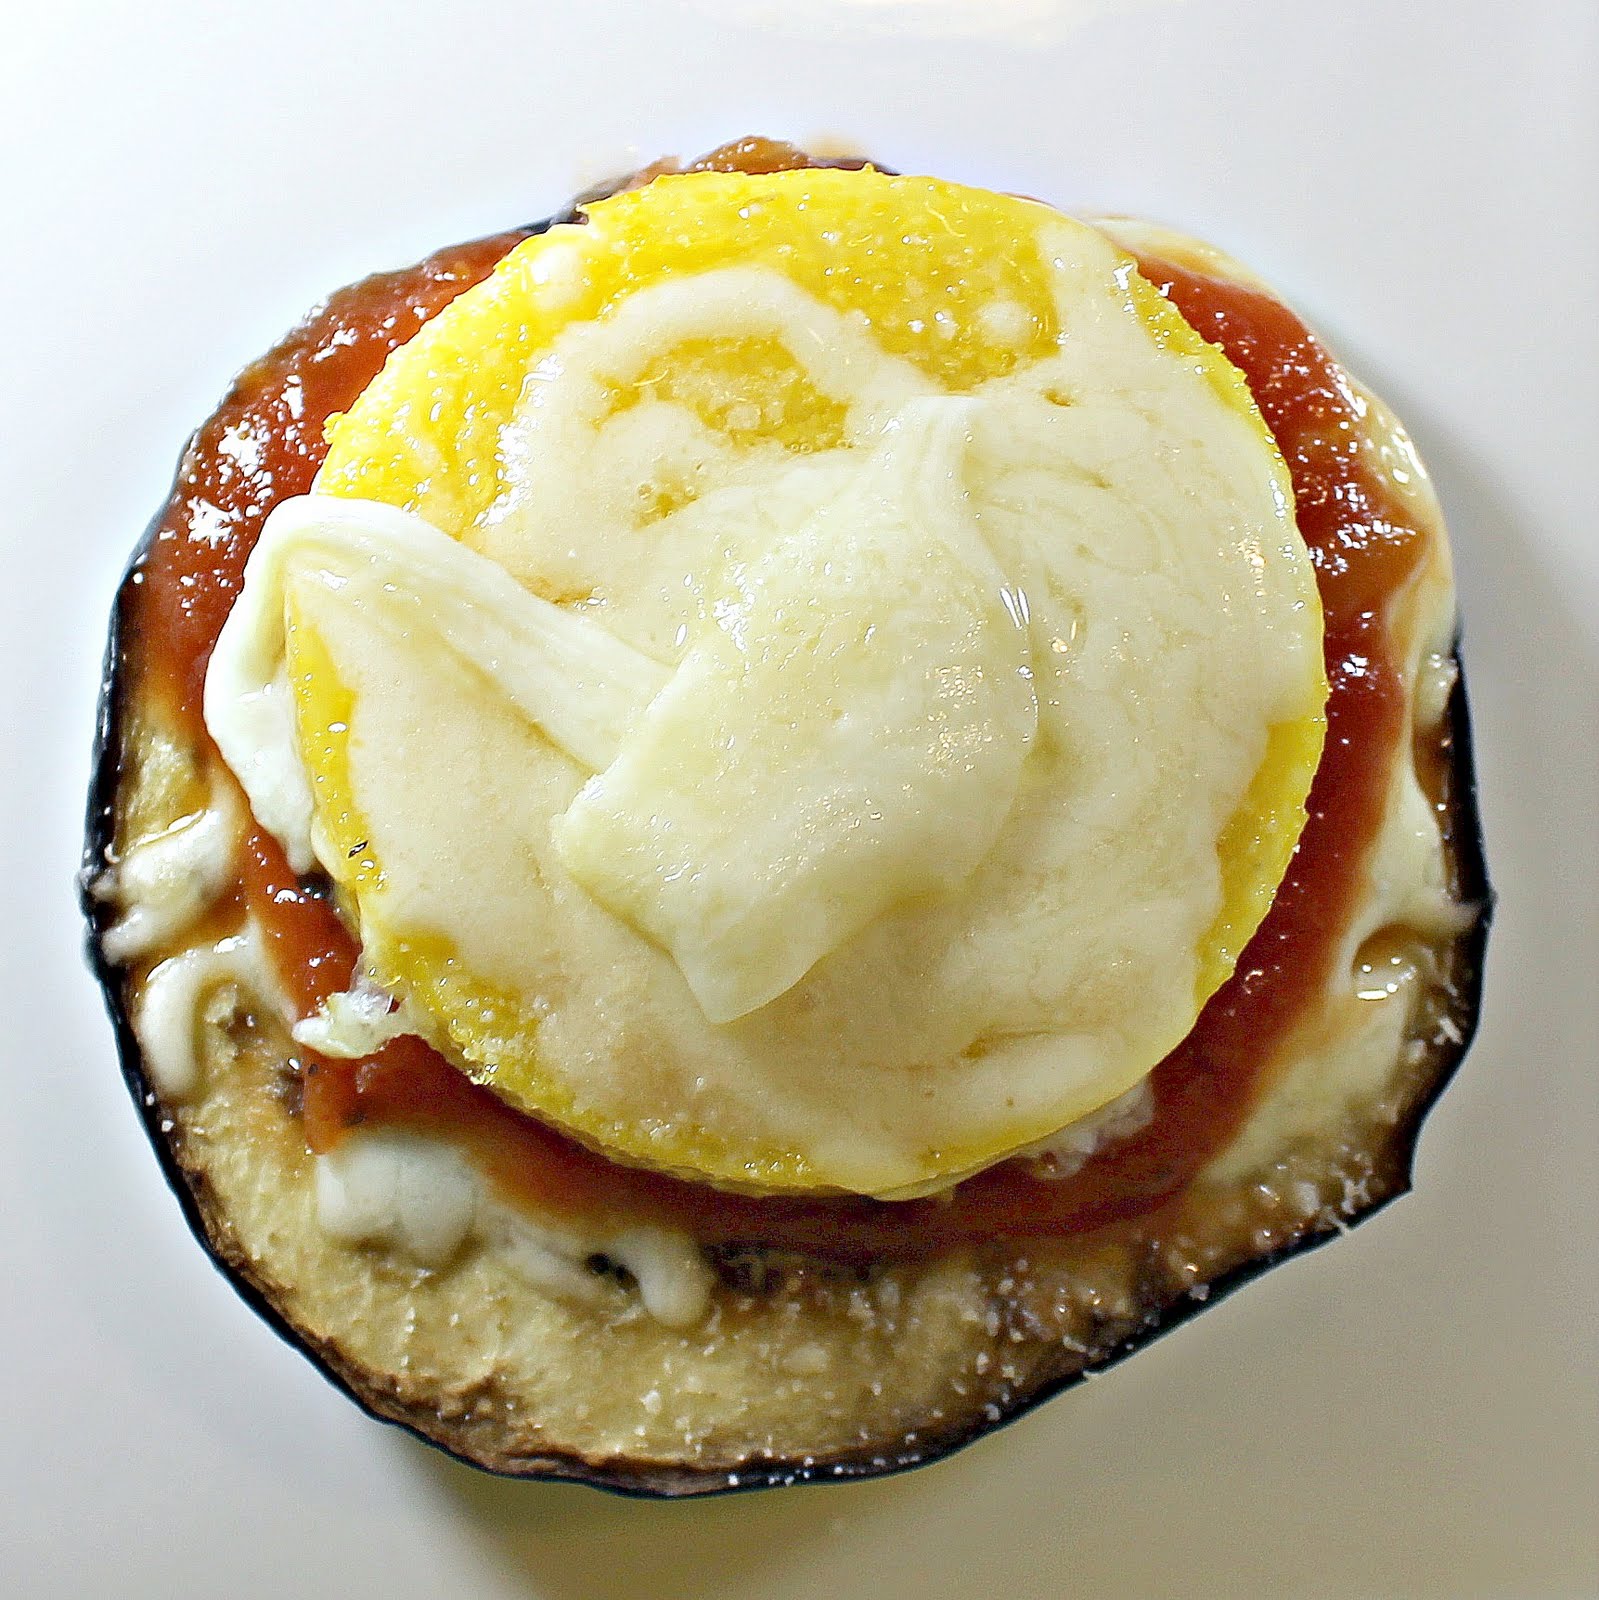
Top with another tablespoon of sauce.

Repeat with another eggplant slice, tomato sauce, polenta slice & more tomato sauce. Top with 1 tablespoon panko. Repeat this process to plate the other eggplant Parmesan stack.

If desired, spoon the remaining tomato sauce around the stacks.

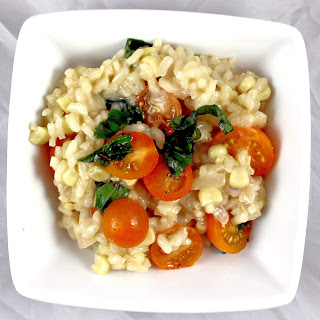
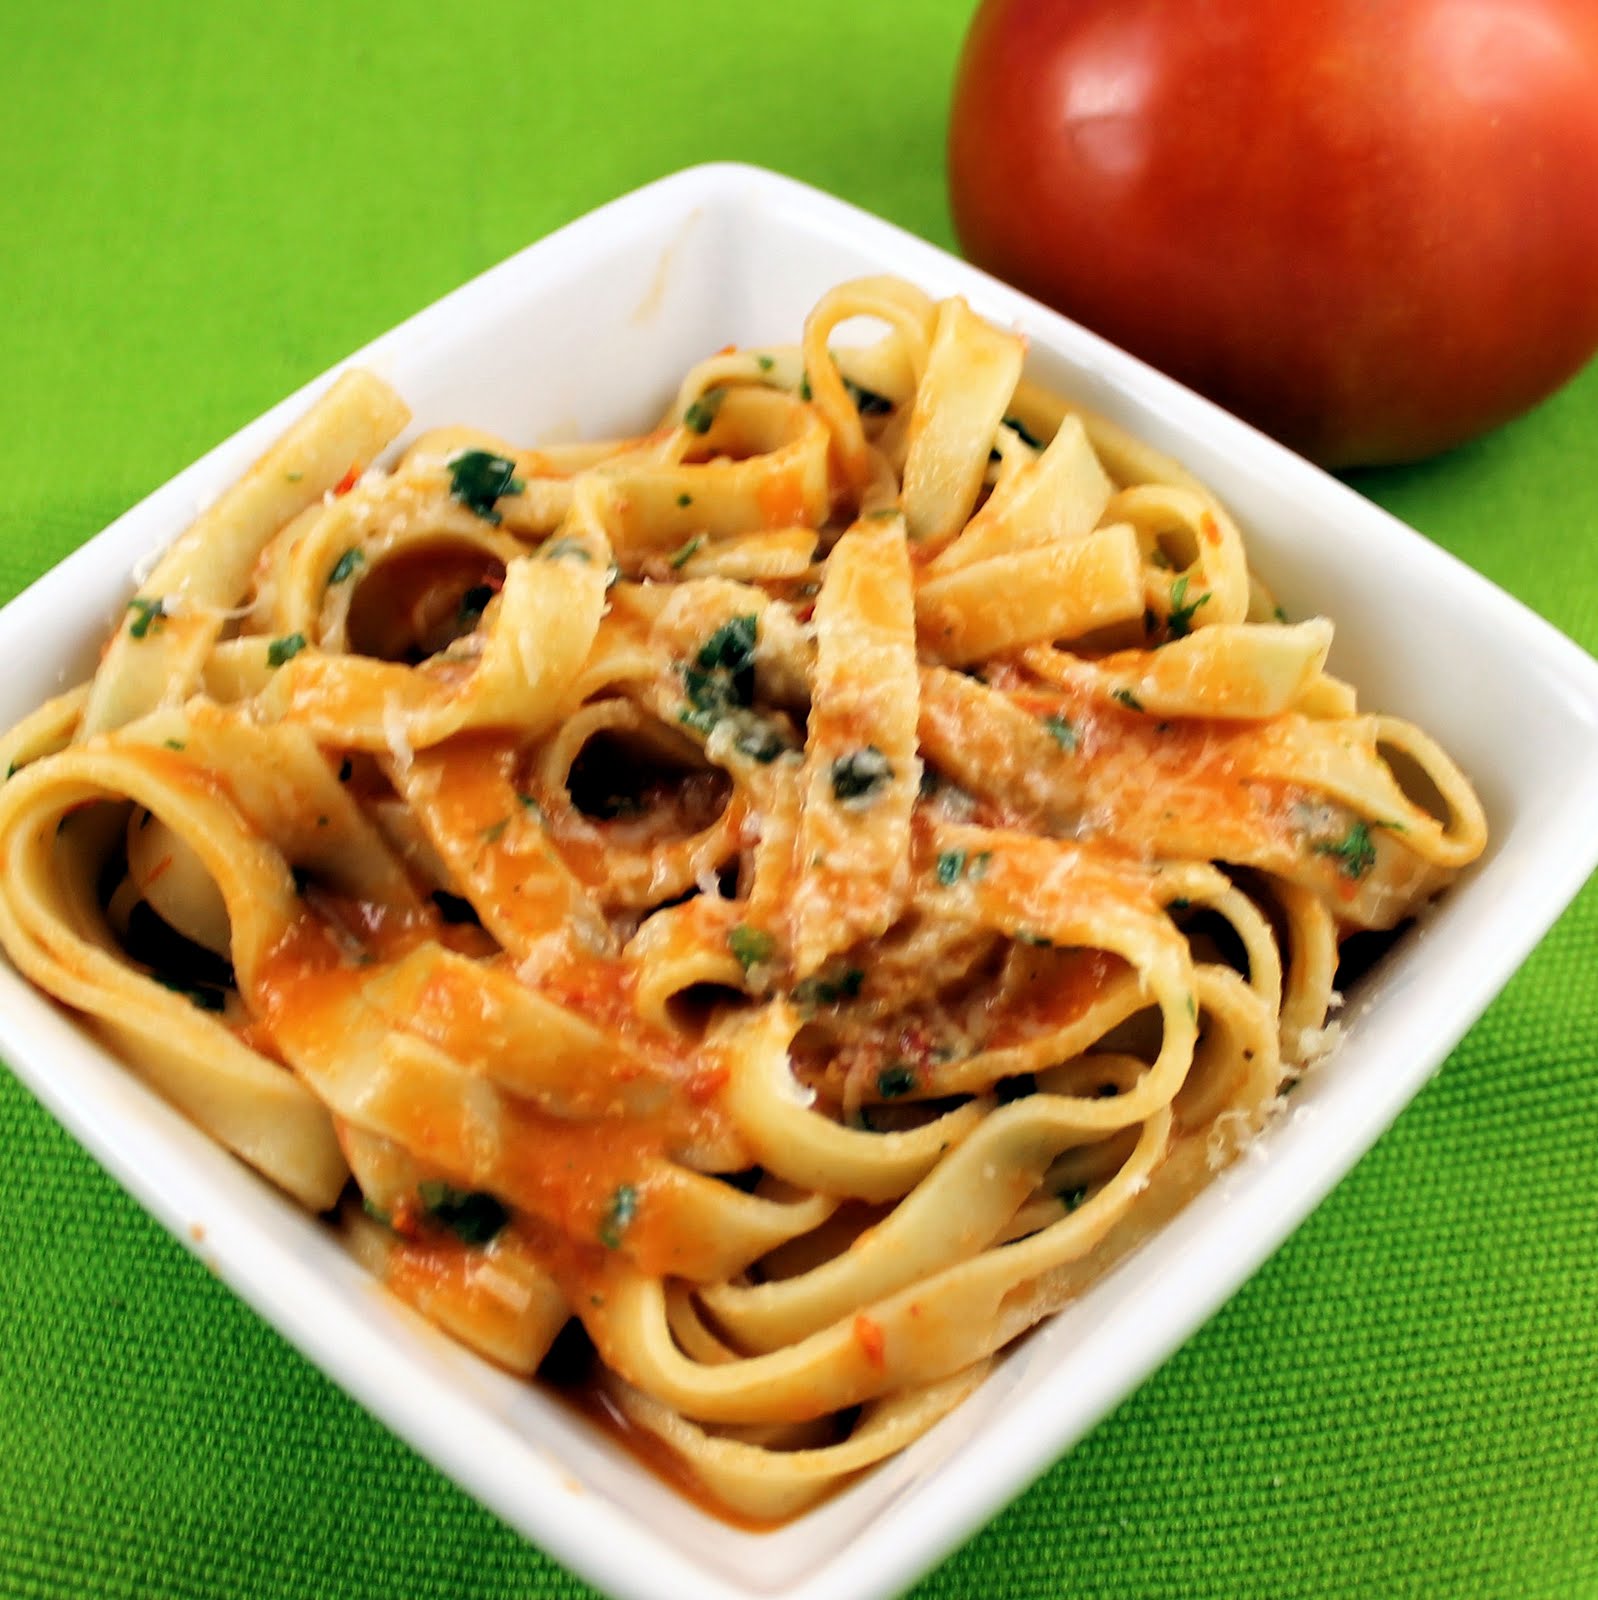
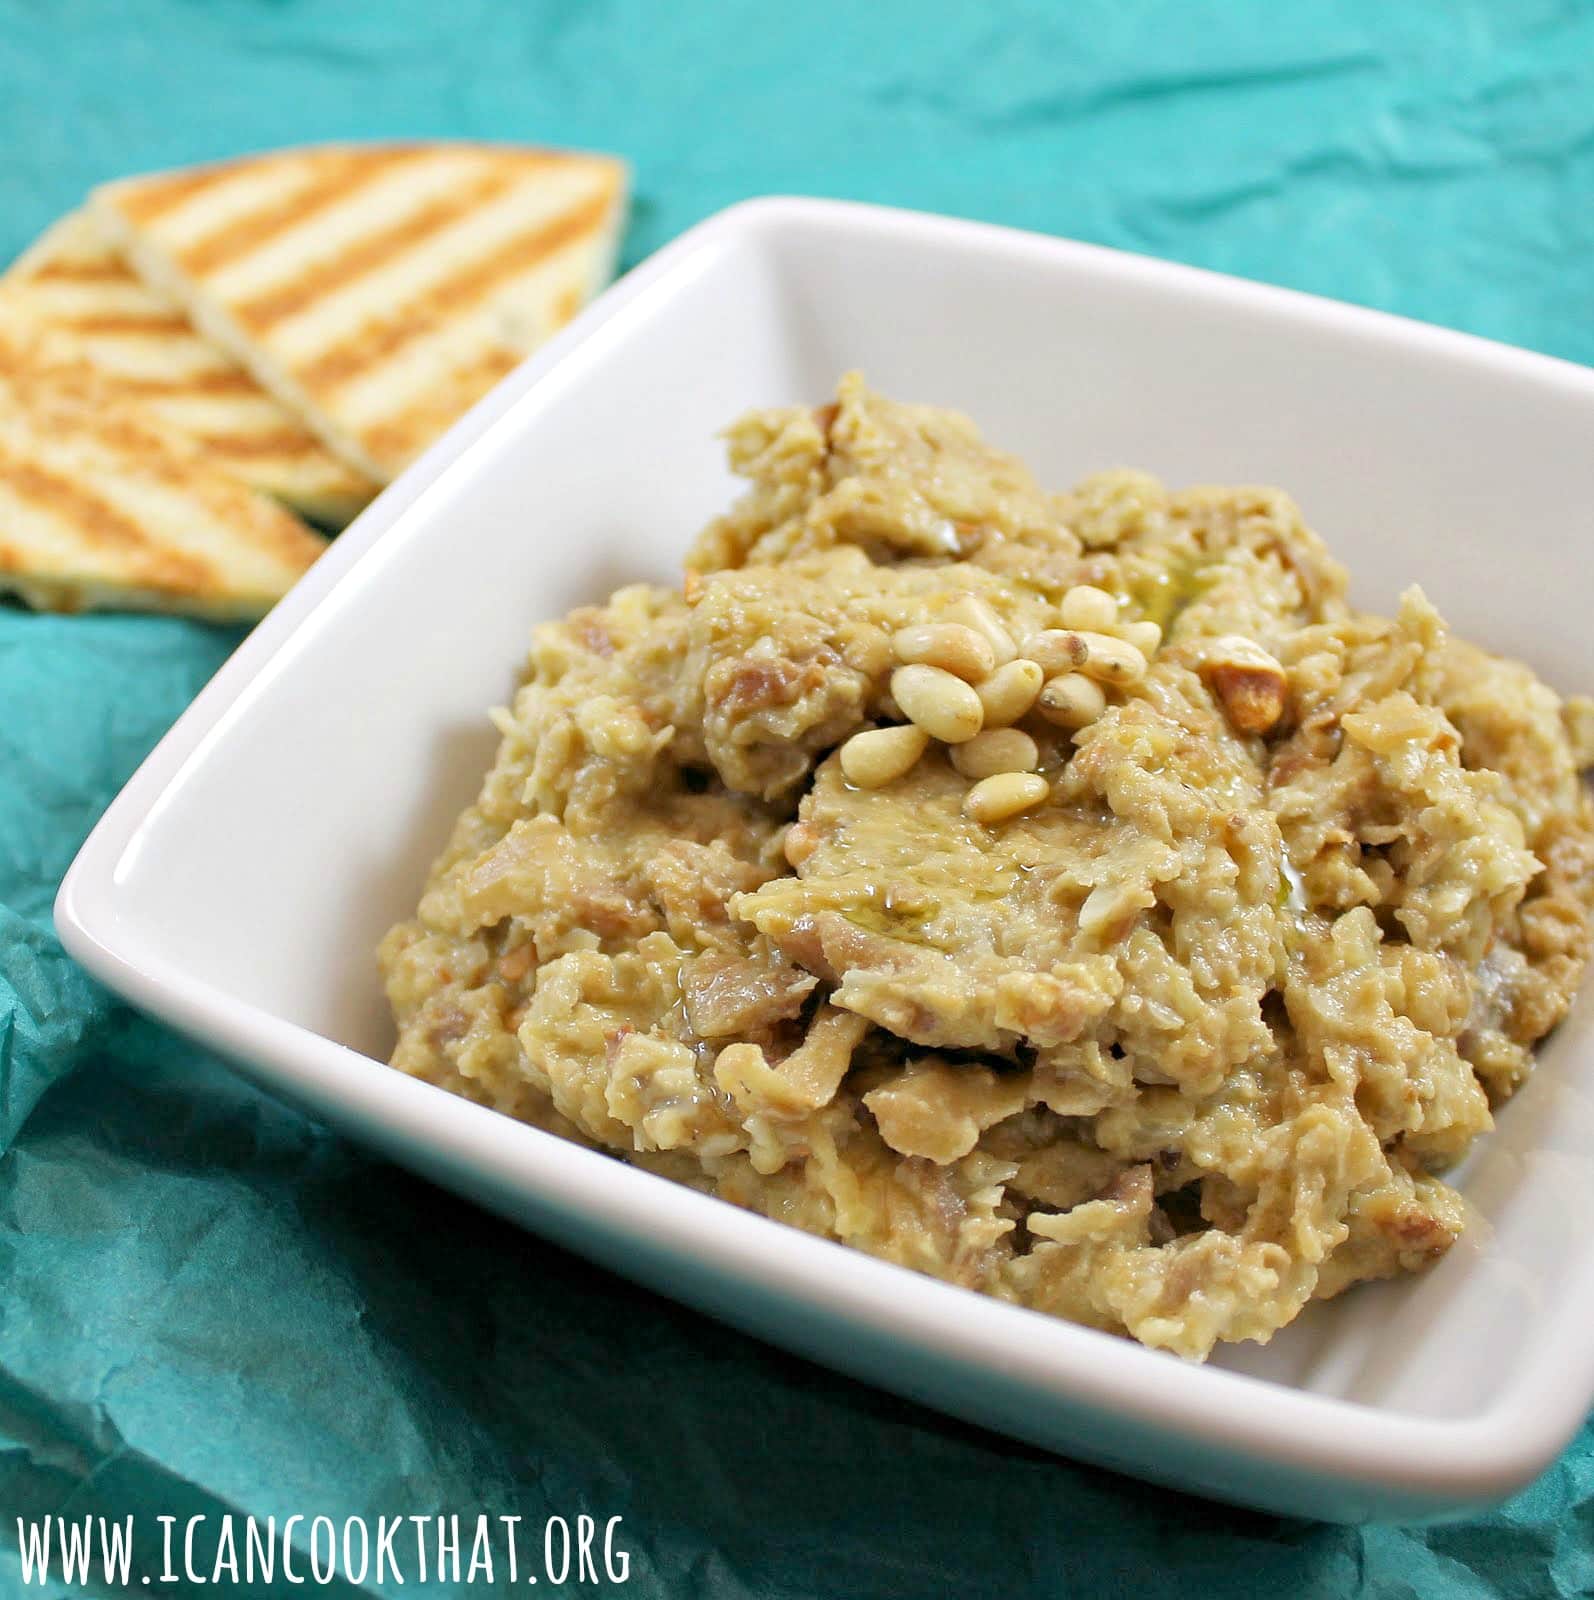
What an inventive “eggplant Parmesan” dish! It was really simple too, the whole meal was ready in just over 30 minutes.

I think I honestly prefer this version to the traditional eggplant Parmesan. I always find the breading to be a bit too heavy for the eggplant so the polenta was a happy alternative. Not to mention, I was able to make only two servings so nothing went to waste! Now to find a recipe to use the rest of my polenta…