Salsa Recipe & Beginners Guide to Canning #CanItForward

This Saturday marks Jarden Home Brands fifth annual Can-It-Forward Day, which will be broadcast live online at FreshPreserving.com from 11AM – 4PM EST from the new state-of-the-art Jarden Home Brands headquarters in Fishers, Indiana.


An event celebrating the joys of fresh preserving, the -It-Forward Day webcast will have an integrated chat function where viewers can submit their home canning questions to be answered in real time. New this year, there will also be an exciting celebrity mason jar auction unveiled during the webcast!


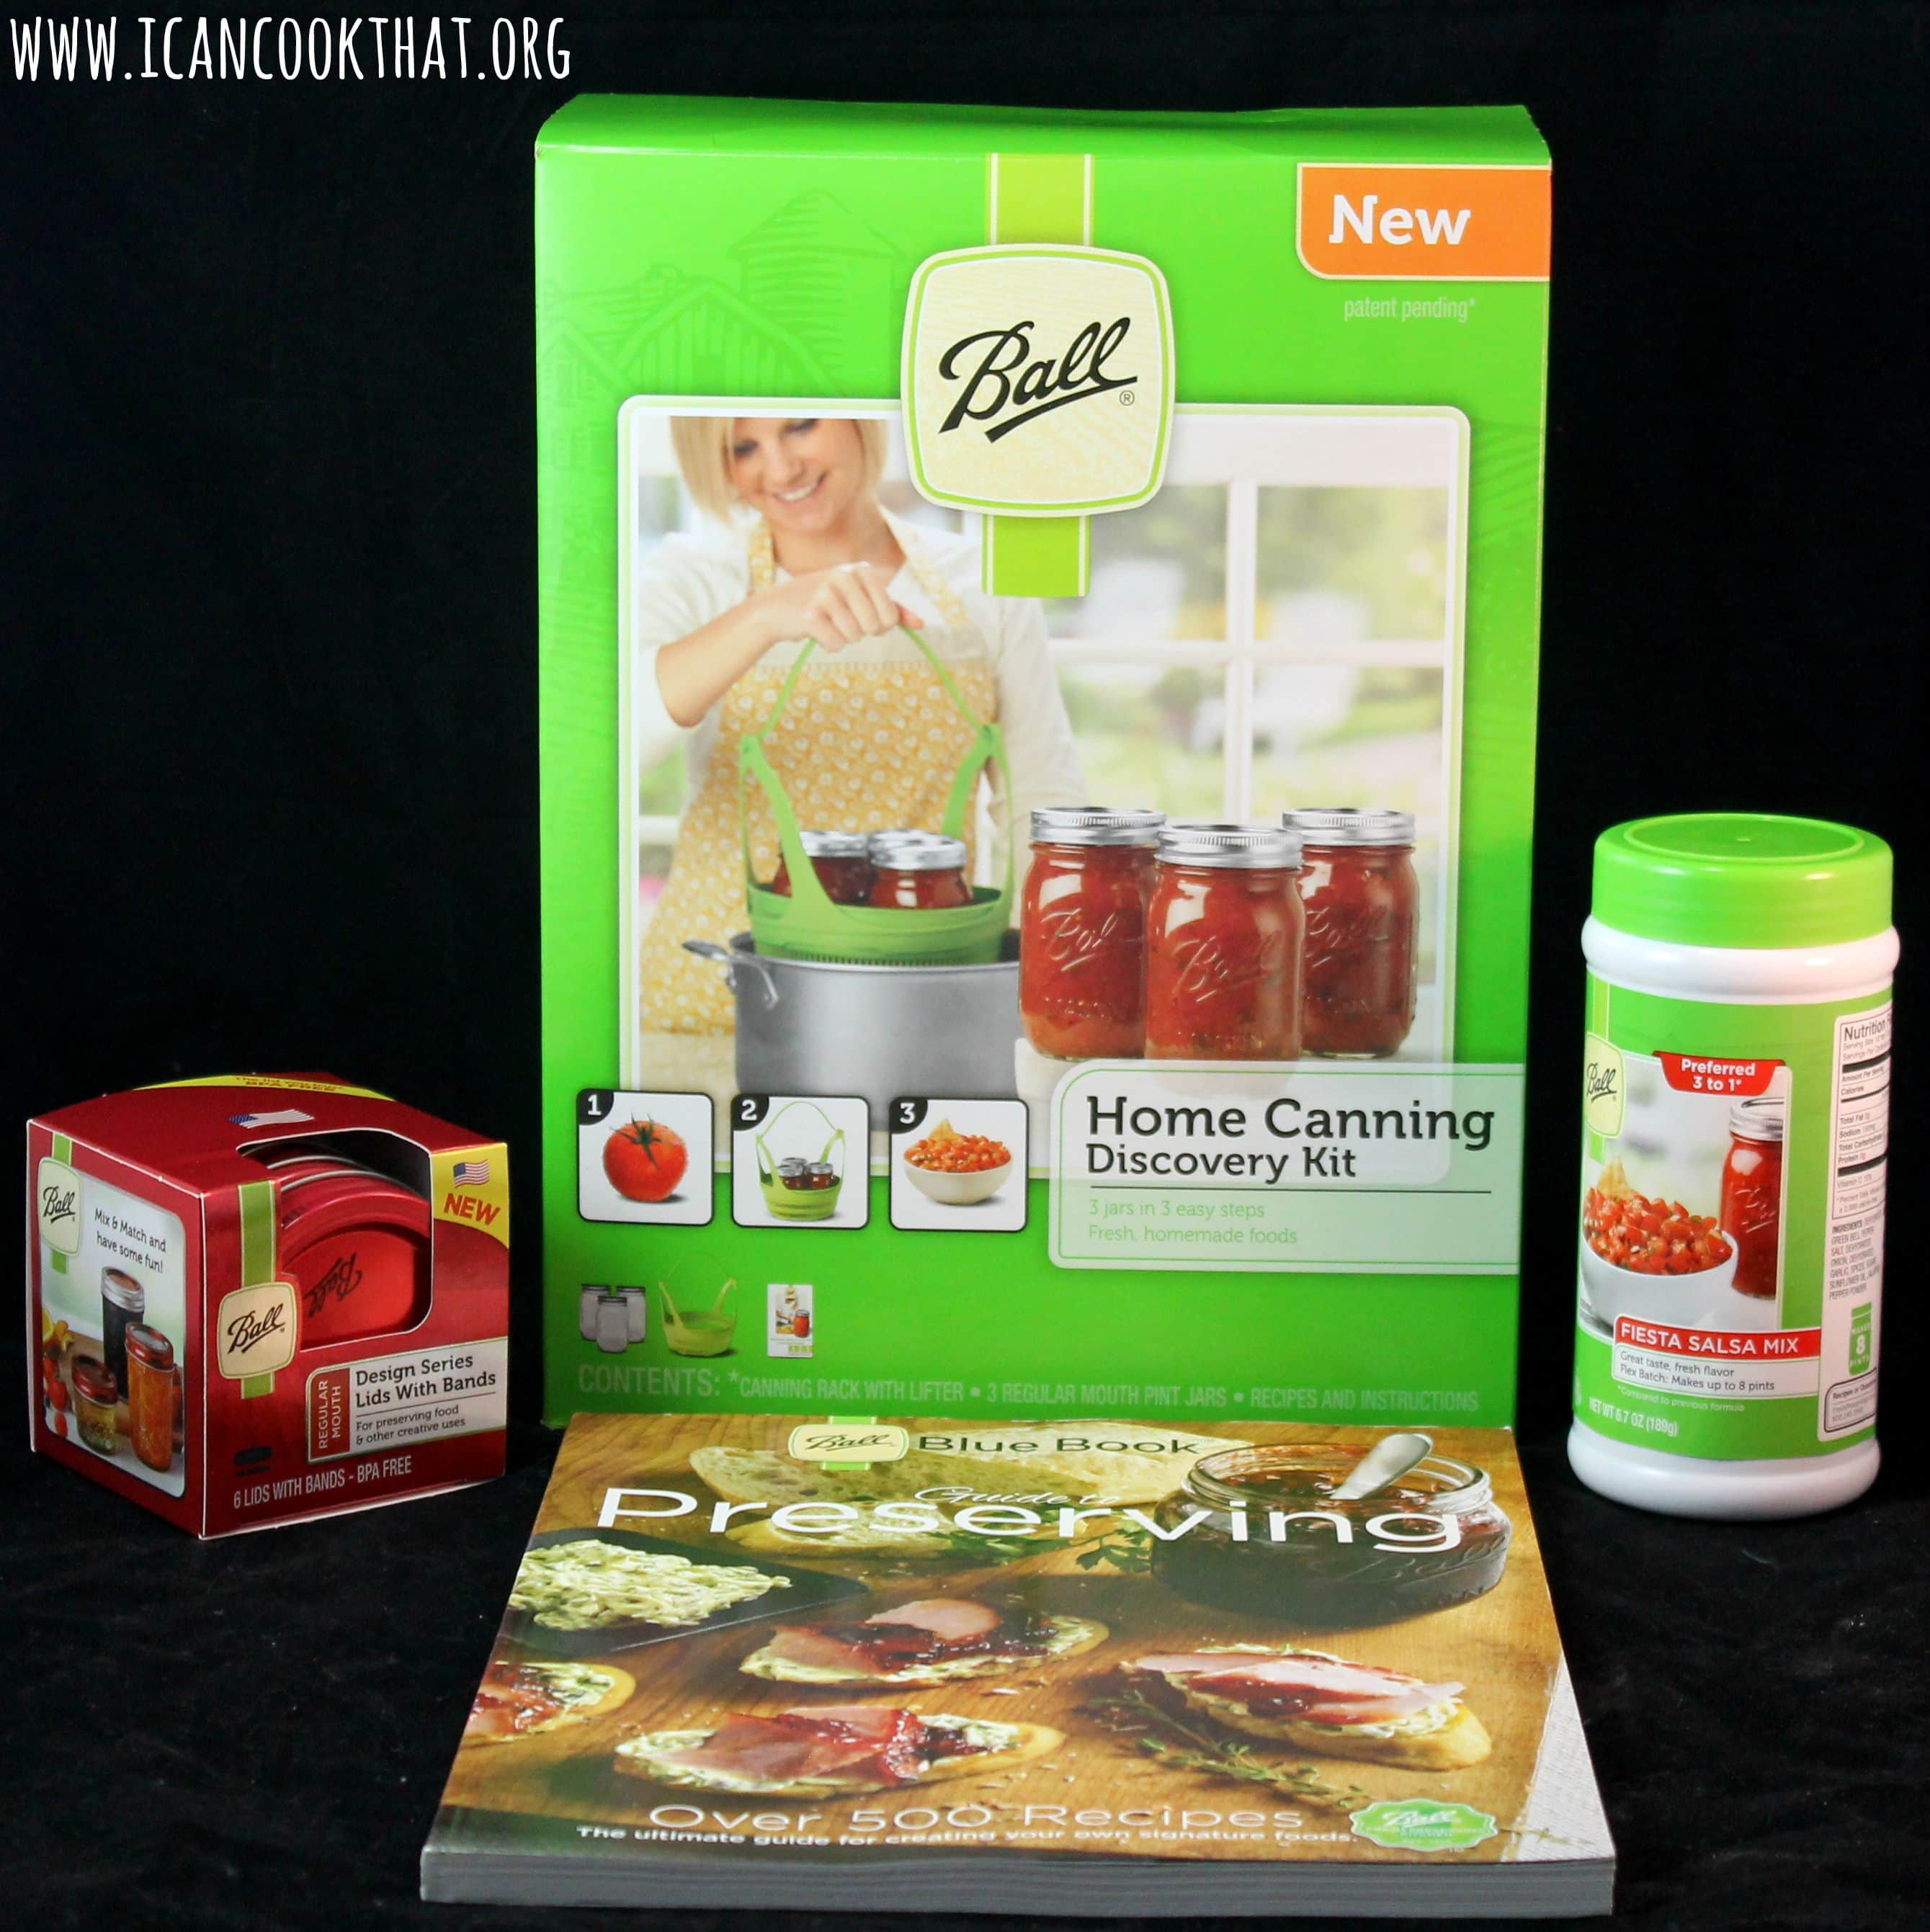
To celebrate, I was sent a Ball Canning Discovery Kit (paid link), Ball Blue Book Guide to Preserving (paid link), Red Design Series Lids, and Ball Fiesta Salsa Mix (paid link).


My future sister-in-law is big into canning, and I’ve “helped” (a.k.a kept her company in the kitchen) once before, but the process of canning is really intimidating to me. I was told that if I can boil water, I can can, so I was both wary and excited to try this out!

I need to give a little shout out to my city, because the Mason jar was, in fact, invented and patented in Philadelphia in 1858 by local tinsmith John Landis Mason. So, this should be in my blood, right?


  • The Ball Canning Discovery Kit  is a great beginners kit; it comes with a canning rack that fits into most pasta pots, a recipe guide, and three jars. The kit is really affordable ($11.99) and allows you to assess if canning is for you before investing fully into the process.
  • My sister-in-law assured me that if I had a Ball Blue Book Guide to Preserving, I’d be just fine canning. So. WHEW. This book lays out each step of the process (and even tells you why you are doing it this way) to ensure a successful canning process. The step-by-step guides are particularly helpful as a beginner.
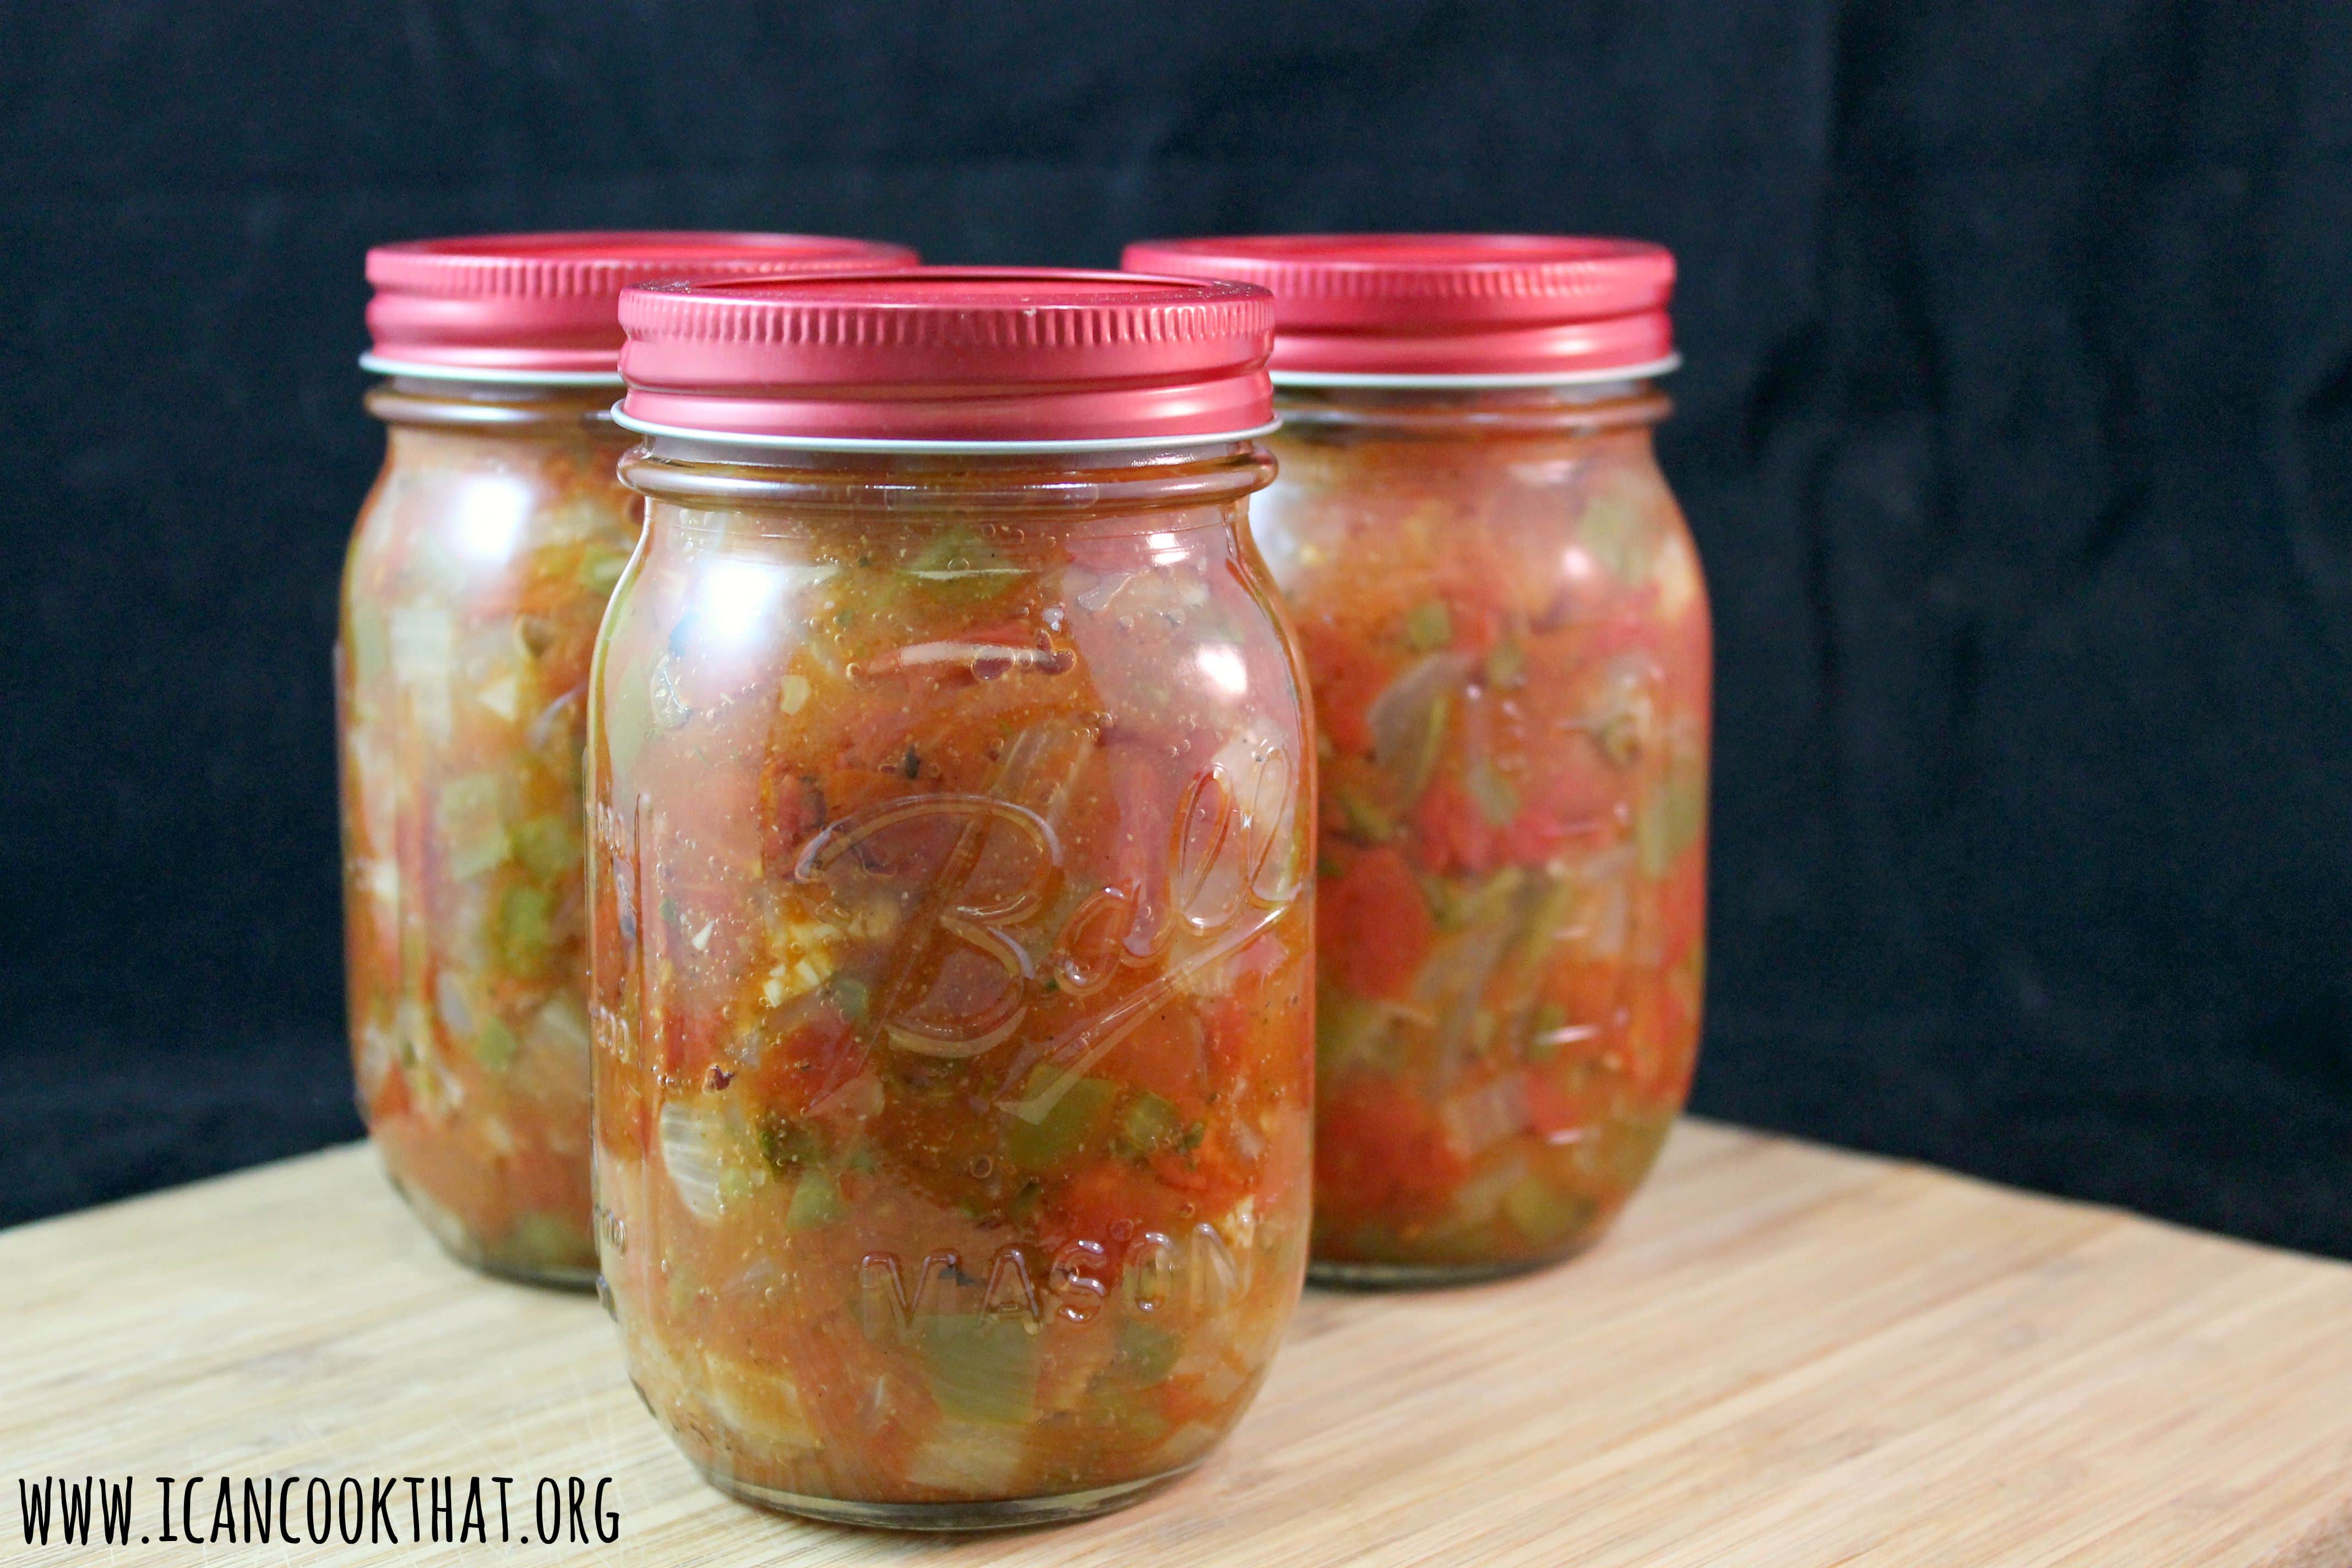
  • The Red Design Series Lids are normal lids and bands, just prettier.  🙂 The lids can only be used once during canning, so it’s helpful to have extras on hand. (You can reuse the jars and bands as many times as you want)
  • The Ball Fiesta Salsa Mix makes the process of seasoning salsa super easy. You just need fresh or canned tomatoes, a splash of vinegar, and the mix to make a yummy salsa!


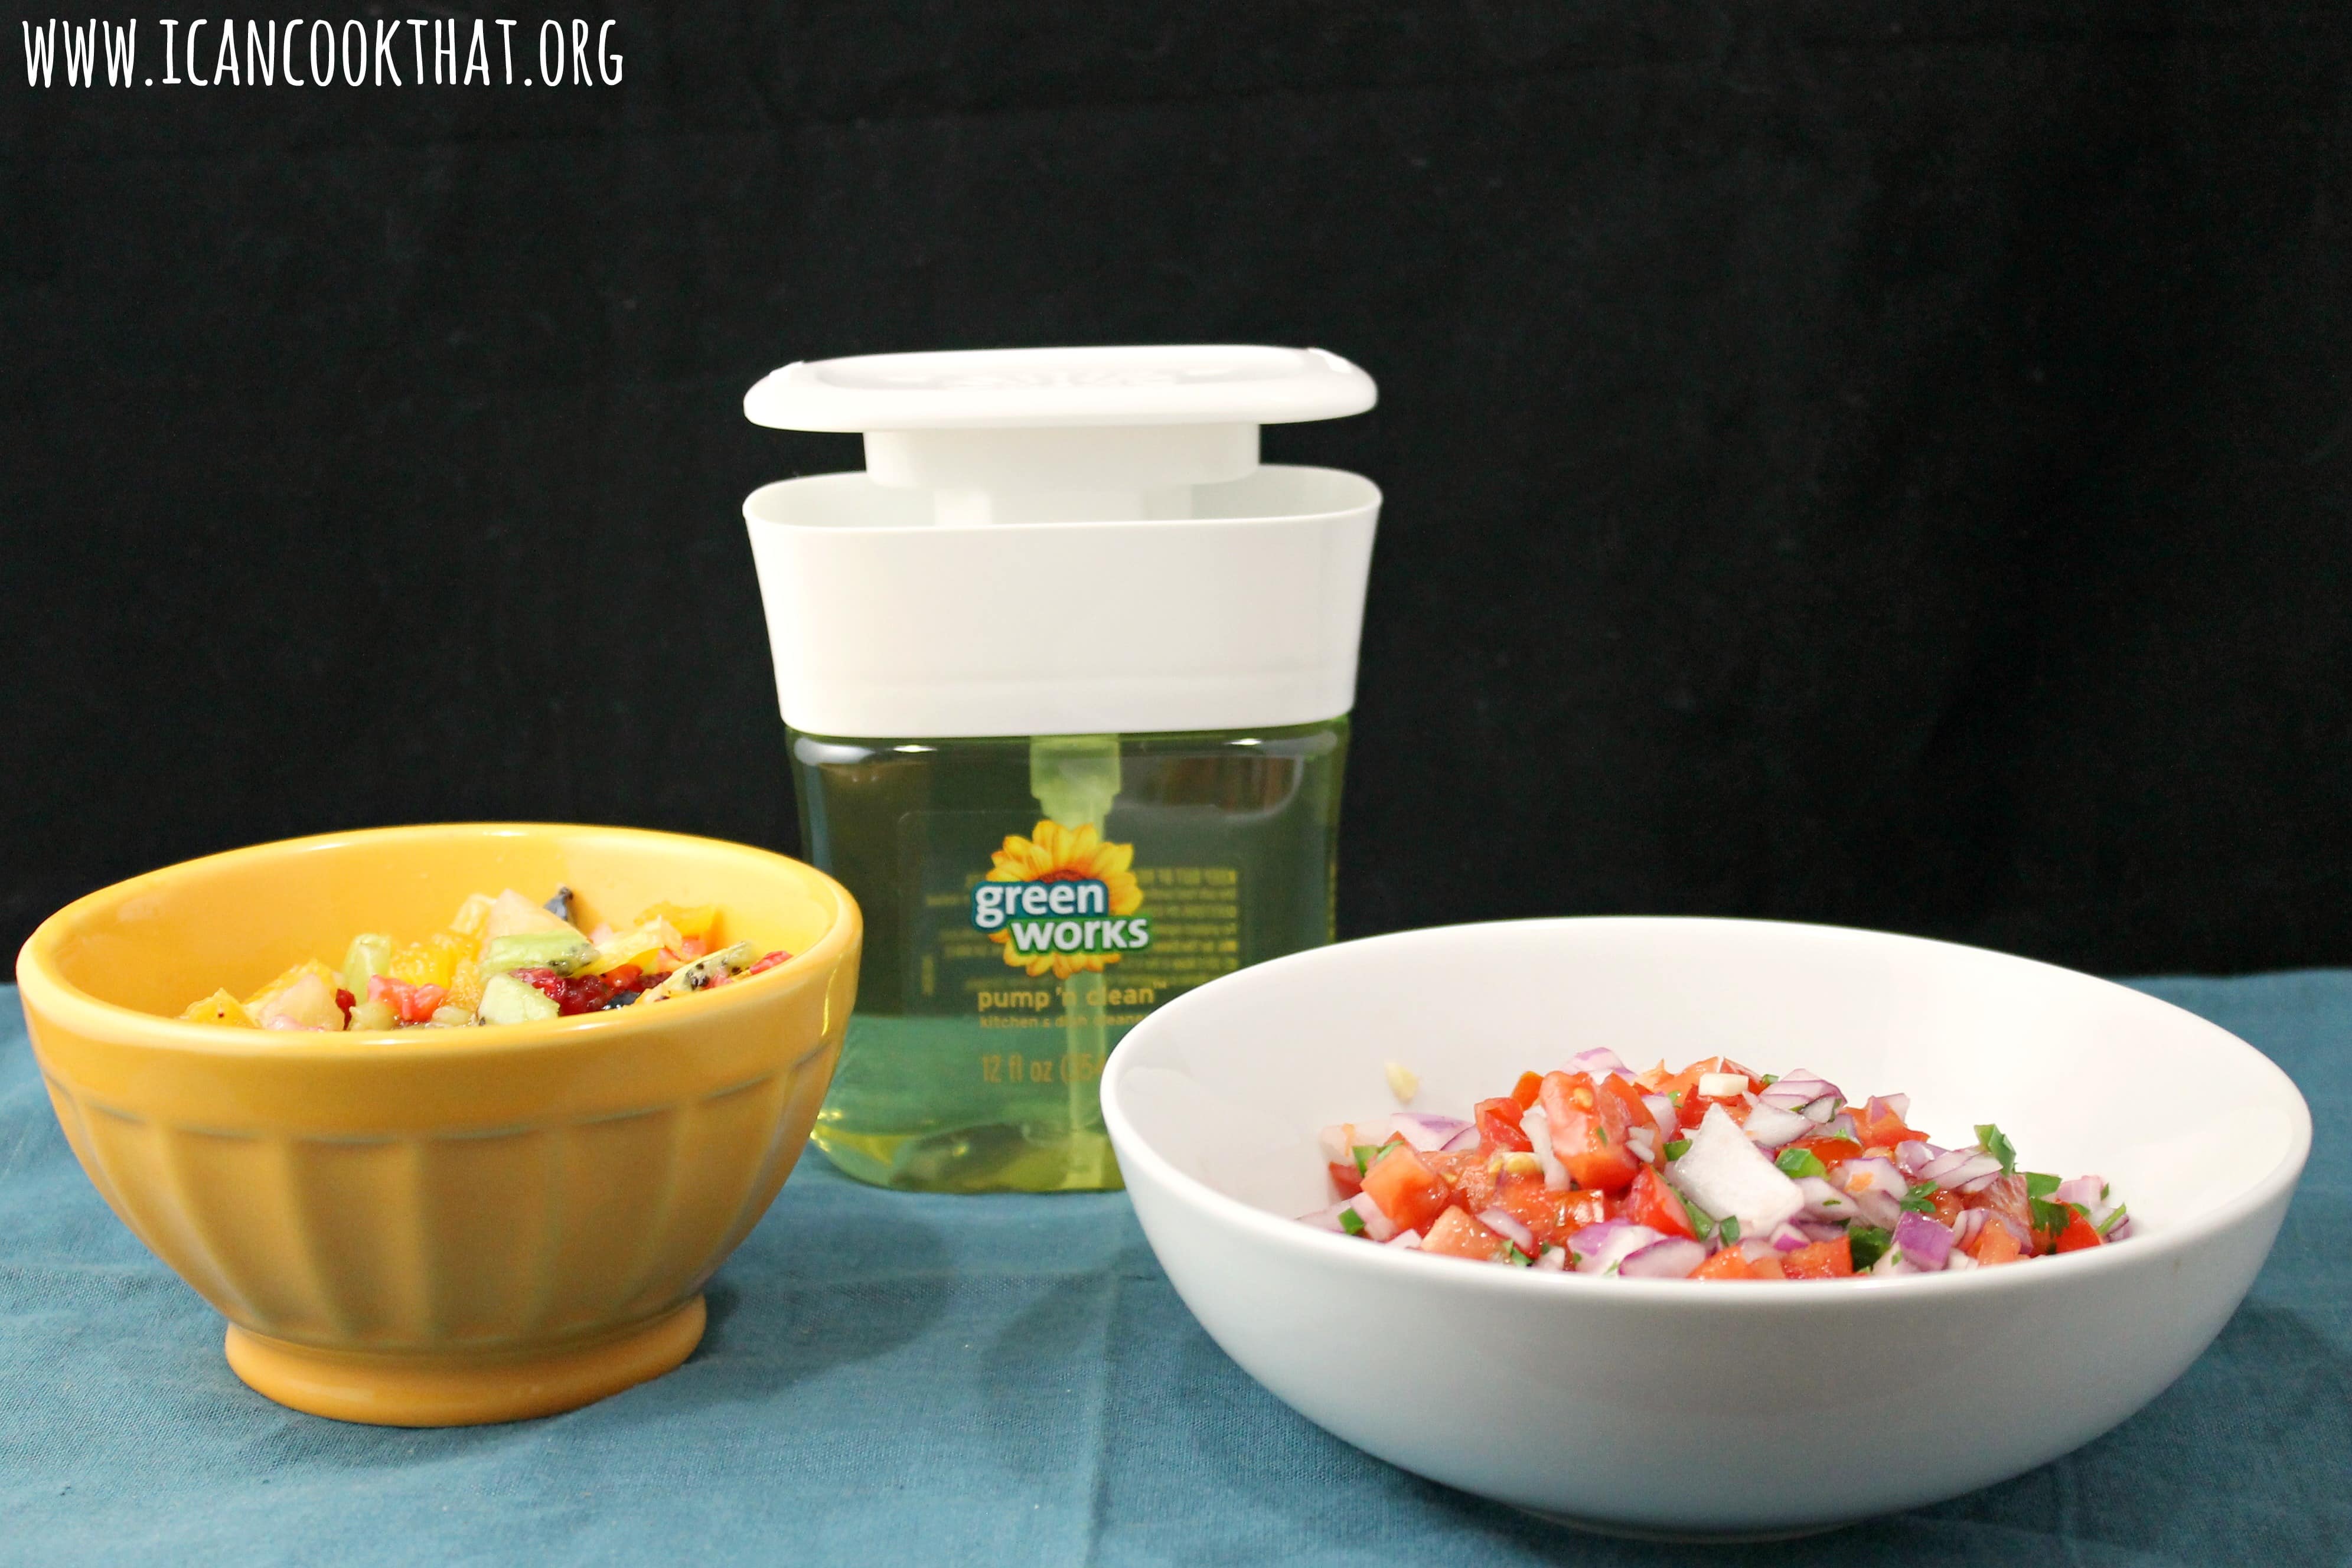
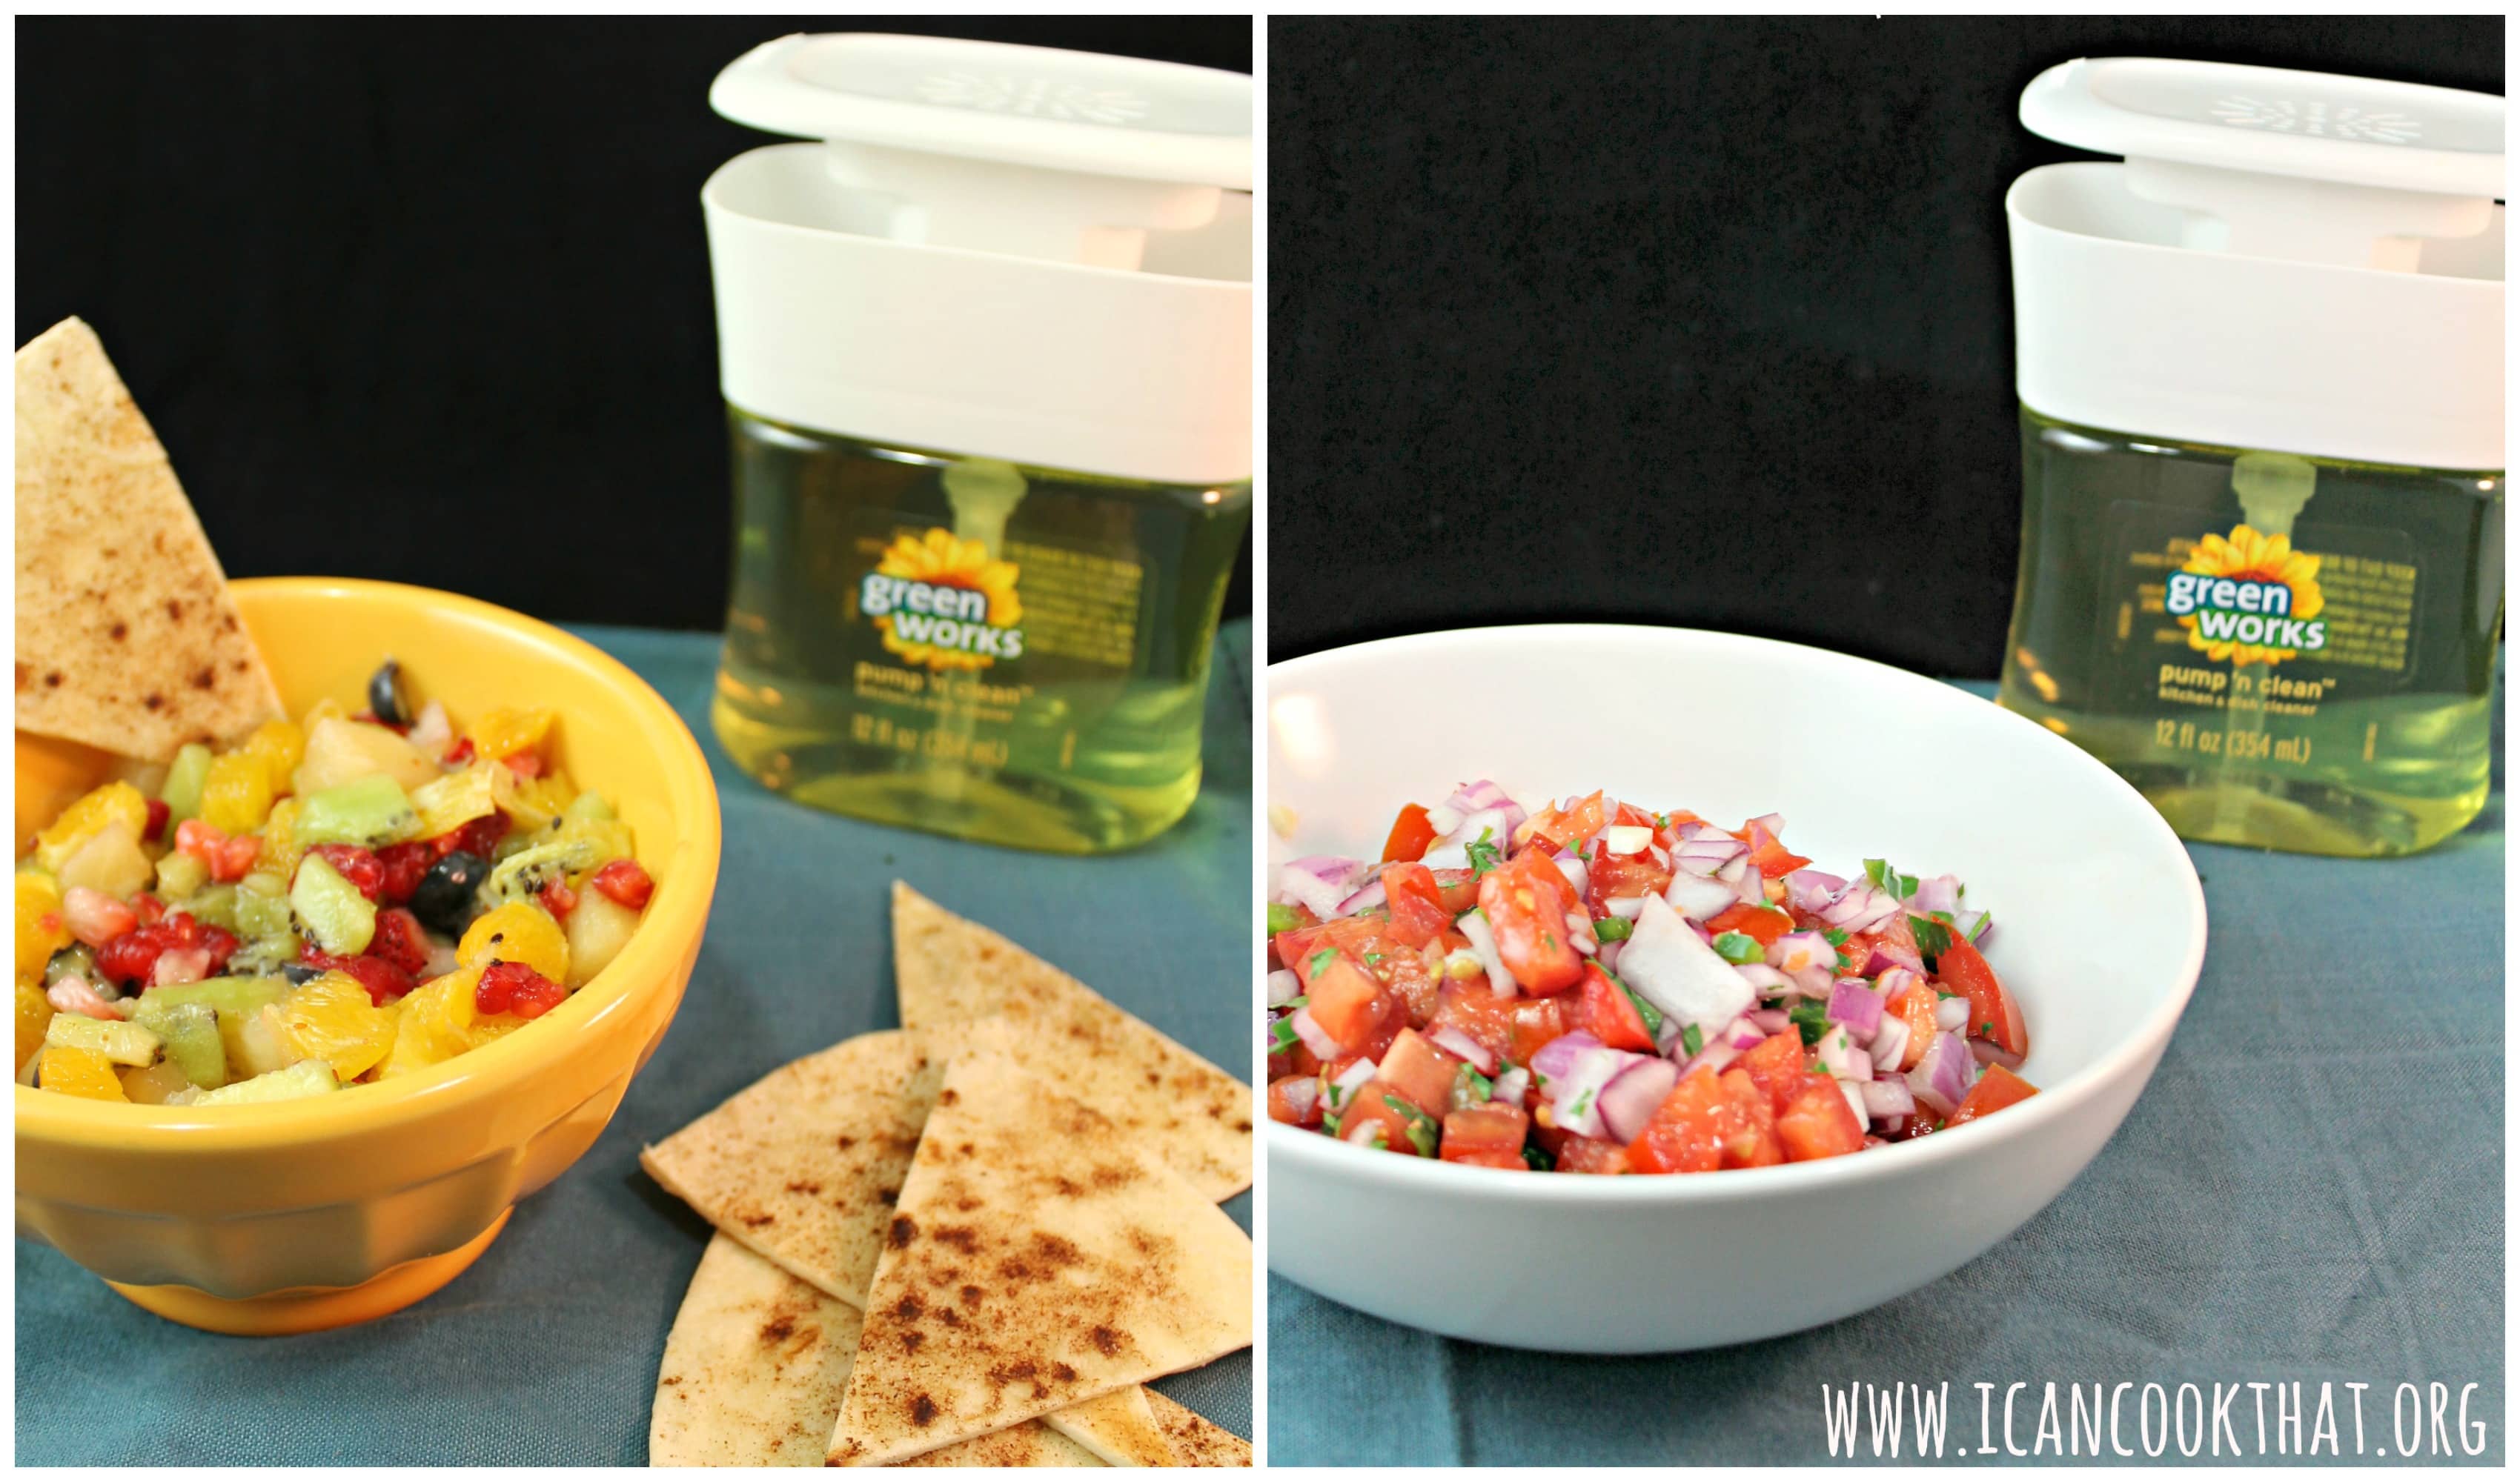
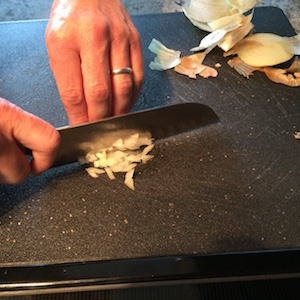
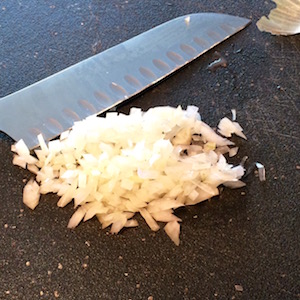
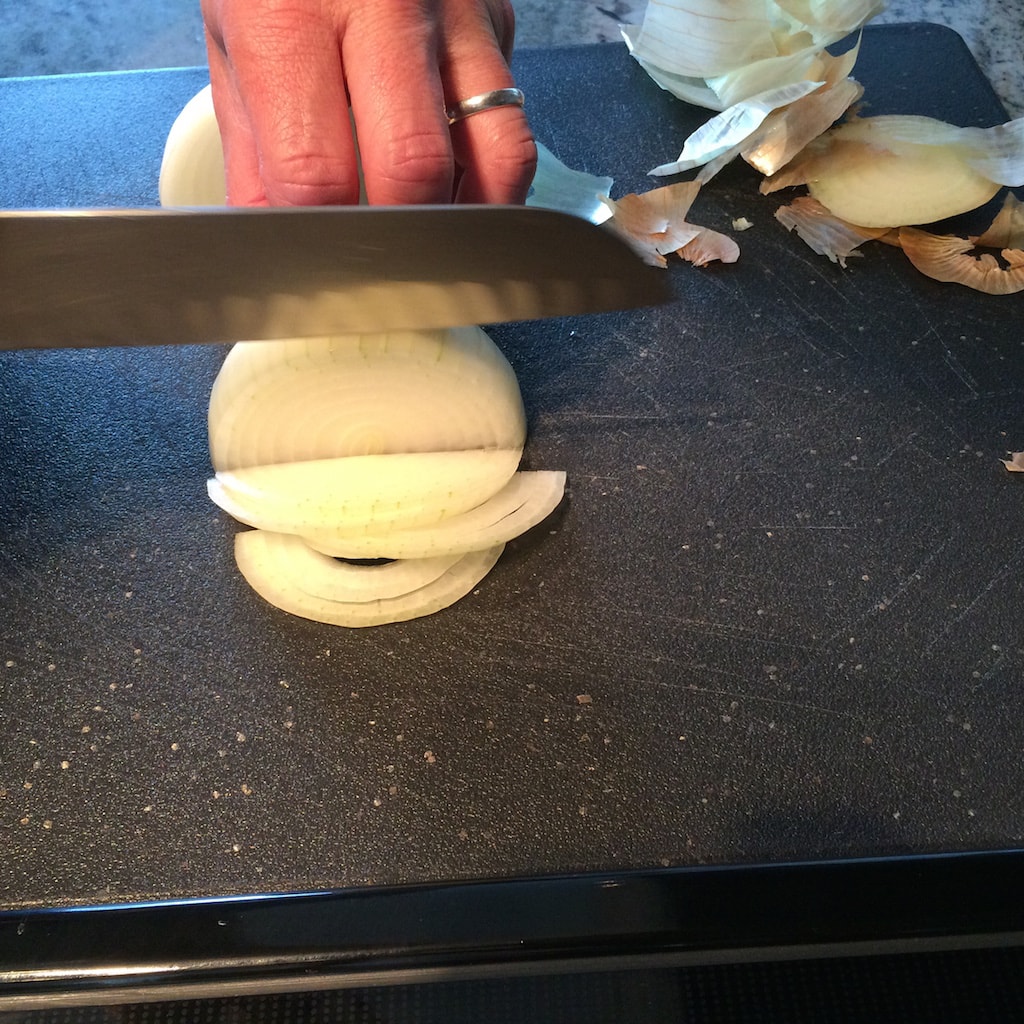
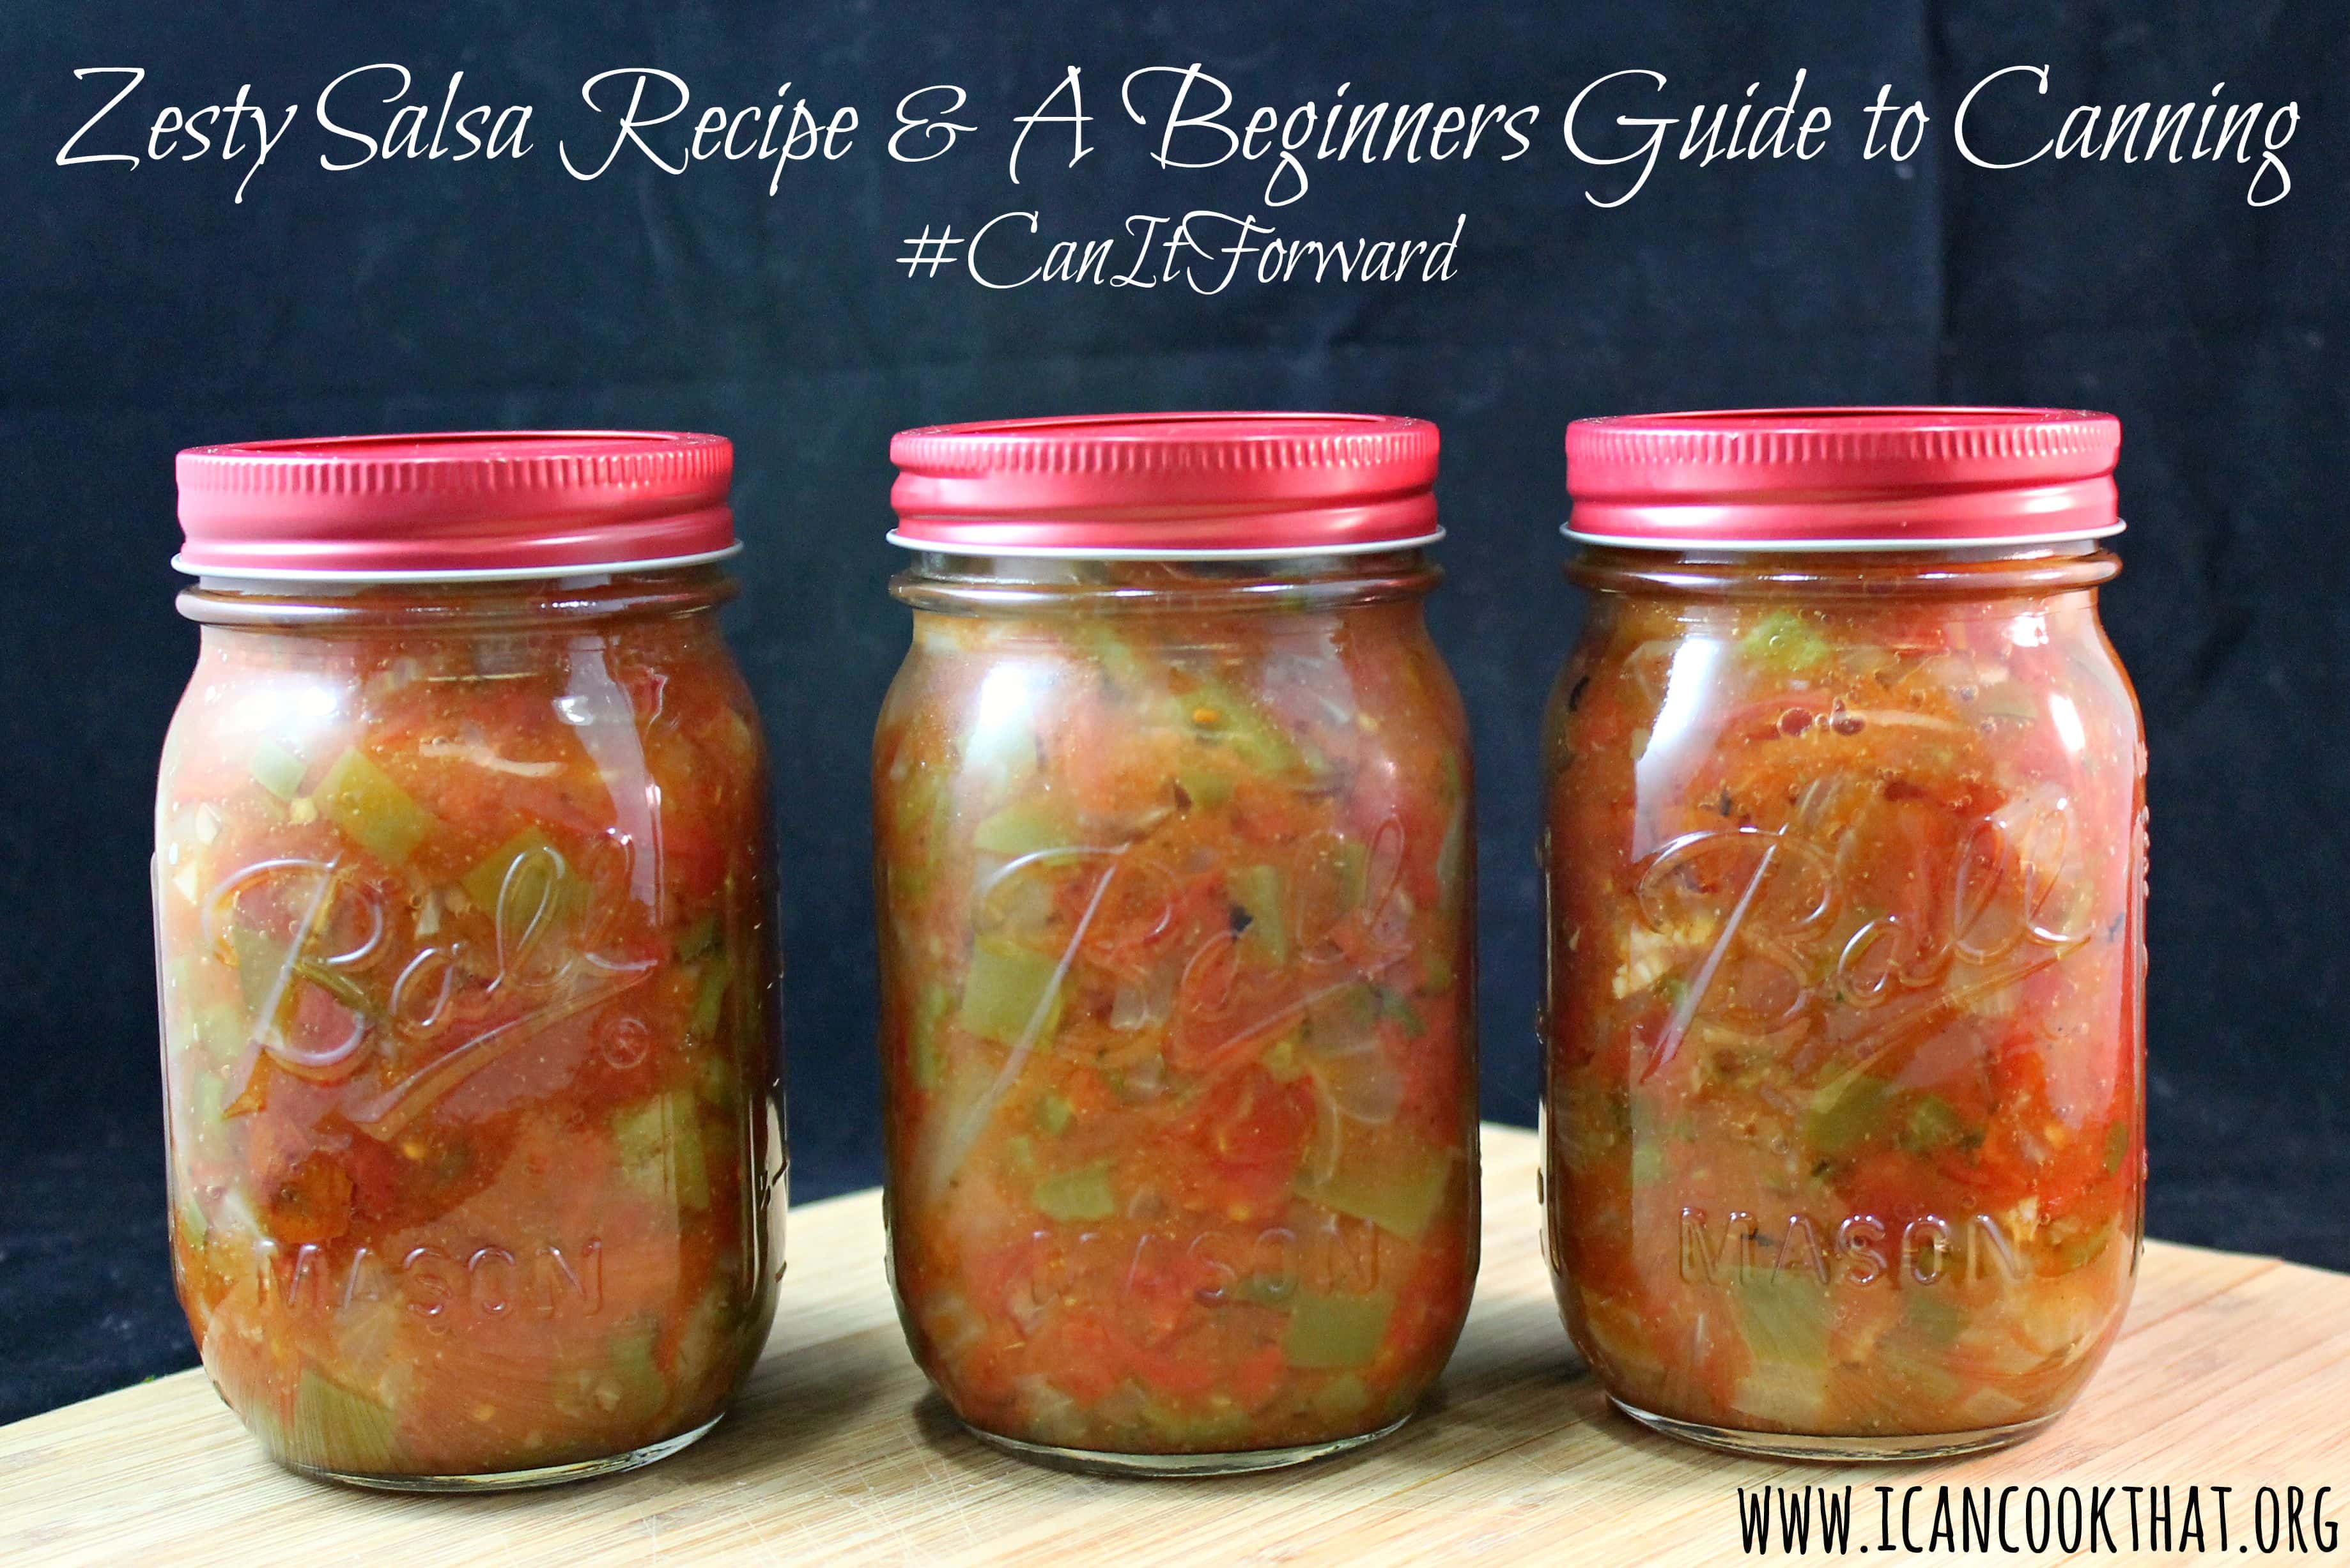
I decided to make a salsa from the Ball Blue Book, but adapted it slightly to include the Ball Fiesta Salsa Mix. The recipe is simple, and is basically just cutting up the ingredients, so this post is more about the canning process than the actual recipe.

I am absolutely a beginner with this, but luckily was able to glean some tips from my sister-in-law and the Ball Blue Book, which I will share as well.

I also am giving away a coupon for a free case of jars! Details at the end of the post. 


Zesty Salsa (adapted from Ball Blue Book Guide to Preserving)

Yields ~3 pint jars

Ingredients:

  • 5 cups chopped cored peeled tomatoes (fresh or canned)
  • 4 green bell peppers, seeded and chopped (~2.5 cups)
  • 1 large onion, chopped (~2.5 cups)
  • 1 large jalapeno, seeded and finely chopped (~3 tablespoons)
  • 2 garlic cloves minced
  • 2/3 cup cider vinegar
  • 1 tablespoon fresh cilantro, finely chopped
  • 1/4 cup Ball Fiesta Salsa Mix

Gear:

  • Ball canning rack with lifter
  • 3 Ball Pint Jars with lids and bands (I used the Red design series lids and bands)
  • Large stockpot (at least 7.5 inches tall and 9.5 inches in diameter)
  • a non-metallic spatula (I ended up using chopsticks. They worked just fine)
  • A clean, damp towel to wipe rims of jars

Continue reading Salsa Recipe & Beginners Guide to Canning #CanItForward

Indoor S’mores Bar

This shop has been compensated by Collective Bias, Inc. and its advertiser. All opinions are mine alone. #LetsMakeSmores #CollectiveBias #sponsored


There is nothing quite as nostalgically delicious as biting into a s’more. The gooey, chocolatey, crunchy dessert reminds me of campfires, childhood, and summer camp. But living in Philadelphia means roasting s’mores over an outdoor campfire is a bit unlikely. I was having friends up for the weekend and I thought it would be fun to roast s’mores indoors like the urbanite I am, because who says s’mores can only be done around a campfire out in the woods?

Making a s’mores bar is really simple and doesn’t take long to set up. You just need your main ingredients and a heat source and you’re good to go!

I set up a little s’mores bar in the kitchen, with s’mores ingredients and a s’mores roasting station made from a planter box with sternos and filled with rocks. I added some wire netting on top so that the marshmallows didn’t come into direct contact with the flame.


For the tablescape, I used a gingham tablecloth, wood rounds for the s’mores ingredients, and a chalkboard for a truly awful (amazing?) pun. I also printed out a quote from one of my favorite movies (The Sandlot) about how to make s’mores. A little owl made an appearance as well to finish off the outdoors-indoors theme.

The bar included all of the traditional fixin’s – Hershey’s Milk Chocolate bars, Honey Maid Graham Cracker Squares, and Kraft’s Jet Puffed Marshmallows.

I then snazzed it up a bit with a few different options to give more selection – Reese’s, Hershey’s Mini Candies (Krackel, Mr Goodbar, and Dark Chocolate), Banana Chips, and fresh Strawberries and Bananas.

I found all of the ingredients I needed at Walmart; they currently even have a display with all the traditional goodies you need! (The Honey Maid Graham Cracker Squares are exclusively found at Walmart and are the perfect size for s’mores making.)

To make indoor s’mores, first add a Honey Maid Graham Cracker Square to a plate.

Top the Graham Cracker Square with Hershey’s Milk Chocolate (or another chocolatey candy bar). If you’d like to add fresh fruit or other ingredients, place them on top of the chocolate.

Add a Jet Puffed Marshmallow to a skewer and hold the marshmallow over the flame and roast, turning occasionally to brown evenly.

Once browned to your liking, place the marshmallow on top of the chocolate and use a second graham cracker square to pull the skewer from the marshmallow.

I love how the warmed marshmallow slightly melts the chocolate making a gooey, crunchy, and oh so tasty little snack.

We naturally had a taste test to see which options were the best. Favorite combinations from the group included Reese’s and Banana slices, Krackel and Strawberry slices, and Mr. Goodbar and banana chips.


You could go really crazy and make a “double decker” s’mores: graham cracker, chocolate, marshmallow, graham cracker, another chocolate, another marshmallow, and a final graham cracker!

Or if you didn’t want to work with an open flame, melt the chocolate in a bowl, dip the marshmallows in the chocolate, and then sprinkle with crushed graham crackers for a s’mores pop on a stick!

My friends and I had so much fun toasting marshmallows around our “campfire,” and it was really simple to set up! The indoor s’mores bar would be a great addition to any get-together, or rainy day gathering. As a winter baby, I will probably set this back up again for my birthday to get a taste of summer in the cold months!

What s’mores combo is your favorite? What other ingredients would you include in your s’mores bar?


One-Pot Chicken with Lemon & Rosemary

I am kind of obsessed with Zwilling JA Henckel’s knife of the month. It became my favorite knife overnight! The ZWILLING Pro 8″ Ultimate Serrated Chef’s Knife lives up to its name. This bad boy can be used for basically anything. The serrated edge is comprised of large and small scallops, which helps the knife stay share longer than a fine-edged chef’s knife.

From the website: Precision forged from a single piece of high-carbon, no-stain steel, the SIGMAFORGE® blade is exceptionally sturdy yet flexible. The FRIODUR® blade is ice hardened, making it extremely sharp and durable. The knife is hand ground and polished, then the angle of the cutting edge is checked with precise laser technology. The durable ABS resin handle is ergonomically shaped for a comfortable grip and is triple riveted to the blade.

I have been using it for anything and everything; fruits, veggies, meat, you name it! I typically gravitate towards Santoku knifes so I was surprised how comfortable I was using this chef’s knife. It works great to chop and thinly slice, but is super sharp so be sure to take care where your fingers are when using it (as you should when using any knife).


I chose a recipe highlighting this knife’s chopping skills, but it also works great on produce with more delicate out layers like tomatoes, and can even be used to slice chicken breasts with ease.

This recipe is adapted from a Rachel Ray recipe, so you know it’s a quick and simple recipe with tons of flavor. Per her suggestion, you should definitely have a loaf of bread on hand to dip into the yummy sauce!


Ingredients:

  • 2 tablespoons olive oil
  • 6 pieces bone-in, skin-on chicken (I used a chicken broken down- 2 breasts, 2 drumsticks, 2 thighs)
  • Salt and pepper to taste
  • 1 large onion, chopped
  • 6 cloves garlic, sliced
  • 1 bulb fennel, chopped
  • 1/4 teaspoon crushed red pepper flakes
  • 2 cups dry white wine
  • 1/4 cup chopped fresh rosemary
  • 1 cup chicken stock
  • Zest and juice of 1 large lemon
  • Crusty bread, to pass at table


Continue reading One-Pot Chicken with Lemon & Rosemary

Homemade Fresh Salsas and Keeping #NaturallyClean with Clorox Green Works

This shop has been compensated by Collective Bias, Inc. and its advertiser. All opinions are mine alone.
#NaturallyClean #CollectiveBias


Having a blog means that I tend to do a lot of cooking for larger groups. I usually show up to any gathering with at least one appetizer or snack for a crowd. Cooking for groups can be a bit of a challenge in my small apartment, so it’s crucial that I can reuse kitchen tools while making different parts of a recipe!


Clorox Green Works has a great new product, Pump ‘N Clean, now available in Target. Green Works Pump ‘N Clean can be found in the green section of the cleaning aisle, with the rest of the Clorox Green Works line.

The whole Clorox Green Works line cleans thoroughly and powerfully without using harsh chemicals or leaving any residue. The line includes wipes, dish soaps, detergents, and cleaners that are made with plant- and mineral-based cleaning ingredients. The products are not tested on animals and use environmentally sustainable packaging whenever possible.

From June 14-July 11, you can use the Target Cartwheel app to save 10% on all Green Works products.


The Pump ‘N Clean product is both a time saver and a way to keep your kitchen clean and safe. It’s food-safe, so you can use it to clean your knives and cutting boards in between cutting veggies and fruits! (Green Works Pump ‘N Clean is not to be used to clean up after raw meat or raw fish.) To use, just place a dish towel or sponge on top of the Pump ‘N Clean and press down to dispense the liquid. Use the dish towel/sponge to clean your knifes, counters, stove top, whatever needs cleaning! It’s easy to clean are you are cooking, which is a huge time saver!

I wanted to make two different salsas for a friend’s party, a traditional fresh salsa, and a fruit salsa. The traditional salsa is made of fresh tomatoes, red onion, and jalapeno, while the fruit salsa is filled with berries, pineapple, oranges and kiwifruit.  Obviously, mixing the flavors of these two would ruin them both, so it was important that I was able to quickly clean both my knife and my cutting board!

Ingredients:

Fresh Salsa:

  • 3 plum tomatoes, chopped and seeded
  • 1 red onion, finely chopped
  • 2 garlic cloves, minced
  • 1 jalapeno, finely chopped
  • 1/4 cup chopped fresh cilantro
  • 3 tablespoons fresh lime juice
  • 1/2 teaspoon kosher salt

Fruit Salsa:

  •  1/2 cup strawberries, finely chopped
  • 1/4 cup blueberries, halved
  • 1/4 cup raspberries, quartered
  • 1 medium orange, peeled and chopped
  • 3 medium kiwifruit, peeled and chopped
  • 1  (8 oz) can unsweetened crushed pineapple, drained
  • the juice of 1 lemon
  • 1 teaspoon sugar

Continue reading Homemade Fresh Salsas and Keeping #NaturallyClean with Clorox Green Works

Overnight Iced Coffee

This post is sponsored by Equal. All opinions are my own.

I love coffee. No,  I need coffee. And in the summer, I crave iced coffee, but don’t want to have to go to a coffee shop every time I have a hankering (that can really add up!)


Really solid iced coffee is made strong enough to stand up to the ice as it melts. I also prefer a really strong brew so that I can add sweetener and half and half to make the perfect iced beverage. So overnight iced coffee is a simple and awesome option, plus it’s ready for you in the morning!


Overnight iced coffee is cold brewed; the ground coffee “brews” in the water overnight to give a rich deep flavor, and is really easy to make. I was sent a summer beverage kit from Equal to get ready for all the delicious drinks of summer and thought this would be the perfect time to try out an overnight coffee using the kit and Equal 0-calorie sweetener!


Equal 0-Calorie Sweetener pairs wonderfully with a strong brewed iced coffee. Equal packets are concentrated (1 packet = the sweetness of 2 teaspoons sugar) while Equal Spoonful measures cup for cup. Equal is a great option to sweeten recipes without adding calories! (For more recipes using Equal, check out their recipe page.)


The summer beverage kit includes:

  • Equal® 0-calorie sweetener 115-ct boxes
  • Equal® Spoonful 4-oz. “Easy Pour” Container (226 servings)
  • Takeya Flash Chill Tea Maker
  • Republic of Tea Green tea sachets
  • Blended iced coffee packets
  • Cool Peach Iced Tea Recipe Card from The Diabetic Chef® Chef Chris Smith
  • Equal® Recipe Guide Booklet
  • Equal® iPad holder


I decided to use the Takeya Flash Chill Tea Maker to make the overnight iced coffee and sweetened my coffee with Equal Spoonful. The Tea Maker has a built in Tea Infuser which also works great to hold the coffee grounds. (Equal is also providing one reader with a kit of their own! Details after the recipe…)


Ingredients:

  • 10 tablespoons coarsely ground coffee
  • ~2 quarts water
  • ice cubes (or coffee ice cubes)
  • 3 tablespoons Equal Spoonful 0-calorie sweetener (or 4 Equal packets)
  • 1/4 cup creamer or half and half
  • 1 teaspoon vanilla extract (optional)

Continue reading Overnight Iced Coffee

Essential Knife Skills from The Kitchen Professor

Today, I have a great guest post from Doug, at The Kitchen Professor! I have been trying to teach myself better knife skills, and this post is really helpful as I hone those skills. I hope you get as much out of it as I did! I’ll turn it over to Doug, but first, here’s his bio:


Doug blogs at The Kitchen Professor and while his degree is honorary (bestowed upon him by his wife), he has enjoyed cooking his whole life, and especially likes the science of cooking.  He loves to cook on cast iron, barbecuing, grilling (especially with a smoker), and loves adding the small, special touch to a recipe that takes it from just “okay” to “wow.”


————————————————————————————–


You wouldn’t decide you wanted to be a runner, and then head out to run a marathon without training, would you?  Of course not – you would research training schedules, buy the right running shoes and equipment, and maybe even join a running group so you had moral support.

Cooking is a skill that takes practice, just like anything else.  You certainly could try to make an elaborate four course dinner for your friends, and you probably would “finish” (just like limping over that marathon finish line without training), but it most likely wouldn’t be an overwhelming success.

Becoming a great cook takes practice and skills, and mastering certain skills will help increase your success when trying new recipes.

So where should you start?


A great place to start is by learning knife skills, because just about every recipe you encounter will probably involve some cutting during the “food prep” stage.  The prerequisite is to have a couple of sharp knives, like a paring and chef’s knife. If you are like me, then you probably need to make sure that your knives are sharp. (Learn more about knife sharpening and sharpeners here.)

 With that in mind, let’s review 8 of the standard knife cuts with which you should become familiar.  Remember, practice makes perfect, so grab your favorite snack food (I’m always partial to veggies that I can dip into hummus) and start practicing! I was inspired by the “Sharp Things” chapter in the Alton Brown book, Gear For Your Kitchen. Alton is an idol of mine since he gets into the science of cooking which I really enjoy.

Often recipes will call for you to cut your food into cubes.  The first four cuts below focus on the terms for cube-type of cuts, going from largest to smallest.


Chop – cut into rough chunks (no standard shape)

Think about the bite size pieces that you would want in a stew, or maybe even the size of watermelon pieces you would want in the summertime.  Sometimes if I am making a hearty stew, I allow my chunks to be quite large since they need to hold up to a long cooking time.

Dice – to cut into cubes – usually around 1/4 – 3/4 inch.  

If the recipe doesn’t say “large” dice or “small dice,” it would probably be a good idea to shoot for the middle range, around ½ inch.  You’ve probably seen “diced” a lot with reference to tomatoes. I dice things more than any of the other cuts since it cooks fast, and we are all shorter on time than we want.


Brunoise – a specific and smaller dice, usually around 1/8 of an inch.  

Do you know the julienne cut (see below)?  You can julienne the food first, and then finish the food into a bruinoise cut.  The bruinoise cut is often used for garnishes.

Mince – rough chunks, like the chop cut, but much finer (even smaller than a bruinoise).  

You will often read to “mince garlic” in recipes.  Also, the smaller the cut, the more “flavor” it will add to your dish, so you can take some license with recipes if you don’t want (for example) an especially strong garlic flavor.

These next four terms sound fancy, but once you know what they mean you will realize they aren’t intimidating at all. You will definitely run across these terms if you use any French cookbooks!

Lyonnaise – Vertically sliced slivers, usually onions.

The terms “lyonnaise” comes from the region of Lyons, France, and is usually used in reference to onions. It means to cut off the stem and to slice vertically into slivers. Most likely you will only see this in a French cookbook or used in conversation by a chef. Most normal folks will just say, “Vertically sliced onions.”


Julienne – Little skinny sticks.

Also called the “matchstick” cut, involves cutting the food into thin strips, 1 – 2 inches long and 1/8 inch square (think carrot sticks, or really any of those veggies like peppers that I might want to dip into my hummus). These look great when all the veggies are very uninformed and the same size and shape.

Chiffoande – Ribbons, strips of leafy veggies.

This type of cut is used for “leafy” types of food, like lettuce or herbs (especially basil).  Simply stack the leaves, roll them up, and slice perpendicular to the roll and you will be left with thin strips.  Like the brunoise cut, you can use this for garnishes – I do this most often with basil. You can put the basil on pizza, tomato soup, or fresh cut tomatoes.

Roll – Angular shaped chunks.

The purpose of a roll cut is to have non-parallel surfaces on the cut ends.  This may be Chinese in origin, and is used for long vegetables like eggplants, zucchini or carrots.  The roll cut adds a visually interesting appearance, but also exposes more of the vegetable’s surface area to heat (for faster cooking) by cutting at a 45 degree angle.

After you cut at the 45 degree angle, you “roll” the vegetable before cutting again. It is much easier to see in a video.


Conclusion and Helpful Links

When it comes to knife skills, practice makes perfect. Get some carrots, onions, tomatoes, potatoes, and anything else that strikes your fancy!

 Make sure you have a couple very sharp knives to work with so you don’t pick up any bad habits.

 You basically only need a chef’s knife and a paring knife 90% of the time. Start with a 1 or 2 of the cuts above and practice for about 10 minutes a day for a week.

 Then, move on to other cuts after you feel comfortable.


More on Knife Maintenance and Knife Sets


More Info on Knife Skills


————————————————————————————–

Thanks for breaking that down for us, Doug! There are a bunch of really helpful links in this post too, so definitely bookmark this for the future. Doug’s site is filled with awesome tips and tricks like this post as well as reviews of products, so head on over to check out what else he can teach you! 

Crispy Trout with Warm Parsley-Caper Vinaigrette

I’m in another busy period of work, so expect a lot of quick weeknight dinner meals! Seafood is always a favorite quick meal of mine, and this recipe from Cooking Light’s latest issue is ready in no time! I paired it with an adaptation of a Bon Appetit Couscous recipe.


The trout is pan seared and then topped with a chunky warm parsley-caper vinaigrette. I’d suggest doubling the recipe so you have some to toss into the couscous!


Ingredients:

Couscous:

  • 2 tablespoons olive oil
  • 2 garlic cloves, minced
  • 1/2 teaspoon turmeric
  • 1 2/3 cups water
  • the zest of one lemon
  • 1/2 teaspoon coarse kosher salt
  • 1 1/2 cups plain couscous
  • 2 tablespoons fresh lemon juice

Trout:

  • 1/2 cup chopped fresh flat-leaf parsley
  • 2 tablespoons olive oil, divided
  • the zest of one lemon
  • the juice of one lemon
  • 1 tablespoon capers, drained
  • 4 (6-ounce) trout fillets
  • 1/2 teaspoon kosher salt
  • 1/2 teaspoon freshly ground black pepper
  • 4 lemon wedges (optional)

Continue reading Crispy Trout with Warm Parsley-Caper Vinaigrette

{Giveaway} The Joy of Writing a Great Cookbook Review

If you’ve ever dreamed of publishing a cookbook, Kimberly Yorio’s THE JOY OF WRITING A GREAT COOKBOOK: How to Share Your Passion for Cooking from Idea to Published Book to Marketing It Like a Bestseller is right up your alley. I was sent a free copy of this book to review, and I was surprised with how much content was in this book that I never really even considered before!


Kimberly Yorio is a brand strategist, food authority, and women’s business advocate who has worked as an in-house publicist and marketing director, a for-hire publicist and agent, a cookbook co-author and proposal writer.


Kim, with 20+ years experience in the cookbook industry, has developed an amazing how to for cookbook author hopefuls. In her own words, the cookbook “will show you how to get from great idea to bookstore shelves (or, at the very least, Amazon).”

This book is filled with not just Kimberly Yorio’s advice, but tips and tricks of publishers, editors, publicists, recipe testers, food stylists, journalists, bloggers, agents, and celebrity chefs. It even includes a history of cookbooks and a thorough review of social media, which I found to be really helpful for my own blog!


Not only has Kim given novice writers all of the tools to create a cookbook of which they can be proud, Page Street Publishing is offering  a chance to win your very own cookbook contract and marketing campaign executed by Kim and her team. Hopeful cookbook authors can submit their proposal by August 1, 2015 and have a chance to earn a publishing deal for a printed book and an e-book. (Guidelines and official rules can be found at pagestreetpublishing.com.)


If it’s always been your dream to write a cookbook, don’t hesitate, and enter now!


screen shot of pagestreetpublishing.com


A copy of Kim’s book would be super helpful in preparing a proposal for this contest though, wouldn’t it? Luckily, I have also been given the opportunity to give away one copy of The Joy of Writing a Great Cookbook to one reader! Use the widget below and good luck!

For those who can’t wait to get their hands on a copy, the book is available now and retails for $21.99.


a Rafflecopter giveaway

Exit mobile version