My CSA share this year has had plenty of tomatoes. Not that I’m complaining, I absolutely love them! But I’ve been running low on new inspiration for what recipes to use to highlight the tomatoes. I put out a request for yummy recipes that use cherry tomatoes on my Facebook page, and Katie H. suggested this Food and Wine recipe, which is a real winner. You slow roast the tomatoes to bring out the flavor and pair them with two types of honey and fresh ricotta cheese. mmm!
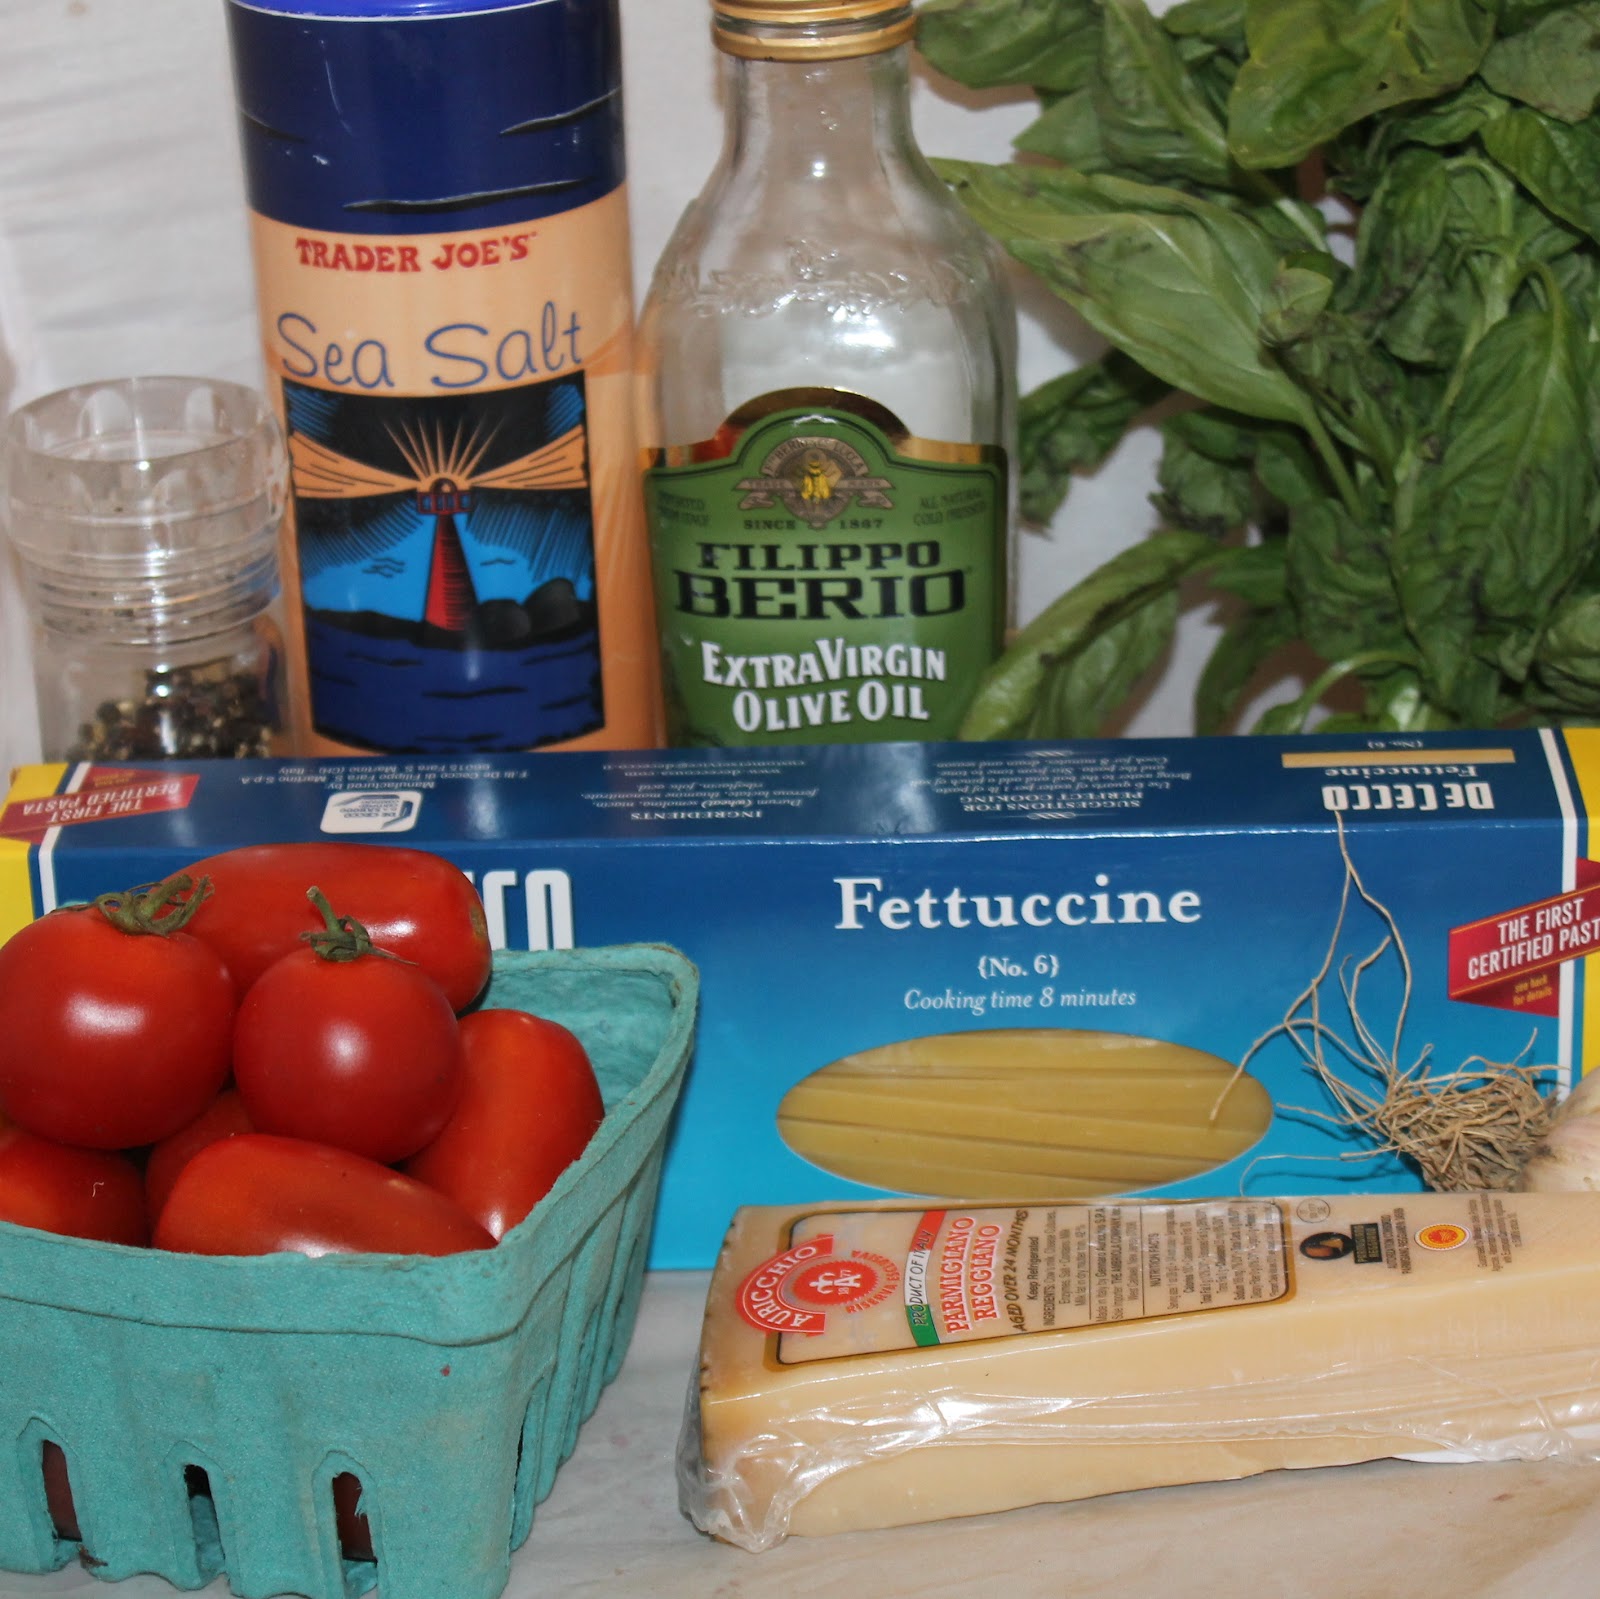
Ingredients:
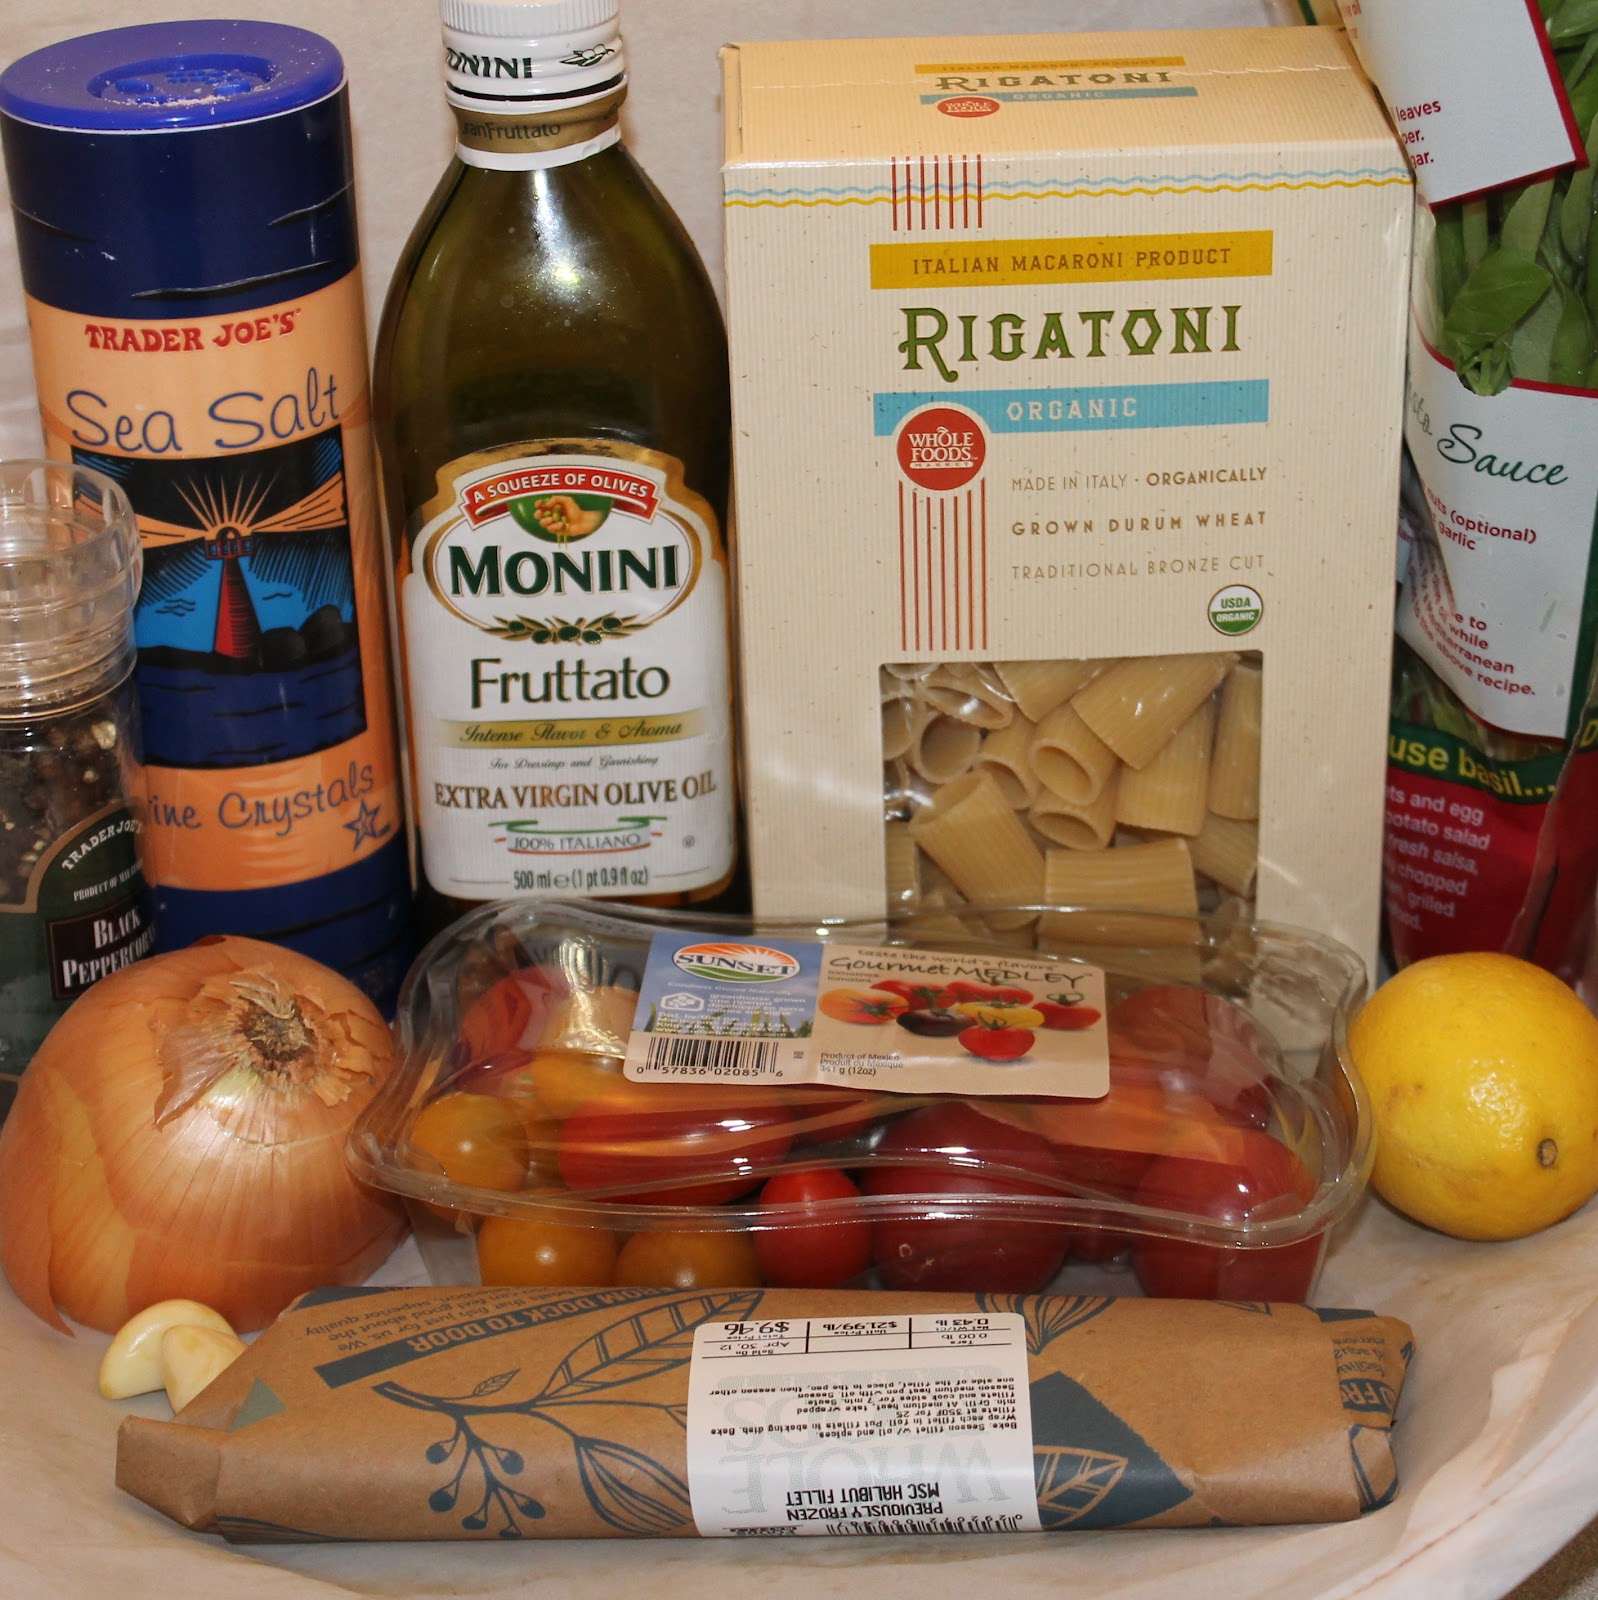
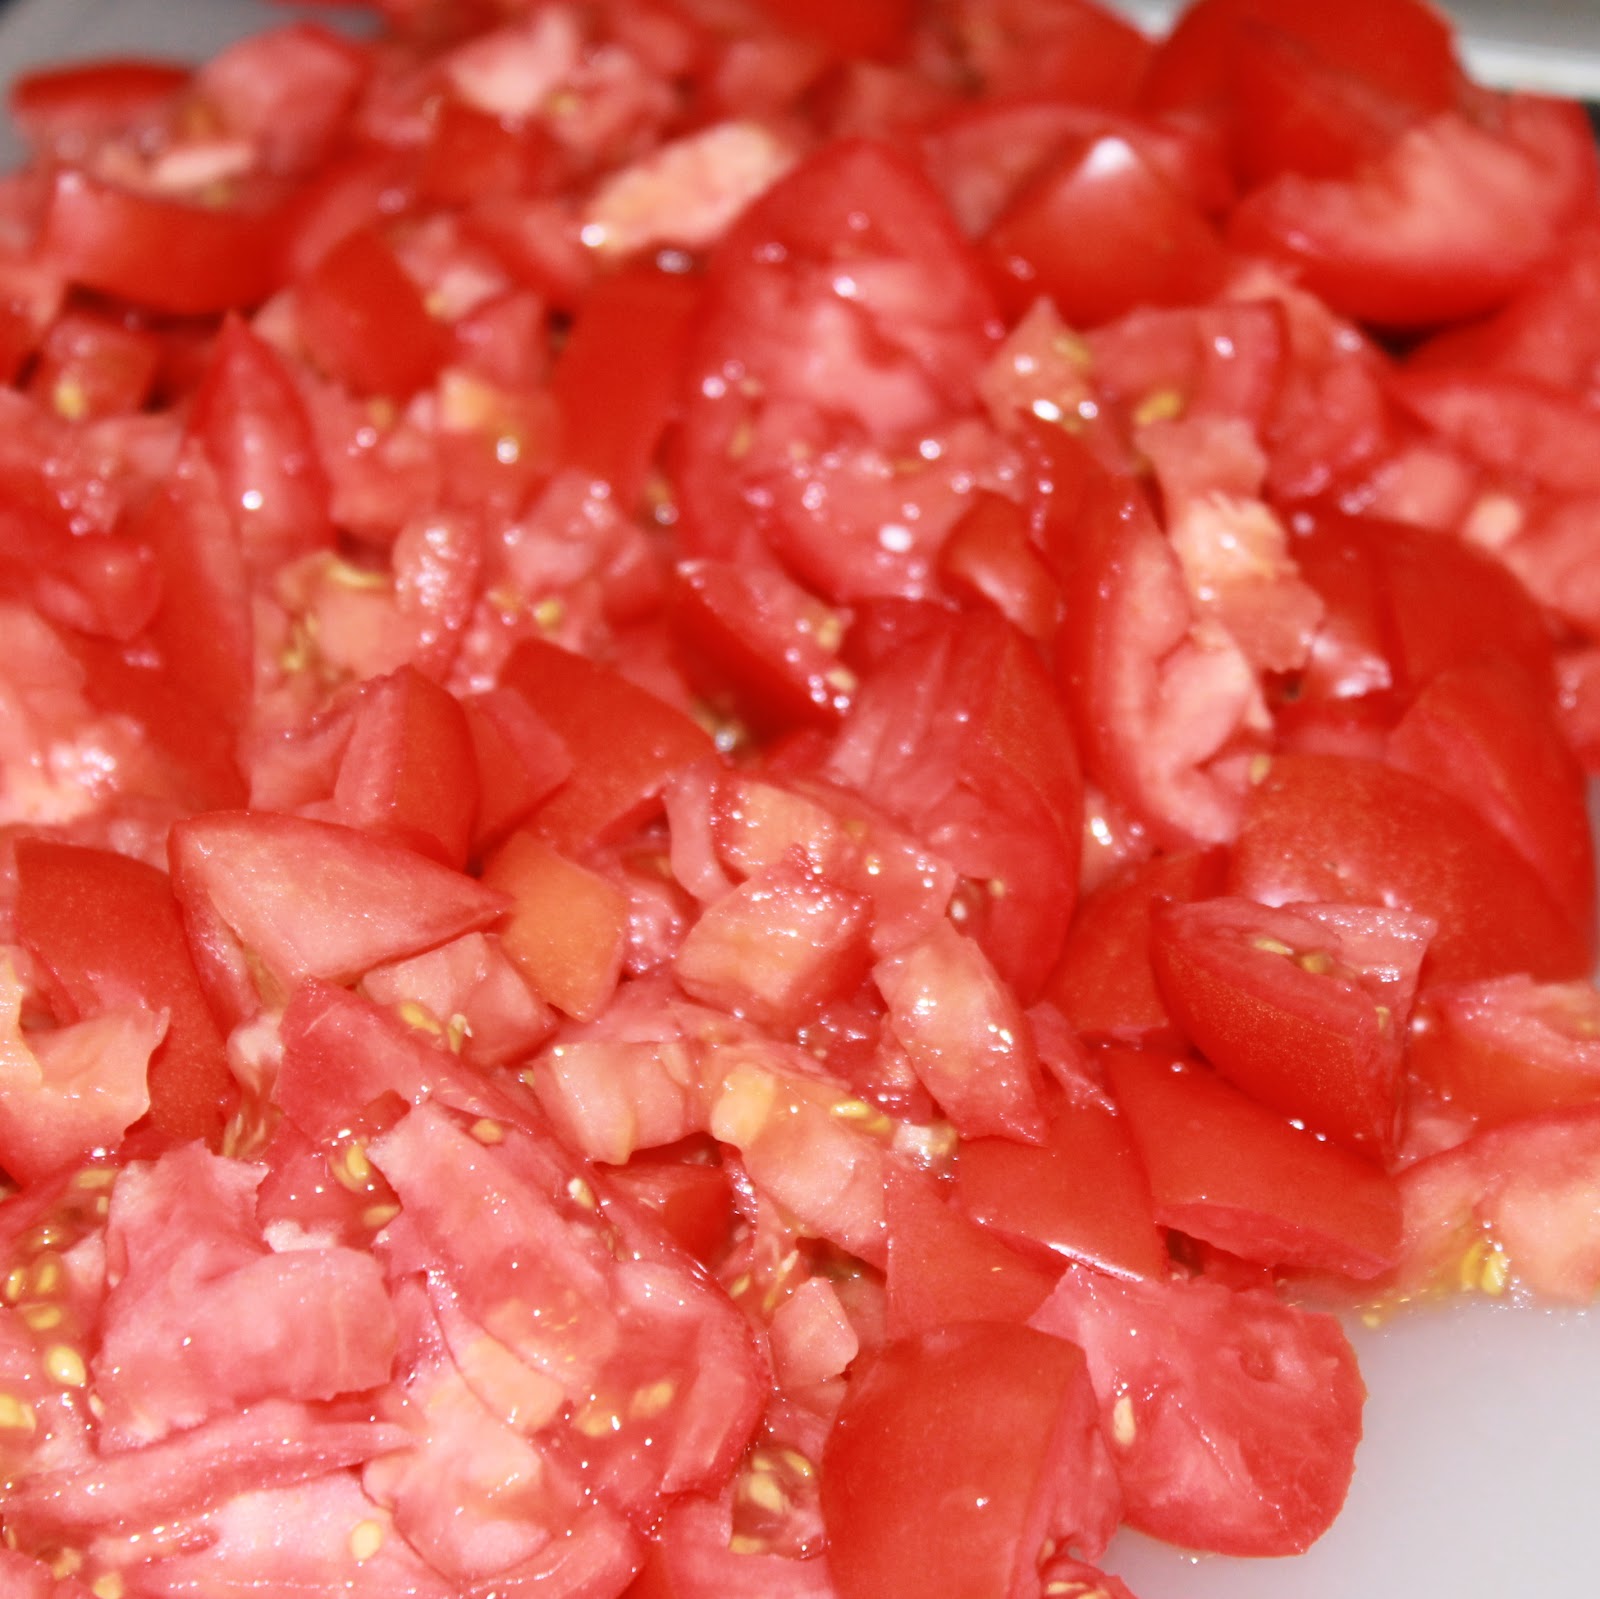
2 pints cherry or grape tomatoes, halved lengthwise
1 1/2 tablespoons extra-virgin olive oil
2 tablespoons clover honey
2 teaspoons thyme leaves
1 teaspoon kosher salt
1/8 teaspoon freshly ground pepper
12 baguette slices, cut 1/2 inch thick on the bias
1 cup fresh ricotta (8 ounces)
1 tablespoon buckwheat honey
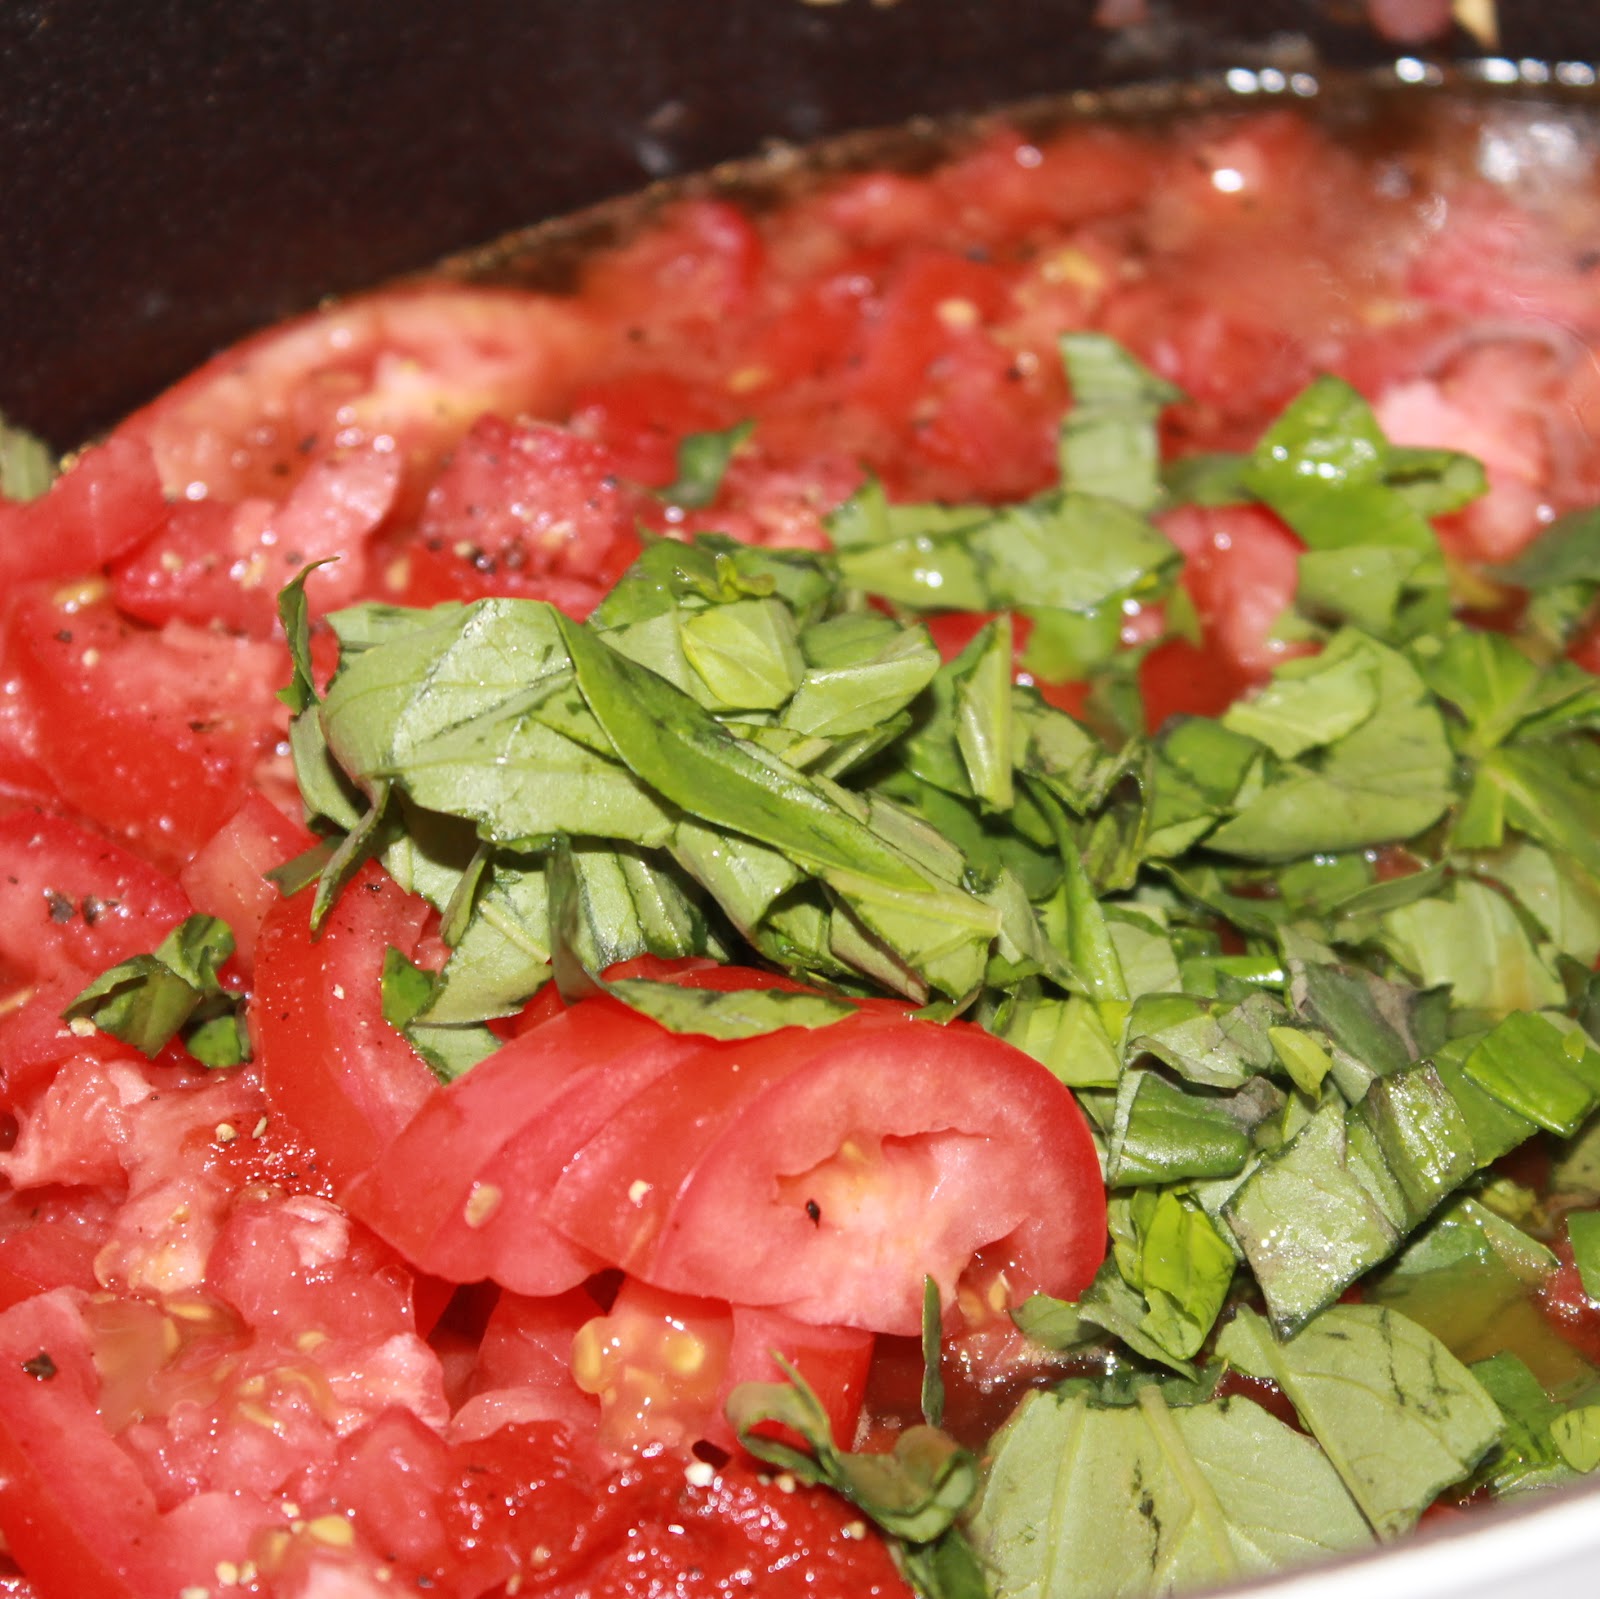
6 basil leaves, thinly sliced or torn
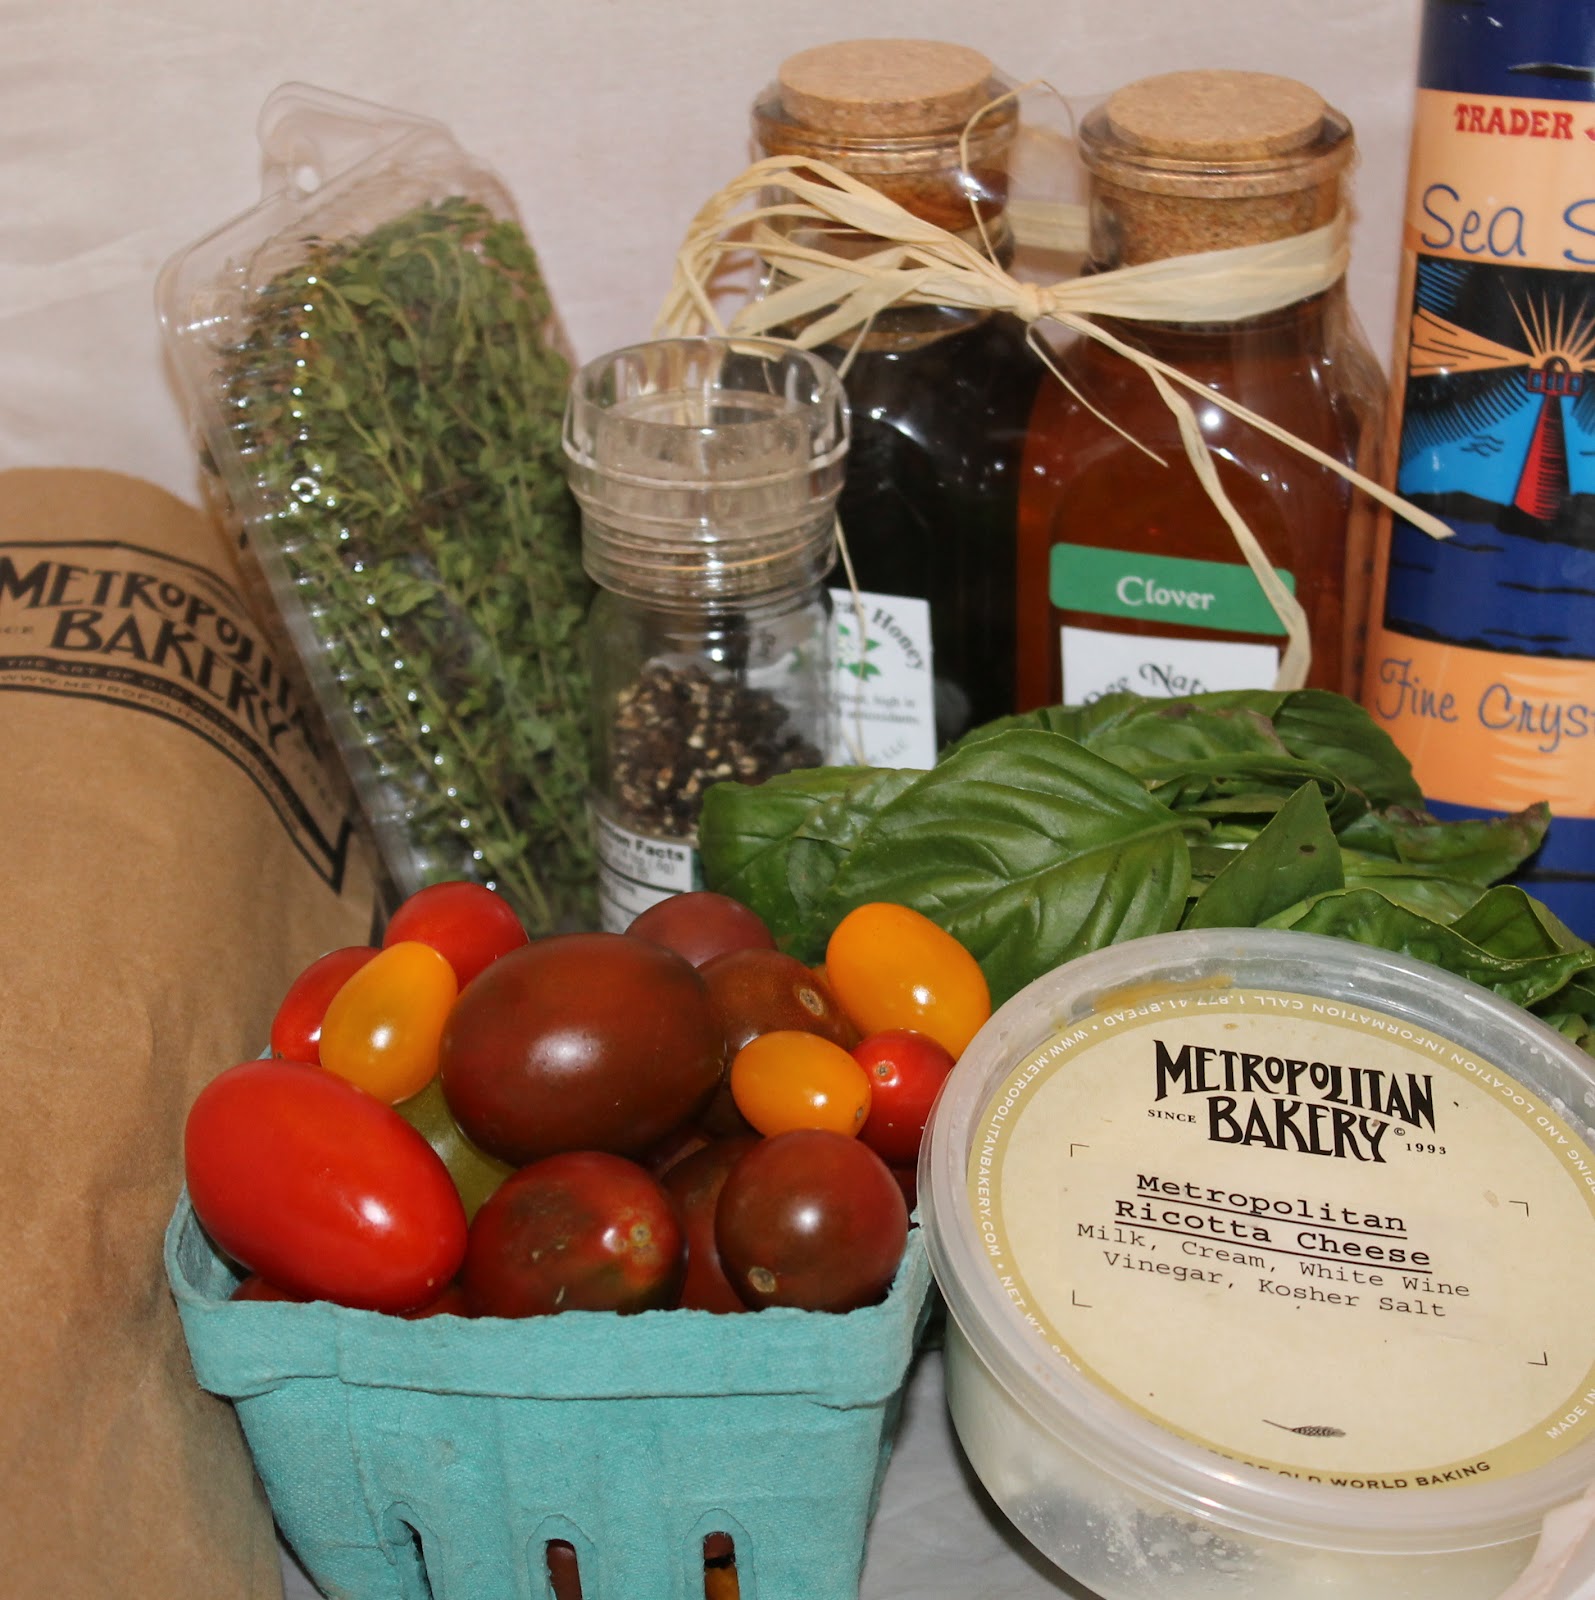
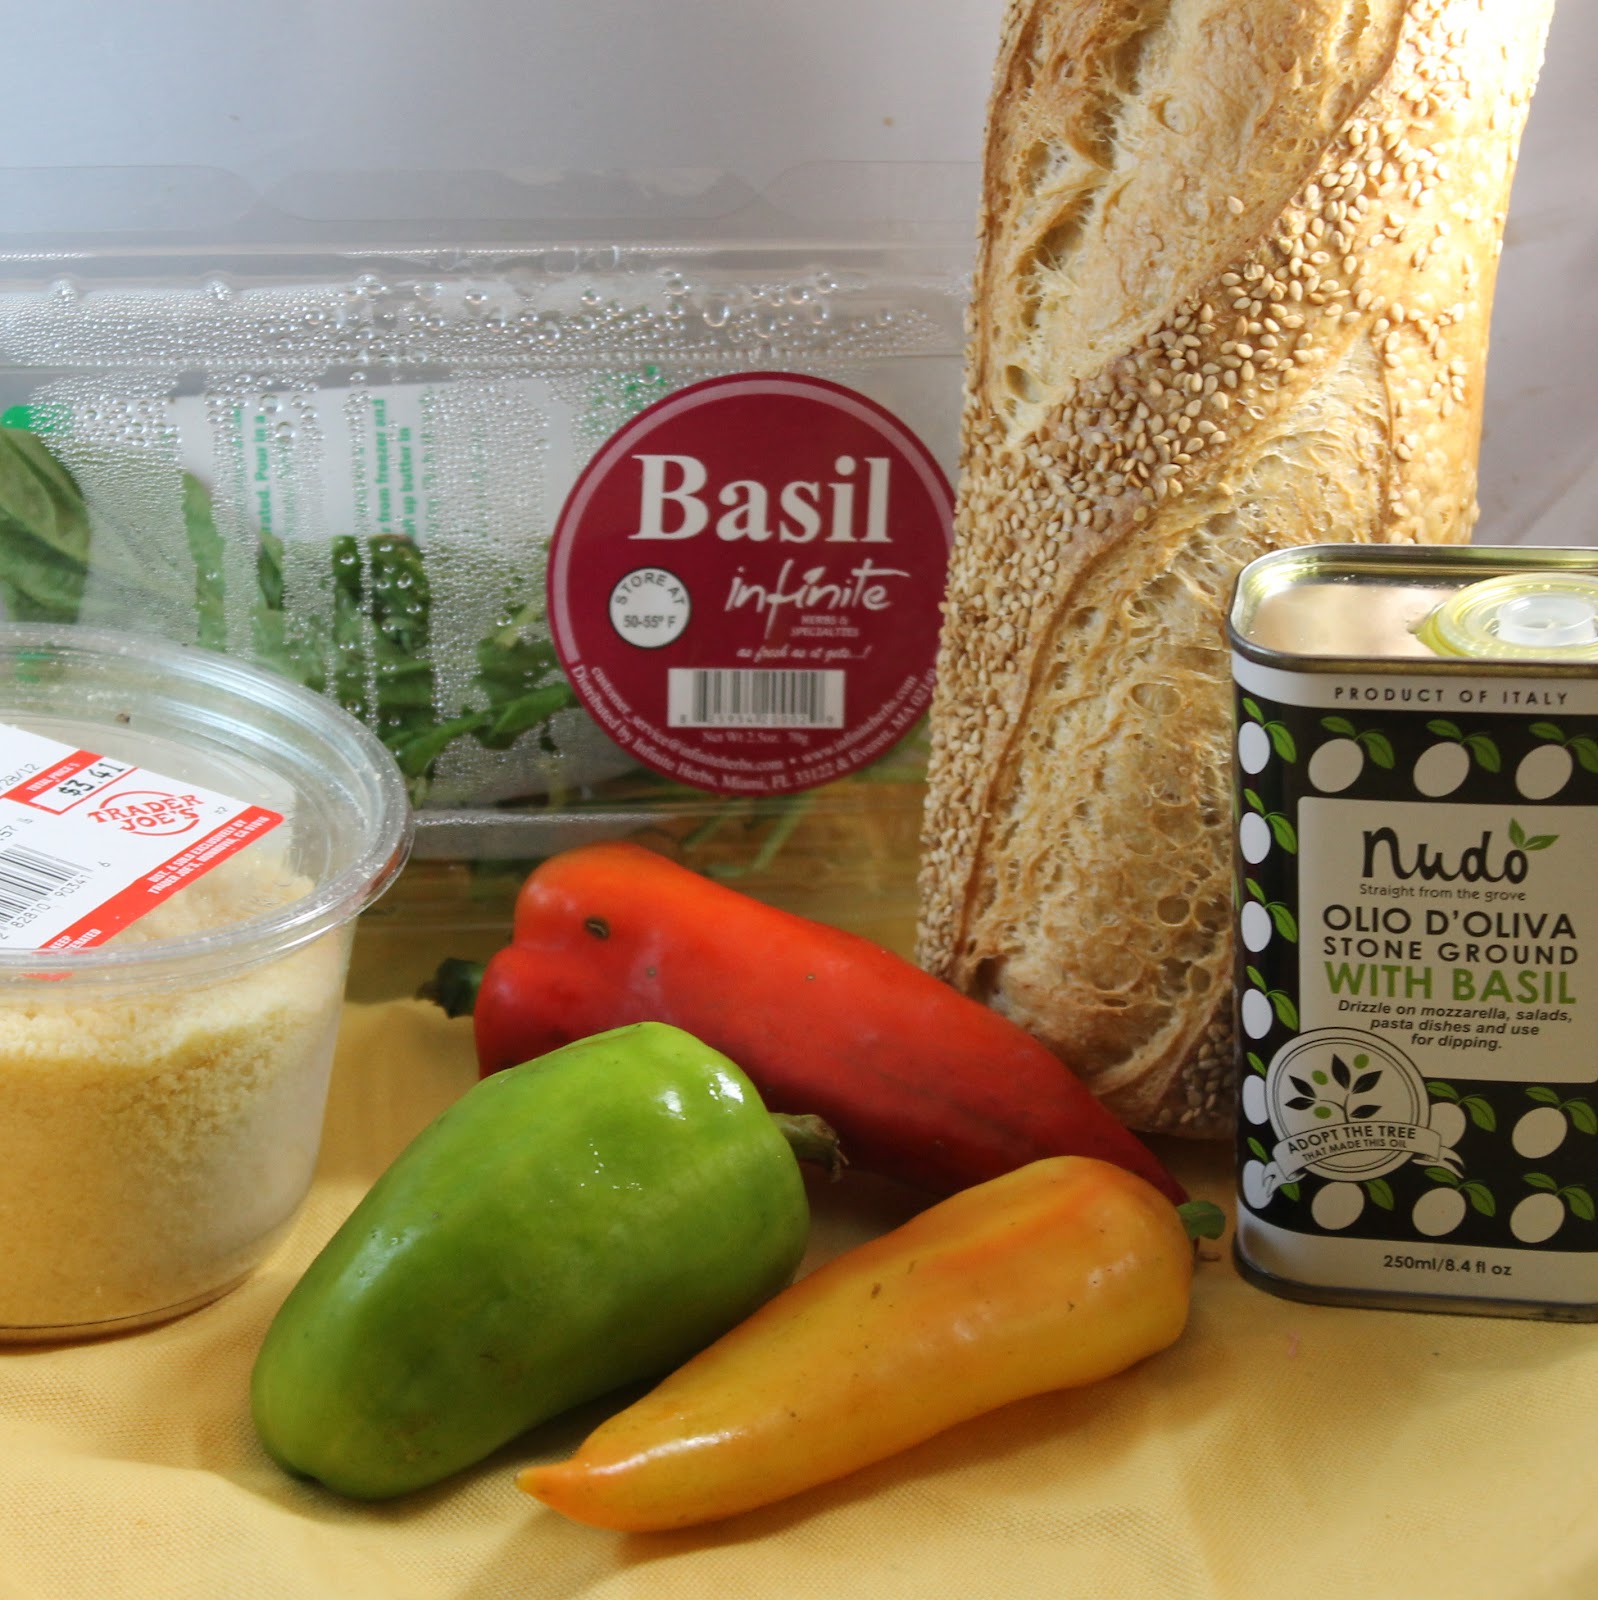
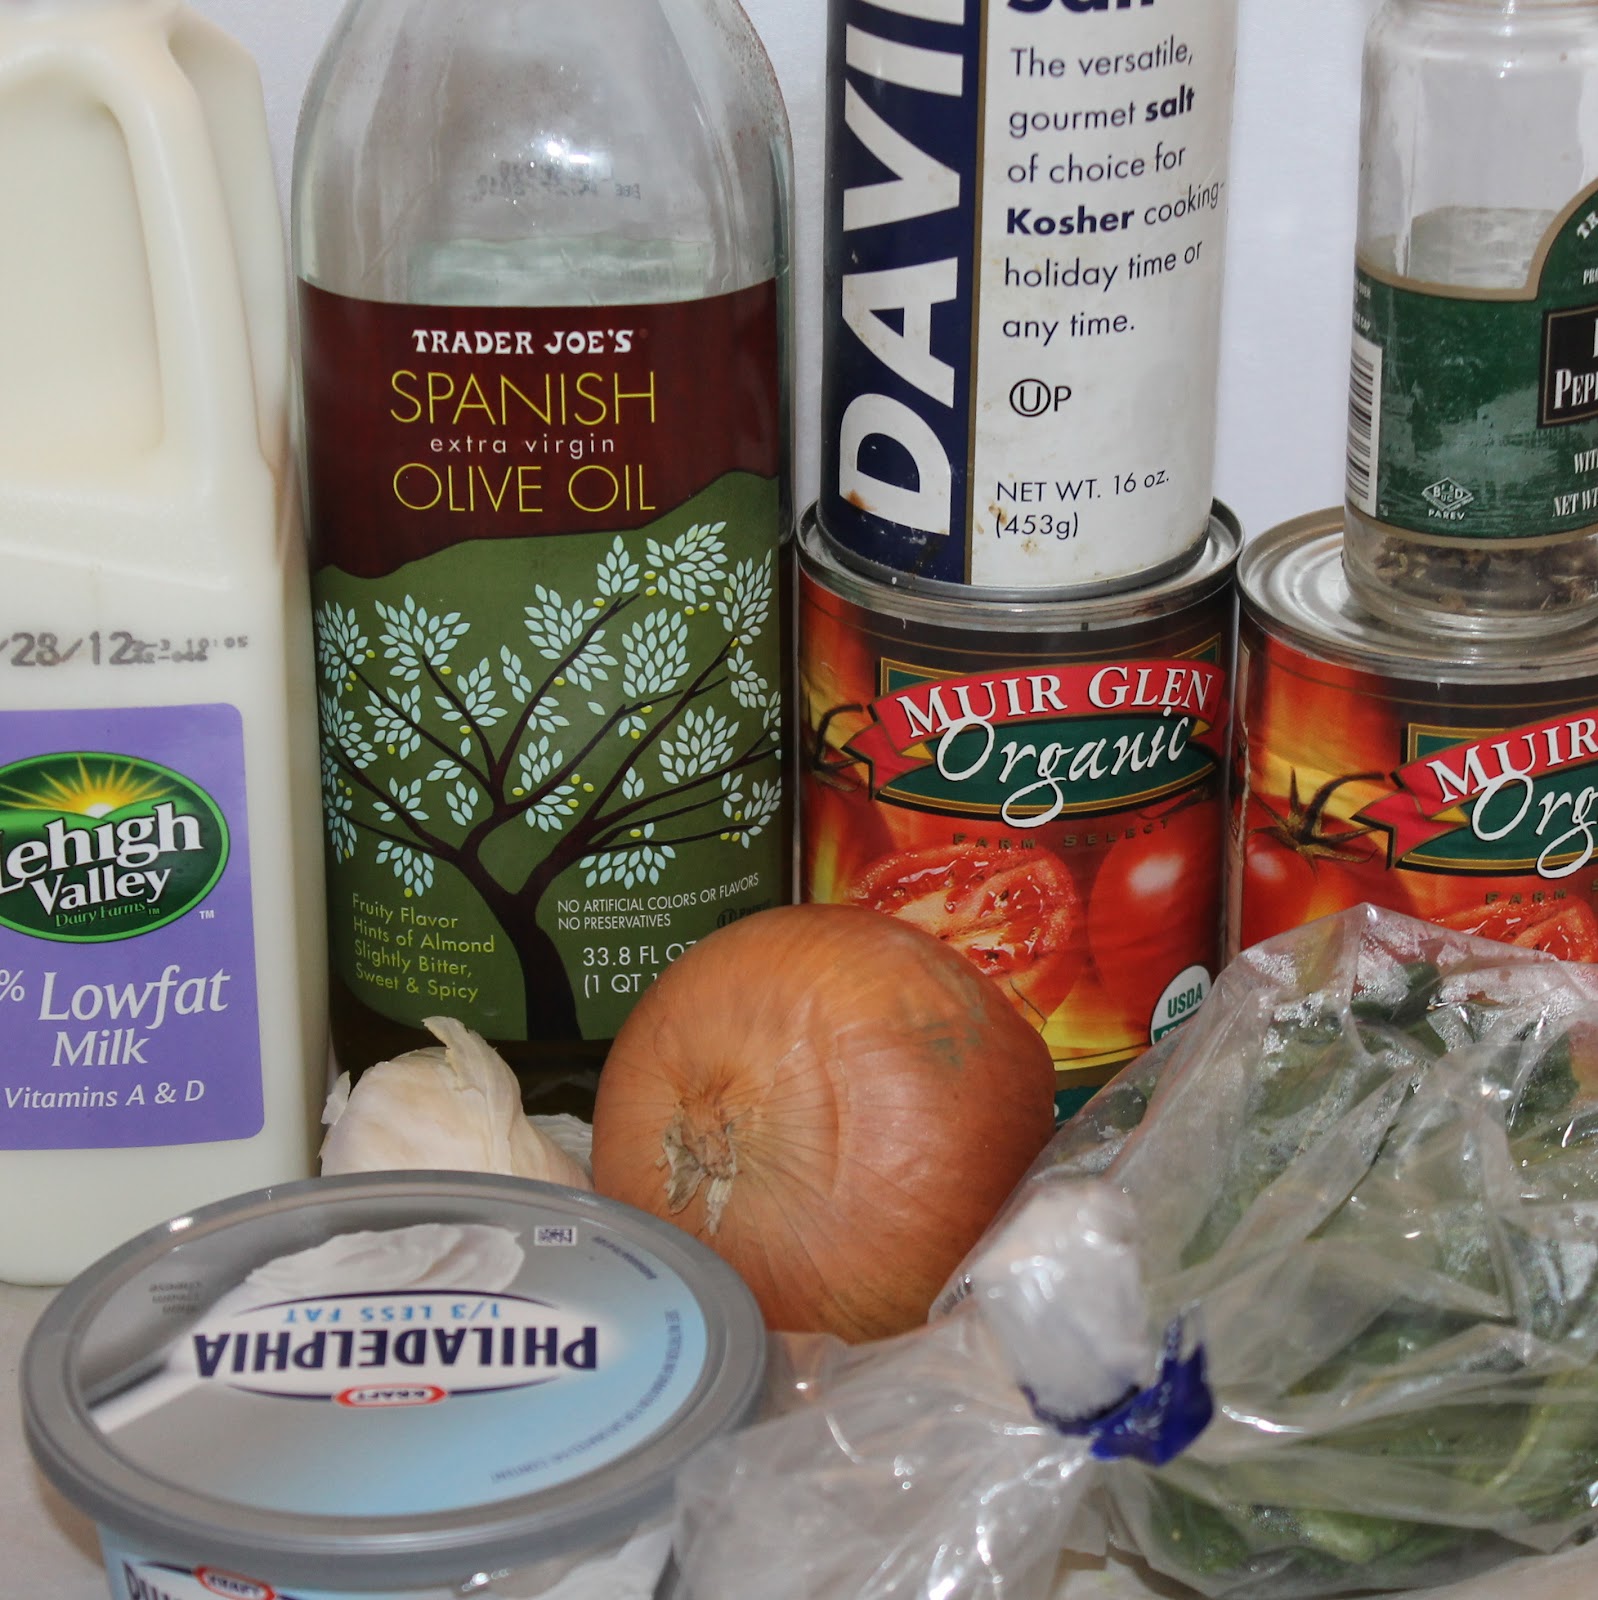
I wanted to go over the two different honeys used in this recipe. The tomatoes are tossed in the clover honey, which sweetens up the somewhat tanginess of the tomatoes. Clover honey is simply honey in which bees feed mainly on the nectar of clover plants. Clover honey is mild, relatively inexpensive, and has a slight floral taste to it. The buckwheat honey is drizzled over the finished burschetta to bring out the flavor of the ricotta. Buckwheat honey is a darker amber colored honey that is produced by bees who feed mainly on the nectar of flowers on buckwheat plants. The flavor is similar to molasses and has a wonderful earthy flavor. (If you’re in the Philadelphia area, Bee Natural, located in Reading Terminal, has both honeys for sale).
This recipe is definitely not weekday friendly. You can roast the tomatoes beforehand and refrigerate up to 2 days to break up some of the time. Just bring the tomatoes to room temperature before serving.
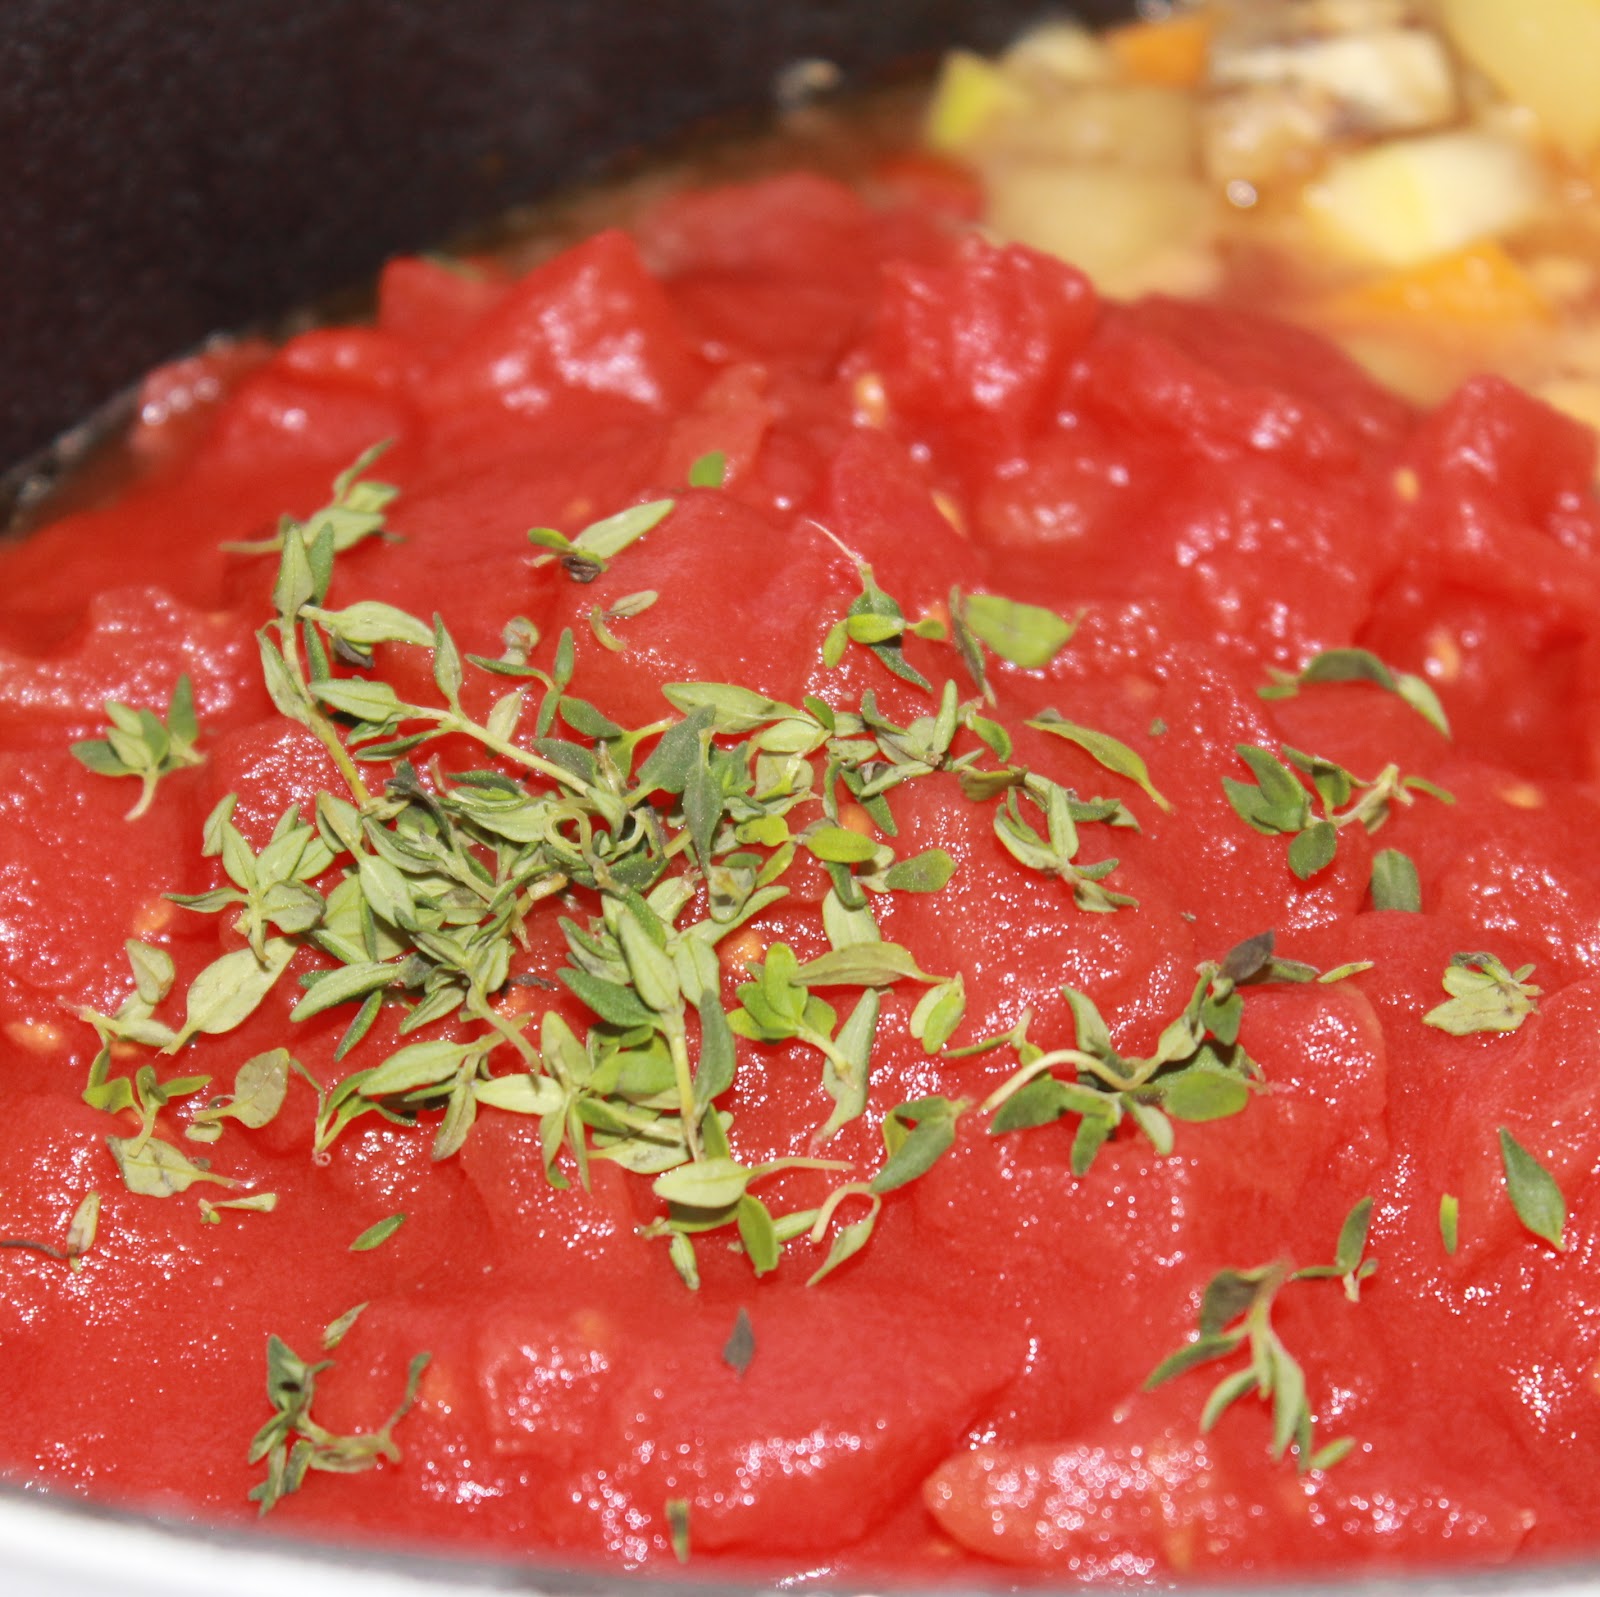
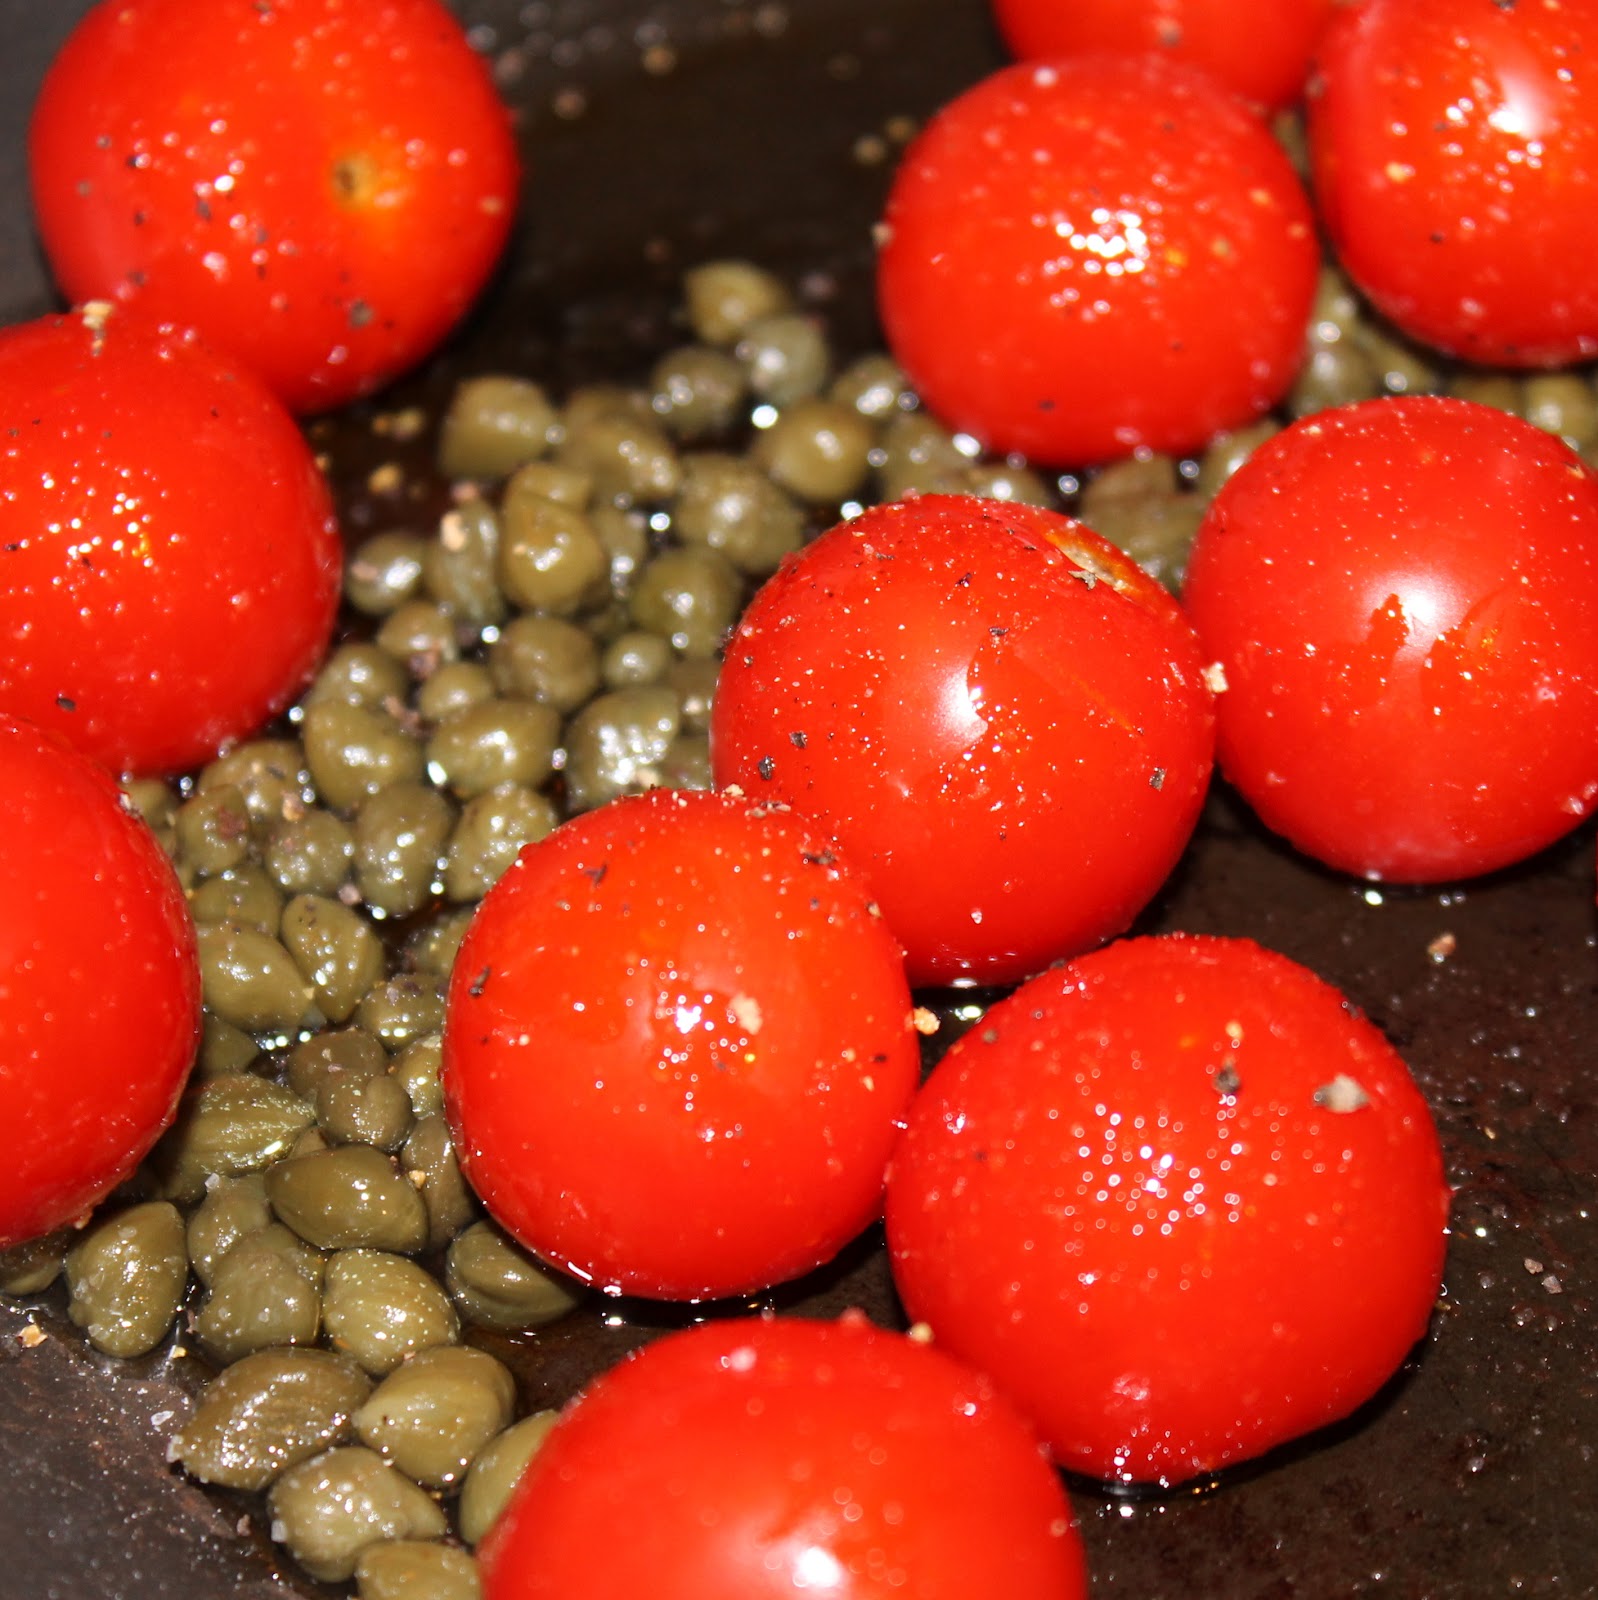
To make, preheat your oven to 300 degrees. Line a cookie sheet with parchment paper. In a large bowl, toss the tomatoes with olive oil, clover honey, thyme leaves, salt and pepper.
Add the tomatoes to the baking sheet, turning them cut side up.
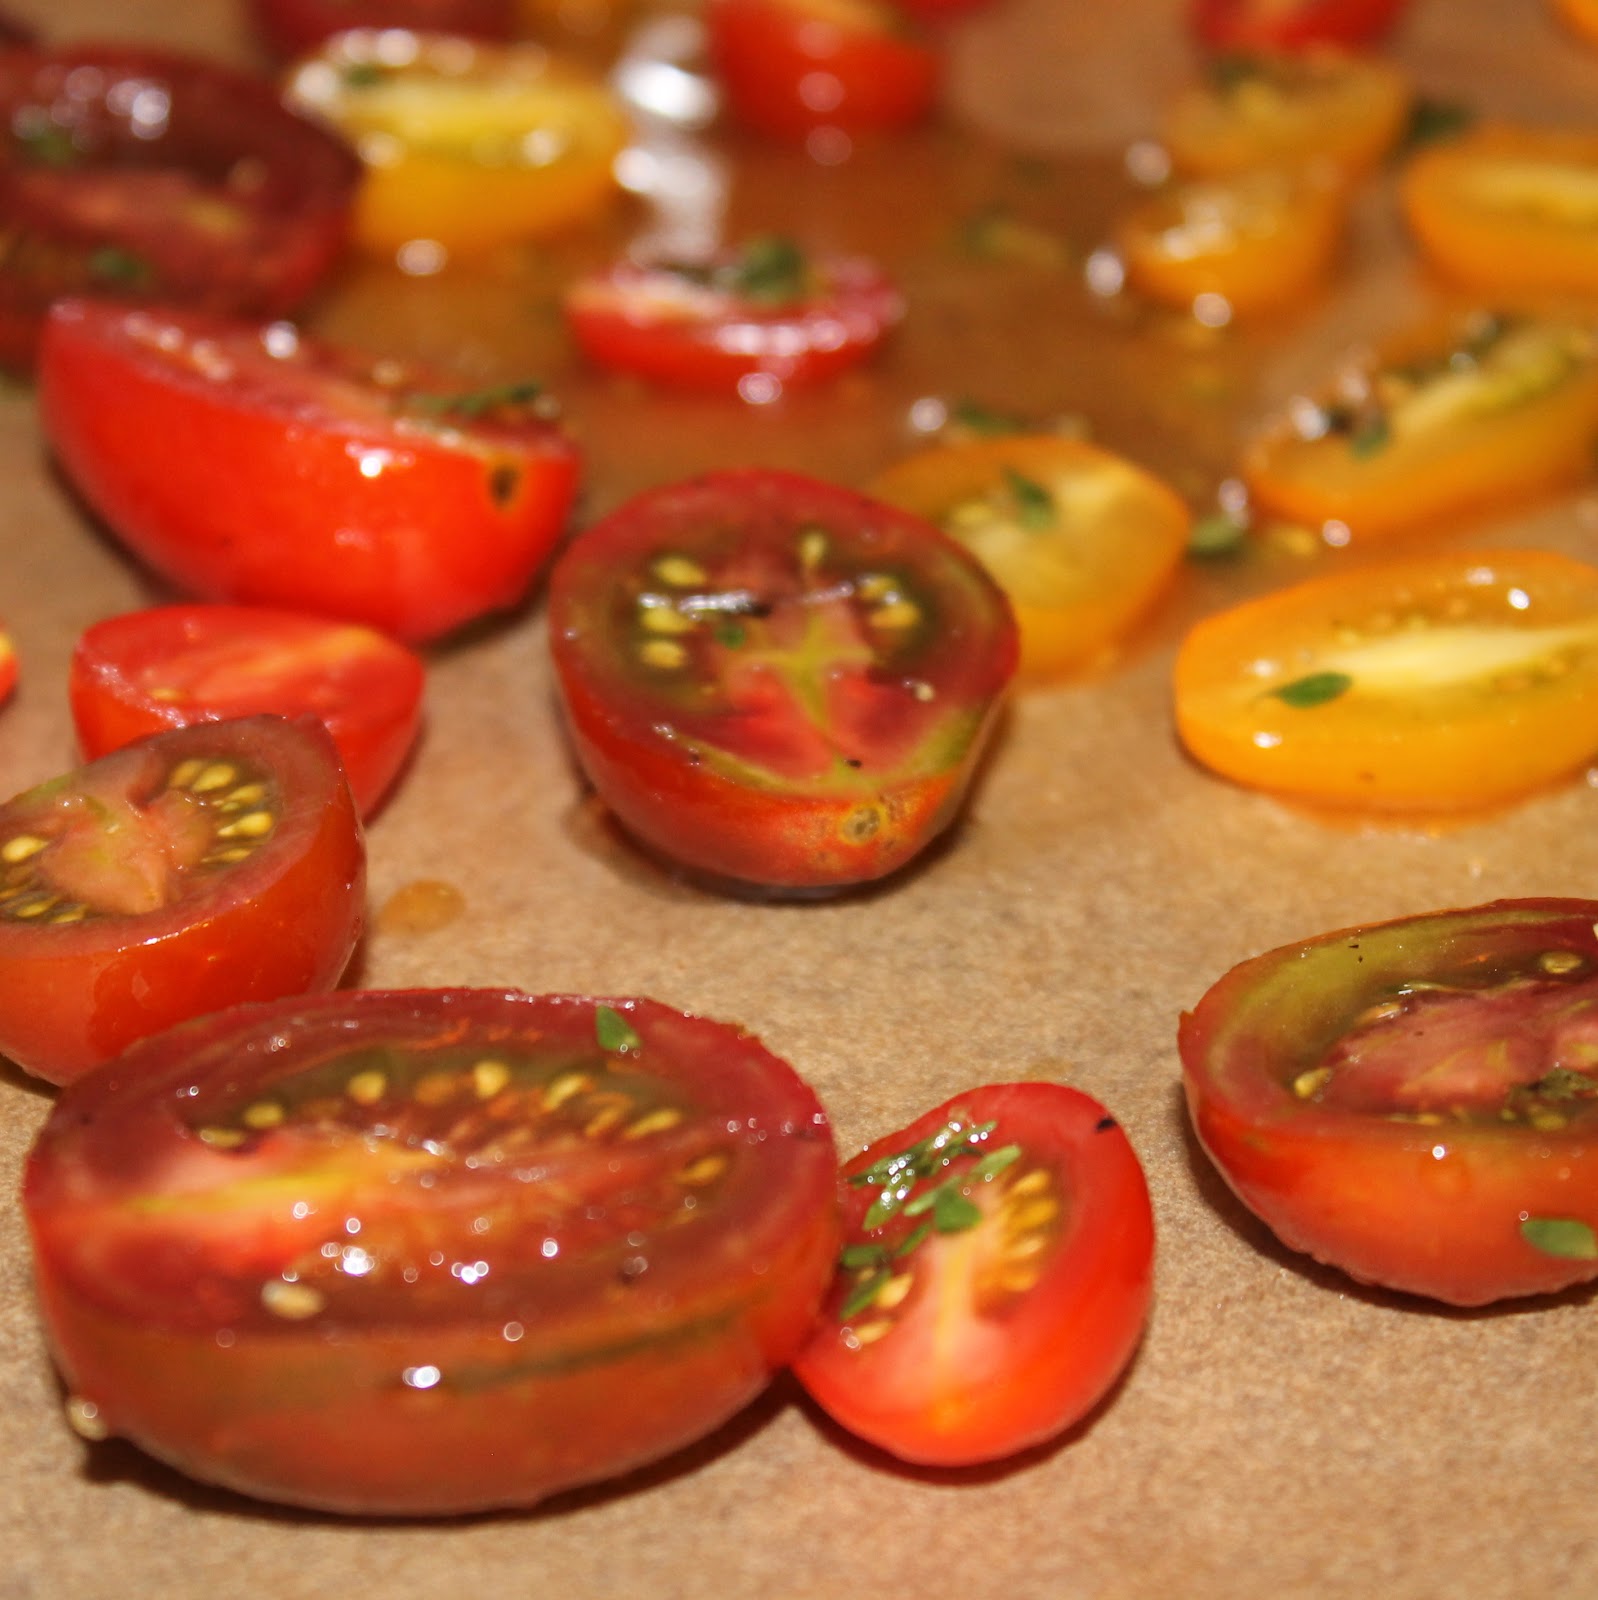
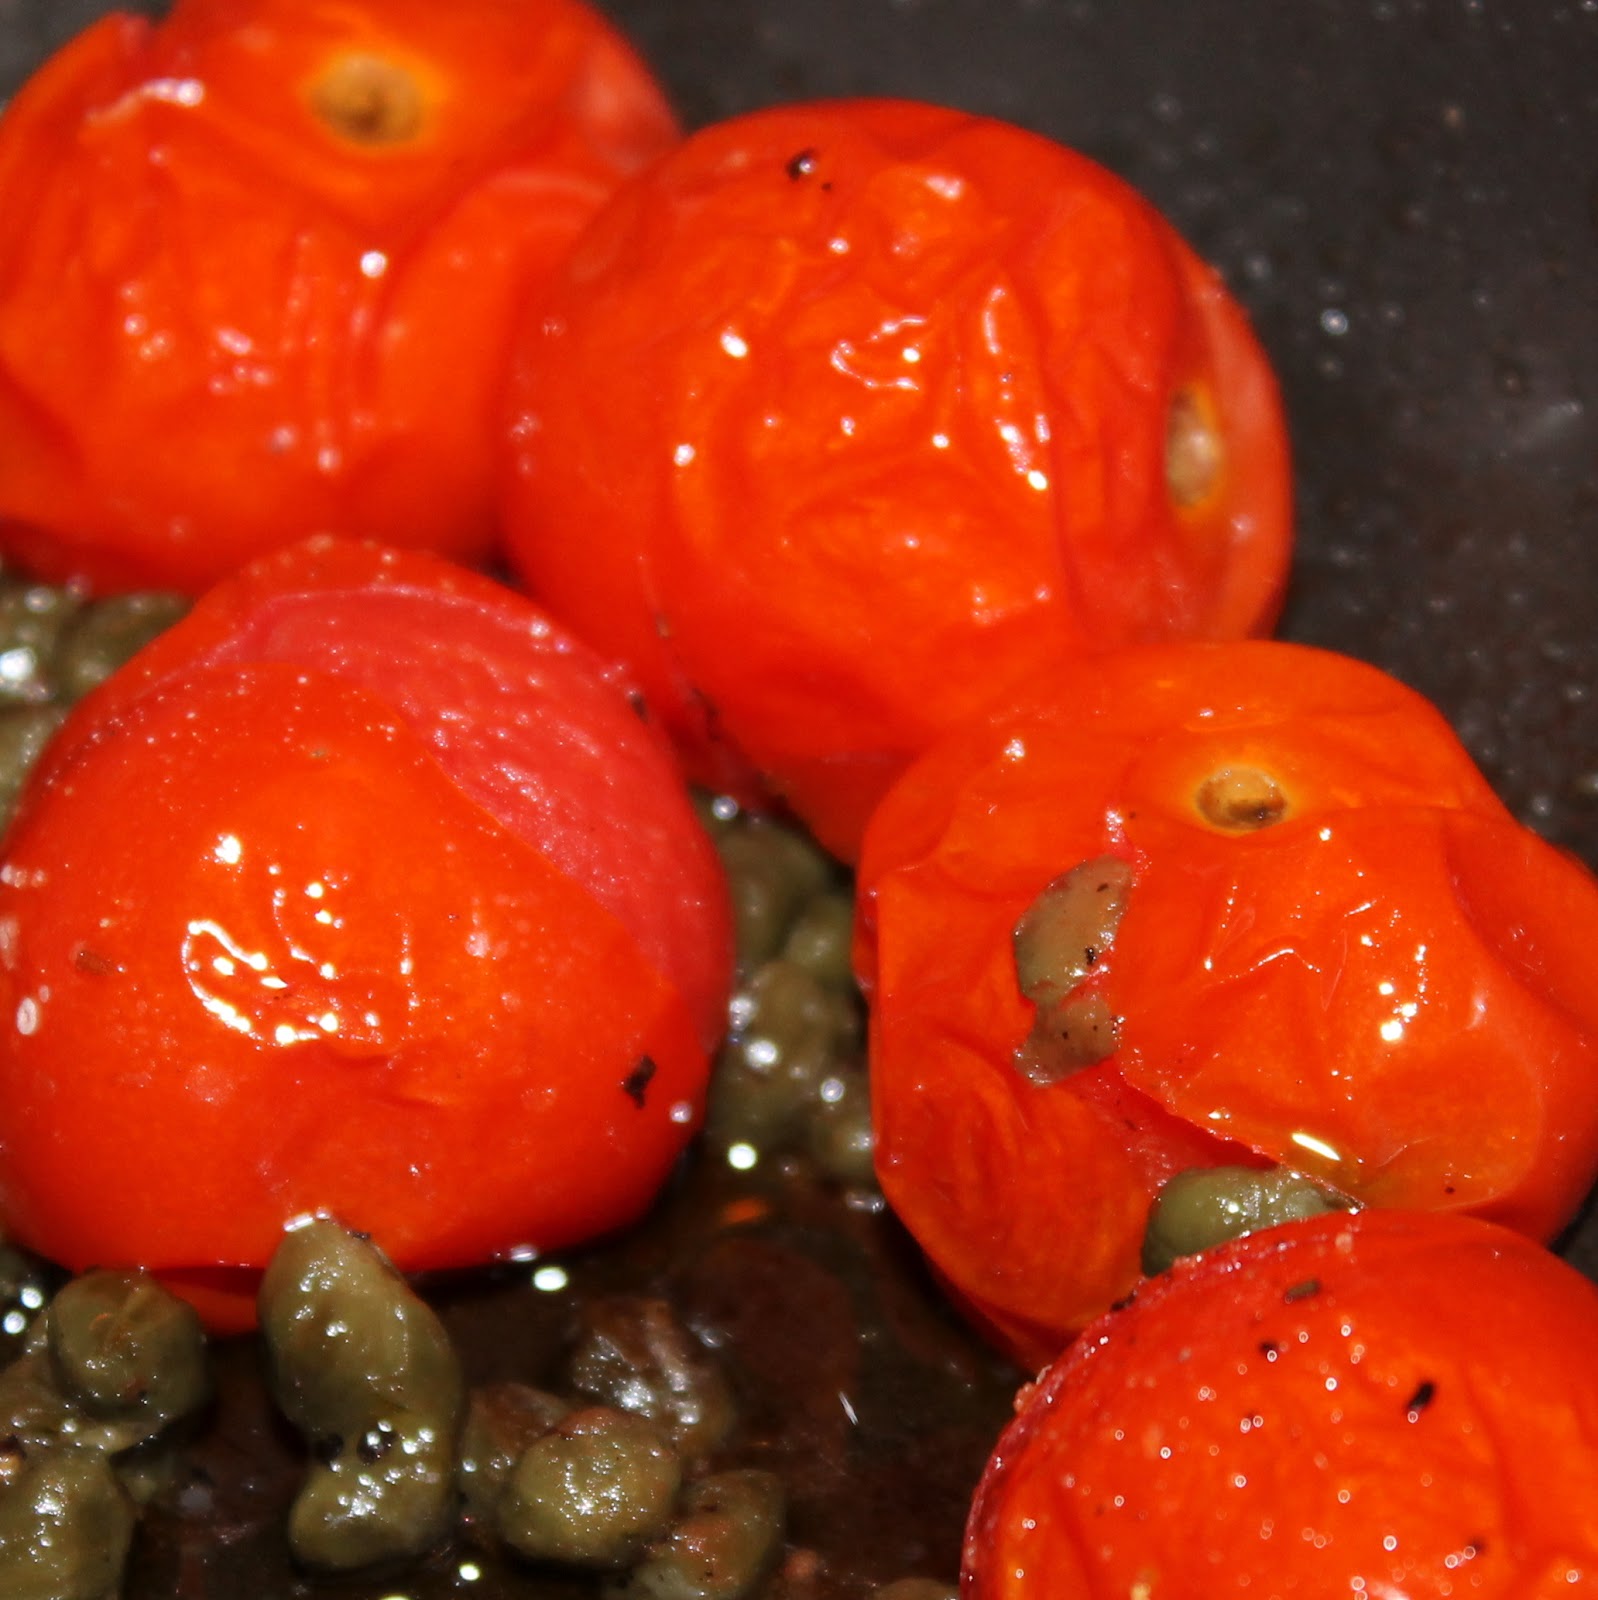
Bake for 1 hour and 25 minutes or until they begin to shrivel. Allow to cool.
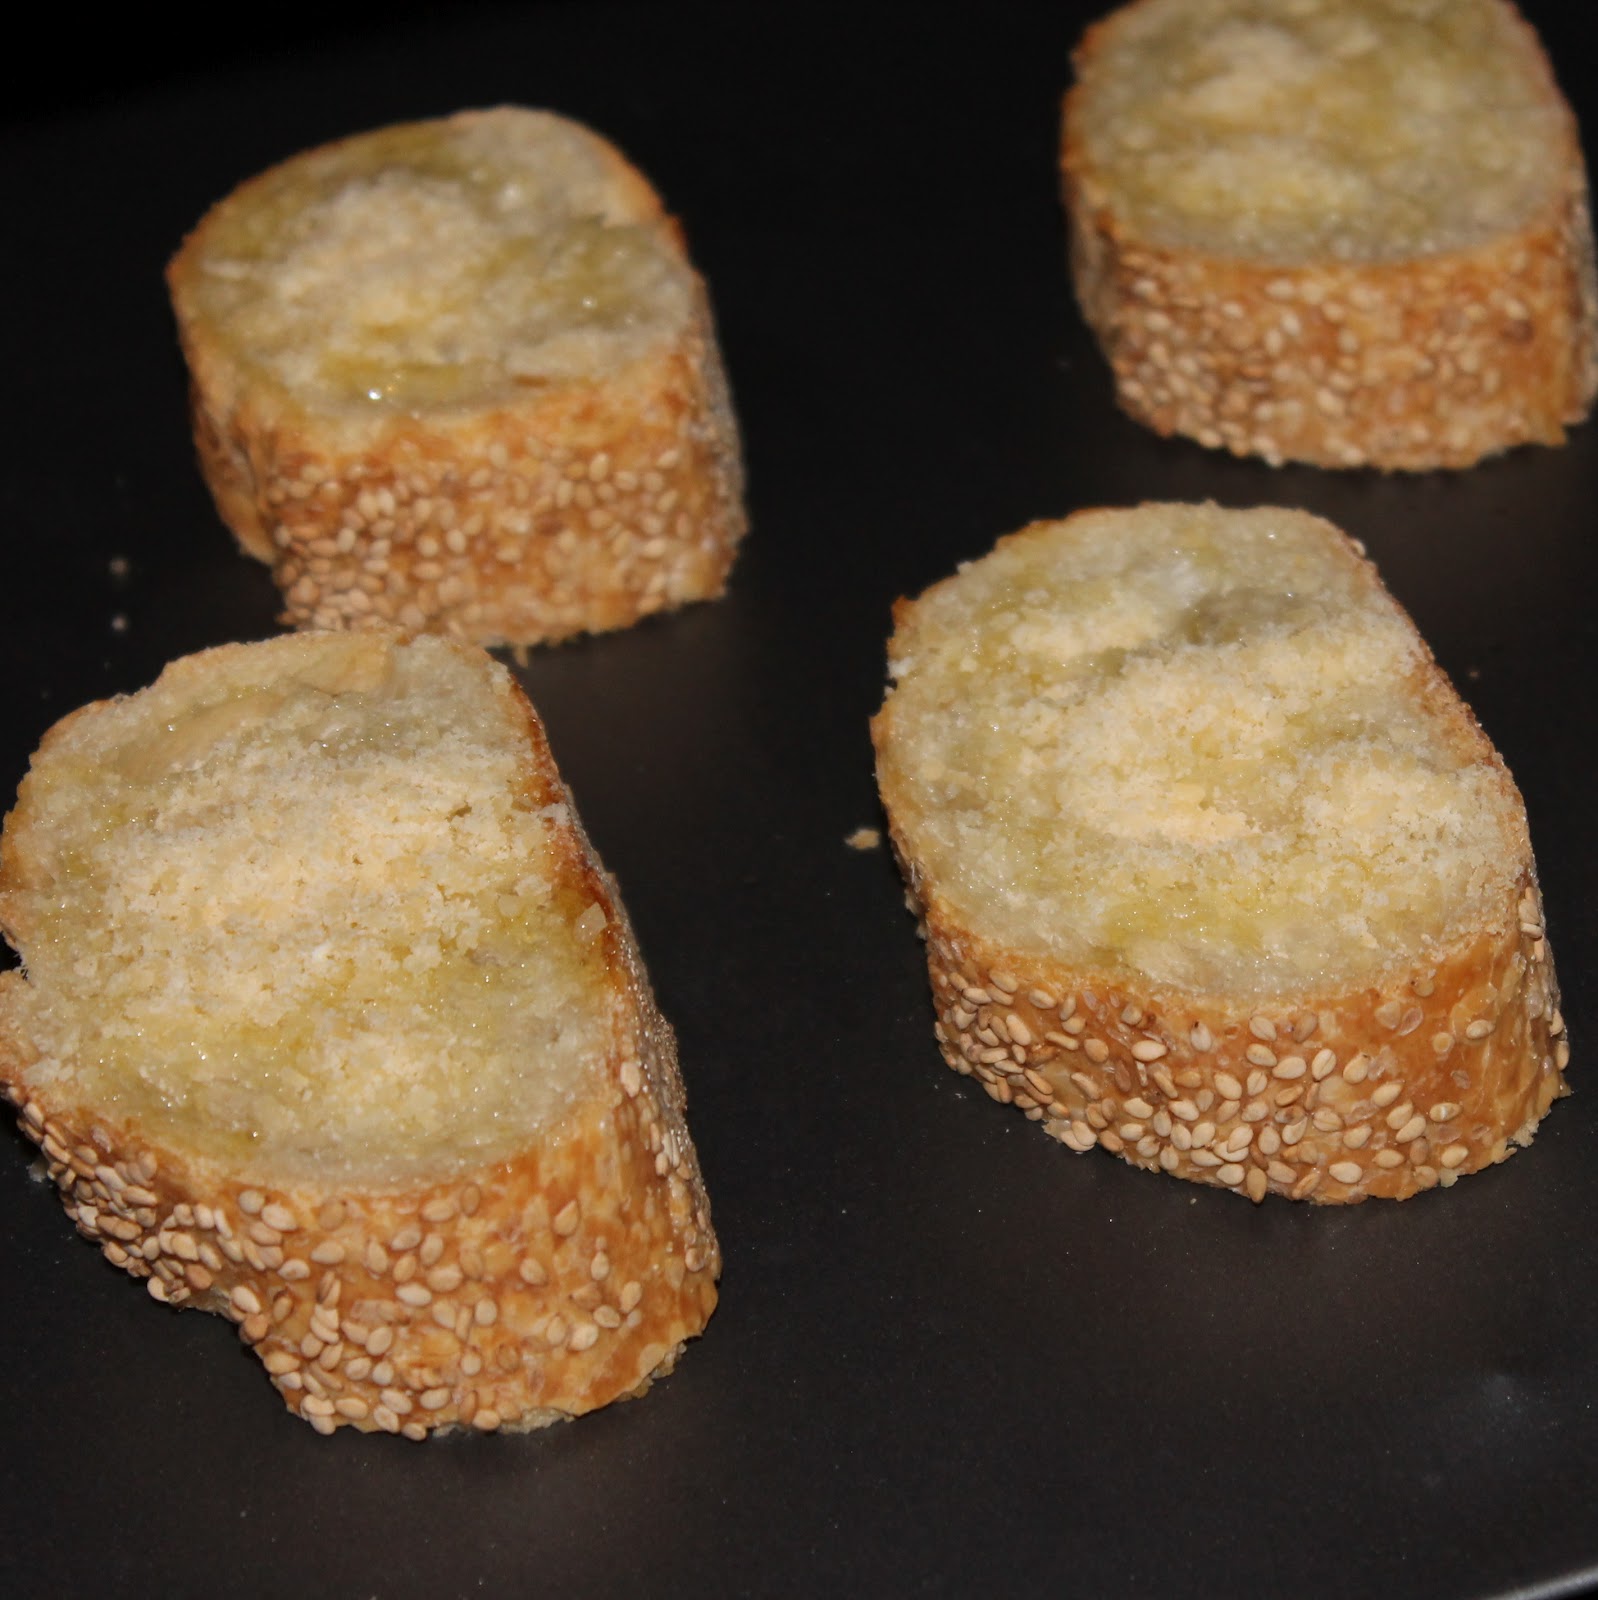
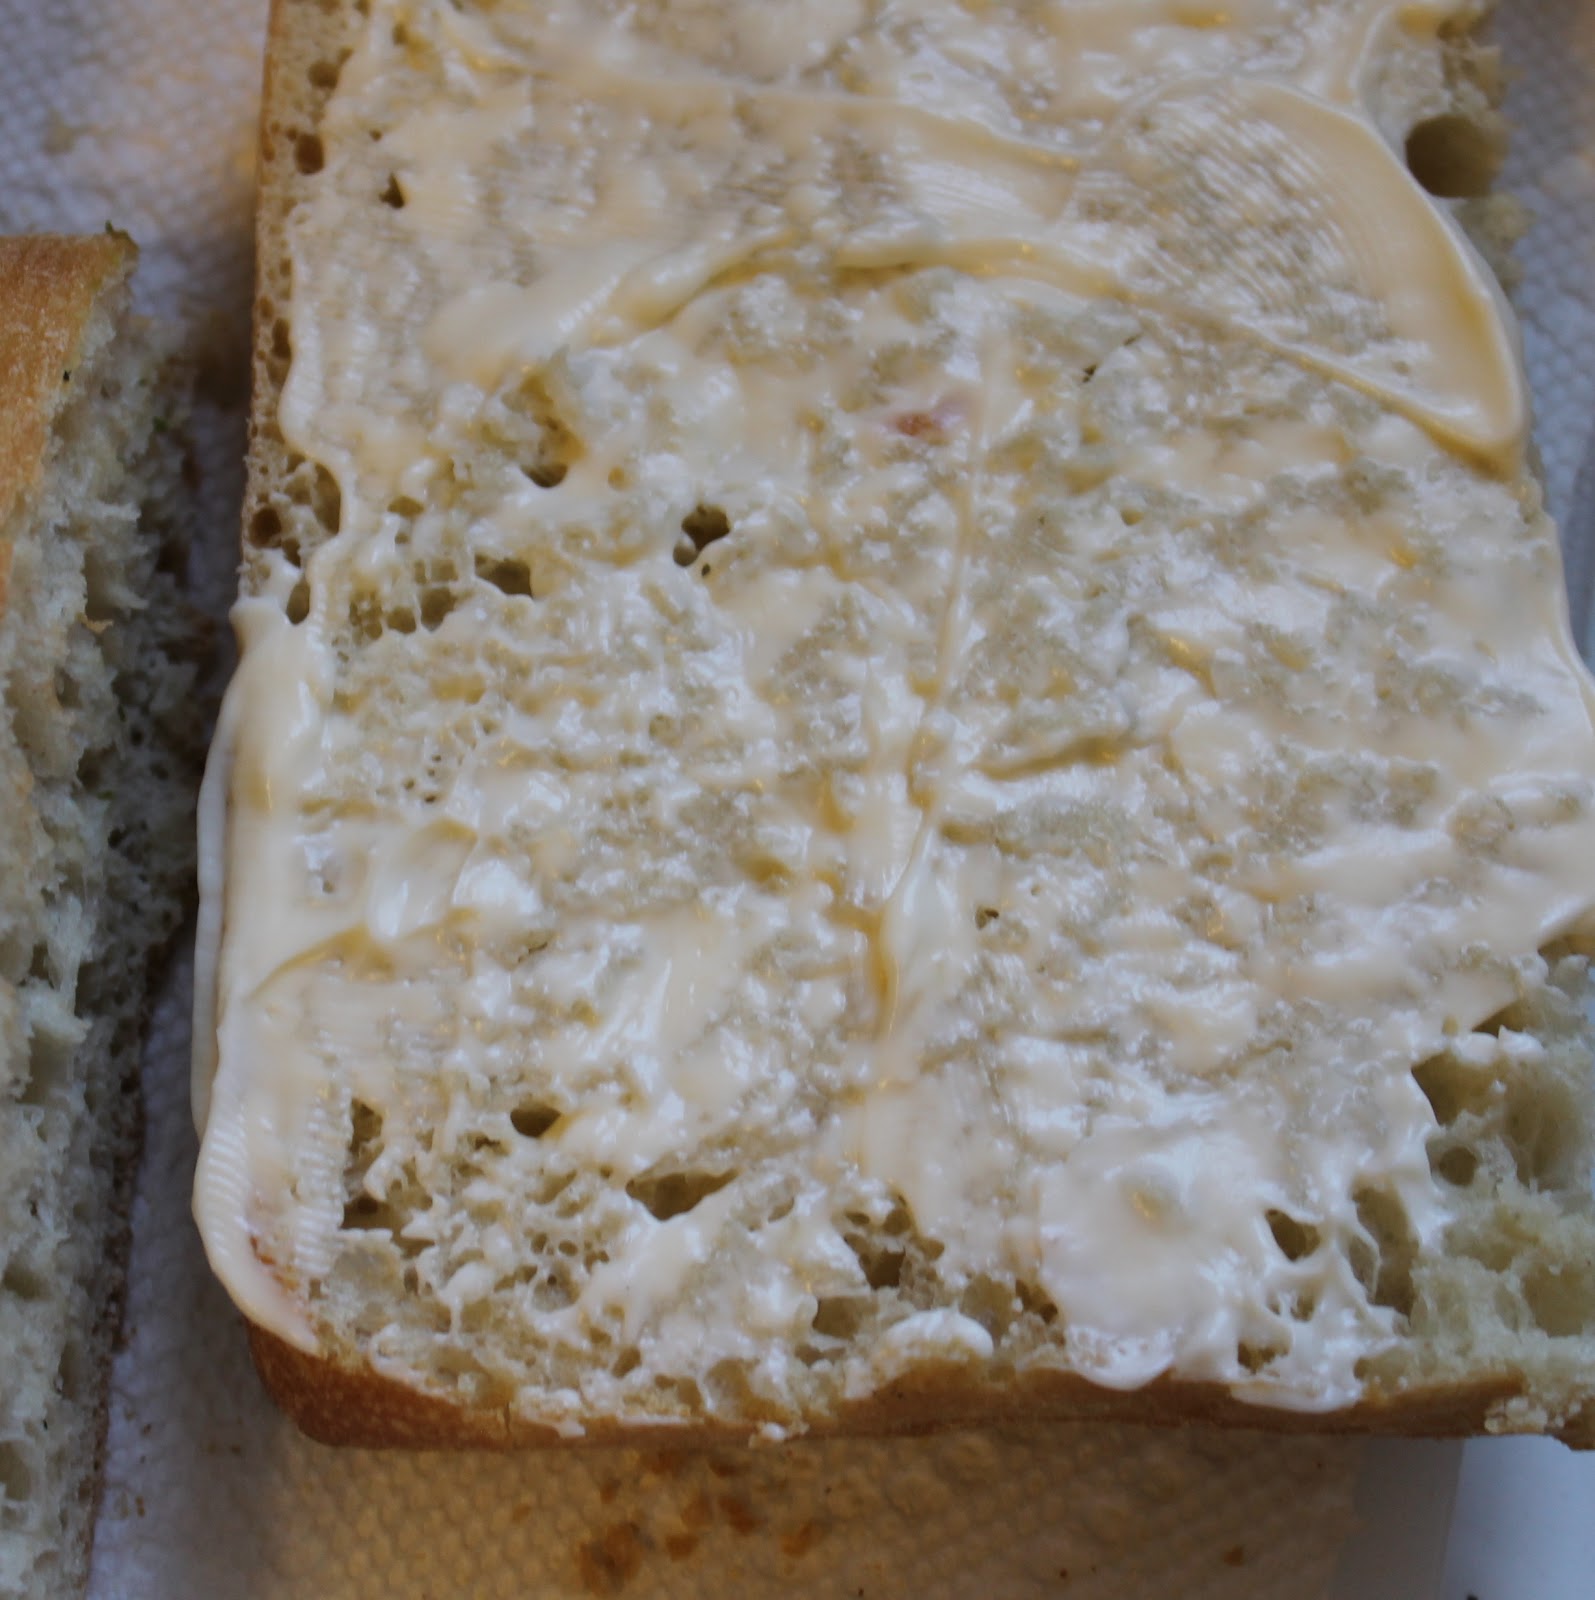
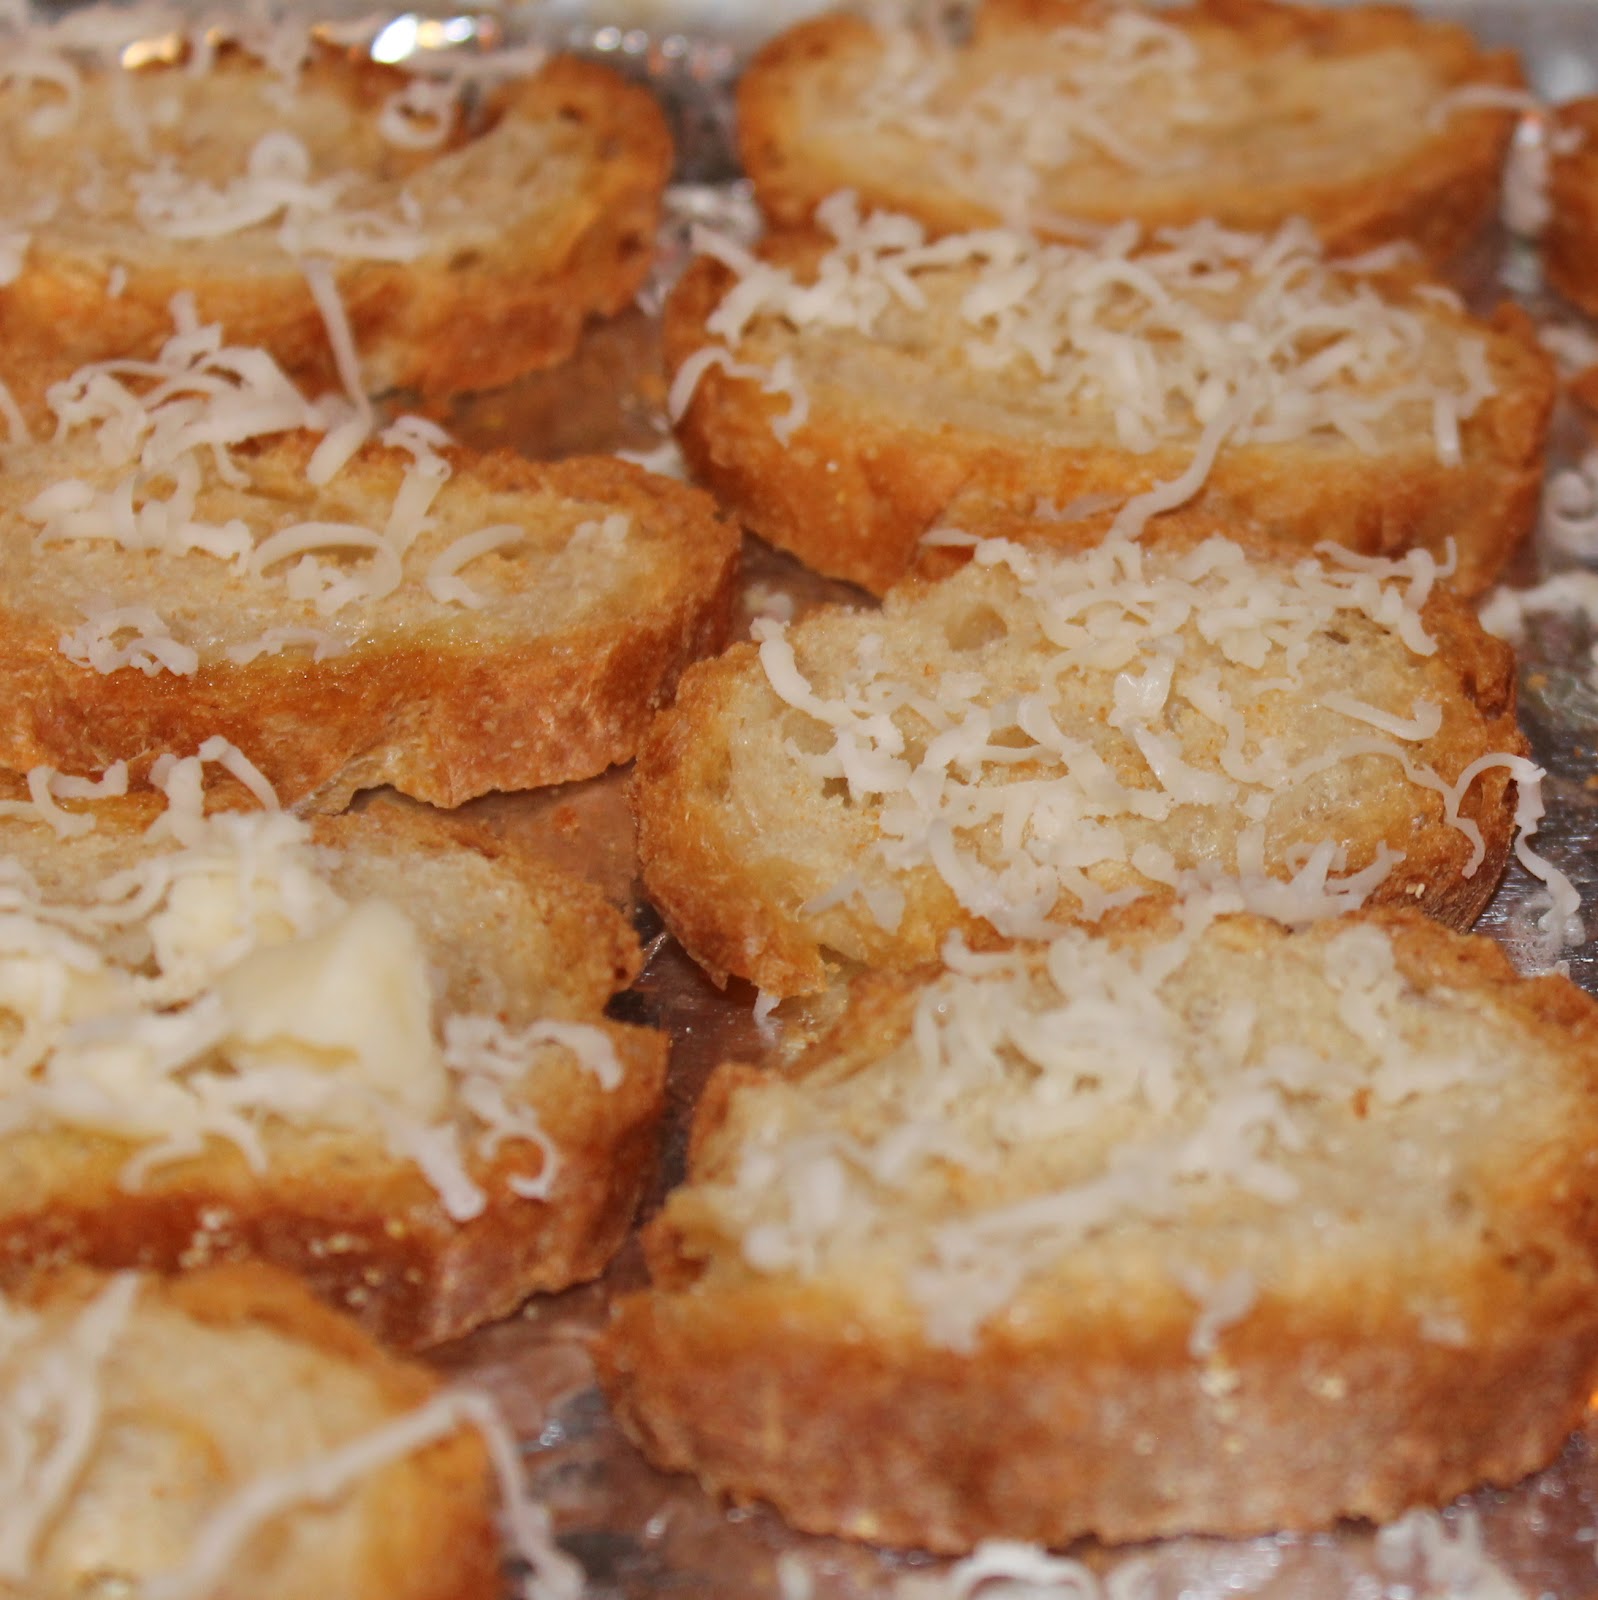
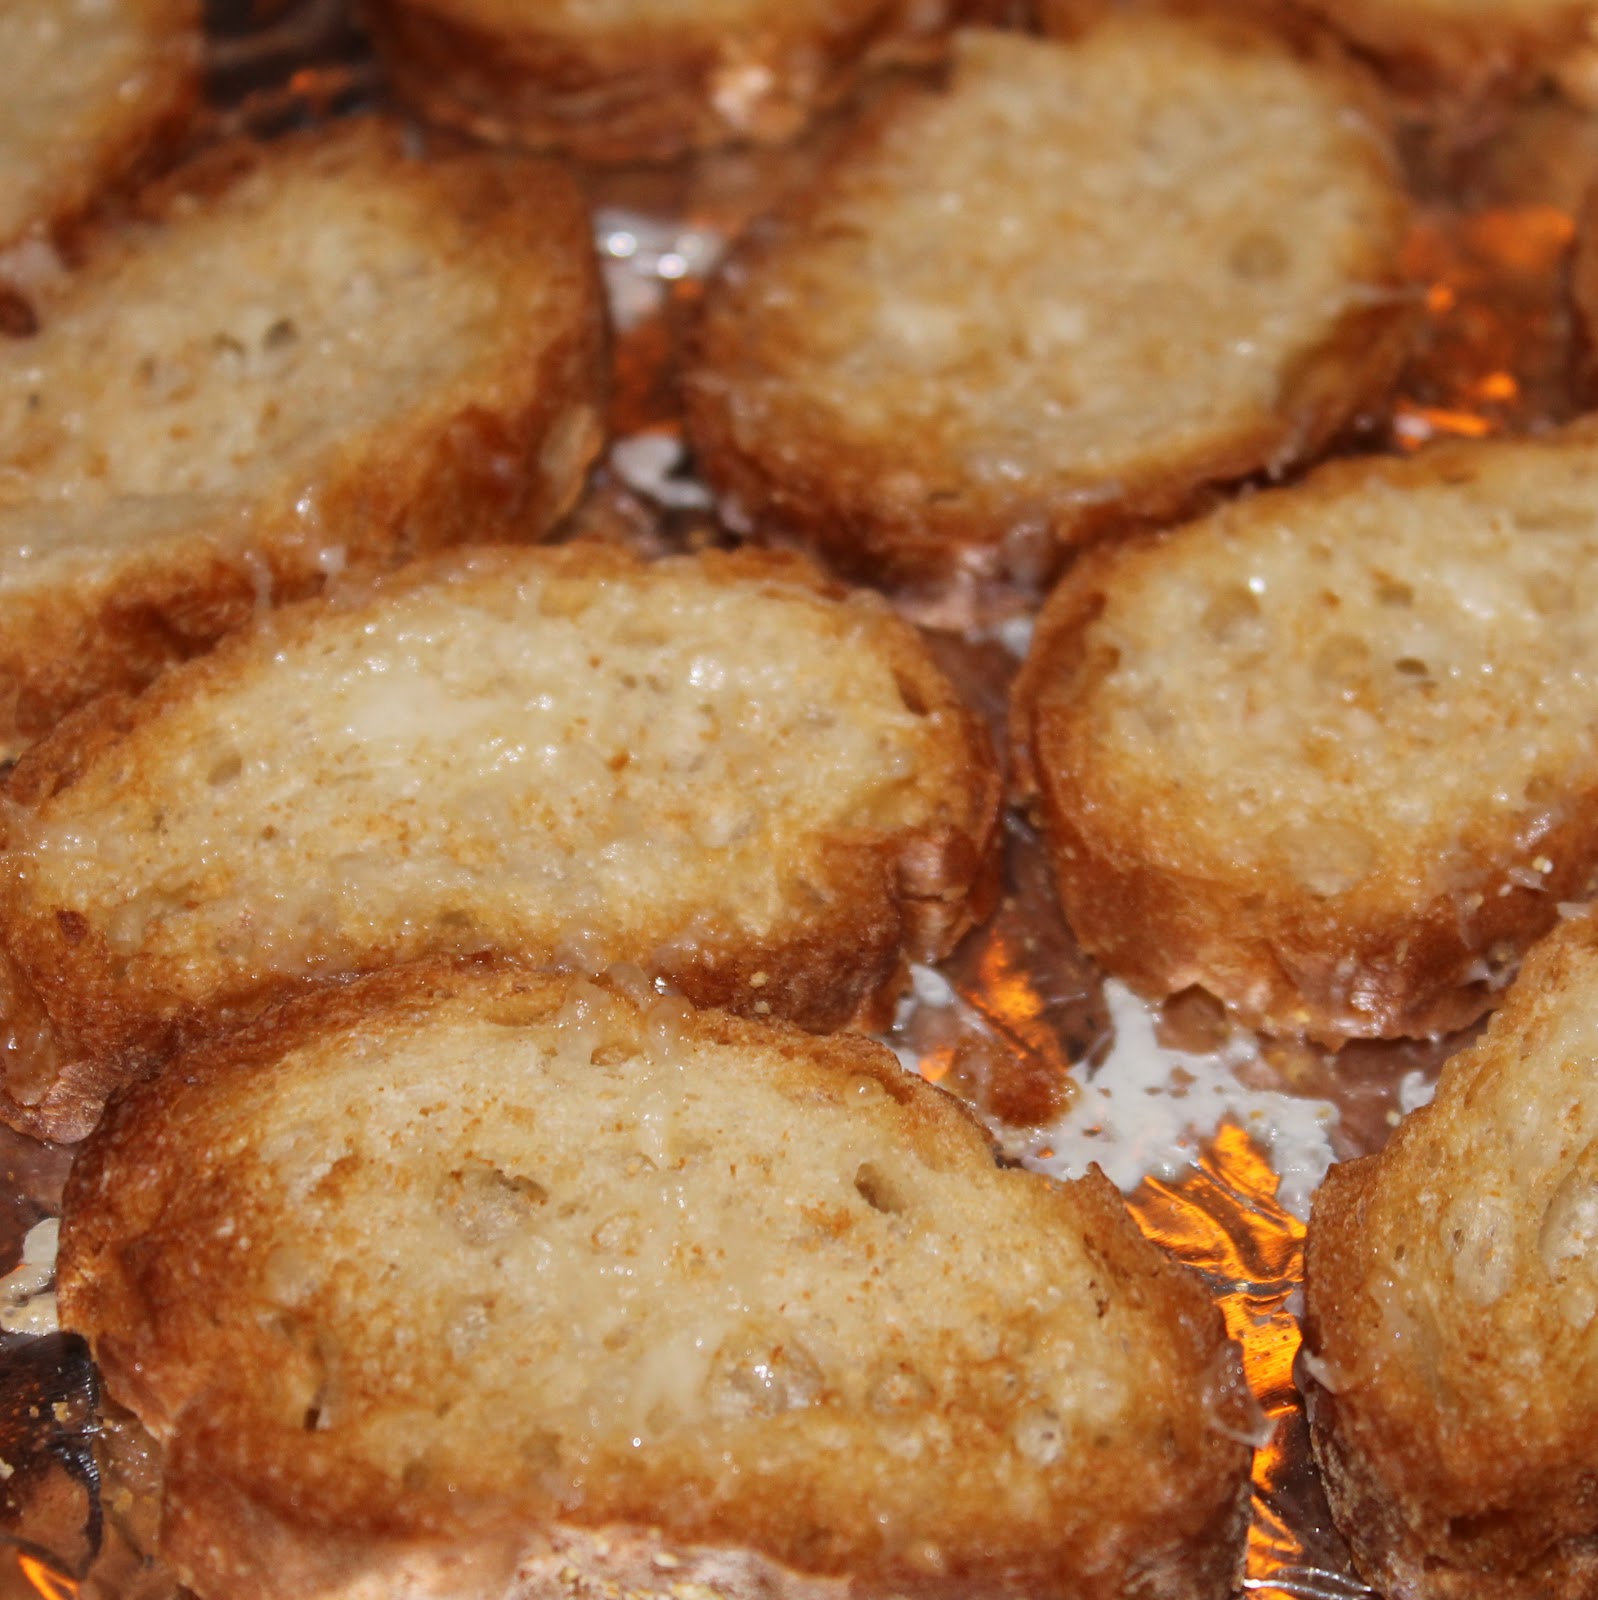
Preheat your broiler and add the baguette slices to a baking sheet. Broil for about 30 seconds on each side or until the edges of the bread are golden brown.
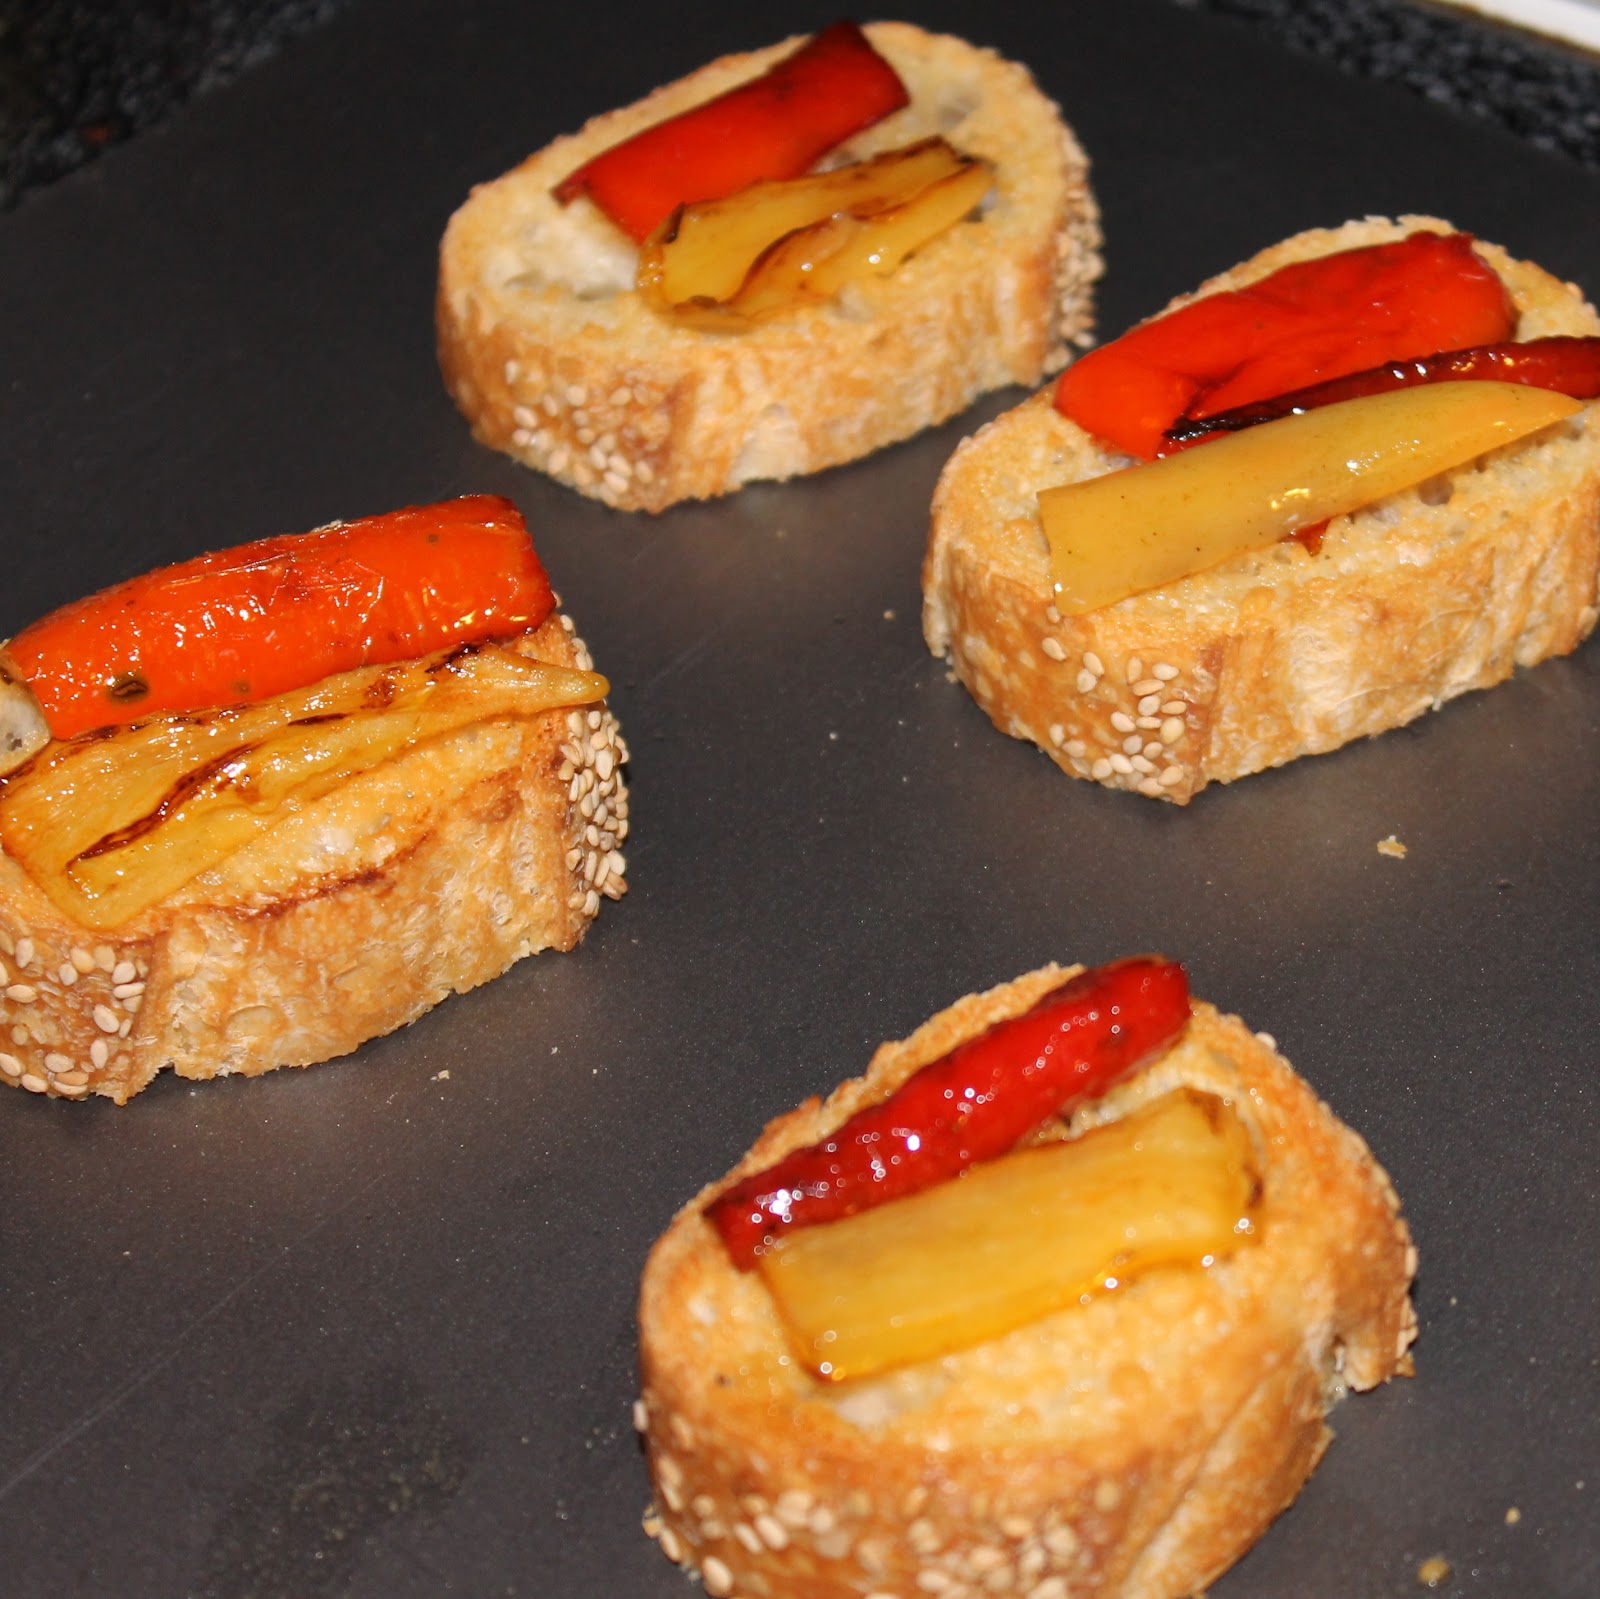
Add the ricotta to the baguette slices and top with the slow-roasted tomatoes.
Lightly drizzle with buckwheat honey and sprinkle with sliced basil.
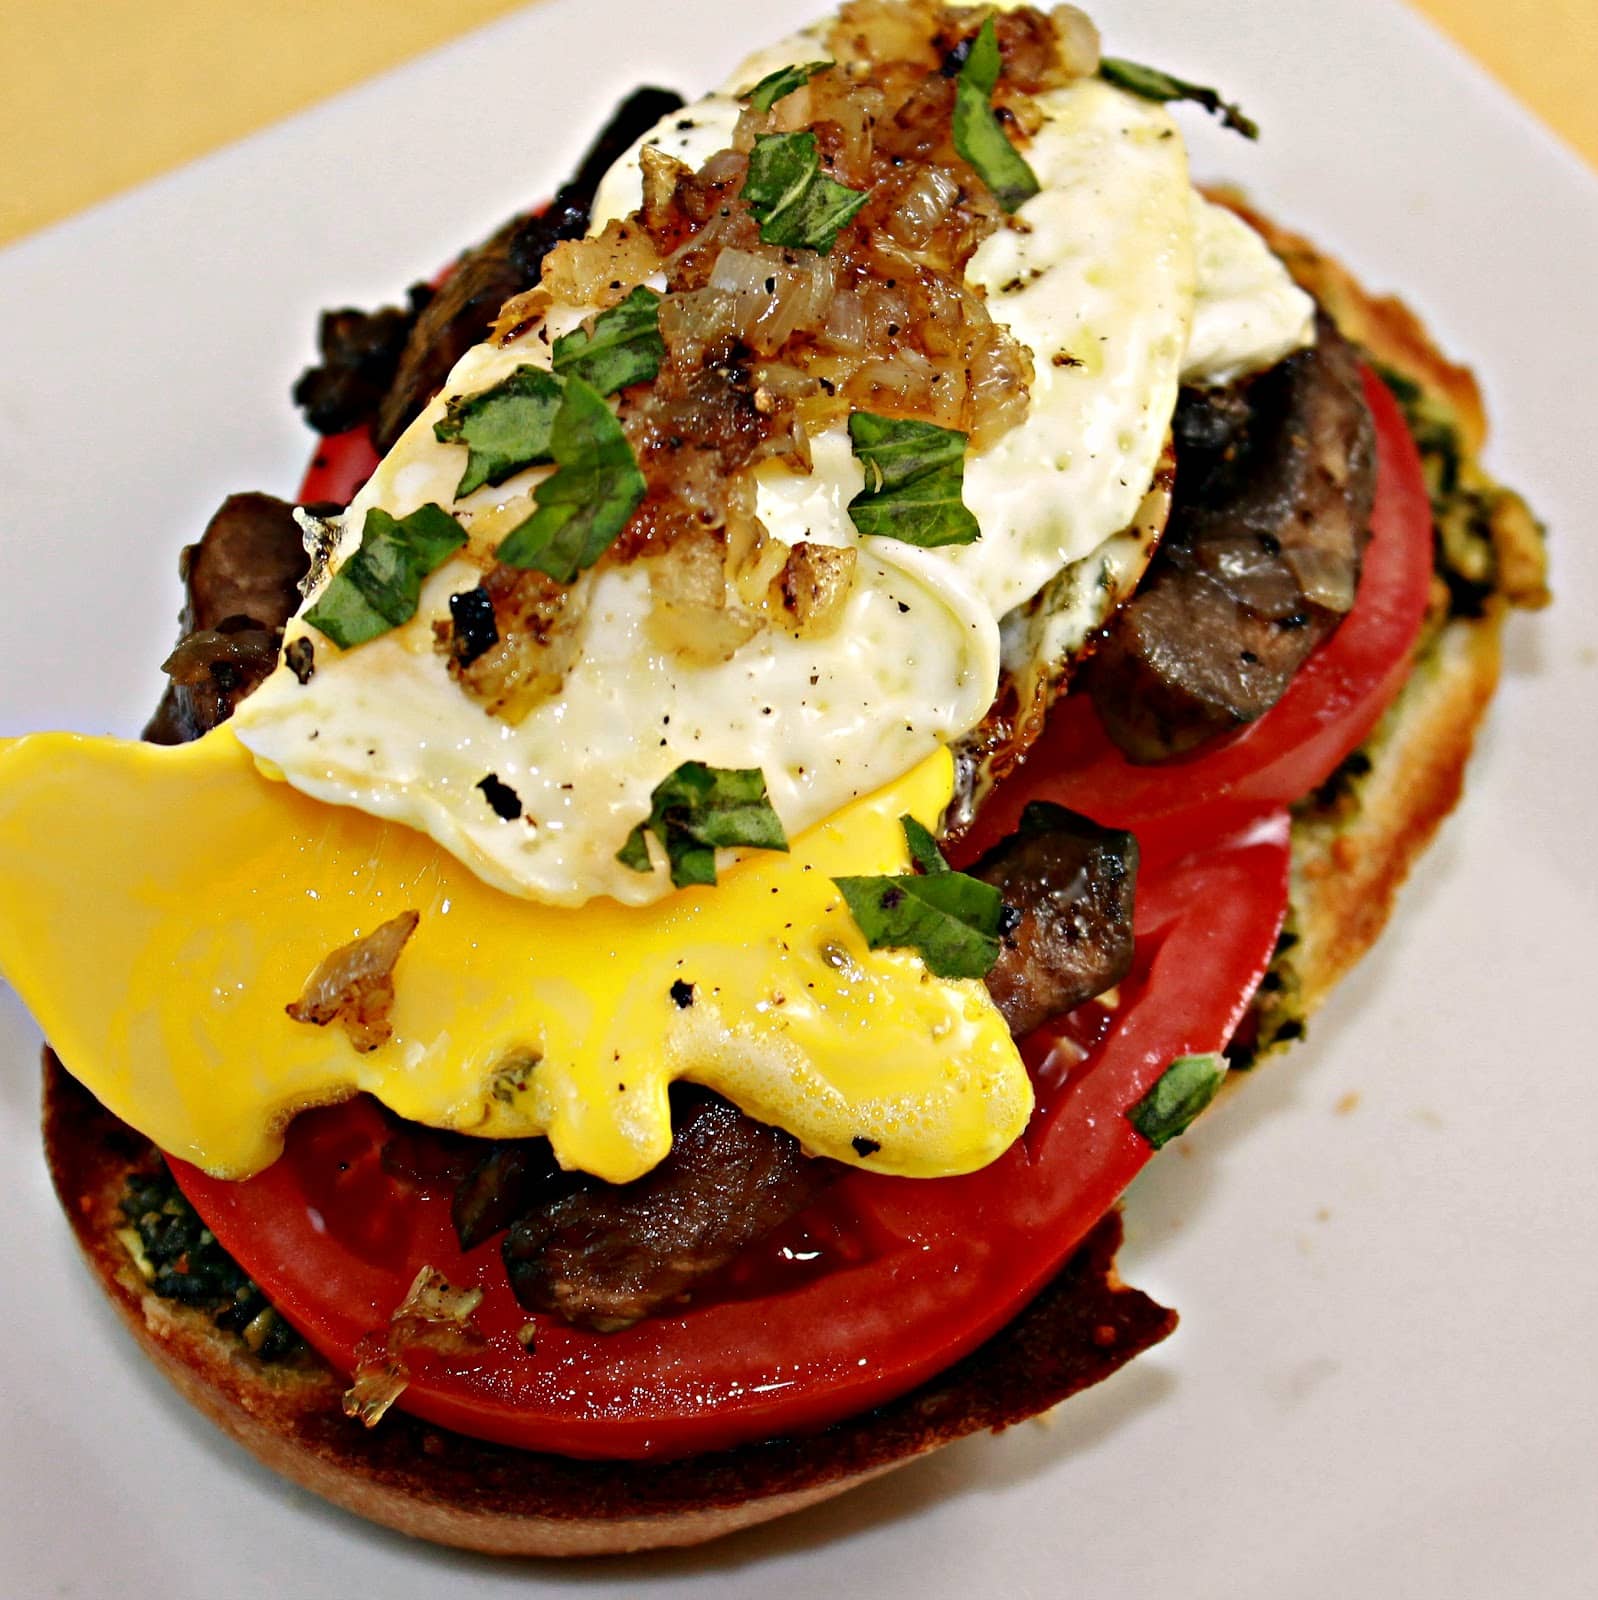
I tend to be awfully impatient when it comes to making food, I want my meal prepared in under 40 minutes. So I’ve rarely attempt to slow roast, well, anything. But the flavor of a slow roasted tomato makes the wait time well worth it! (It also makes your kitchen smell fantastic)
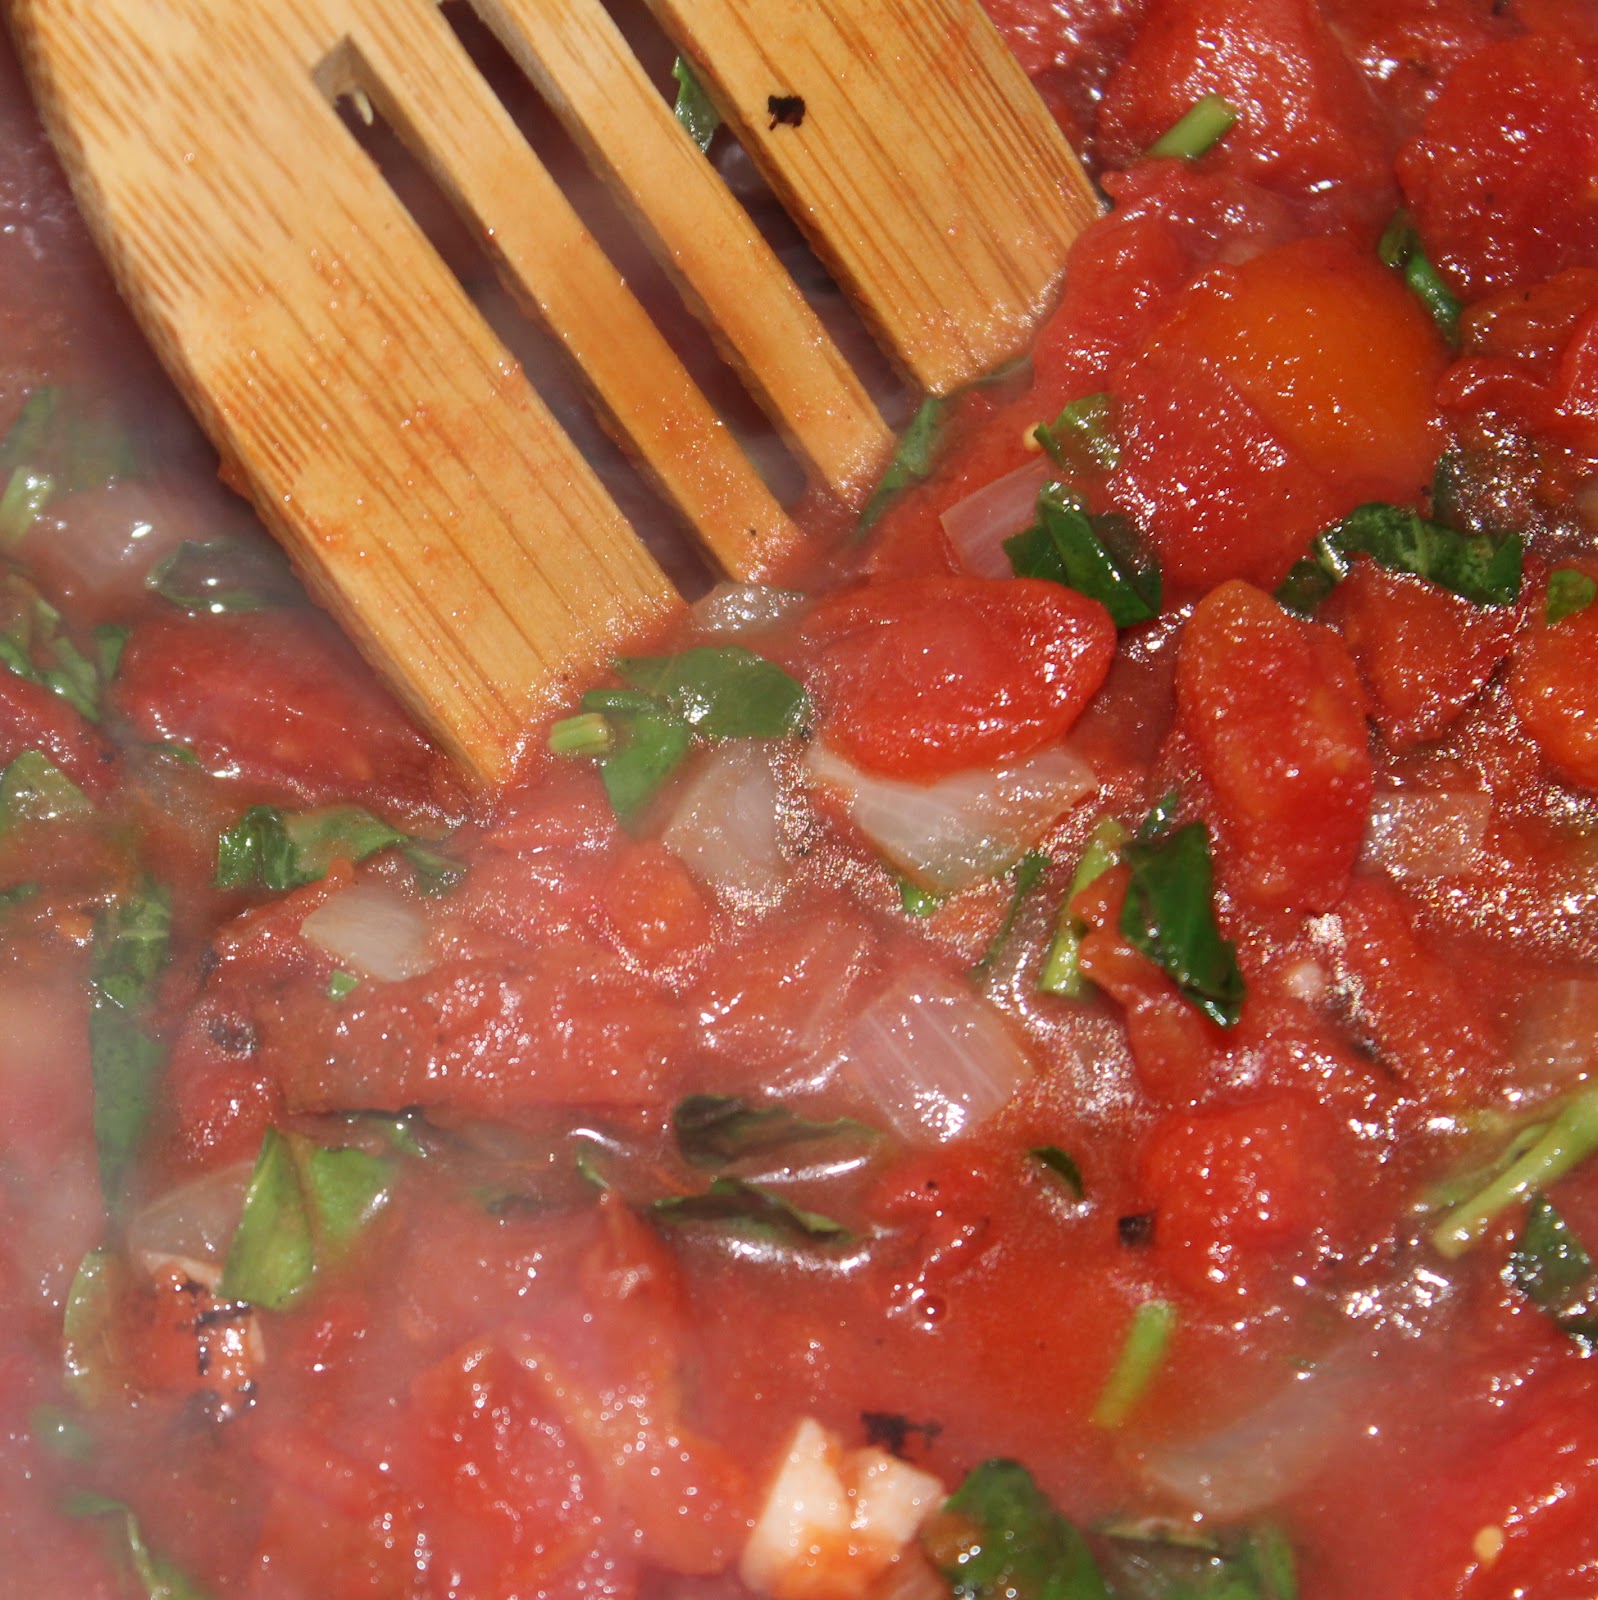
The honey is a really nice addition and brightens up the flavors of the tomatoes. Creamy ricotta just finishes off the dish. The recipe is really simple (although time consuming) but would be a very welcome appetizer at any party.
I received Italian Frying Peppers in my CSA share this week. I had no idea what an Italian frying pepper was so I was curious to find out more about these fun looking peppers. Although they look like they might be spicy, they are definitely closer to the flavor of a bell pepper, but there is a hint of spice. They come in a range of colors so I thought they’d make a beautiful bruschetta-type appetizer. I figured there was good reason they were called frying peppers, so I kept it simple and did just that: sauteed them up in some olive oil. (Sorry about the lack of amounts of each ingredient, I made this up as I was going)
Ingredients:
Italian frying peppers, cut small/thin enough to fit on bread slices
French or Italian bread, sliced
Olive oil (I used Nudo’s basil olive oil)
Parmesan cheese
Fresh basil, chopped
Preheat your broiler. Brush the pieces of bread with the olive oil. (I realized after I did this with basil how fantastic it would have been with Nudo’s olive oil with chili. Sigh. I’ll do that next time!)
Top with Parmesan cheese and add to a cookie sheet.
Broil for 1-2 minutes or until the bread begins to brown.
Add 1 teaspoon of olive oil per frying pepper (I cooked three so I used 1 tablespoon) to a saute pan over medium-high heat. Add the peppers.
Cook until they begin to brown, turning once, about 4-5 minutes.
Remove the peppers from the pan and top the bread with slices of peppers.
If desired, add a bit more Parmesan cheese and broil for another 30 seconds to a minute, or until the cheese melts.
They can be served as is. Simple, delicious, and quick.
You can also add some freshly chopped basil to the slices to add a bit more flavor.
These were really stellar. I loved how (for lack of a better term) creamy the peppers became once fried. This recipe was really delicious with the basil olive oil, but I bet the chili olive oil would have been spectacular. Normal extra virgin olive oil would also do the trick.
Brunch appeals to my indecisive side: I love not having to choose between breakfast or lunch. Philadelphia is a huge brunch town so almost every weekend I have the opportunity to have an awesome brunch at a local coffee shop or restaurant. This weekend, I decided to stay home for brunch and try out this delicious sounding recipe from Cooking Light. The recipe includes mushrooms, a fried egg, tomatoes, and pesto … did they make this recipe especially for me?!
Ingredients (this makes 4 servings):
4 teaspoons extra-virgin olive oil, divided (I used basil olive oil)
1 cup thinly sliced shallots, divided
3 portobello mushrooms, roughly chopped
2 tablespoons dry white wine
1/2 teaspoon freshly ground black pepper, divided
1/4 teaspoon kosher salt
8 teaspoons refrigerated pesto (or fresh, check out my recipe here)
The wonderful people at Nudo sent me a new product on their site: the Squadra Italiana Set which includes cold press olive oil, olive oil with Sicilian chillies, and a free tin of extra virgin olive oil stone ground with fresh basil. These olive oils are absolutely wonderful on their own, to just dip breads in. But I wanted to add that extra punch of basil to this dish so I used the basil olive oil to add a little bit more flavor. Expect these tasty olive oils to show up in quite a few posts in the coming weeks. (You can get your own Squadra Italiana Set here)
If you’re making your own pesto, do that first. It takes maybe 5 minutes and tastes considerably better (at least I think so).
Heat a large saute pan over medium heat. Add 2 teaspoons olive oil to the pan and swirl to coat. Add 2/3 cup shallots and cook for 3 minutes.
Add the chopped mushrooms and cook for 4 minutes, stirring occasionally.
Add the wine, 1/4 teaspoon pepper and 1/4 teaspoon salt. Bring to a boil, scraping the pan to loosen up the brown bits. Cook for 2 minutes or until liquid almost evaporates, stirring occasionally. Remove the mushroom mixture from the pan and keep warm. Preheat your broiler.
Return the pan to medium heat. Add 1 teaspoon oil to the pan, swirling to coat. Add the remaining 1/3 cup shallots and saute for 5 minutes or until lightly browned. Remove from pan and keep warm.
Spread 2 teaspoons pesto over one side of each bread slice. Top each slice with 2 tablespoons cheese.
Broil for 2 minutes and set aside.
Return the pan to medium heat. Add 1 teaspoon olive oil to the pan and swirl to coat. Crack the eggs into the pan and cook until whites set, about 4 minutes.
Boy did I botch this egg. Oh well, it will still taste good!
Top each bread slice with 2 tomato slices.
Divide the mushroom mixture evenly among the bread slices. Top each serving with 1 egg. Sprinkle with 1/4 teaspoon pepper, shallots and basil.
This is quite the meal!
I loved the meatiness of the mushrooms which went so well with the egg. Tomatoes are in season right now so they were absolutely perfect in this dish. And my pesto was pretty darn good if I do say so myself 🙂 This meal, although it’s called a “sandwich” definitely required a fork and knife, and even then got a bit messy. But that’s part of the fun!
This week is my favorite week of the summer: I received my first batch of tomatoes from my CSA. I love tomatoes oh so much (if you haven’t figured that out with all my posts including tomatoes as an ingredient). As a kid, I used to eat them whole, dipping them in ranch dressing. Not much has changed, except now I choose to dip them in hummus instead. Although I do love a good fresh, juicy tomato, there is something wonderful about a cooked tomato. Cooking Light‘s latest issue was (as usual) on point with a lovely, simple pasta recipe that includes tomatoes, garlic, basil … and not much else.
Ingredients:
1 tablespoon kosher salt
8 ounces uncooked fettuccine
1/4 cup extra-virgin olive oil, divided
2 pints multicolored tomatoes (I used cherry/grape tomatoes)
My CSA this year allows me to choose 6 items each week to be in my share. Every single time so far, I’ve chosen zucchini as one of the six. I just love it. But with 3-4 pieces of zucchini a week, I am absolutely in search of as many different recipes as I can find. Cooking Light’s latest issue had this wonderful recipe for Snapper with Zucchini and Tomato that I just had to try. They also suggest pairing it with some Parsley Orzo. Note: this recipe makes 2 servings. Multiply as needed.
One of my favorite parts of the CSA share is having a plethora of zucchini and summer squash at my disposal. I love these ingredients with a simple pasta, so I was happy to come across a Martha Stewart recipe fthat incorporated these ingredients. I thought I still had some snap peas left over and was going to throw those in, but I unfortunately was all out. Plus, I didn’t have any frozen peas in my freezer. If you have those, be sure to include them. I threw in a zucchini also because I had one on hand.
Ingredients:
Coarse salt and ground pepper
8 ounces gemelli or other short pasta
3 medium yellow squash, quartered lengthwise and thinly sliced
1 medium zucchini, quartered lengthwise and thinly sliced
4 tablespoons butter, cut into small pieces
1 tablespoon fresh lemon juice
1/2 cup shredded Parmesan
Torn fresh basil leaves, as garnish
Cook pasta in a pot of boiling salted water. Cook 2 minutes less than required for al dente (my pasta had to cook for 6 minutes).
While waiting for the pasta to cook, slice your squash and zucchini.
Add the squash and zucchini to the pasta and water, and cook for 2 minutes.
Drain the pasta, reserving 1/2 cup of pasta water. Return the pasta to the pot.
Add the butter, lemon juice, 1/4 cup Parmesan, and 1/2 cup pasta water. Season with salt and pepper and toss to combine.
Spoon into individual bowls and top with basil and sprinkle with Parmesan.
At first bite, I thought this might be missing something. But all it really needed was another seasoning of pepper and an extra squeeze of lemon. After that, it was quite yummy.
To really up the flavor, a few red pepper flakes would go a long way.
The flavor of this was nice and fresh. It was a solid vegetarian dish, but I think it works best as a base. I feel like you could really turn this into something special with some additional flavors included.
With the influx of vegetables in my life from my CSA, I am swimming in quite a large amount of highly perishable produce. So to preserve (and use) a bunch of my CSA veggies, I decided to try my first hand at Ratatouille. I looked at a bunch of recipes online and they can get really quite complex! There are some that cook each vegetable separately to bring out the flavor of each, some that layer the ingredients into a beautiful casserole. Well, I’m making this on a weeknight after work. So this is one of the easier versions, a one pot wonder if you will. One day, I will make the other version, but tonight, I just want a delicious meal that I can freeze for later.
So what is ratatouille, besides a really cute kids movie? It’s basically a stewed vegetable dish, usually served with bread, or maybe egg noodles or polenta (something to sop up all the deliciousness). There are many different recipes for the dish, but most include eggplant, zucchini, peppers, and onions. The spices can range from thyme or marjoram to herbes de Provence.
I found this recipe on MarthaStewart.com and kind of messed with the ratio of ingredients, so be sure to check out the original recipe to see if that is more to your liking.
Ingredients:
1/4 cup olive oil (or enough to cover the bottom of your pot)
1 medium onion, chopped (I used a sweet onion)
4 cloves garlic, minced
3 small eggplants, cubed
2 large zucchini, cubed
Salt and ground pepper, to taste
2 yellow or bell peppers, ribs and seeds removed, cubed (use any color pepper you want)
1 can (28 ounces) diced tomatoes
2 teaspoons fresh thyme
Chopped fresh basil, for garnish
To make, add the olive oil to a Dutch oven or other large pot that has a lid. Heat over medium heat. While waiting to heat, chop your onions, garlic, eggplant, and zucchini.
I want to take a minute to discuss a method of cutting eggplant. I googled this just as I was about to make the recipe so it was new to me too and it worked quite well. I found the method on recipetips.com.
To cut the zucchini, remove the skin using a knife by cutting the zucchini into a square shape (or close to a square.)
Slice the zucchini into smaller square disks.
Stack a few of them, and cut into fours to make smaller squares. This doesn’t have to be uniform, you just want them to be the same general shape so they cook evenly.
Add the onions to the pot and stir occasionally. Cook for 5 minutes.
Add the garlic and cook for another minute. Stir in the eggplant and zucchini and season with salt and pepper. Add 3/4 cup of water, cover, and simmer for about 5 minutes, stirring once half way through. While waiting for the 5 minutes to pass, chop your peppers.
Add the peppers to the pot and simmer, covered, for another 5 minutes.
Add the tomatoes and thyme and bring to a boil.
Reduce heat to medium-low, partially cover, and simmer for 15 to 20 minutes. The recipe said to stir often. I didn’t. I got distracted and walked away. Oh well.
Remove from heat and serve. Top with a few slices of basil.
If freezing, leave the basil out and freeze.
For being vegetarian, doesn’t this look fabulously hearty?
I paired mine with day old bread which was a perfect amount of crispiness to go with the veggies. It may not be terribly pretty, but it was comforting and really flavorful.
I ate one serving and froze the rest for nights when I don’t have time to cook. I’m glad I did or I’d still be sitting here eating it!
When I came across this recipe, my first thought was “why don’t people make Egg BLTs more often”? Why is this not a common brunch menu choice? Egg sounds like a logical upgrade to a traditional BLT. The addition of avocado to this just takes it over the top. I found this recipe on myrecipes.com and switched it around a bit, but the general idea is the same.
Ingredients (makes two servings):
1/2 cup halved grape tomatoes
1/2 avocado, diced
1 tablespoon chopped fresh basil
1 garlic clove, minced
1 tablespoon extra virgin olive oil
Salt and pepper to taste
1 teaspoon red wine vinegar, divided
2 large eggs
2 teaspoons mayonnaise
2 pieces of ciabatta bread (or 2 ciabatta rolls)
1 cup firmly packed arugula
4 thick bacon slices, cooked
I bought one of those “bake at home” ciabatta breads that you pop in the oven for about 10 minutes. I thought some “freshly baked” bread would be nice with this dish. You can use whatever bread you happen to find if ciabatta is not available.
Cook the bacon according to package directions. Transfer to a paper towel to drain excess fat.
Combine the tomatoes, avocado, basil, garlic, olive oil, red wine vinegar, salt and pepper in a bowl.
Cook eggs over easy (or whatever style you prefer). To cook them over easy, heat a saute pan over low heat and spray with cooking spray. Crack one egg into the pan. Season with salt and pepper if desired (I honestly don’t think you need it ) and cook until the whites become opaque. To make sure the yolk cooks slightly, I add a top to the saute pan. Repeat with the second egg.
Now it’s all assembly. Spread 1 teaspoon mayonnaise on a slice of bread.
Add 1/2 cup arugula.
2 bacon slices (I tore them in half to fit nicely)
and the egg.
Top with the tomato avocado mixture.
This is the fanciest BLT I’ve ever seen.
It was fantastic too. I kept saying over and over again how yummy each bite was!
This recipe is so great because you can substitute whatever you want. Mess up the egg? Stick a scrambled egg on there instead. Hate arugula? Substitute baby spinach leaves. I suggest adding some extra sliced basil on top of the whole dish to add some extra freshness!
This recipe for Rigatoni with Halibut Tomato and Basil is loosely adapted from Marc Vetri’s cookbook, Rustic Italian Food. Last Friday, I went to Vetri for the first time. And it was hands down the best meal I’ve ever had, both food and service. I was also so terribly awkward that I’m not quite over it. Marc Vetri is one stellar chef. He opened Vetri in 1998 and 14 years later continues to wow people with the food he turns out. I was swooning over each and every plate that came out. I brought my parents for their 30th anniversary and honestly, I feel like it ended up being as much a present to myself as it was for them (sorry mom and dad!).
Vetri even came over to our table, wished my parents a happy anniversary, and signed his cookbook for me! (This is the stage where I got truly embarrassing. I absolutely turned red during this encounter. Eep). So naturally, I can’t think of anything but those delicious meals. I decided to use a recipe from his cookbook, Rustic Italian Food. I ended up using Halibut because the store I was at was out of swordfish (boo).
These Lipman Tomatoes just keep on giving! This time around, I used their gorgeous cherry tomatoes. Cooking Light had a wonderful recipe in their most recent issue for Crispy Flounder and Roasted Tomatoes. Fish is a favorite of mine for weeknights because it cooks so quickly; this meal took me 25 minutes from start to finish.
Ingredients: (this serves 2)
2 tablespoons capers
1 tablespoon olive oil
1 pint cherry tomatoes
Salt and pepper, to taste
A few basil leaves, thinly sliced
1/2 cup panko (Japanese breadcrumbs)
1 tablespoon chopped fresh parsley
2 teaspoons chopped fresh thyme
2 (6-ounce) skinless flounder fillets
Cooking spray
1 tablespoon olive oil
Preheat your oven to 400 degrees. While waiting for the oven to heat up, combine the capers, 1 tablespoon olive oil, and the cherry tomatoes in an oven safe dish. Toss to coat. Sprinkle with salt and pepper and bake for 20 minutes.
When there is about 10 minutes left on the tomatoes, combine the panko, parsley, and thyme in a shallow dish.
Coat the fillets with the cooking spray and dredge the fillets in the panko mixture. Heat 1 tablespoon olive oil in a nonstick saute pan over medium-high heat and add the fillets to the pan.
Cook for 3 minutes on each side.
The tomatoes should finish almost the same time as the fish.
To serve, add the flounder to a plate. Top with the tomato mixture. Add some fresh sliced basil.
I love how the cherry tomatoes burst in the oven while roasting.
The capers add a little saltiness to the whole dish which is nice. I think you only need 1 tablespoon of capers though, instead of 2.
I couldn’t really tell that there was thyme with the flounder but I loved the parsley flavor. If you’re a thyme fan, try upping the amount to get more flavor.
This was one delicious meal! With the exception of the flounder, the ingredients are things I usually have on hand anyways so this is a great last minute dinner.
Naturally, the day after I made my Grilled Tomato Orzo Salad in a Tomato Bowl pretending it was summer, the weather decided to do a 180 and veer into rainy cold sadness. Sigh. So what better way to use some of my Lipman Tomatoes than to make Creamy Tomato Soup? I found this recipe on Food Network and I had most of the ingredients already, win! I changed the recipe slightly for my tastes.
Ingredients:
3 tablespoons olive oil
1 red onion, chopped
1 carrot, unpeeled and chopped
3 cloves minced garlic
12 plum tomatoes, roughly chopped
1 teaspoon sugar
1 tablespoon tomato paste
1/4 cup packed chopped fresh basil leaves, plus julienned basil leaves, for garnish
3 cups chicken stock
1 teaspoon kosher salt
1 teaspoons freshly ground black pepper
1/2 cup heavy cream
Croutons, for garnish
Heat a large pot or a Dutch oven over medium-low heat. Add the olive oil. Chop the onion and carrot.
Saute for 10 minutes.
While waiting for the onion and carrot to soften, mince the garlic and set it aside. Roughly chop the tomatoes. Chop the basil.
Add the garlic to the pot and cook for 1 minute.
Add the tomatoes, sugar, tomato paste, basil, chicken stock, salt and pepper to the pot.
Stir well and bring to a boil.
Lower the heat and simmer, uncovered, for 30 minutes.
If you have an immersion blender, at this stage, use to puree the soup. If you don’t, remove half the mixture and add it to a blender. Blend until smooth; be sure to keep the center of the top off of the blender and cover with a paper towel. Repeat with remaining mixture. Return to the pot over medium-low heat.
The soup is honestly good to go at this point. Feel free to just stop here.
To make a creamy soup, add the cream to the soup and mix.
Serve with basil and croutons.
Oh my goodness. Not only is this super easy, but it is absolutely delicious.
Because the soup is made with so many fresh tomatoes, it’s important to use tomatoes at their peak.
This is a wonderfully thick soup so it’s a meal in itself, but rainy, cold days always make me want a favorite childhood staple:
Note: The original recipe used a food mill but I don’t have one. And I was not willing to peel the tomatoes so I blended them, and it worked out great. The soup ended up completely creamy.
We have been having such a warm spring in Philadelphia. So if the weather is going to pretend it is summer, I will as well! To me, summer means tomatoes, corn, pesto, pasta salad, and of course, grilling.
Before I go into this recipe for Grilled Tomato Orzo Salad in a Tomato Bowl, first I want to tell you about Lipman Tomatoes. Lipman Tomatoes, a business-to-business company that has been supplying tomatoes and other vegetables to grocery stores and restaurants for 70 years, is about to launch a consumer-focused brand and website. Lipman contacted me about developing a recipe to celebrate their launch, which is the perfect opportunity for me to give into my “summer fever”. I decided to make a Grilled Tomato Orzo Salad served in a Tomato Bowl. (Update: the site is now live! Check out my recipe here!)
Lipman sent me an awesome assortment of their tomatoes. I decided to use the grape tomatoes for grilling, and the Vintage Ripe (a beautiful heirloom tomato) as my tomato bowls. The assortment also came with some cherry tomatoes and plum tomatoes so expect me to be on quite the tomato kick in the coming days!
Ingredients:
4 large Vintage Ripe tomatoes
1 cup orzo
4 cups vegetable broth
1 pint grape tomatoes
1 tablespoon olive oil
1 corn on the cob (or 1/3 cup frozen corn kernels, thawed)
8 oz mozzarella balls (if you cant get marinated mozzarella balls, even better!)
Despite having an Italian mother, I have never made meatballs before. I’m almost embarrassed to admit it. Whelp, at the age of 26, I believe it is time to finally get my hands dirty and make some meatballs. One of Cooking Light’s 40 Fast Menus in Under 40 Minutes had a recipe for meatballs, so I used it as my base for this recipe.
2 sausages, removed from their casings
1/2 cup panko
1/3 cup chopped fresh basil
2 garlic cloves, minced
3/8 teaspoon kosher salt
1/4 teaspoon black pepper
1 large egg, lightly beaten
2 teaspoons olive oil
1 3/4 cups lower-sodium marinara sauce
1 ounce Parmesan cheese, grated
For the Salad:
1 cup chopped red onion
2 tablespoons olive oil
1 tablespoon fresh lime juice
1/4 teaspoon salt
1/4 teaspoon black pepper
3 cups torn butter lettuce
1 cup sliced avocado
Because this is a very simple sauce, I’d suggest going for a premium high-quality marinara sauce.
Bring a pot of water to a boil. While waiting for the water to boil, combine the beef, sausage meat, panko, basil, garlic, salt, pepper, and egg in a medium sized bowl. The original recipe did not have the sausage included, but I thought it would add some extra flavor (I used these awesome sausages from Martin‘s in Reading Terminal- Mozzarella and Basil Sausages, amazing right?)
Shape the mixture into small meatballs. The recipe says to make 16. I ended up with 10. I wasn’t very good at the whole eyeballing-the-right-size-thing.
By now the water should be boiling. Cook the pasta according to directions. Drain over a bowl to reserve 1/3 cup pasta water.
Heat the olive oil in a large pot over medium-high heat. Add the meatballs and cook until browned on all sides, about 5 minutes. (stir to flip the meatballs so they brown evenly)
Reduce the heat to medium low and add the sauce and 1/3 cup pasta water.
Cover and cook for 11 minutes or until the meatballs are cooked through.
While waiting for the sauce to cook, combine the red onion, olive oil, lime juice, salt and pepper in a bowl. Let stand for 10 minutes.
Add lettuce and avocado; toss gently.
When the sauce is finished cooking, mix in the pasta and cook until heated through, about 2 minutes.
Serve the pasta topped with some Parmesan cheese and the salad on the side.
I love how simple this recipe is but still packs a bunch of flavor! My normal tomato sauce takes forever to make, so I’m pretty excited to have a quick sauce when I need it.
Oh. And the meatballs? Fan-tastic. I could eat these all day.
The salad was really delicious as well! There was a bit too many onions for my liking, so I might limit the amount next time I make this.
I seem to forget how yummy simple recipes can be, something I need to remember as vegetables and fruits come back in season.
I love when you can incorporate leftovers from one meal into a new dinner the next night. I am a huge fan of risotto, but it can get a little old eating reheated risotto after a few nights. Risotto balls are the perfect way to still use those leftovers but have a completely different meal. I used my leftover Mushroom Risotto for this recipe, but feel free to use whatever you might have.
Ingredients:
1 cup risotto
1/2 cup Italian bread crumbs
1 large egg
6 fresh mozzarella balls
1 tablespoon fresh basil, roughly chopped
1 shallot, minced
2 garlic cloves, minced
1/2 cup marinara sauce (I used Pomi Tomato Basil sauce)
Oil, for frying
Add the risotto, 1/4 cup bread crumbs, basil, and the egg to a small bowl. Mix to combine.
Form the risotto into palm sized balls, adding a mozzarella ball in the center and forming the risotto around the mozzarella ball. (It should make 6 risotto balls)
Add the remaining bread crumbs to a plate. Roll the balls in the bread crumbs and place on a cookie sheet lined with parchment paper. Refrigerate for 30 minutes. (This will help the risotto balls keep their shape when you fry them.)
While waiting for the 30 minutes to pass, chop the shallot and garlic. Add 1 teaspoon olive oil to a saute pan over medium high heat. Add the shallot and garlic.
Cook for 2 minutes. Add 1/2 cup marinara sauce and simmer on low for 10-15 minutes. Keep warm.
Heat the oil to 350 to 375 degrees. (I was a bit low on canola oil so I actually only ended up putting about an inch depth of oil in the pot. It still turned out fine, but having enough to cover the risotto balls would make this easier/quicker to make.) Add the risotto balls two at a time.
Cook until cooked, turning to cook evenly (about 3-5 minutes). Transfer to a paper towel. Serve while still hot with the marinara sauce.
These are crunchy little balls of deliciousness. I didn’t know risotto could taste better than it already did until now!
The risotto was so yummy I completely forgot about the mozzarella ball in the center, but was more than happy to come upon it!
It didn’t melt all the way, which I would have preferred, but it was still delicious. The marinara sauce was the perfect dipping accompaniment. I love the Pomi Tomato Basil sauce because it really doesn’t need anything to make it taste awesome. (I’ve written two posts in the past about all the positives of Pomi. Check them out here and here)
Is it bad that I might put some risotto to the side from now on just so I can have these the next day?
Grilled Cheese and tomato soup is the perfect combination of comfort foods. Rainy, snowy, or just plain crummy days are instantly better after a warm bowl with cheesy bread for dipping. Cooking Light had a quick recipe for Tomato Basil soup in their March issue that sounded so easy I had to try it. (It helped that I had most of the ingredients on hand as well!) The soup is served with toasted bread topped with melted Asiago cheese.
Ingredients:
1 tablespoon extra-virgin olive oil
1 onion, chopped
3 garlic cloves, minced
3/4 cup chopped fresh basil (I just used the whole bag shown in the photo)
2 (14.5-ounce) cans fire-roasted diced tomatoes, undrained
1/2 cup (4 ounces) 1/3-less-fat cream cheese (half a container)
2 cups 1% low-fat milk
Salt and pepper, to taste
12 (1/2-inch-thick) slices French bread
Cooking spray
1 garlic clove, halved
1 ounce shredded Asiago cheese
Preheat your broiler to high. In a large pot, add the olive oil over medium high heat. Add the chopped onion and cook for 3 minutes. Add minced garlic and cook for 1 more minute.
Add the cans of tomatoes and chopped basil.
Stir and bring to a boil.
Add the cream cheese.
Stir until melted.
If you do not have an immersion blender, pour the mixture into a normal blender and remove the plastic center from the top. Place a paper towel over the opening and blend until smooth. Be very careful not to burn yourself, the liquid is really hot! Pour back into pot over medium high heat.
I received an immersion blender for Christmas so I was so excited to use it for this recipe. This is my first try with it and it was awesome! So much simpler than pouring into a blender and pouring back into the pot. If using an immersion blender, blend until desired consistency (I wanted a few chunky pieces left in mine).
Stir in milk and season with salt and pepper.
Cook for 2 minutes over medium high heat.
To make the bread, arrange bread on a cookie sheet lightly coated with cooking spray. Broil for 1 minute.
Remove from the oven and rub garlic over the bread pieces. Turn bread over, top with cheese and broil for an additional minute.
Serve with the soup.
The soup managed to taste light and creamy at the same time, very impressive!
The basil flavor shown through which was a really nice enhancement to a normal tomato soup.
I loved the crispy bread topped with cheese. This would be a great appetizer at a party (using the tomato soup as a warm “dip” for the toast).
The entire meal ended up taking about 30-40 minutes so it is definitely an option for a weeknight.