A friend sent me this recipe from Food & Wine, and I somehow had all of these ingredients on hand (yes, including the saffron and golden raisins… don’t judge me). This recipe said it would take 30 minutes, so I thought it would be a great weeknight meal, plus any time I can make something somewhat healthy, it’s a win.
Ingredients:
1 cup water
10 ounces baby spinach
2 large garlic cloves, crushed
Kosher salt
Pinch of saffron threads
2 teaspoons sweet paprika
1/4 teaspoon ground cumin
Pinch of ground cloves
Pinch of freshly ground pepper
Two 15-ounce cans chickpeas with their liquid
1/4 cup extra-virgin olive oil
1 small onion, finely chopped
1 large tomato—peeled, seeded and coarsely chopped
1/4 cup golden raisins
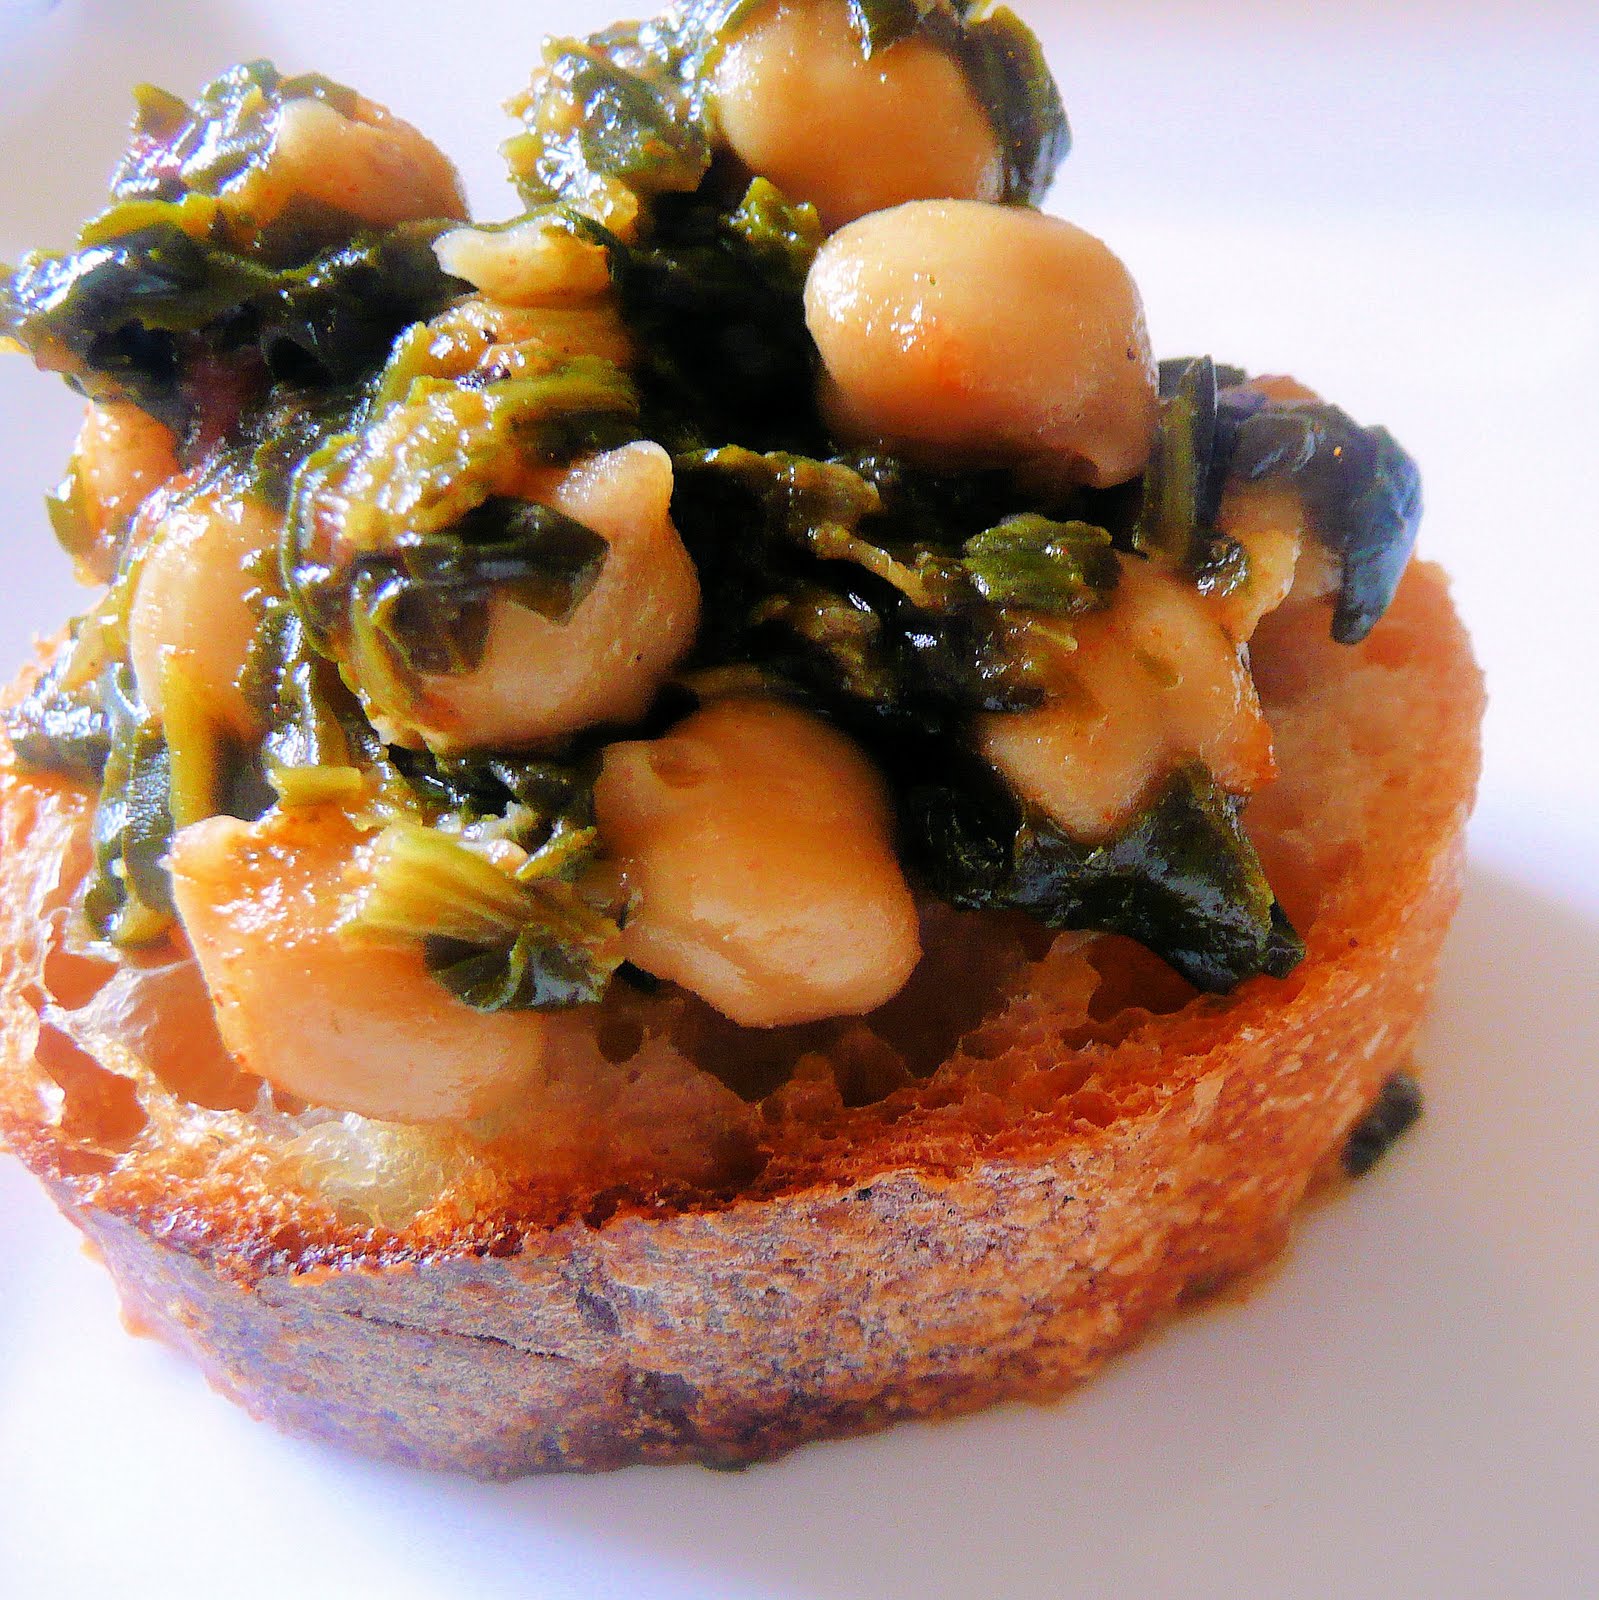
Crusty bread, for serving
To cook the spinach, boil the water in a pot and add the leaves. Stir frequently until wilted (about 2 minutes). Drain the spinach in a strainer, pressing the leaves against the sides to squeeze out as much liquid as possible. Coarsely chop the spinach and set aside.
In retrospect, I feel like using frozen chopped spinach that has been defrosted would work just as well, and save some time.
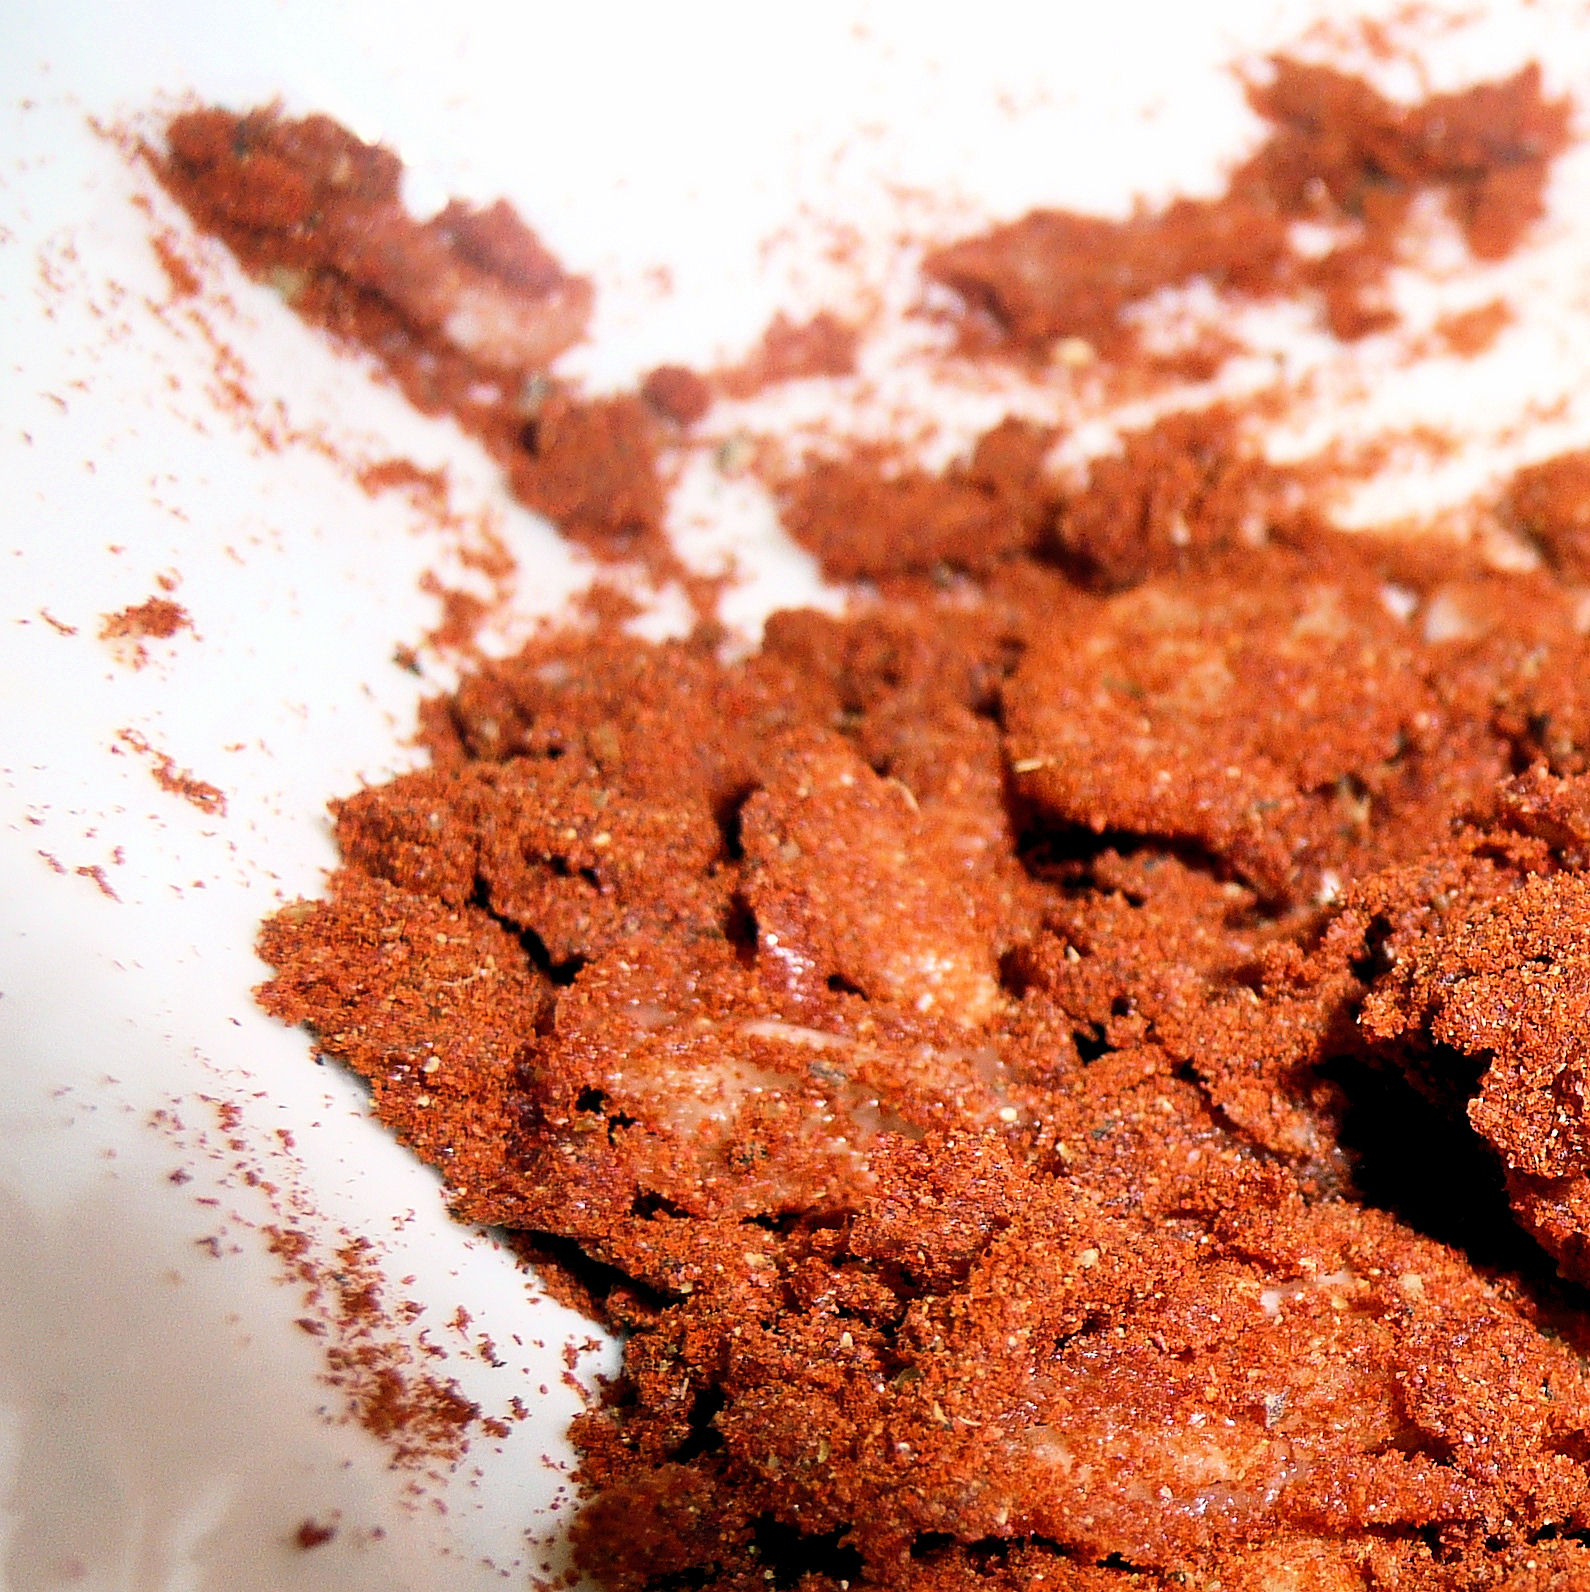
Using the flat side of a knife, mash the garlic into a paste with 1/2 teaspoon salt and the saffron.
kind of coarse, but oh well
In a small bowl, mix the garlic paste, paprika, cumin, cloves, and black pepper and mash until combined.
Stir in 1/4 cup of the chickpea liquid.
To seed the tomatoes, cut the tomato in half and use a spoon to remove the seeds.
I decided not to peel the tomato because I wanted the pieces to retain their shape. Feel free to peel them, it will make for a more soft and more incorporated into the dish.
Add 2 tablespoons of olive oil to a dutch oven or pot. Heat over high heat and add in the onion and tomato, (I forgot about the onion, oops) and stir occasionally until soft, about 3 minutes.
Add the spiced garlic sauce to the pot and cook for 1 minute.
Add the chickpeas and the liquid they came in to the pot. Add the raisins and bring to a boil over medium-high heat.
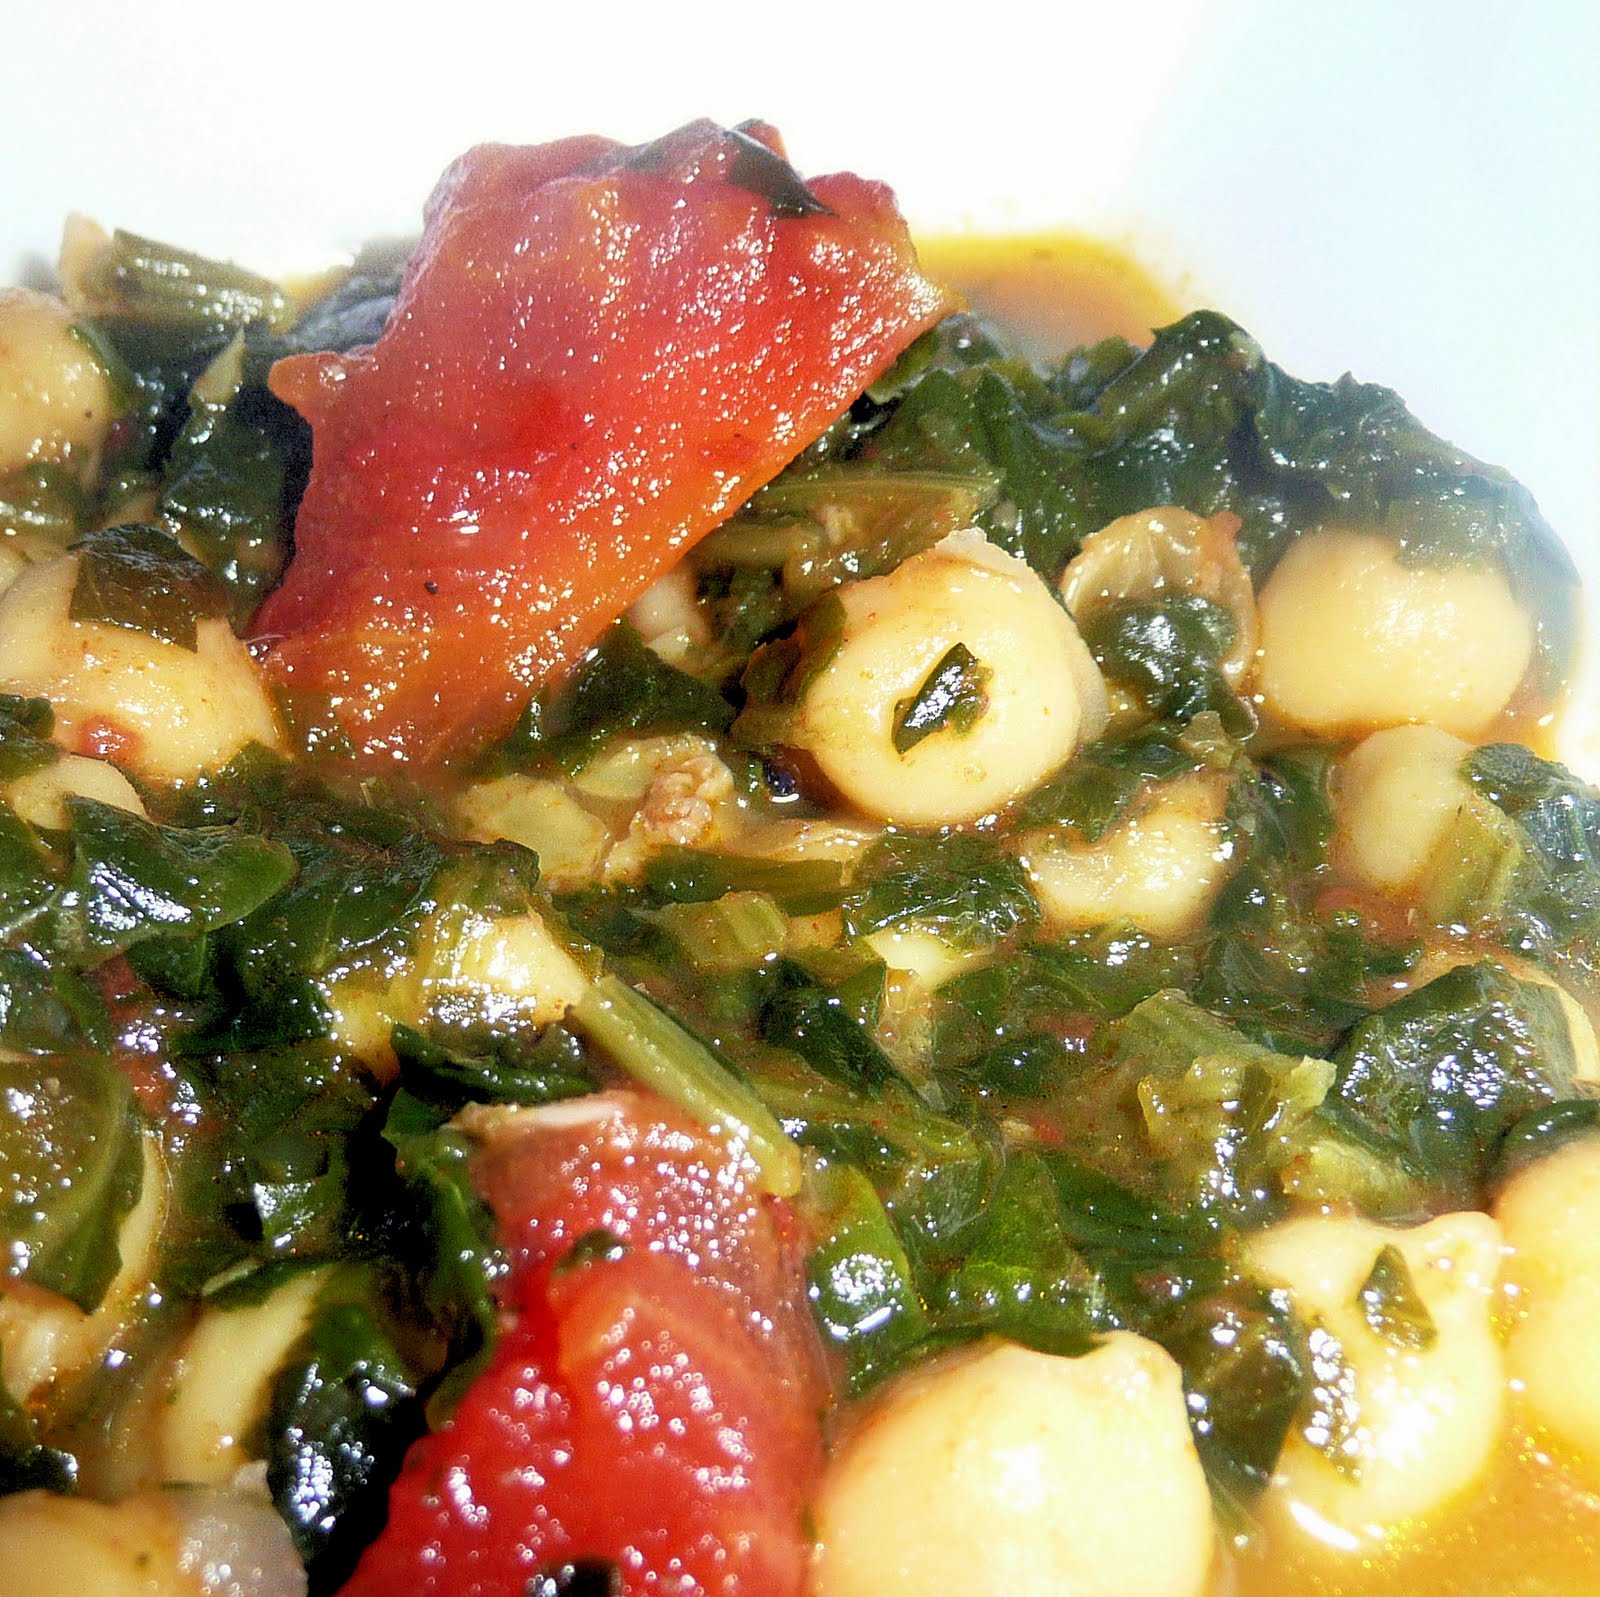
Add the spinach, reduce heat, and simmer for 15 minutes.
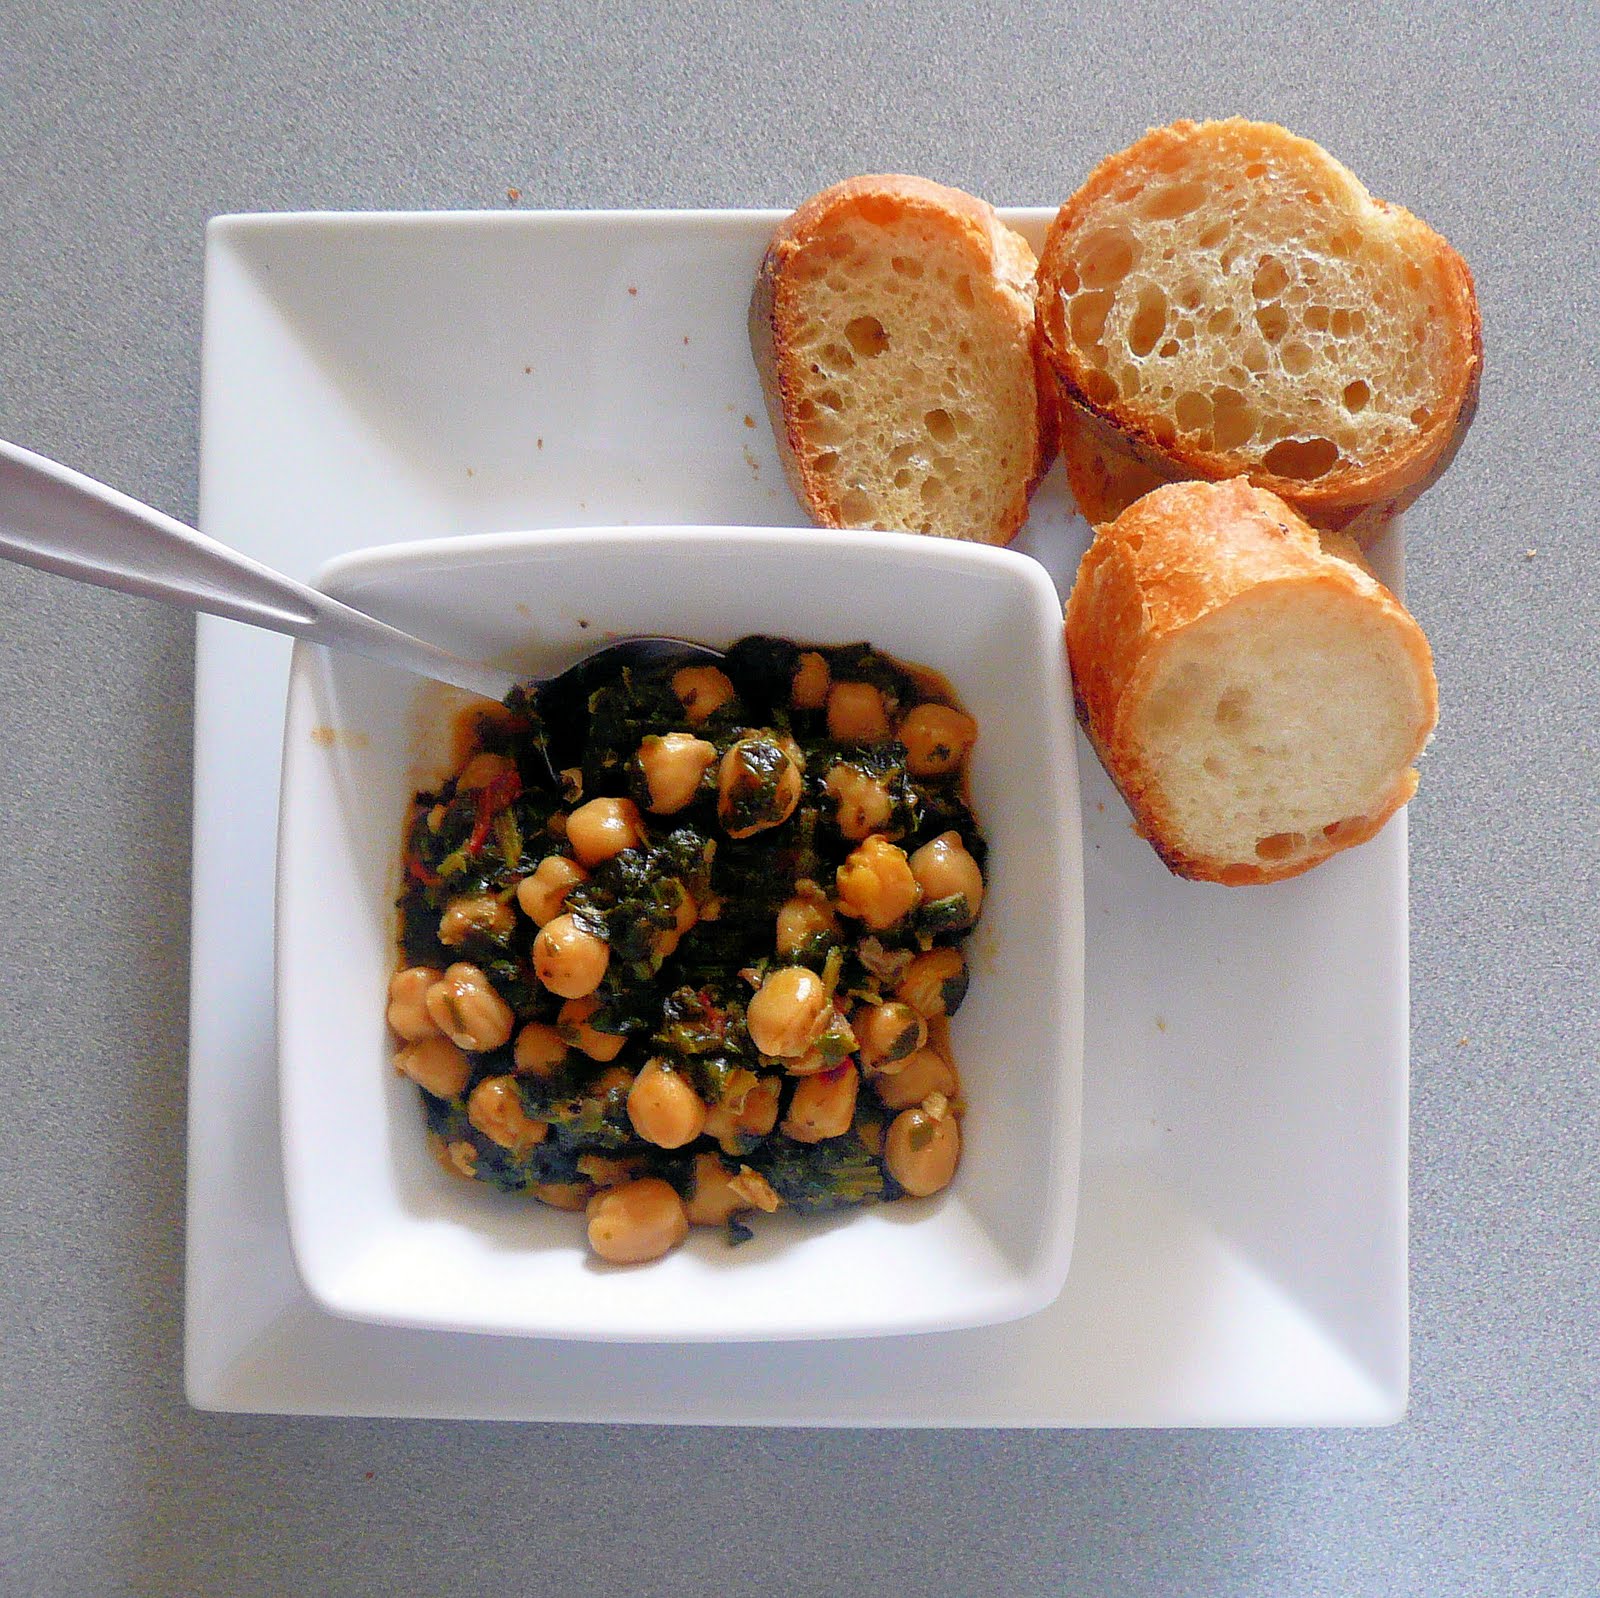
Drizzle the remaining 2 tablespoons of olive oil on top and serve with some crusty bread.
This didn’t have as much hit-you-over-the-head flavor as I was expecting (when cumin is in a recipe, I tend to prepare for some kick). But, the more I ate, the more I really enjoyed it. If I make this in the future, I will probably use more tomato, I was really craving more. Also, I hope to remember to use onion next time! Darn me. This is one of those dishes that will probably taste better the next day, when all the flavors have time to meld. (Update: it was delicious the next day!)
This weekend I was given quite the culinary challenge: make a meal for ten people without breaking the bank. I would be feeding everyone at the beach, so my mind immediately went to Shish Kabobs with Rice (I want summer and barbecues to be here so badly!). This is a great option for vegetarians as well, always a plus.
Living in the city does not mean you can’t enjoy this recipe. If you have a little indoor grill, that will work just fine. Due to the poor weather we had this weekend, we actually ended up broiling the shish kabobs in the oven, which worked just fine.
Ingredients (serves 10):
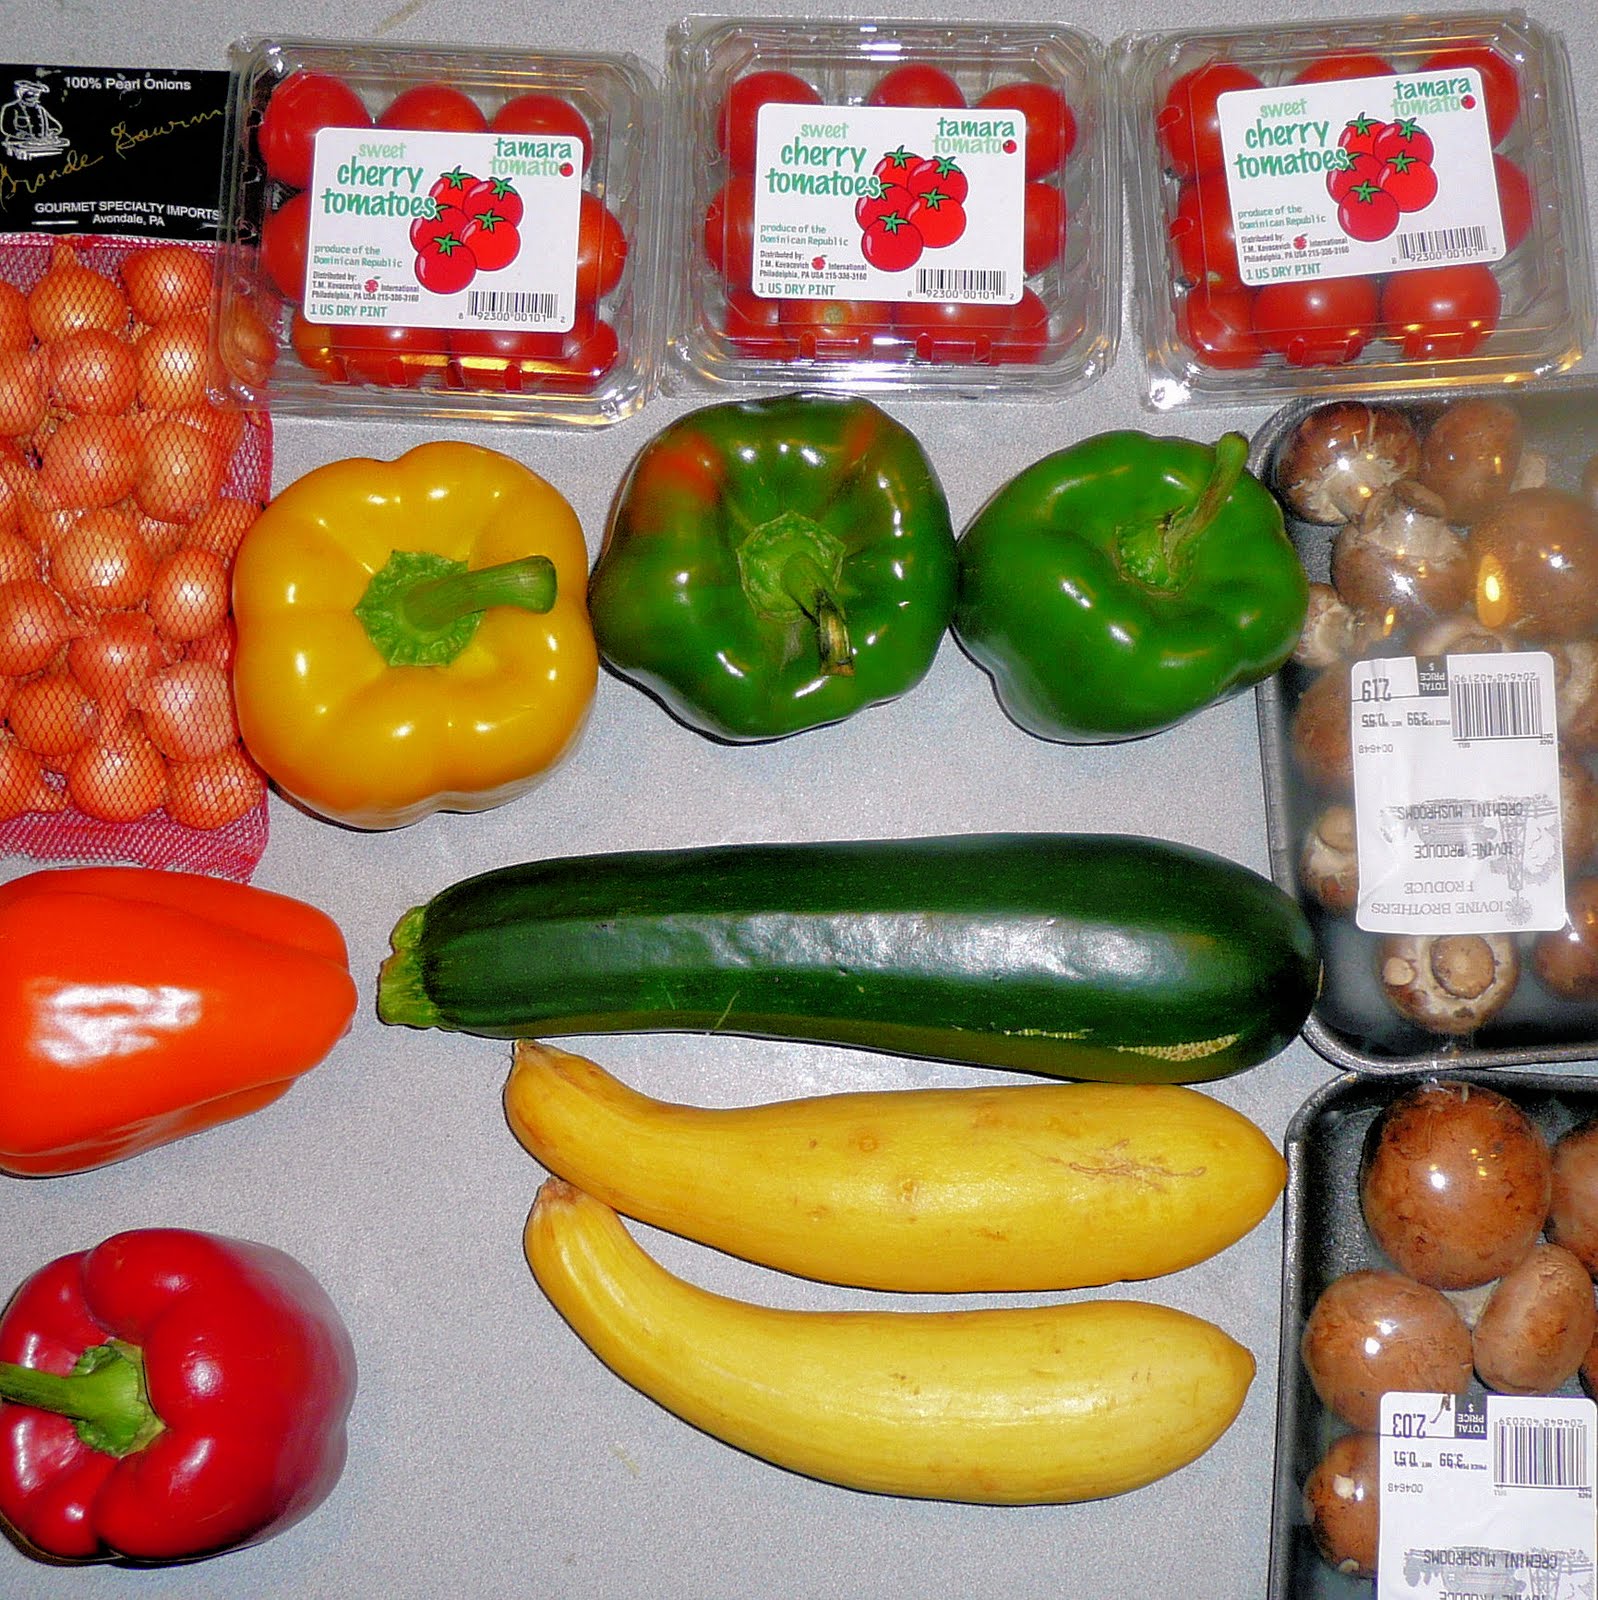
3 pints cherry tomatoes
1 bag of pearl onions, peeled (quick tip below)
2 green bell peppers
1 yellow pepper
1 red pepper
1 orange pepper
2 8 oz packages of whole mushrooms (I used cremini)
1 large zucchini
2 large summer squash
5 lbs top sirloin steak, cut into cubes
10 cups chicken stock (ideally, use vegetable stock to keep veggies truly vegetarian)
5 cups rice
Ingredients for marinade:
1 tablespoon salt
5 cloves garlic, minced
1 1/4 teaspoon pepper
1 heaping tablespoon of the following dried spices: thyme, basil, oregano, marjoram
2/3 cup Worcestershire sauce
3/4 cup oil
3/4 cup red wine vinegar
1 2/3 cup red wine (an inexpensive table wine is fine)
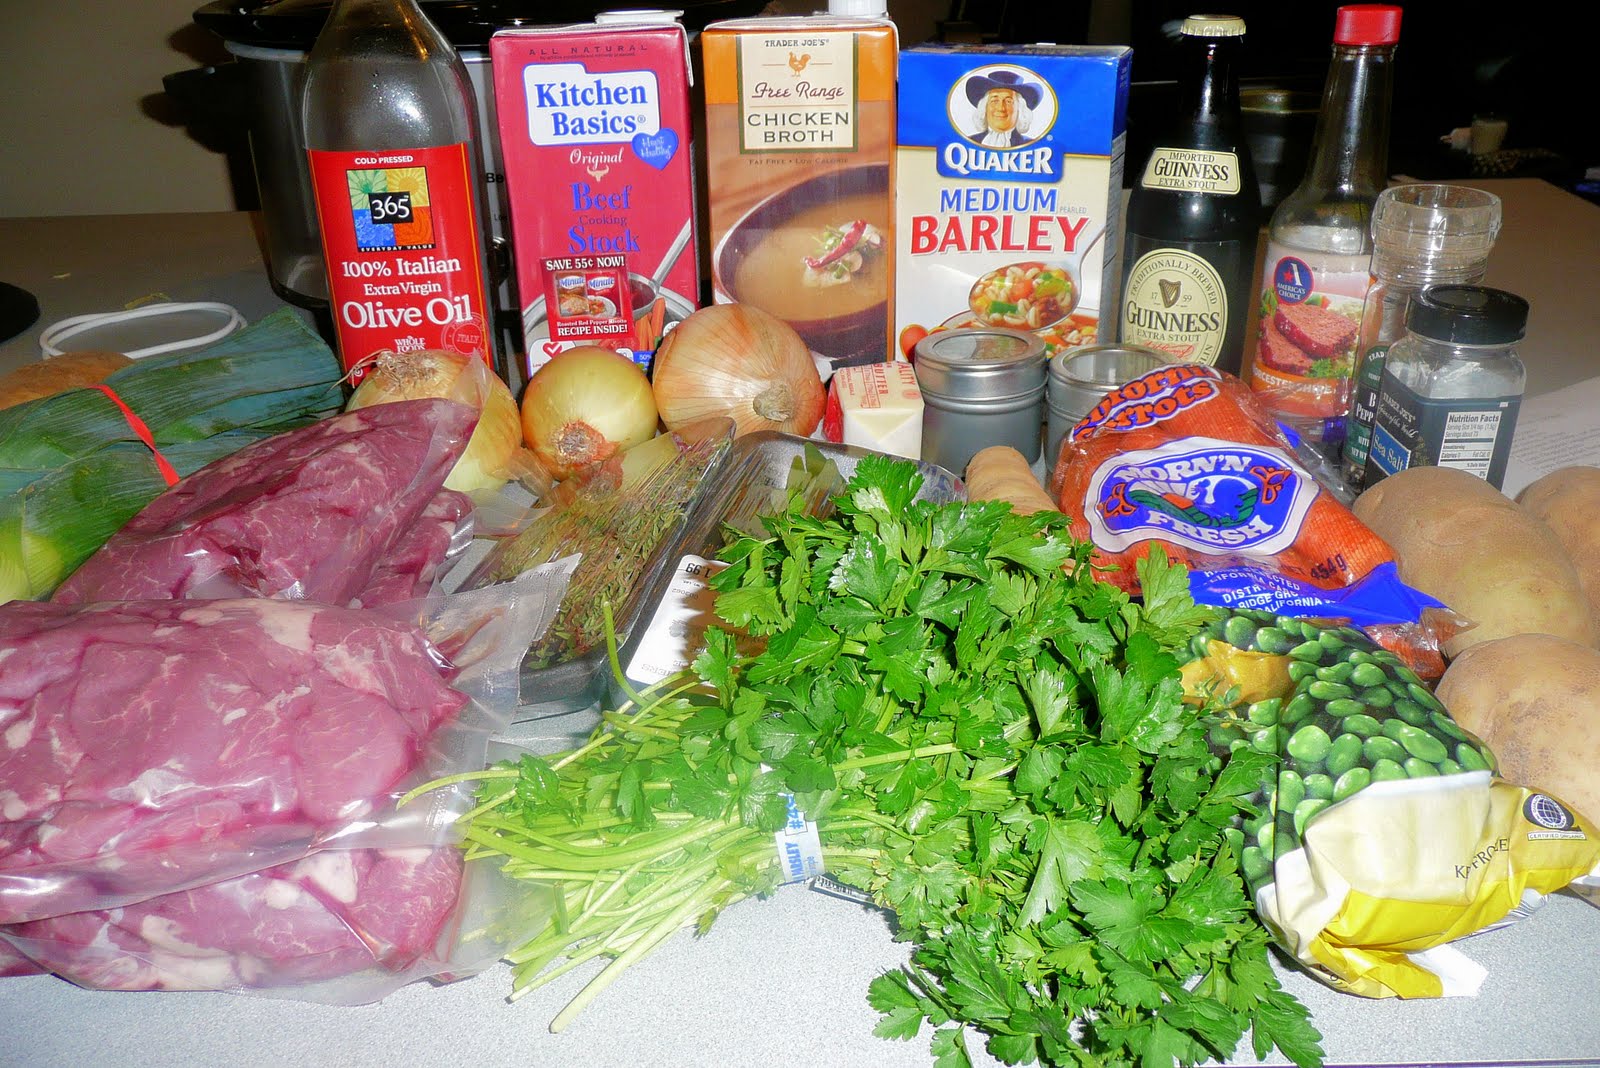
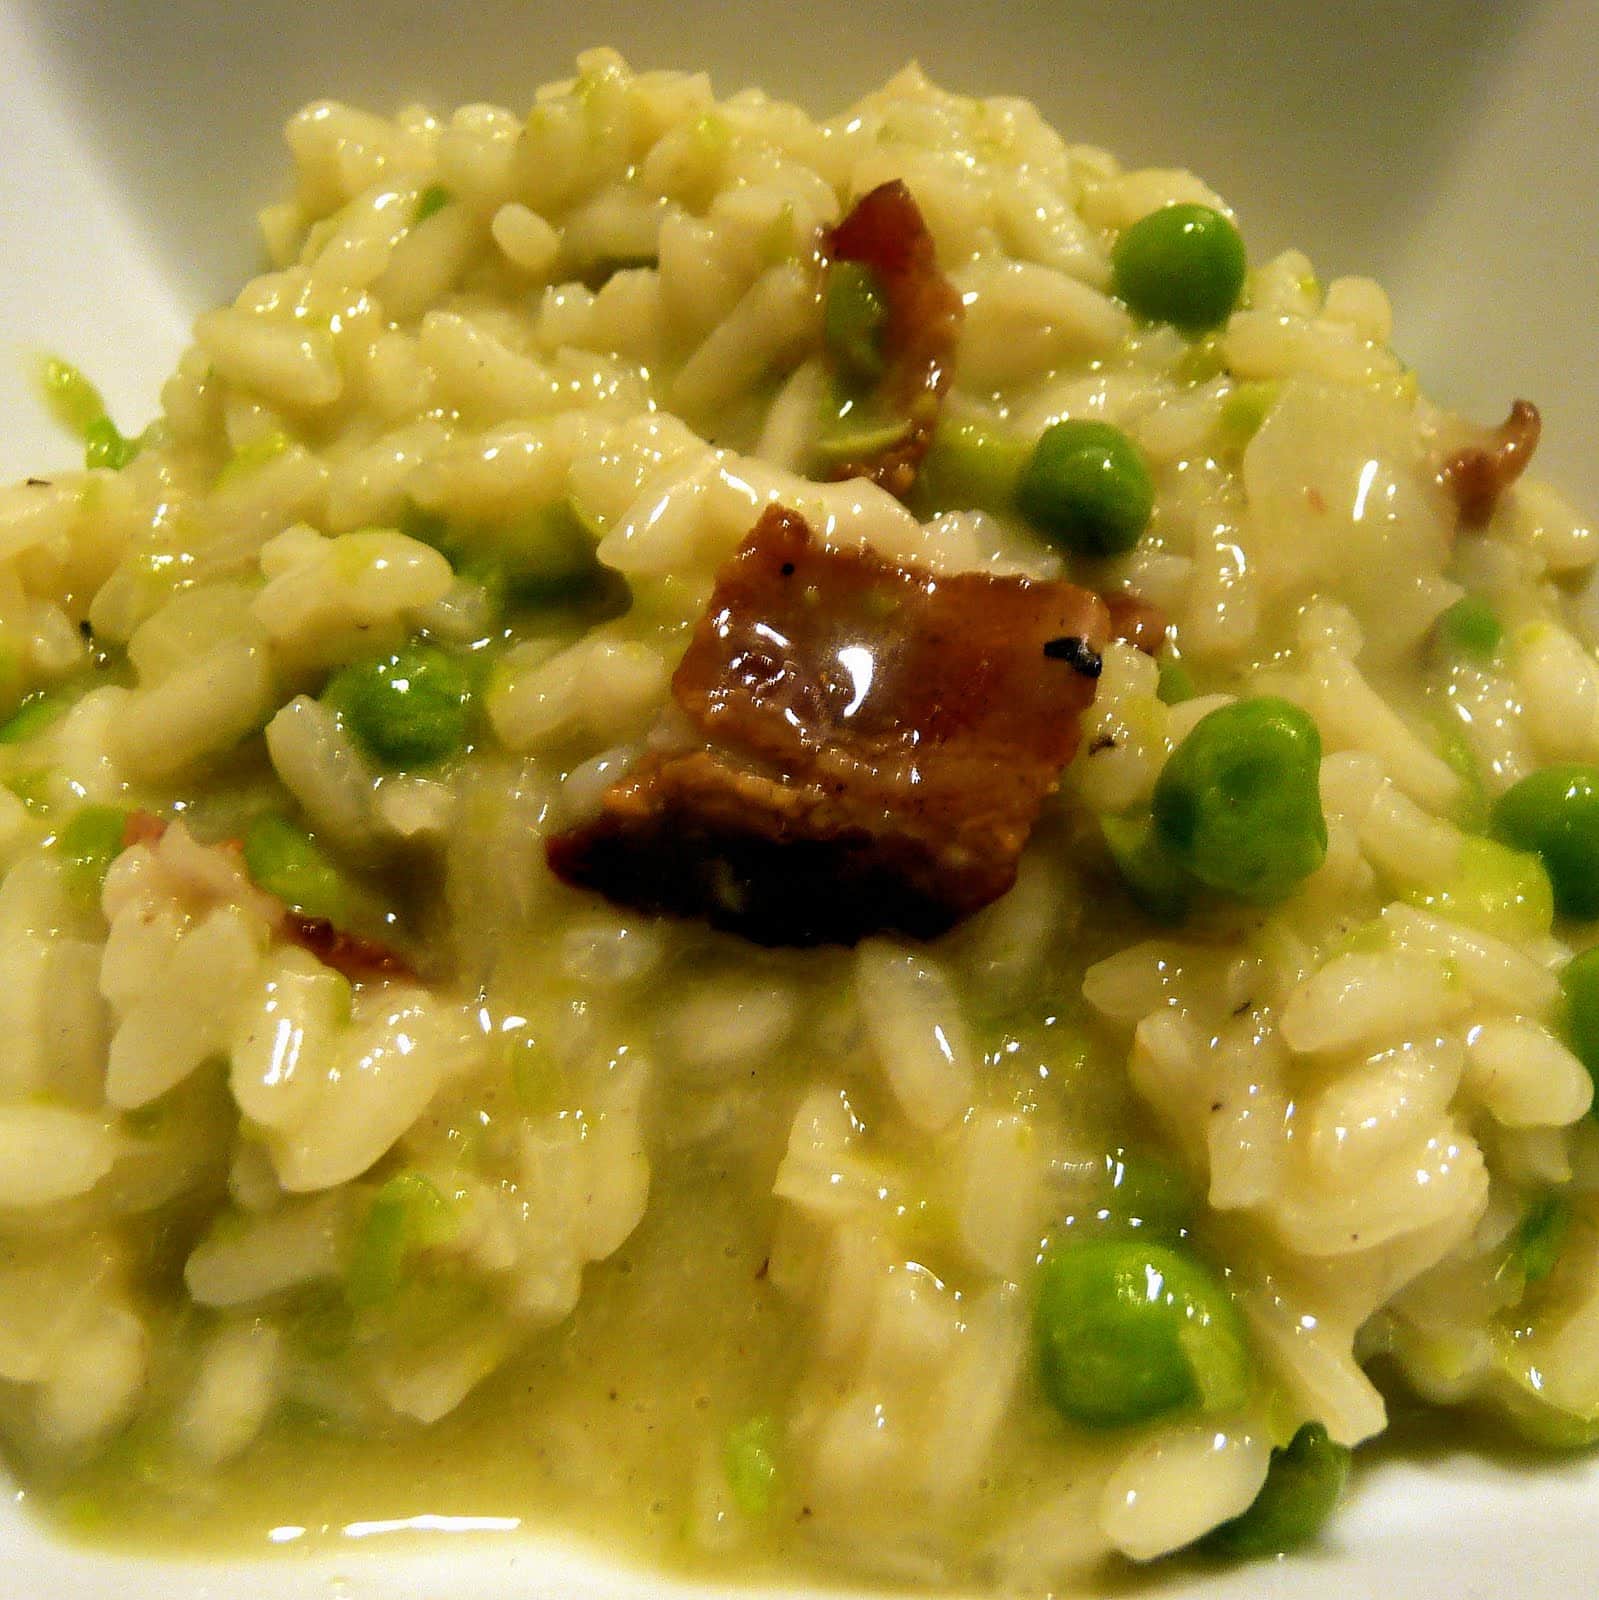
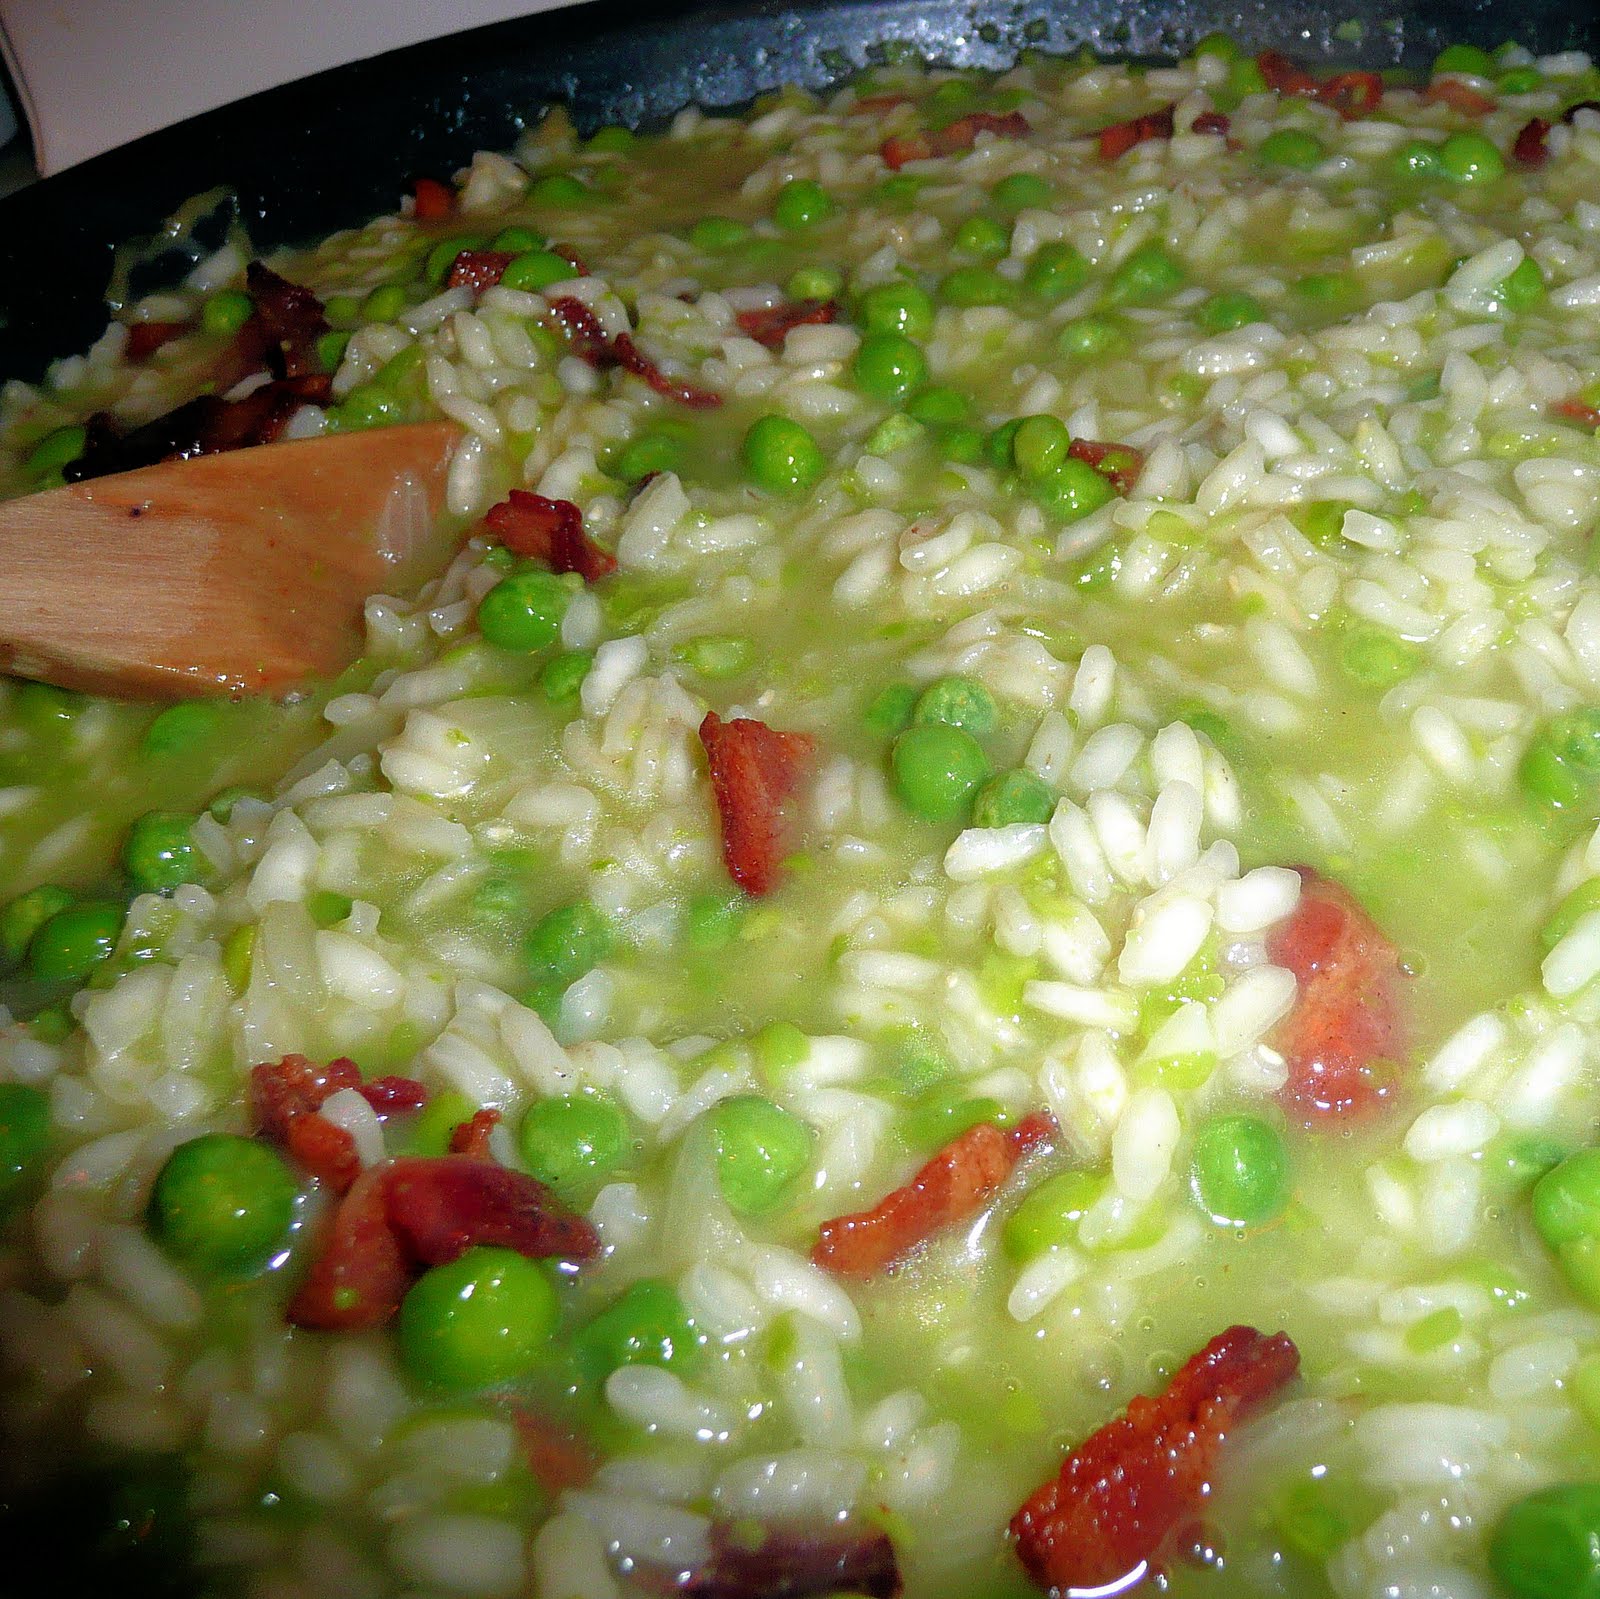
I have been feeling exceptionally lazy and have been avoiding food shopping at all costs. Thankfully, the latest Food & Wine magazine allowed me to go one more day without getting more groceries. I happily had all of these ingredients on hand.
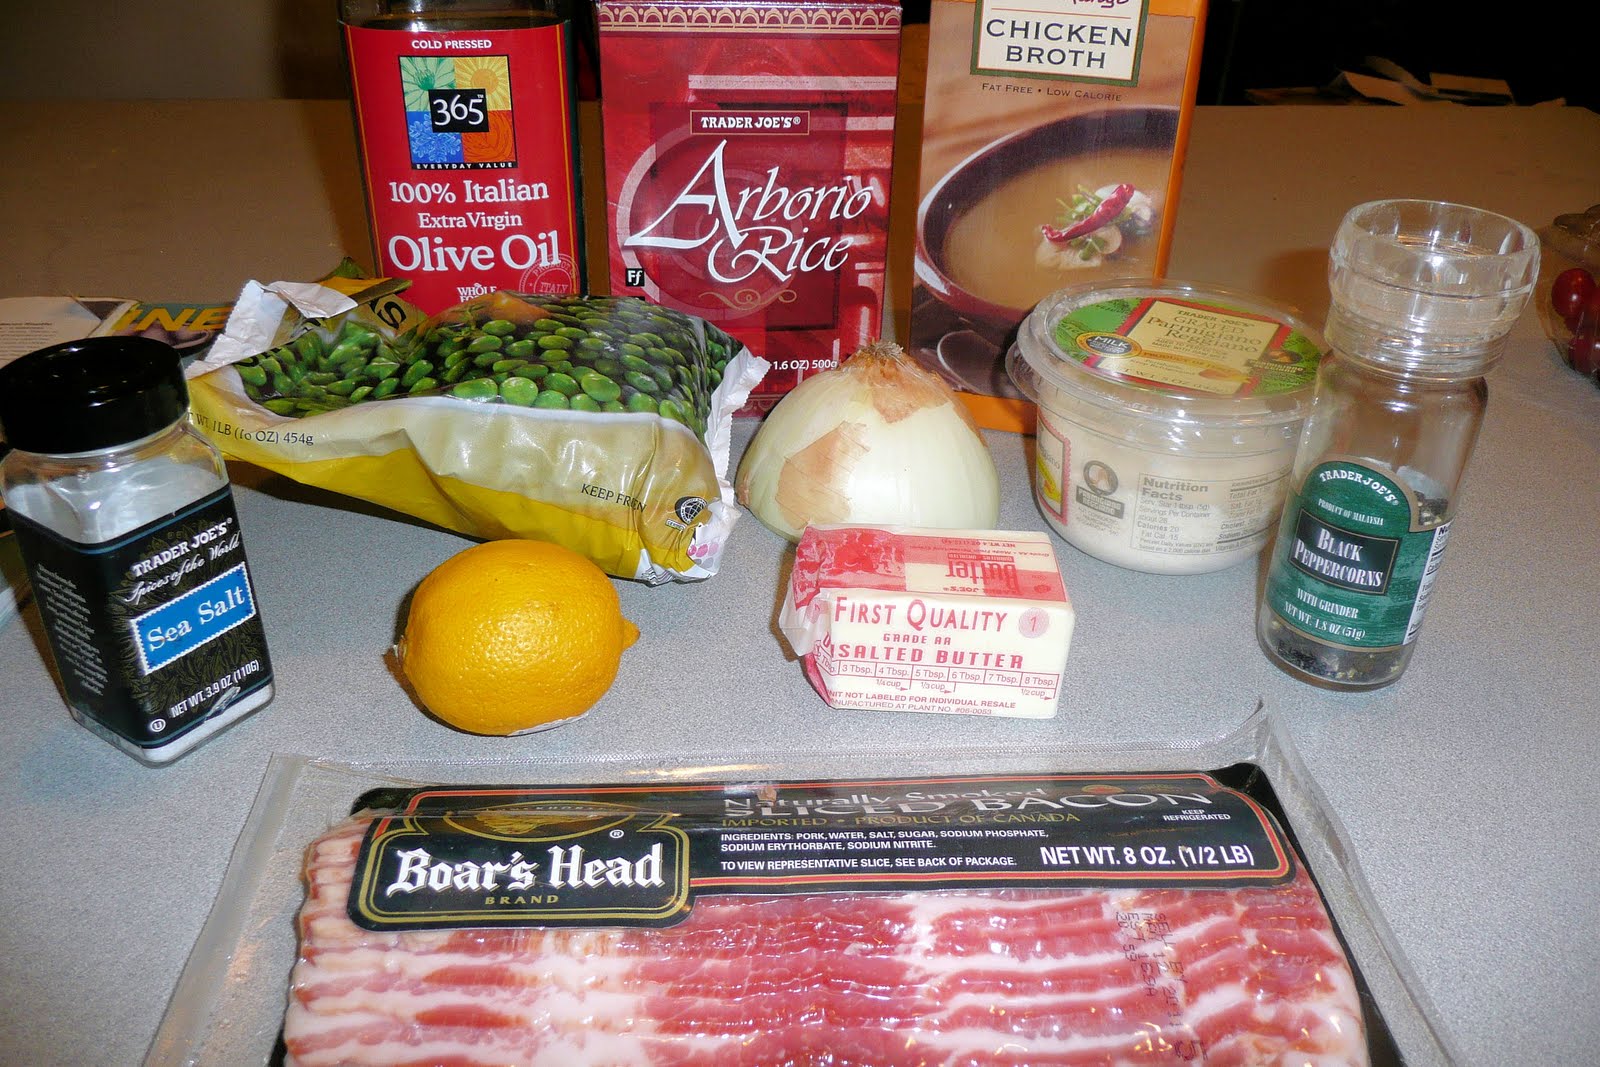
Ingredients:
6 ounces bacon, diced
2 cups frozen baby peas, thawed, divided
2 tablespoons olive oil
1 small onion, minced (I used 1/2 of a leftover onion I had)
2 cups arborio rice
1/2 cup dry white wine
7 cups simmering chicken stock
1 tablespoon unsalted butter
1/2 cup freshly grated Parmigiano-Reggiano cheese
1 tablespoon fresh lemon juice
Salt and freshly ground pepper
I forgot to put the wine in this photo. Whoops
Warm the chicken stock in a saucepan on the stove over low heat.
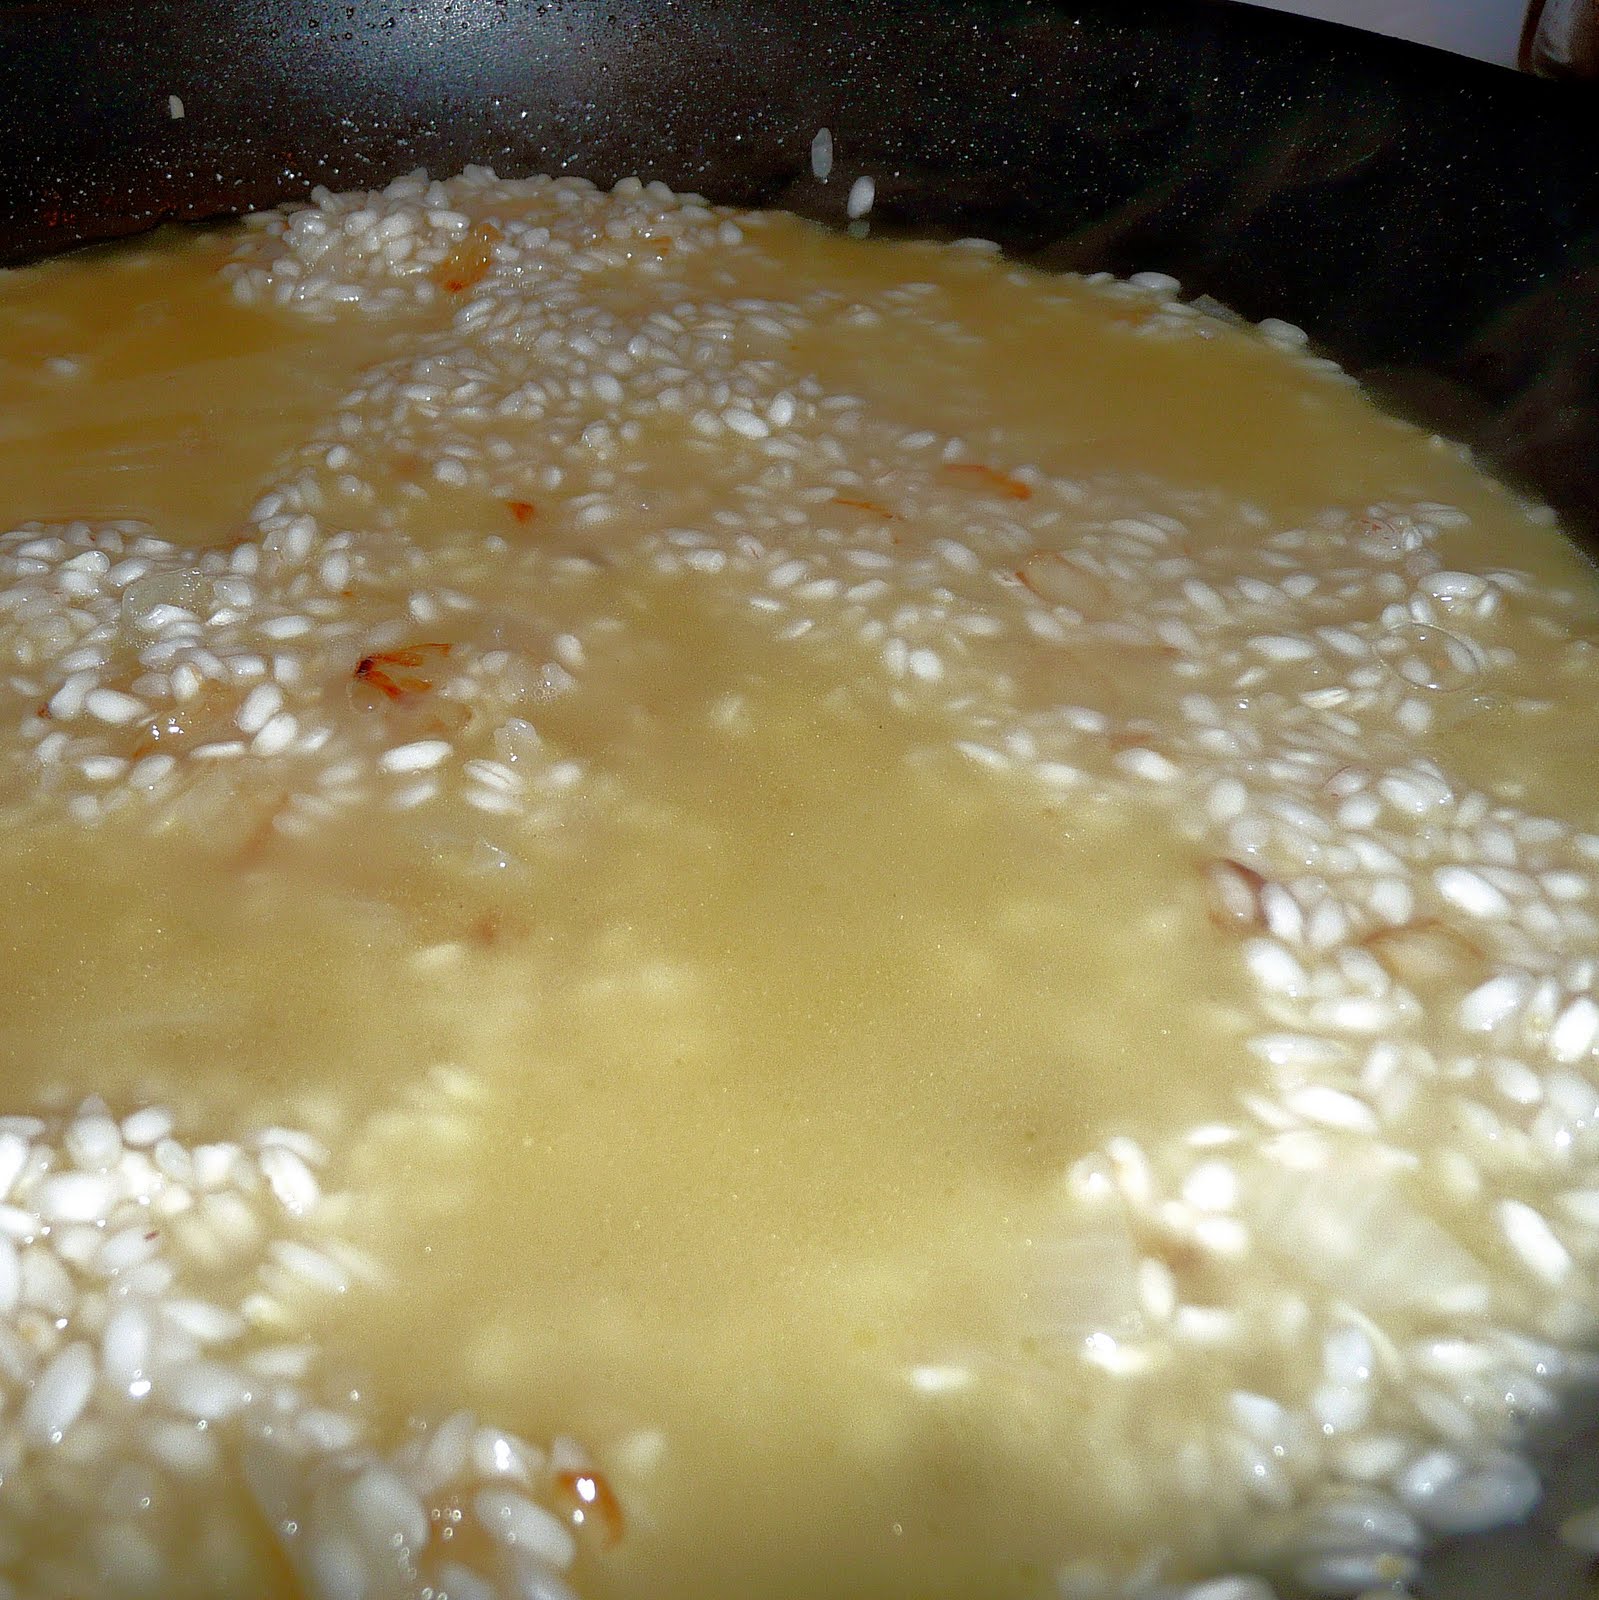
In a large saute pan, heat the oil over medium heat. Add the onion and cook over medium heat until soft, 5 minutes. Add the rice and cook, stirring, until the rice is evenly coated with the oil. Add the wine and simmer until almost evaporated, 3 minutes.
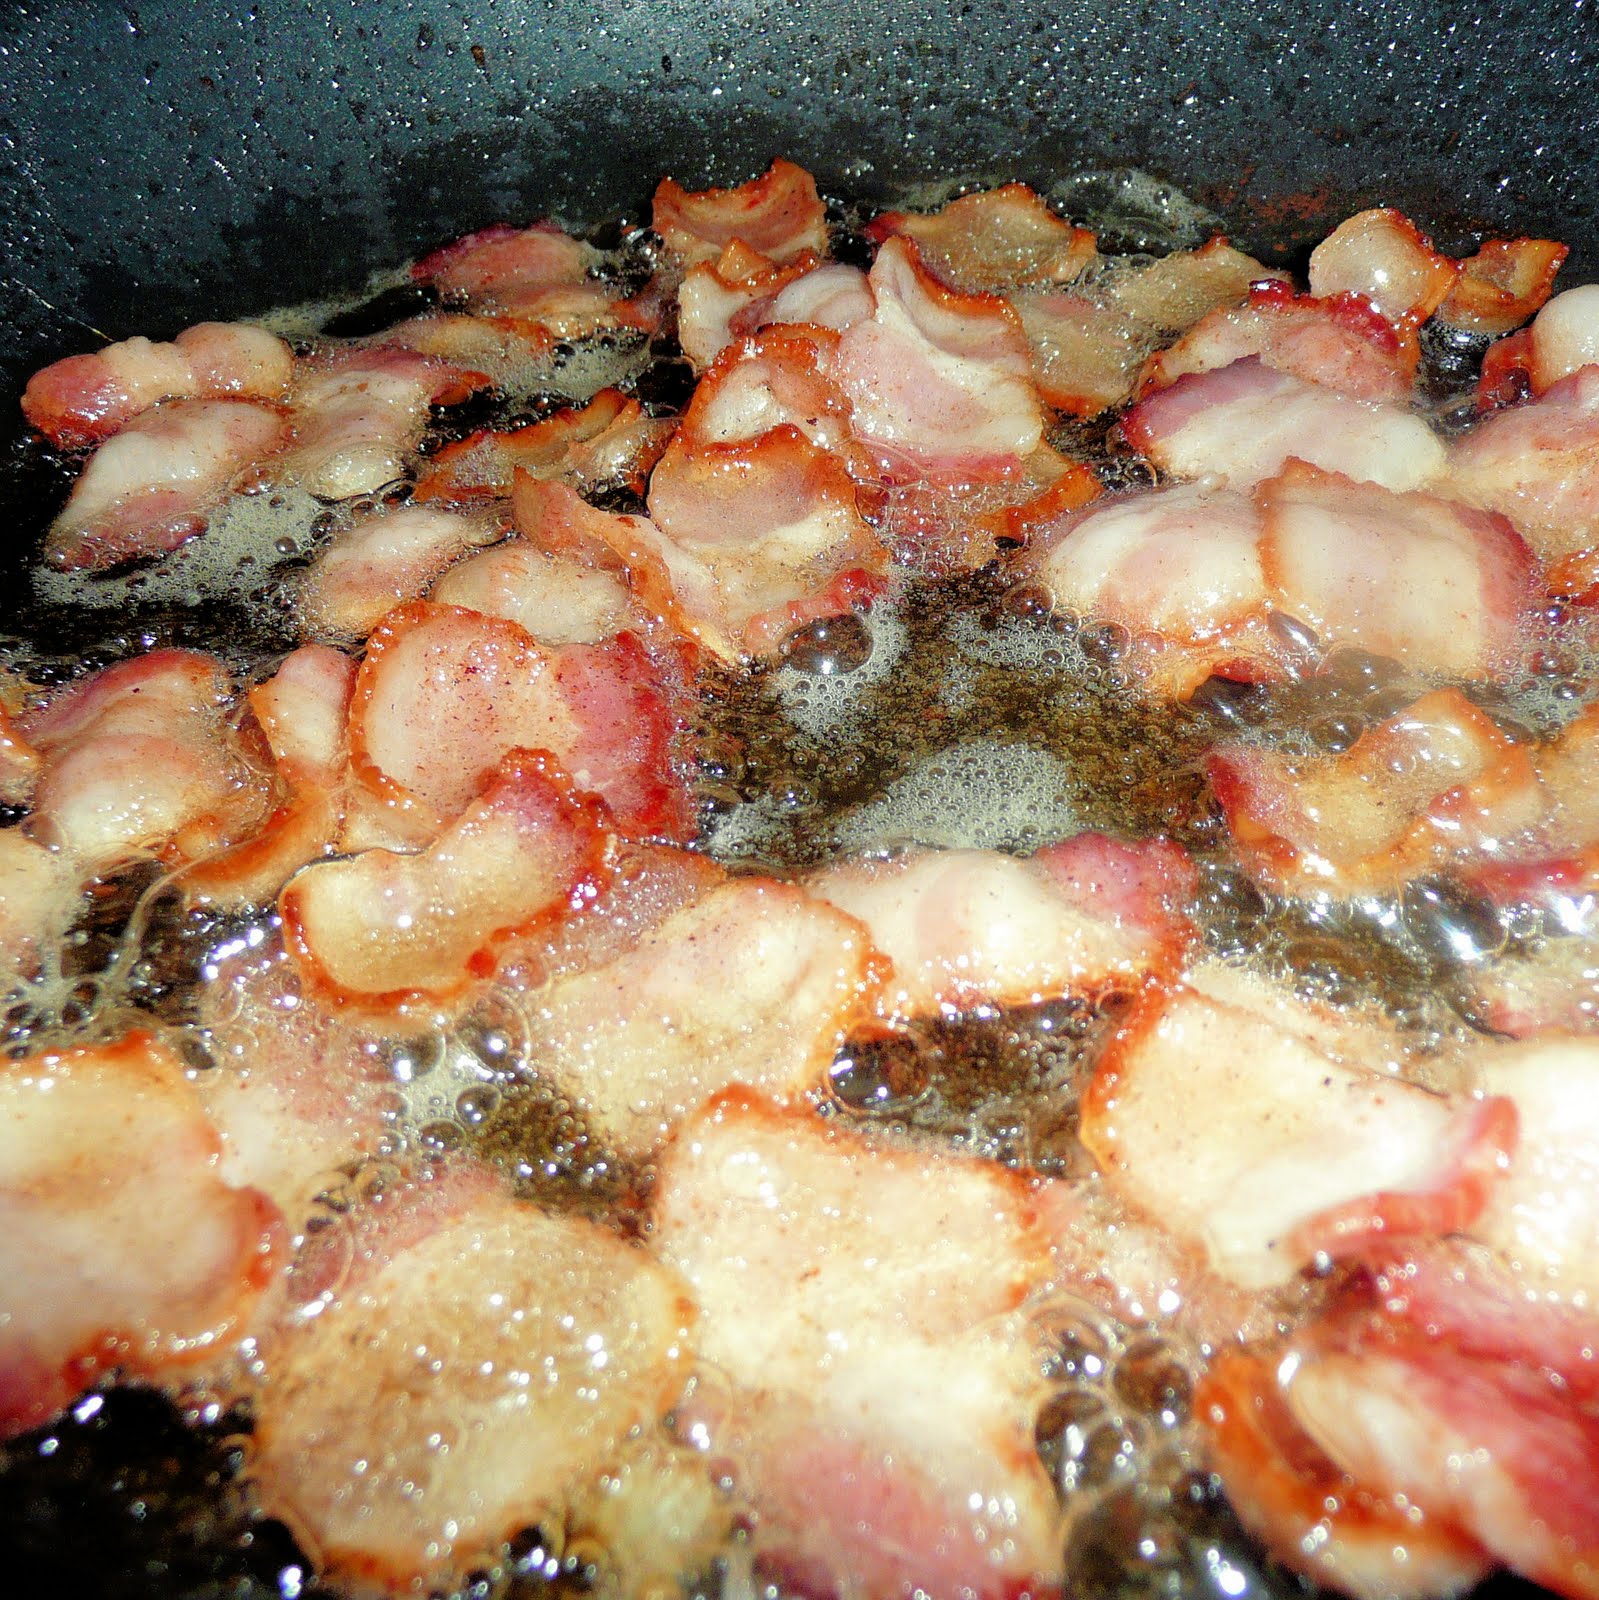
In another saute pan, cook the bacon over moderate heat until crisp, about 6 minutes.
Drain the bacon on paper towels; reserve 1 tablespoon of the bacon fat.
While the rice is absorbing the wine, puree half of the peas (1 cup) with 1 cup of water in a food processor. (I used my trusty Magic Bullet. Best Christmas present ever.
Not terribly appetizing..
Once the wine is absorbed, add enough hot stock to just cover the rice and cook over medium heat, stirring, until the stock has been absorbed. Add more stock, enough to cover the rice.
You can tell I burnt some of the onions…
Continue cooking and stirring, adding more stock as it is absorbed, until the rice is creamy, about 25 minutes.
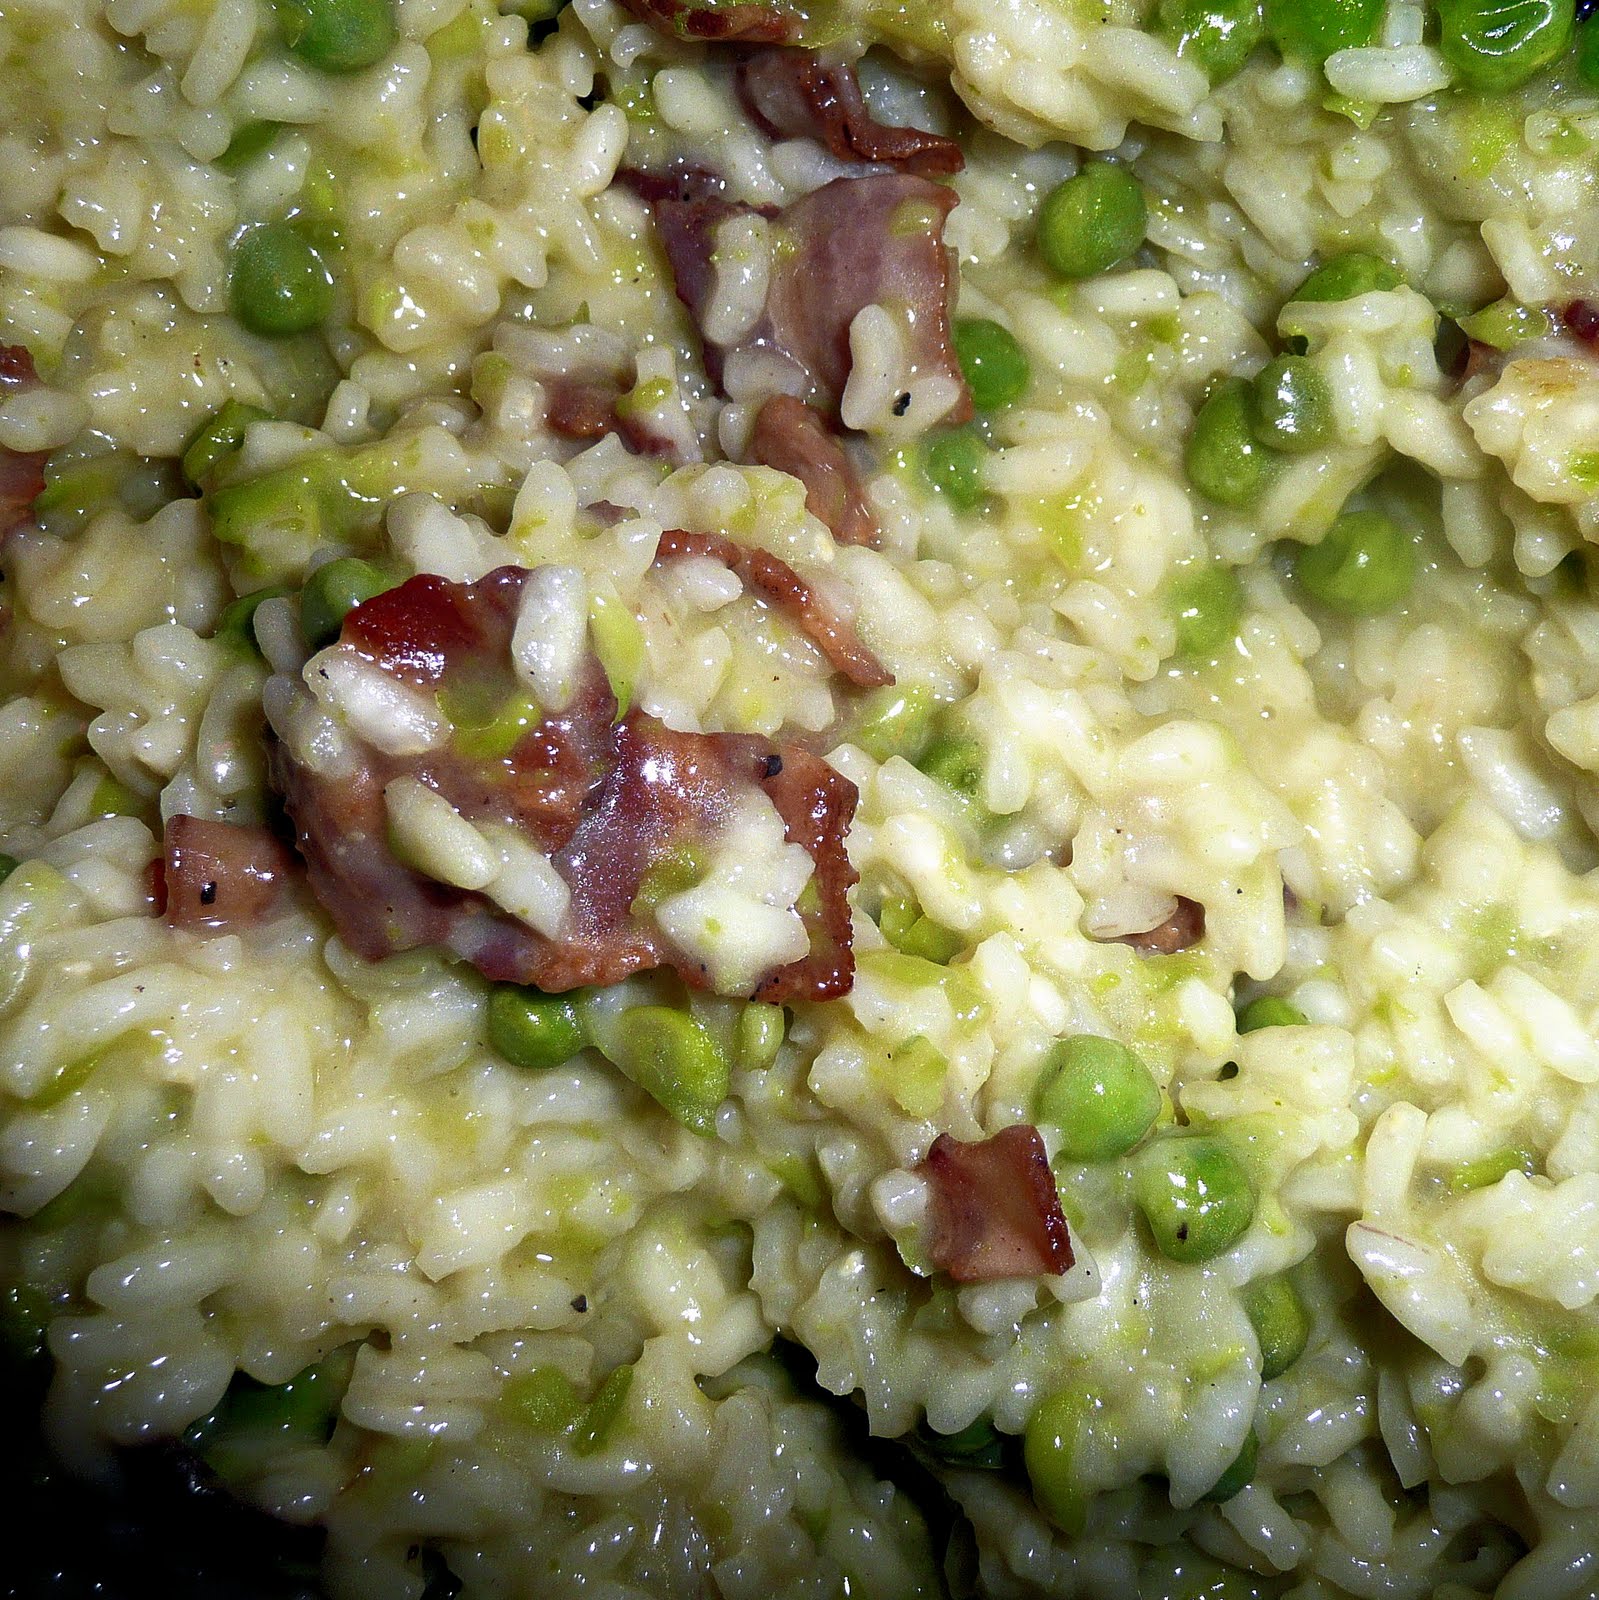
The rice really expands!
Add the pea puree, the remaining peas and the bacon and cook, stirring, until hot.
Remove the risotto from the heat and stir in the butter, reserved bacon fat, cheese and lemon juice. Season with salt and pepper.
This was very satisfying, especially for not having to buy any ingredients. I think I’d like it with a bit more cheese, just as a topping upon serving. To take advantage of the spring season’s fresh vegetables, you could substitute in asparagus, or maybe just add some fresh asparagus to the dish.
Risotto is a great go-to meal on week days because it always takes about 30 minutes to make. I haven’t typed up many risotto recipes yet, but you can expect them in the future.
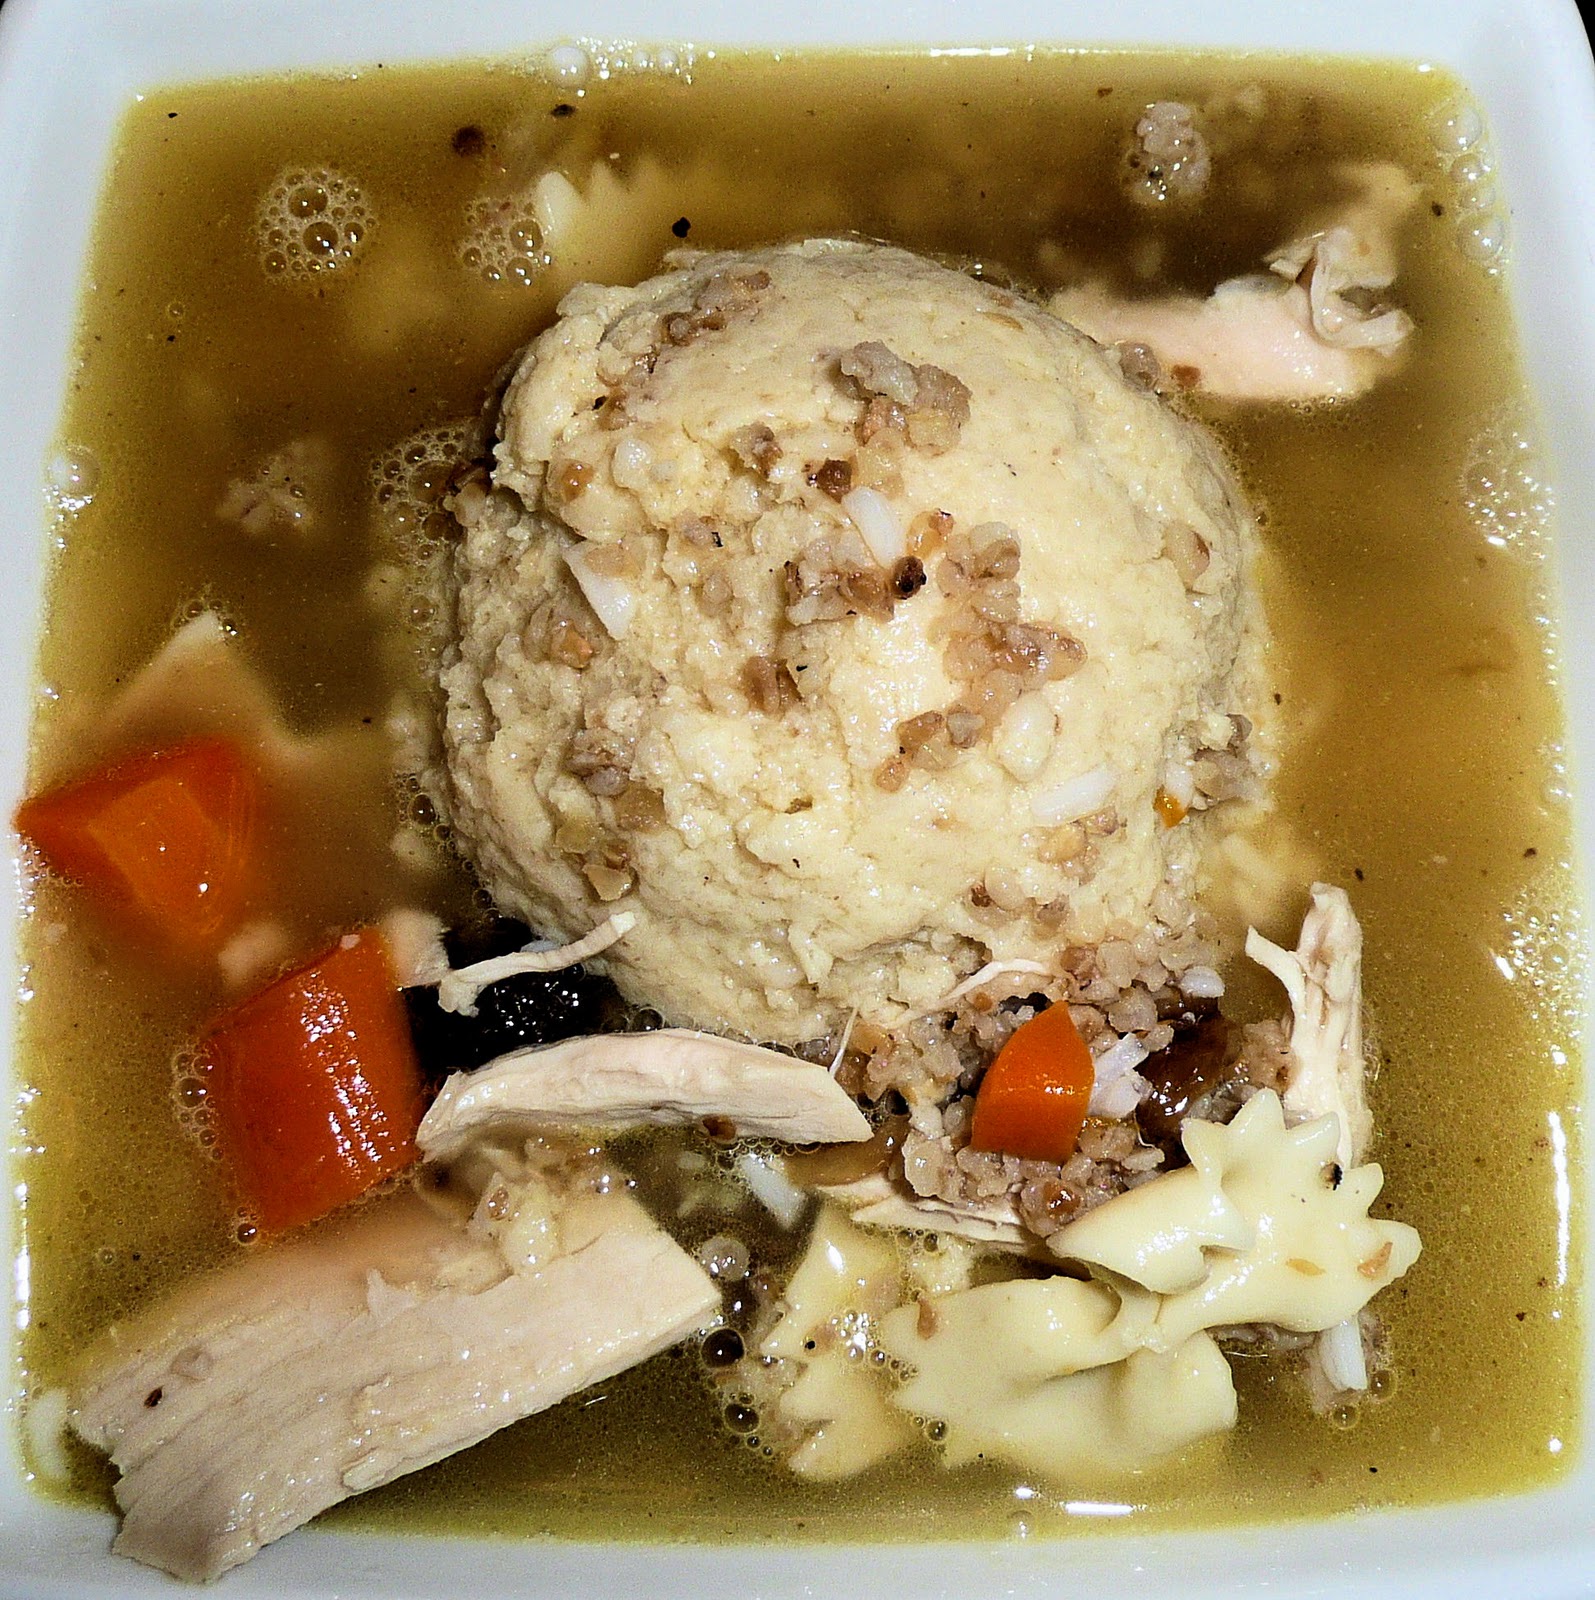
Whelp. I’m sick. Which means that my culinary excursion has come to a screeching halt. Darn me for not making a huge batch of chicken noodle soup when I was feeling fine! So I am going for the next best thing (honestly probably the better thing):Famous 4th Street Deli’sfamous chicken soup.
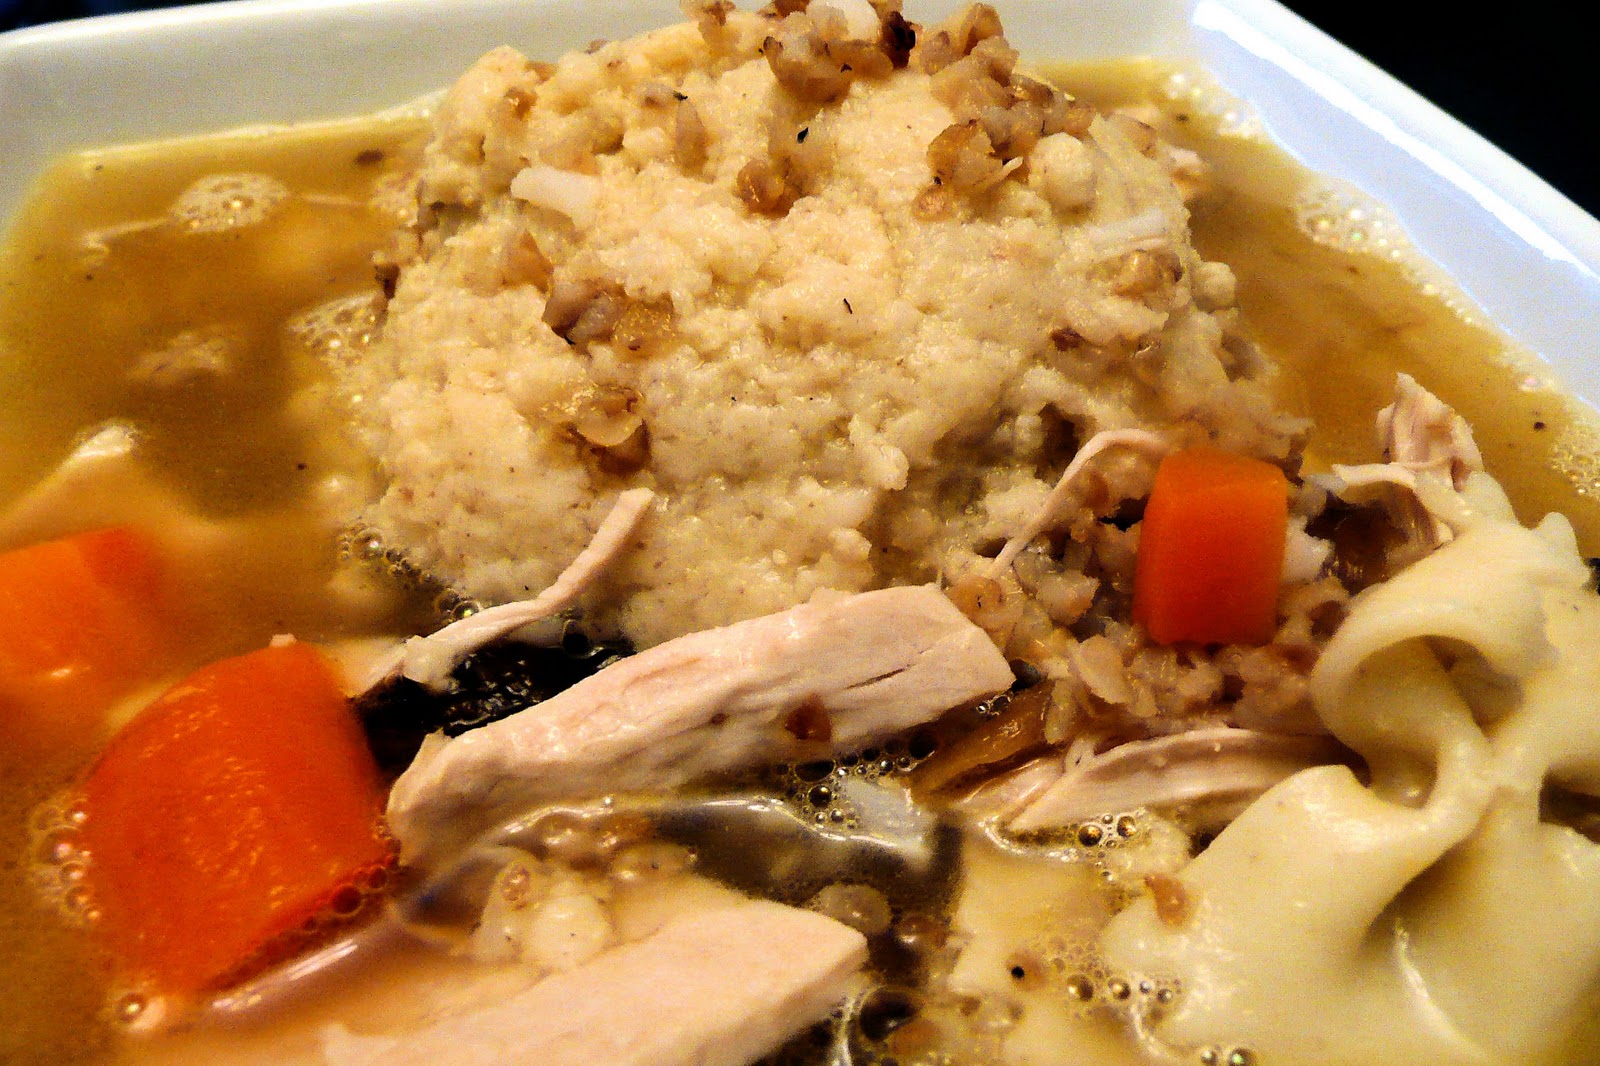
The famous Chicken Soup comes with: matzo ball, kreplach, bow tie noodles, rice, kasha, onions and carrots. The matzo ball is the size of a softball. The one in the photo above is cut in half so it could fit in my bowl. Kreplach are small dumplings that can be filled with ground meat or other filling. Kasha is a soft grain, usually buckwheat. If I could figure out how to make this, I’d be one super happy person.. maybe one day.
Needless to say, this is the best medicine I’ve had so far for this cold/flu/sickness/whatever I have. I have a ridiculous amount of soup (one order of the soup feeds 2-3 people) so I expect to live off of this for the next day or two.
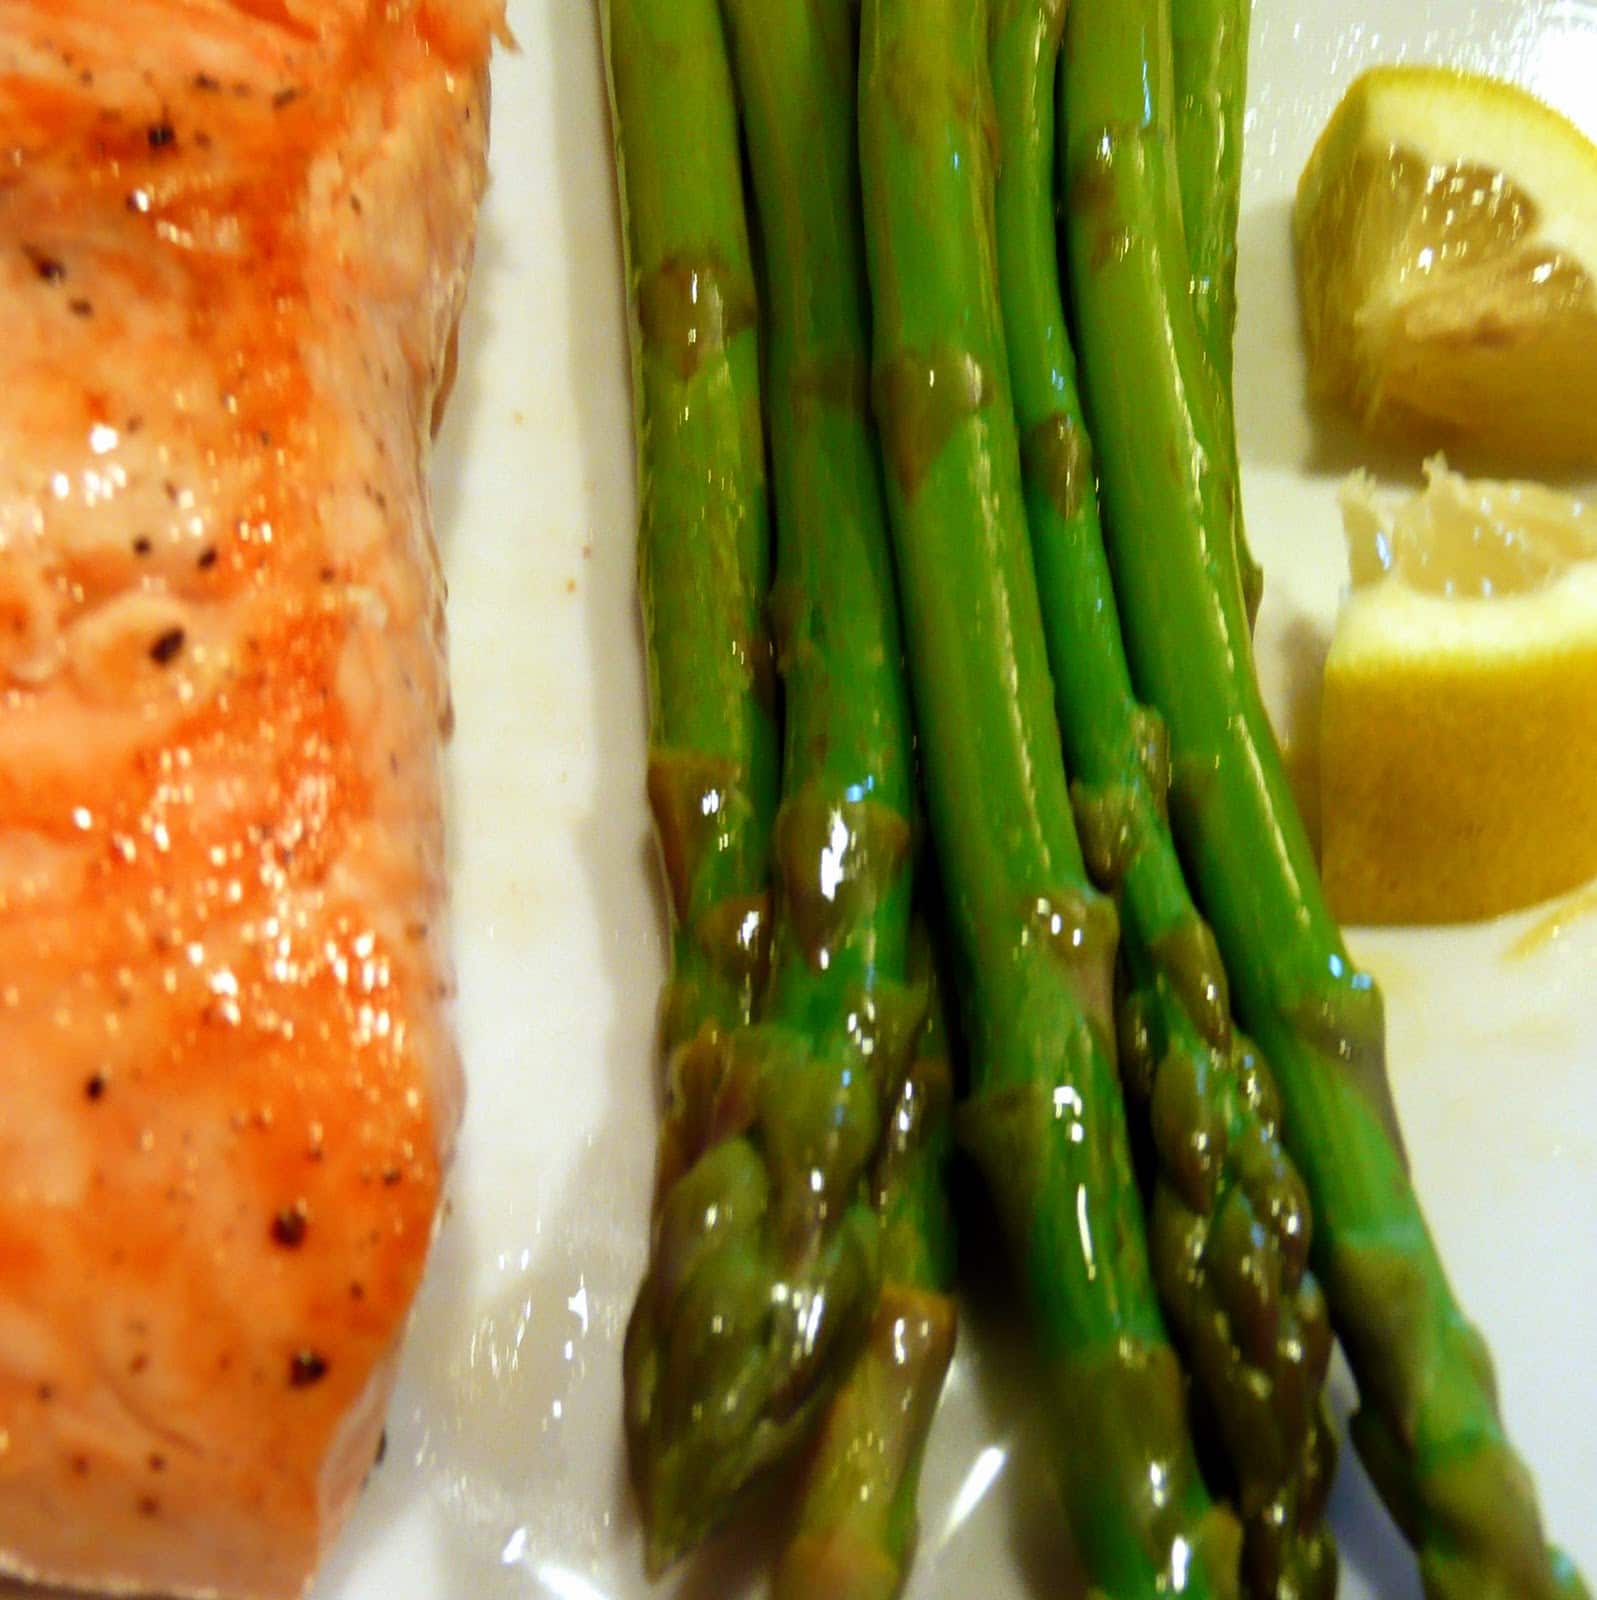
If you haven’t picked up on this yet, I’m quite the fan of salmon. It’s easy to make, tastes great, and is good for you. To add to my lovely salmon repertoire, I thought I’d give Food & Wine’s Pan-Fried Salmon with Citrus Vinaigrette (and Asparagus) a try.
Ingredients:
1 pound asparagus, stalks trimmed
1/4 cup extra-virgin olive oil, plus more for drizzling
1/4 cup fresh orange juice
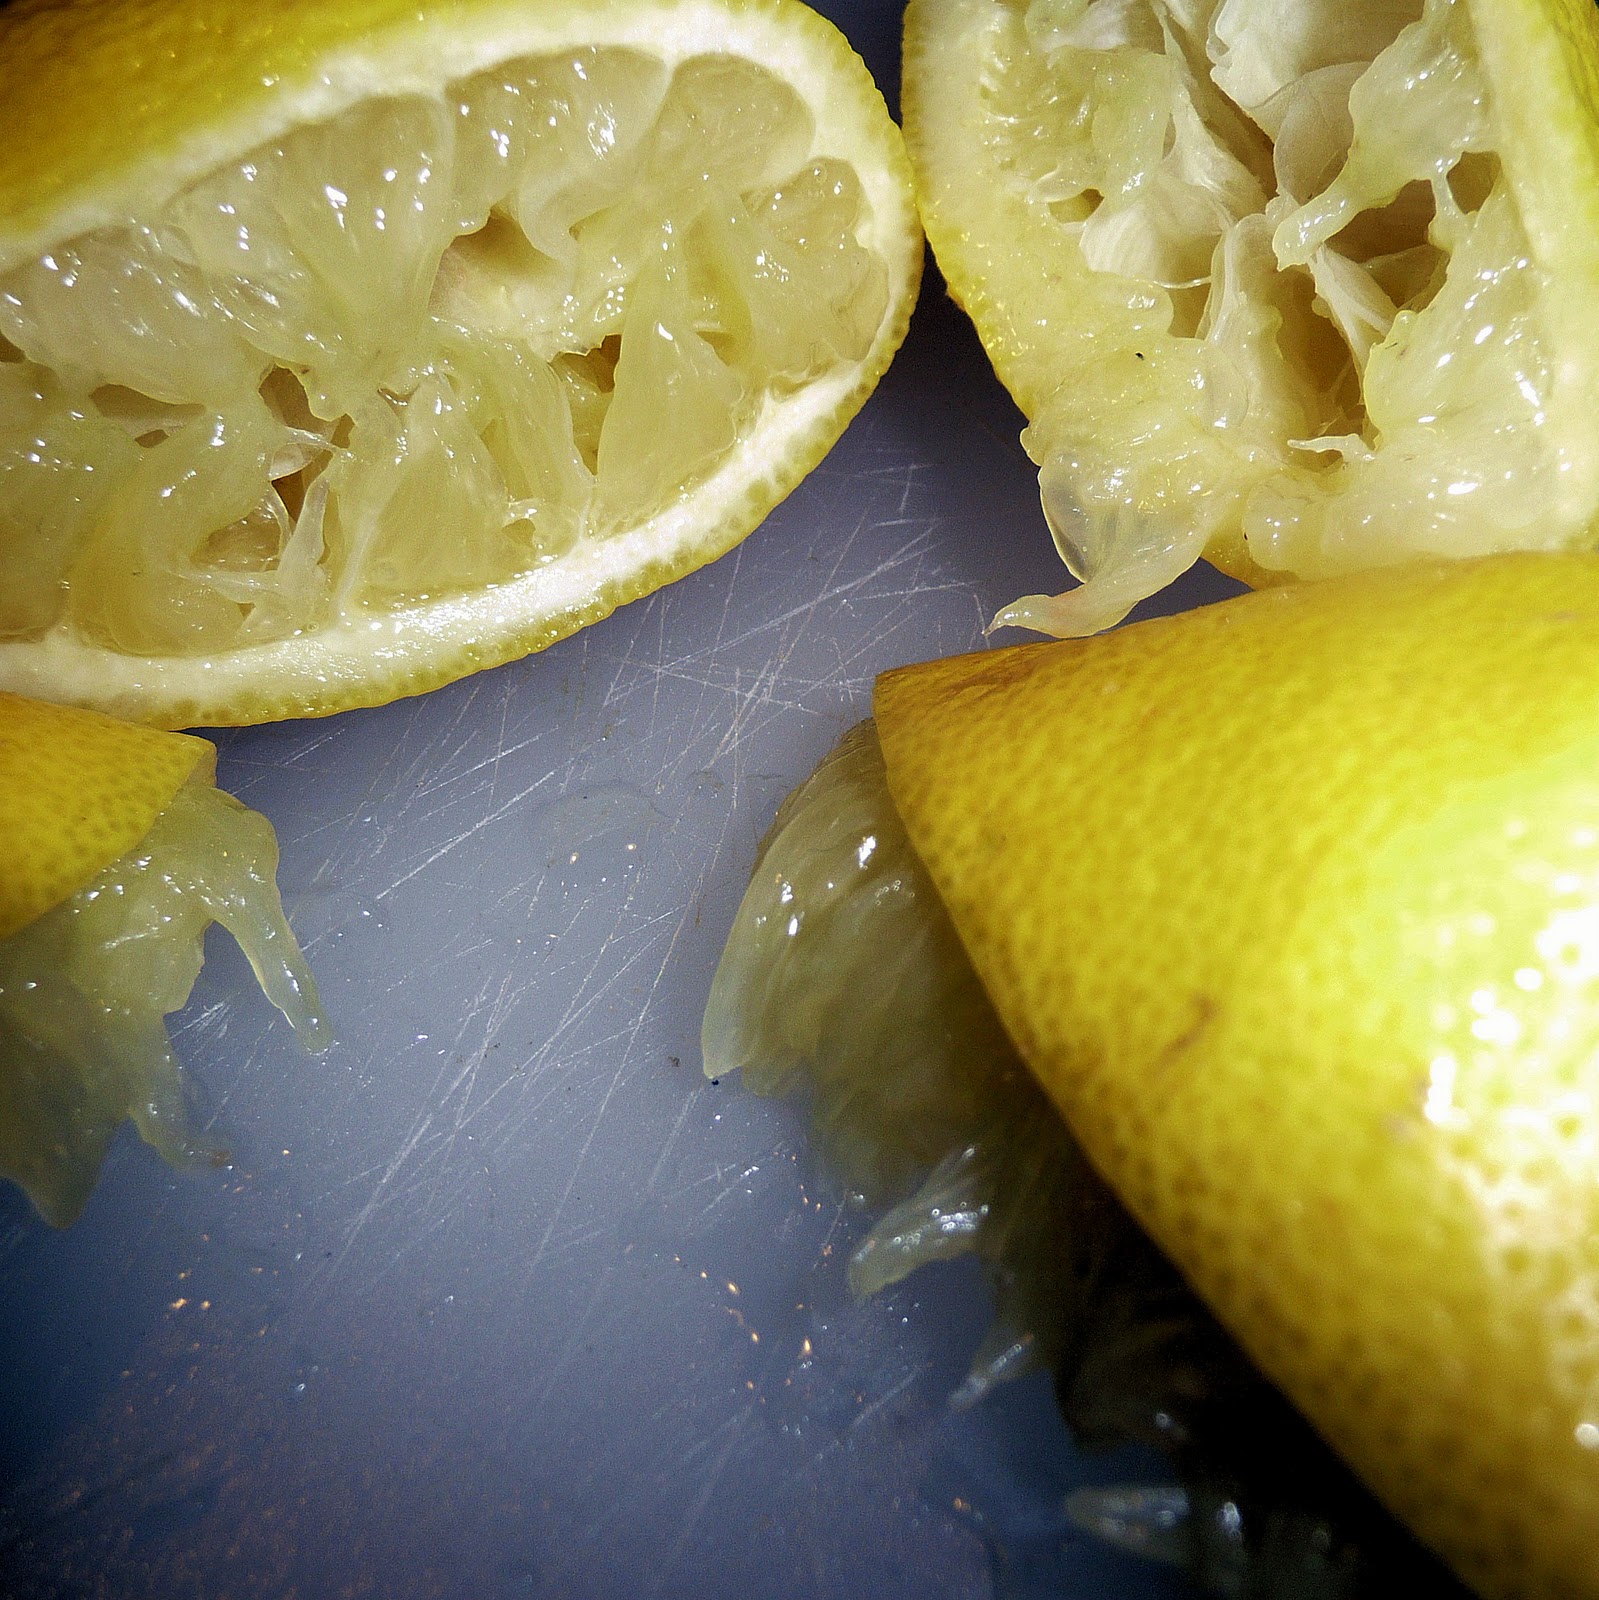
1/4 cup fresh lemon juice
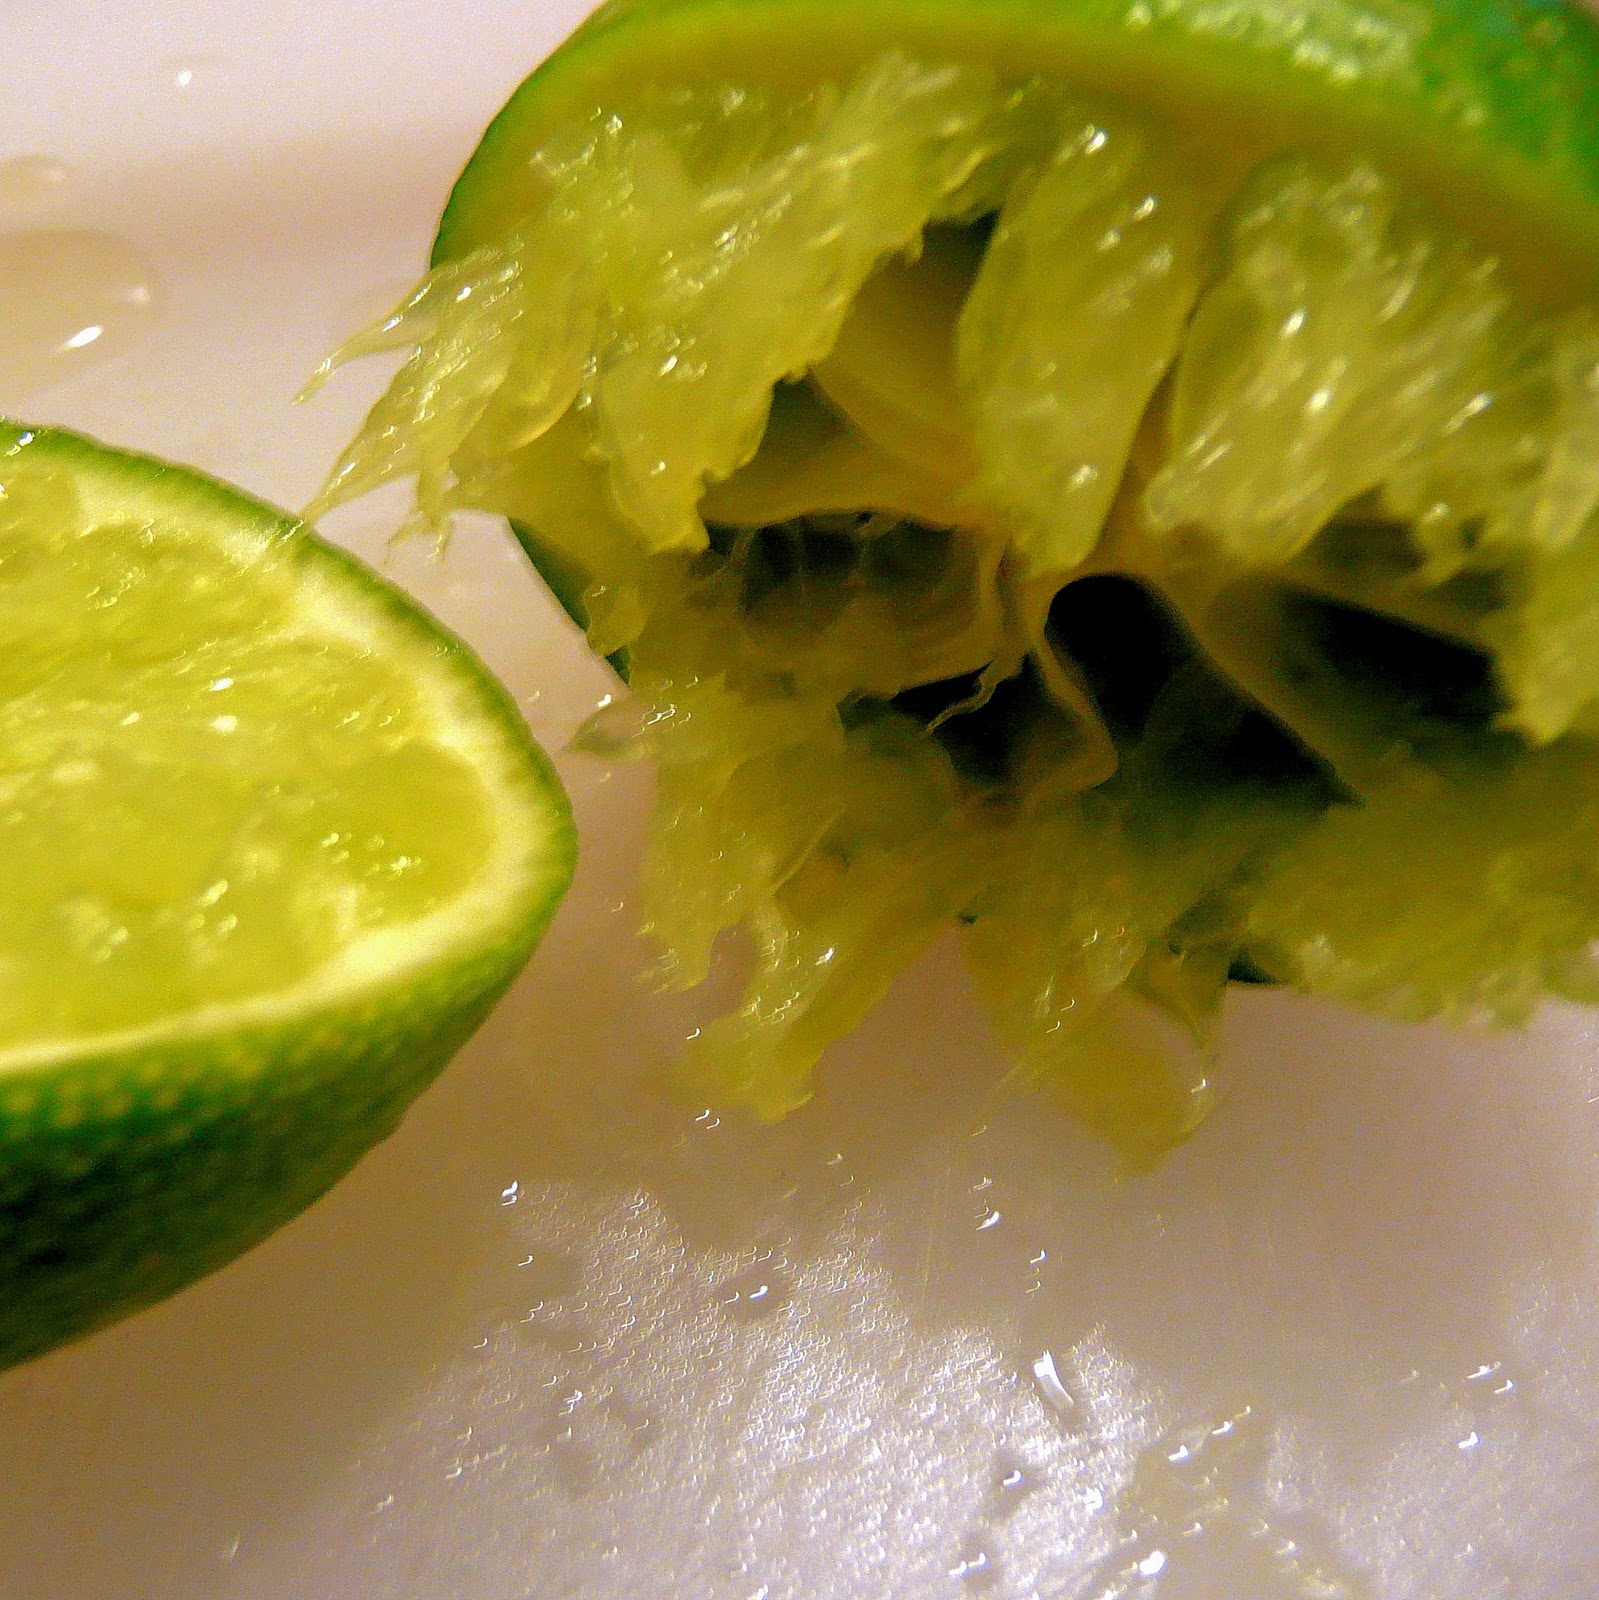
2 tablespoons fresh lime juice
1 medium shallot, minced
2 tablespoons snipped chives
Salt and freshly ground pepper
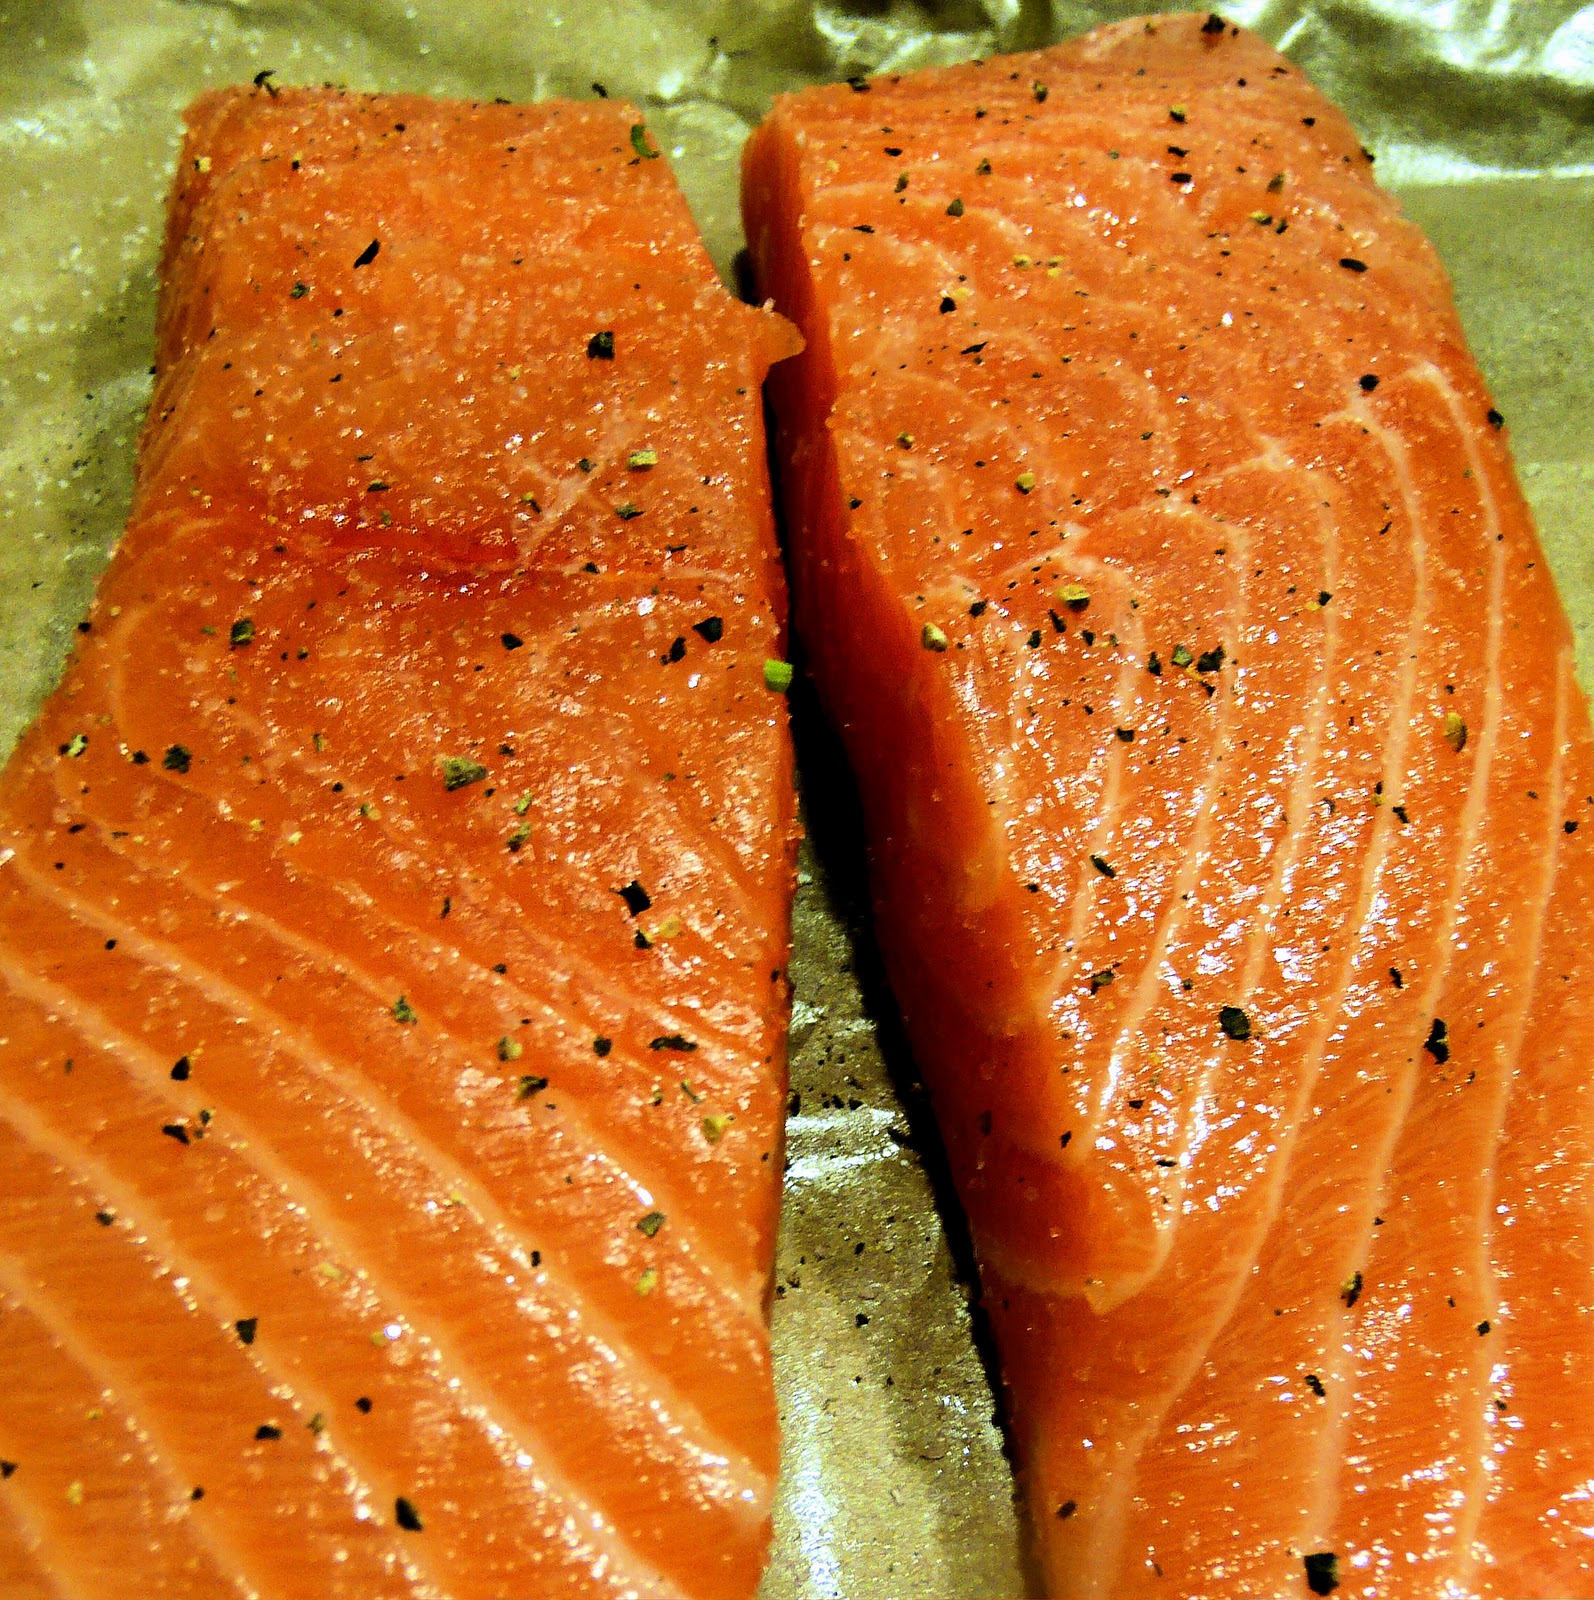
2 6-oz skinless salmon fillets
Ok. So I cut corners & bought OJ. shh
1/4 cup lemon juice ends up being about 2 lemons
2 tablespoons fresh lime juice is equal to about one lime.
Heat a large pot of salted water over high heat. When the water is boiling, drop the asparagus in, and cook until bright green and crisp-tender, about 3 minutes. Drain and rinse with cold water to stop the cooking process. Pat dry and transfer to a plate. Drizzle some olive oil over the asparagus and toss.
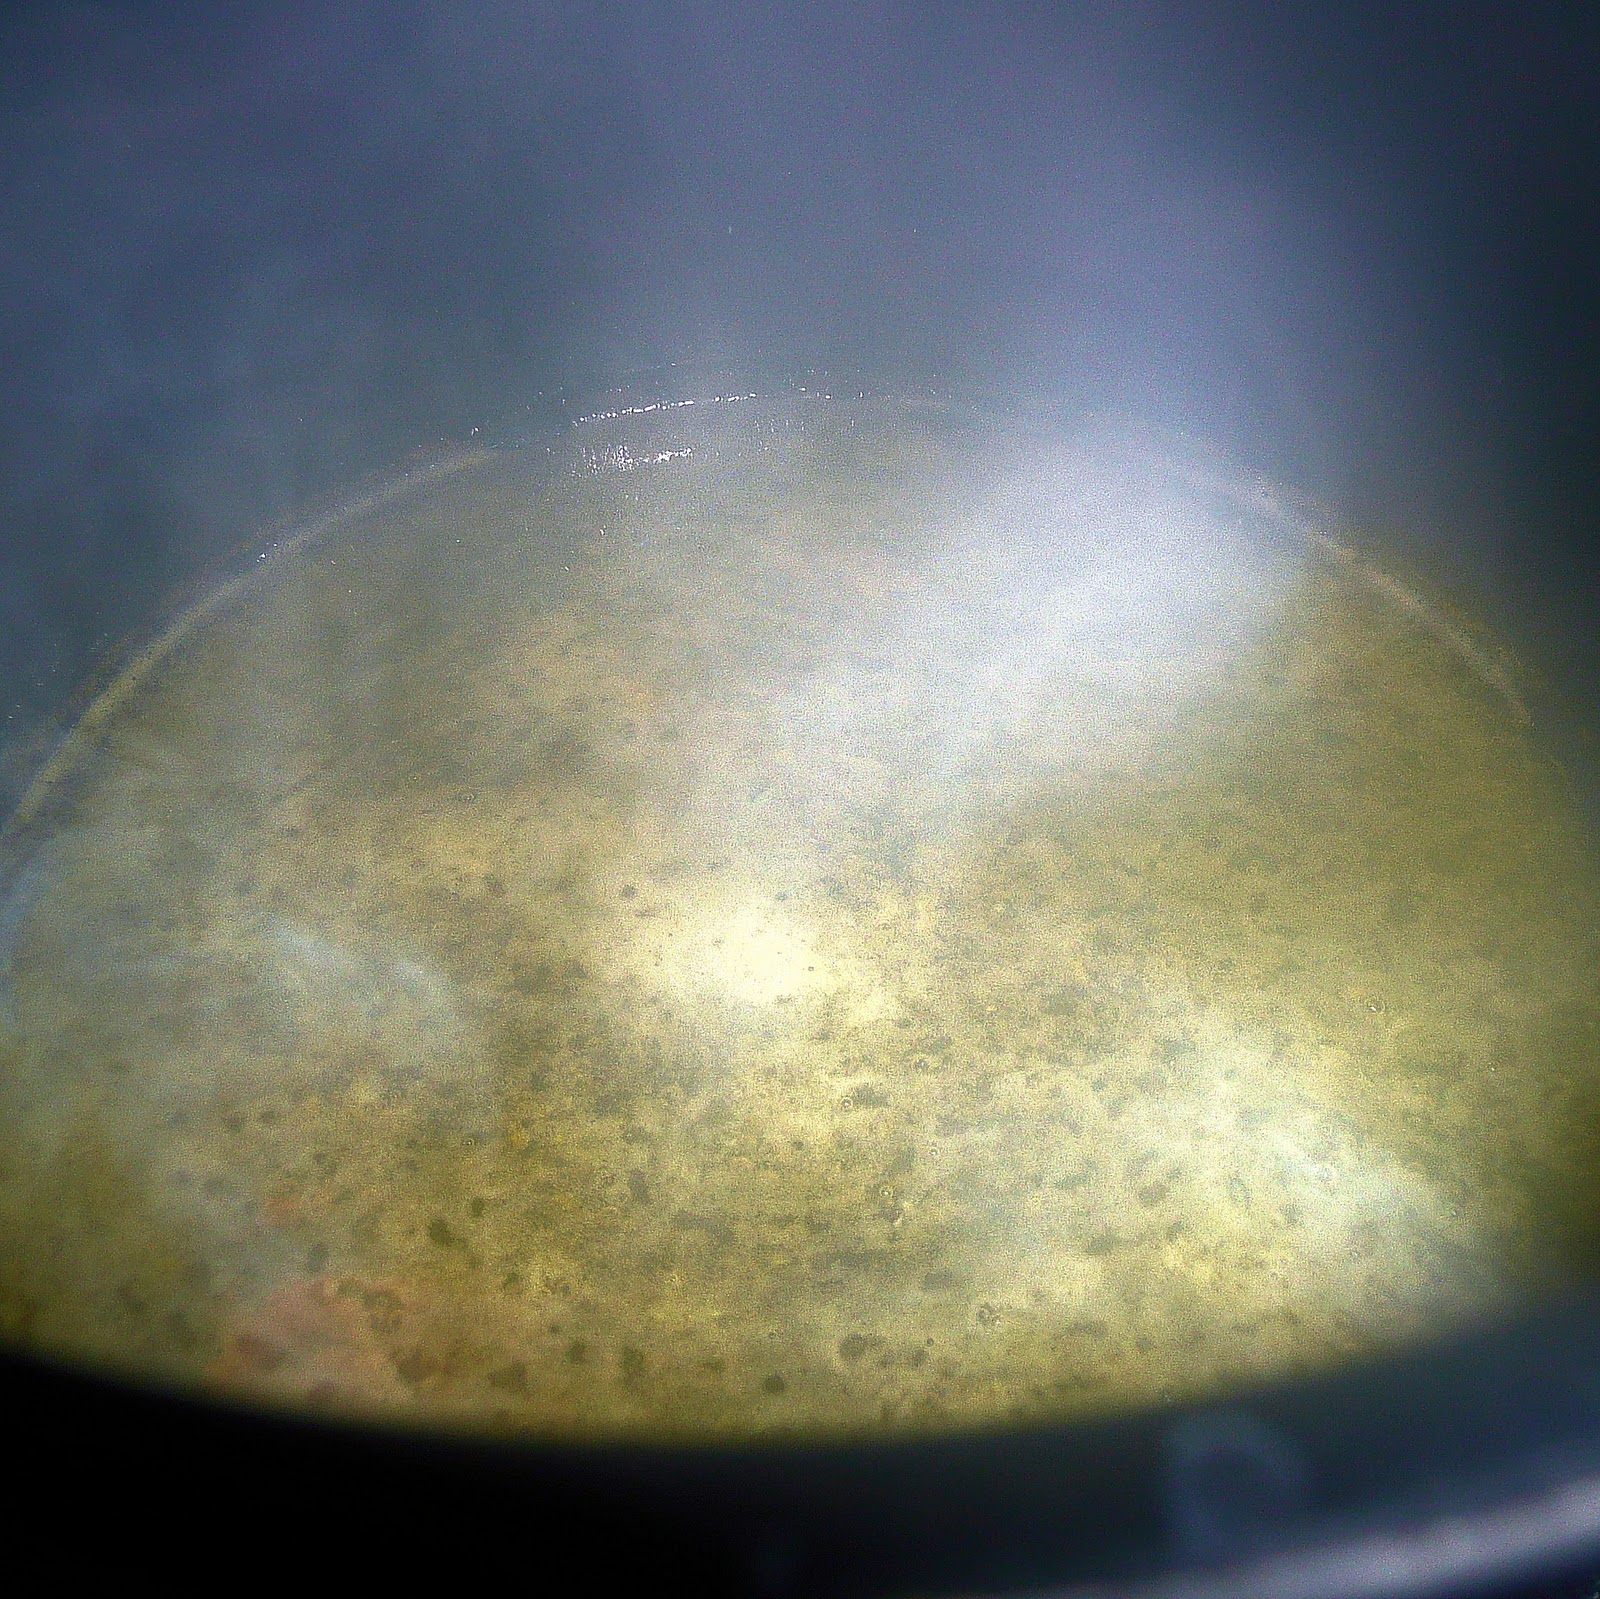
In a small saute pan, mix the orange, lemon, and lime juices and simmer over medium heat until reduced by half, about 10 minutes.
Pour into a bowl and let cool to room temperature. Whisk in the shallot, chives, and 1/4 cup olive oil. Season with salt and pepper.
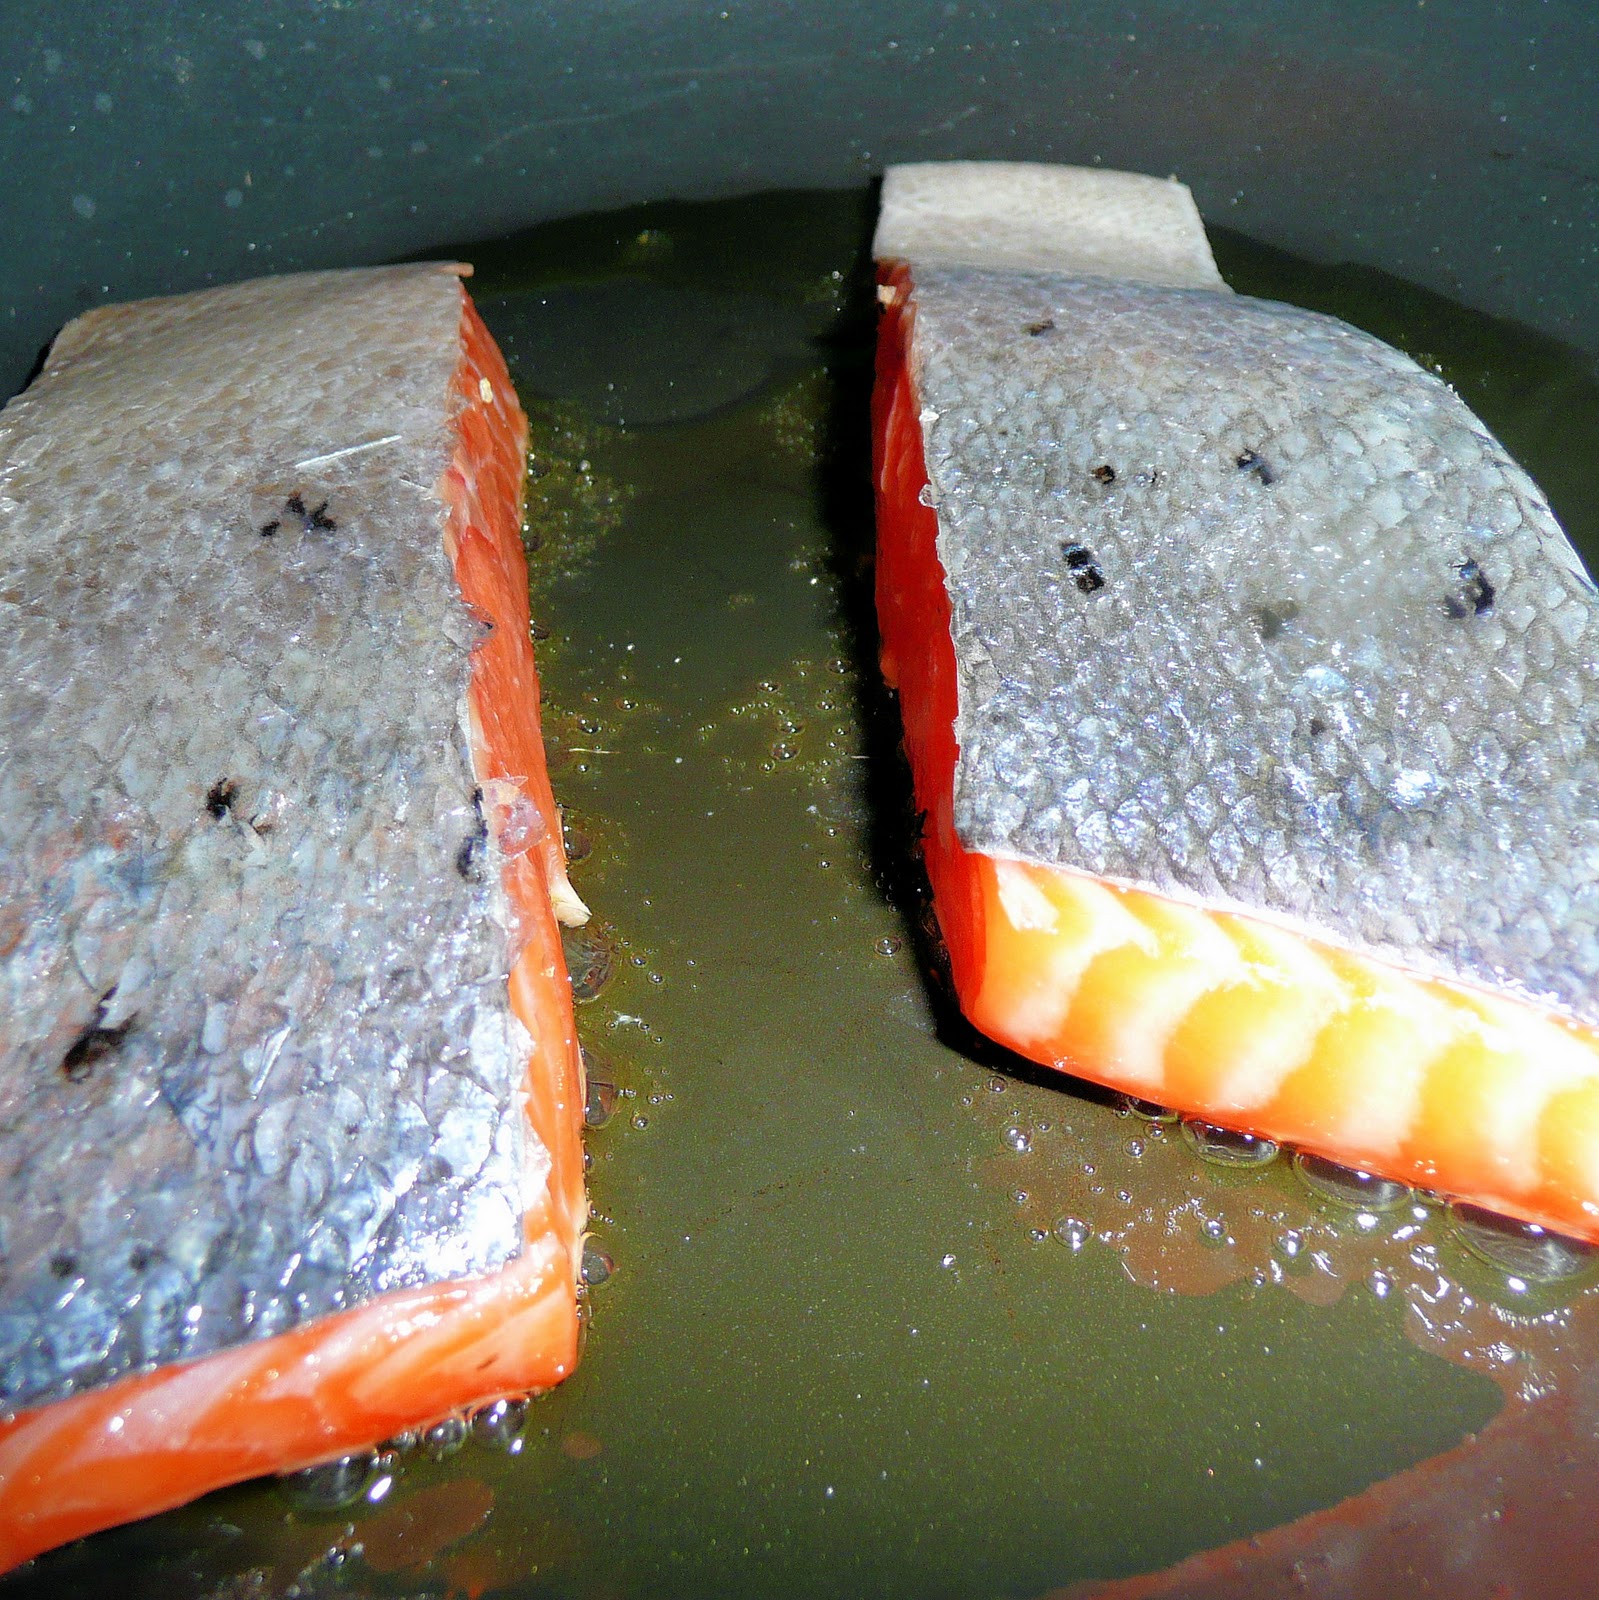
Heat 1 1/2 tablespoons of olive oil over medium high heat. Season the salmon with salt and pepper
Add to the saute pan, skin side up.
Cook for 3 minutes and flip. The salmon should have a nice browned sear.
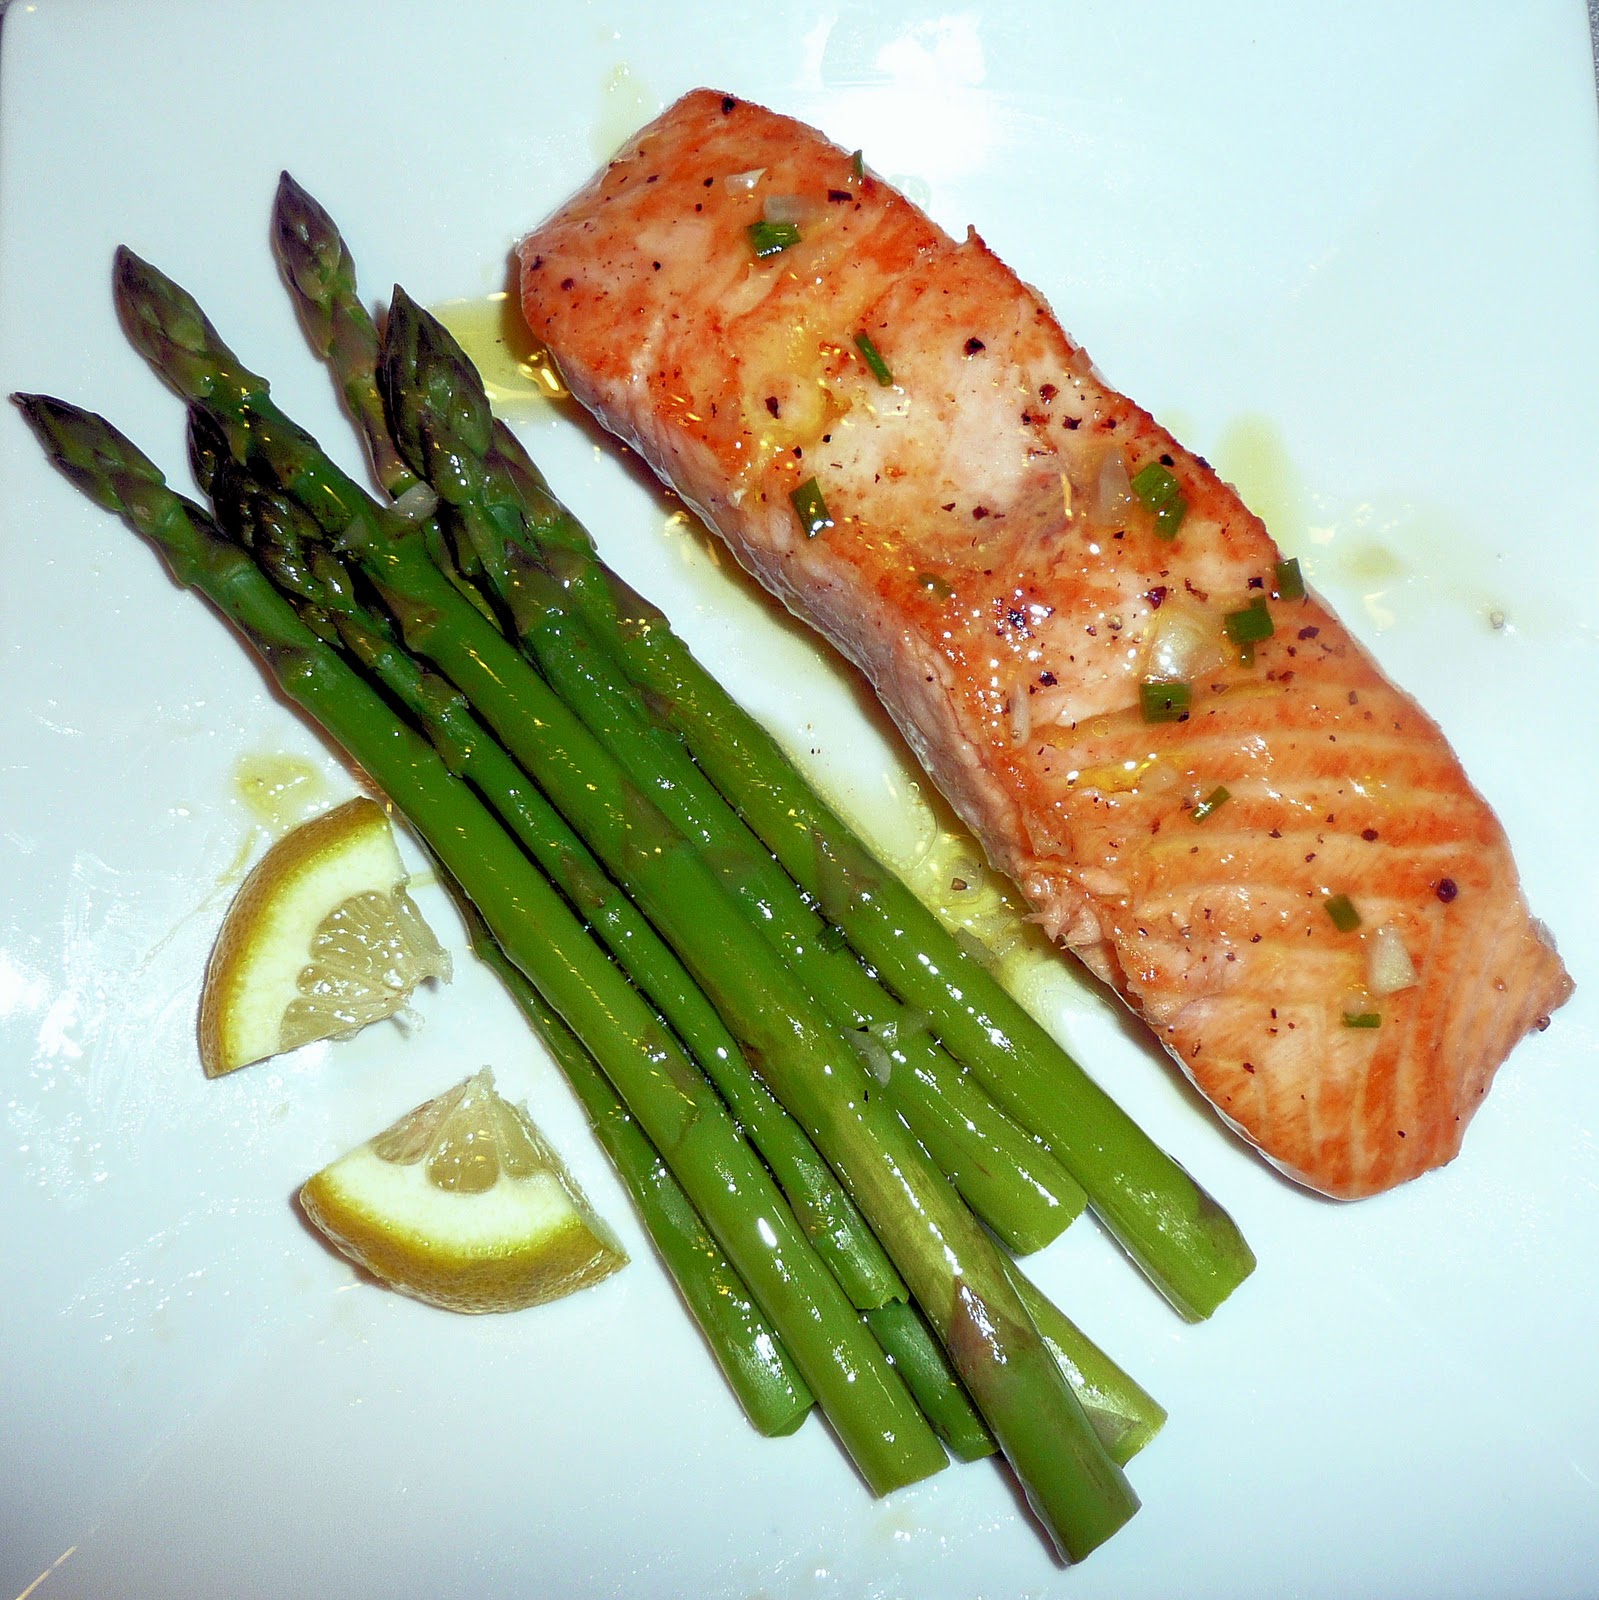
Cook for another three minutes until cooked through in the center. Transfer the salmon to plates and spoon some of the citrus vinaigrette on top. Serve the salmon with the asparagus.
Ah. I love any kind of citrus with asparagus and salmon, and this was no exception. It was a quick and easy recipe too, easily made on week days. The citrus vinaigrette would be great on raw spinach as well.
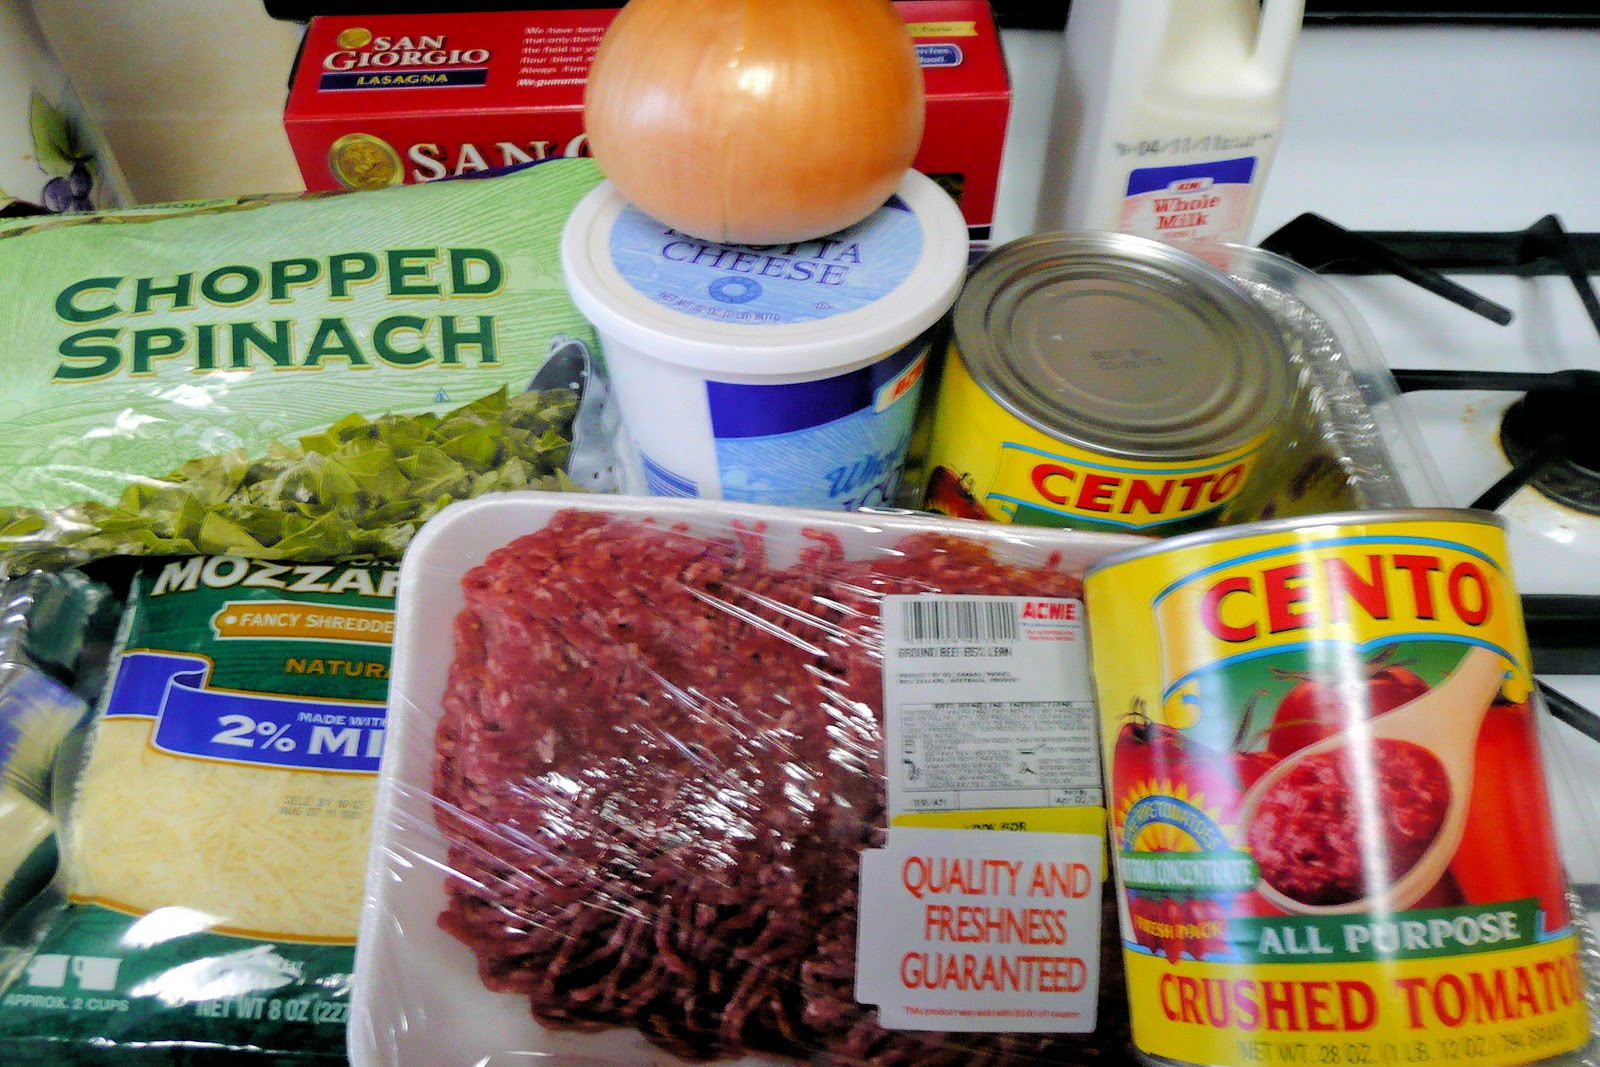
Lasagna. It seems like such a simple dish that will result in many freezable meals (9 to be exact). Always looking for a way to have already-prepared lunch or dinner options, I decided this weekend was the time to conquer the classic Italian food. I mean, how much work can layering different ingredients be?
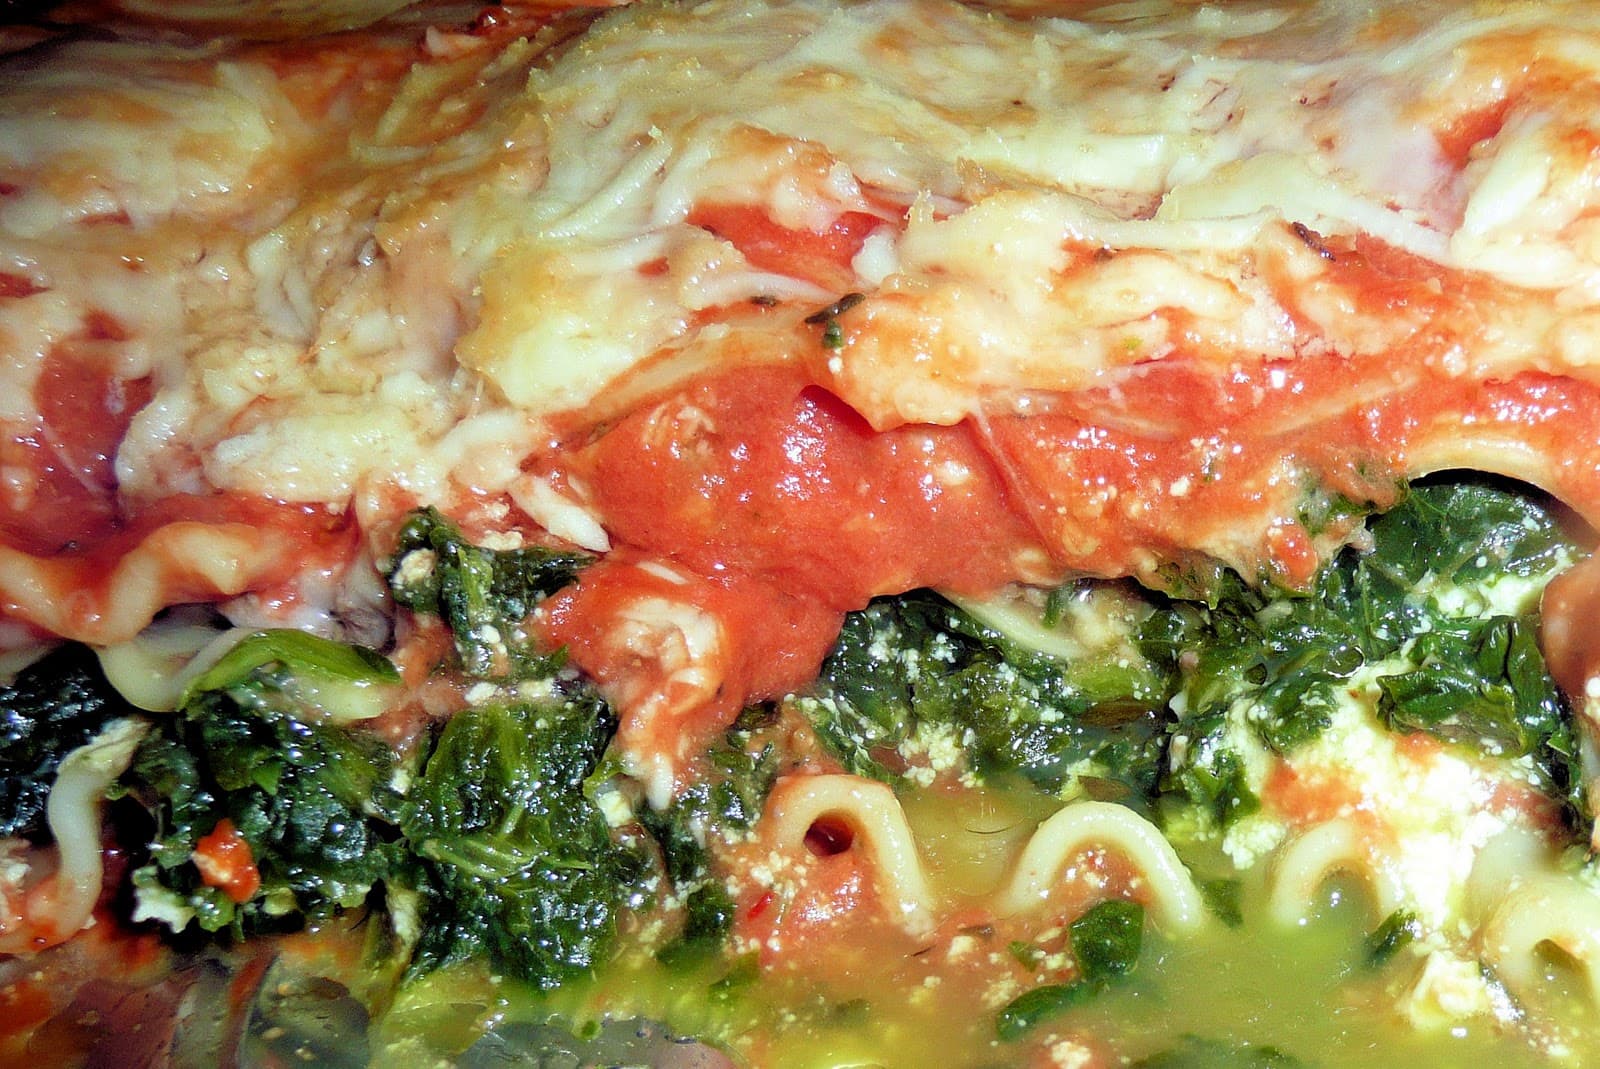
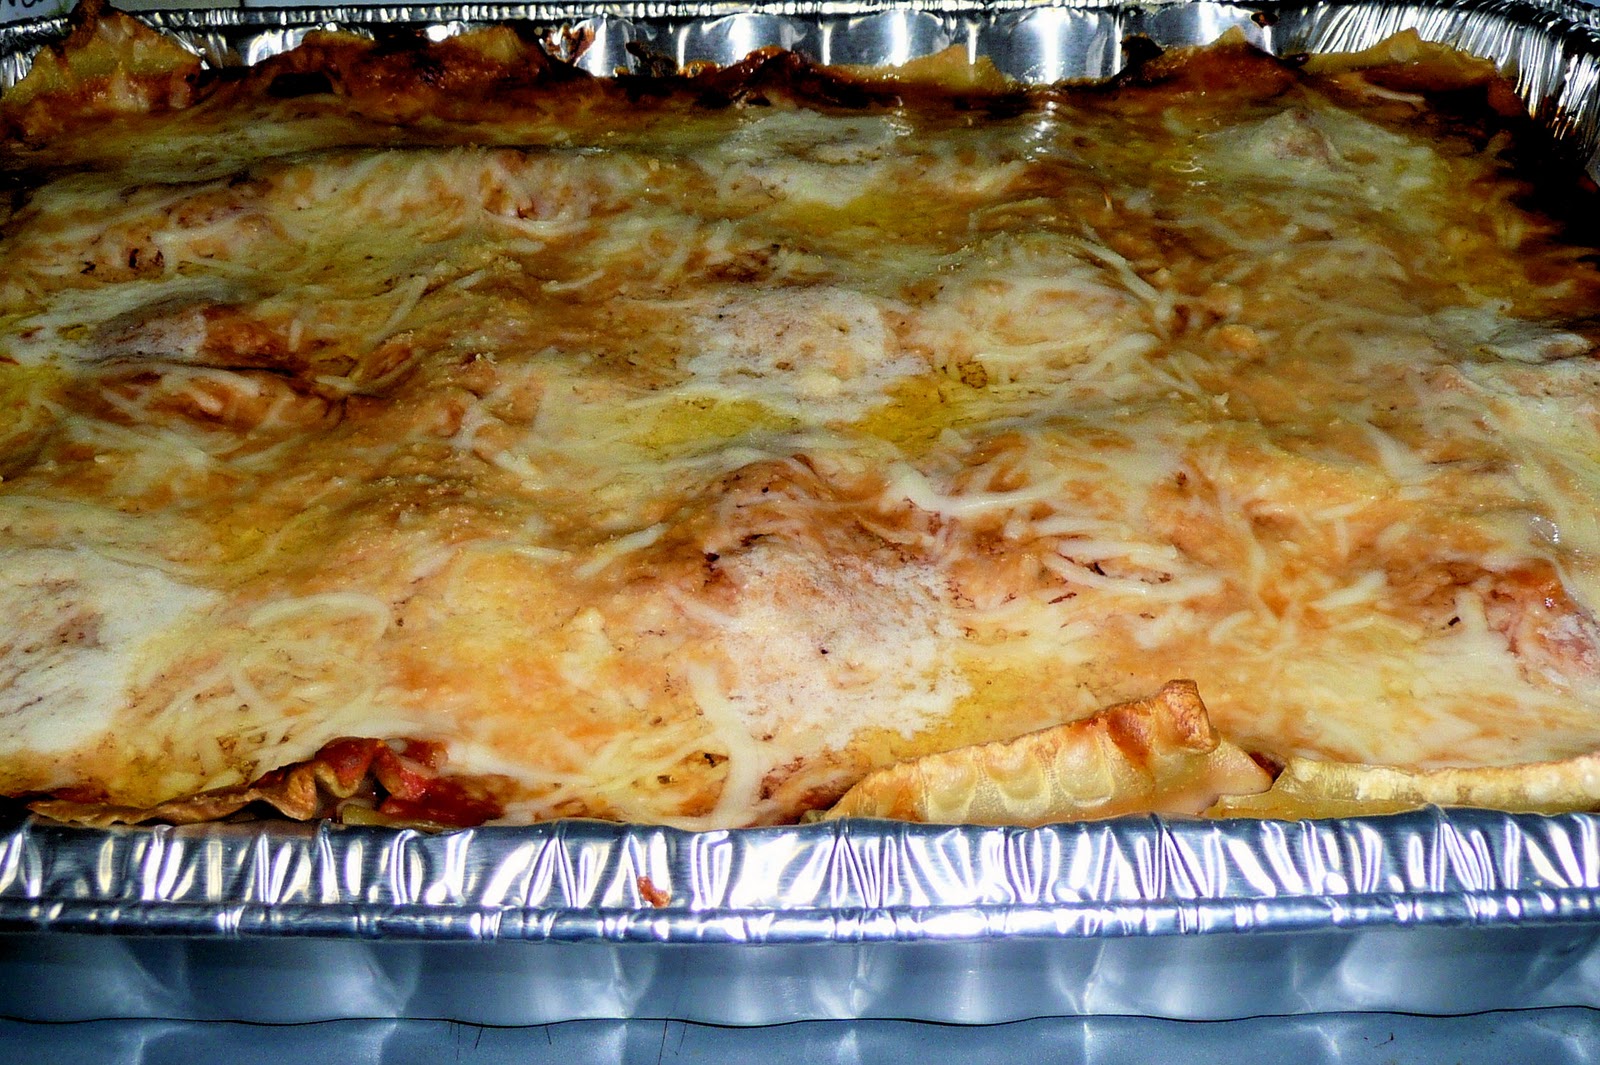
Three hours later, I ended up with this:
Not too shabby. Just a long process!
Ingredients for Lasagna:
5 tablespoons unsalted butter, plus 2 tablespoons for the lasagna
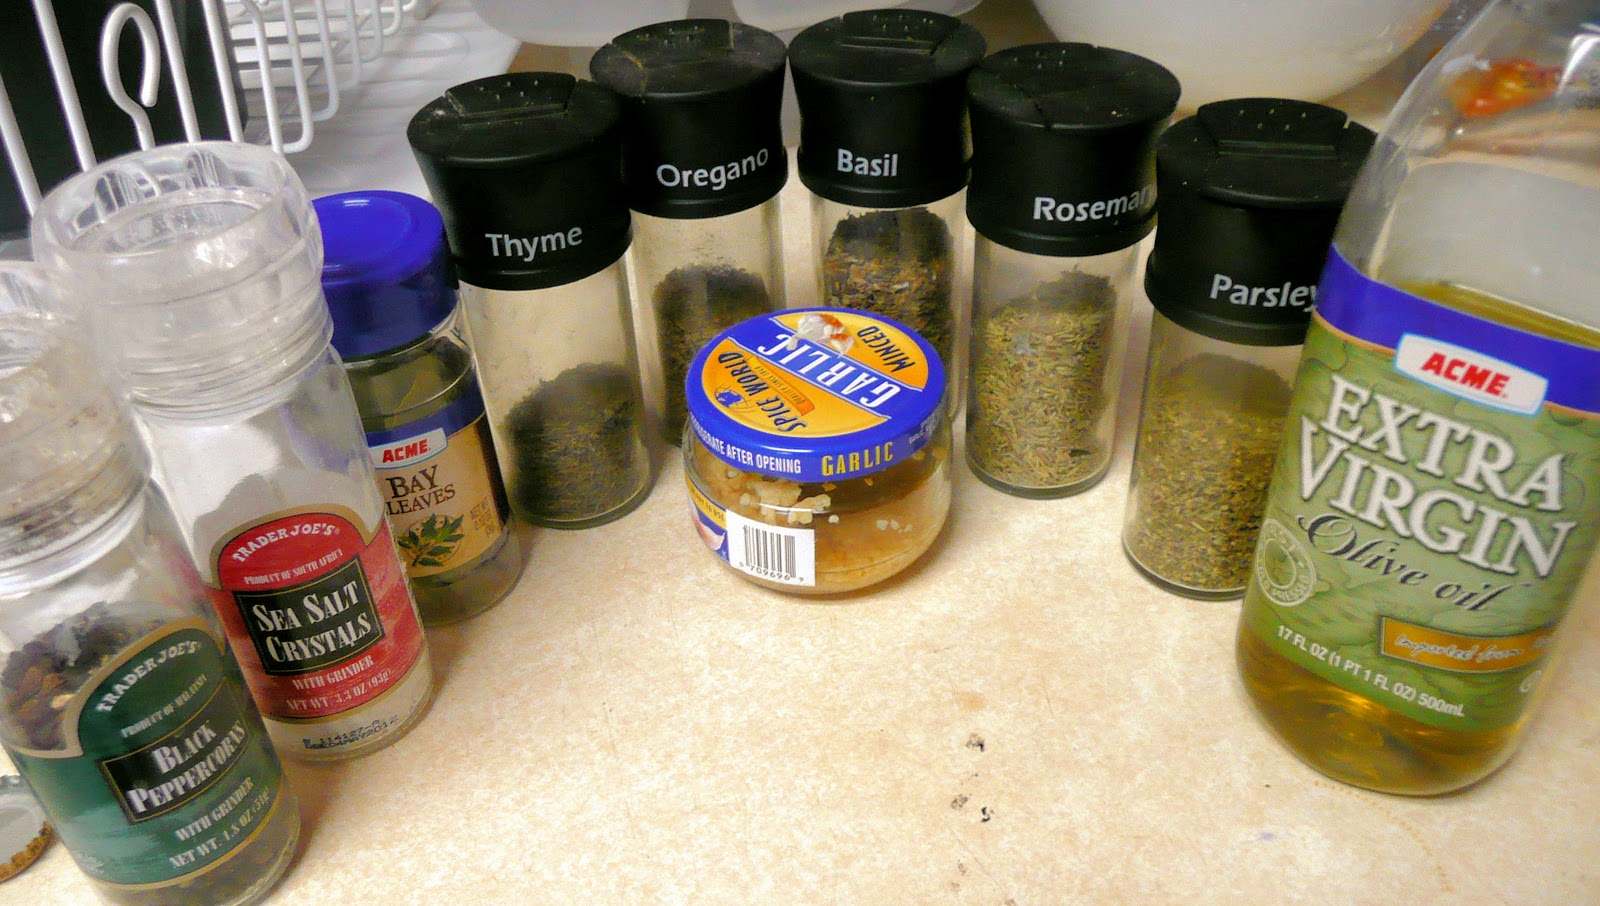
1 tablespoon each of dried: thyme, oregano, basil, rosemary and parsley
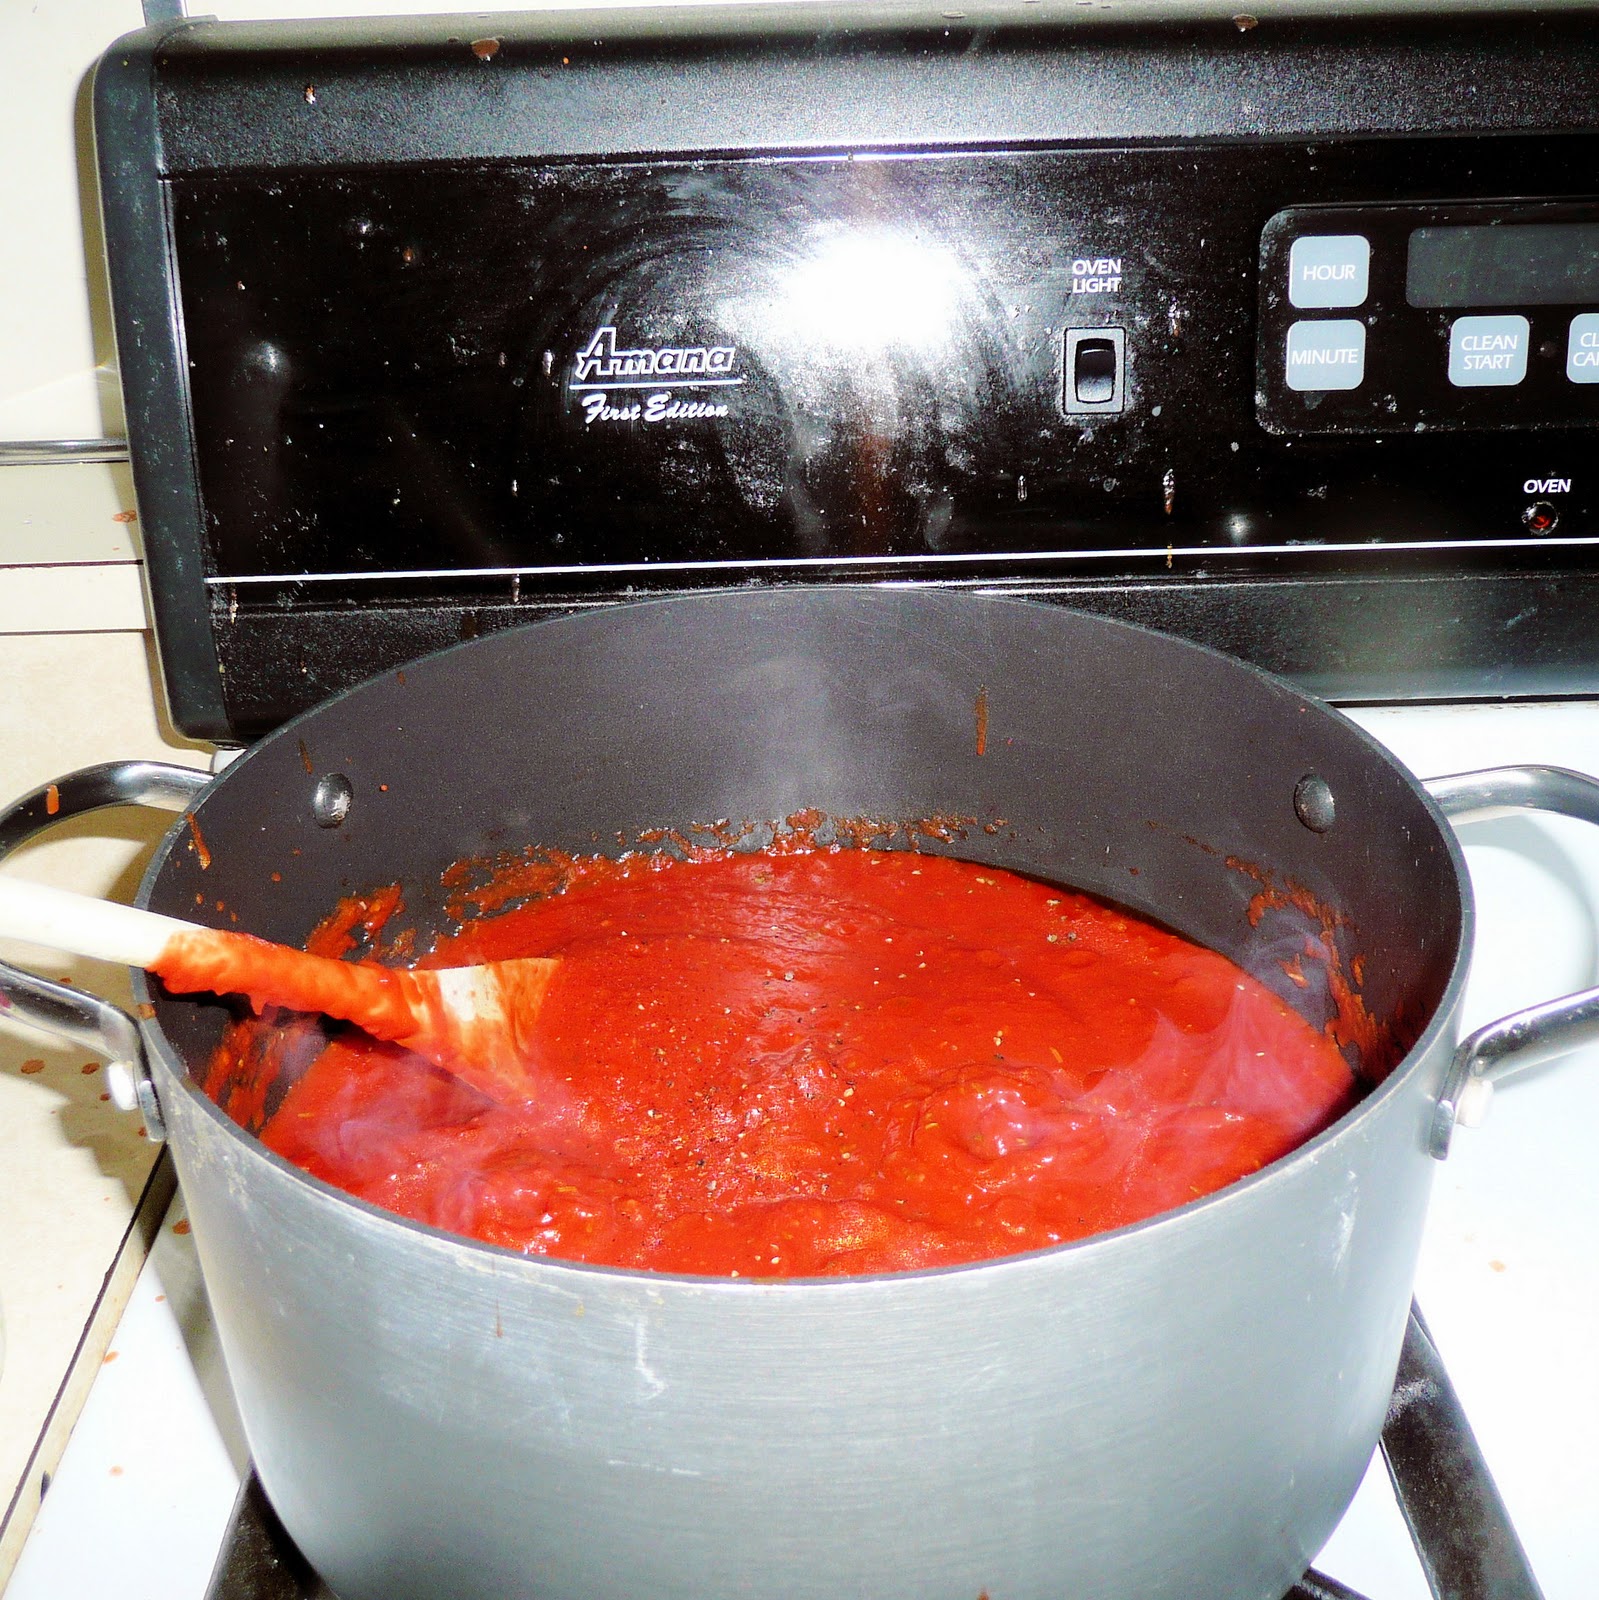
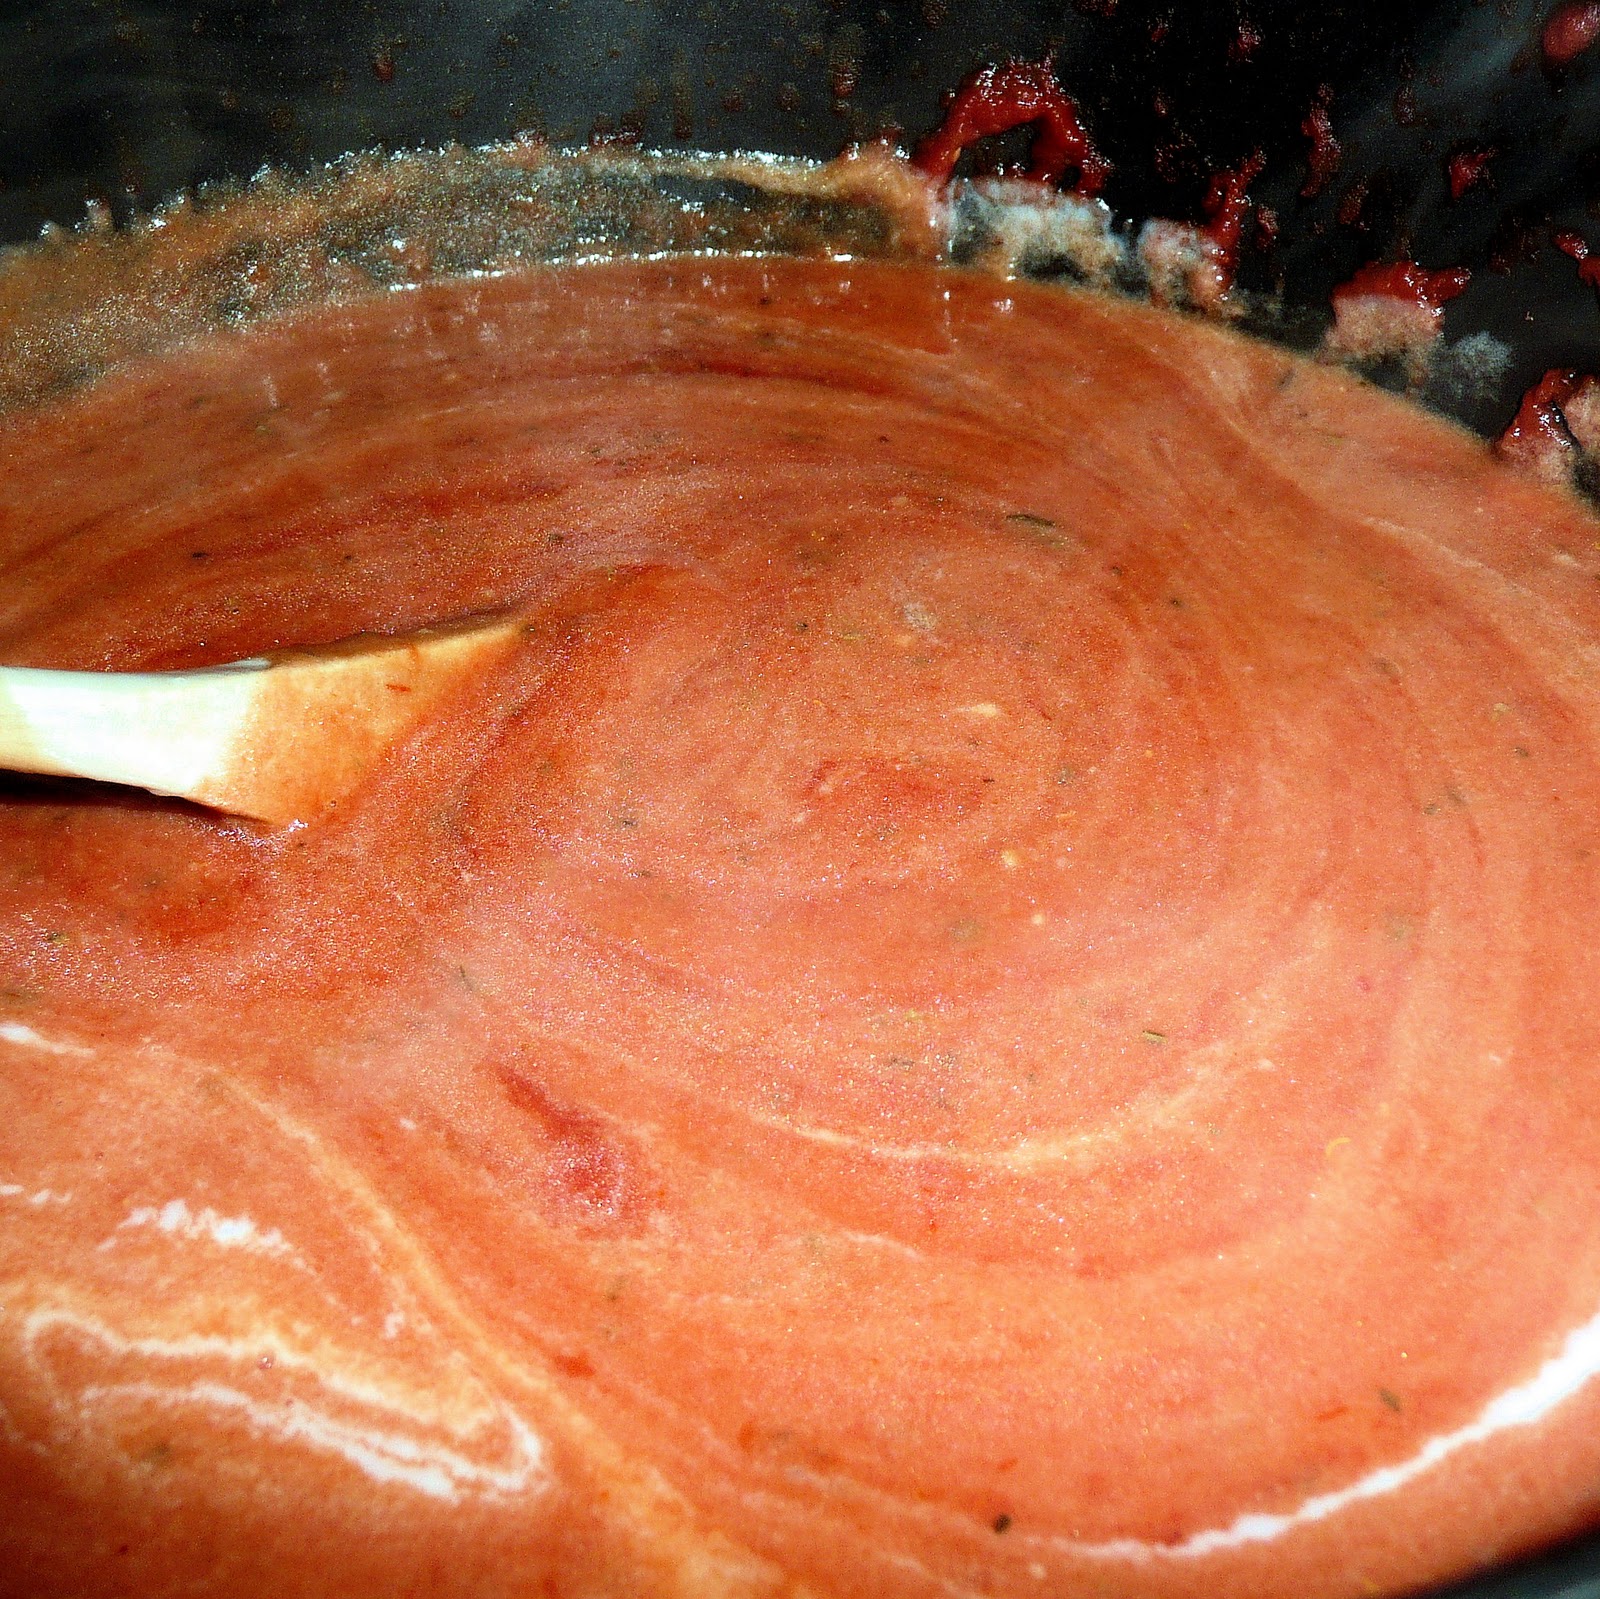
The tomato sauce takes a good hour itself, so start this before anything else. While making the sauce, leave the milk on the counter so it can reach room temperature. Also leave out the frozen spinach to thaw.
In a large pot or Dutch oven, heat oil over medium-high heat. Add garlic and sauté for 2 minutes. Add cans of tomatoes, salt and pepper to taste, and the rest of the spices (bay leaves through parsley). Simmer over low heat for 1 hour. Remove bay leaves and remove pot from heat.
Feel free to use just some store-bought sauce. I personally can’t do it. Who told all the sauce companies that sugar should be a main ingredient? Gross. So yeah, the 25% of me that is Italian absolutely cannot handle sauce out of a jar. I digress…
Next, to make the béchamel sauce, melt 5 tablespoons of butter over medium heat in another pot. When the butter is melted, add the flour and whisk until smooth, about 2 minutes.
um. “smooth”? yeah, I don’t know what happened
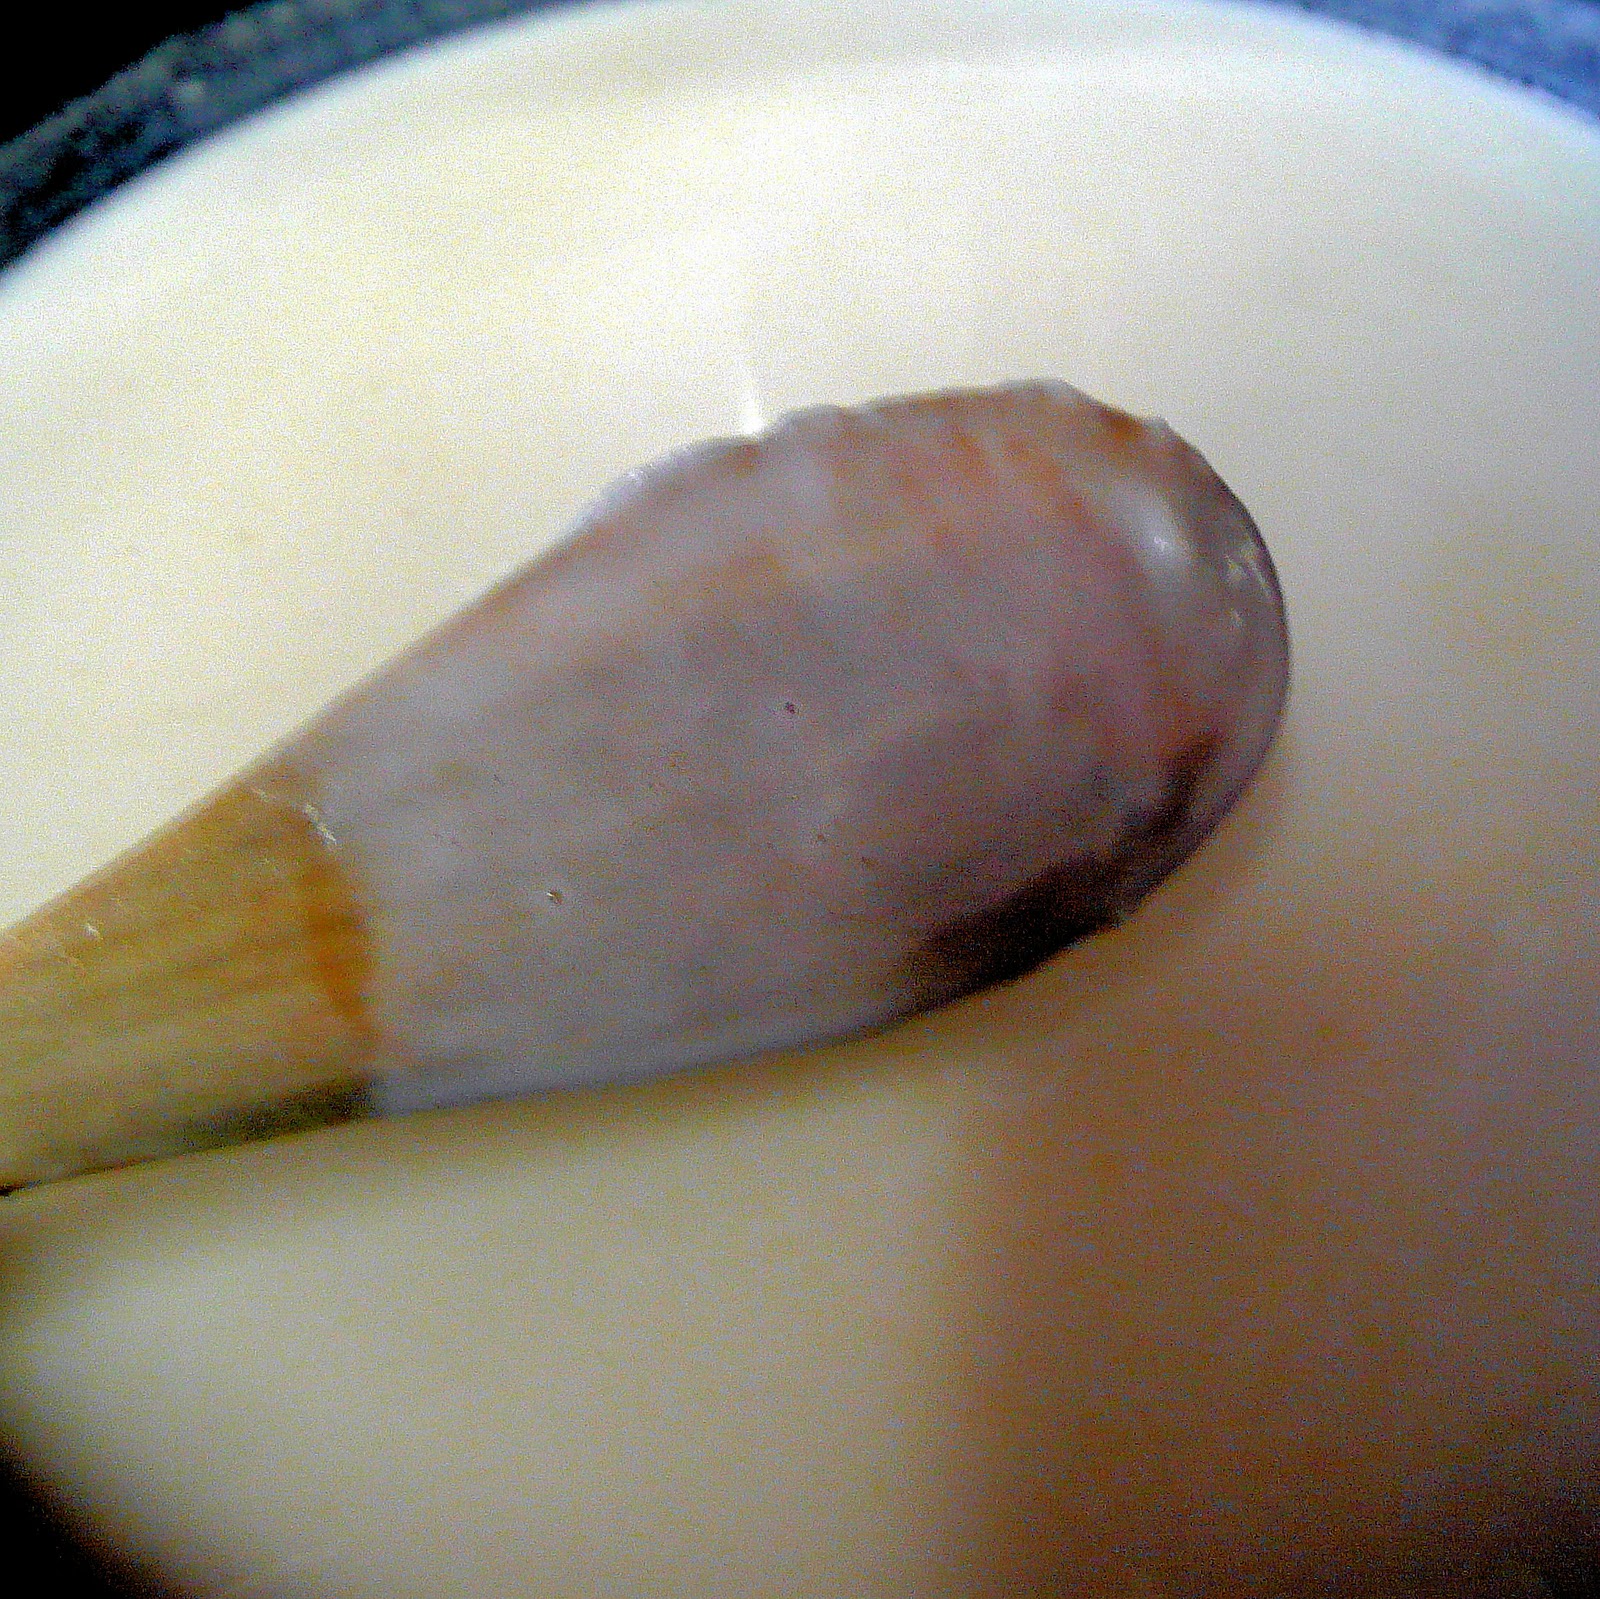
Gradually add in milk, whisking constantly to prevent any lumps. Continue to simmer and whisk over medium heat. Make sure the heat isn’t up too high; you don’t want the milk to burn! Stir until thick and creamy, about 10 minutes.
it should coat the back of a wooden spoon, like this
Remove from heat and add to tomato sauce. Stir until well combined. Set aside and allow to cool completely.
Preheat the oven to 375 degrees.
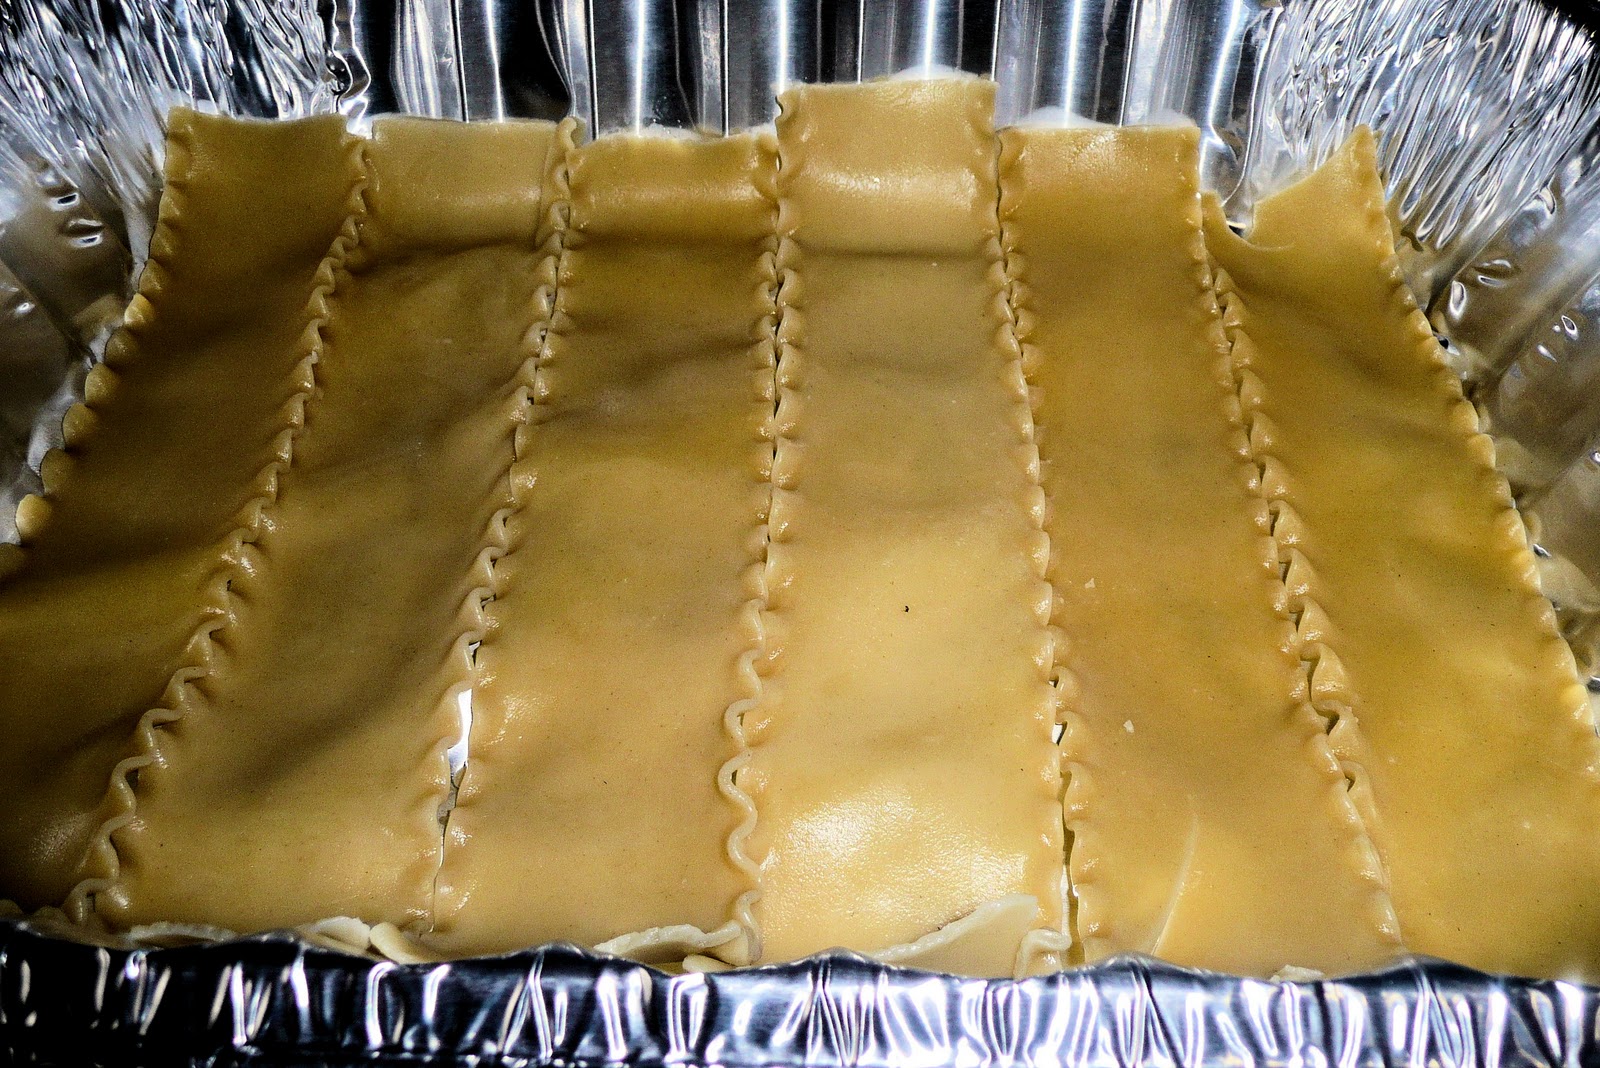
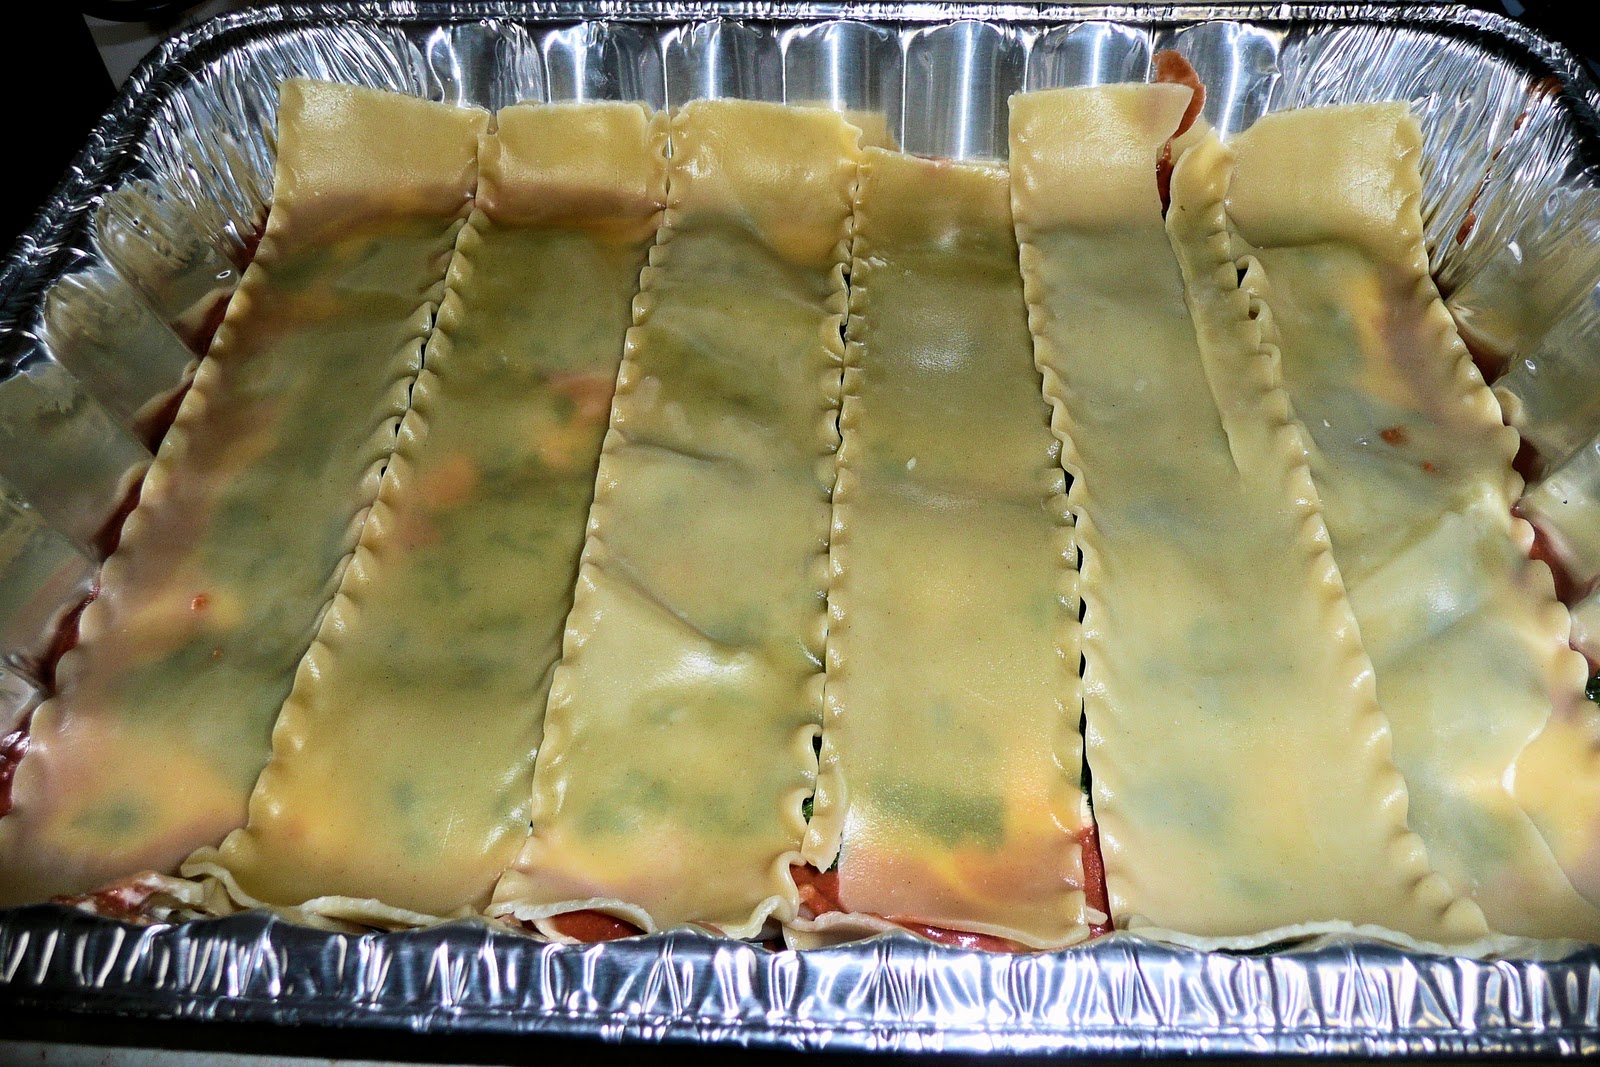
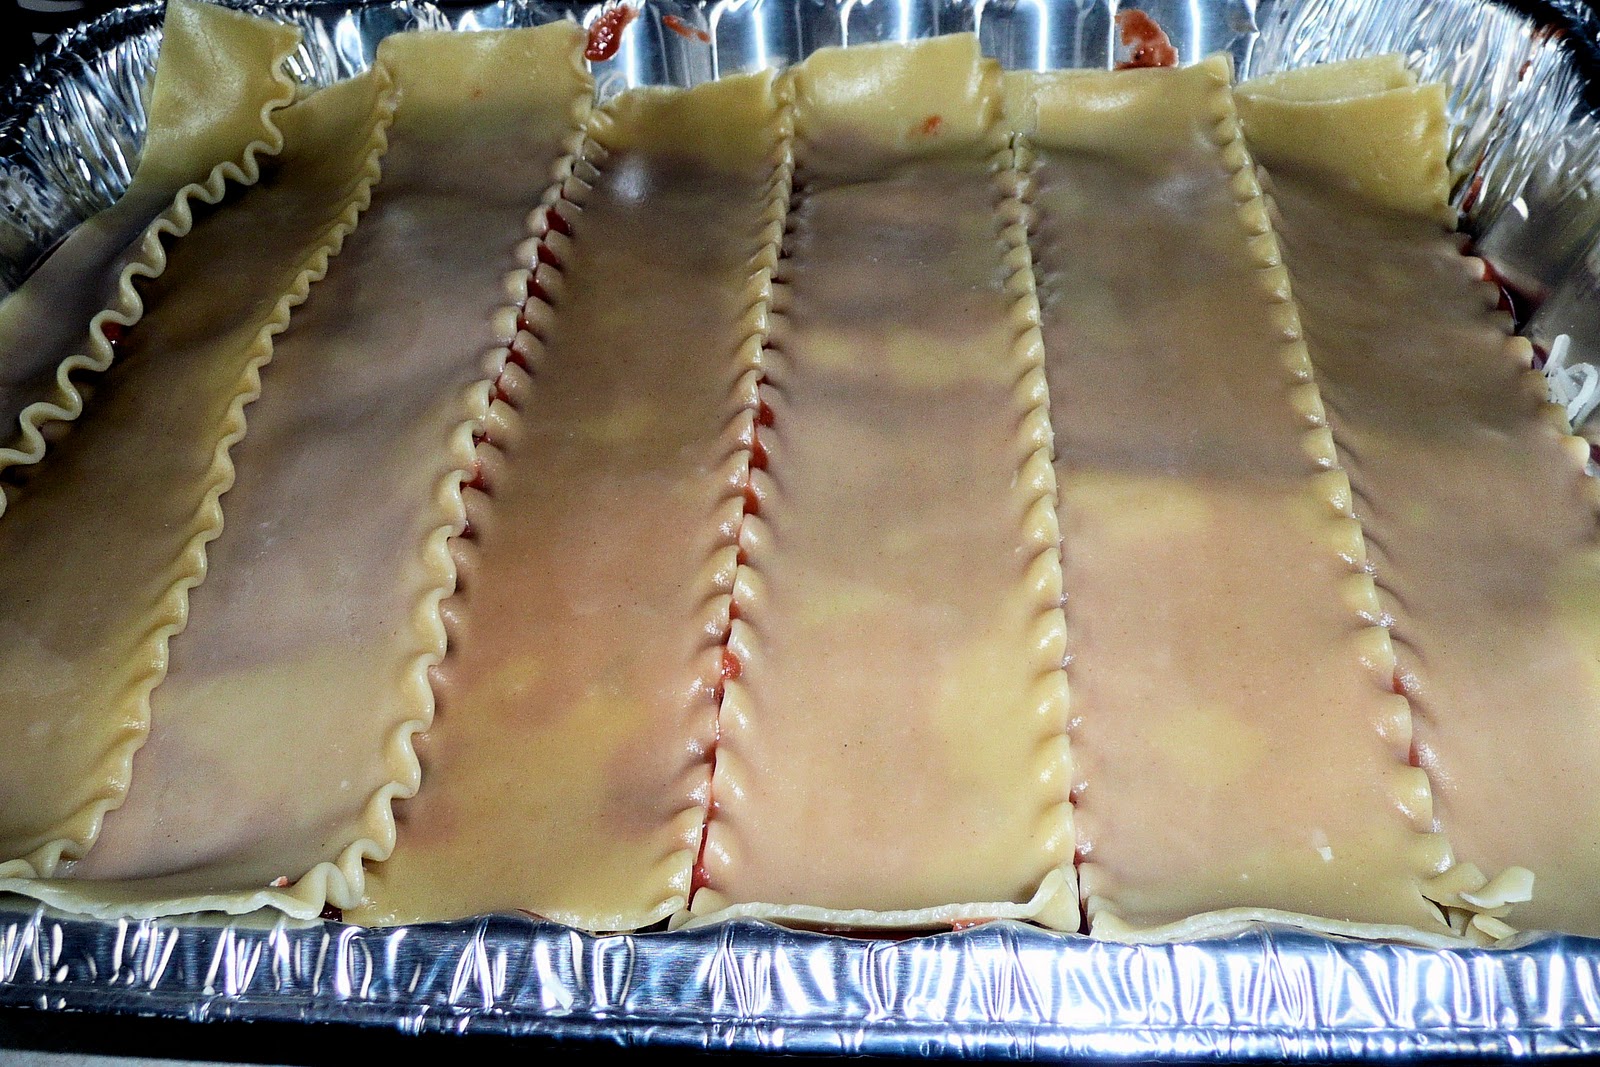
While the sauce is cooling, cook the lasagna according to the package directions. Lay lasagna pieces out individually on a tin foil so that they don’t stick together.
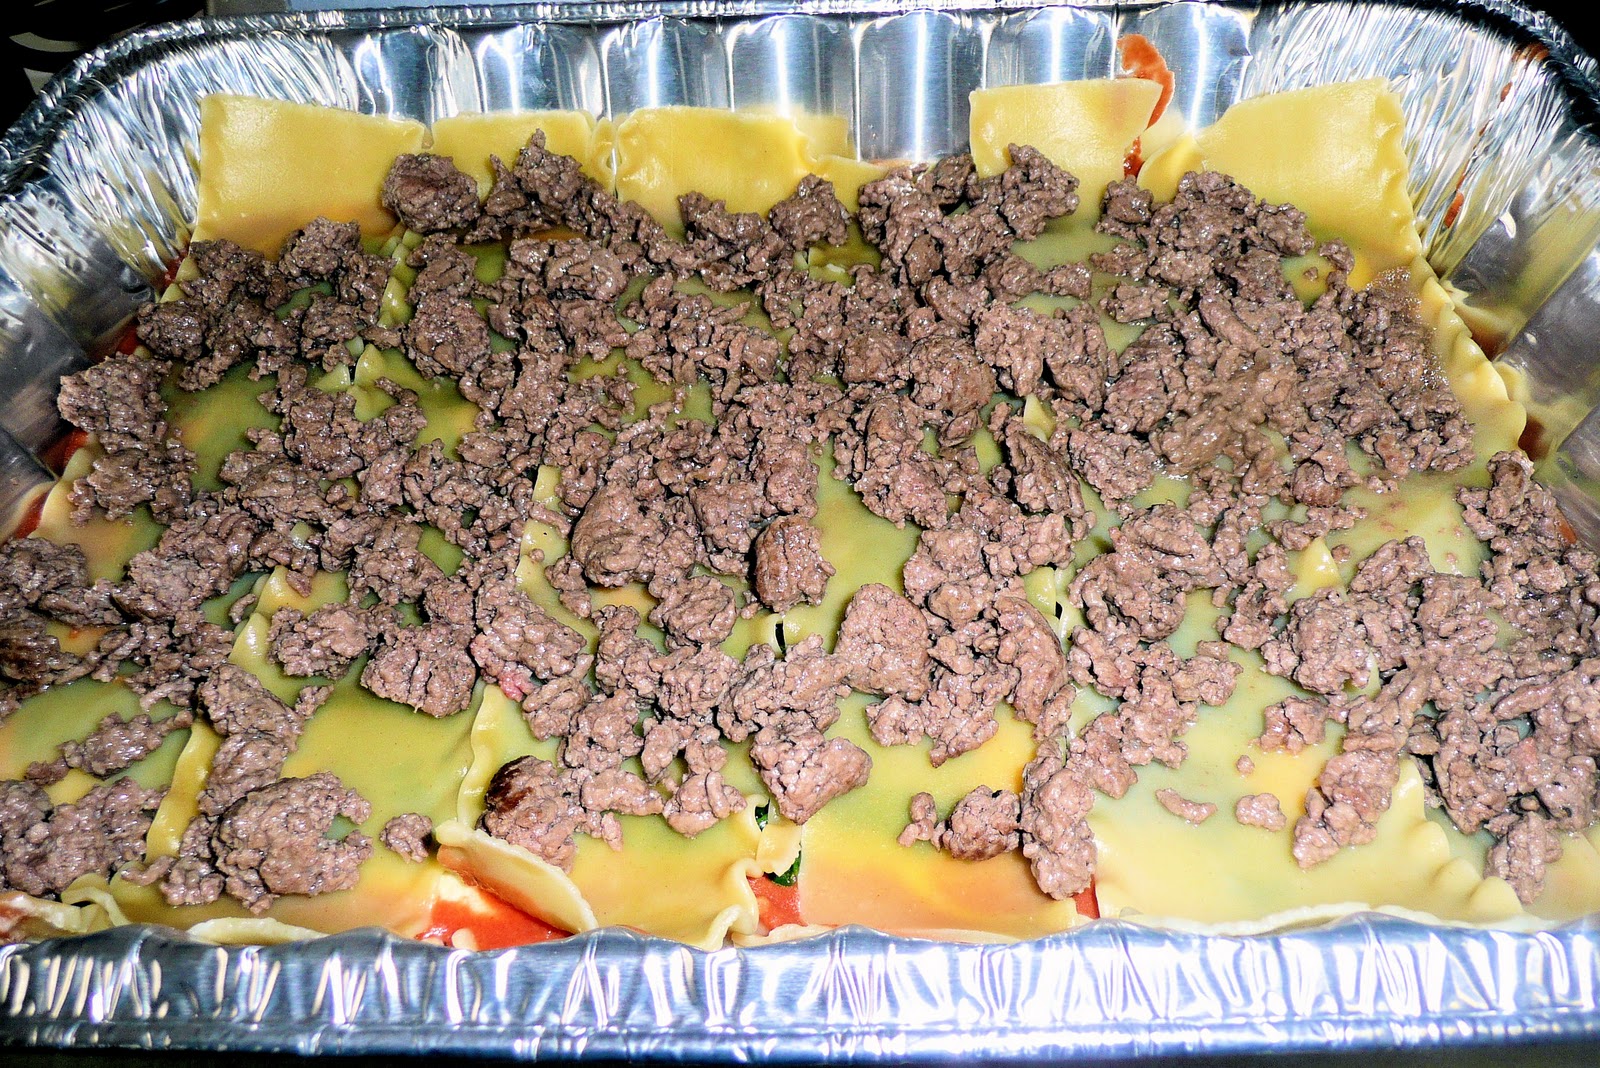
In a sauté pan, add 2 tablespoons of olive oil. When almost smoking, add the ground beef and season with salt and pepper. Break up large clumps to make sure all parts of the meat are browned, until there is no more pink meat. Remove from heat and drain any excess fat. Set aside and allow to cool completely.
In a medium sized bowl, mix the ricotta and eggs. Season with salt and pepper and set aside.
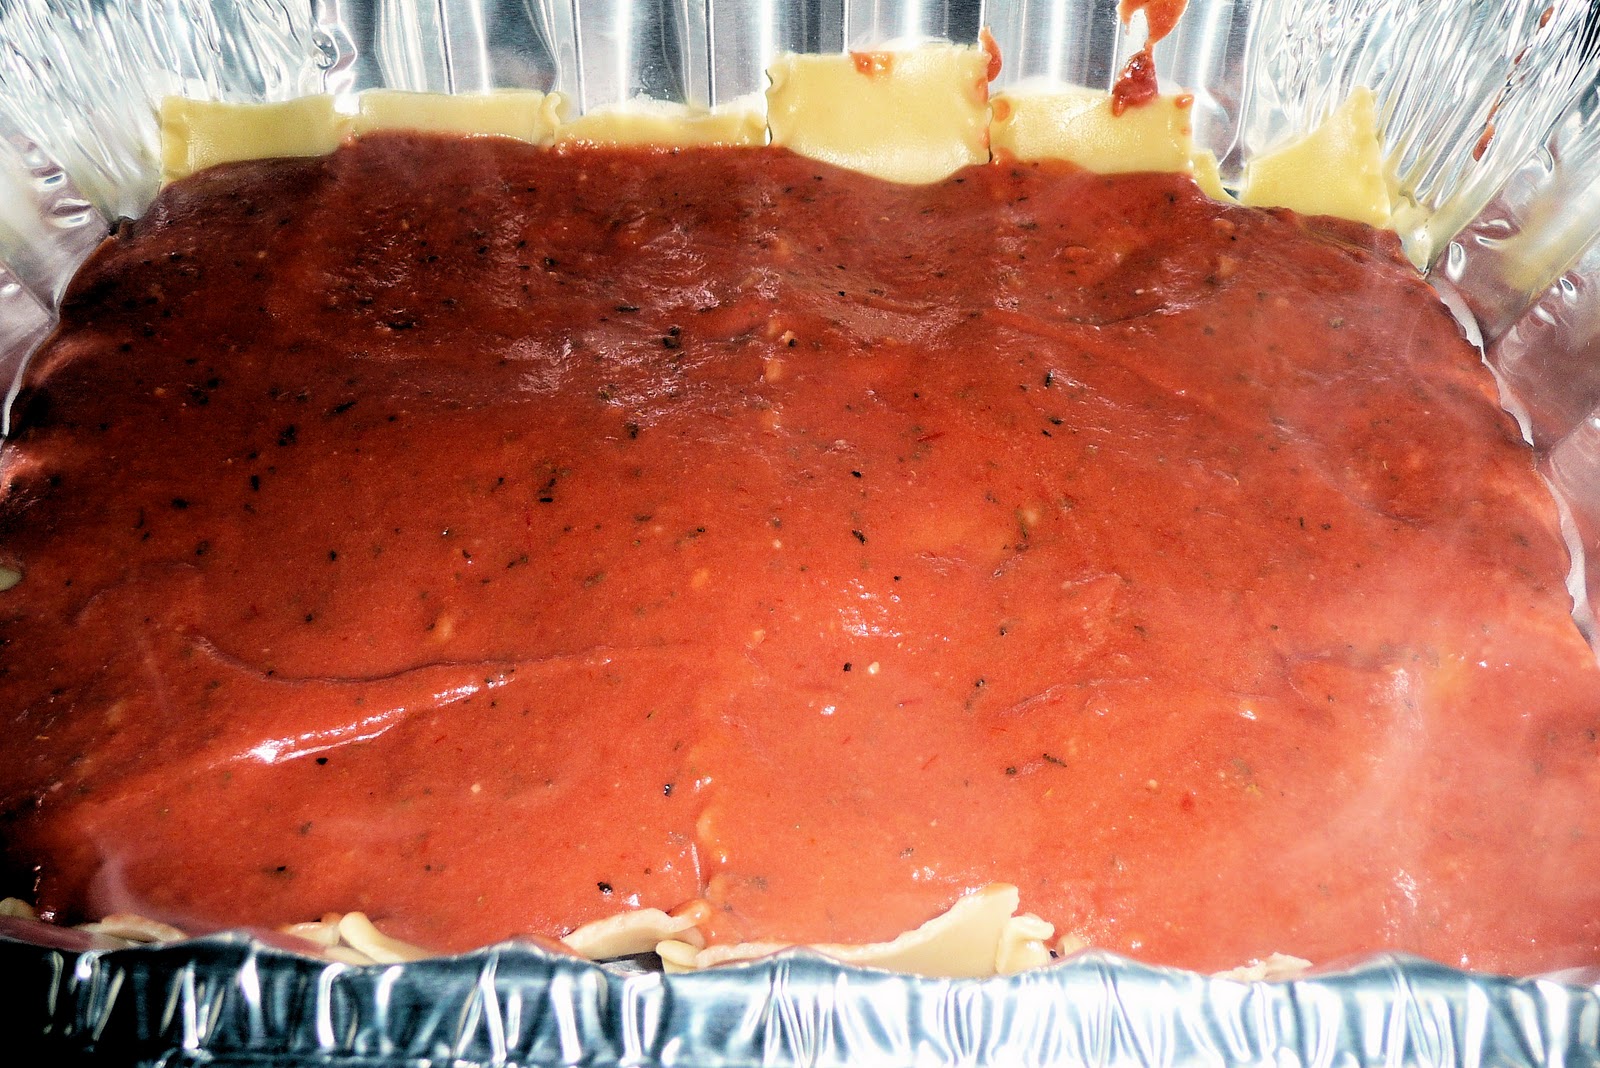
To assemble (in a lasagna pan):
line bottom with lasagna sheets
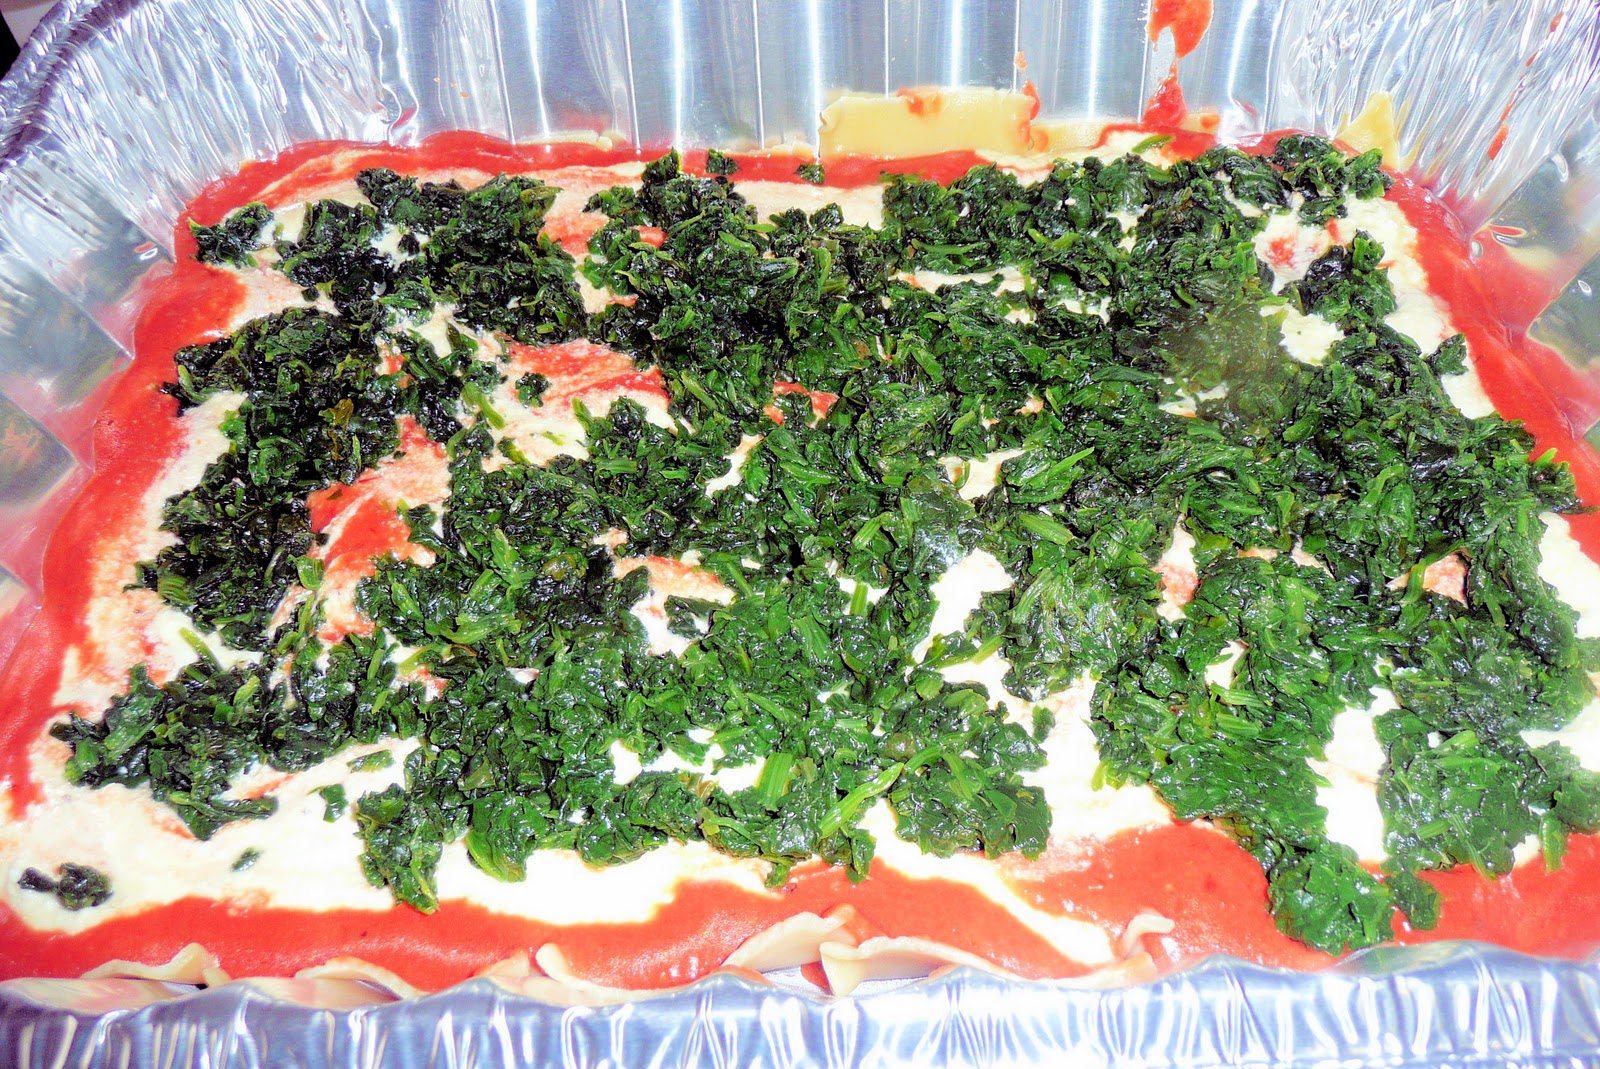
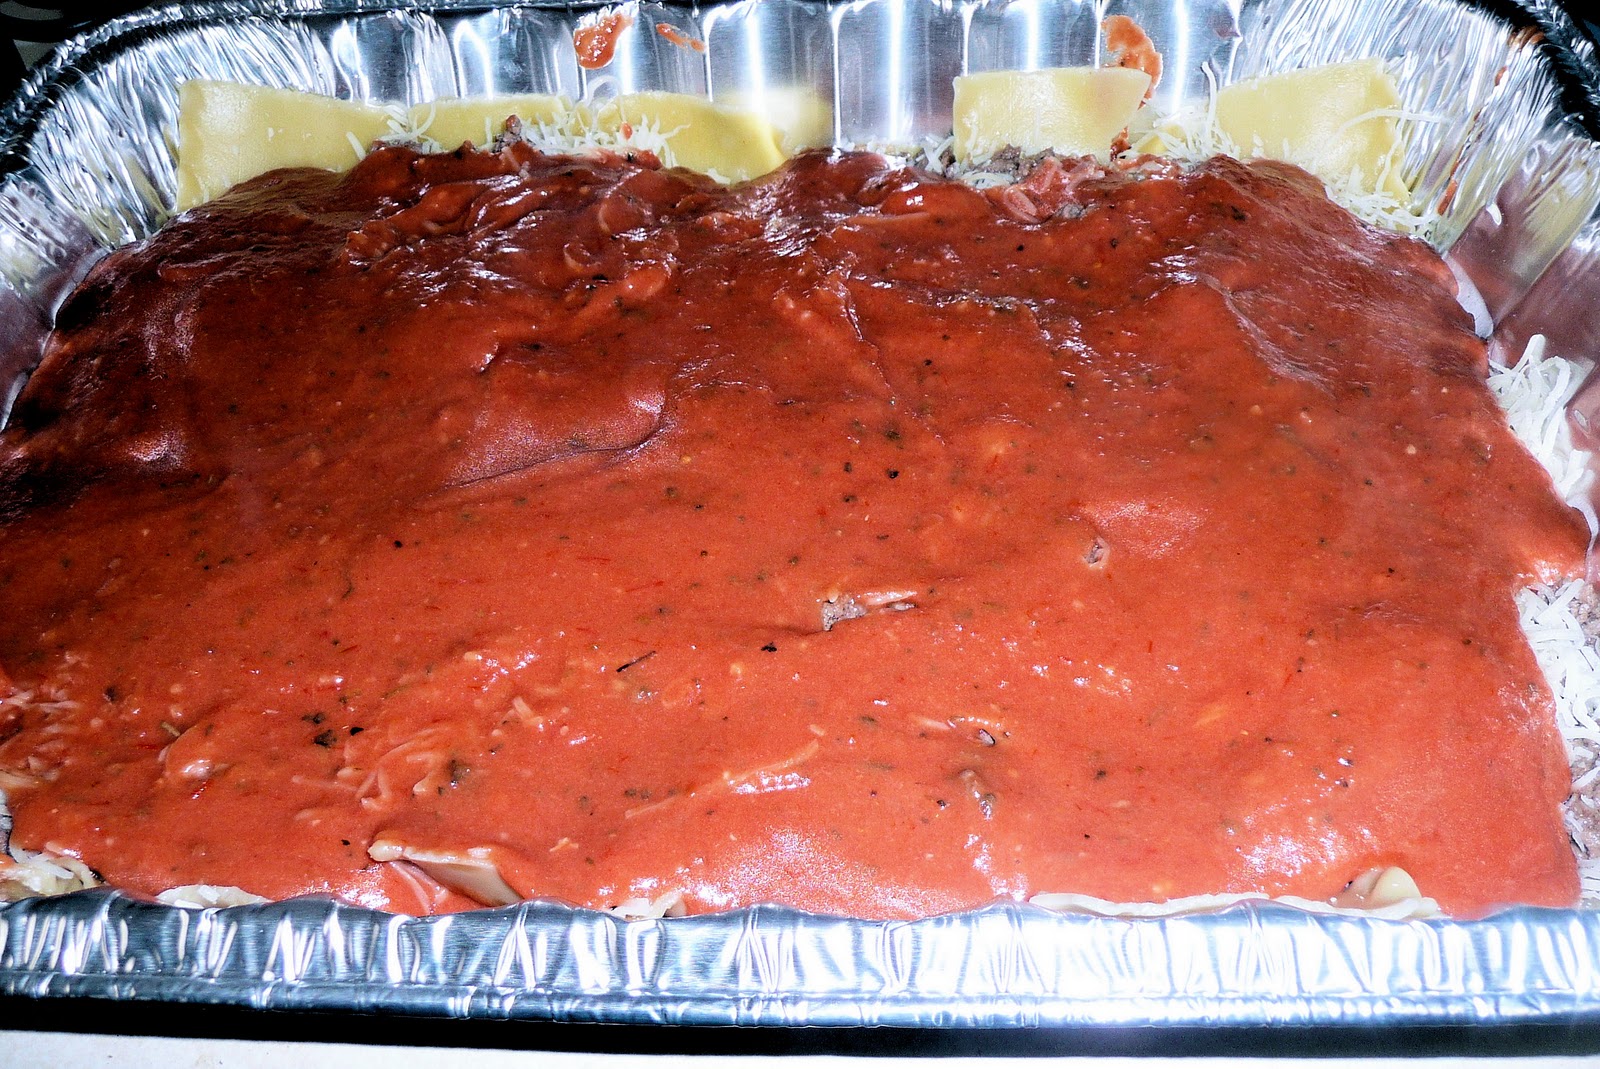
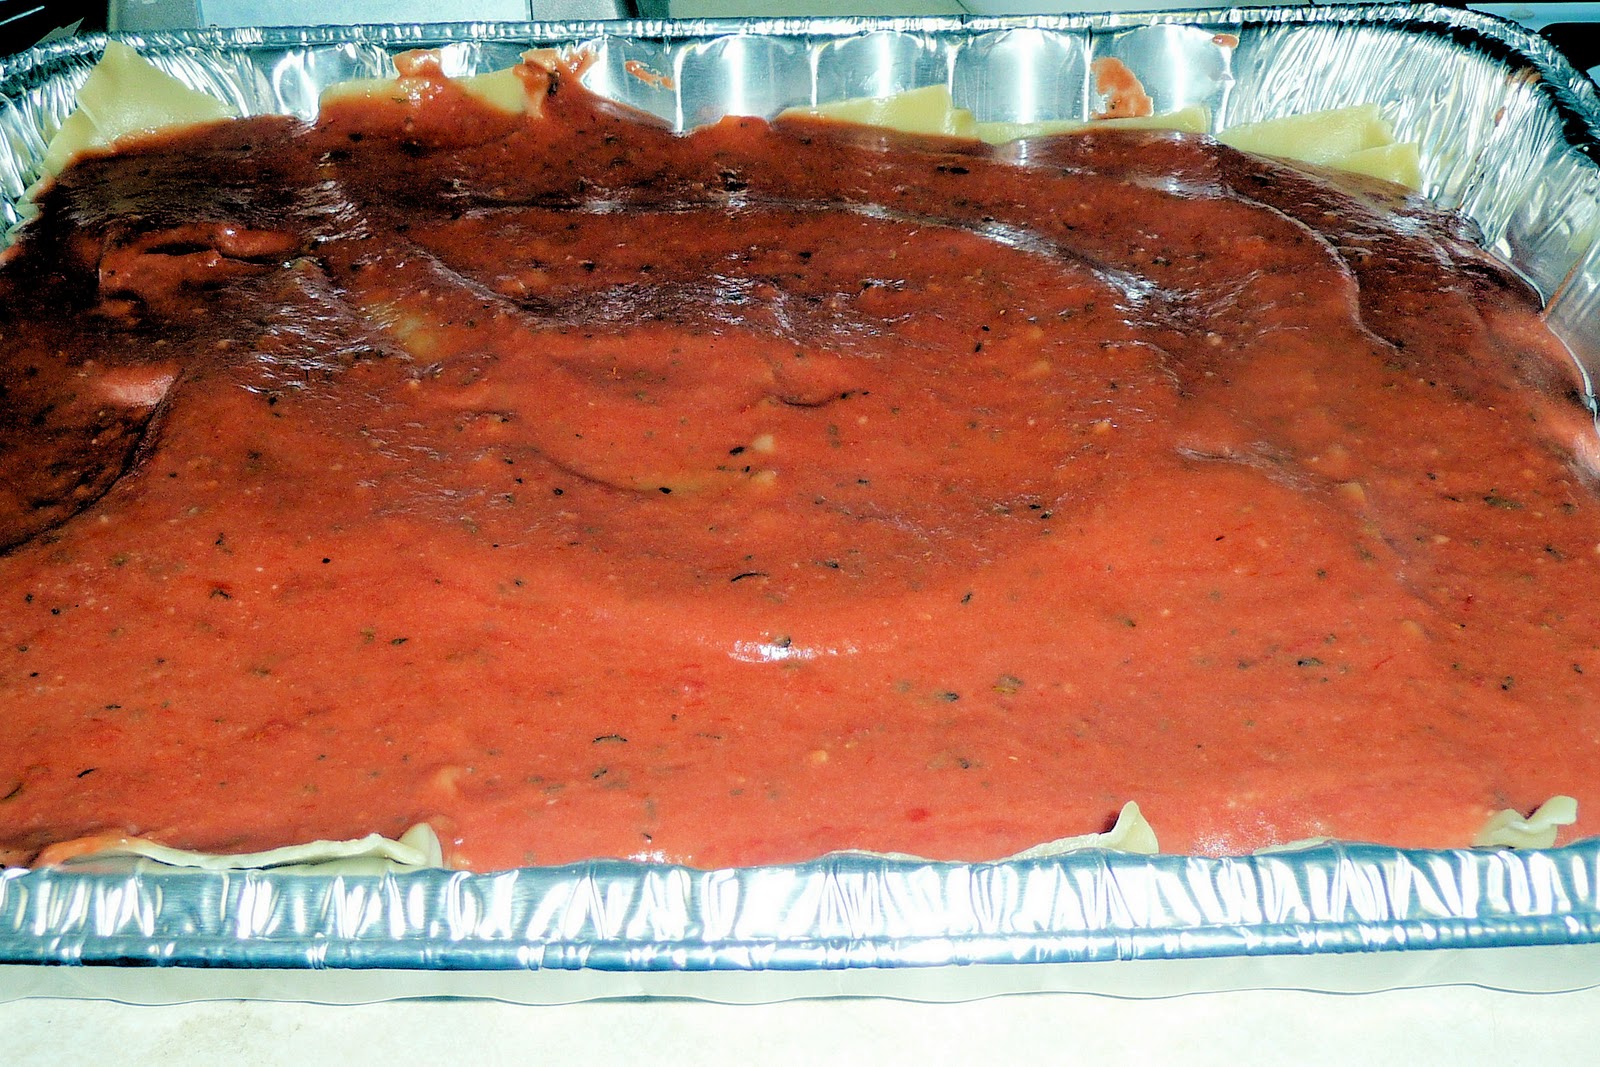
add 1/3 of bechamel sauce
add all of the ricotta mixture
add all of the spinach
another layer of pasta sheets
add all of the meat
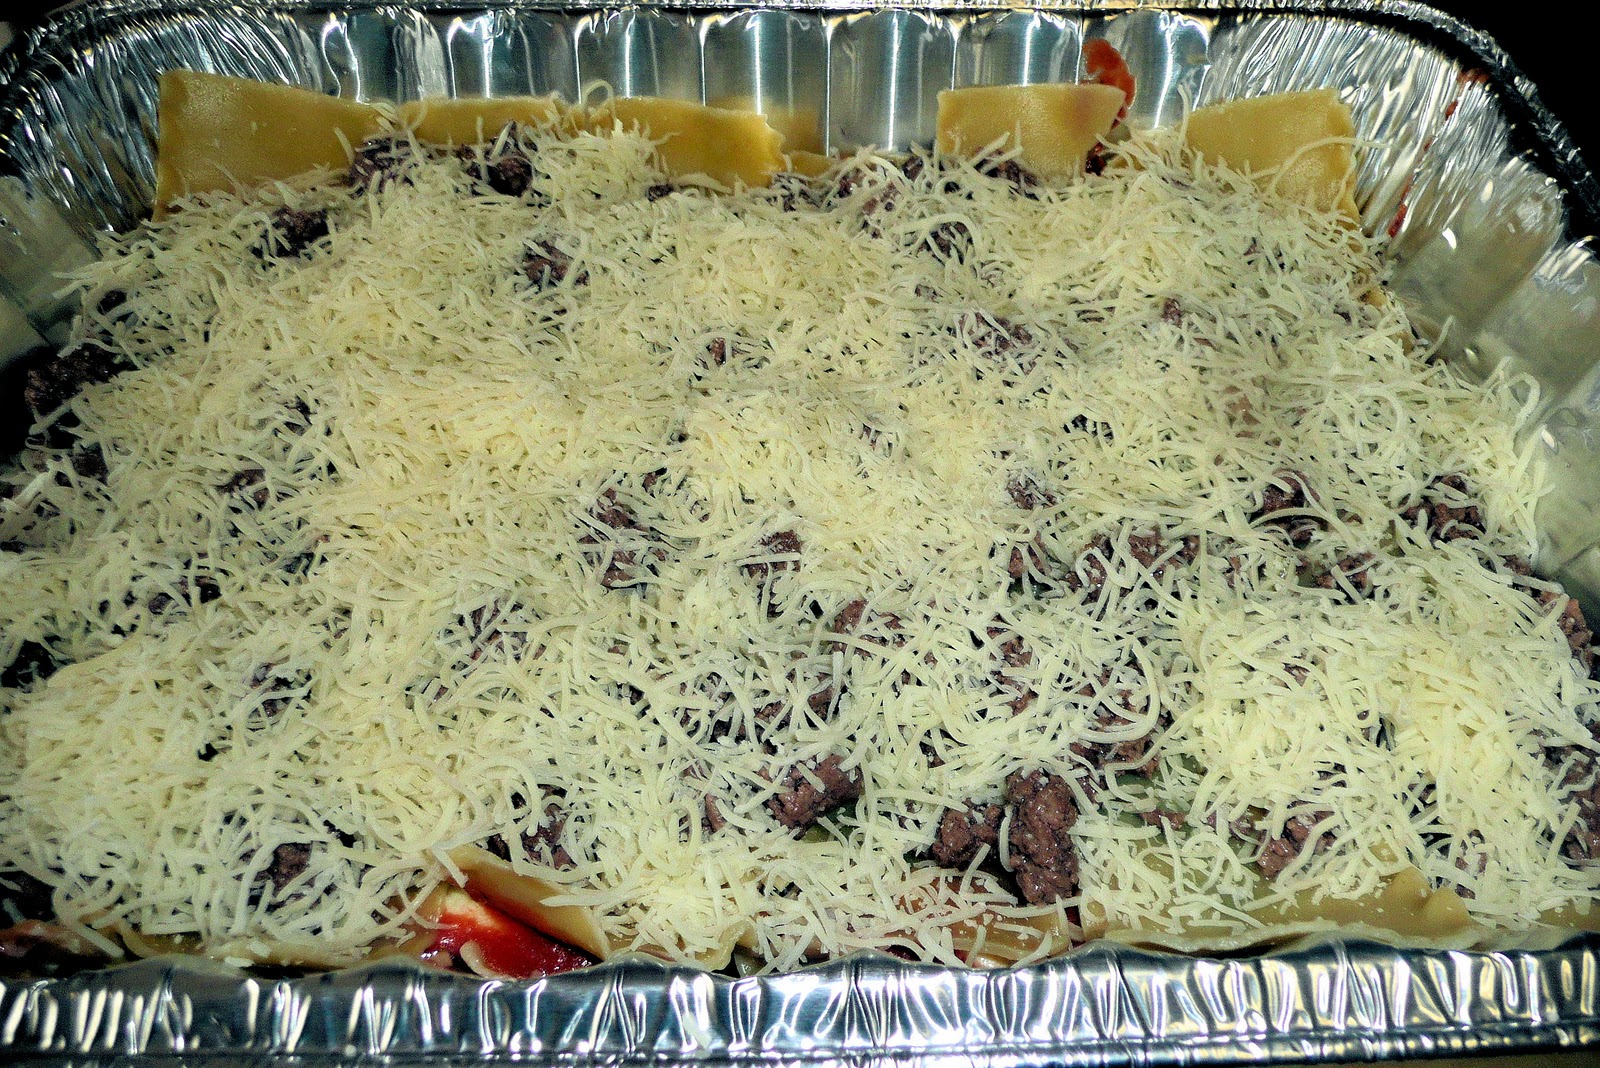
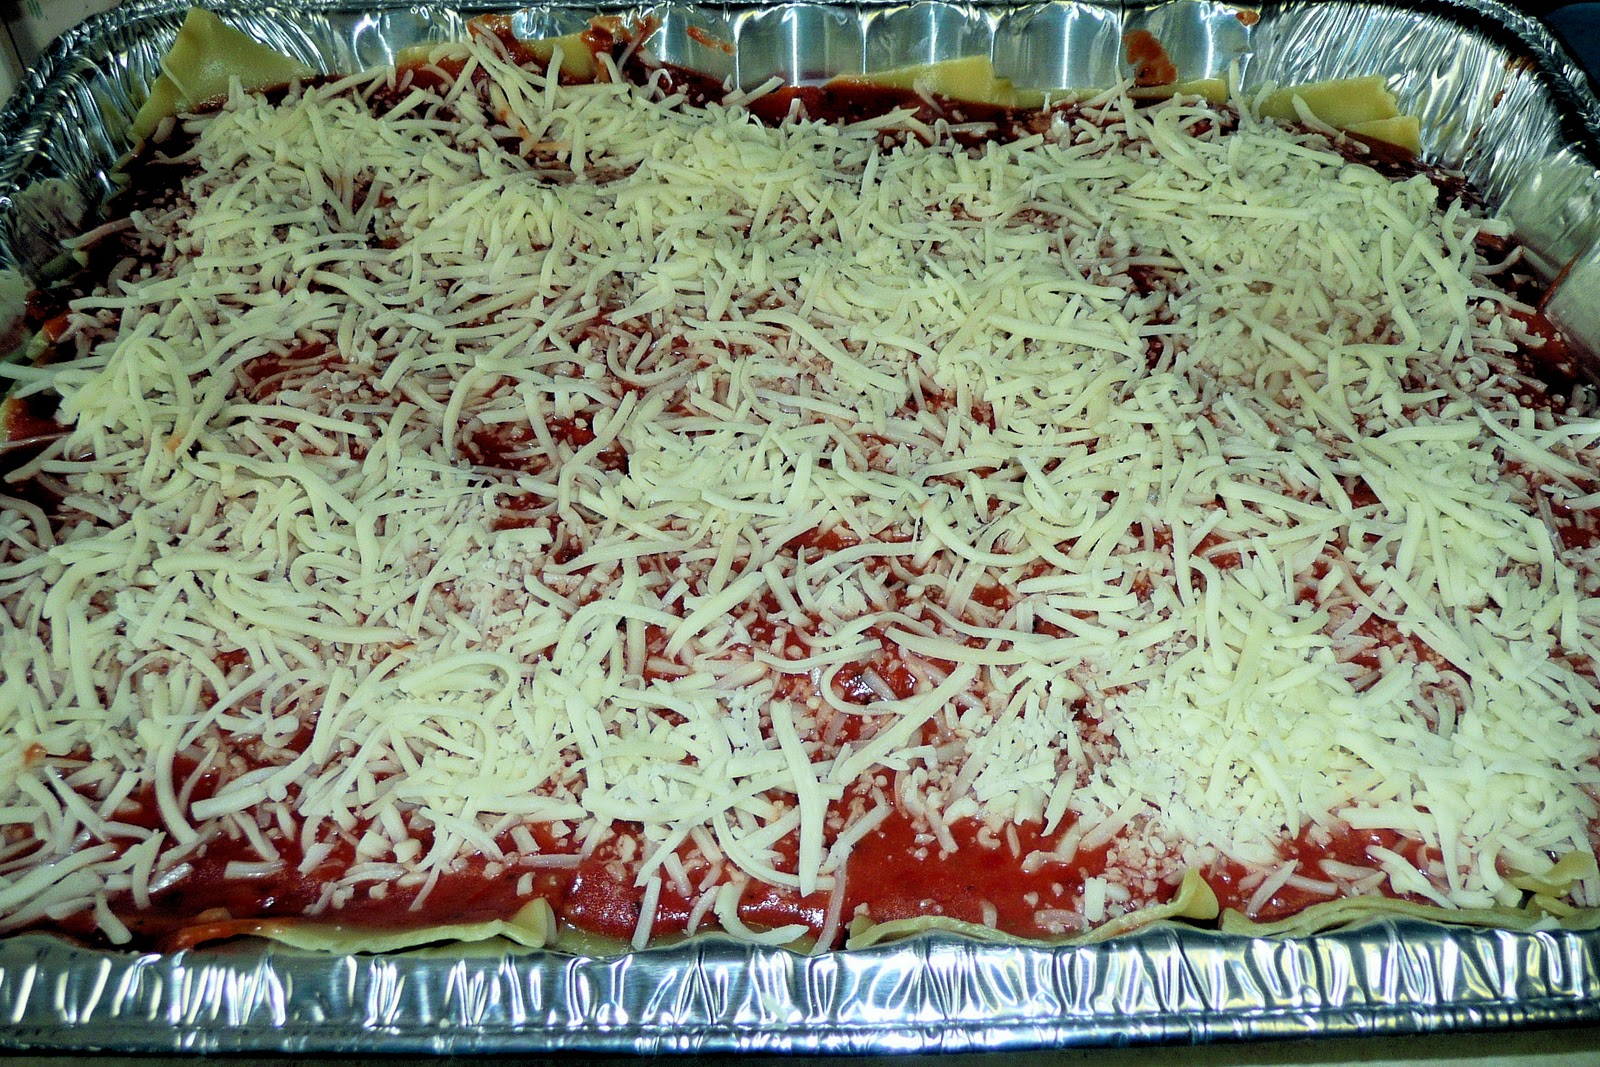
add half of the mozzarella cheese (1 bag)
add another 1/3 of the bechamel sauce
one last layer of pasta sheets
add the last of the bechamel sauce
top with remaining mozzarella cheese
add Parmesan cheese and thin slices of 2 tbsp of butter
To cook, line a baking sheet with aluminum foil. Place the lasagna pan on top, cover with tin foil and place on the middle rack of the oven. Bake until the top is bubbling, about 30 minutes. Remove the cover and bake for another 15 minutes.
woo! finally done!
Allow to cool if you plan on putting into individual containers (as I did). I find it hard to believe that something with this much cheese, pasta, and sauce could honestly taste bad. But seeing how much not-so-good-for-you things went into this, I think I’d sub in some “less” bad ingredients next time (skim milk, partially skim cheese, low fat ricotta, ground turkey).
Although this was quite the task, I think it was totally worth it. I’ve already had this for lunch one day this week and have plenty more stored away in my freezer for future meals. Yum.
There were a couple of parts to this recipe that made me nervous to try it out: working with fresh ginger and using the broiler. The latter ended up being the more difficult part, but that was due to my all-encompassing fear of burning the beef tenderloin steaks. Overall though, this dish was a lot easier than I made it out to be. I followed this recipe almost exactly, but the original is linked here.
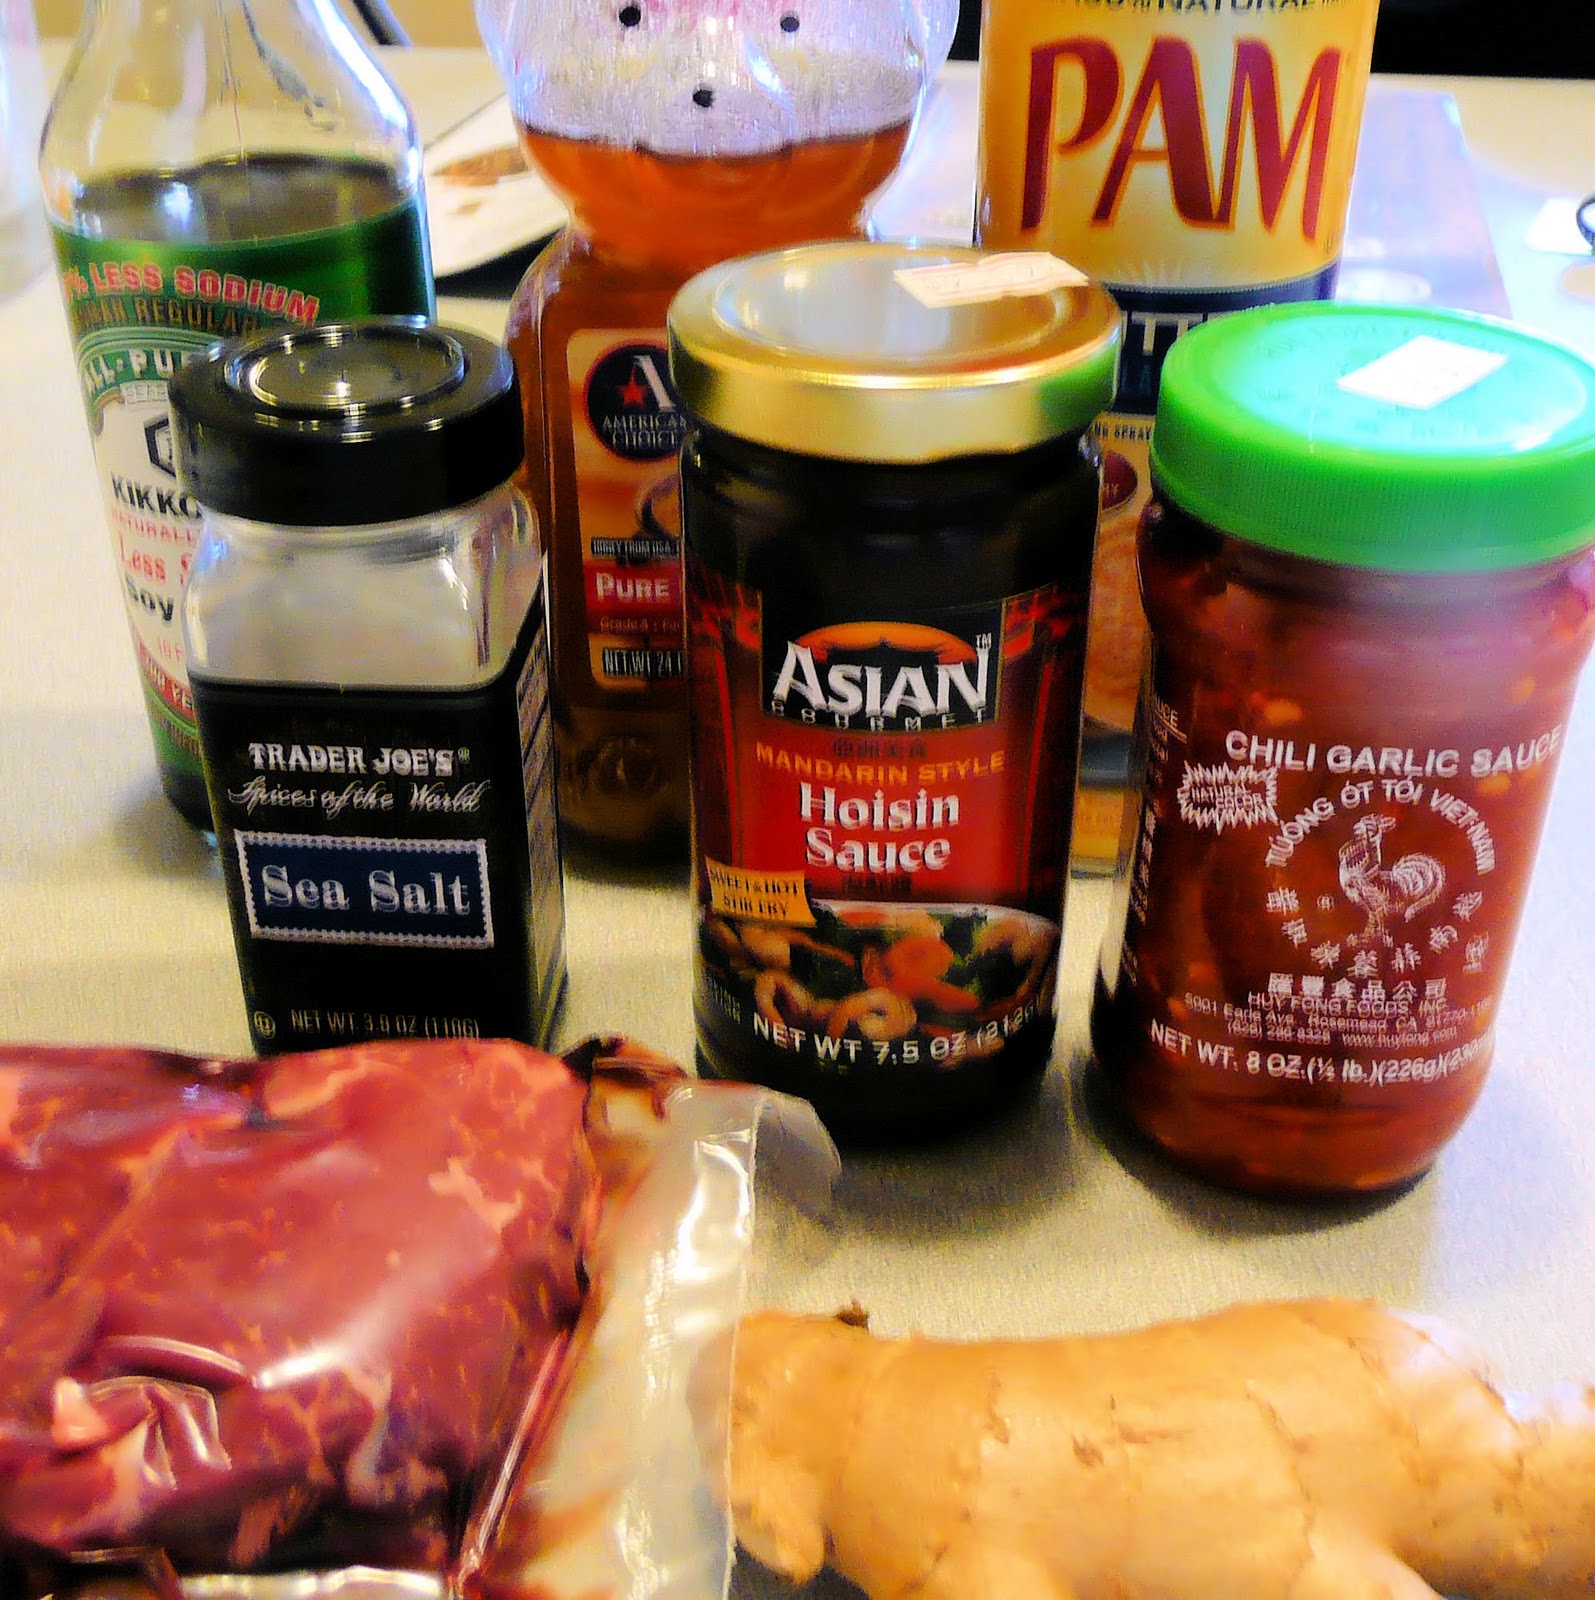
Ingredients:
1 1/2 tablespoons hoisin sauce
1 1/2 teaspoons grated peeled fresh ginger
1 1/2 teaspoons honey
1 1/2 teaspoons lower-sodium soy sauce (or coconut aminos to make gluten free
1/4 teaspoon chili garlic sauce (such as Lee Kum Kee or Huey Fong)
3 (4-ounce) beef tenderloin steaks, trimmed (1 inch thick)
Cooking spray
1/8 teaspoon salt
Hoisin sauce and the chili garlic sauce can be found in the Asian section of your grocery store. Getting to a supermarket for me is kind of a pain but I was able to find the sauce in my corner store.
Before doing anything, preheat your broiler to high. If you’re like me and have zero clue what the broiler even is, chances are it’s within your oven and you just need to press the “broil” setting. Be sure to remove everything from the oven before turning it on.
Broiling is basically the opposite of grilling—the heat source is coming from above instead of below. Because the heat is so high, really keep an eye on anything you are broiling; it can burn very very quickly. Also be sure to have an oven mitt that can withstand high temperatures. The broiler may cause some smoke so be sure to turn your exhaust fan on during cooking. Ok, time to actually start cooking…
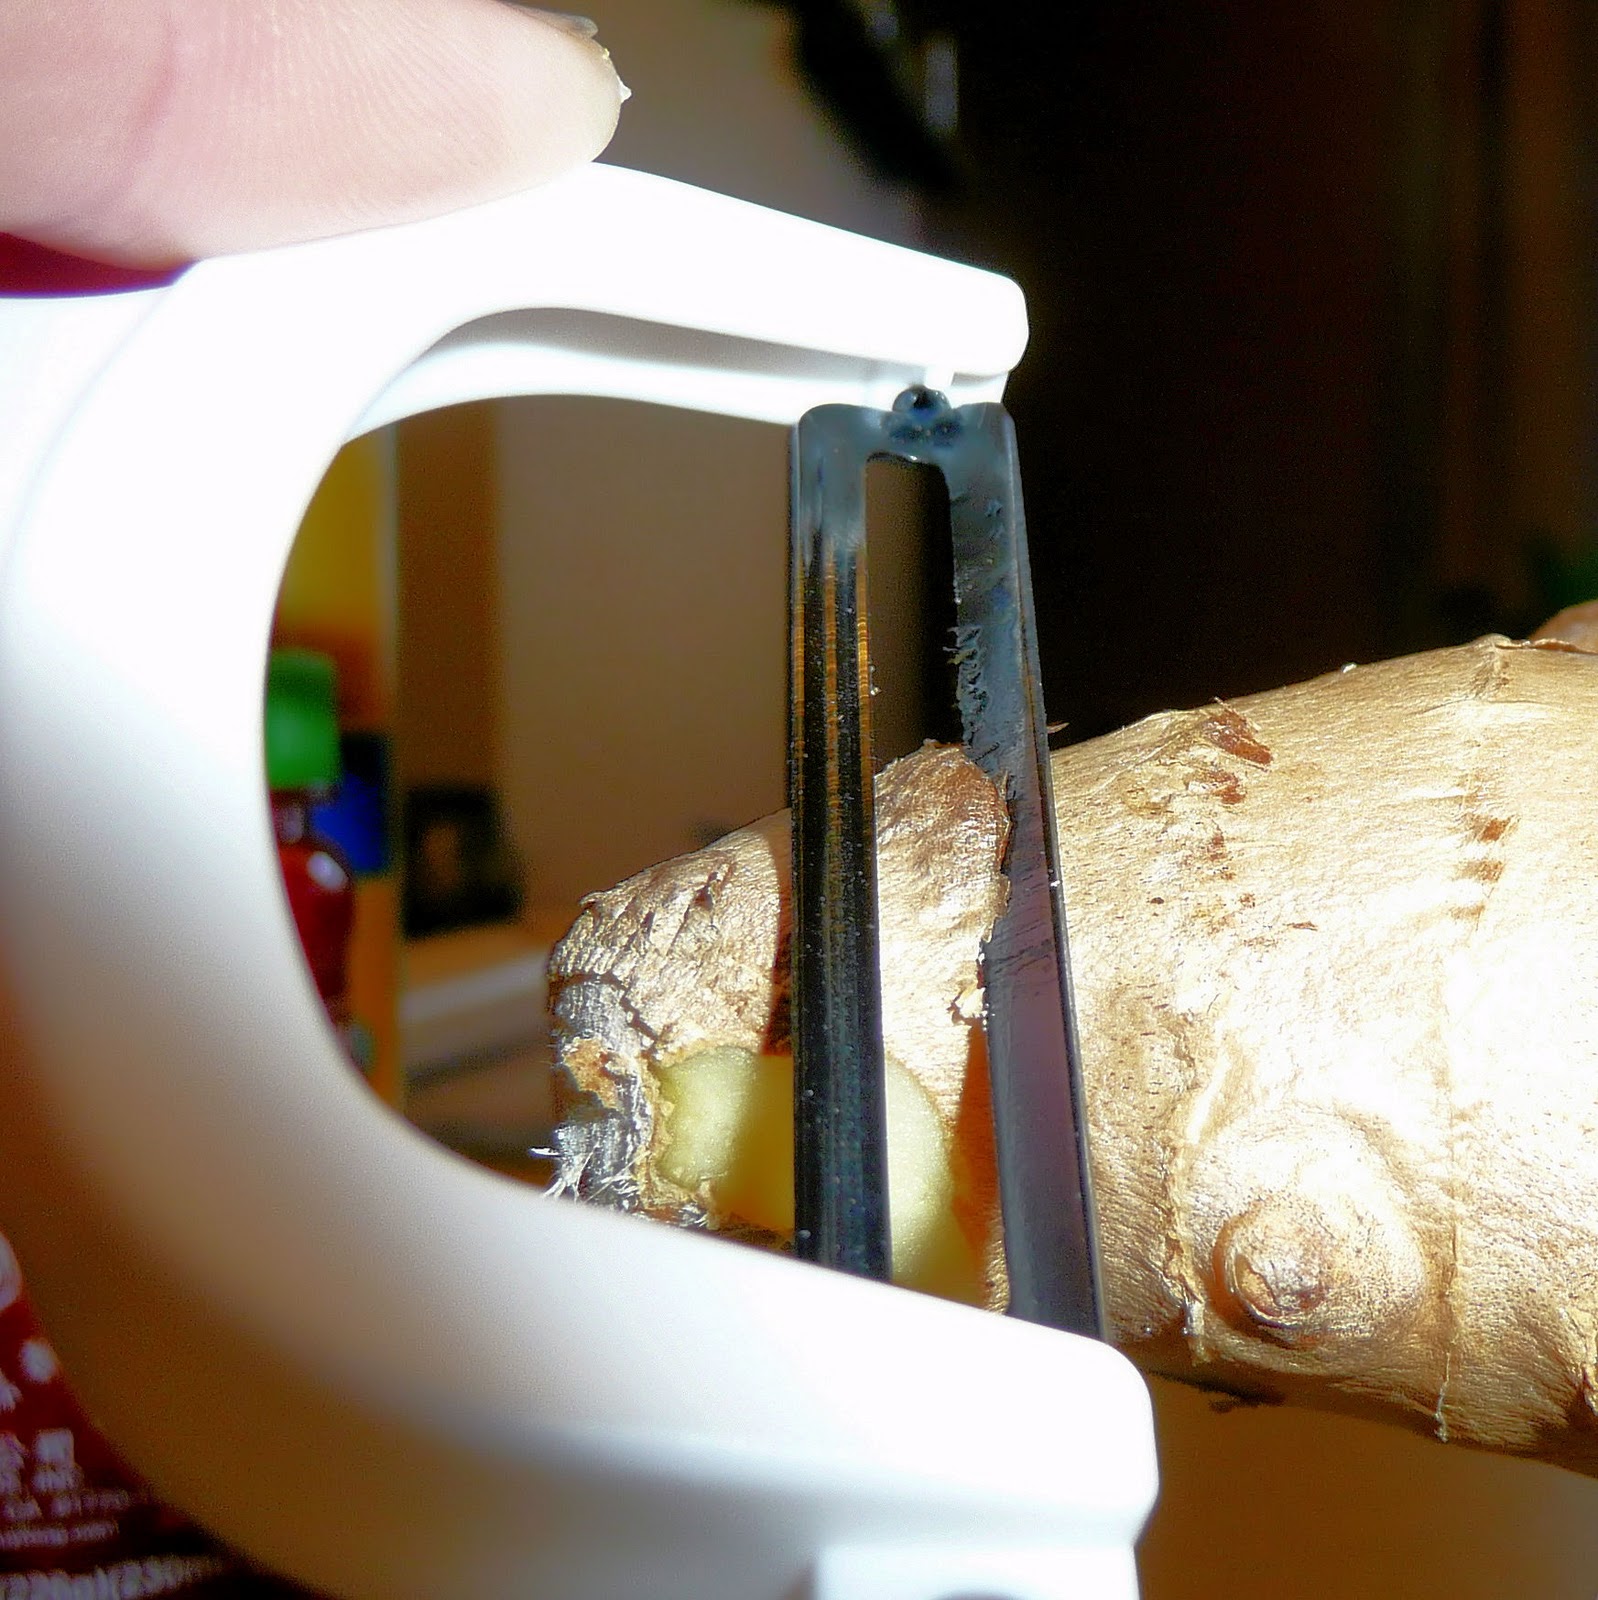
Ginger root is much easier to work with than I imagined. It looks so intimidating but I’m glad to have this ingredient on hand—it can be used to treat nausea and is also known to have anti-inflammatory properties. The root can be wrapped in plastic and refrigerated or frozen for long term use.
Boo! …See? Very intimidating
To work with ginger root, use a peeler to peel off the bark-like outer layer for the area you’ll be using. You will begin to smell ginger almost immediately. Yum.
Cut the peeled area off. You can either mince the ginger root with a knife or use a grater. As a warning, the root has a lot of juice to it and can get a bit slippery so be careful of your fingers. I may or may not have lost a piece of ginger when it slipped out of my hands and few across my kitchen. Whoops.
Fresh Grated Ginger
To prepare the hoisin glaze, combine the hoisin sauce, ginger, honey, soy sauce and chili garlic sauce in a small bowl using a whisk to combine. Set this aside.
Hoisin Glaze
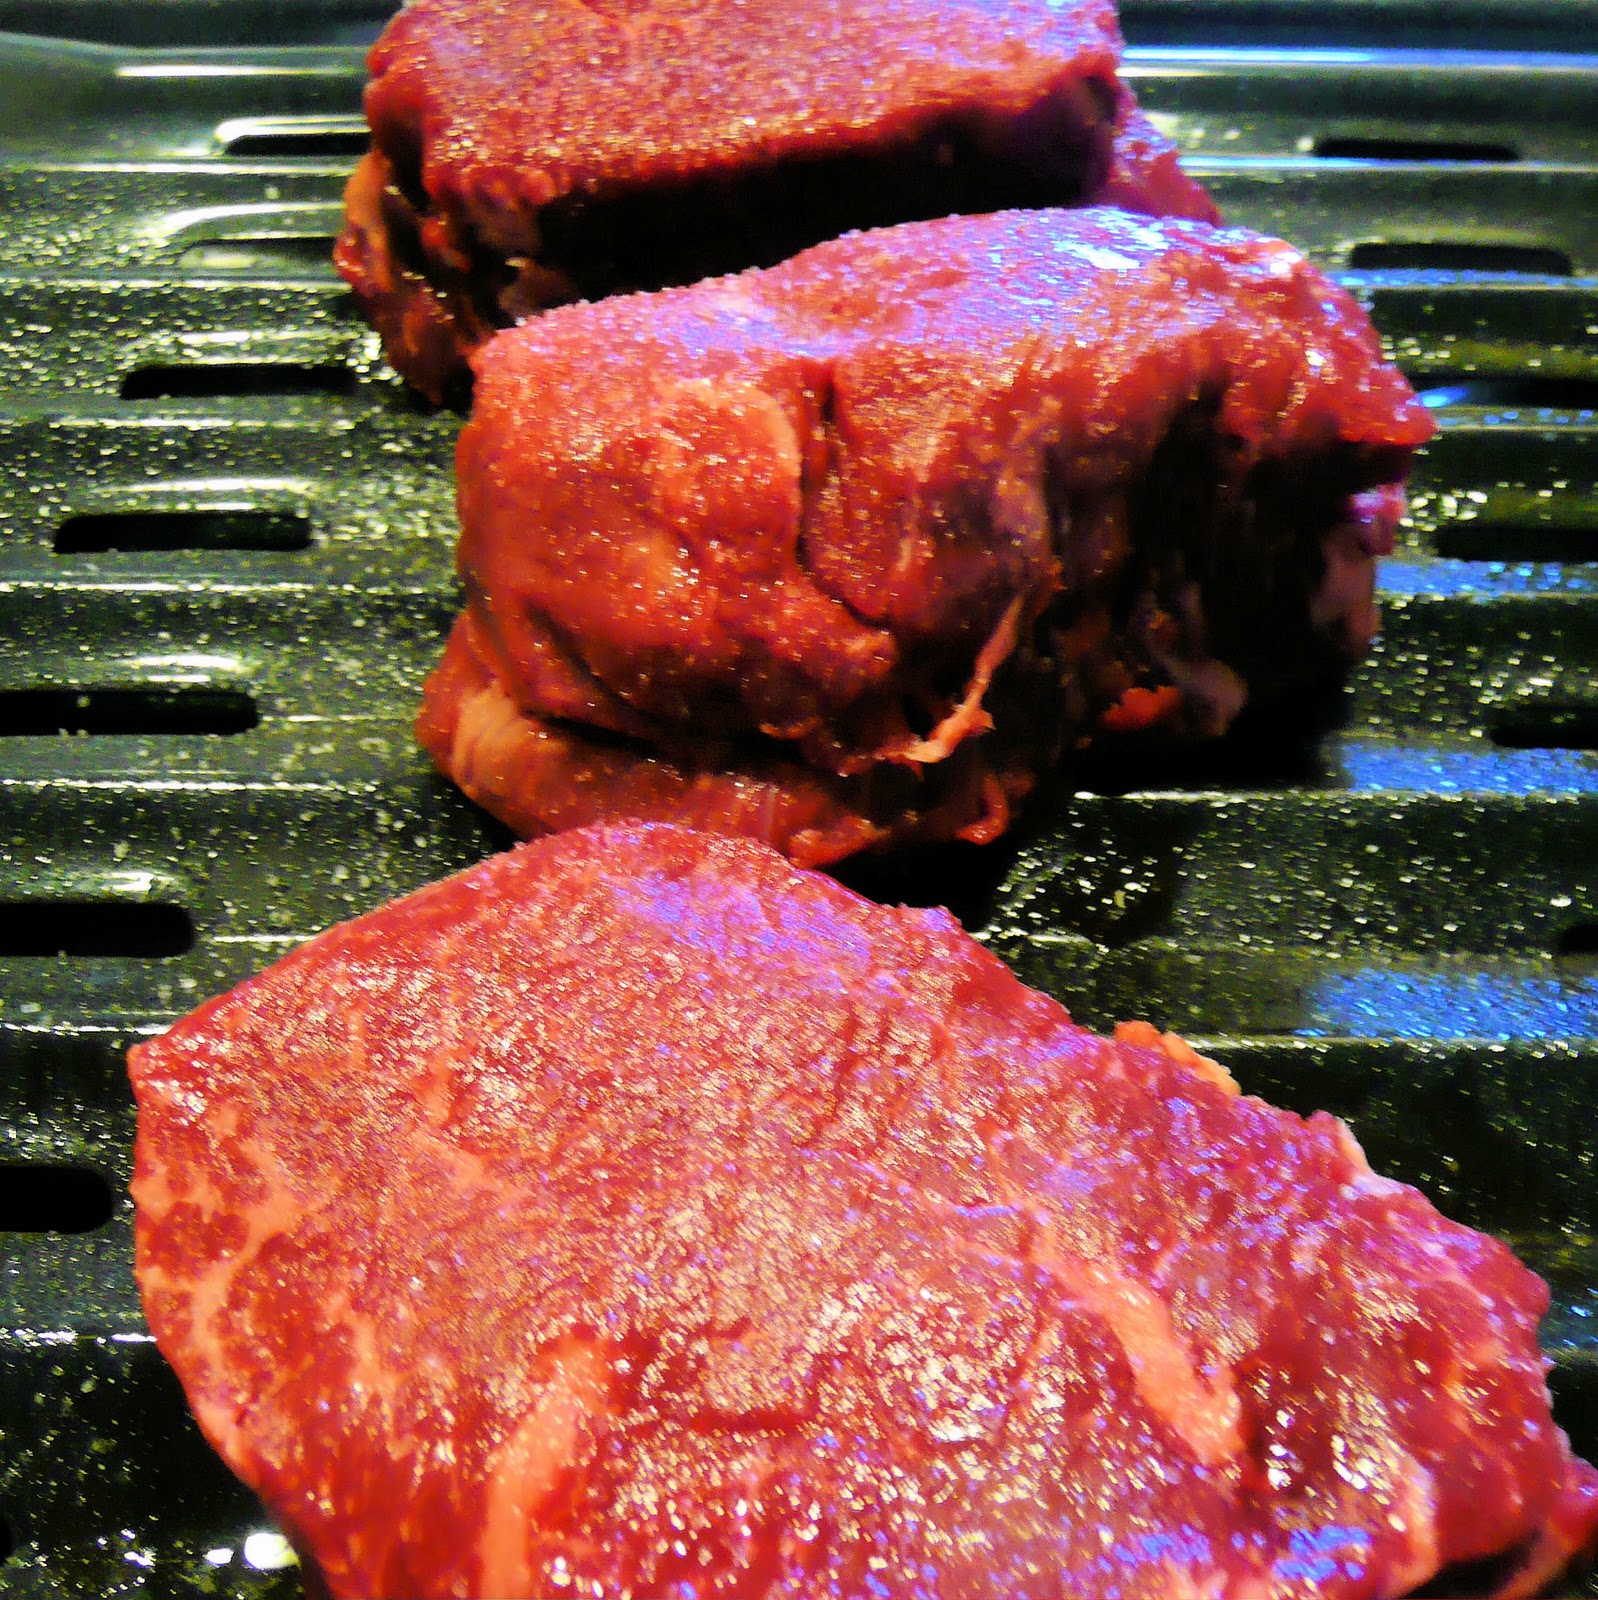
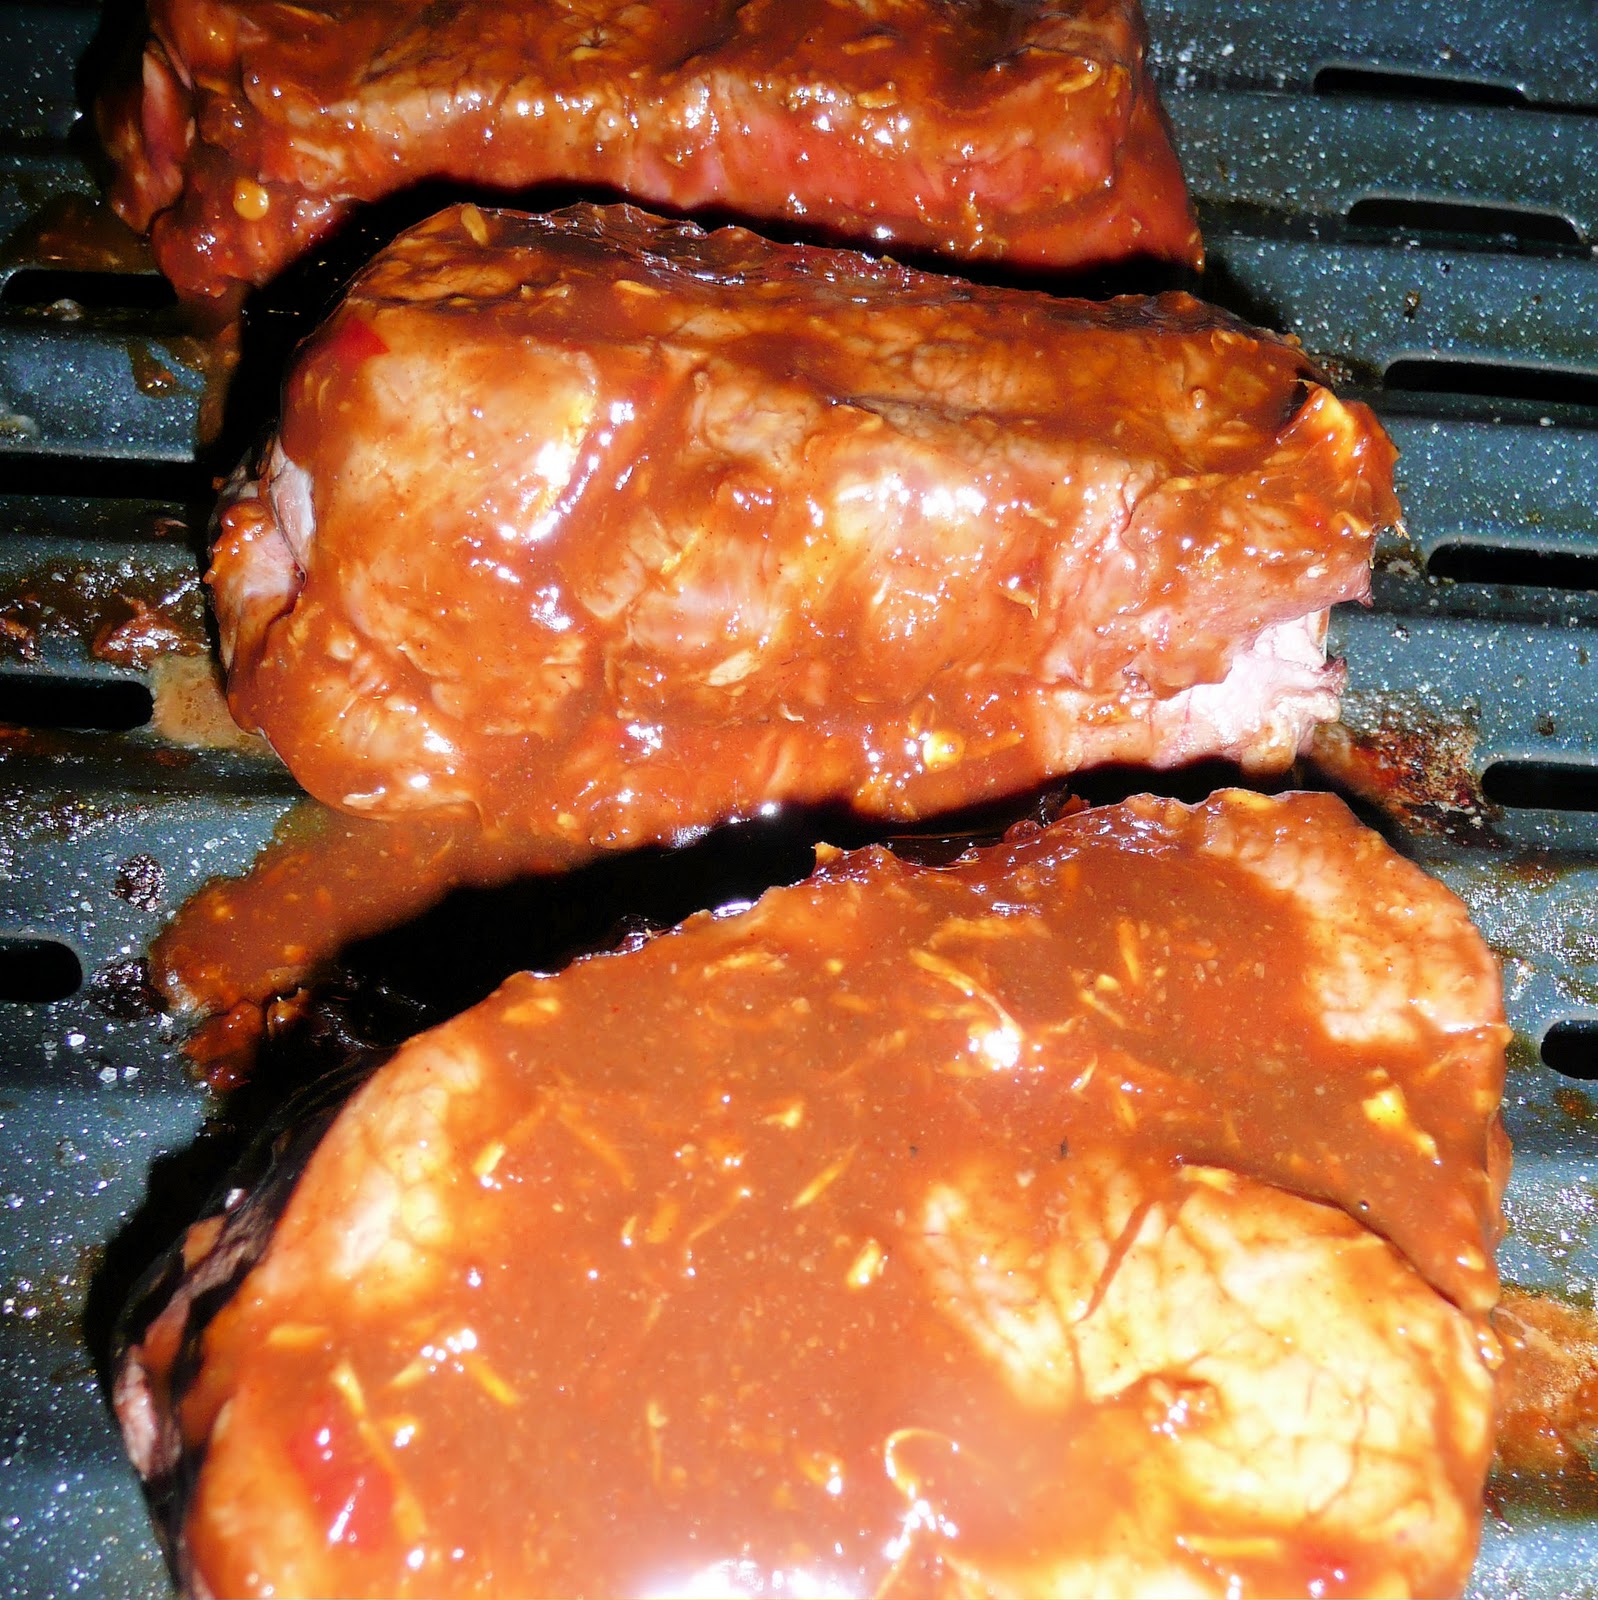
The original recipe suggested putting the steaks on a foil-lined broiler pan. I somehow ran out of foil, so I just put them on a broiler pan coated with cooking spray but for cleaning purposes, I’d suggest using the foil. Sprinkle the steaks with salt.
Place the pan into the oven 5 inches from the heat (so 5 inches from the top of the oven… probably around the middle rack). Cook for 2 minutes and turn over. Broil for another 2 minutes and turn steaks over again.
Not that appetizing yet. Just wait…
Brush steaks with half of the glaze and broil for one minute.
Looking better…
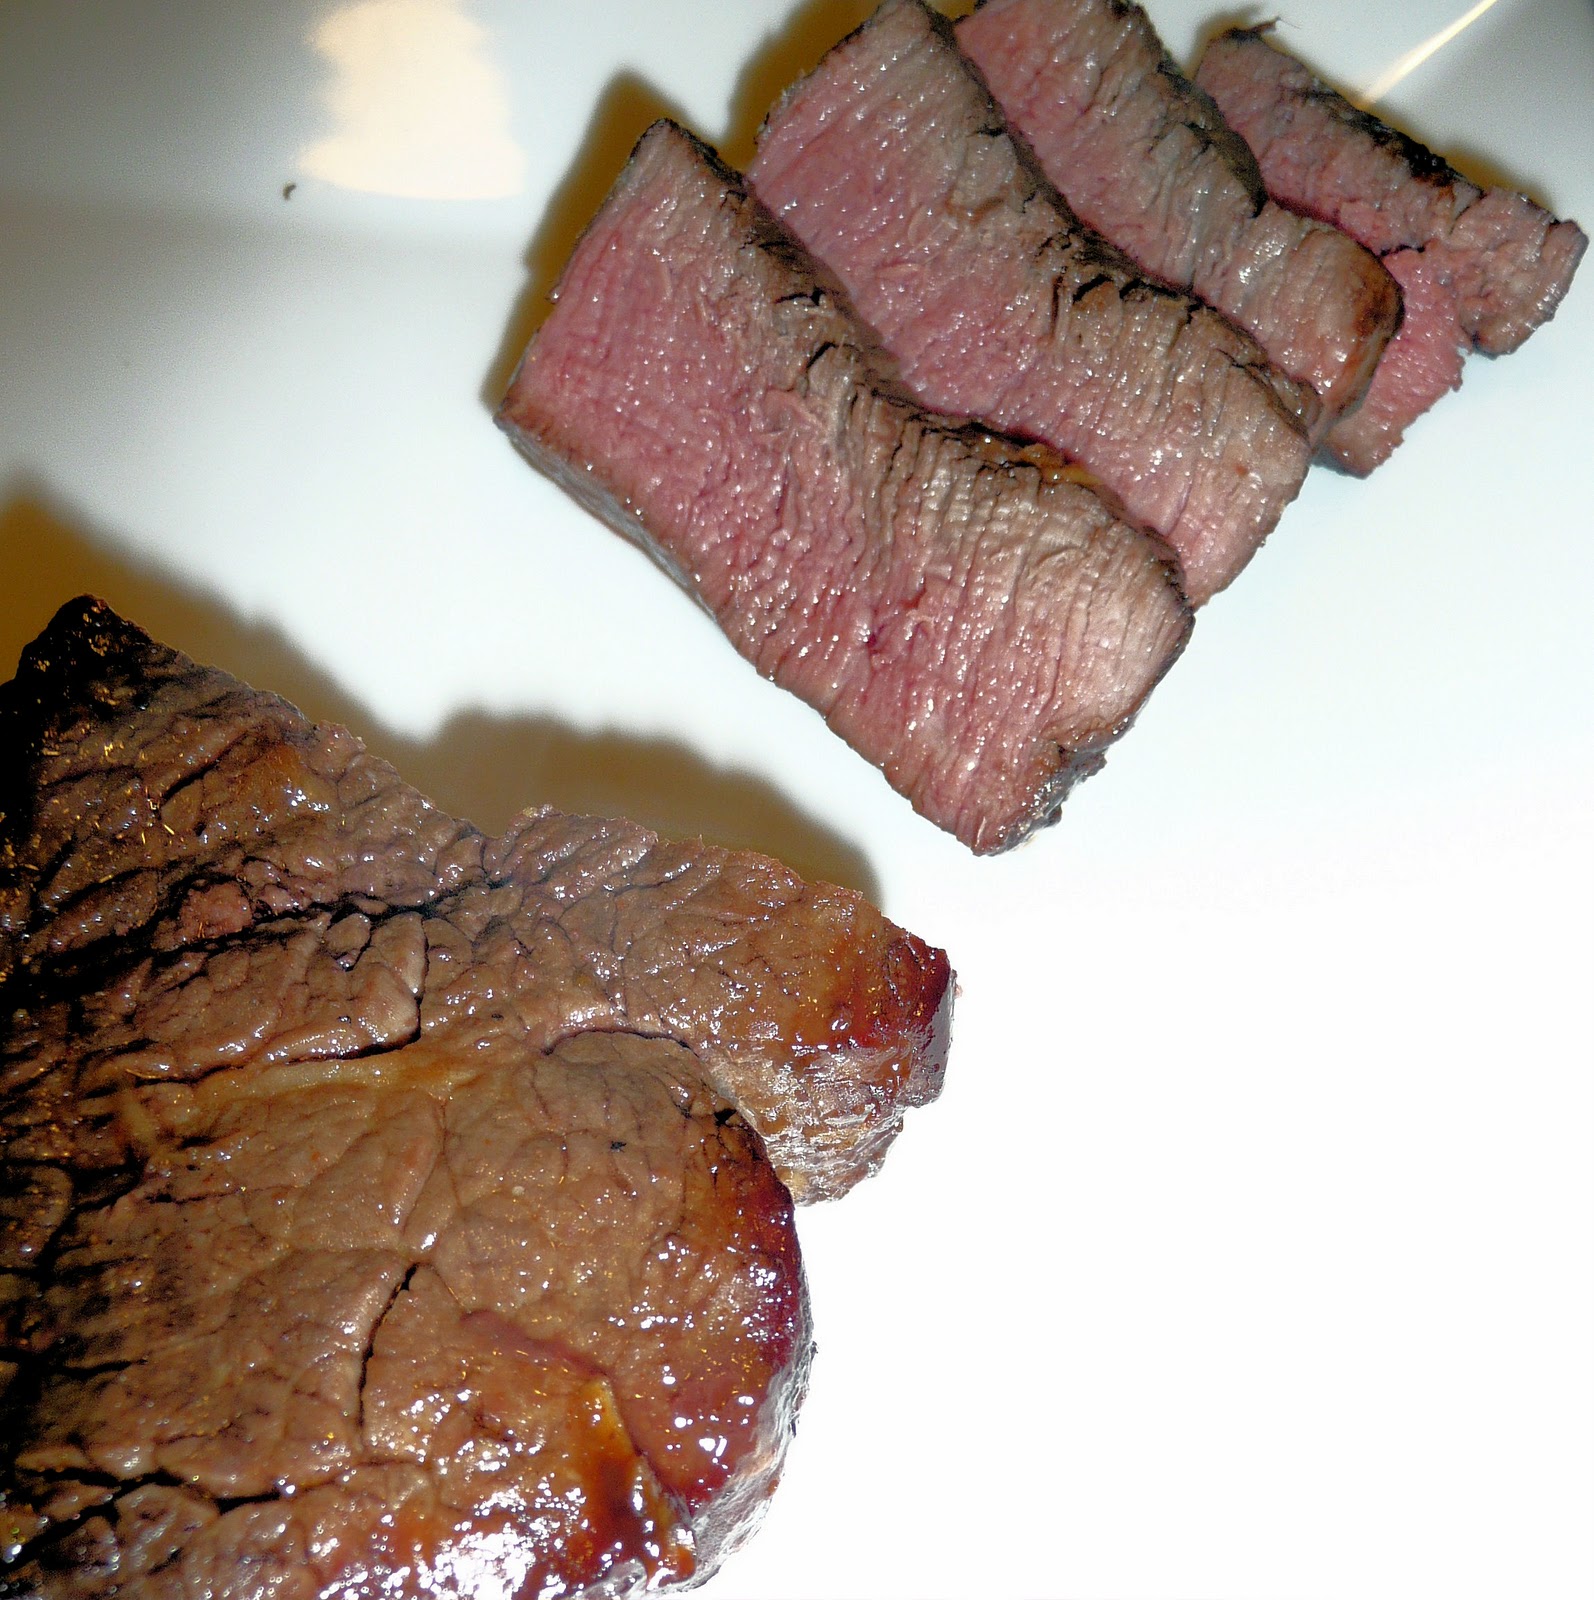
Turn the steaks over and brush with the remaining glaze and broil for 2 minutes or until desired degree of doneness.
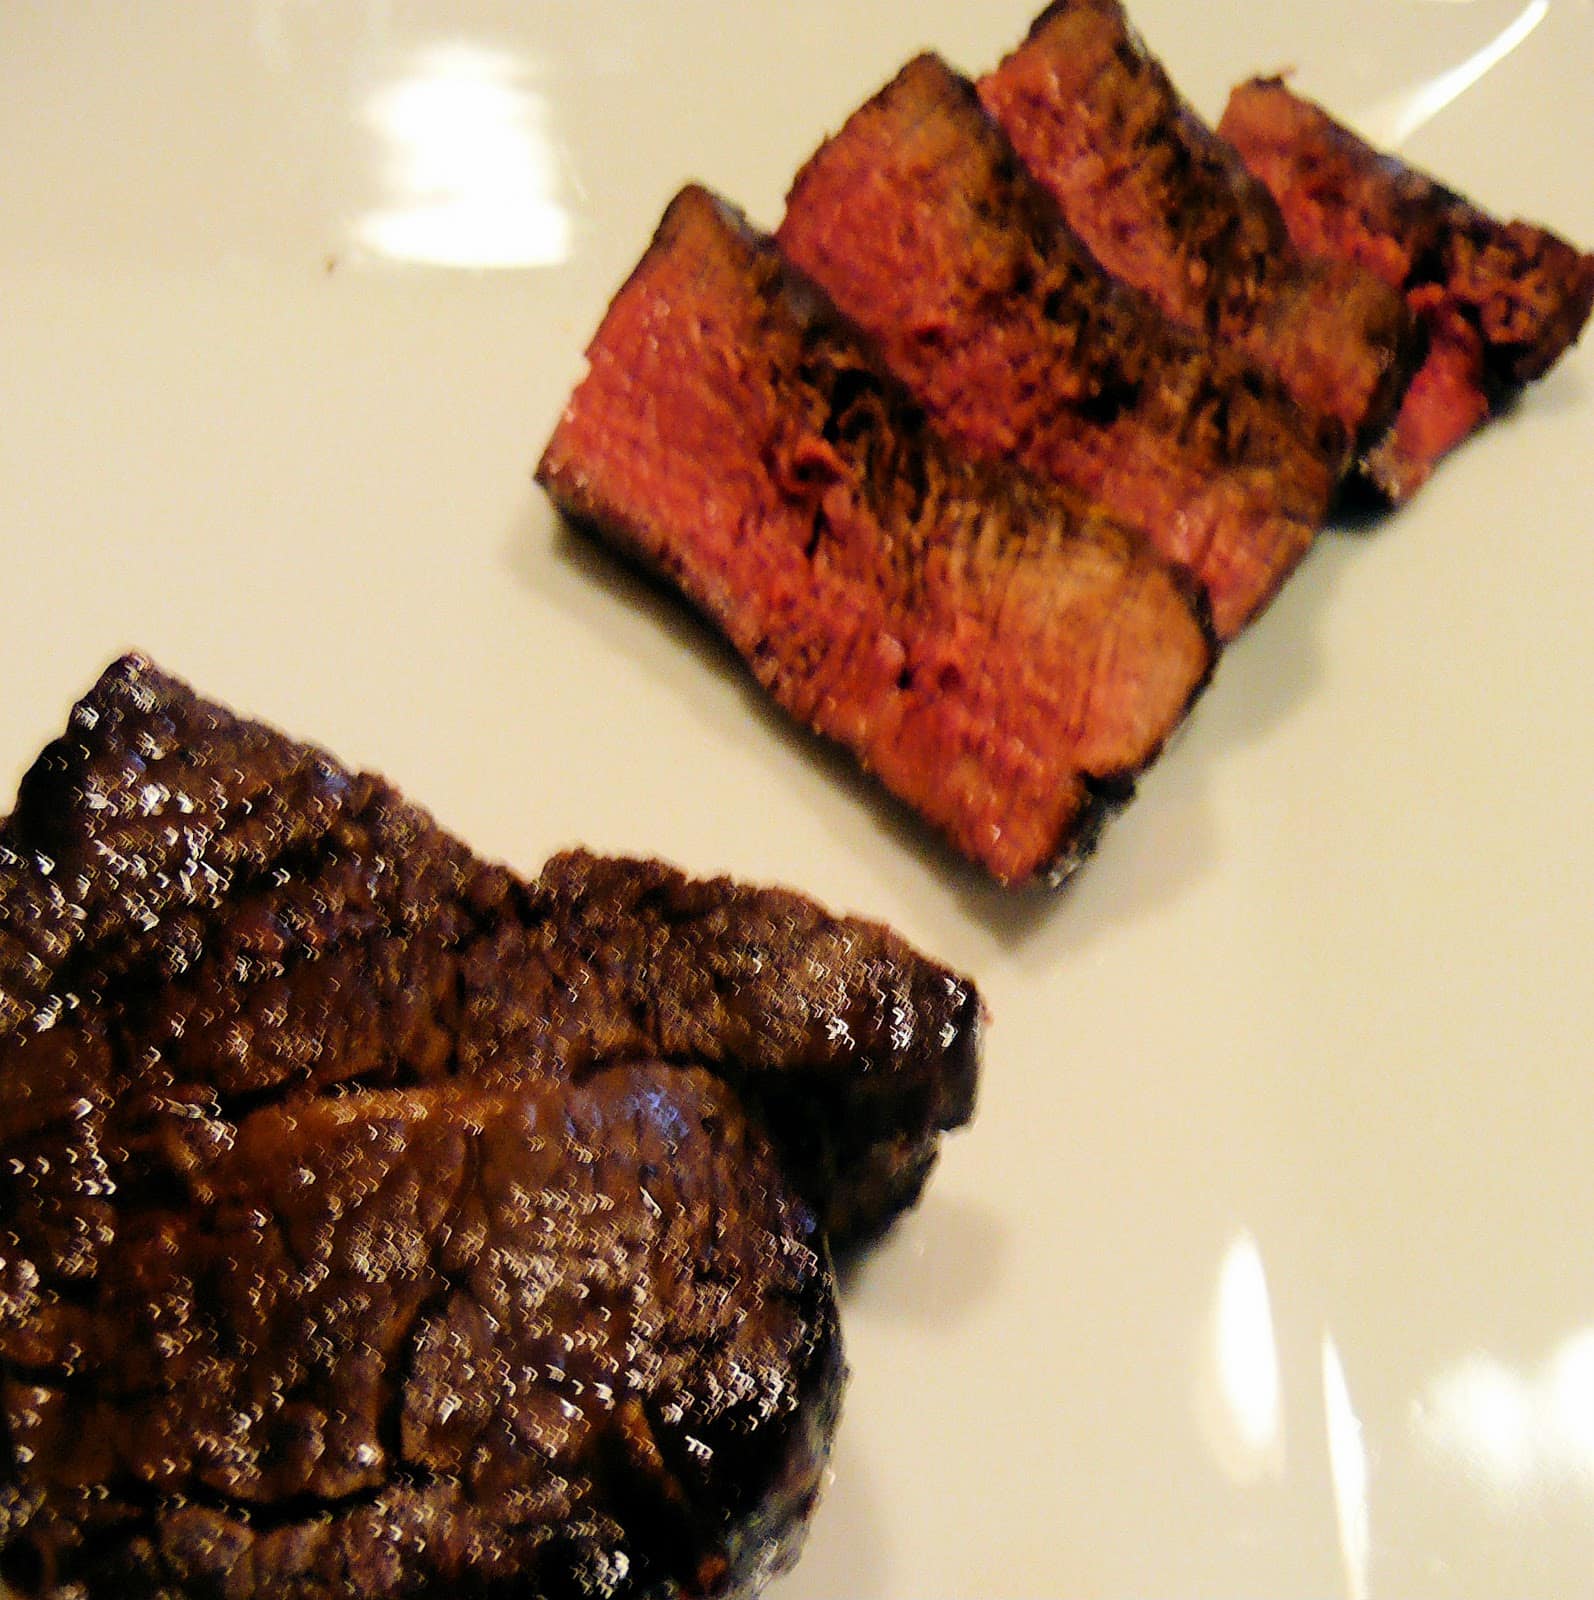
So, I ended up putting mine in for a good 5ish more minutes, turning the steaks half way through. They came out a bit too rare for me with the original time suggested, but I think this is really up to the person cooking it. I was so fearful that it was going to burn that every 2 minutes I was checking on the steaks, which probably wasn’t helping the whole cooking process.
When it was finally cooked to my liking though, this was one tasty dinner. When making the glaze, I was afraid it might be a bit on the spicy side but it actually ended up having an almost caramelized taste to it, which was a pleasant surprise.
The hoisin glaze would be great on a number of different proteins: chicken, salmon, perhaps even scallops. Using the broiler still makes me a bit nervous though, so I may consider whipping up a batch of this glaze for use on the grill, if it ever warms up in Philadelphia (today is March 28—almost April—and the high is 45. Super.) I hope you enjoy this meal with less stress about broiling than me!
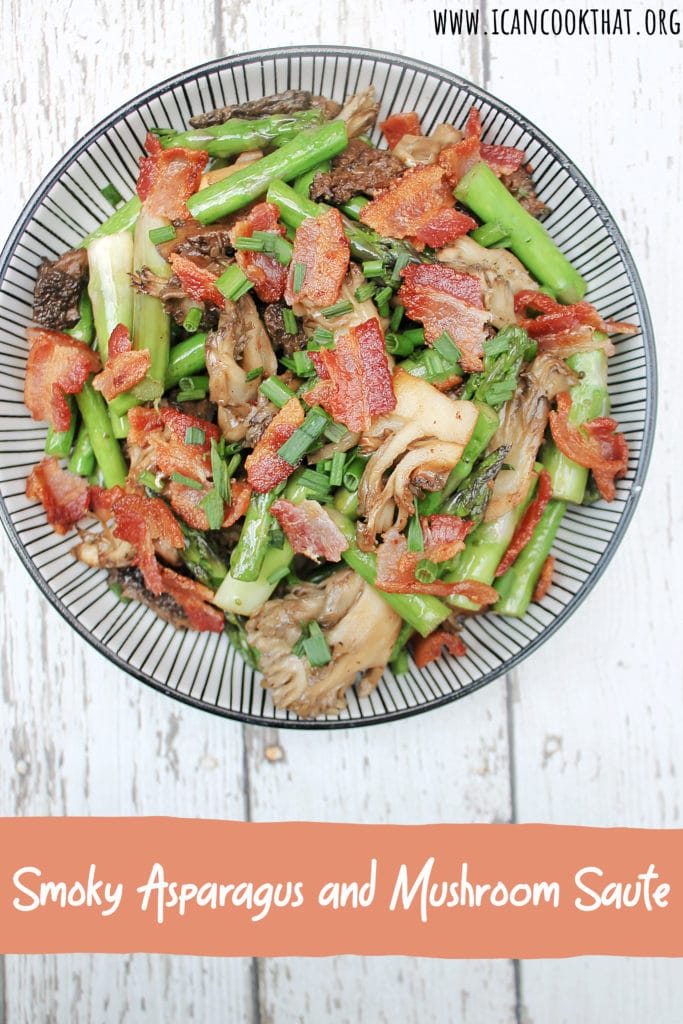
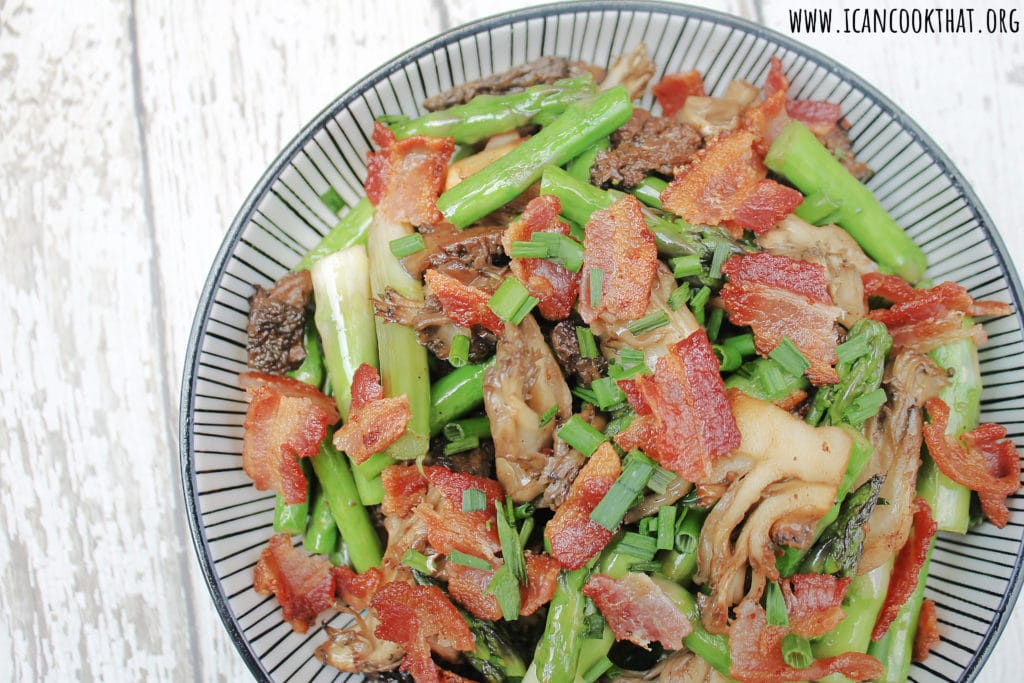
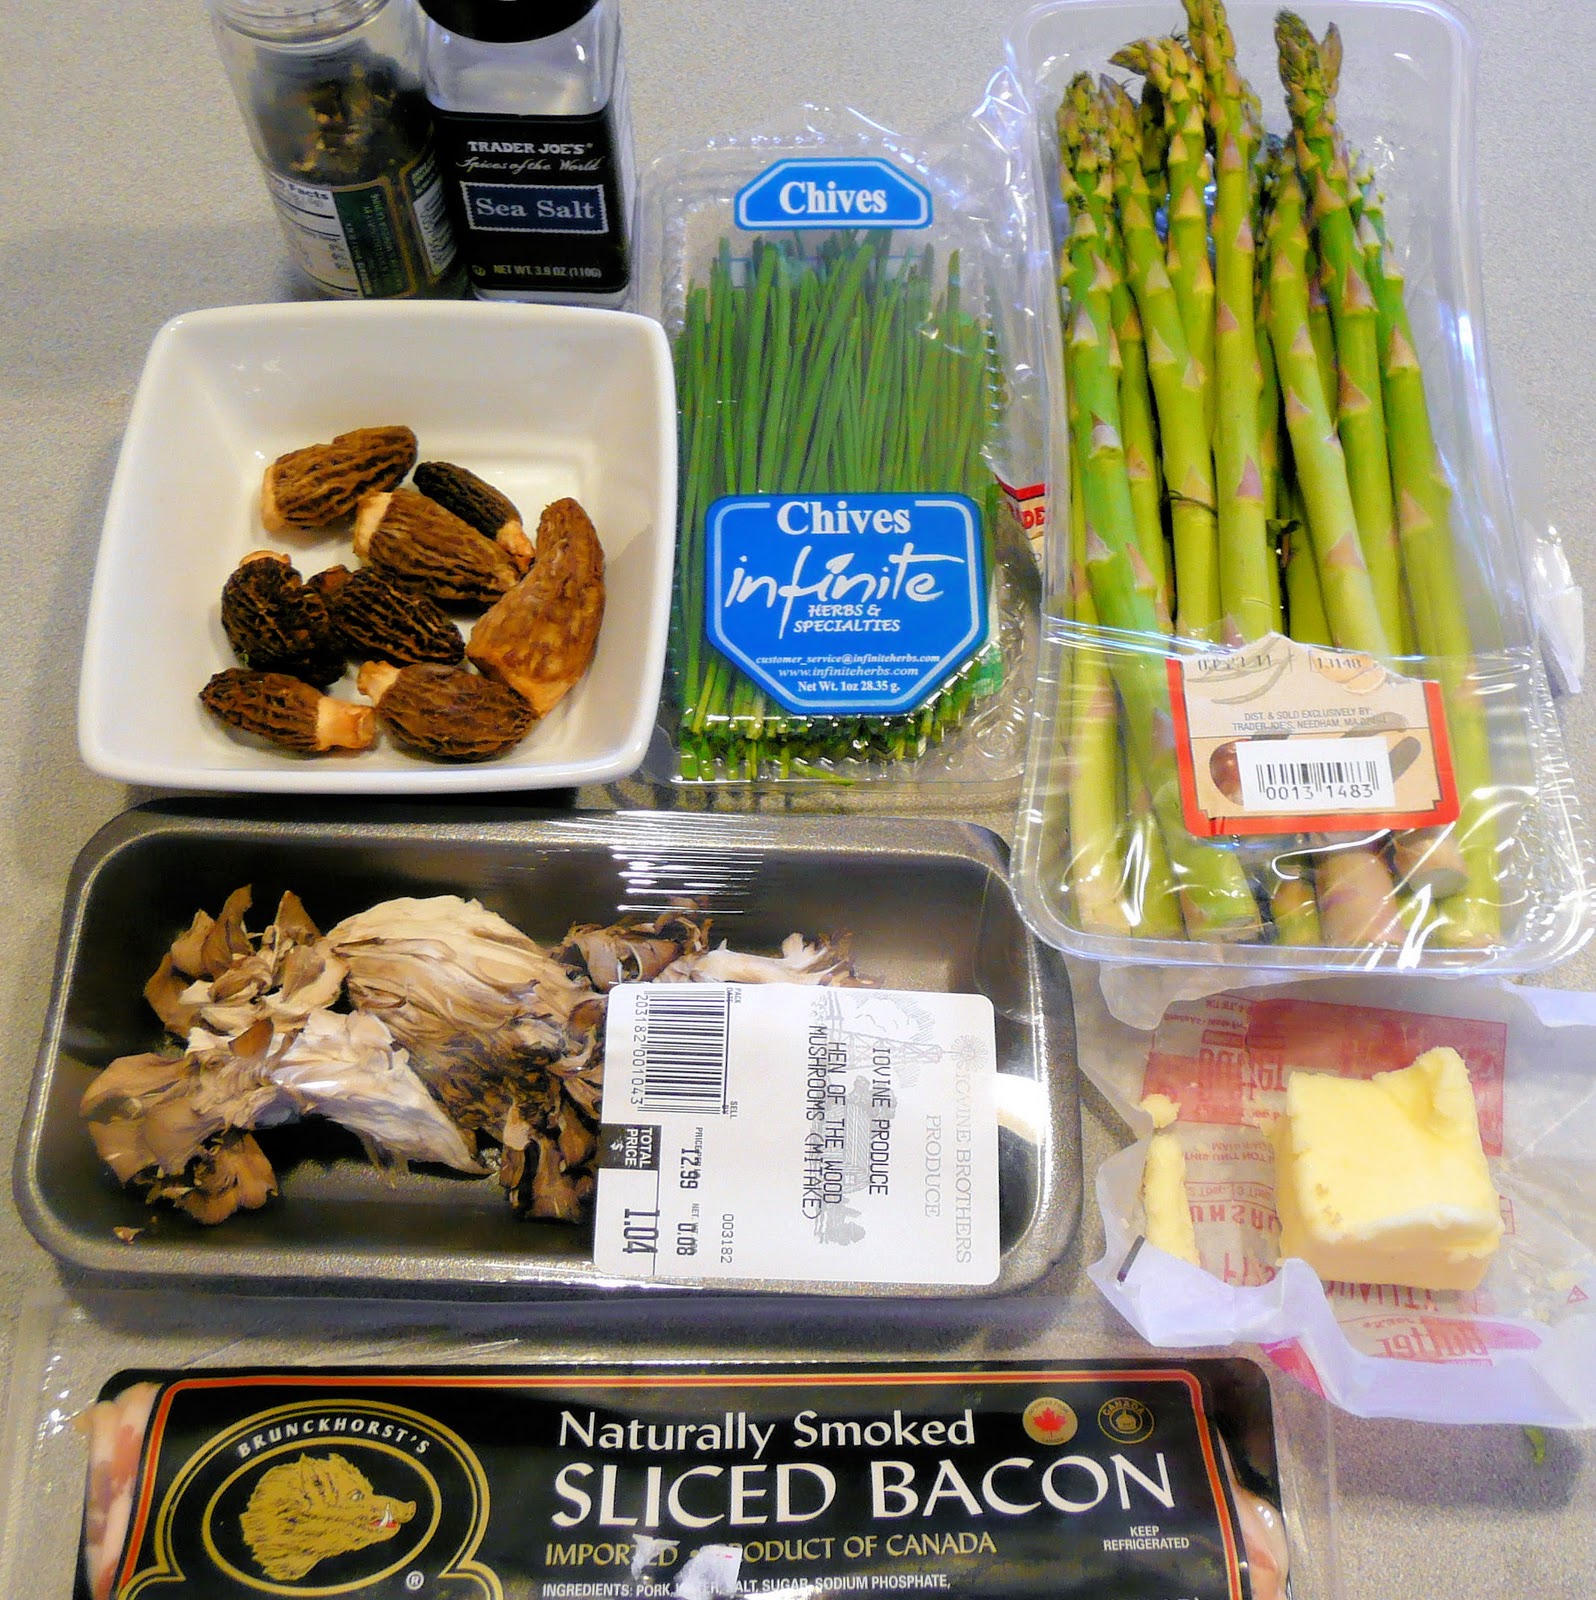
The April 2011 Issue of Cooking Light included a seemingly simple side dish using a type of mushroom I have yet to work with: Smoky Asparagus and Mushroom Saute. Morels are a wild mushroom; efforts to cultivate this mushroom have been mostly unsuccessful. Because they need to be “hunted” (those that collect morels are called mushroom hunters, I kid you not), they are super expensive– the market I went to was selling them for $69.99/lb., ouch. So this recipe can get pricey fast. I substituted in some hen of the woods (“Maitake”) mushrooms to save my wallet a bit. I ended up spending about $4 on the morels and a $1 and some change on the hen of the woods.
I had some left over asparagus from making the Orzo Risotto with Buttery Shrimp dish a few days ago so this dish was perfect to use ingredients I mostly had on hand.
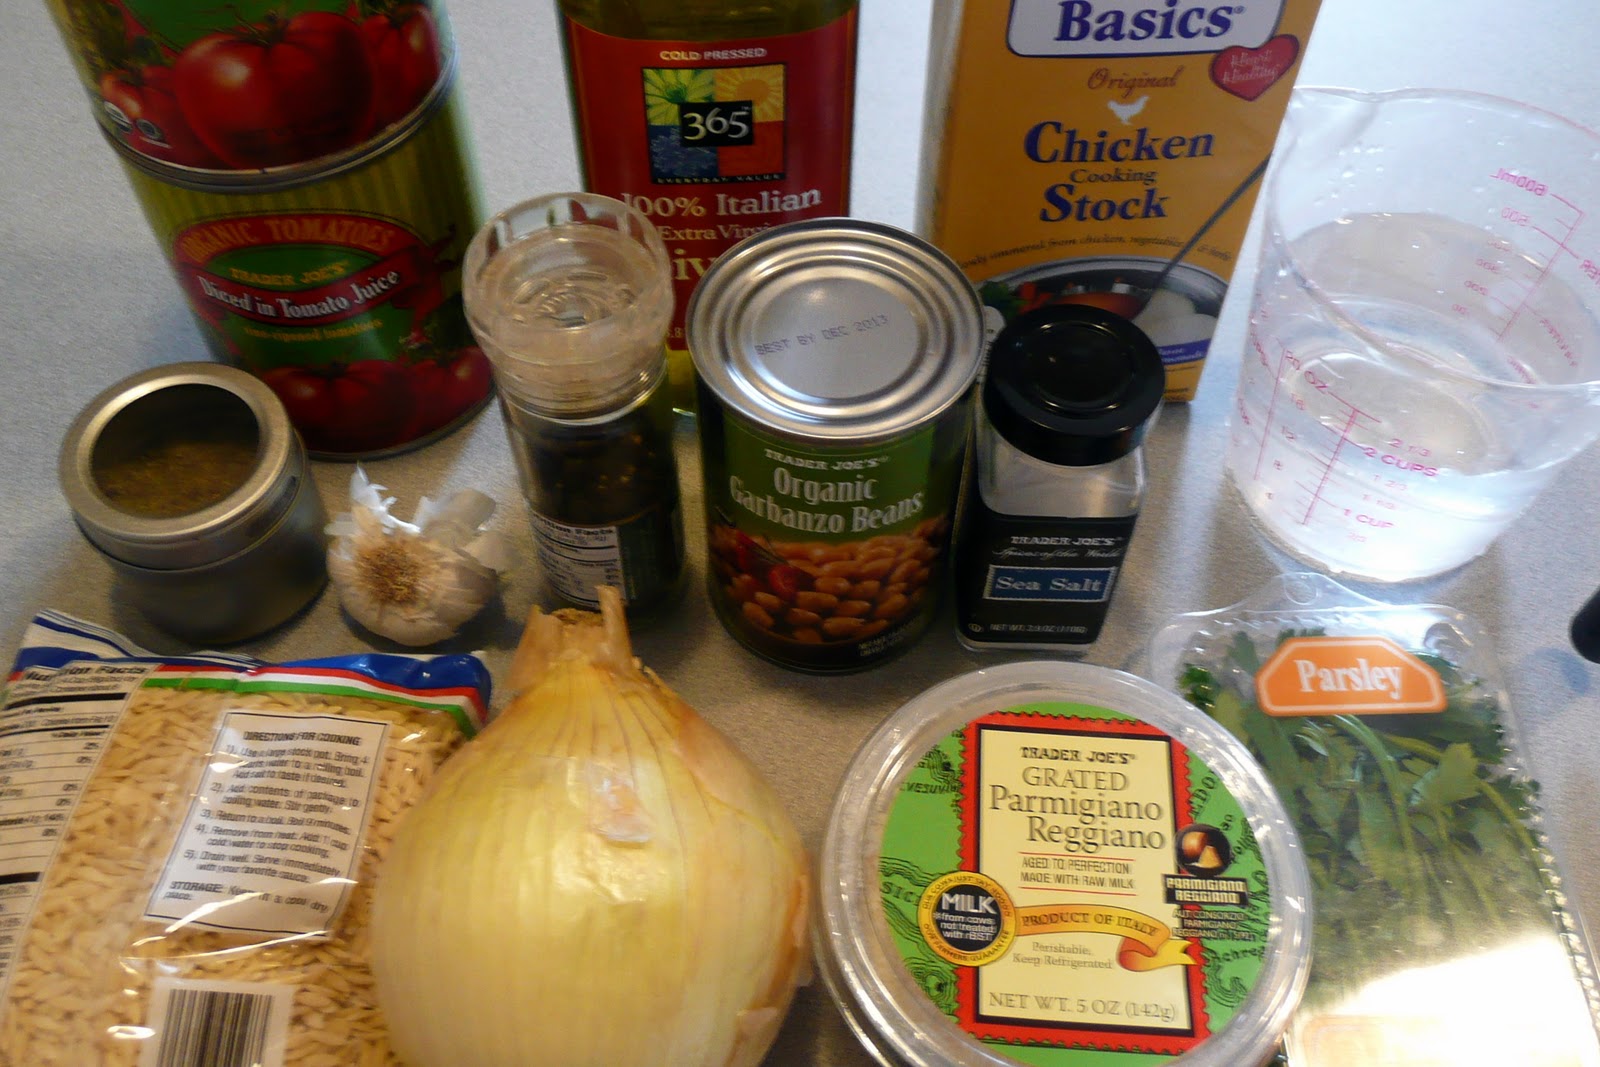
I try to bring my lunch into work at least four times a week, but sometimes I am just too exhausted at the end of a week day to think about and prepare a lunch for the next day. Soups in general are great for these days; you can make a huge batch on Saturday, freeze it in single portions, and then grab when on the run. Food and Wine had a “fast” soup recipe listed so I thought I’d try it out (most soups take at least an hour to prepare).
The original recipe is linked above. I made a few substitutions, based on what I already had in my house.
Ingredients:
7 cups diced tomatoes with their juice (two 28-ounce cans)
2 tablespoons olive oil
1/2 onion, chopped
2 cloves garlic, minced
1 /2 teaspoons dried sage
2 cups canned low-sodium chicken broth or homemade stock
2 cups water
1 3/4 teaspoons salt
1/2 cup orzo
2 cups drained and rinsed canned chickpeas (one 19-ounce can)
1/3 cup chopped fresh parsley
1/4 teaspoon fresh-ground black pepper
1/3 cup grated Parmesan, plus more for serving
First puree the tomatoes with their juice in a food processor or blender. Feel free to puree at much or as little as you want. If you like your soup a bit chunky, only pulse the blender a few times.
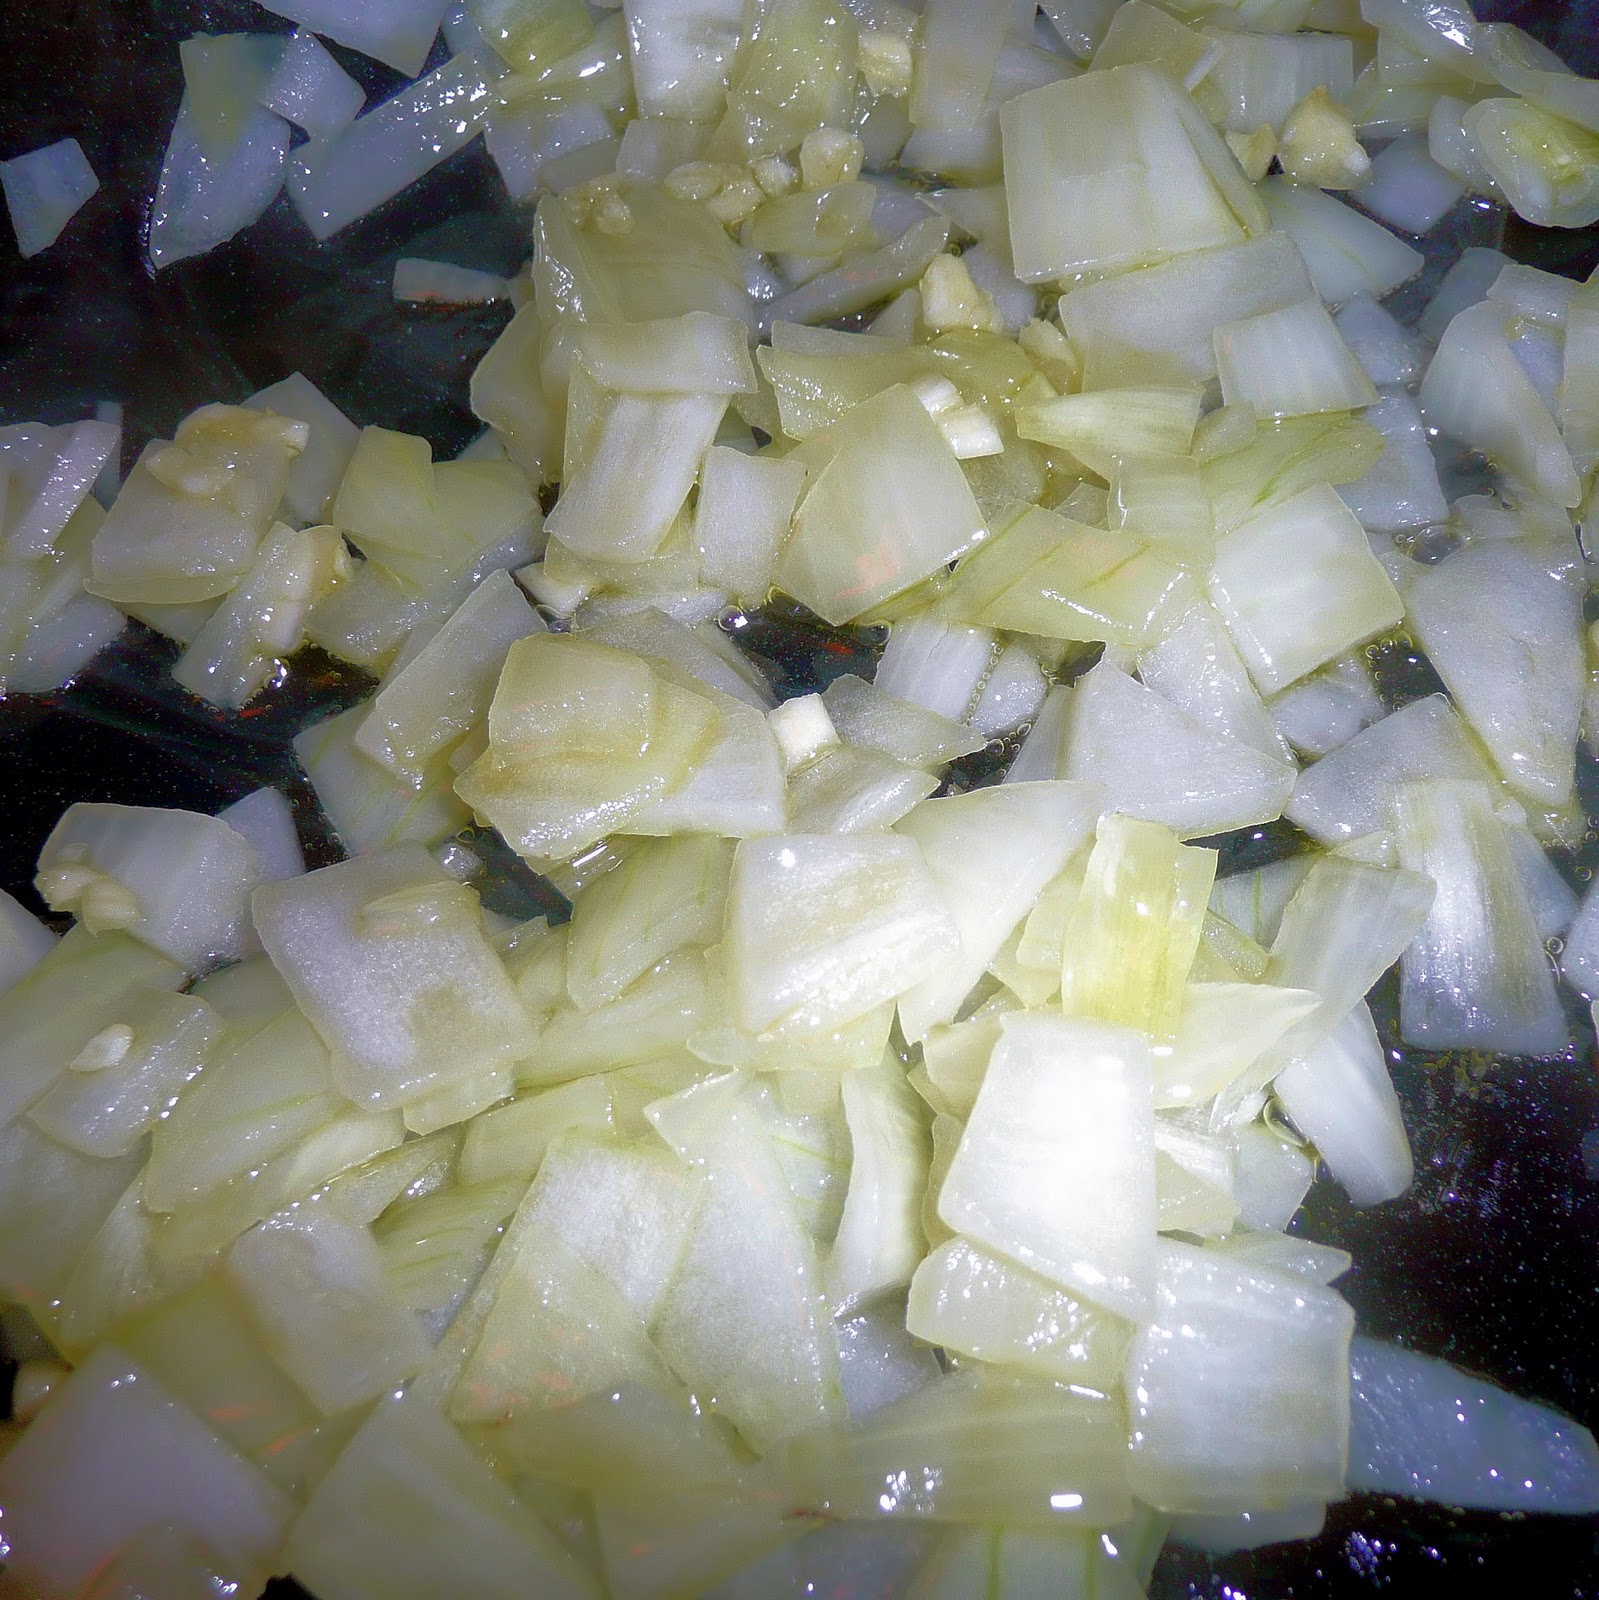
In a large pot (and I mean large– my Dutch Oven was almost too small!), heat the oil over medium-low heat. Add the onion and cook until soft, about 10 minutes, stirring occasionally. (The original recipe called for 1 whole onion. That seemed like quite a lot of onion for my tastes, so I used half of the onion in my ingredients photo.) Stir in garlic.
Add the pureed tomatoes, sage, broth, water and salt to the pot. Bring to a boil. Stir in the pasta and chickpeas. Bring the soup back to a boil.
Reduce the heat and partially cover, stirring occasionally.
Partially covered? Sure
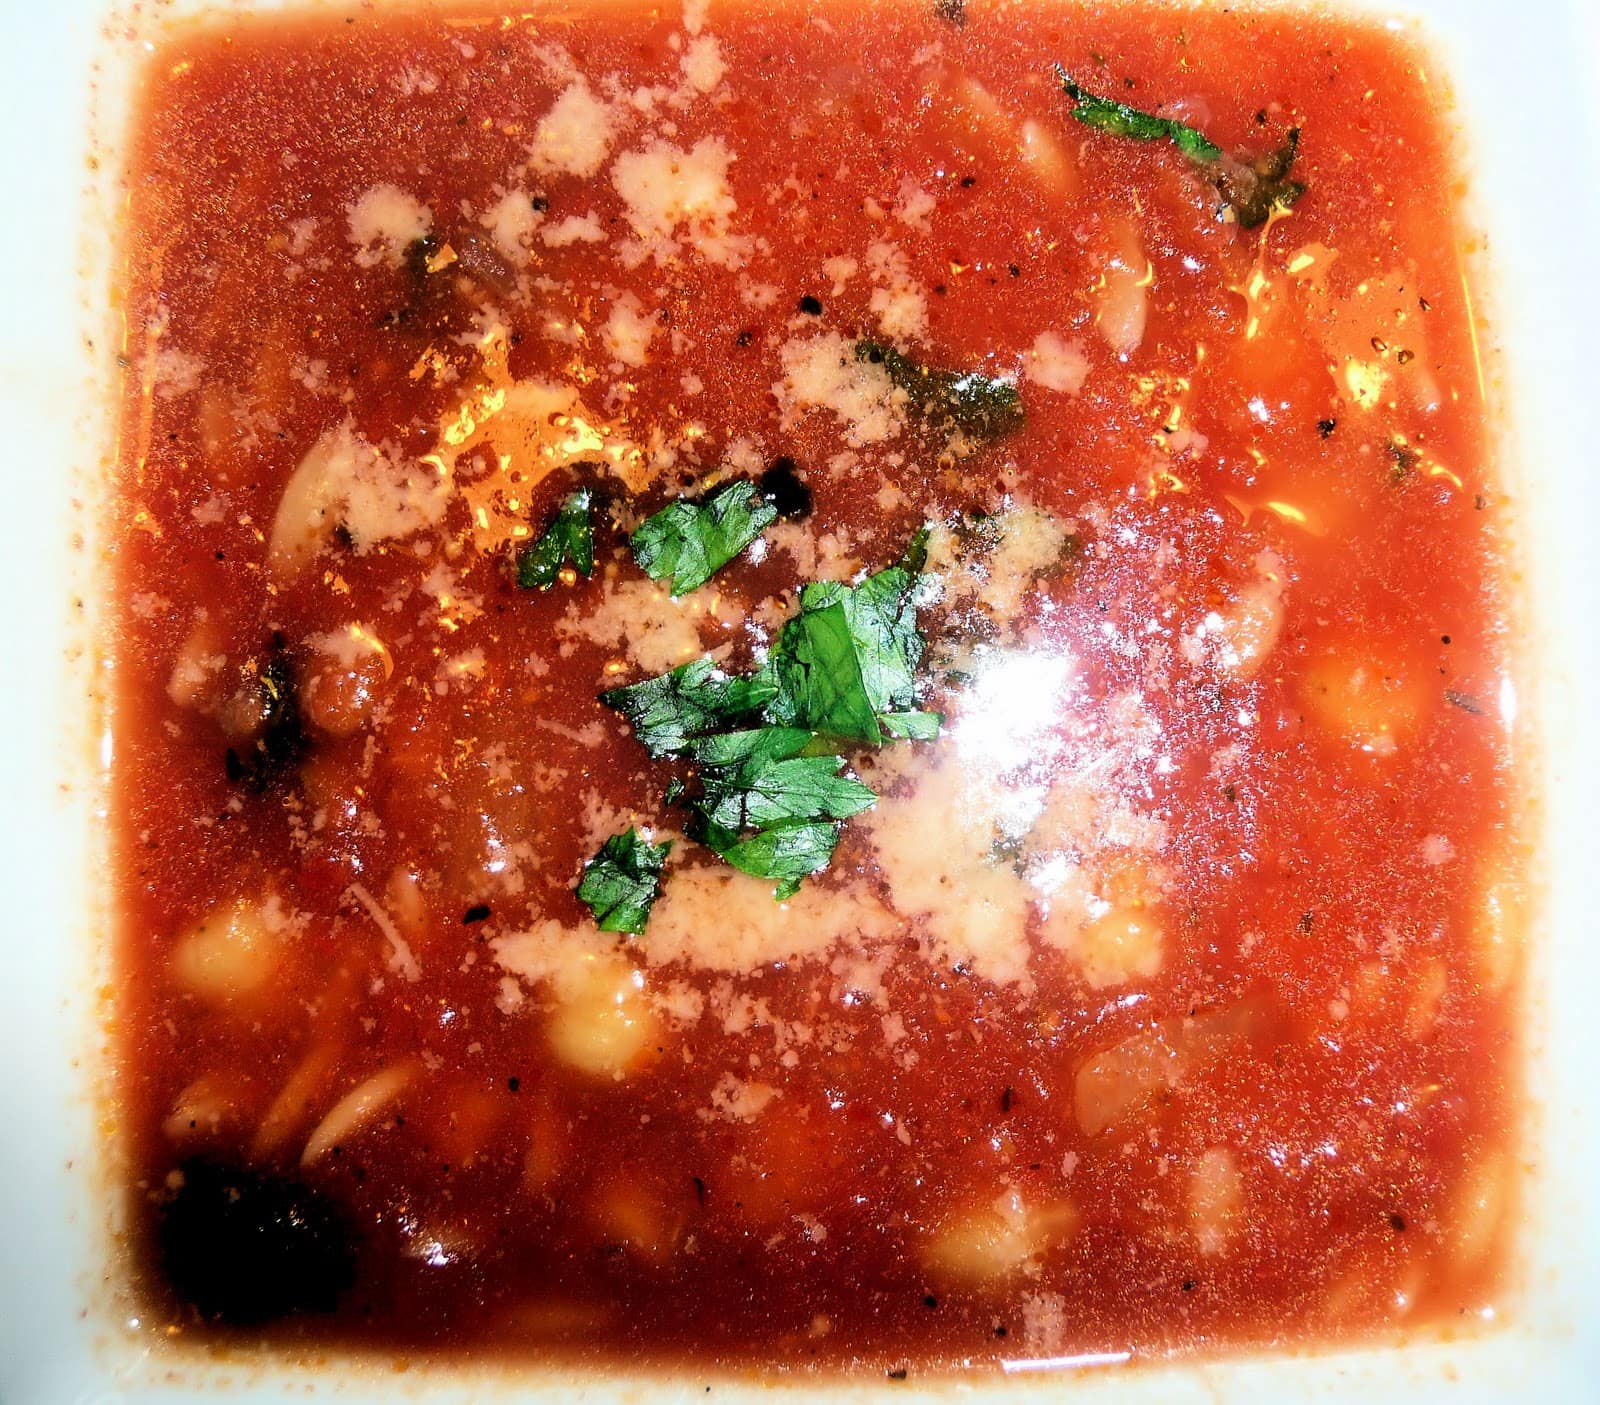
Cook for 15 minutes, or until the pasta is tender. Stir in the parsley, pepper, and grated Parmesan. Serve topped with an additional sprinkle of Parmesan.
Finished Dish
I was impressed with how quick this recipe was, maybe 35-45 minutes from start to finish. What made it even more manageable was during the down time (10 minute cooking of onion, waiting for it to boil, etc) I was able to clean up the mess I was making.
The soup was really tasty and deceptively fresh tasting (that parsley really helped!). If you like a little kick, I think a few drops of hot sauce during the final boiling stage would be a nice addition. If you don’t have and dried sage on hand, the recipe suggests substituting rosemary or marjoram.
This dish would be great to sop up with garlic bread or even a cheesy toast. I’m excited to have this for lunch some time next week!
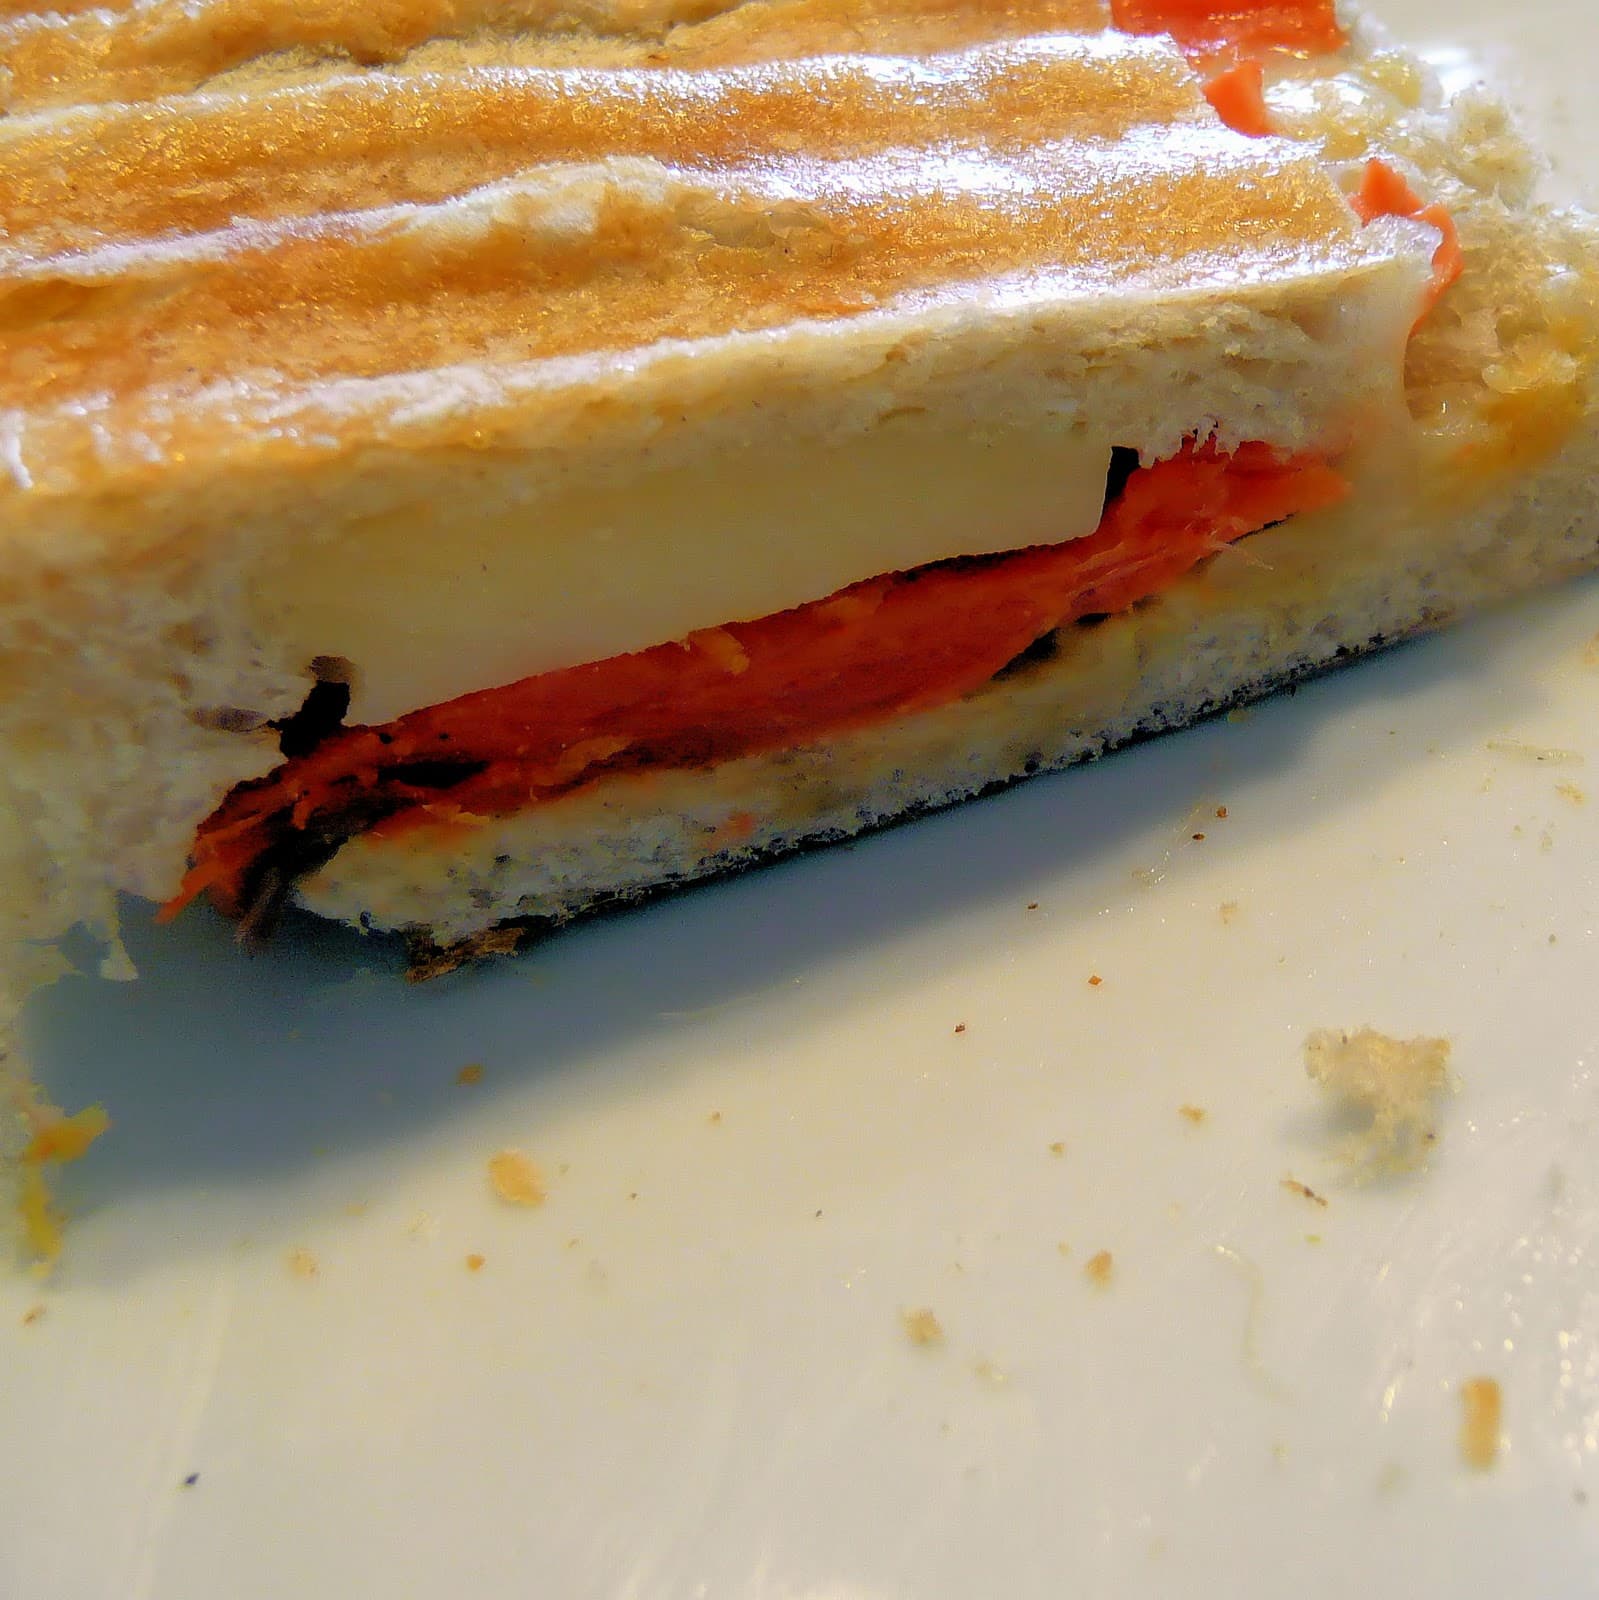
I really don’t like a cold lunch, especially sandwiches. There is something about a plain sandwich that makes me so unexcited to eat it. But a panini makes me happy: toasted bread, melty cheese… yum! So I was glad to try out this Smoked Salmon Panini.
Note: I have a panini press, but if you don’t, just use a saute pan and spatula to flip half way through the cooking.
The original recipe is linked above. I made a few substitutions, which are listed below.
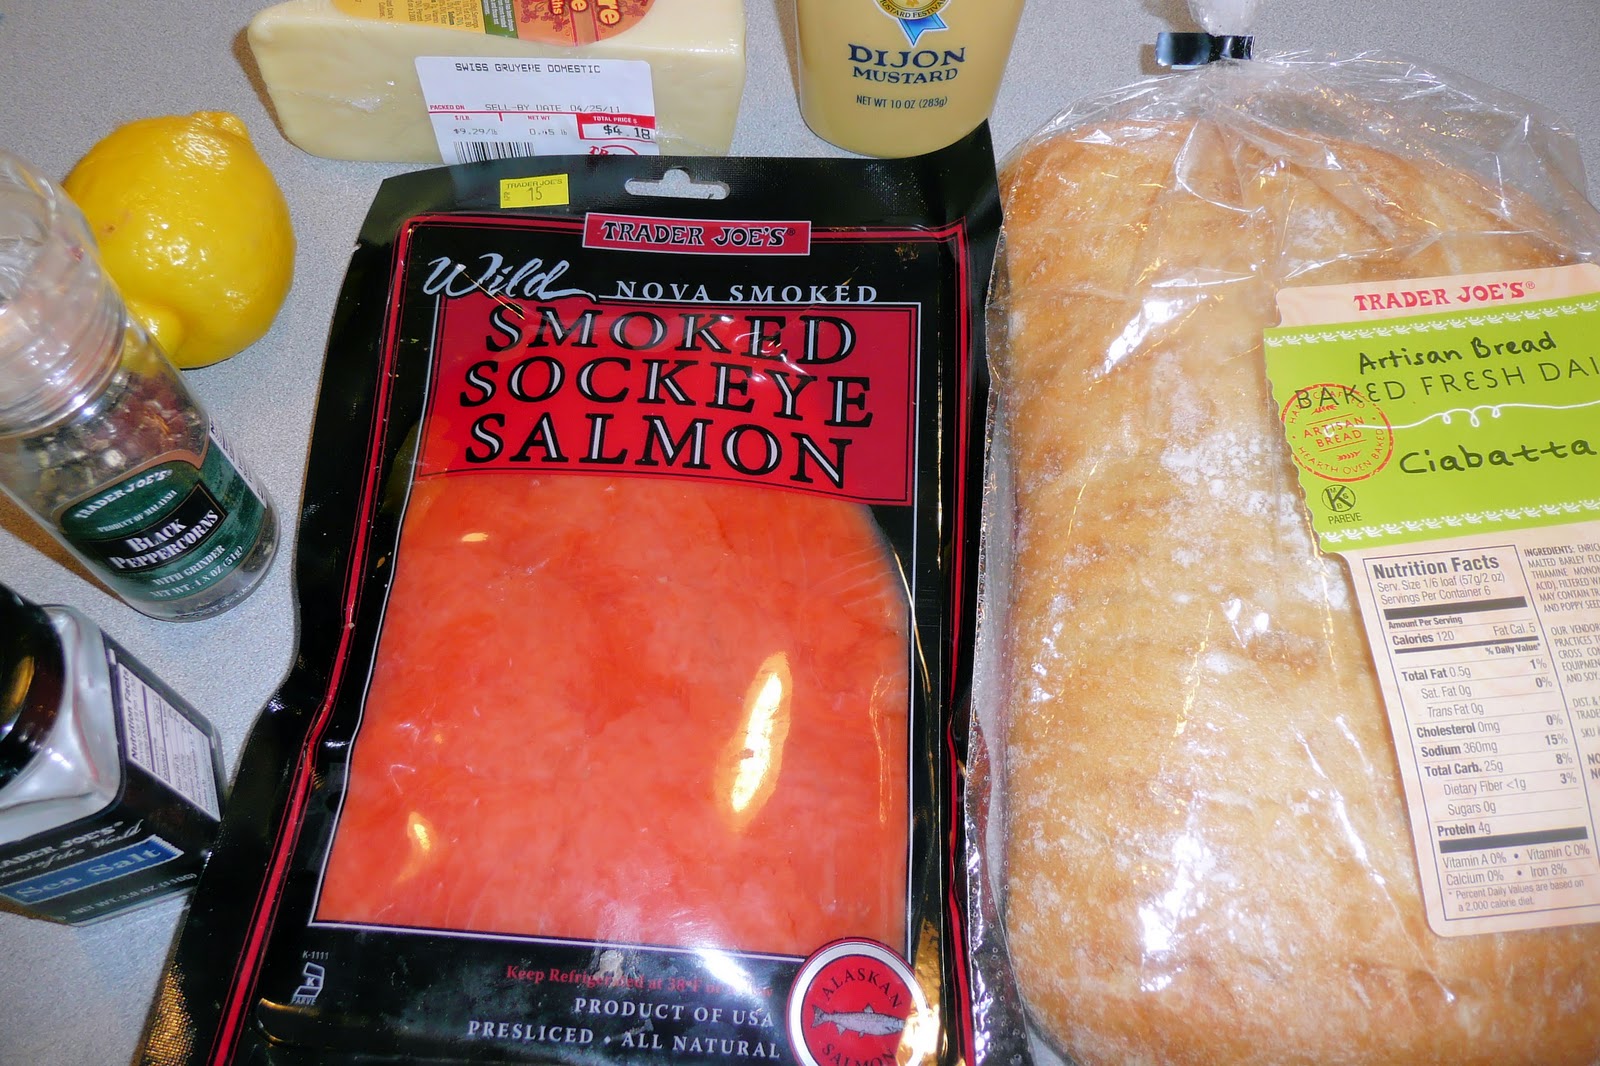
Ingredients: (this makes one sandwich, multiply as needed)
2 slices ciabatta
Dijon mustard, for spreading
thin slices of Gruyère cheese
2 oz thinly sliced smoked salmon
Finely grated zest of 1/4 of a lemon
Salt
Freshly ground pepper
Preheat the panini press or saute pan.
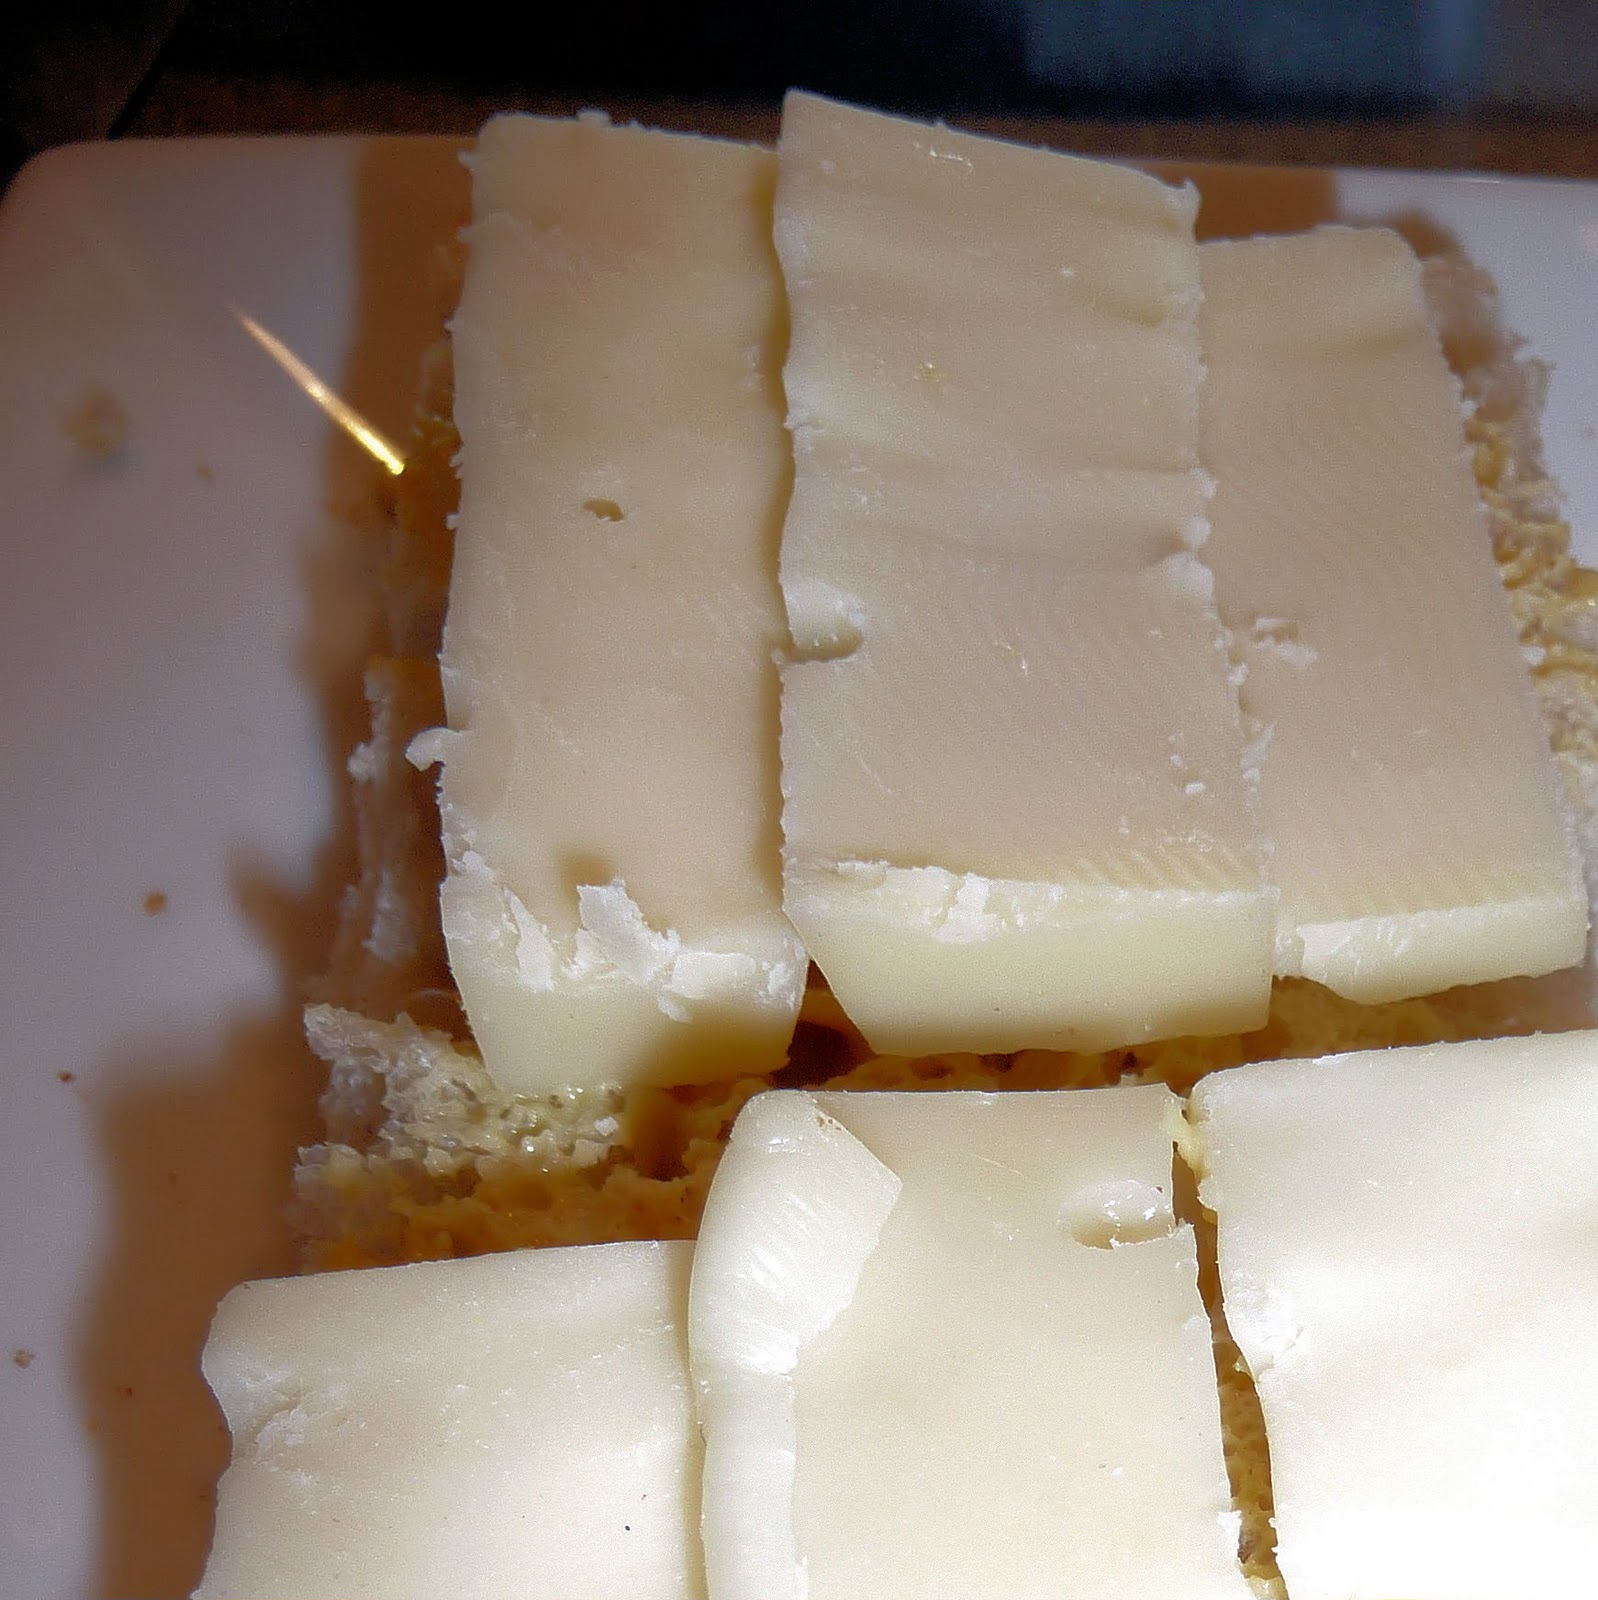
Spread 1 slice of ciabatta bread with some Dijon mustard, as little or as much as you’d like. Top with some Gruyere cheese.
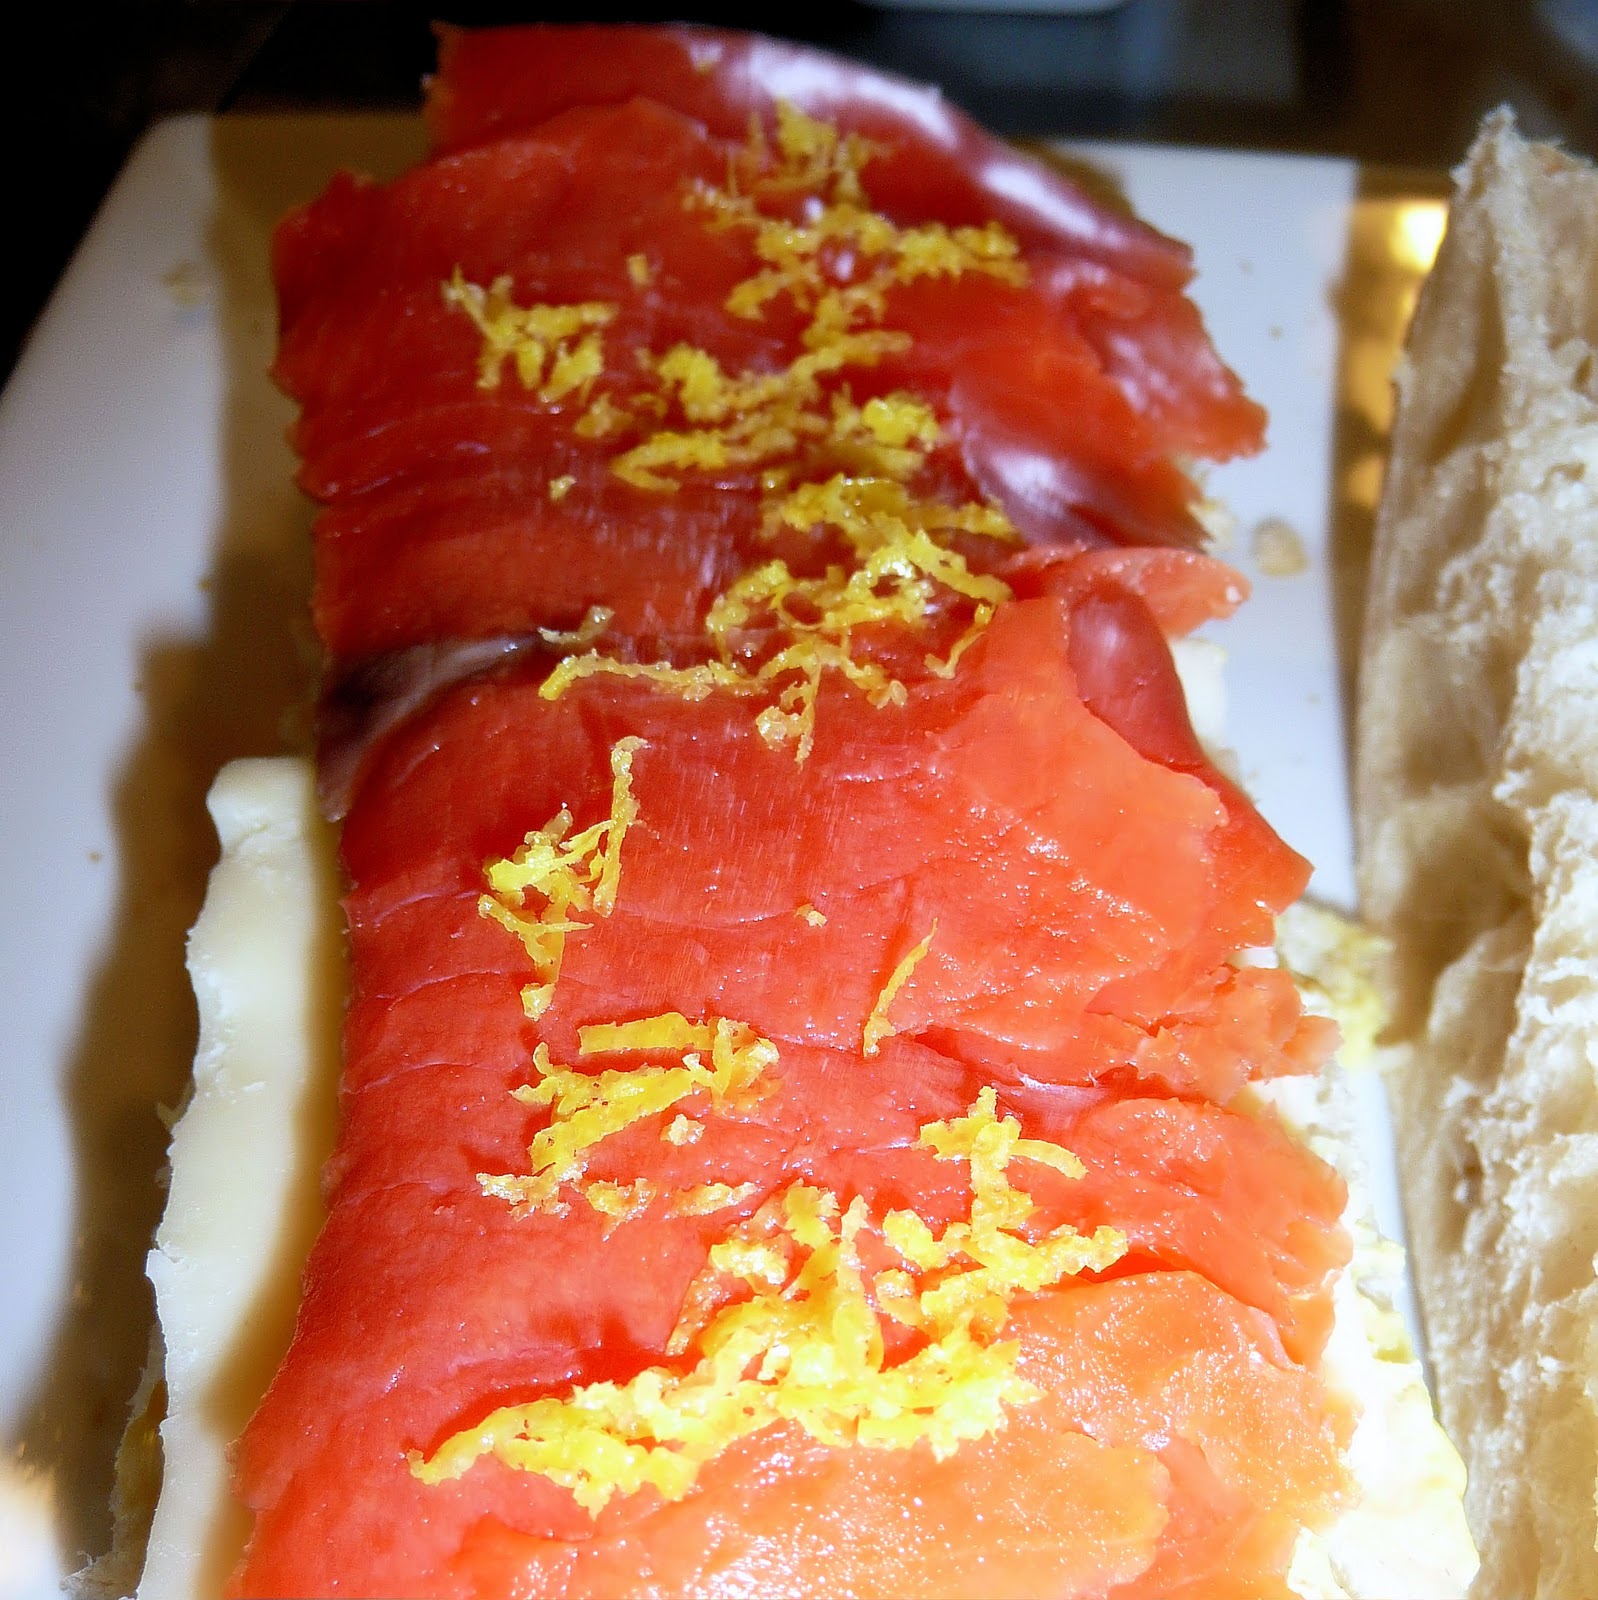
Top with smoked salmon and lemon zest.
Season lightly with salt and pepper and cover with more Gruyere cheese. Top with other piece of bread.
Grill for 2 to 3 minutes until toasted and the cheese is melted.
I was a little wary about the Dijon mustard; I thought it would overwhelm the sandwich. But it added a nice punch of flavor. The lemon zest really enhanced the dish and brightened up the smoked salmon. This could easily be made ahead and popped in the microwave for a few seconds to warm it back up. I’m so glad to have a new alternative to the boring and cold meat and cheese sandwiches usually eaten at lunch!
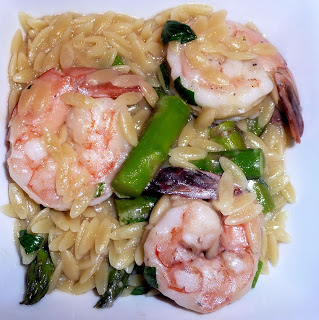
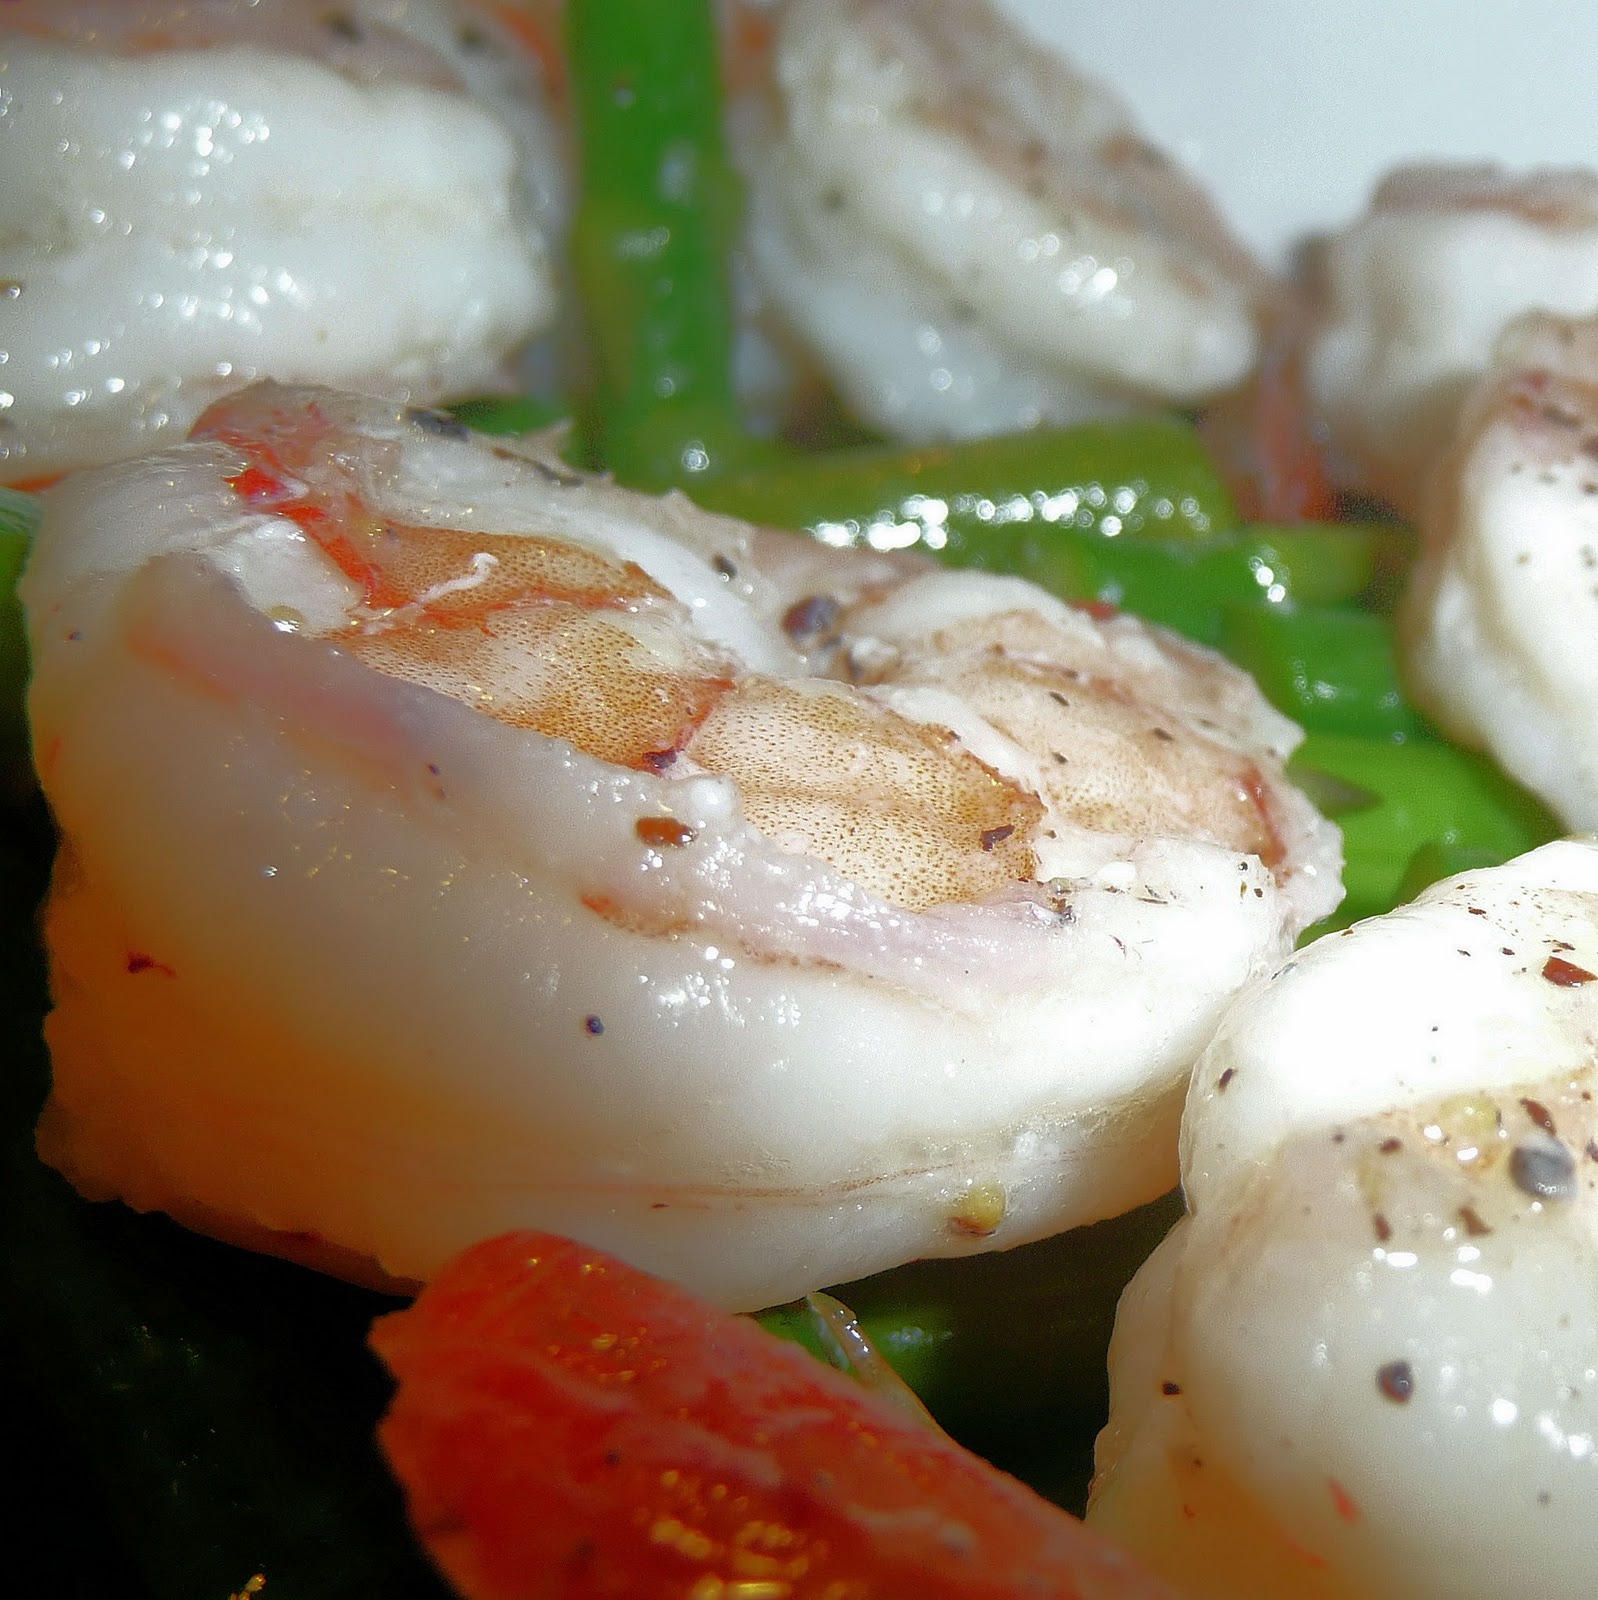
I am always in search of seafood dishes that aren’t just salmon. Don’t get me wrong, I love salmon, but I think it’s time for me to finally expand my culinary repertoire. I found this recipe on Food & Wine and was intrigued. Traditional risotto is near and dear to my heart. When I first realized that learning to feed myself may be useful, risotto was one of the first dishes I learned how to make. (Fun fact: I even won a little Top Chef contest in college making my lovely risotto, that’s right). So the idea of an “orzo risotto” made me very happy.
How can you say no to this?
Ingredients: (I cut this recipe in half, the original is linked above)
8 thin asparagus
1 cup orzo
3 tablespoons unsalted butter, at room temperature
1/4 pound shelled and deveined medium shrimp
Salt and freshly ground pepper
1/2 cup chicken stock
1 tablespoon chopped flat-leaf parsley
1/4 cup grated Parmesan cheese, plus more for serving
Ingredients
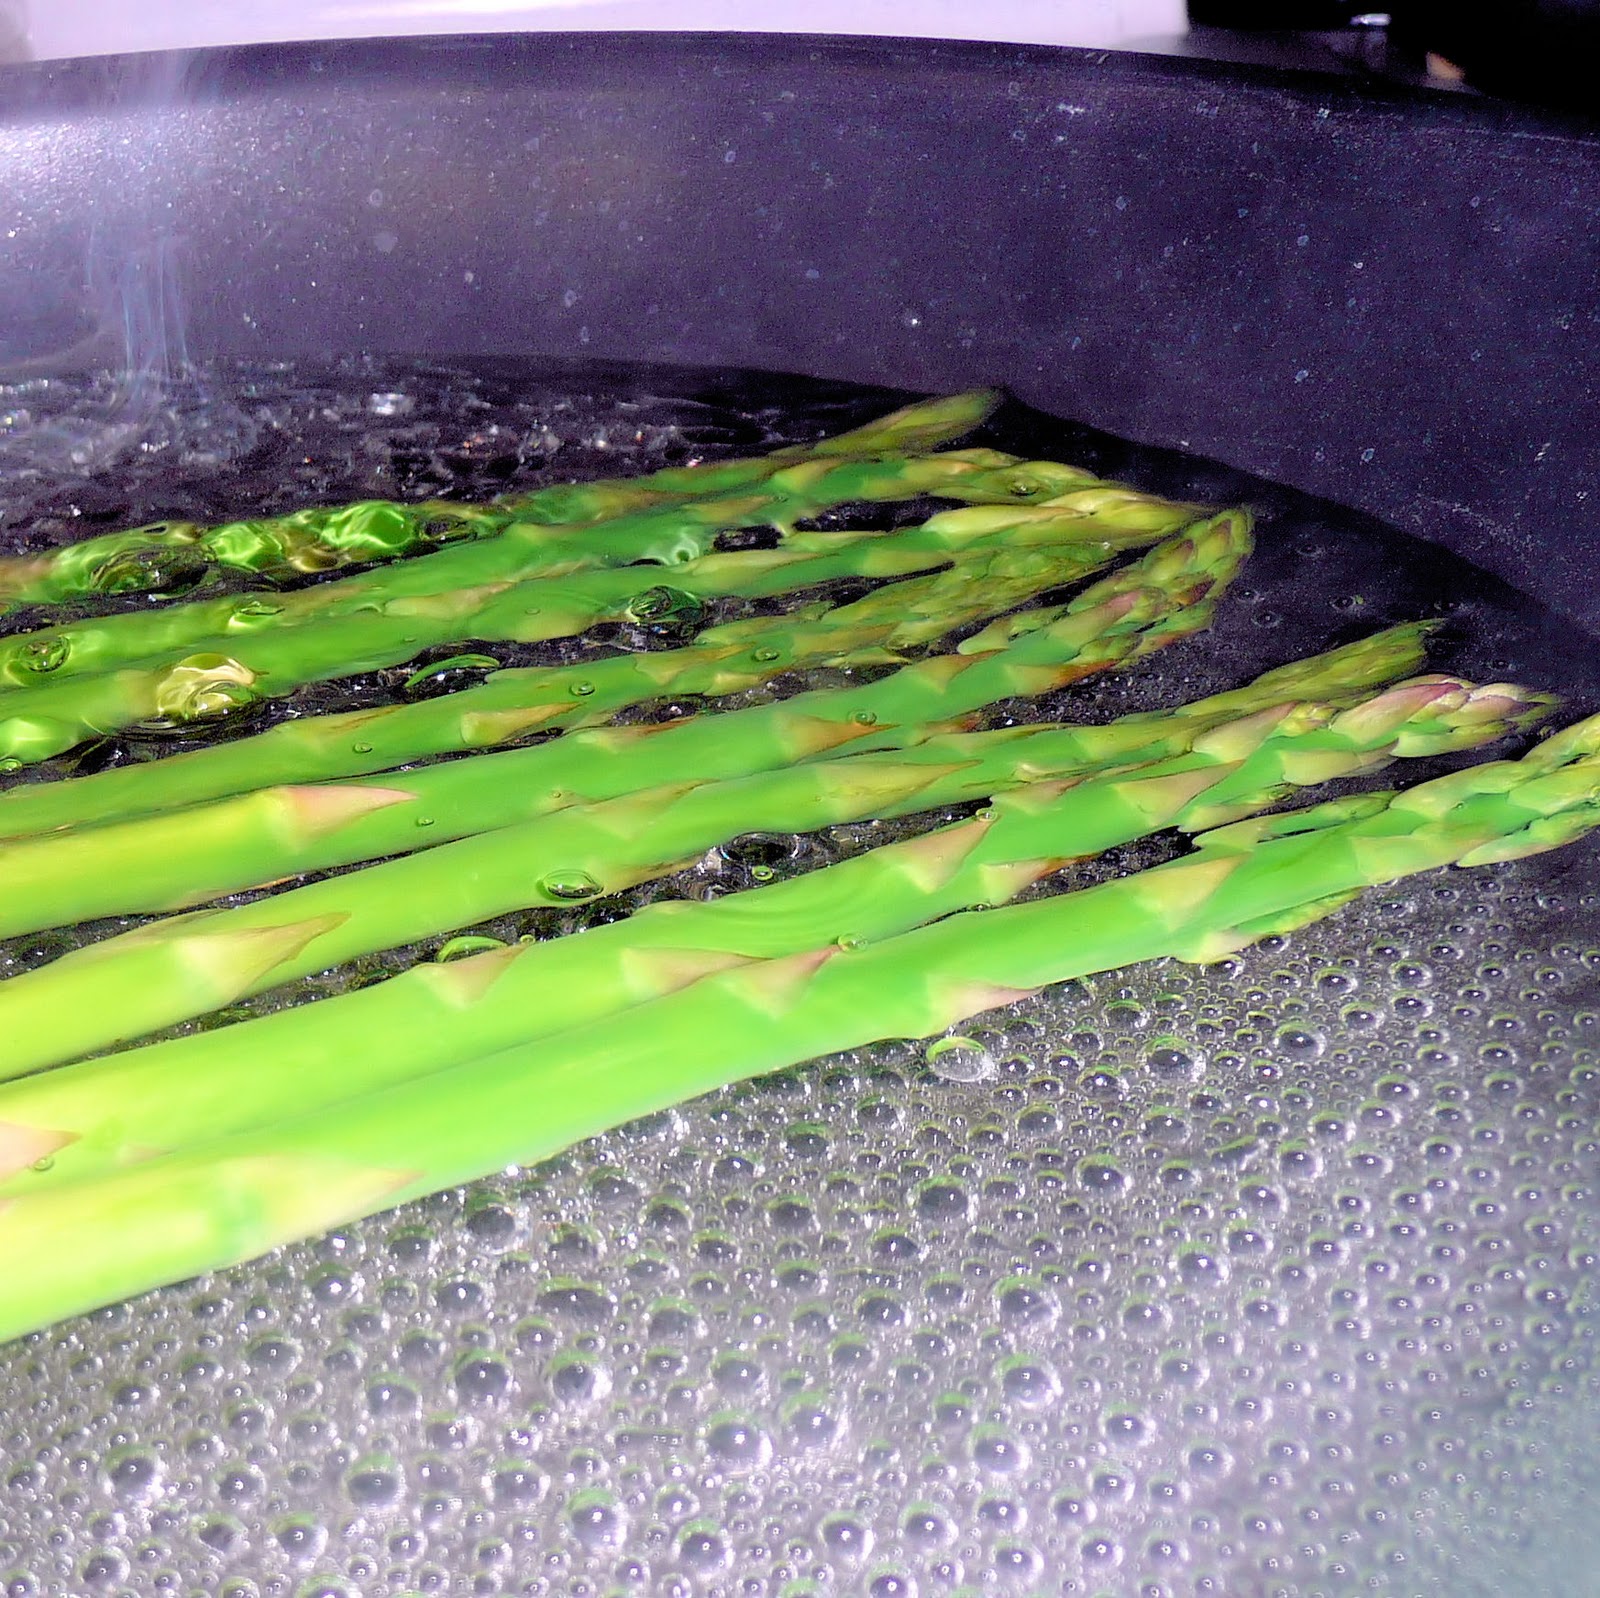
Bring a large saucepan of salted water to a boil. Make sure to have plenty of water in there, you’ll need to reserve some of this later. Add the asparagus and cook over high heat until tender, about 5 minutes.
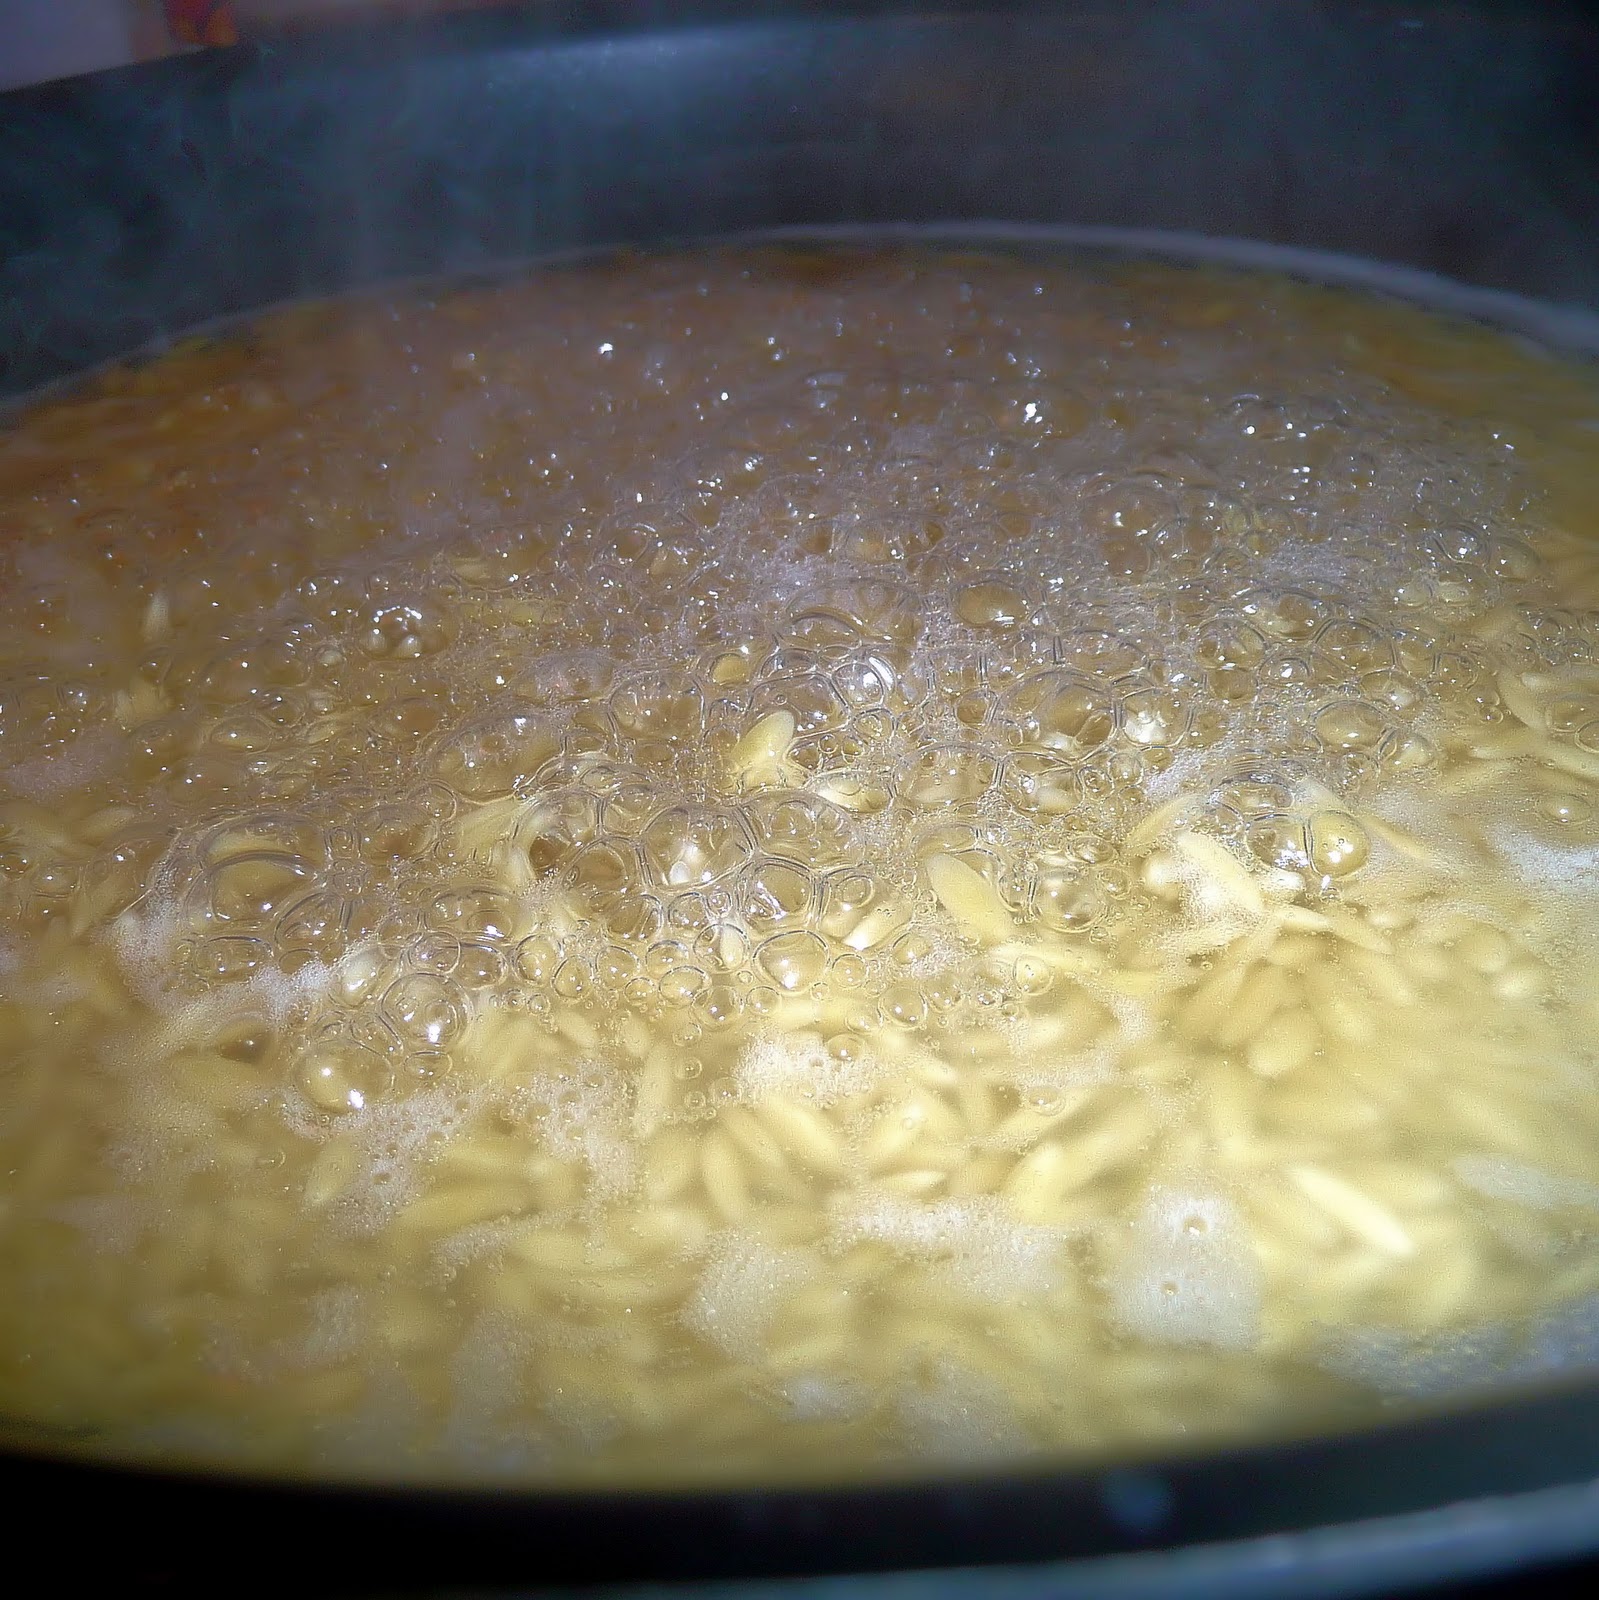
Transfer the asparagus to a plate with a slotted spoon. Add the orzo to the boiling water and cook for 10 minutes stirring occasionally.
While the orzo is cooking, cut the asparagus into 1-inch lengths.
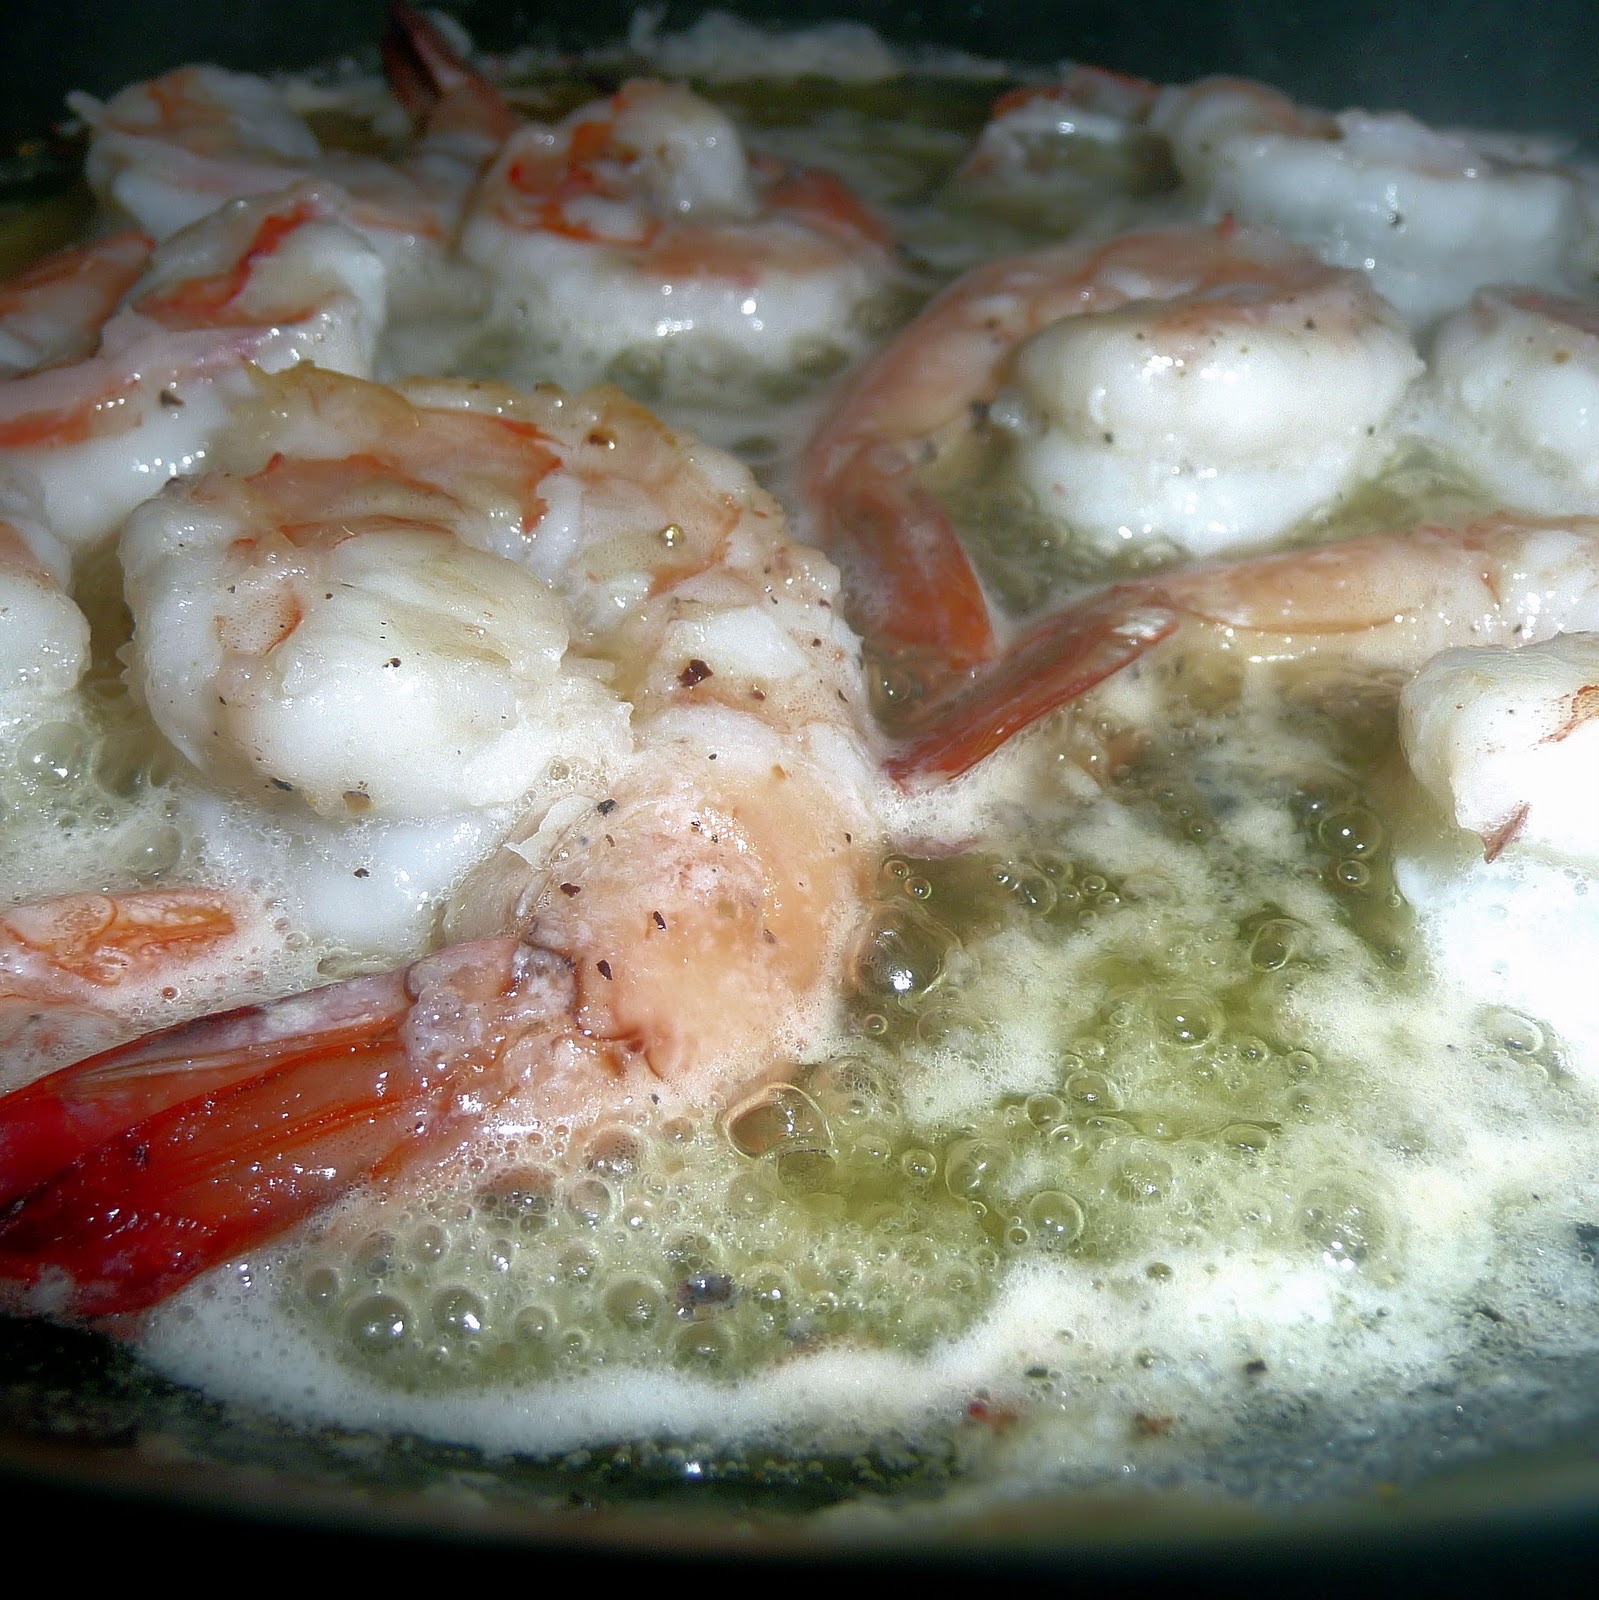
In another skillet, melt the butter over medium-high heat. Once melted, reduce heat to medium and cook until the butter begins to brown
“beurrer noisette” = brown butter by the way
Add the shrimp, season with salt and pepper. I suggest having the salt and pepper right next to the stove, the shrimp start cooking and turning pink almost immediately.
about 10 second after adding the shrimp to the butter
Cook over medium heat until pink and curled, about 1 minute per side.
With a slotted spoon, add the shrimp to the asparagus. Reserve the butter in the skillet but remove from heat.
reserved shrimp and asparagus
Drain the cooked risotto over a bowl, reserving 1/8 cup of the cooking water. Return the orzo to the saucepan and stir in brown butter. Cook over high heat and add the chicken stock and cooking water, scraping up any brown bits that may be stuck to the bottom of the pan with a wooden spoon.
watching orzo cook is comparable to watching paint dry
Cook over moderate heat, stirring until creamy, 2-3 minutes. Stir in asparagus and shrimp.
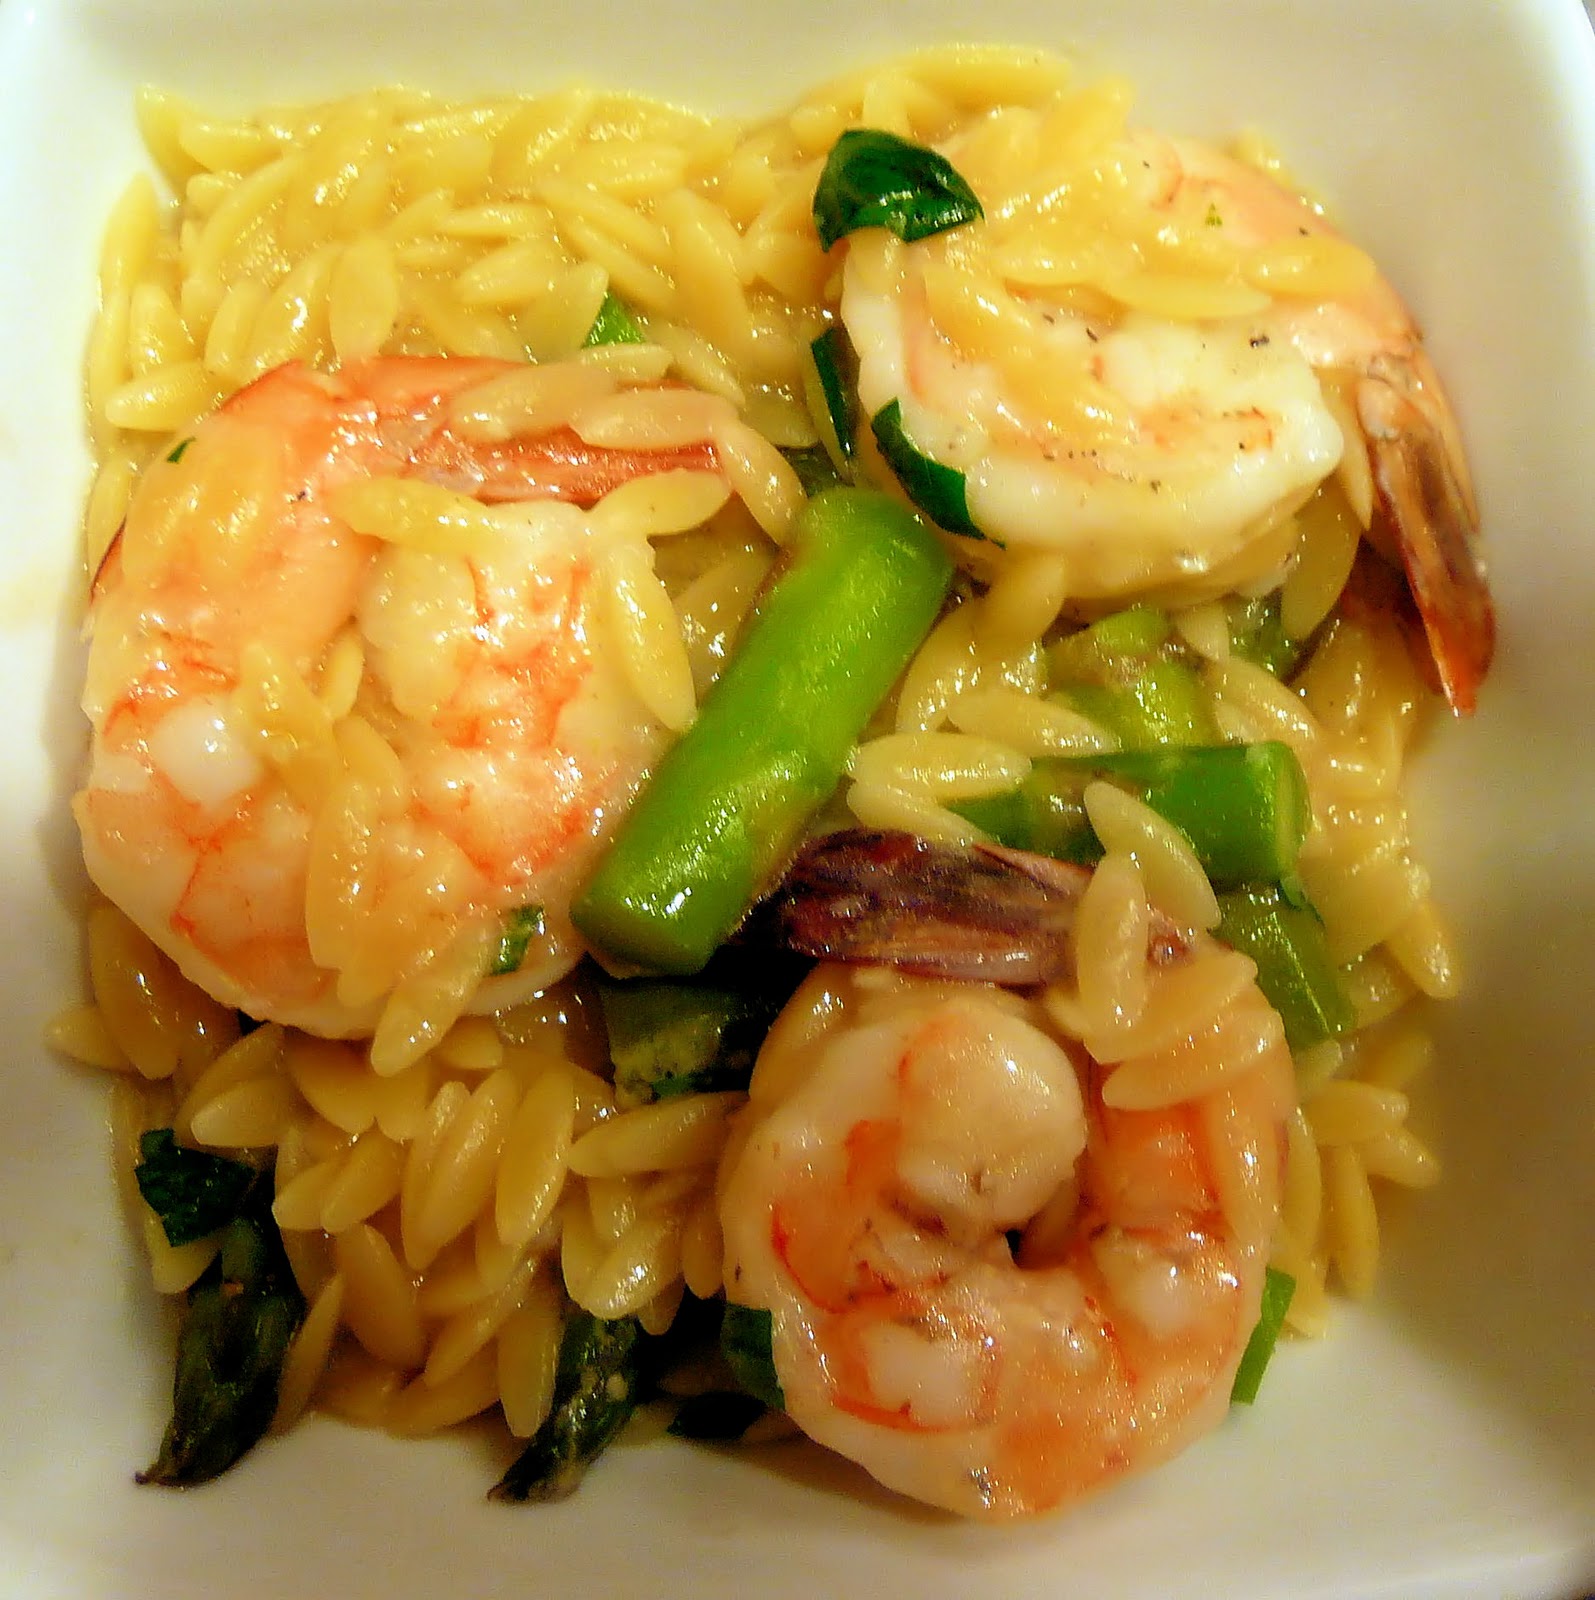
Remove from heat and stir in parsley and the Parmesan. Season with salt and pepper if needed. Transfer risotto to serving dishes and sprinkle with more Parmesan.
ta da
I love the colors in this dish (if you didn’t pick up on that from the 50 photos you just had to scroll through). Happily, it tastes just as good as it looks. If I make this in the future though, I think I’d prefer the shrimp to have a little bit of a kick (some paprika? maybe a bit of Old Bay? hmm) but this dish is beautiful and tasty just the way it is.
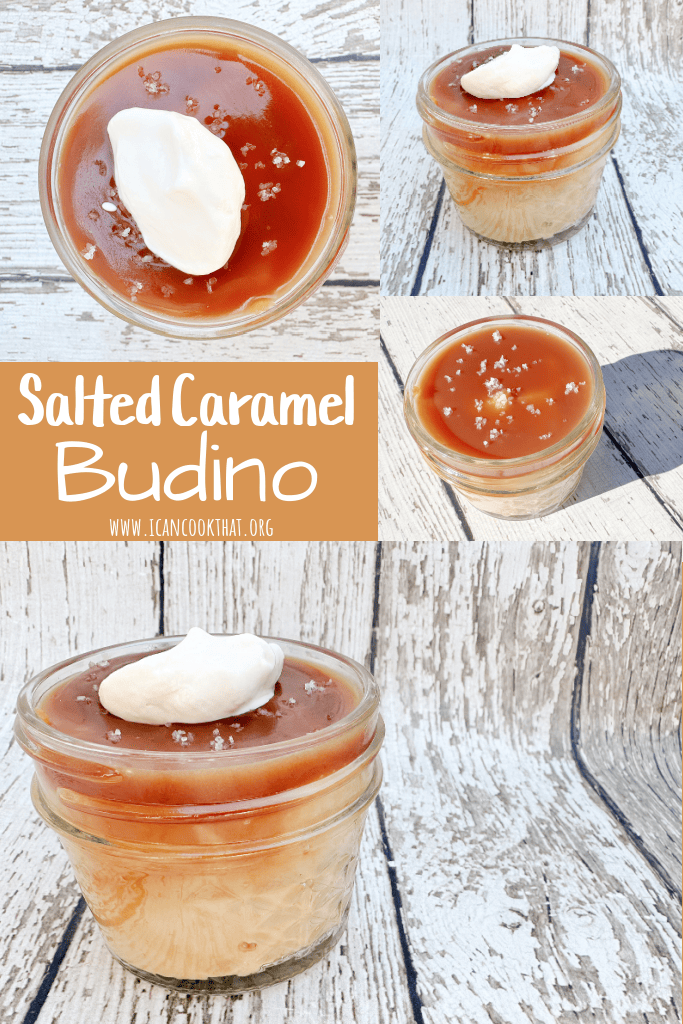
Tasting Table posted an adapted recipe of Marcie Turney’s Salted Caramel Budino. If you’ve never been to Barbuzzo in Philadelphia, your taste buds are missing out on one fantastic dessert. So, if my attempt at this adapted recipe is even half as good as the original salted caramel budino, I will consider this a win.
Barbuzzo’s version is described as “dark chocolate crust, vanilla bean caramel, sea salt.” The Salted Caramel Budino version below omits the crust, but maintains the vanilla bean salted caramel poured over a maple flavored custard.
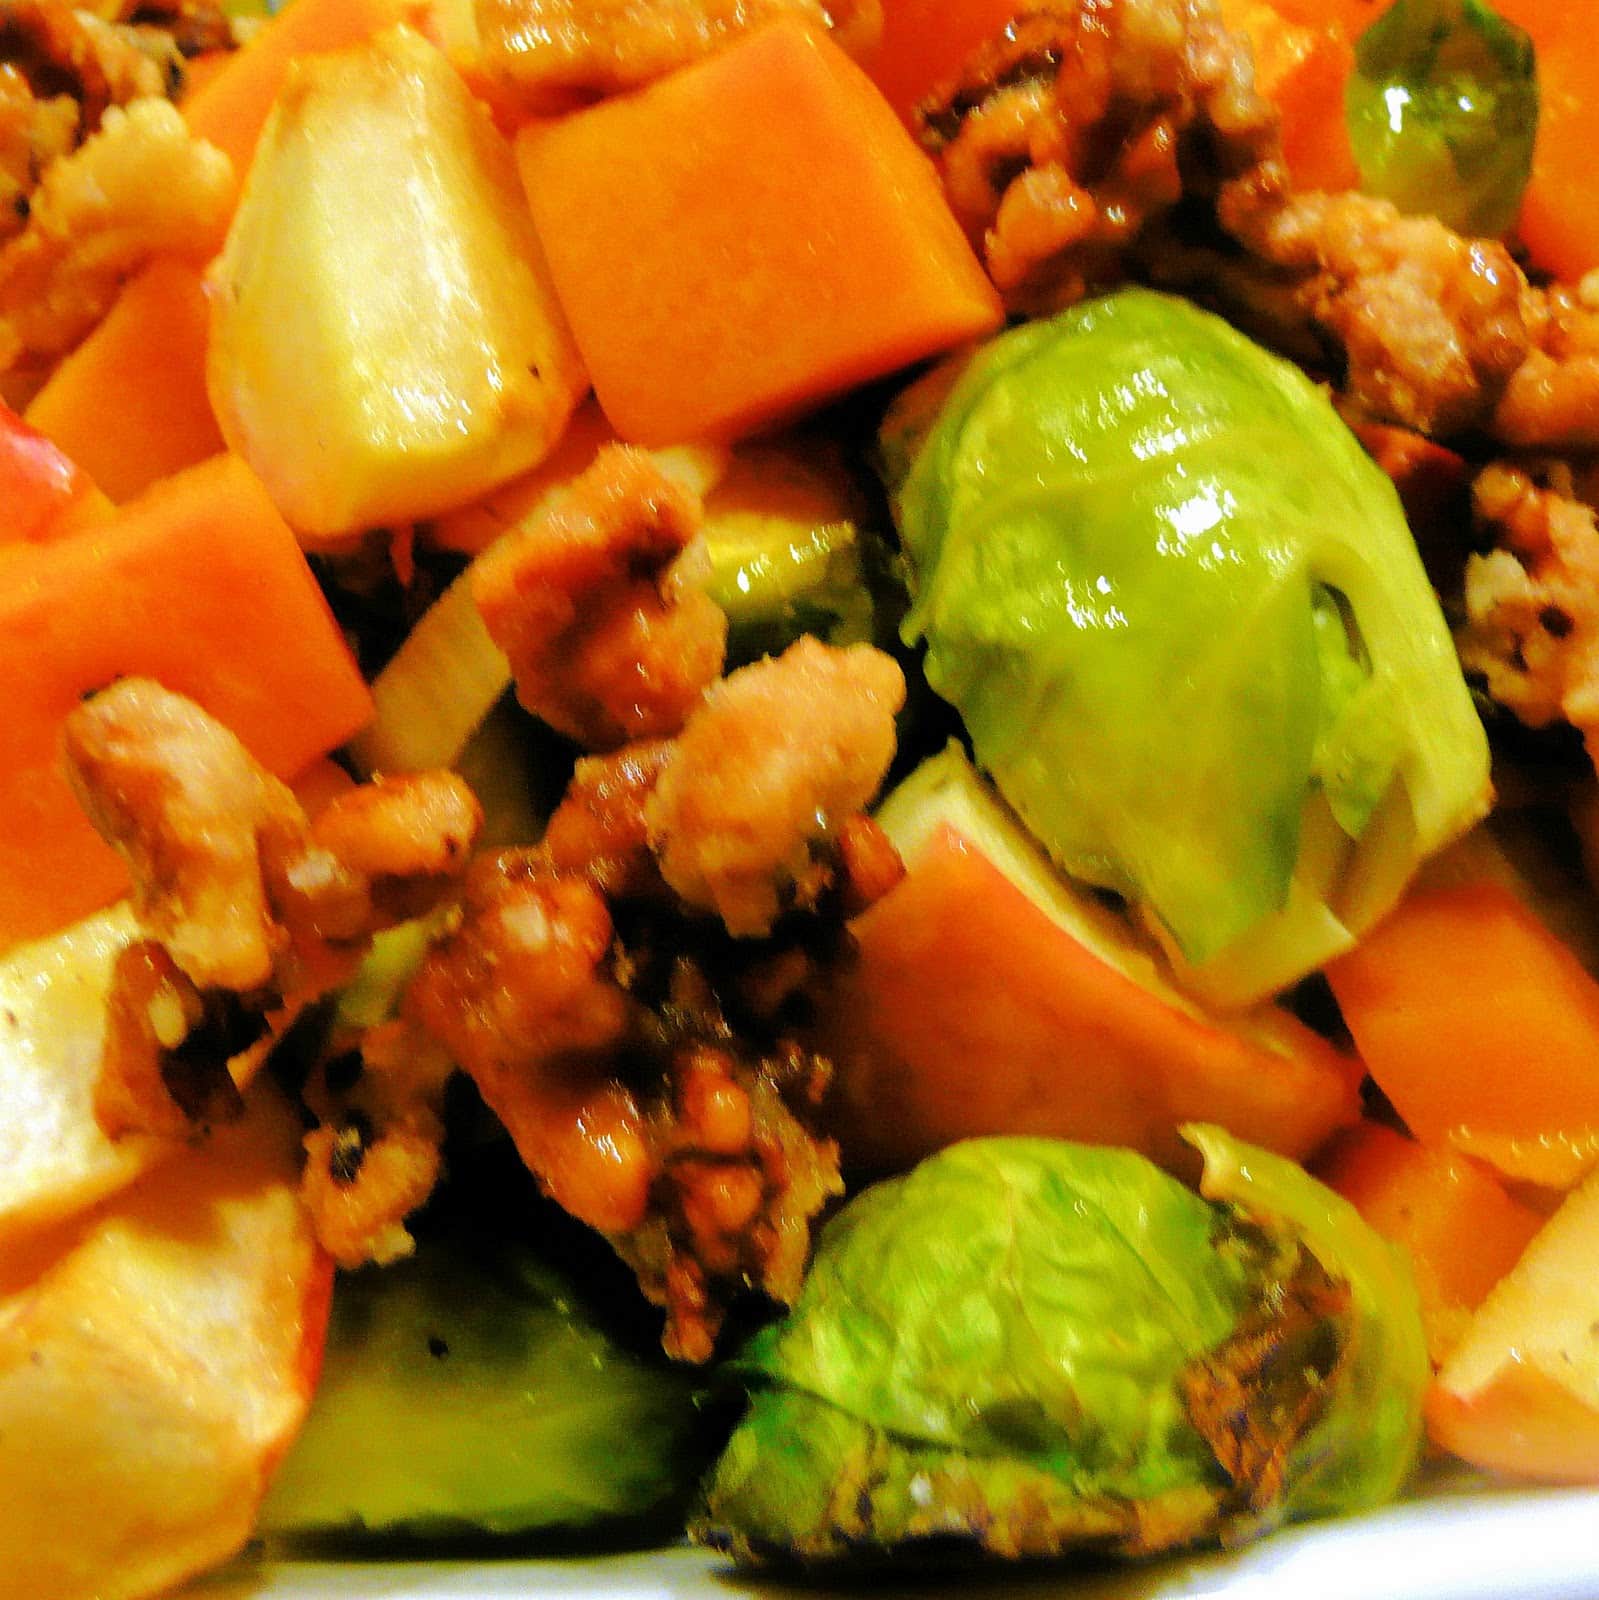
New York Times recently had an article with a recipe from Carmen Quagliata, the executive chef at Union Square Café. The recipe was for a perfect winter dish: Vegan Roasted Brussels Sprouts, Butternut Squash and Apple with Candied Walnuts. Usually when searching for Brussels sprouts recipes, bacon is almost always included, so I was happy to find a somewhat healthy alternative. I thought Ash Wednesday would a great to try out this recipe for dinner.
Ingredients for Brussels sprouts:
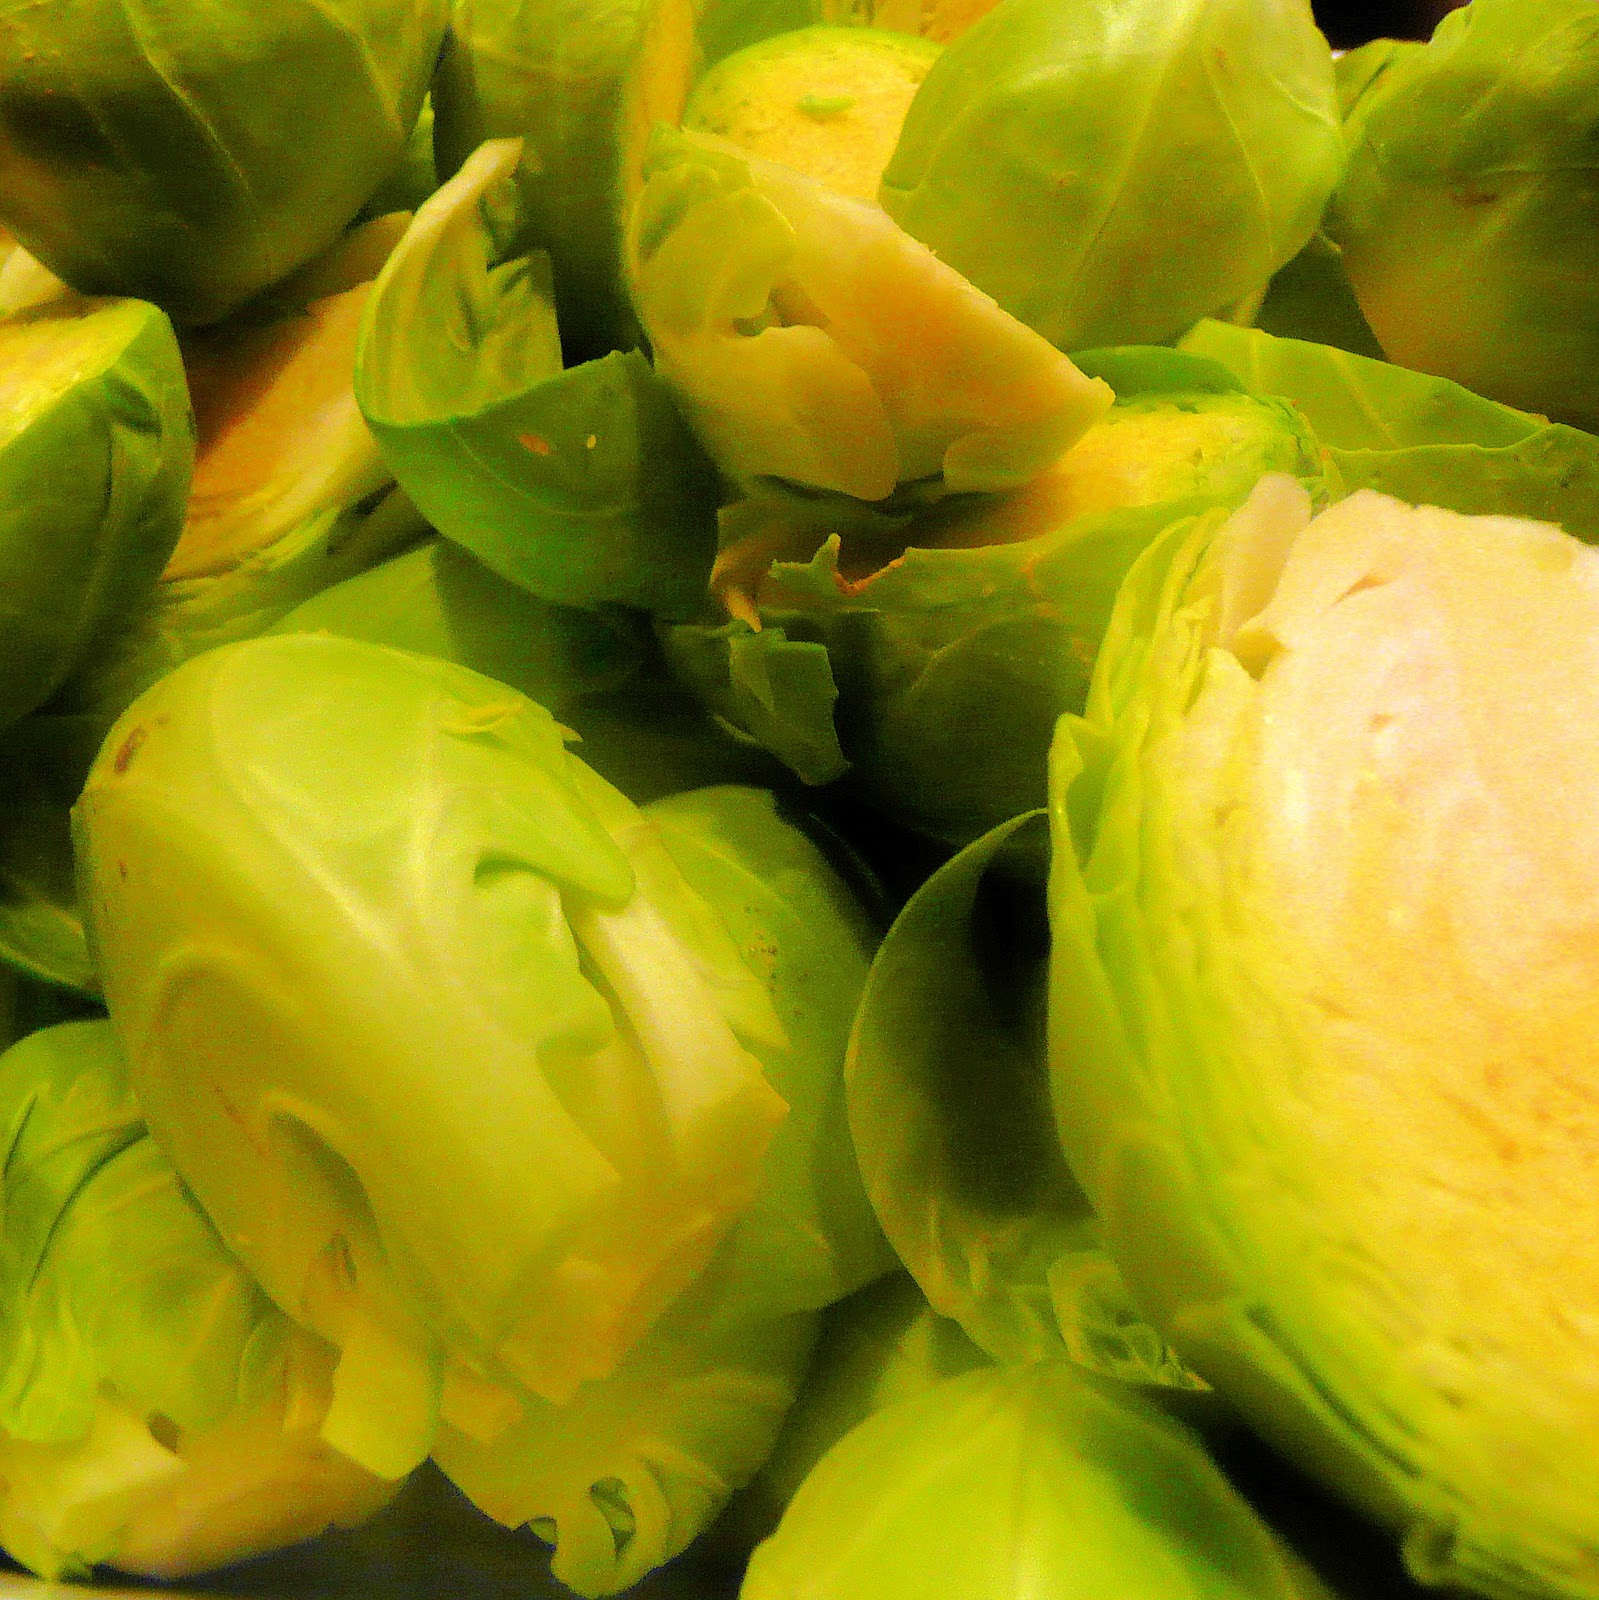
1 ½ cups Brussels sprouts, trimmed, halved
2 cups butternut squash, peeled and cut into 1-inch asymmetrical chunks
2 cups (about 1 large) Honeycrisp, Cortland, or Granny Smith apple, cored and cut into 1-inch asymmetrical chunks (my local market was out of these options so I used two Pink Lady apples)
1 shallot, cut crosswise into 1/4-inch slices
2 tablespoons olive oil
5 fresh sage leaves
Salt and freshly ground pepper
½ tablespoon maple syrup
Preheat the oven to 375 degrees. While it is heating up, prep your Brussels sprouts, butternut squash, apples, and shallot. To trim the Brussels sprouts, cut off the rough white stem and then cut the sprout in half. If any outer leaves fall off discard them as well.
This was my first attempt at cutting and peeling a butternut squash, and I found the blog A Veggie Venture to be super helpful. The blog has a lot of great tips about veggies in general, so I suggest checking it out. If you’re not up for cutting your own butternut squash, Trader Joe’s sells already cubed pieces. However, they are a bit more dried out than freshly cut squash so keep that in mind.
I only needed the top half of the butternut squash
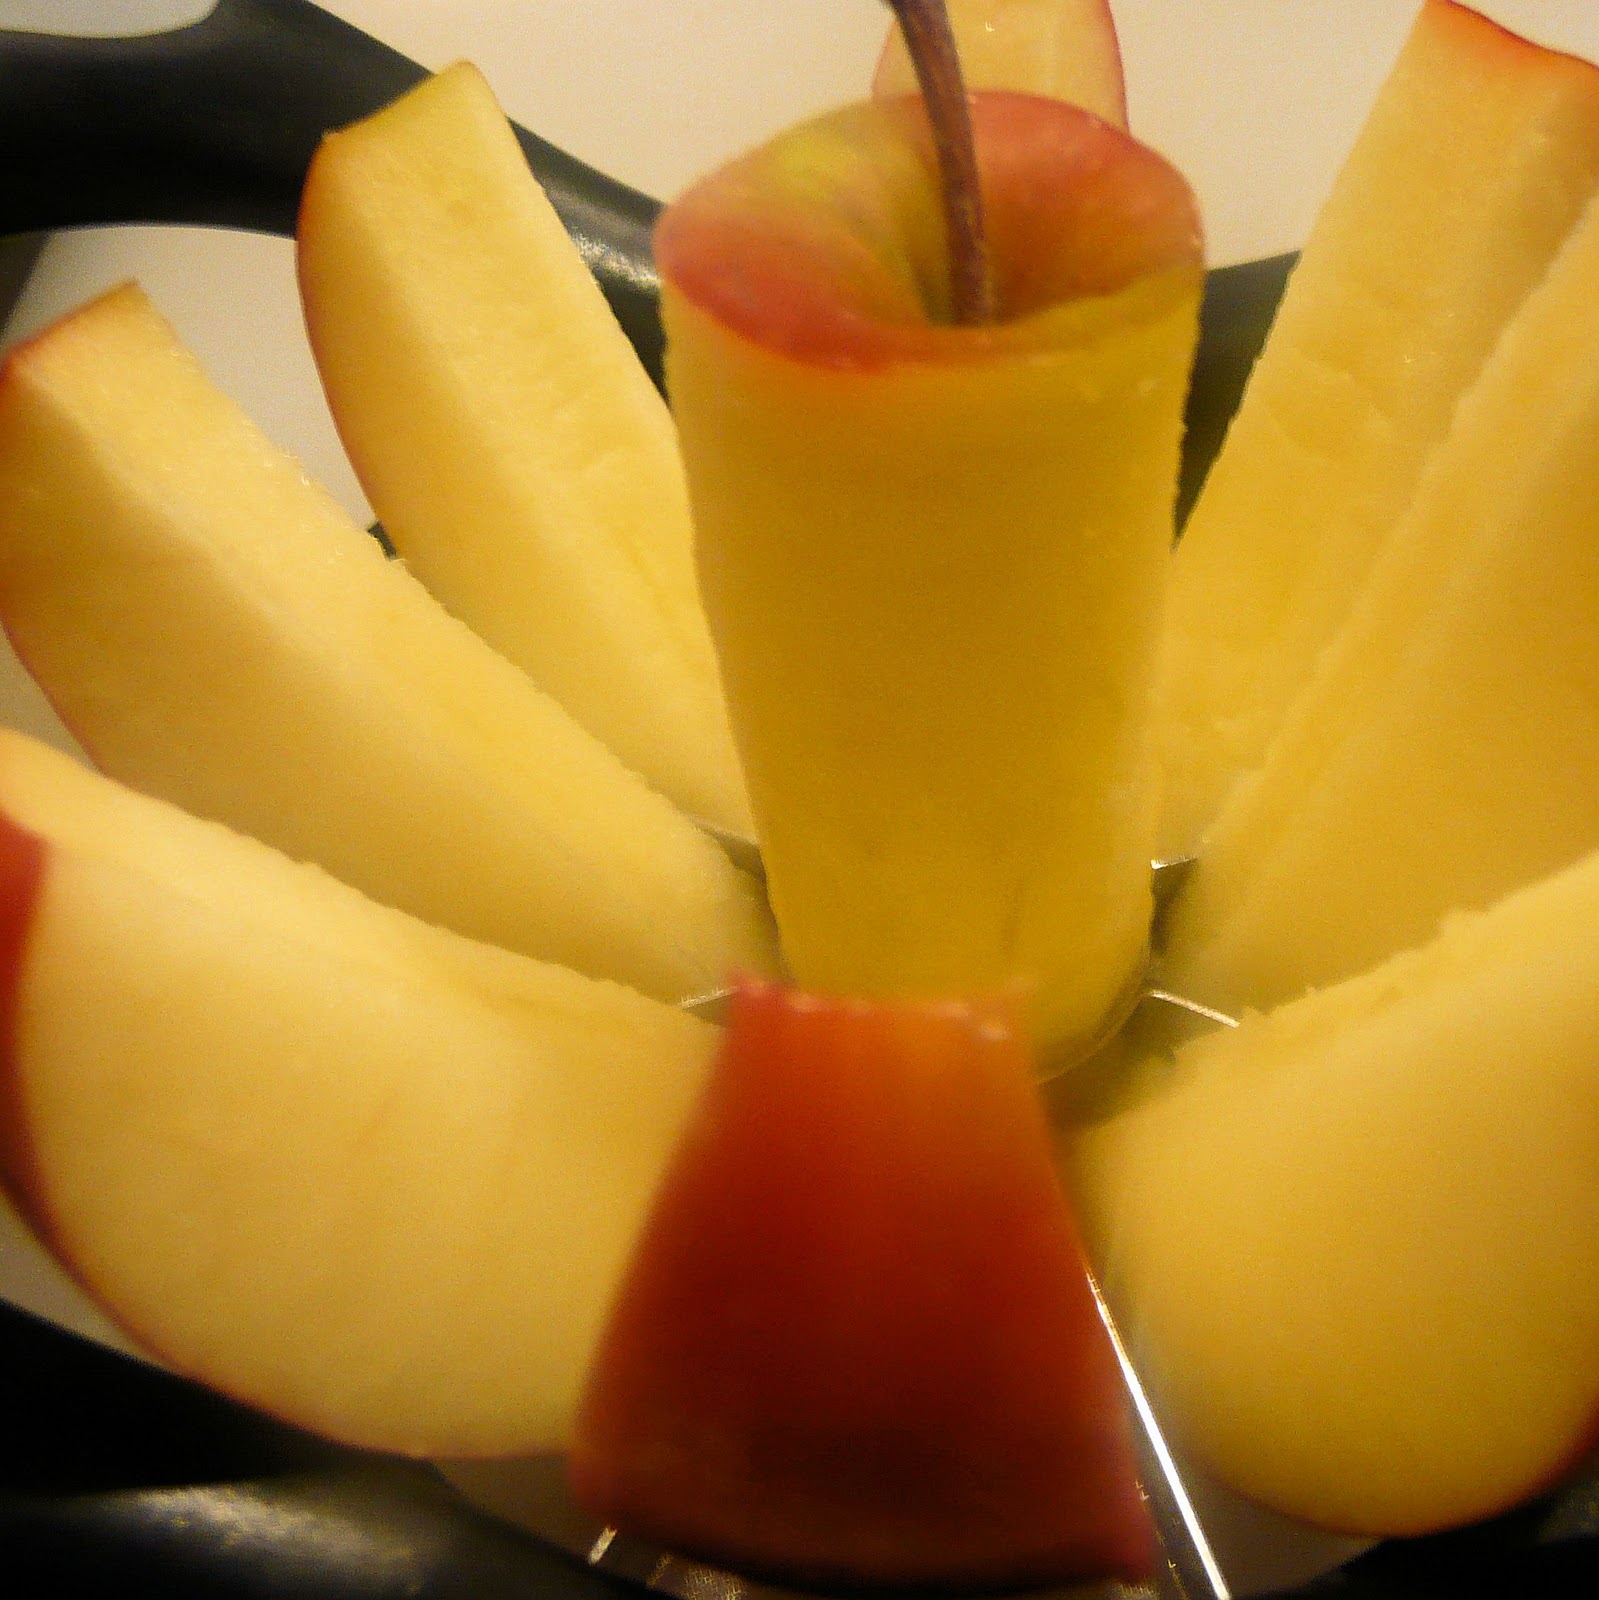
I used an apple corer to prepare the apples, and then cut the slices in half.
Keep the skins on the apple
Toss the Brussels sprouts, butternut squash, apple, and shallot with the olive oil and sage leaves in a shallow baking dish.
So many colors!
Season with salt and pepper.
Bake at 375 until vegetables and apple are wrinkled and slightly brown, about 45 minutes to an hour. Do not disturb or mix the dish while it’s cooking.
If you don’t have time or are just apprehensive about making the candied walnuts, you can purchase them already made.
However, the recipe is below in case you’re feeling adventurous. (Honestly, it wasn’t that difficult!)
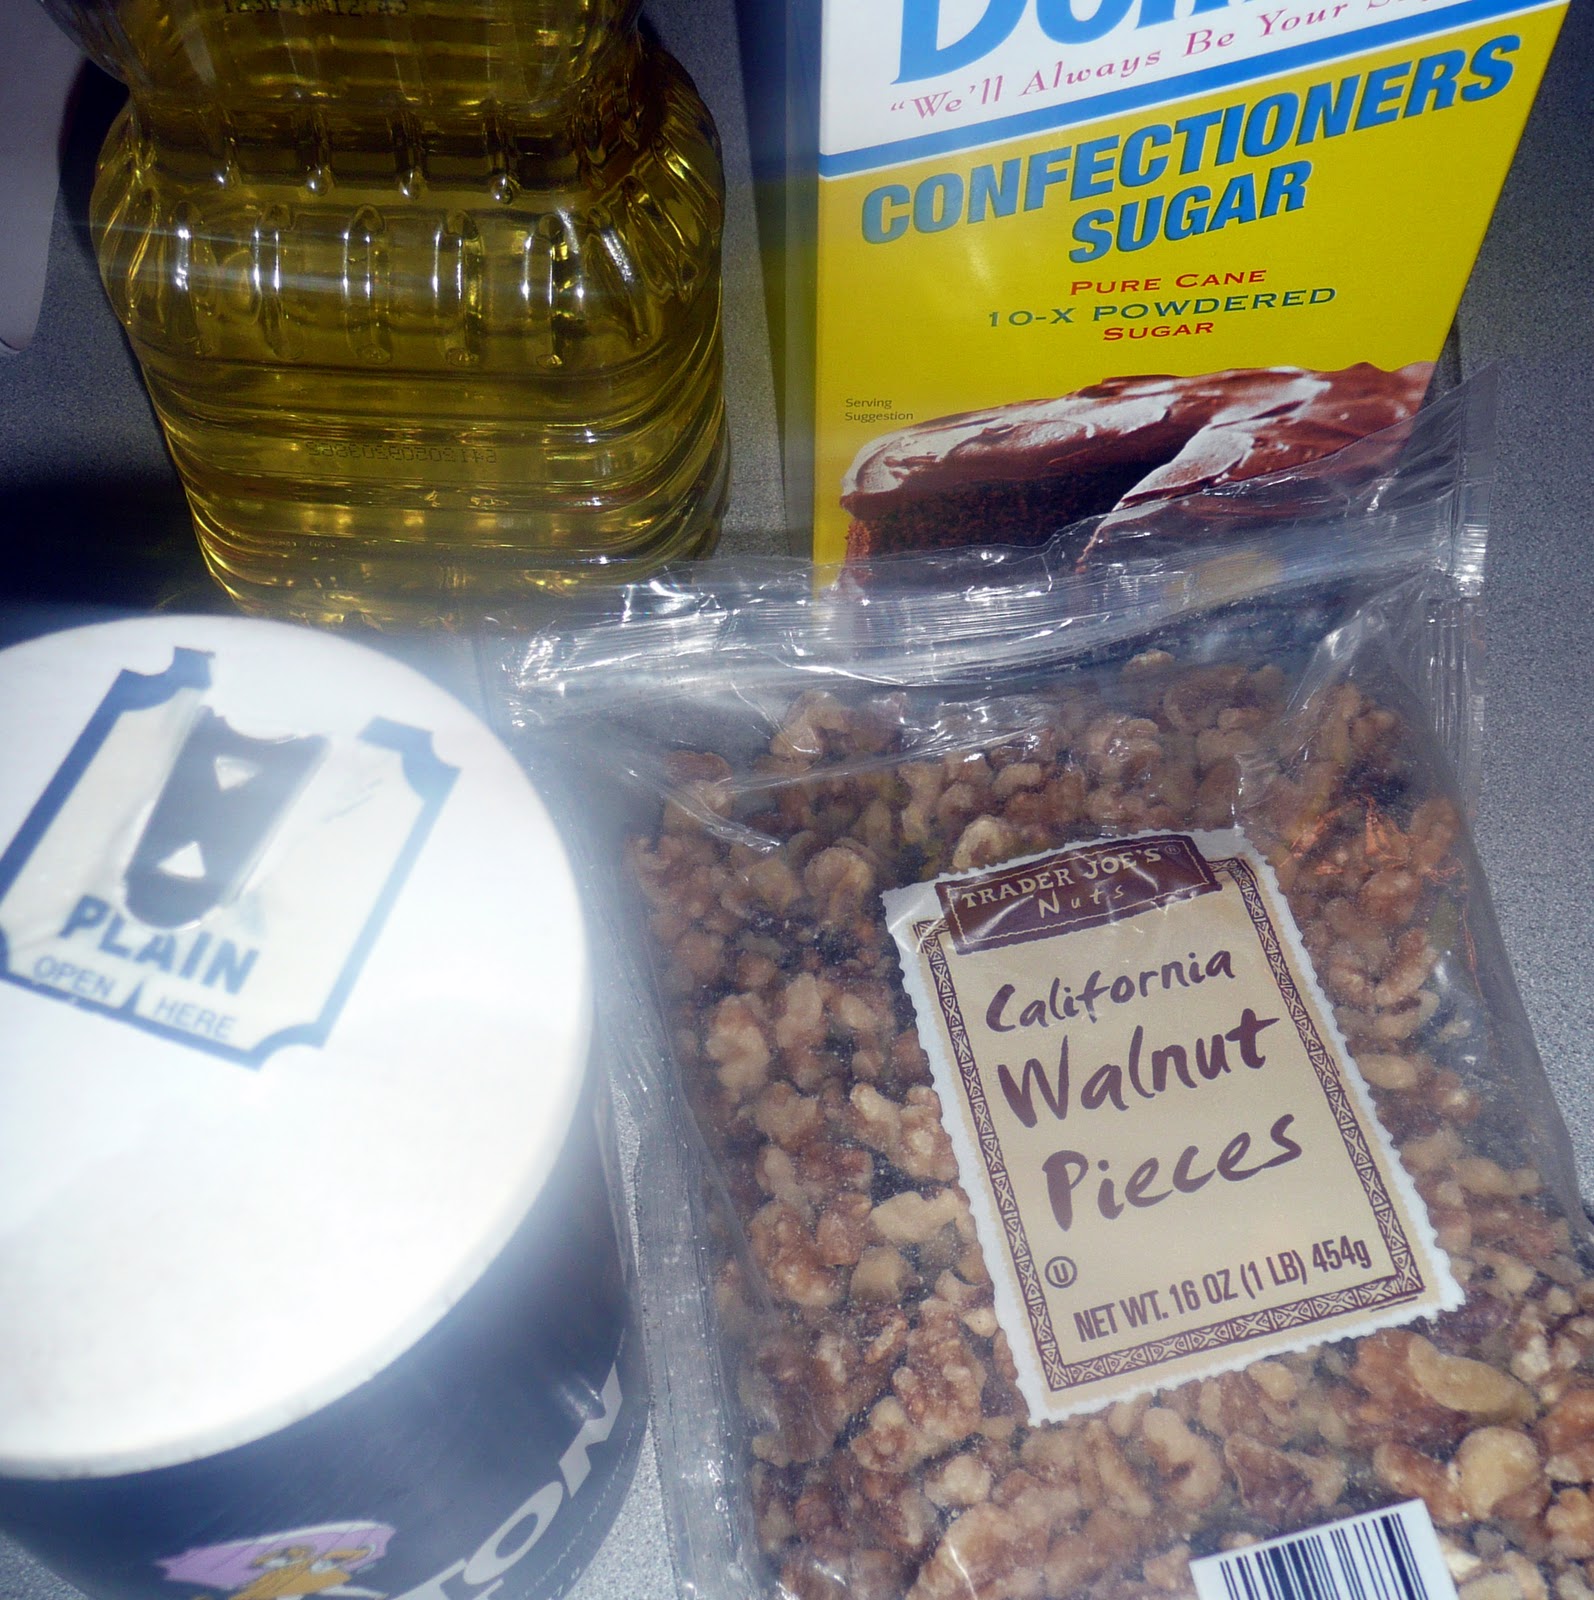
Ingredients for walnuts:
6 cups vegetable oil
6 ounces walnut halves
2 cups confectioners’ sugar (I ended up using less than a cup and they were fine)
kosher salt
To make, place a deep fryer or high-sided saucepan over high heat (I ended up using my pasta pot; my saucepans were all dirty from previous cooking adventures). Add the oil making sure there is at least 3 inches from the top of the pot. (When the walnuts are added, the oil bubbles and rises so you need room for this to happen) Heat to 375 degrees.
Bring 4 cups of water to a boil in another pot. Add the walnuts and boil for 10 seconds. Drain well and immediately toss with confectioners’ sugar. Spread flat on a baking sheet to allow to dry.
Walnuts after tossed in powdered sugar
The original directions suggest having a baking sheet lined with paper towels nearby. Mine stuck to the paper towels (boo) so I’d suggest maybe using parchment paper. Working in batches if necessary, add the walnuts to oil and stir once or twice. Fry until amber-brown or about 30 seconds. Using a wire skimmer or a heatproof slotted spoon, remove walnuts and move to baking sheets. Sprinkle with salt and allow to cool for about 5 minutes.
To serve, drizzle maple syrup over roasted vegetables and sprinkle with walnut pieces.
How good does that look??
This dish was really great. It had the feel of a comfort food dish without the leftover heaviness.
I was sort of hoping the Brussels sprouts would play a bigger role in the dish, but the butternut squash was what I kept going back for (nothing wrong with that). The walnuts add a lot of sweetness to the dish so don’t go overboard on topping the dish with them. The best part though, was that with so much flavor, I didn’t even miss not having meat for dinner!
Note: If you want something to pair with this to make a more hearty meal, the recipe suggests serving it with walnut bread.
With St. Patrick’s Day right around the corner, I wanted to test out my recipe for Guinness Cupcakes with Baileys Frosting before the big day to make sure it didn’t need any tweaking.
Guinness cupcakes are chocolate cupcakes that use a dark stout to enhance the flavor.
To keep with the theme, I decided to also make Bailey’s frosting.
Ingredients (makes 24 cupcakes)
Guinness Cupcakes:
3/4 cup unsweetened cocoa
2 cups sugar
2 cups all-purpose flour
1 teaspoon baking soda
1/8 teaspoon salt
1 12 oz bottle of Guinness (or any other dark stout) – if your bottle is more than this, just measure out 12 oz
1 (4 oz) stick of butter, melted and cooled to room temperature