I am lucky to live in such a food city. Everywhere around me, there are restaurants that deliver seemingly effortless food with beautiful presentation. Twice a year, center city hosts Restaurant Week, with pre fixe meals at many restaurants around the city. Recently, Center City District and Philly Homegrown compiled a
free recipe book of meals offered during Restaurant Week. I would love to take the time to make each and every one of these recipes, but for now, I’ll start with
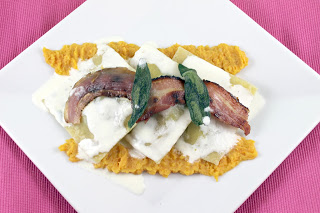
Liberté at Sofitel Philadelphia‘s Chestnut Ravioli. The chestnut ravioli is served on top of a sweet potato puree, drizzled with a sage cream sauce, and topped with pancetta and crispy sage. Doesn’t that sound like the perfect winter meal?
Ingredients:
Ravioli –
2 lasagna sheets of fresh pasta (in Philly, try By George in Reading Terminal)
1 handful of sage leaves, chopped
4 egg yolks (reserve the egg whites)
6 ounces chestnuts, cooked
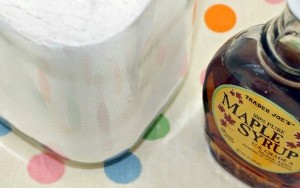
2 tablespoons maple syrup
Salt, to taste
Sauce –
1 handful of sage, chopped
1 pint heavy cream
2 ounces white wine
Sweet Potato Puree –
1 large sweet potato
1 tablespoon butter
Garnish –
4 slices panectta or bacon
sage leaves
olive oil
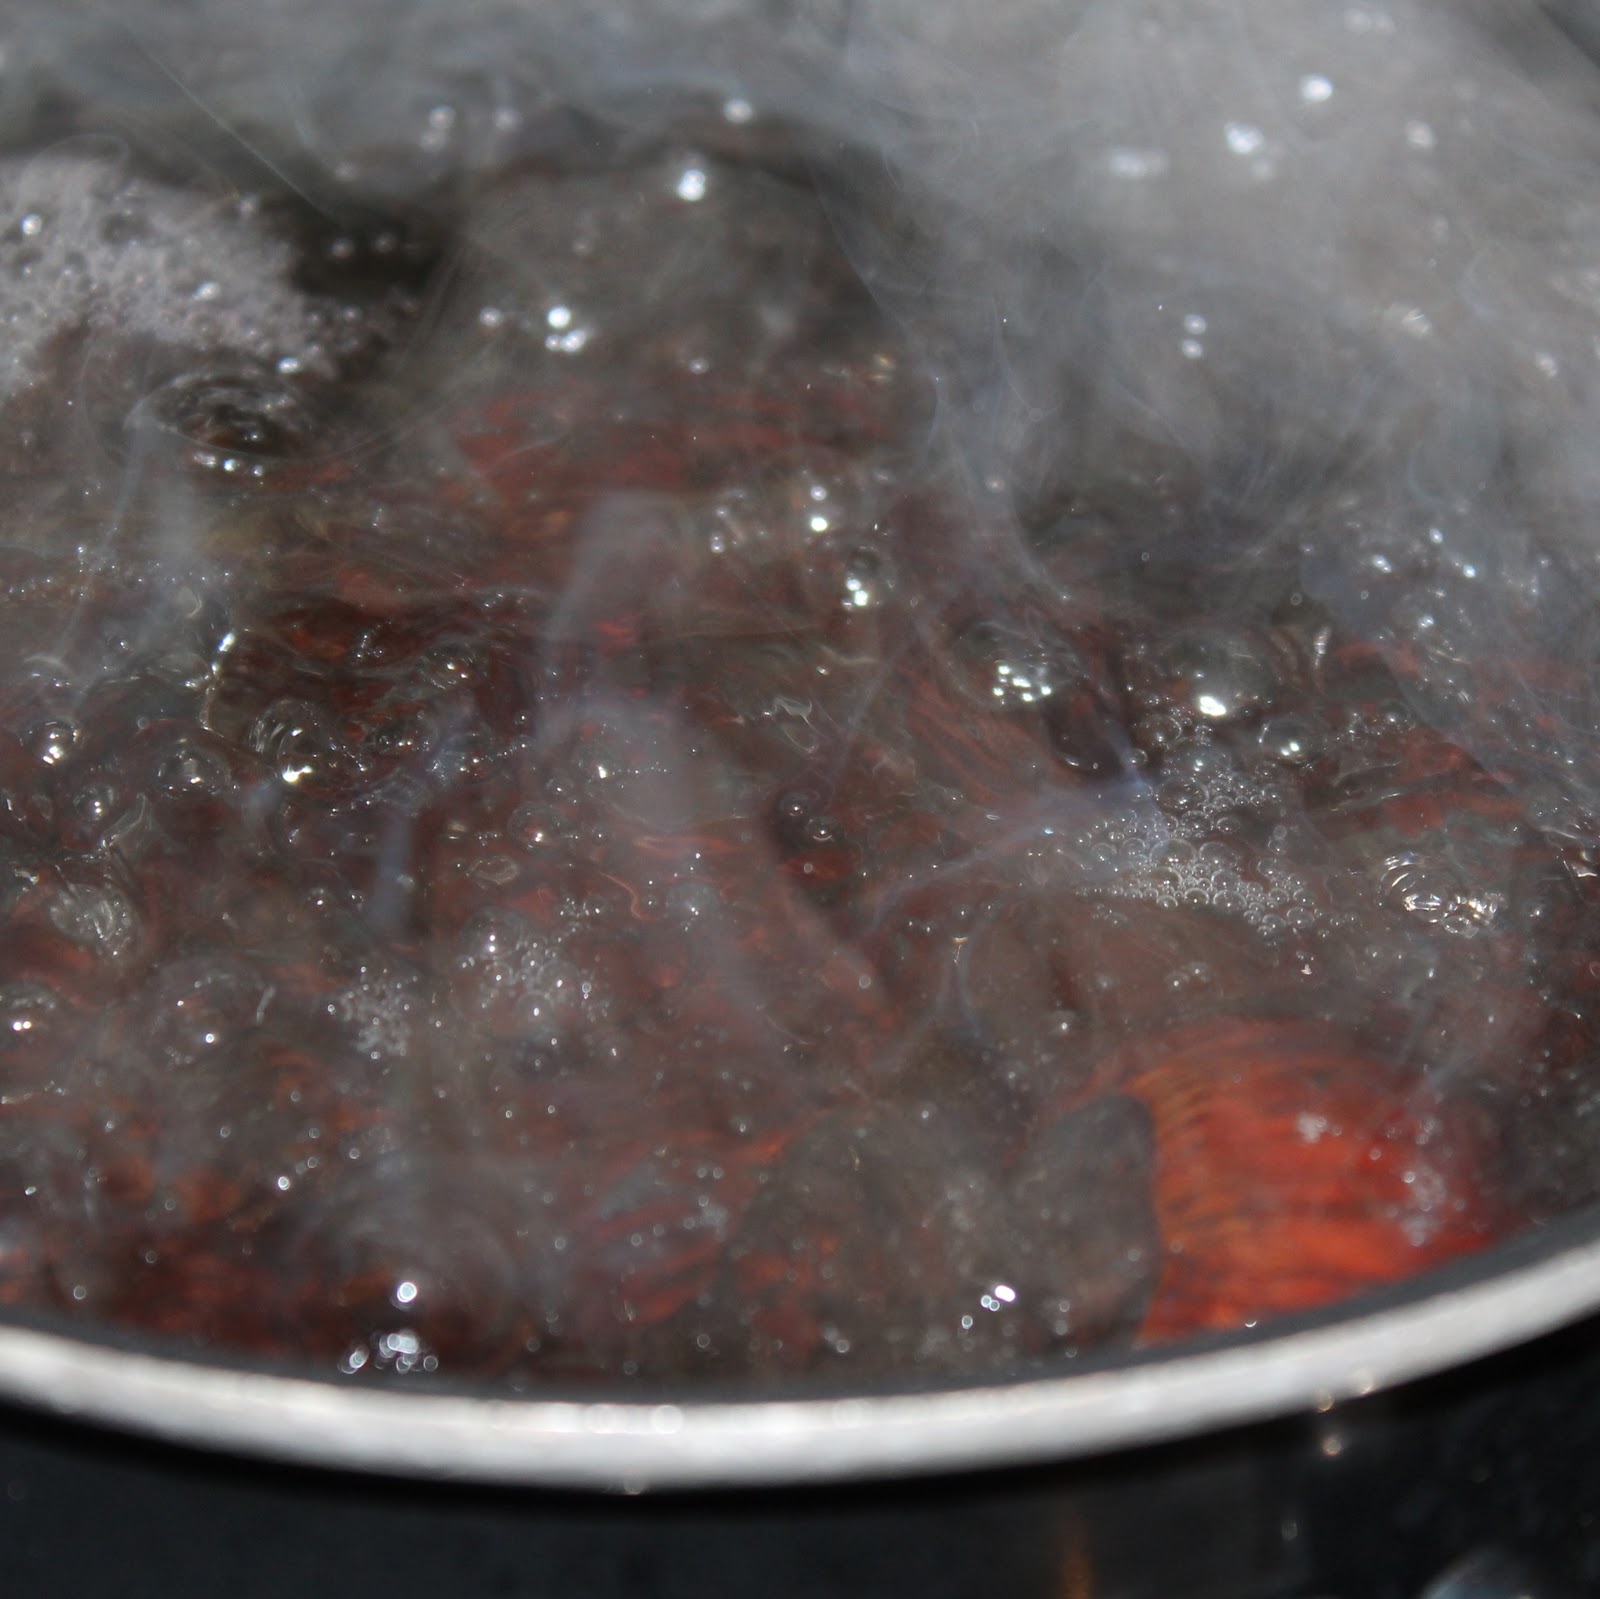
Begin to preparing your chestnuts. Using a paring knife, cut an X into the flat side of each chestnut. There are a few layers in a chestnut so don’t be afraid to cut pretty deep into the chestnut.
This is so while cooking, air can escape and the chestnuts wont explode. Add the chestnuts to a pot of unsalted boiling water. Boil for 15 – 20 minutes.
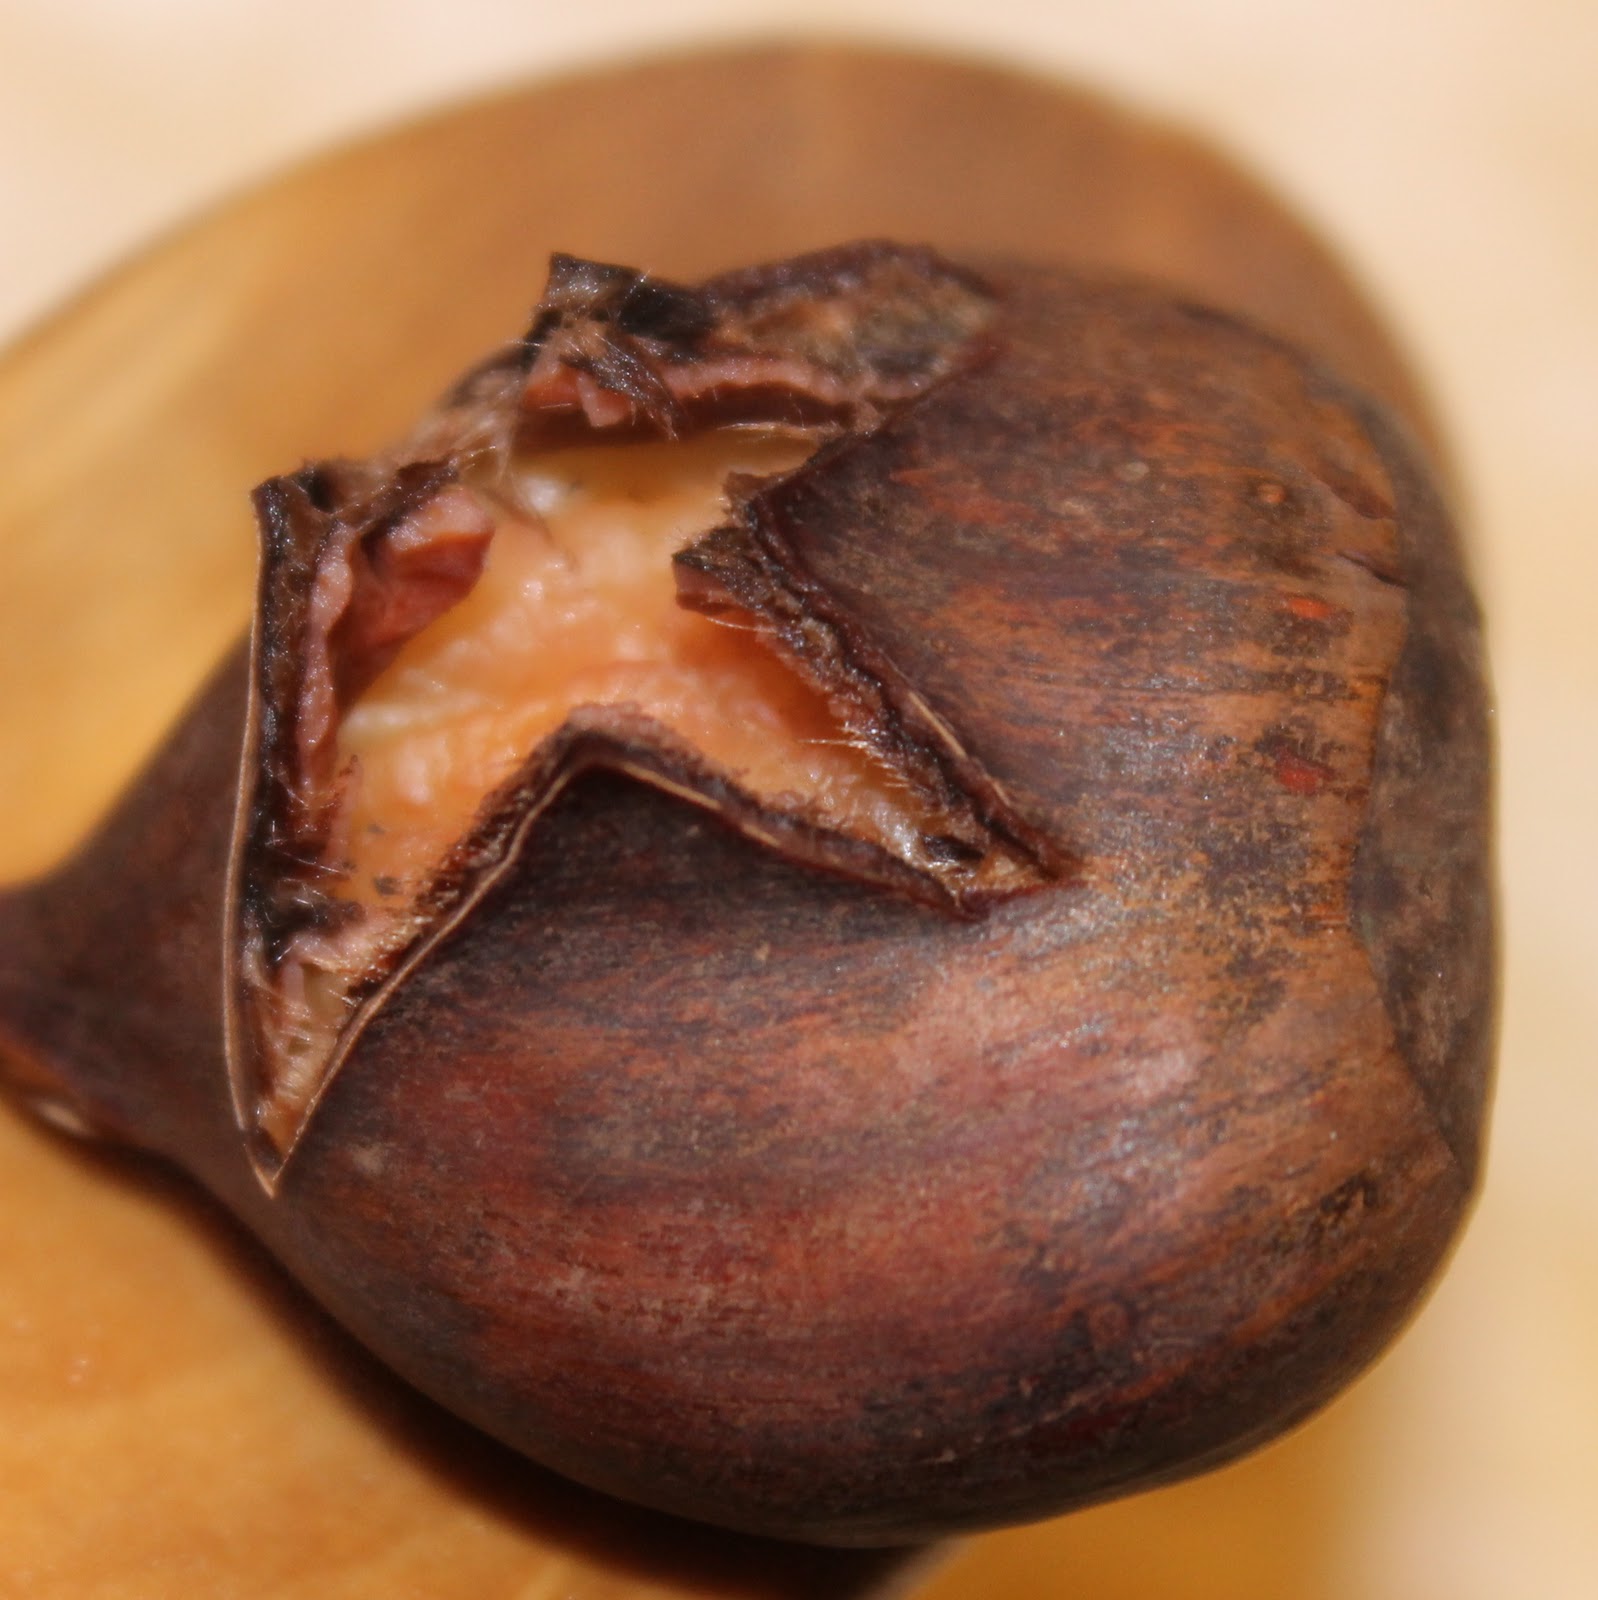
Remove the chestnuts from the water and allow to cool enough to be handled. (They will begin to peel back after being removed from the water.
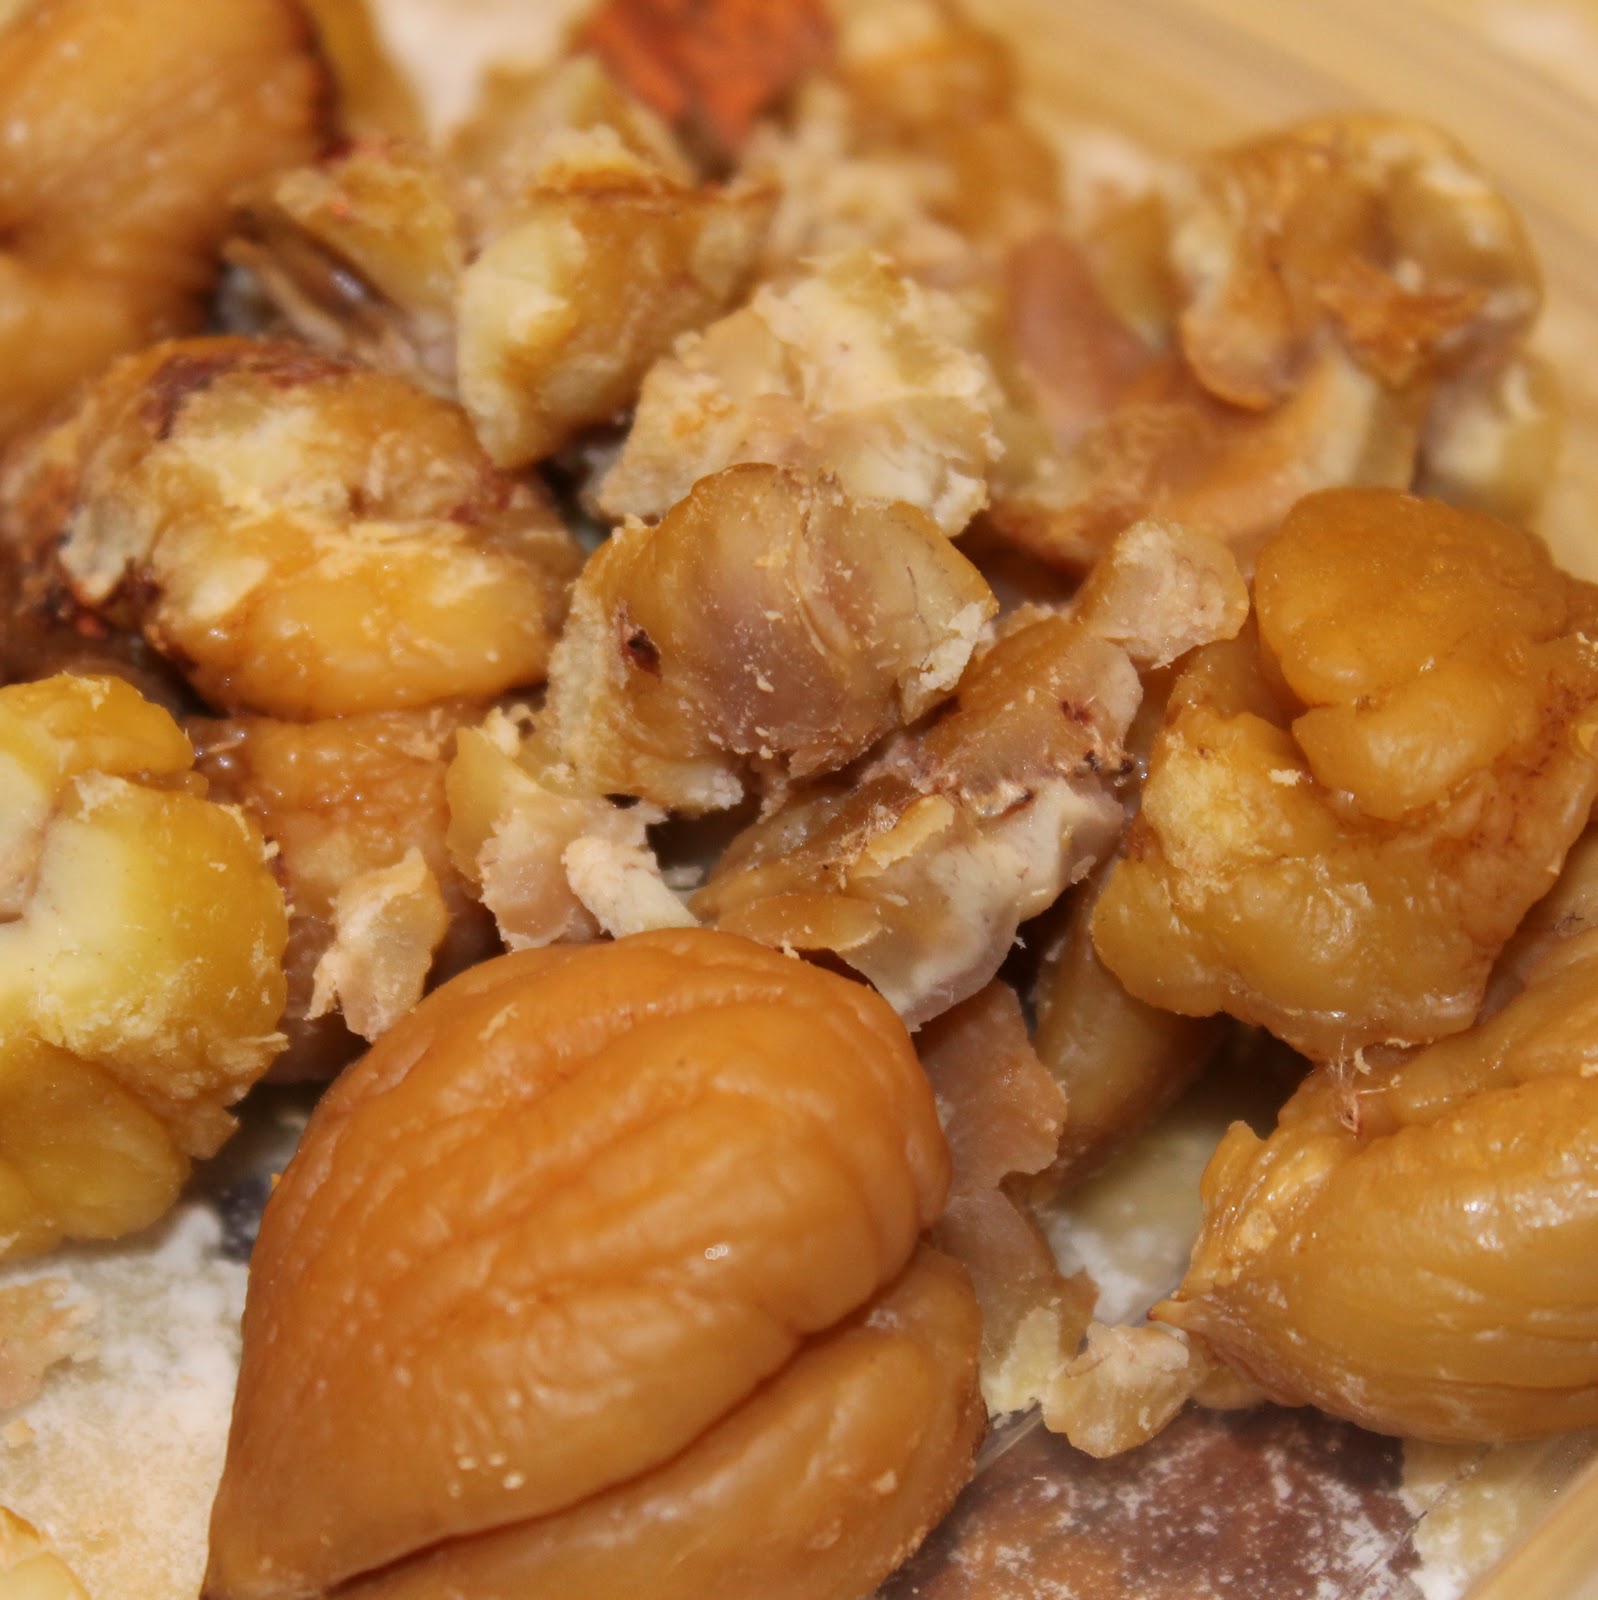
When cool enough to touch, peel the shells off of the chestnuts.
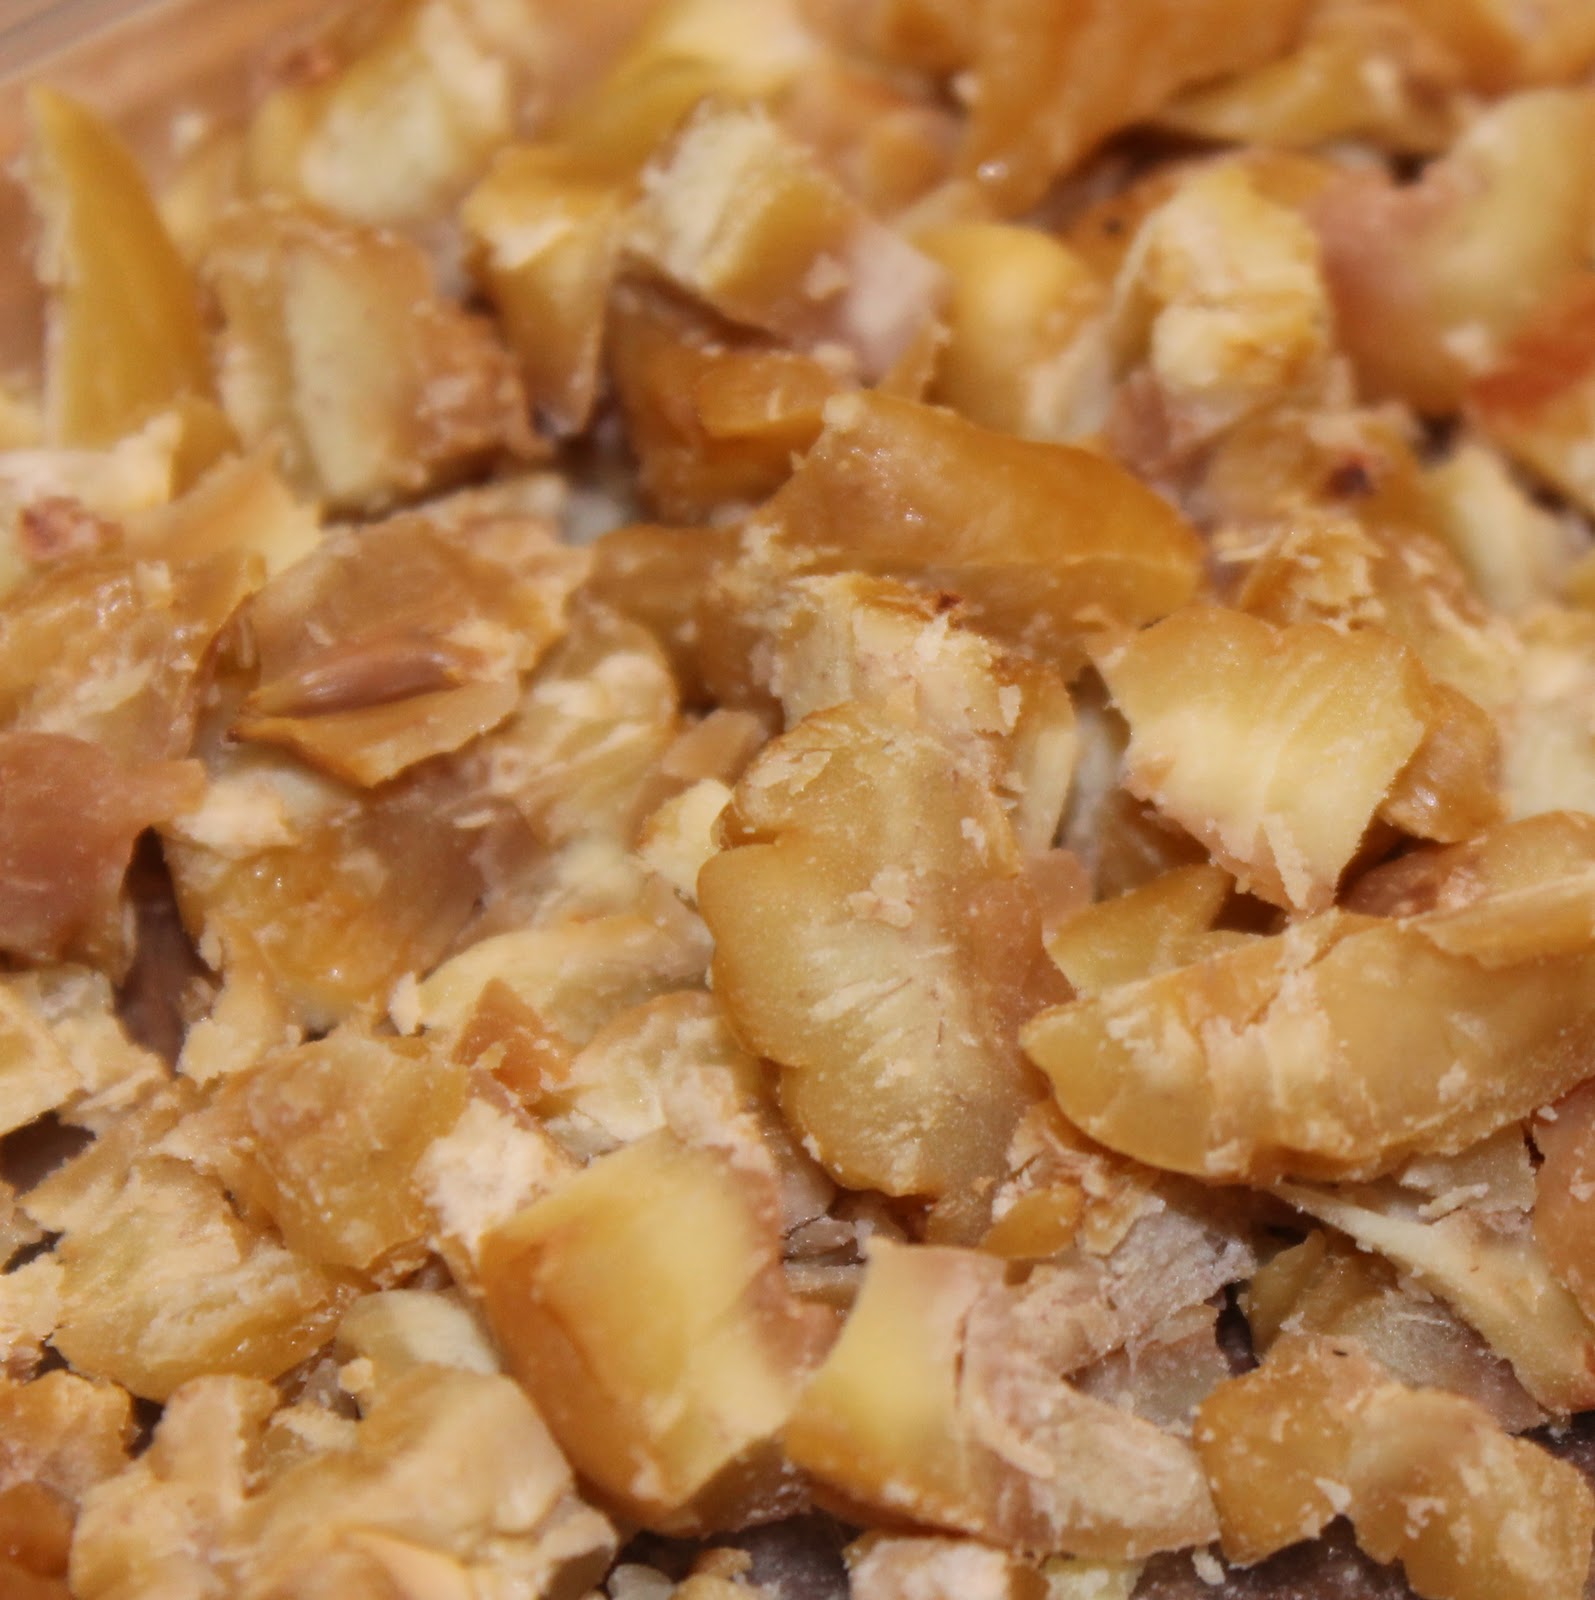
Take 1/2 of the chestnuts and roughly chop.
Add the other 1/2 of the chestnuts to a food processor (I used a magic bullet) and blend until finely chopped.
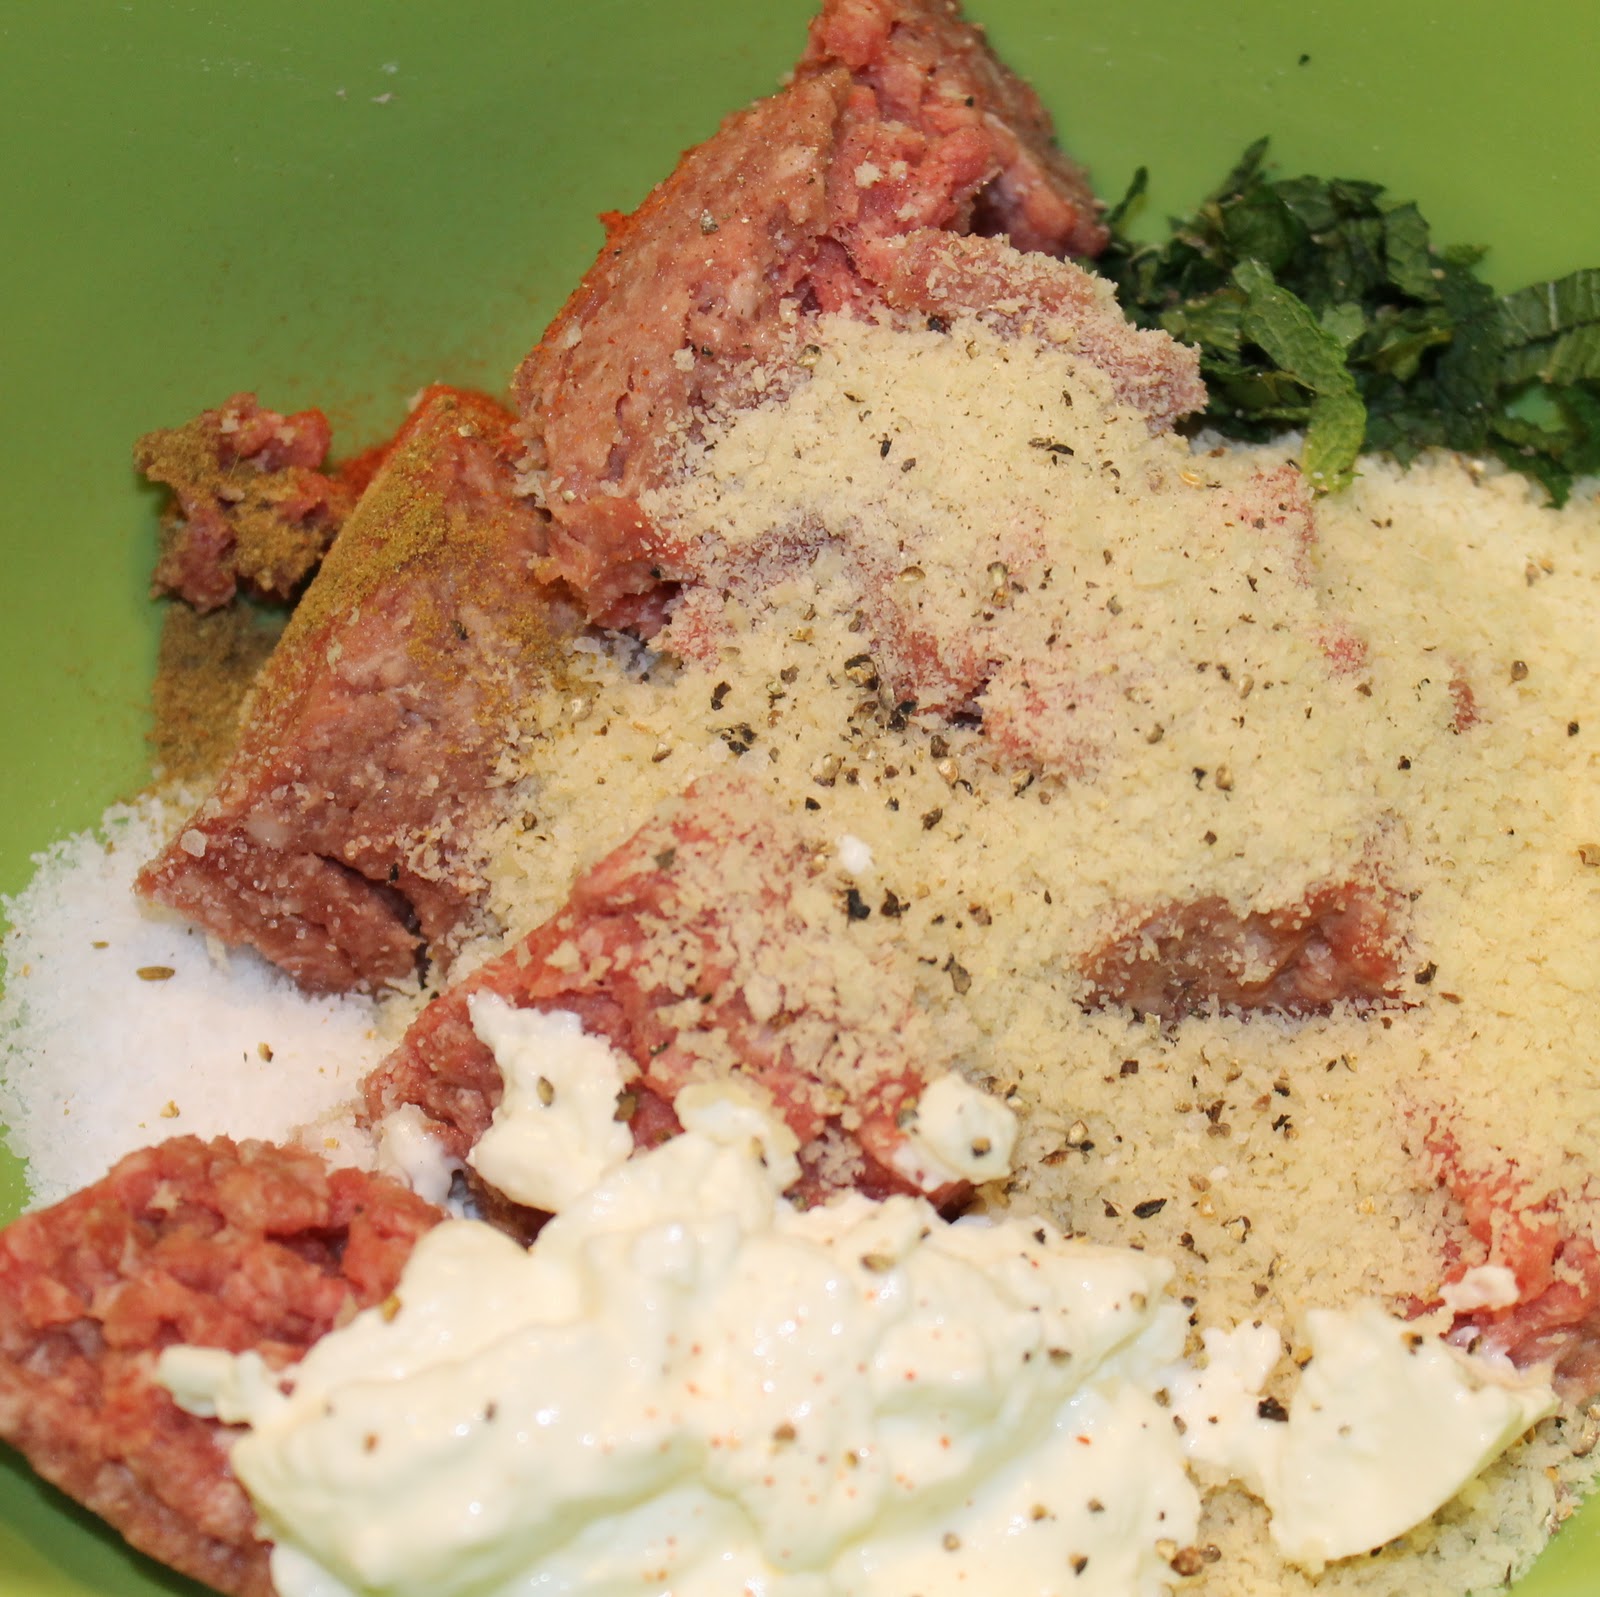
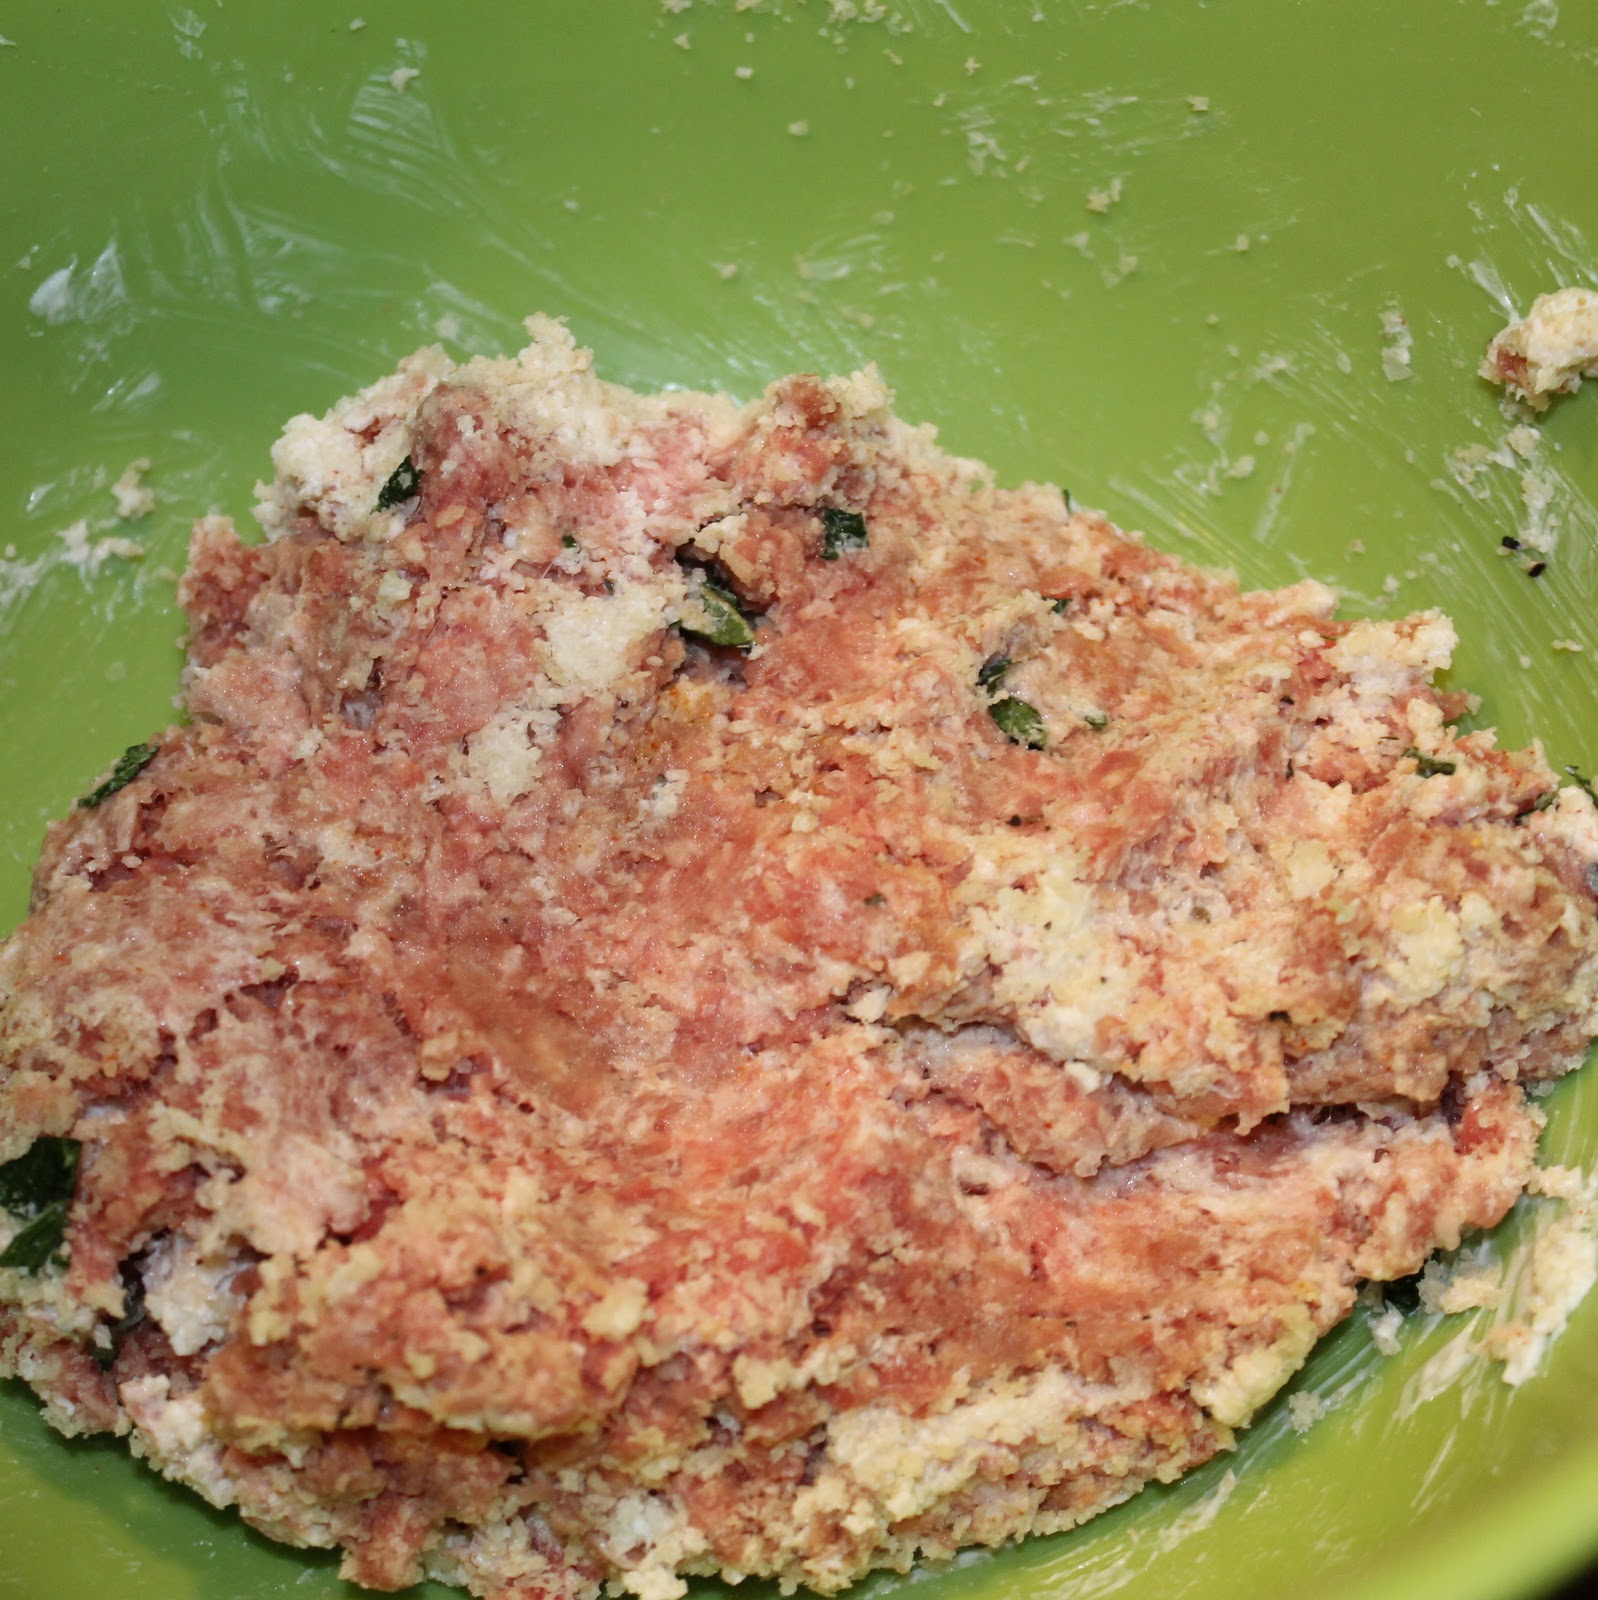
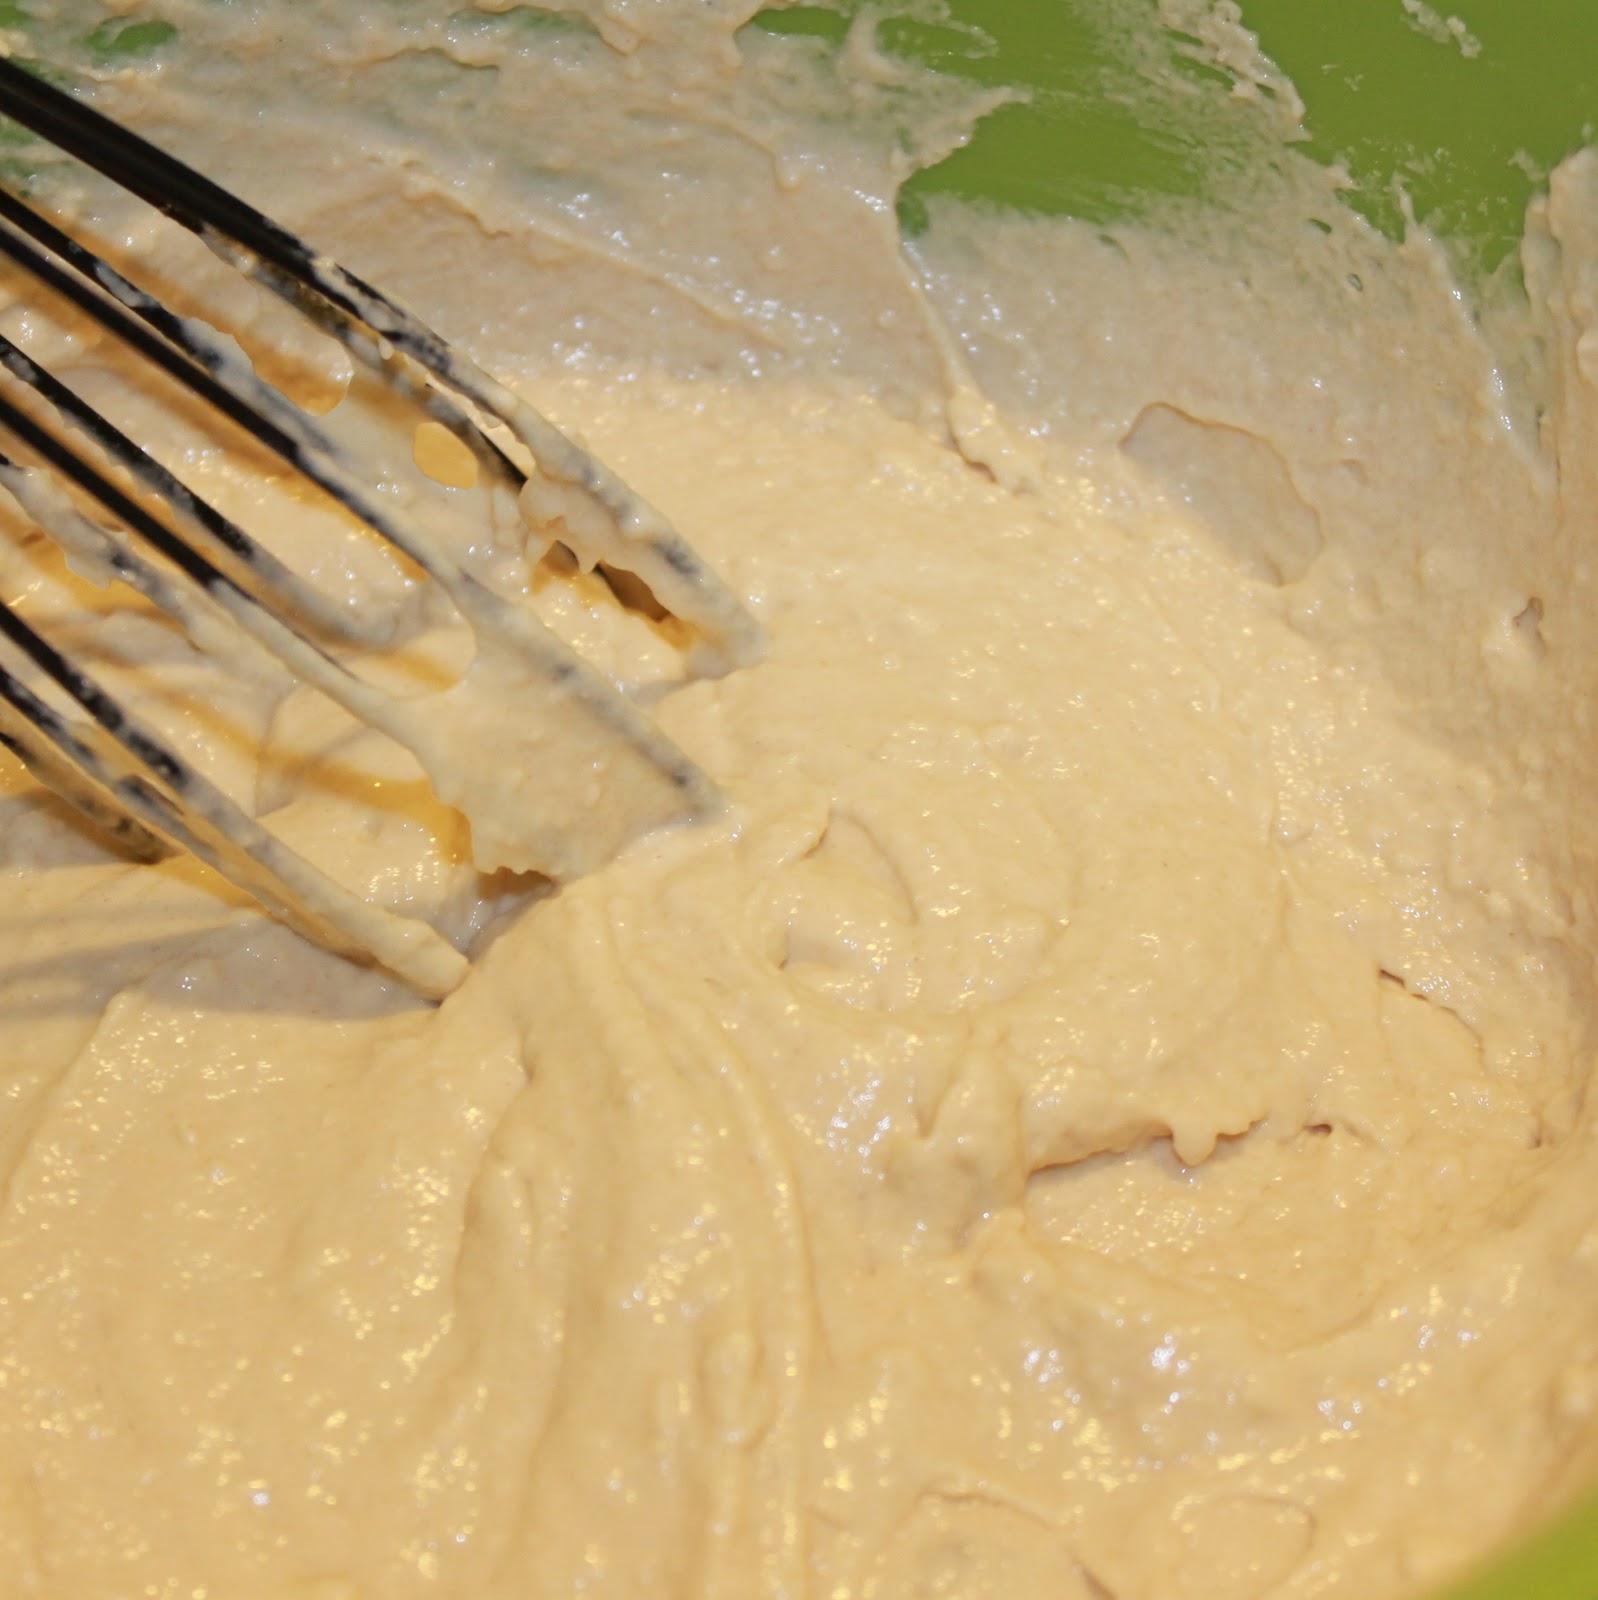
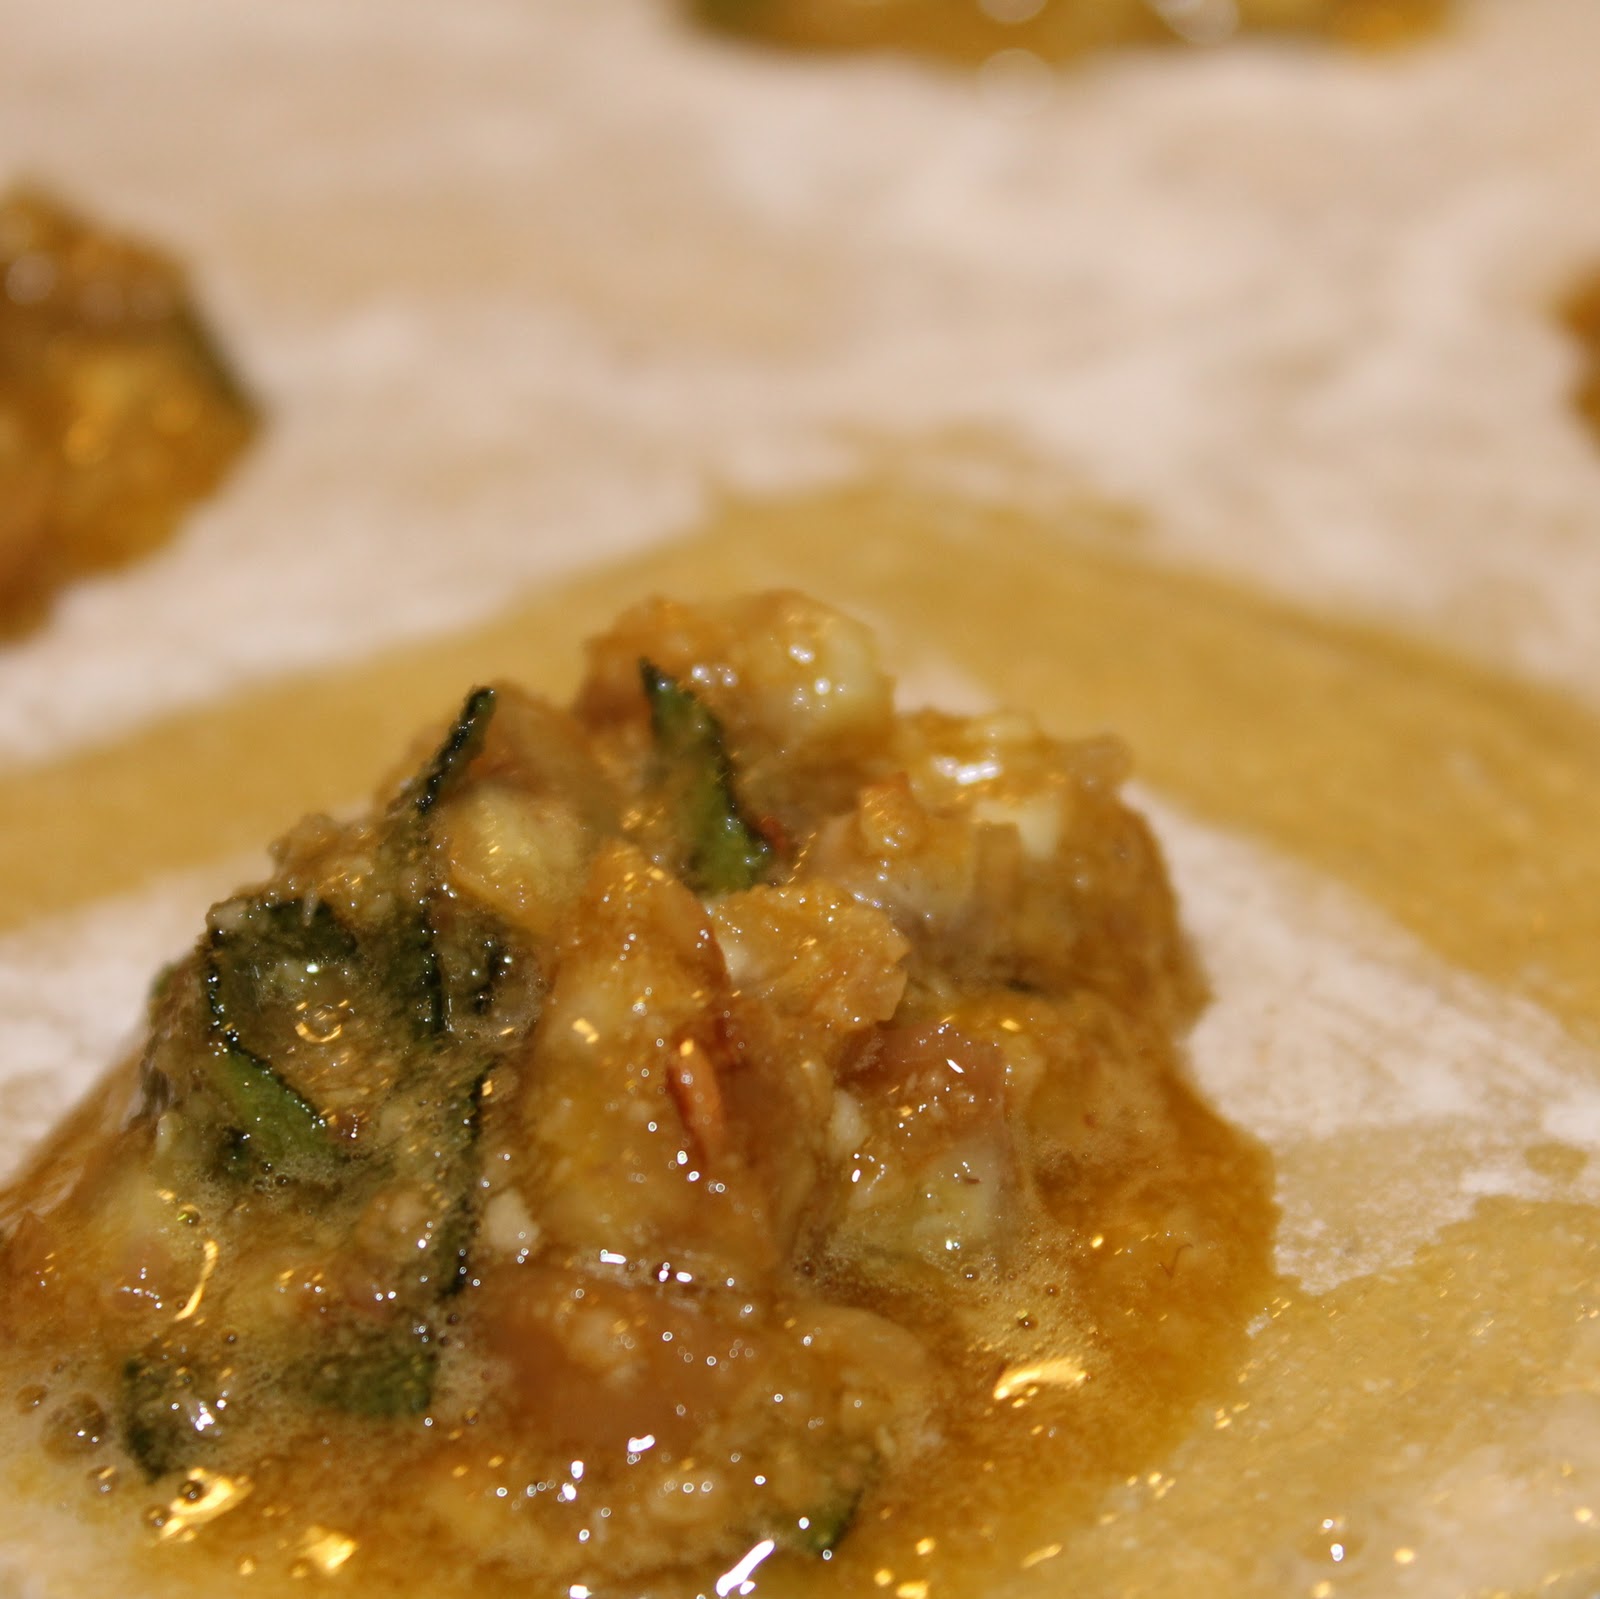
Add the egg yolks, chopped sage and maple syrup to a medium bowl, mixing to combine. Add all of the chestnuts to the mixture.
Place one lasagna sheet on a floured surface. Add about 1 teaspoon of the chestnut mixture 6 times, spread evenly apart. With the reserved egg whites, brush around the filling.
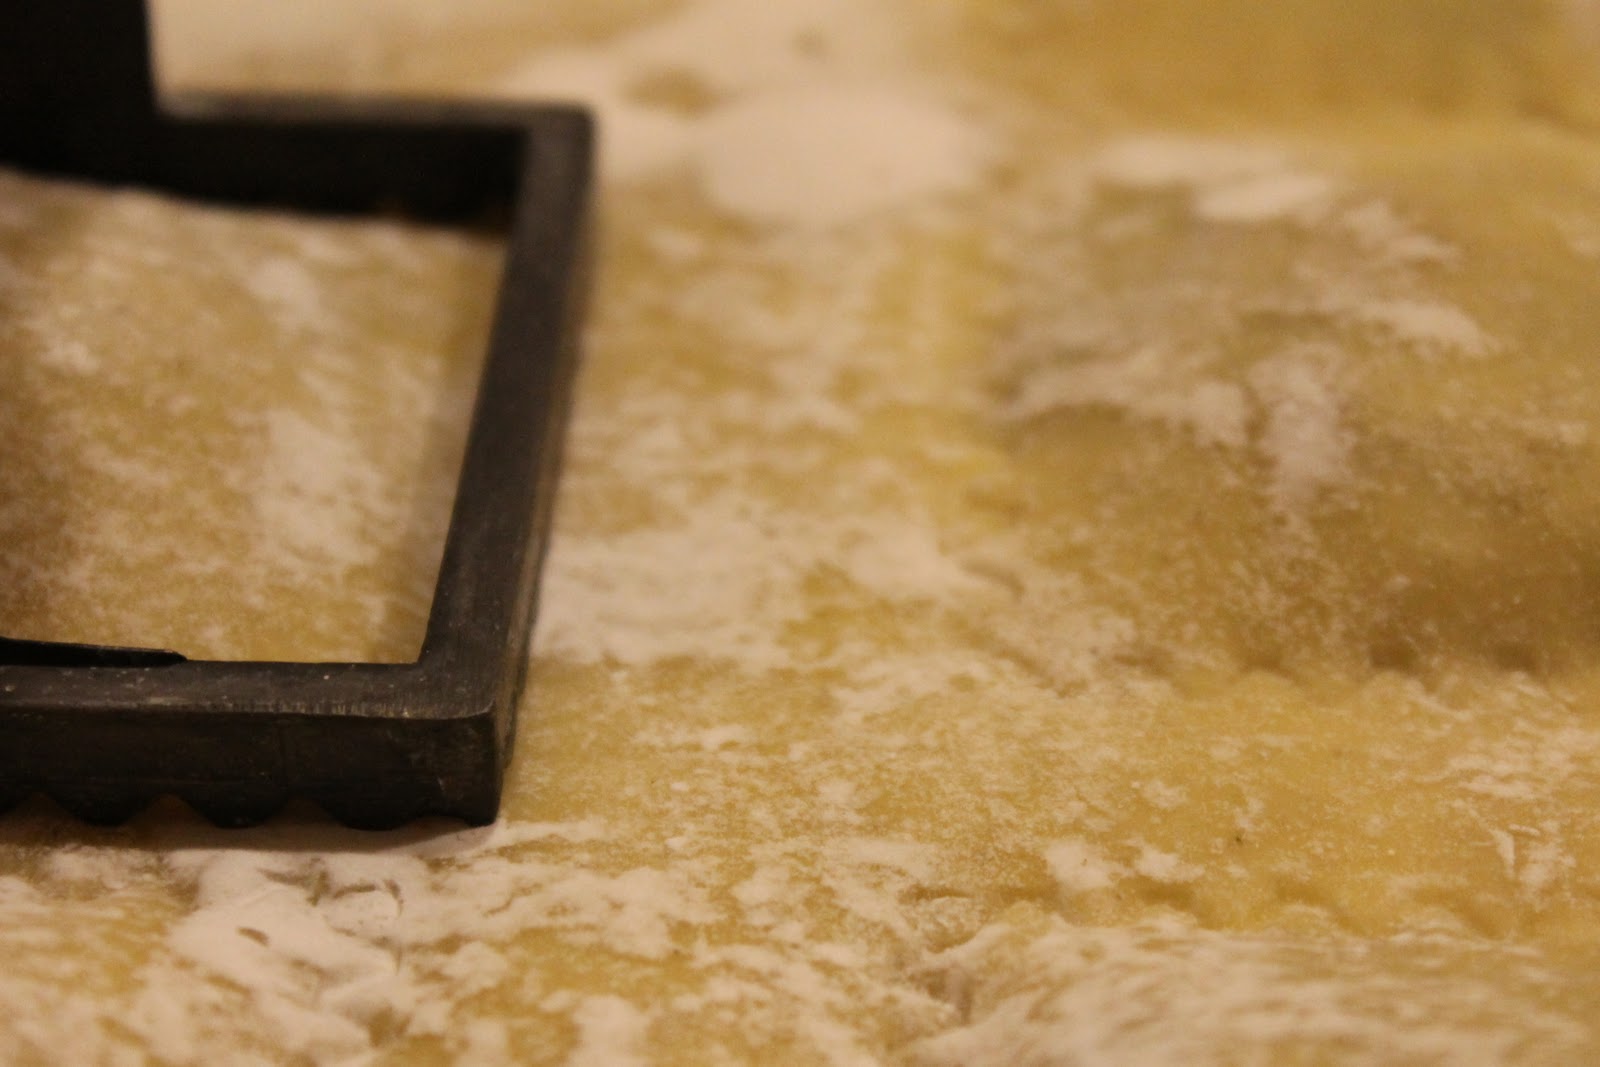
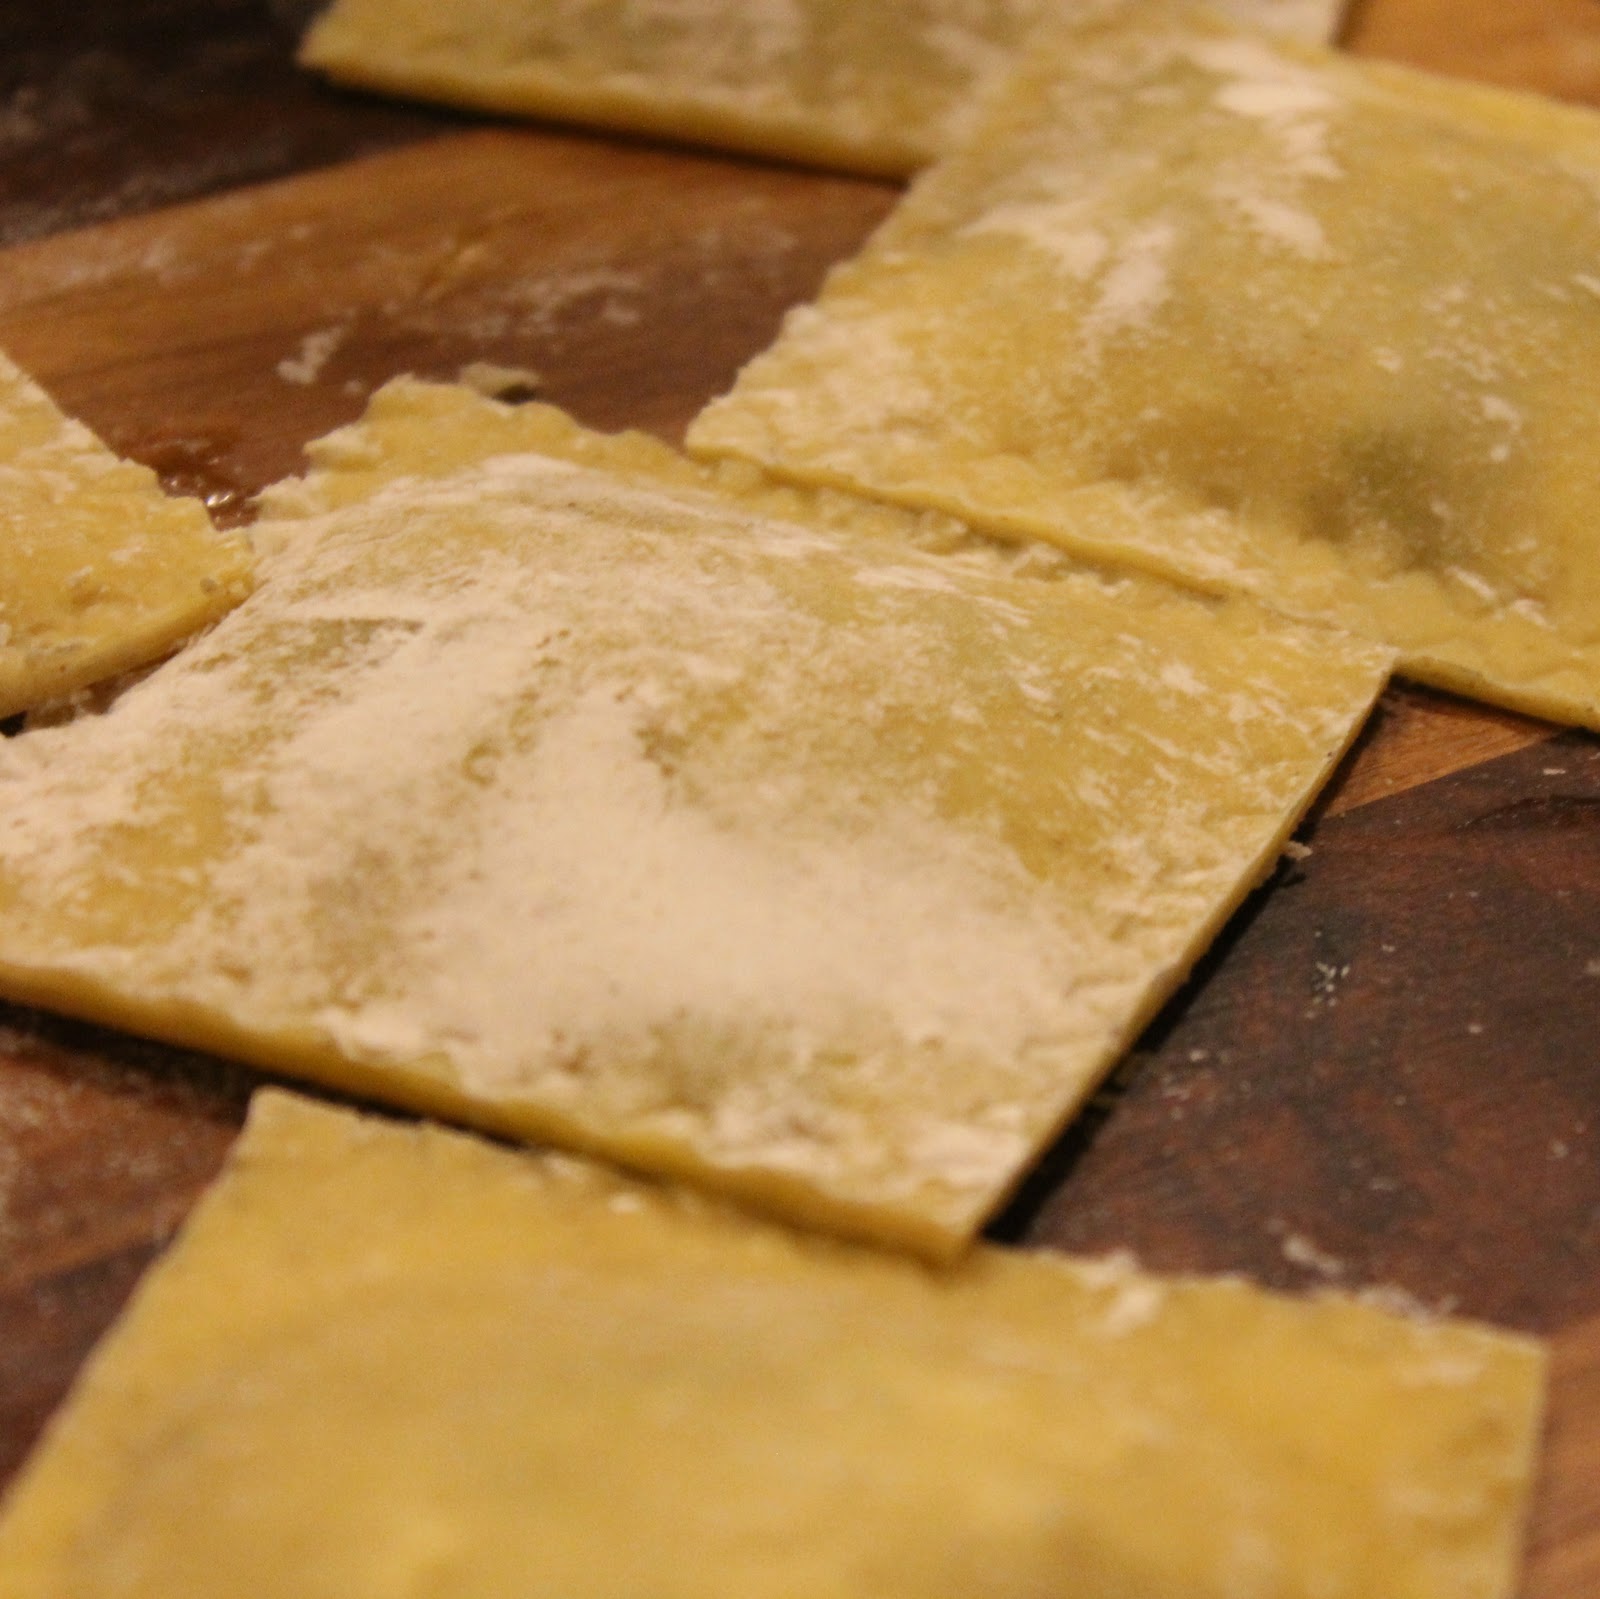
Use a rolling pin to roll out the second lasagna sheet a bit more so that it is slightly larger than the first piece. Carefully lay the sheet over the first one making sure that there are no air bubbles. Using a ravoli stamp, press down around each filling.
Use a knife to cut around the ravioli stamp. Inspect the edges of the ravioli to make sure they are sealed (you can just use your fingertips to seal any edges that need to be closed). Set aside.
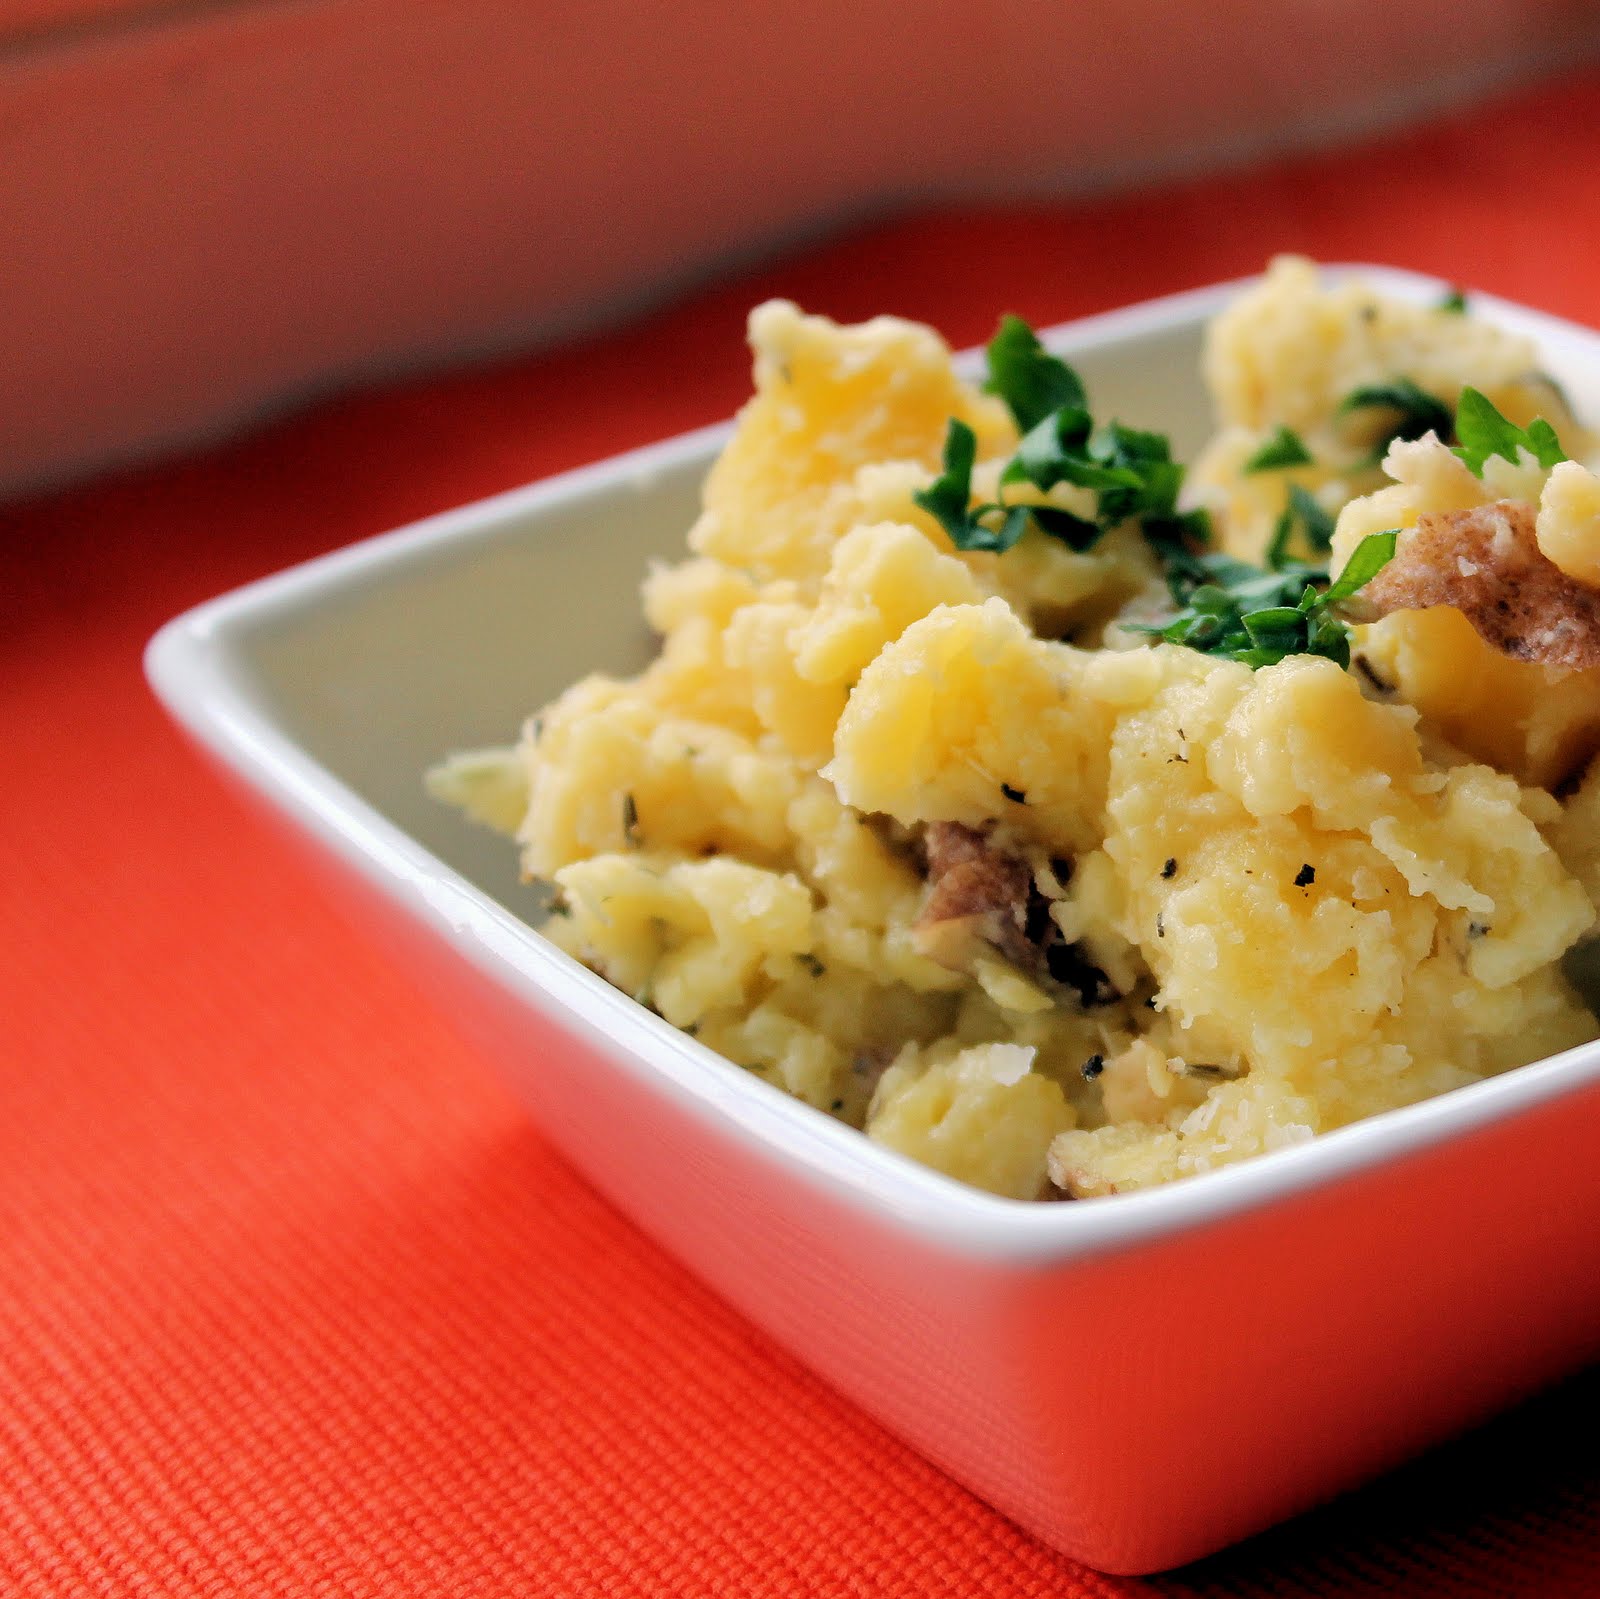
To make the sweet potato puree, peel a sweet potato and add to salted boiling water. (You can cut it into smaller pieces to make it cook faster… I honestly don’t know why I didn’t. Weird.)
Cook until fork tender (about 10-15 minutes). Pour out the water and add the sweet potato back to the pot over low heat. This will remove the rest of the water that might still be in the sweet potato.
Use a ricer to mash the sweet potato. Add the butter and mix to combine.
Add the puree to a plastic zip lock bag and set aside.
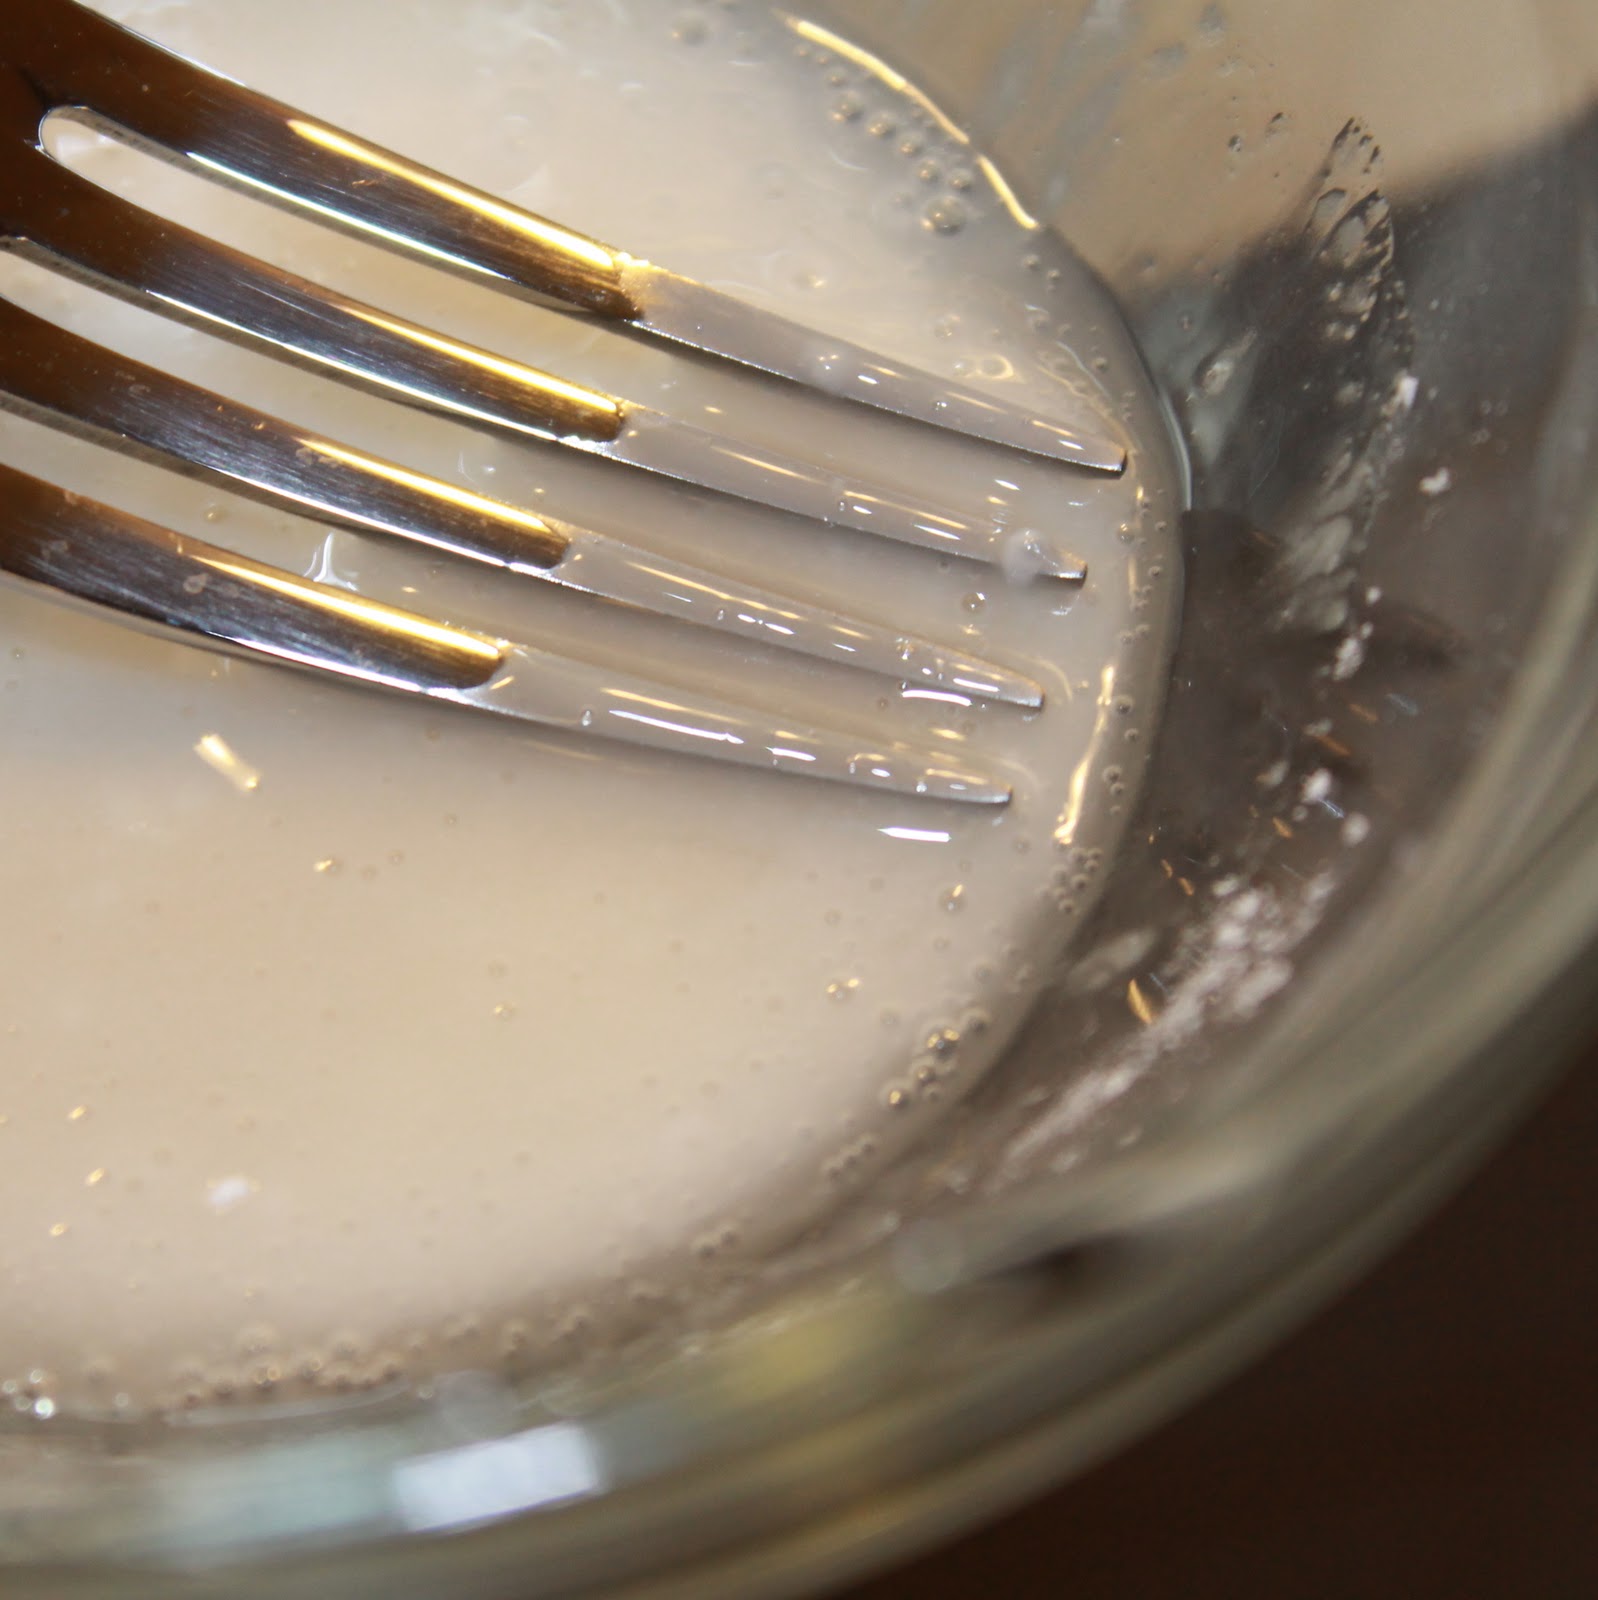
To make the sauce, add the white wine to a small pot. Bring to a boil. Stir in the cream and lower the heat to a simmer. Add the chopped sage and cook until the cream reduces by half.
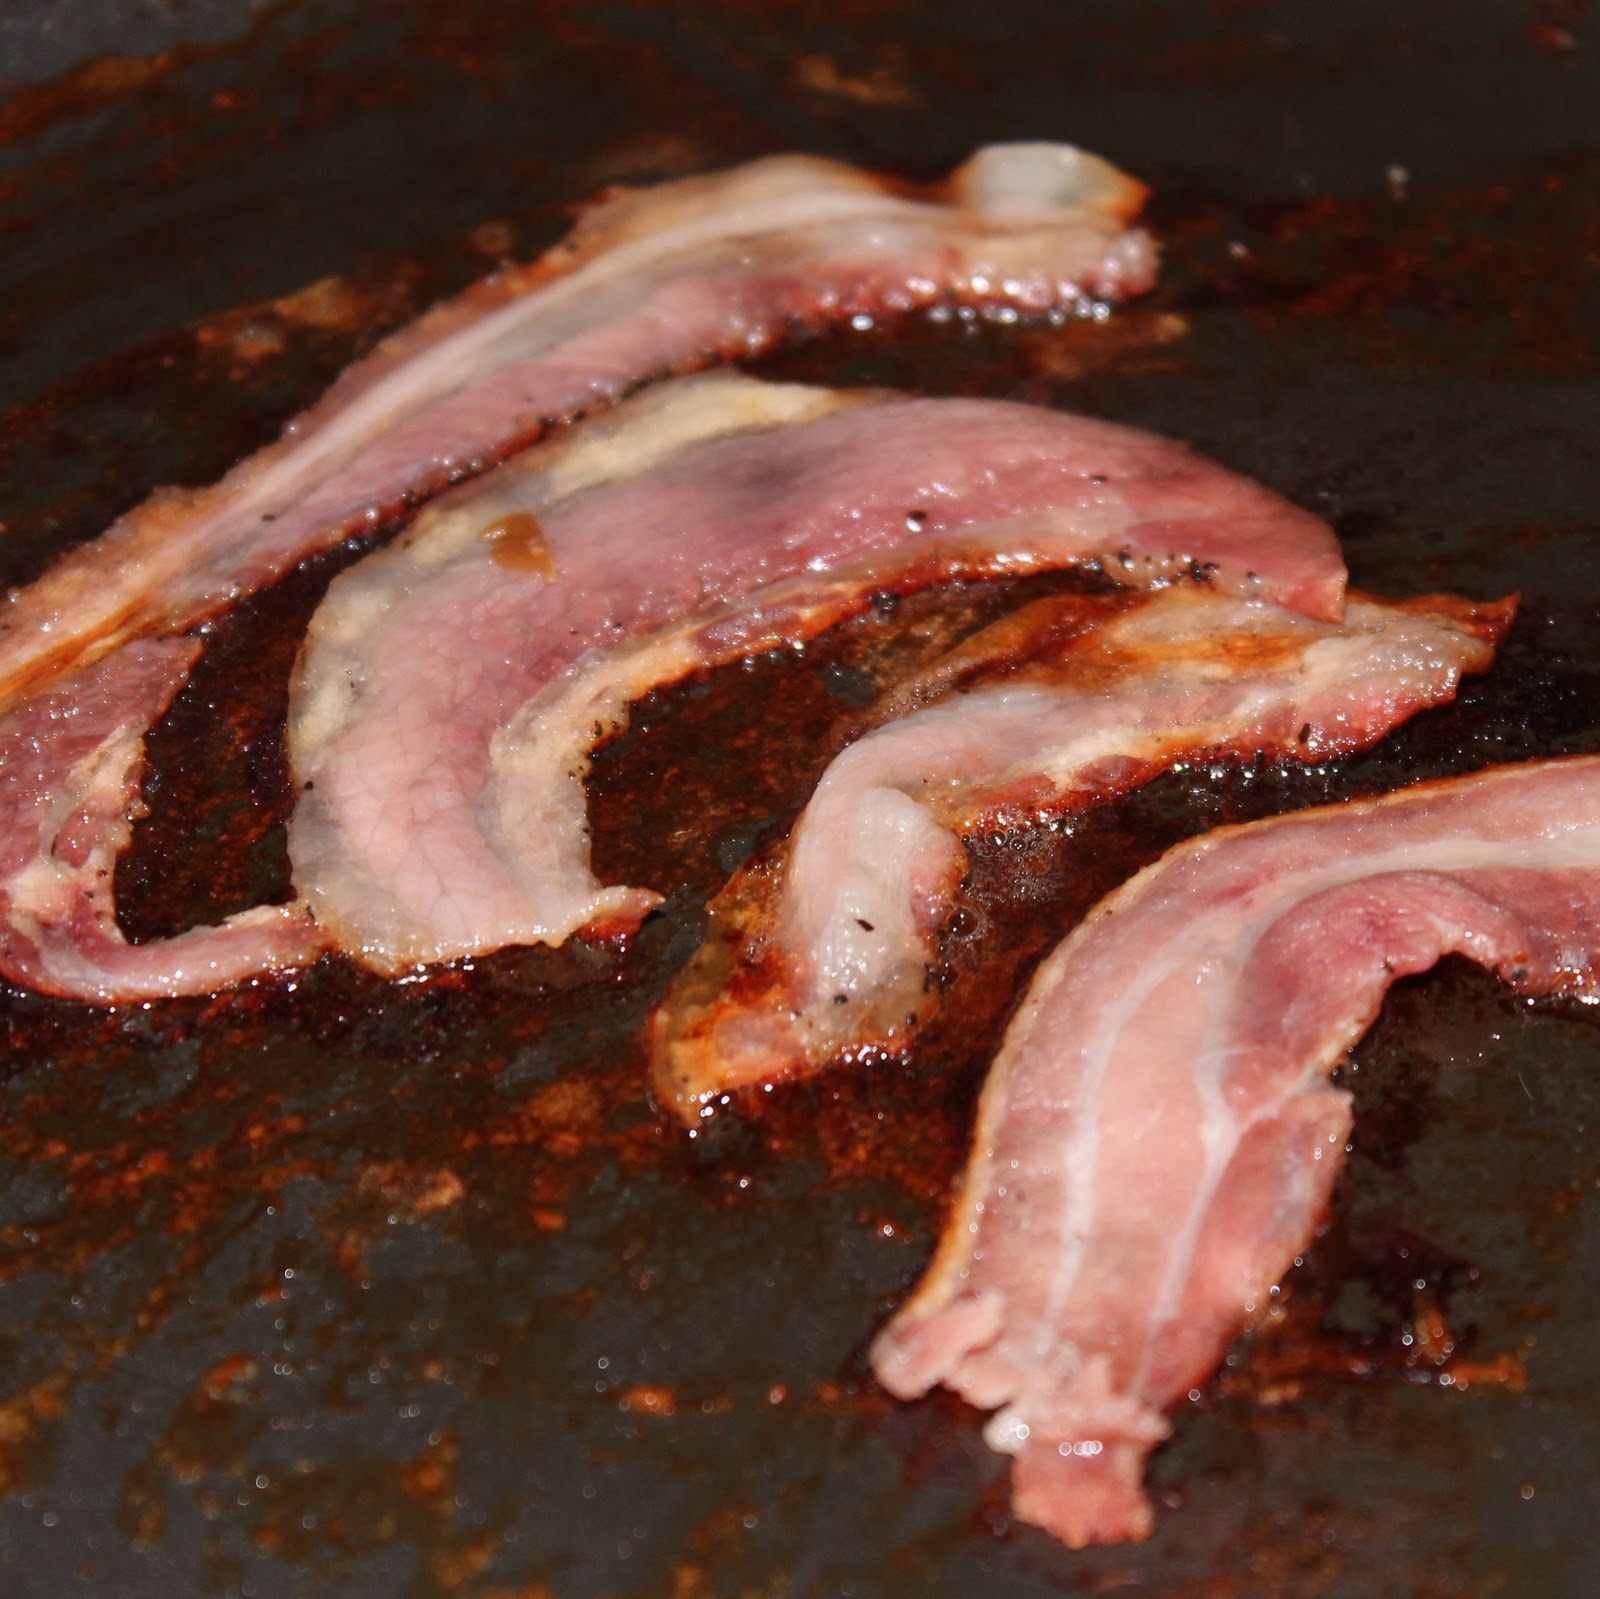
To make the garnish, add the pancetta to a saute pan over low heat. Place a smaller pan on top while the pancetta cooks so that it can’t curl up.
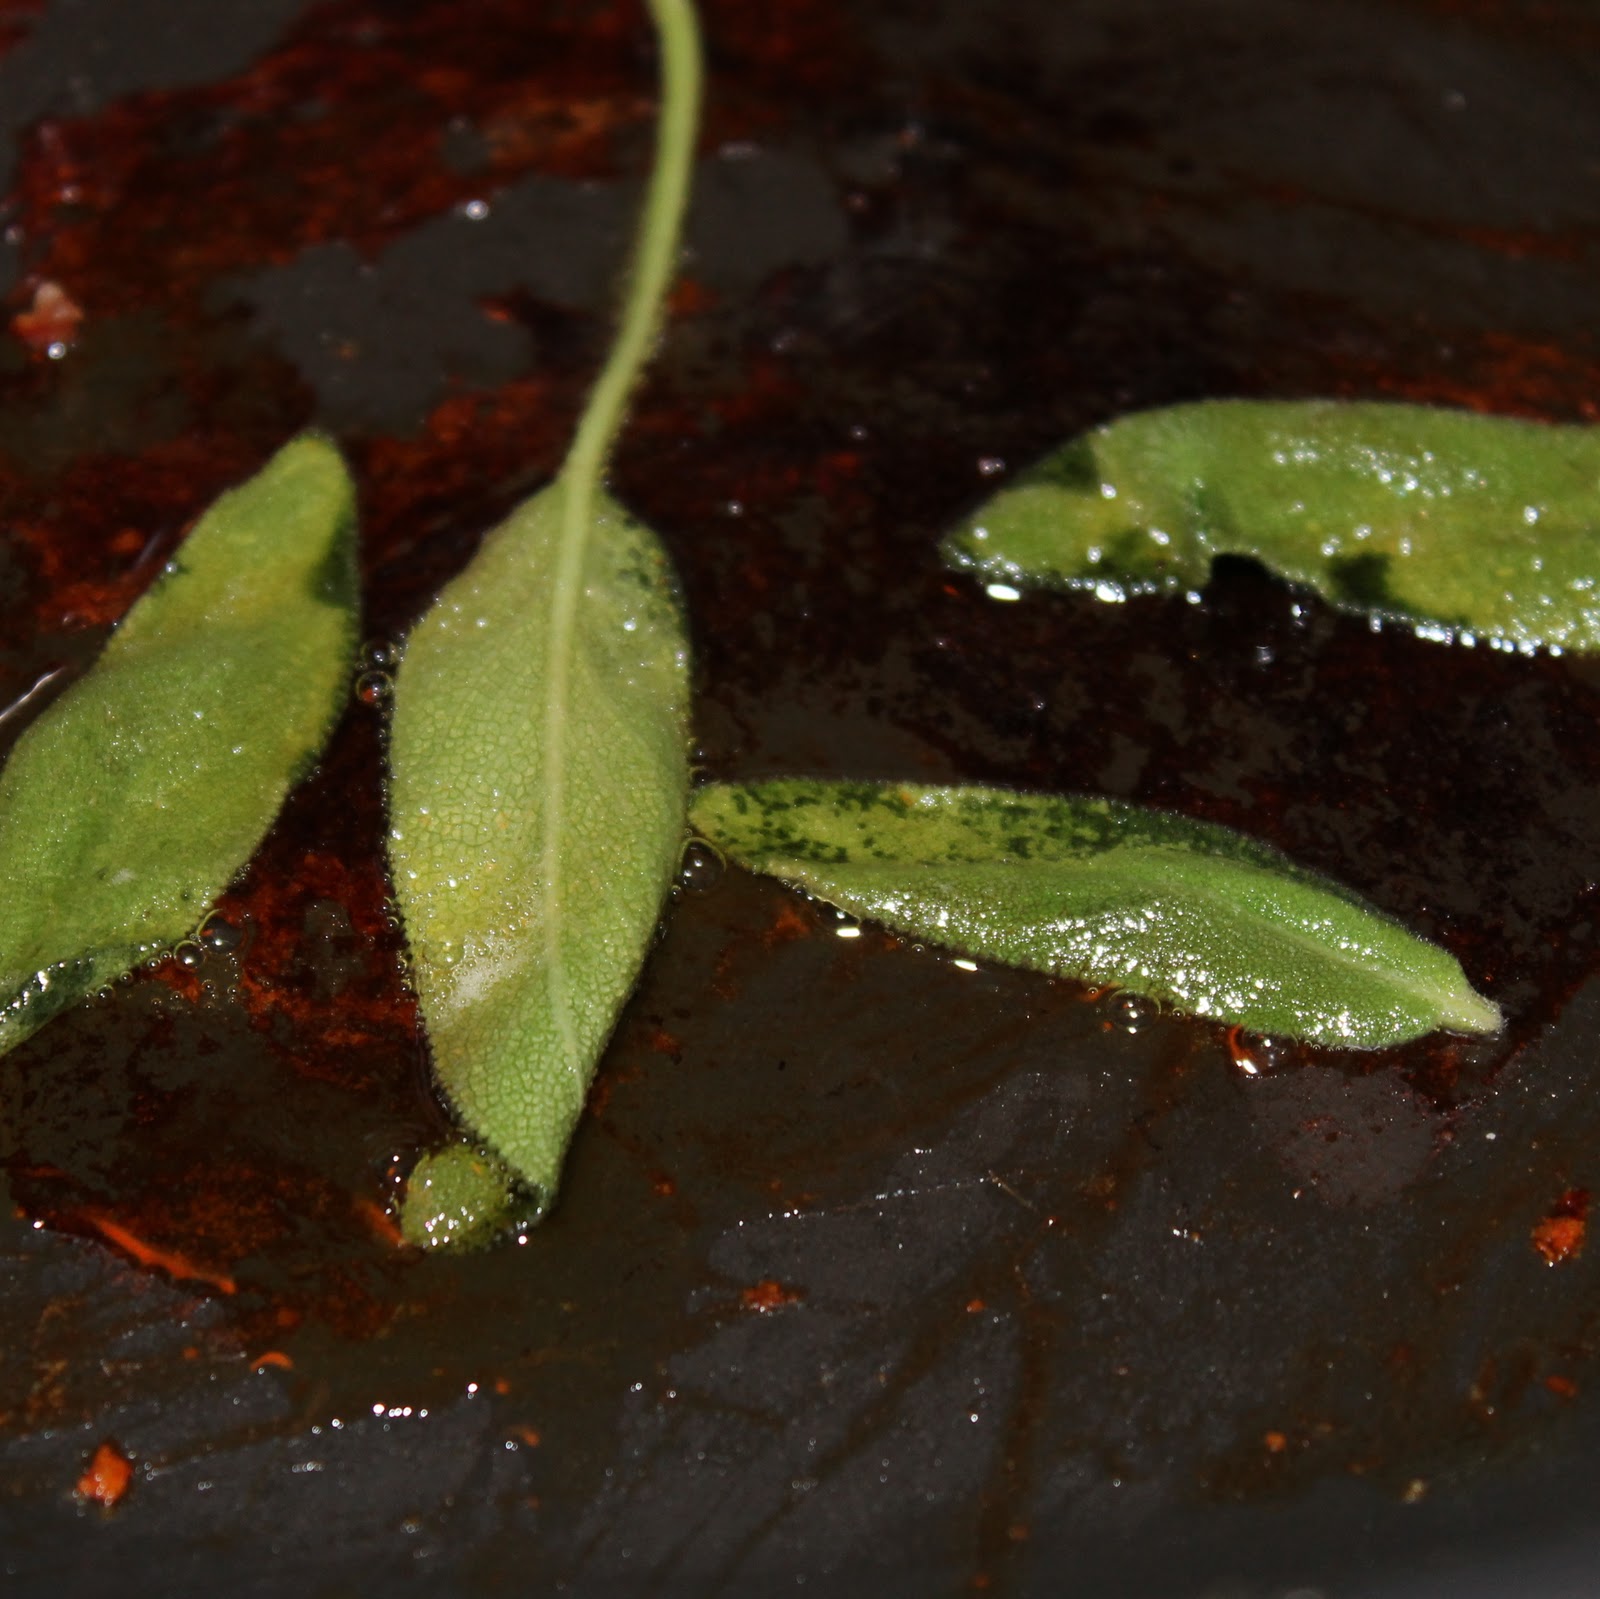
When the pancetta is crispy, remove from heat. Turn the heat up to medium-high and add 1 tablespoon olive oil. Add the sage leaves and cook until crispy.
Bring a salted pot of water to a low boil. Add the ravioli and cook for 3-5 minutes. Drain.
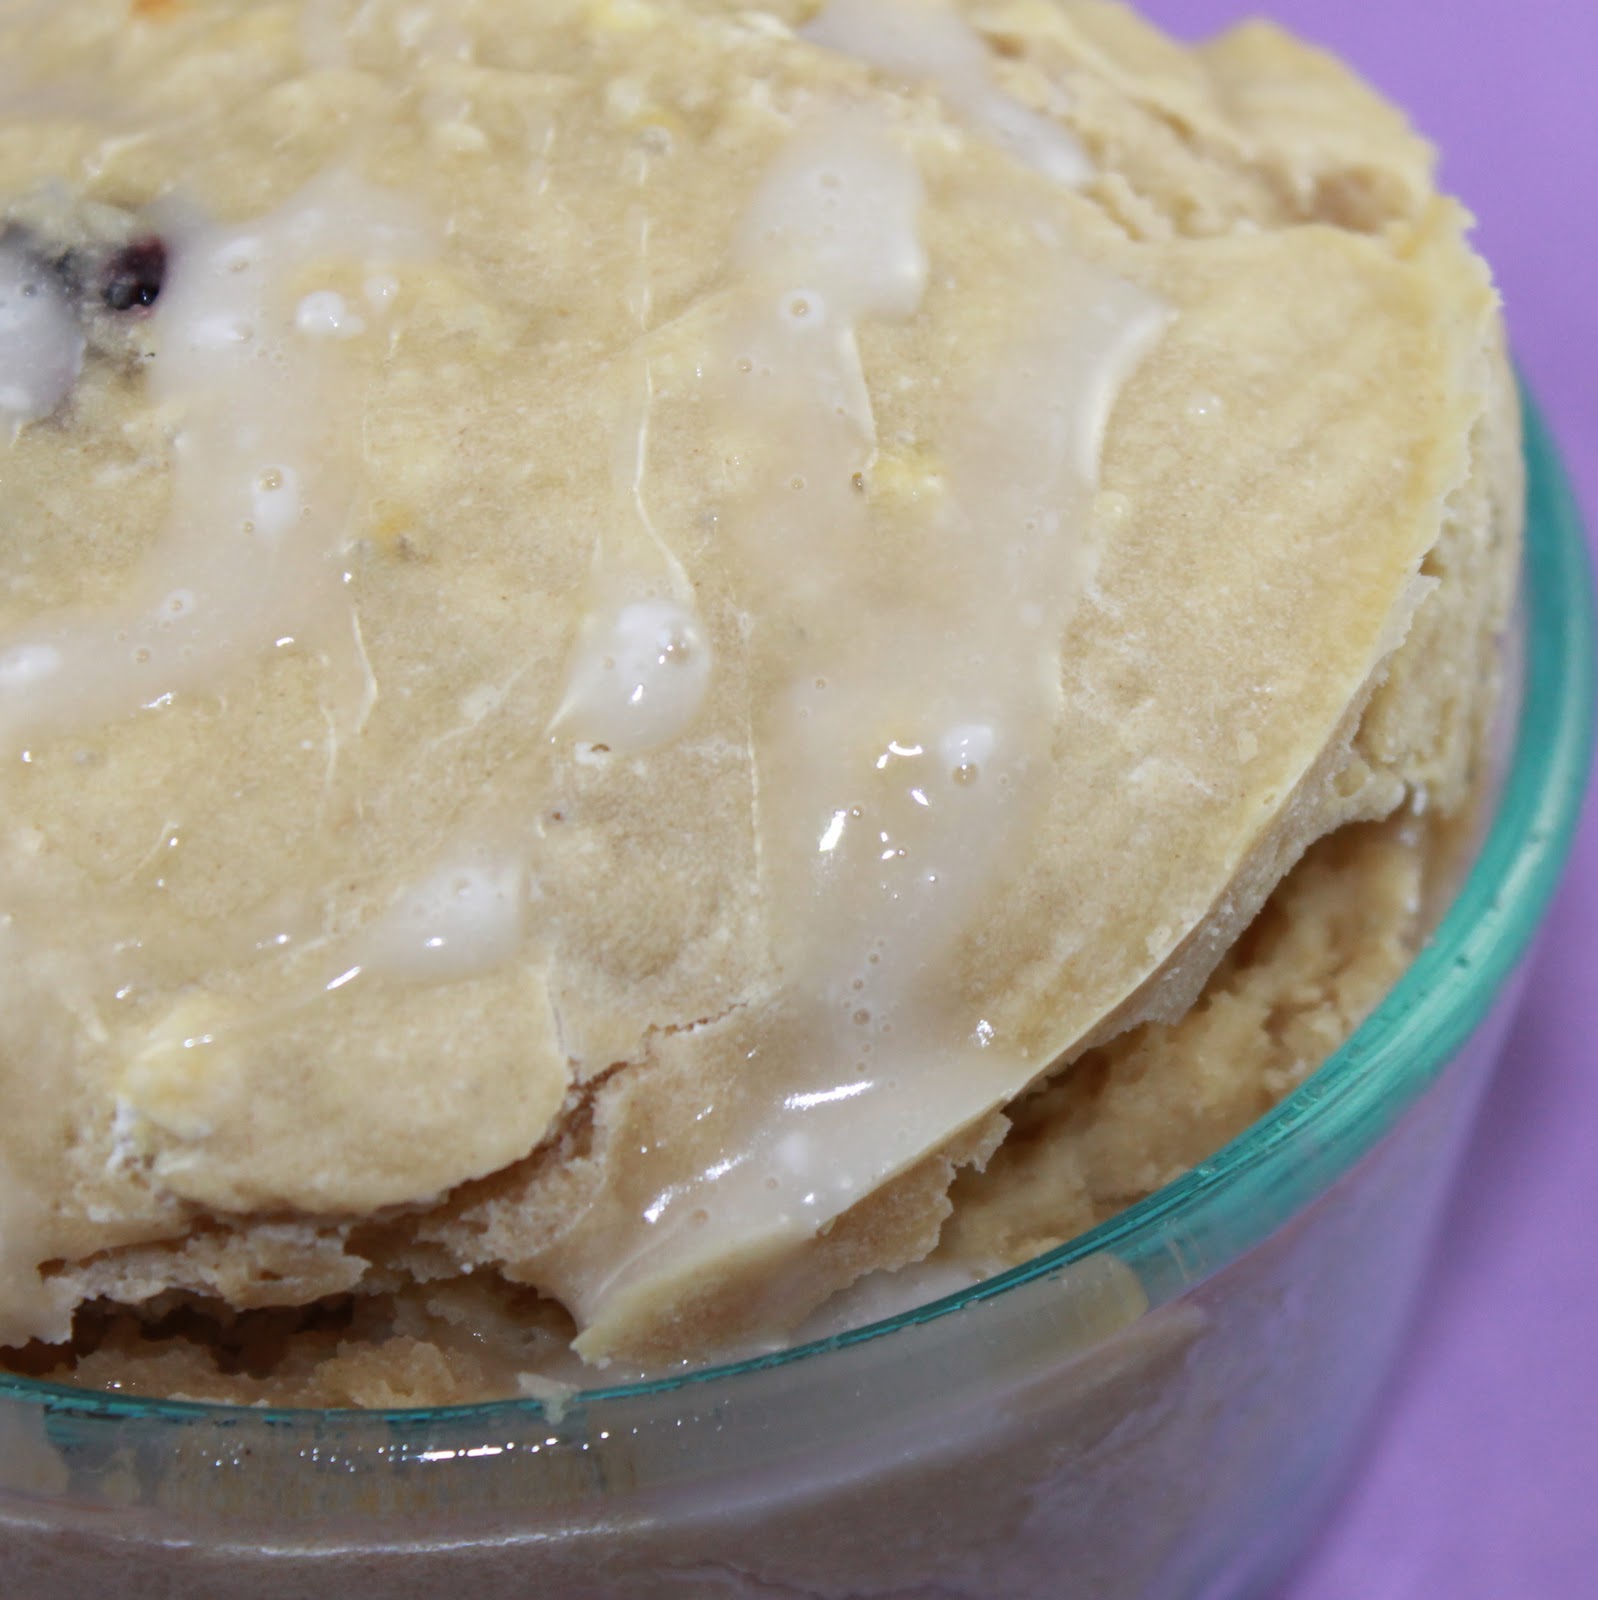
To assemble, take the zip lock bag of sweet potato puree and cut off one of the lower corners. Pipe two thin parallel lines of sweet potato puree onto a plate. You want them about ravioli width apart. Add the ravioli in between the two lines and spoon the sauce over the ravioli. Top with pancetta and crispy sage leaves.
I’m pretty sure I used every pot and pan in my place to make this dish. As I was making it, tasting each part, I was a bit worried about how this would all turn out. Chestnuts, sweet potatoes, cream, sage and pancetta?
The flavors were FANTASTIC. Wow. It was a lot of work but I am so happy with how it turned out.
My sweet potato puree was a bit too chunky for my liking, but oh well.
This recipe is usually an appetizer, but I thought I’d make it into a meal by adding 3 to a plate instead of one.