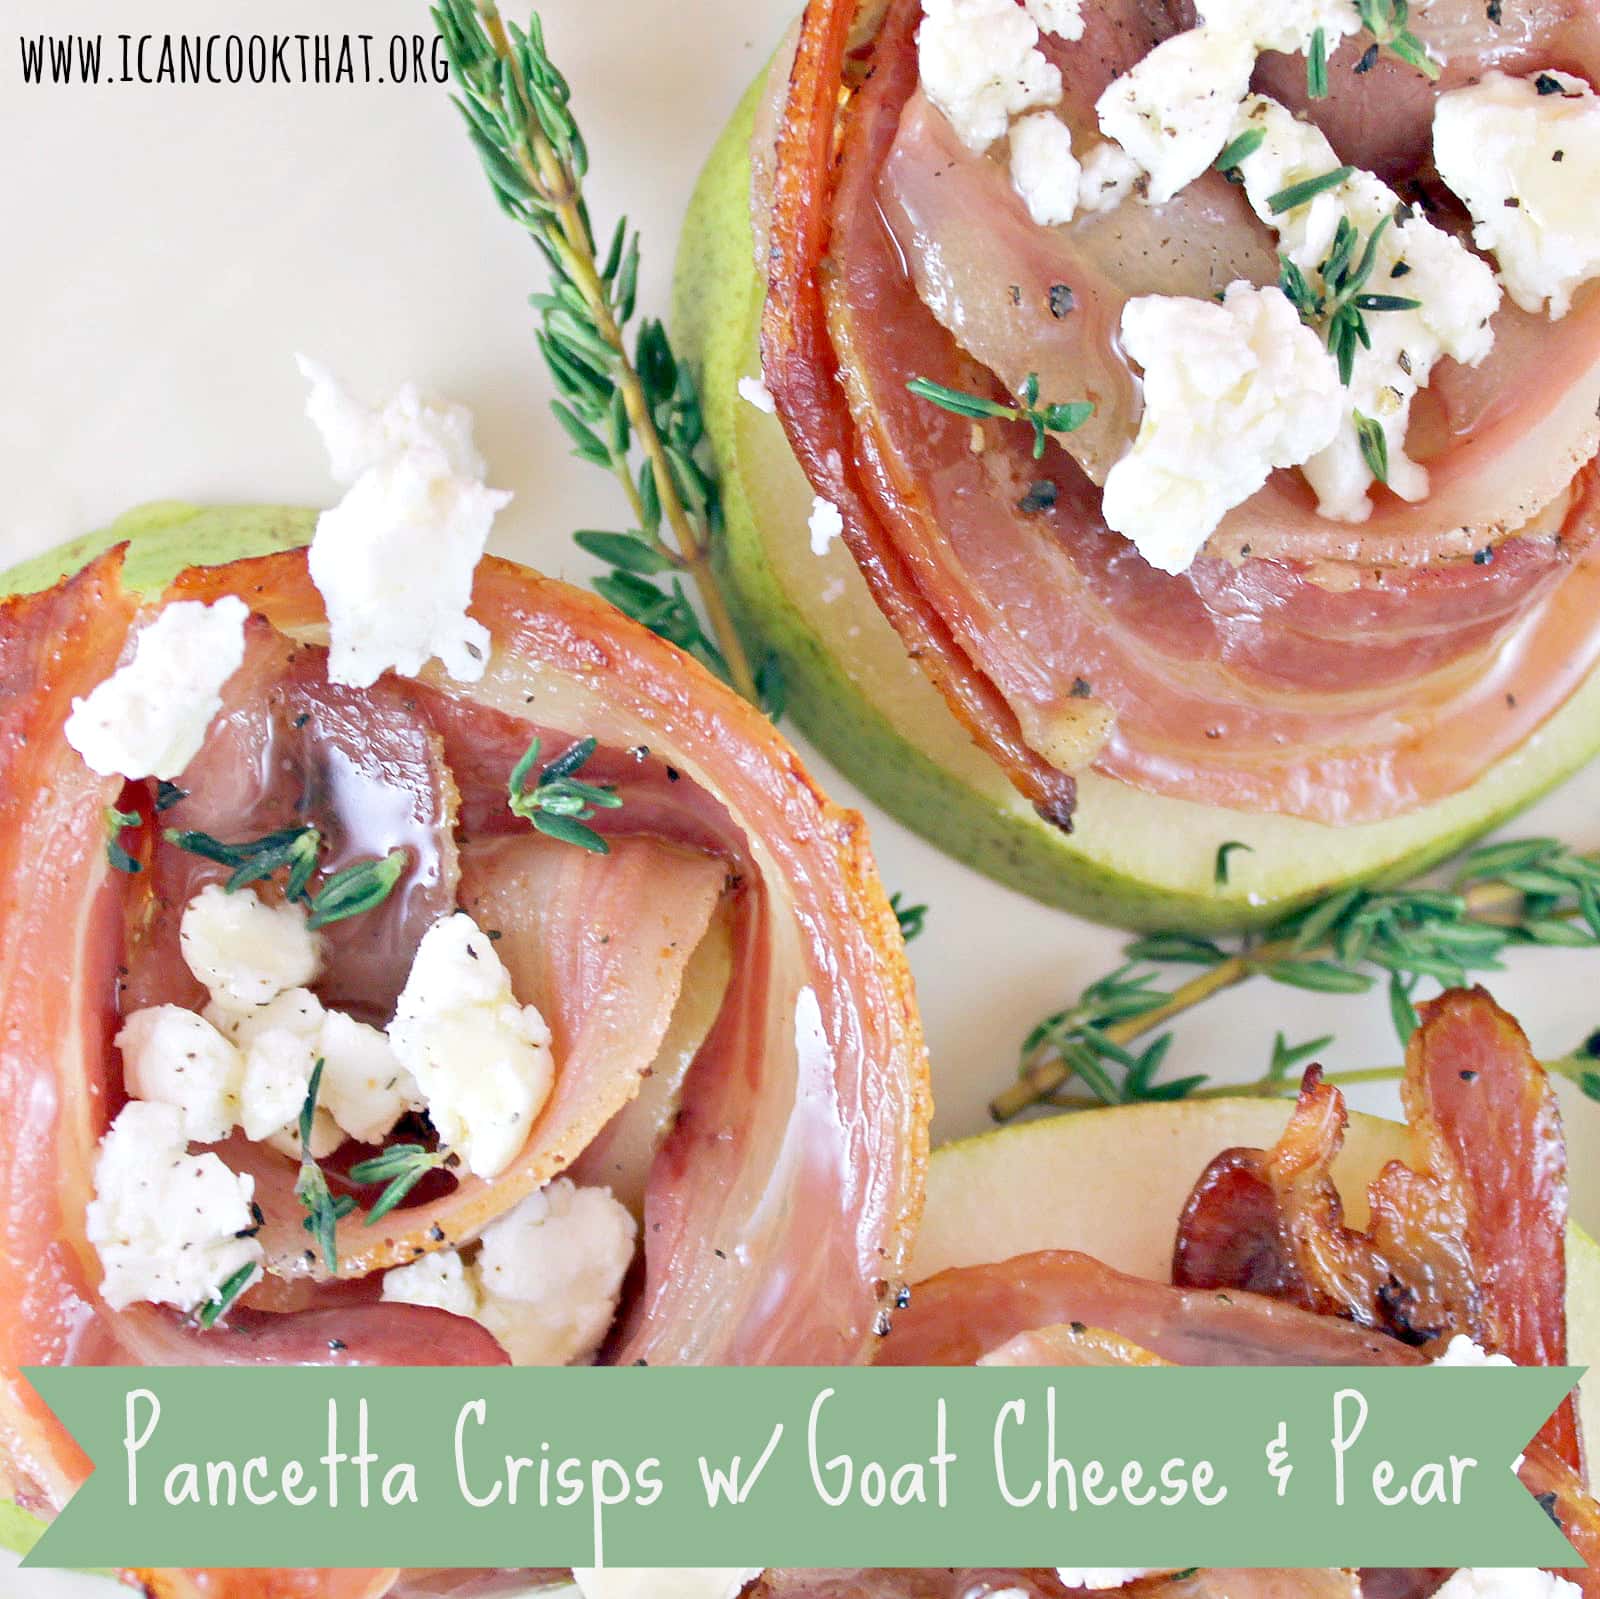
With the holidays fast approaching, we all need more quick appetizer recipes for when friends and family come to visit. This one for Pancetta Crisps with Goat Cheese and Pear from Southern Living intrigued me: pear, pancetta, honey, and goat cheese. I was interested to see how these flavors would all play out together. Because this can be served cold, you can do most of it ahead of time, pop it into the fridge, and bring it out right before you need it. Note: I only made 6 servings but naturally this can be expanded to fit any number of people.
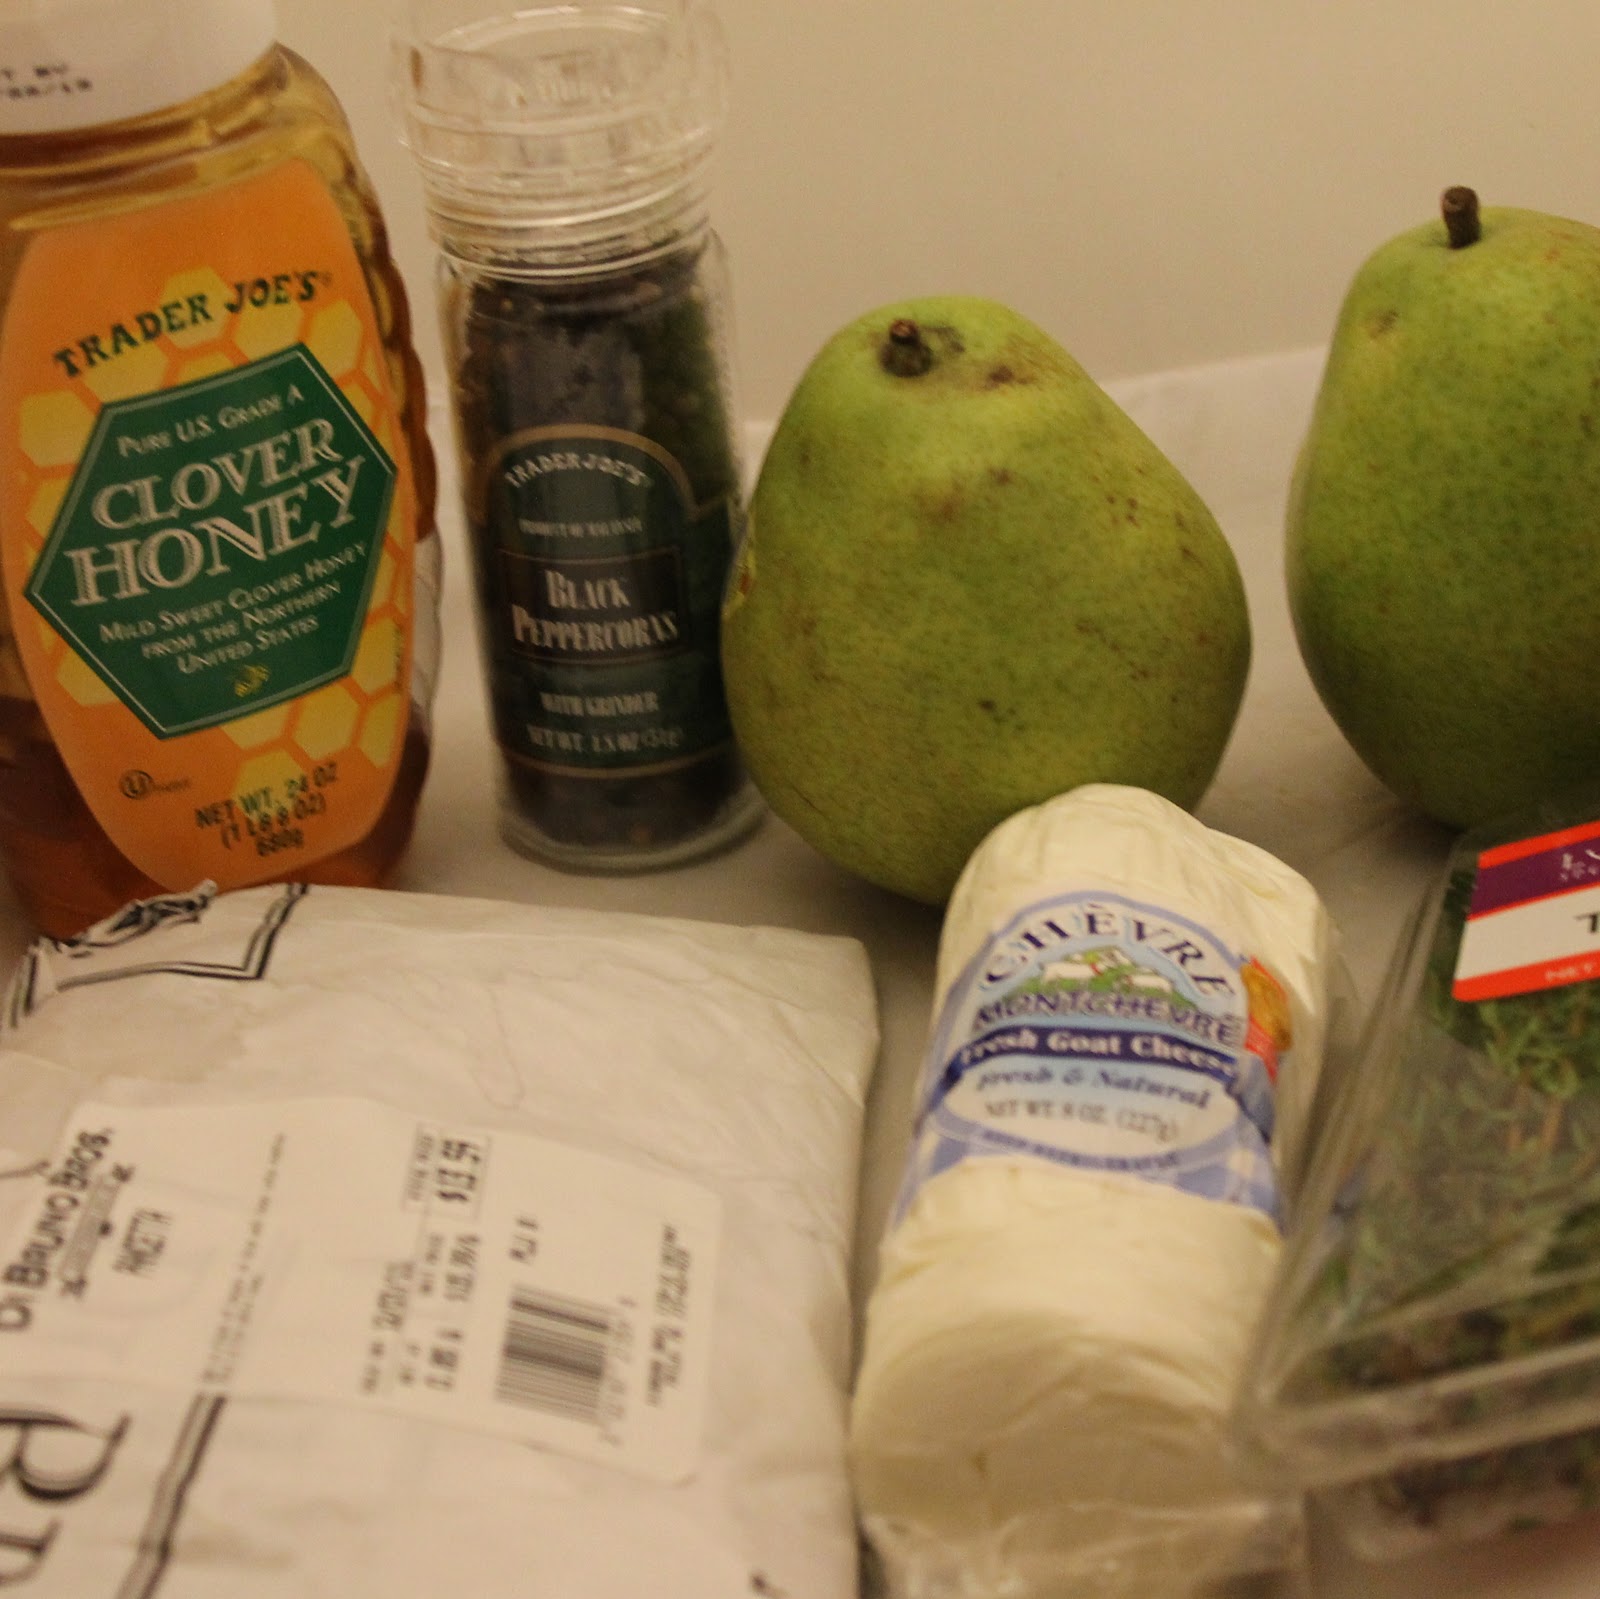
Ingredients:
- 6 thin slices pancetta (I just asked the butcher to slice it thin, but not as thin as proscuitto)
- 1 anjou pear
- 1/4 (2-oz.) package goat cheese, crumbled
- Cracked pepper
- Honey
- Thyme leaves and sprigs
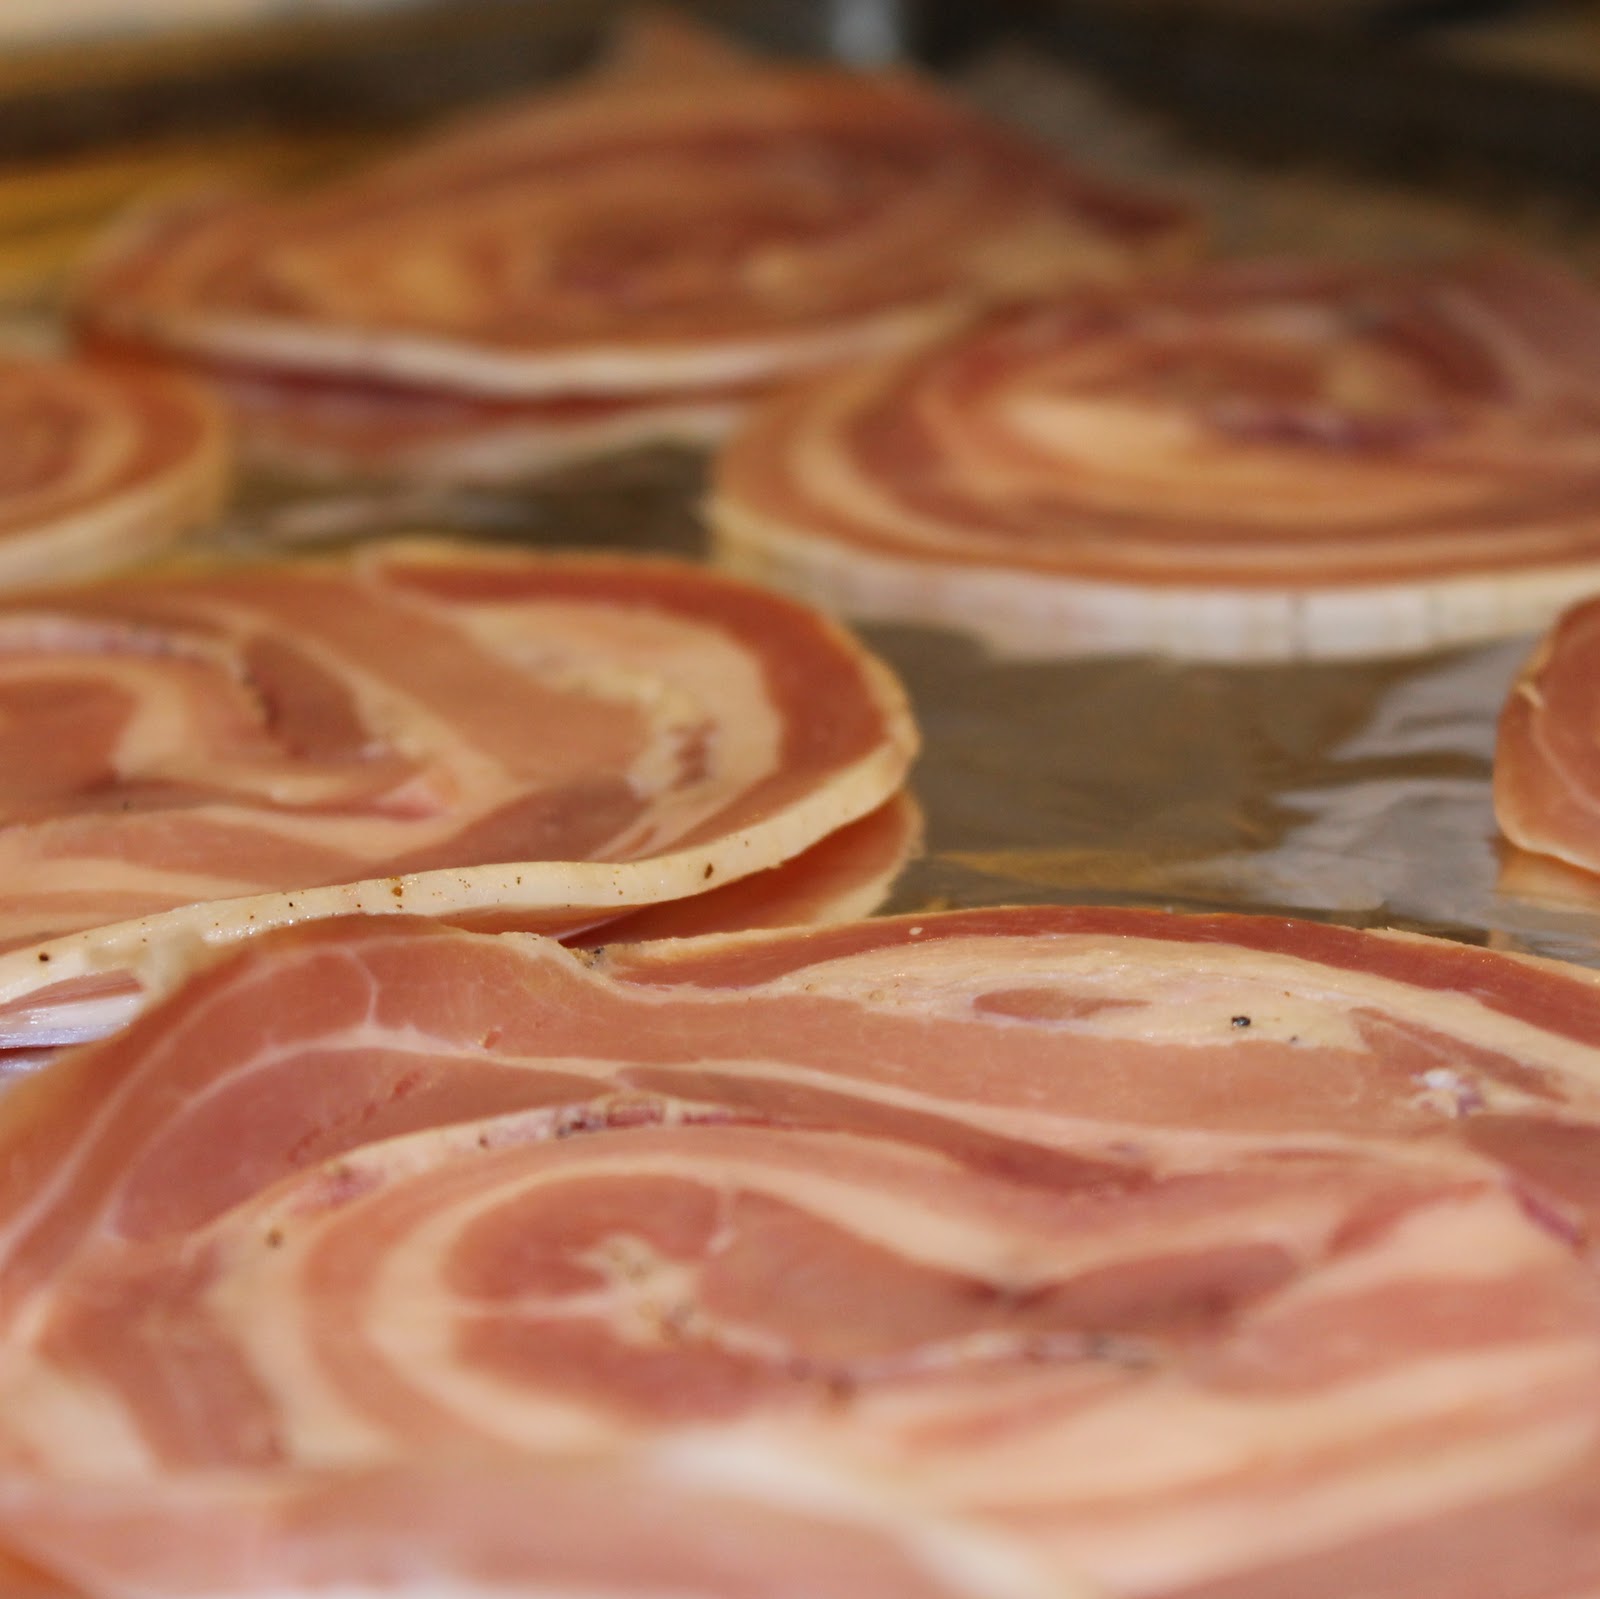
Preheat your oven to 450 degrees. Arrange the pancetta slices on a cookie sheet lined with tin foil.
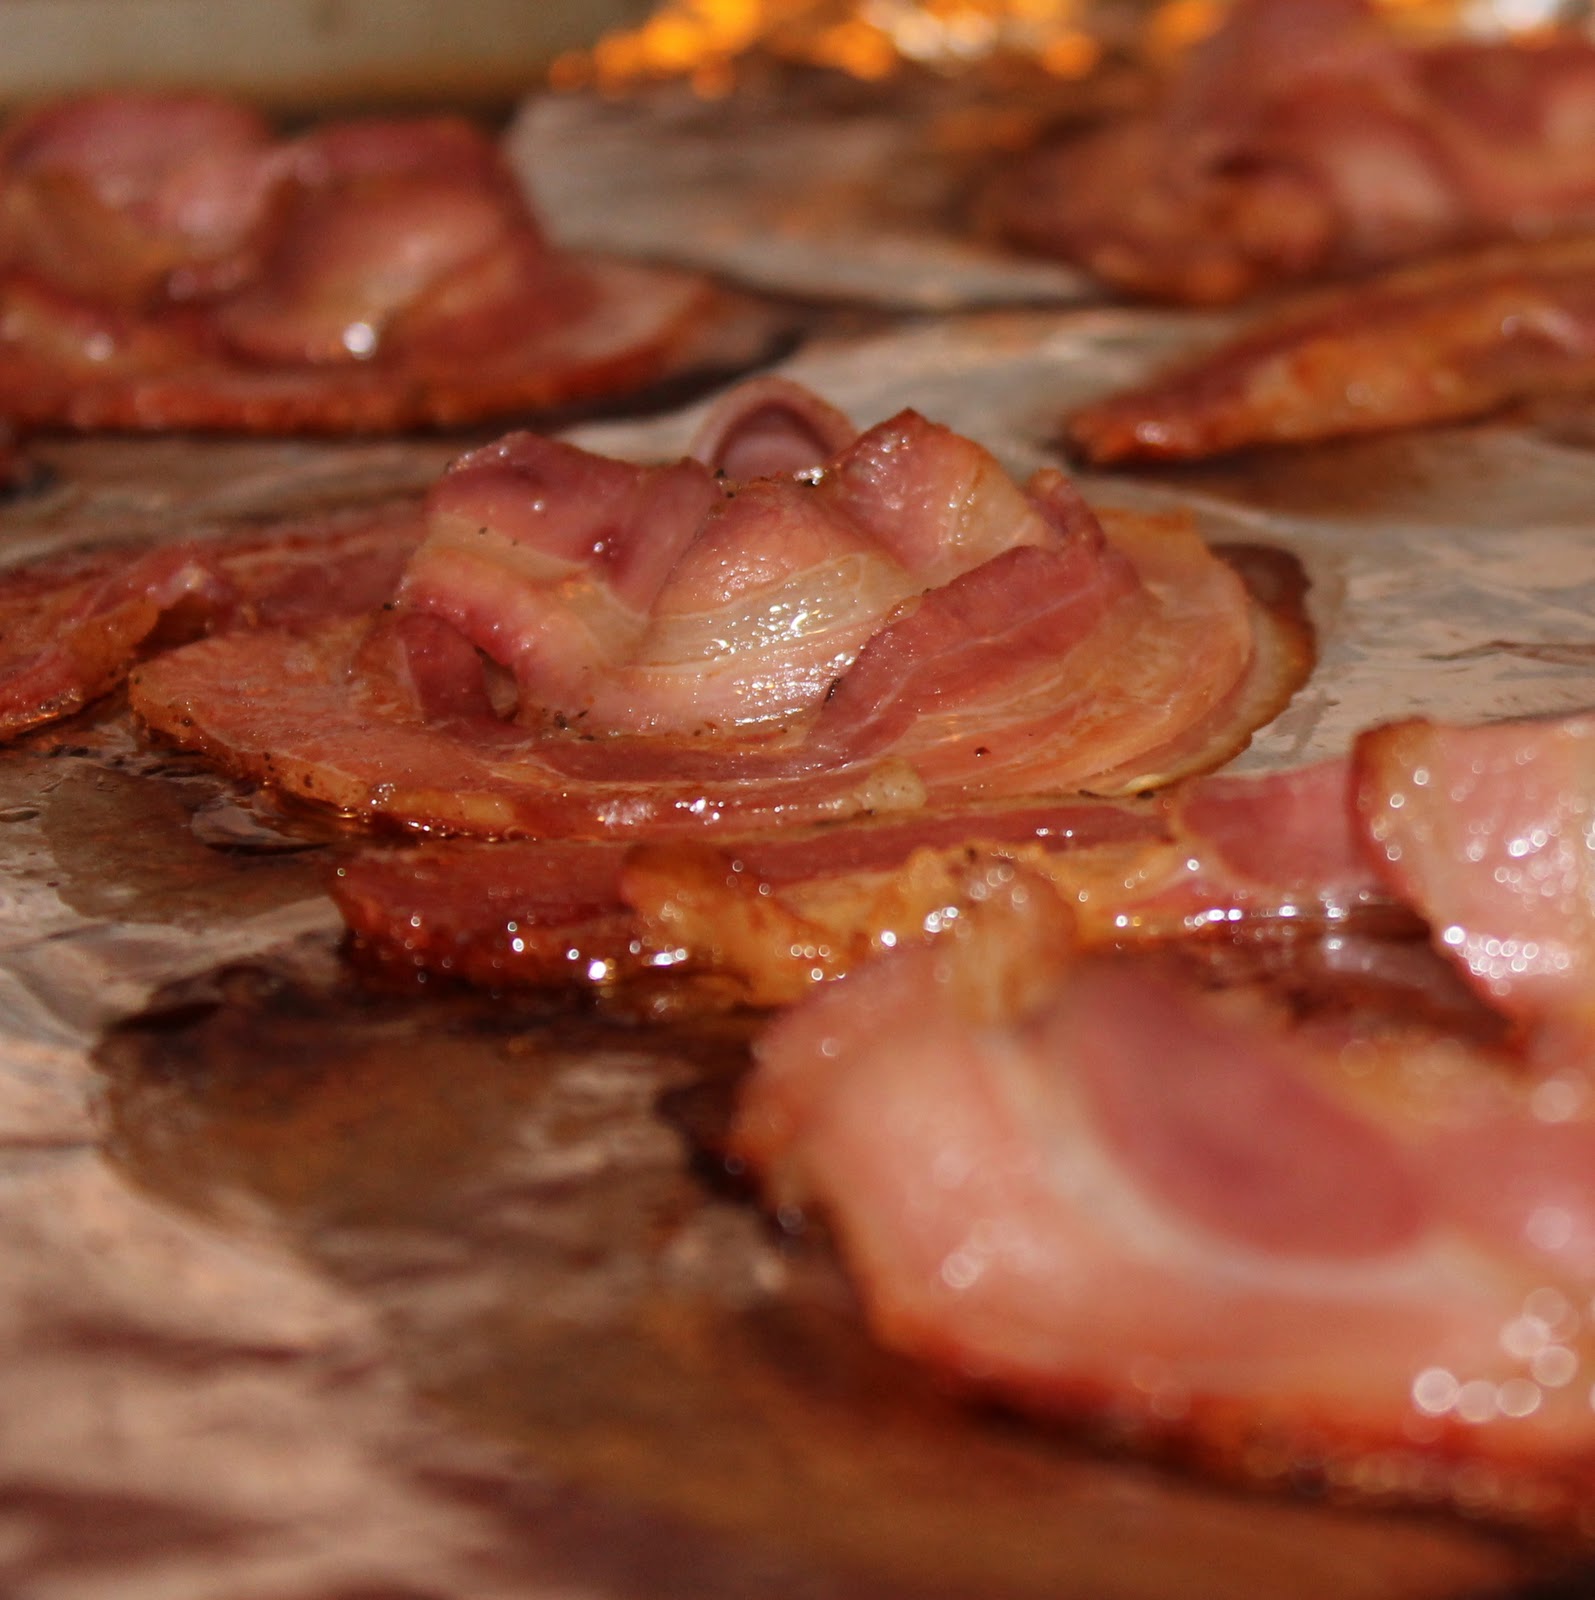
Cook the pancetta in the oven for 8 to 10 minutes or until crisp.
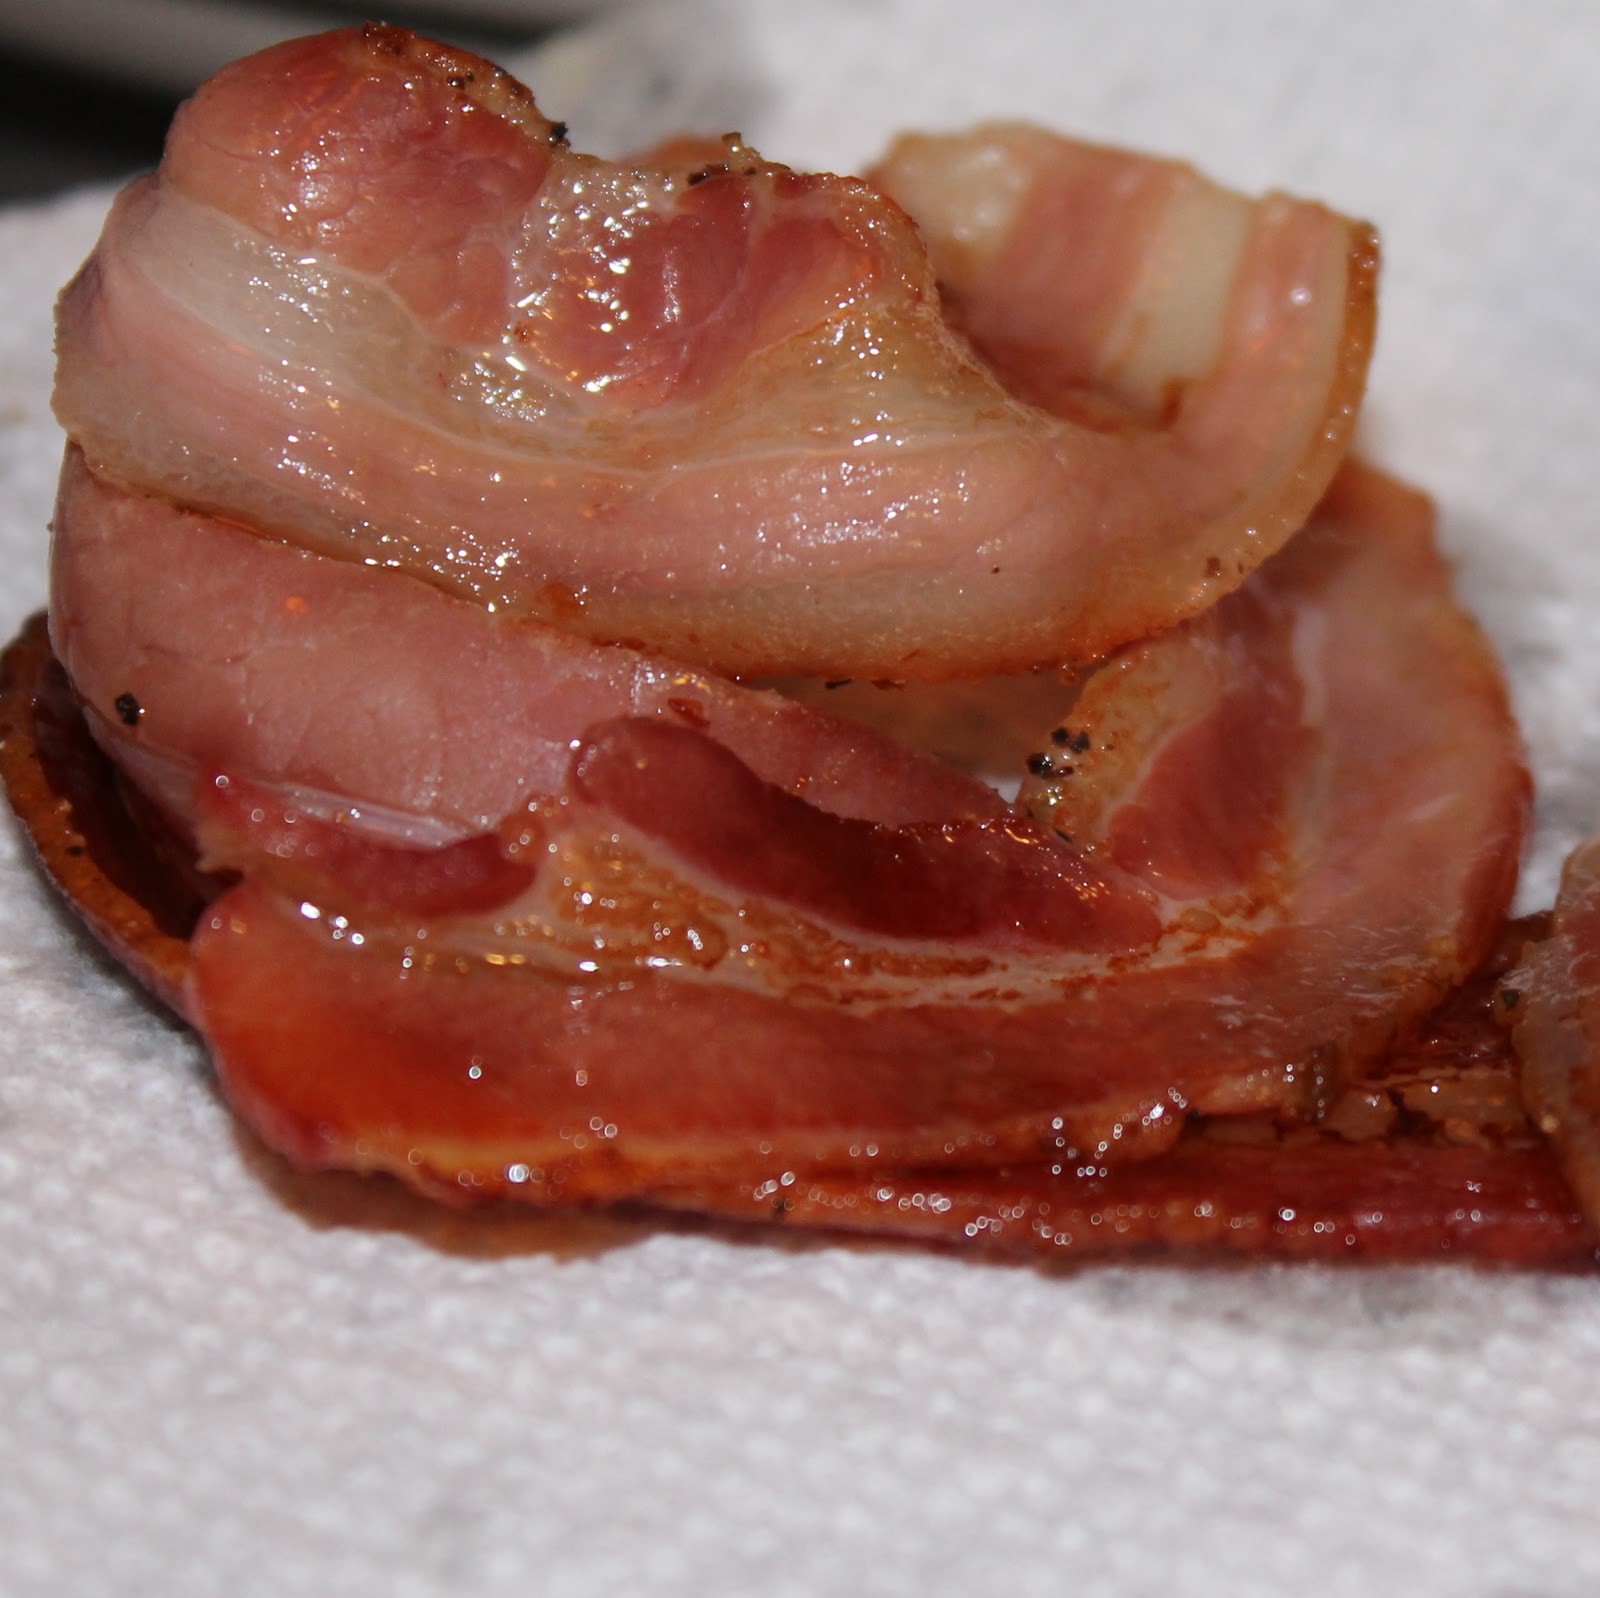
Transfer the pancetta to a paper towel and allow to sit for 10 minutes.
Use an apple corer to core your pear. This was surprisingly easy (I have no clue why I thought this would be a battle).
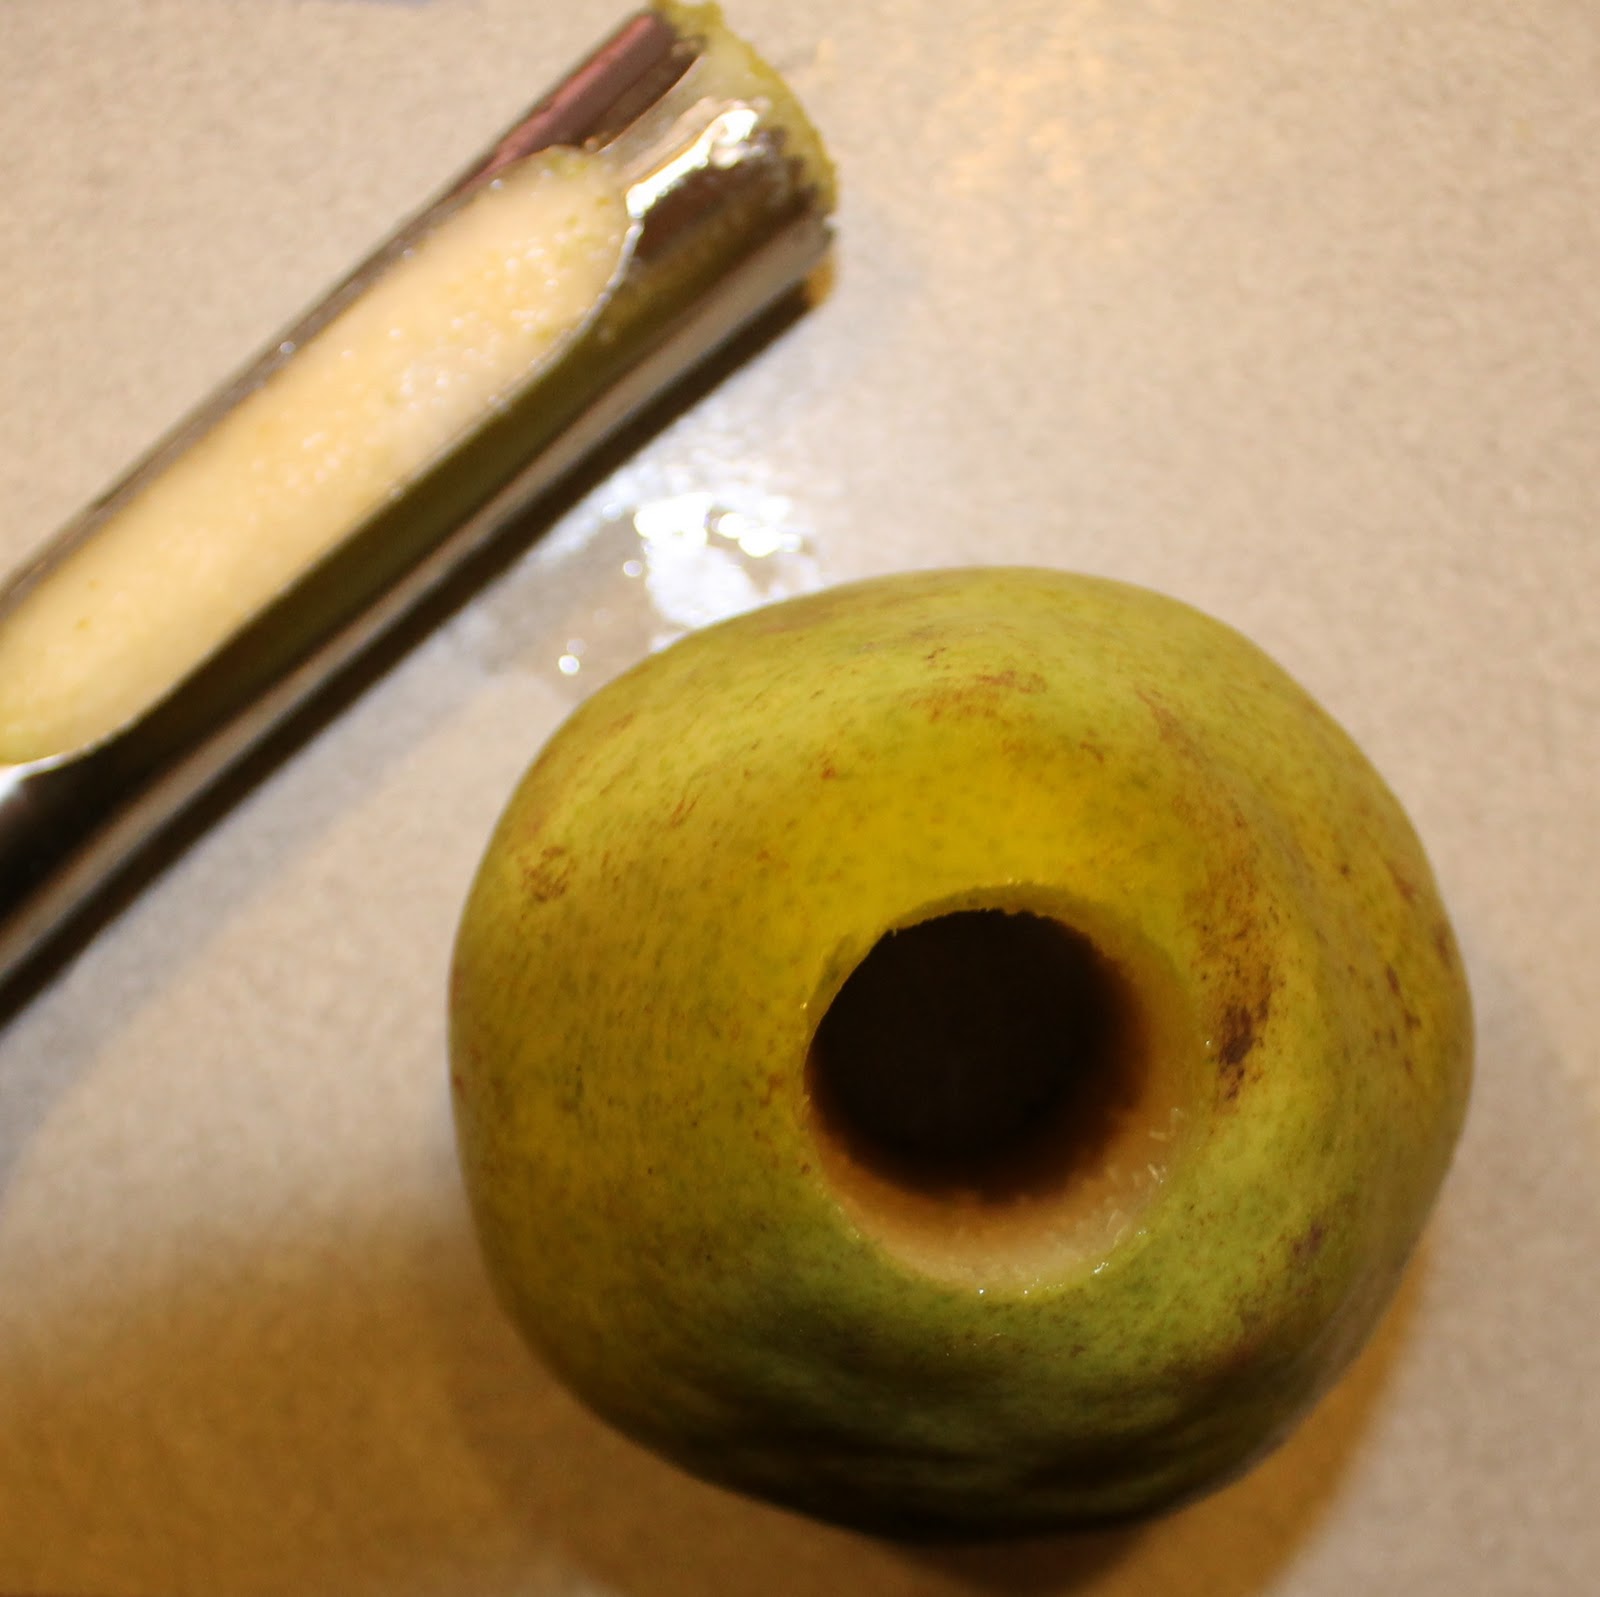
Slice the pear into equal sized slices. I got 6 slices, plus the top and bottom of the pear.

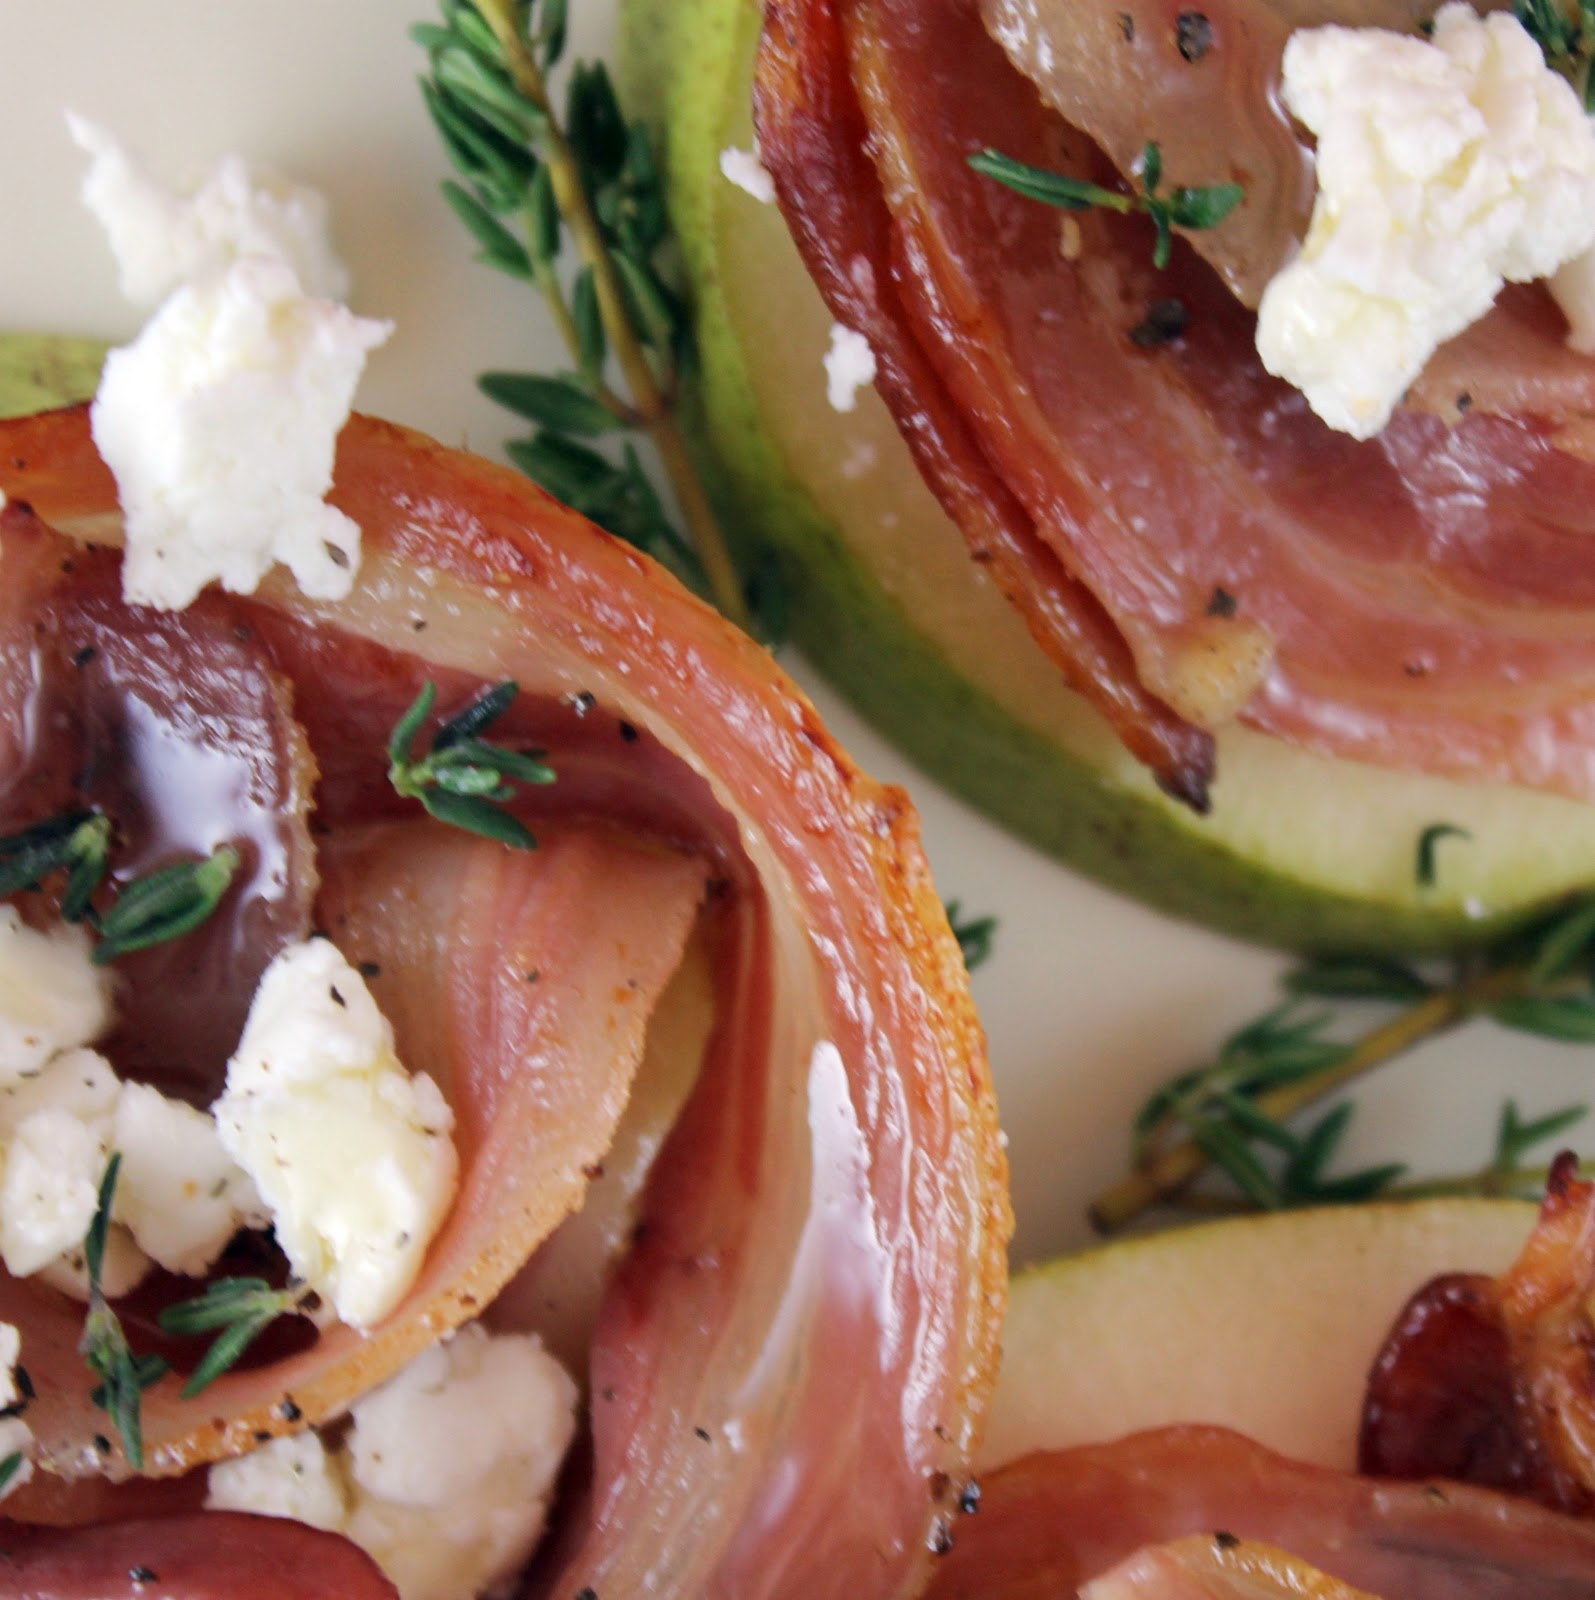
Add the pancetta on top of the pear. Top with crumbled goat cheese. Sprinkle with pepper and some chopped thyme. This is where you can stop and pop these in the fridge if you are making them ahead. Right before serving, drizzle with a bit of honey.
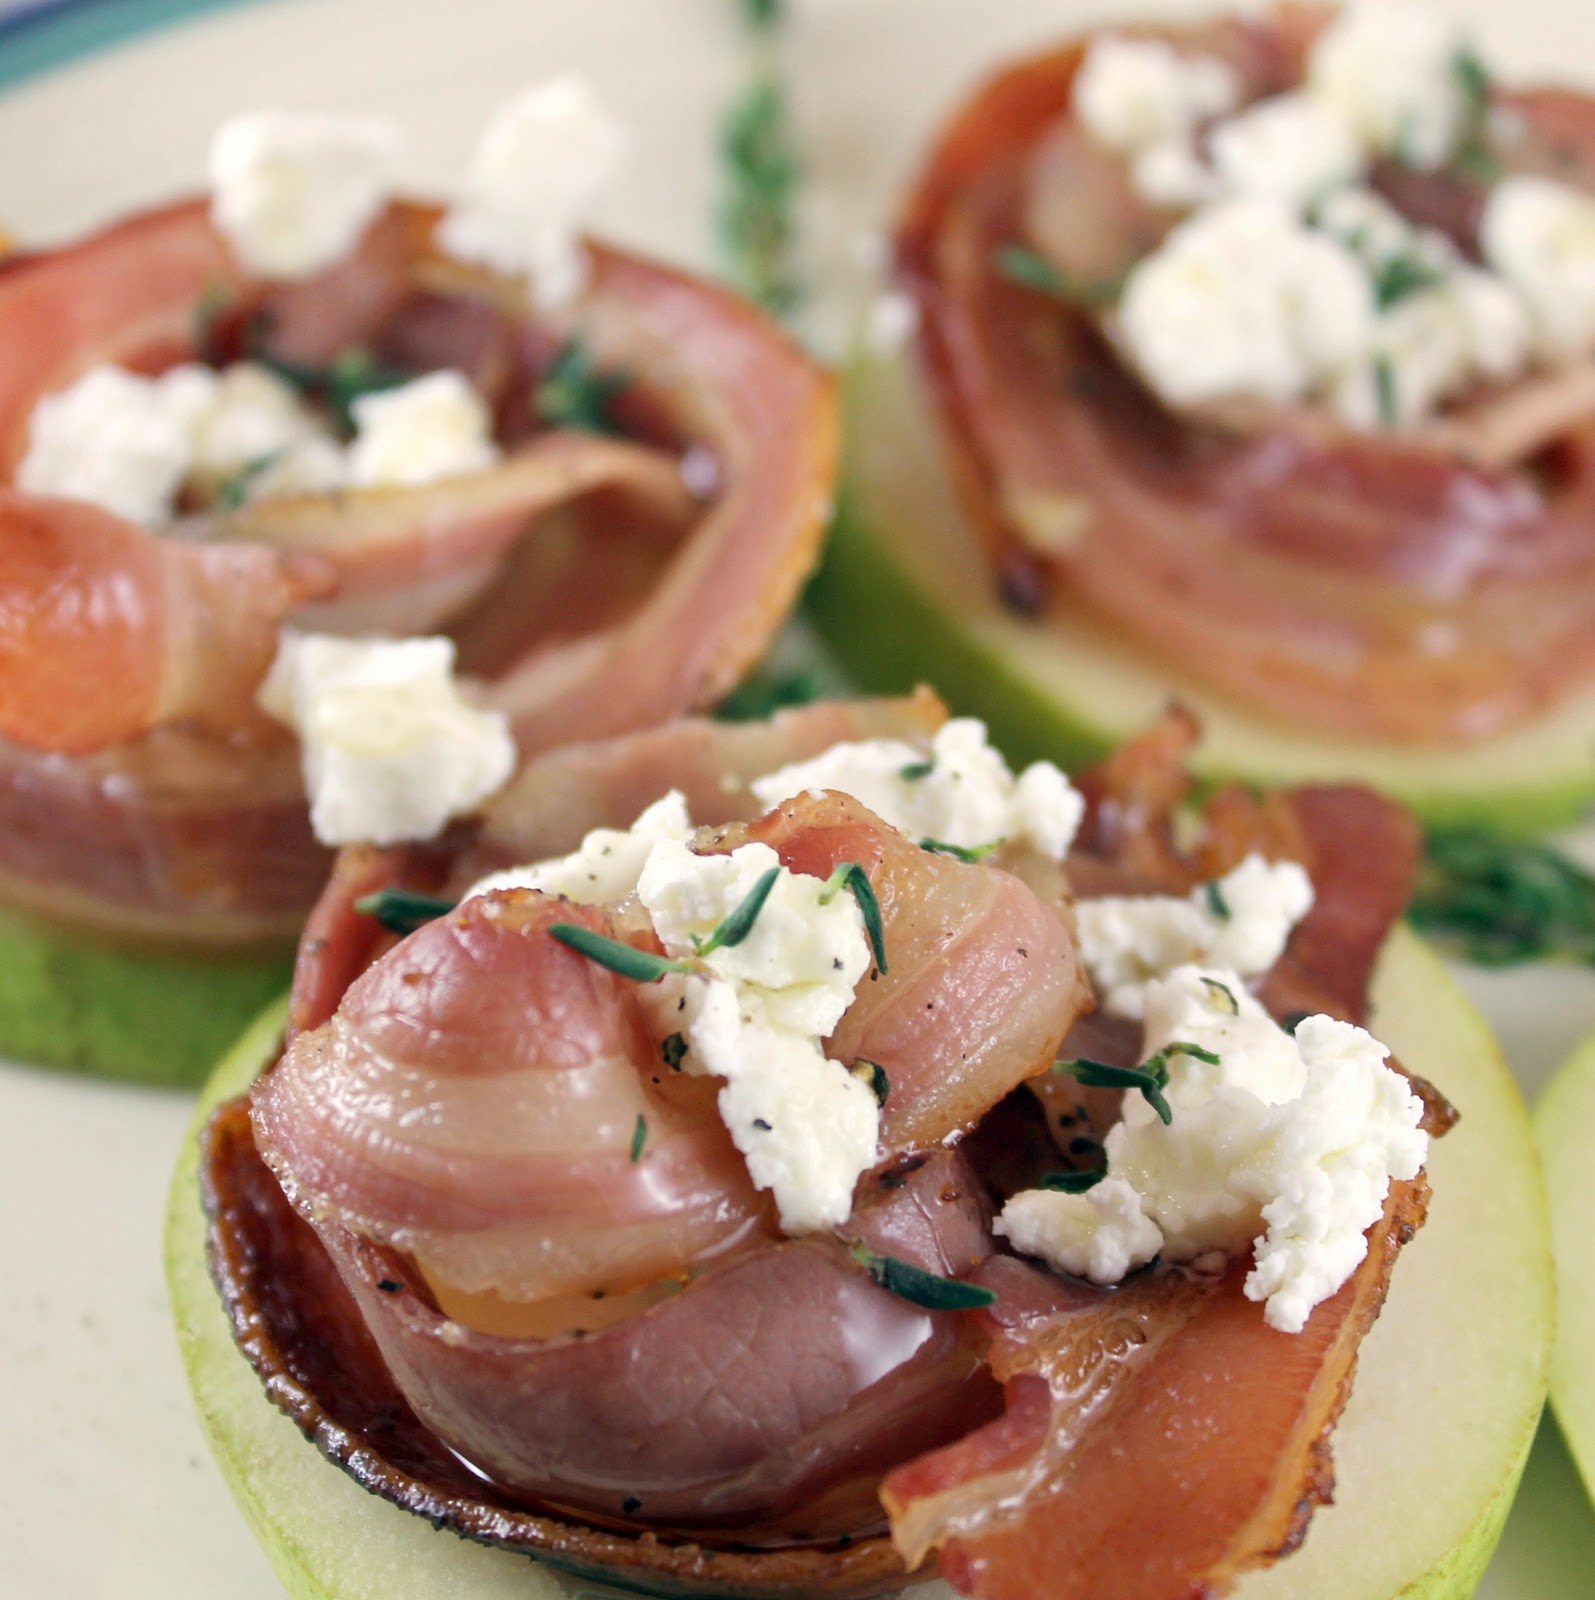
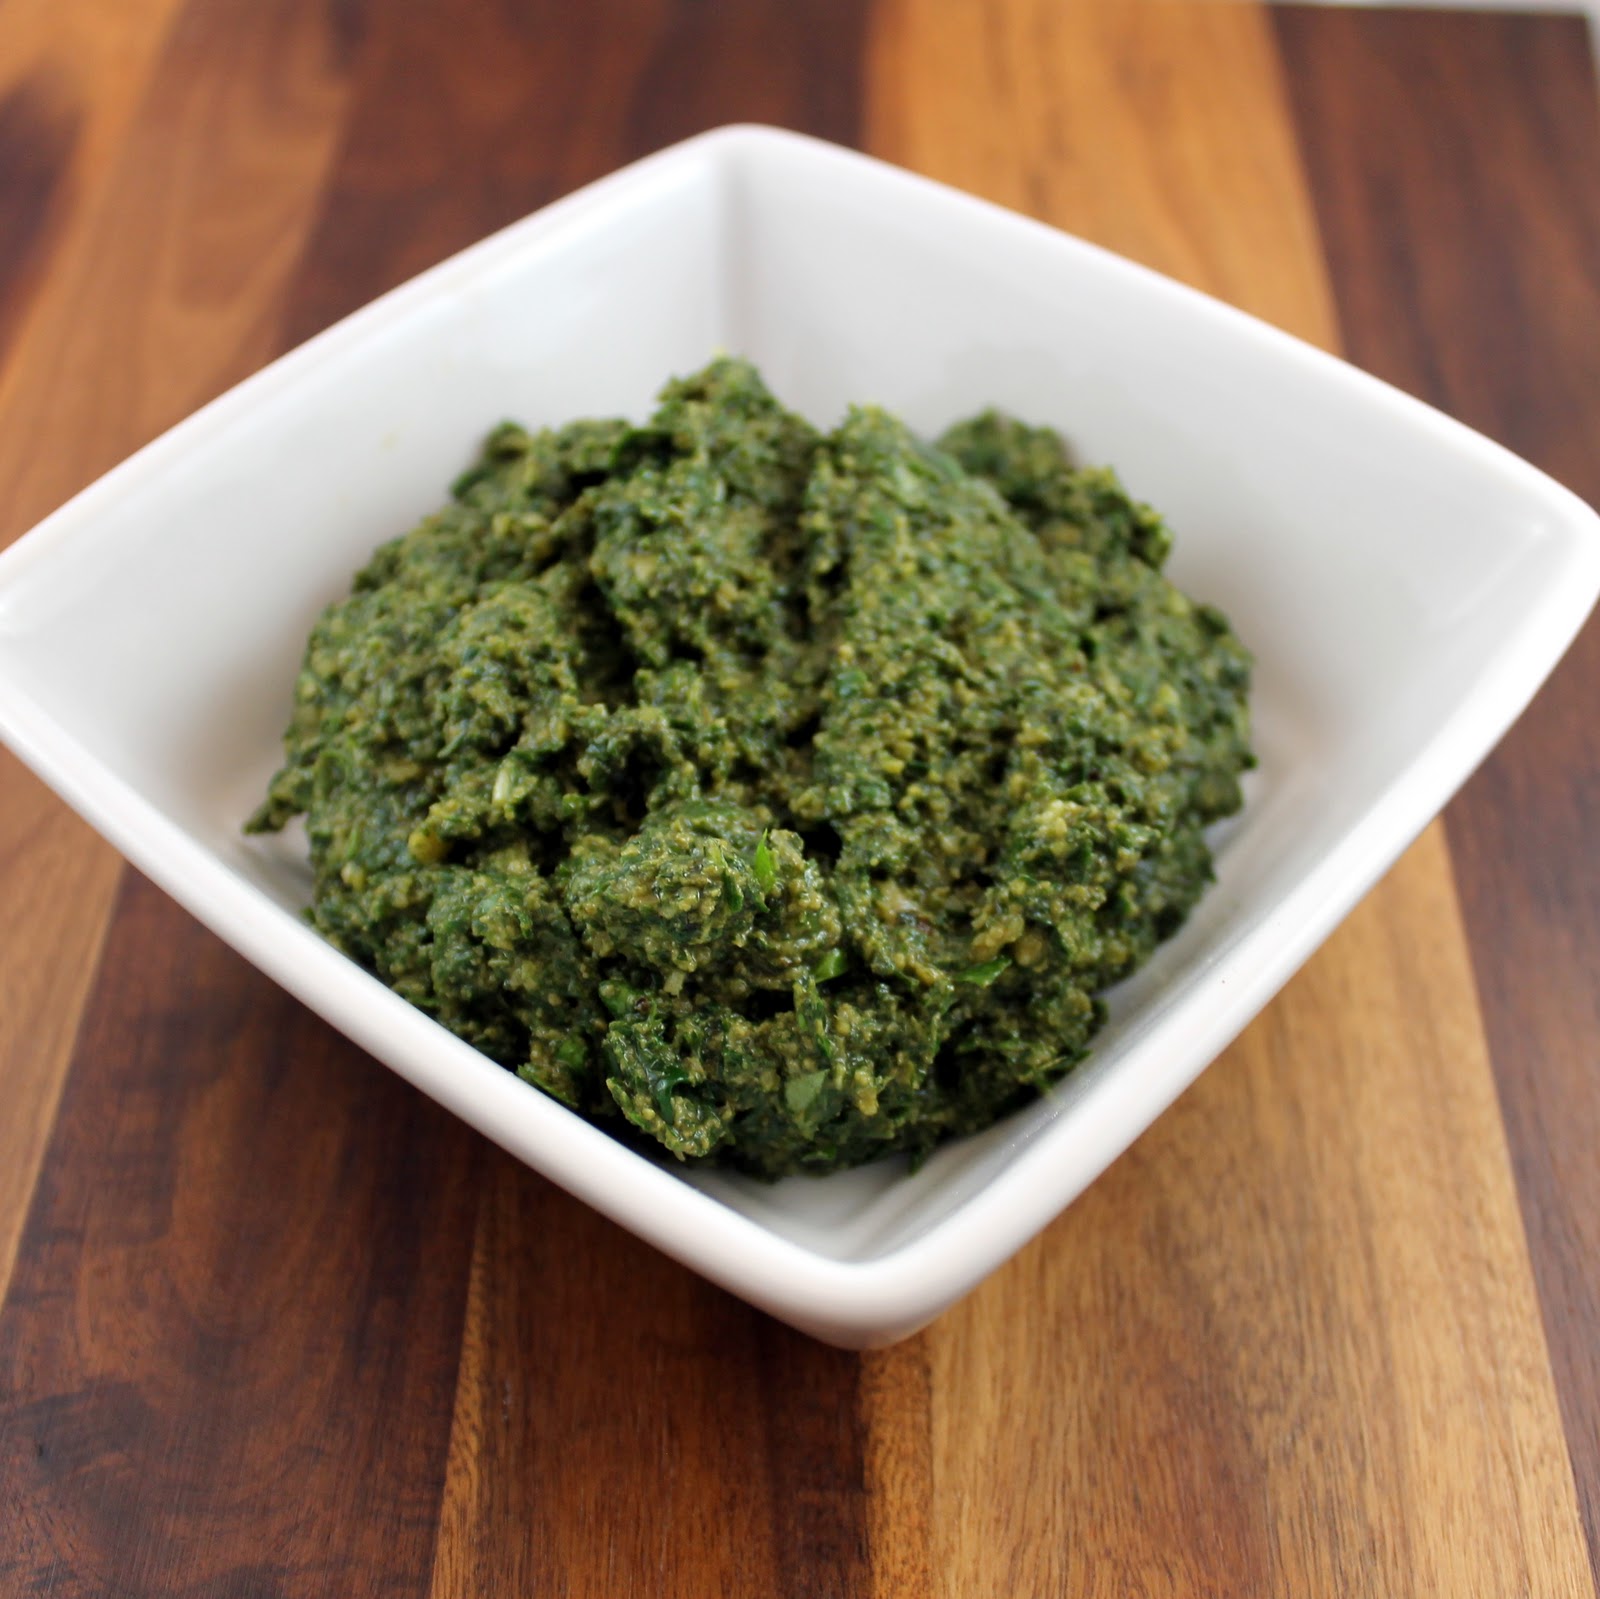
It’s quite pretty, isn’t it?
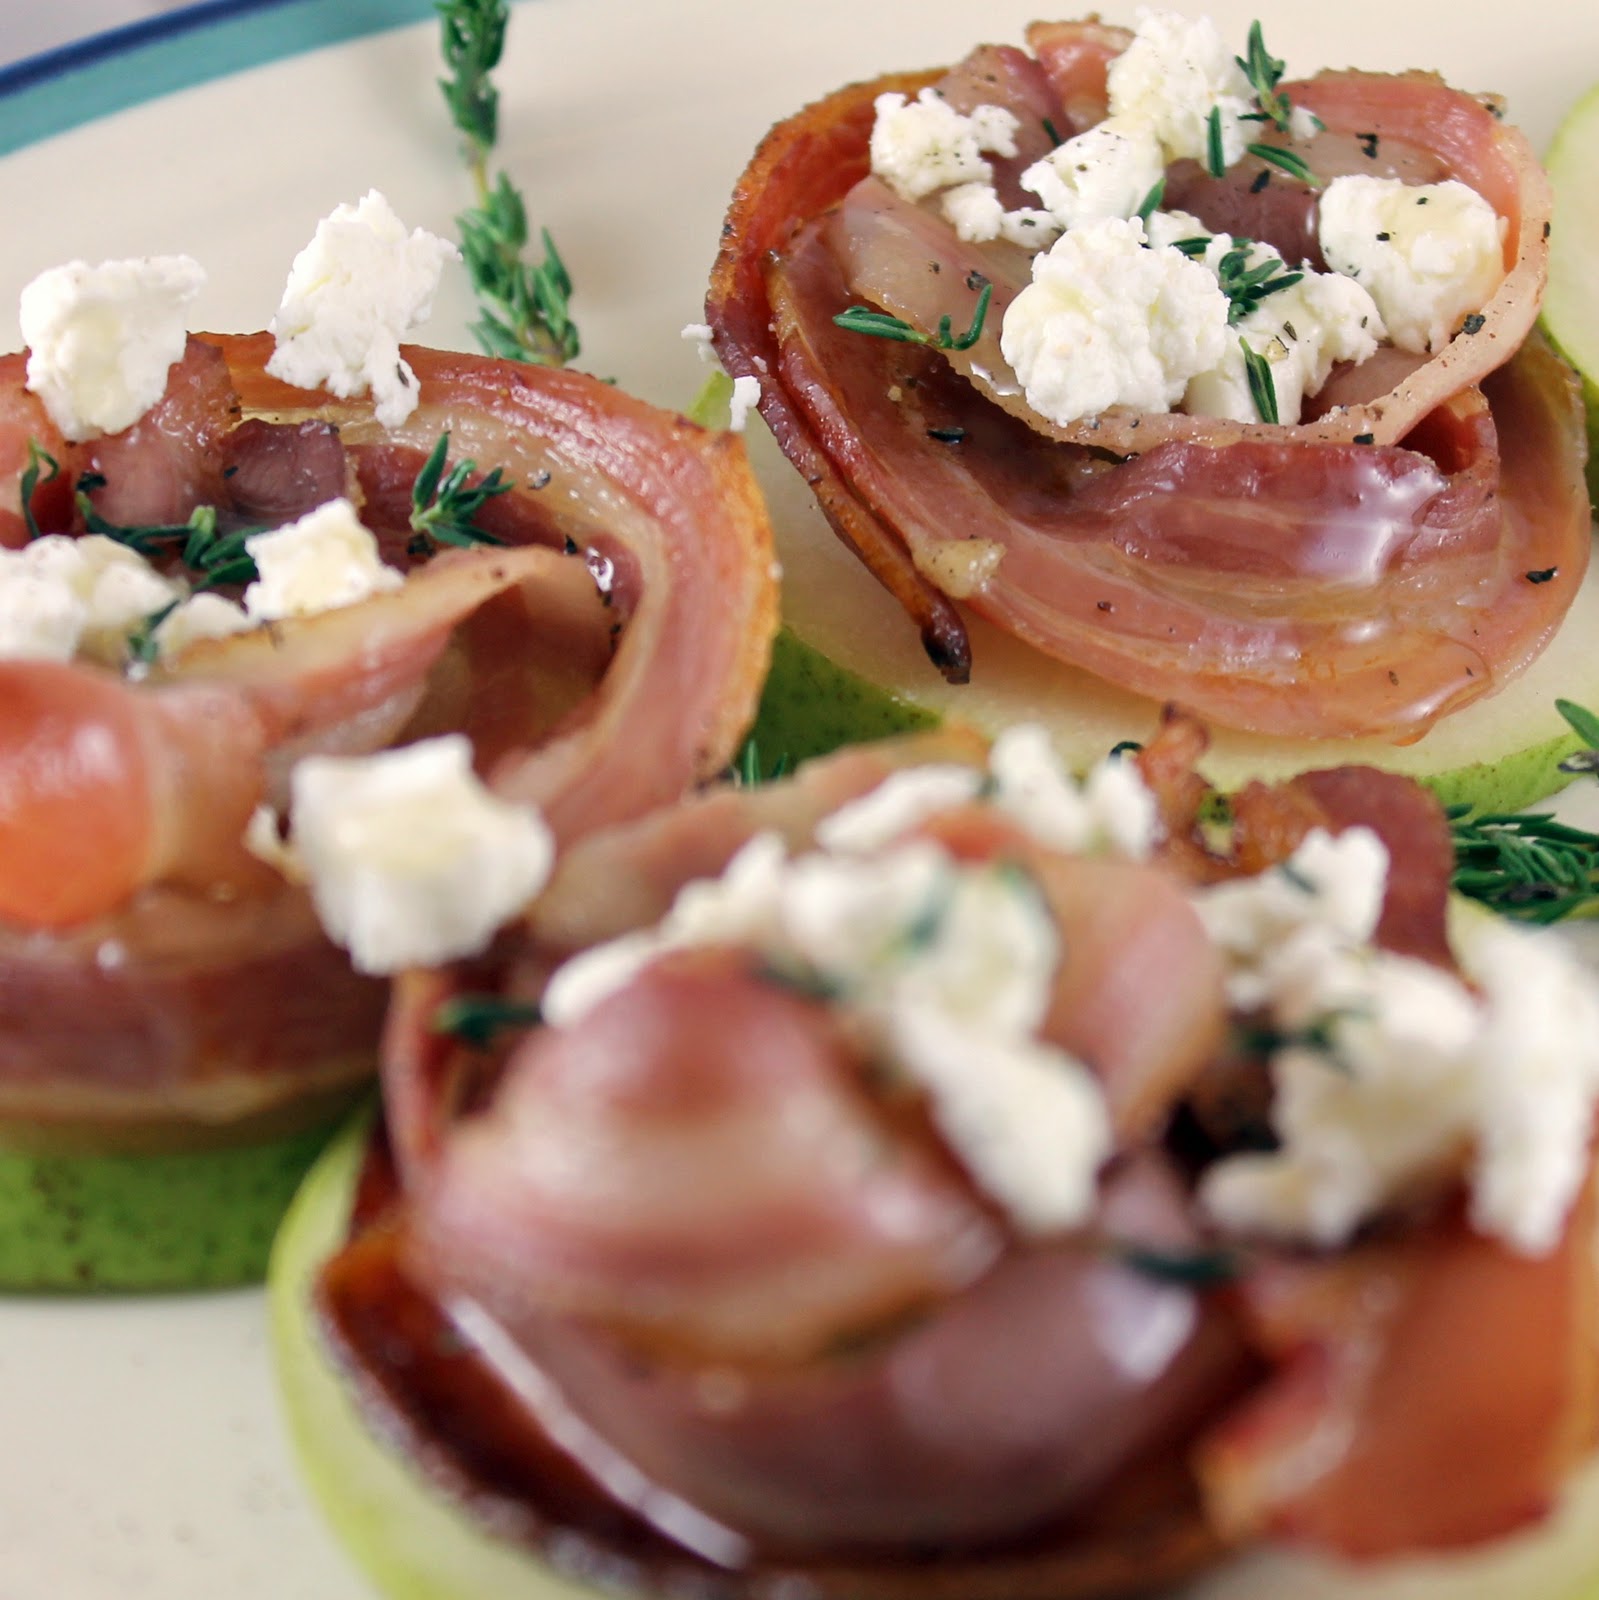
But… how does it taste? I actually really liked this! It’s flavorful, different, and easy to eat with one hand (crucial for a get together where most are walking and mingling).
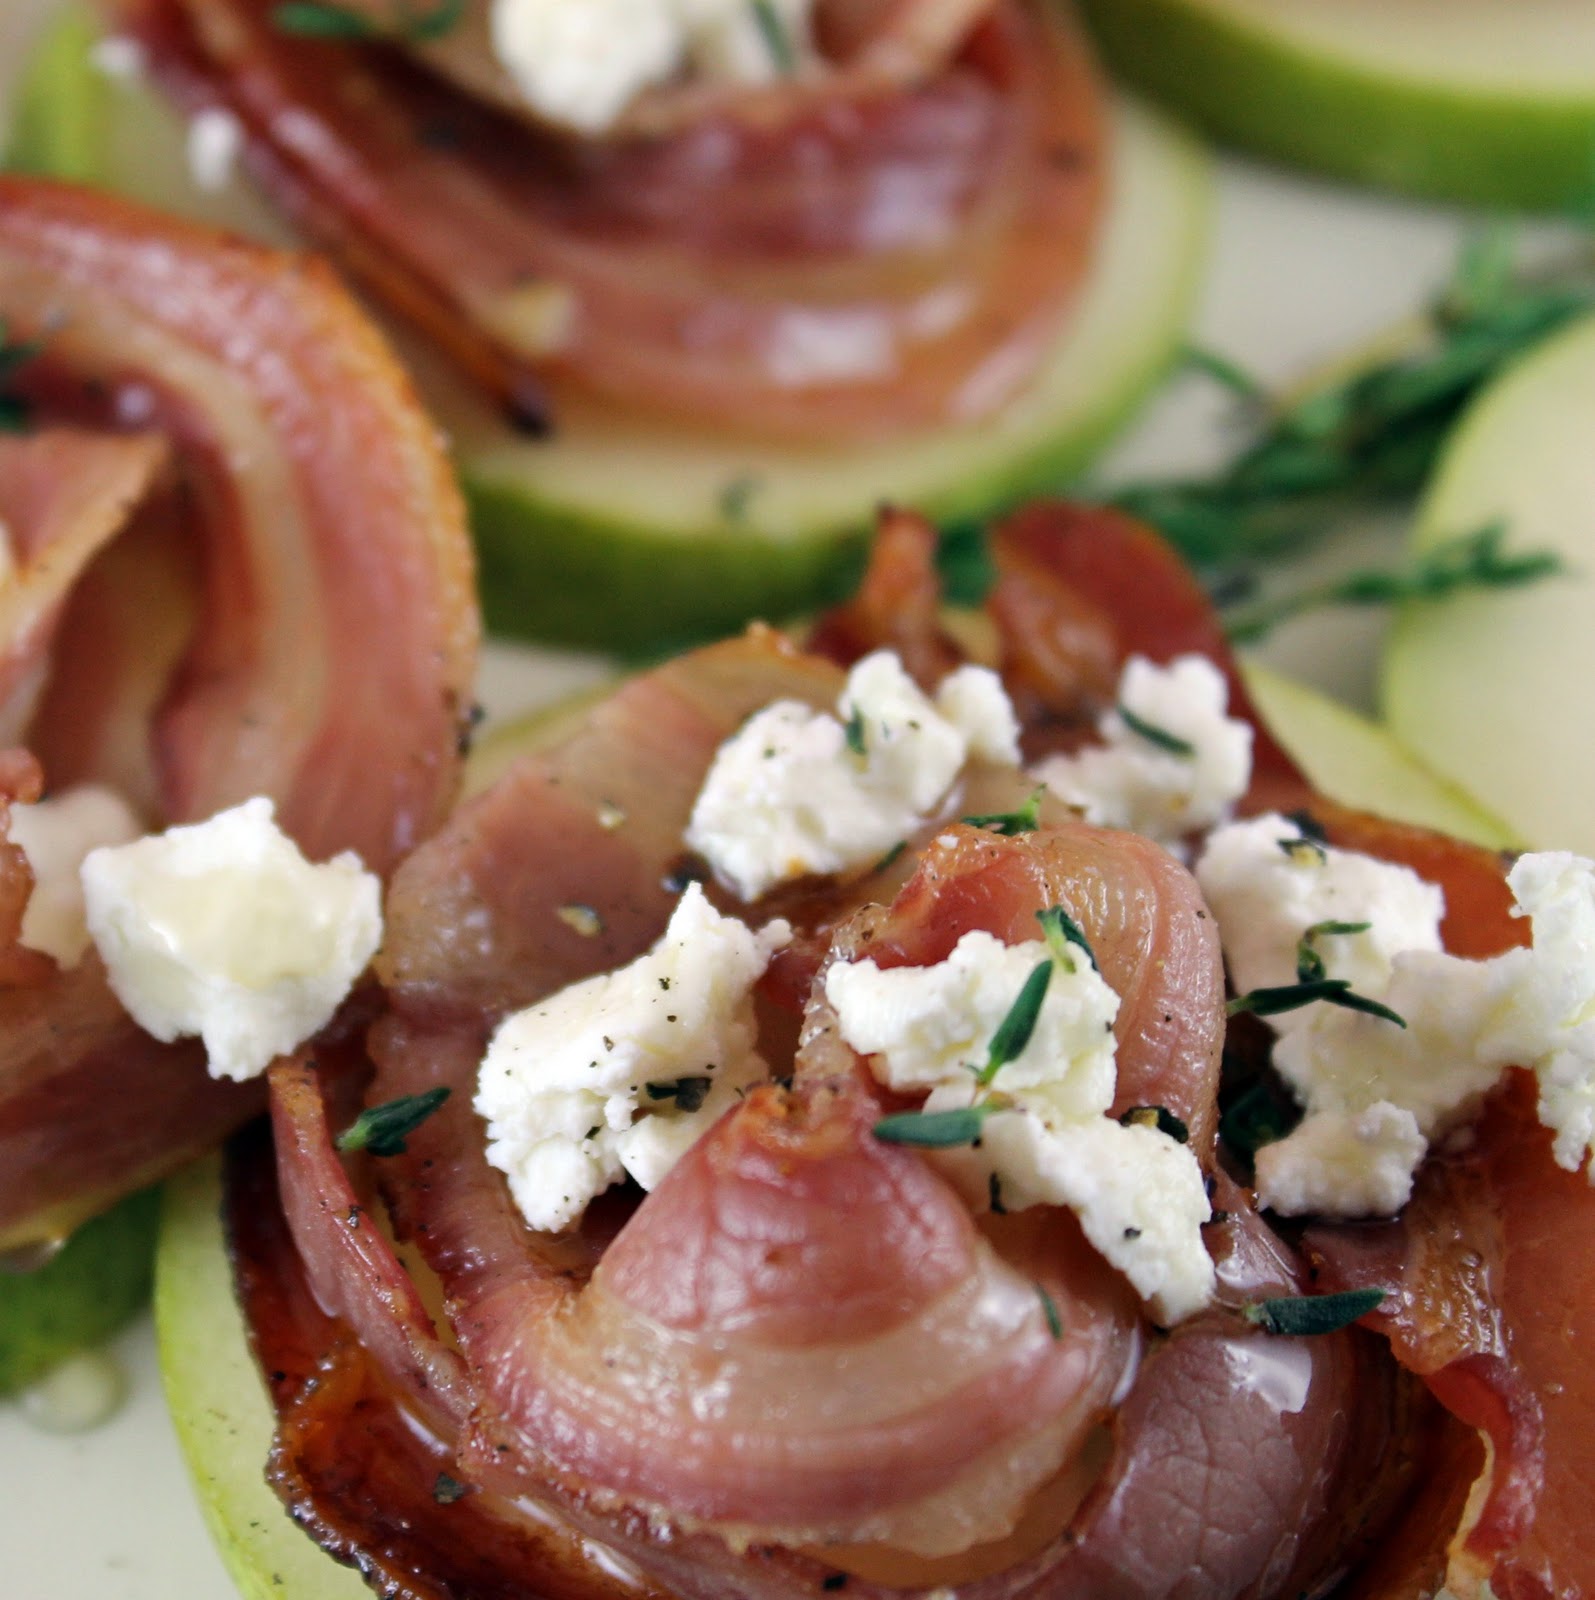
The pancetta was a wonderfully salty contrast to the sweetness of the pear and honey, the goat cheese added a nice creaminess and the thyme added little pops of flavor that brought the whole appetizer together.
There were some awesome textures in this as well. Overall, a definite keeper!