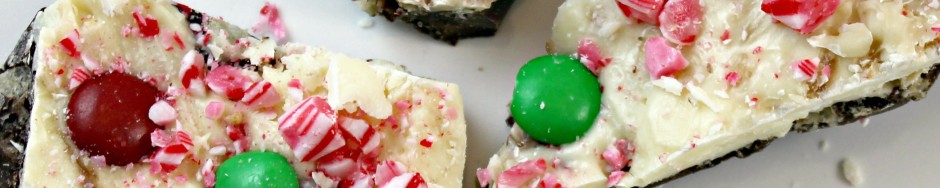
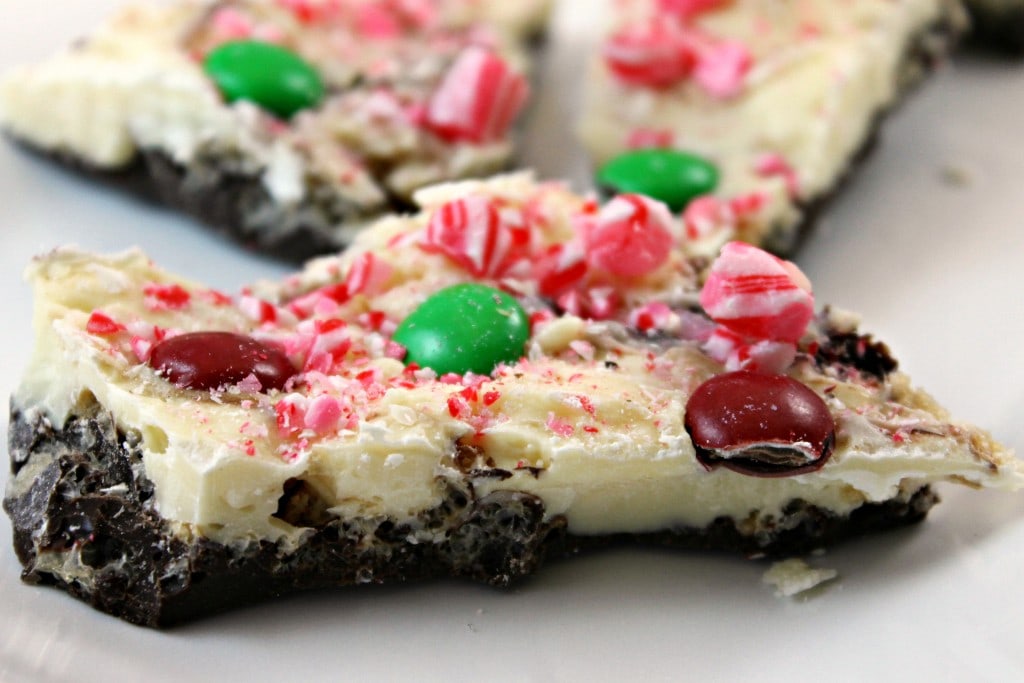
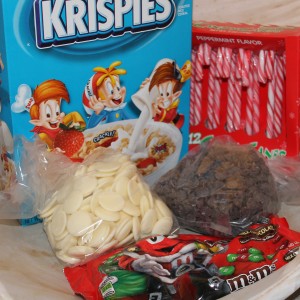
Chocolate Bark is one of my favorite holiday treats to make. Why? Because it is so darn simple. And people LOVE it. It is basically melted chocolate with some other deliciousness thrown in. Candy, pretzels, nuts.. whatever makes you happy. I wanted to make some bark to supplement my cookies this year and found this fantastic recipe from Baked Bree. Bree included some Rice Krispies cereal in between the layers to add a little bit of extra crunch to the bark, brilliant! The red and green M&Ms and candy canes make this the perfect holiday treat.
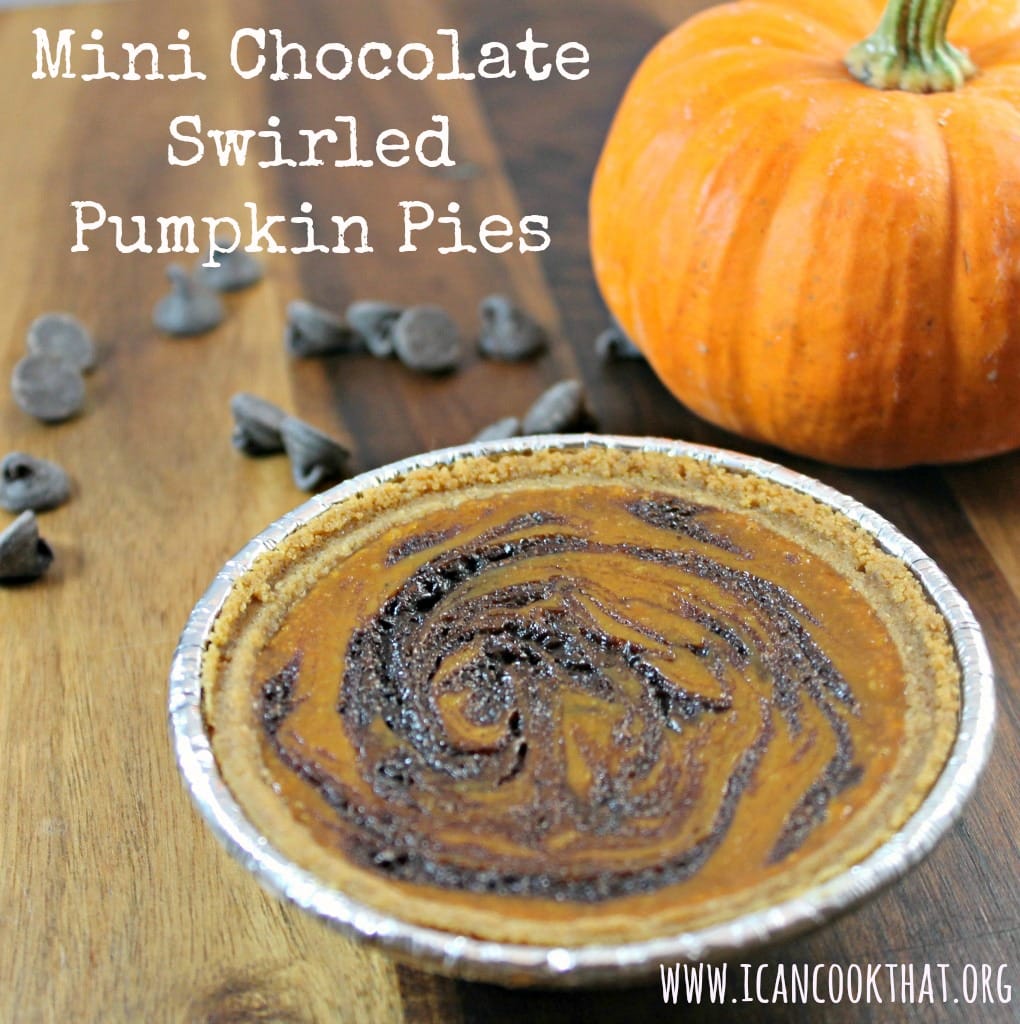
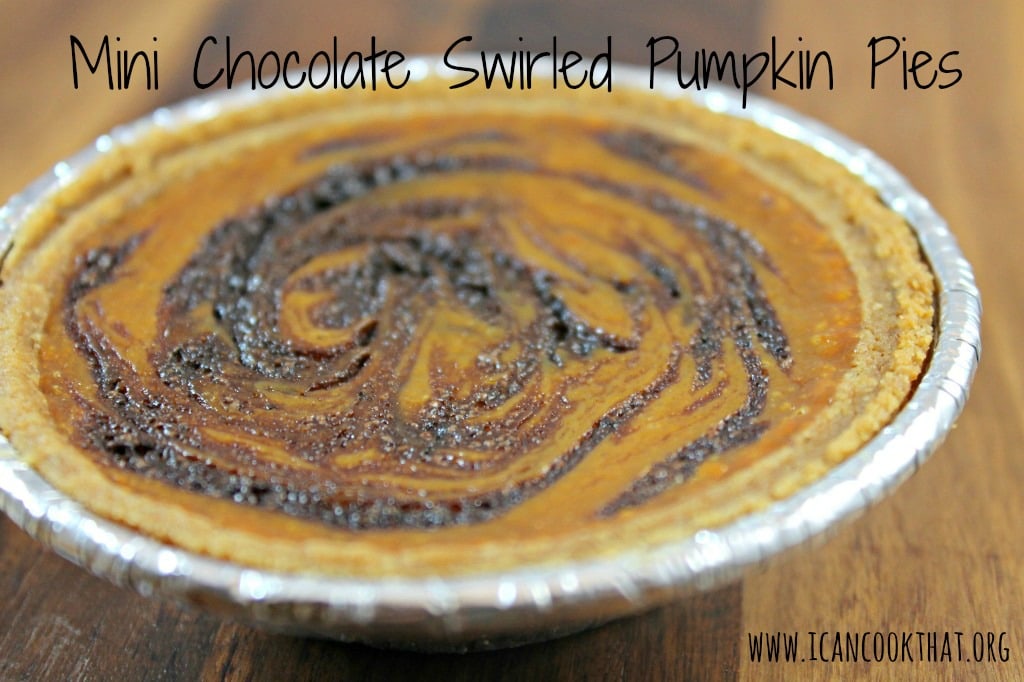
Just because Thanksgiving has passed doesn’t mean I can continue to deliver pumpkin-y goodness on this blog. This recipe for Chocolate Pumpkin Pie was featured on The Chew and I just loved the idea of it but wanted to make it a little bit my own, so instead I went with Chocolate Swirled Pumpkin Pies.
I didn’t want the pumpkin flavor to be lost in the chocolate so I decided to swirl a bit in at the end. And, because I’m apparently on a mini kick, I went with mini Chocolate Swirled Pumpkin Pies!
Ingredients:
3 oz Semisweet Chocolate Chips
2 tablespoons Unsalted Butter (cut into small pieces)
Each year, my mom makes a beautiful trifle for Christmas. I’m pretty sure at one point, she was only making one, but as the popularity of her trifle grew, she is now up to making 6+ for different holiday events, friends, and family. My sister and I grew up begrudgingly helping my mom make these Christmas trifles but we both have grown to love them and look forward to a bite of Christmas trifle every December.
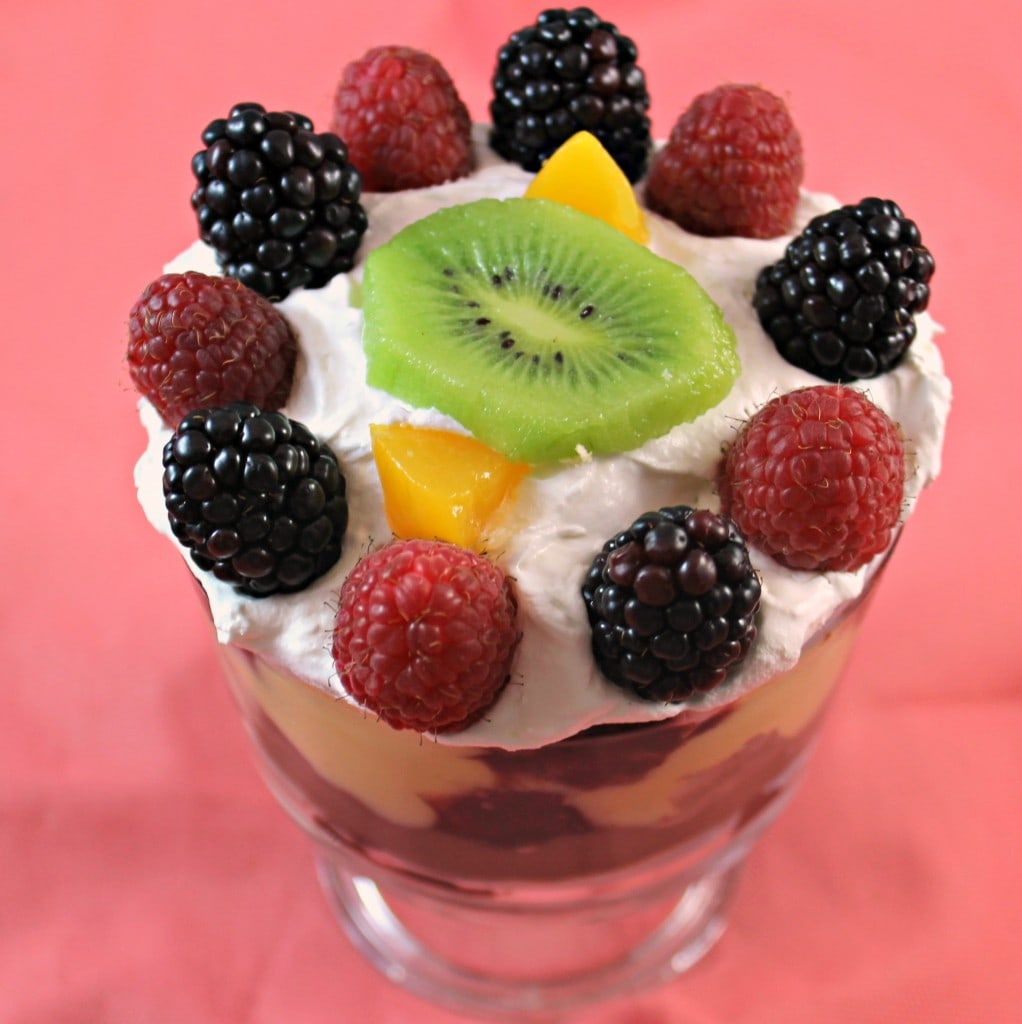
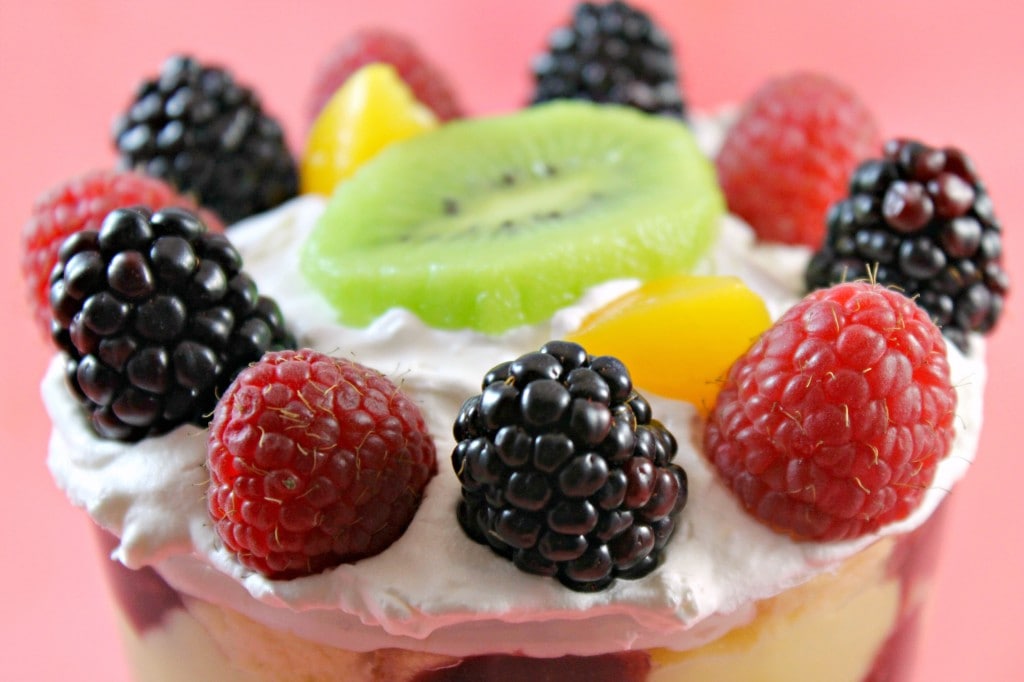
A trifle is just a layered dessert that is usually made with cake pieces, cream, pudding, and fruit. My mom tops her with a beautiful design of fruit: kiwi, peaches and raspberries. I wanted to make some trifle to share with this blog but a normal trifle can serve a whole family, so I made a mini version! To prepare a regular trifle, the process is just the same.
I highlighted Driscoll’s Berries in my trifle. I absolutely love their raspberries and blackberries so I wanted to have a higher ratio of berries in my trifle than may normally be used. Driscoll’s also sells really beautiful Strawberries and Blueberries that I have used in many many of my previous posts. Berries always add such beautiful color and flavor to a dish!
Note: Driscoll’s sent me coupons for free berries to make this recipe; my opinions are my own.
Every Christmas, my mom makes an absolutely delicious trifle to give to neighbors and have for dessert on Christmas day. This trifle is so ingrained in our winter holidays that I’m pretty sure we aren’t allowed to show up to my aunt and uncle’s house without the trifle in hand. I’ve always loved the simplicity of trifles and wanted to try out a version using my favorite ingredient: pumpkin!
I was given the opportunity to enter a contest with nine other bloggers. The challenge is to use Walkers Shortbread products to make a new dessert, and luckily one of the categories was trifle! It was a sign!
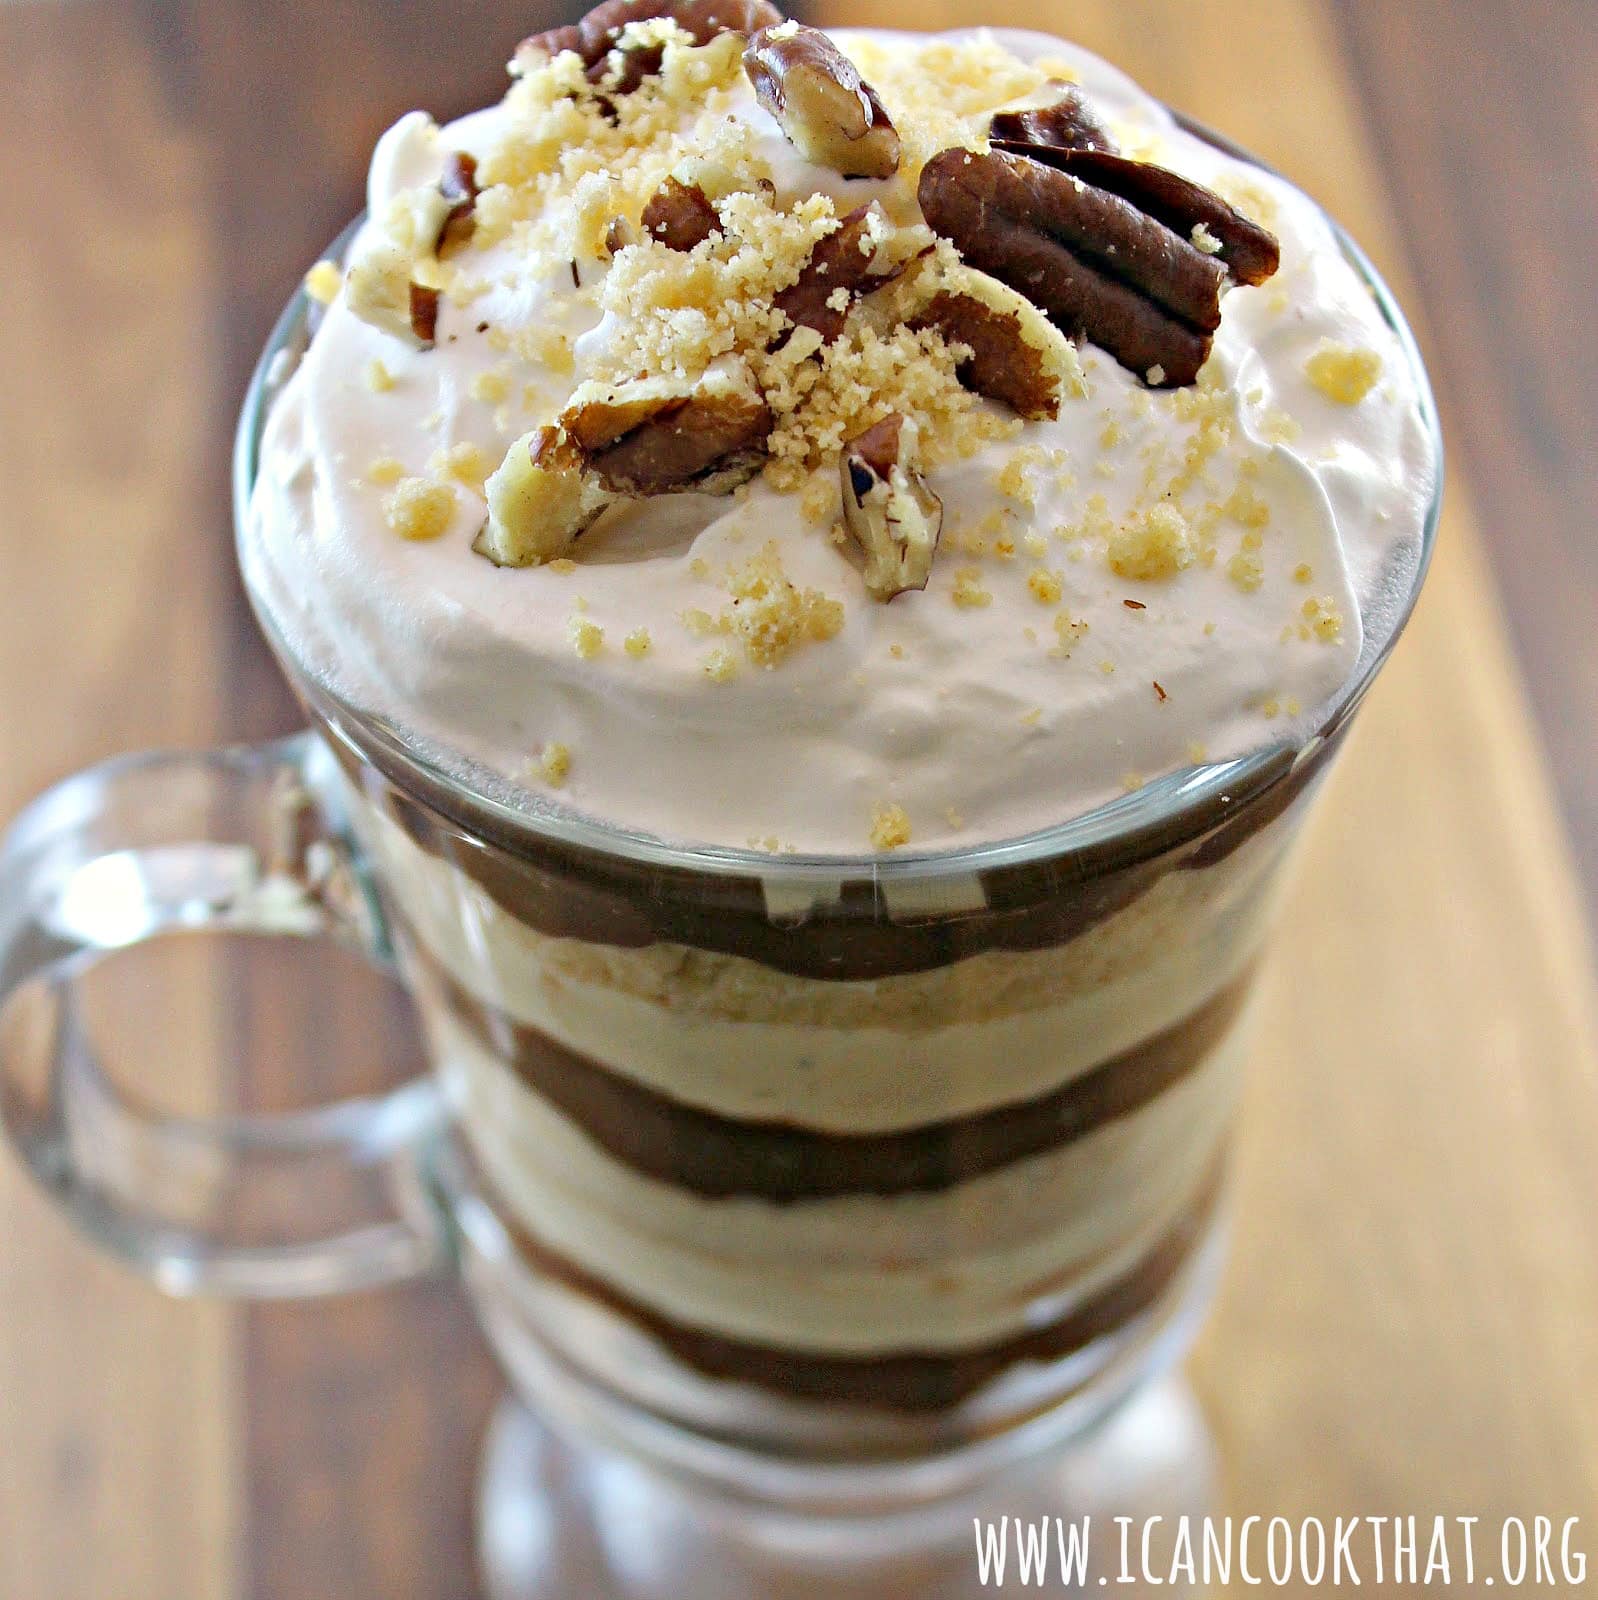
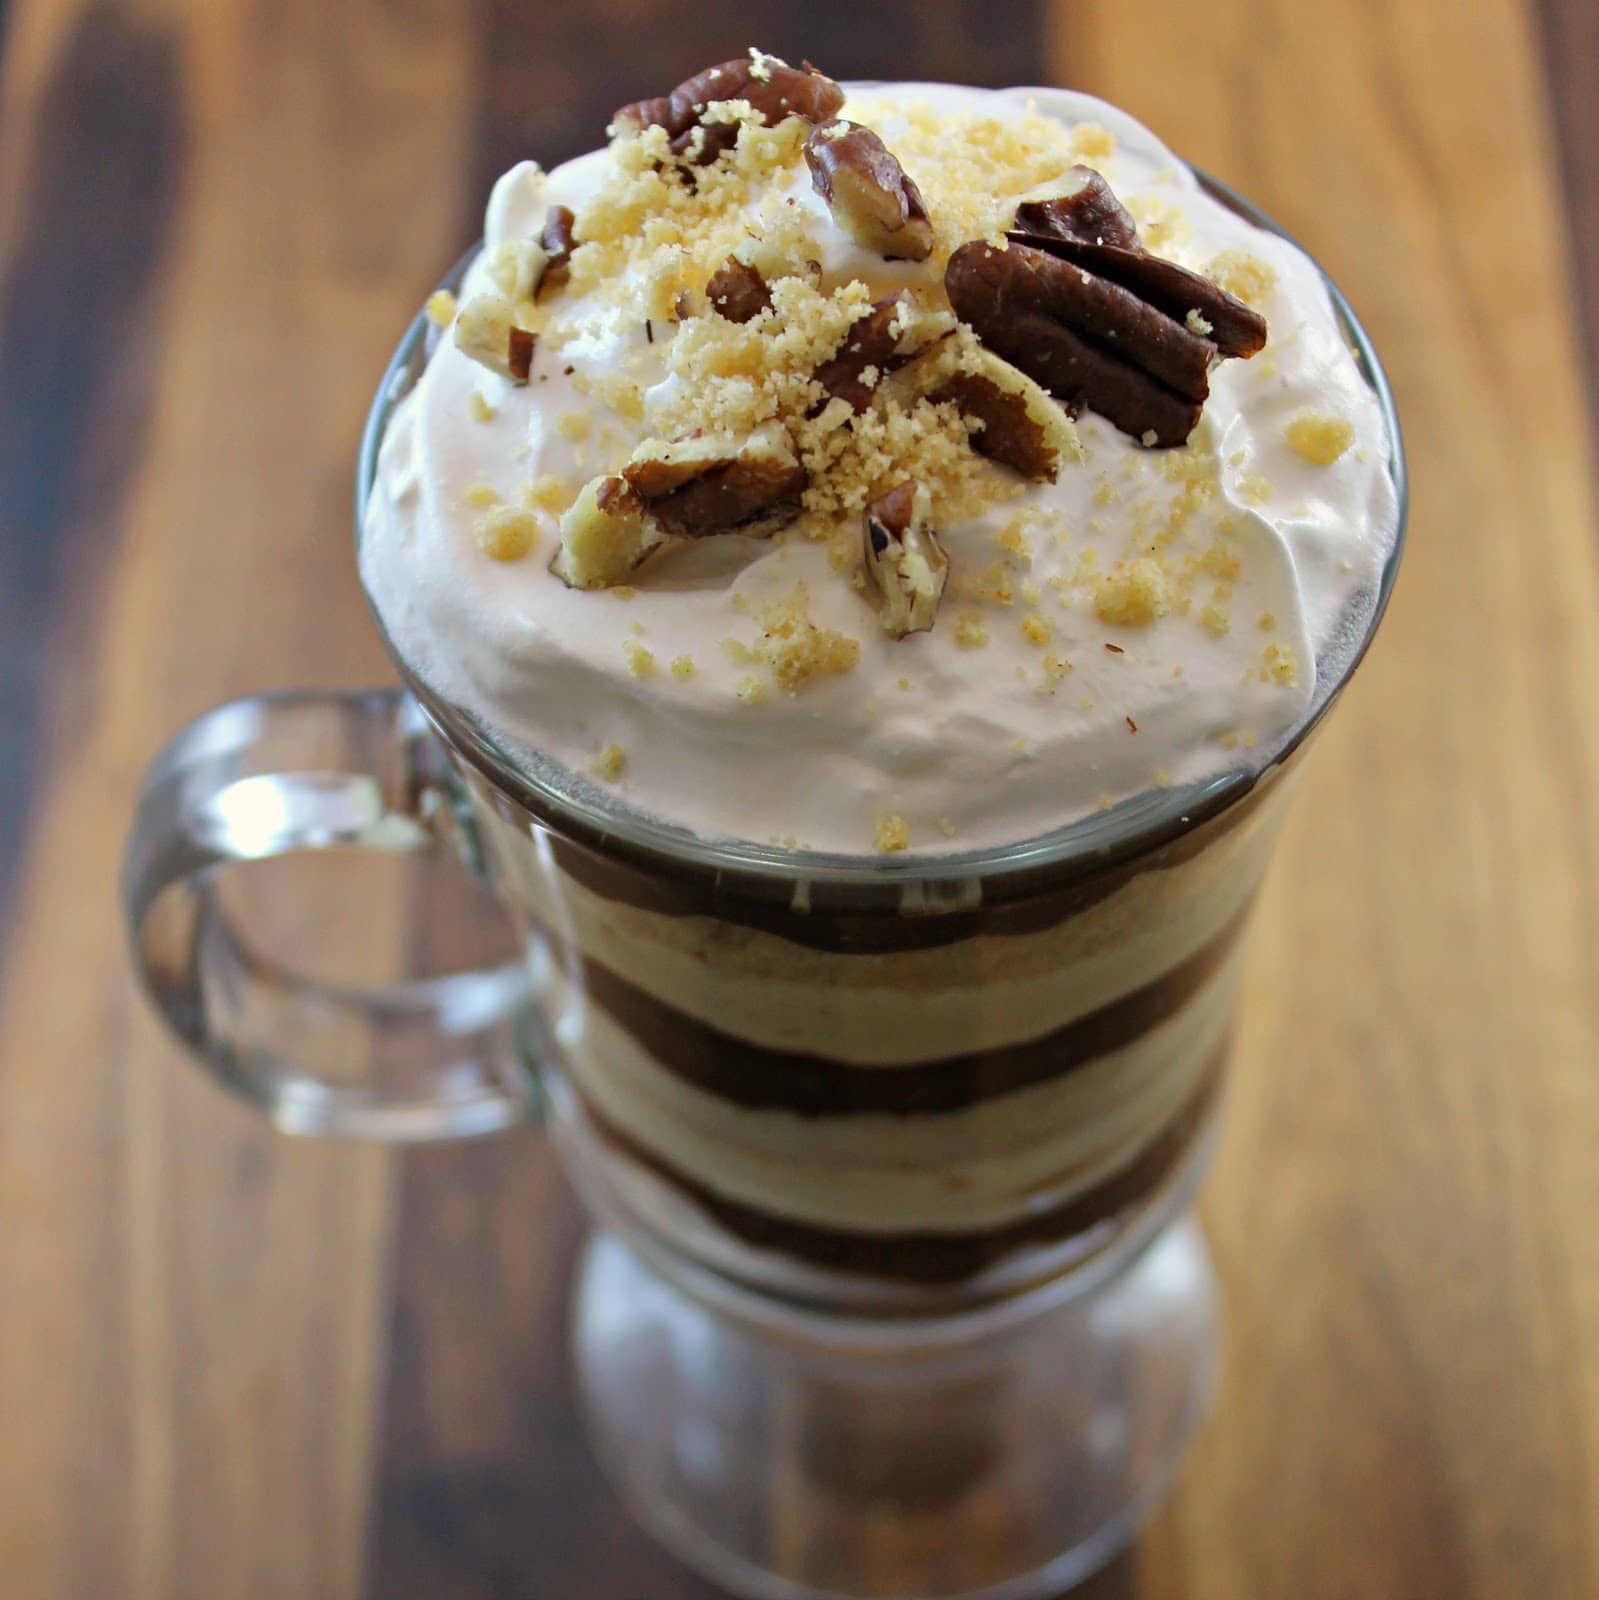
My mom’s trifle has custard, chocolate pudding, and rum-soaked pound cake slices with whipped cream and fruit on top. So I wanted to keep the general concept the same with my recipe. I decided to keep the chocolate pudding because, well, who doesn’t love chocolate pudding? A thought a pumpkin mousse would just be fantastic. I decided to make it a bourbon pumpkin mousse to add an extra layer of flavor. And of course instead of pound cake slices, I used Walkers’ Stem Ginger Biscuits and Pure Butter Shortbread. The trifle is topped off with whipped topping, pecan pieces, and a some more Walker’s cookie crumbs.
Ingredients:
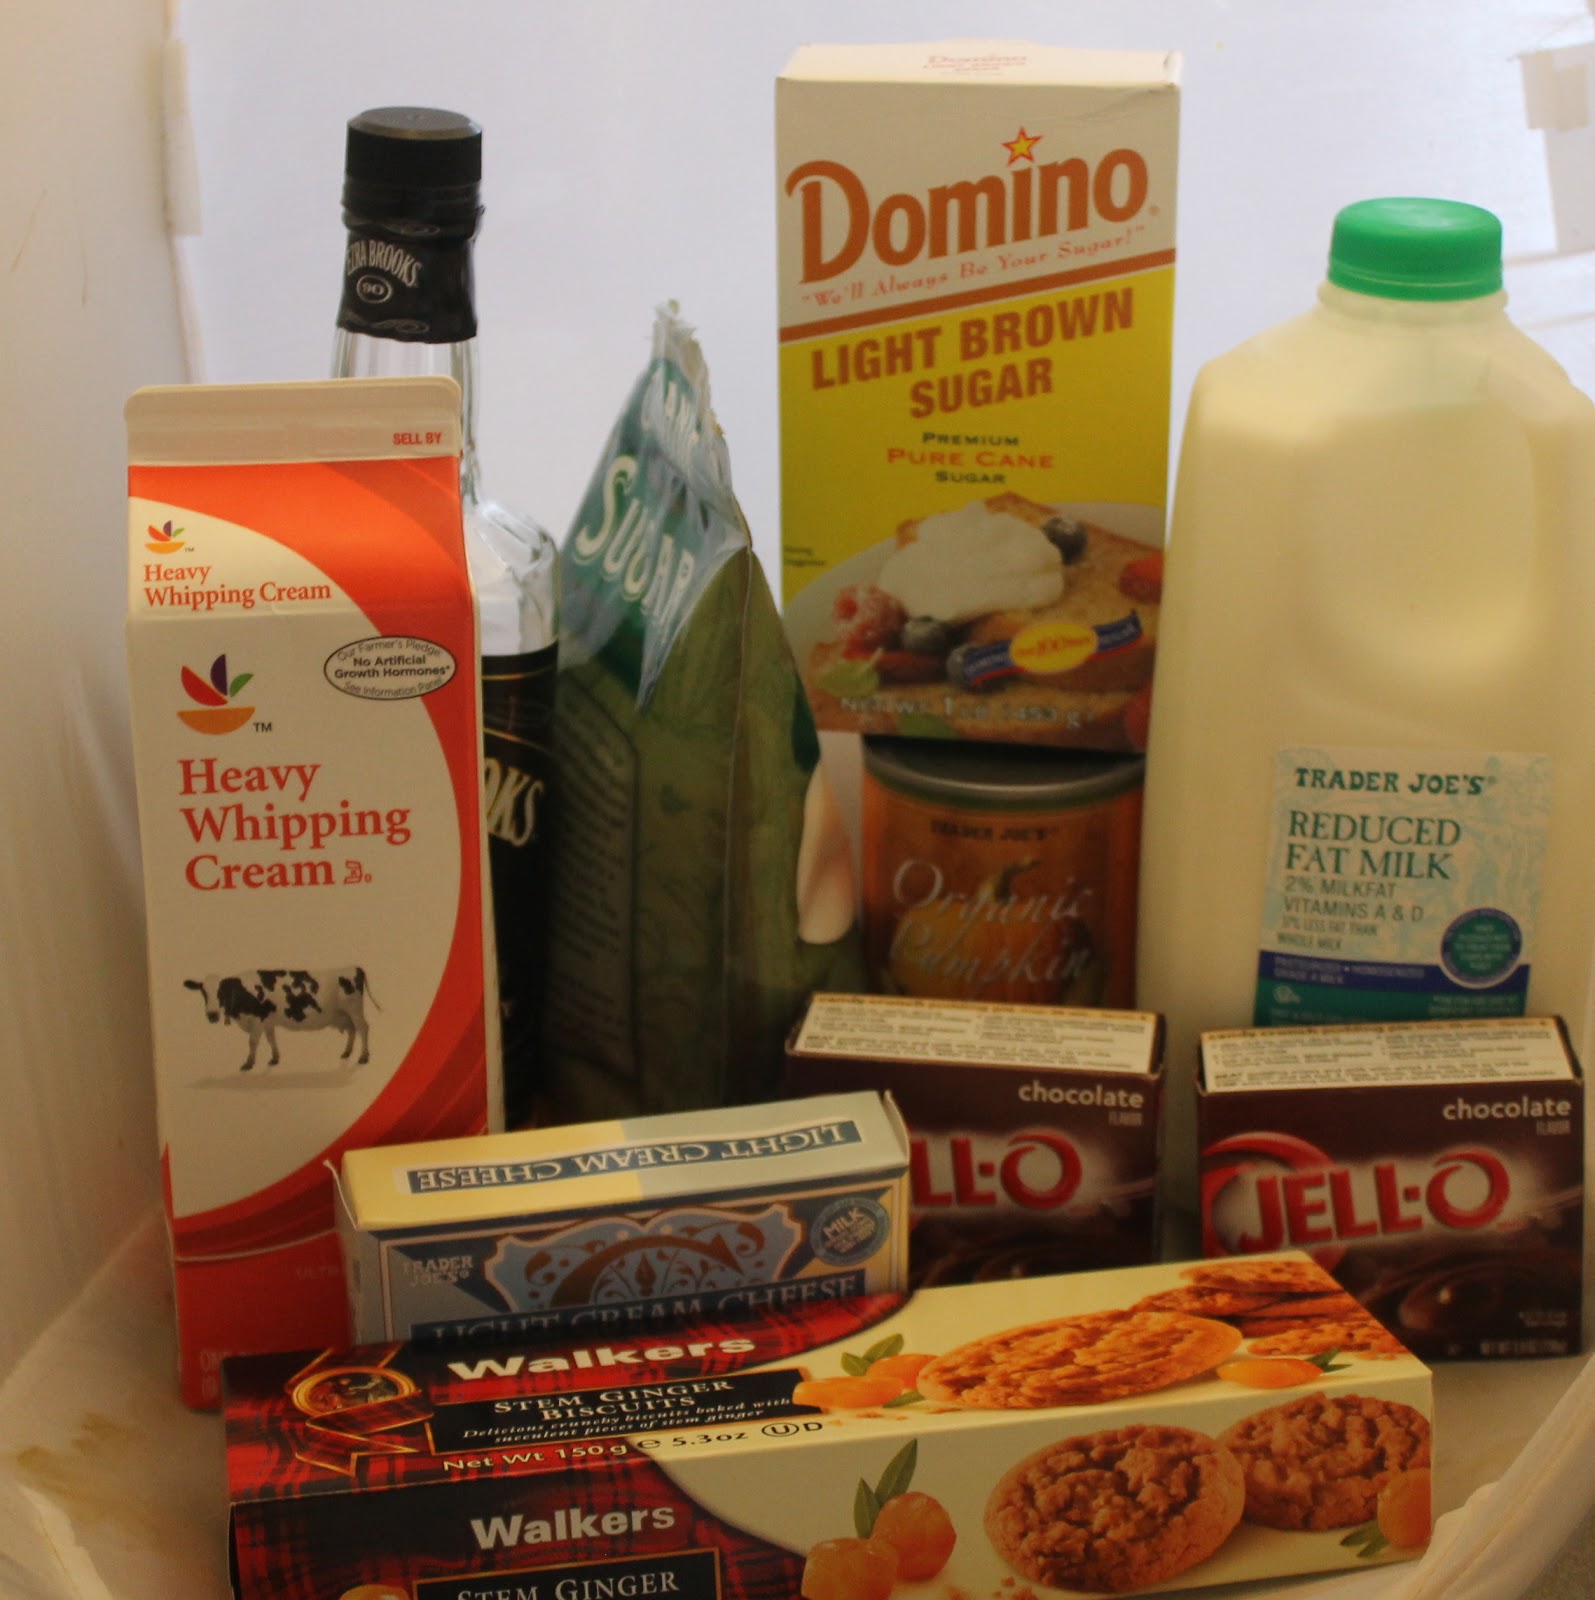
1 box Walker’s Stem Ginger Biscuits
1 box Pure Butter Shortbread
3 cups milk
2 packages instant chocolate pudding
1 (15 oz) can pumpkin puree
1/2 teaspoon cinnamon
1/4 teaspoon nutmeg
1/4 teaspoon ginger
1/8 teaspoon allspice
1 teaspoon vanilla extract
8 ounces (1 package) cream cheese
1/4 cup firmly packed brown sugar
2 cups whipping cream
2 ounces bourbon (can omit if you’d like)
1/4 cup sugar
1 container whipped topping
1/4 cup pecans, roughly chopped
Begin by preparing your ingredients. Thaw your whipping cream. Roughly chop the pecans and set aside. Crush the biscuits and shortbread in separate ziploc bags, using a rolling pin.
Take one tablespoon of the stem ginger biscuit crumbs and set aside. Combine the remaining biscuit crumbs with the shortbread crumbs.
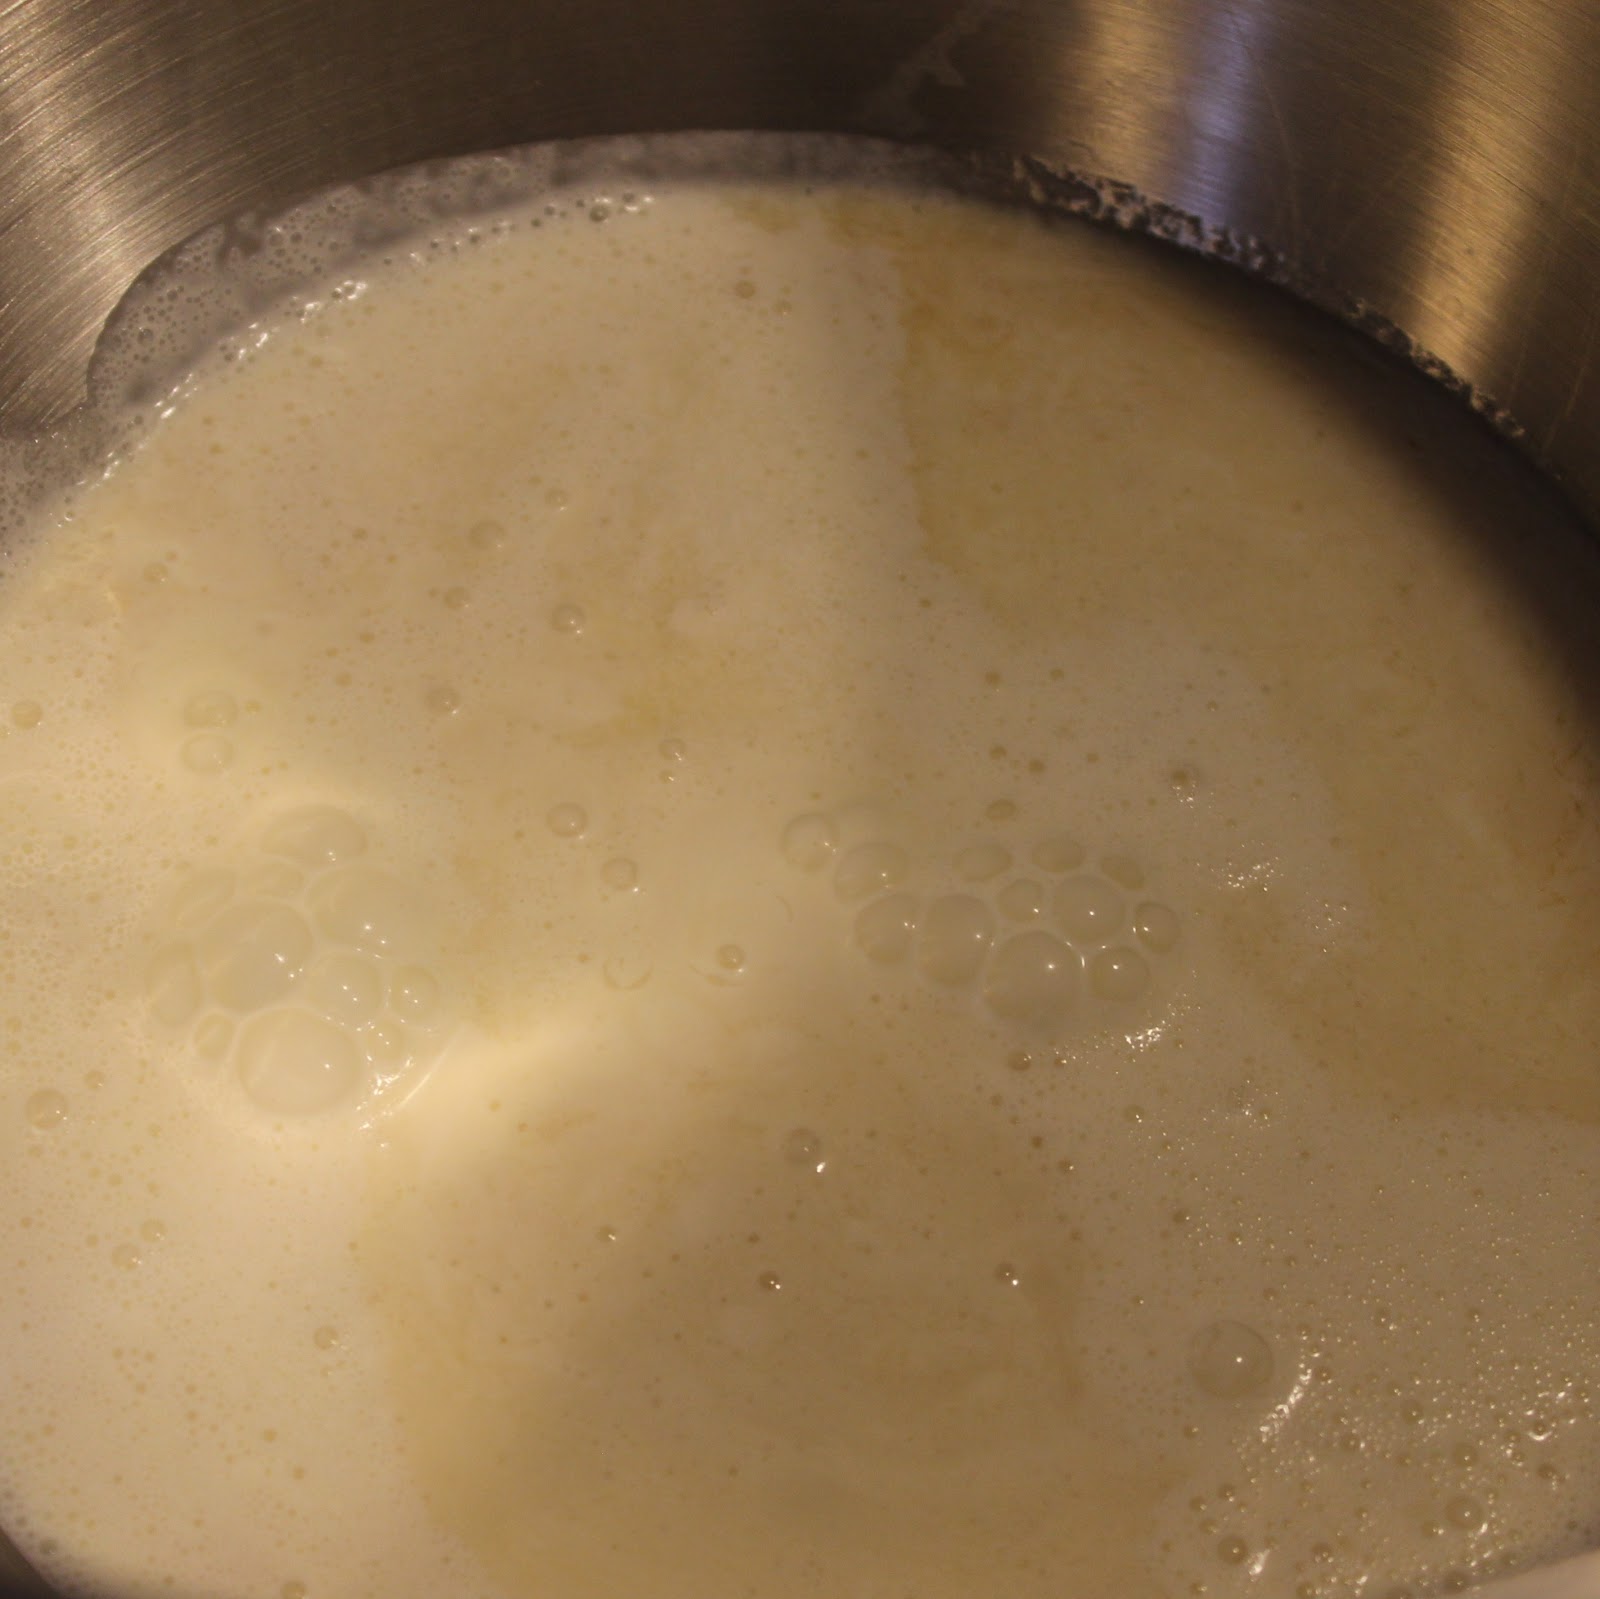
Prepare your chocolate pudding. Combine the two packs of instant pudding mix with three cups milk.
Mix for two minutes with a whisk. Refrigerate until ready to use.
In a large bowl, combine 1 can pumpkin puree, the spices, vanilla extract, cream cheese, and brown sugar using a hand mixer.
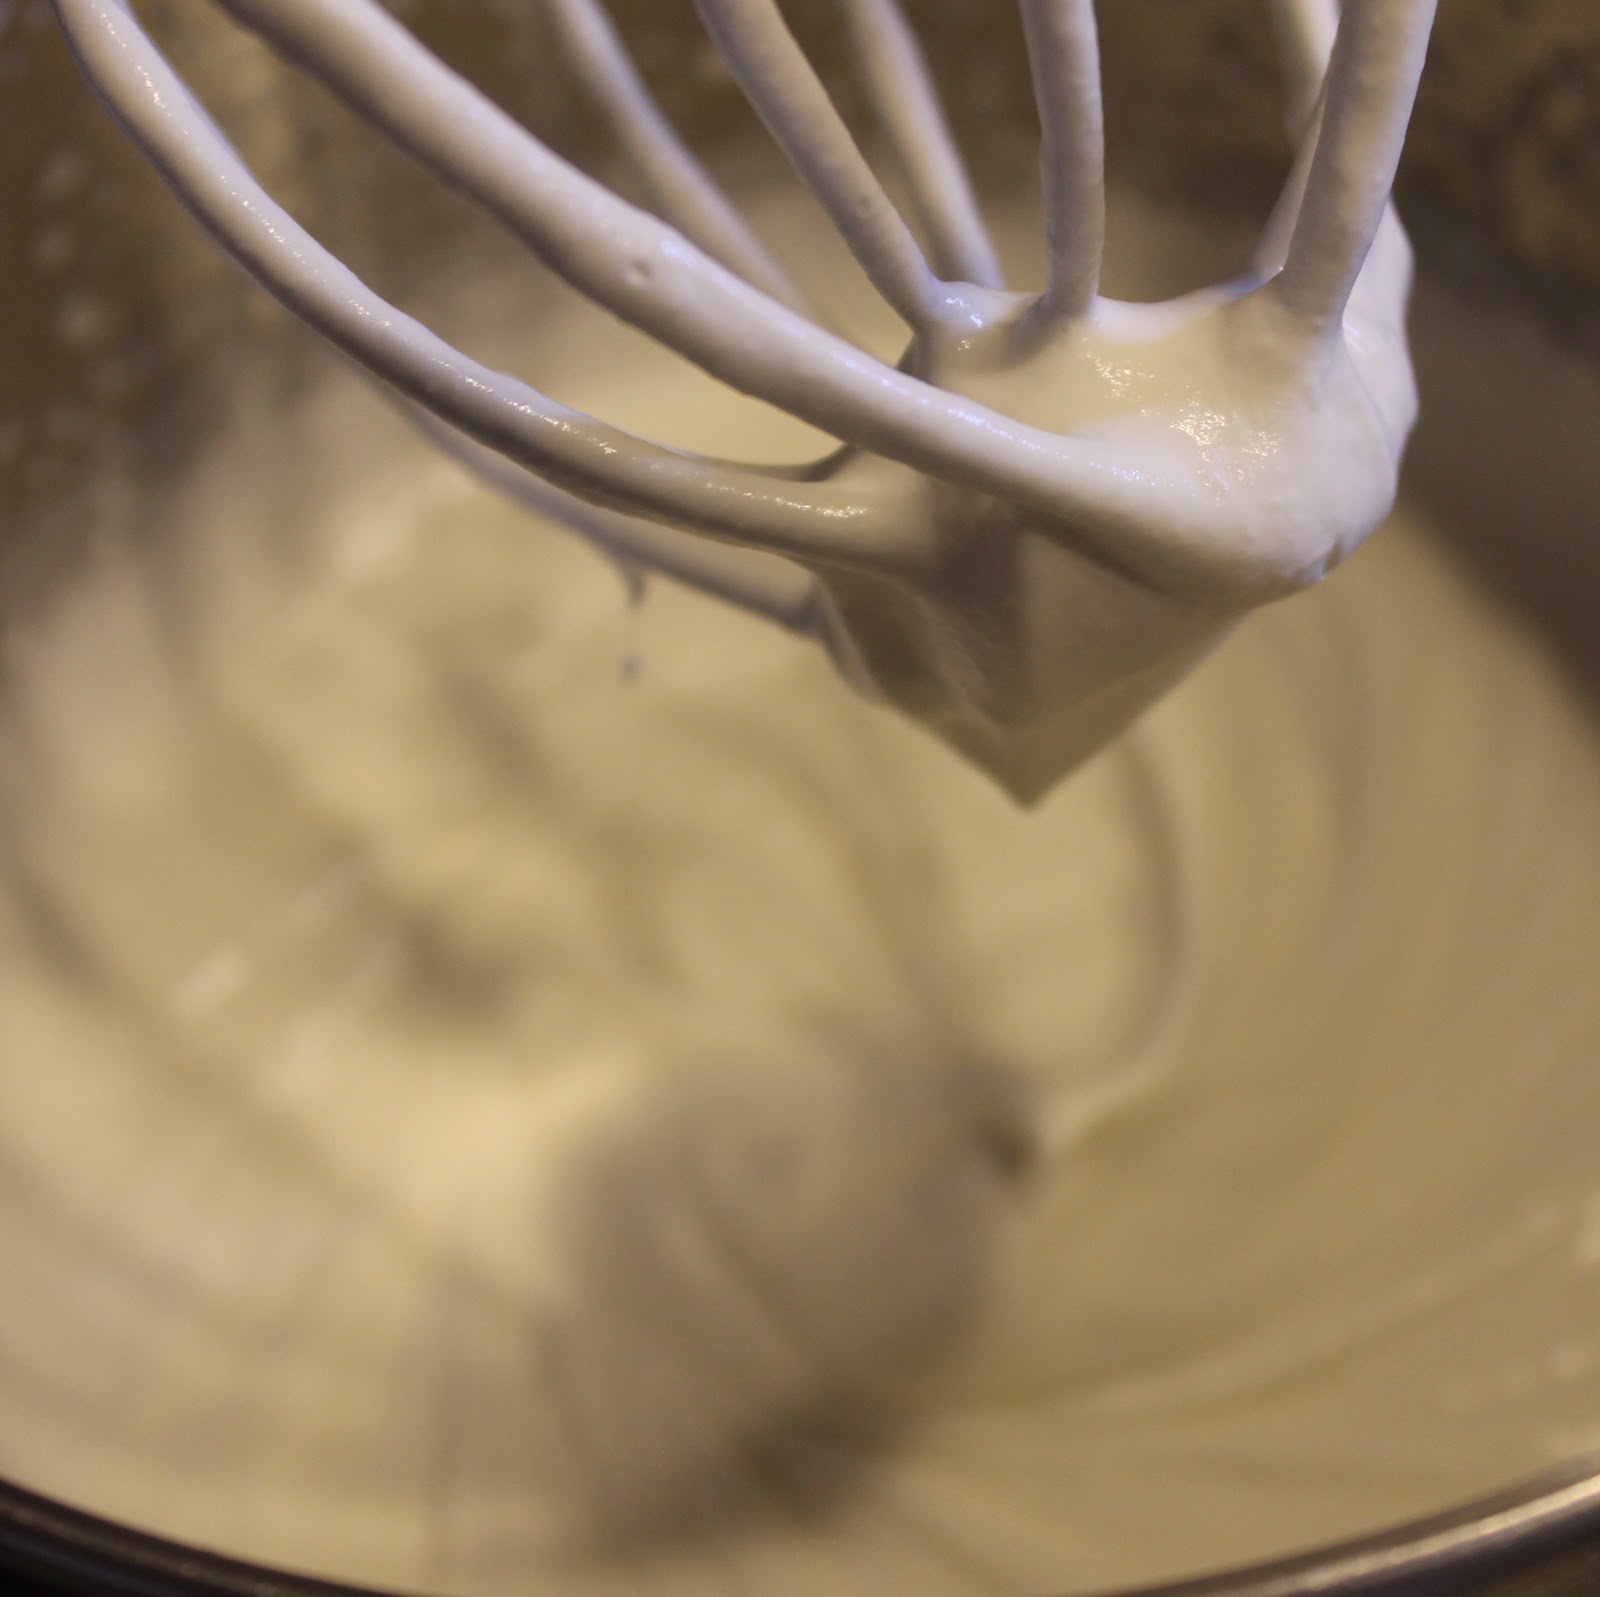
In a separate bowl, make whipped cream. Add two cups heavy whipping cream, 2 ounces bourbon, and 1/4 cup sugar and whip on high speed until soft peaks form (about 3 minutes).
Fold the whipped cream into the pumpkin mixture. Refrigerate until ready to use.
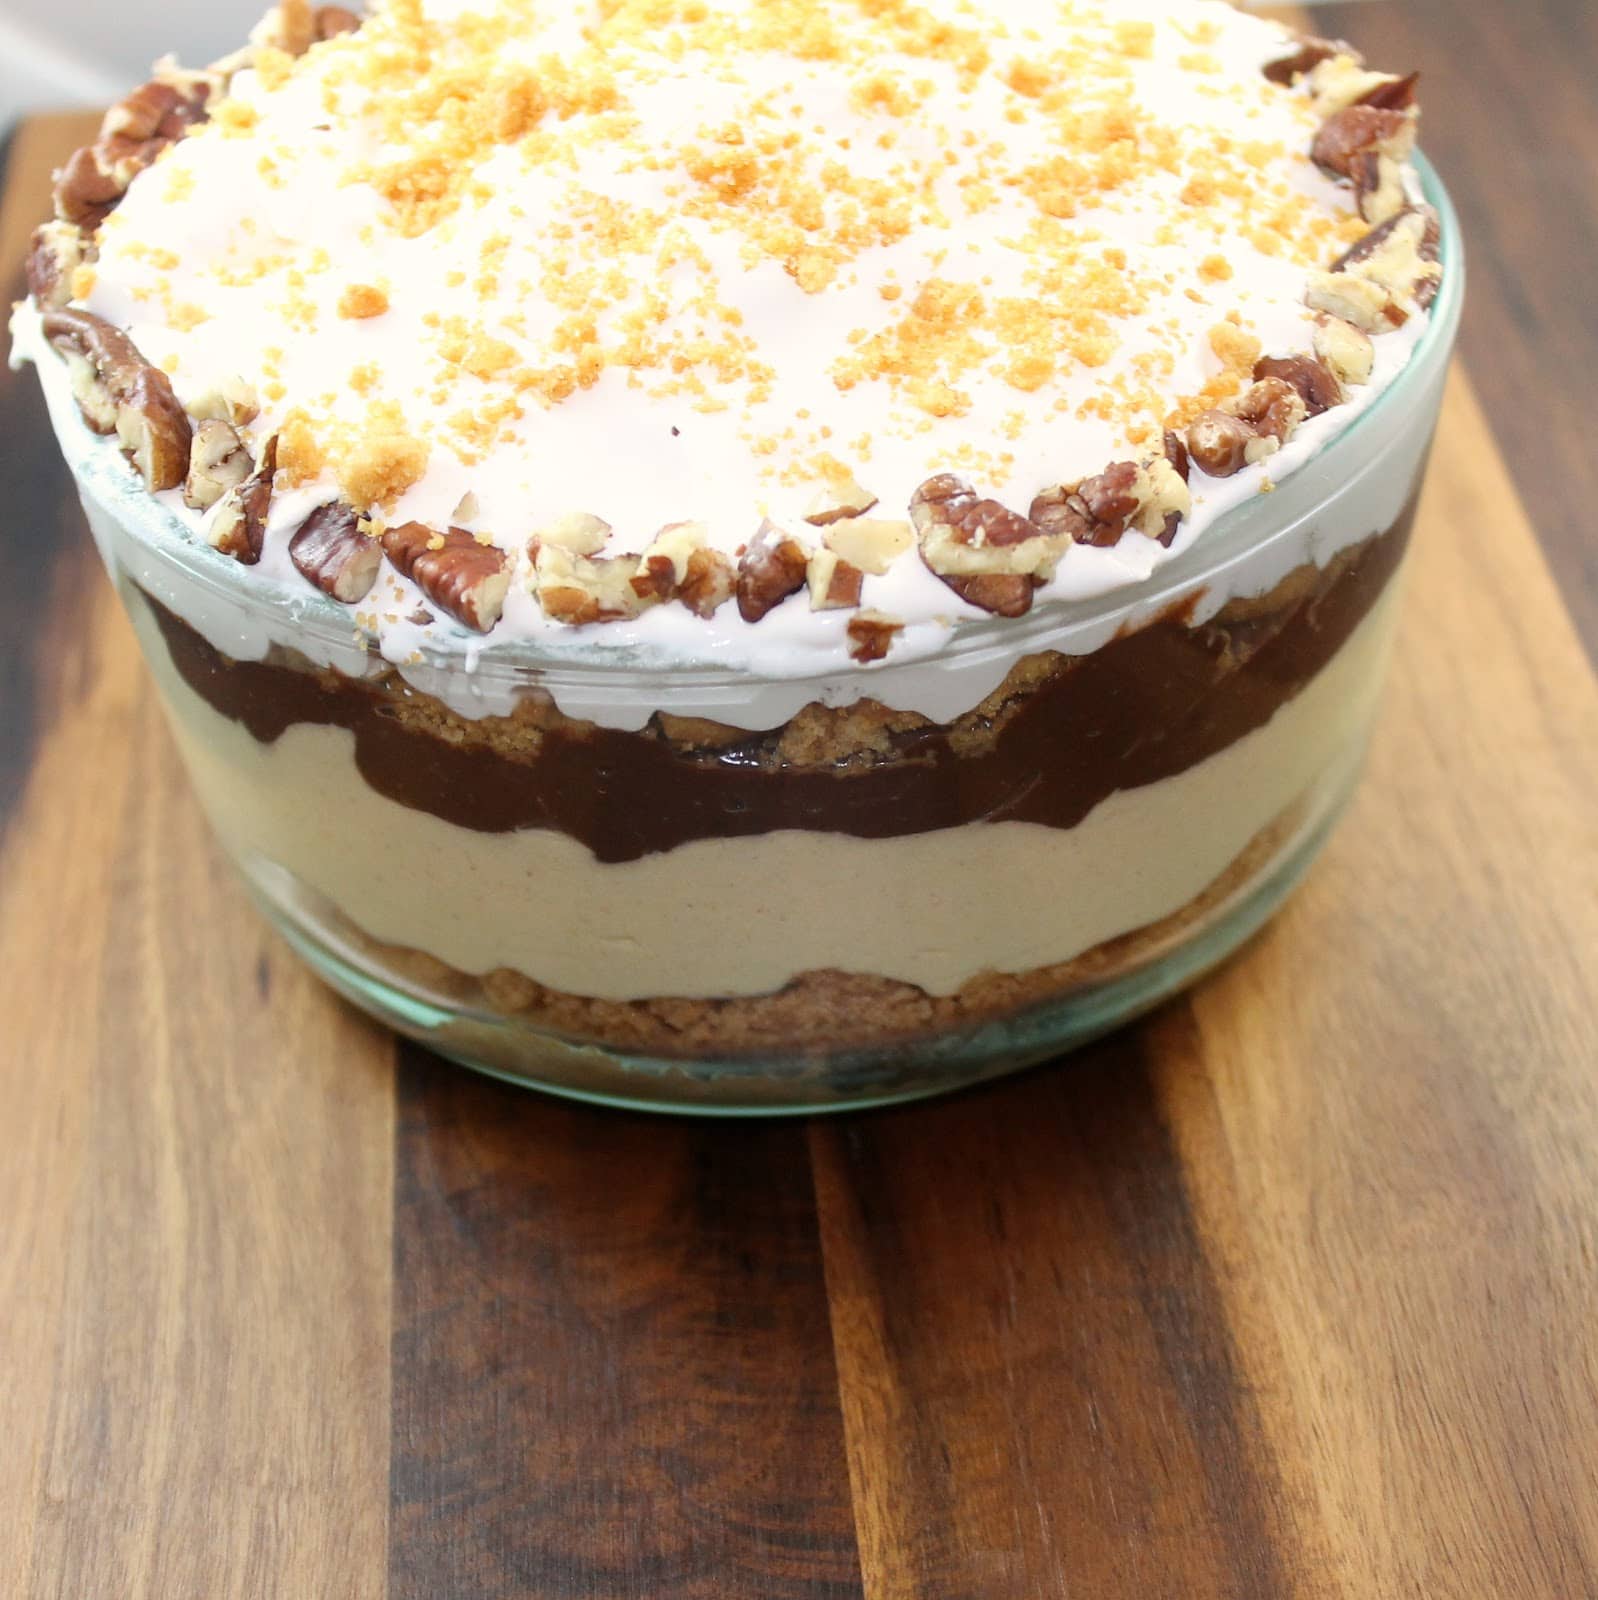
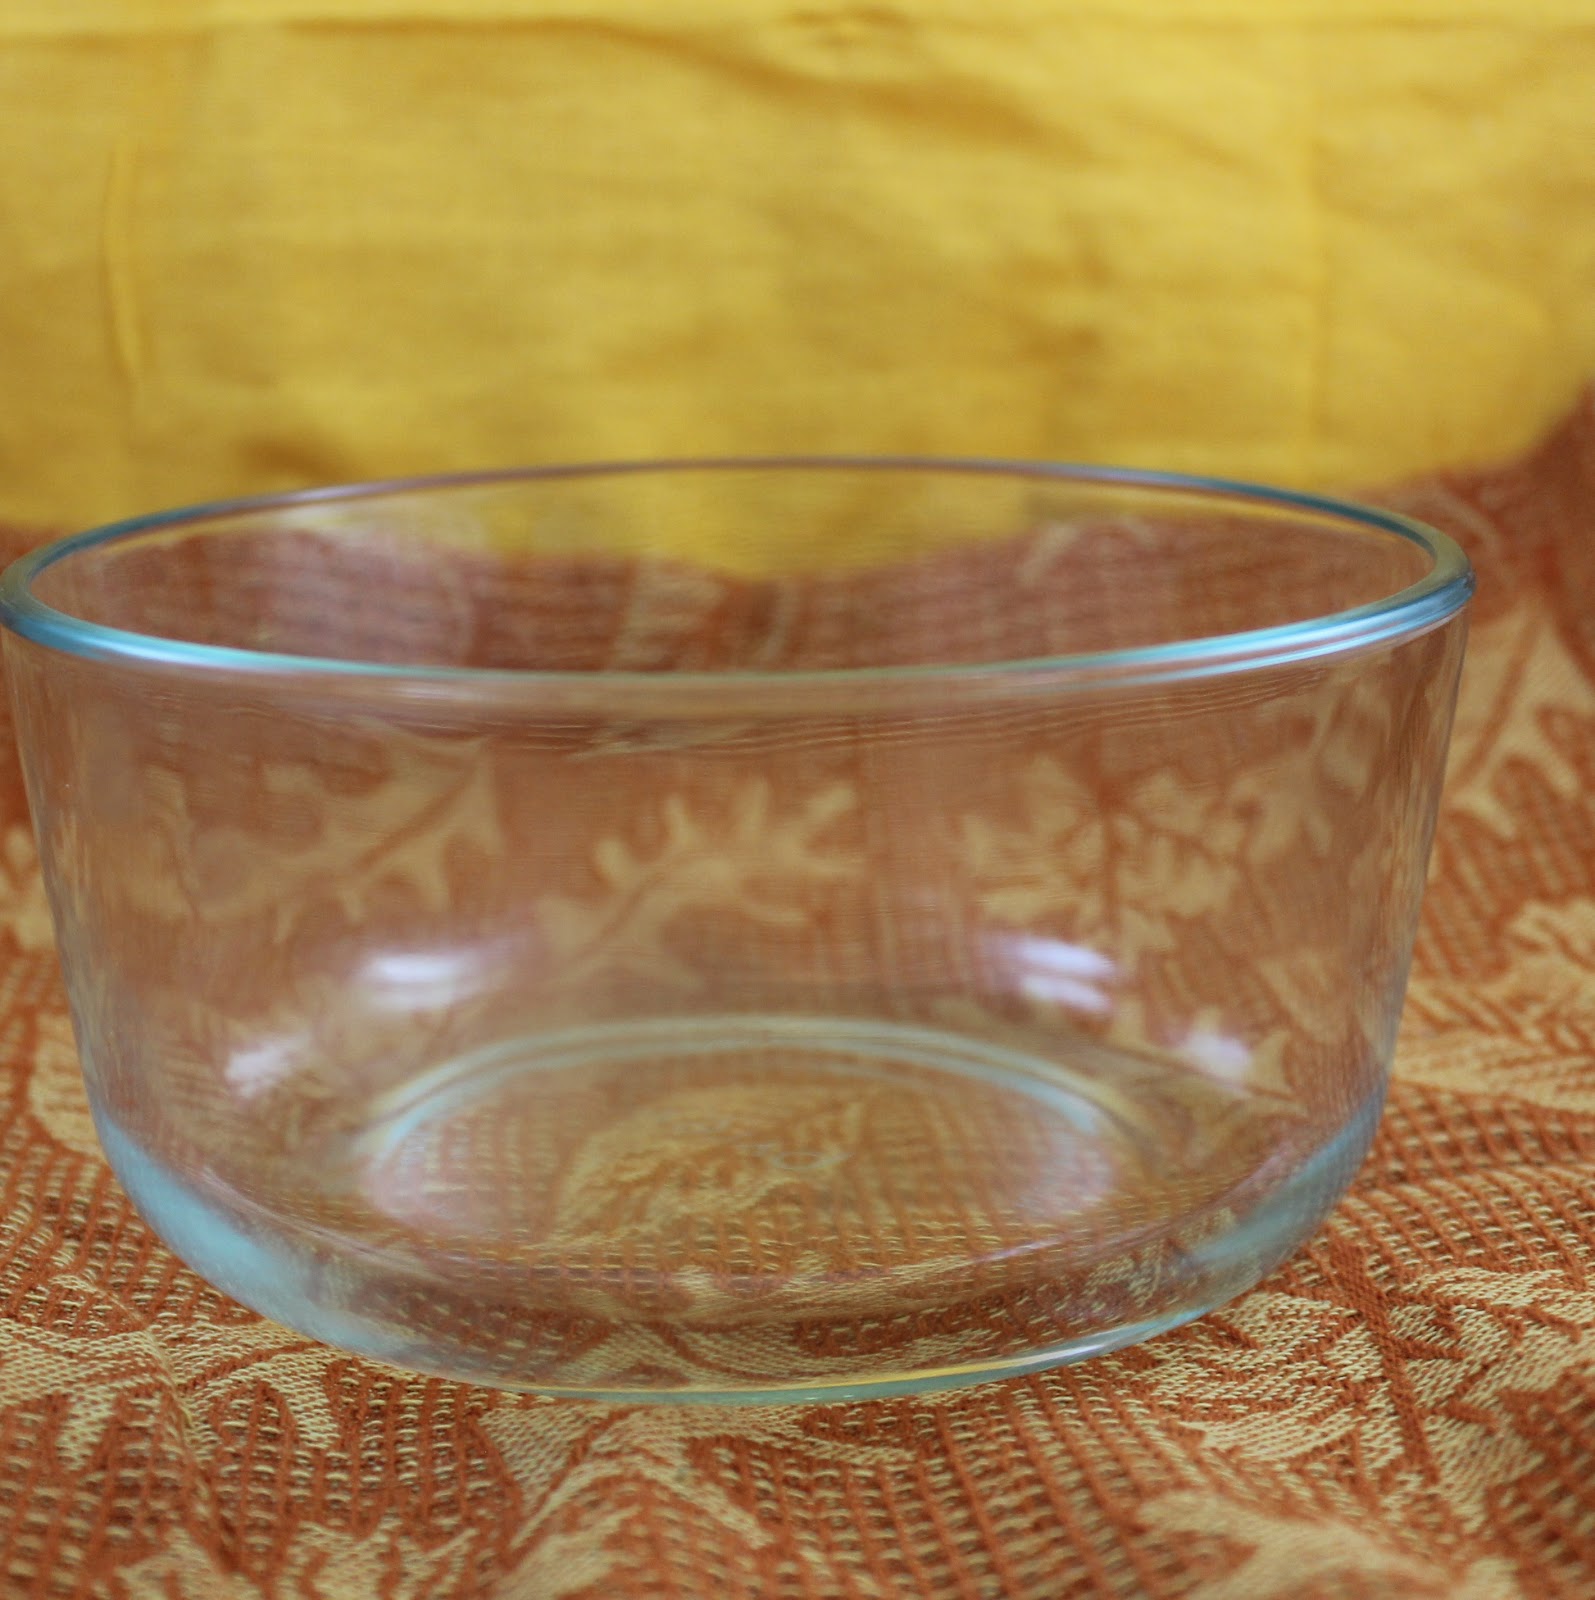
Time to assemble! These are photos from my test batch so take note that I might be pointing out what I changed in comparison to the photo. Oh the joy of recipe development. You’ll need a clear bowl to get the full effect of the trifle.
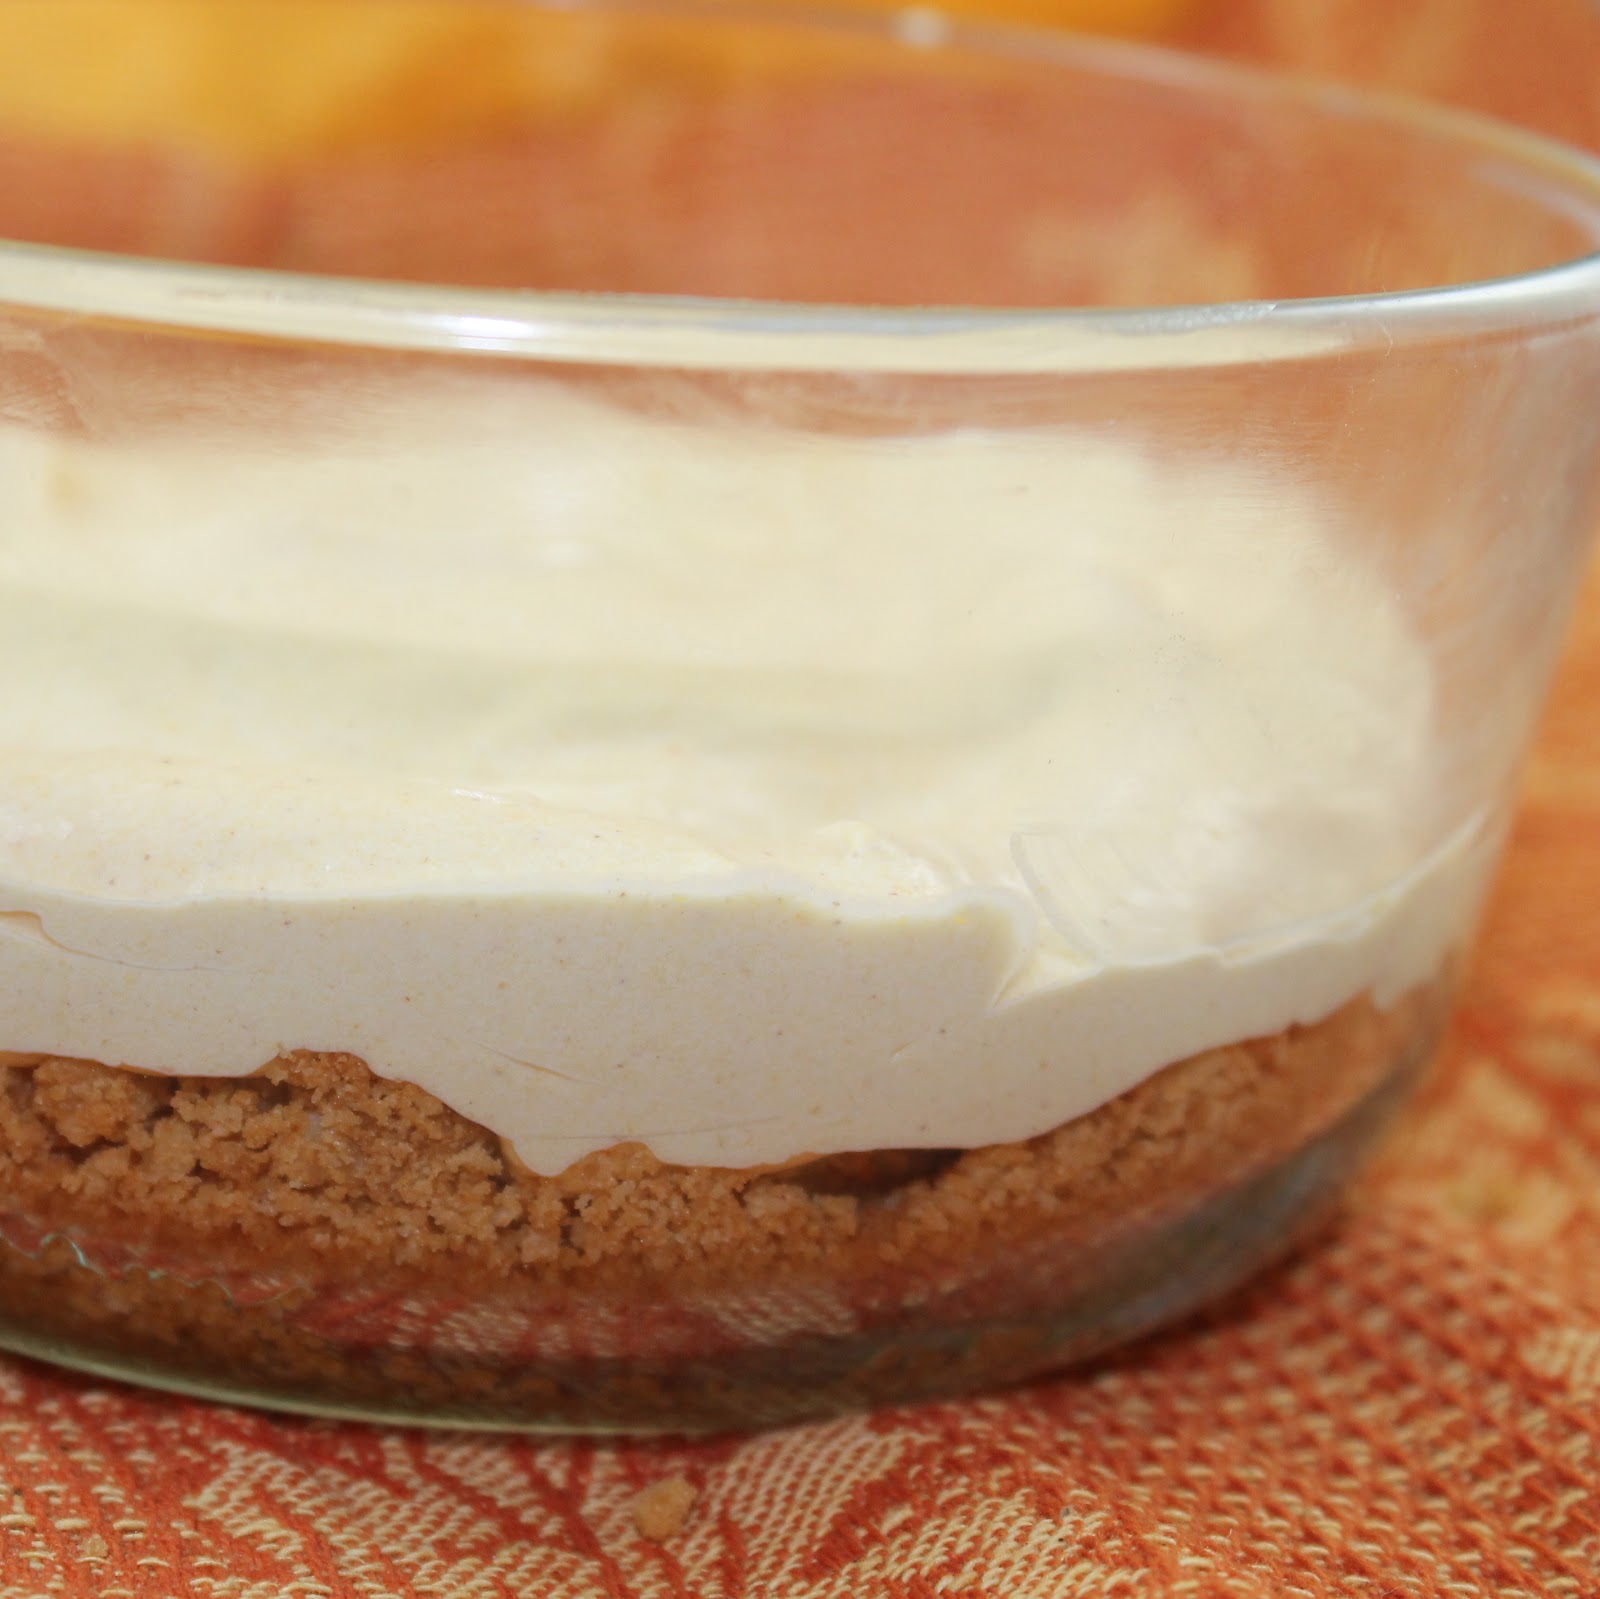
Arrange a layer of cookie crumbs at the bottom of a glass or plastic (see through) bowl. You want to be able to see it coming up the edges. (I initially added melted butter to form more of a crust. But that made the crumbs super sticky, so leave that out)
Add a layer of chocolate pudding next. I attempted to put the pumpkin mousse first, which was silly. The pudding is much heavier than the pumpkin mousse and sank into it. So go pudding, pressing it against the sides of the bowl, and then put the pumpkin mousse on top.
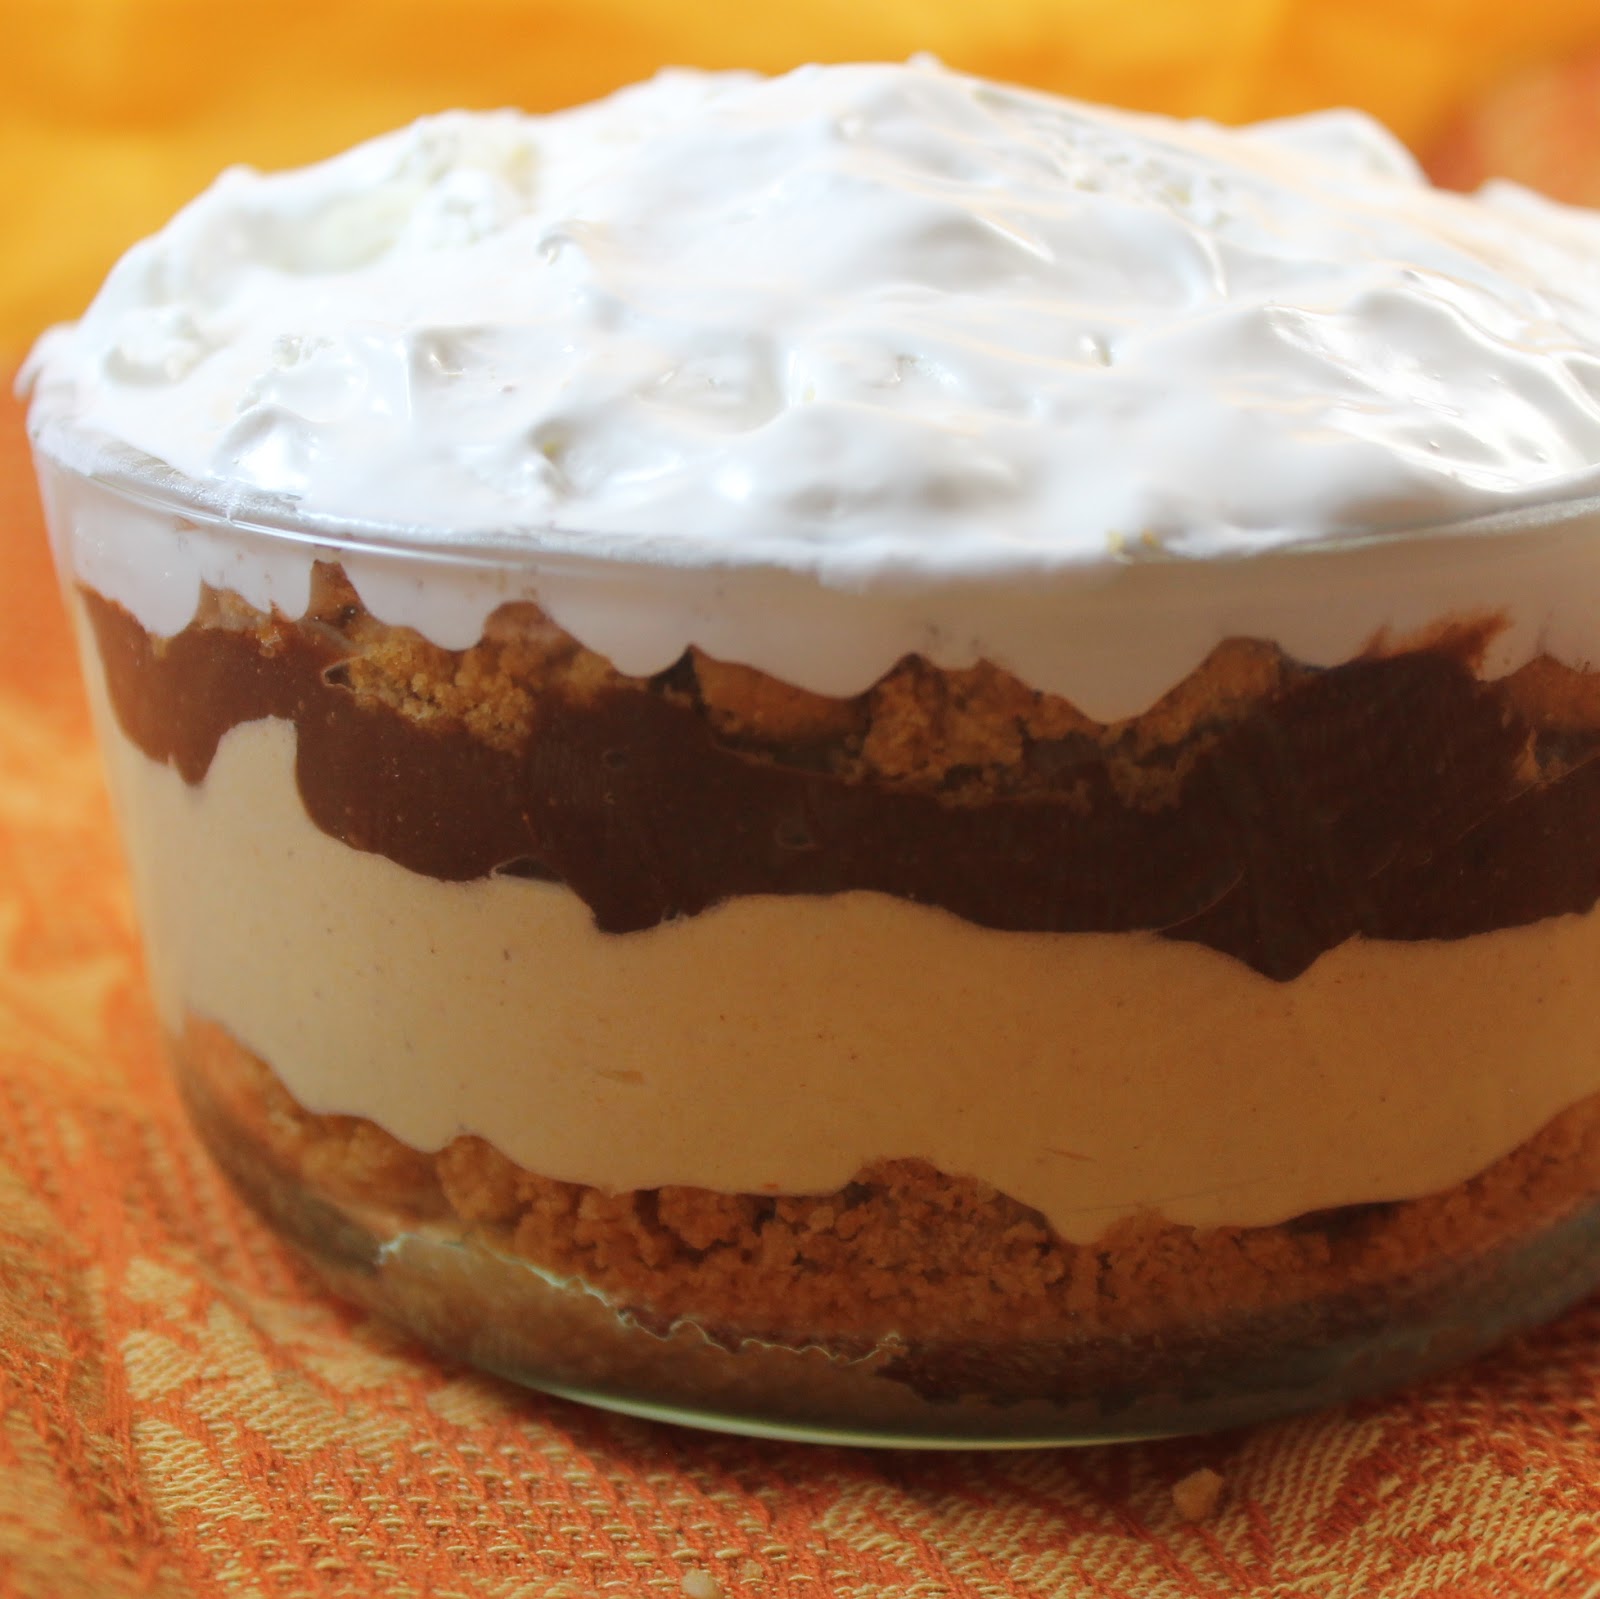
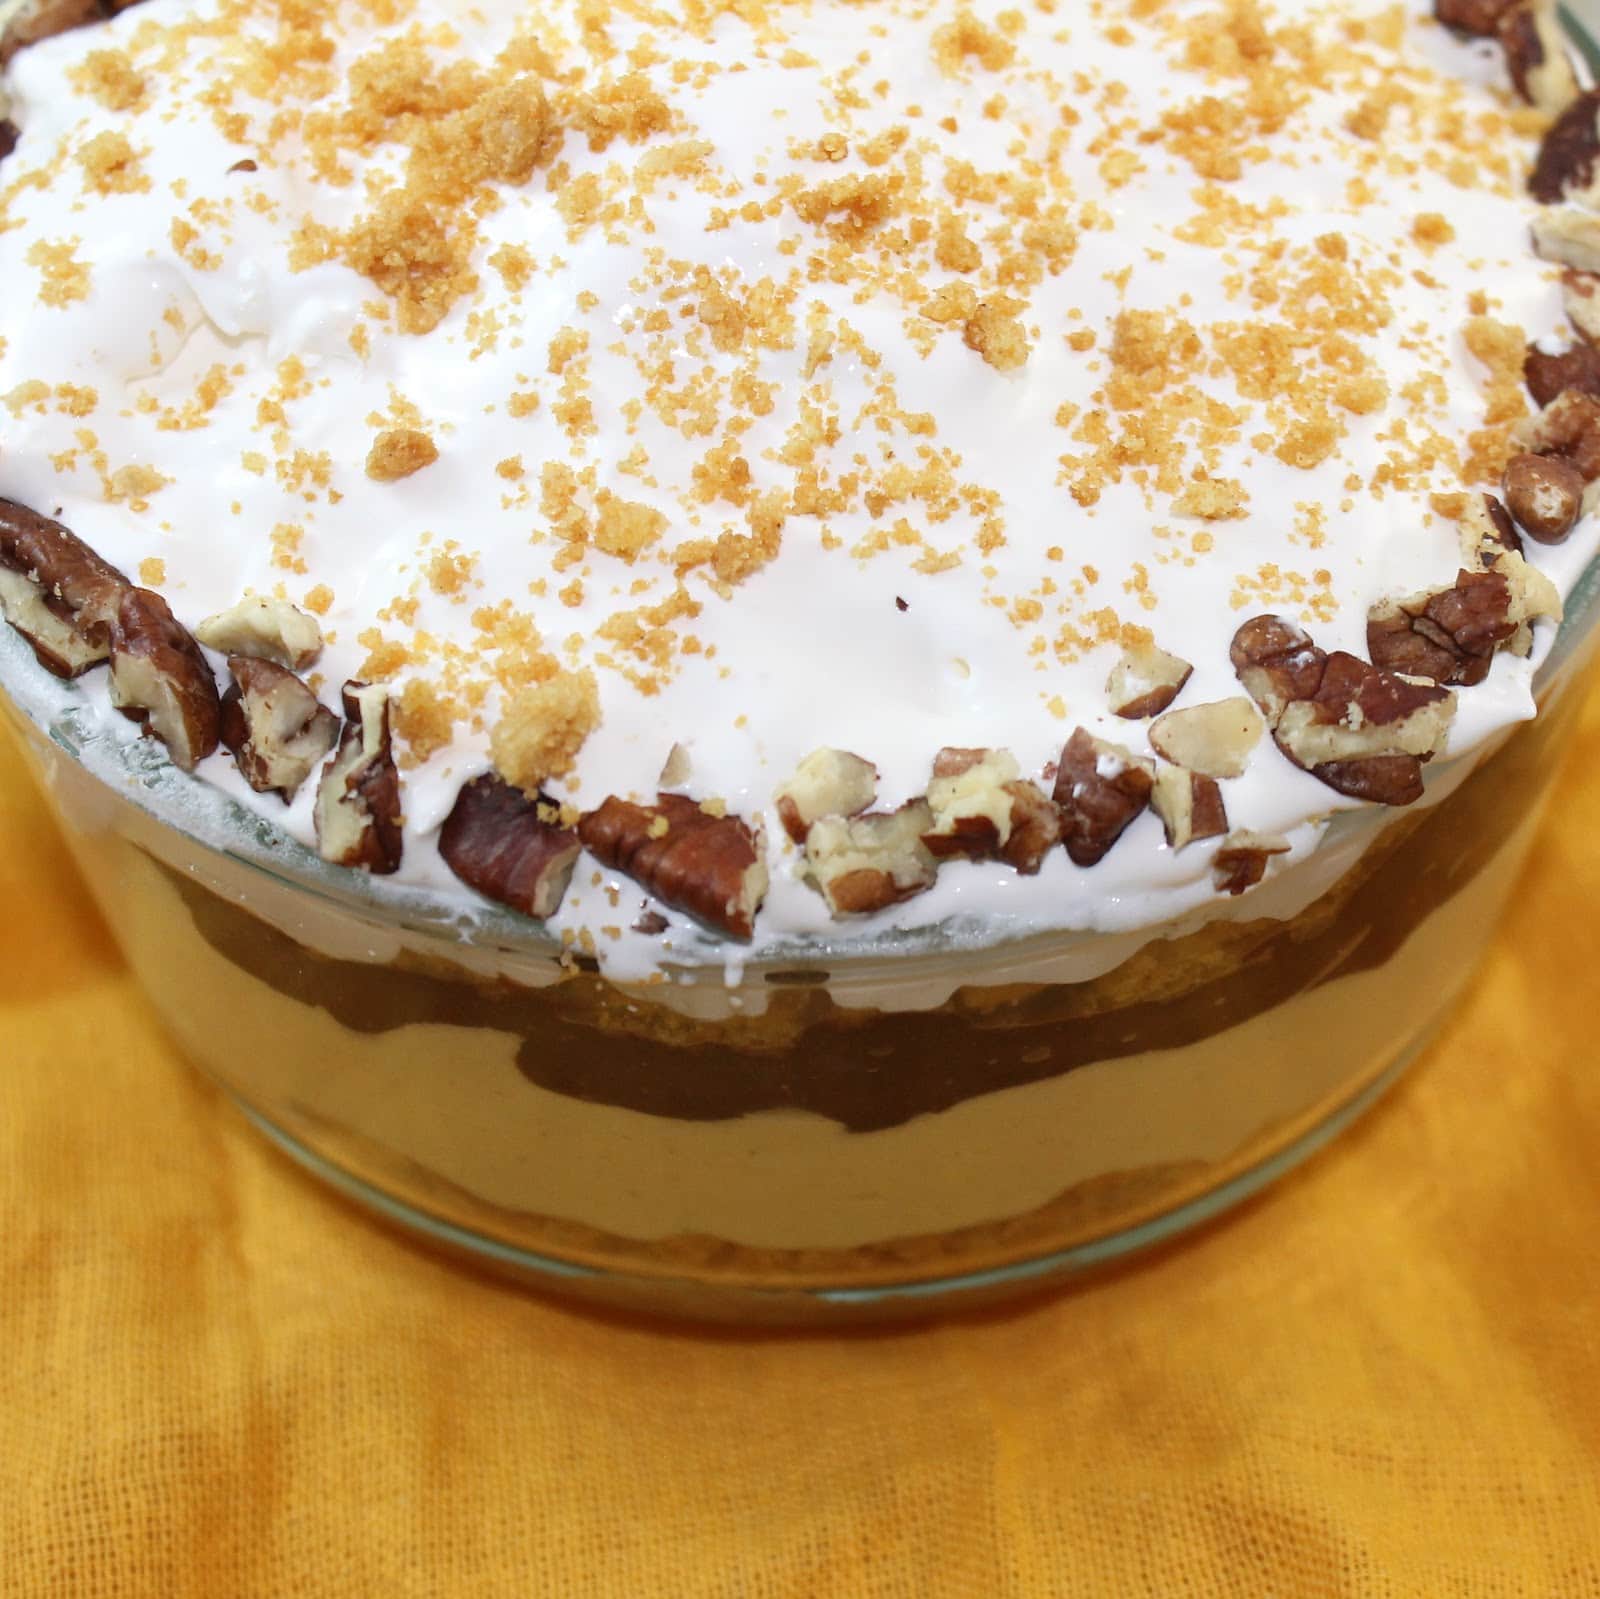
Continue this process until the bowl is filled. (Crumbs, pudding, mousse). I made a mini version so it didn’t take much to fill mine up. Top with the whipped topping.
Rim the bowl with crushed pecans.
Sprinkle with the reserved ginger biscuits. I’d suggest refrigerating for a few hours to let the flavors meld together. You can also make it mostly ahead of time and just assemble a few hours before eating.
You clearly don’t have to have a steady hand to make these still look cool, although I do wish mine was a bit more uniform layer-wise. Ah well.
They are also easy to assemble as individual servings.
The flavors of this are rocking. Pumpkin, chocolate, gingerbread, and pecans were just made for each other. This is perfect for Thanksgiving, especially because it can be made ahead of time!
I will be entering this trifle in the contest on November 12 so send some good vibes my way that day!
Begin by preparing your ingredients. Thaw your whipping cream. Roughly chop the pecans and set aside. Crush the biscuits and shortbread in separate ziploc bags, using a rolling pin.
Take one tablespoon of the stem ginger biscuit crumbs and set aside. Combine the remaining biscuit crumbs with the shortbread crumbs.
Prepare your chocolate pudding. Combine the two packs of instant pudding mix with three cups milk.
Mix for two minutes with a whisk. Refrigerate until ready to use.
In a large bowl, combine 1 can pumpkin puree, the spices, vanilla extract, cream cheese, and brown sugar using a hand mixer.
In a separate bowl, make whipped cream. Add two cups heavy whipping cream, 2 ounces bourbon, and 1/4 cup sugar and whip on high speed until soft peaks form (about 3 minutes).
Fold the whipped cream into the pumpkin mixture. Refrigerate until ready to use.
Time to assemble! You’ll need a clear bowl to get the full effect of the trifle.
Arrange a layer of cookie crumbs at the bottom of a glass or plastic (see through) bowl. You want to be able to see it coming up the edges.
Add a layer of chocolate pudding next. I attempted to put the pumpkin mousse first, which was silly. The pudding is much heavier than the pumpkin mousse and sank into it. So go pudding, pressing it against the sides of the bowl, and then put the pumpkin mousse on top.
Continue this process until the bowl is filled. (Crumbs, pudding, mousse). Top with the whipped topping.
Rim the bowl with crushed pecans.
Sprinkle with the reserved ginger biscuits. I’d suggest refrigerating for a few hours to let the flavors meld together. You can also make it mostly ahead of time and just assemble a few hours before eating.
This time of year, I love finding recipes that incorporate candy bars. I tend to have an influx of candy in my house so I might as well use it to make awesome baked goods right? I received a couple of Equal Exchange Candy Bars recently and couldn’t stop snacking on them!
Equal Exchange is the nation’s leading Fair Trade brand of coffee, chocolate and tea. They recently launched a new line of organic, fairly traded candy bars with flavors including milk chocolate peanut butter, milk chocolate crisp with puffed rice and quinoa, and dark chocolate fruit and nut with raisins and almonds.
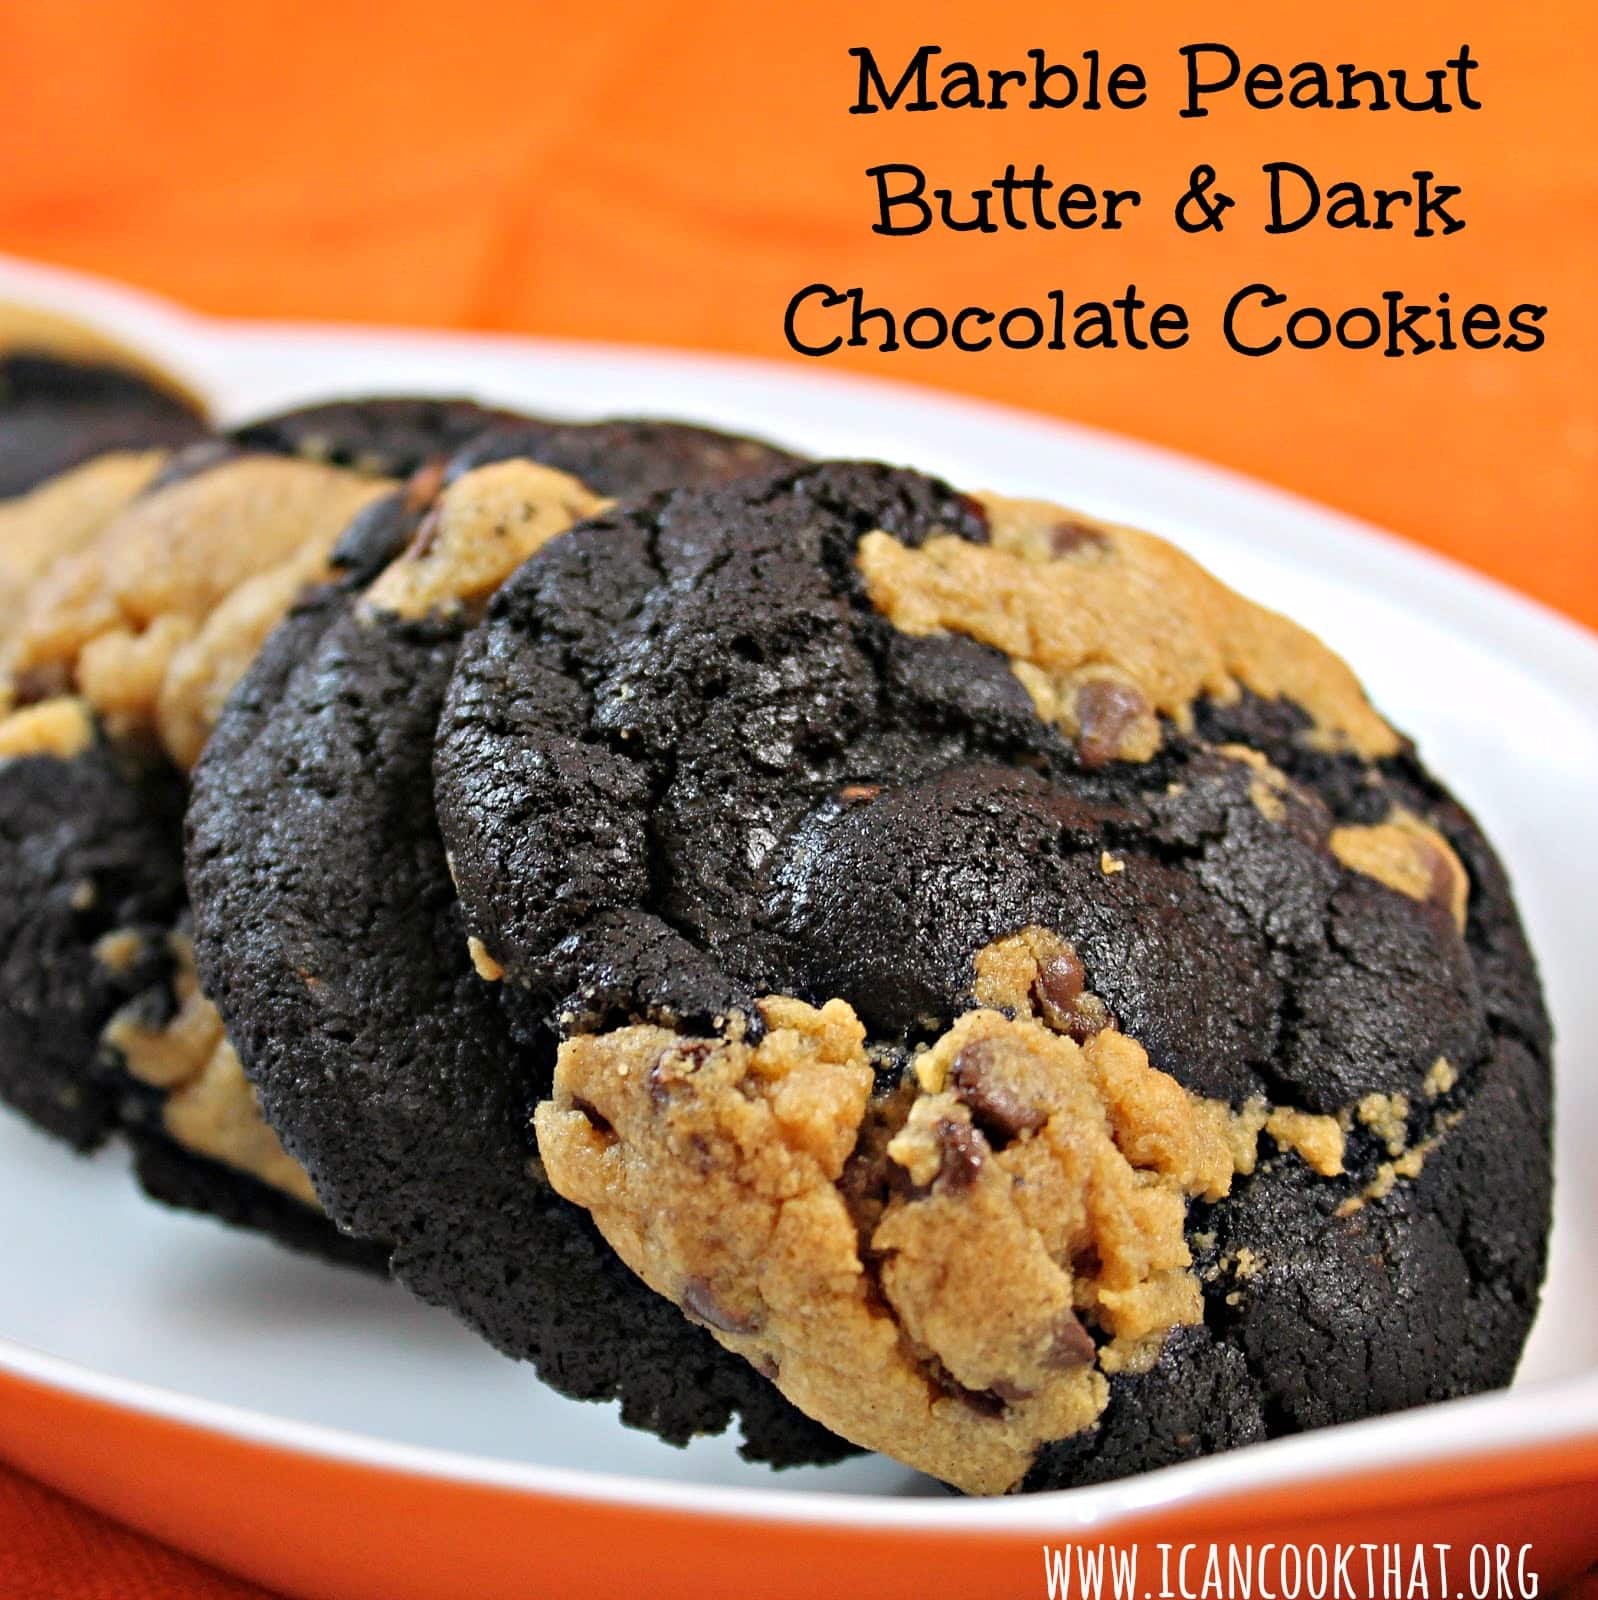
The milk chocolate crisp lives up to its name, the puffed rice and quinoa added a nice crunch to the milk chocolate. The dark chocolate fruit and nut is the perfect mix of chocolately goodness, nuts, and fruit. The website describes it perfectly as trail mix in candy bar form. My favorite of the three though was the milk chocolate peanut butter bar a perfect and classic combination for a reason! I decided to use the chocolate peanut butter bars in a cookie but wanted to find a cookie that sort of resembled the chocolate bar itself.
I adapted this cookie recipe for Marble Peanut Butter & Dark Chocolate Cookies from a Bakergirl recipe for Marbled Peanut Butter & Chocolate Snickers cookies.
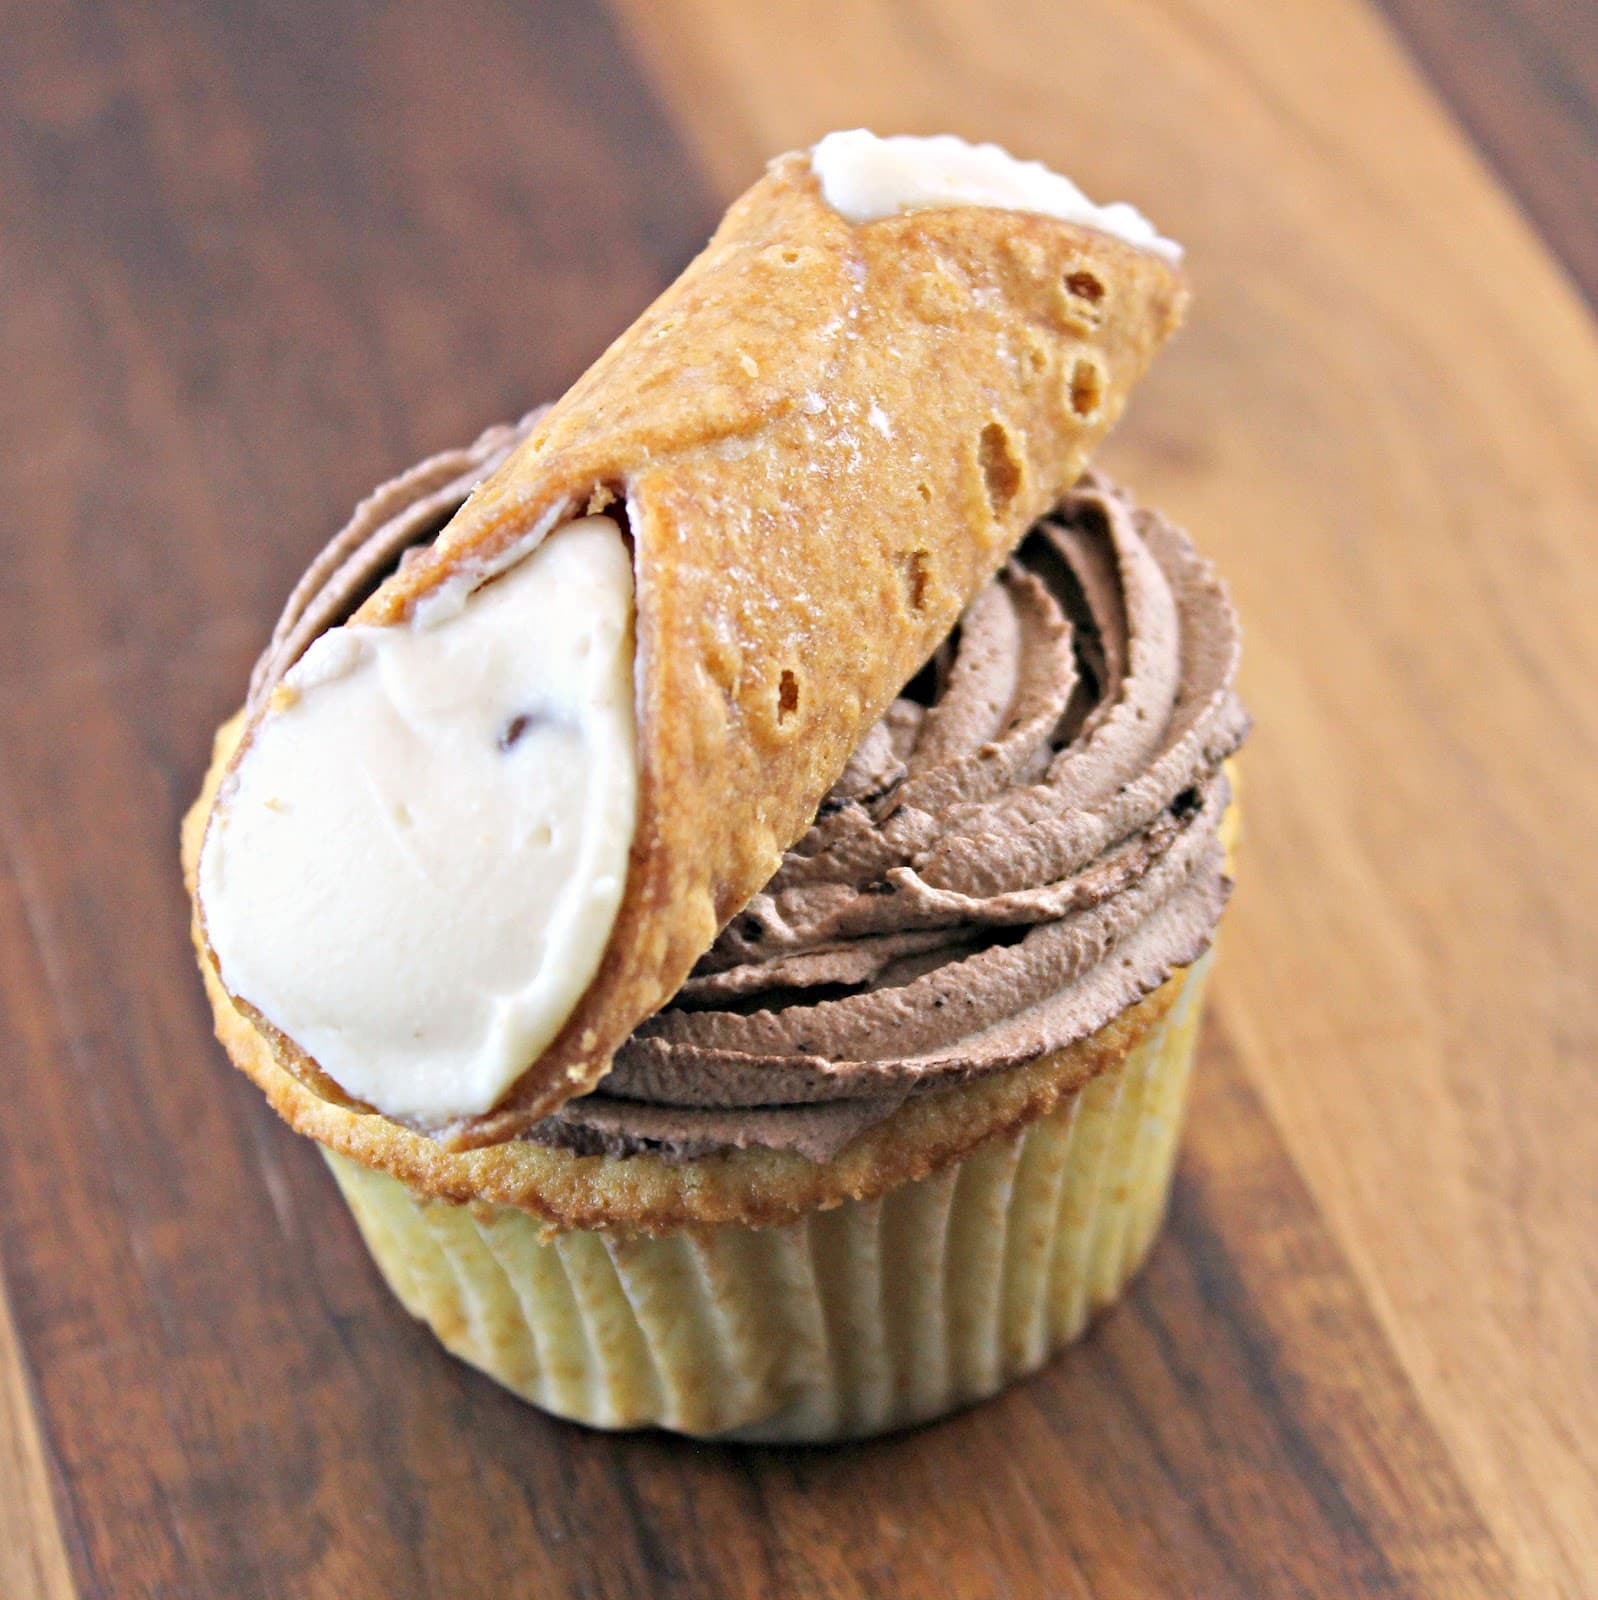
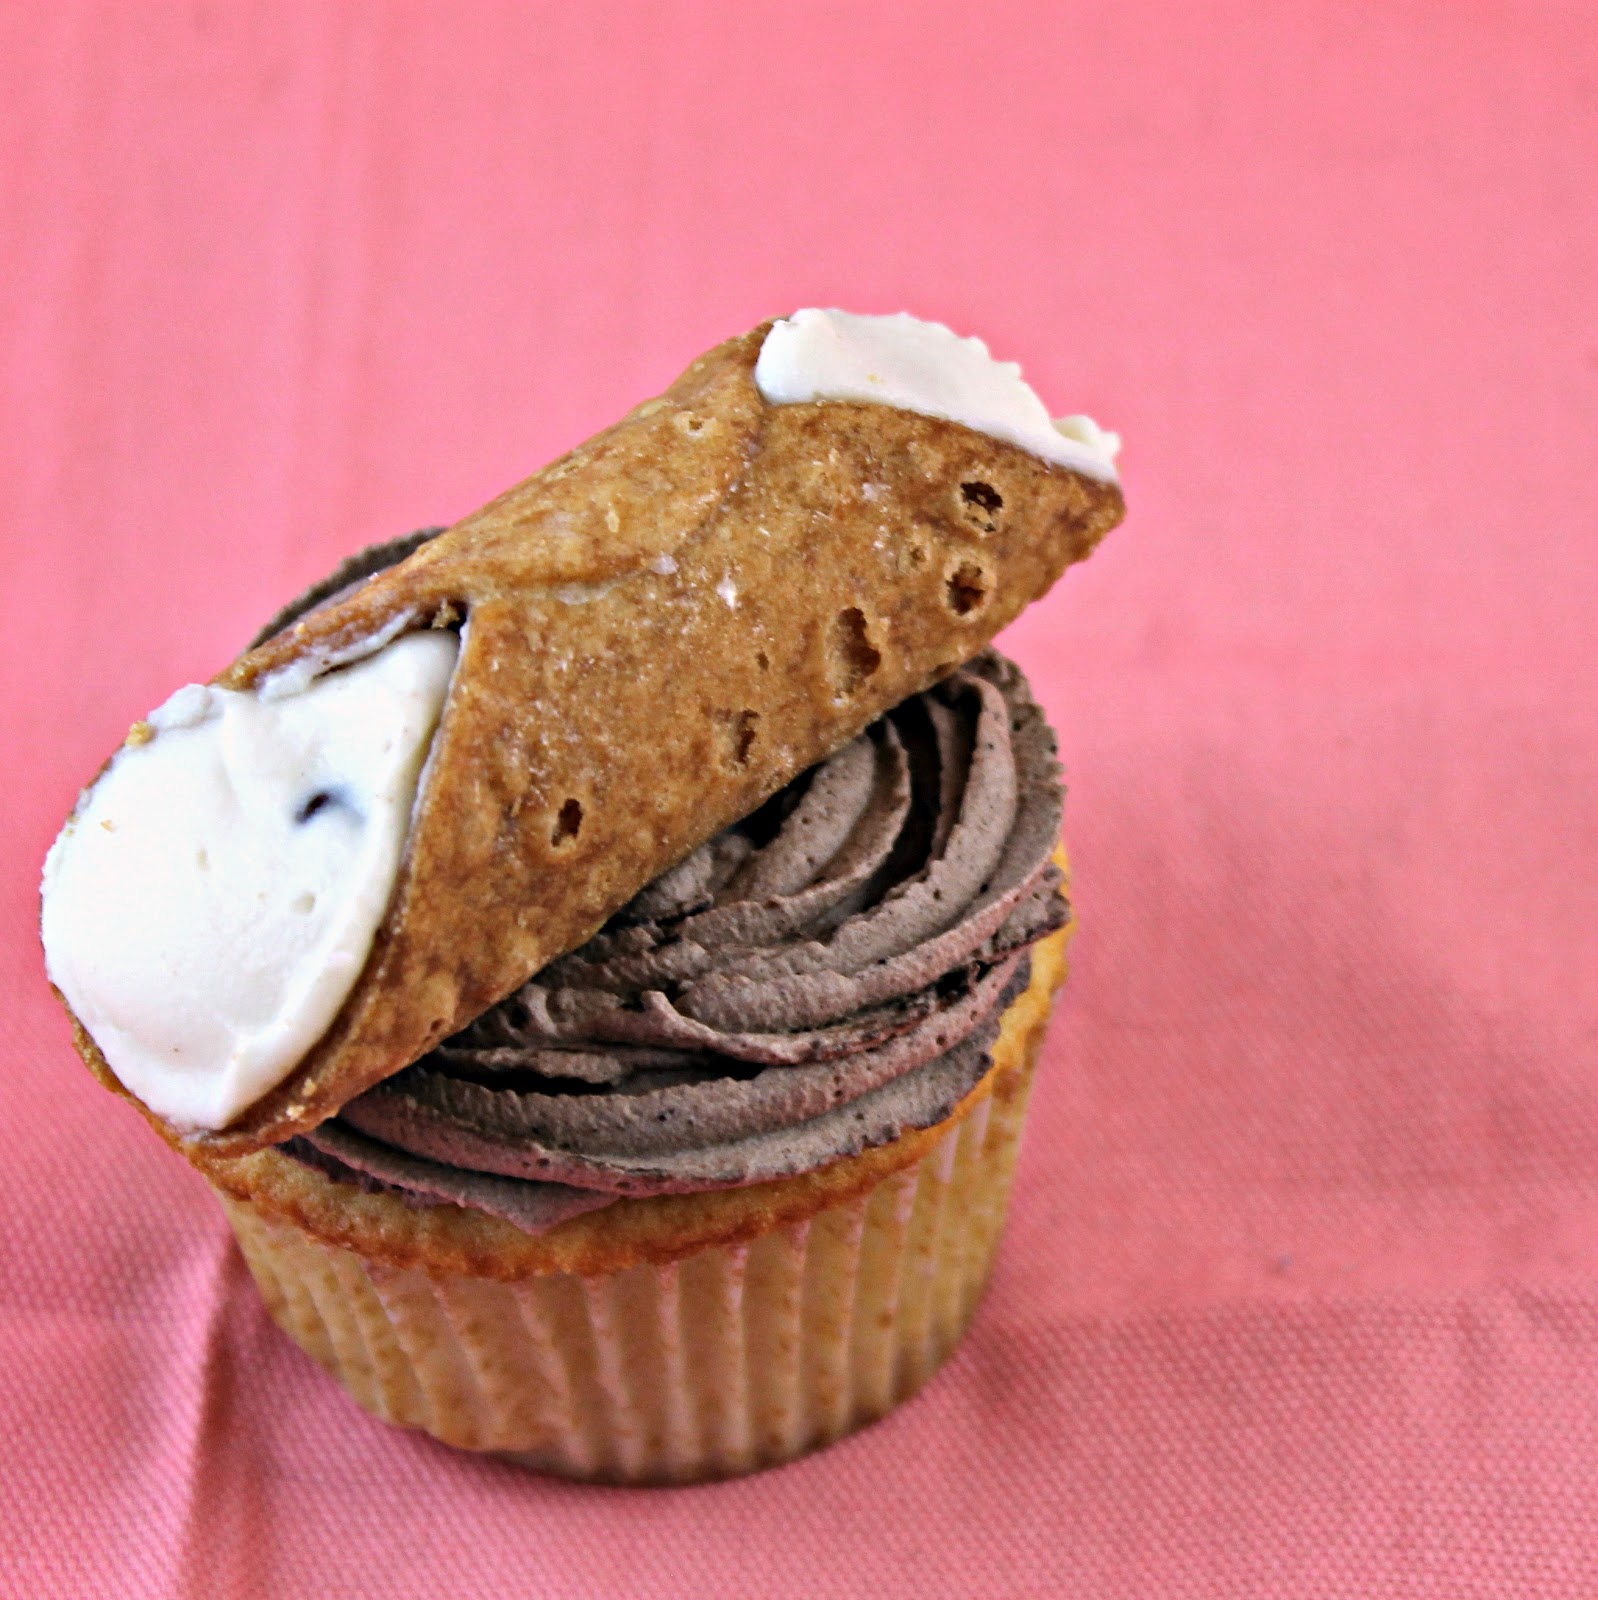
Cannolis always remind me of my Italian/German side of the family. I can’t think of a Christmas that these little delicious desserts didn’t make an appearance. My sister was downright obsessed with them as a kid, if she got to the dessert table first, there was no chance of getting one. So when I was sent Grace’s Sweet Life: Homemade Italian Desserts, I was really hoping to find a recipe for cannolis so I could make some for her. Well, the cookbook did me one better: Vanilla Cupcakes filled with Ricotta Cream, topped with Marsala-Chocolate Whipped Cream. And to make them even better, they are topped with a mini cannoli!
Grace is a blogger over at La Mia Vita Dolce. The website is absolutely fantastic. Just the names of the recipes are enough to make your mouth water. Her new cookbook is no different. It is filled with recipes for the very traditional (Pizzelles – those Italian waffle cookies that look like snowflakes) to the super creative (Chocolate Salami, you read that correctly!) The photography is stunning. The titles of the desserts are in both Italian and English which I thought was a nice touch. (The title of the cupcakes in Italian is Piccoli Torta alla Vaniglia con Crema di Ricotta, Panna Montata al Cacao e Marsala in case you were wondering.) Grace breaks down the recipes into easy to follow steps, which is really helpful, especially for a recipe like the cupcakes I made. I changed bits and parts to her recipe just due to what I could and couldn’t find.
Ingredients:
For the cupcakes:
1 3/4 cups cake flour (you can substitute all-purpose flour)
2 teaspoons baking powder
1/4 teaspoon salt
3/4 cup unsalted butter, at room temperature (3 sticks)
1 1/4 cups superfine sugar
2 large eggs
2 large egg yolks
1 1/2 teaspoons vanilla extract
1 cup milk (I used skim milk)
For the ricotta cream:
1 1/2 cups ricotta
3/4 cup confectioners’ sugar
1 teaspoon vanilla extract
1/4 cup miniature chocolate chips
For the marsala-chocolate whipped cream frosting:
2 tablespoons unsweetened cocoa
1/2 cup confectioner’s sugar
2 cups heavy cream
1 teaspoon marsala
24 mini cannolis
Superfine sugar is just normal sugar that is ground into a finer grain. If you can’t find it in your local supermarket, just add a little more than 1 1/4 cups sugar to a food processor and blend for 1-2 minutes. Just make sure that you have 1 1/4 cup of sugar at the end.
So, I really wanted to make my own mini cannolis. I really did. But I couldn’t find anything to wrap the cannolis around to make mini ones, all the places I looked only had the metal tubes for regular sized cannolis. So then, I tried going to bakeries to ask for mini cannoli shells. They all either didn’t have any or were unwilling to give them to me without filling them first. Sigh. So the cannolis on top of these lovely cupcakes are not my own making. But, they are the best cannolis in Philly (in my humble opinion), from Termini Bakery. On to the cupcakes!
Preheat your oven to 350 degrees. Line 2 12-cup muffin pans with paper liners.
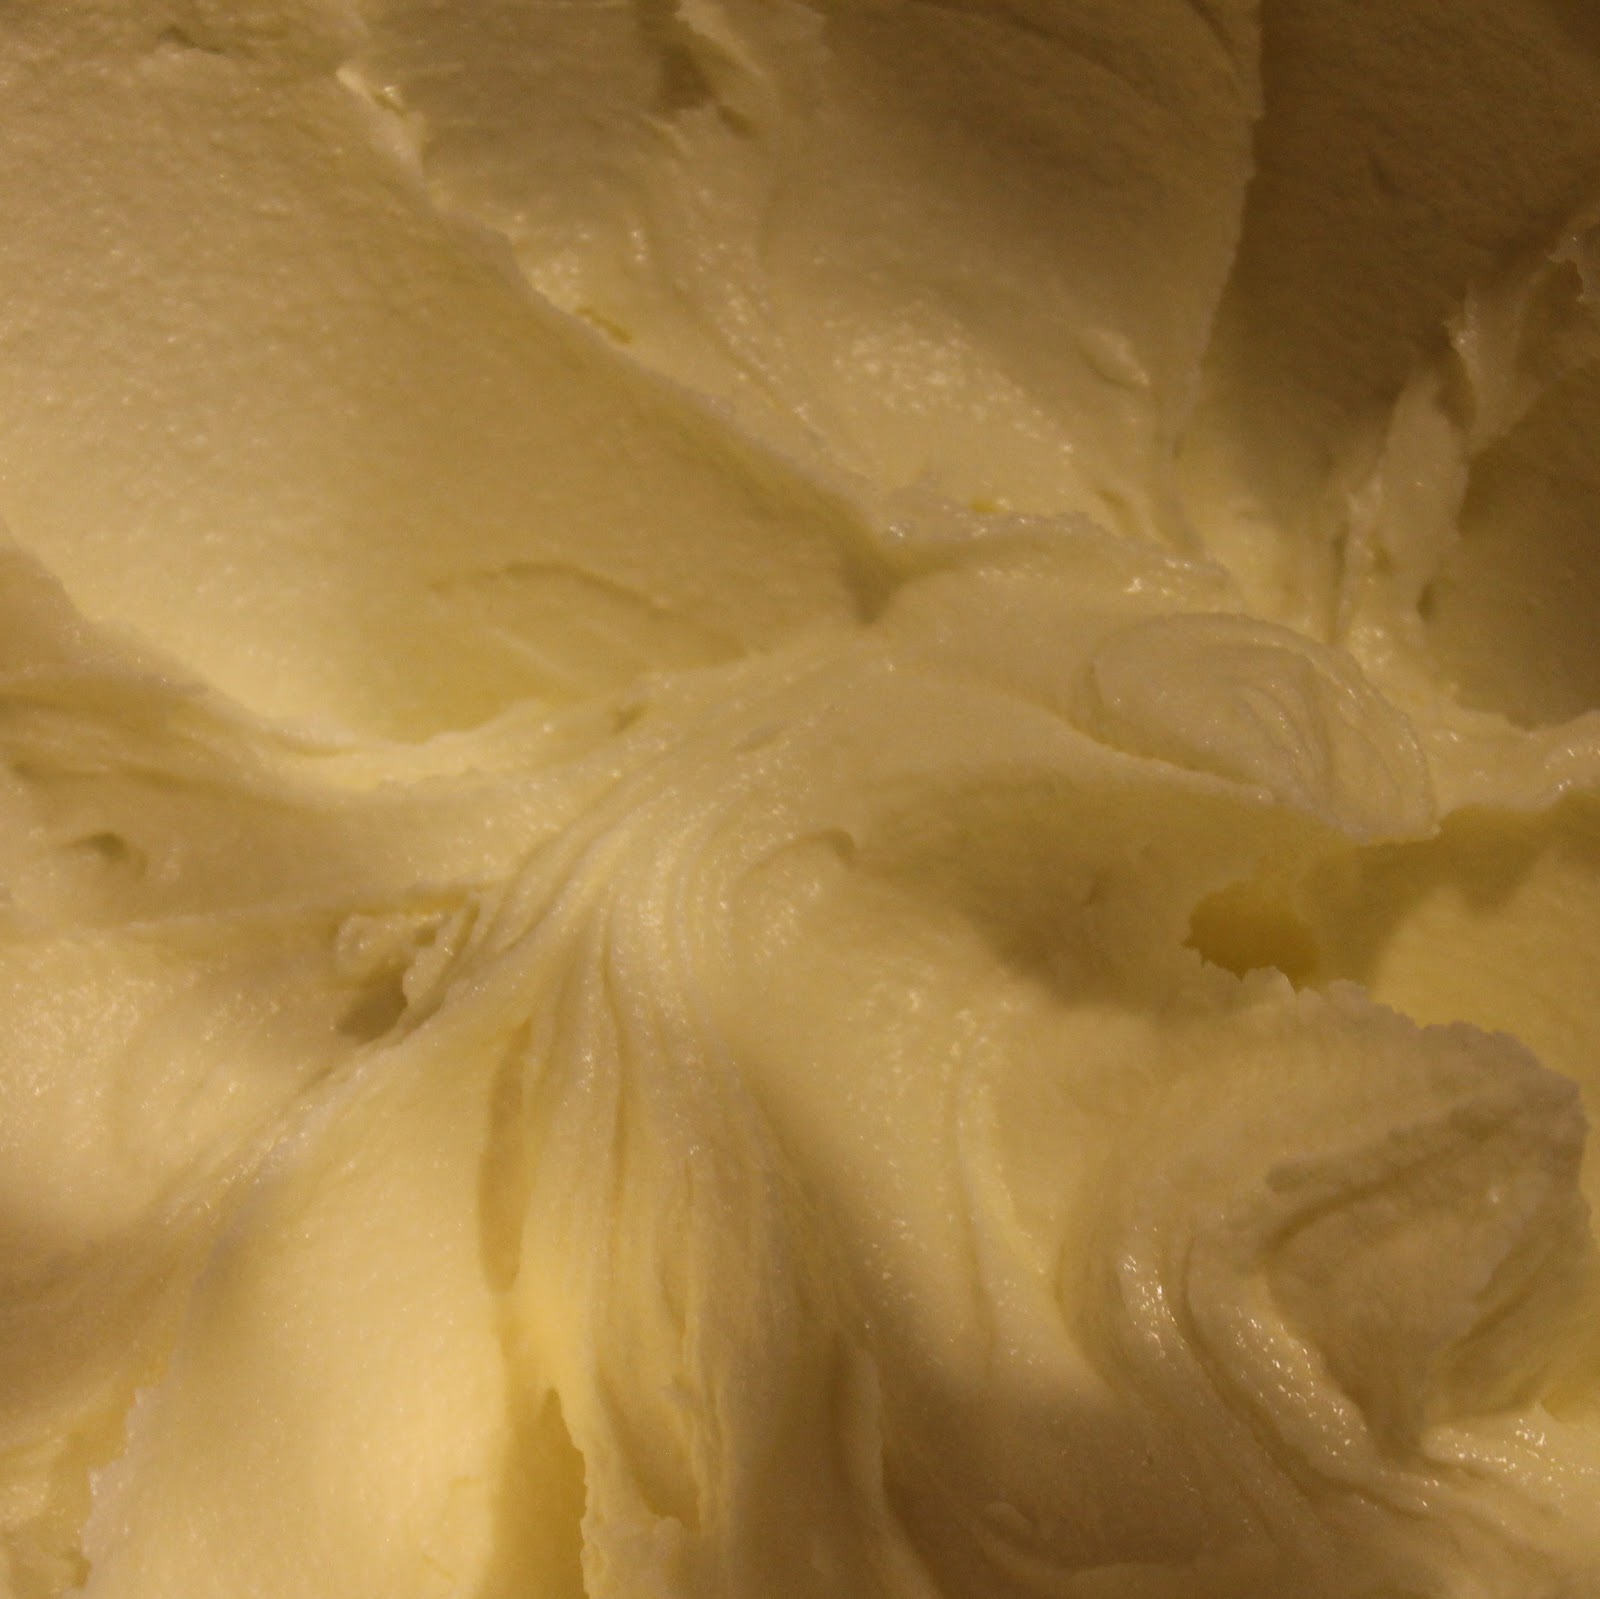
Sift together the flour, baking powder and salt in a small bowl. Set aside. Cream the butter and sugar at medium speed for about 4 minutes or until light and fluffy.
Add the eggs and egg yolks to a measuring cup with the vanilla extract. Lightly beat with a fork.
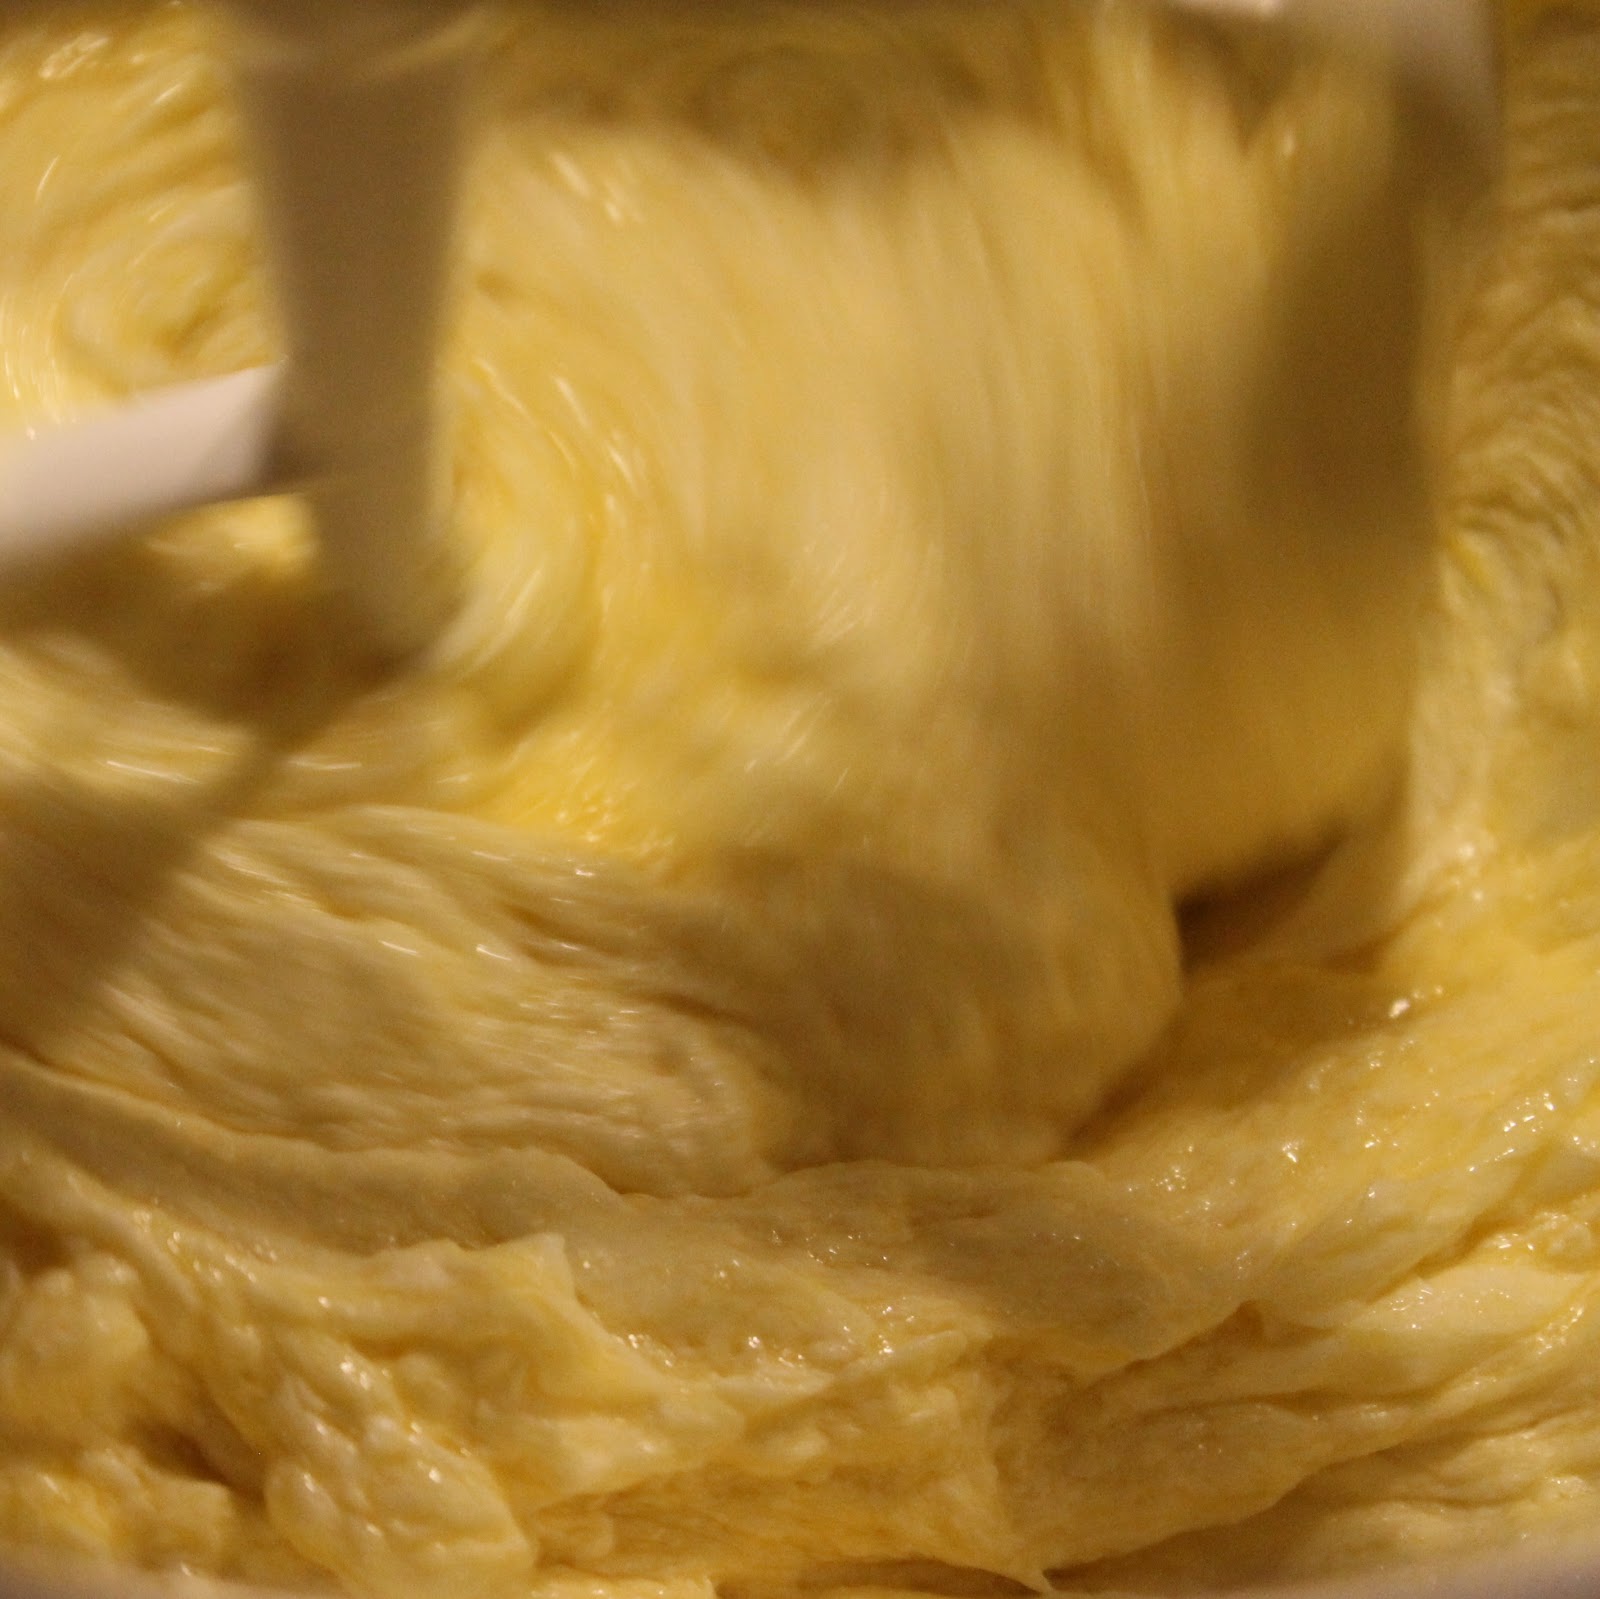
With the mixer running (if you’re using a hand mixer, you might need a baking buddy for this step), gradually pour the egg mixture into the butter mixture.
Reduce the speed of the mixer to low. Add the flour mixture 1/3 at a time alternating with adding the milk in two additions. (1/3 flour, then 1/2 milk, 1/3 flour, 1/2 milk, 1/3 flour). Beat until just combined after each addition.
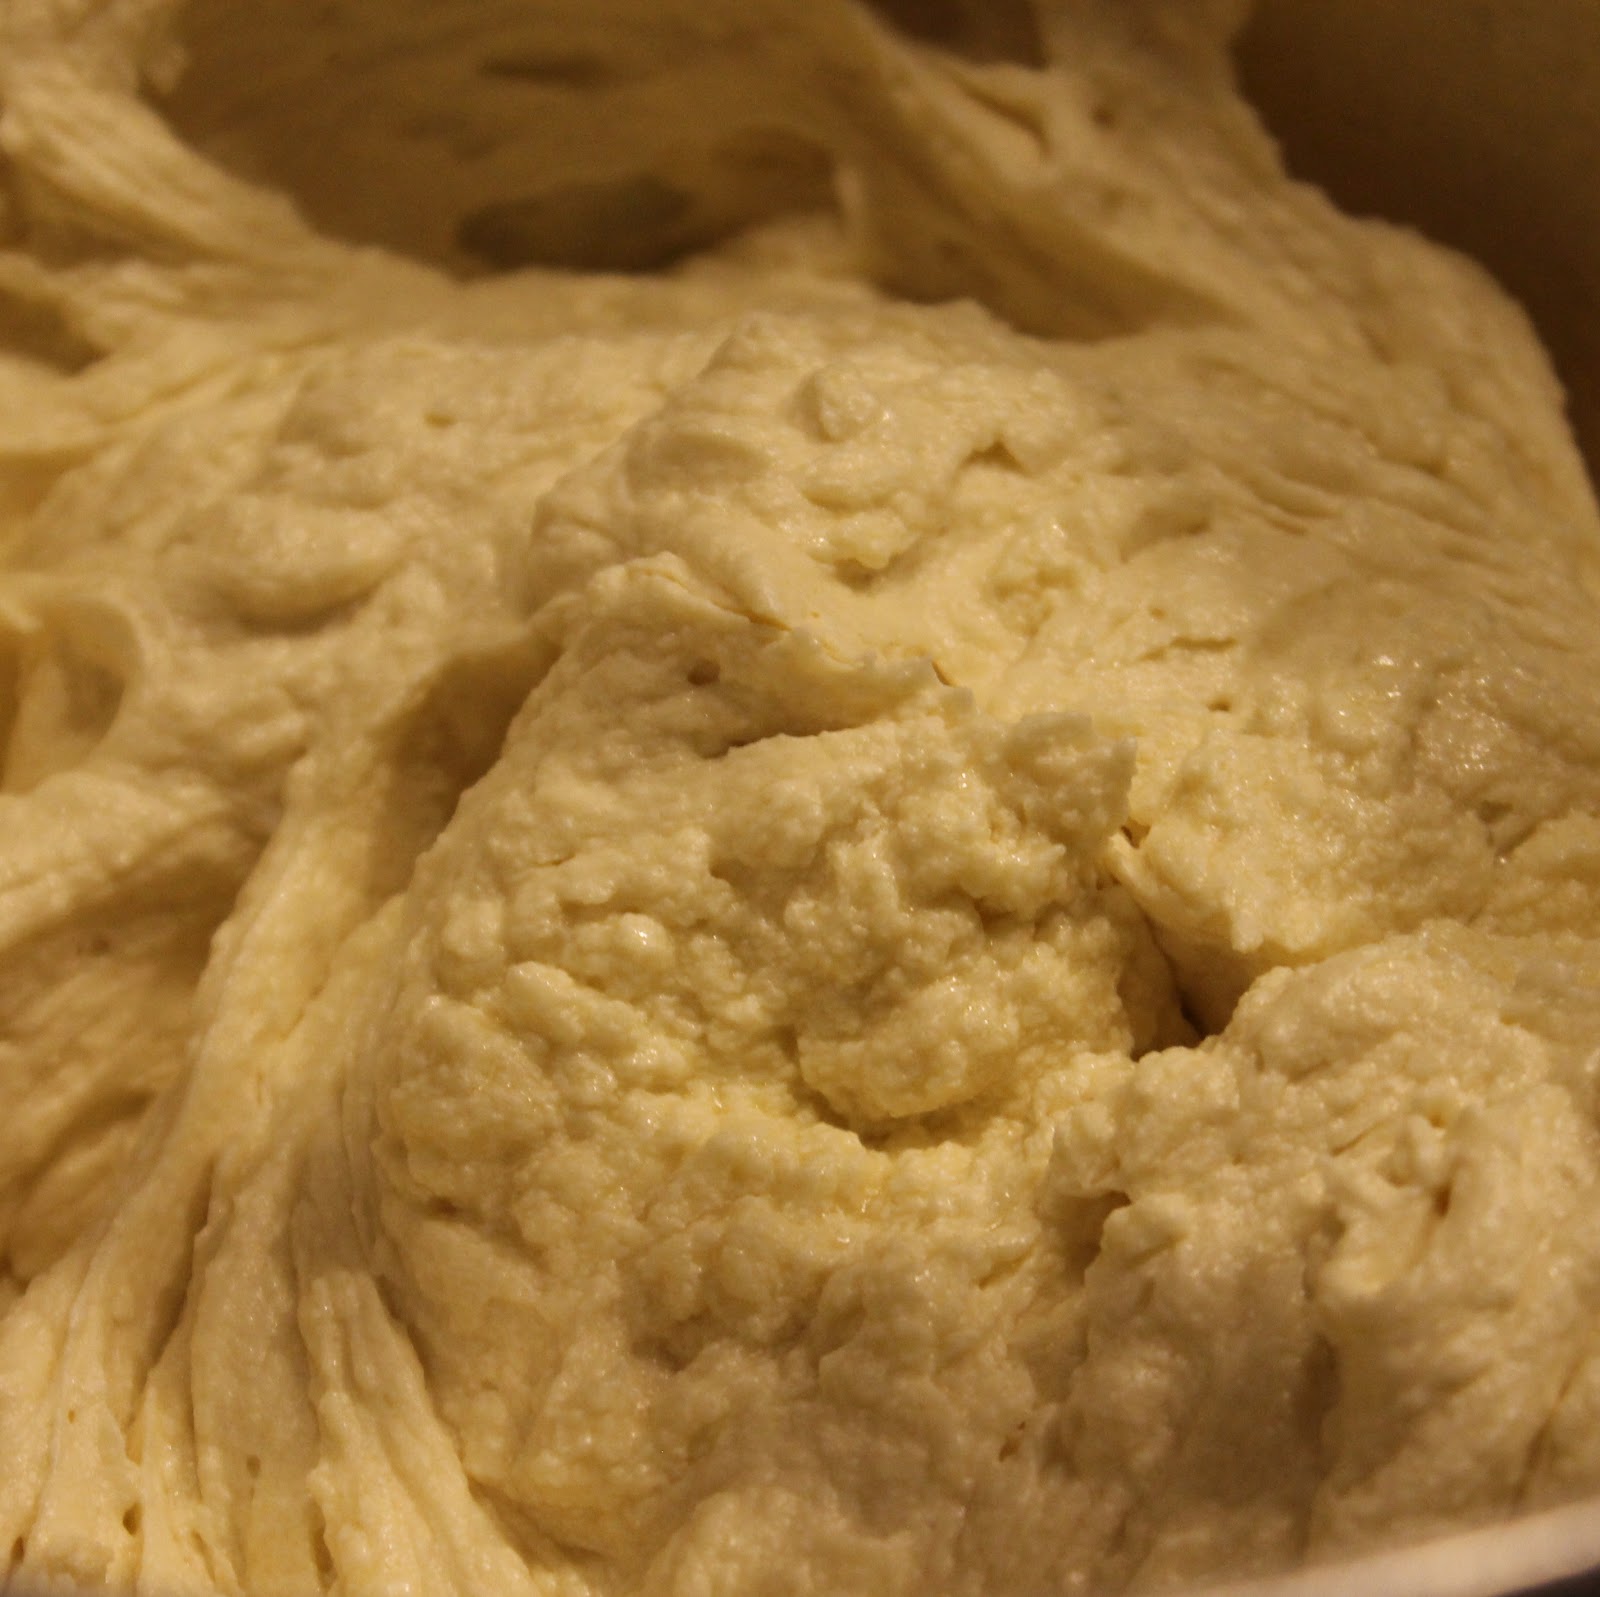
Divide the batter evenly in the muffin cups. Fill each tin 3/4 of the way full.
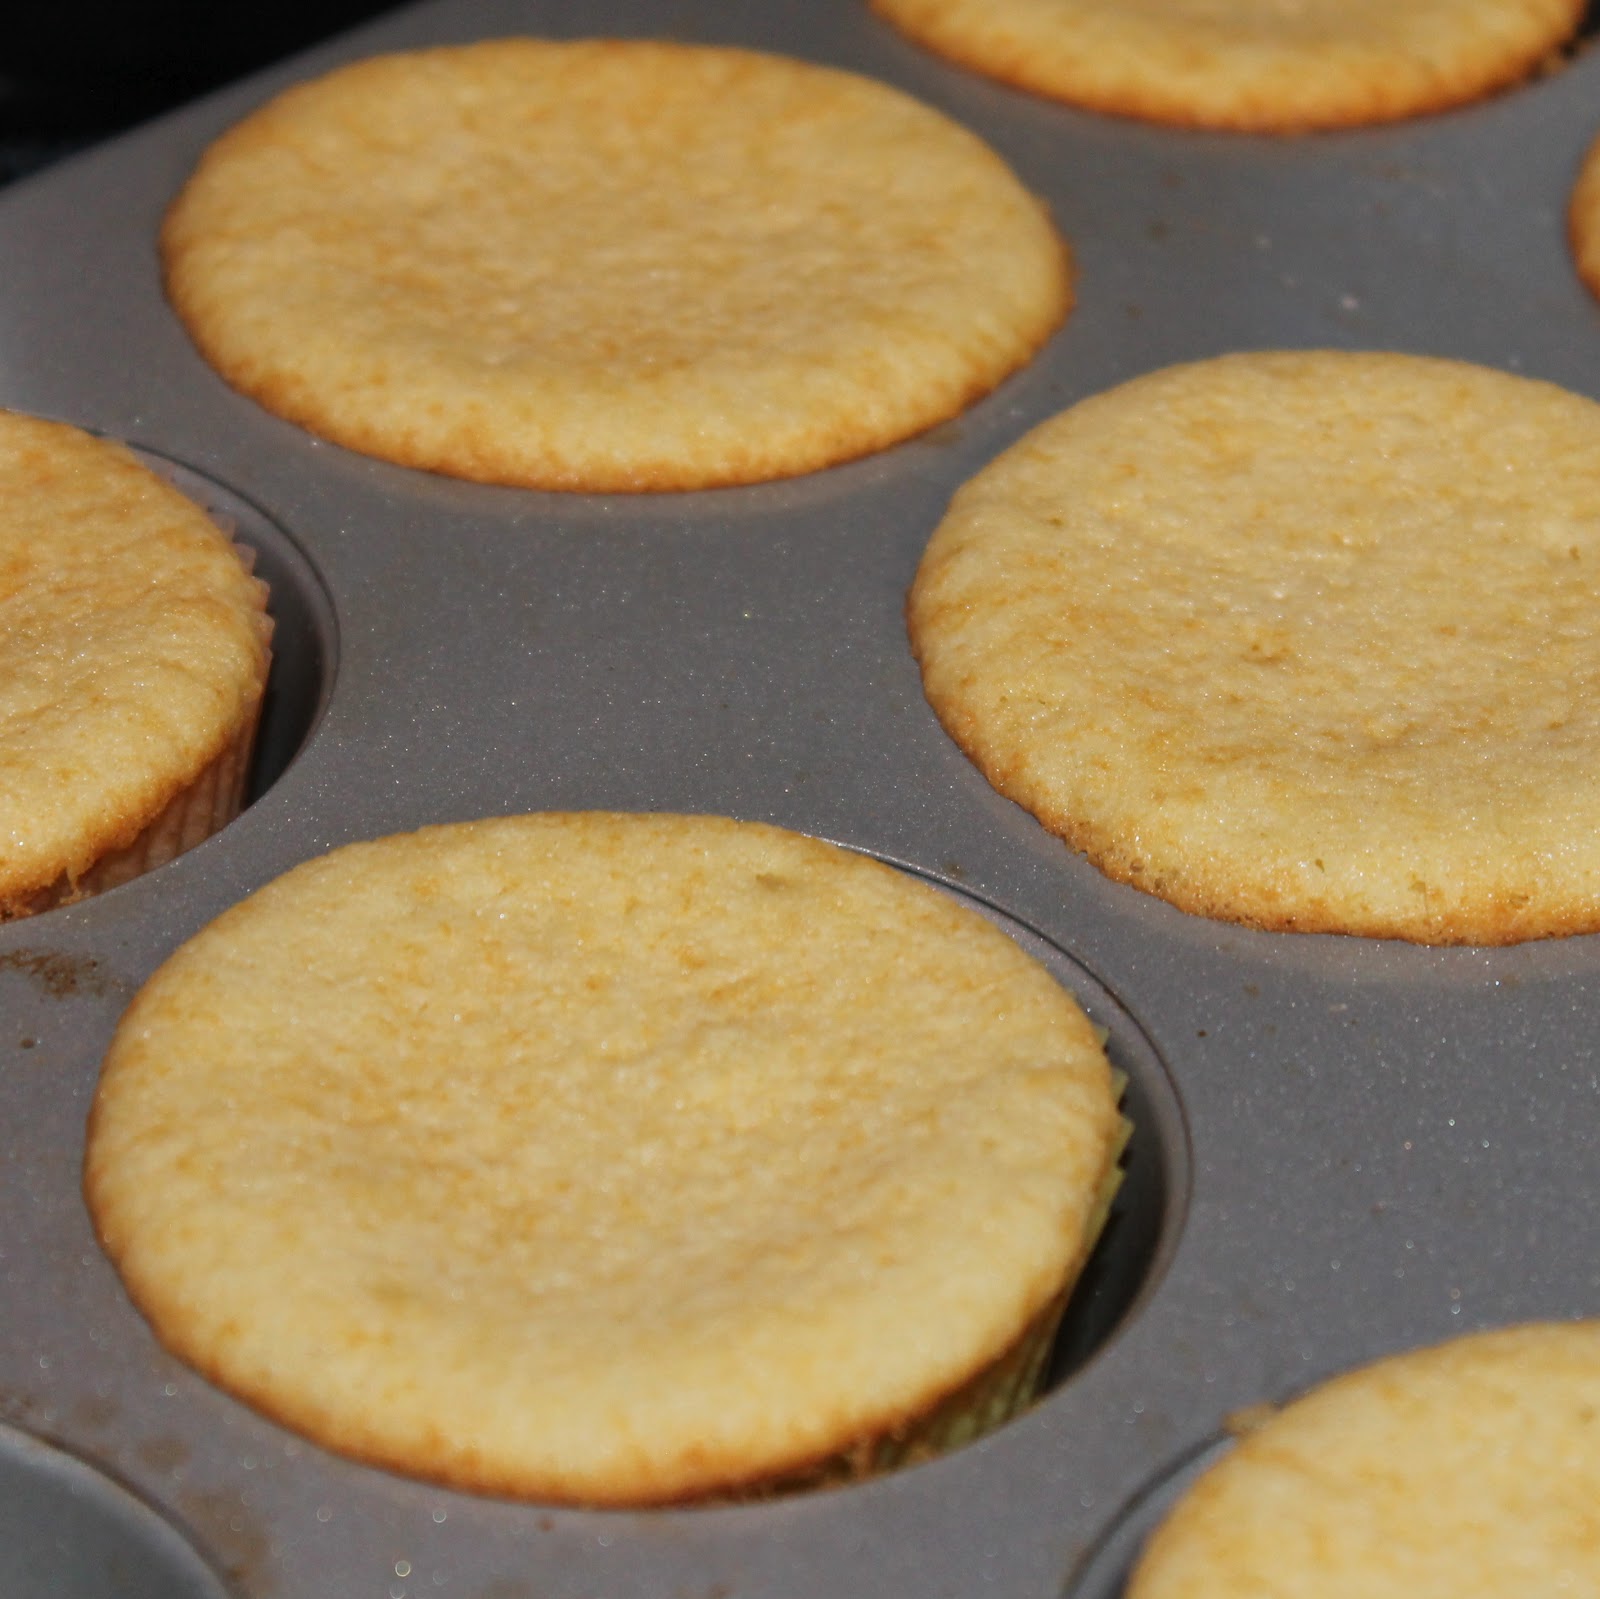
Bake for 20 minutes, rotating the pans halfway through, or until a toothpick inserted into the center of the cupcake comes out clean. Allow to cool.
To make the ricotta cream, beat the ricotta on medium speed for 2-3 minutes or until smooth. Add the confectioners sugar as beat until smooth. Stir in the chocolate chips and transfer to an airtight container. Refrigerate until ready to use.
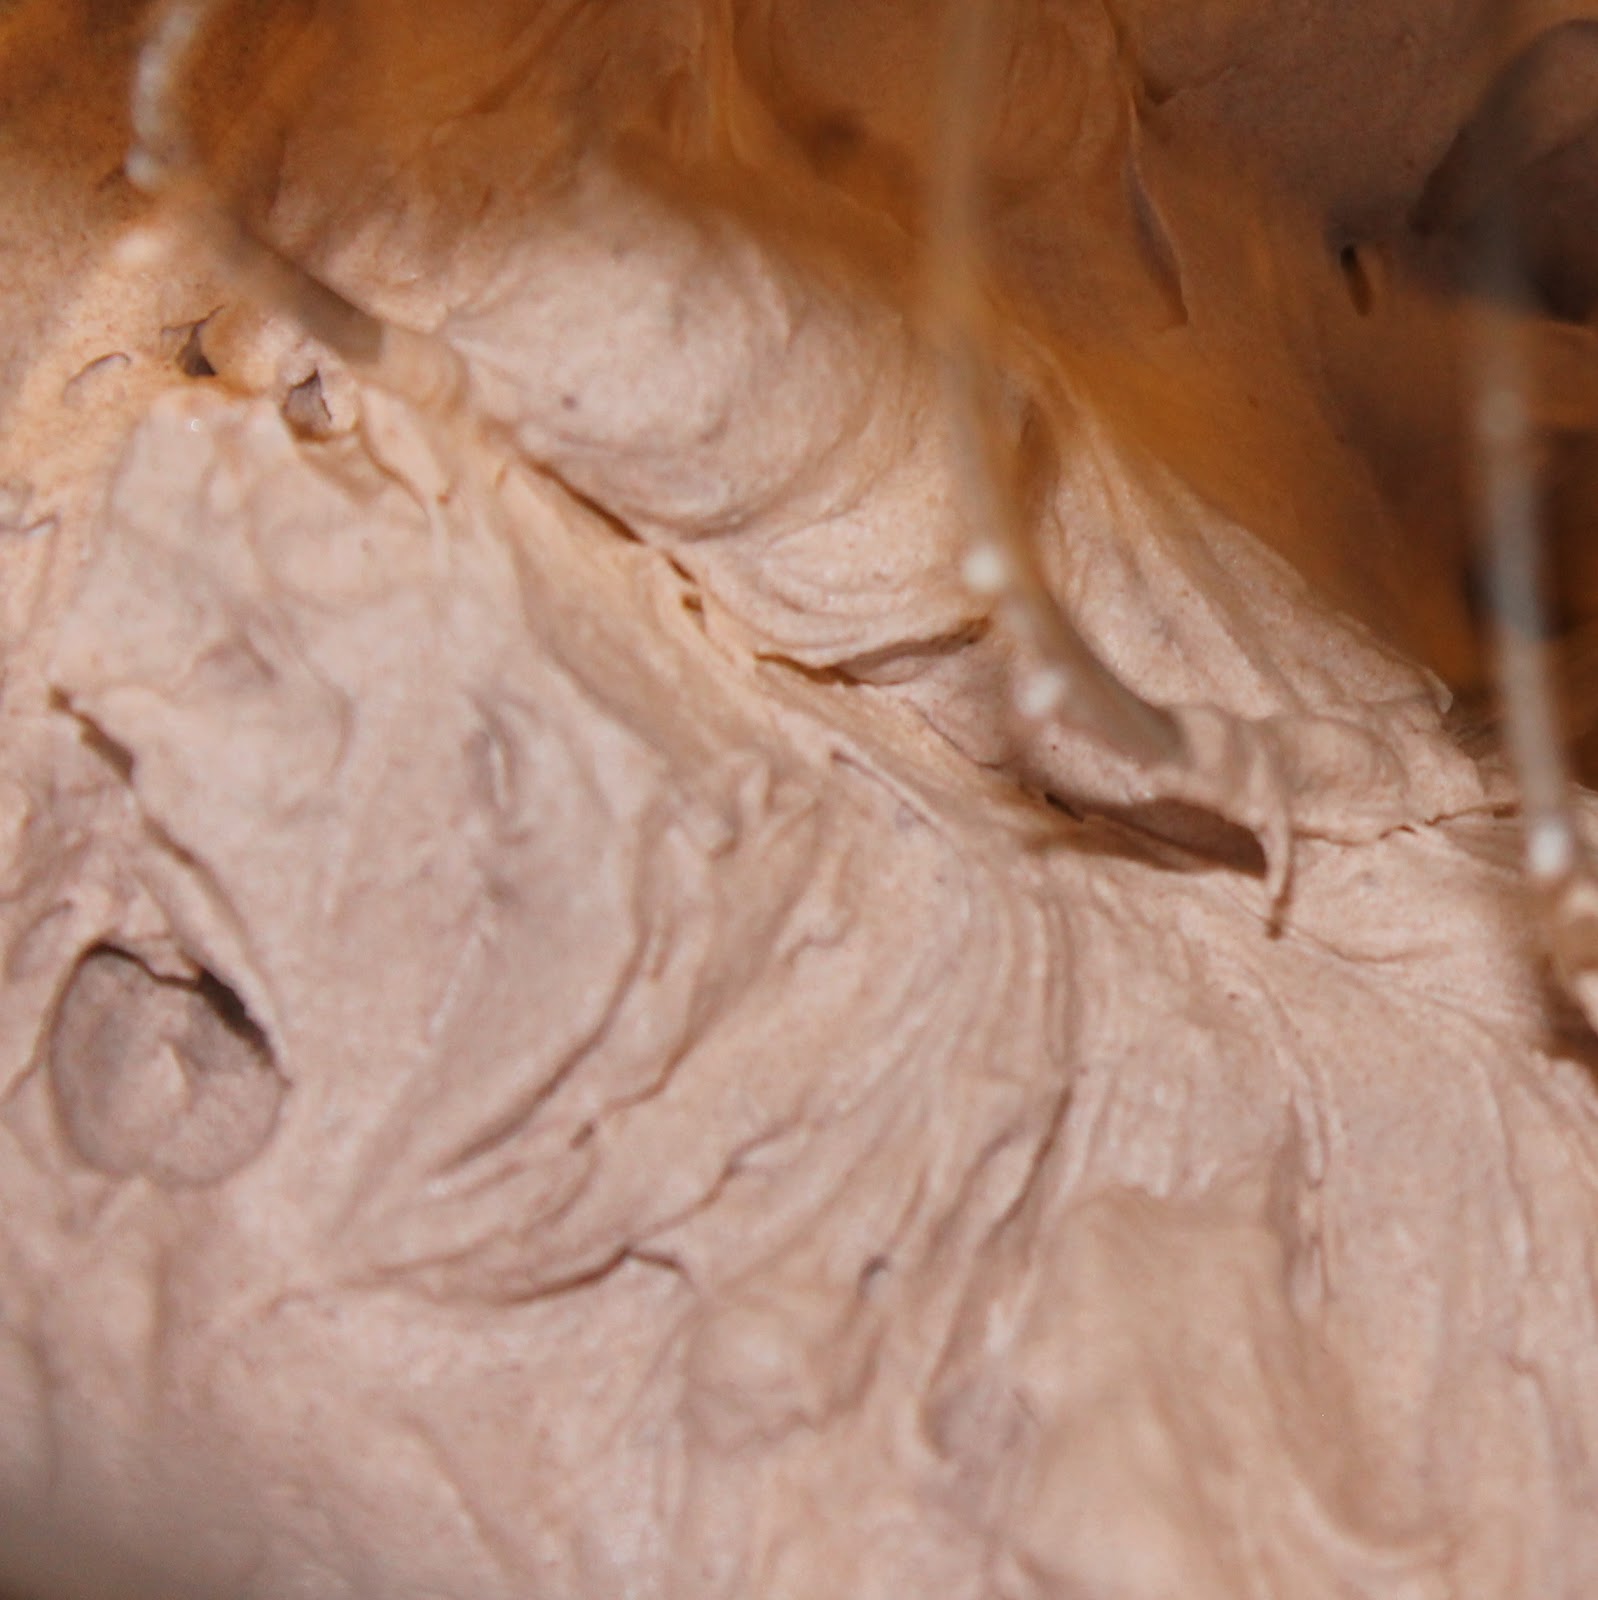
To make the frosting, sift the cocoa and the confectioners sugar into a small bowl and whisk to combine.
Beat the heavy cream, cocoa mixture and the marsala on medium high speed until stiff peaks form. Transfer to an airtight container and refrigerate until cold, about 15 to 30 minutes.
To assemble, use a pairing knife to cut a 1 1/2 inch deep cone shaped piece of cake from the center of each cupcake. Trim off the top of the cone piece into a round, flat disk that you’ll use to top off the cupcake. Add the ricotta cream to a large pastry bag (or a ziplock bag with a corner cut off). Pipe the cream into each cupcake, filling almost to the top. Top with the disks of cake.
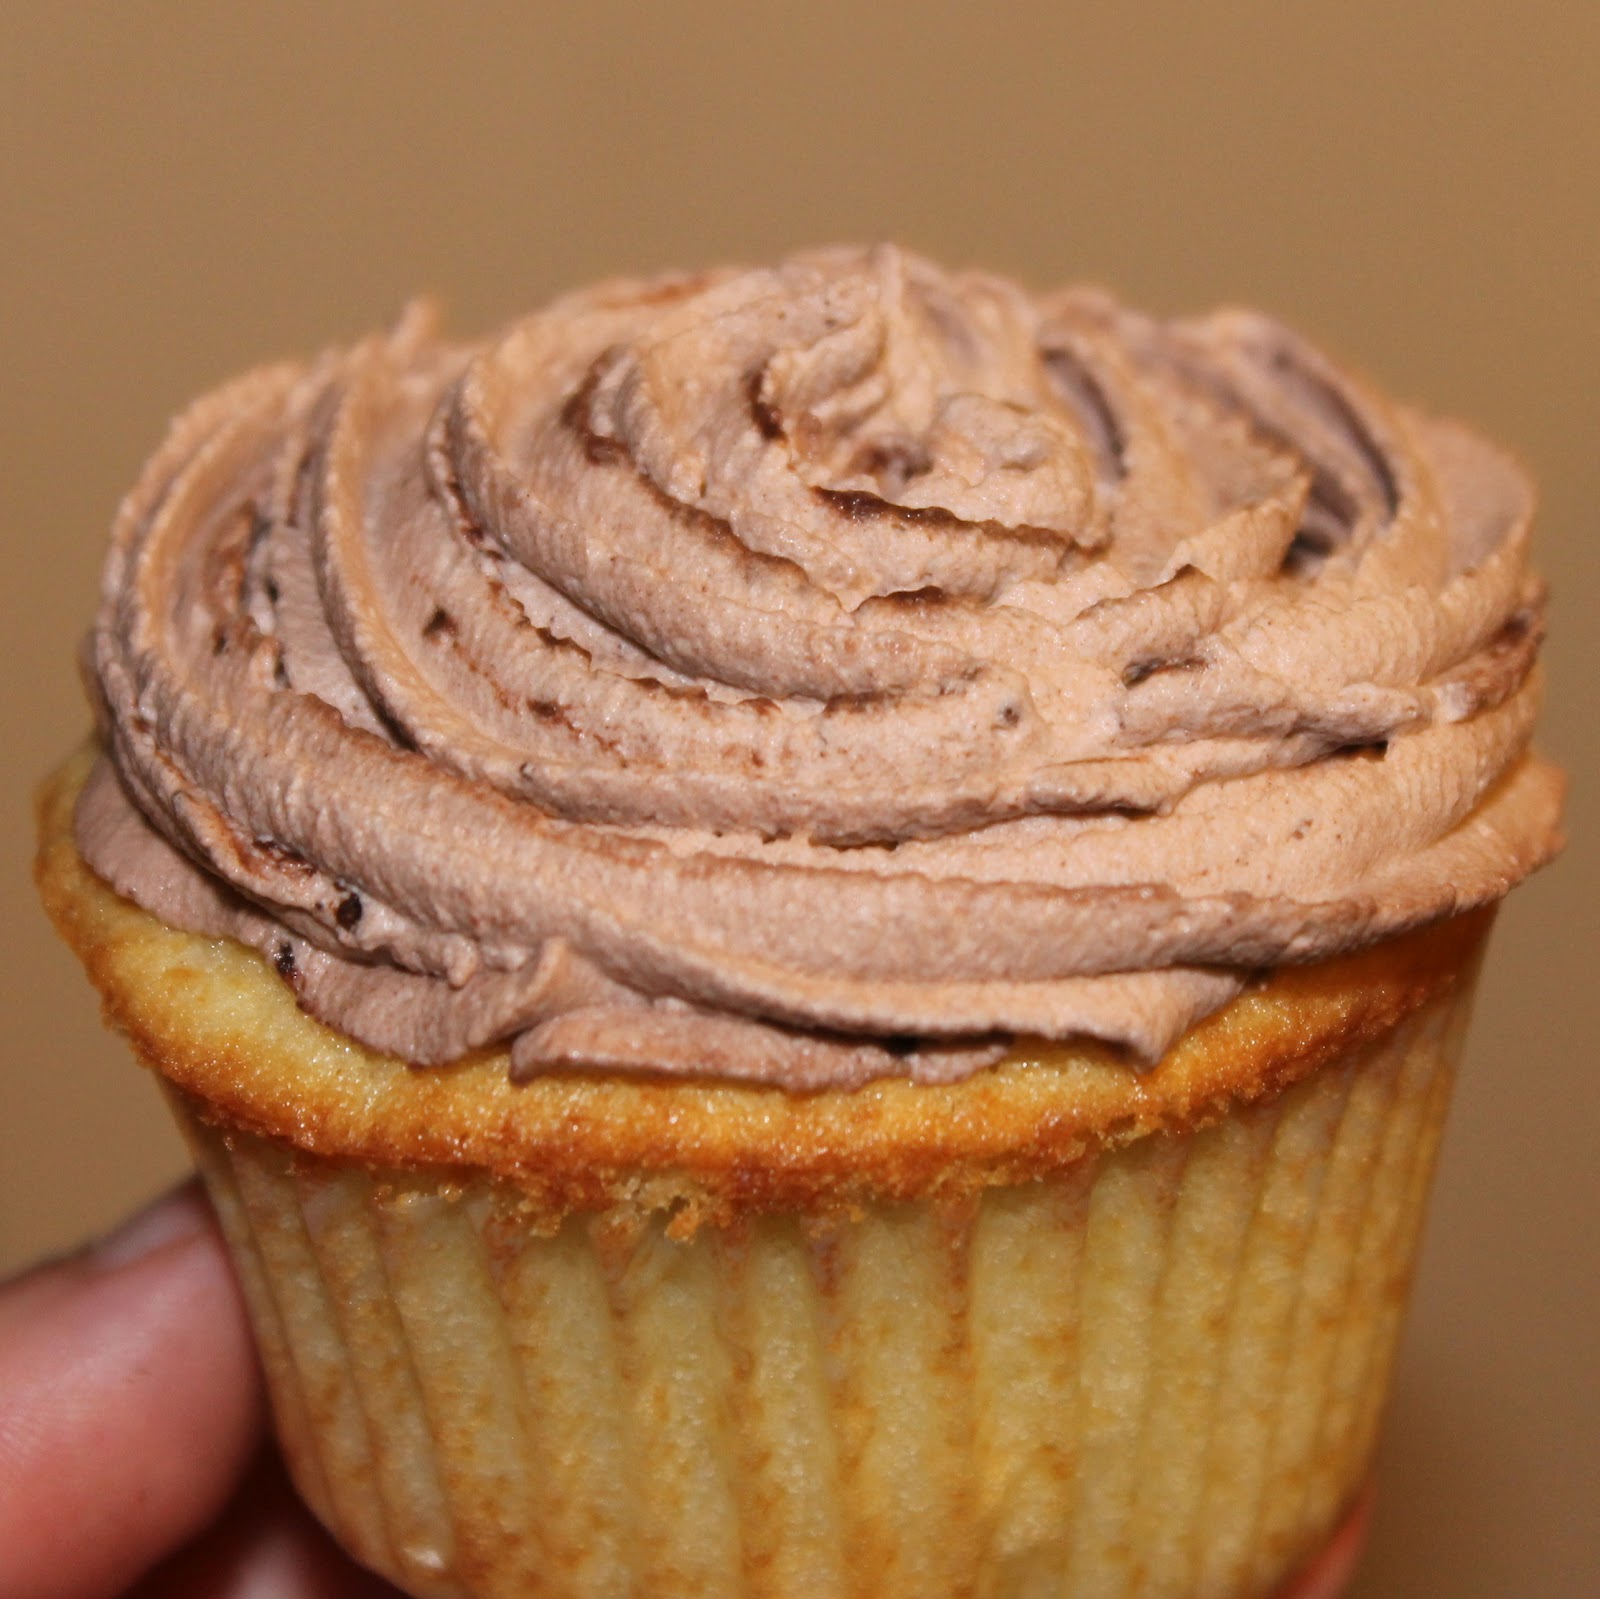
Add the frosting to a large pastrry bag or ziplock bag. Pipe the frosting on top of each cupcake.
Top with the mini cannolis. How fun are these??
Although it seems like these cupcakes would be really heavy and overwhelming, they were actually light and airy (I have no idea how). The cannoli added a fun touch, but these cupcakes can hold their own without them.
The ricotta cream inside was fantastic. I loved the flavor of them with the vanilla cupcakes and the chocolate chips were a fun addition.
Be sure to go check out Grace’s Sweet Life cookbook!
Most of the time when I explain my blog to someone, they bring up Julie and Julia. I have yet to watch the movie, and I am only a few chapters into the book, so I’m not exactly sure how many similarities I have to Julie. However, it goes without saying that Julia Child is an inspiration to most, if not all, food bloggers, cooks, and home cooks. August 15, 2012 is Julia Child’s 100th birthday. To celebrate, JC100 was launched. It is a national campaign involving restaurants, chefs, bookstores, and bloggers. The goal is to “raise one million voices in tribute to Julia”. When I was asked to participate, I jumped at the chance. The campaign started 100 days before Julia’s birthday on May 7.
The first recipe was a classic Omelette Roulee, a Rolled Omelette which Julia described as “dinner in half a minute.” Well, I found one thing I have in common with Julie (not Julia): I am not a big egg fan. The idea of eating an omelette at all, let alone for dinner, didn’t make me happy. So I passed over the recipe so that the first recipe I posted could be something I truly love. JC100 is sending me a new recipe each week so I should have a summer full of Julia Child recipes on here!
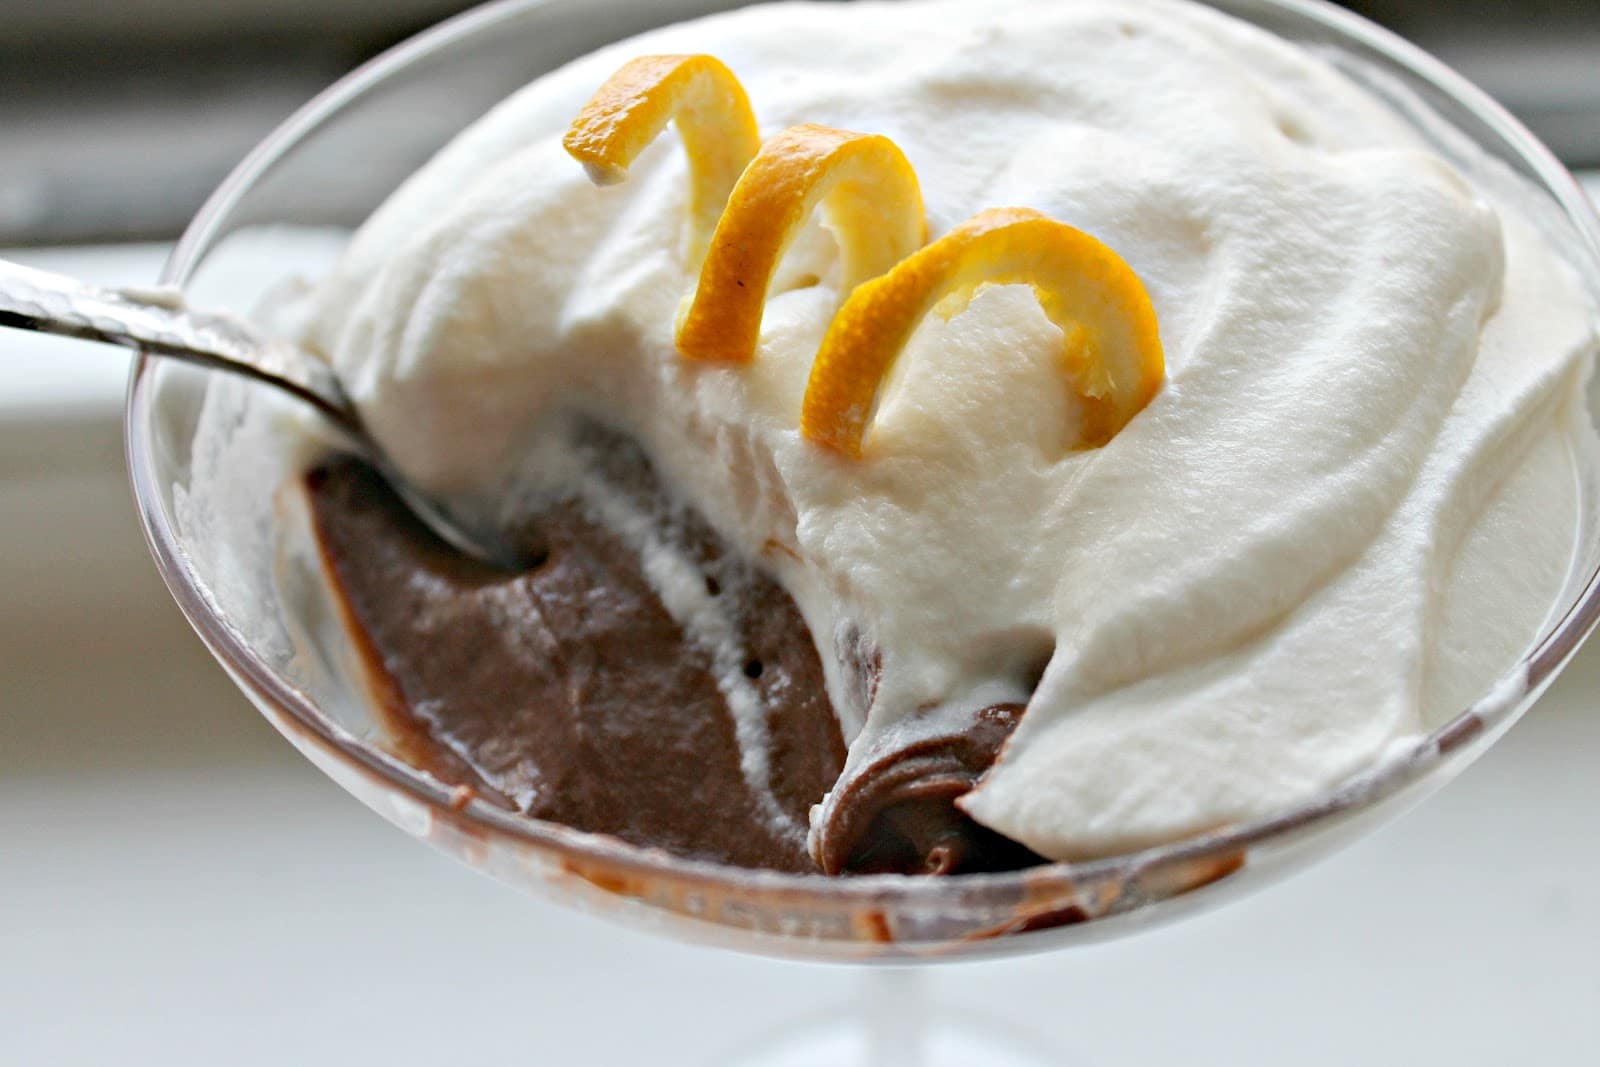
This week, the recipe was right up my alley: chocolate mousse! This chocolate mousse is a winner. Instead of the typical mousse made with cream and egg white, this one is made of egg yolks, sugar, and butter. I also made a fresh whipped cream to top off the mousse.
Ingredients:
4 eggs, separated
3/4 cup sugar
1/4 cup orange liqueur
A pan of barely simmering water
A basin of cold water
6 ounces or squares semi-sweet baking chocolate
4 tablespoons of strong coffee (I used espresso granules dissolved in boiling water)
1 1/2 sticks softened unsalted butter
pinch of salt
1 tablespoon sugar
1/2 cup heavy whipping cream
1 tablespoon sugar
1/2 teaspoon vanilla
1/2 teaspoon orange liqueur
To make, prepare your two waters. Add a small pot filled with water to the stove over medium heat. Bring to just below a simmer. Add ice to a medium sized bowl and fill with water.
Add the egg yolks to a medium sized bowl; you want it to be stainless steel or porcelain. Reserve the egg whites for later use.
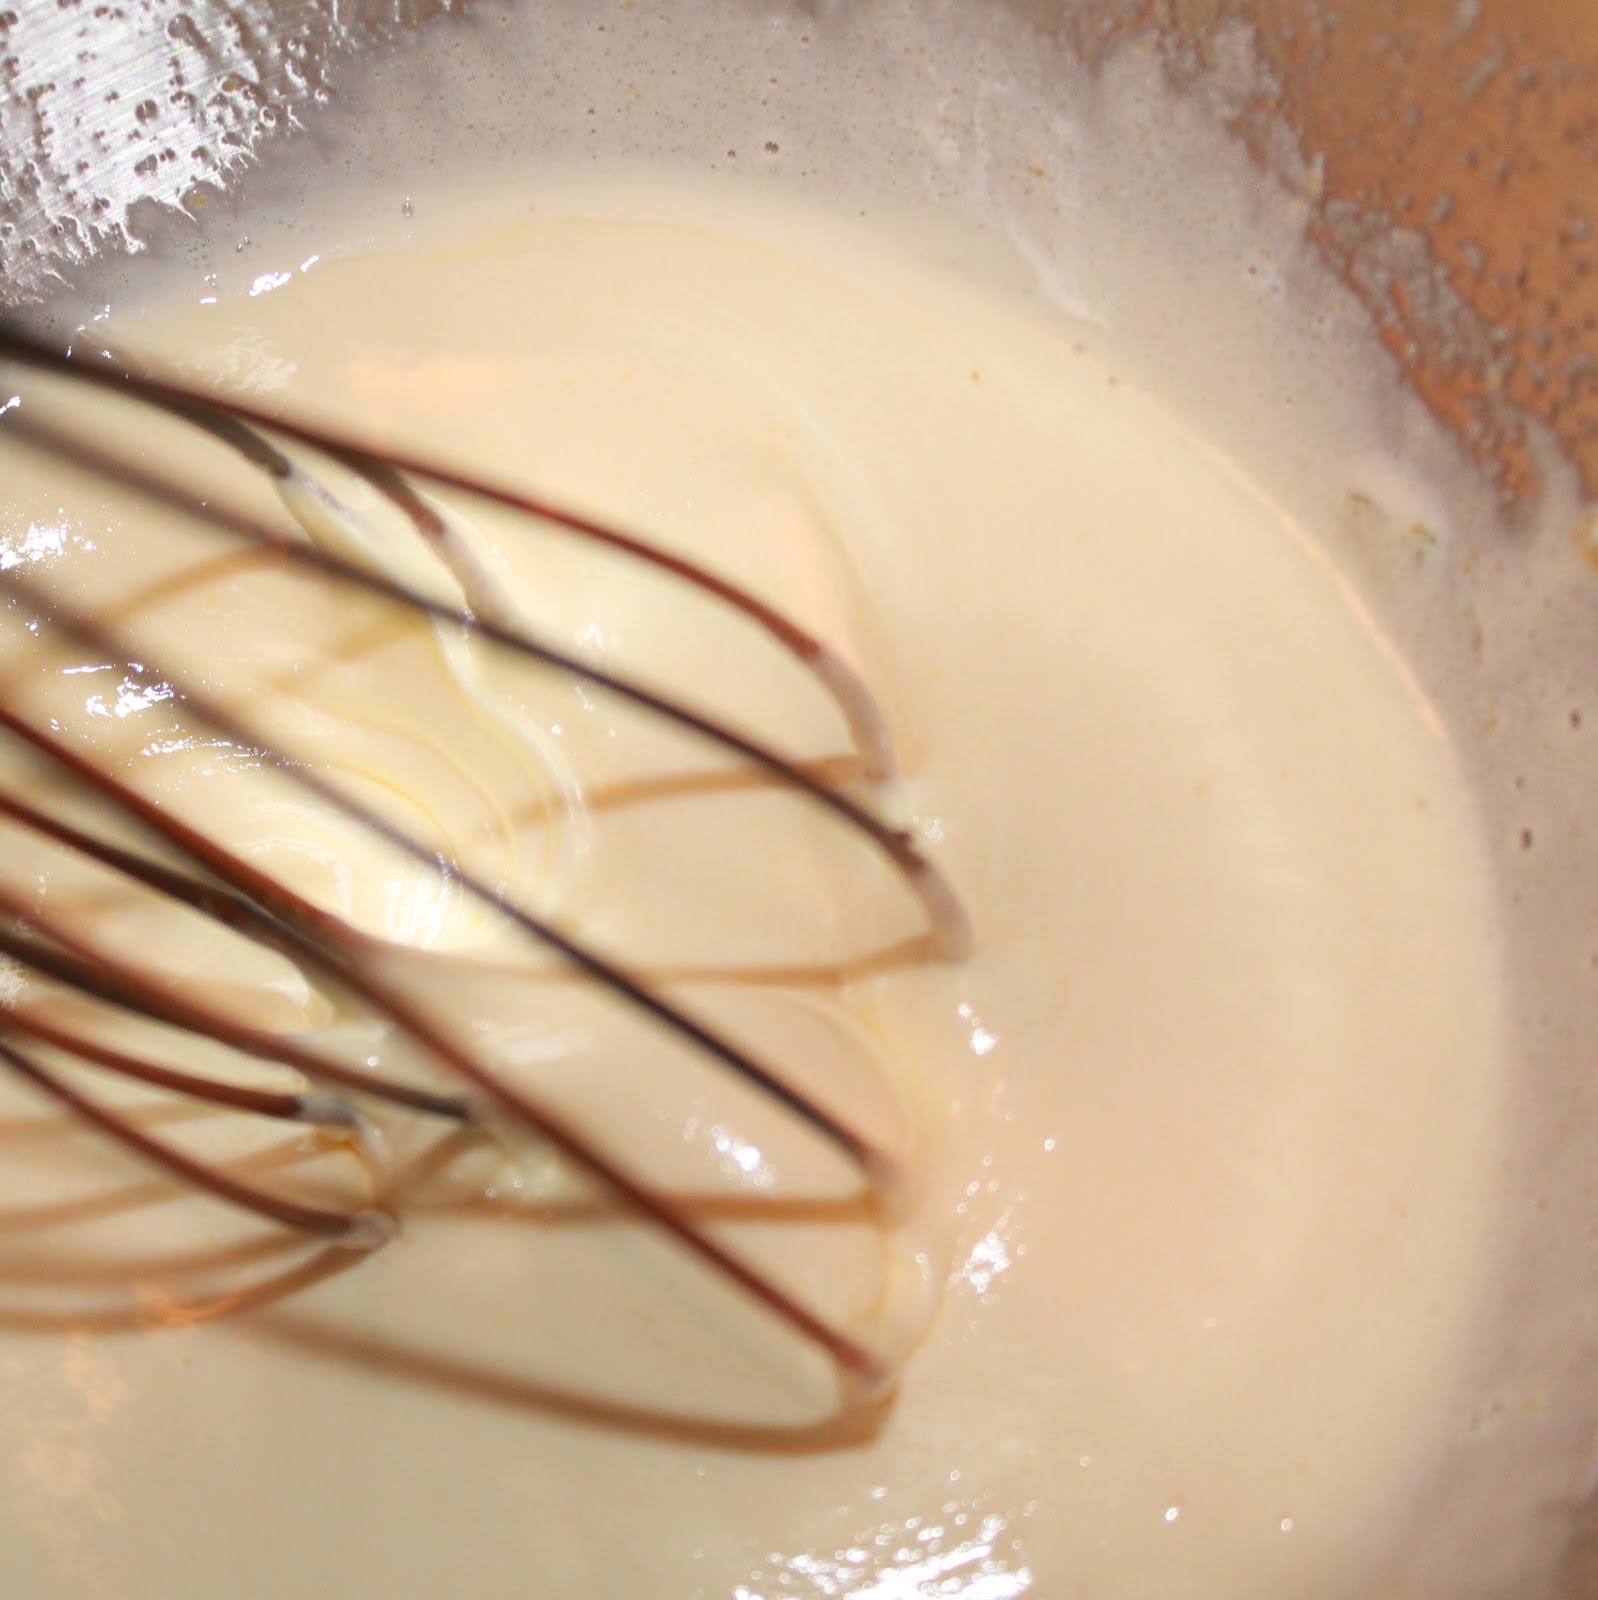
Add the sugar and beat until the mixture is thick, pale, yellow, and falls upon itself forming a ribbon. Add the orange liqueur.
Place the bowl over the simmering water and and continue to beat for 3 to 4 minutes, or until the mixture is foamy. (Keep the simmering pot over the heat, you’ll use it again soon)
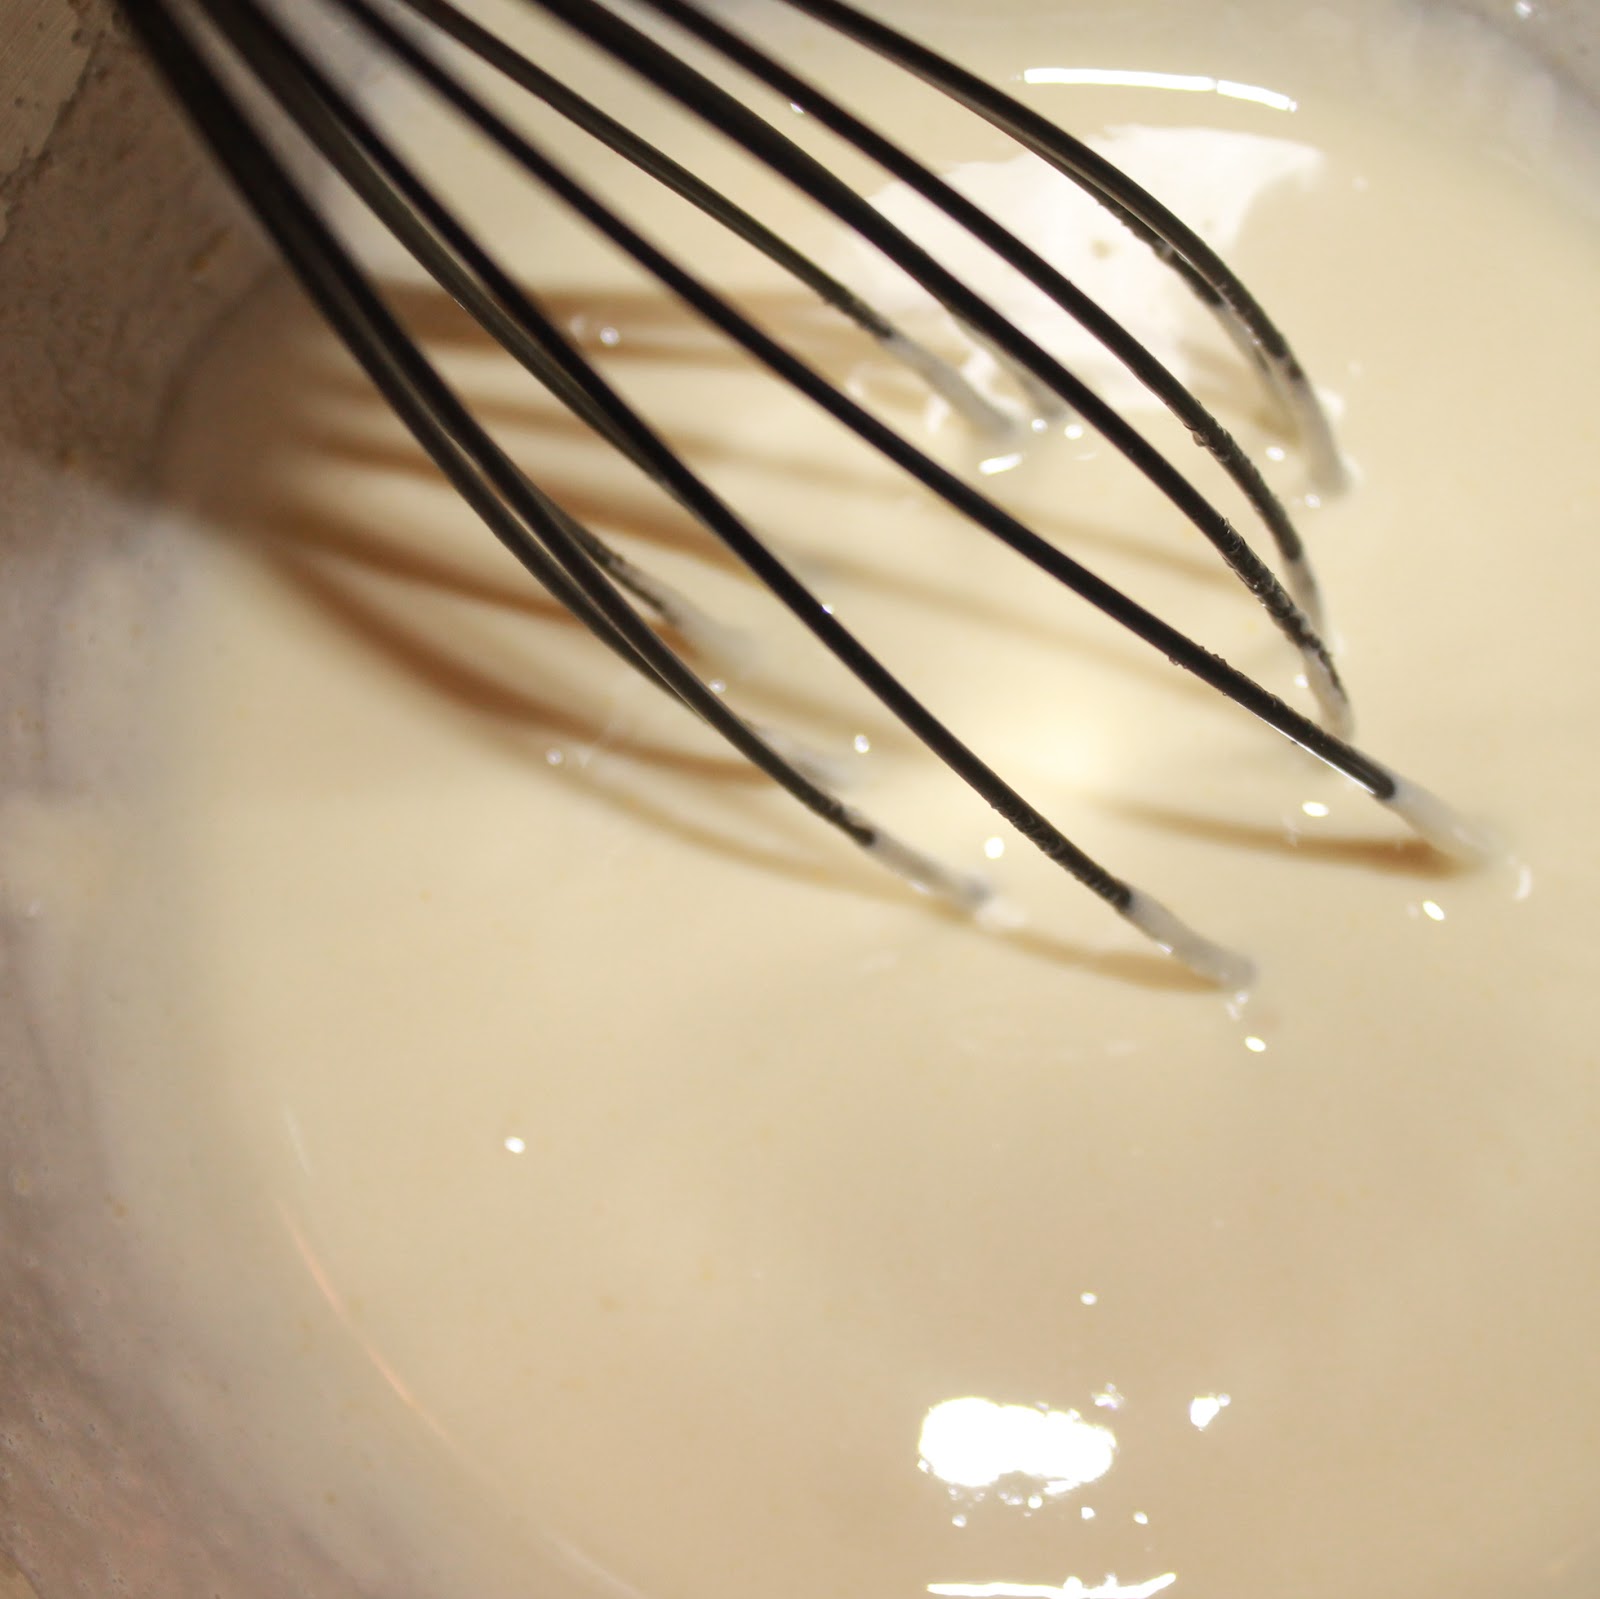
Move the bowl to on top of the ice water bowl and beat for another 3 to 4 minutes. The mixture should again form ribbons and have the consistency of mayonnaise.
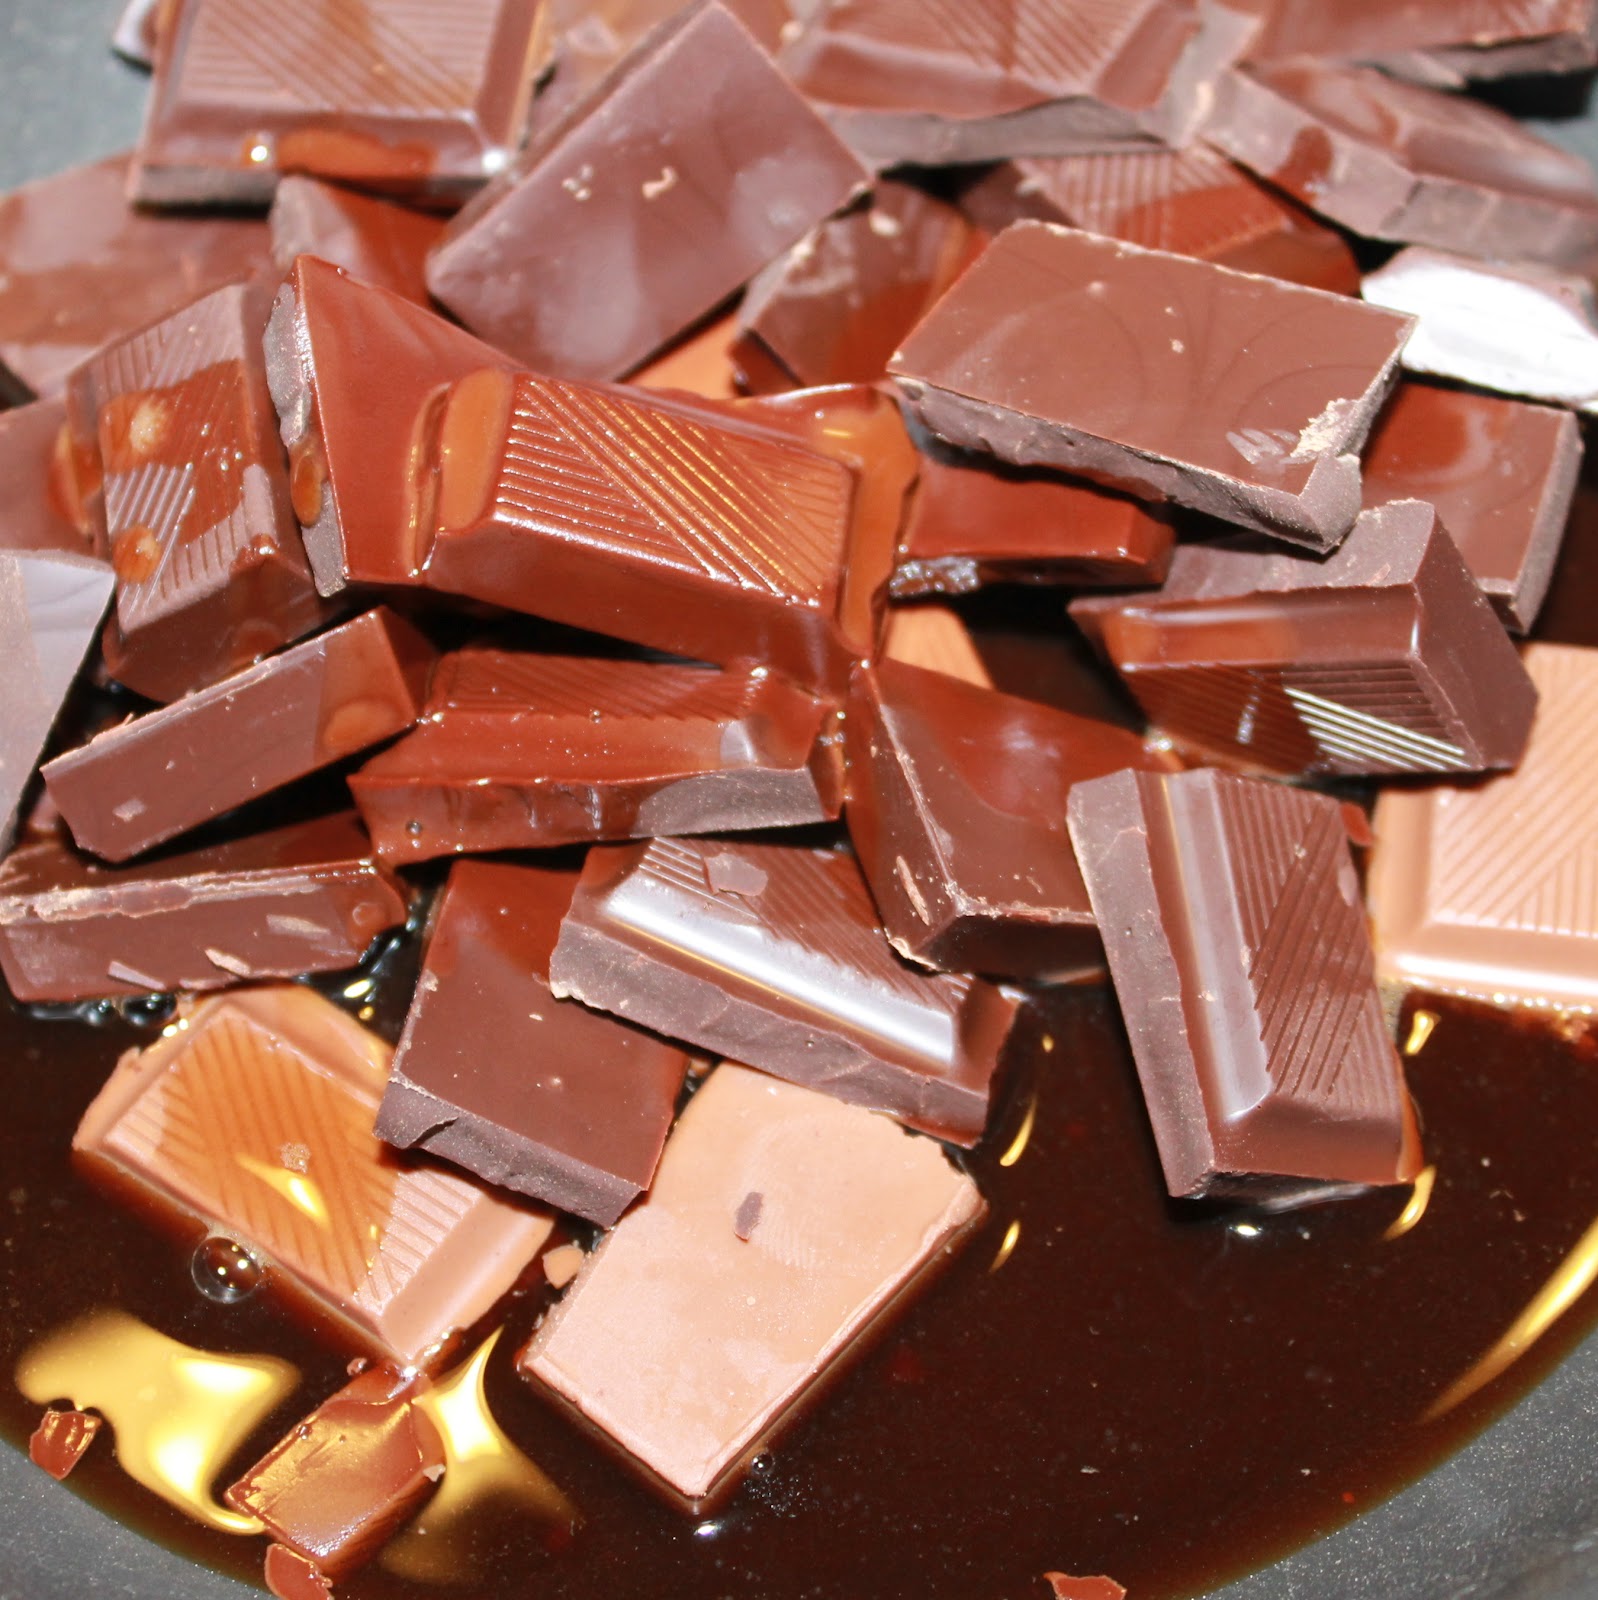
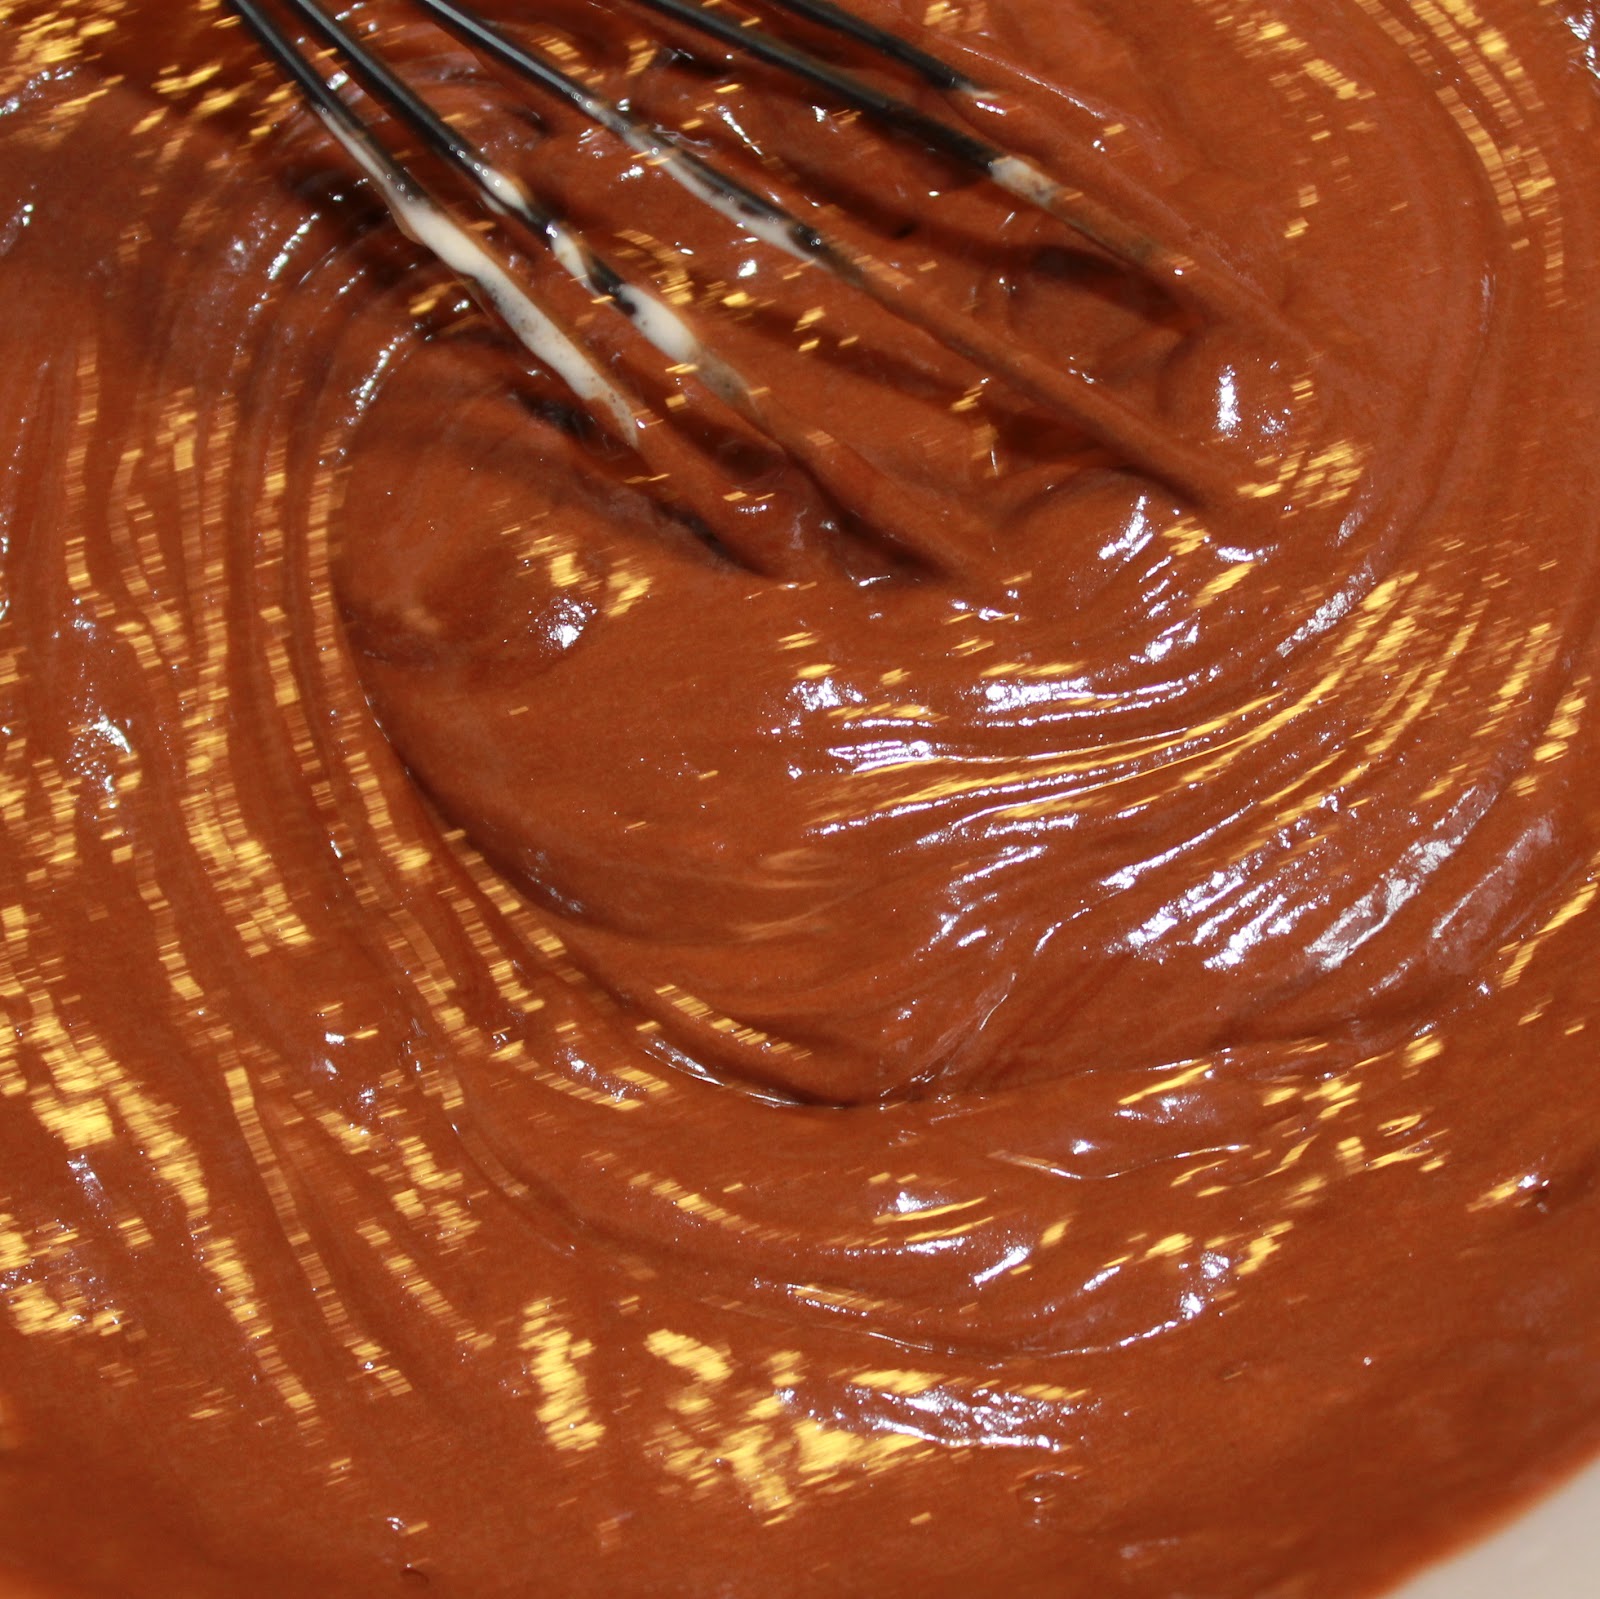
Add the chocolate and 4 tablespoons coffee to a small saute pan.
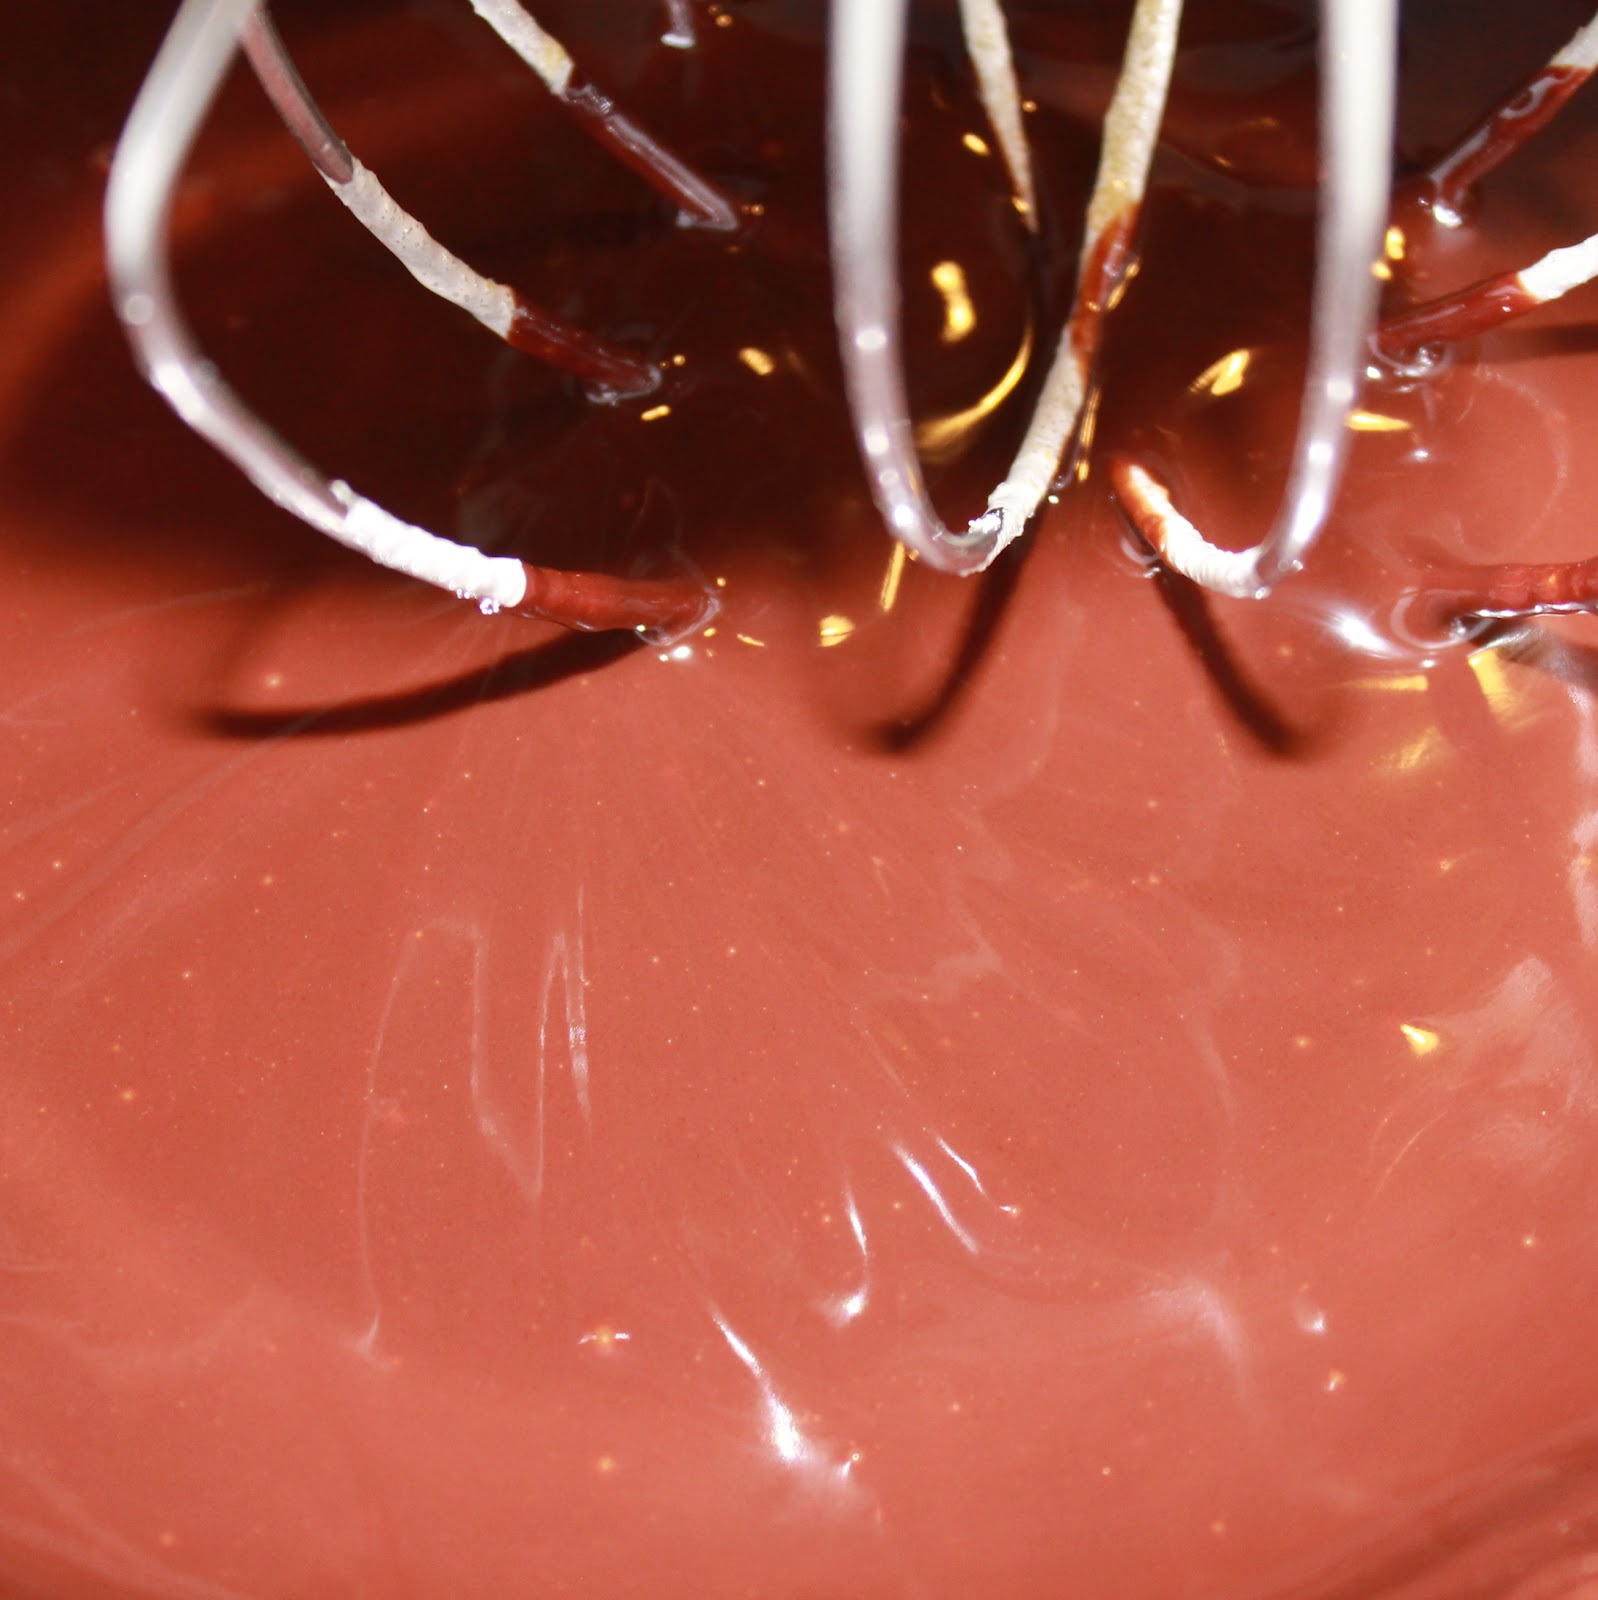
Melt the chocolate and coffee mixture over the hot water.
Remove from heat and slowly beat in the butter a little at a time to make a smooth cream.
Add the chocolate mixture to the egg-sugar mixture and mix to combine.
So, what you’re supposed to do at this stage is beat the egg whites and salt in a separate bowl until soft peaks form. Add the 1 tablespoon sugar and beat until stiff peaks are formed. Add 1/4 of the egg whites to the chocolate mixture and then fold in the rest of the egg whites.
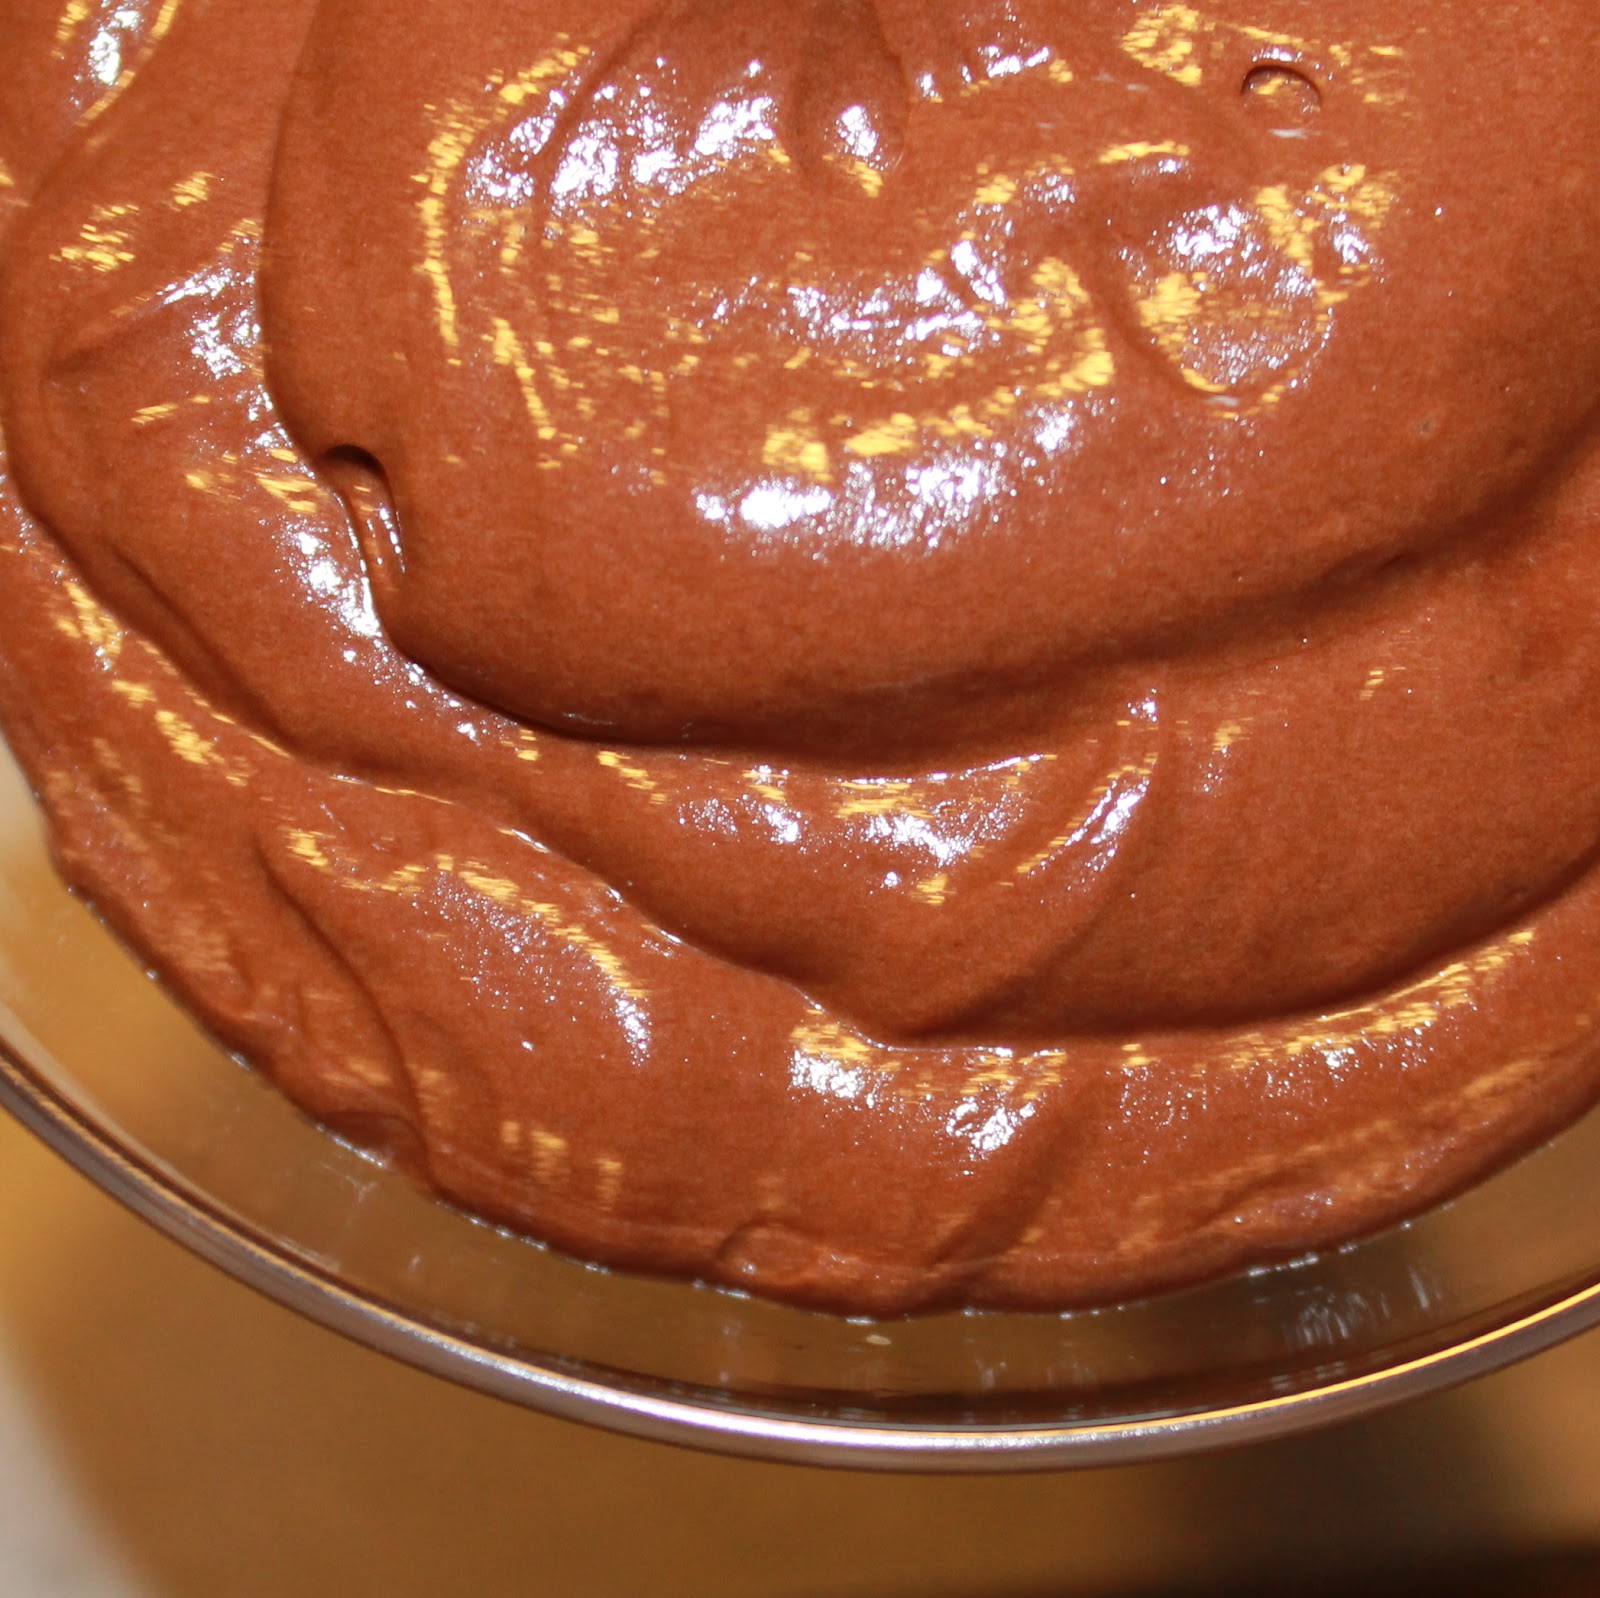
That was on a different page. Which I apparently decided not to read. So my “mousse” had more of a pudding consistency. Oops. It was still delicious!
Refrigerate for 2 hours before serving.
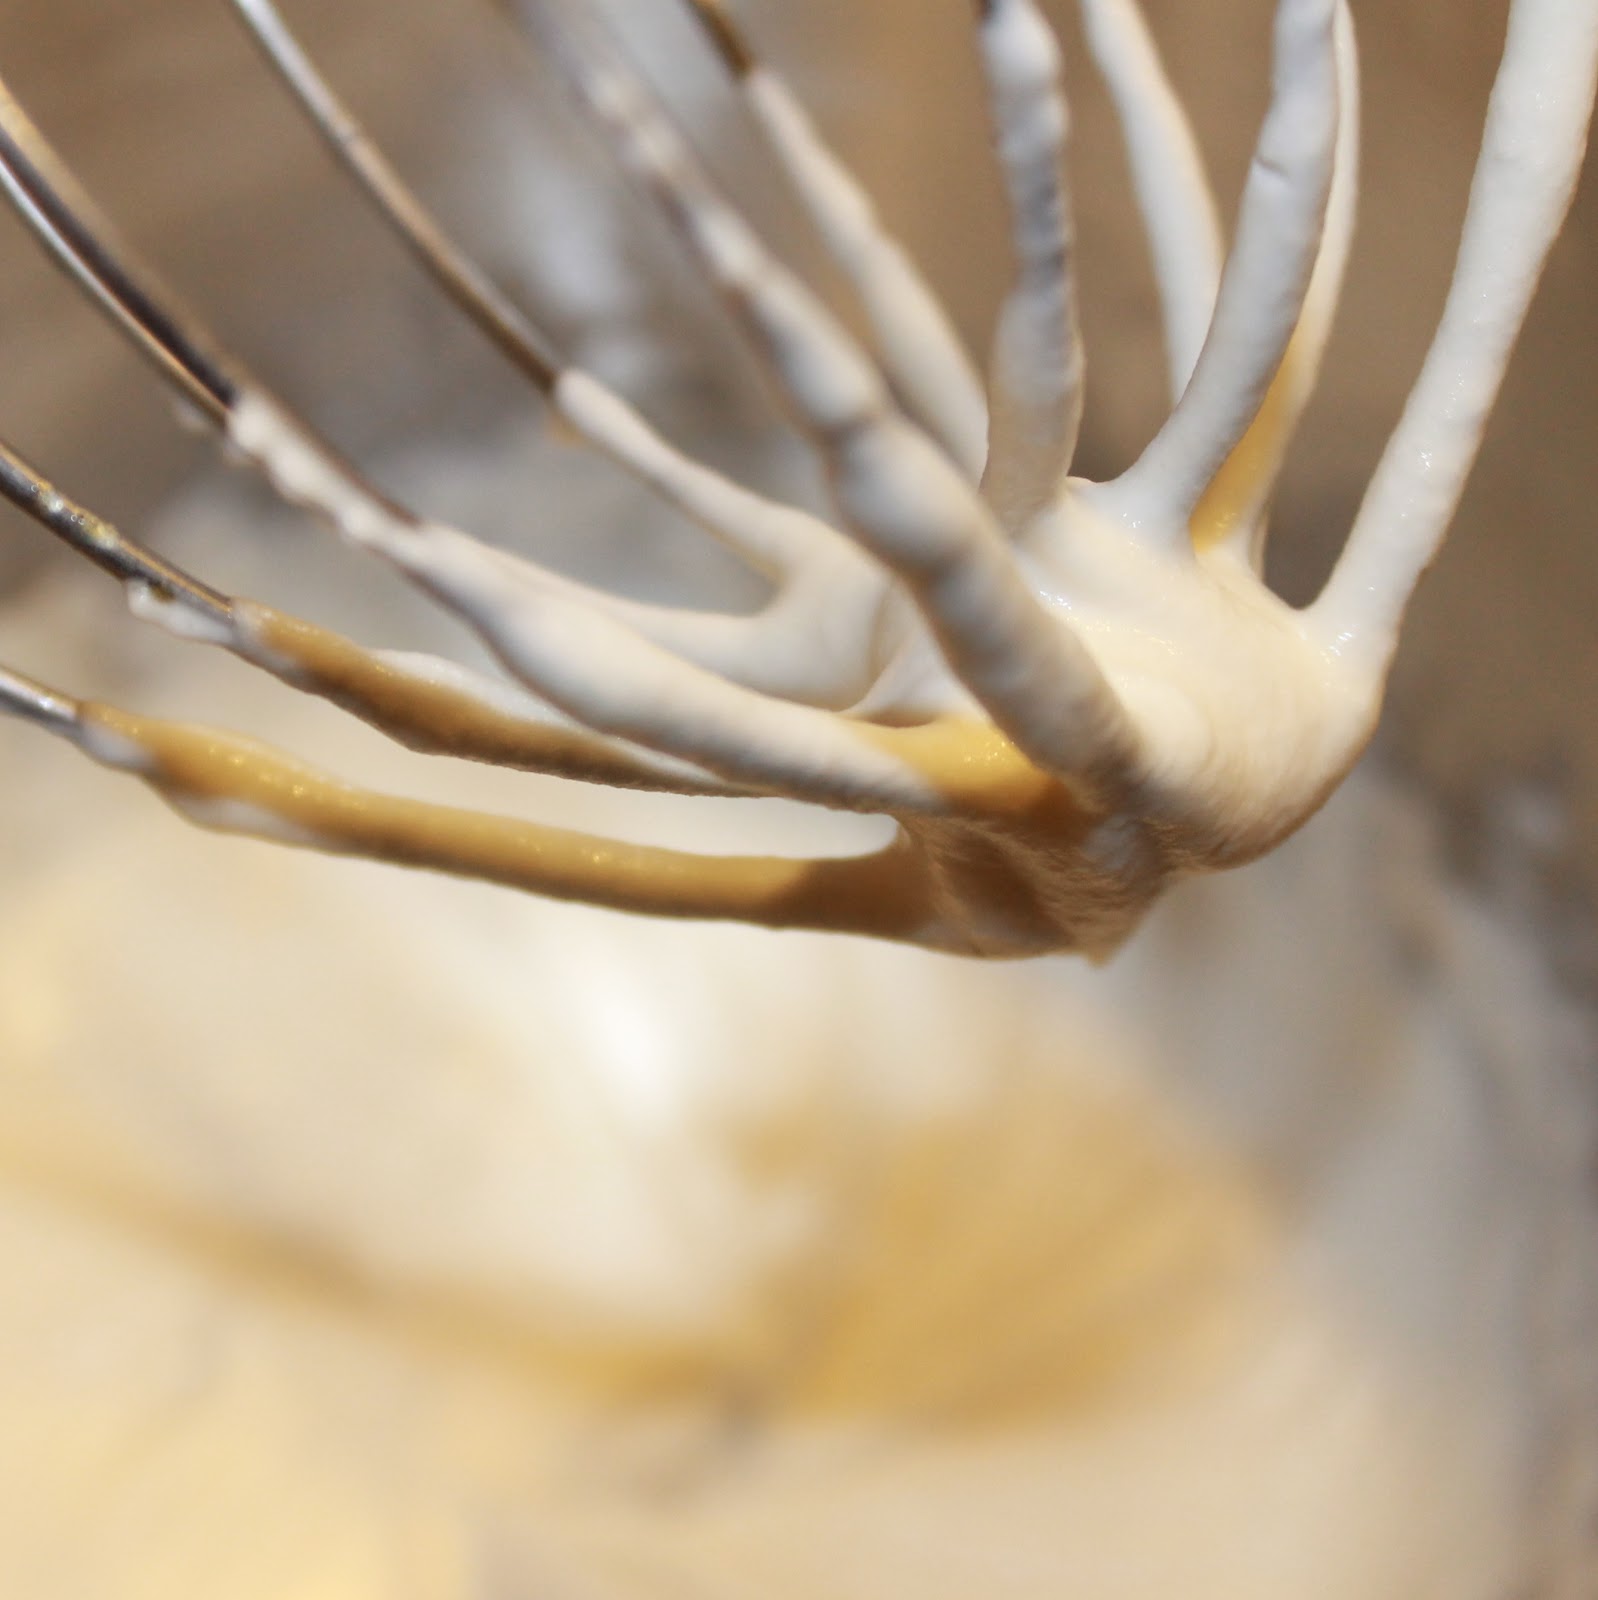
To make the whipped cream, add the cream to a bowl. Using a hand mixer, mix the cream on medium/high until frothy.Add the sugar, vanilla and orange liqueur. Beat on medium/high until stiff peaks form, and the mixture resembles whipped cream.
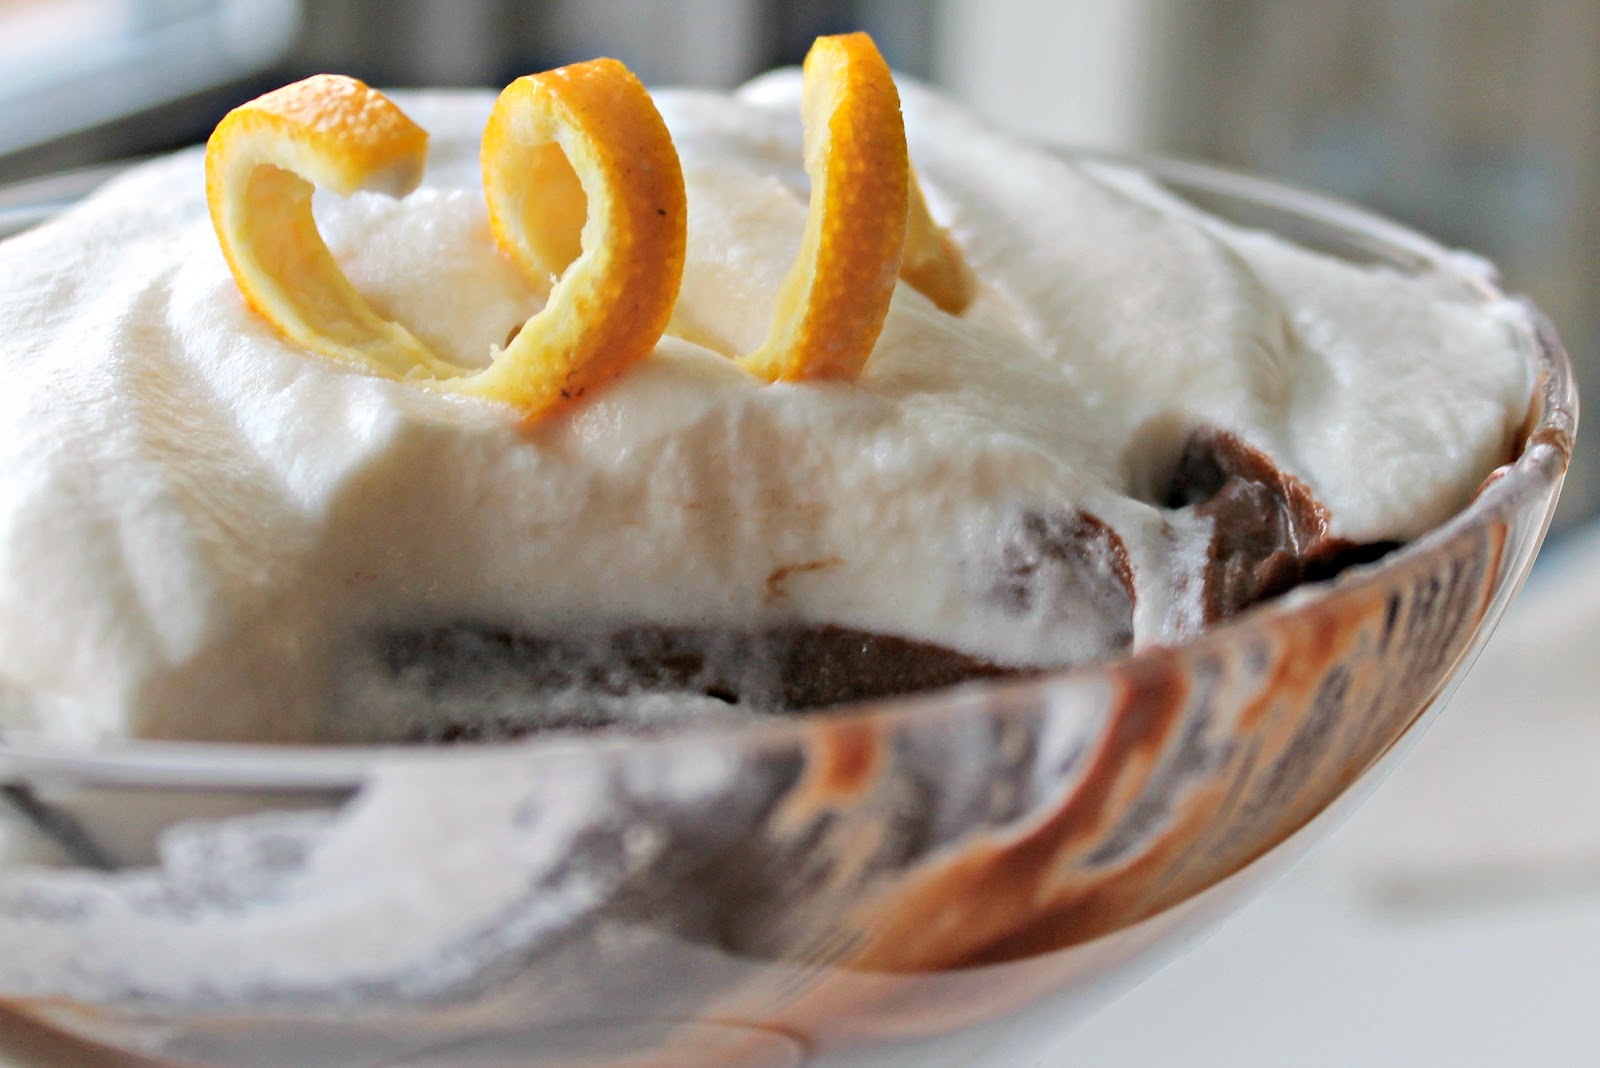
To serve, scoop the mousse into individual bowls and top with fresh whipped cream.
Despite my colossal mistake, this dessert turned out really well! The mousse had a silky consistency that I really enjoyed. I couldn’t necessarily taste the coffee or the orange liqueur, but I could taste that there was something special in there.
The whipped cream was a great complement. The orange liqueur was a bit more pronounced in the whipped cream which worked really well with the mousse.
I’m bummed I messed up Julia Child’s recipe, but, to quote Julia herself “try new recipes, learn from your mistakes, be fearless, and above all have fun!” I learned that I really need to read a recipe all the way through before starting to make a recipe, something I am guilty of on more than one occasion. So I may not have had the right consistency, but the flavor was still there. I’ll call it a win!
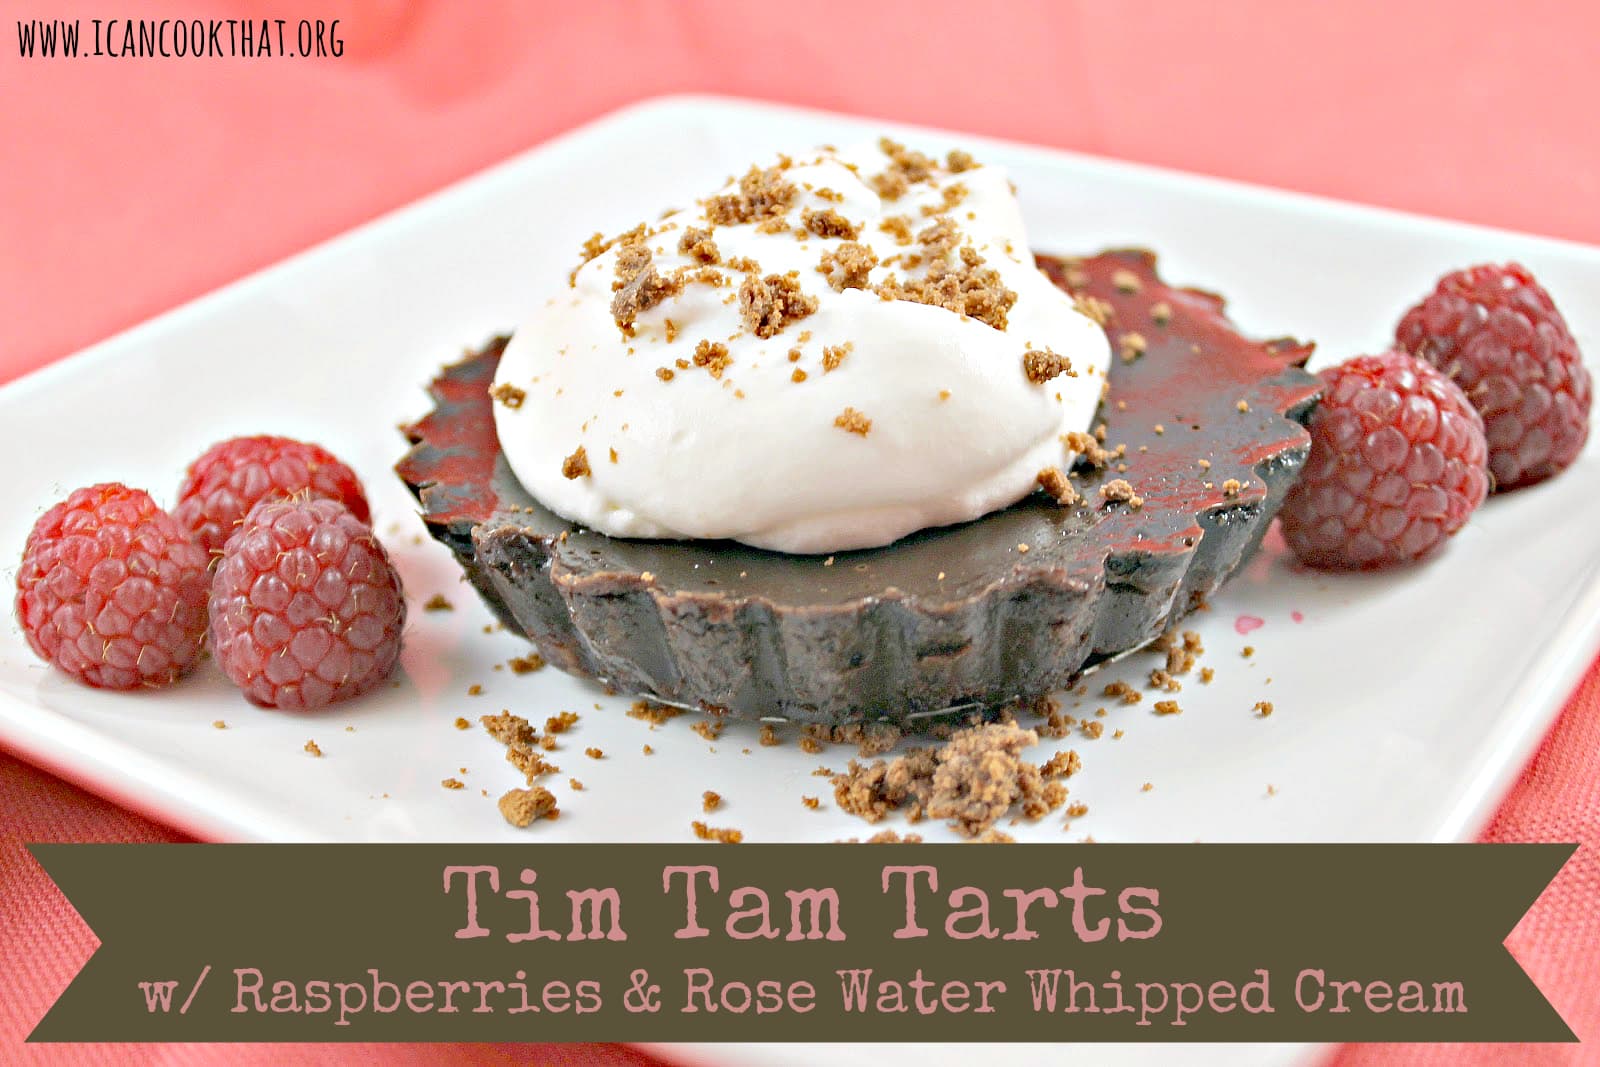
Tim Tam Tarts. Isn’t that oh so fun to say? A Tim Tam is a chocolate cookie from Arnott’s in Australia. You might see them every now and then in America, but don’t be fooled, those are made by Pepperidge Farm and I’m sorry, they just don’t live up to the originals. These happy little biscuits covered in chocolate are absolutely delicious. Their motto is “The Most Irresistible Chocolate Biscuit” but I think it’s more appropriately “Visitors to Australia’s Biggest Australian Obsession”. Seriously. They are the best.
So when one of my friends traveled to Australia recently and asked what I’d like, I basically yelled in her face “TIM TAMS!” which can be quite alarming to someone who has zero idea what a Tim Tam is. I clearly made an impression, because she returned with two boxes! Now, Tim Tams are perfectly delicious on their own, maybe with some milk. But I’m a food blogger, so I had to try to turn the cookies into something even better. A Dark Chocolate Tart with Tim Tam Crust, Raspberries, and Rose Water Whipped Cream? YES! (I adapted this recipe for Tim Tam Tarts with Raspberries and Rose Water Whipped Cream from taste.com.au)
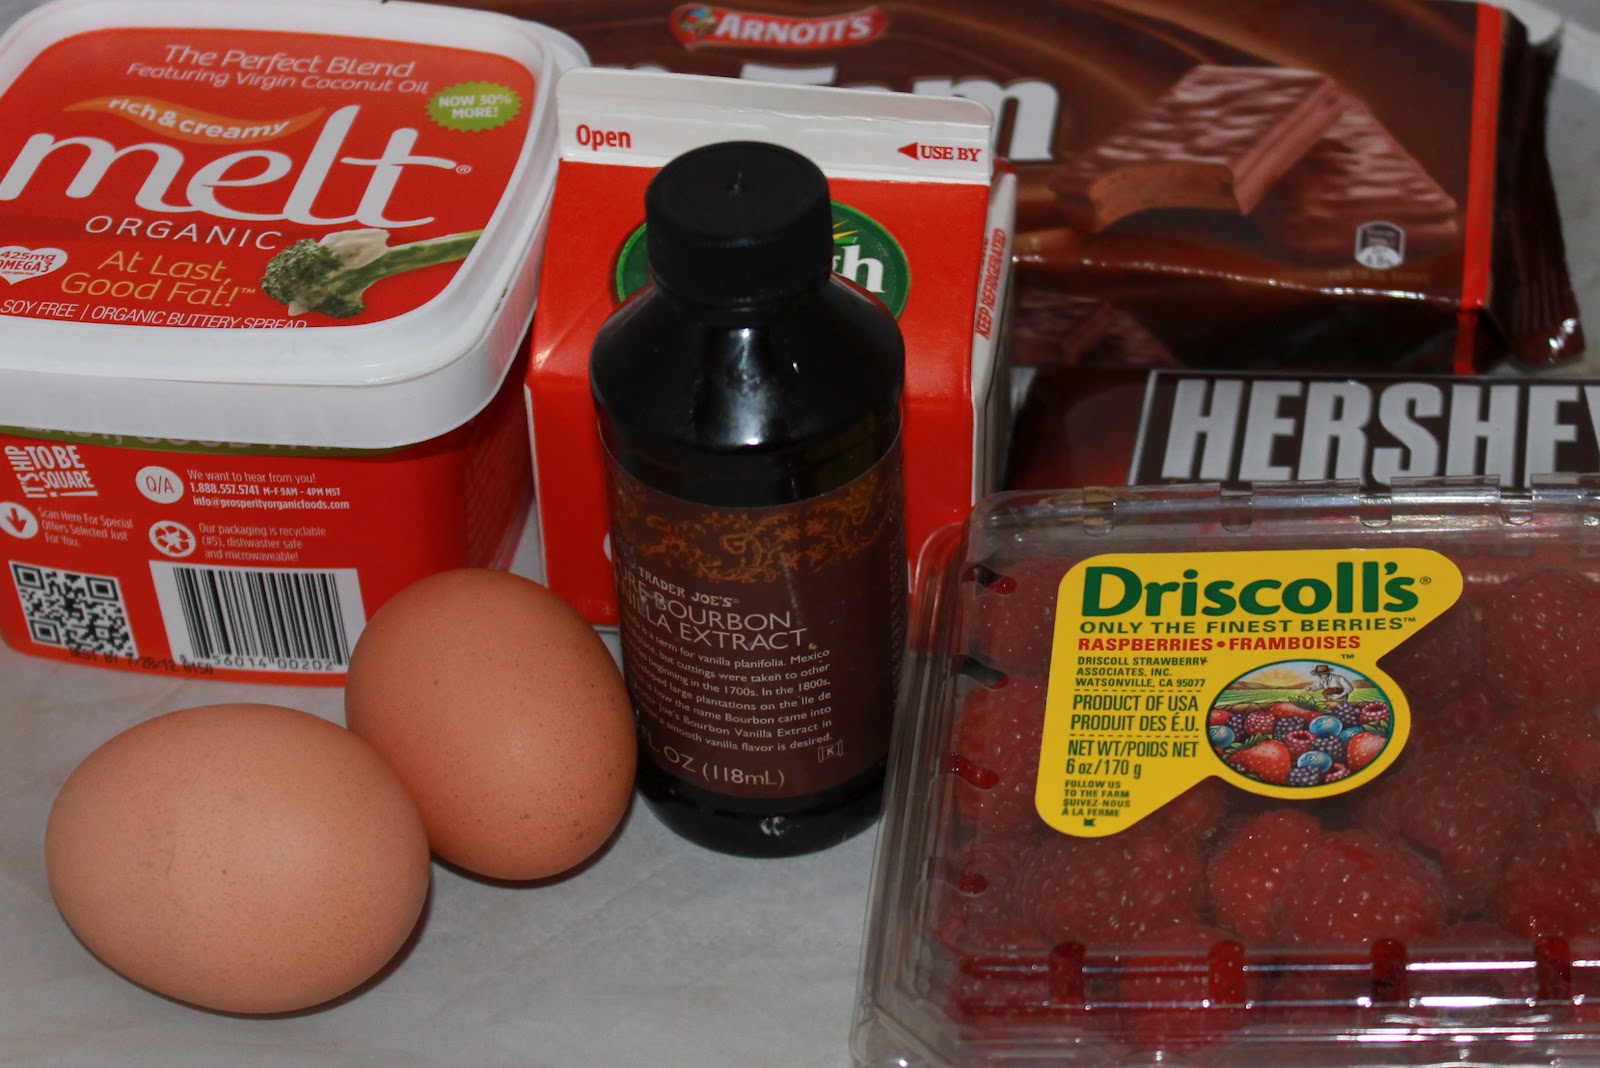
Note: I am currently taking the Melt Buttery Spread Challenge and am substituting any and all butter/oils with Melt. I wrote a review of Melt a while back, which you can read here. If you can’t find Melt in your supermarket, use other coconut oil spreads, or just butter in this recipe)
Ingredients:
For the tart:
1 box of original Tim Tams
2 ounces Melt , melted (about 1 tablespoon in its original form)
1 cup heavy whipping cream
~7 oz dark chocolate (200g if you’re using a scale), roughly chopped (I used almost 5 dark chocolate candy bars!)
1 teaspoon vanilla extract
2 egg yolks
Raspberries and Rose Water Whipped Cream, to serve
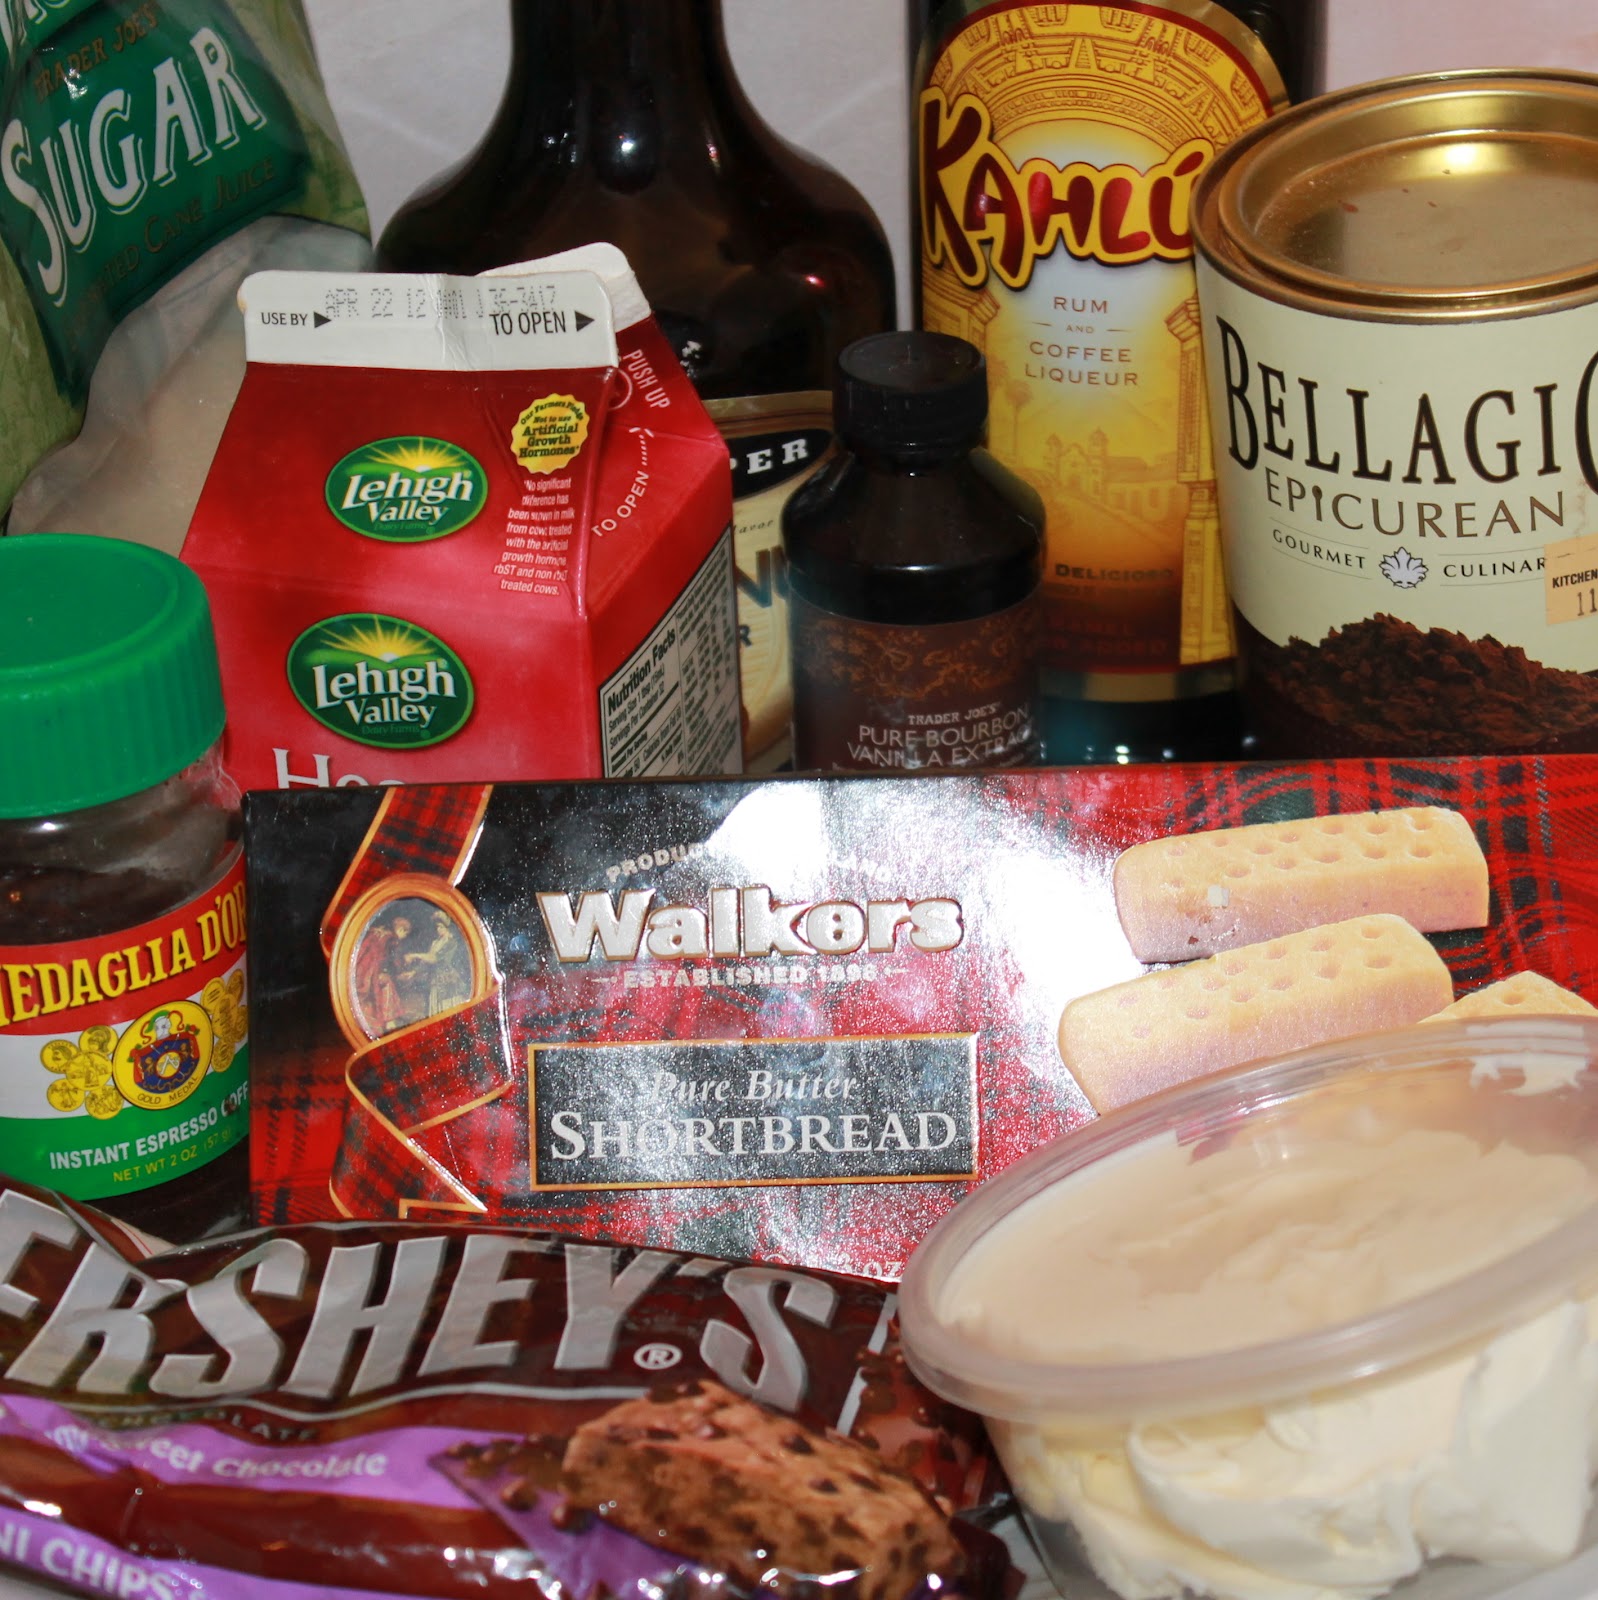
I love tiramisu. Honestly, what’s not to like? I’ve never tried to make a traditional tiramisu, but it might be a terrible idea. I’d probably eat the entire thing in one sitting. So to save me from that embarrassing end, I decided to try a recipe from the Walkers Shortbread website for Individual Tiramisu. The recipe makes two servings of tiramisu so that I can’t be a complete piggy. I came across it while trying to find a recipe to photograph (I made their raspberry creme brulee instead) and knew I’d have to make it. Luckily, I still had some Walkers Shortbread leftover!
1 tablespoon coffee flavored liqueur
1 tablespoon hazelnut flavored liqueur
2 ounces boiled water
1 heaping teaspoon espresso granules
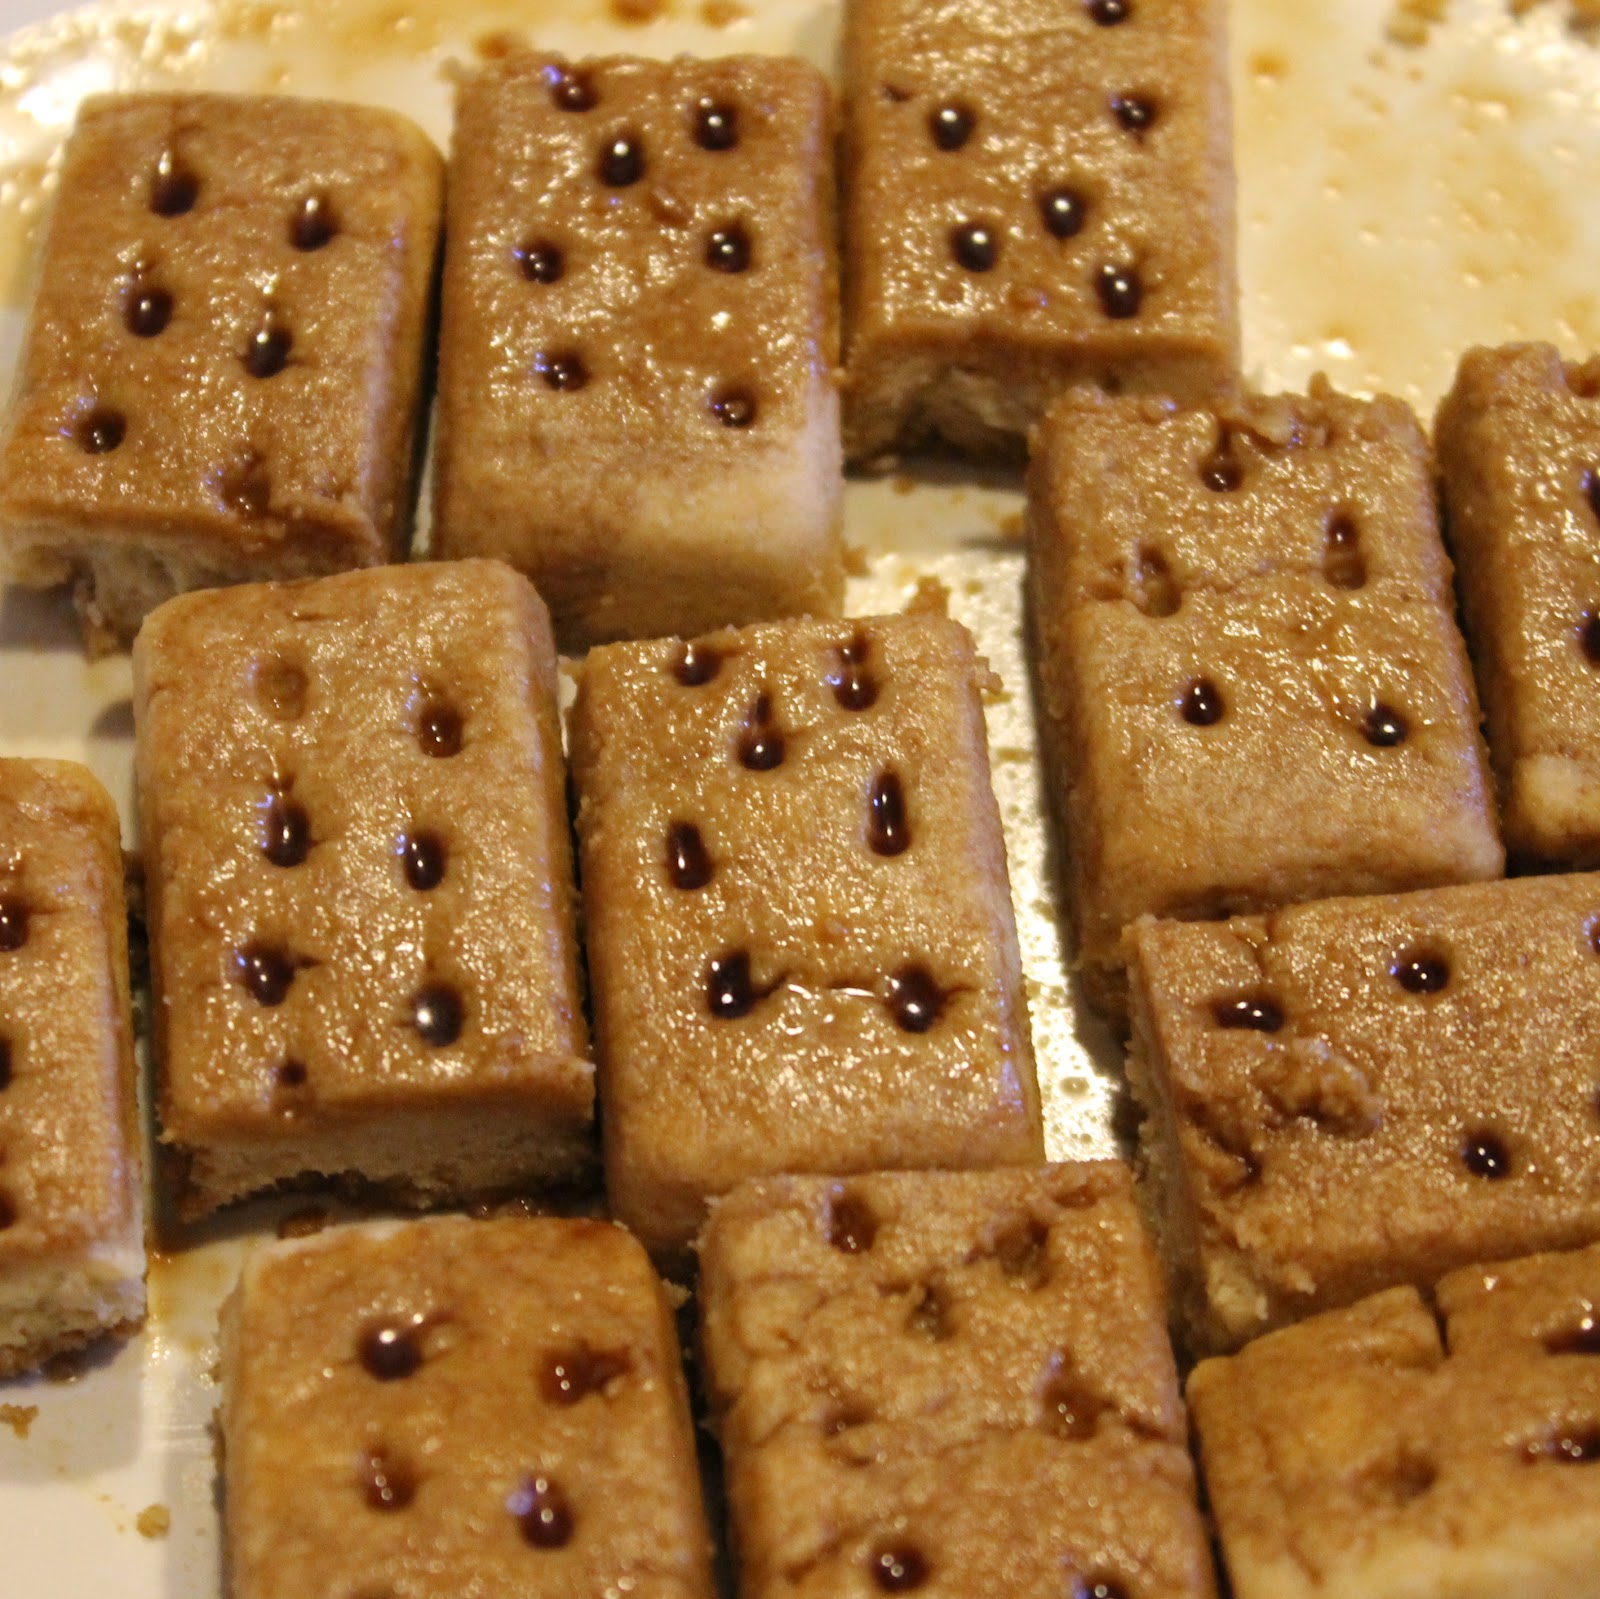
8 shortbread cookies (I used Walkers Pure Butter Shortbread)
1/2 cup heavy cream
1/4 cup plus 2 tablespoons sugar
1 container (8 oz.) mascarpone cheese
1 tablespoon mini semi sweet chocolate chips
1/2 teaspoon unsweetened cocoa powder
So before I go into the recipe, I just wanted to talk about one of the small businesses near me, Wedge + Fig in Philadelphia. They are an amazing cheese shop, brunch location, and also serve some of the best and most creative paninis in the city. When I had a hankering for this tiramisu recipe, I was excited to find that I had all of the ingredients on hand. Except the mascarpone cheese. Blast.
I thought I’d take a gamble and went to two corner stores near me. No mascarpone. So I went over to Wedge + Fig, assuming they wouldn’t have it either, but thought they might know where to get some. I asked, expecting a no, and was ready to leave. They told me they did not sell it, but they had some on hand because they used it in some recipes and would be willing to sell me some. How awesome! So thank you SO much to Wedge + Fig for saving the day. My tummy thanks you!
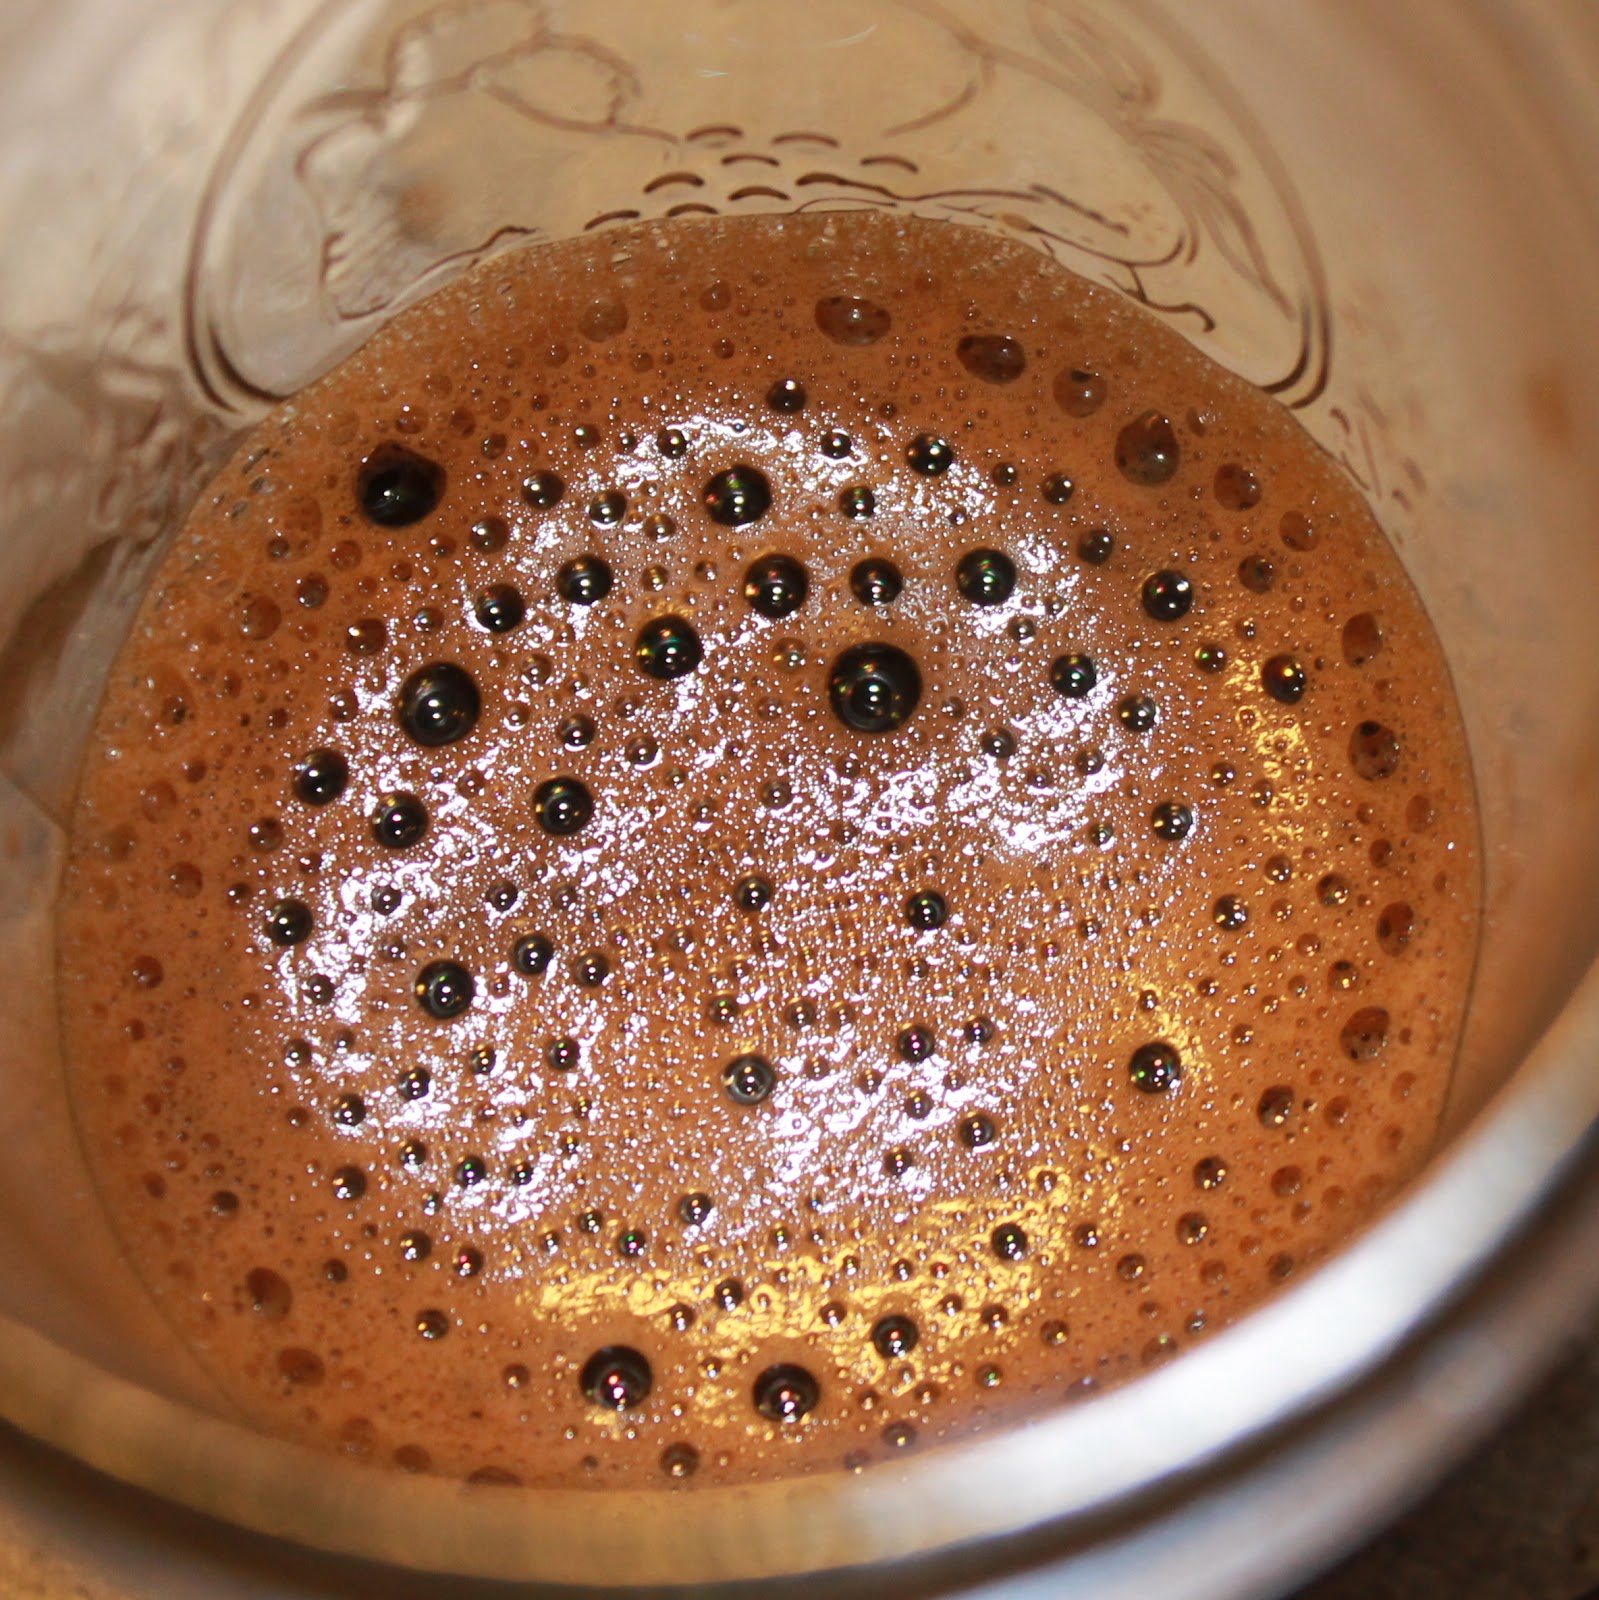
On to the recipe: Begin by combining the espresso granules with the boiling water. Stir to combine.
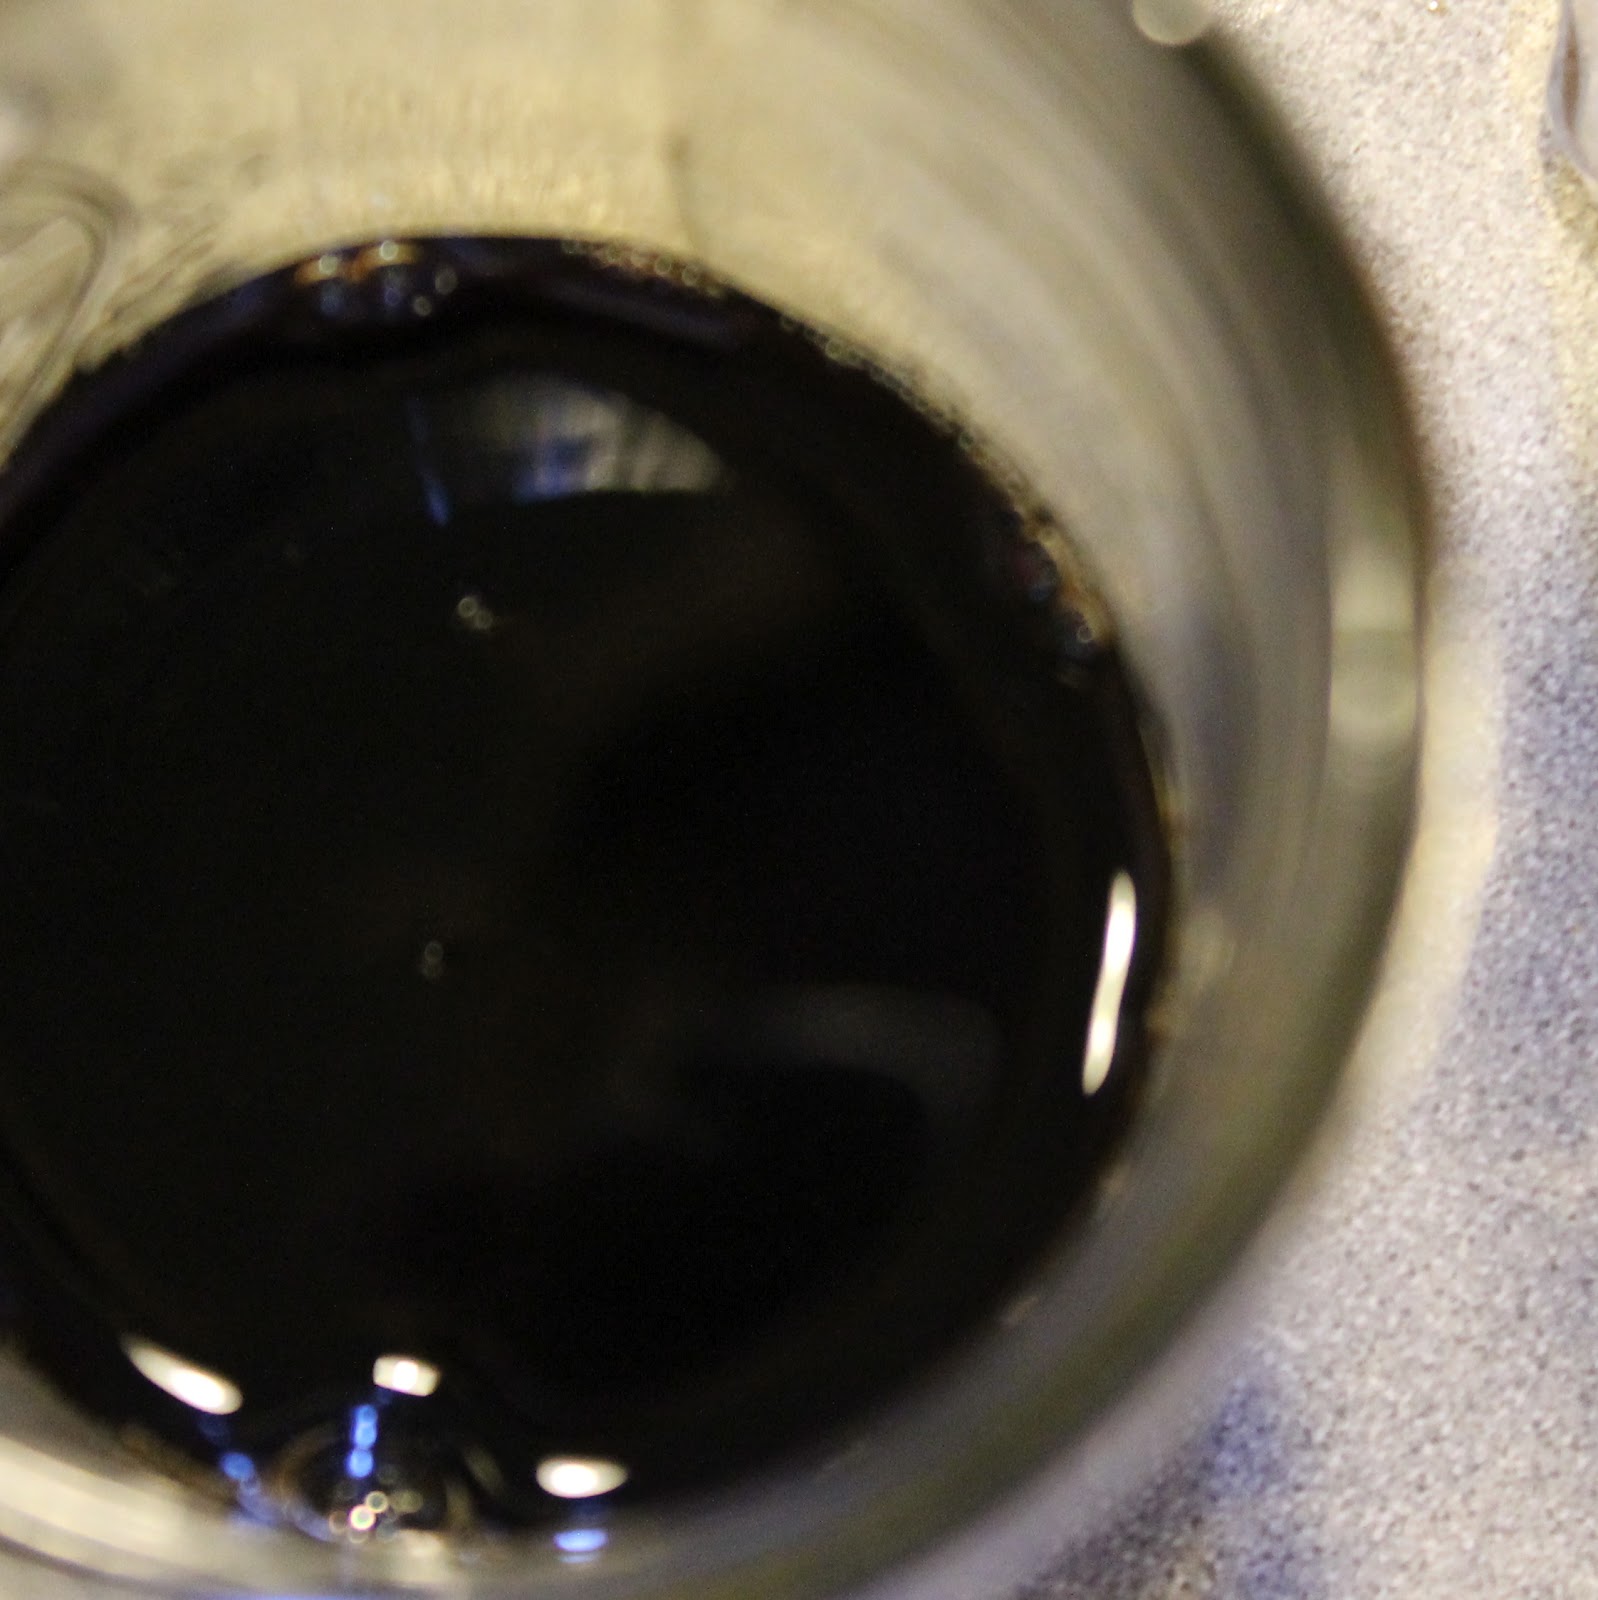
Take 1 tablespoon of the espresso and combine it with the coffee and hazelnut liqueurs.
Take 6 of the shortbread cookies and brush them with the coffee mixture on both sides.
Cut each cookie in half. (Note: I decided later that I kind of preferred them crumbled so after allowing them to soak, I just chopped them up a bit. The halves didn’t fit in my glasses nicely.)
In a medium bowl, beat the heavy cream with 2 tablespoons sugar until stiff peaks form.
In another bowl, beat the mascarpone cheese and 1/4 cup sugar.
Fold in the whipped cream. (I could just eat this mixture allll day. Mmm.)
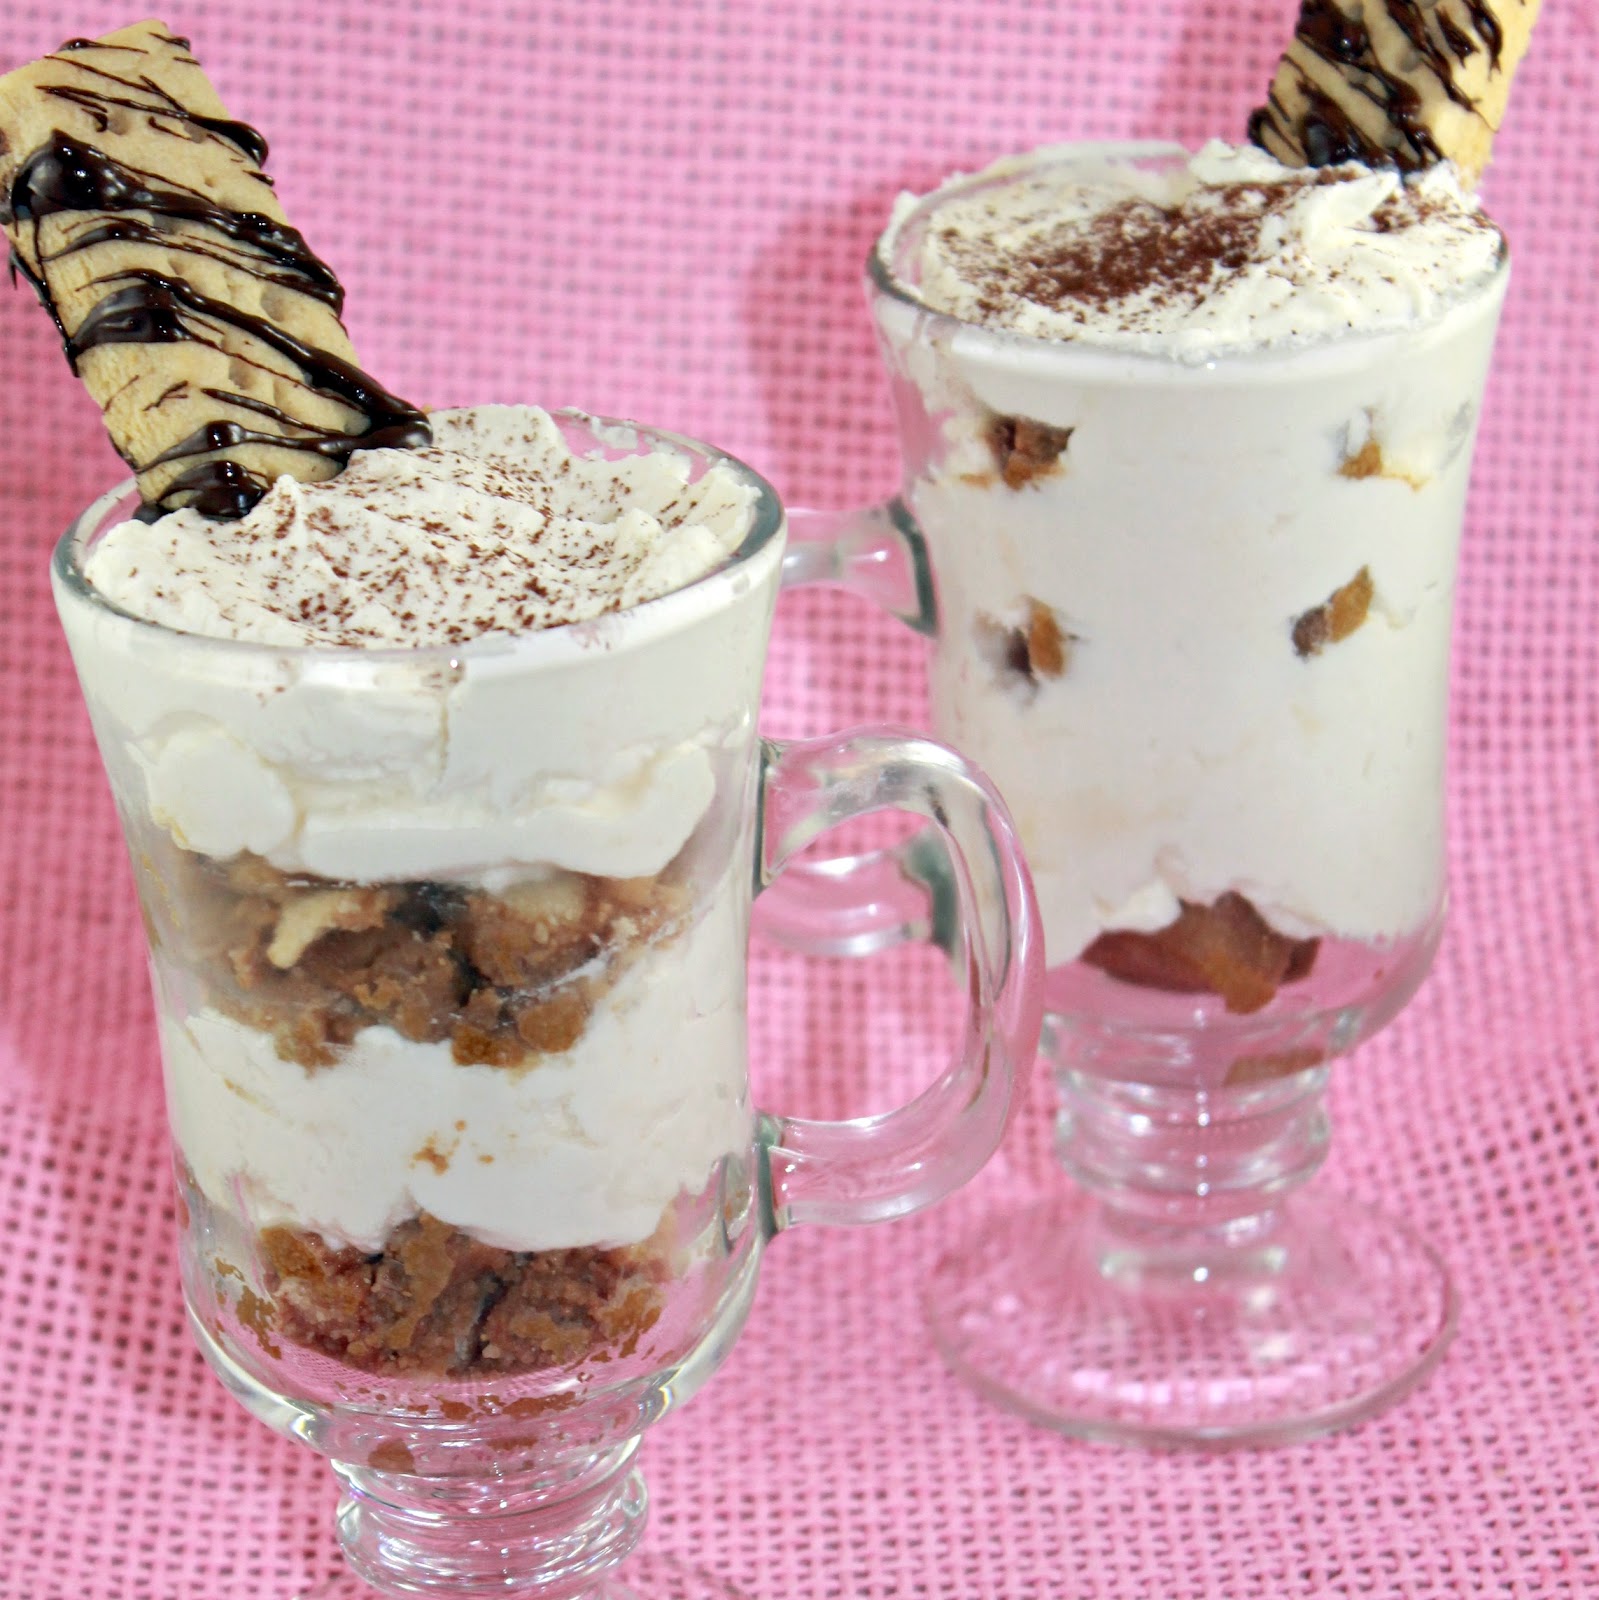
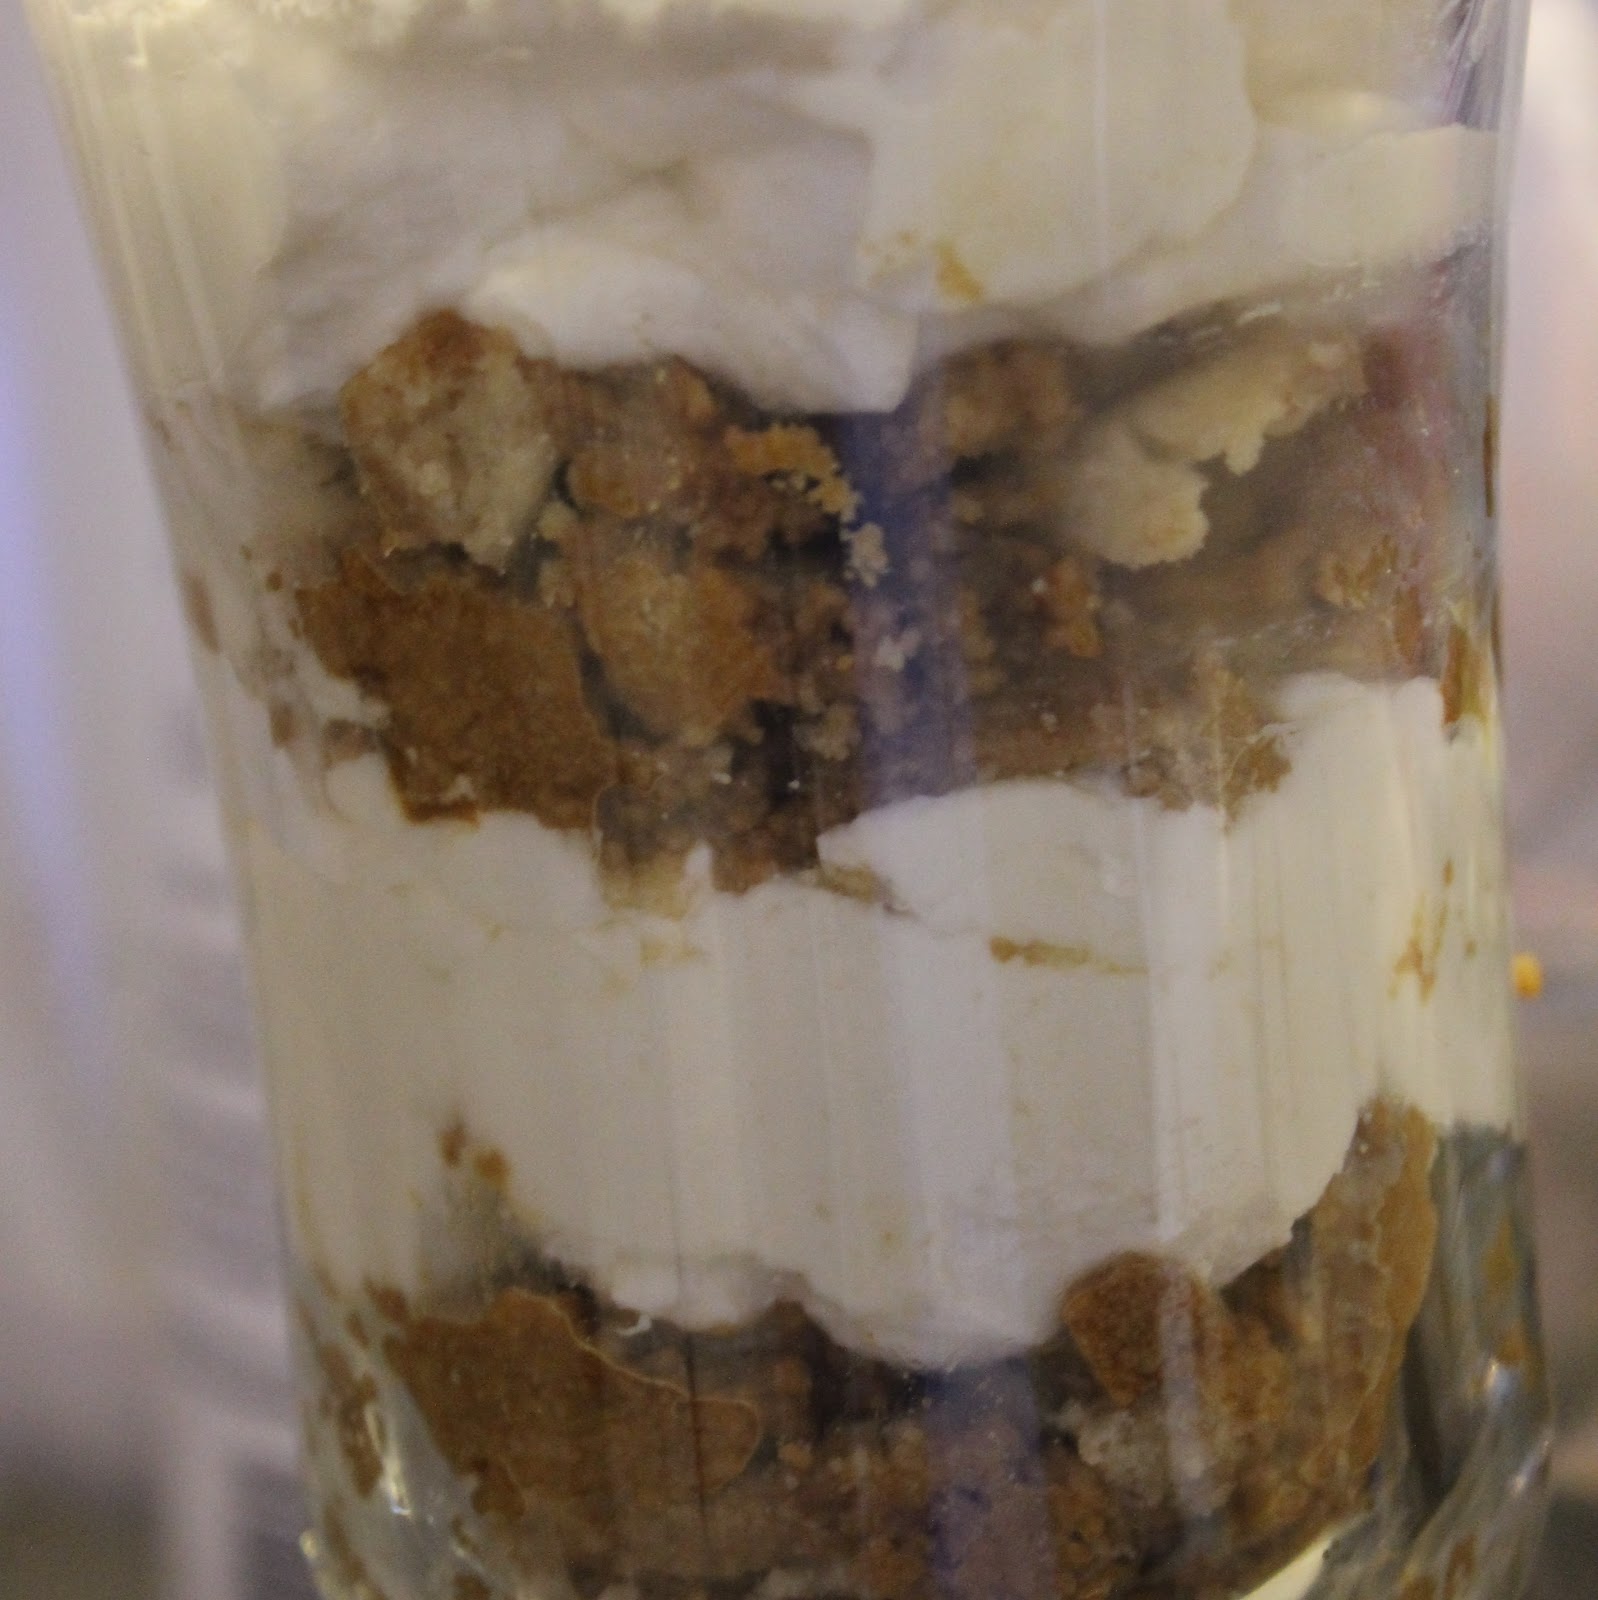
Take two wine goblets or Irish coffee glasses and place three cookie halves in the bottom. (I just put two teaspoons of the crumbs in the bottom of mine.) Spoon 2 tablespoons of the cheese mixture over the cookies and repeat the layers.
Refrigerate for at least 2 hours so that the cookies/crumbs can soften.
Add the chocolate mini chips to a microwave safe bowl and microwave on high, stirring until melted. Use a fork to drizzle the melted chocolate over the 2 remaining cookies. (Place the cookies on wax paper before drizzling).
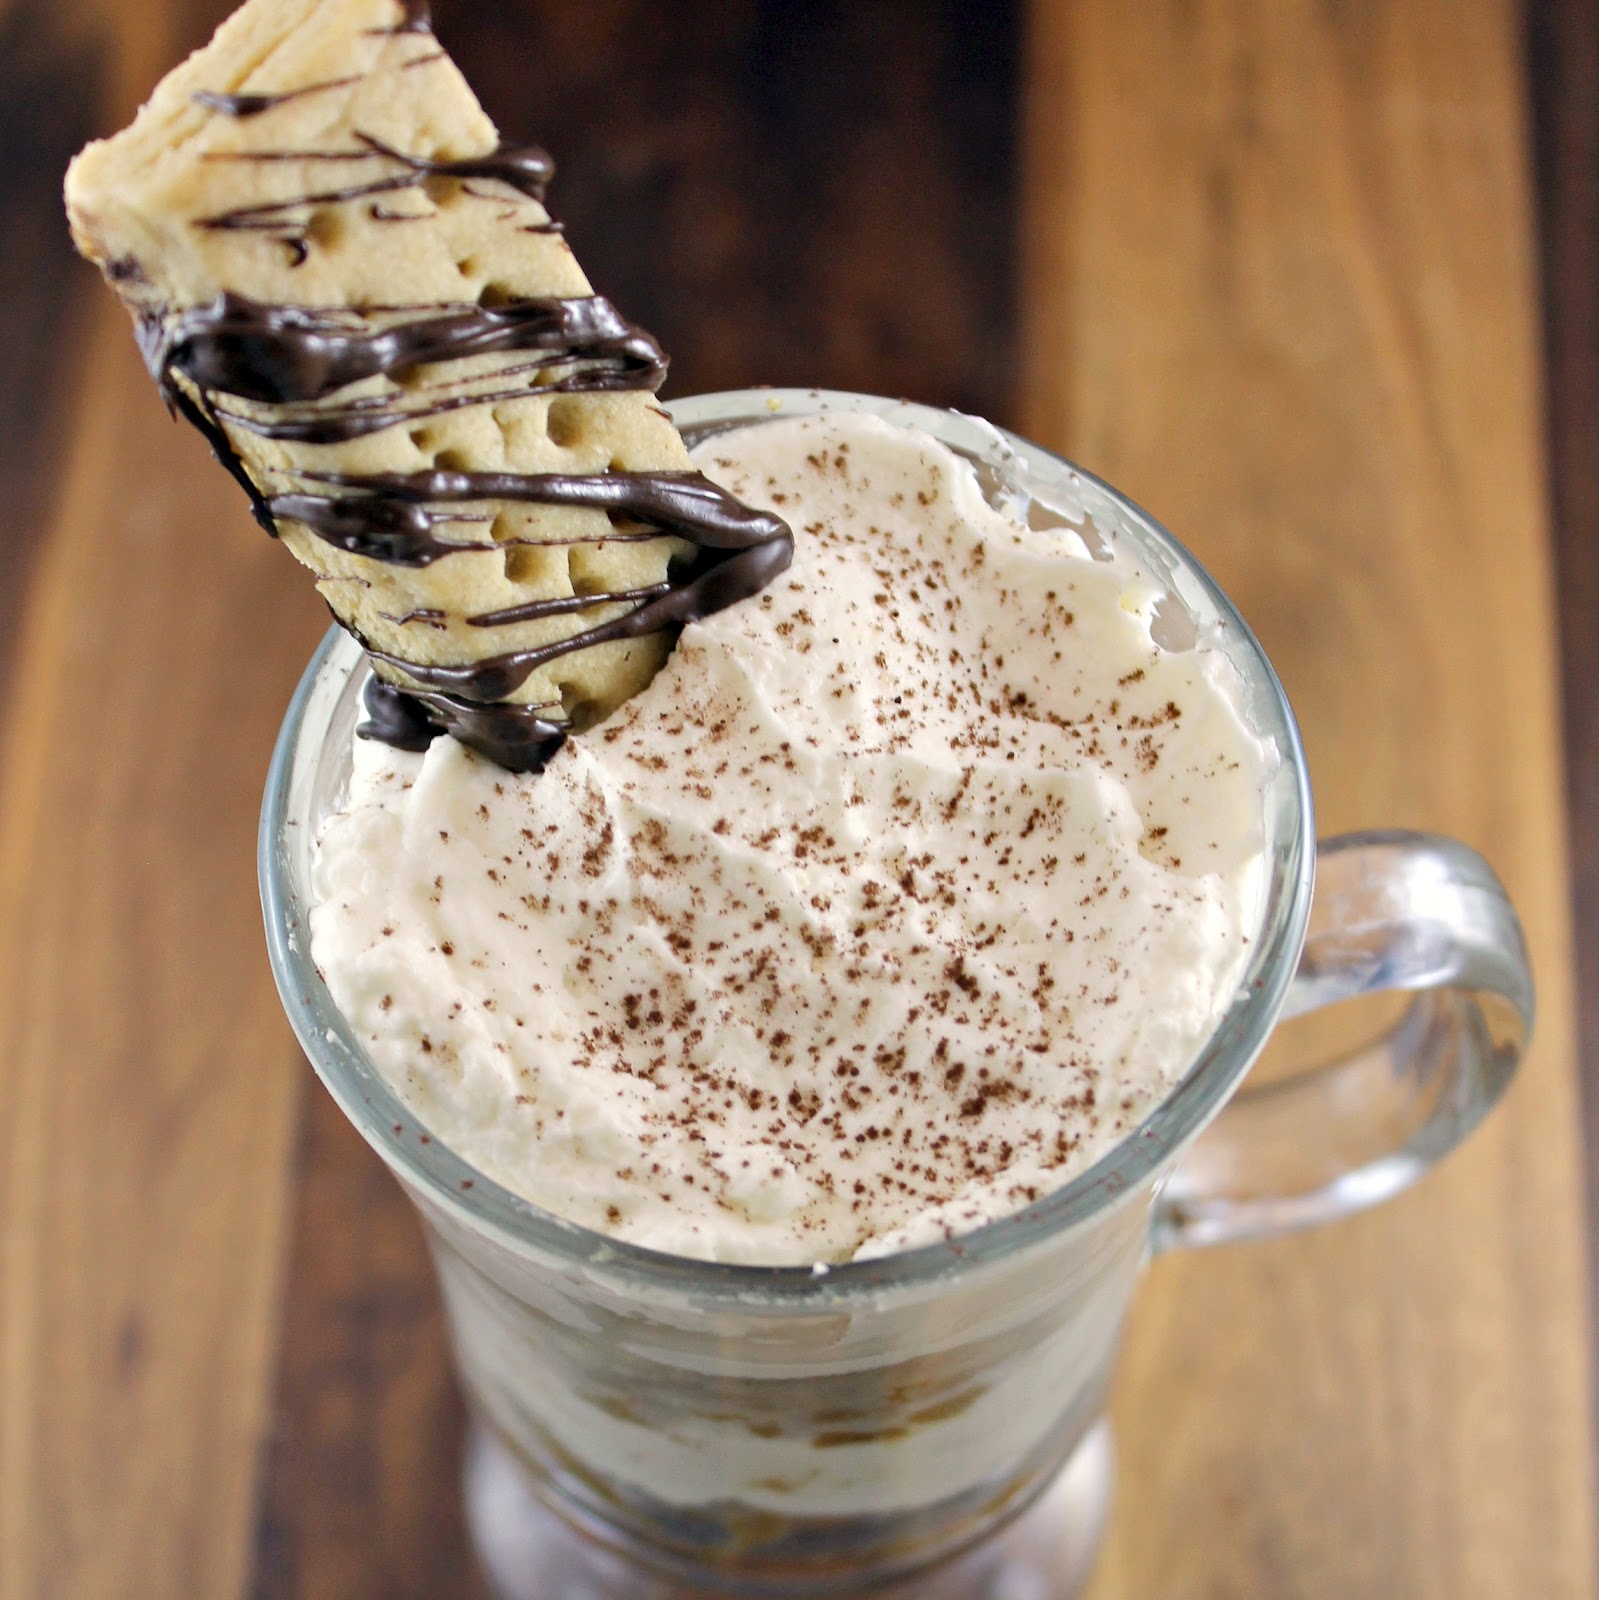
Just before serving, lightly sprinkle the tiramisu with cocoa using a fine sieve. Add a chocolate-drizzled cookie to each glass.
How easy was that?
I love how fancy this dessert seems to be with minimal effort.
The whipped cream and mascarpone is so fluffy and flavorful.
The shortbread really soaked up all that coffee-hazelnut flavor, but maintained just enough crunch to keep it satisfying.
The presentation of this dessert is really nice too. The chocolate drizzled cookie is great to dip into the tiramisu to get some of the mascarpone mixture.
I’m aware I should share the second one of these. But um. I think I like it too much! We will see…
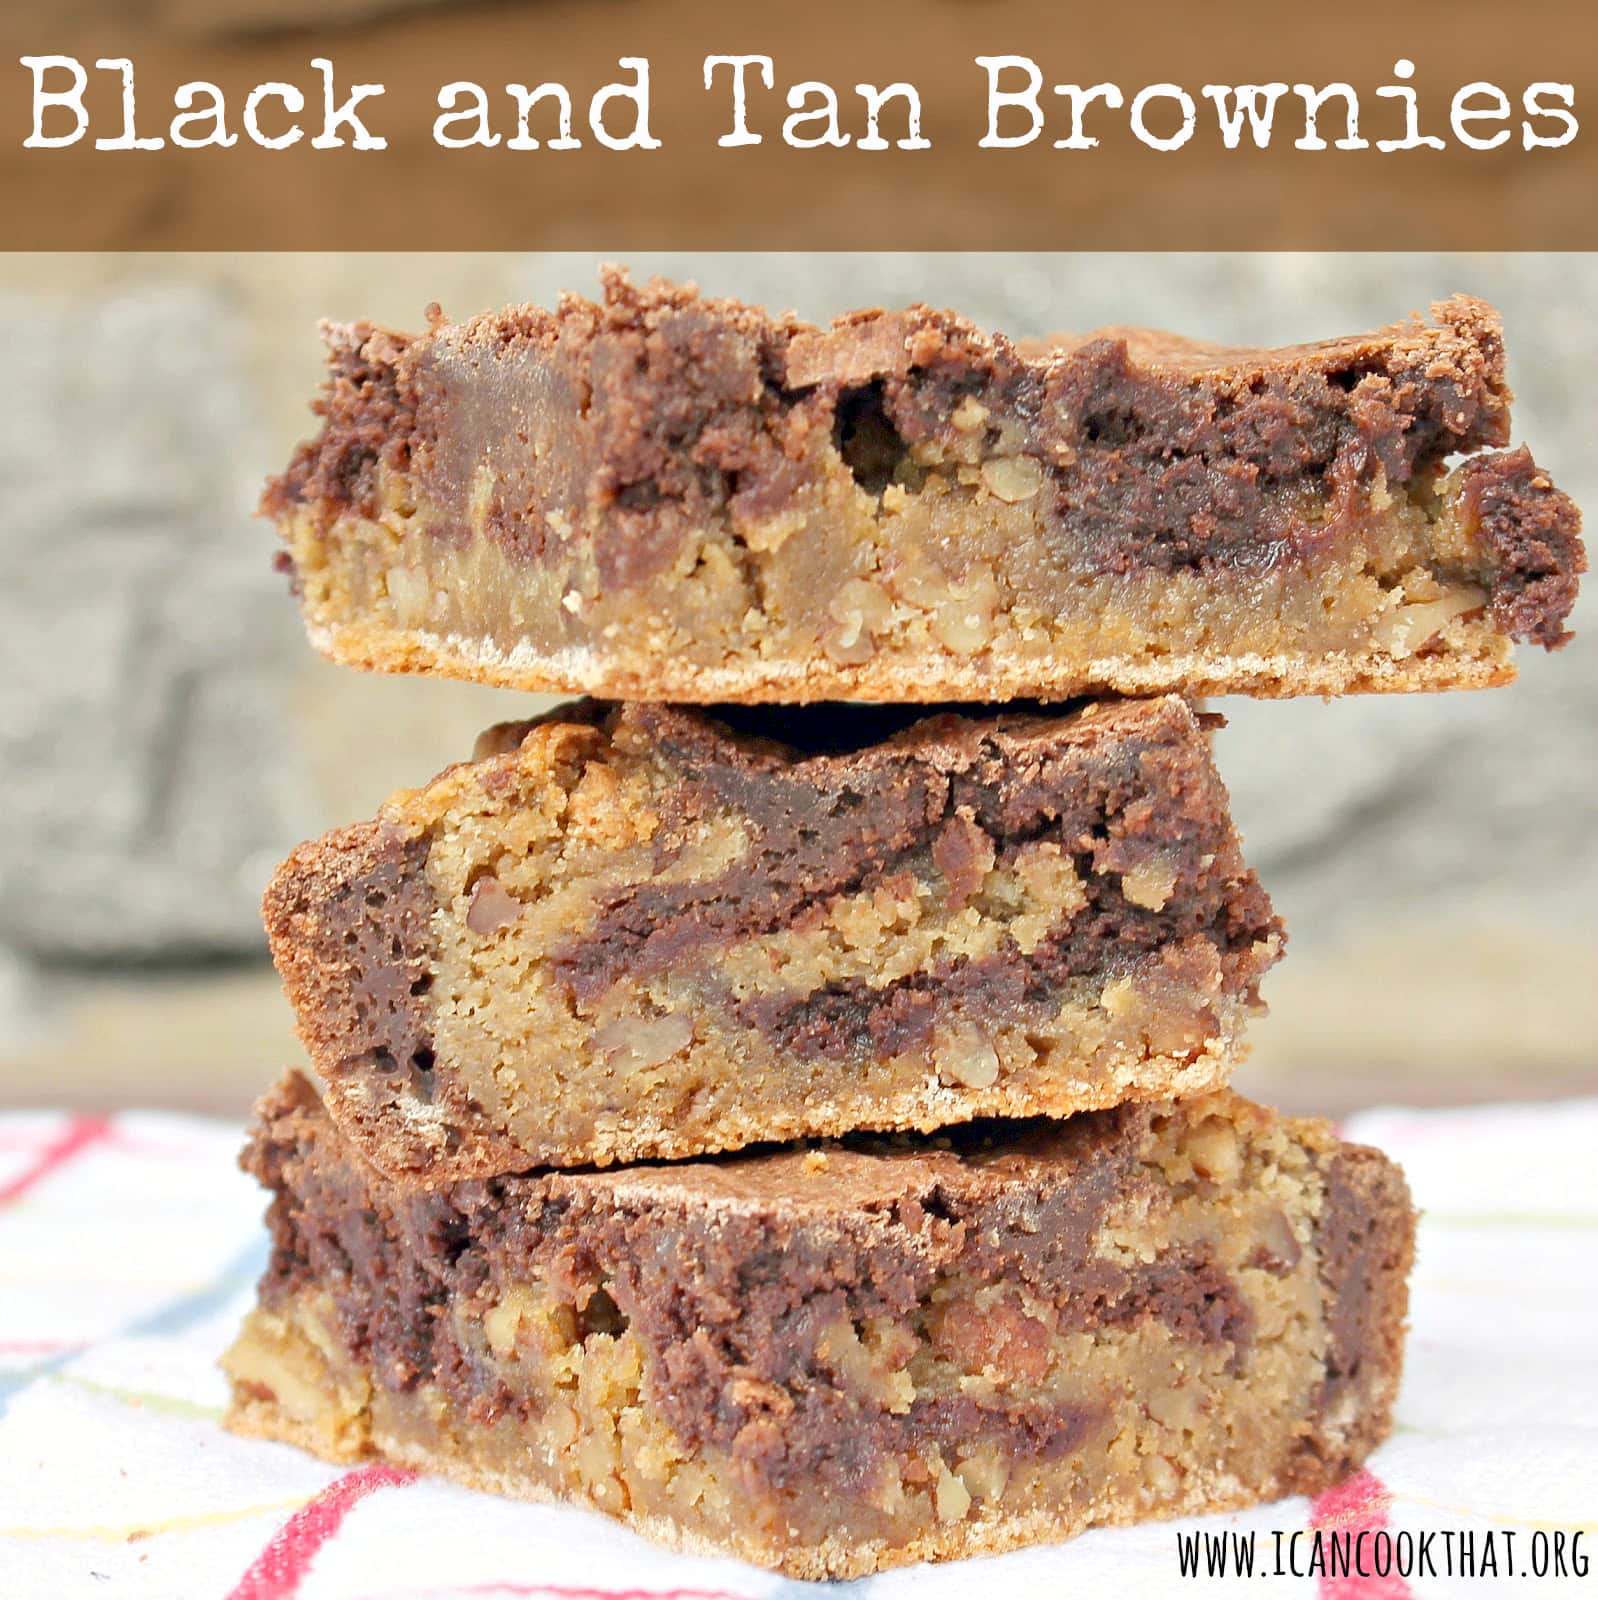
I mentioned these delicious brownies in my “A Taste of Ireland” post over the weekend. They were so yummy that I thought they deserved their own post. Also, because it’s technically two brownie recipes together, I thought step-by-step photos might prove helpful. Enjoy!
There are some people who are in your life that just make your days a little bit better. I’m talking about the people you see for maybe just one minute a day: a person at a coffee shop, someone you pass in the hall, or in my case, one of the guys who works at my SEPTA station. I always look forward to a smile and a wave from him. So I was pretty bummed when he told me he was moving to another station. Sigh.
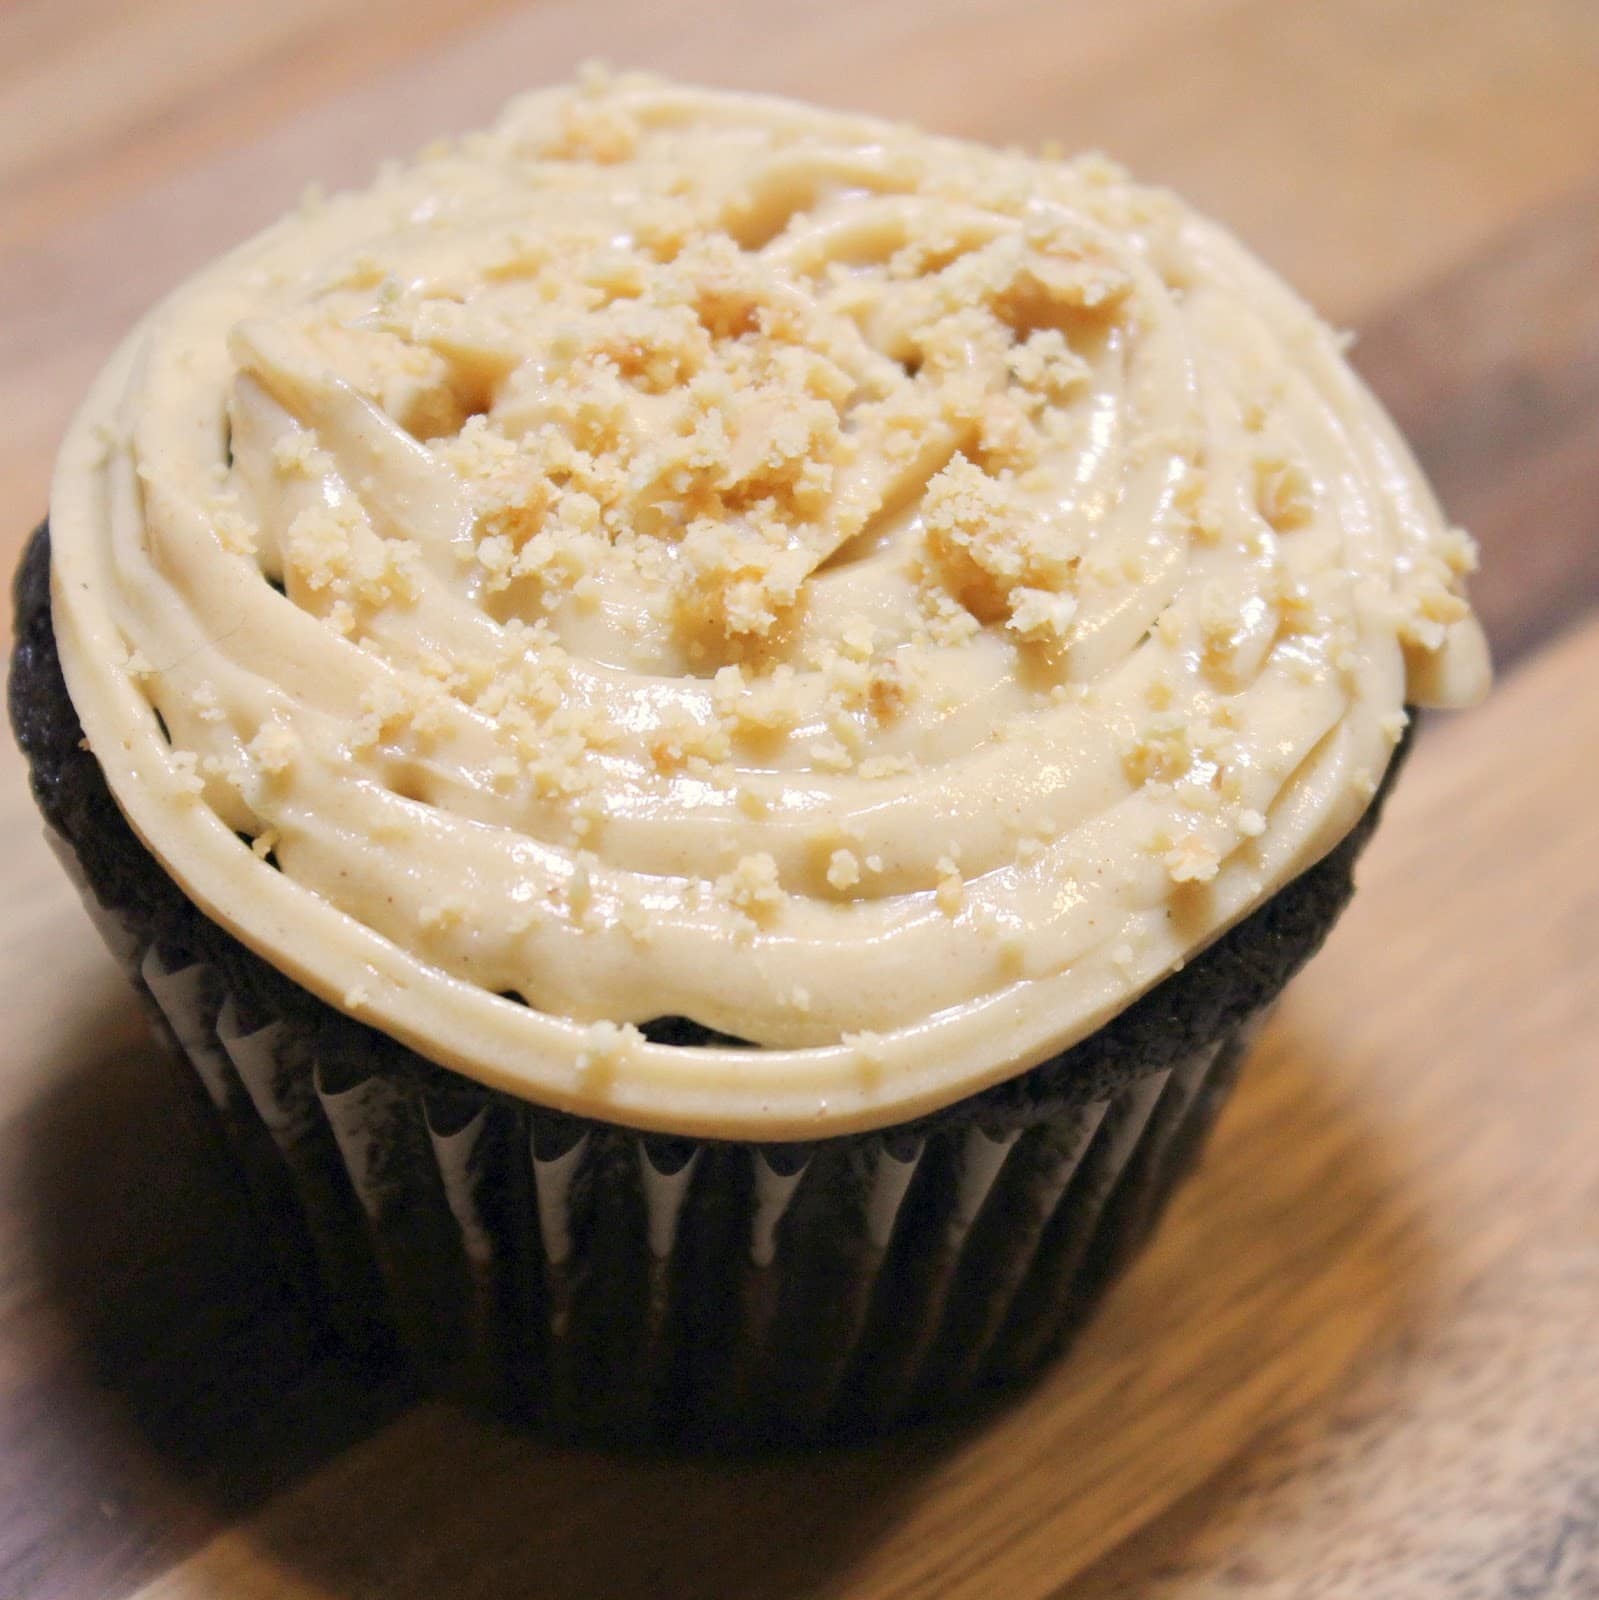
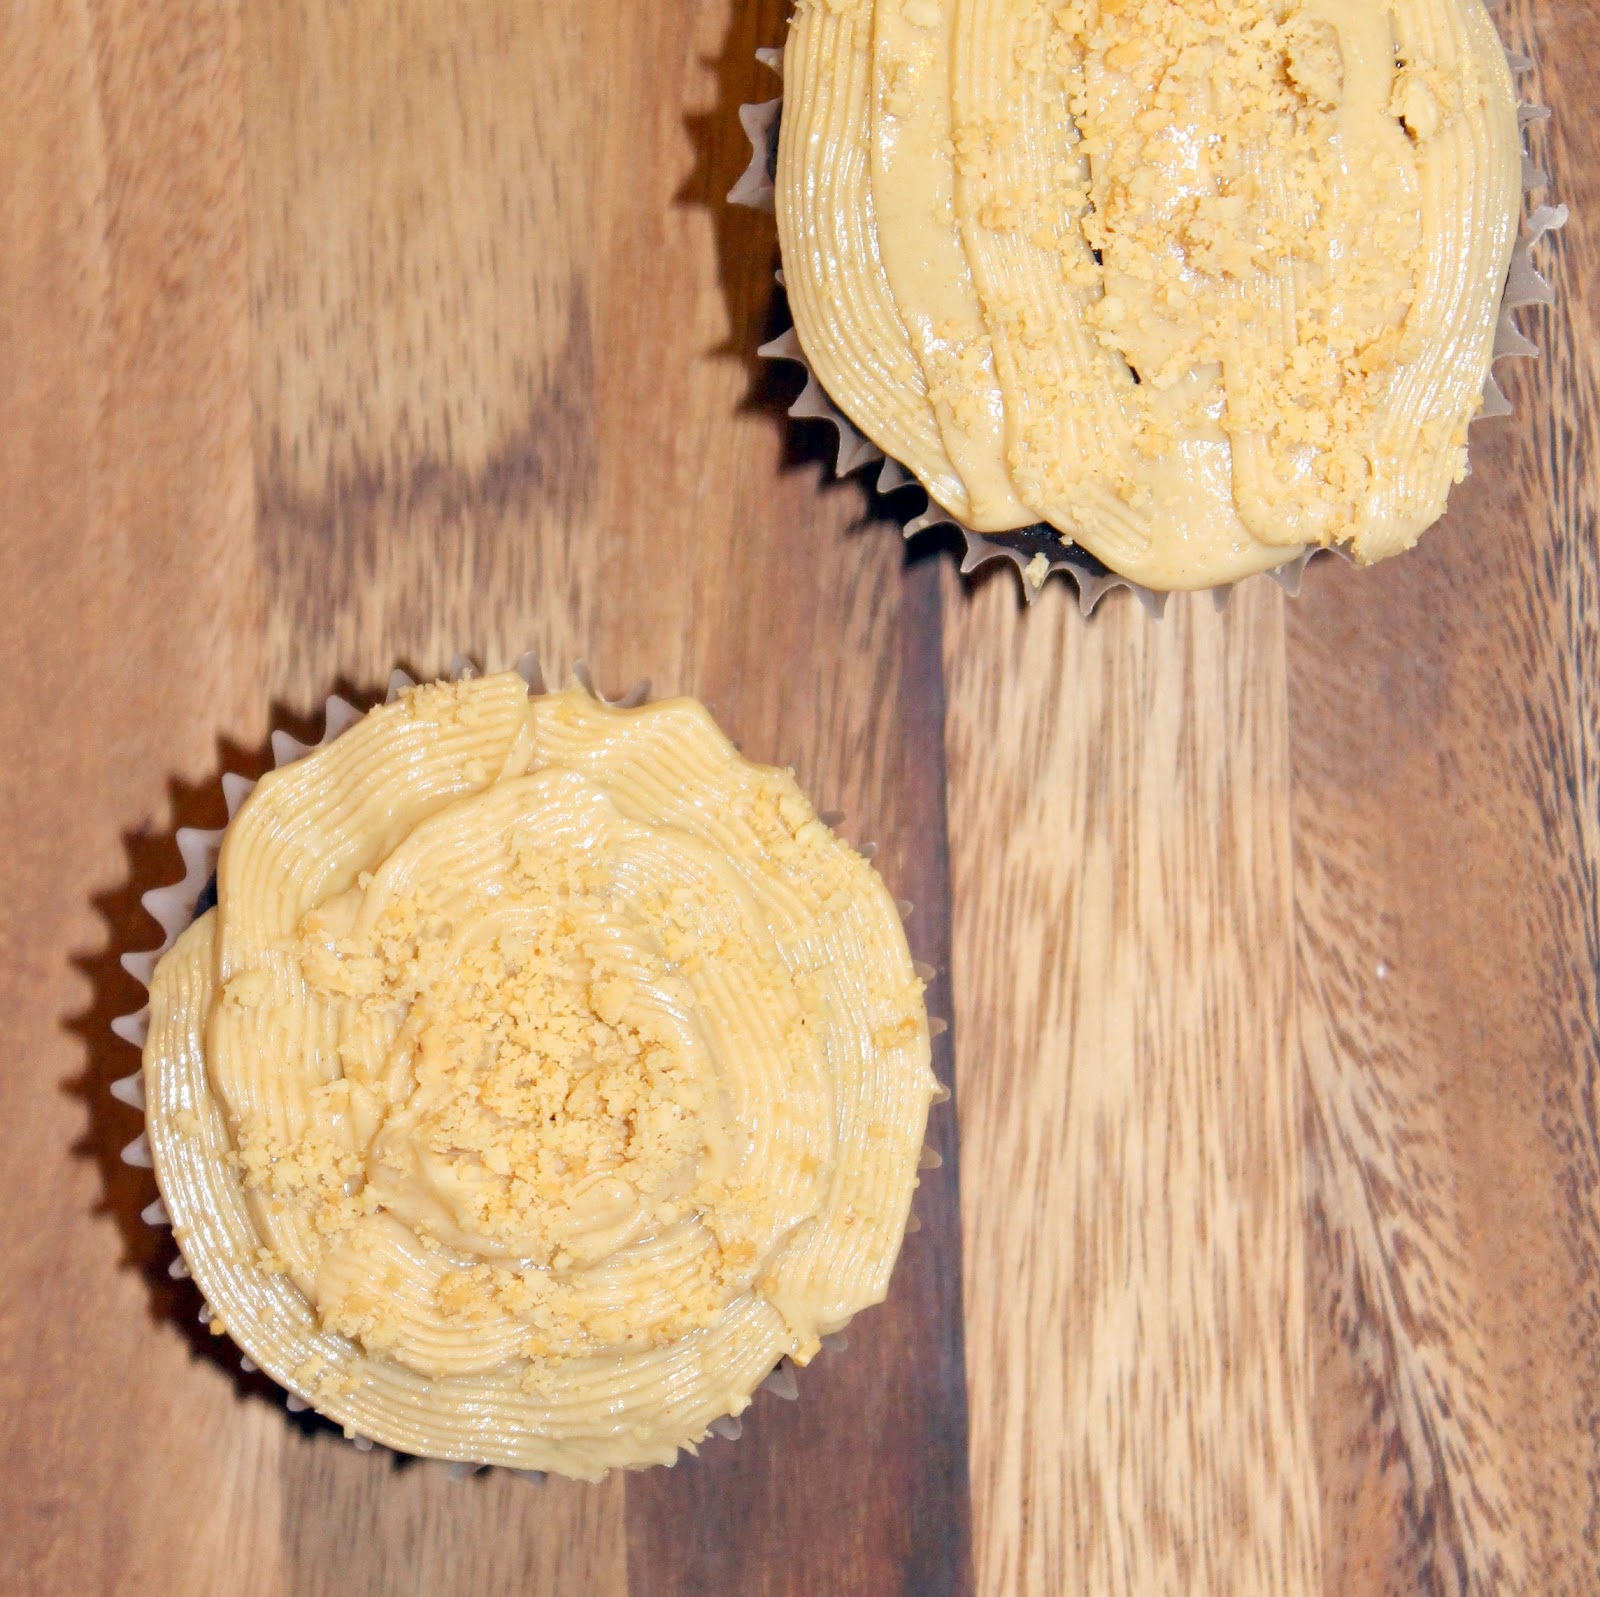
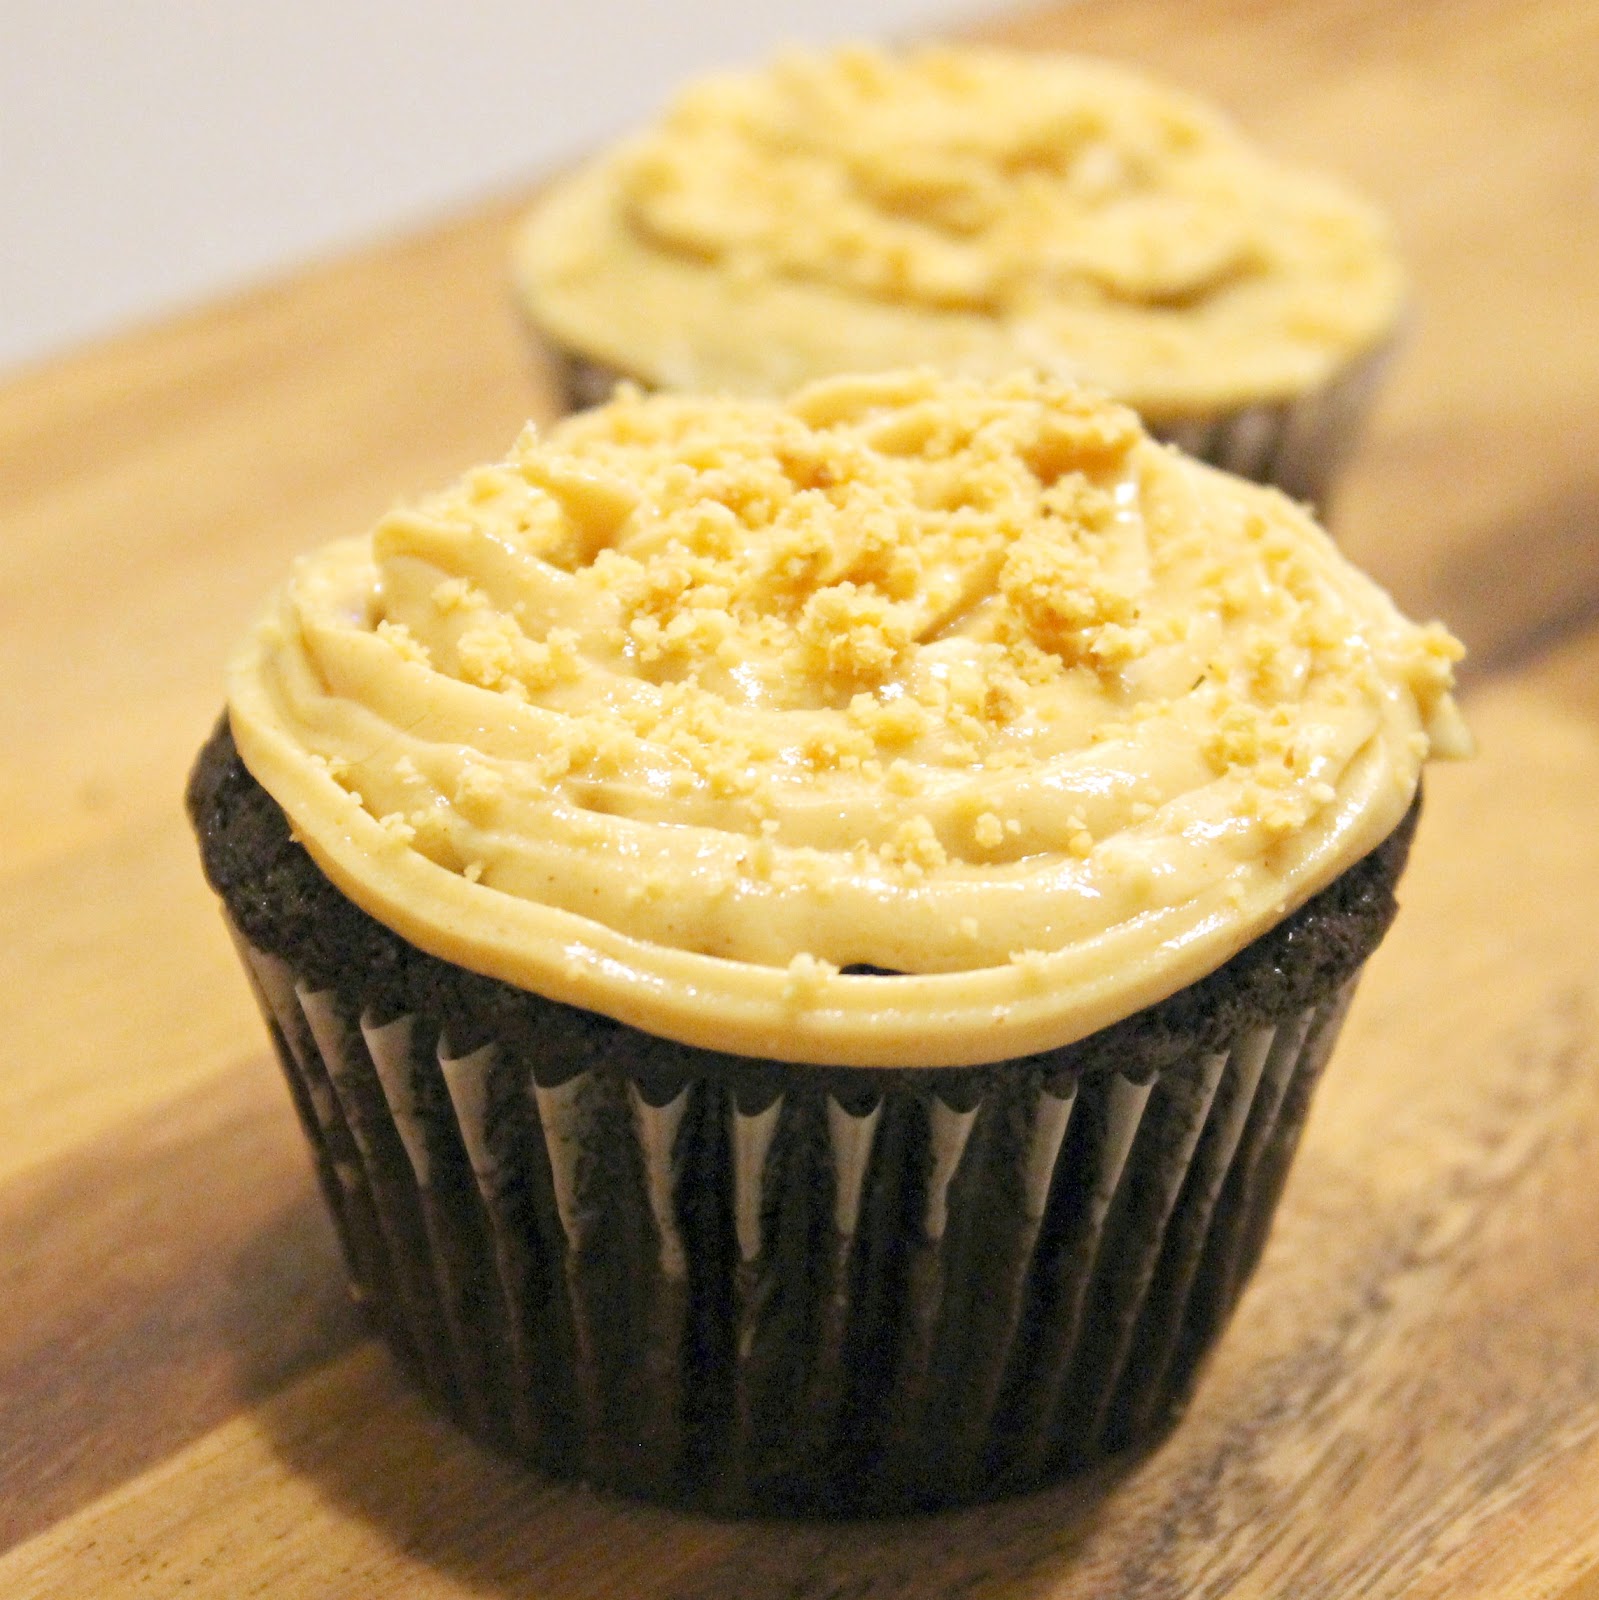
I wanted to find a way to thank him for making my day a little bit better, and I honestly don’t know any other way to thank someone besides with food (this is something I may need to work on…) So I decided to make him cupcakes! And who doesn’t like chocolate peanut butter cupcakes?
I found this recipe on Food Network and thought it was perfect. It even incorporated coffee into the recipe (one of my favorite tricks) to heighten the chocolately flavor. I decided to try to make my own peanut butter icing though, to make it more my own.
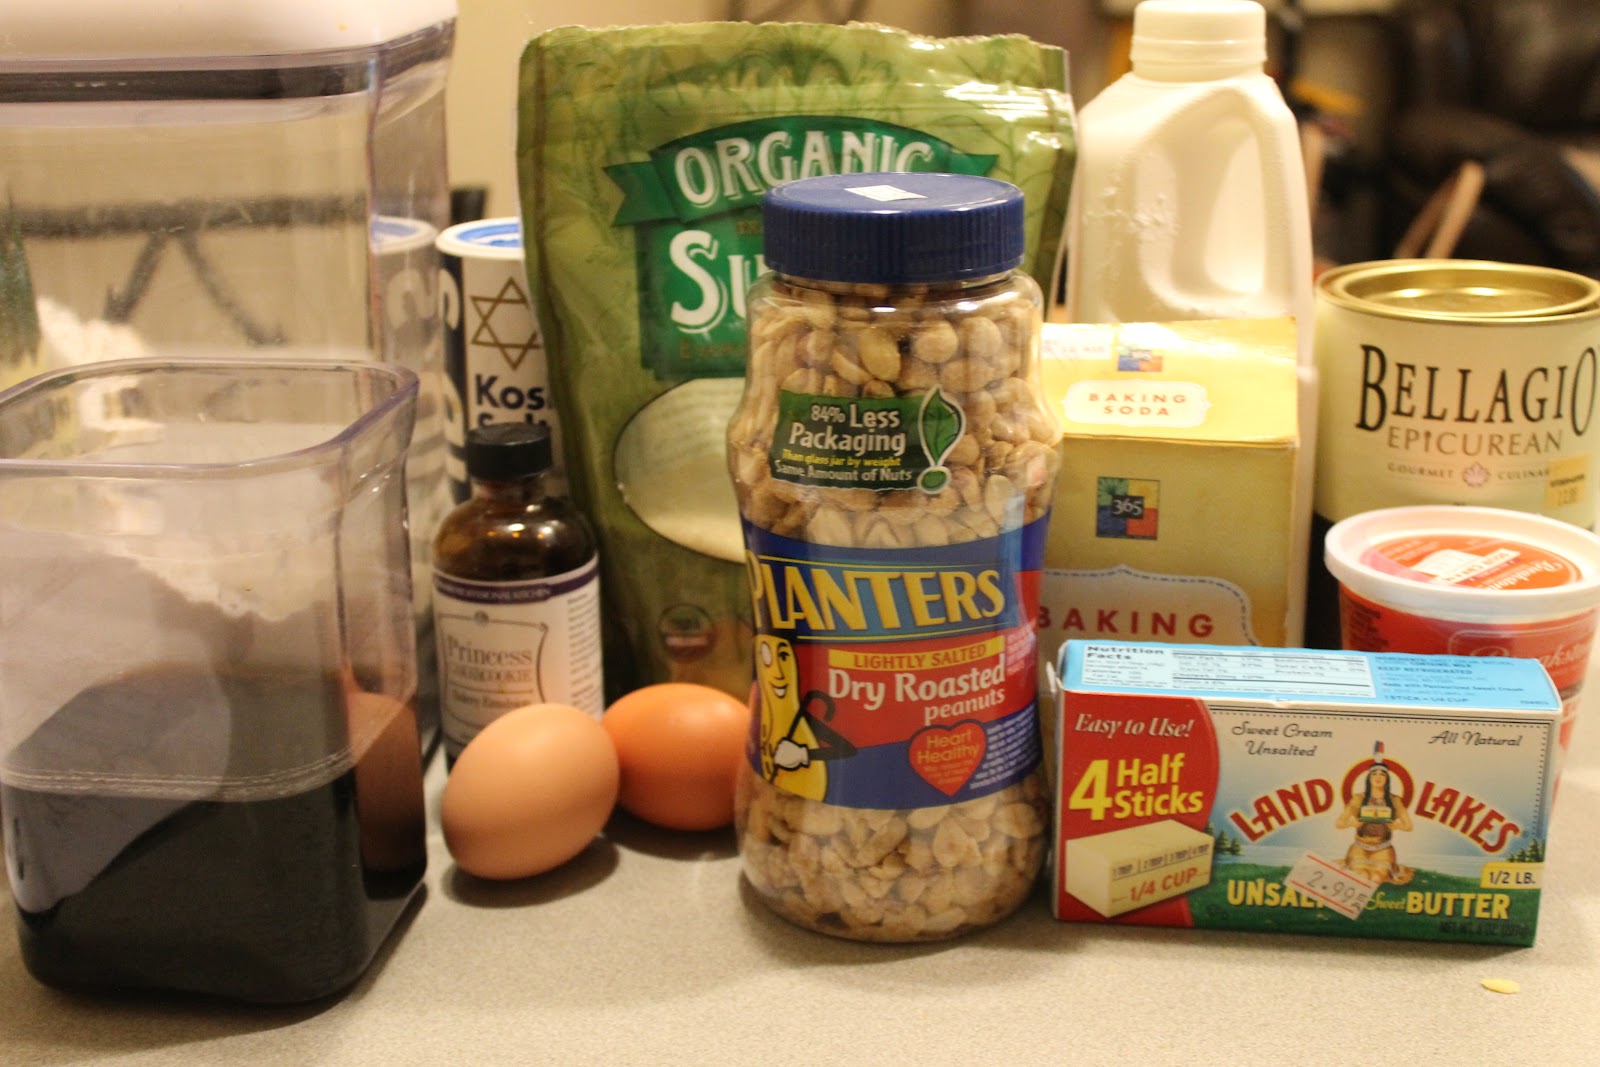
Ingredients:
12 tablespoons (1 1/2 sticks) unsalted butter, at room temperature
2/3 cup granulated sugar
2/3 cup light brown sugar, packed
2 large eggs
2 teaspoons vanilla extract
1 cup buttermilk, shaken, at room temperature
1/2 cup sour cream, at room temperature
2 tablespoons brewed coffee
1 3/4 cups all-purpose flour
1 cup cocoa powder
1 1/2 teaspoons baking soda
Icing:
1/2 teaspoon vanilla extract
1/8 teaspoon kosher salt
1 package (8 oz) low fat cream cheese
4 tablespoons butter, softened
1 cup (or 1/2 a container) of smooth peanut butter
2 cups powdered sugar
1/2 cup heavy cream
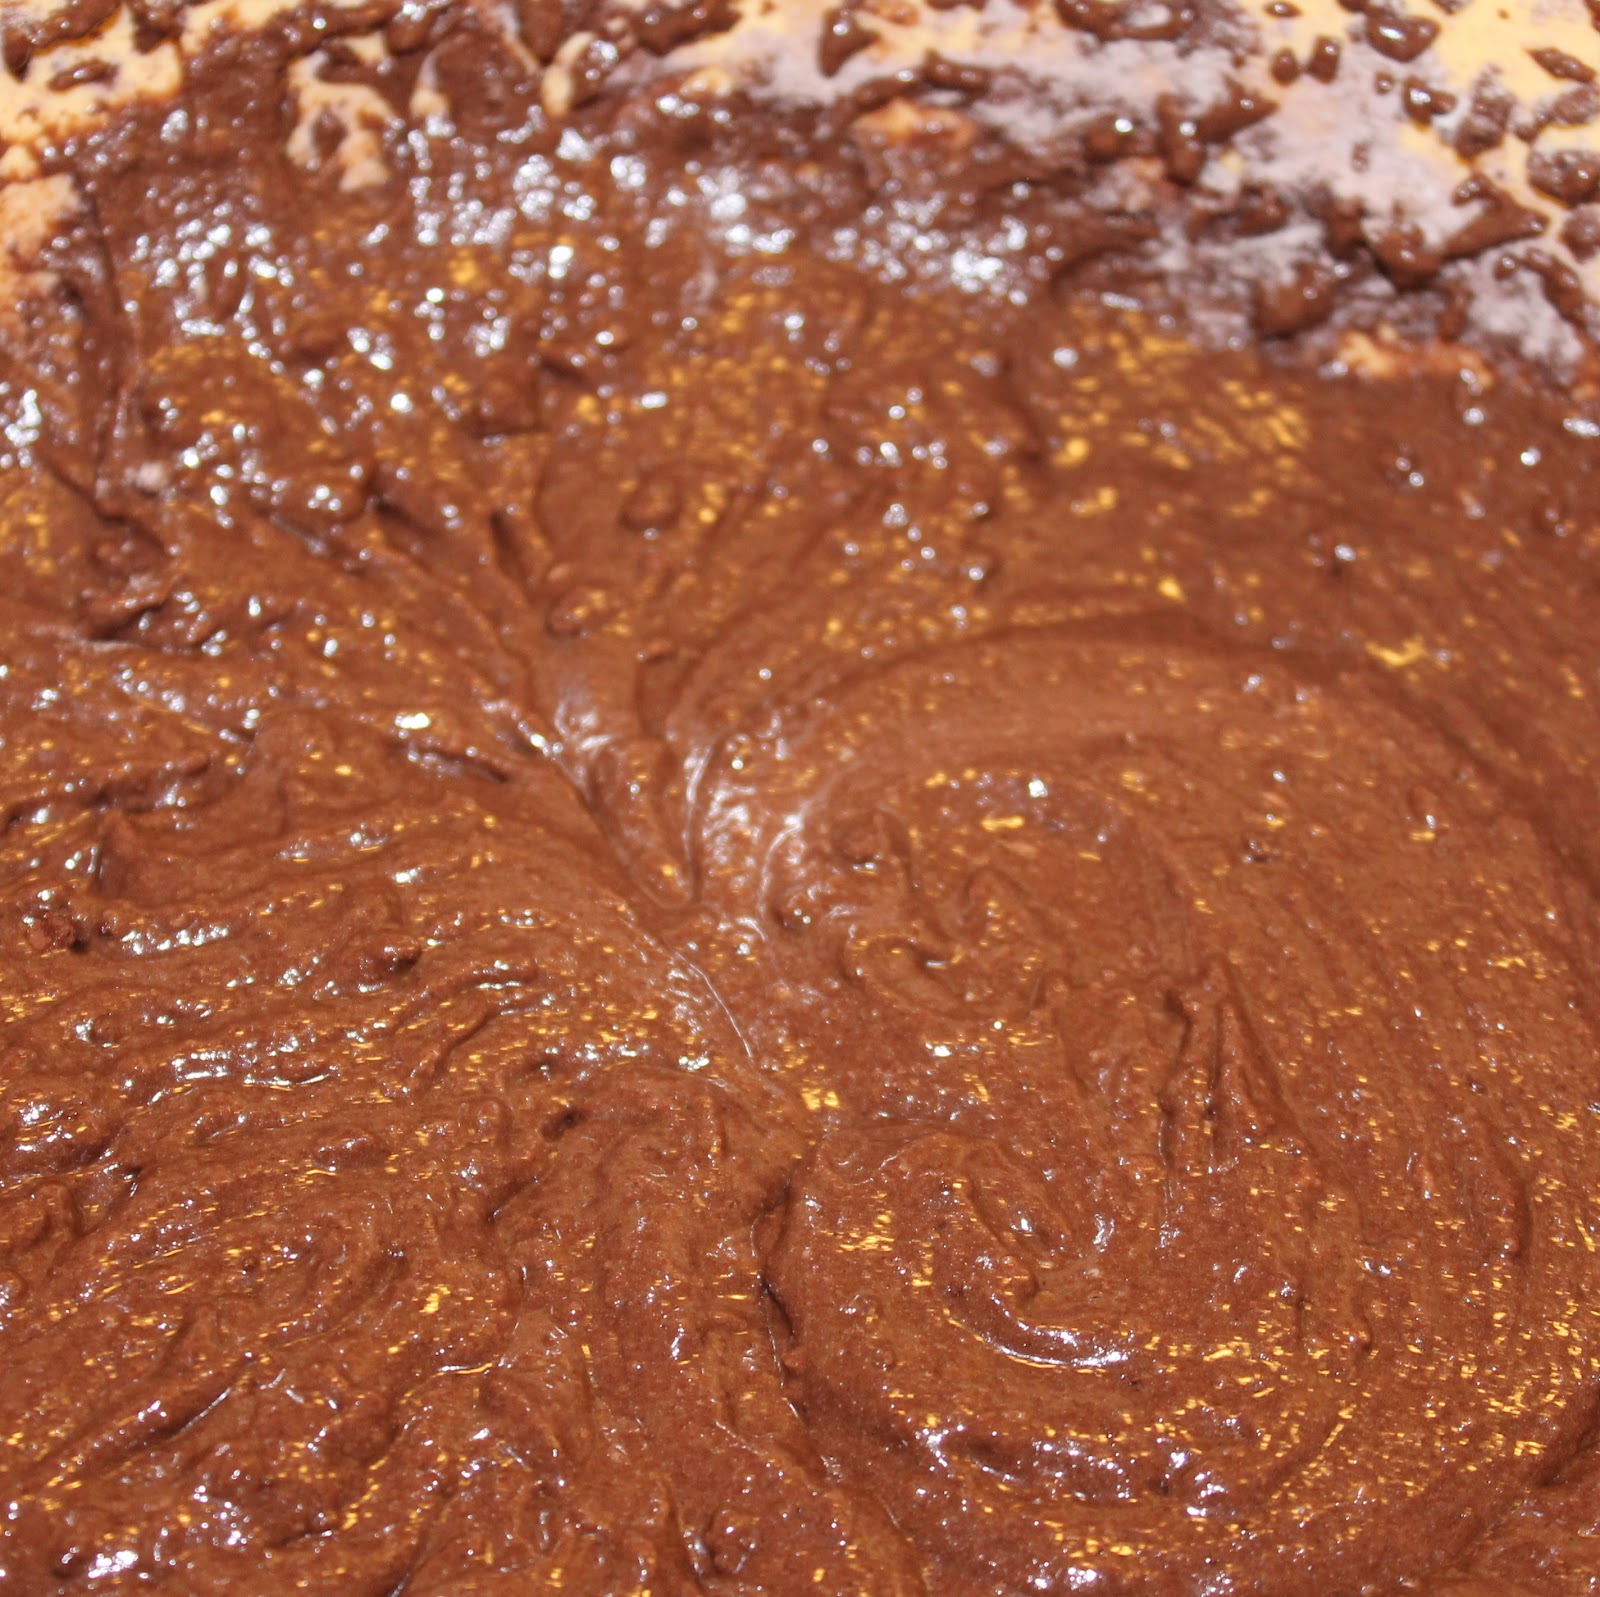
Preheat the oven to 350 degrees. Add the butter, granulated and brown sugars to a large bowl and beat on high for 2 minutes. Add the eggs one at a time followed by the vanilla, mixing well each time.
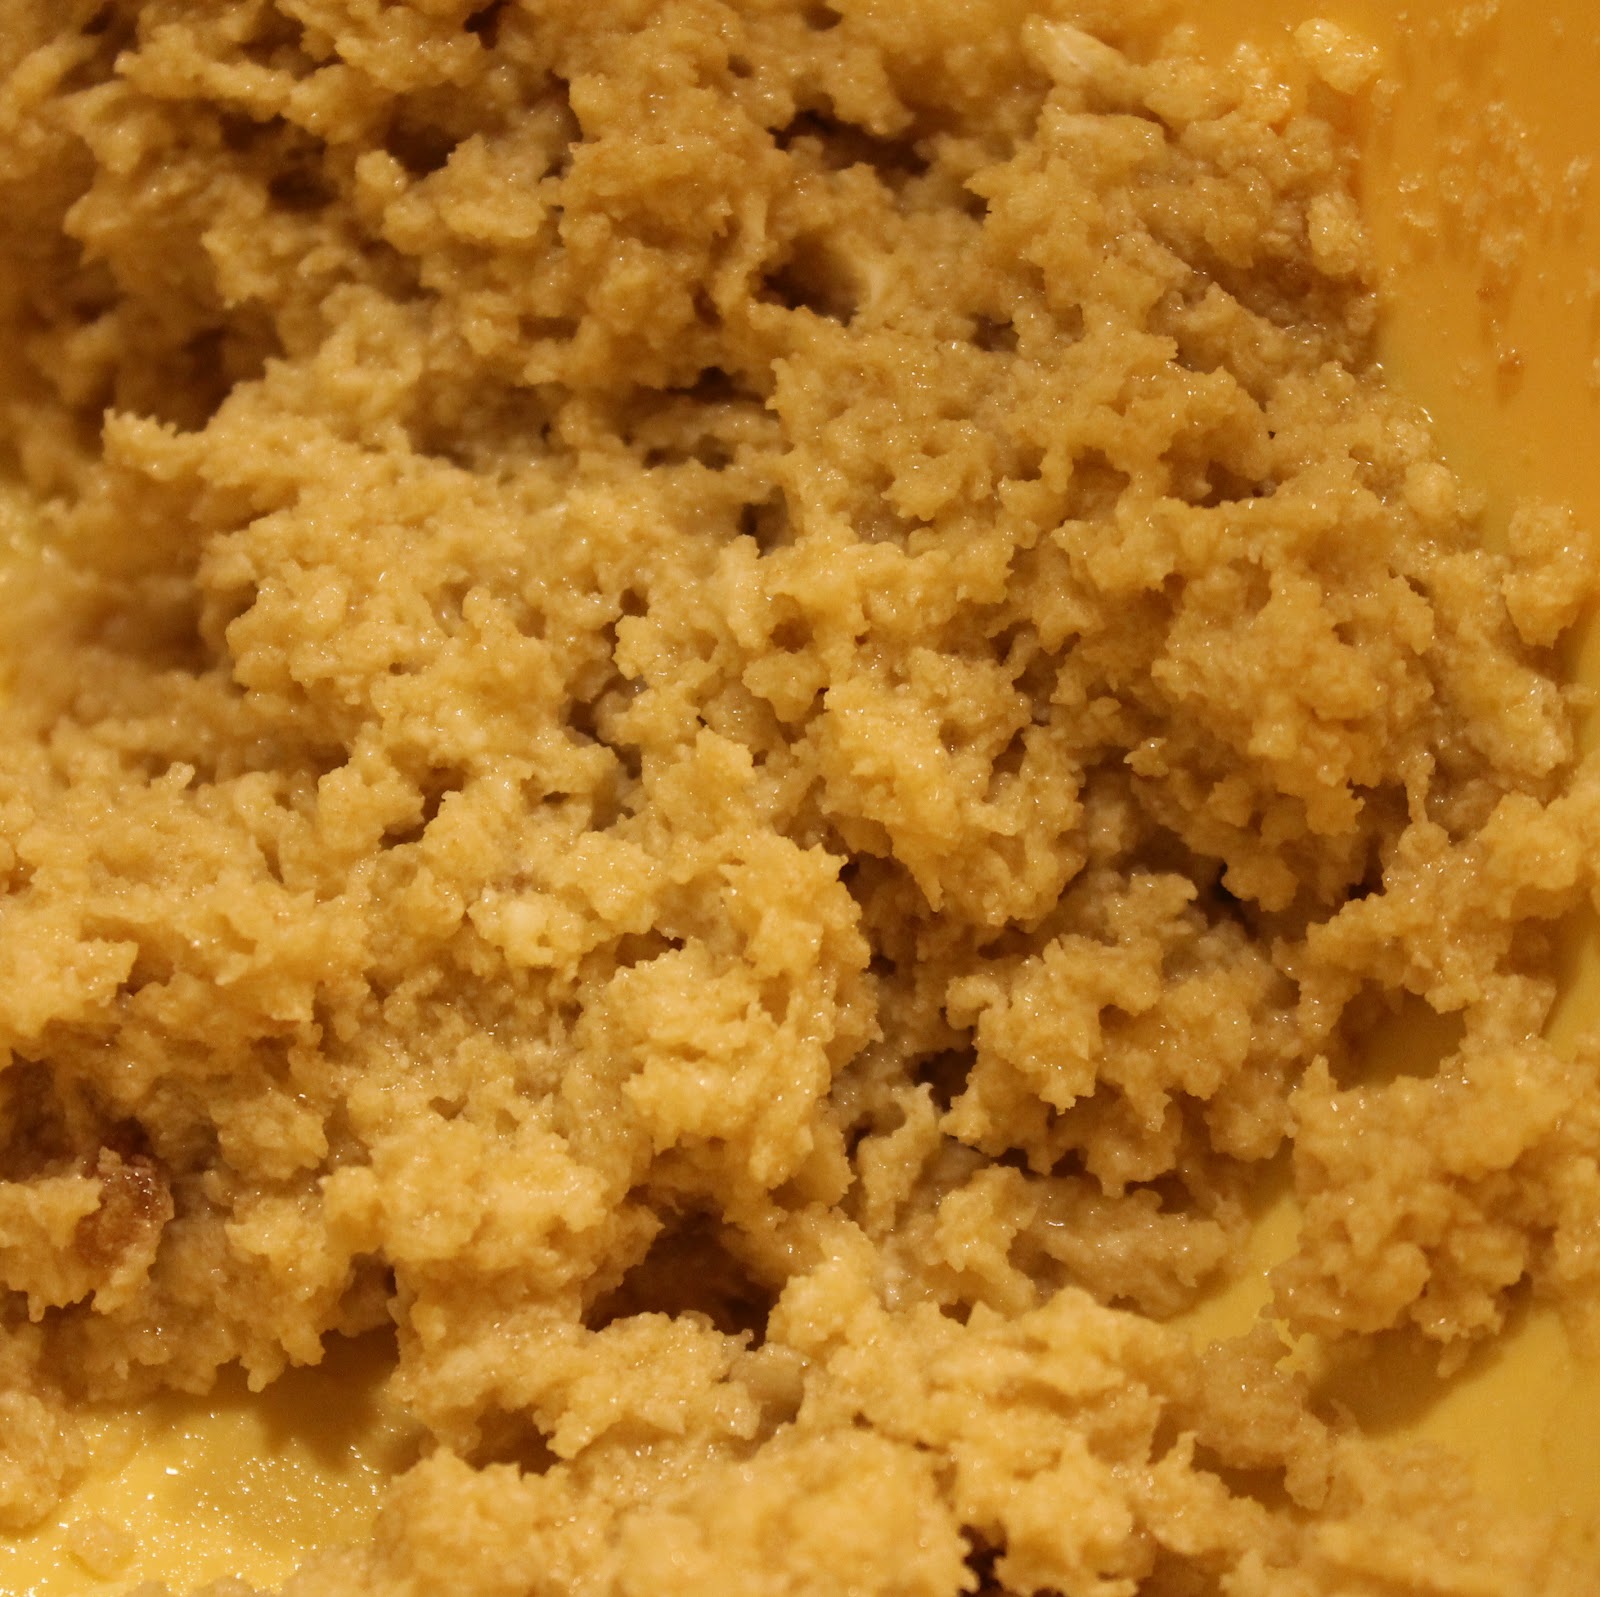
In a small bowl, whisk together the buttermilk, sour cream, and coffee.
In a third bowl, whisk together the flour, cocoa powder, and baking soda.
Add the buttermilk mixture and the flour mixture alternately to the large bowl, mixing with a hand mixer in between the addition of each mixture, beginning with the buttermilk mixture and ending with the flour mixture. (I poured half of the buttermilk mixture in, beat the mixture on medium, adding half the flour mixture, and beating on medium. I then repeated this until just combined).
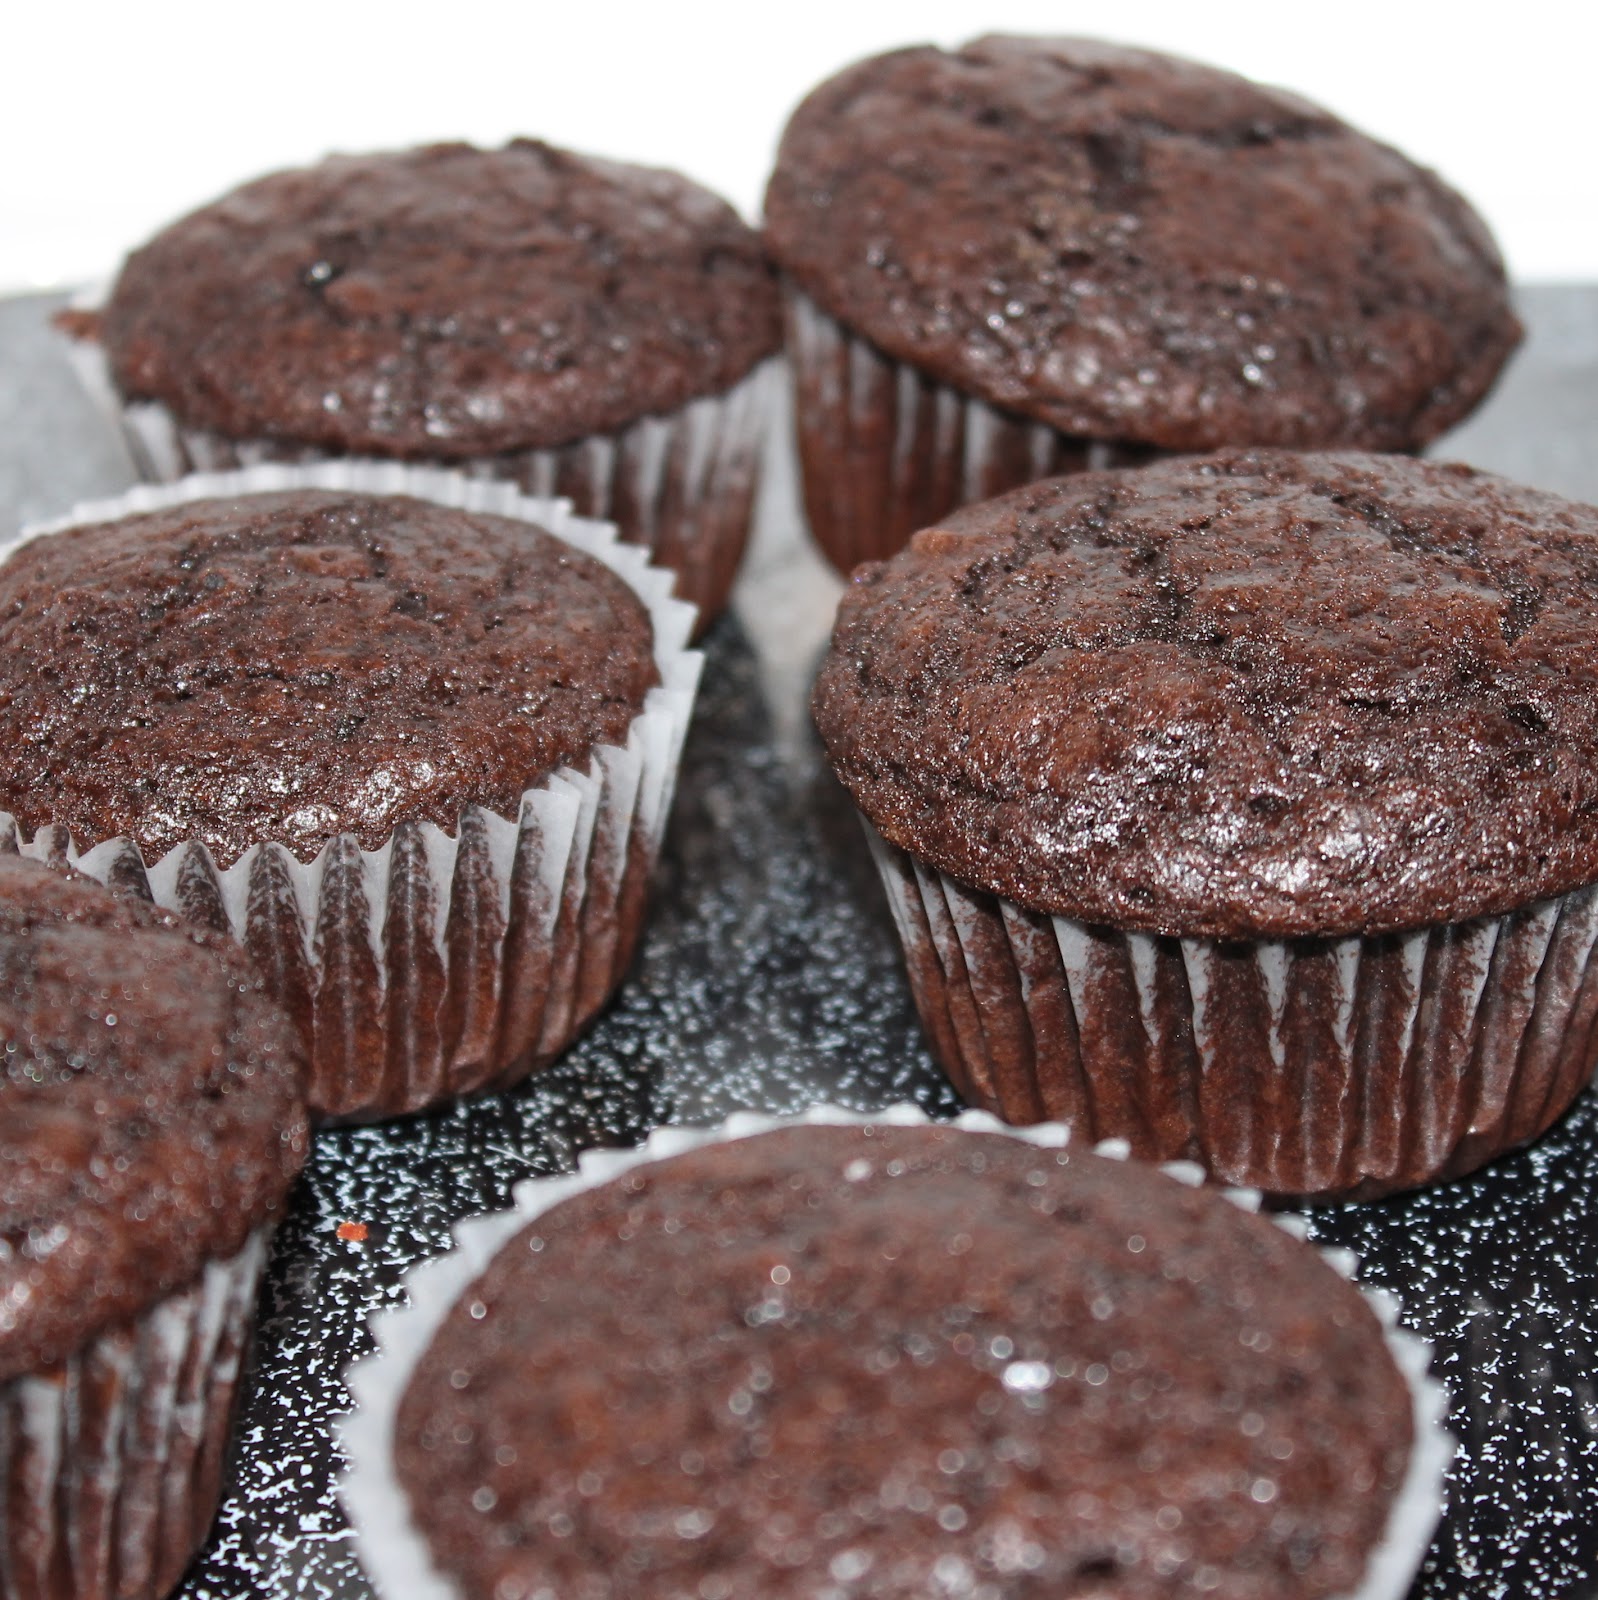
Add the mixture to a cupcake pan lined with paper liners. The recipe randomly made 18 cupcakes.
Bake at 350 degrees for 20 minutes or until a toothpick comes out clean. Cool for 10 minutes, then remove from the pans.
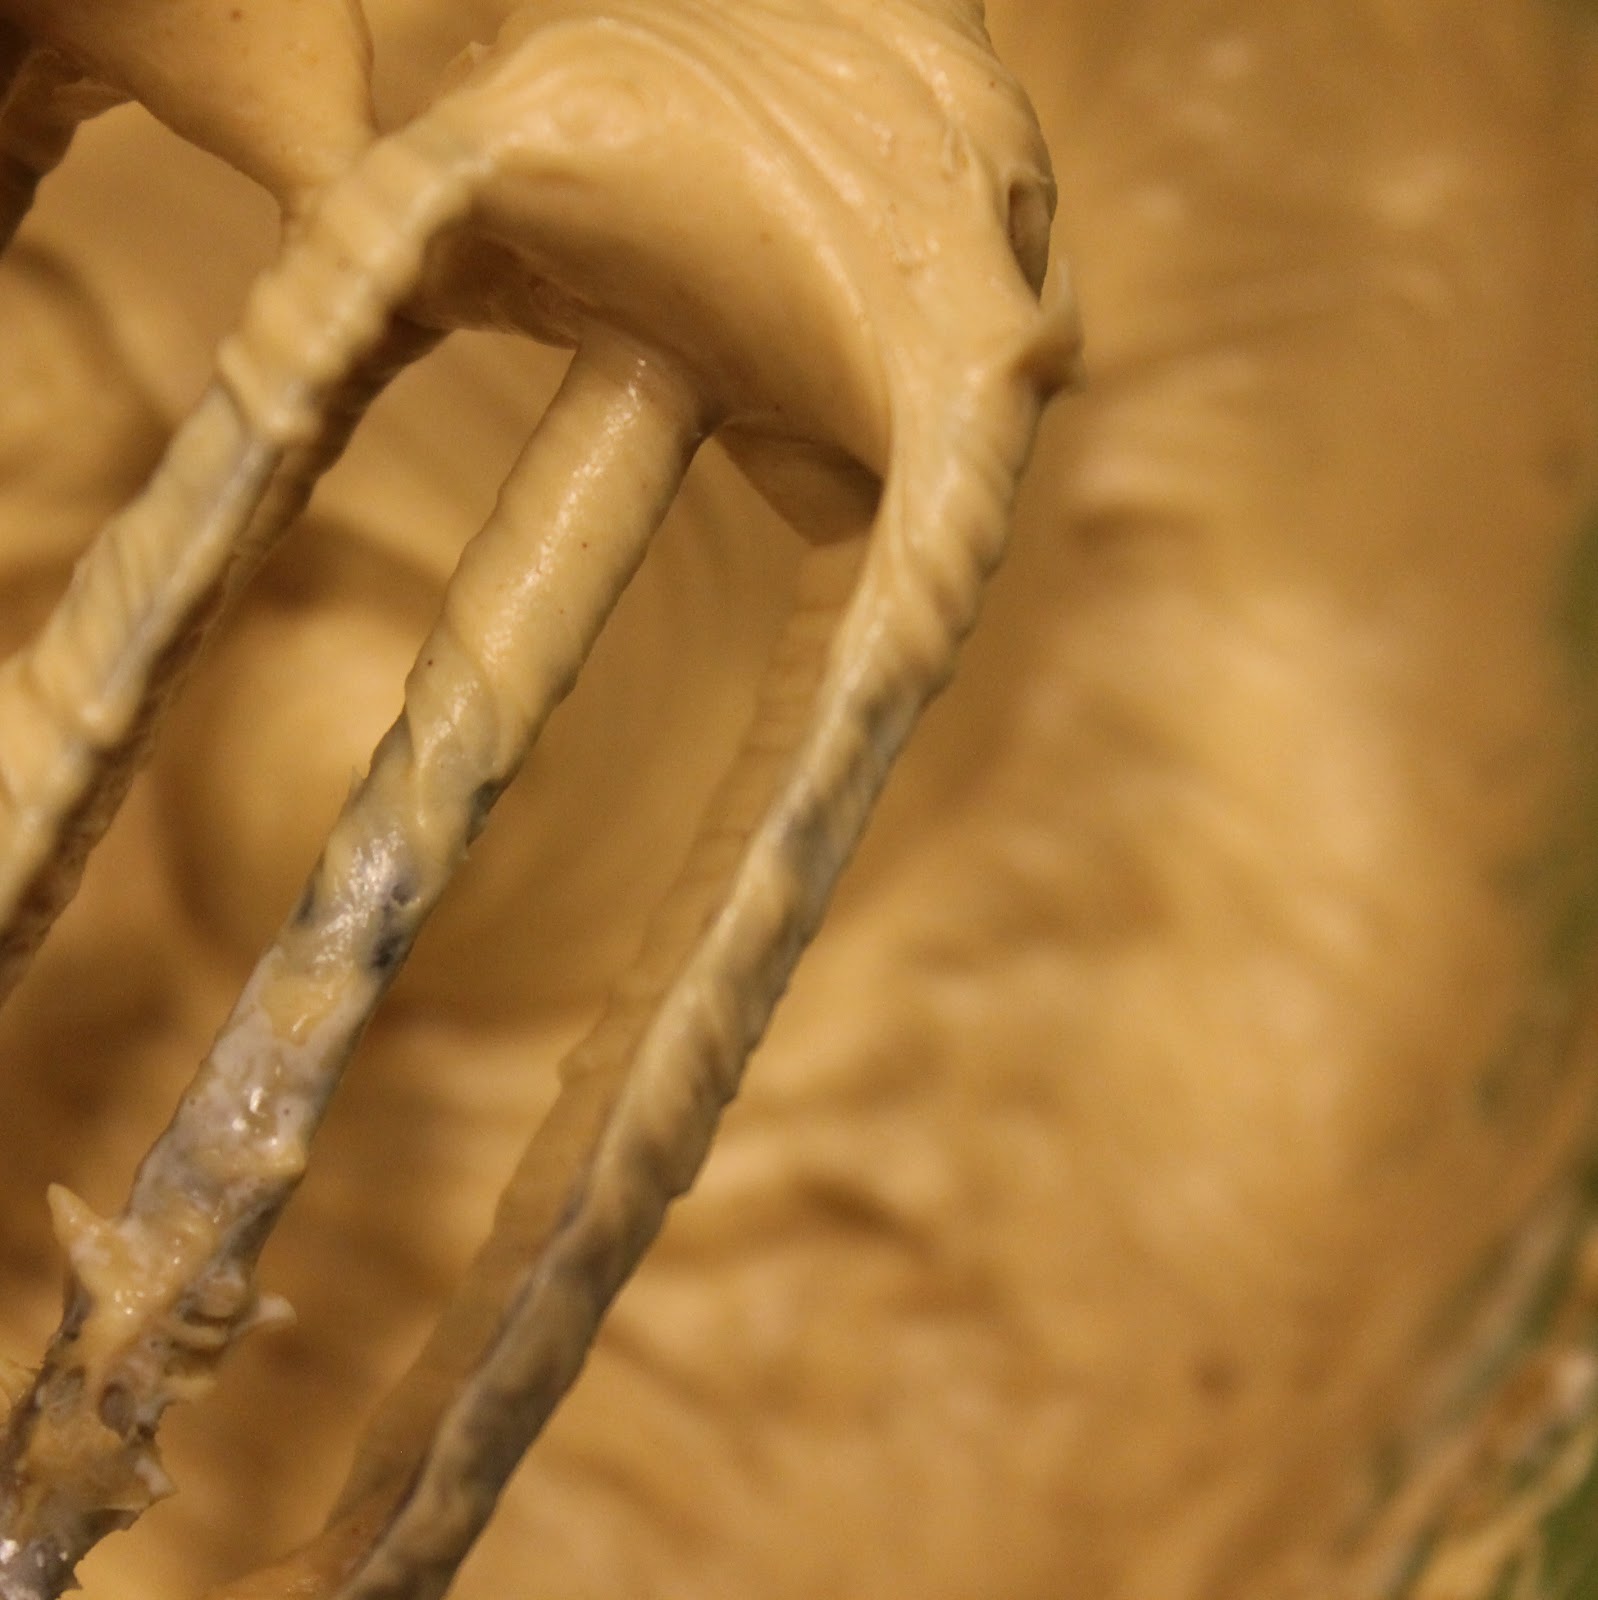
To make the icing, combine all the ingredients in a medium sized bowl using a hand mixer.
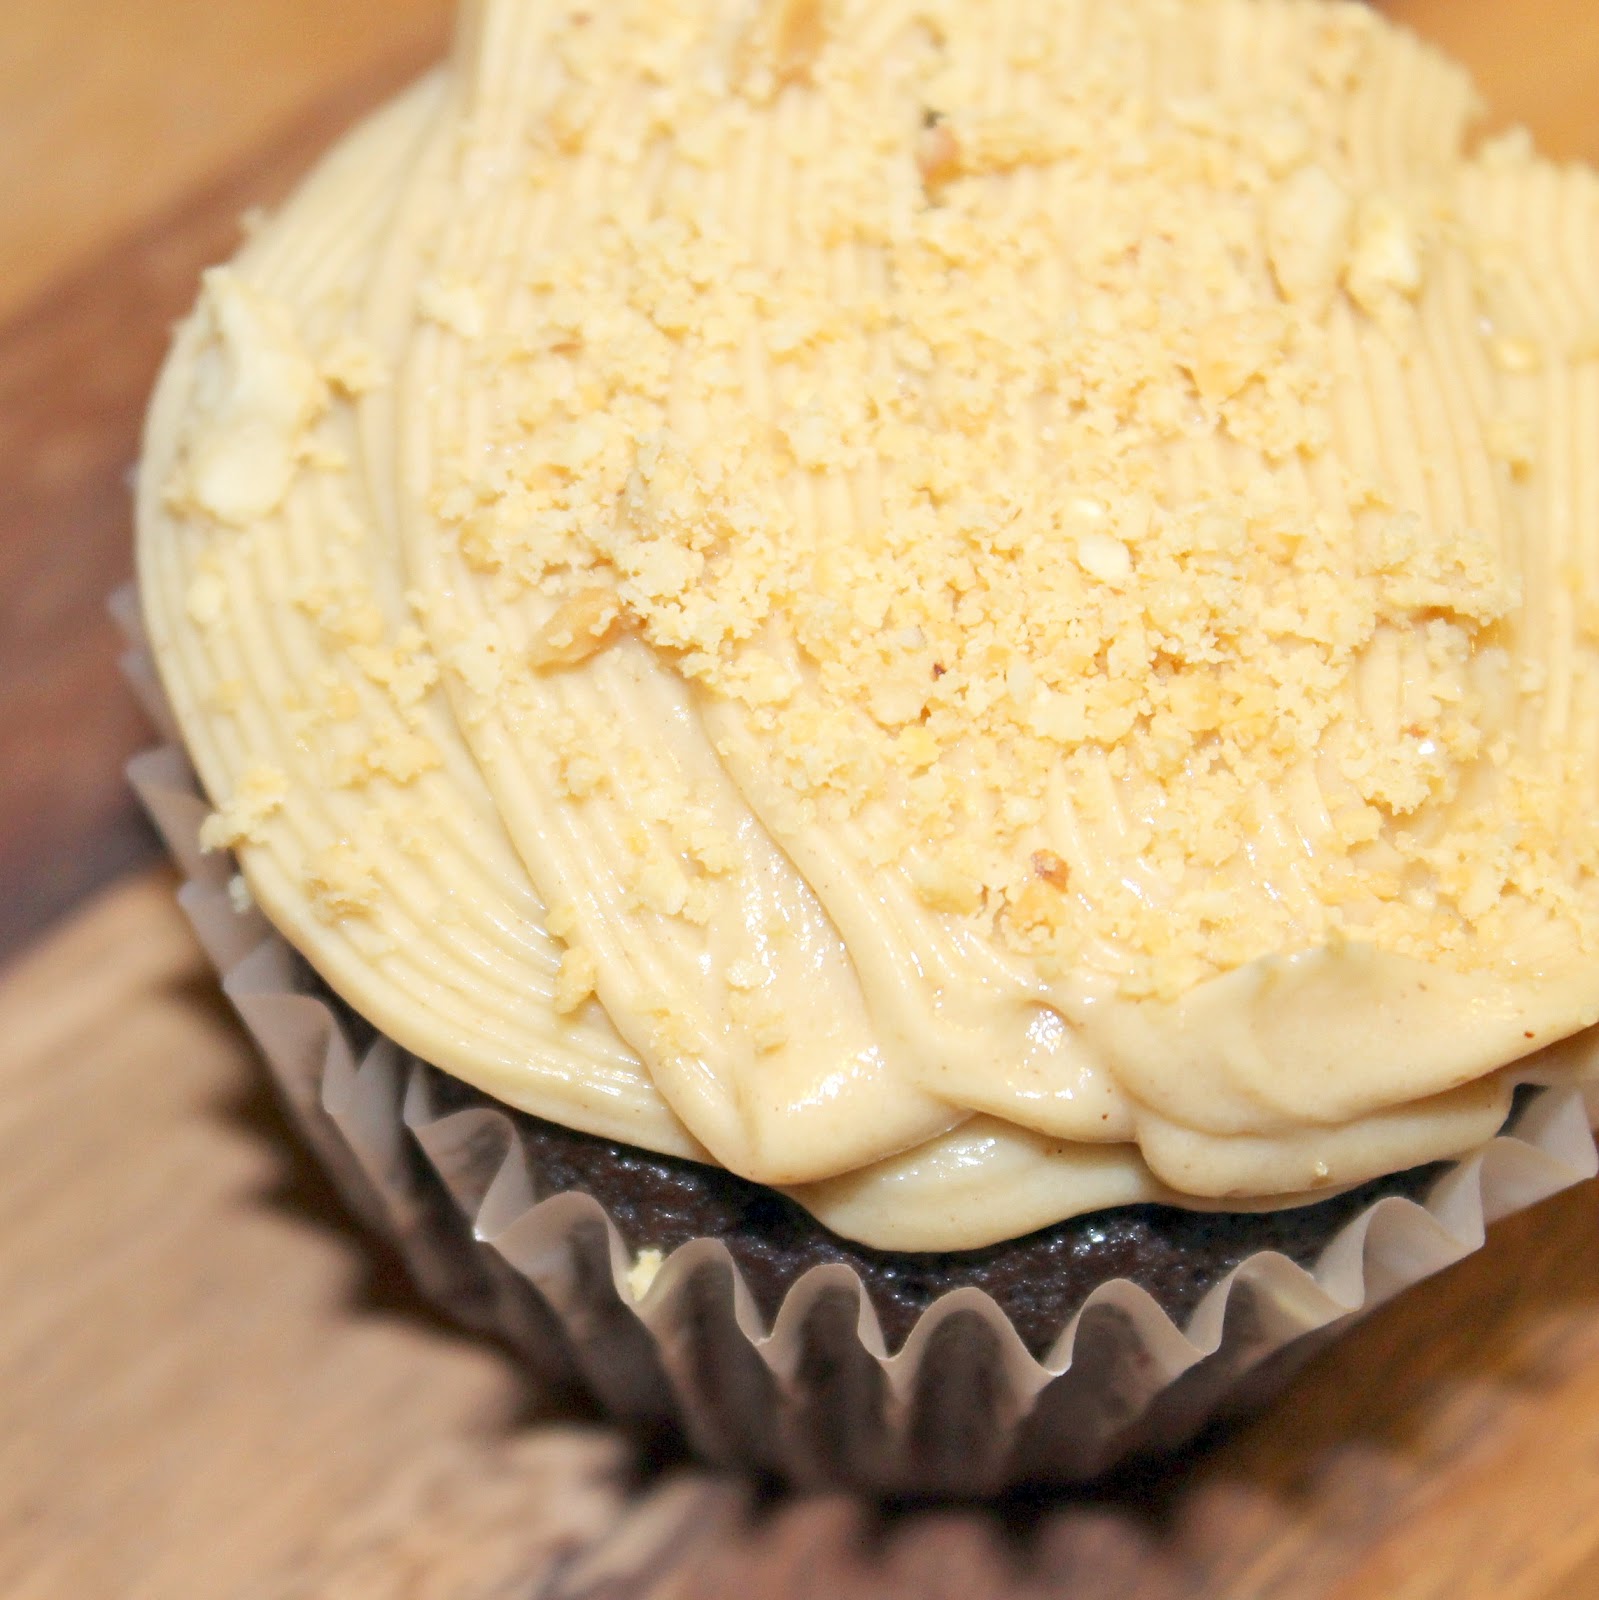
Add the frosting to the cupcakes once completely cooled.
If desired, top with crushed peanuts.
Was there even a chance that these would be so-so?
Peanut butter and chocolate are two of the most fantastic, decadent paired ingredients.
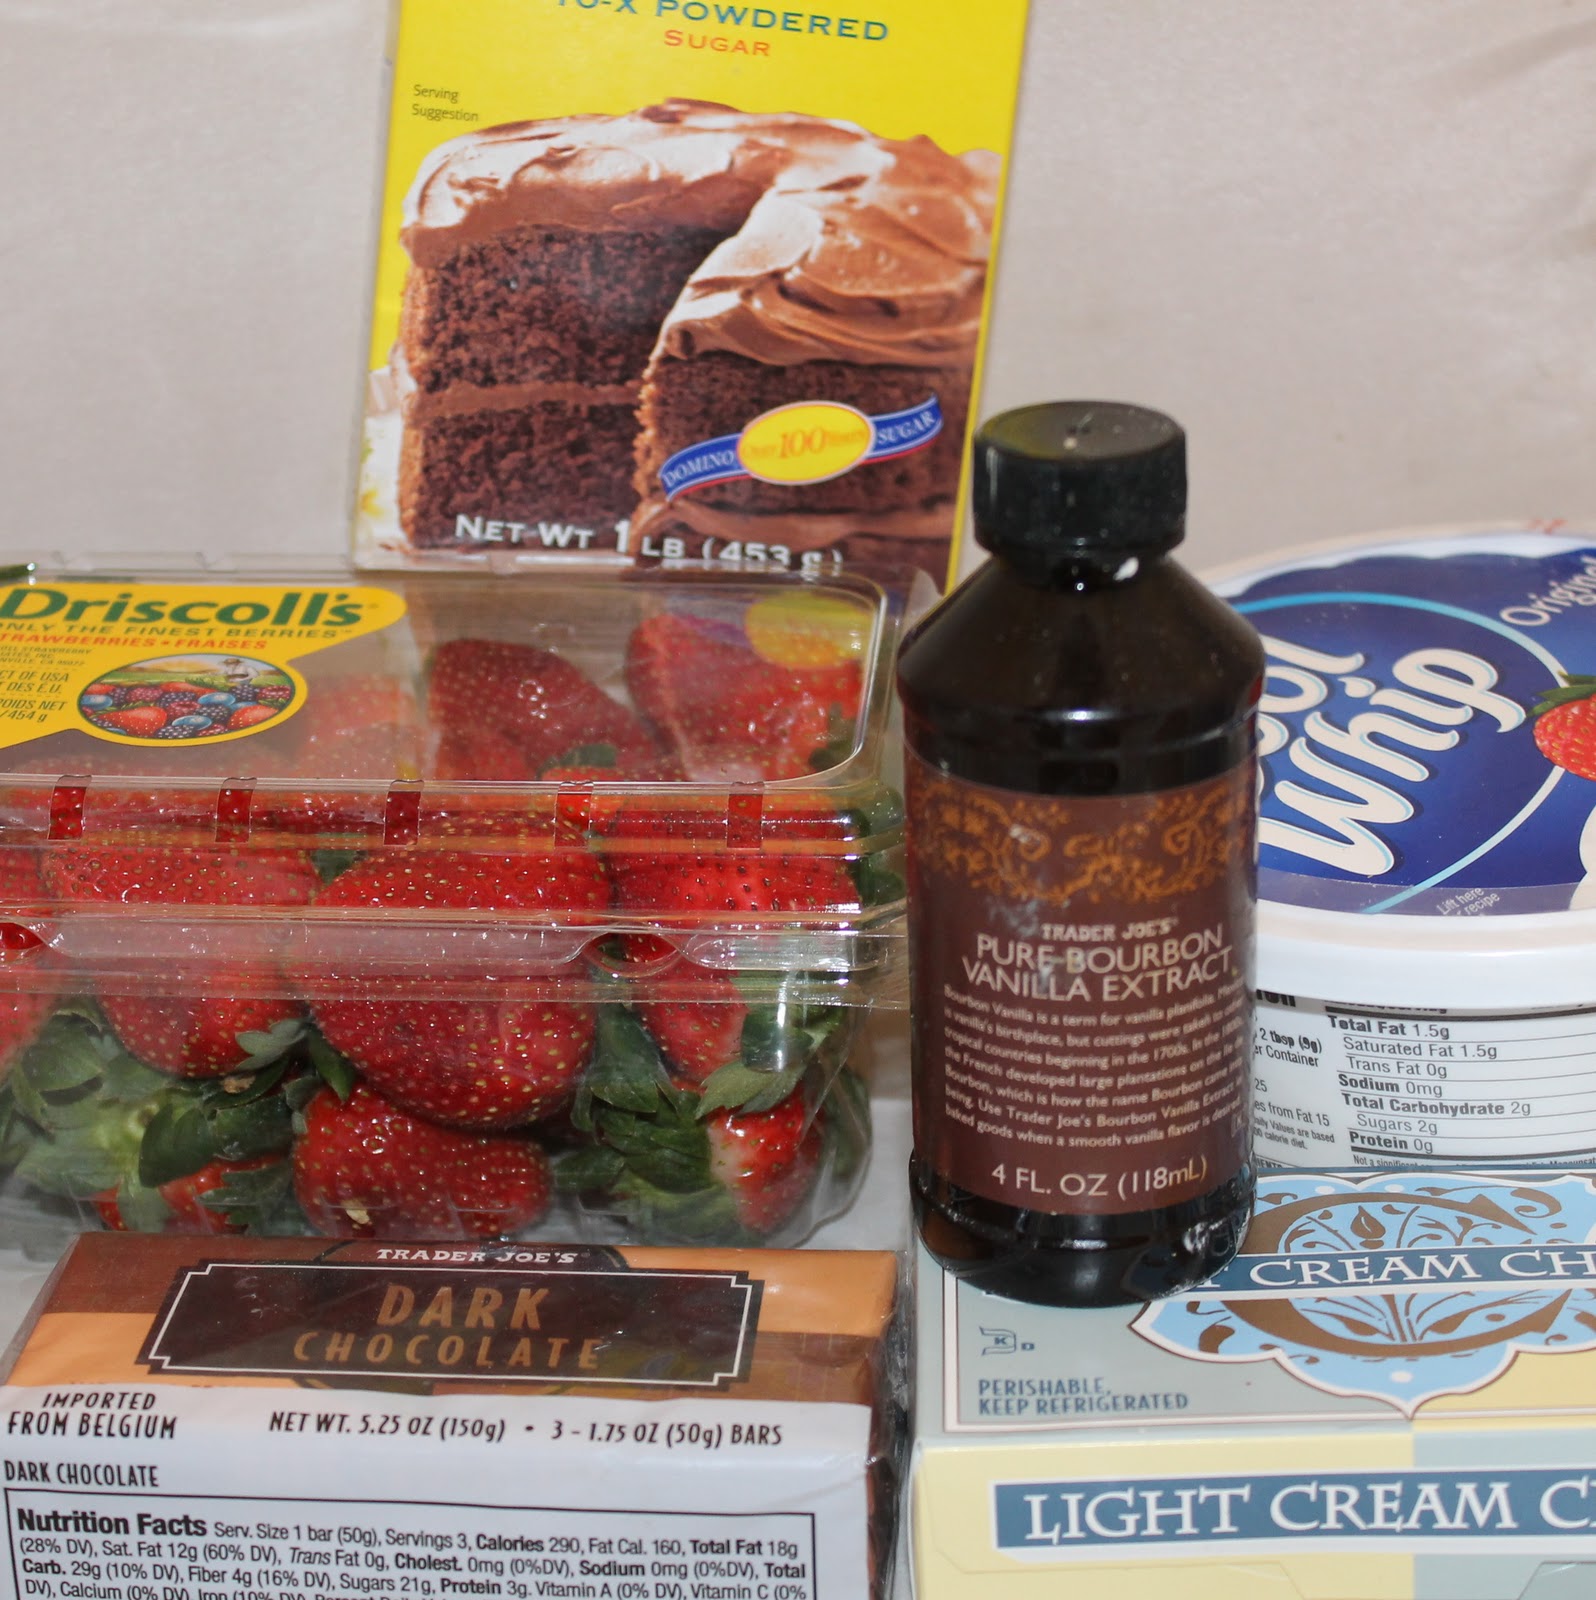
Valentines Day has come early to I Can Cook That! Ok, not really. I made them for a party recently, but they would be perfect for a Valentines Day dessert, or with your coffee in the morning! I found this recipe on Taste of Home. After reading the reviews, a few people suggested adding some powdered sugar to sweeten up the chocolate cream. I love anything sweet, so I took their suggestion!
Ingredients:
1-1/2 ounces dark chocolate, grated, divided
1 package (8 ounces) cream cheese
1 teaspoon vanilla extract
1 cup powdered sugar
1 cup whipped topping
2 containers of fresh strawberries, halved
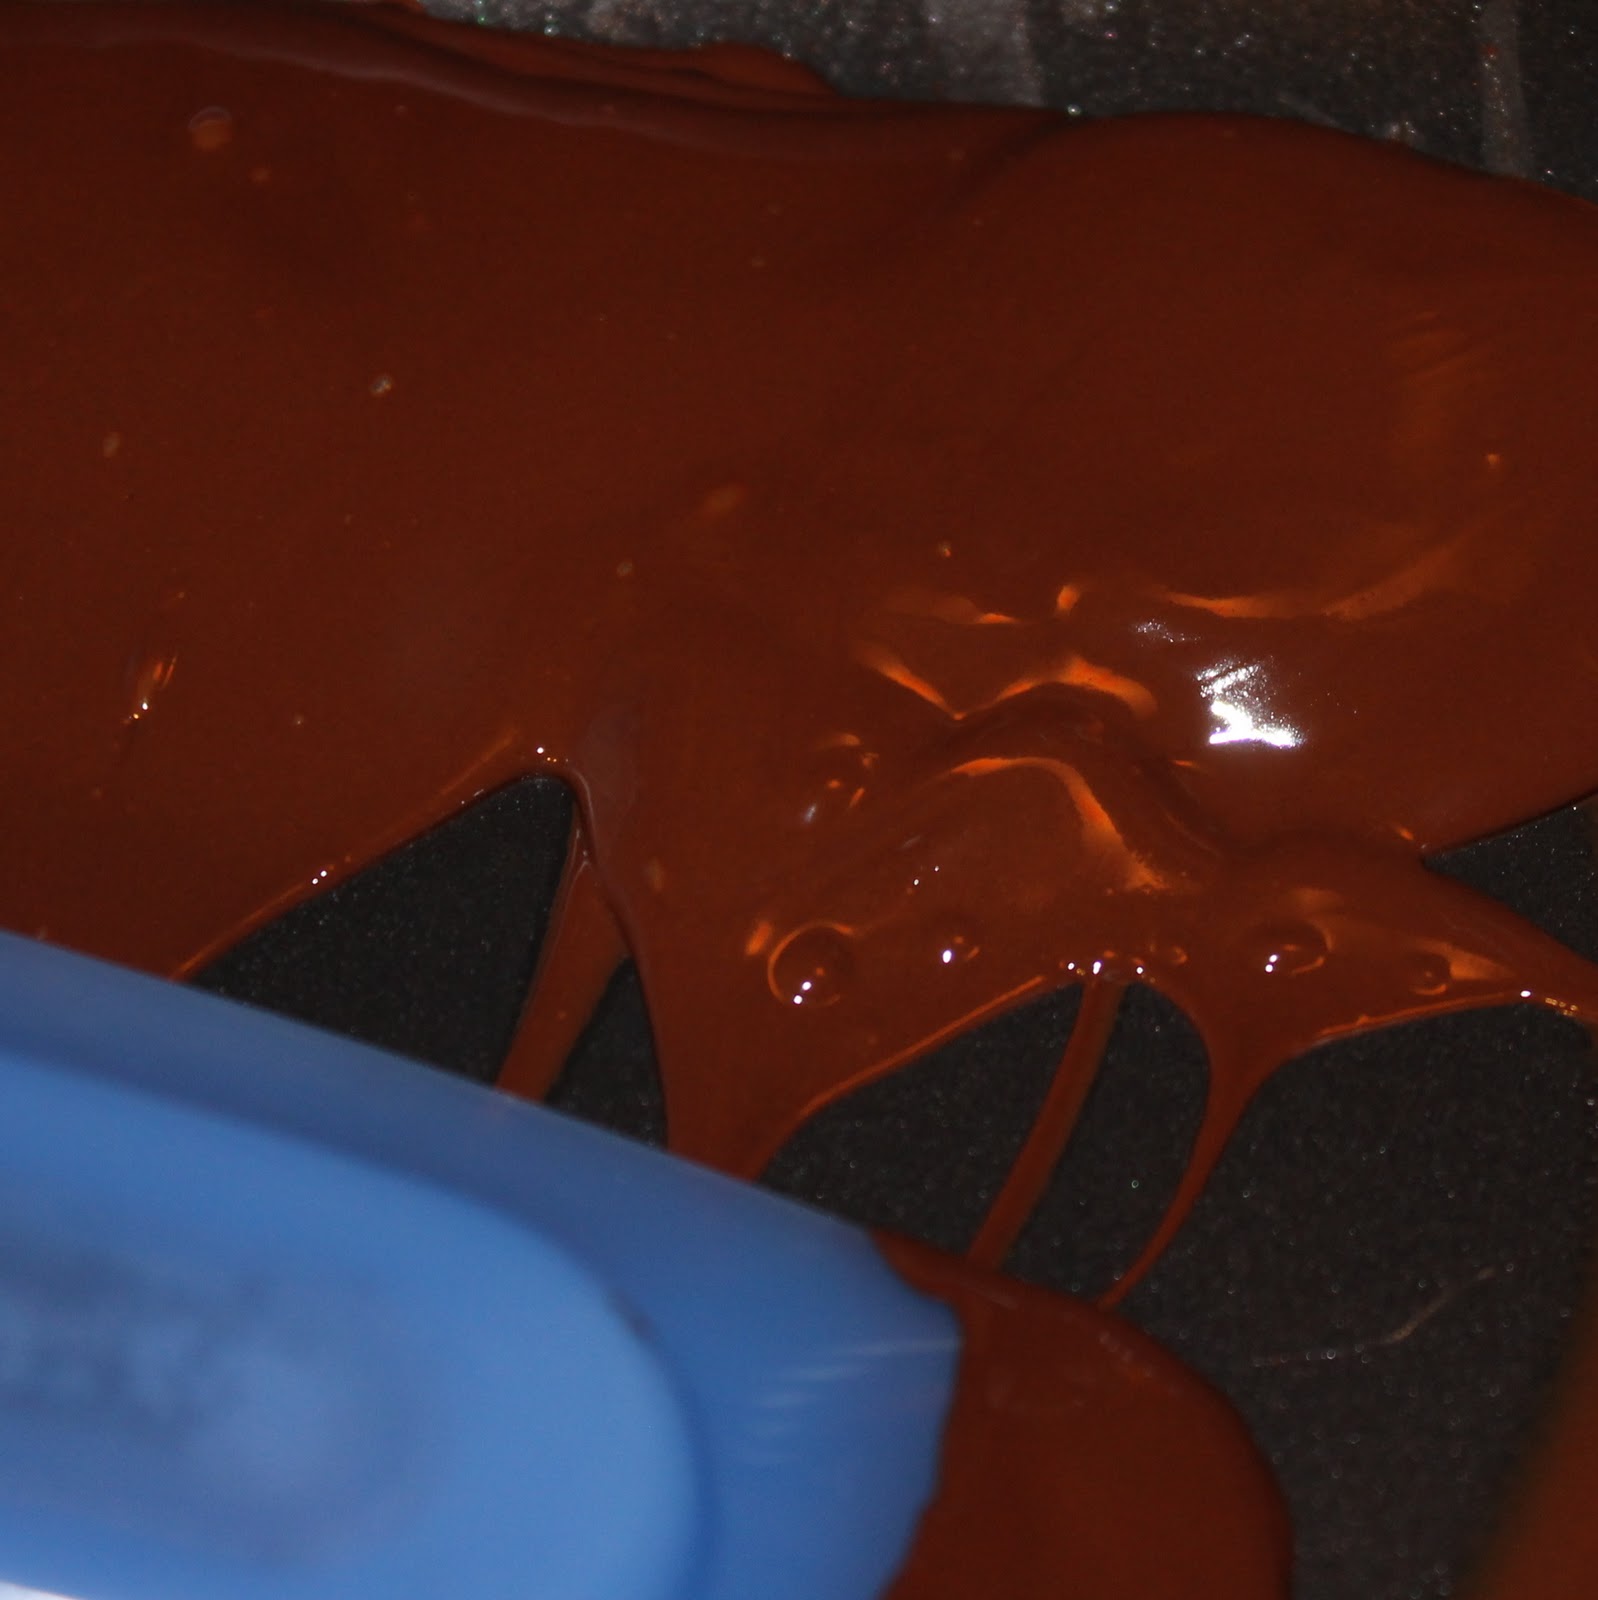
I used dark chocolate bars from Trader Joe’s. They come in 1.75 oz little bars so I used two of those 1.75 oz bars. Take the first bar and melt over low heat, stirring until smooth. Remove from heat and cool to room temperature.
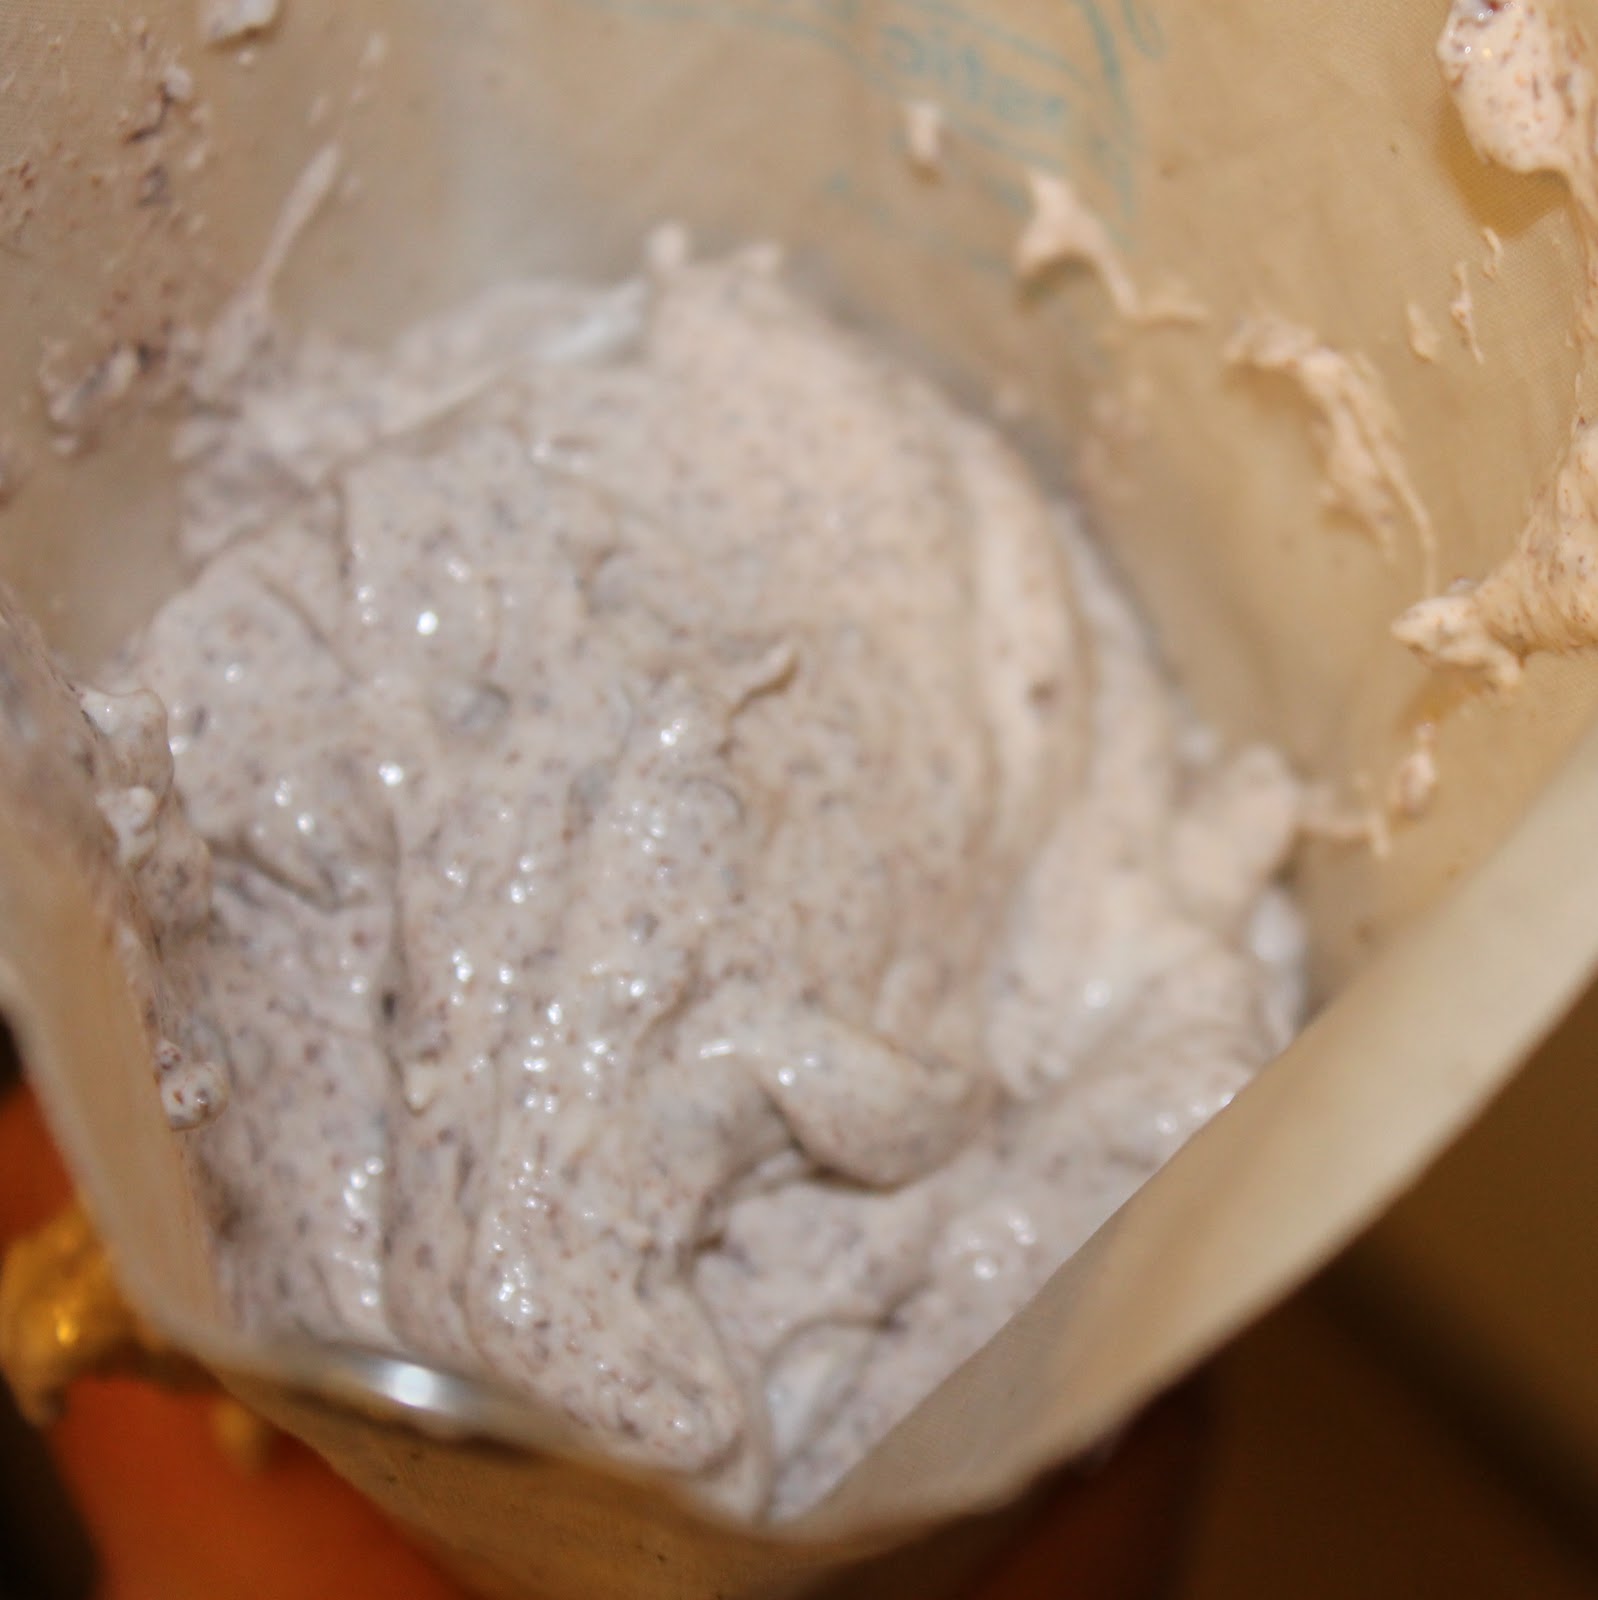
In a small bowl, add the cream cheese, vanilla, powdered sugar and whipped topping. Beat with a hand mixer until smooth.
Add the melted chocolate and beat until combined. Add the mixture to a plastic zip lock bag.
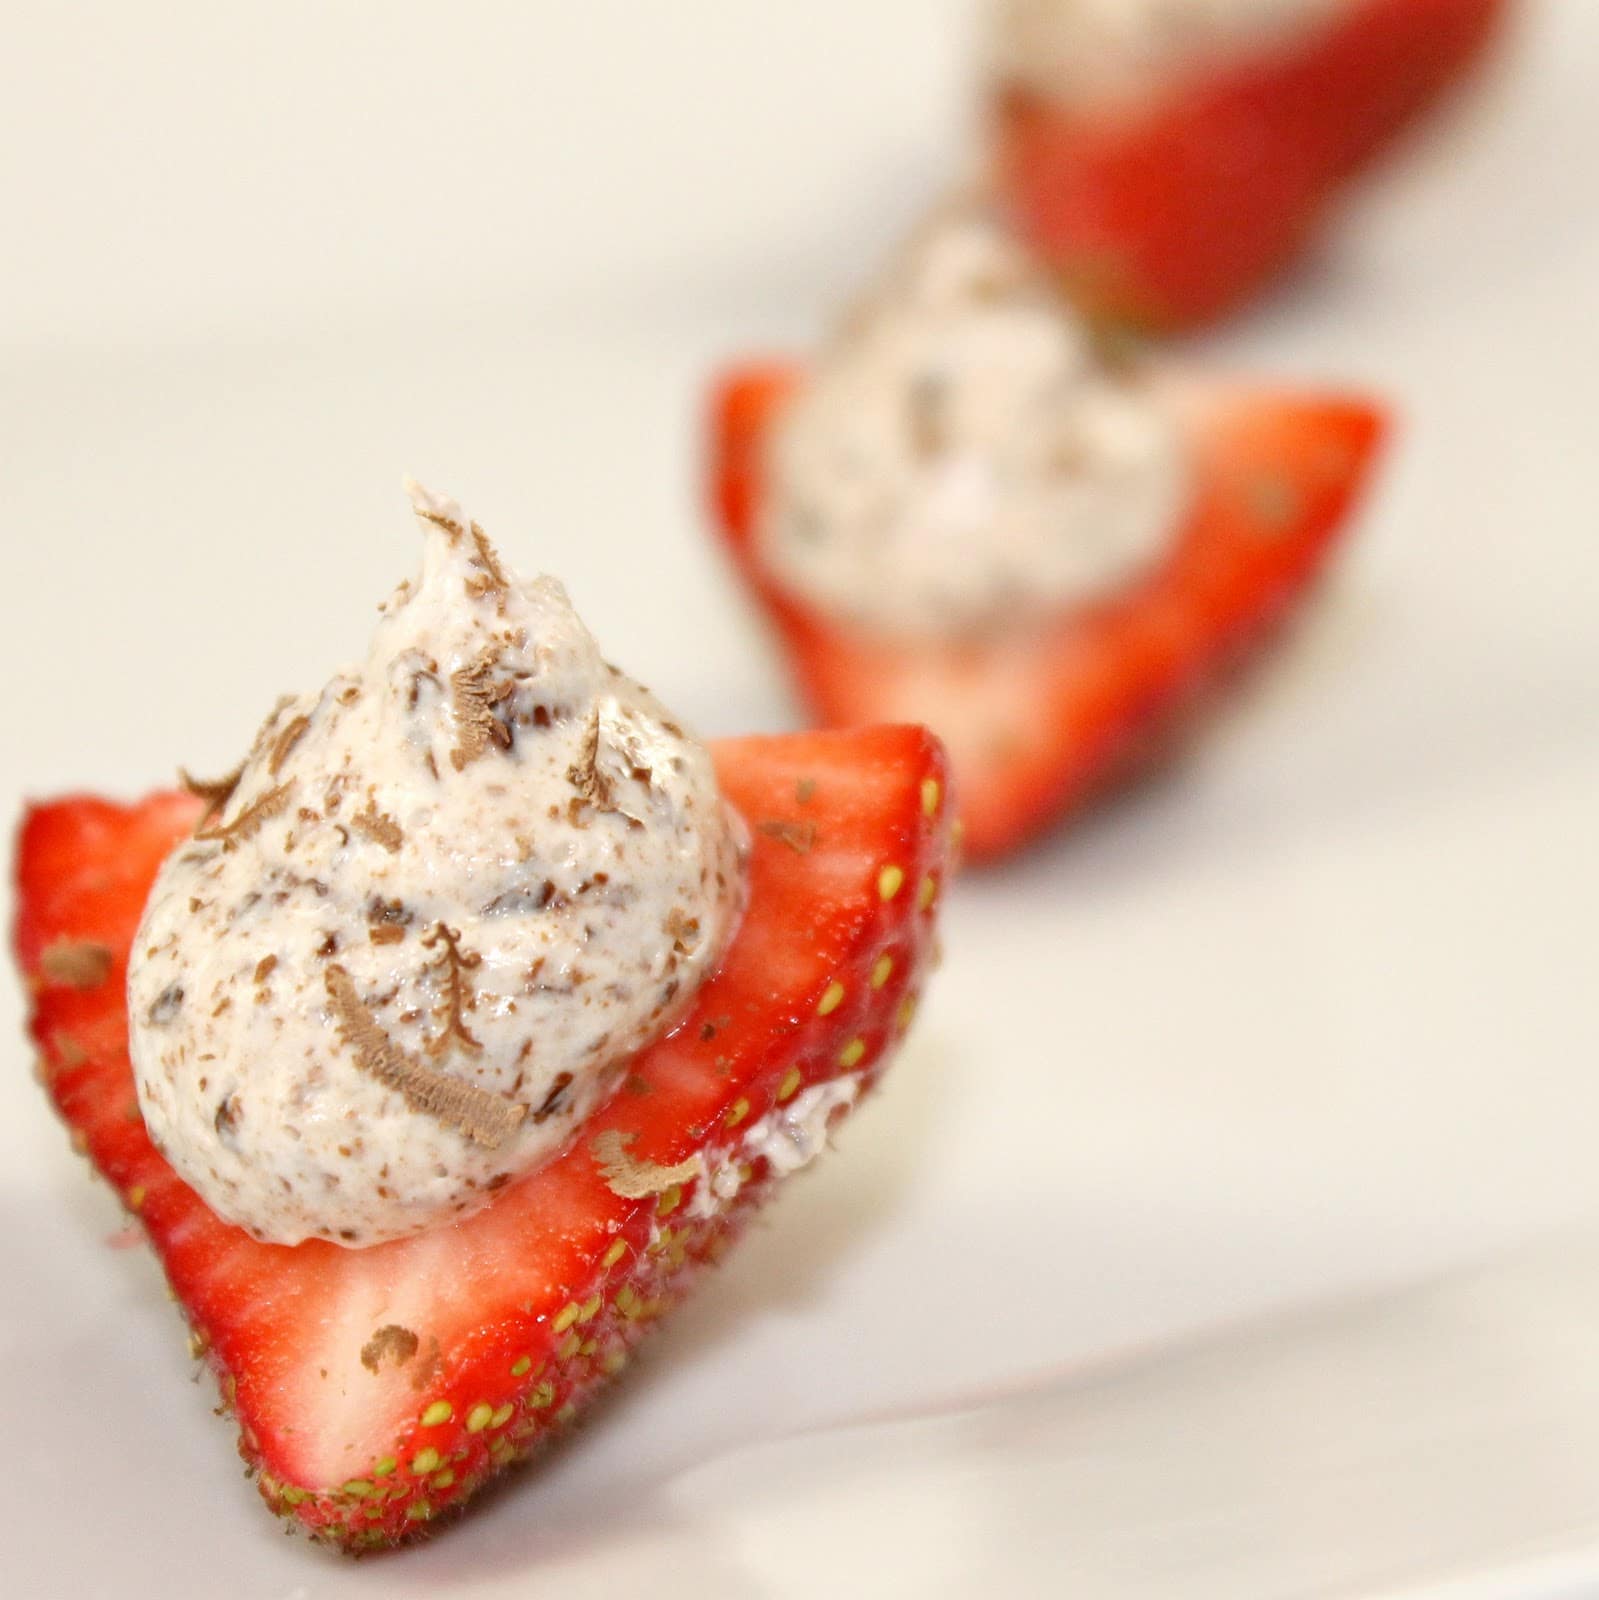
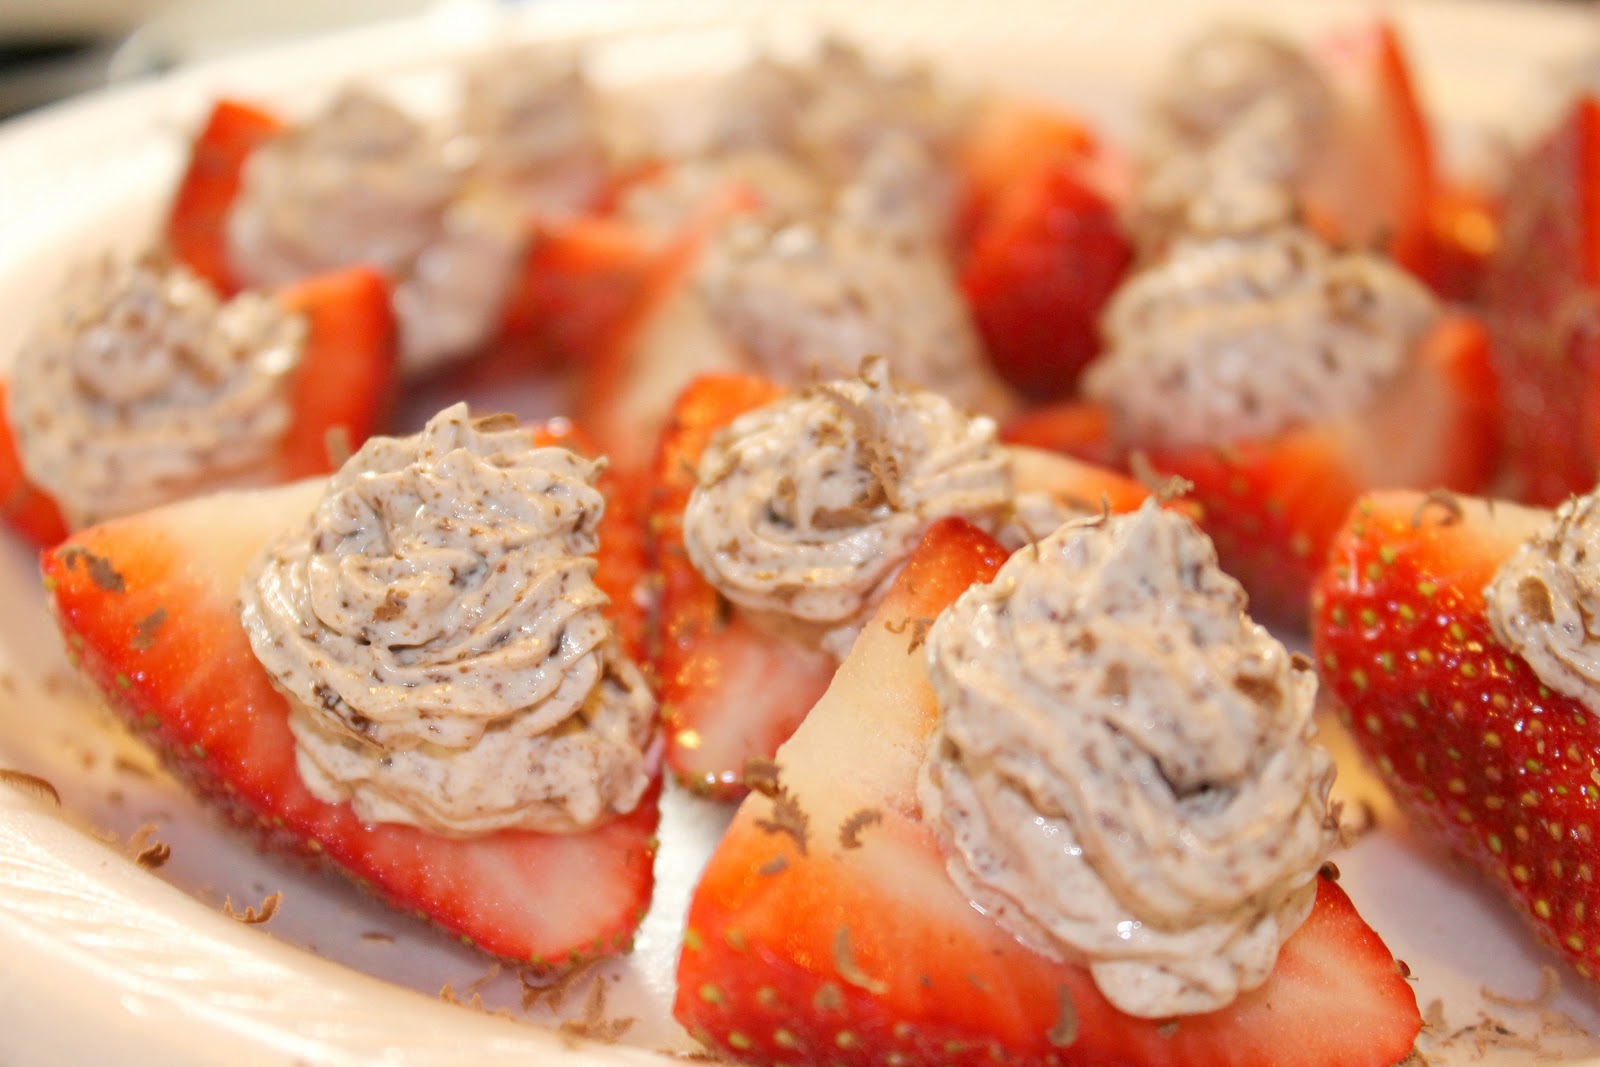
Cut off the lower corner and pipe onto the strawberries, with the cut side up.
Using a grater, grate the remaining chocolate over the strawberries.
These are really simple, and really tasty too!
I think the addition of the powdered sugar was a good idea. Fresh strawberries can be a bit tart, so it was nice to add some extra sweetness within the chocolate cream.
The cream cheese adds a nice smoothness to the chocolate cream. They are so pretty too, aren’t they?
You can make these ahead of time and then pop them in the refrigerator until needed.
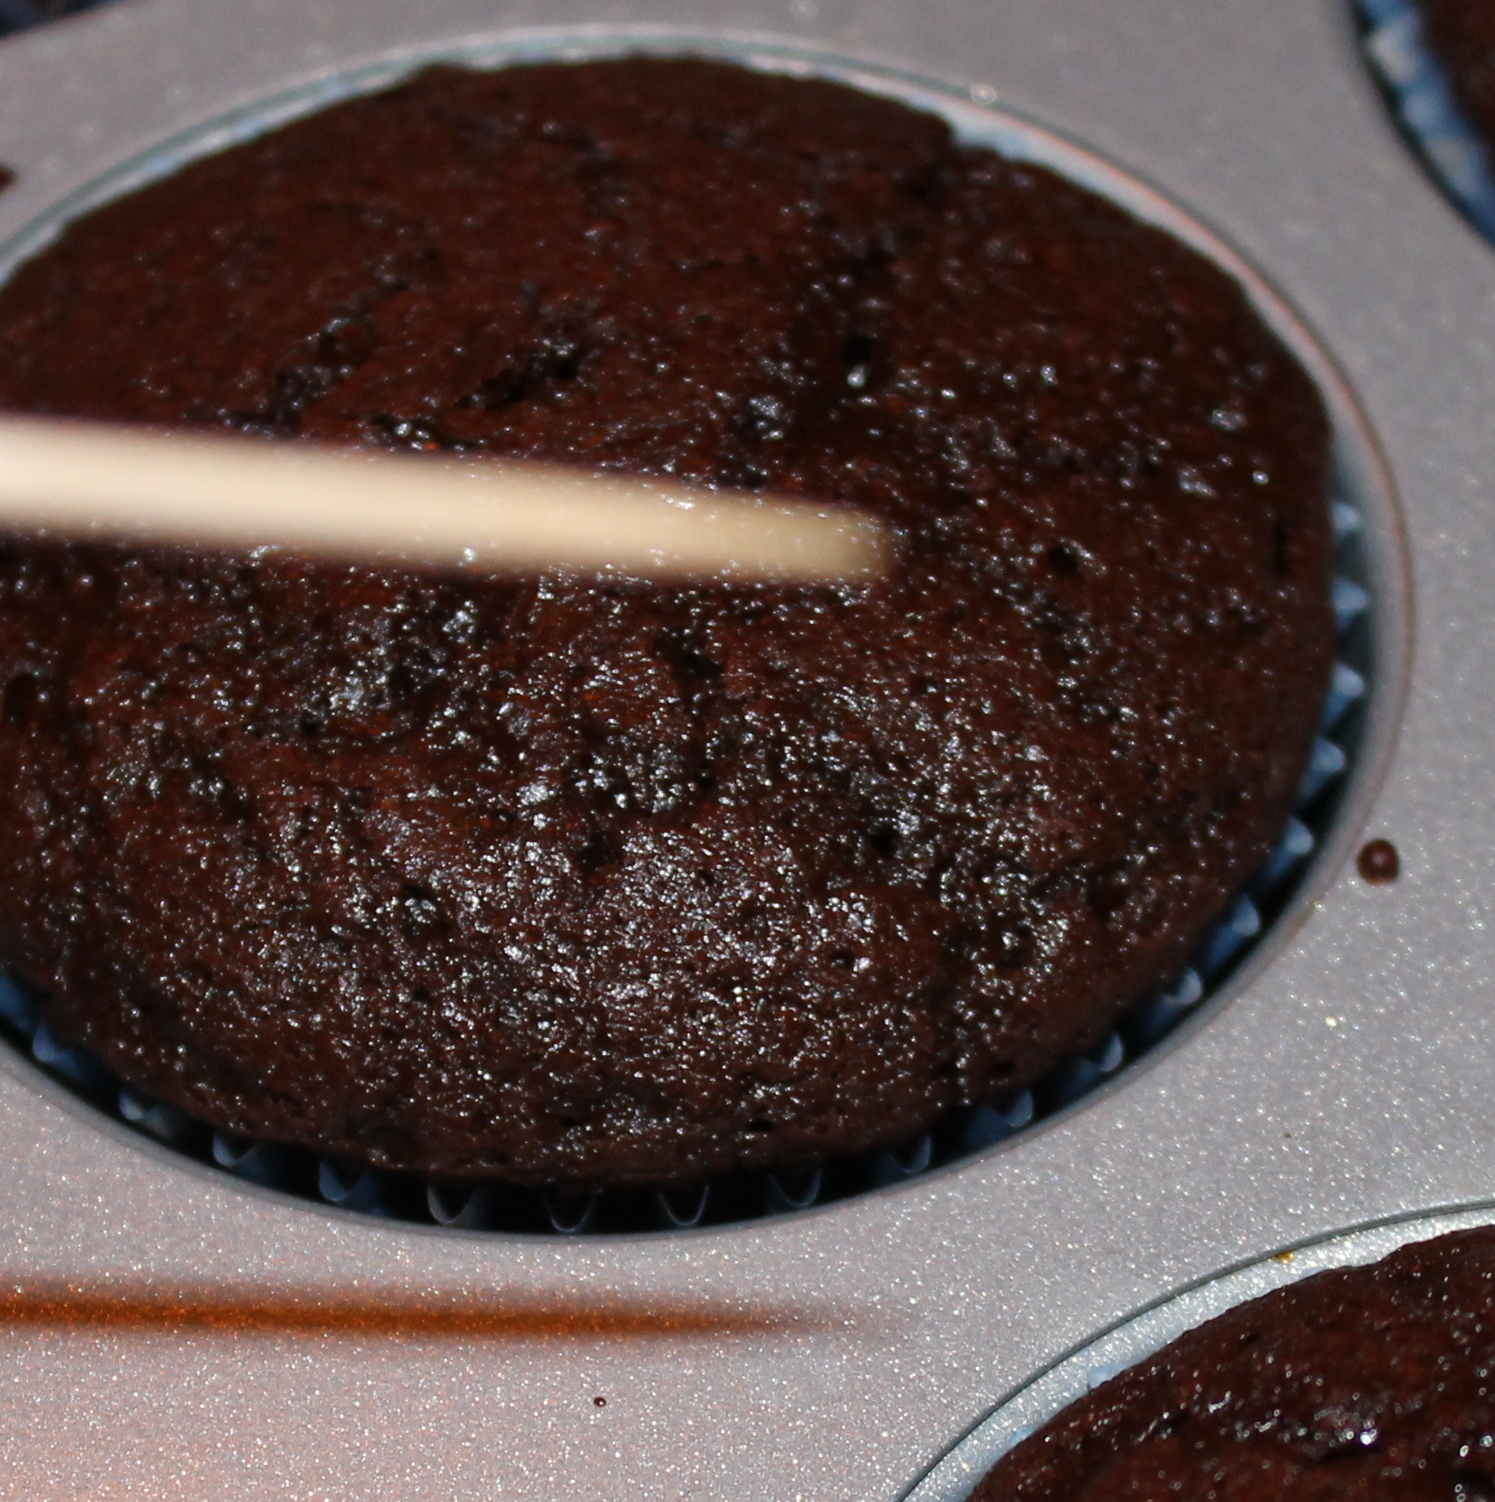
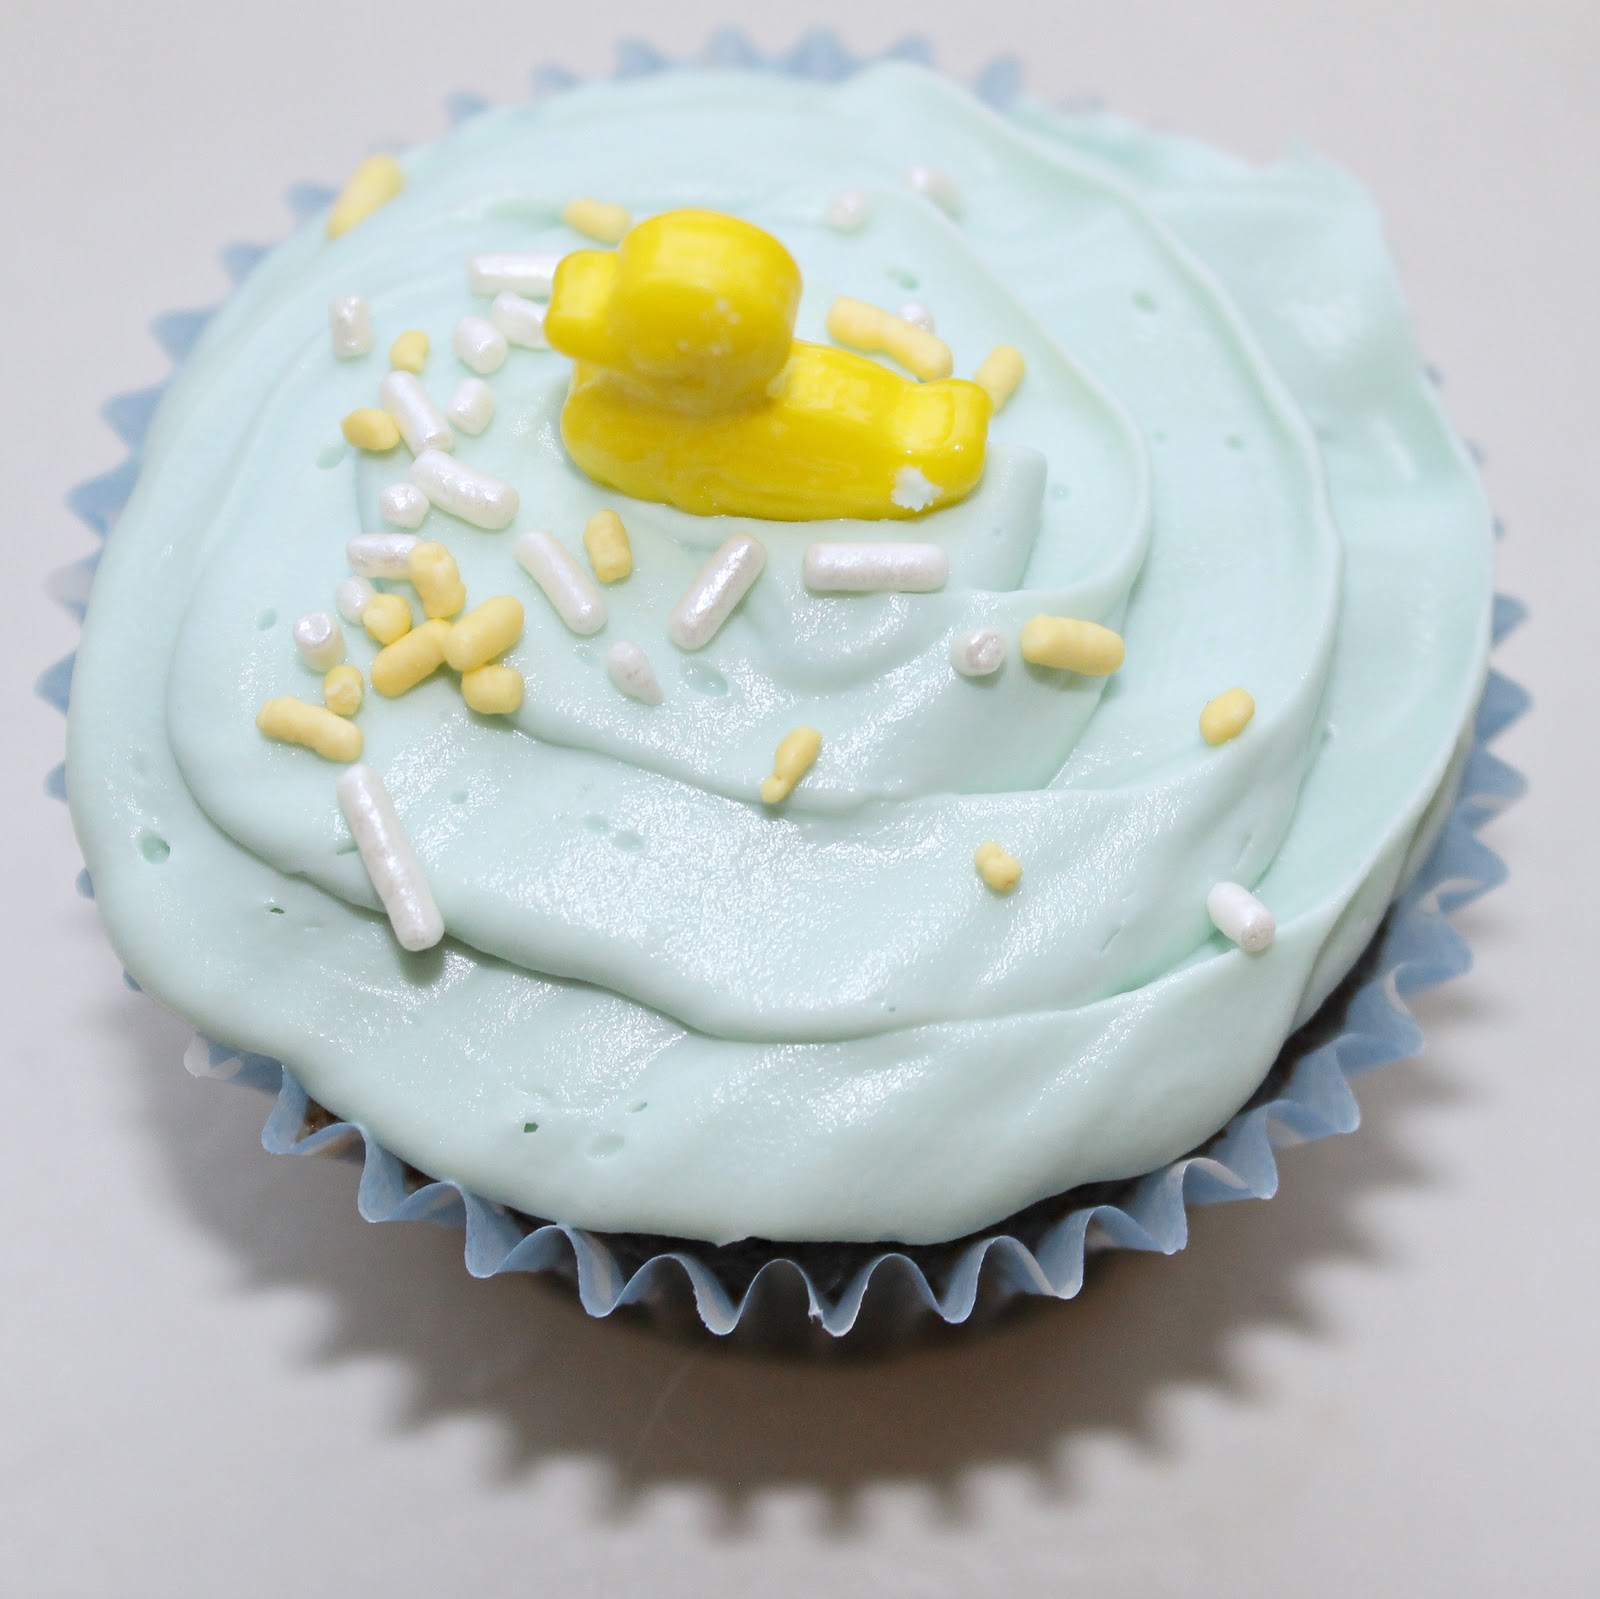
We recently had a baby shower for one of my co-workers. She’s a big chocolate fan, so I went in search of a super chocolately cupcake that I could make for the shower. Lauren’s Latest had a great recipe that incorporated dark chocolate and cocoa powder, perfect! I used an altered buttercream recipe from my Guinness Cupcakes so that I could have a white icing that I could dye blue. She is having a boy so I went with a duck theme!
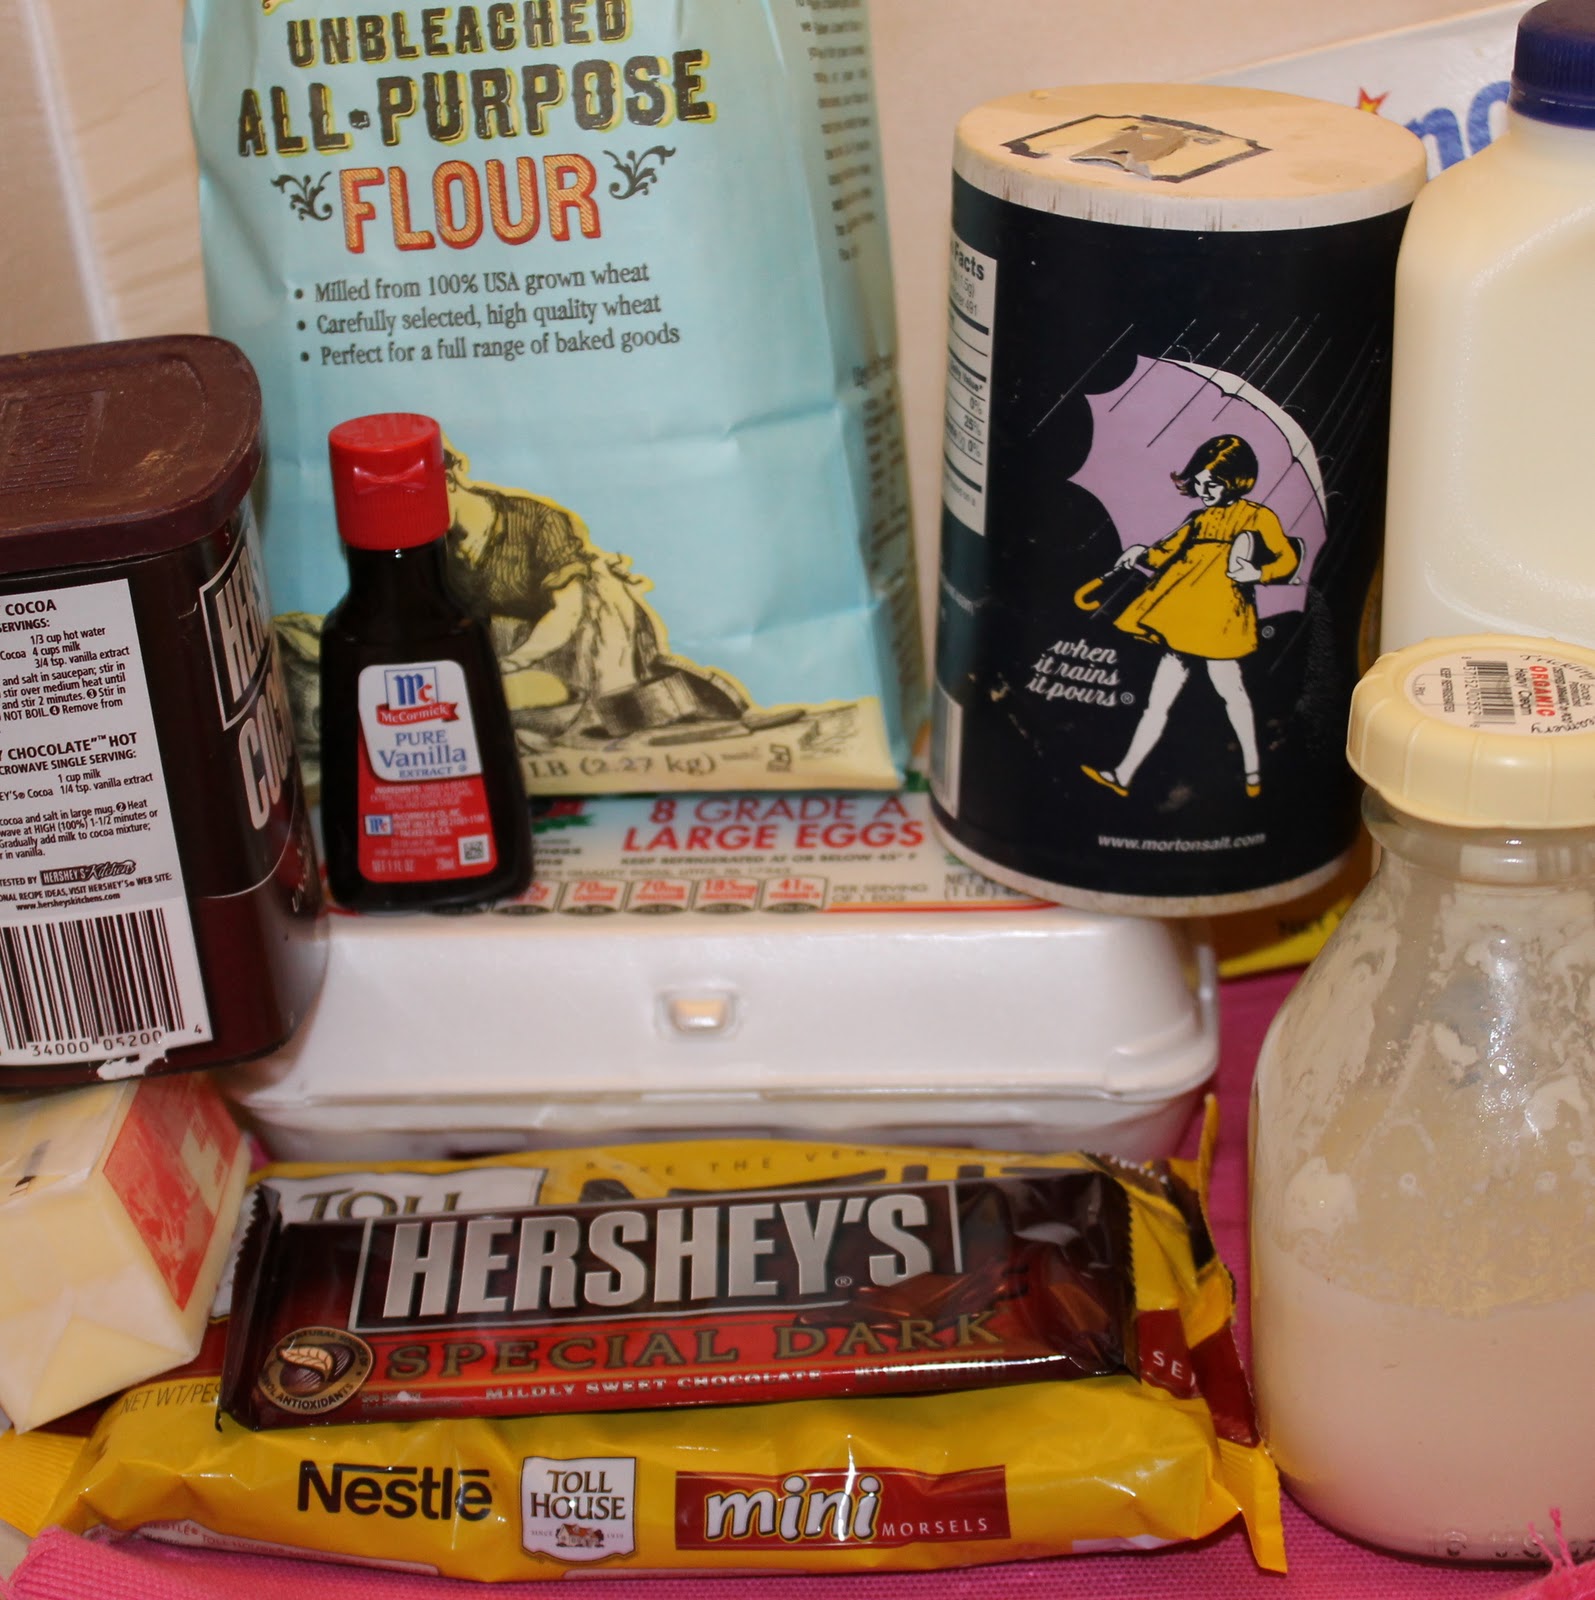
Cupcake ingredients:
3/4 cup butter
12 oz dark chocolate
3/4 cup packed brown sugar (I used light)
3/4 cup granulated sugar
3/4 cup unsweetened cocoa powder
3/4 teaspoon salt
3/4 teaspoon baking soda
1 1/2 cup flour
3 eggs
3/4 cup milk
3/4 cup low fat sour cream
1 1/2 teaspoon vanilla extract
Buttercream ingredients:
1 stick of butter, softened
3 cups powdered (confectioner’s) sugar
2 teaspoons vanilla extract
Milk, as needed to get to desired consistency
4-5 drops blue food dye
So I did something that is typically a big no-no in baking. I took Lauren’s recipe and multiplied it by three to make 24 cupcakes. And (thankfully) it turned out a-ok! So feel free to use my multiplied version. Be sure to check out Lauren’s page though to see how beautiful hers came out, especially with that chocolate icing, yum!
Begin by preheating your oven to 350 degrees. Line a cupcake pan with paper liners.
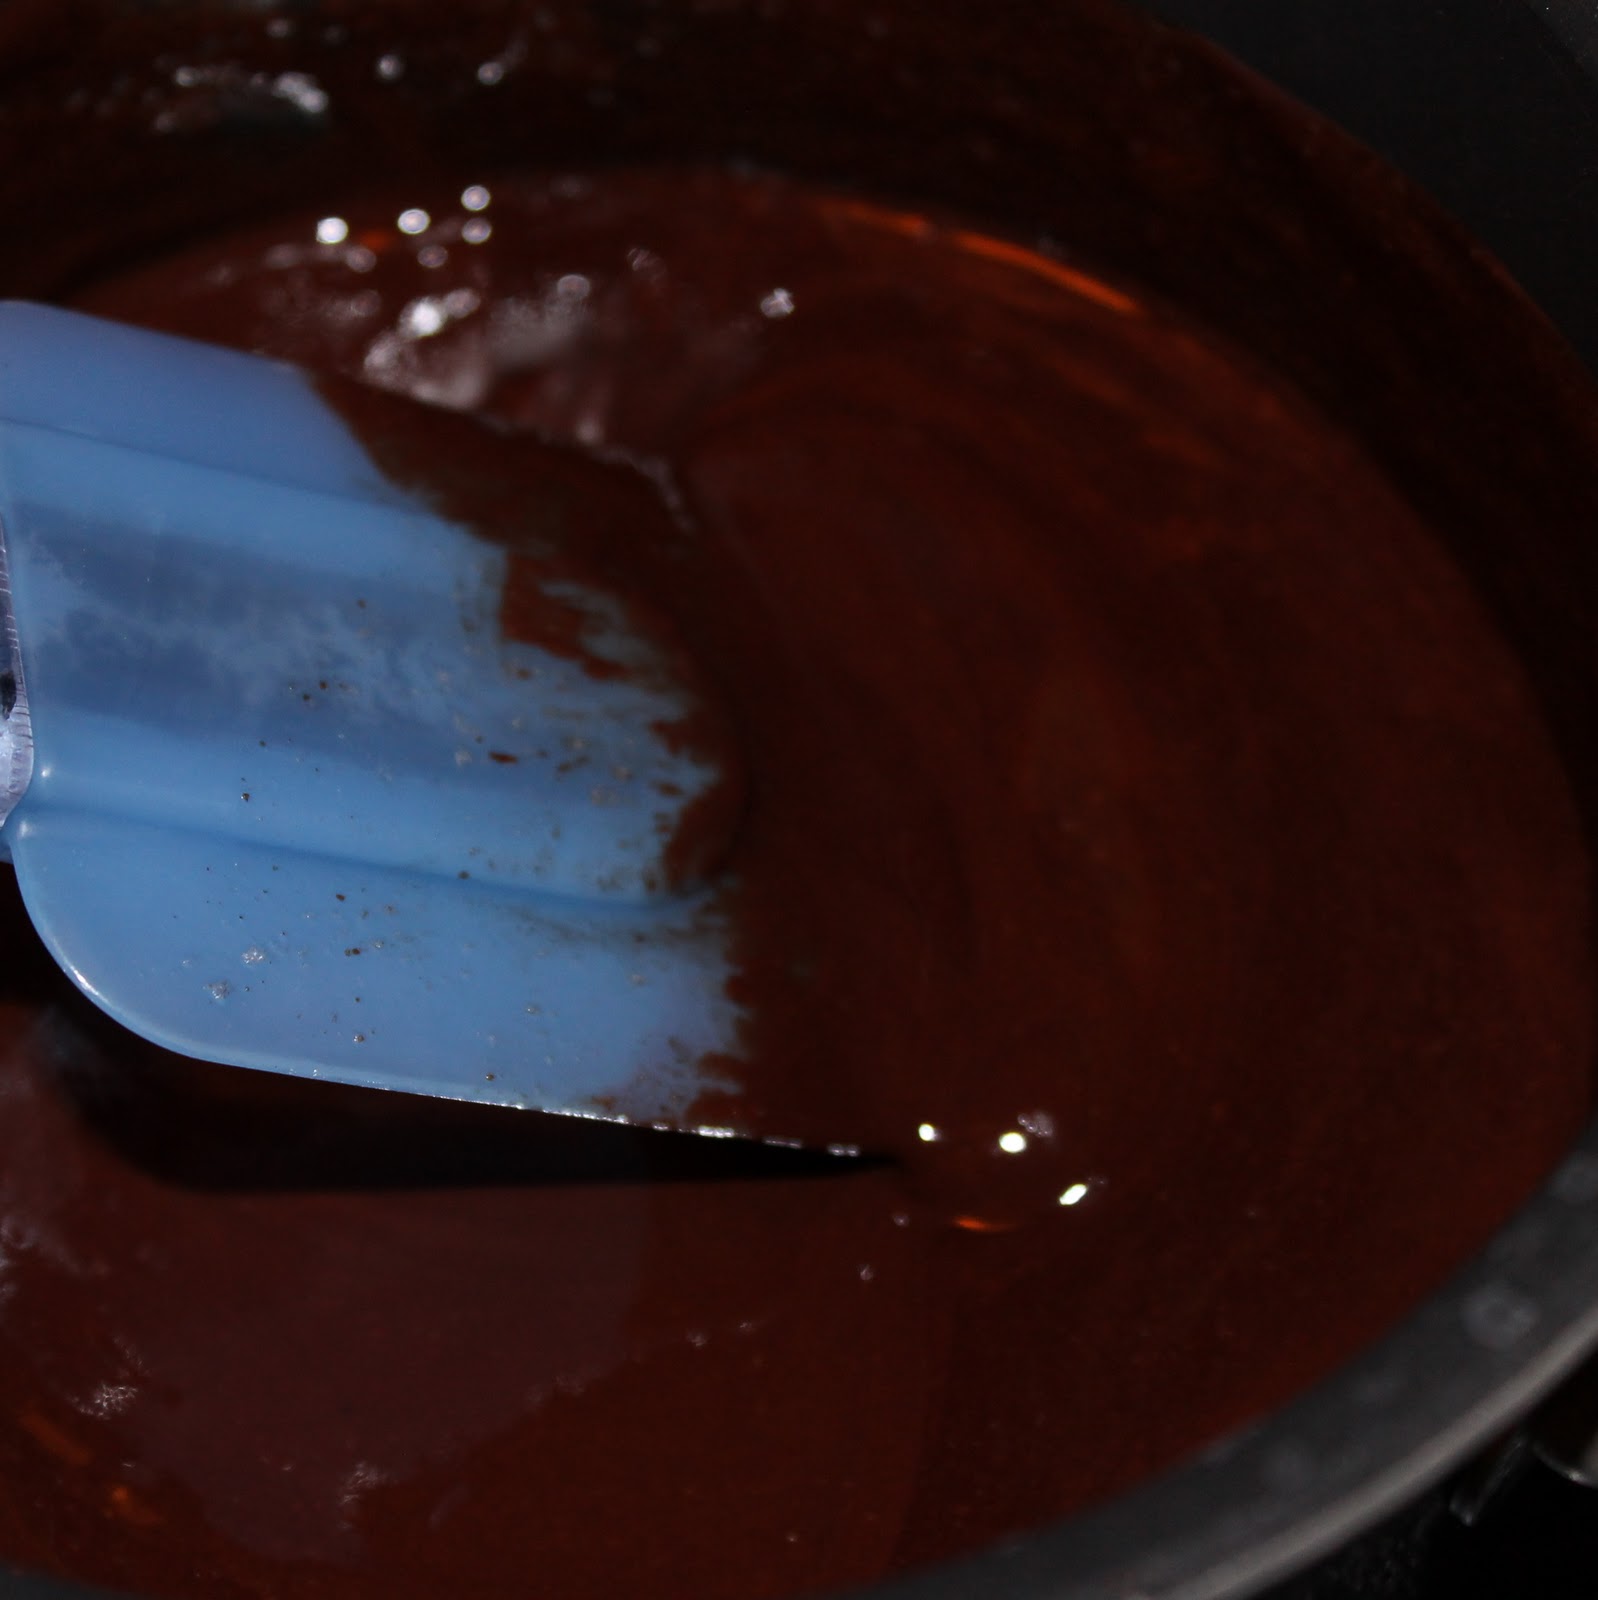
In a small pot, melt the butter and chocolate over medium low heat, stirring until smooth. When combined, remove from heat and allow to cool.
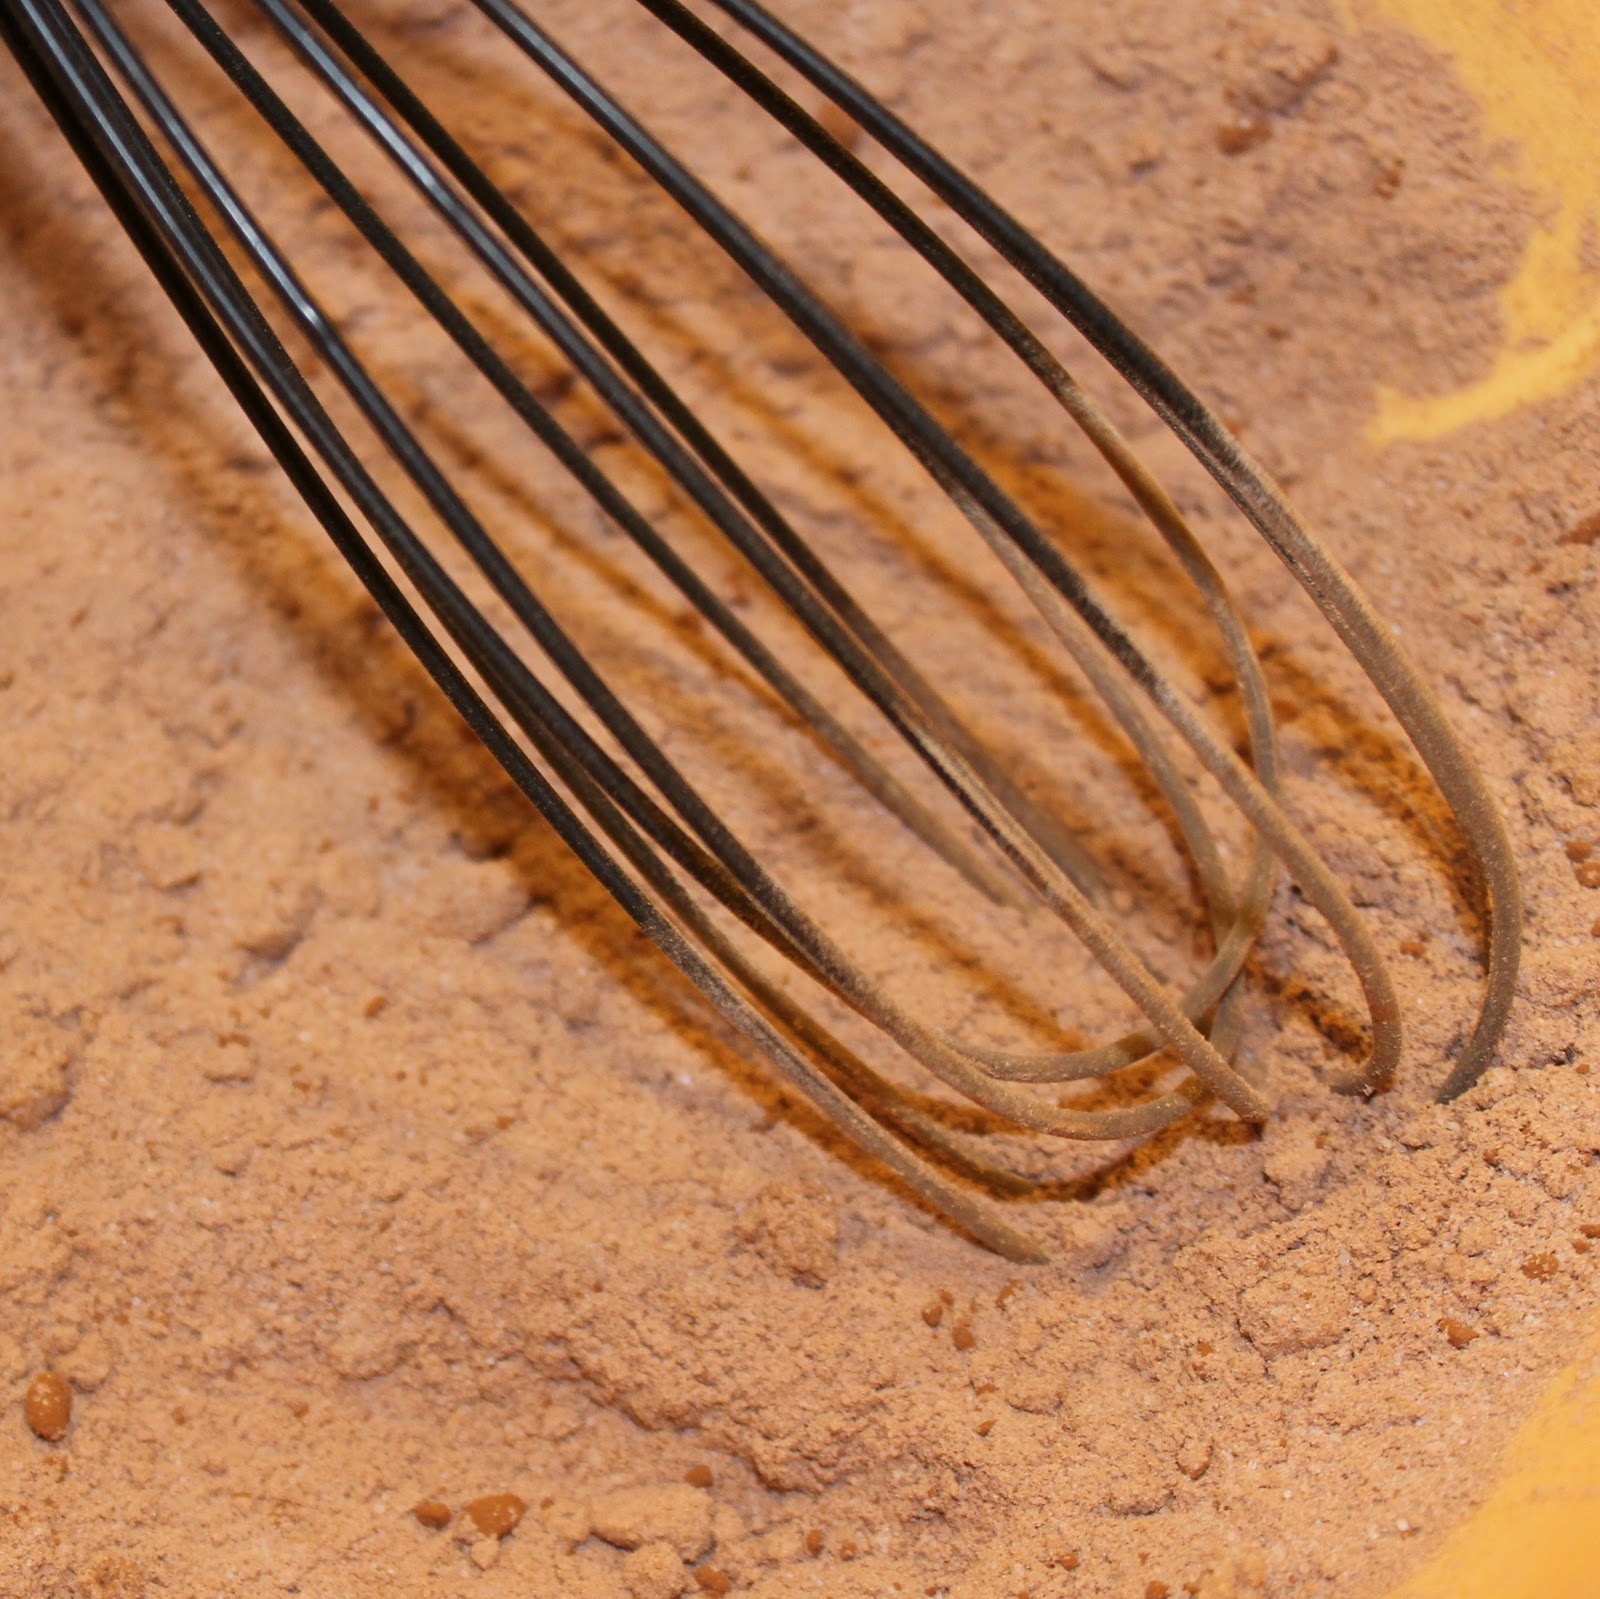
While the butter and chocolate are melting / cooling, add the brown sugar, granulated sugar, cocoa powder, salt, baking soda and flour in a large bowl.
Mix to combine.
In a small bowl, combine the eggs, milk, sour cream and vanilla.
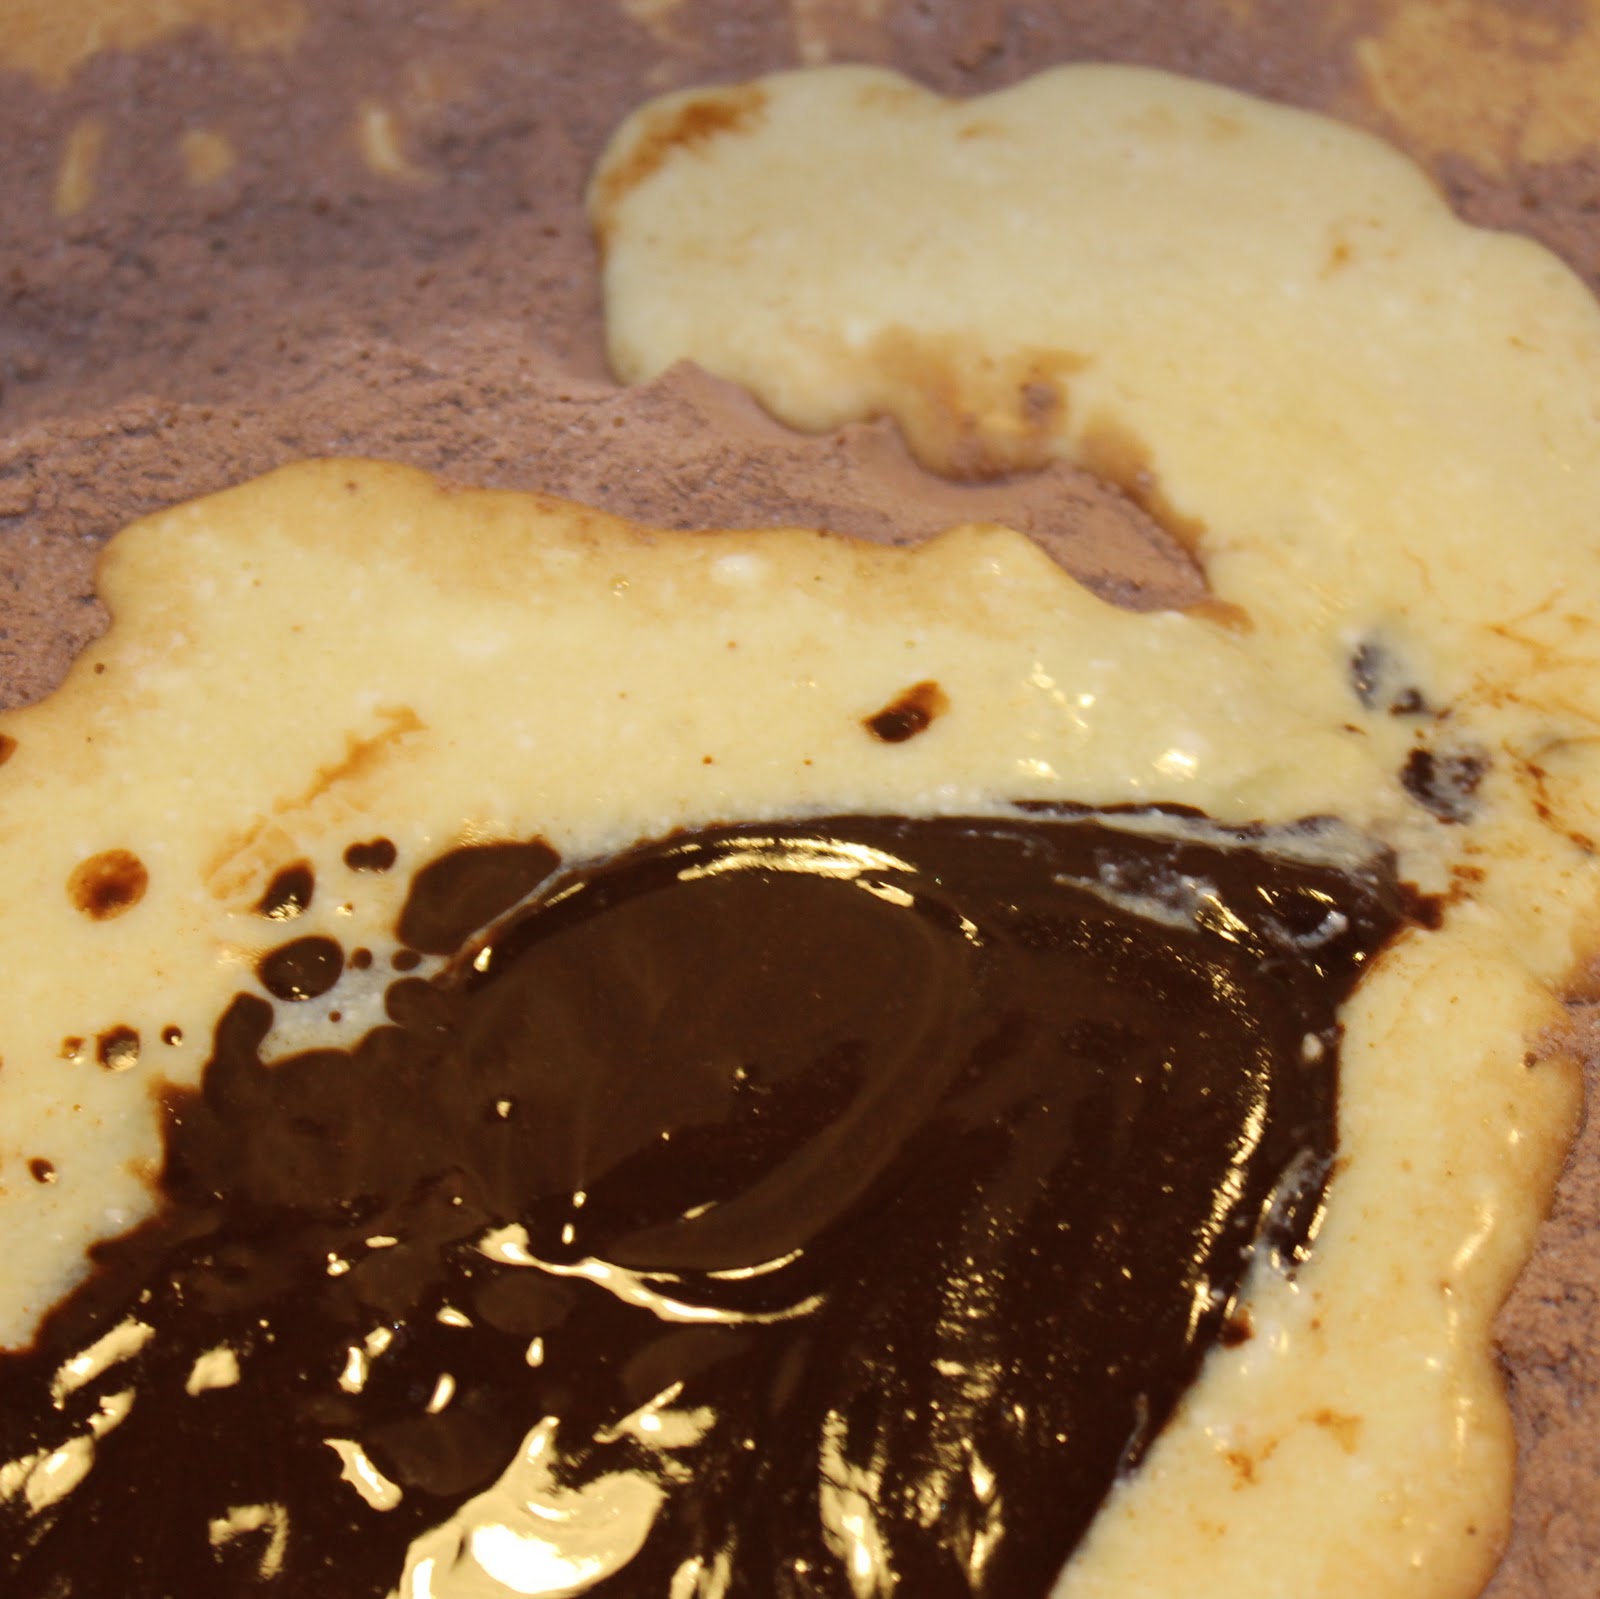
Make a well in the dry mixture.
Pour the wet ingredients into the well.
Mine overflowed. Oops@
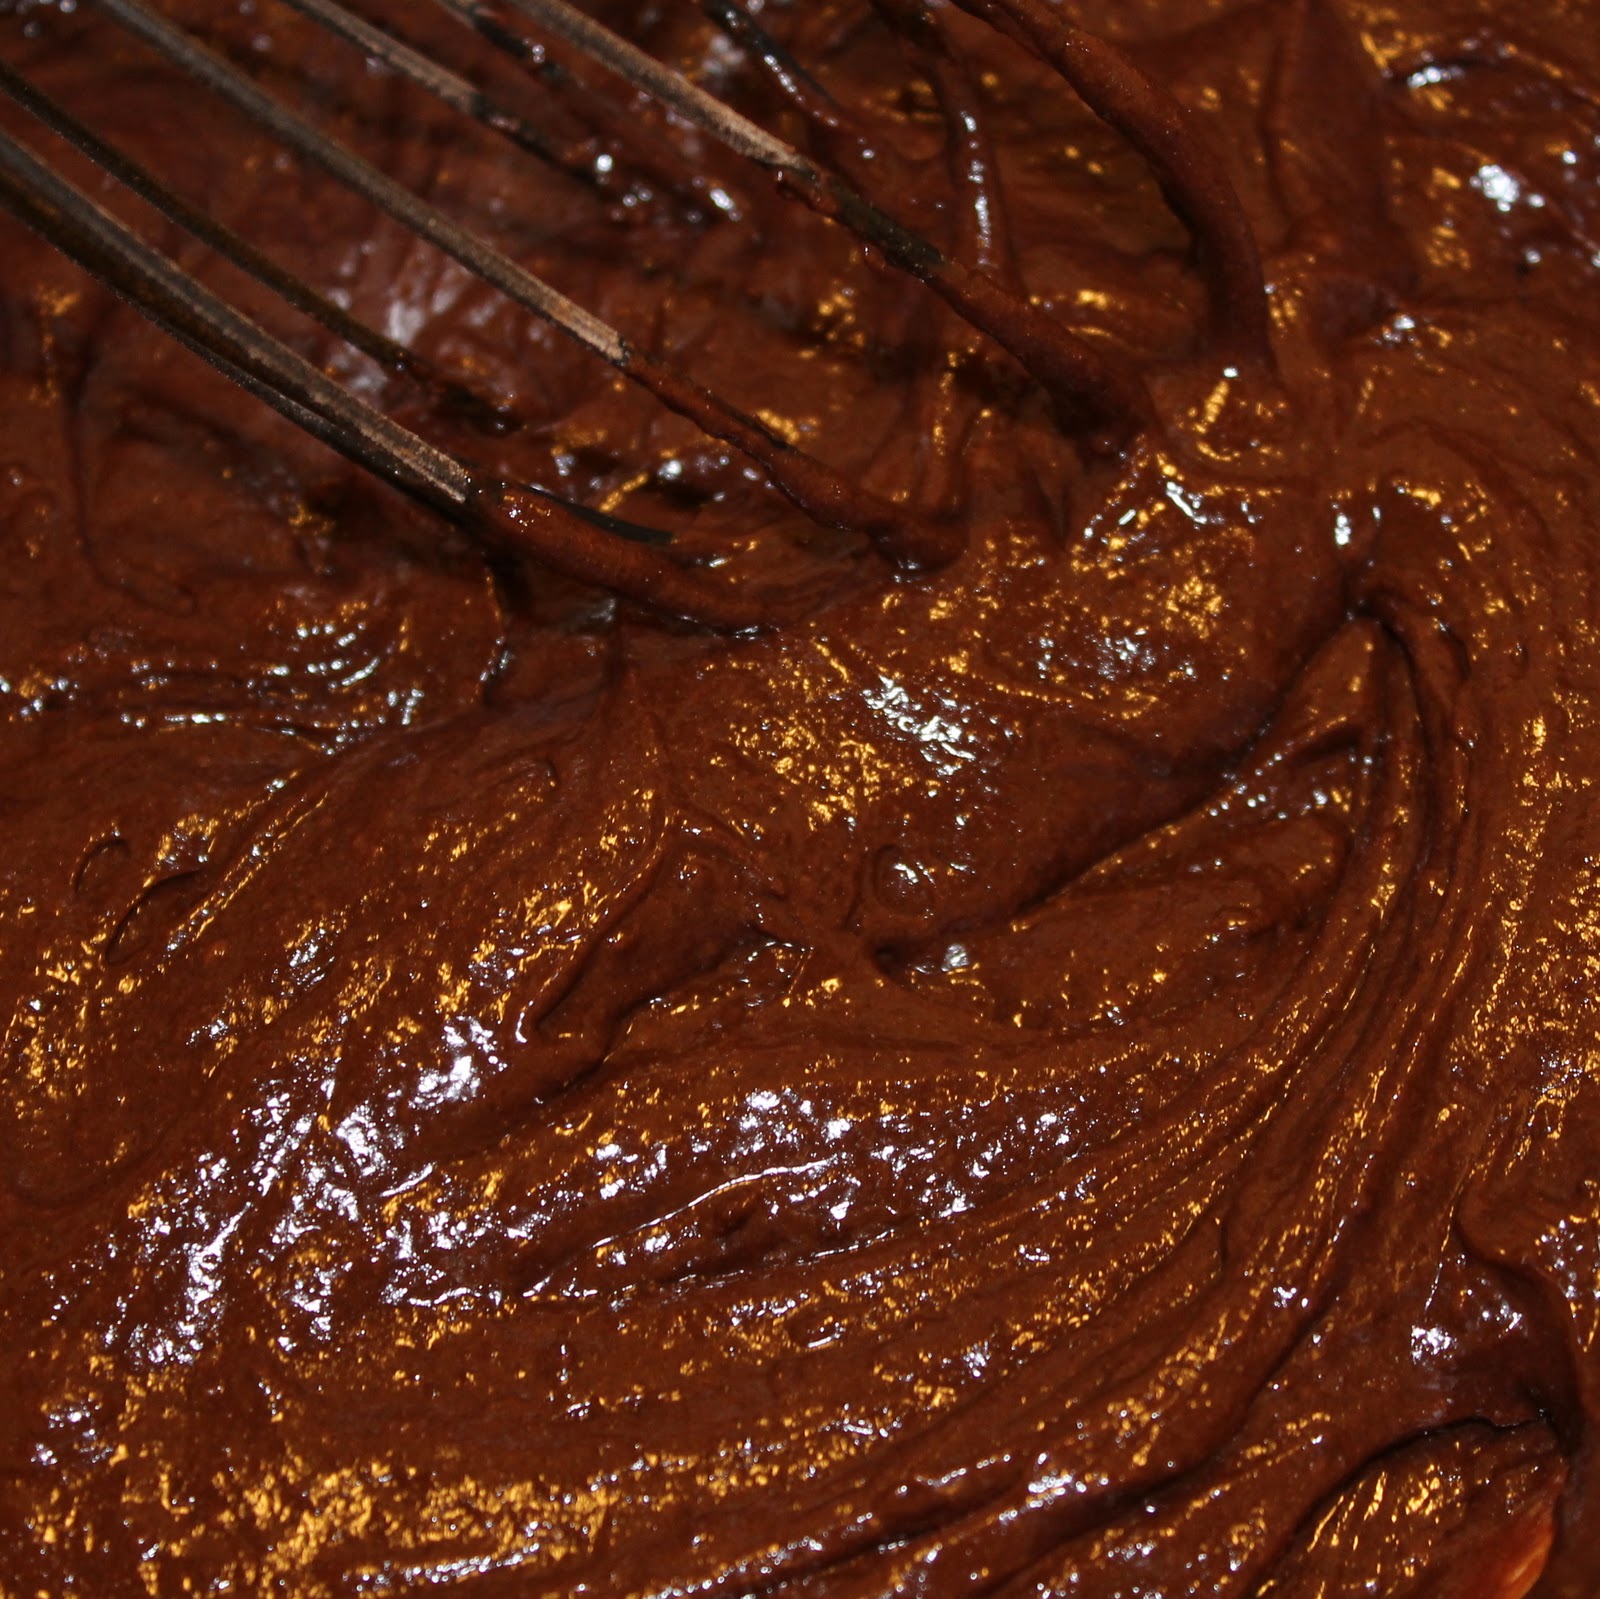
Incorporate the dry ingredients into the wet ingredients as well as the cooled butter-chocolate mixture until just combined.
Add half of the mixture to the cupcake tins (the recipe makes 24 so you will have enough batter for 24 cupcakes). I use an ice cream scoop to at least attempt to divide the batter evenly.
Bake at 350 degrees for 20 minutes or until a toothpick inserted into a middle cupcake comes out clean.
Allow to completely cool before decorating.
To make the icing, use a hand mixer to beat butter until smooth. Add half of the sugar and beat until smooth. Add other half of the sugar and repeat. If the mixture is too thick, add a bit of milk to thin and beat until smooth. (Note: be careful to not add too much, a little bit of milk goes a very long way!)
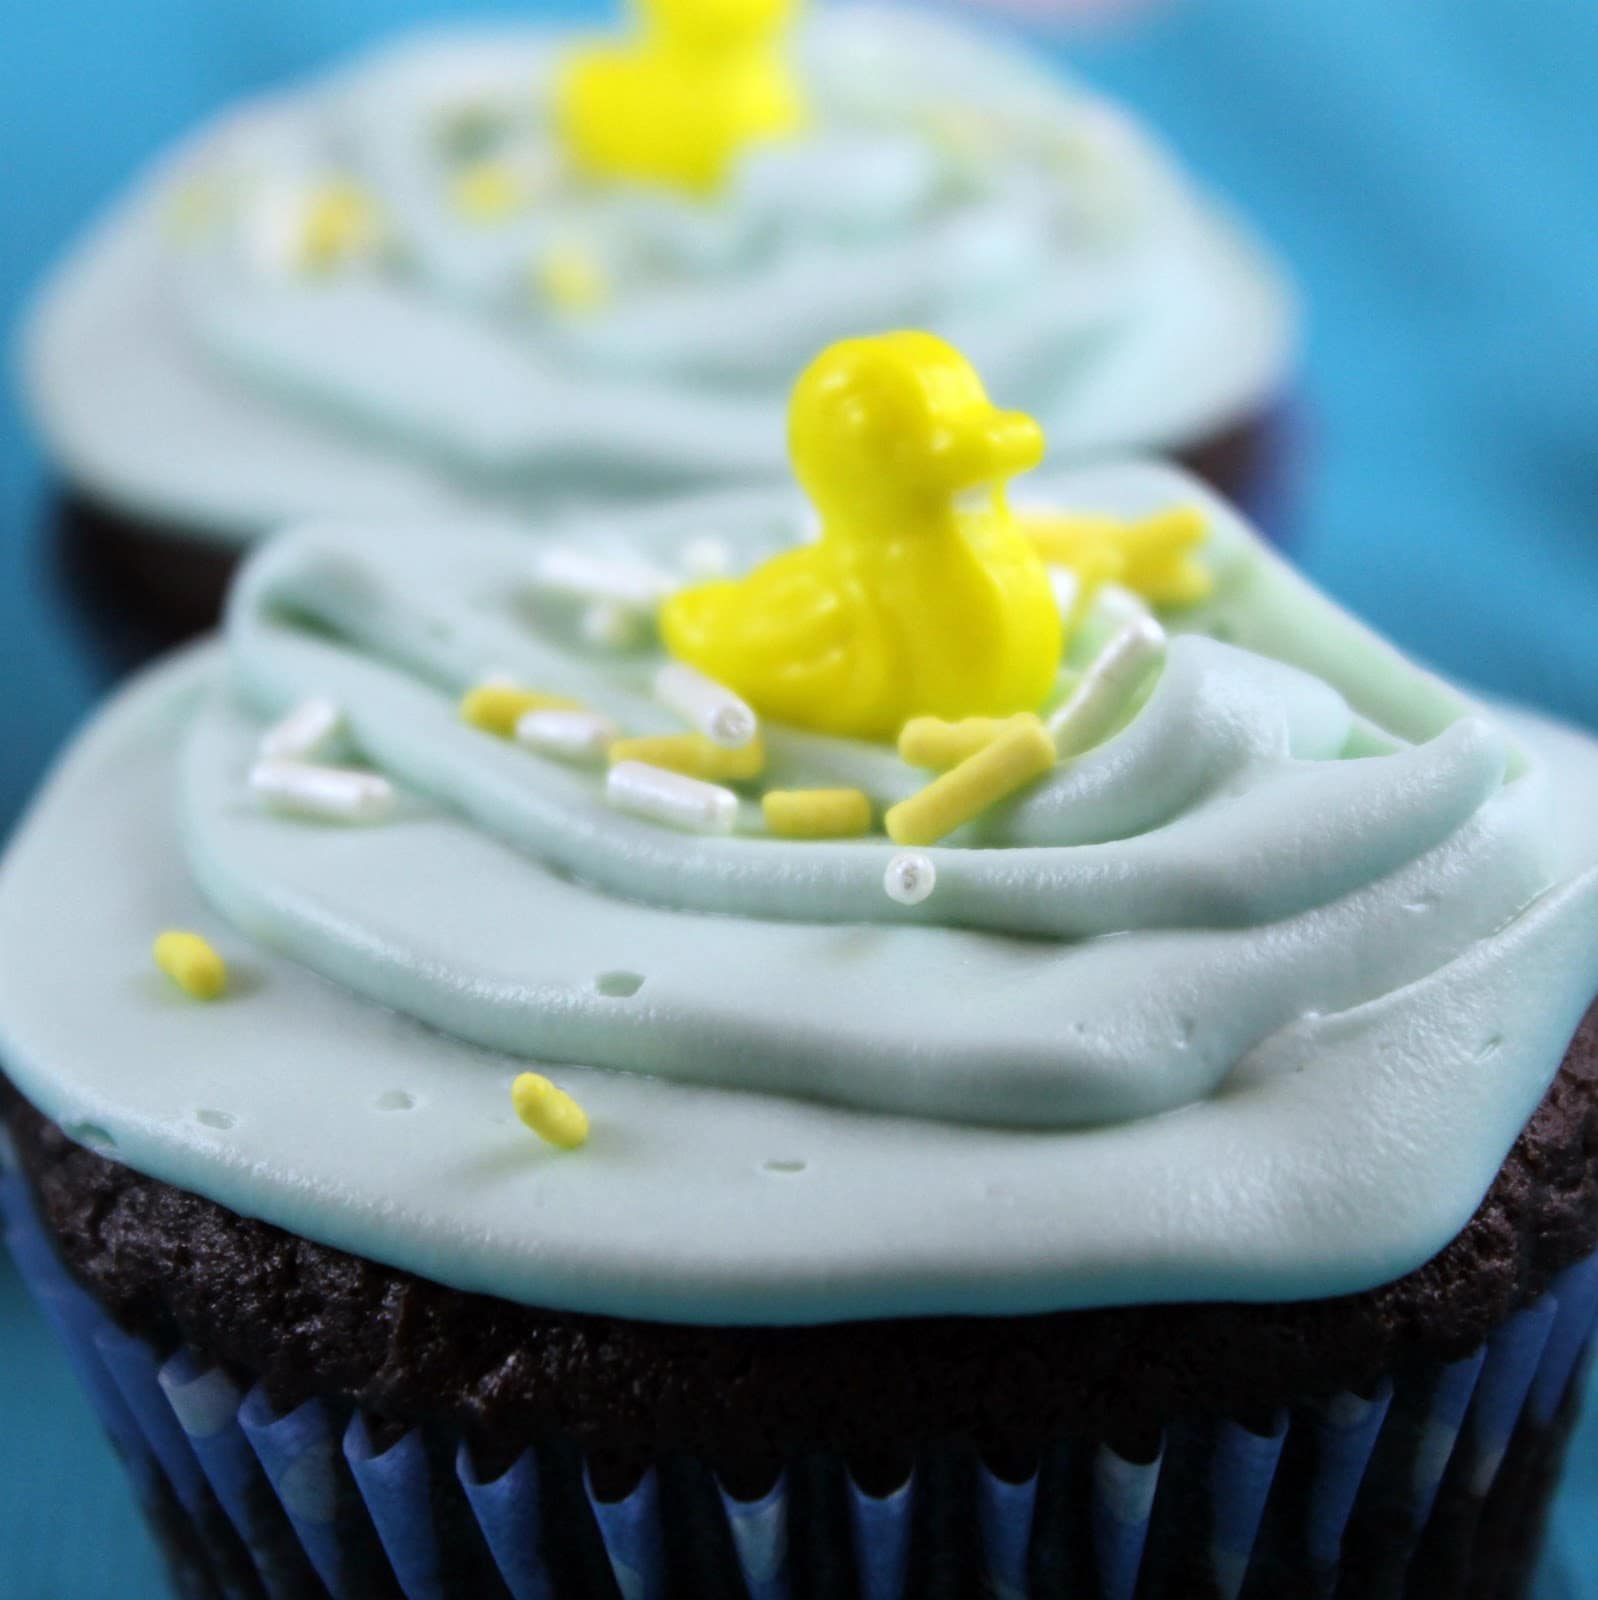
I added 4-5 drops of blue food coloring to get a light blue color. The icing became water for my ducks.
How cute are these?
I used a pastry bag to add the icing, but you can also put the icing into a plastic zip lock bag and cut off one of the bottom corners to squeeze the icing out. It doesn’t have to be perfect (mine definitely aren’t!), the ducks splashing makes ripples in the water 🙂
I ordered the ducks and the sprinkles from The Bakers Confections, which you can buy on Etsy.
You’re probably thinking, super, they are adorable. But are they tasty?
They sure are! The double chocolate makes it a really nice dense cupcake, fully of chocolately flavor. The sour cream keeps them nice and moist.
My cupcakes were snatched up in minutes, so I think they were a hit!
Thanks to Lauren for posting such a fantastic cupcake recipe!
As I’ve mentioned before, I cannot help myself from making a million desserts in December. There is something about the last month of the year that makes me want to bake my little heart out. Oxo has decided to help my cause by asking me to check out their new and improved Egg Beater. I am a huge fan of Oxo products (bowls, containers, apple corers; you name it, I have it). So I knew that their egg beater would find a happy home in my kitchen. Oxo also sent me an extra egg beater to give away to one of lucky reader. Details will be below!
The egg beater has a non-slip grip handle for ease of use. The beaters are removable and then entire base can be detached and is dishwasher-safe (a must in my kitchen. I’m way too lazy to clean dishes after cooking). The beater itself has managed to improve upon its predecessors by adding a steel bridge at the bottom that can rest on the bottom of the bowl. This allows the beaters to be slightly in the air without causing arm strain.Note: This contest is now closed. Congratulations to Jill J;you have won! Check your e-mail 🙂
Photo courtesy of oxo.com
Their website had a great video that shows all the features so I wanted to include that hereas well.
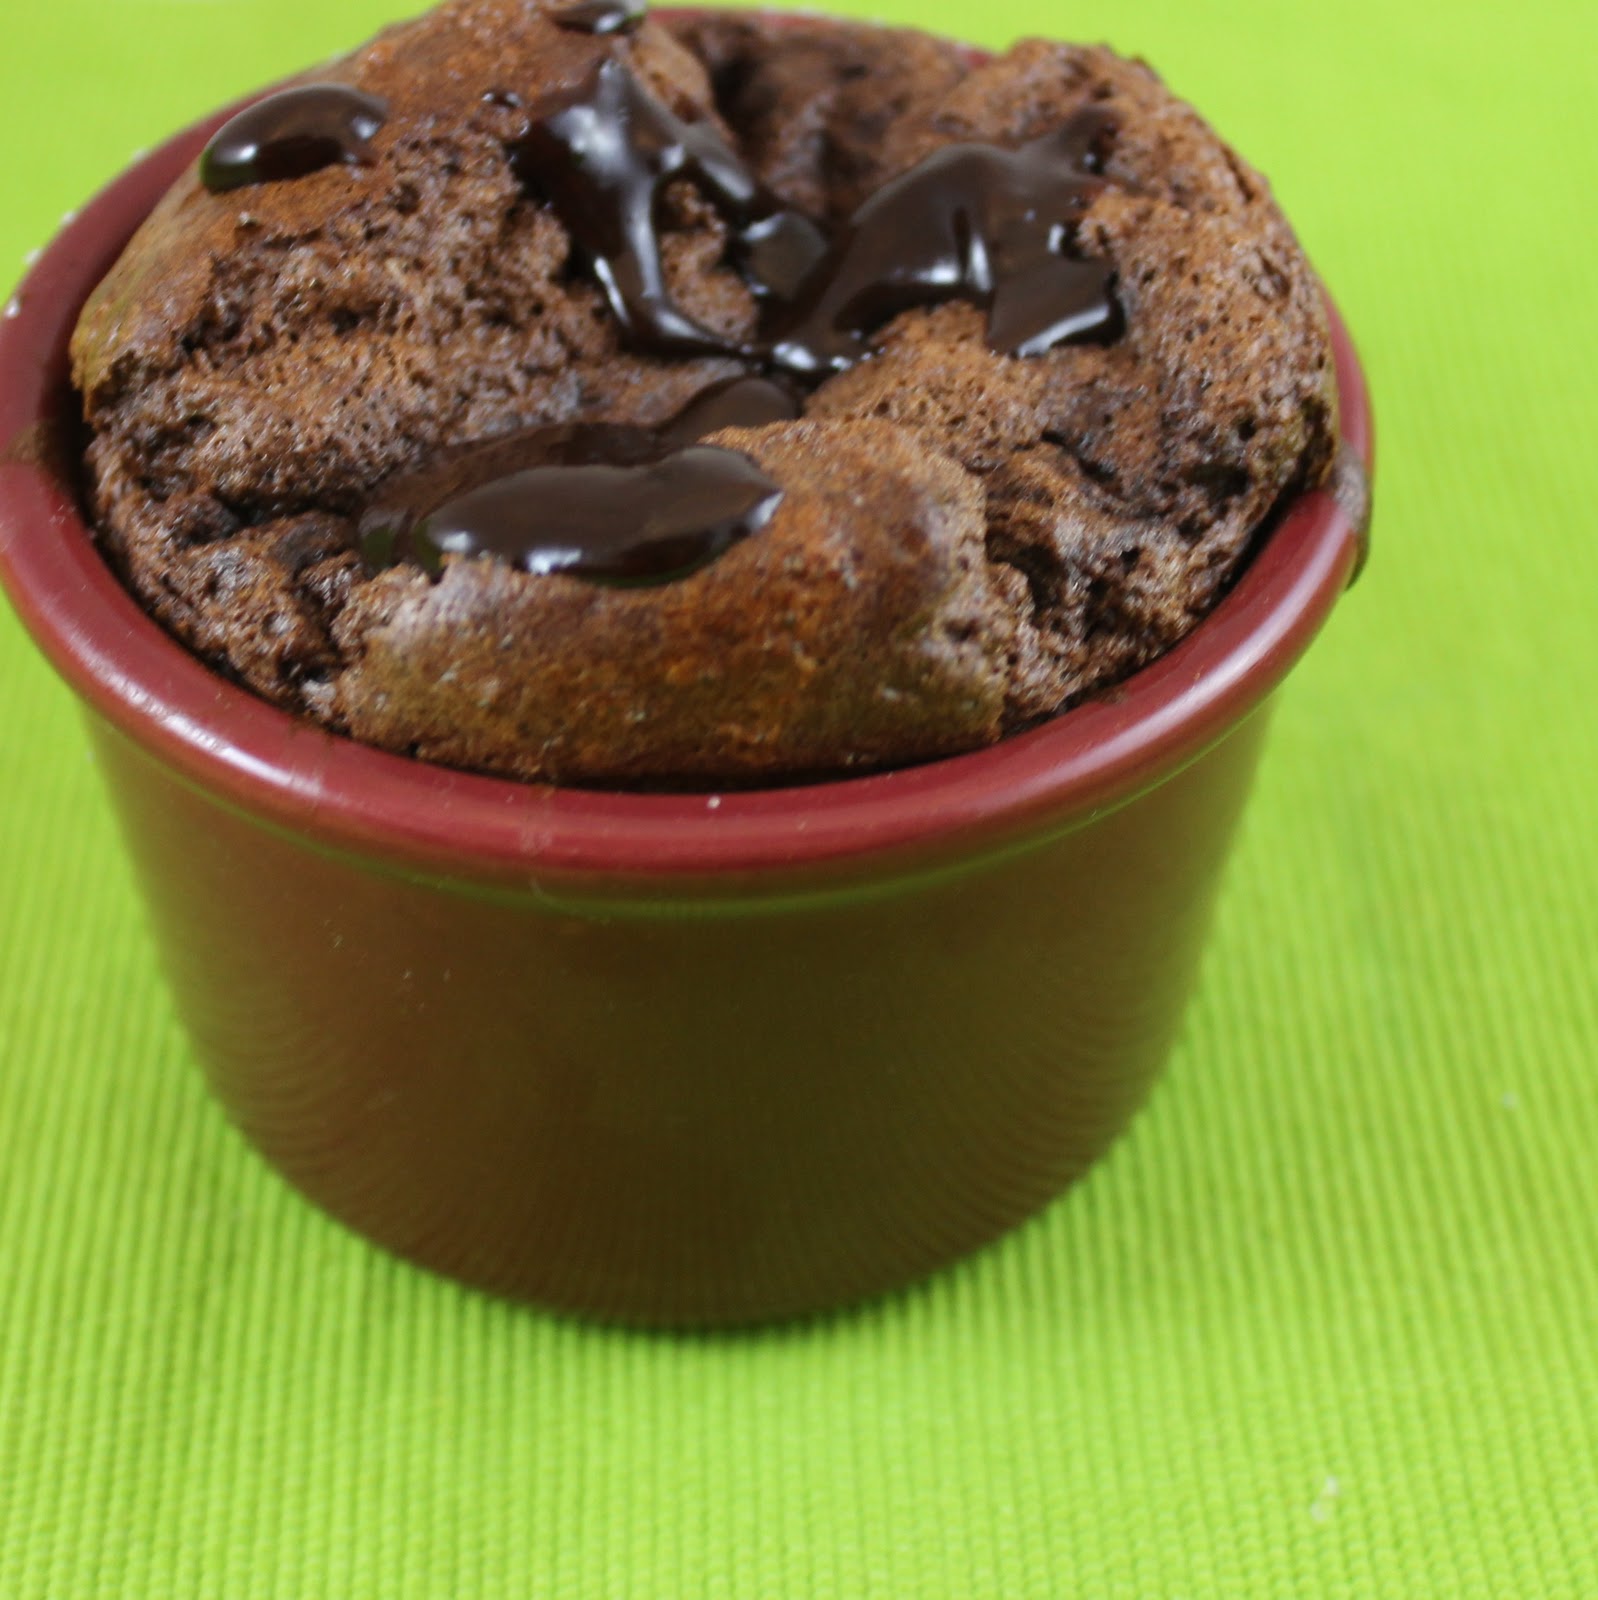
So I really wanted to test this bad boy. I decided to not only test it’s ease of use, but it’s ease of cleaning by making a recipe that uses the egg beater in more than one step of the process. How about a chocolate souffle topped with a warm fudge sauce and some freshly made whipped cream? (Not going to lie, the whipped cream was an afterthought because my souffle collapsed. Sigh. Still learning…)
Ingredients:
Souffle:
Cooking spray
1/2 cup plus 2 tablespoons sugar, divided
3 tablespoons all-purpose flour
3 tablespoons unsweetened cocoa
1/8 teaspoon salt
1 1/4 cups fat-free milk
3 ounces bittersweet chocolate, chopped
1 teaspoon vanilla extract
1 large egg yolk
6 large egg whites
Sauce:
1 tablespoon butter
1/3 cup sugar
2 tablespoons unsweetened cocoa
1 tablespoon all-purpose flour
1/2 cup fat-free milk
1/2 ounce bittersweet chocolate, chopped
Whipped cream:
1 cup heavy cream
1 teaspoon vanilla extract
1 tablespoon powered sugar
This recipe requires a bit of oven preparation. Take out the top rack of your oven. Position the other rack as low as possible. Preheat your oven to 425 degrees.
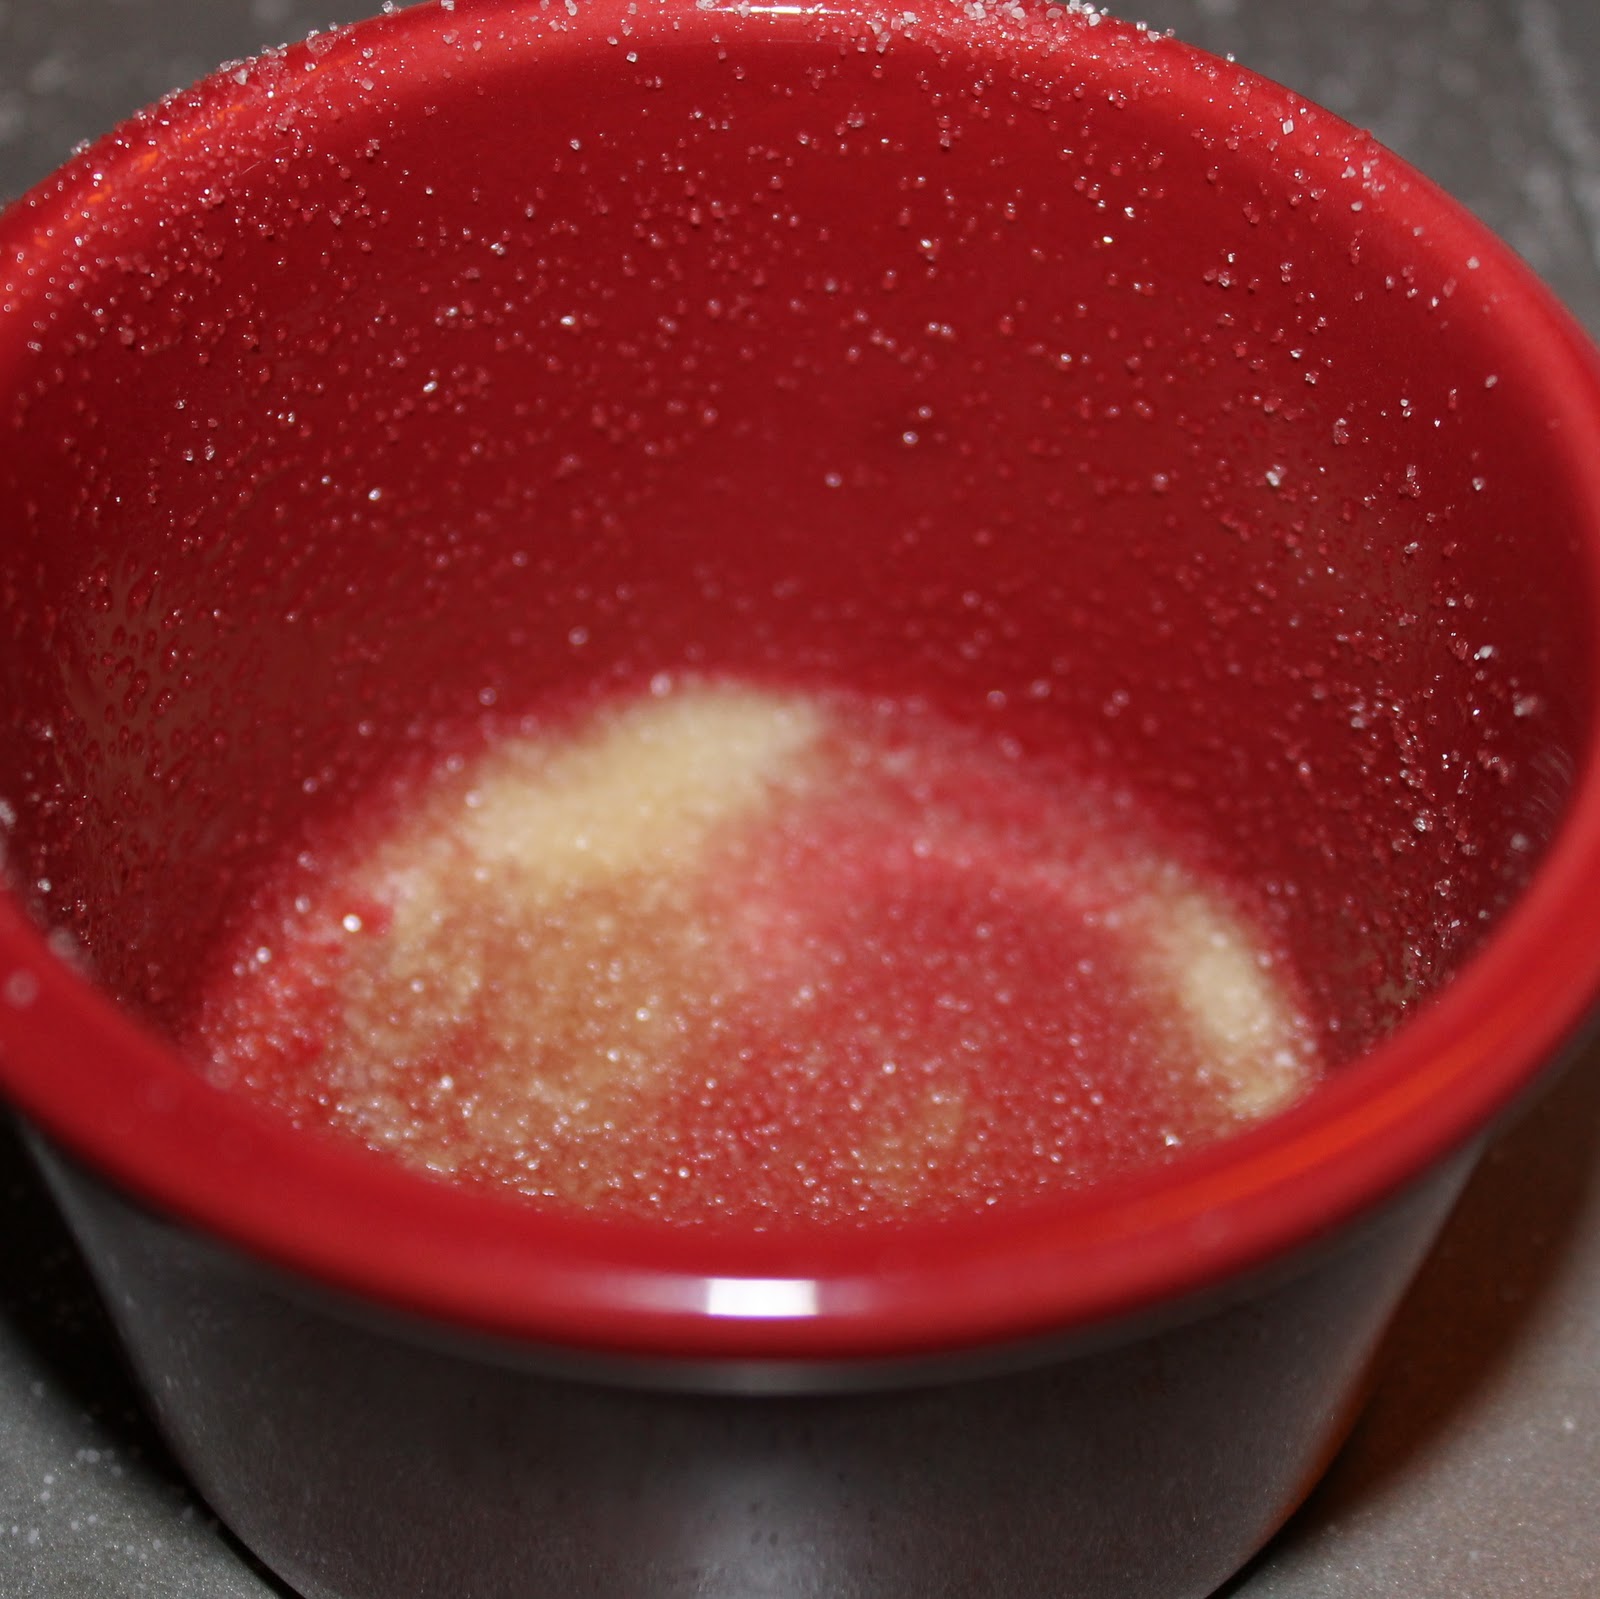
Spray six 8-ounce souffle dishes (or ramekins) with cooking spray. Sprinkle evenly with 2 tablespoons (or 1 teaspoon per ramekin) of sugar and set aside.
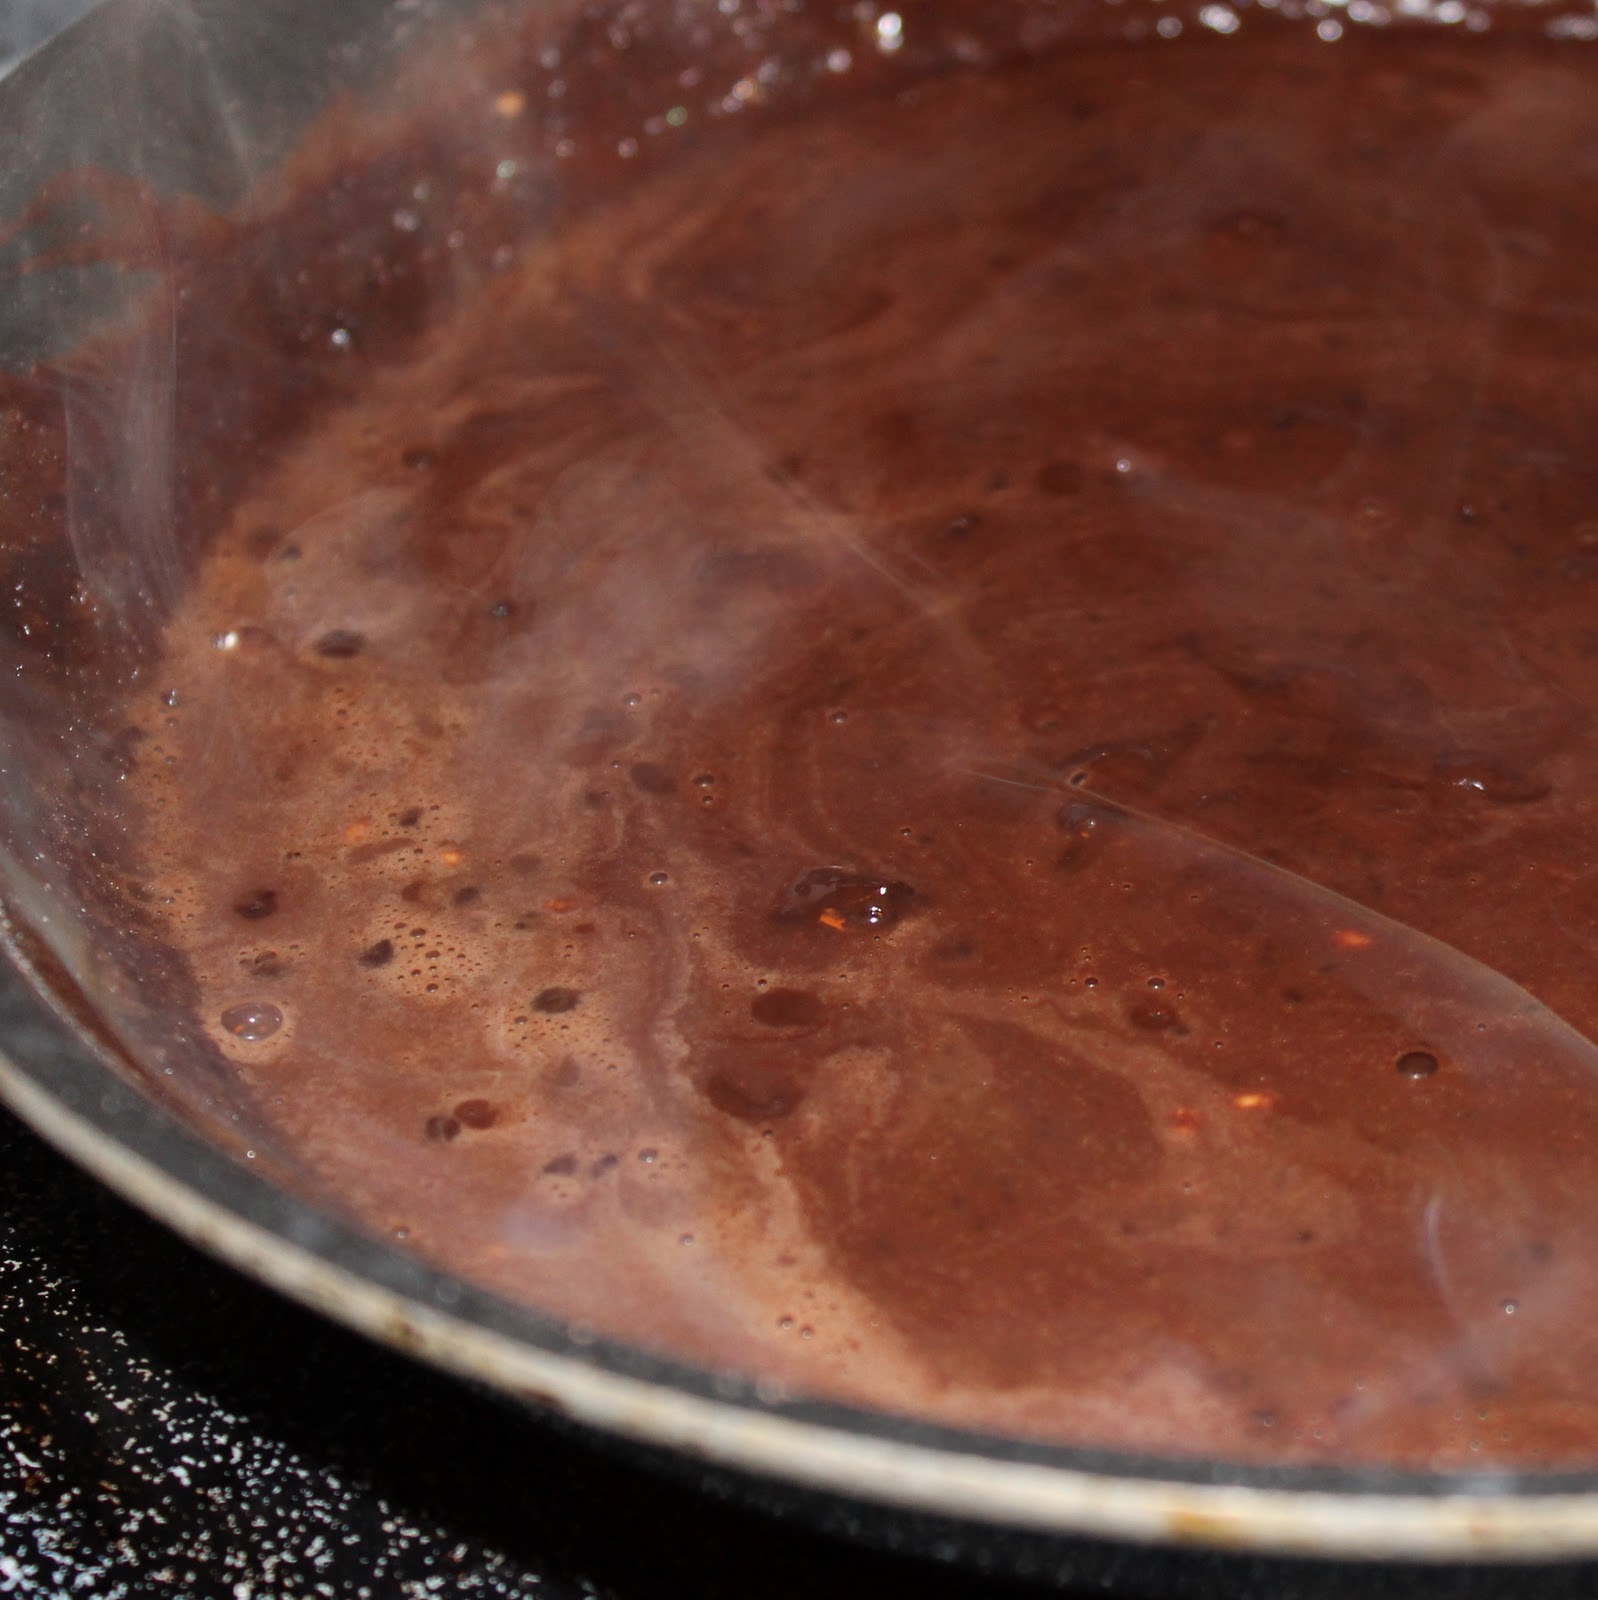
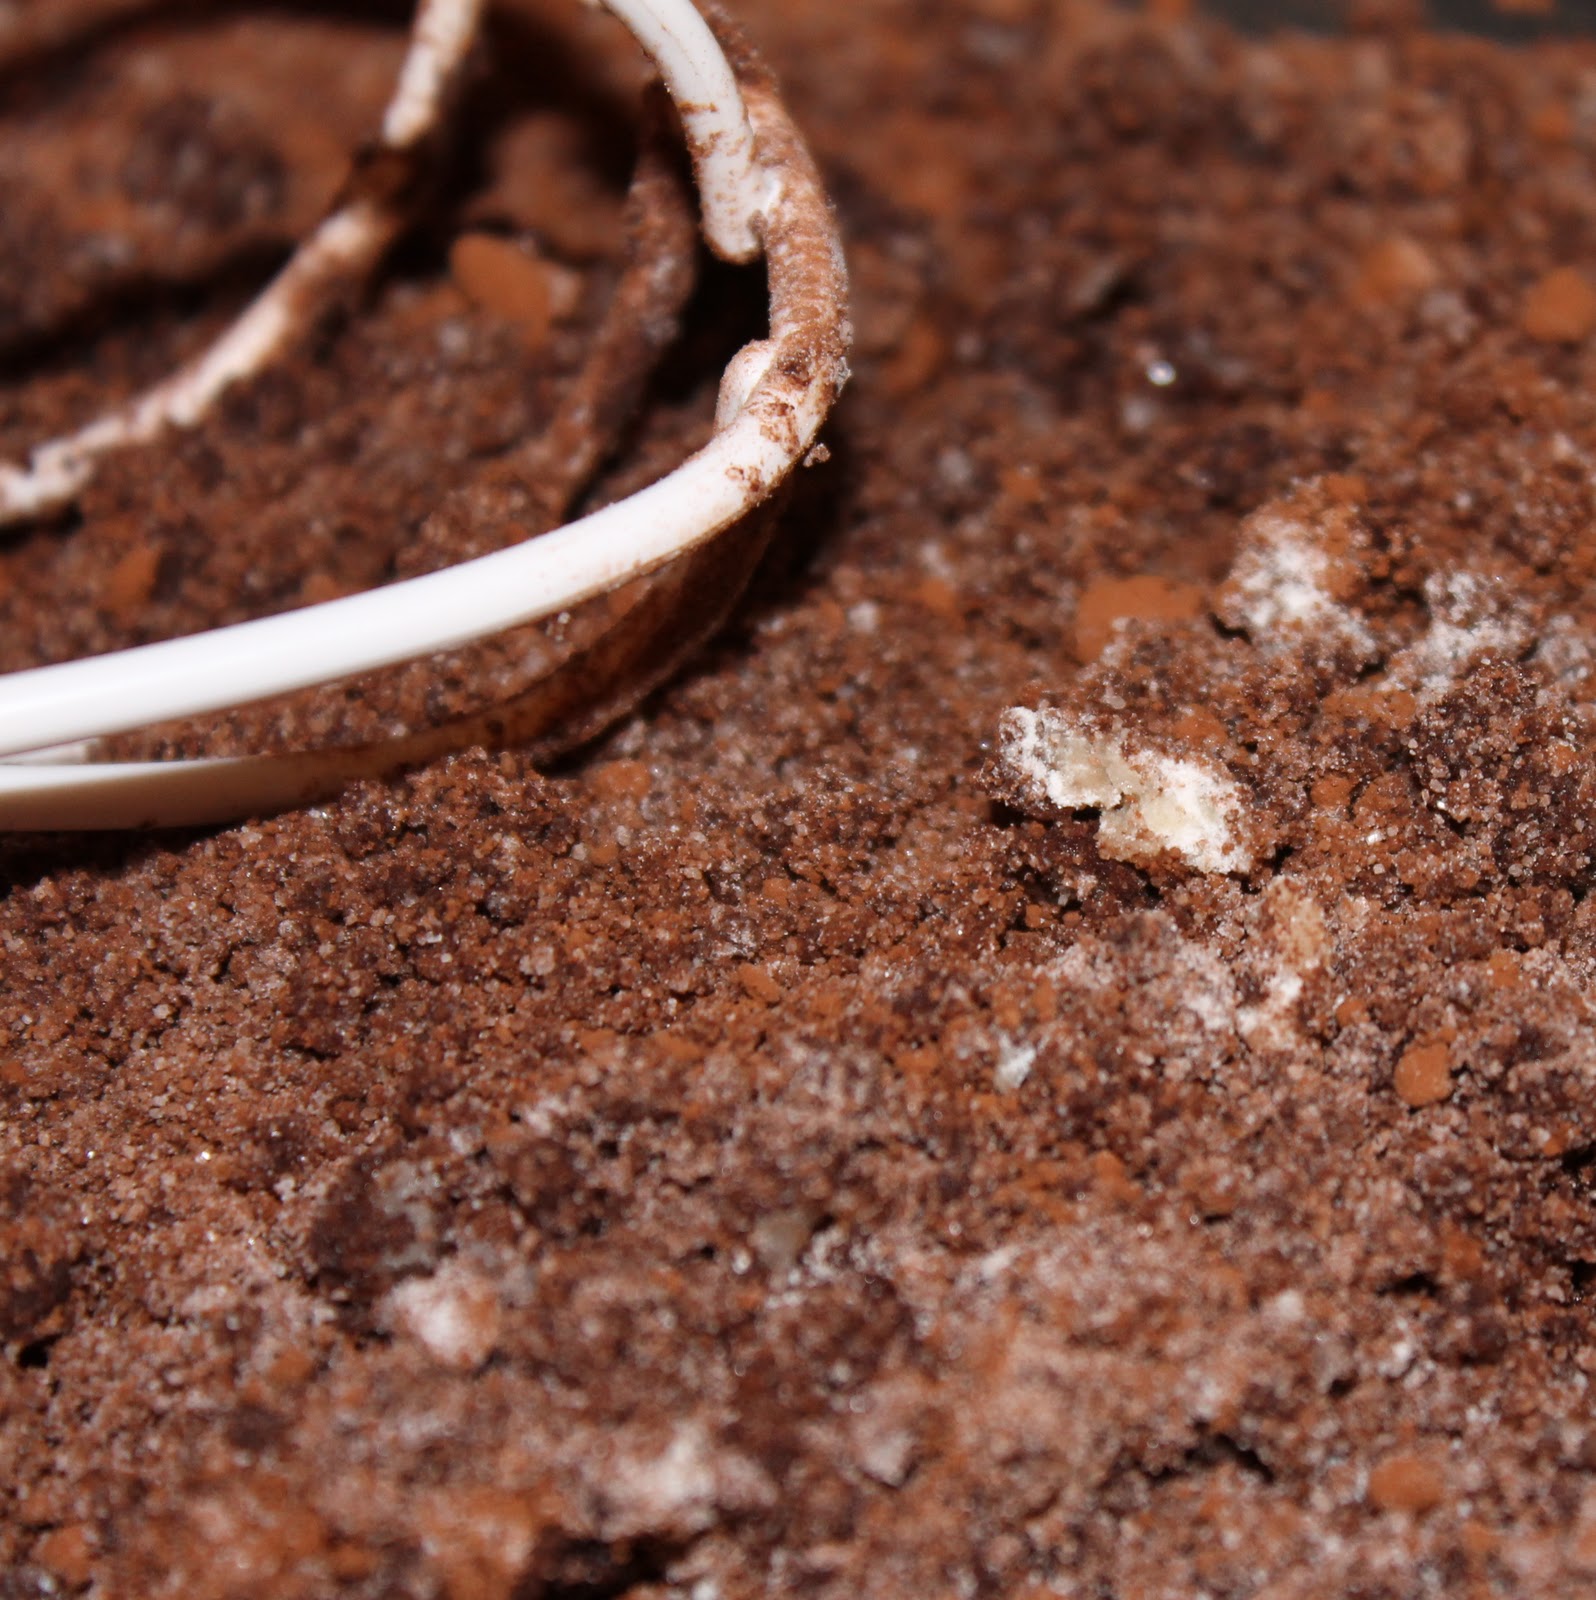
In a large saute pan, combine 1/2 cup sugar, 3 tablespoons flour, 3 tablespoons cocoa, and the salt over medium-high heat, stirring with a whisk or the Oxo egg beater. Add 1 1/4 cups milk, stirring constantly. Bring to a boil and cook for 2 minutes or until it begins to thicken, stirring constantly.
Remove from heat and add 3 ounces chocolate, stirring until smooth. Add to a large bowl and allow to cool to room temperature.
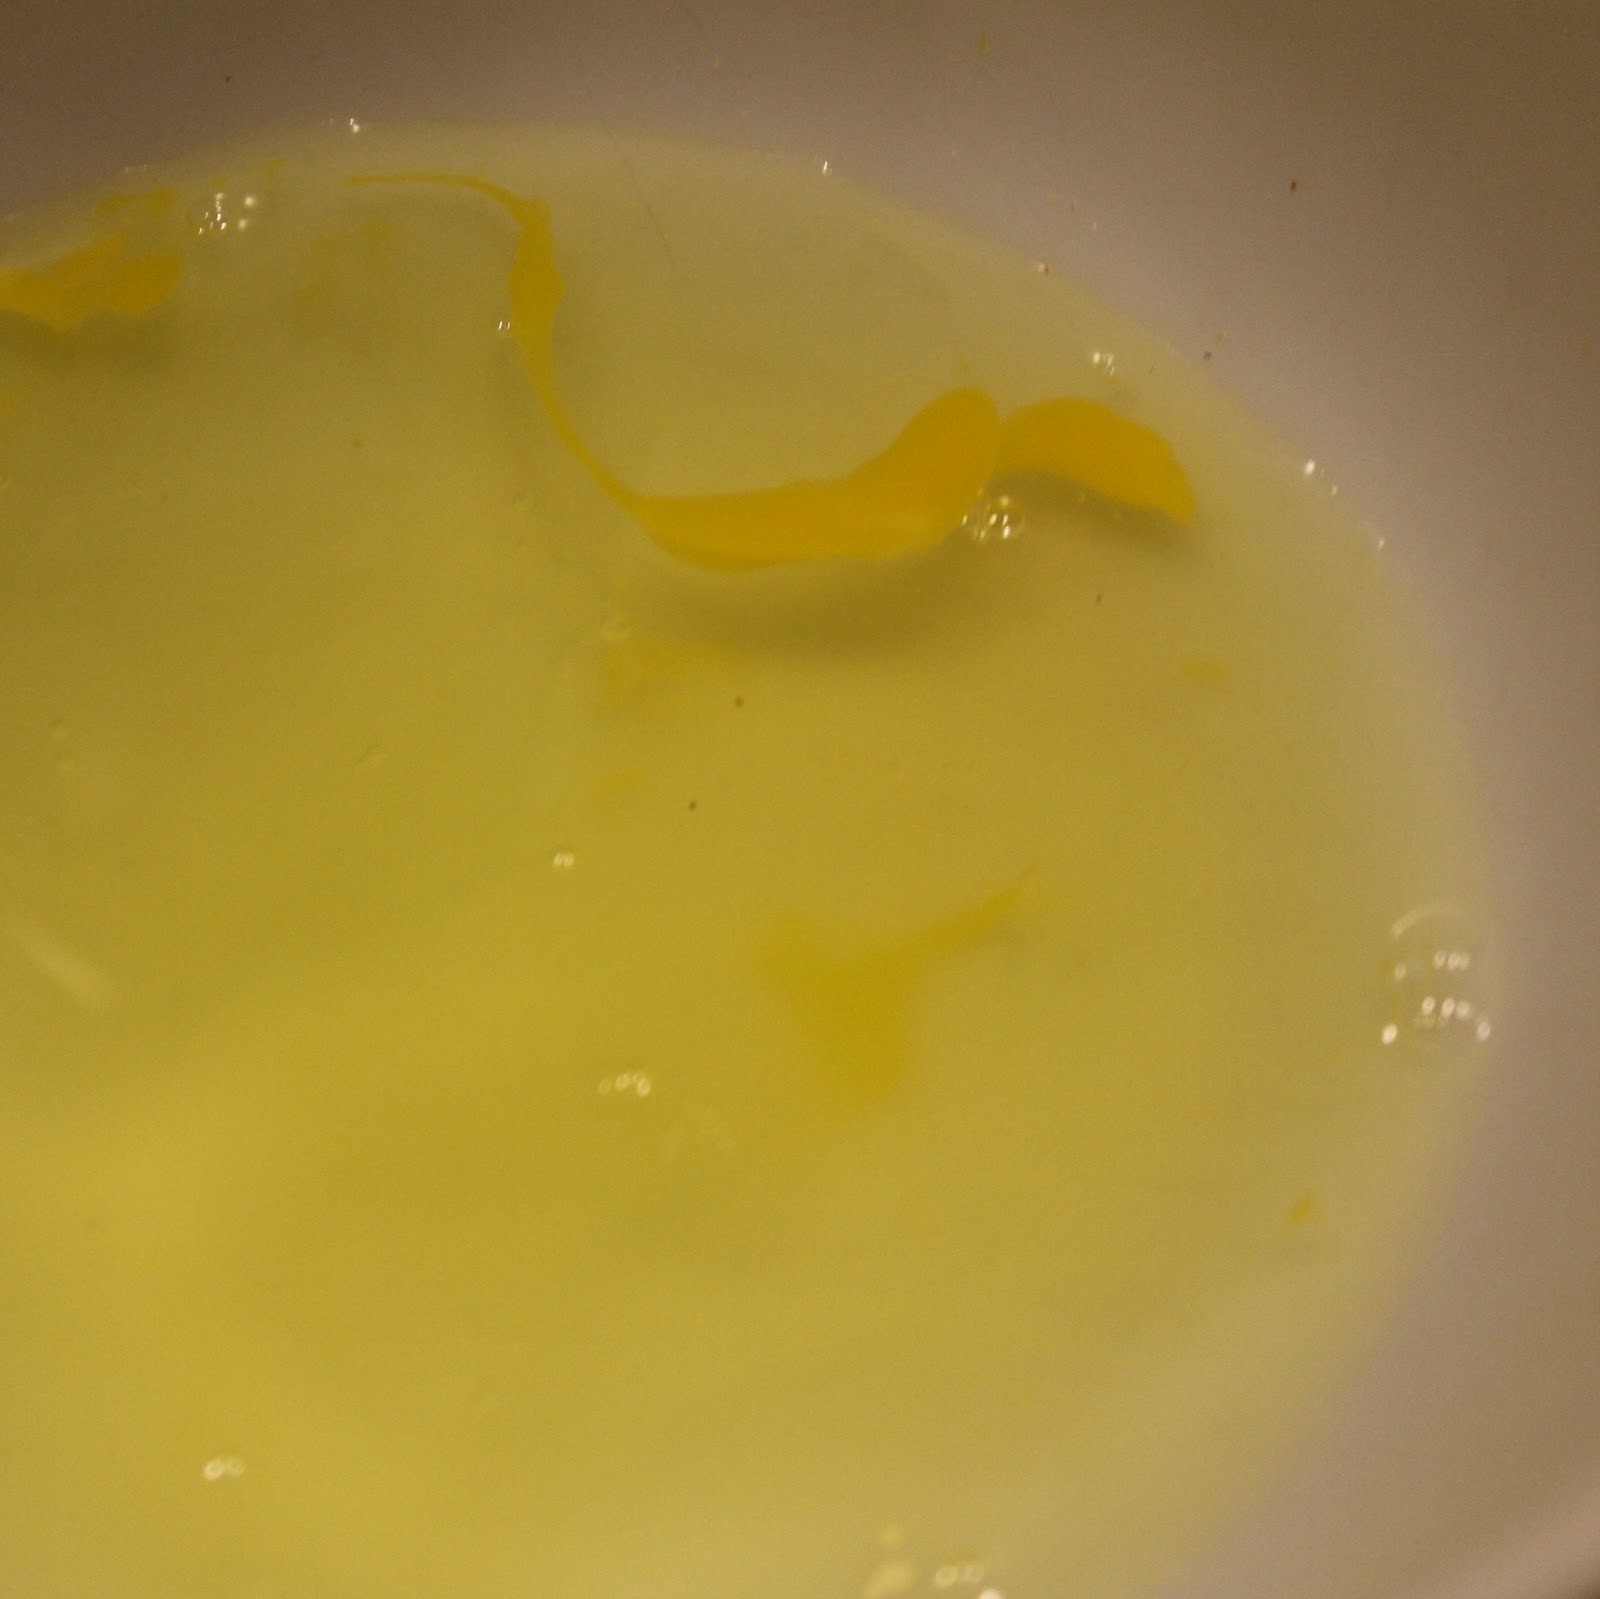
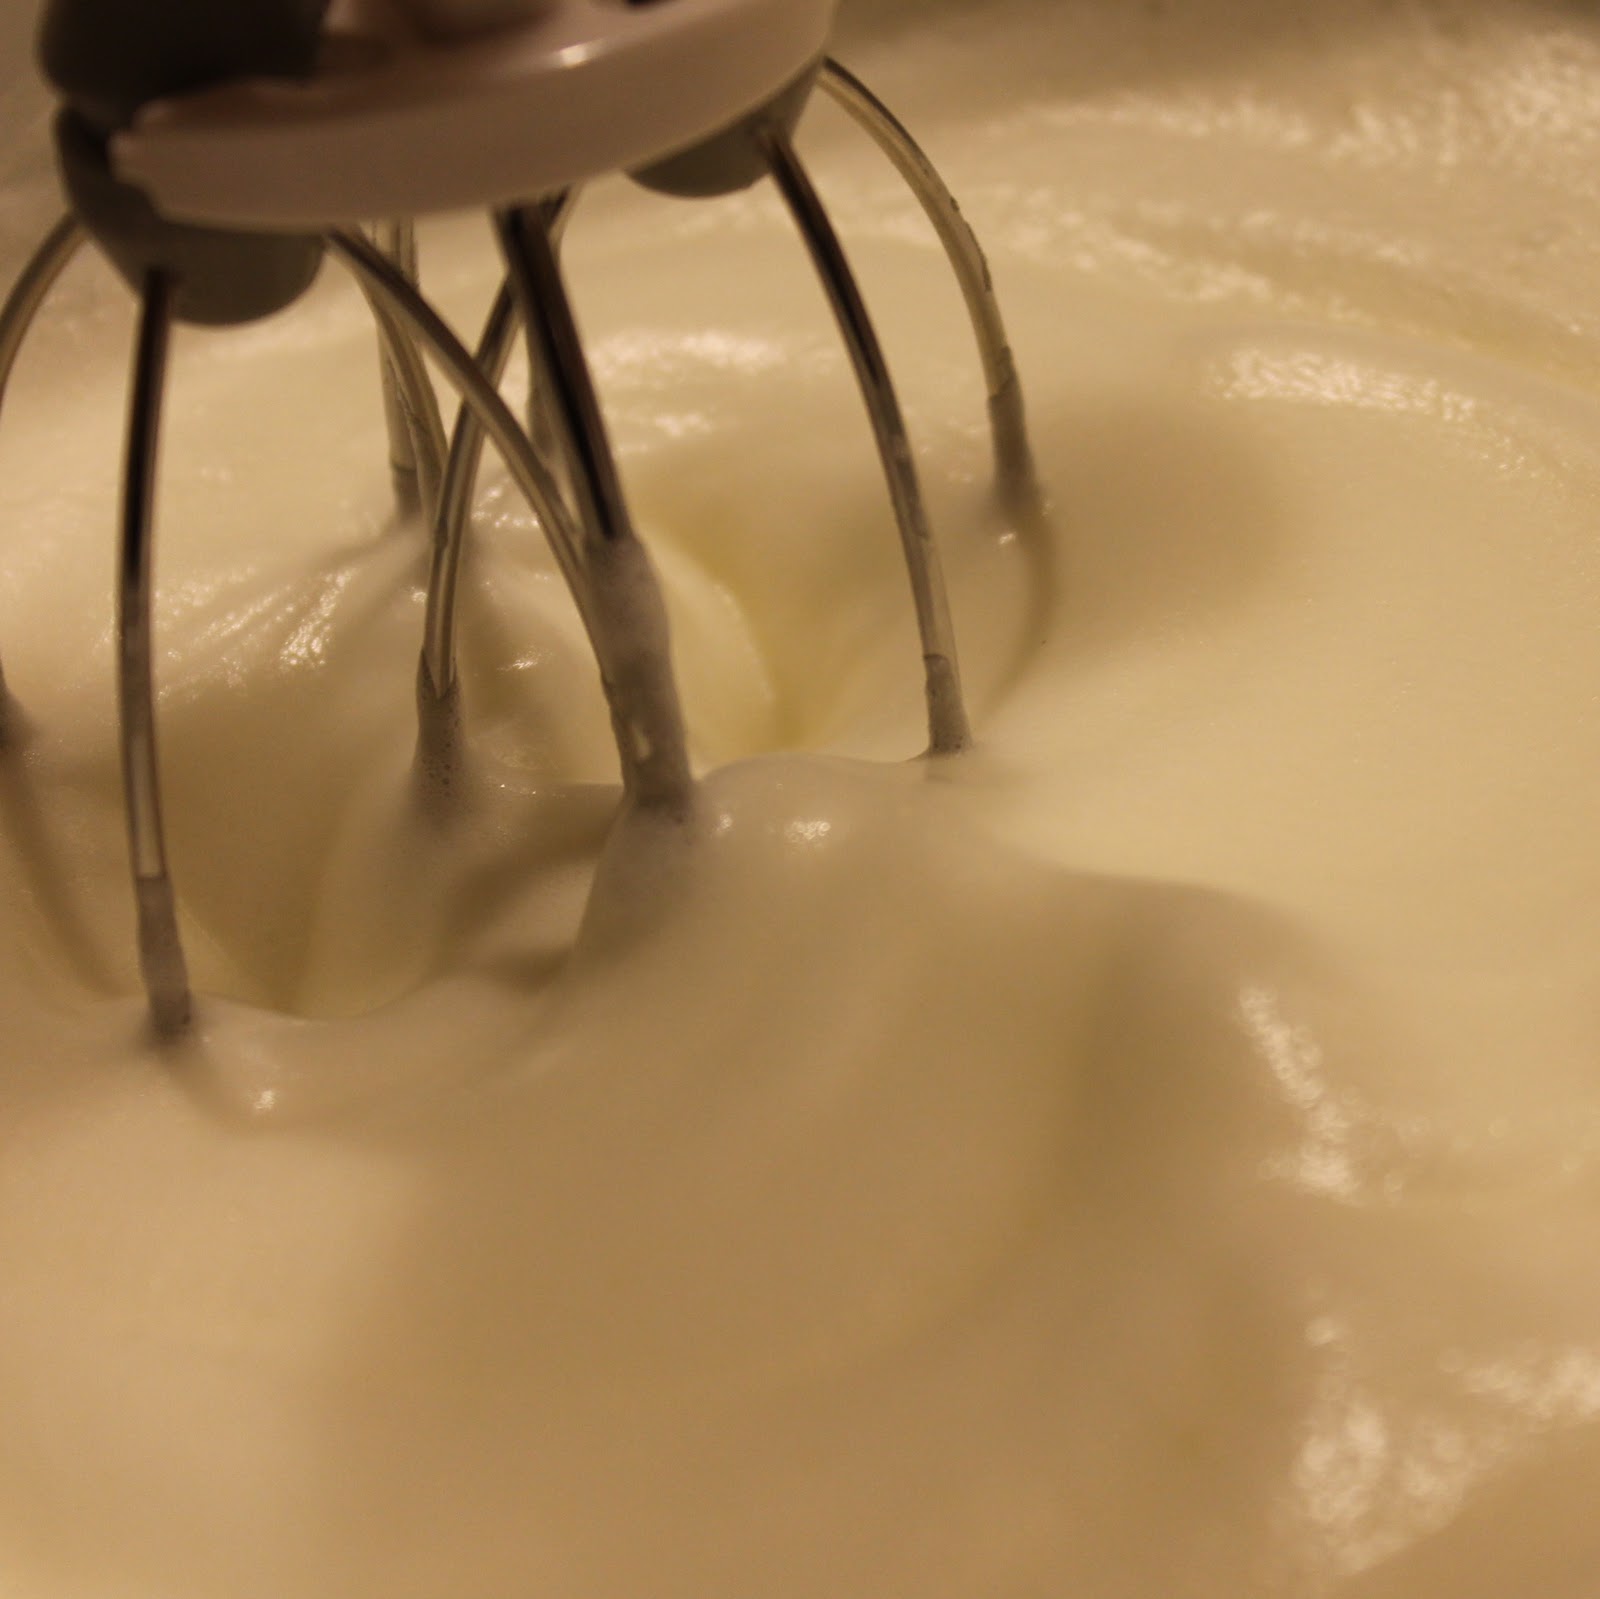
In a medium bowl, add the egg whites (reserve one egg yolk!) and beat using your egg beater until stiff peaks form. This took a good 5 minutes for me.
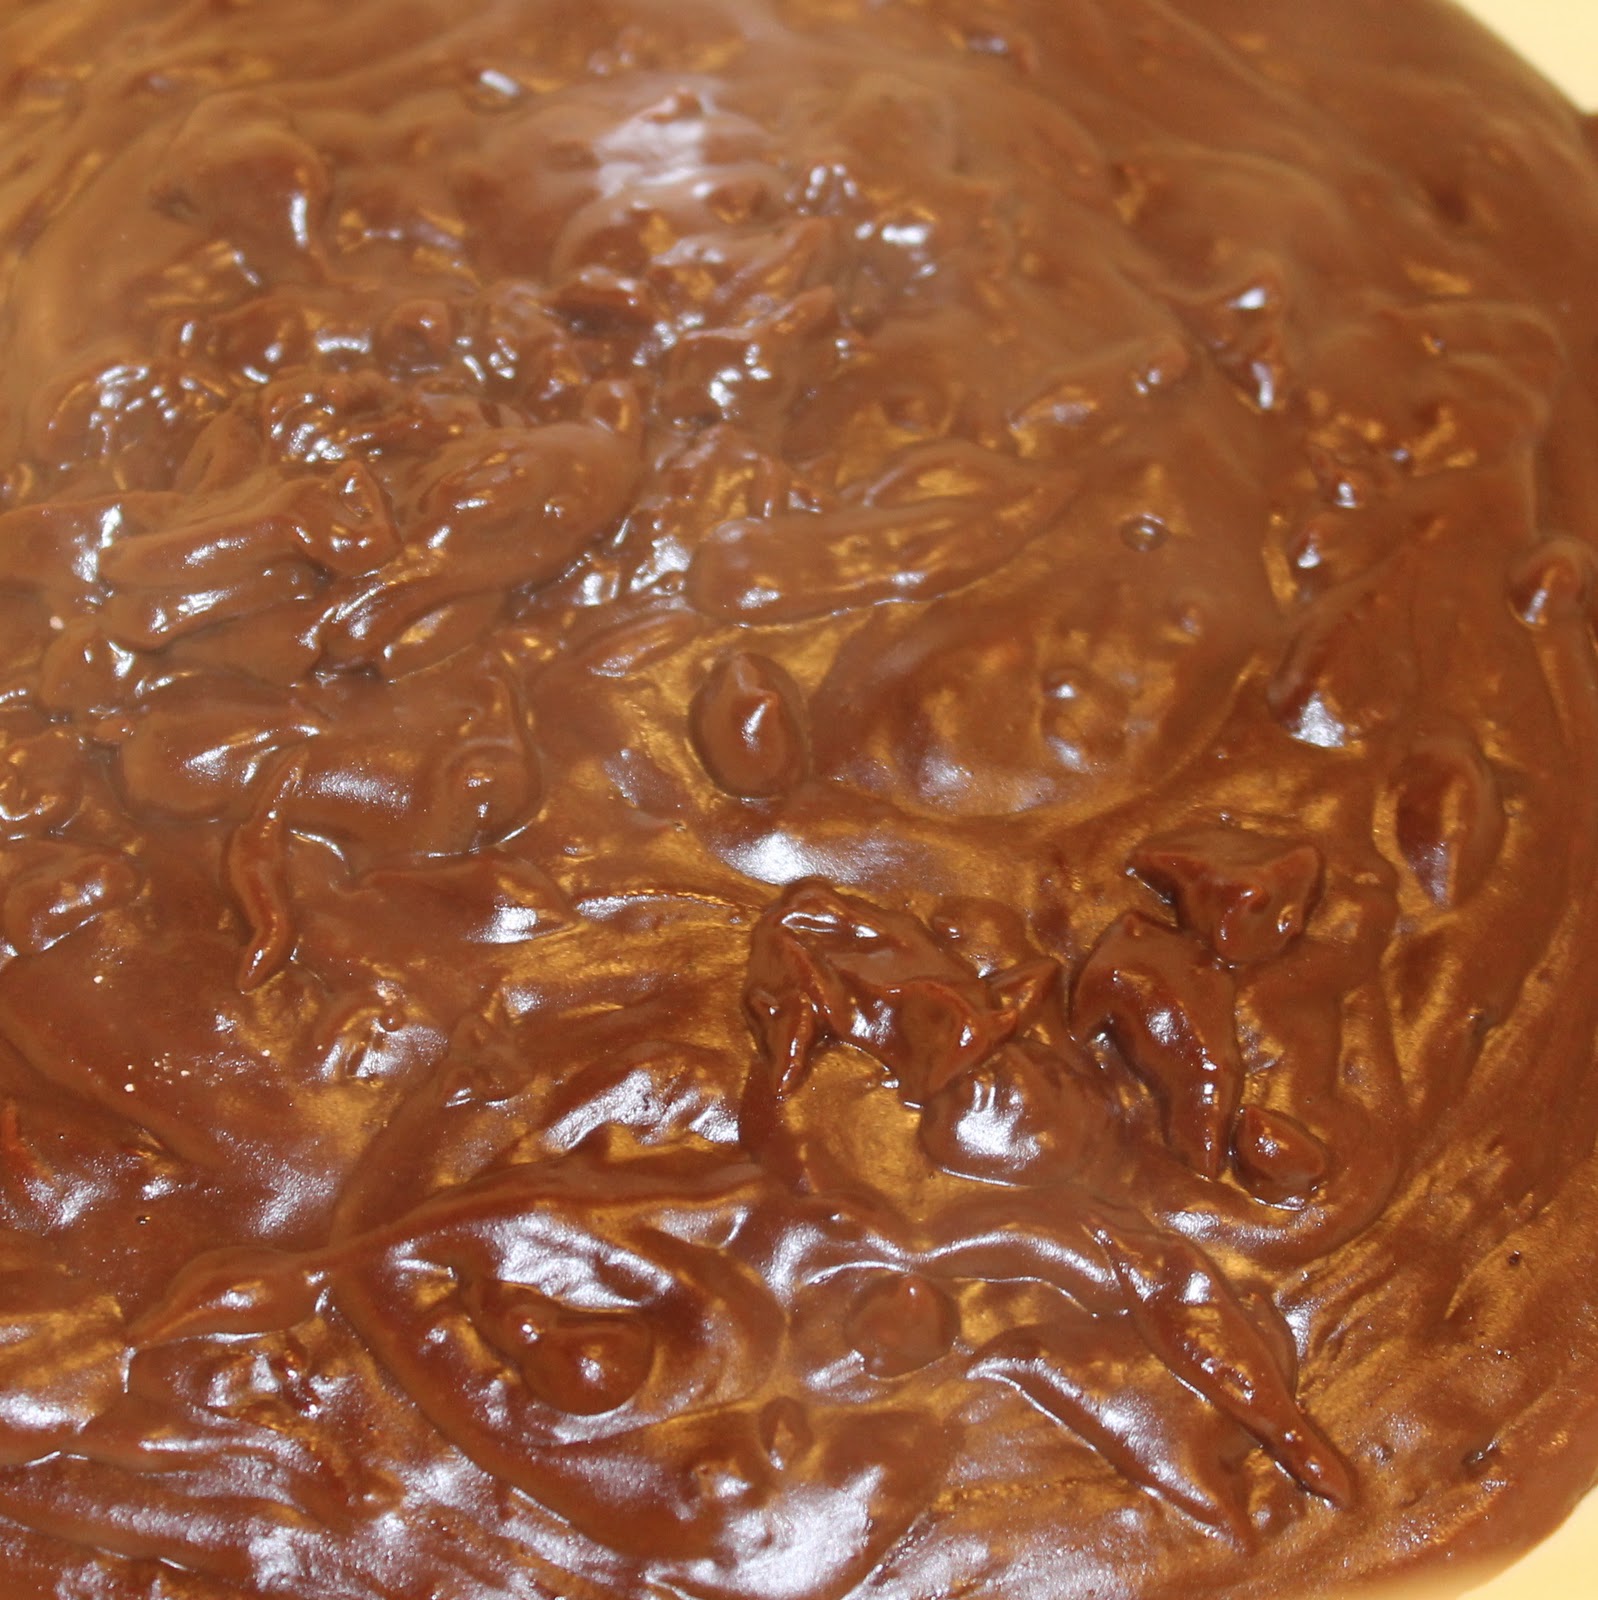
Once the egg whites are beaten, the chocolate mixture should have cooled. Add the vanilla and egg yolk to the chocolate mixture and stir.Fold in 1/4 of the egg white mixture into the chocolate mixture.
Once combined, gently fold in the remaining egg whites.
Spoon the mixture into the ramekins. Sharply tap the dishes two or three times on counter to even out each mixture in the ramekin. You want them to be about 3/4 full so that they can puff over the top of the ramekin. If you are making these ahead of time, you can cover the ramekins at this stage and freeze until you’re ready to bake them.
When ready to bake, place them on a baking sheet and place in the preheated oven (which is at 425) on the bottom rack. Immediately reduce the temperature to 350 degrees (keep the souffles in the oven and don’t open the door, the temperature will slowly lower over time). Bake for 40-45 minutes or until a toothpick inserted into the side comes out clean.
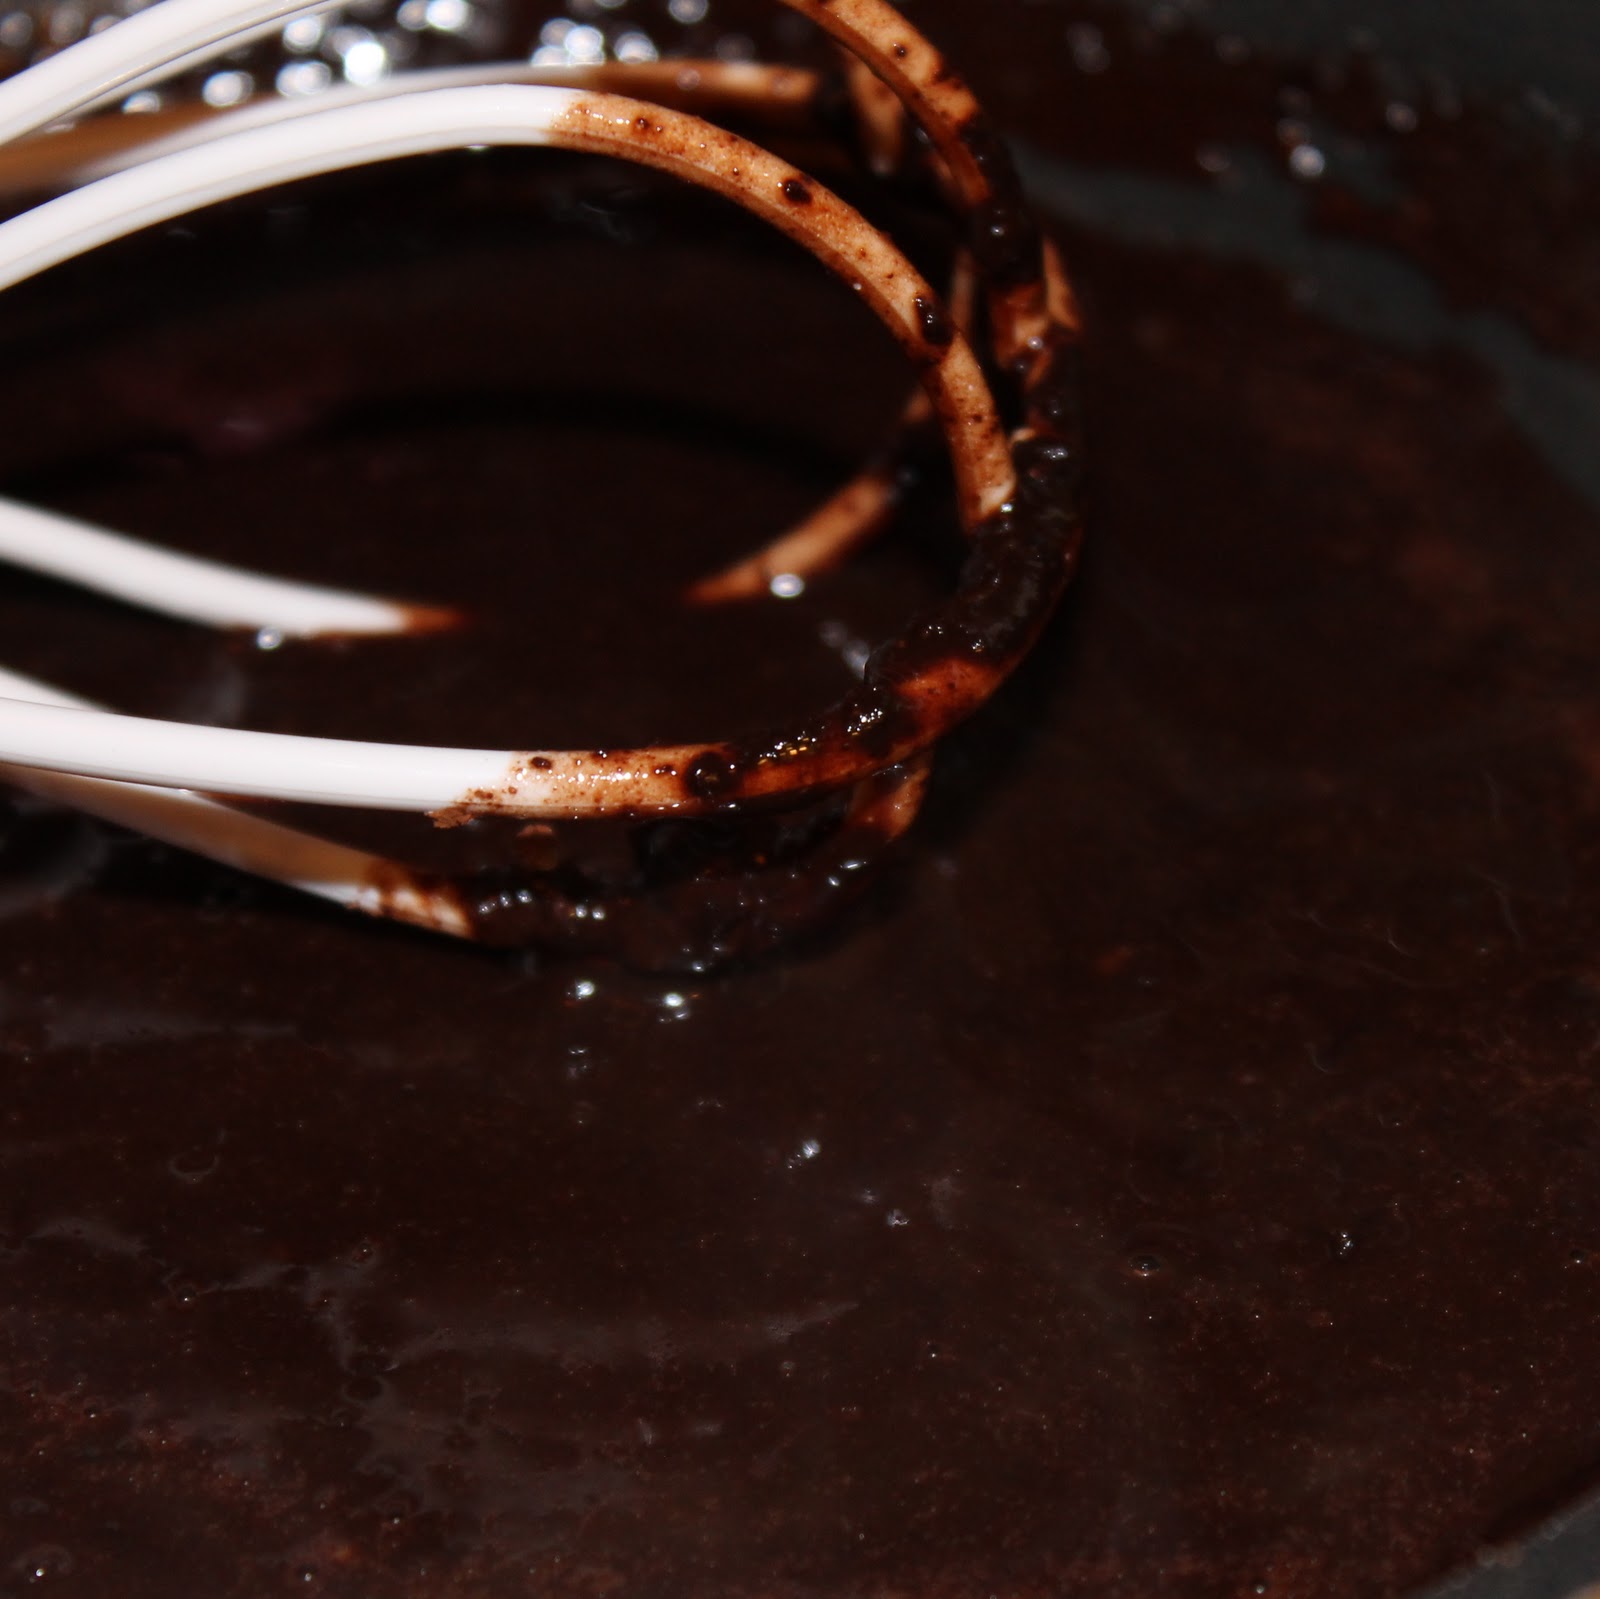
The sauce can also be made ahead of time if you so wish. Melt the butter in a small pot over medium-high heat. Add 1/3 cup sugar, 2 tablespoons cocoa, and 1 tablespoon flour, stirring well with a whisk.
Gradually add 1/2 cup milk stirring constantly. Bring to a boil and cook for 1 minute, continuing to stir. Remove from heat, add 1/2 ounce chocolate and stir until smooth. Spoon over warm souffles.
To make the whipped cream, add the heavy cream to a bowl. Using the egg beater, beat the cream until peaks are just about to form. Add the vanilla and the powdered sugar and beat until peaks form. Add a dollop of the fresh whipped cream to the souffle and serve.
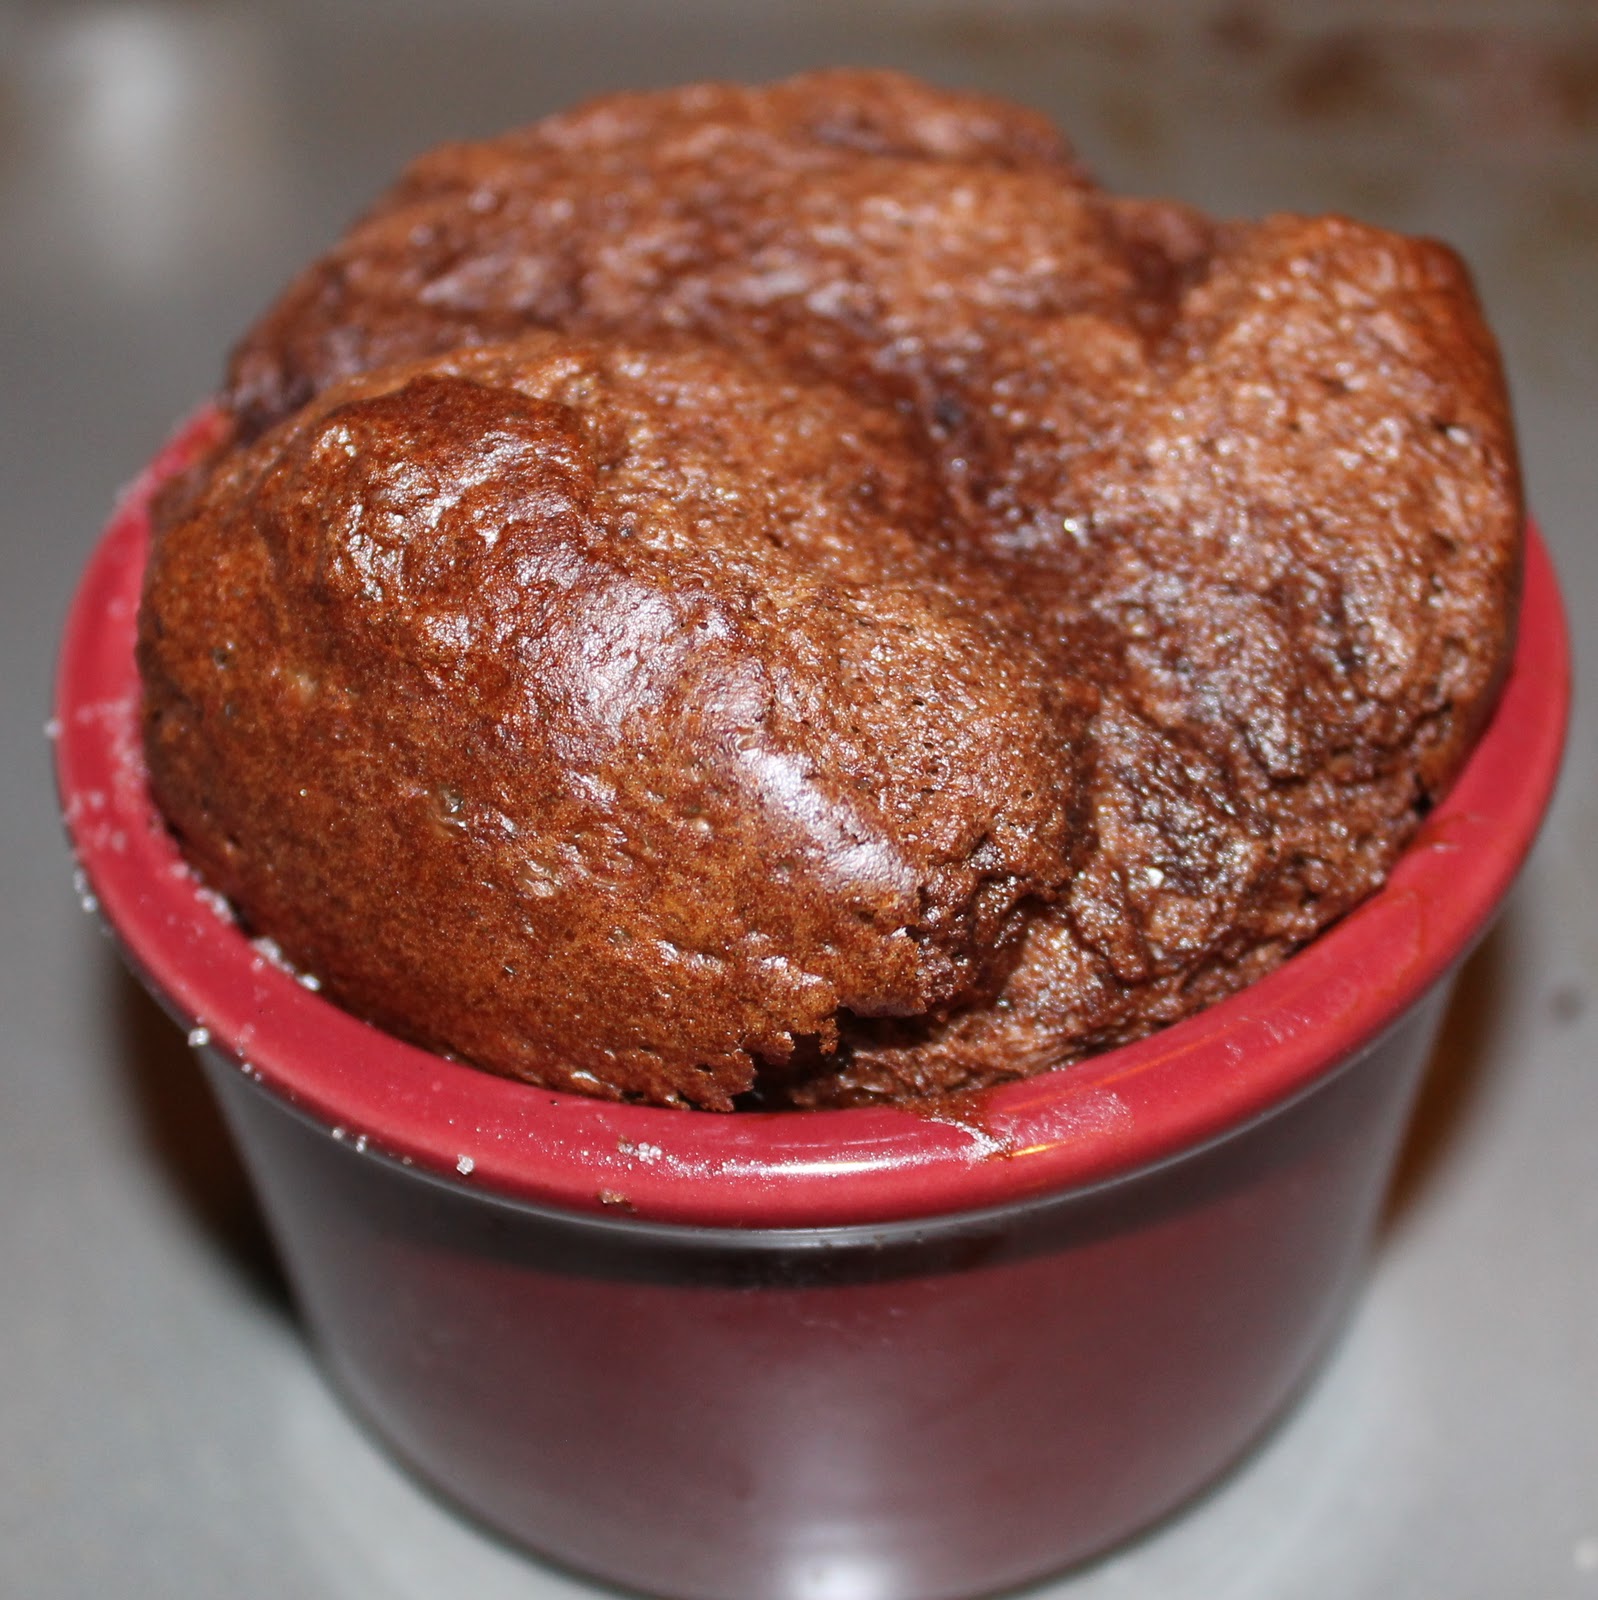
So my souffle came out puffy and happy and I was so excited!
But as I started adding the chocolate sauce, it began to deflate. Sigh.
So I topped it off with the fresh whipped cream and called it even.
Souffles are notoriously difficult to make, but I wanted to at least give it a shot. Who honestly cares if it deflated though? It still tasted wonderful! I think even a collapsed souffle still looks pretty darn nice as well, no?
So if you’re still with me, you can win your very own Oxo egg beater to beat and whip until your heart’s content.
Good luck, and feel free to leave me a comment below with any questions, comments, or complaints 🙂
Note: I received both a free egg beater for myself and for the giveaway through Oxo’s Blogger outreach program. All opinions and photos with the exception of the egg beater photo are mine.
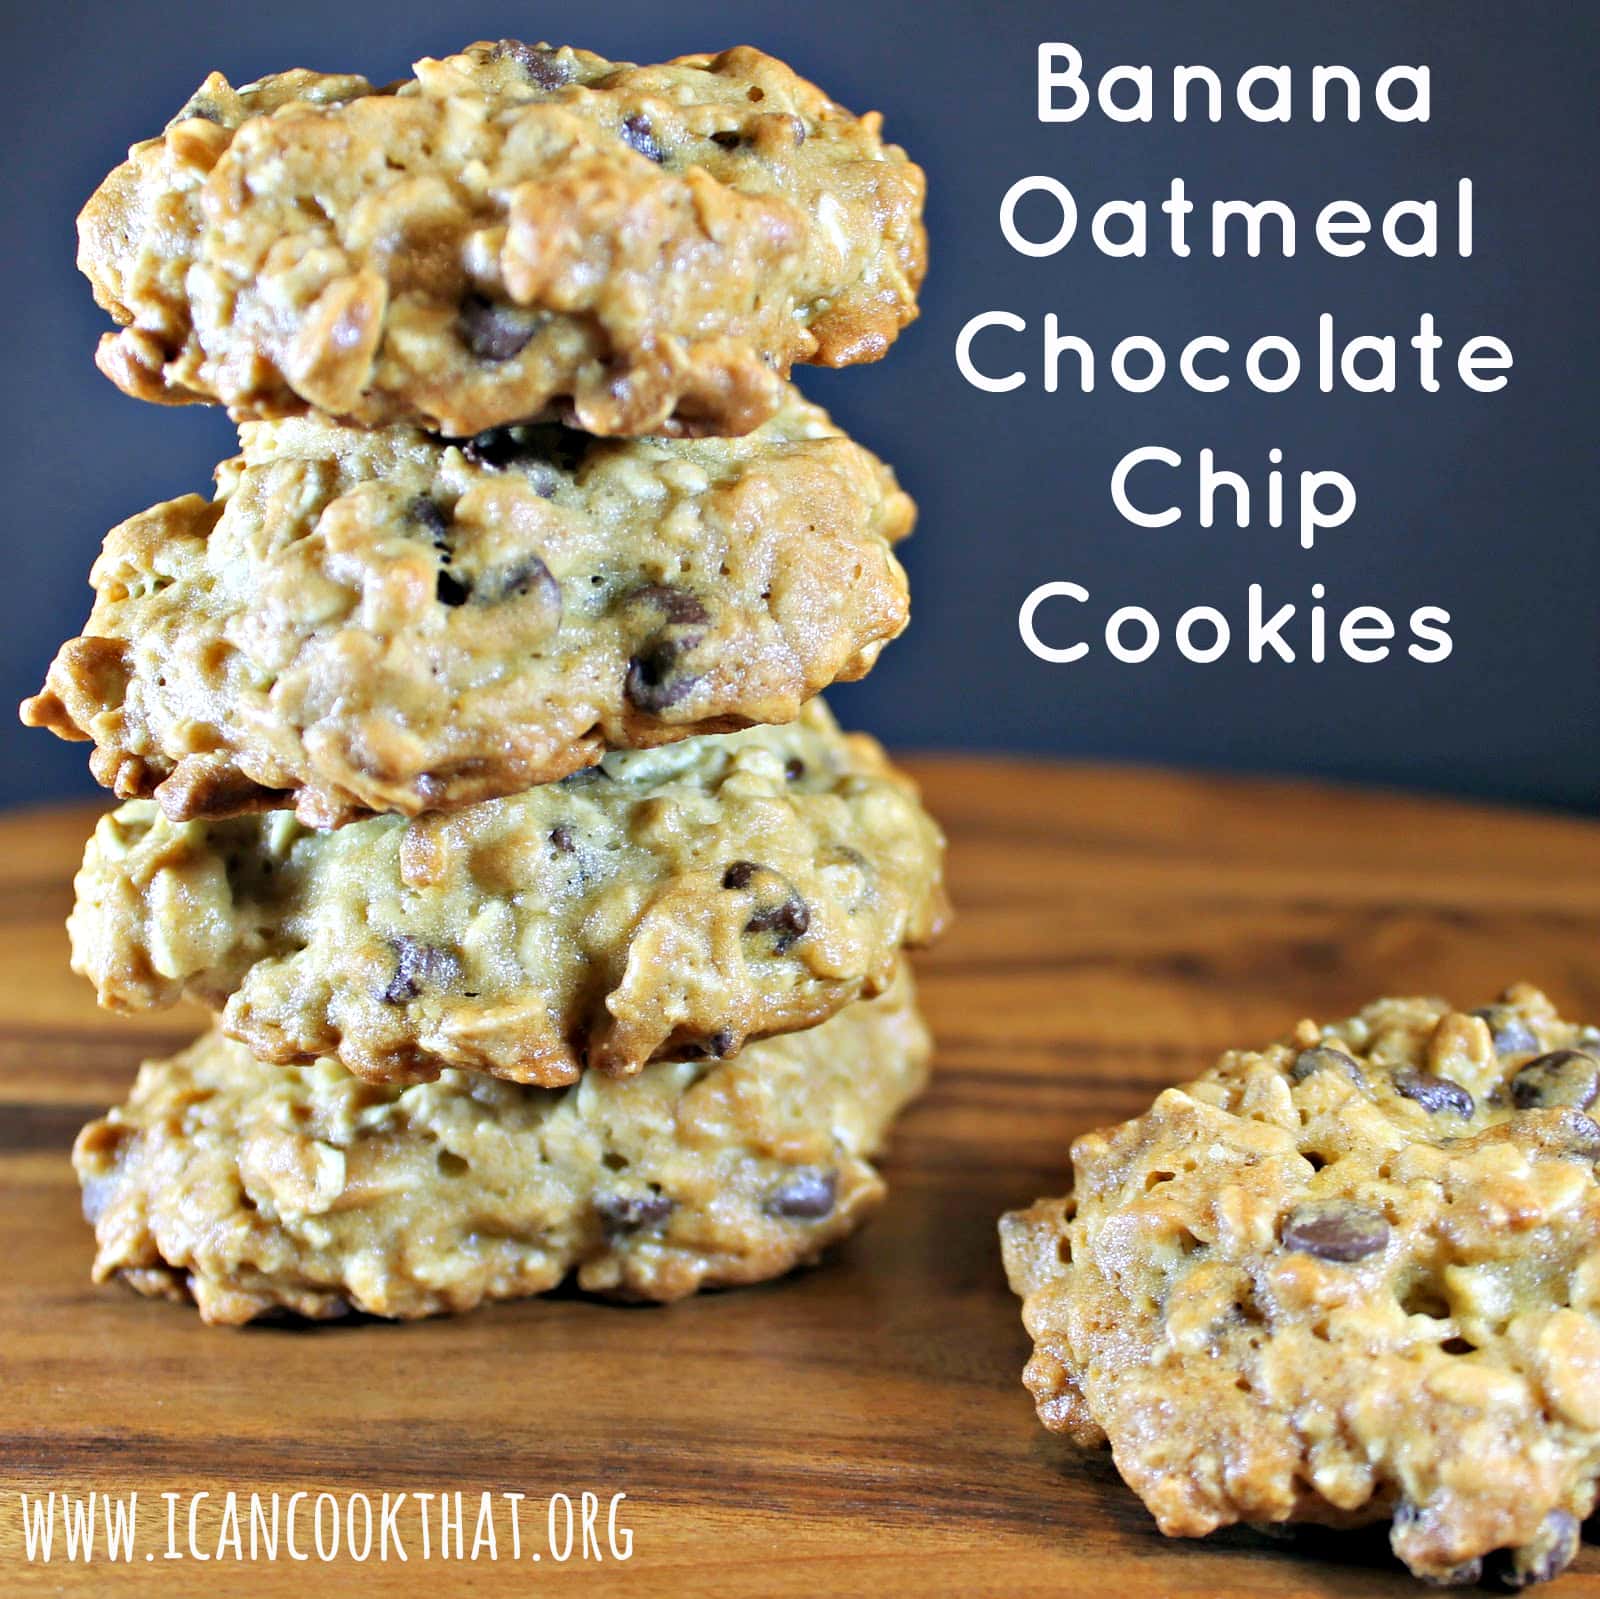
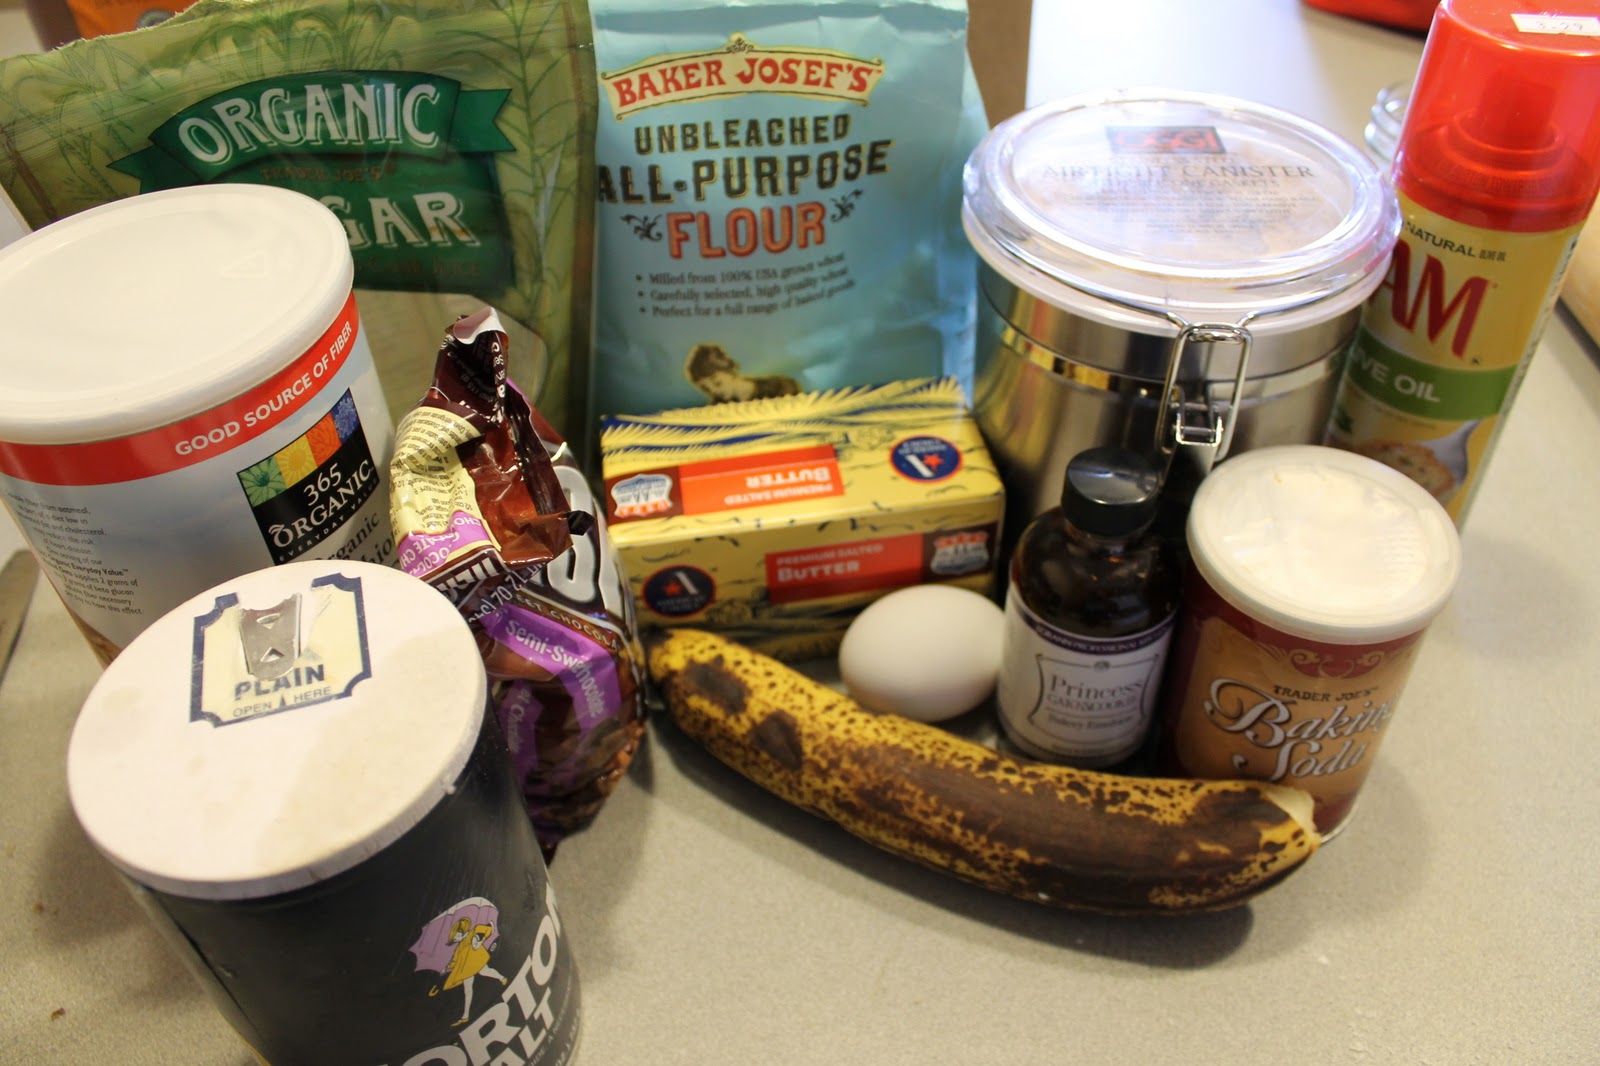
I never seem to eat all my bananas before they get too ripe. I know the go-to saver for over ripe bananas is banana bread, but I wanted to use them for something a little different. Cooking Light had a great cookie recipe that used ripe bananas, so I tried it out.