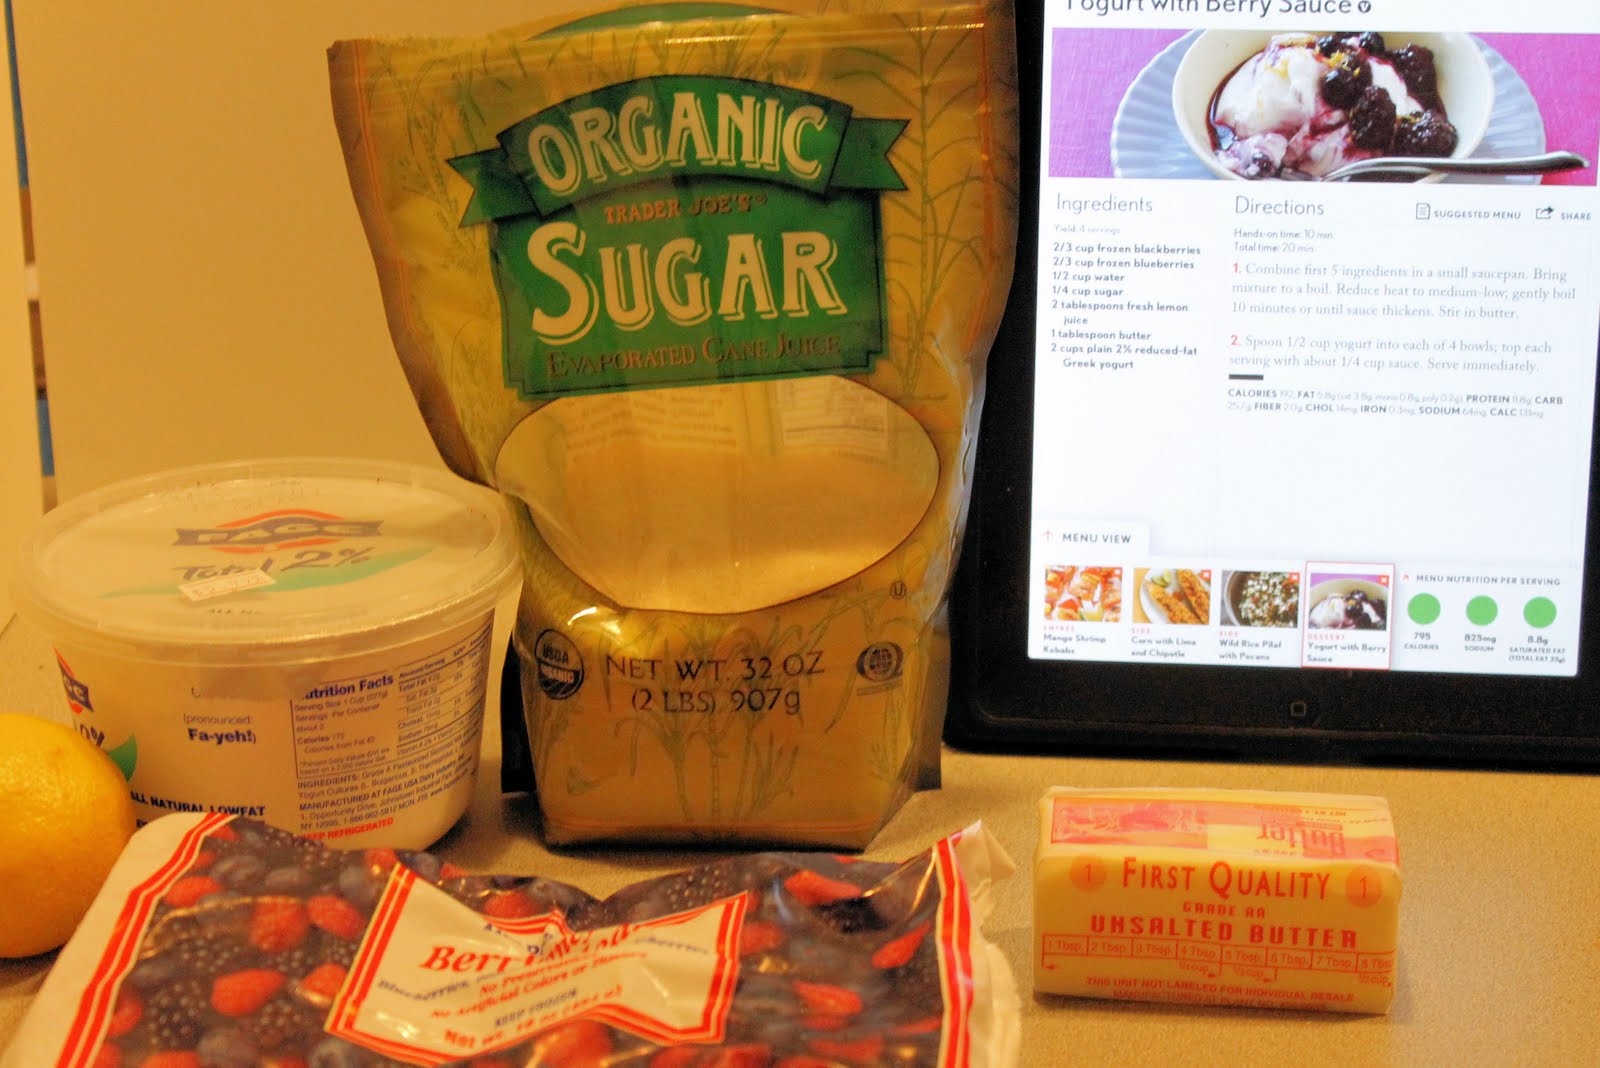
I have a serious sweet tooth. To such an extreme, that I cannot have ice cream in my house or I will eat it in one sitting. It doesn’t matter if I buy a pint or a gallon. Sigh. It’s quite an issue I have. So I tend to try to avoid making dessert all together if I’m cooking, but this recipe seemed too good to pass up. Once again, this came from Cooking Light’s Quick & Healthy Menu Maker App to go with the Mango Shrimp Kebabs and the Grilled Corn with Chipotle Lime Butter. I adapted the recipe to work with a bag of mixed frozen berries I had in my freezer.
Ingredients:
1 cup frozen blueberry, blackberry and raspberry mix
1/2 cup water
1/4 cup sugar
The juice and zest of 1 lemon
1 tablespoon butter
2 cups plain 2% reduced-fat Greek yogurt
Fresh blackberries, blueberries, and/or raspberries, optional
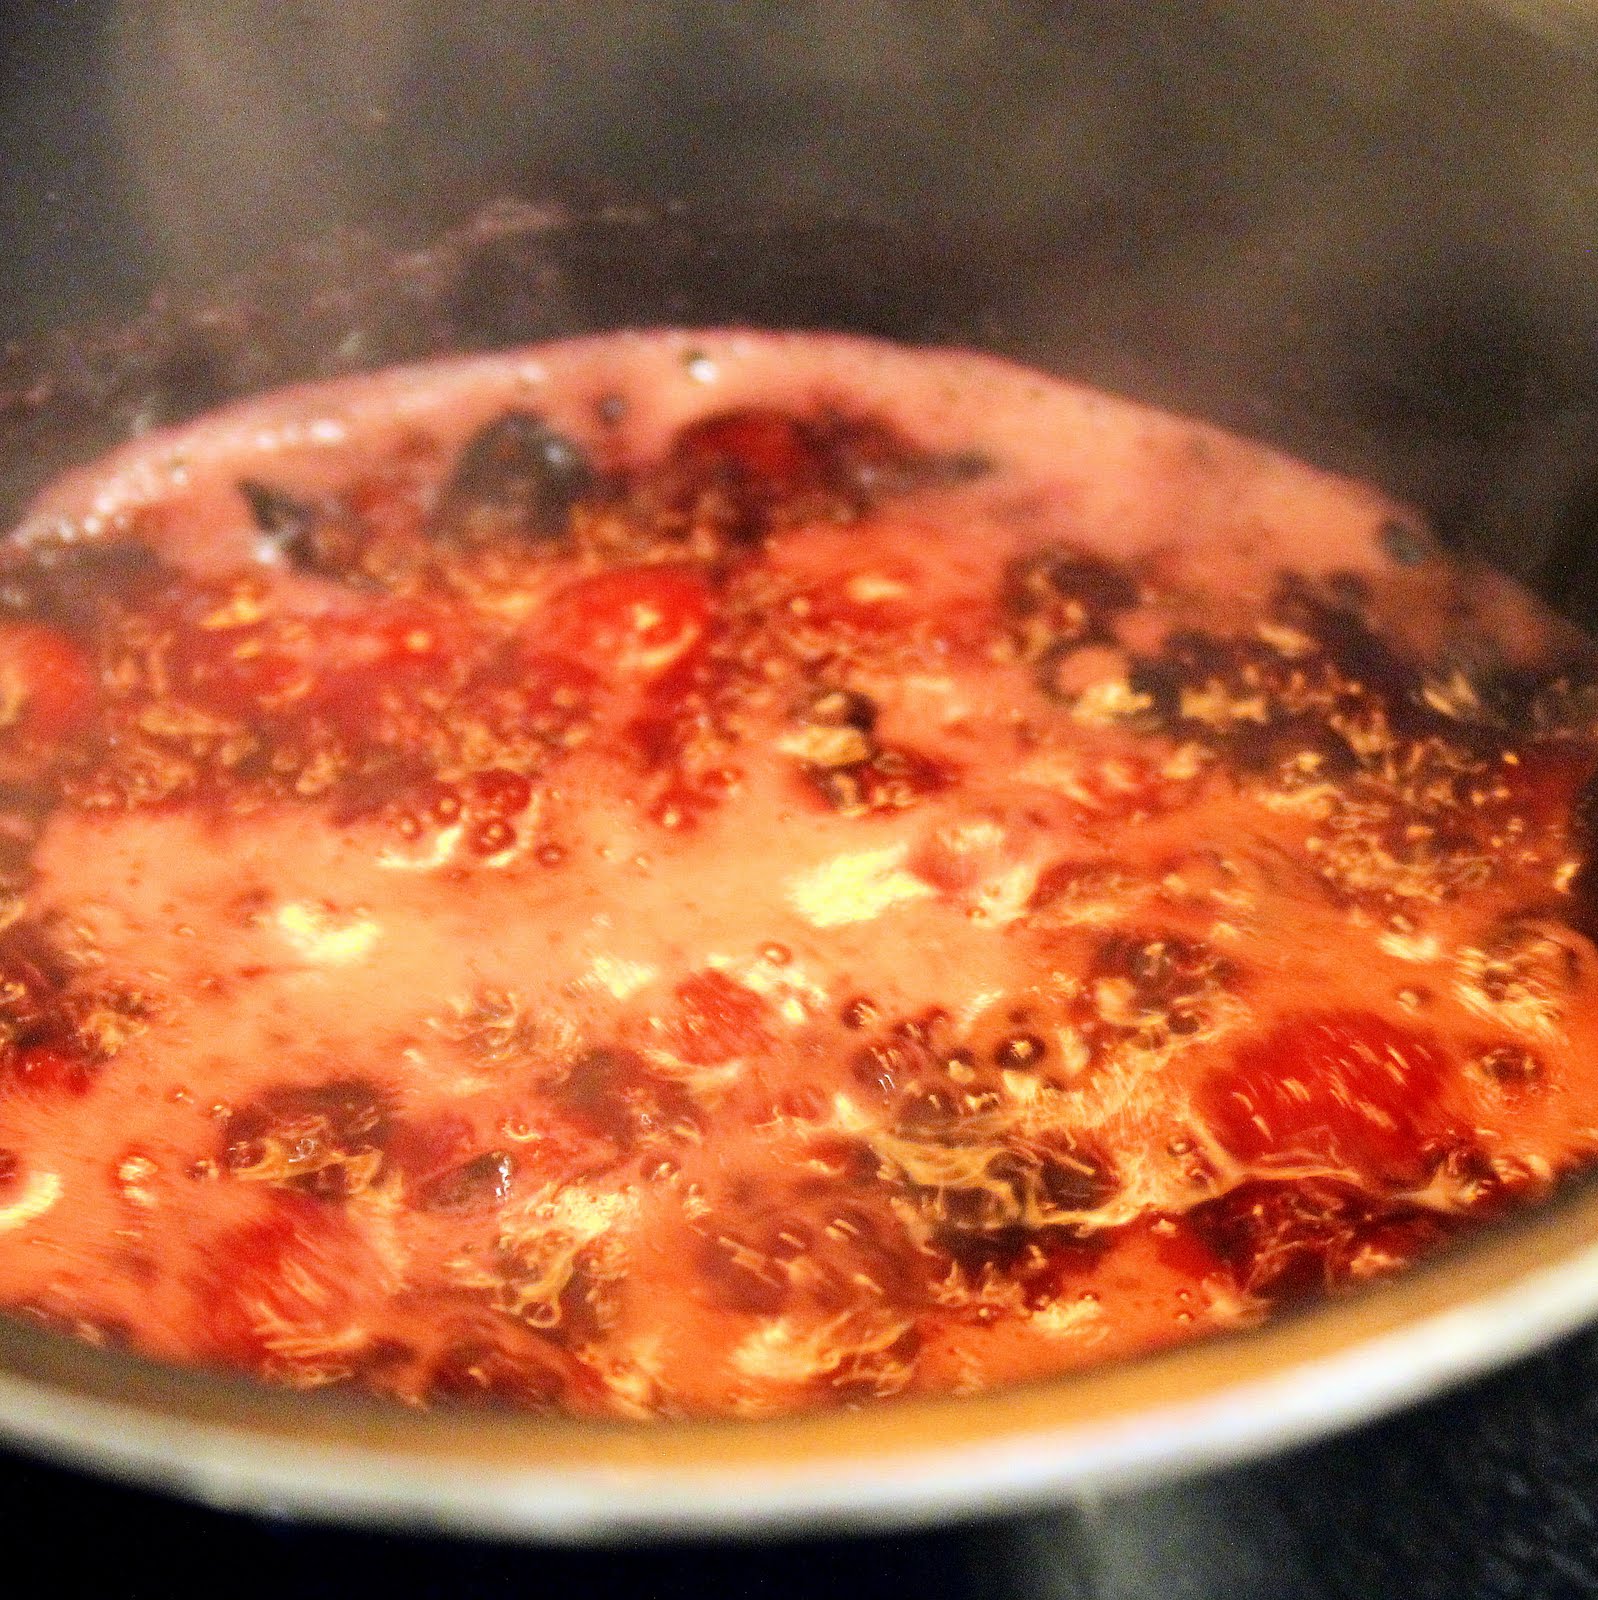
Combine the frozen berry mixture, water, sugar, zest and lemon in a small pan.
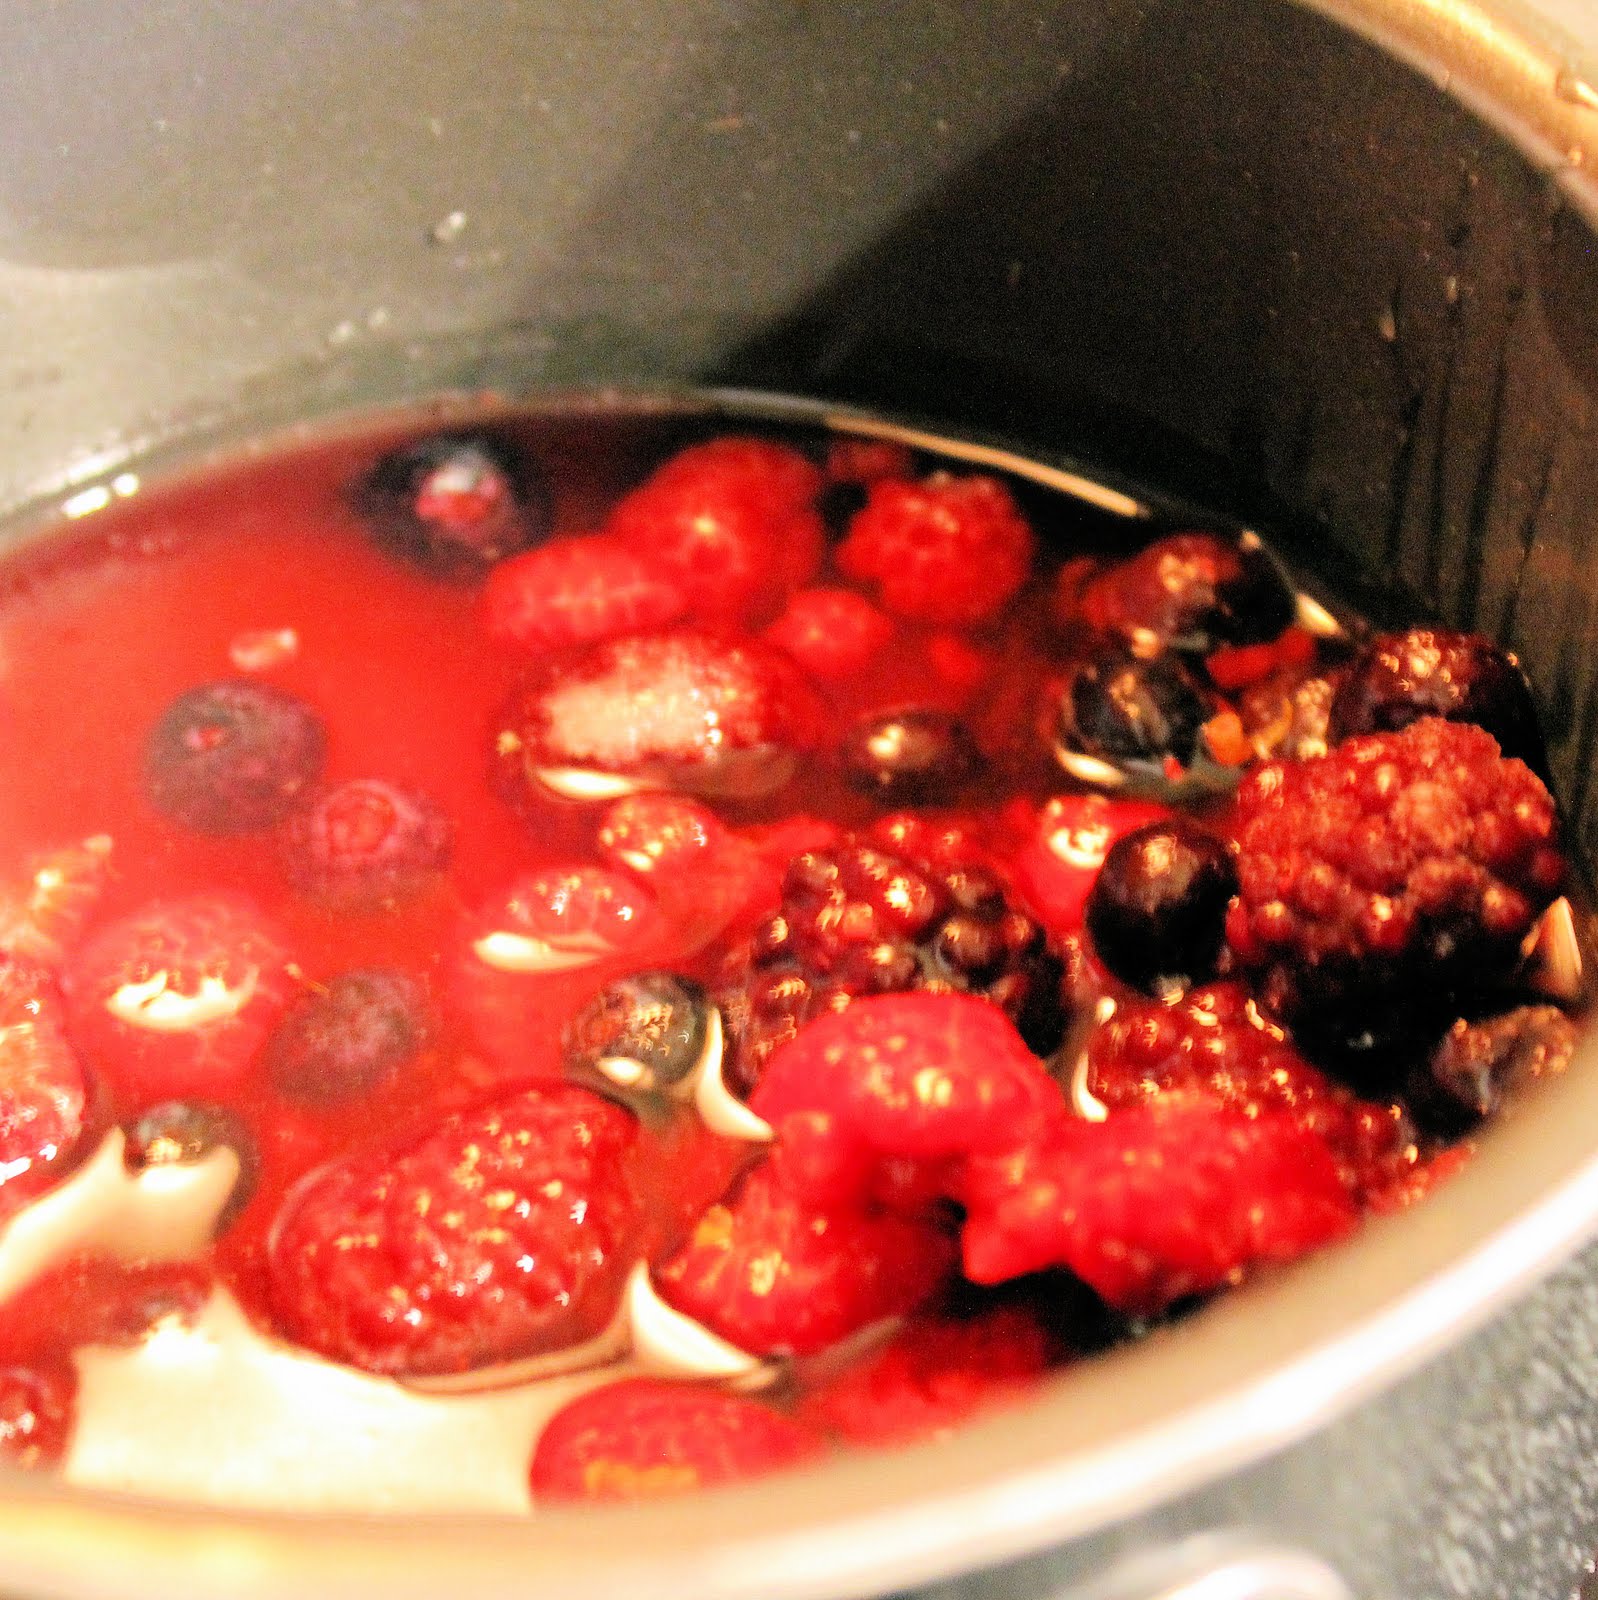
Bring to a boil and reduce the heat to medium low. Let simmer for 10 minutes.
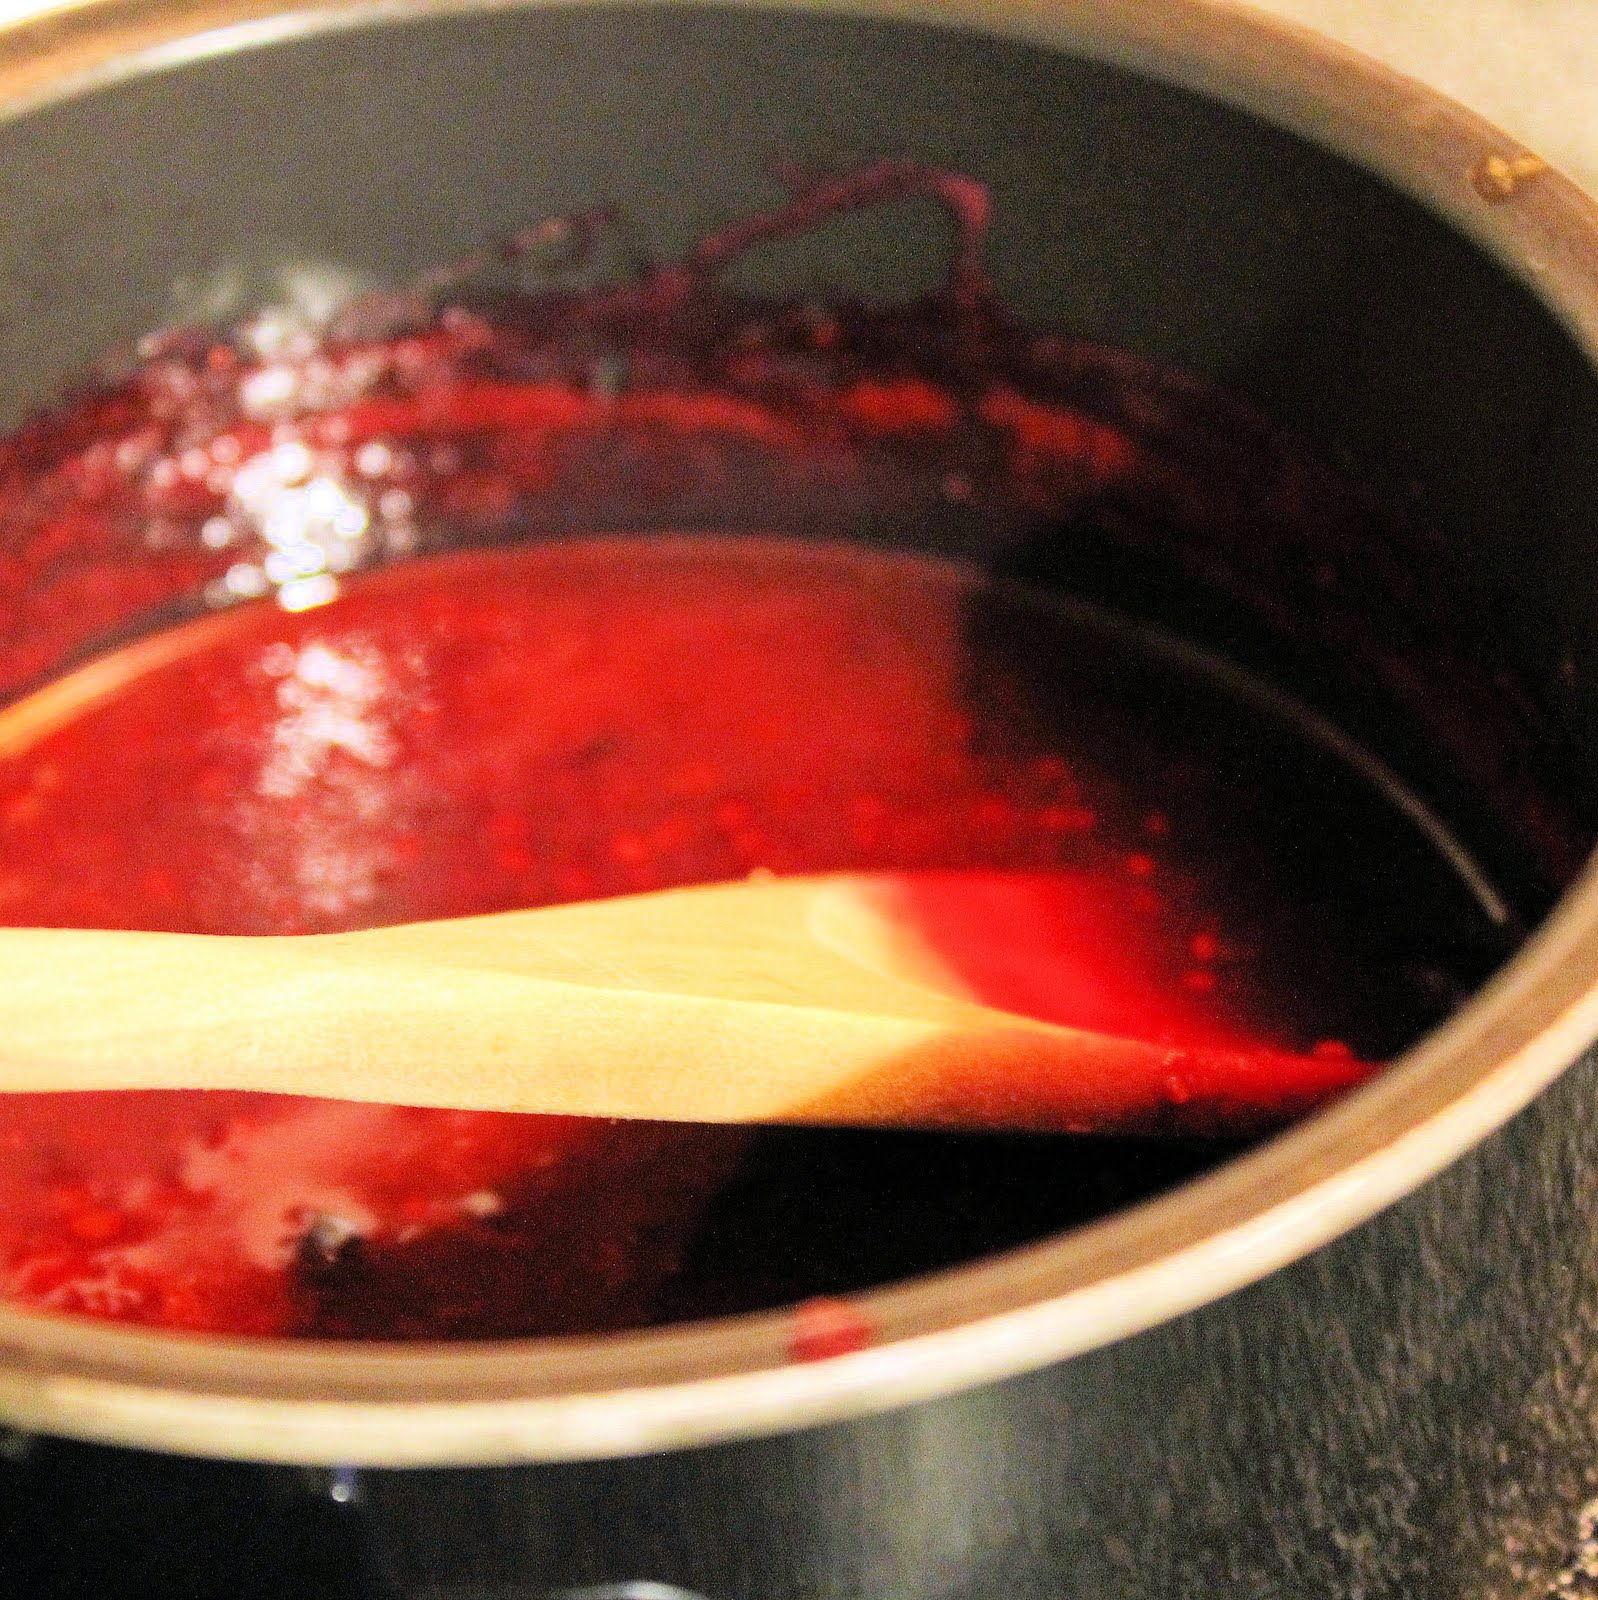
Stir in butter.
Meanwhile, divide the Greek yogurt among 4 bowls.

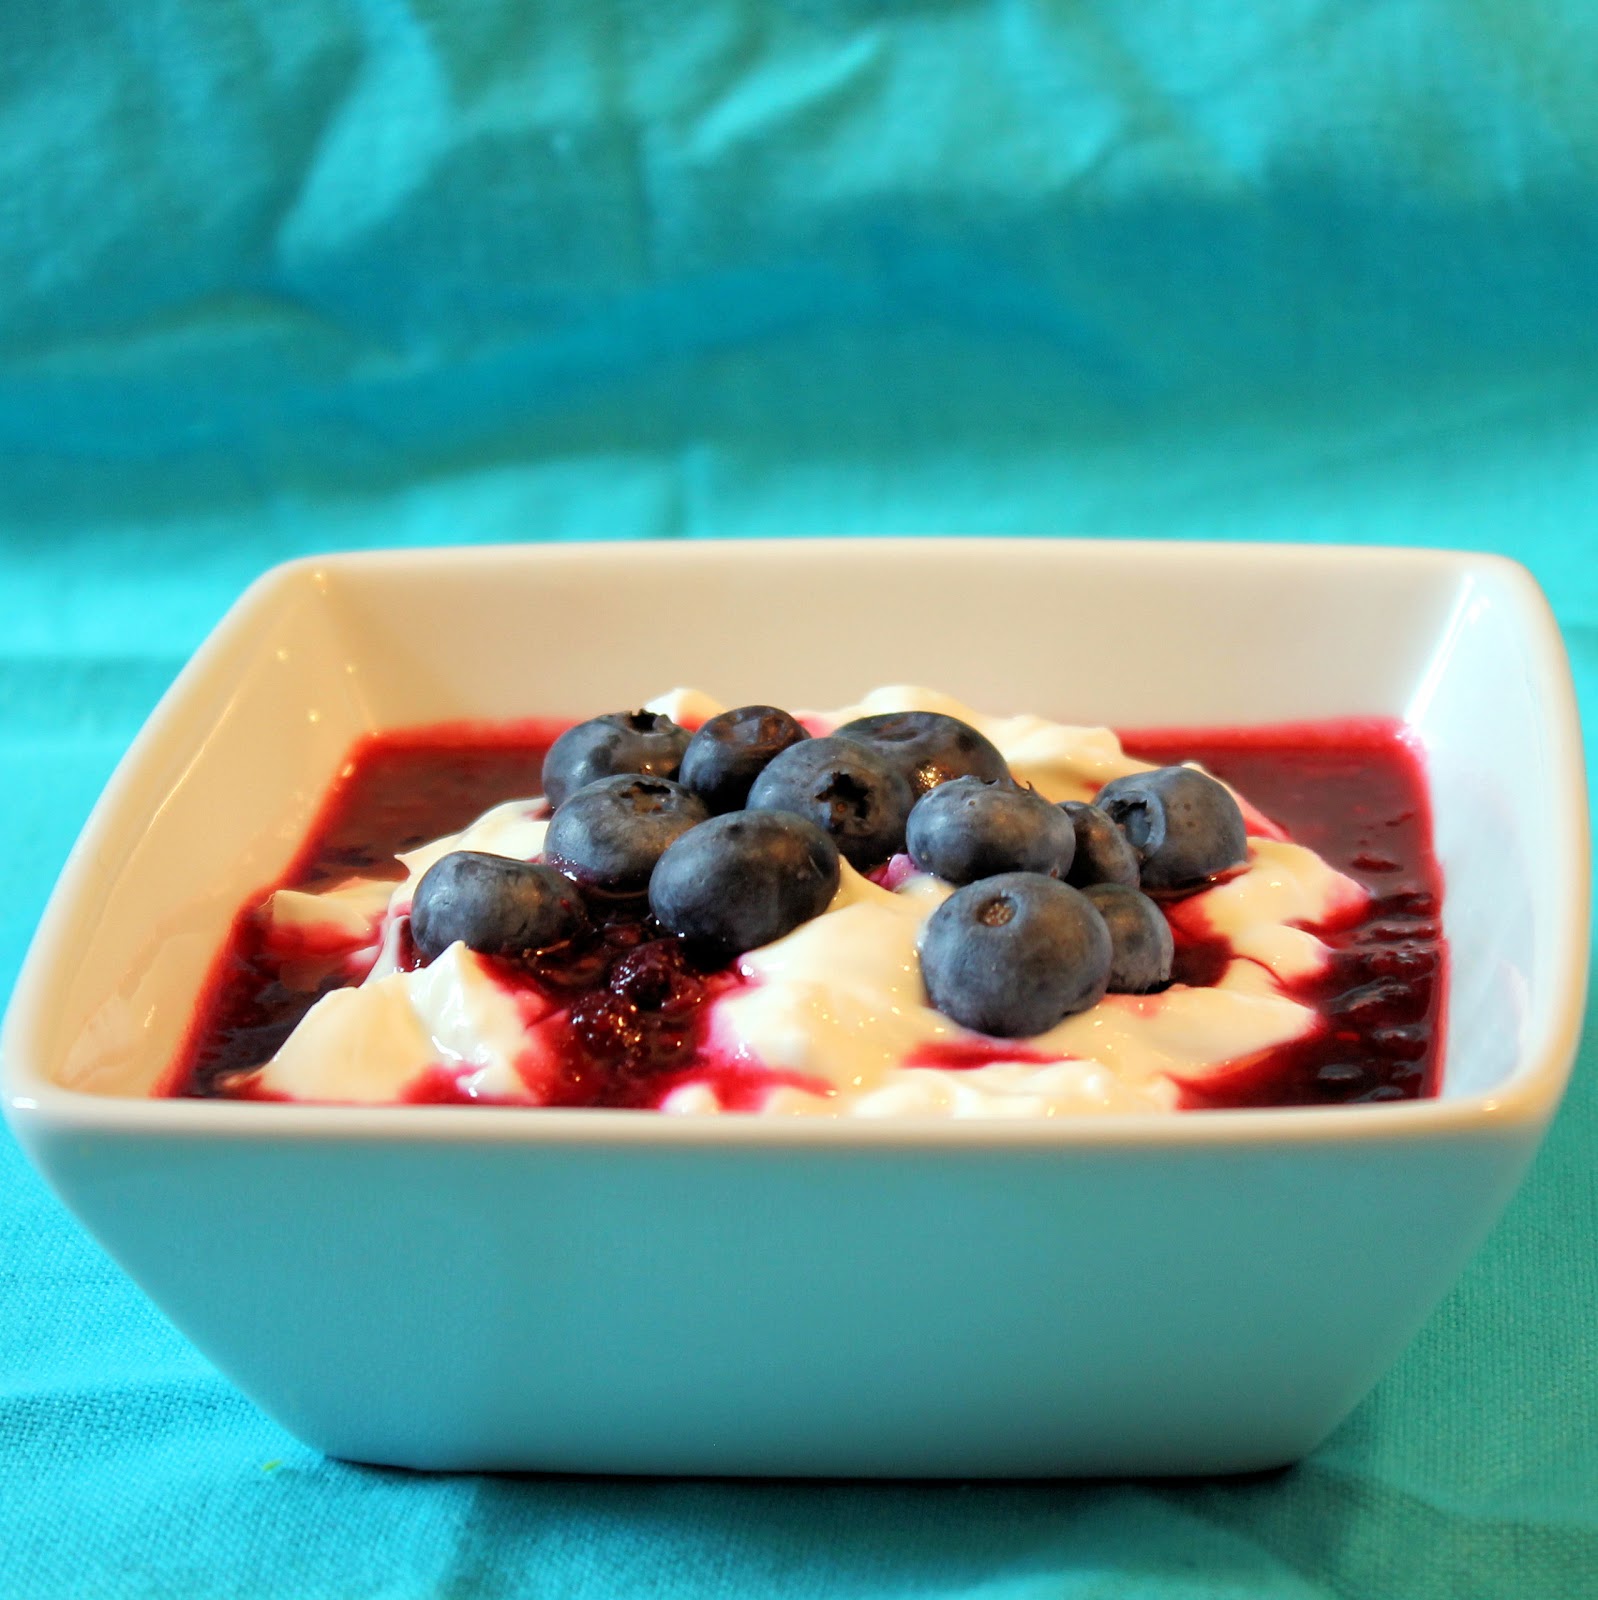
Spoon the berry sauce over the yogurt and serve. Top with fresh berries if you have any on hand.
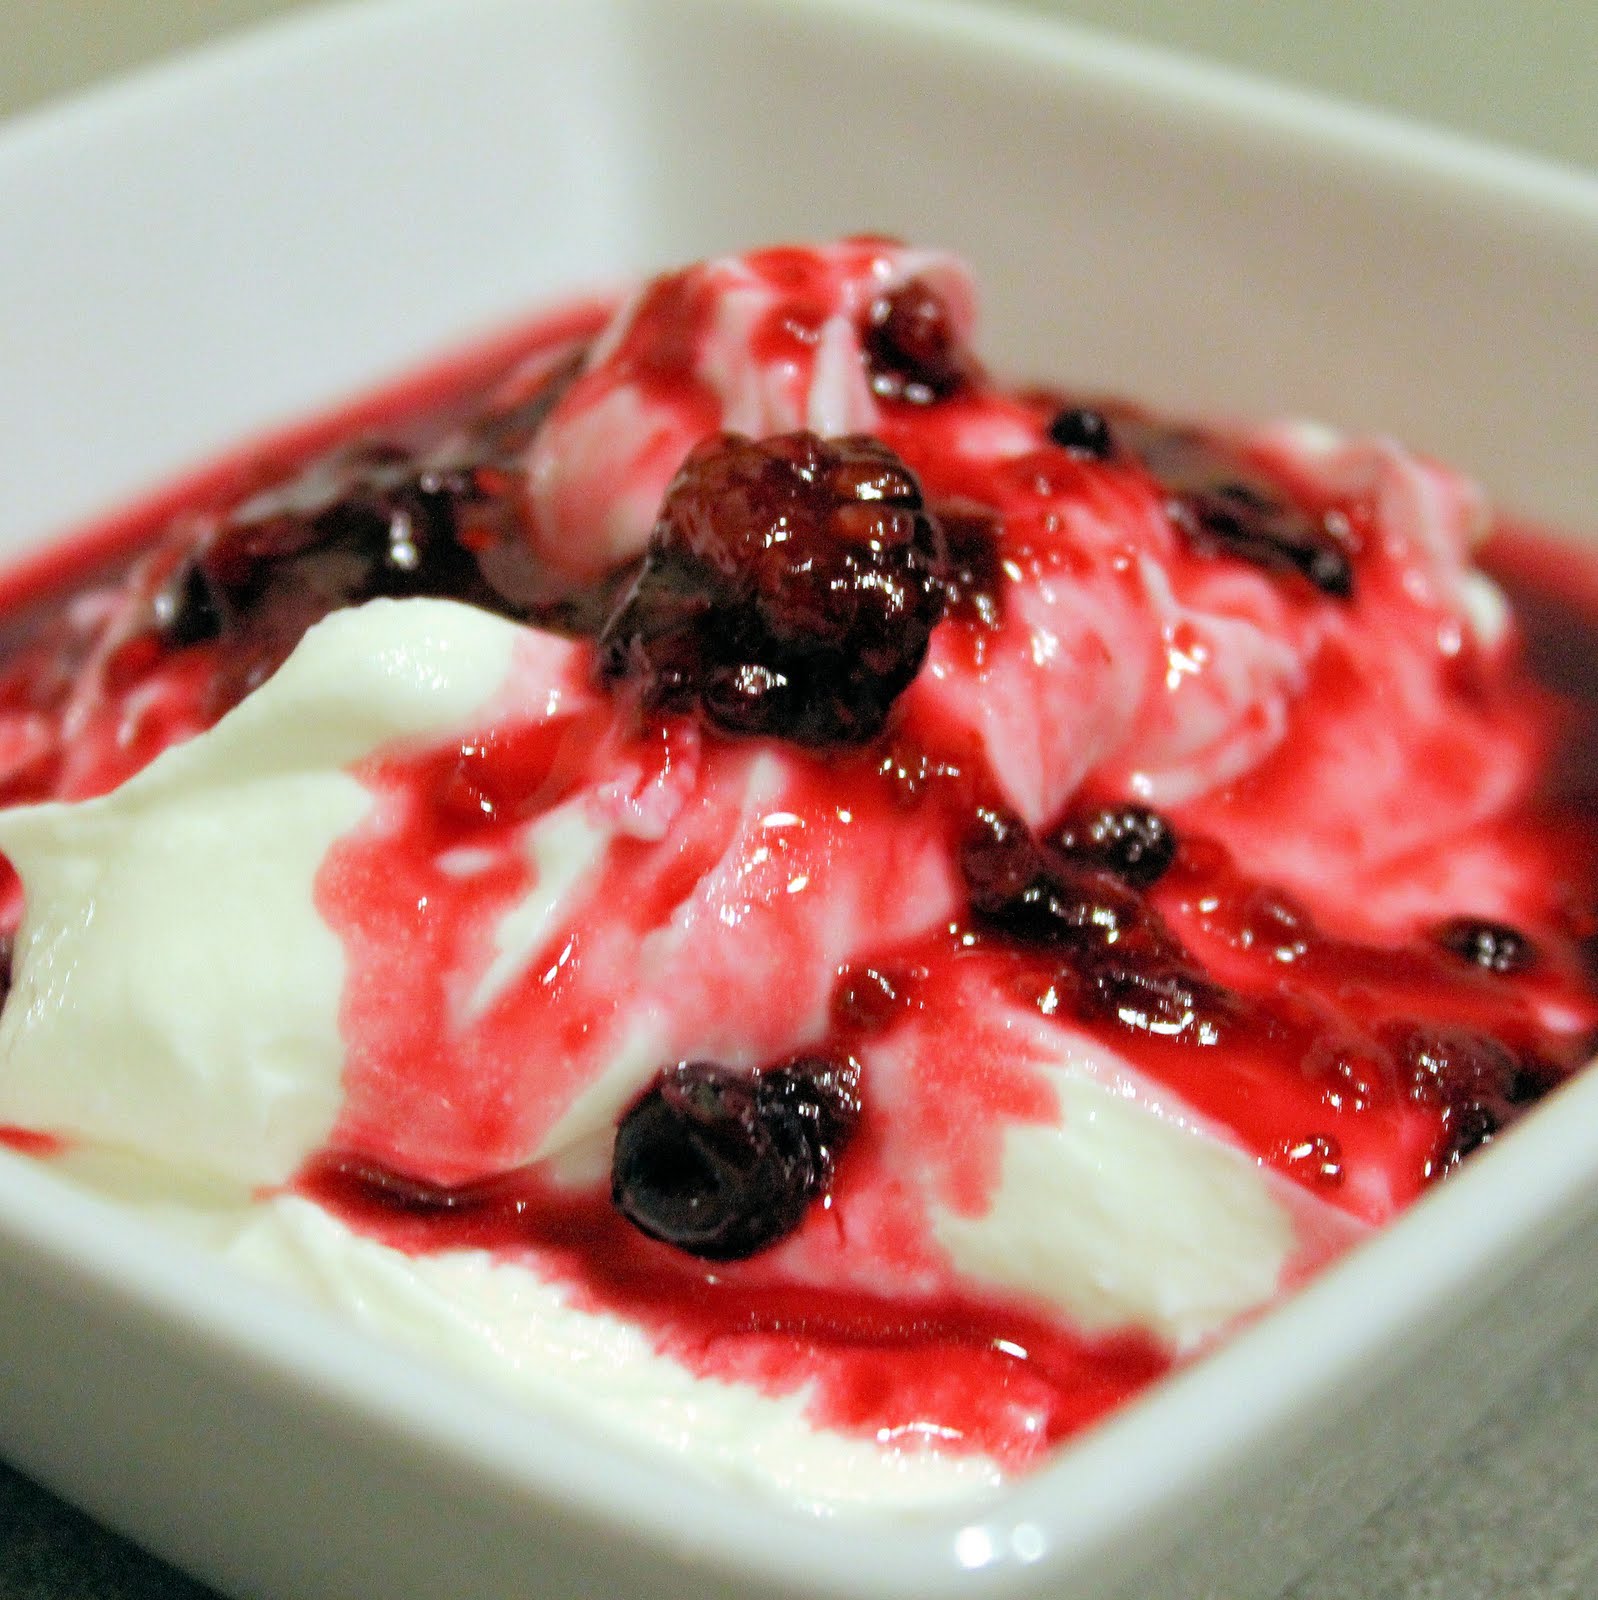
What a perfect way to indulge in a dessert without completely ruining your healthy dinner. The berry sauce is just sweet enough to cut through the Greek yogurt, but not overly so.
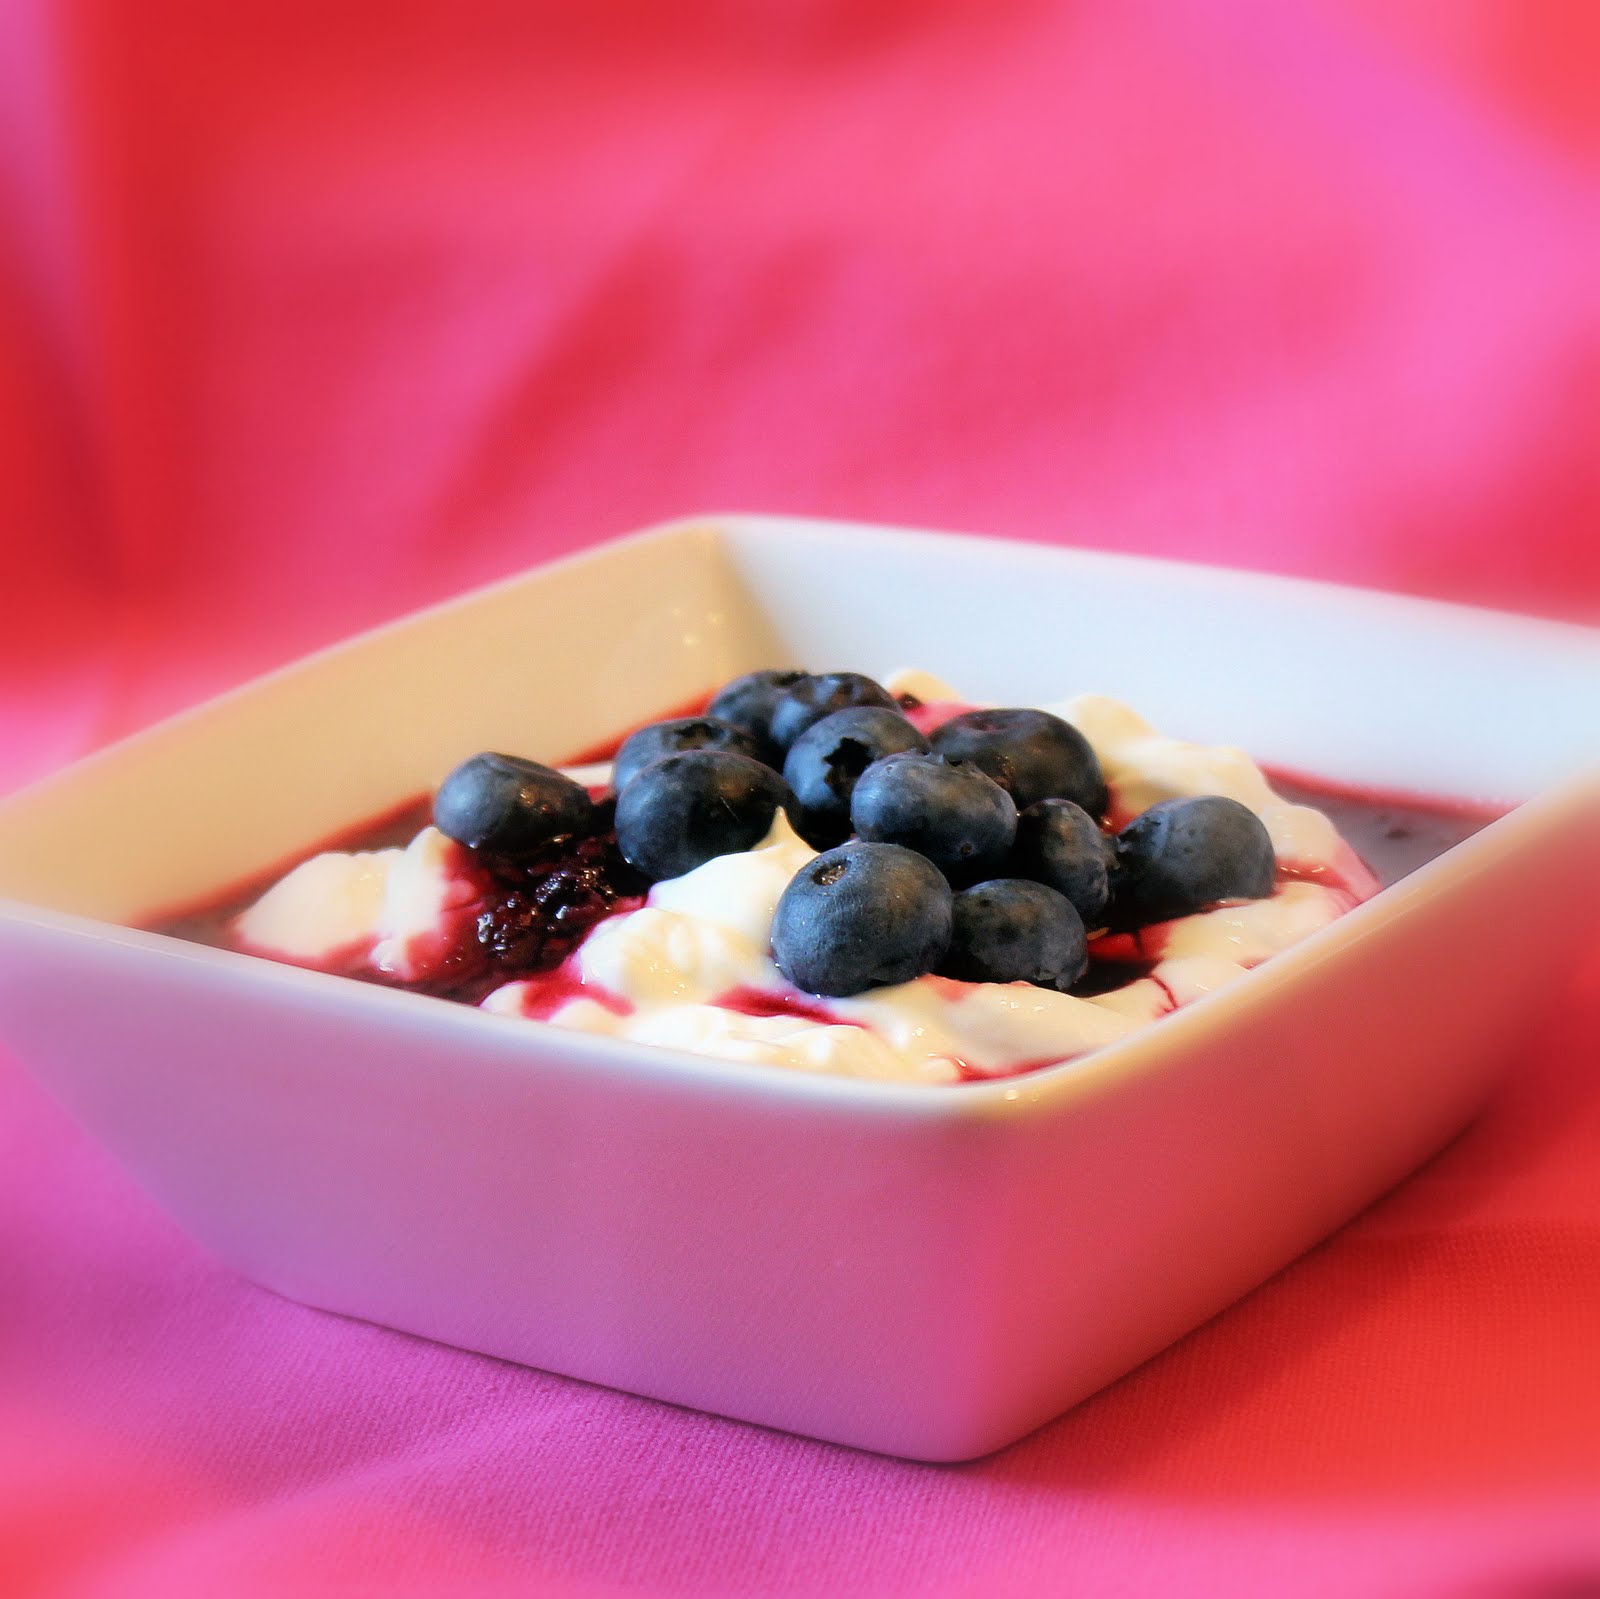
As good as it was for dessert, I still had some left over, so I had it the next morning for breakfast. It was just as tasty cold, which is great news because you can make the berry sauce ahead of time. I do suggest adding some fresh berries on top, just so there is some texture to the dessert.