My goodness the holidays are approaching quickly. What happened to 2016?!
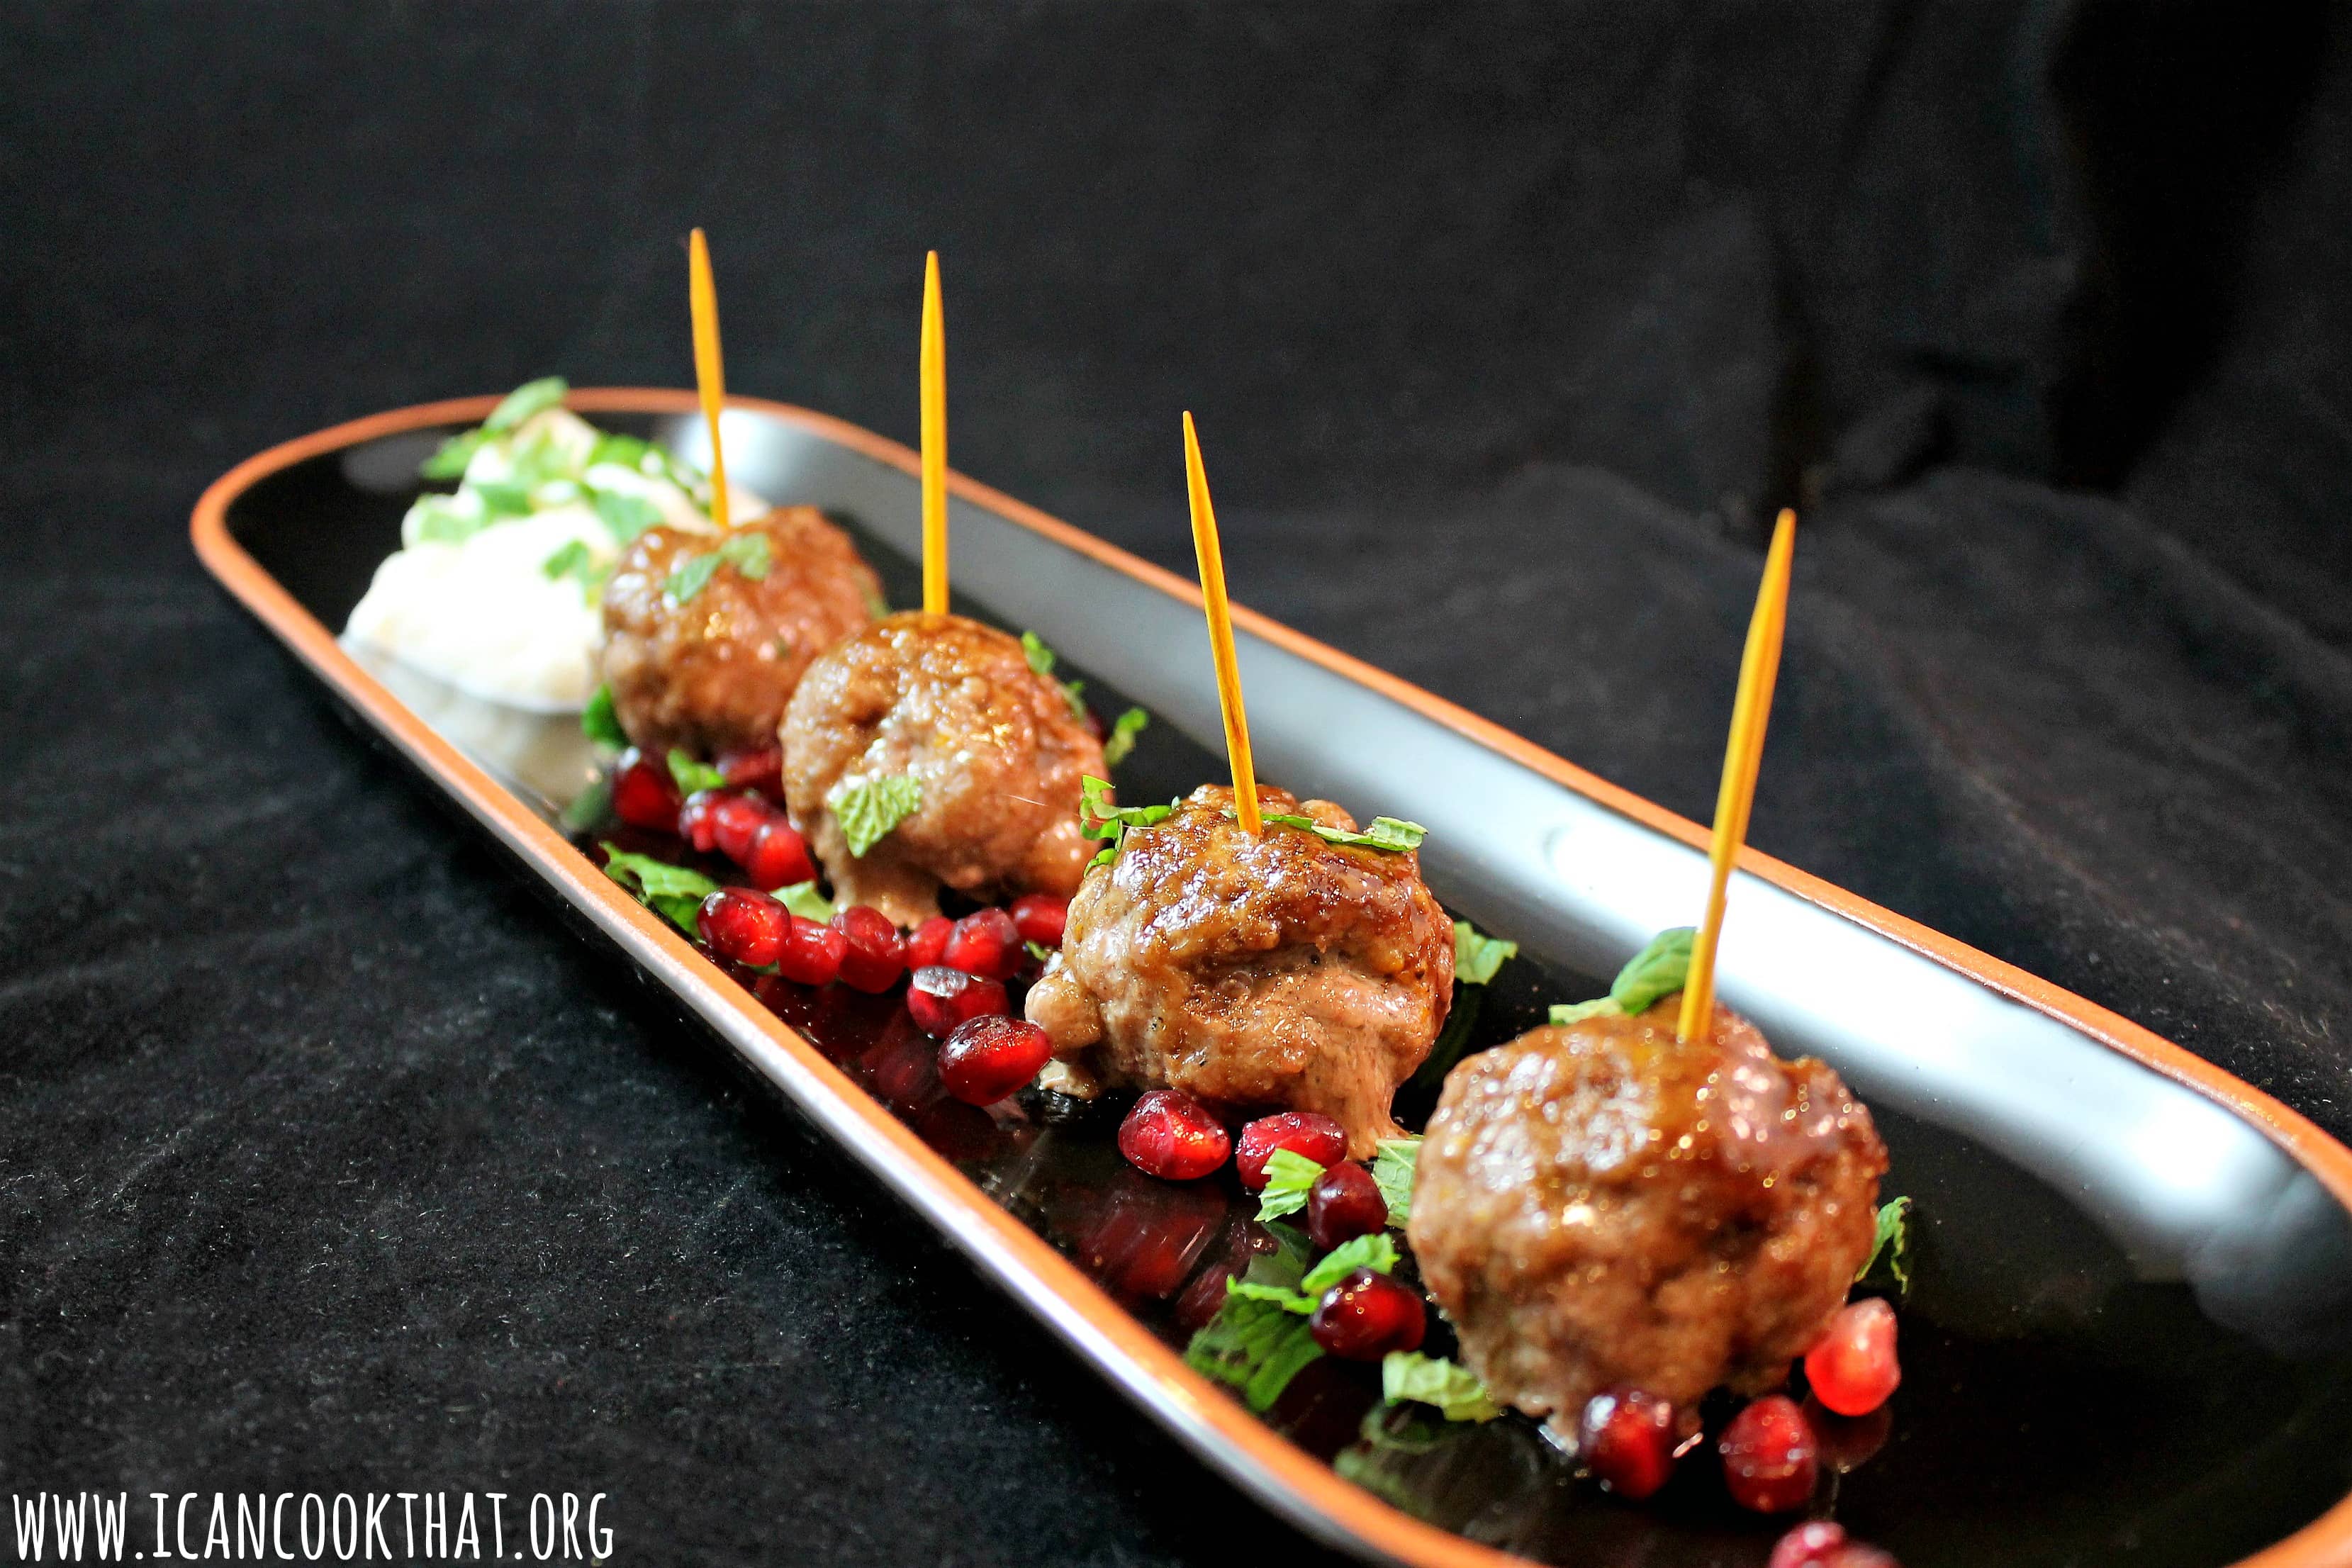
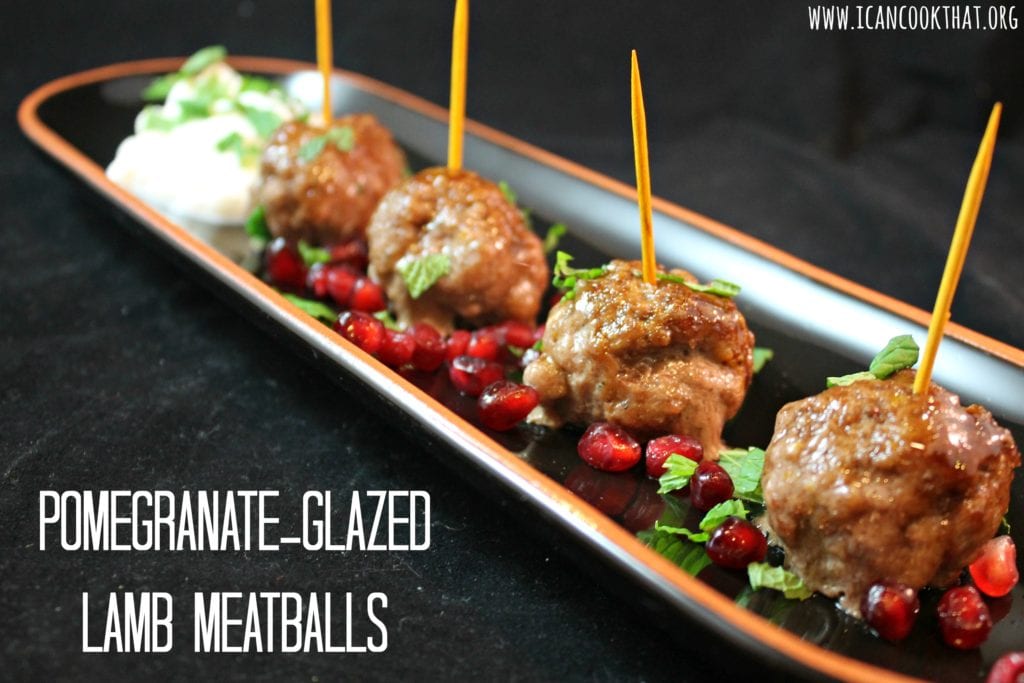
This is the time of year for parties and of course party appetizers. This party appetizer for Pomegranate Glazed Lamb Meatballs is so simple to make, but it is fancy enough to serve at a dinner party.
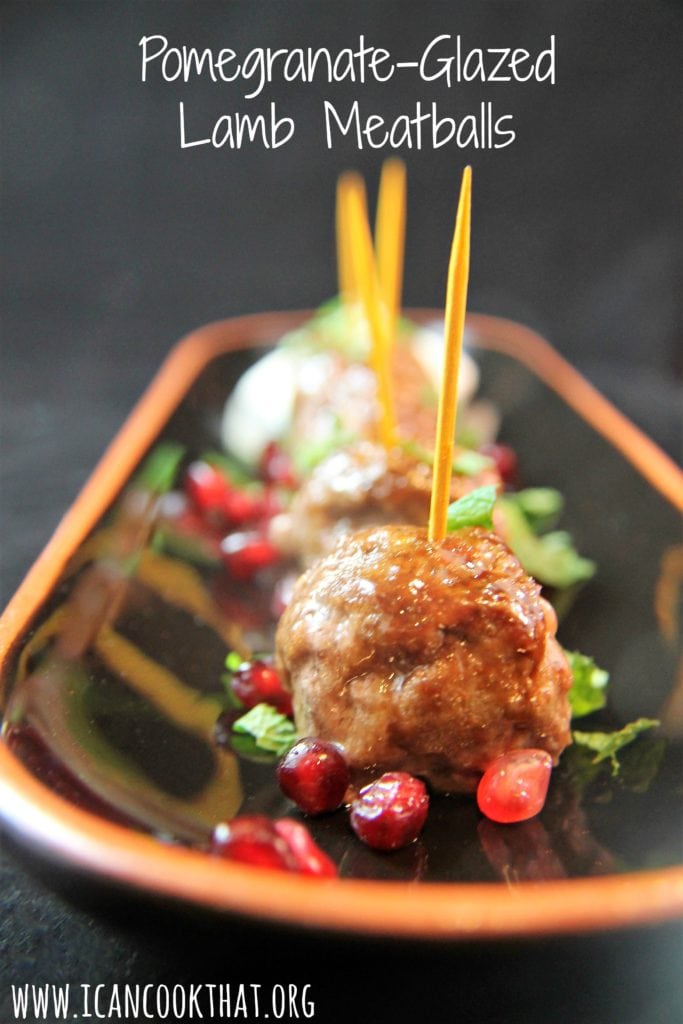
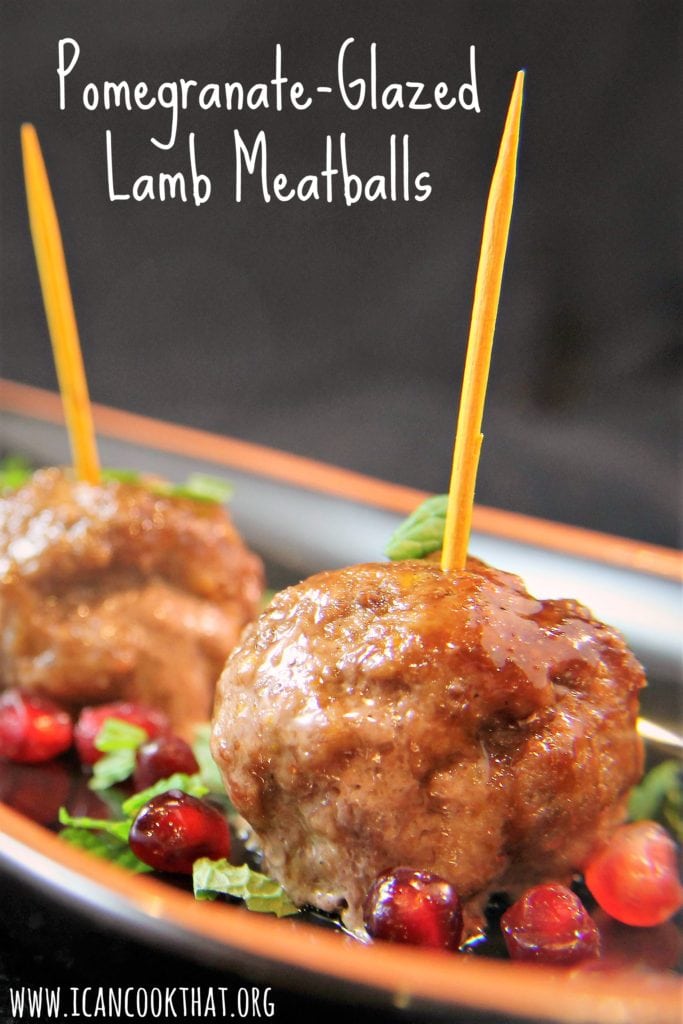
I found this recipe in New York Times’ cooking section and just had to try it out. Lamb meatballs with a pomegranate molasses glaze? Sign me up!
I served the Pomegranate Glazed Lamb Meatballs with some plain Greek yogurt with mint leaves mixed in, simple but a great complement!
My house is filled with pomegranates and pomegranate arils. Being a food blogger is tough 🙂
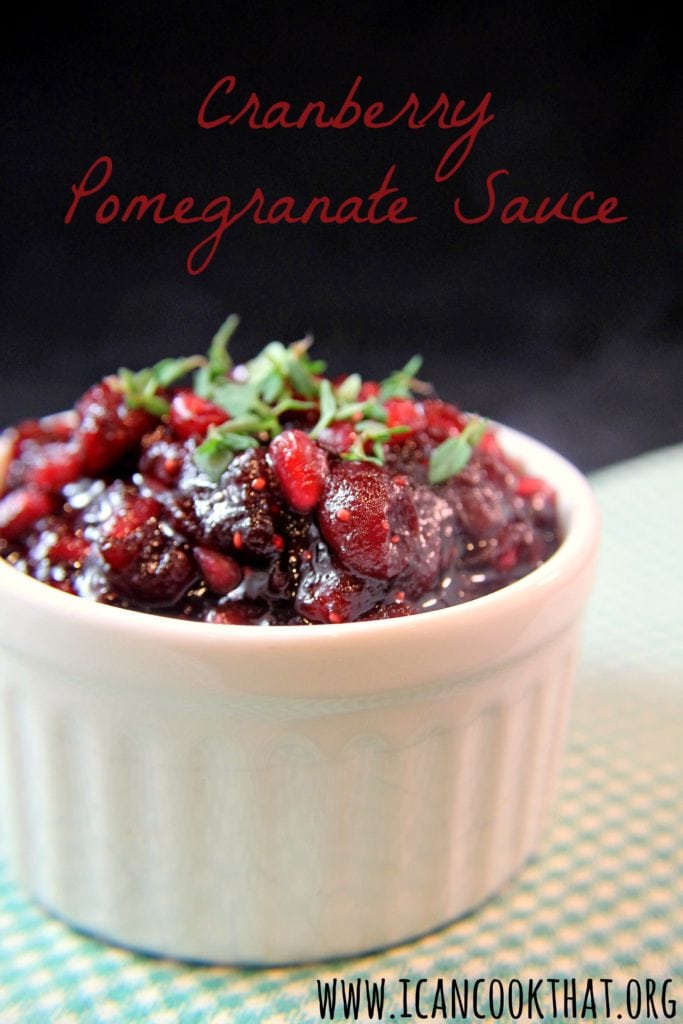
Thanksgiving is tomorrow, so I wanted to share a recipe for one of my favorite Thanksgiving dishes: cranberry sauce!
This recipe uses pomegranates two ways: in a pomegranate molasses and as whole arils, or seeds. Pomegranate molasses can be found in well-stocked grocery stores or Middle Eastern food stores. But I also show you how to make it below if you so wish.
Ingredients:
Cranberry Sauce:
1 bag (16 oz.) cranberries, thawed if frozen
2/3 cup packed dark brown sugar (or light brown sugar to make less sweet)
I love love love pomegranates. The burst of tanginess is awesome in both sweet and savory dishes.
It is once again pomegranate season (the season runs from ~October through ~January), so I am thrilled to be cooking again with one of my favorite ingredients.
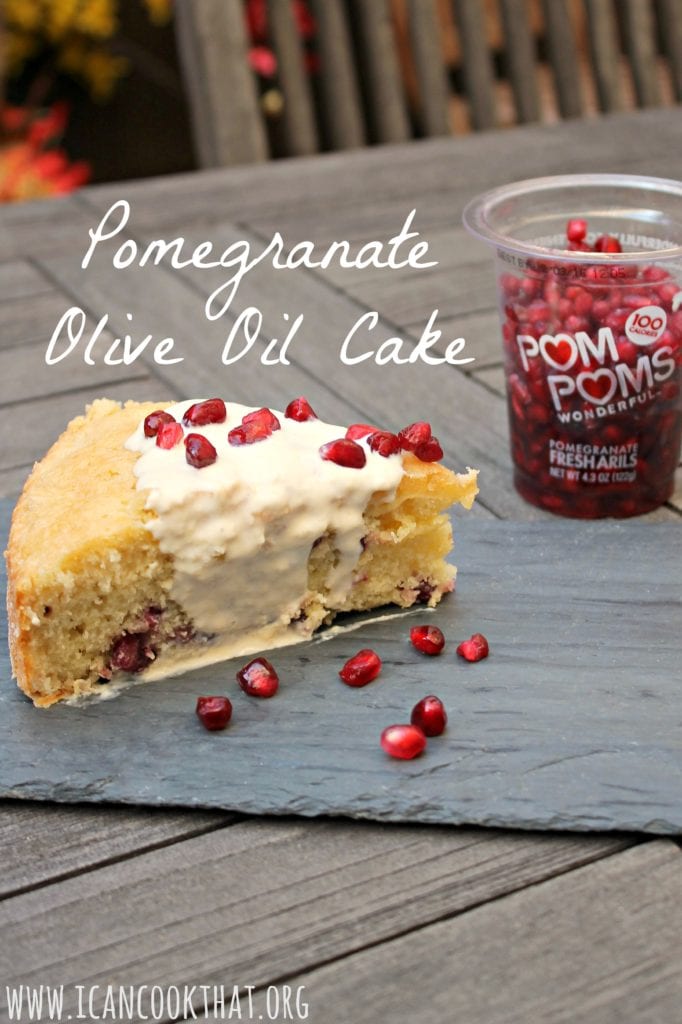
POM Wonderful must have heard about my love of their products, because I was contacted to try out their POM POMS Fresh Arils and pomegranates. I will have a few recipes over the coming weeks, but let’s start with something a little sweet.
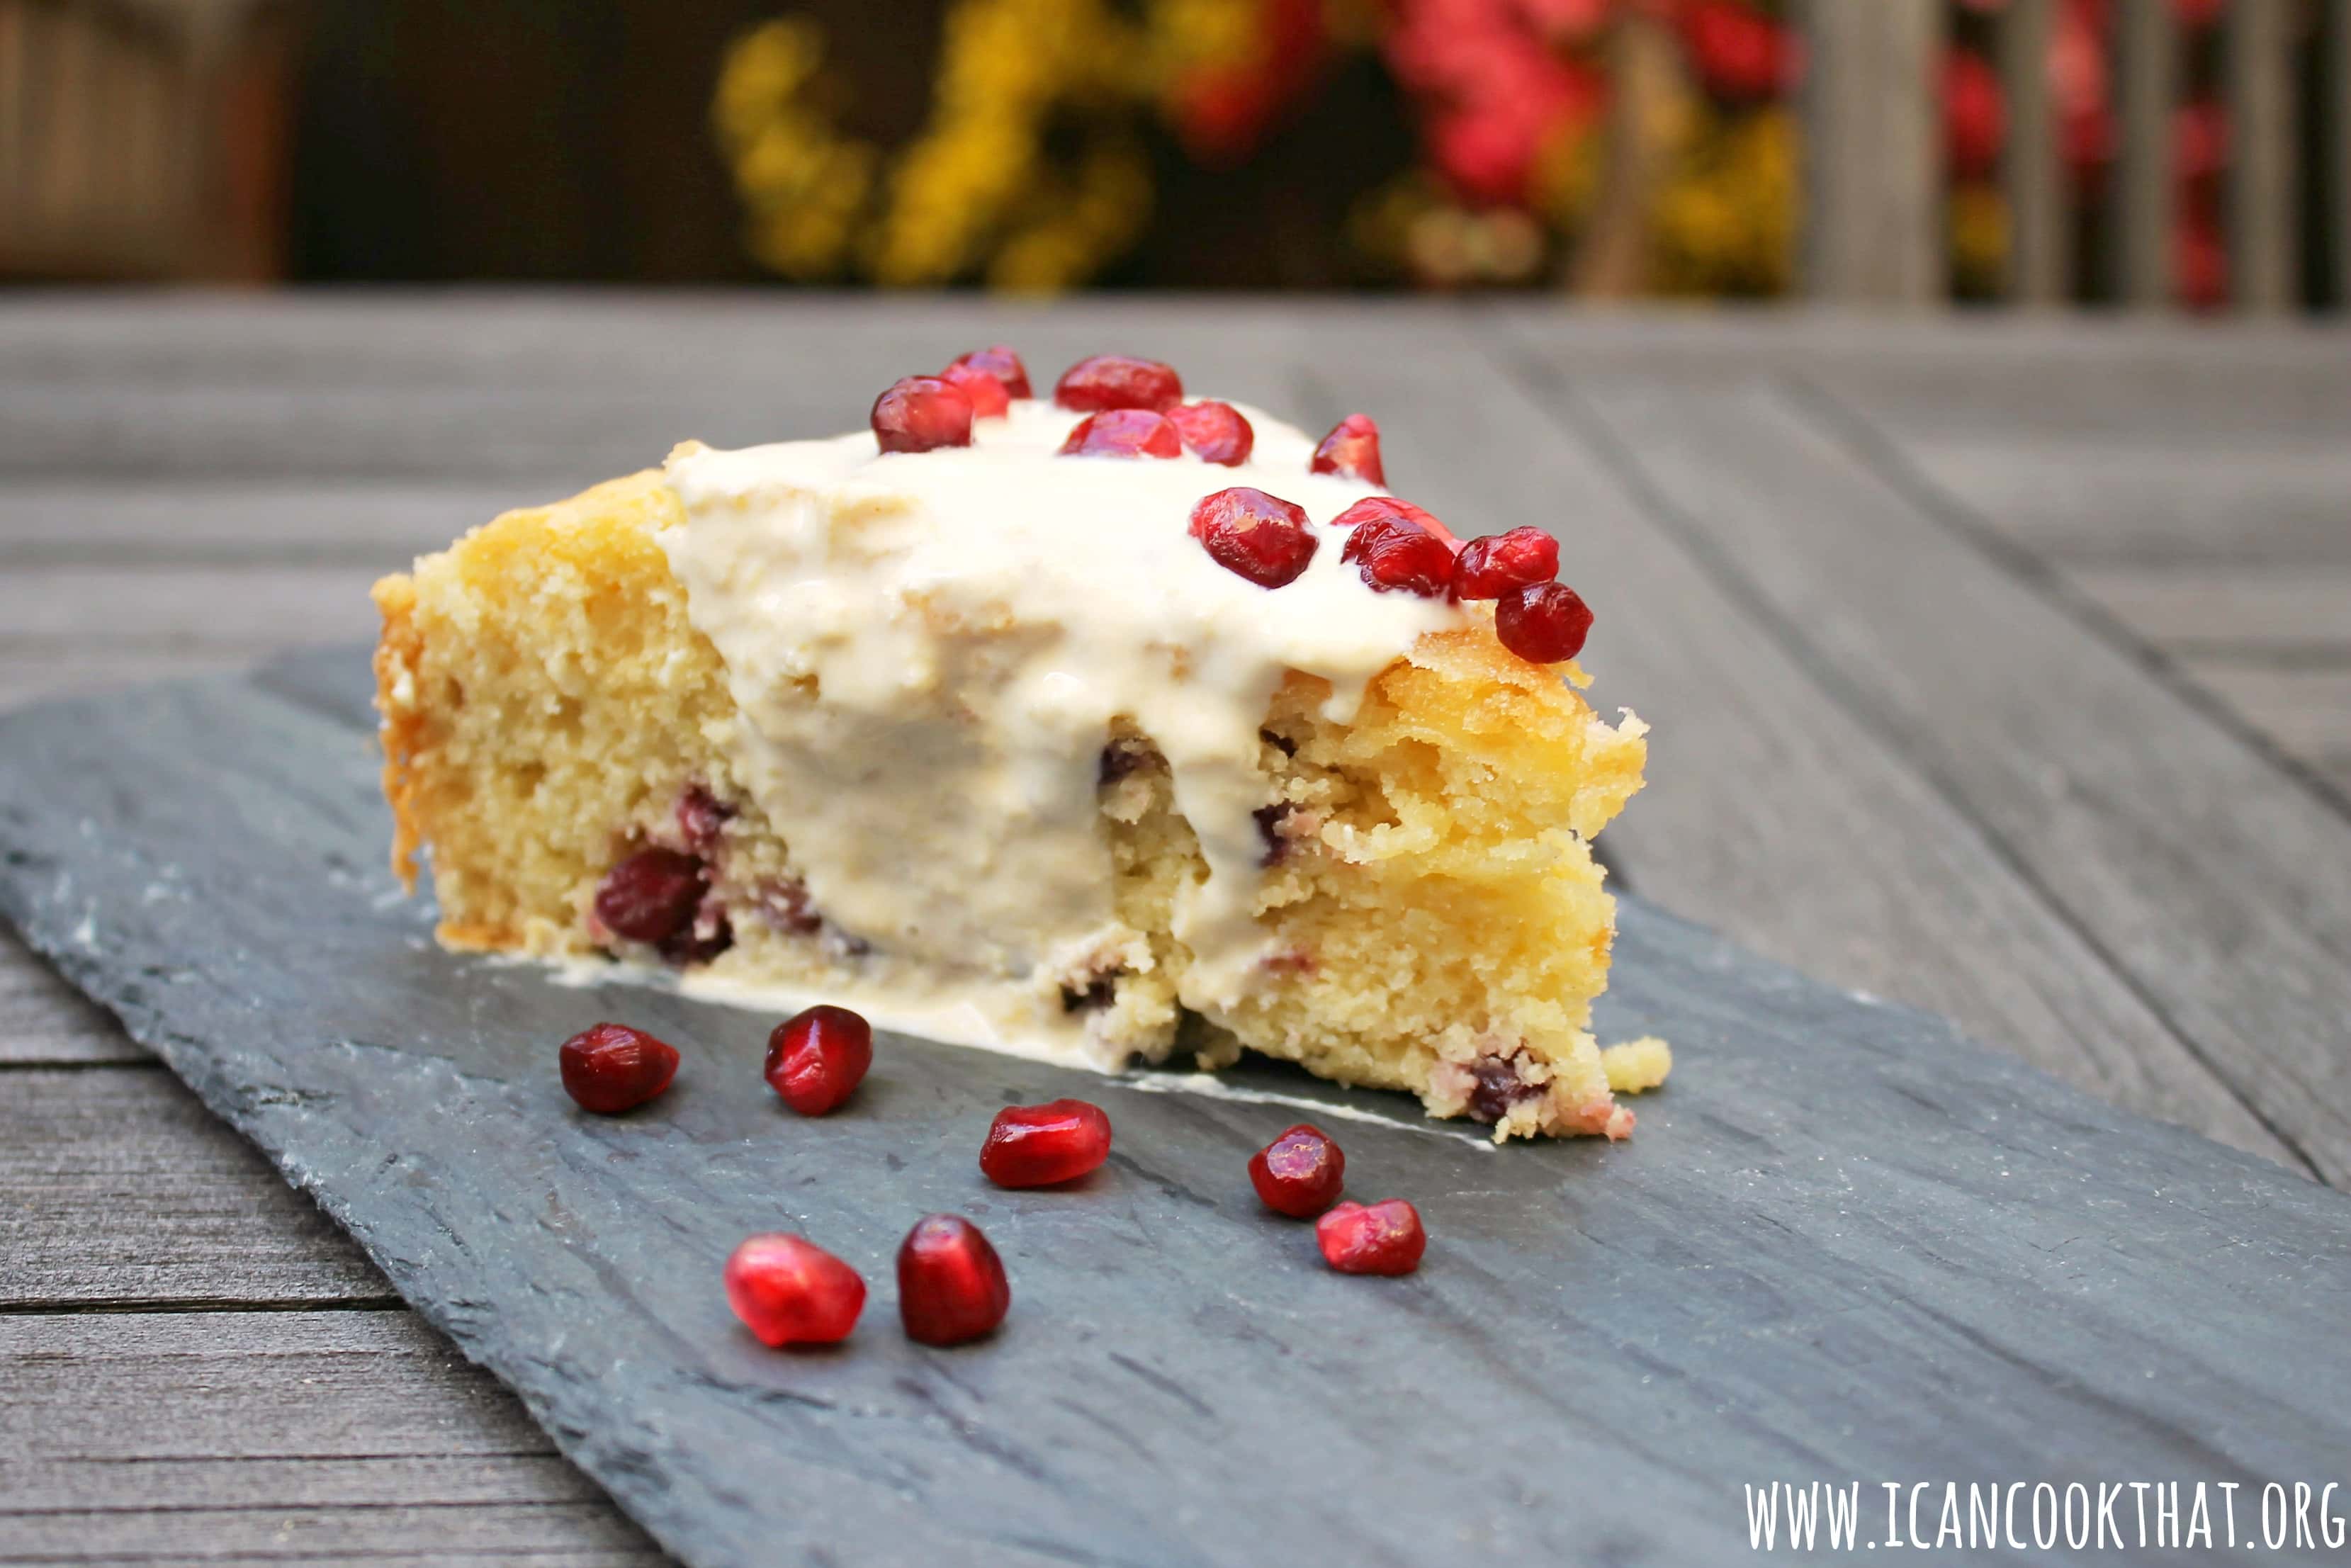
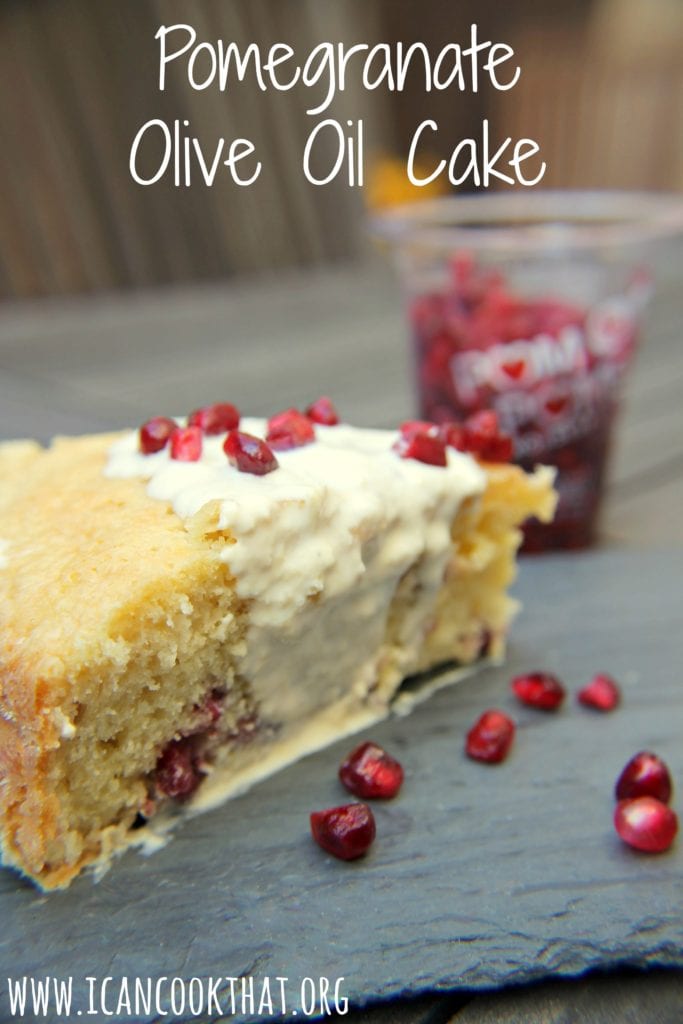
This recipe for Pomegranate Olive Oil Cake is from the POM Wonderful website. The Pomegranate Olive Oil Cake is topped with a Vanilla Crème Anglaise, a drizzle of olive oil, and some fresh pomegranate arils.
My slow cooker gets such a workout this time of year. But I’m not willing to fully give up “summer” foods just yet. I had a craving for baked beans recently, so I decided to make a batch in my slow cooker and serve it with a cheeseburger and cornbread. Yum. This recipe is a “Boston Baked Beans” recipe, meaning it uses molasses in the recipe.
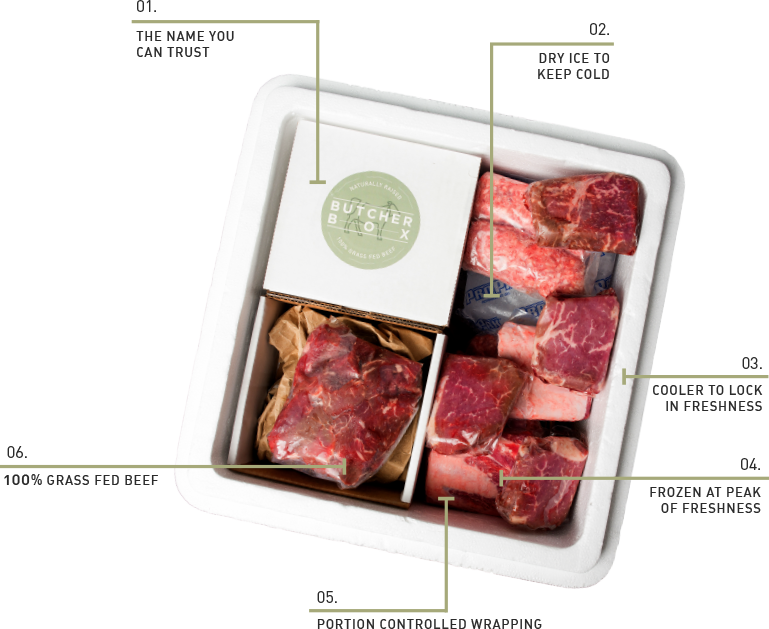
This recipe uses bacon that was sent to me by ButcherBox, a company that delivers 100% grass-fed beef and other protein to your door. The company partners with a collective of small farms to deliver high quality products at an affordable price.
Butcher Box is a subscription service, so the boxes are mailed monthly.
The boxes come with 7-10 pounds of meat (20+ servings). There are a bunch of options: All Beef, Beef & Chicken, Beef & Pork, or Mixed (Beef, Chicken & Pork, which is what I received).
The Mixed box includes 100% grass-fed beef, organic chicken, and all-natural pork. Most of the meat comes frozen (the bacon was not), so you can stick it right in your freezer and eat when convenient for you. I’ll have future recipes using the rest of the ingredients in the box, but for now, they are in my freezer.
This recipe also includes the best way to make bacon, in my humble opinion. Making bacon in the oven allows you to make quite a bit at a time, and the bacon doesn’t shrink up as much as it cooks. On to the recipe!
Ingredients:
1 pound dry navy beans, soaked in water overnight
10 oz bacon, cooked and cut into bite sized pieces
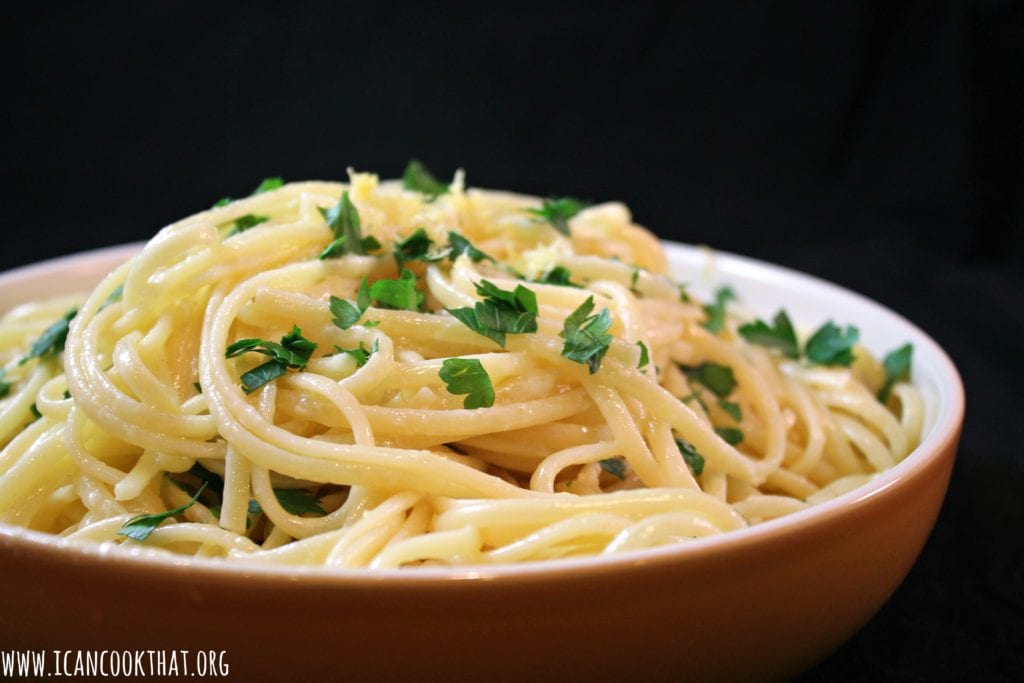
I recently received a nice email from Deiss Kitchenware, a German-based company that makes some snazzy kitchen products. They were kind enough to send me their Citrus Zester and Cheese Grater. I knew I had to make a dish that let me zest and grate my little heart out to try their product, like this recipe for Linguine with Lemon Sauce!
This recipe for Linguine with Lemon Sauce is so simple, and uses mostly ingredients you probably already have on hand. (What? I’m the only person with some Parmigiano Reggiano on hand at all times?)
Ingredients:
4tablespoons (1/2 stick) salted butter
the zest of 1 lemon
1 (16 oz ) box dried linguine
1/2 cup heavy cream
the juice of 1 lemon
1/4 cup freshly grated Parmigiano Reggiano cheese, plus extra cheese to serve on the side
This Slow Cooker Short Rib Ragu is the ultimate comfort food and is perfect for busy fall weeknights!
It is definitely feeling like fall in Philadelphia now. The days are getting shorter, and there is a chill in the air. Which means my slow cooker is back in full force!
I absolutely love my slow cooker (paid link). It makes me so happy to come back to an awesome comfort food meal at the end of the day. This recipe for Slow Cooker Short Rib Ragu is basically a really thick meat sauce, made with shredded boneless short ribs. And. It’s fantastic.
This can be served over pasta, egg noodles, polenta, or even mashed potatoes (I went with pappardelle pasta for this round). The recipe makes quite a bit, so you can stock your freezer for nights you just don’t feel like cooking.
cThis has been quite a dreary and rainy fall so far. One of my favorite remedies for blah weather is a warm beverage. In the fall, you really can’t go wrong with a mulled apple cider, like this Orange Mulled Whiskey Cider!
Nielsen-Massey sent me a sample of their Pure Orange Extract to use in this citrusy spiced cider. Nielsen-Massey has offered high quality vanilla and other flavors since 1907. They are my go to for extracts, vanilla beans, and vanilla powder. Their Pure Orange Extract is a great pantry way to always have citrus flavor on hand. Just 1/2 teaspoons of the orange extract equals two tablespoons fresh orange juice.
They must have known Philadelphia has been basically sitting under a cloud and that I needed a warm pick me up! The addition of the pure orange extract to this cider brings some brightness to the mulled cider.
This cider uses some of my favorite spices to really bring the fall flavor. I picked up my spices at the Head Nut in Reading Terminal, but you can also find them at Penzey’s.
Recipe (serves 6):
2 quarts apple cider
1/2 cup 100% pure pomegranate juice
1/3 cup 100% pure maple syrup
1 Nielsen-Massey Madagascar Bourbon Pure Vanilla Bean
1 teaspoon Nielsen-Massey Pure Orange Extract
3 large cinnamon sticks
12 whole cloves
5 whole allspice berries
1/4 teaspoon cardamom seeds
3/4 cup whiskey
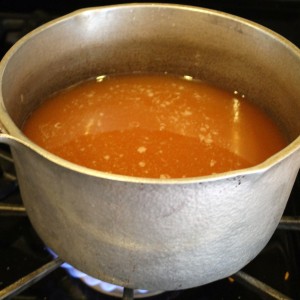
Add the apple cider, pomegranate juice and maple syrup to a large saucepan; heat over medium-high heat.
Split vanilla bean in half lengthwise with the tip of a small knife.
Scrape both sides of the bean with the knife’s dull side and add the seeds and bean to the saucepan. (The seeds are the black flecks in the cider.)
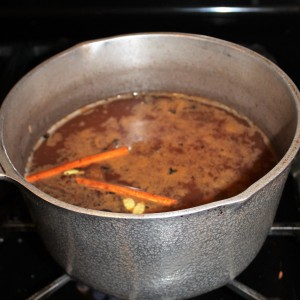
Add the orange extract, cinnamon sticks, cloves, allspice berries and cardamom seeds to the saucepan; stir to combine. Bring to a boil.
Reduce heat to medium-low and simmer for about 30 minutes. Strain mulled cider through a fine mesh sieve.
Add whiskey; stir to combine. Serve with a fresh apple or orange slice.
This cider tastes just like fall! What a comforting beverage as the weather turns colder.
The spices in the cider add a nice warmth to the drink, complementing the apple and whiskey flavors nicely.
The orange flavor from Nielsen-Massey’s Pure Orange Extract comes through as well, adding a burst of bright citrus and making for a super tasty drink!
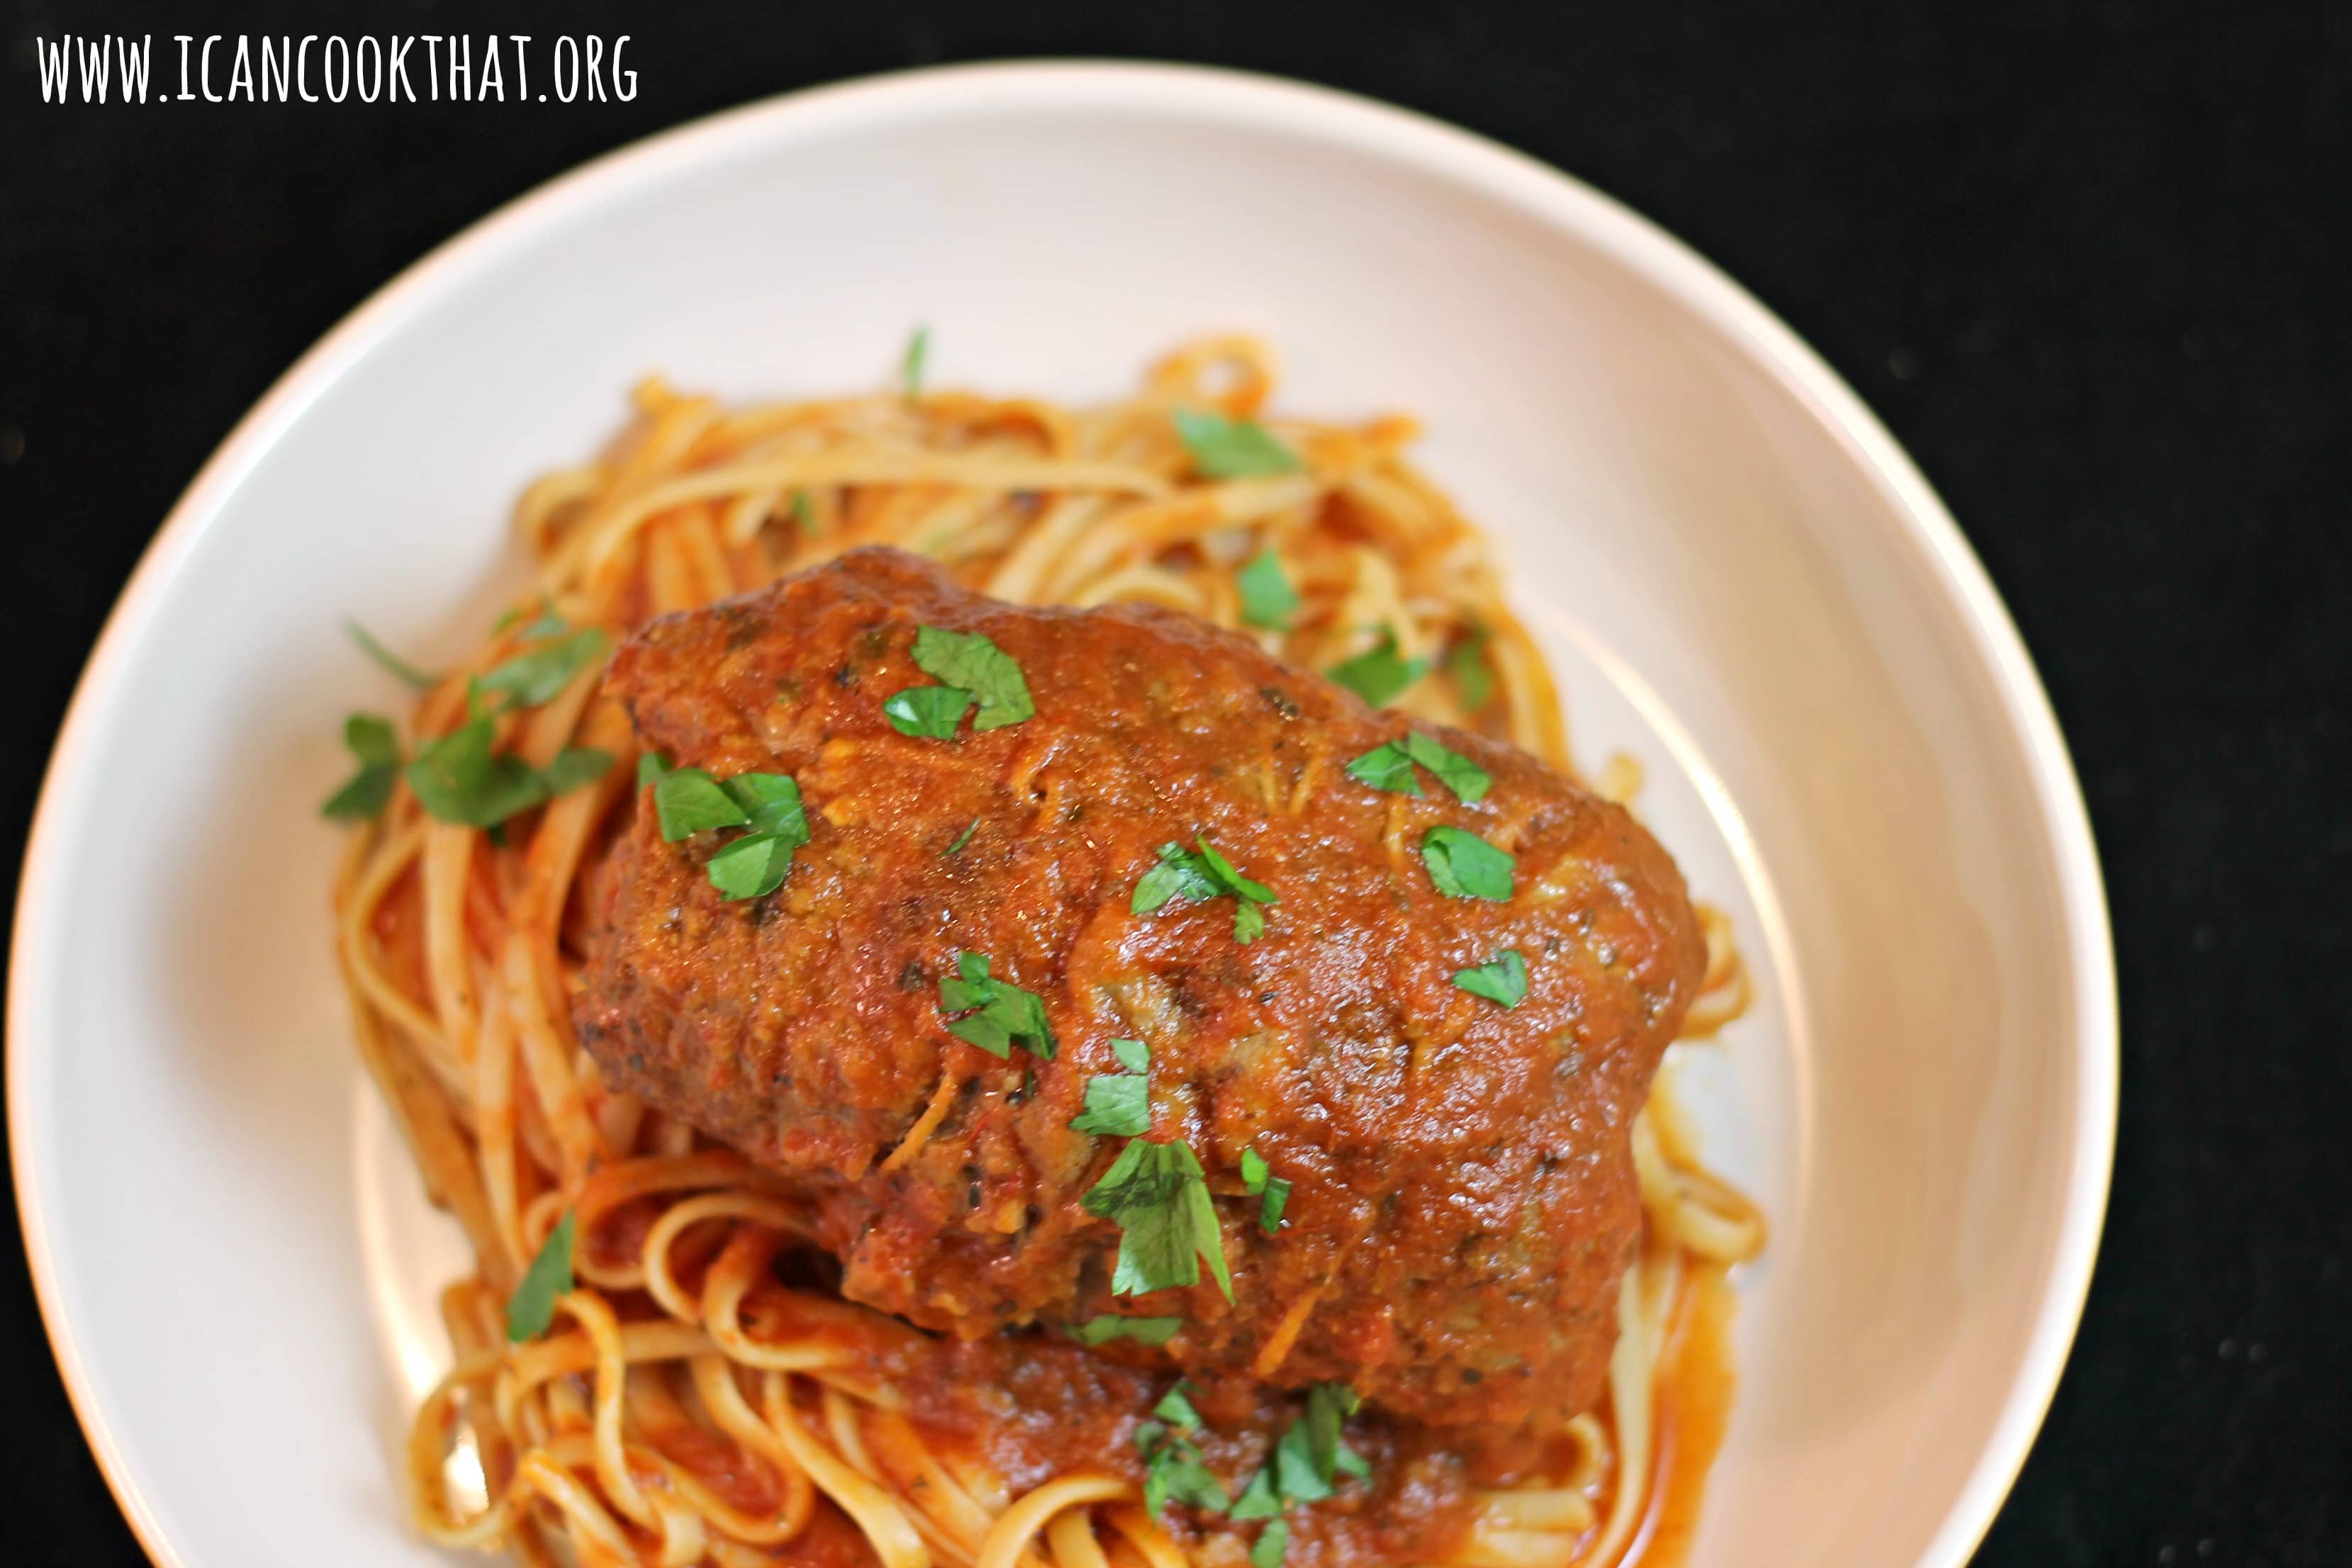
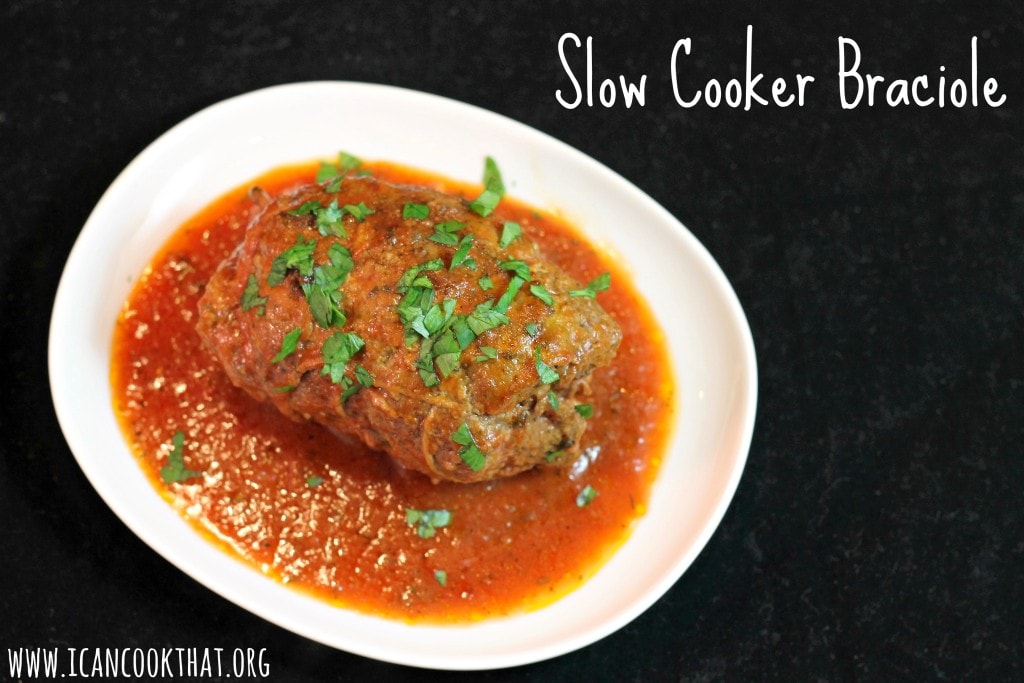
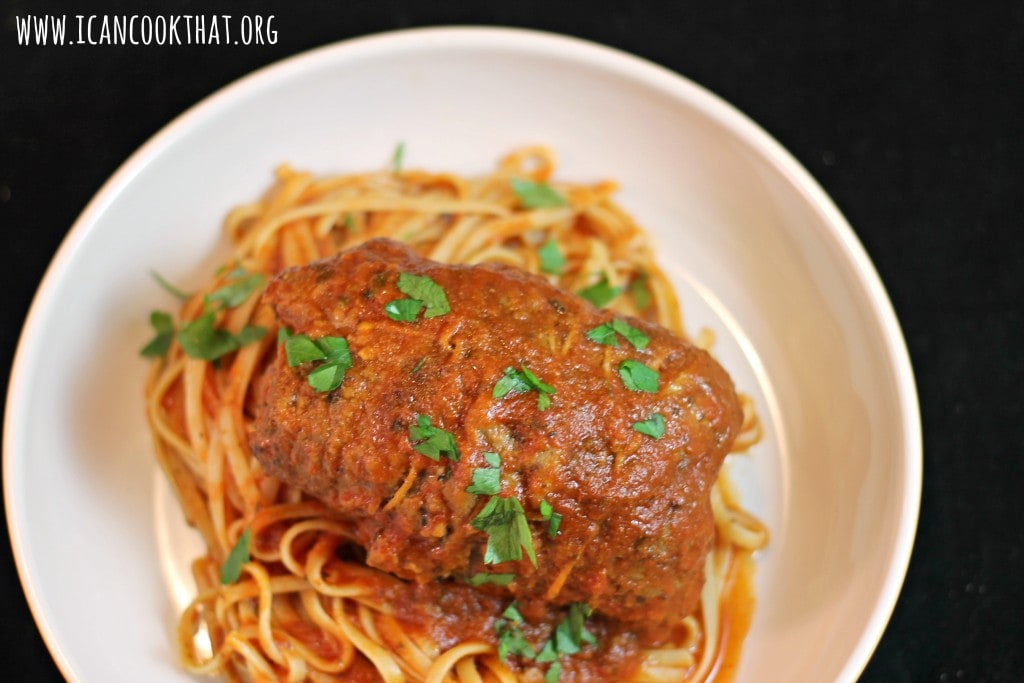
My mom recently put in a request for braciole. And by put in a request, I mean she went to Esposito’s in the Italian Market, purchased braciole, and told me I was going to make it. So. Slow Cooker Braciole it is!
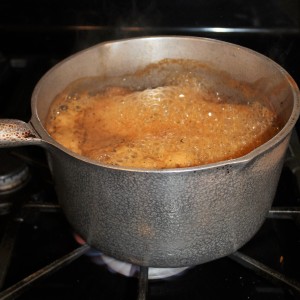
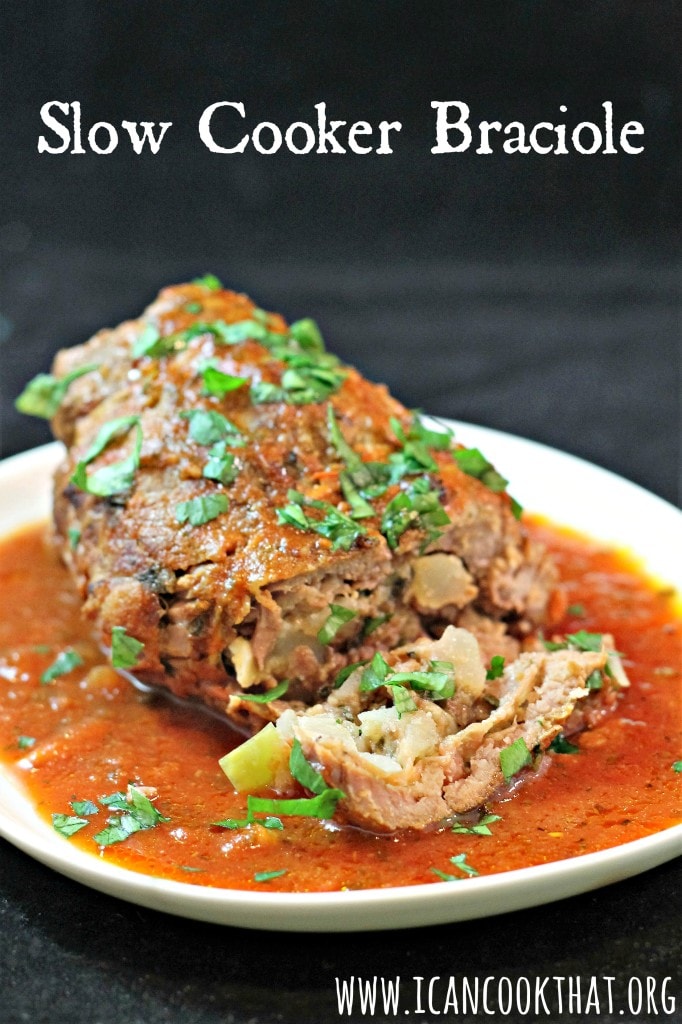
I was excited to try; I’ve never made braciole before. Braciole is a thinly pounded meat that is topped with a filling and then rolled up and secured either with string or toothpicks. The rolled meat is browned and then added to a tomato sauce to cook.
I have to let you know. Braciole is a labor of love. There is so much prep work! The version I am sharing below is a recipe from a family friend that my parents have been using for years. I decided to make it in my slow cooker so that I could leave and run some errands while it cooked. Because of the prep work involved though, this is definitely a weekend meal.
Ingredients:
For Braciole:
3 eggs, hardboiled, diced
2 russet potatoes, boiled and diced
1 green bell pepper, finely diced
1 onion, finely diced
1 lb mushrooms, finely chopped
1/3 cup chopped parsley
1/4 cup grated Romano cheese
1/4 cup Italian breadcrumbs
8 pieces of braiole, or 2 lbs top round, cut into half inch thick slices
Note: I was sent a Glass 3 Qt Baking Dish with Lid, Glass 2 Qt Baking Dish with Lid, Brownie Spatula, and Illuminating Digital Hand Mixer from OXO. All opinions are my own.
September is Pediatric Cancer Awareness Month. Every year, OXO donates up to $100,000 to support an organization called Cookies for Kids’ Cancer. The organization was founded by two OXOnians (OXO employees) who were inspired by their son Liam’s battle with pediatric cancer, a disease which claims the lives of more children in the US than any other disease. Cookies for Kids’ Cancer provides inspiration and support to allow anyone to easily get involved in fundraising to find a cure for pediatric cancer.
I’ve posted twice a year for the last few years to help bring awareness to Cookies for Kids’ Cancer. Click here to see some of my past posts.
Each year, OXO donates $100 to Cookies for Kids’ Cancer for each blogger post up to their $100,000 commitment. This year, OXO asked us to use a recipe from Dorie Greenspan’s newest cookbook, Dorie’s Cookies while using some of OXO’s great baking tools. Dorie’s Cookies includes over 200 recipes from classics to brownies to savory cookies, with some great baking tips thrown in.
I decided to make a recipe in the cookbook named Mary’s Maine Bars, named after a recipe developed by Dorie’s recipe tester (Mary Dodd) after a family trip to Maine. The Apple Butter Swirled Gingerbread Bars are a delicious, chewy gingerbread that is perfect for the fall. One of the alternative to the recipe suggested swirling apple butter into the batter, so I tried it out!
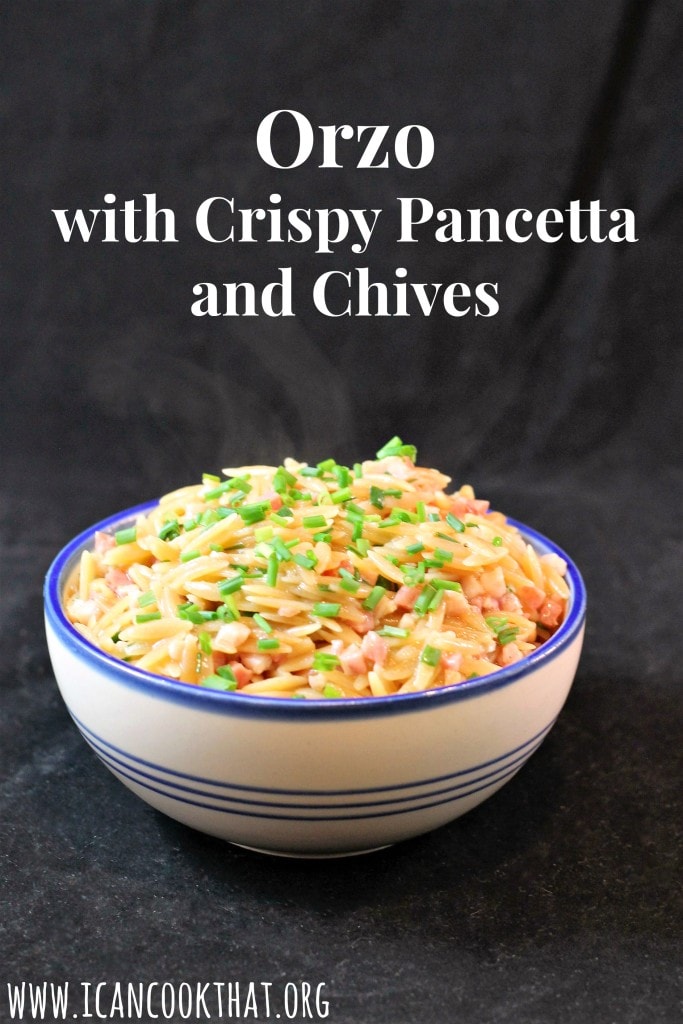
You can never have too many quick side dishes to help complete a meal. This one for Orzo with Crispy Pancetta and Chives comes highly recommended by my husband; the first time I made it, I didn’t even get a taste because he gobbled up all of it before I could!
I changed the original recipe slightly because I was feeling particularly lazy and found diced pancetta in my supermarket. Everything else I kept the same.
Ingredients:
2 1/2 ounces diced pancetta
3/4 cup uncooked whole-wheat orzo (rice-shaped pasta)
1 3/4 cups unsalted chicken stock
1 1/2 tablespoons extra-virgin olive oil
1 1/2 tablespoons apple cider vinegar
2 tablespoons chopped fresh chives, plus more for garnish
In the past, I’ve made Arugula Pizza with Poached Eggs, so I went a bit more traditional this time with a Mexican inspired Cheesy Skillet Eggs and Hash.
This recipe is easy to make but has a ton going on: potatoes, chorizo, eggs, cheese, salsa, and avocado all together to make a truly delicious breakfast (or breakfast for dinner)!
Ingredients:
3 russet potatoes
1 tablespoon olive oil
~10 oz uncooked chorizo, cut into bite sized pieces (I used 3 chorizo)
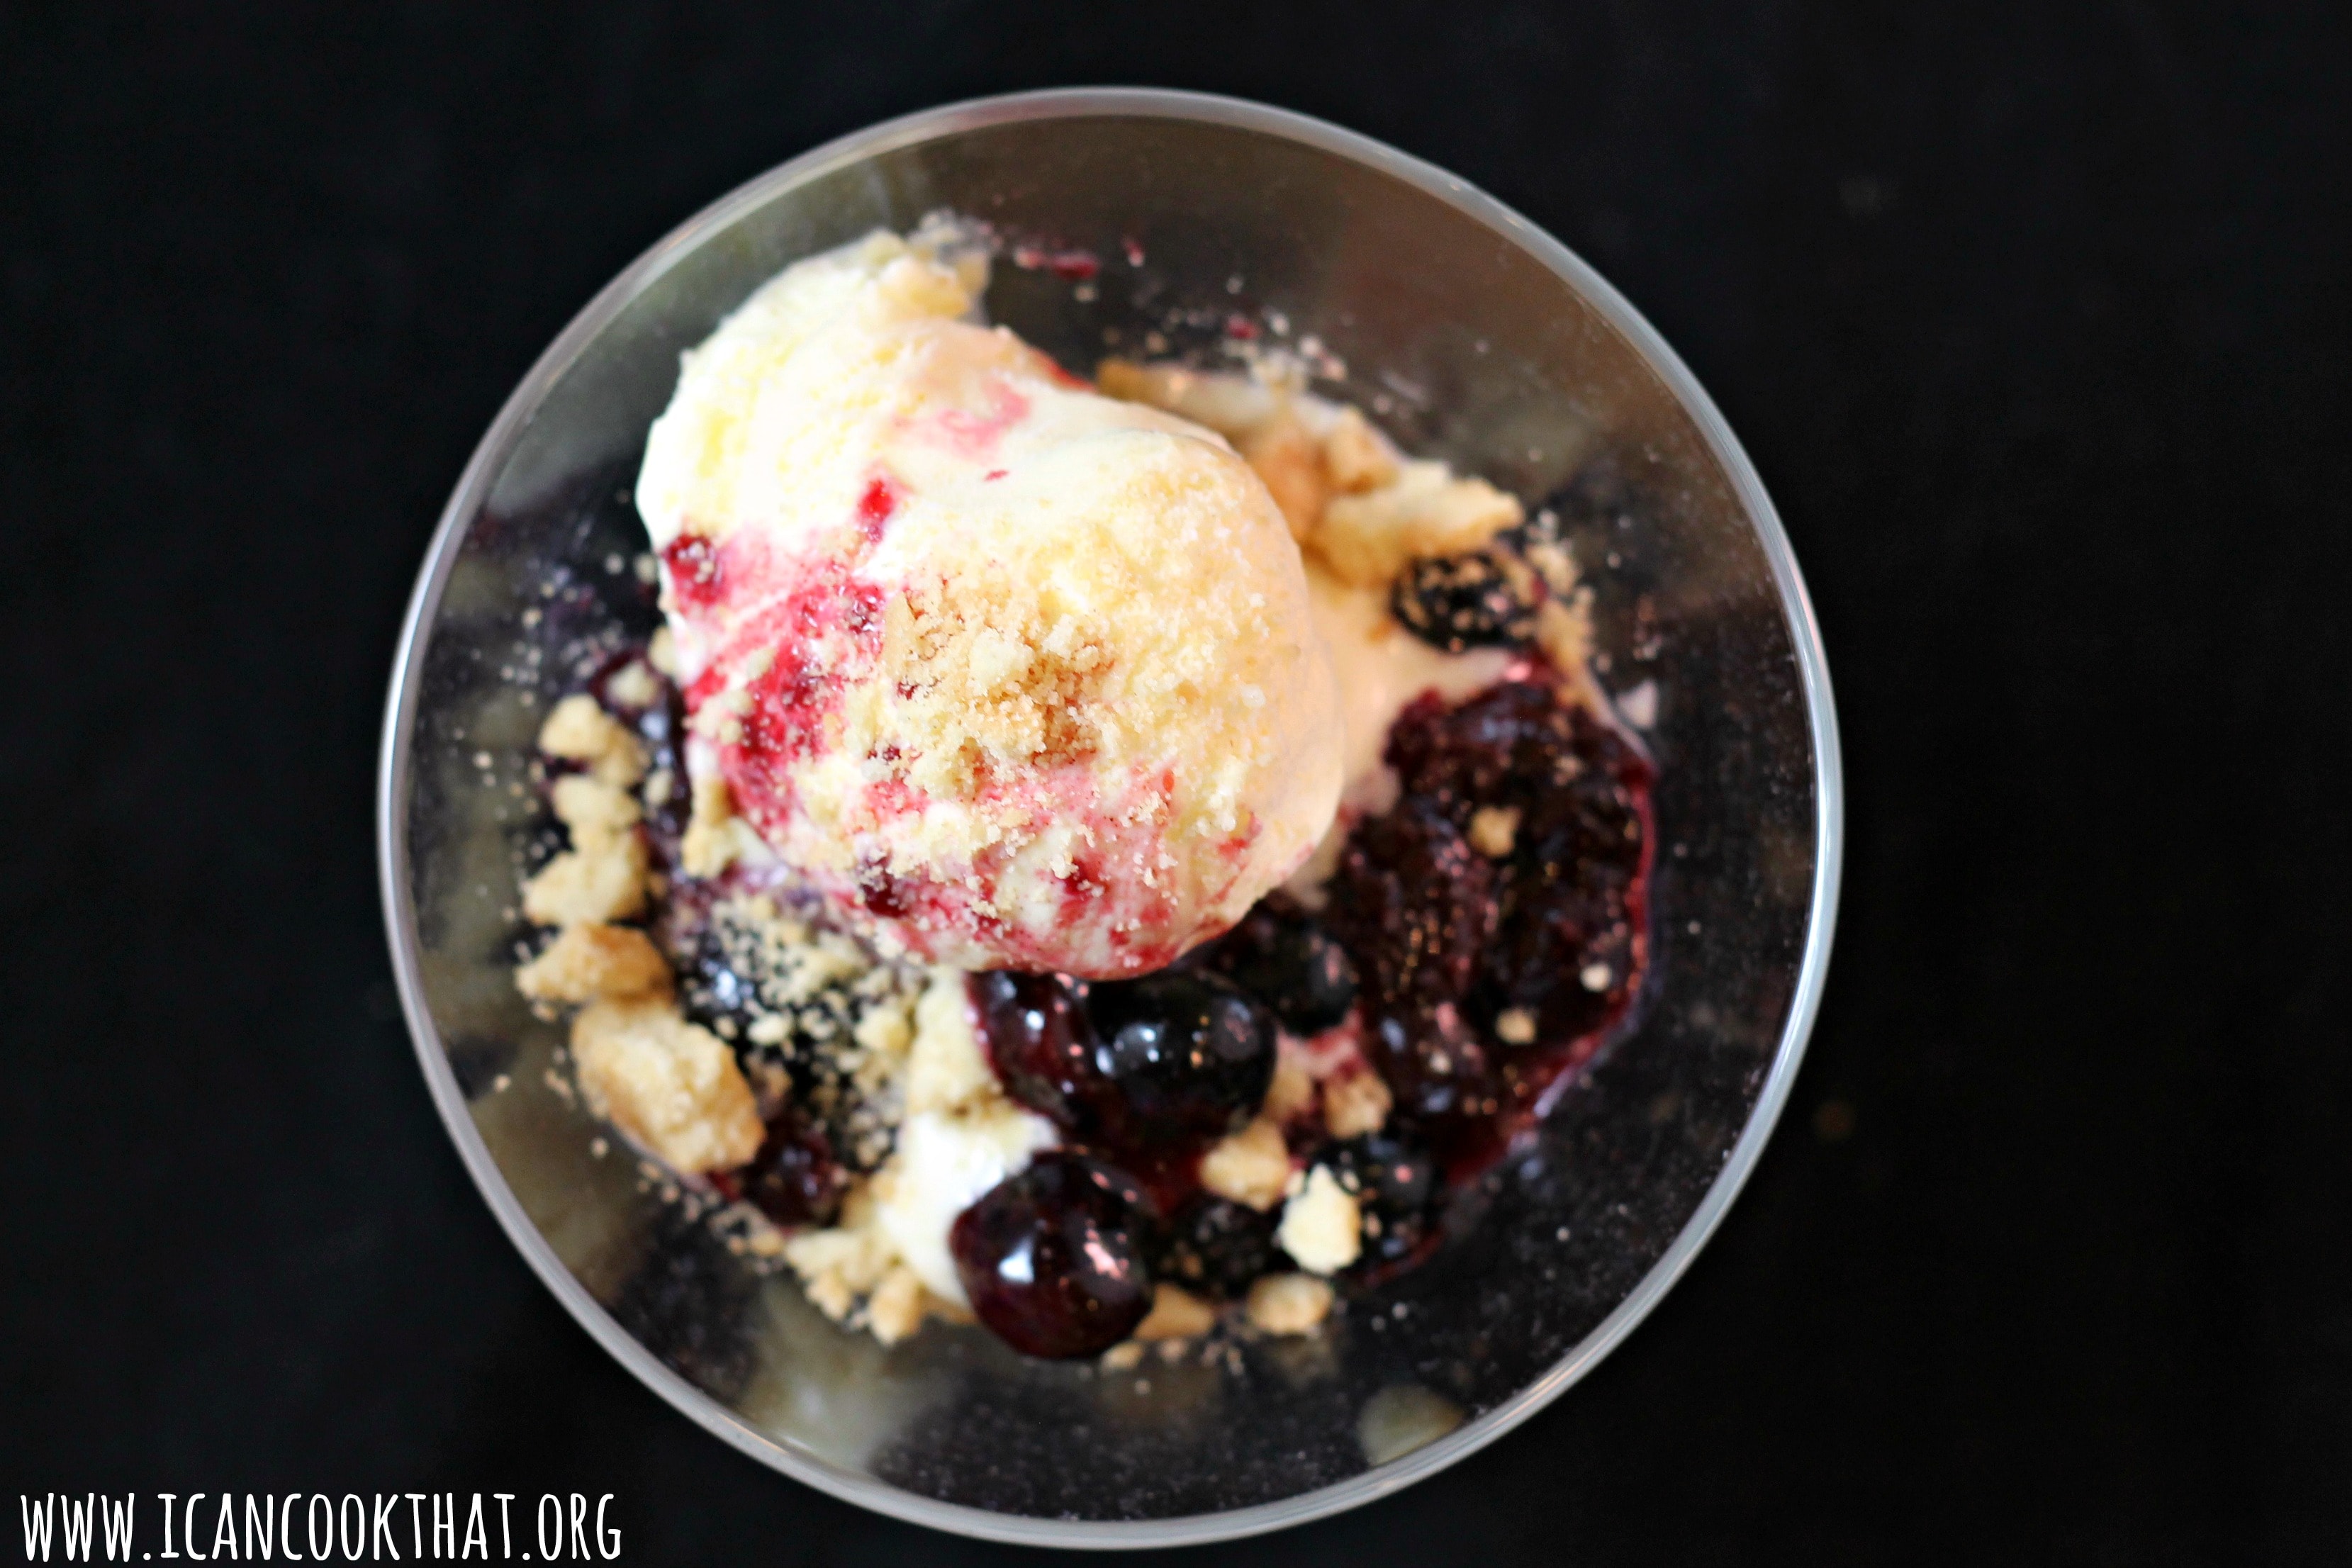
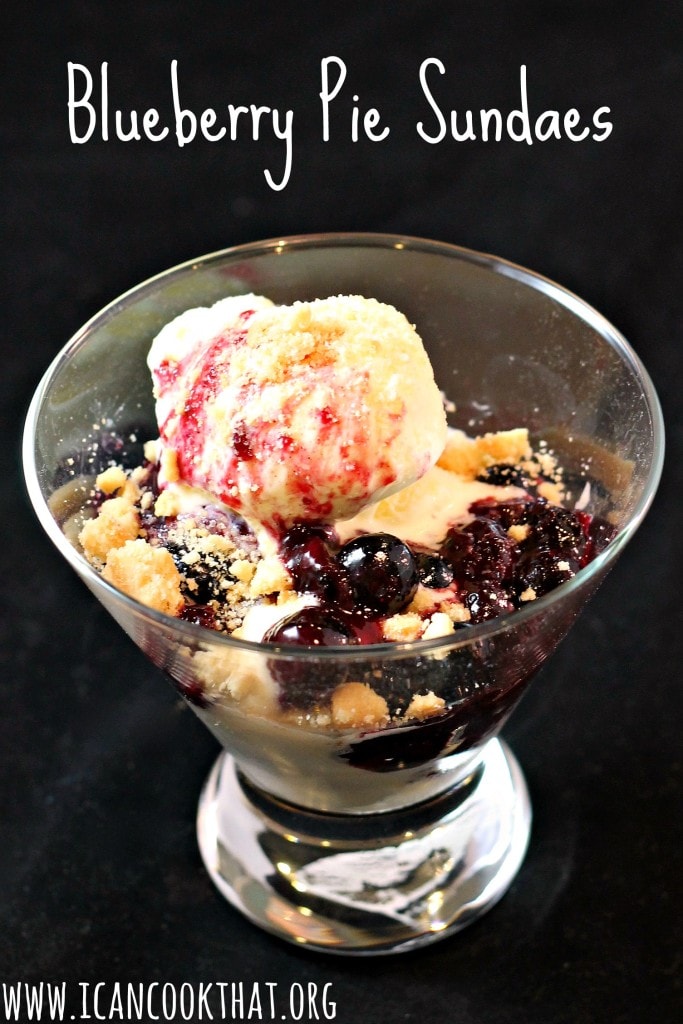
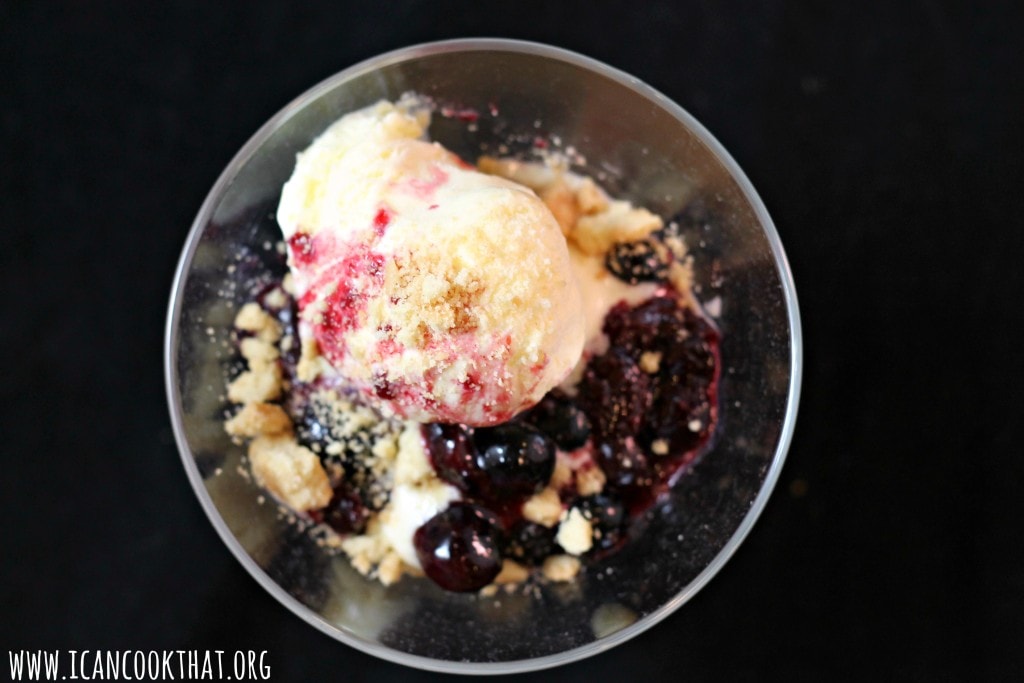
I have a pretty intense sweet tooth; in my mind, dinner isn’t finished until I’ve had dessert! I do try to limit how many times a week I actually do have dessert after dinner, but sometimes you just need some especially if it’s as quick and tasty as these Blueberry Pie Sundaes!
This Blueberry Pie Sundaes recipe from Cooking Light caught my eye because it involves two of my favorite things: ice cream and blueberries.
This fun little dessert takes very little time to make, and the blueberry sauce can even be made ahead of time!
Ingredients:
3 tablespoons water, divided
1 tablespoon cornstarch
1 1/4 cups fresh blueberries, divided
3 tablespoons sugar
1 tablespoon fresh lemon juice
1/8 teaspoon ground cinnamon
Dash of salt
2 cups vanilla low-fat frozen yogurt (I used French Vanilla)
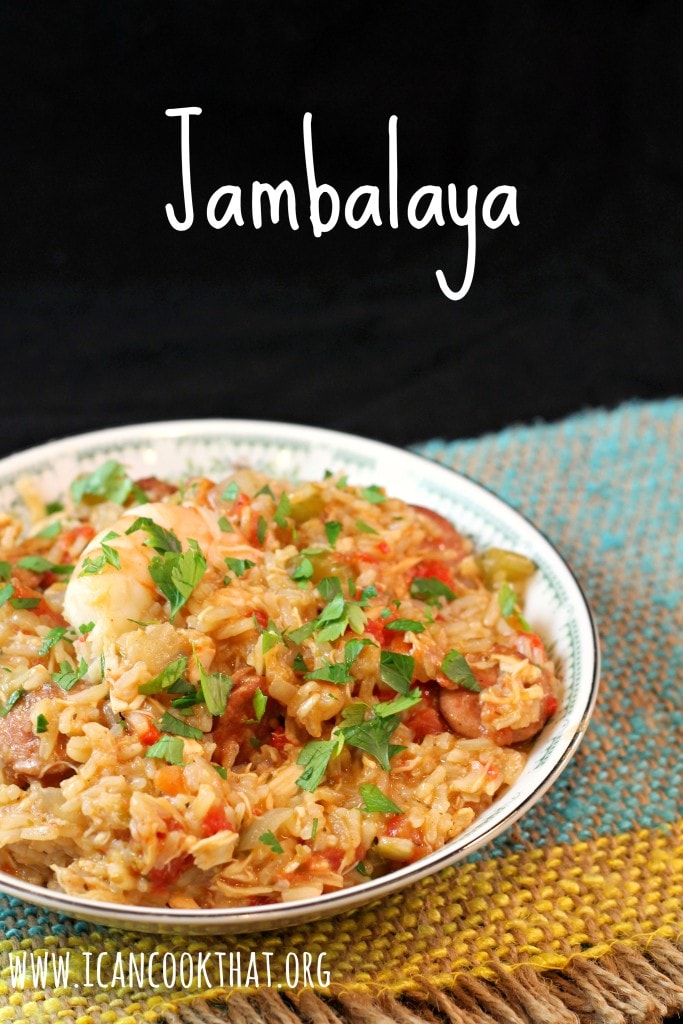
This weekend, I cooked my little heart out. I realized Labor Day is only a couple of weeks away, so it’s time to stock my freezer with ready-made meals for busy nights in the fall, like this freezable Jambalaya!
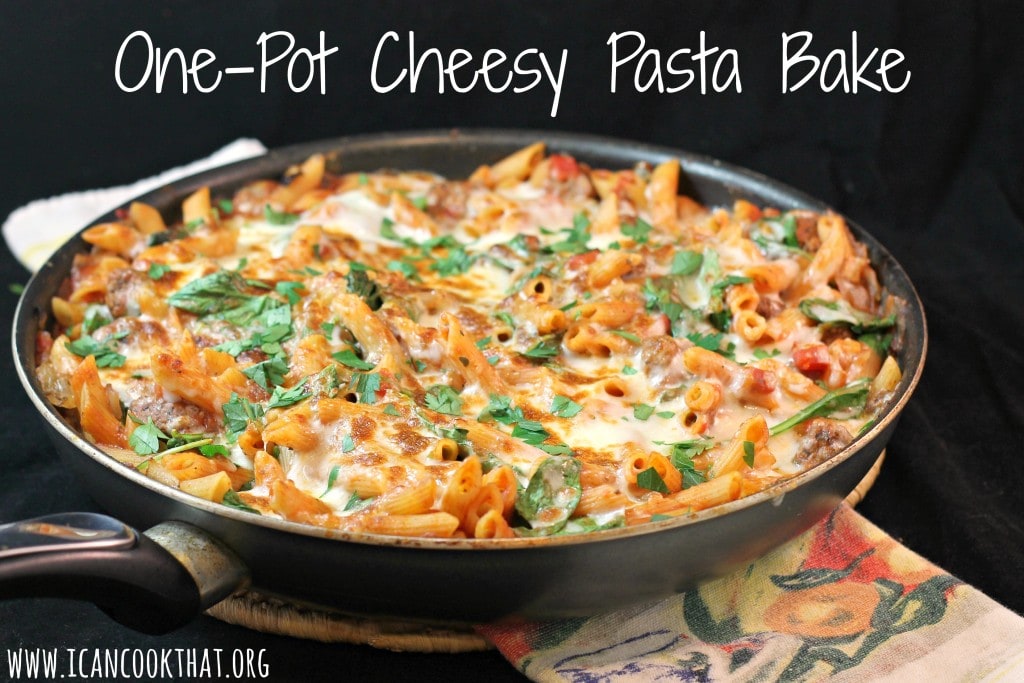
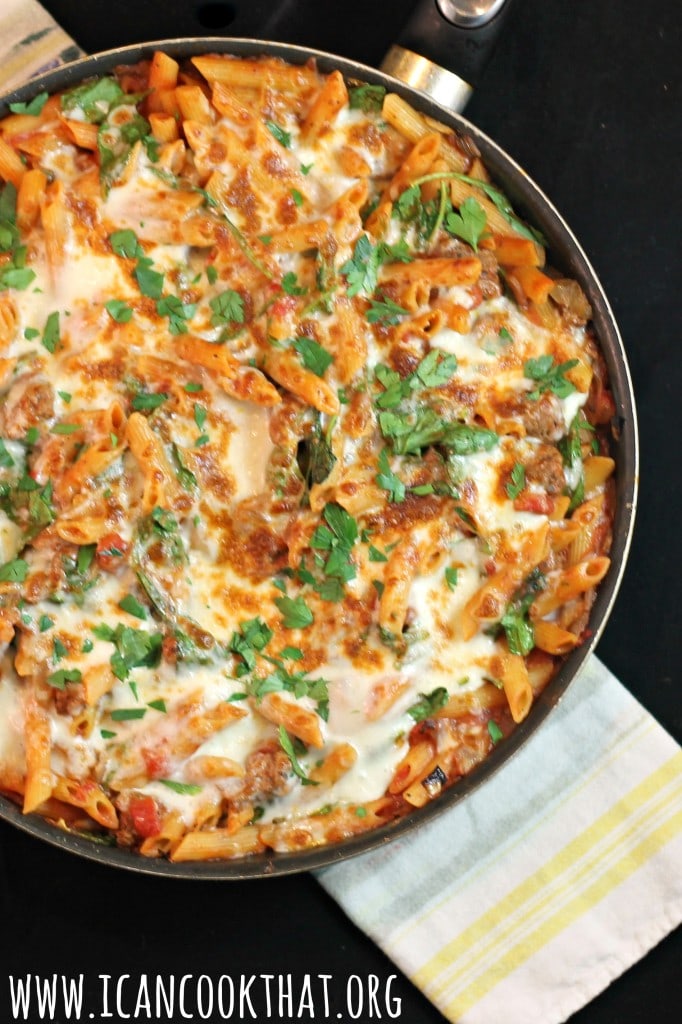
There are some nights where I just don’t want to cook, mainly because I don’t want to clean up after I cook — so many dishes!
On such nights, I reach for a one-pot meal. This Cheesy Pasta Bake from this month’s Cooking Light is all made in one pot and has dinner on the table in 30 minutes. I doubled the recipe so that it would work for a normal sized box of pasta (16 oz), so now I have lunch for the week too!