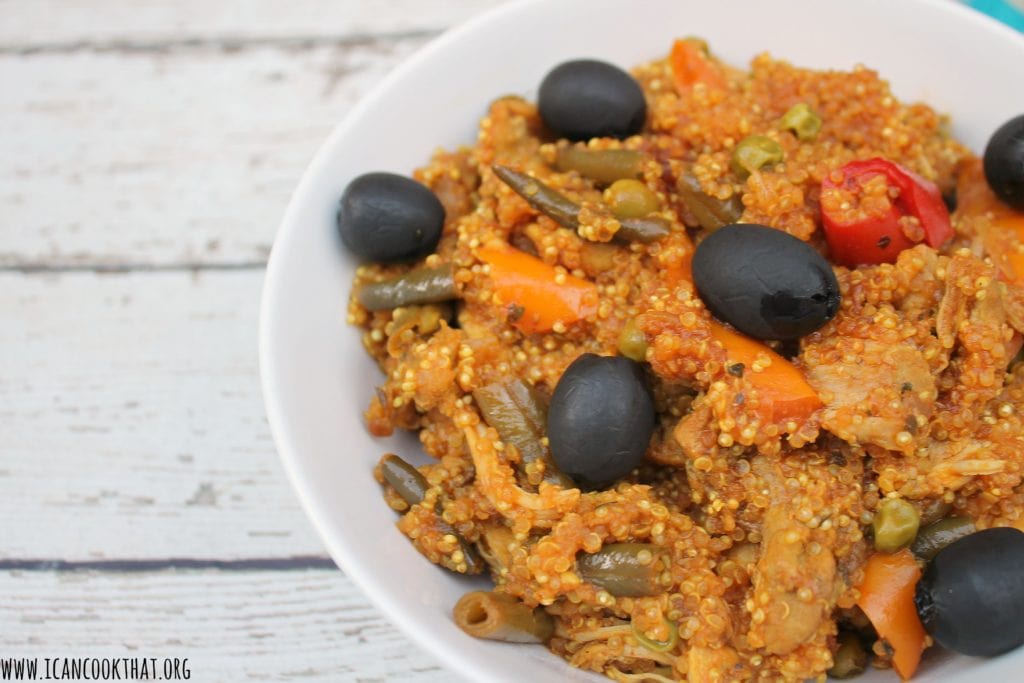
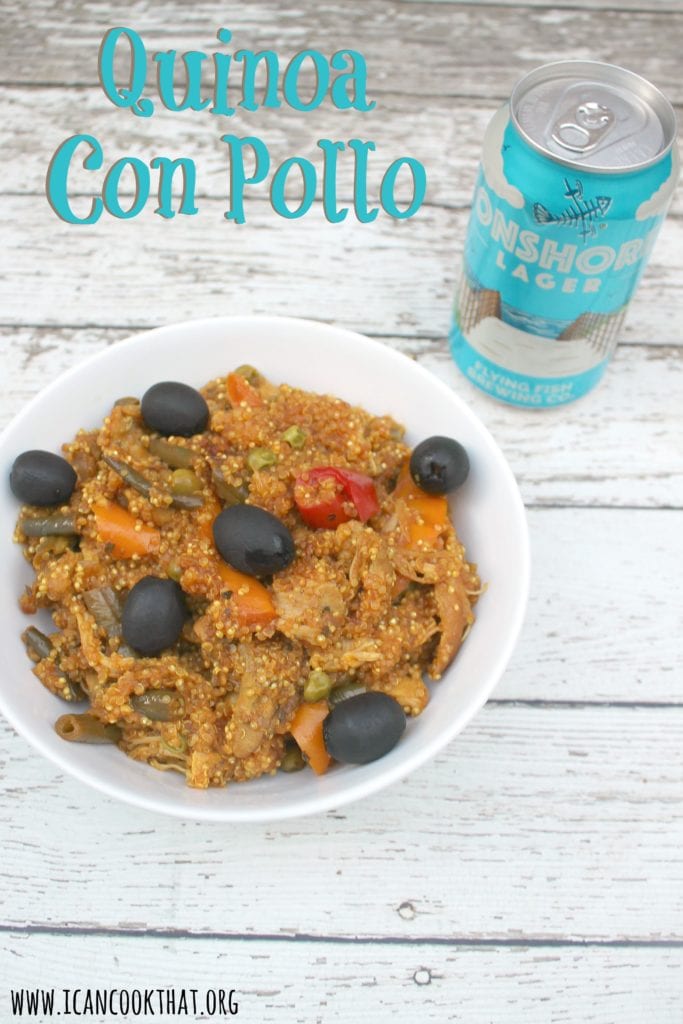
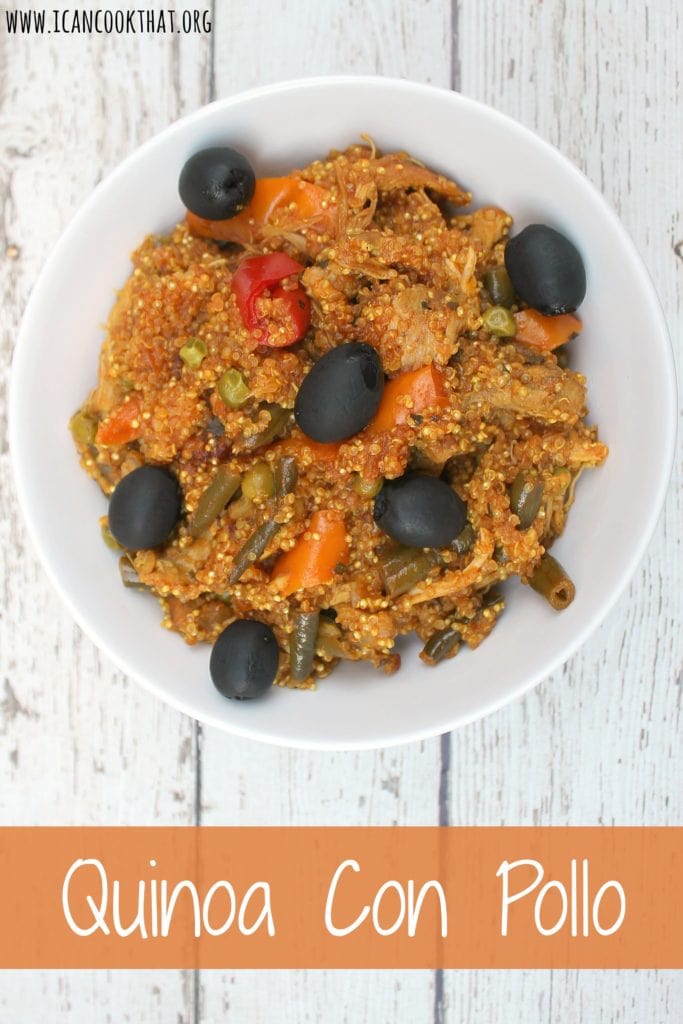
I think fall cooking might be my favorite kind of cooking. I love comfort food meals that make the whole house smell good! And anything I can put over pasta is guaranteed to be a winning recipe in my house. So this Pressure Cooker Puttanesca Pork Ragu is right up my alley.
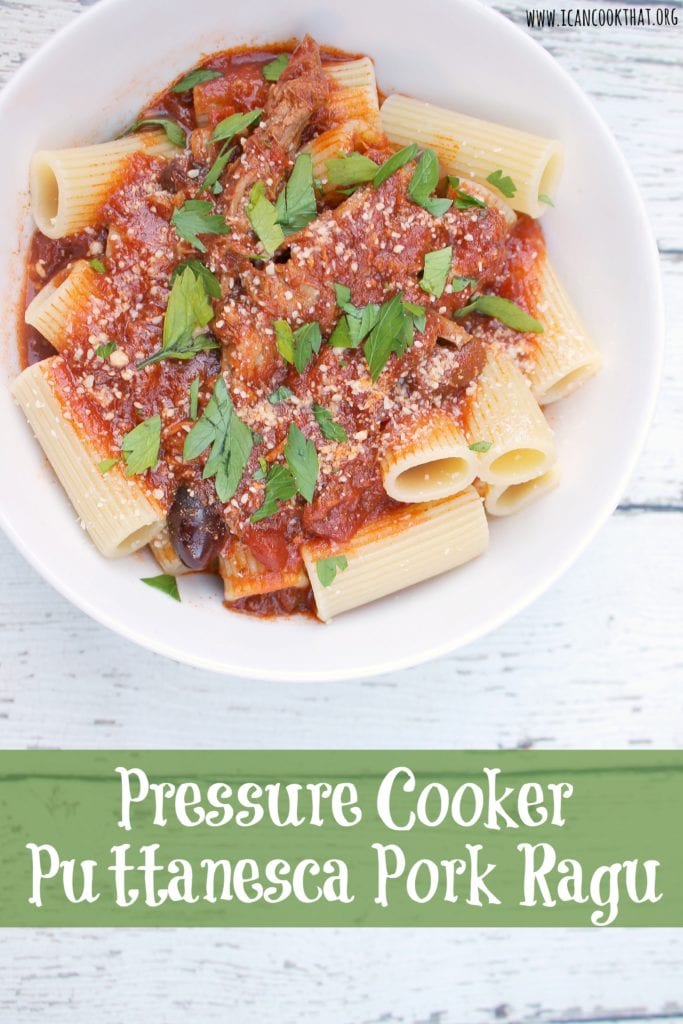

I came across a recipe for a puttanesca-style ragu and knew I had to try out my own version! Puttanesca sauces typically have a bunch of brine-y ingredients in them — capers, olives, anchovies — in a tomato sauce that may have a little heat to it as well. I honestly don’t make many puttanesca-inspired dishes because, well, I don’t love olives. But my husband does, so I figured it was worth a try!
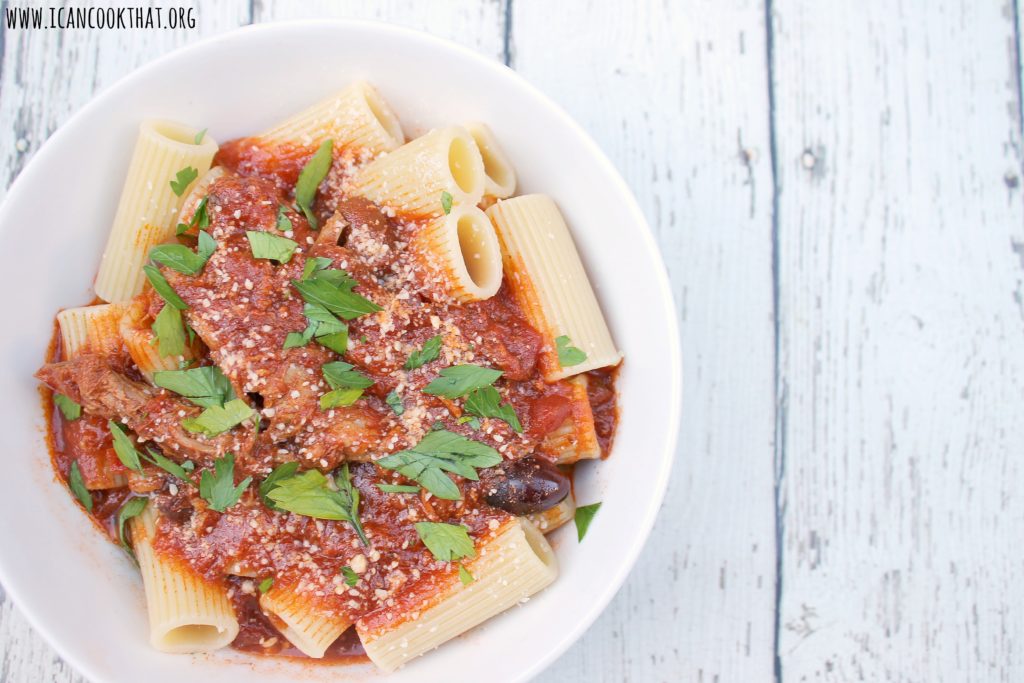

This recipe uses a pressure cooker to get that cooking all day flavor in much less time. You’re still looking at a just under 2-hour recipe though, so plan ahead!
Ingredients:
- 1 tablespoon olive oil
- 10 garlic cloves, minced or pressed
- 1 tablespoon anchovy paste
- 3 (4.5 oz) tomato paste tubes
- 1/2 cup pitted kalamata olives
- 1/4 cup drained capers
- 3 tablespoons white wine vinegar, divided
- 1 1/2 teaspoons red pepper flakes
- 2 teaspoons dried oregano
- 1 cup dry wine, red or white
- 1 (28 oz) can crushed tomatoes
- 2 1/2 lbs boneless pork shoulder
- salt and ground pepper
- cooked pasta, for serving
- grated parmesan cheese, optional
- chopped fresh parsley, for garnish