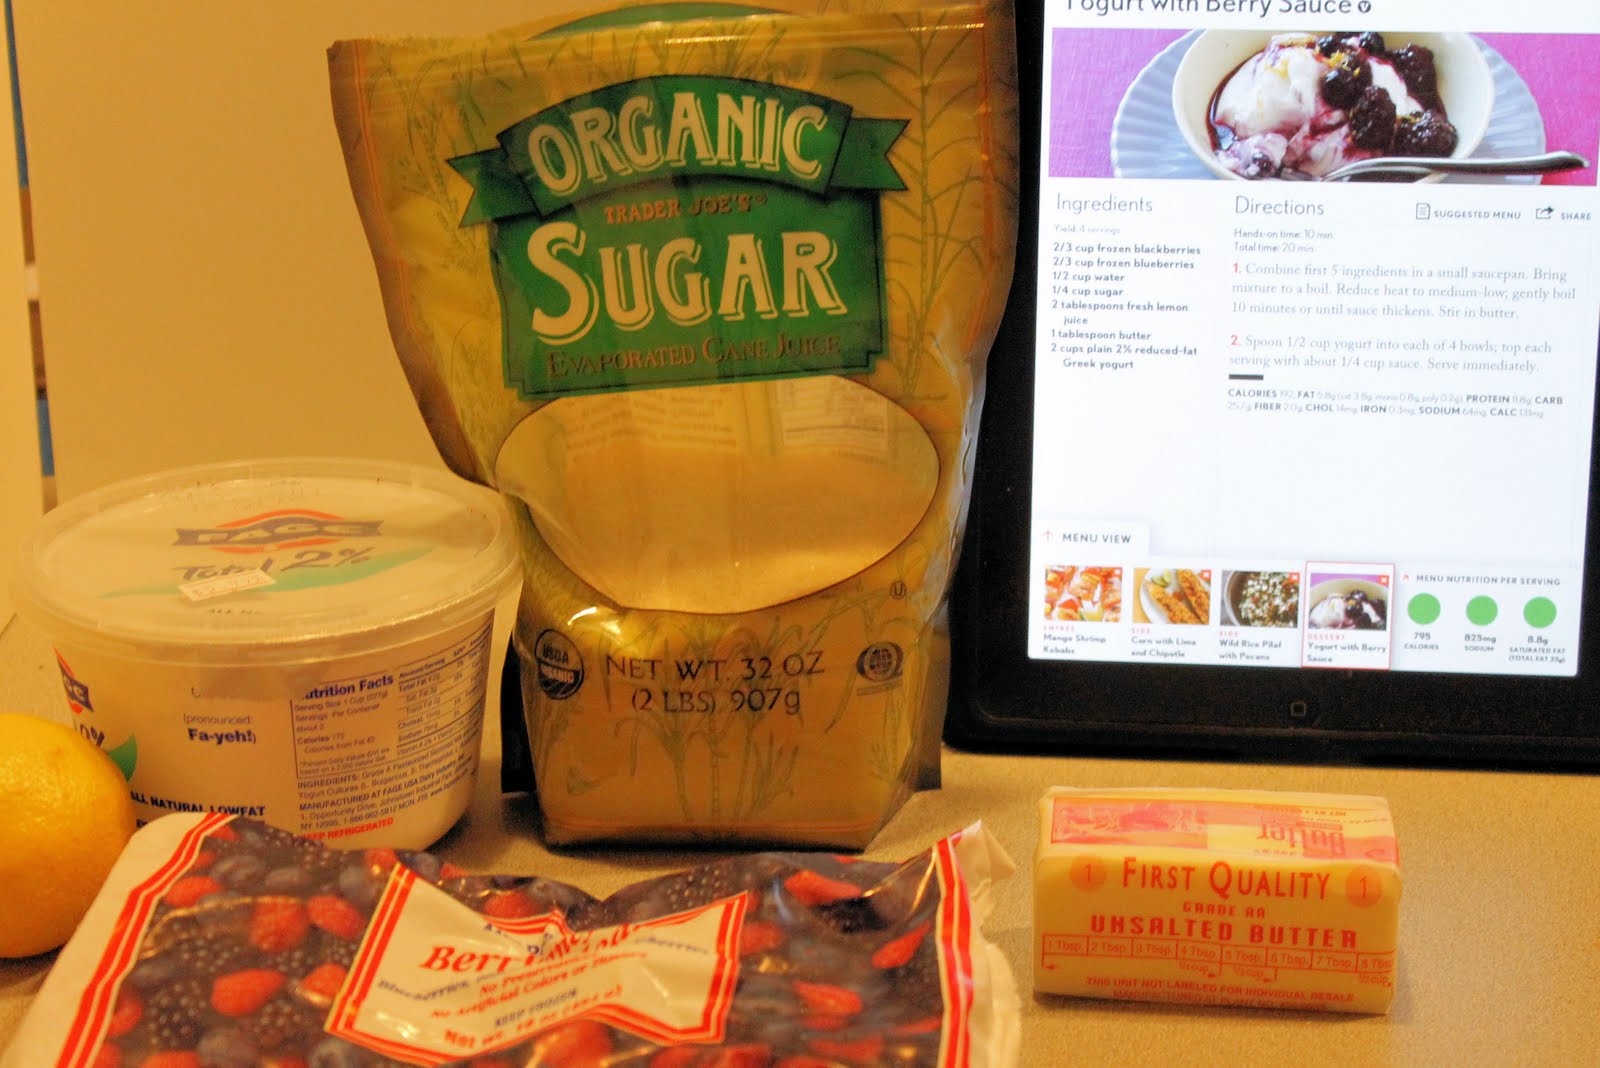
I have a serious sweet tooth. To such an extreme, that I cannot have ice cream in my house or I will eat it in one sitting. It doesn’t matter if I buy a pint or a gallon. Sigh. It’s quite an issue I have. So I tend to try to avoid making dessert all together if I’m cooking, but this recipe seemed too good to pass up. Once again, this came from Cooking Light’sQuick & Healthy Menu Maker App to go with the Mango Shrimp Kebabs and the Grilled Corn with Chipotle Lime Butter. I adapted the recipe to work with a bag of mixed frozen berries I had in my freezer.
Ingredients:
1 cup frozen blueberry, blackberry and raspberry mix
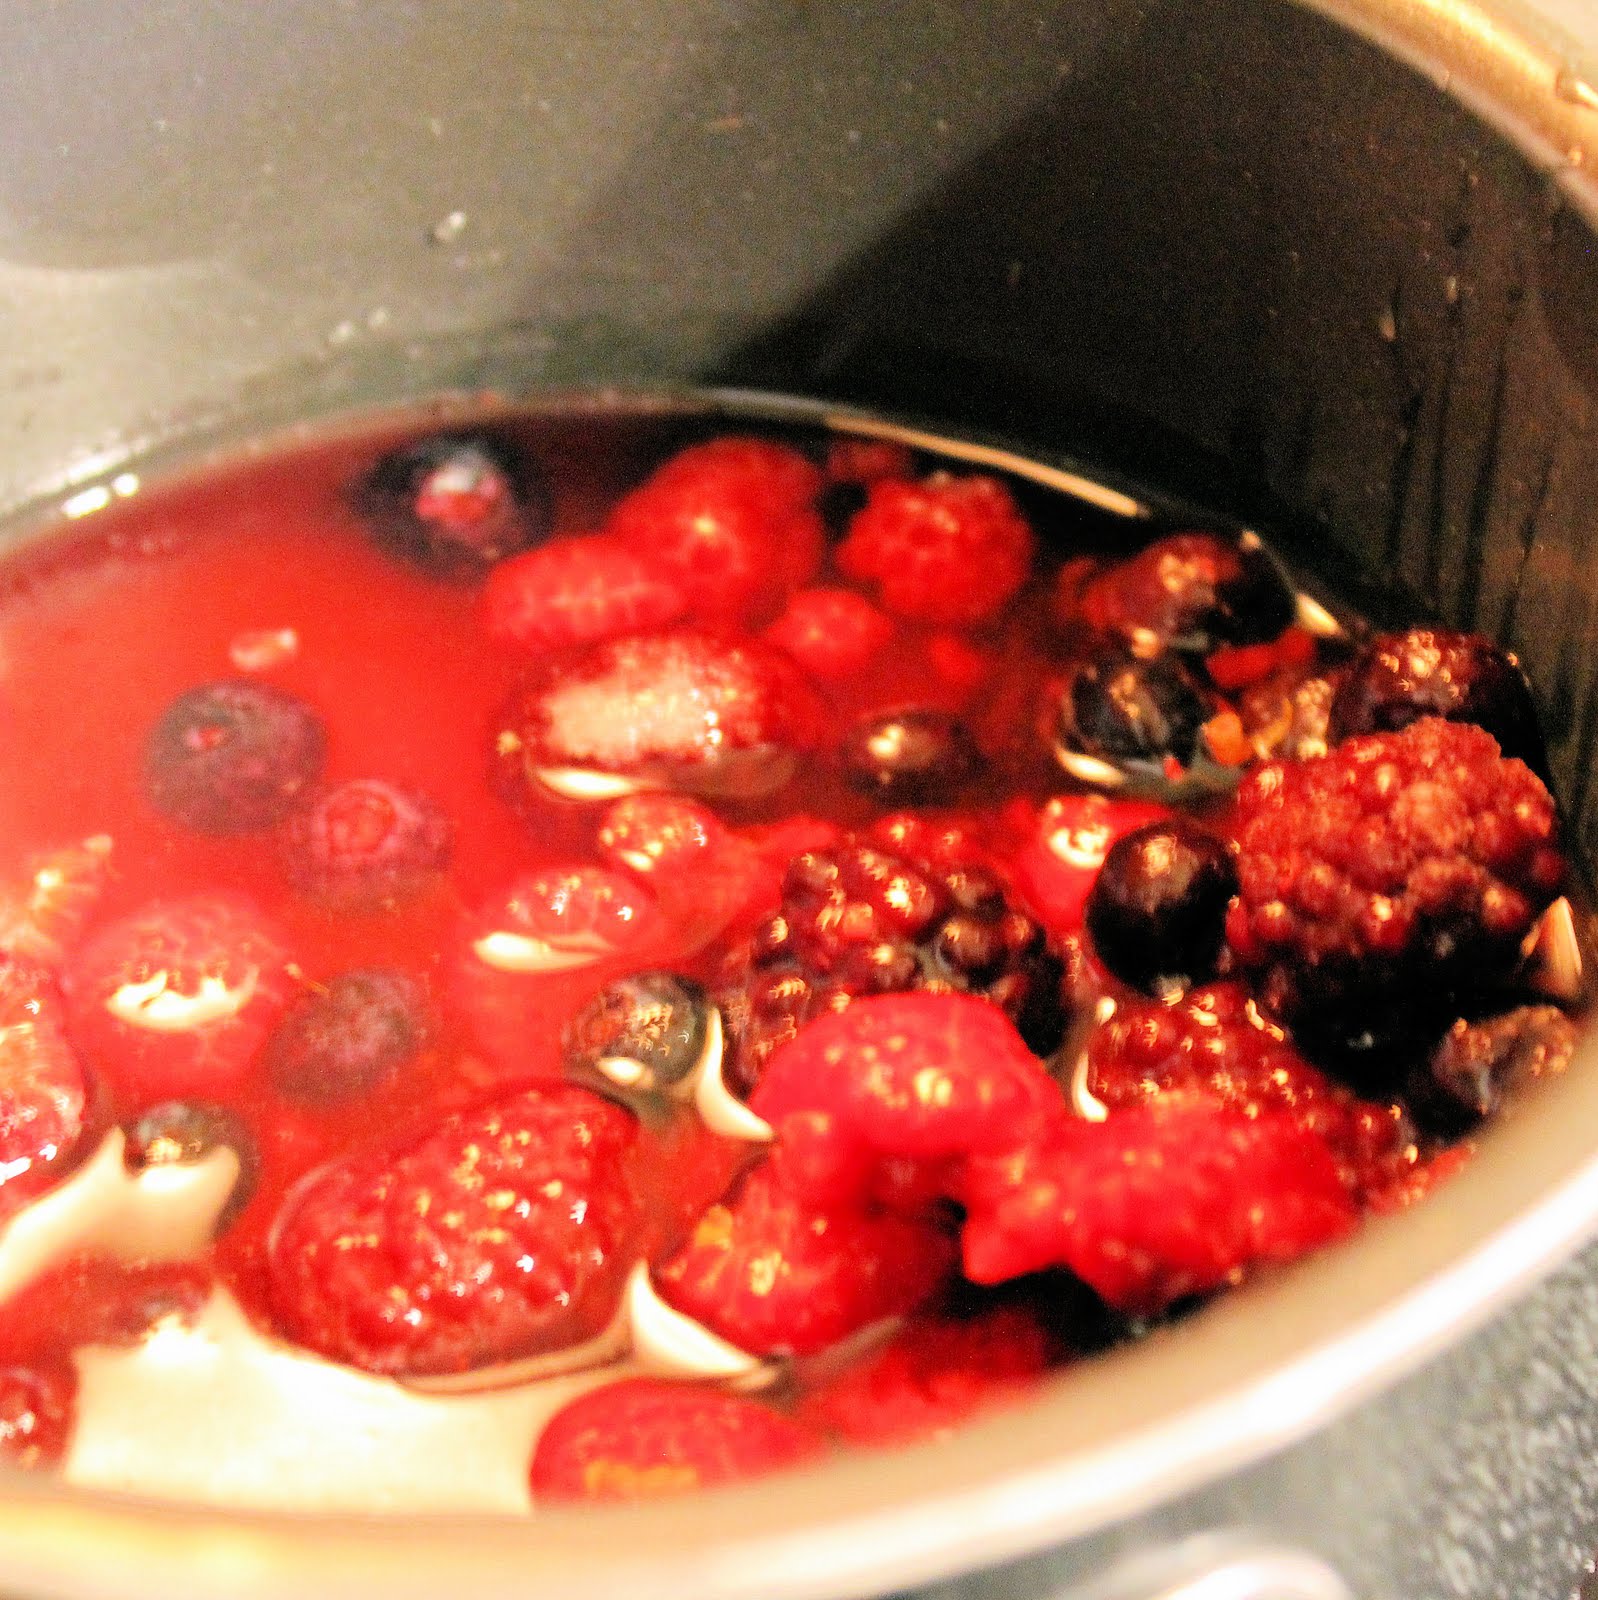
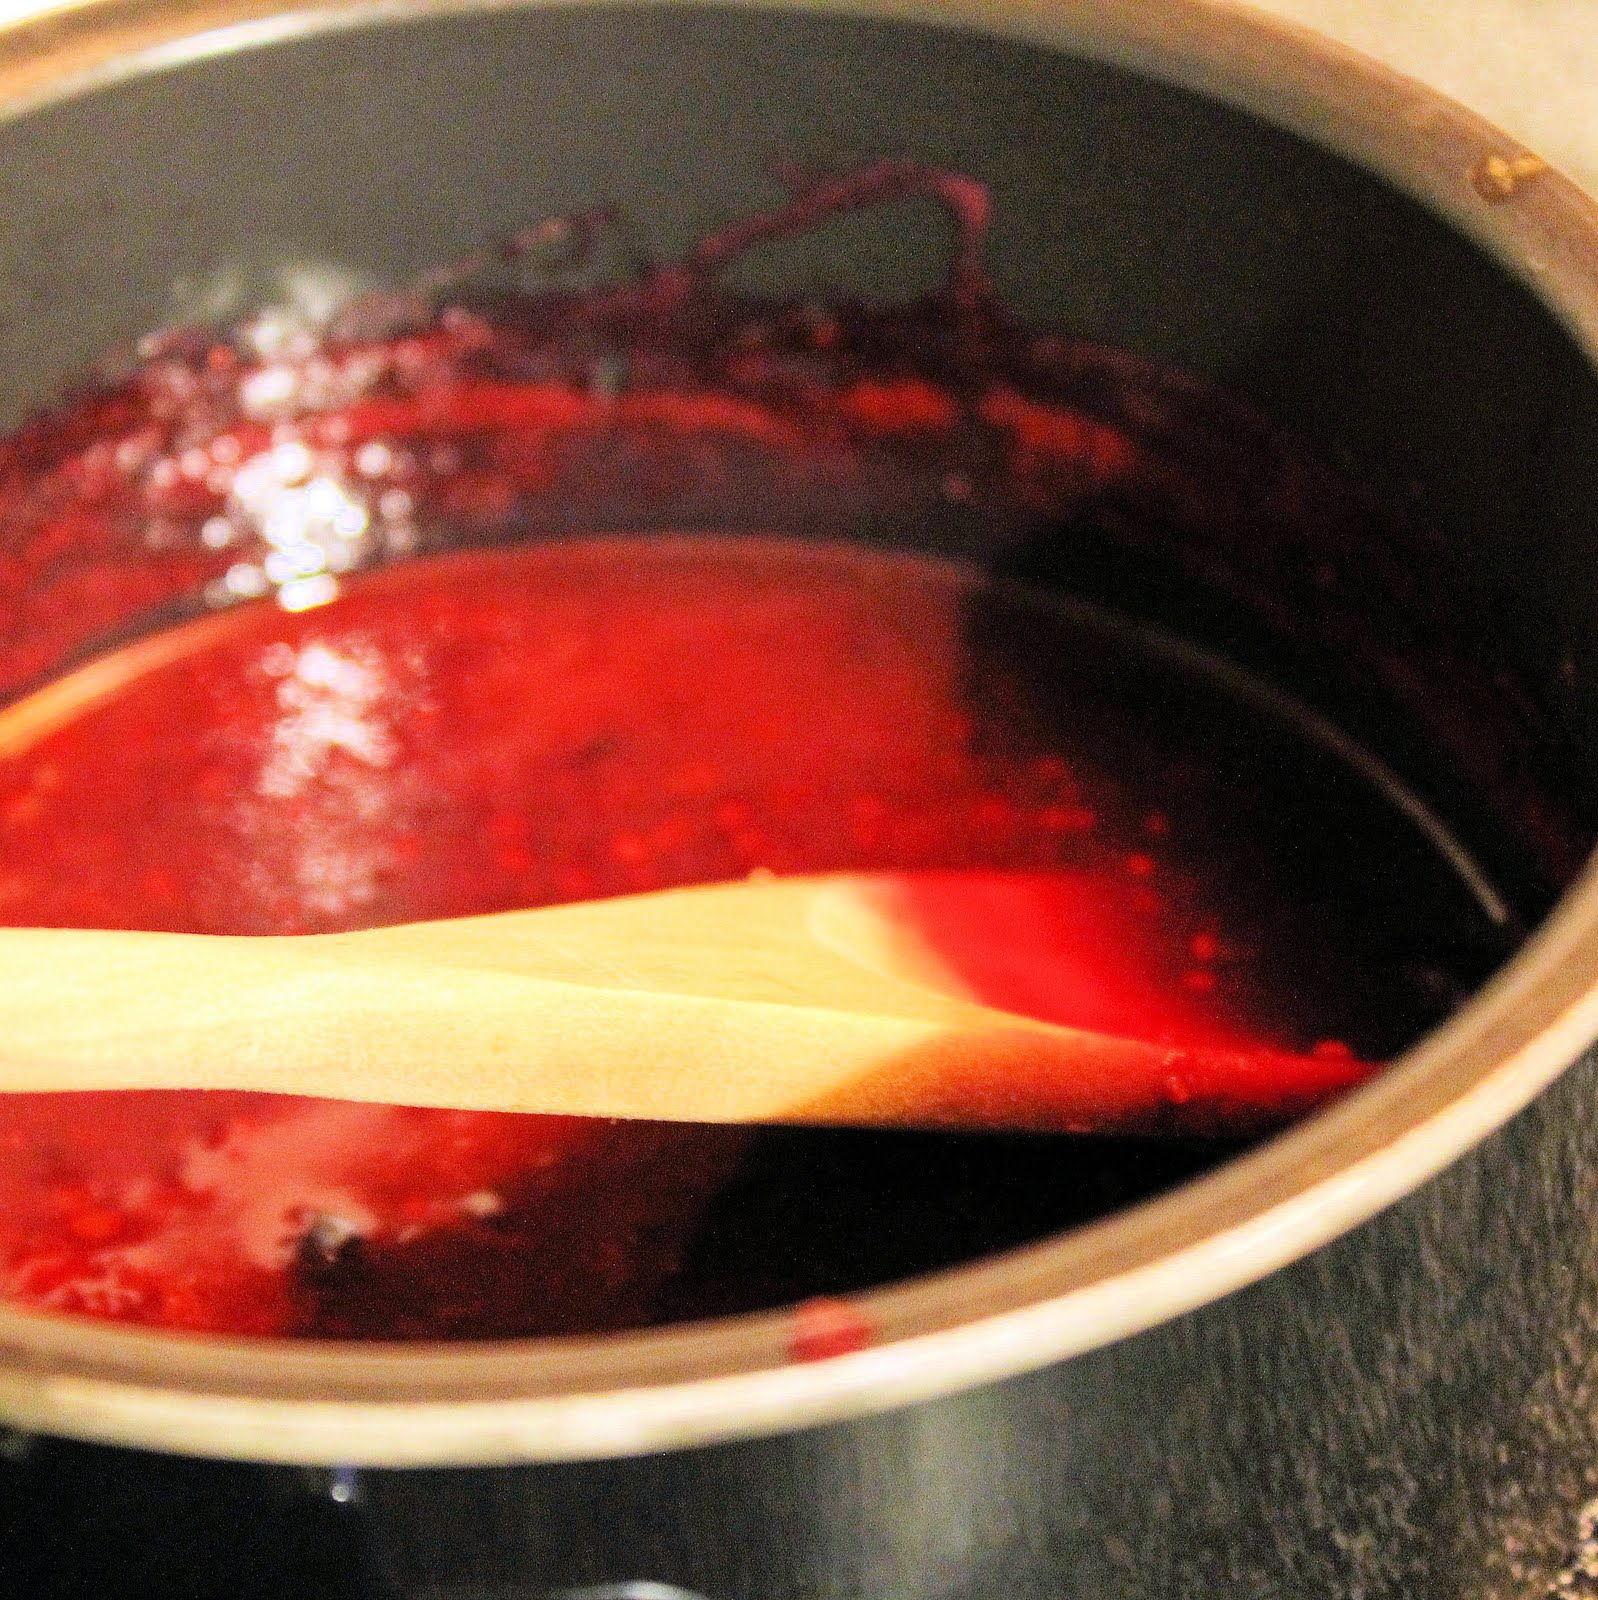
Combine the frozen berry mixture, water, sugar, zest and lemon in a small pan.
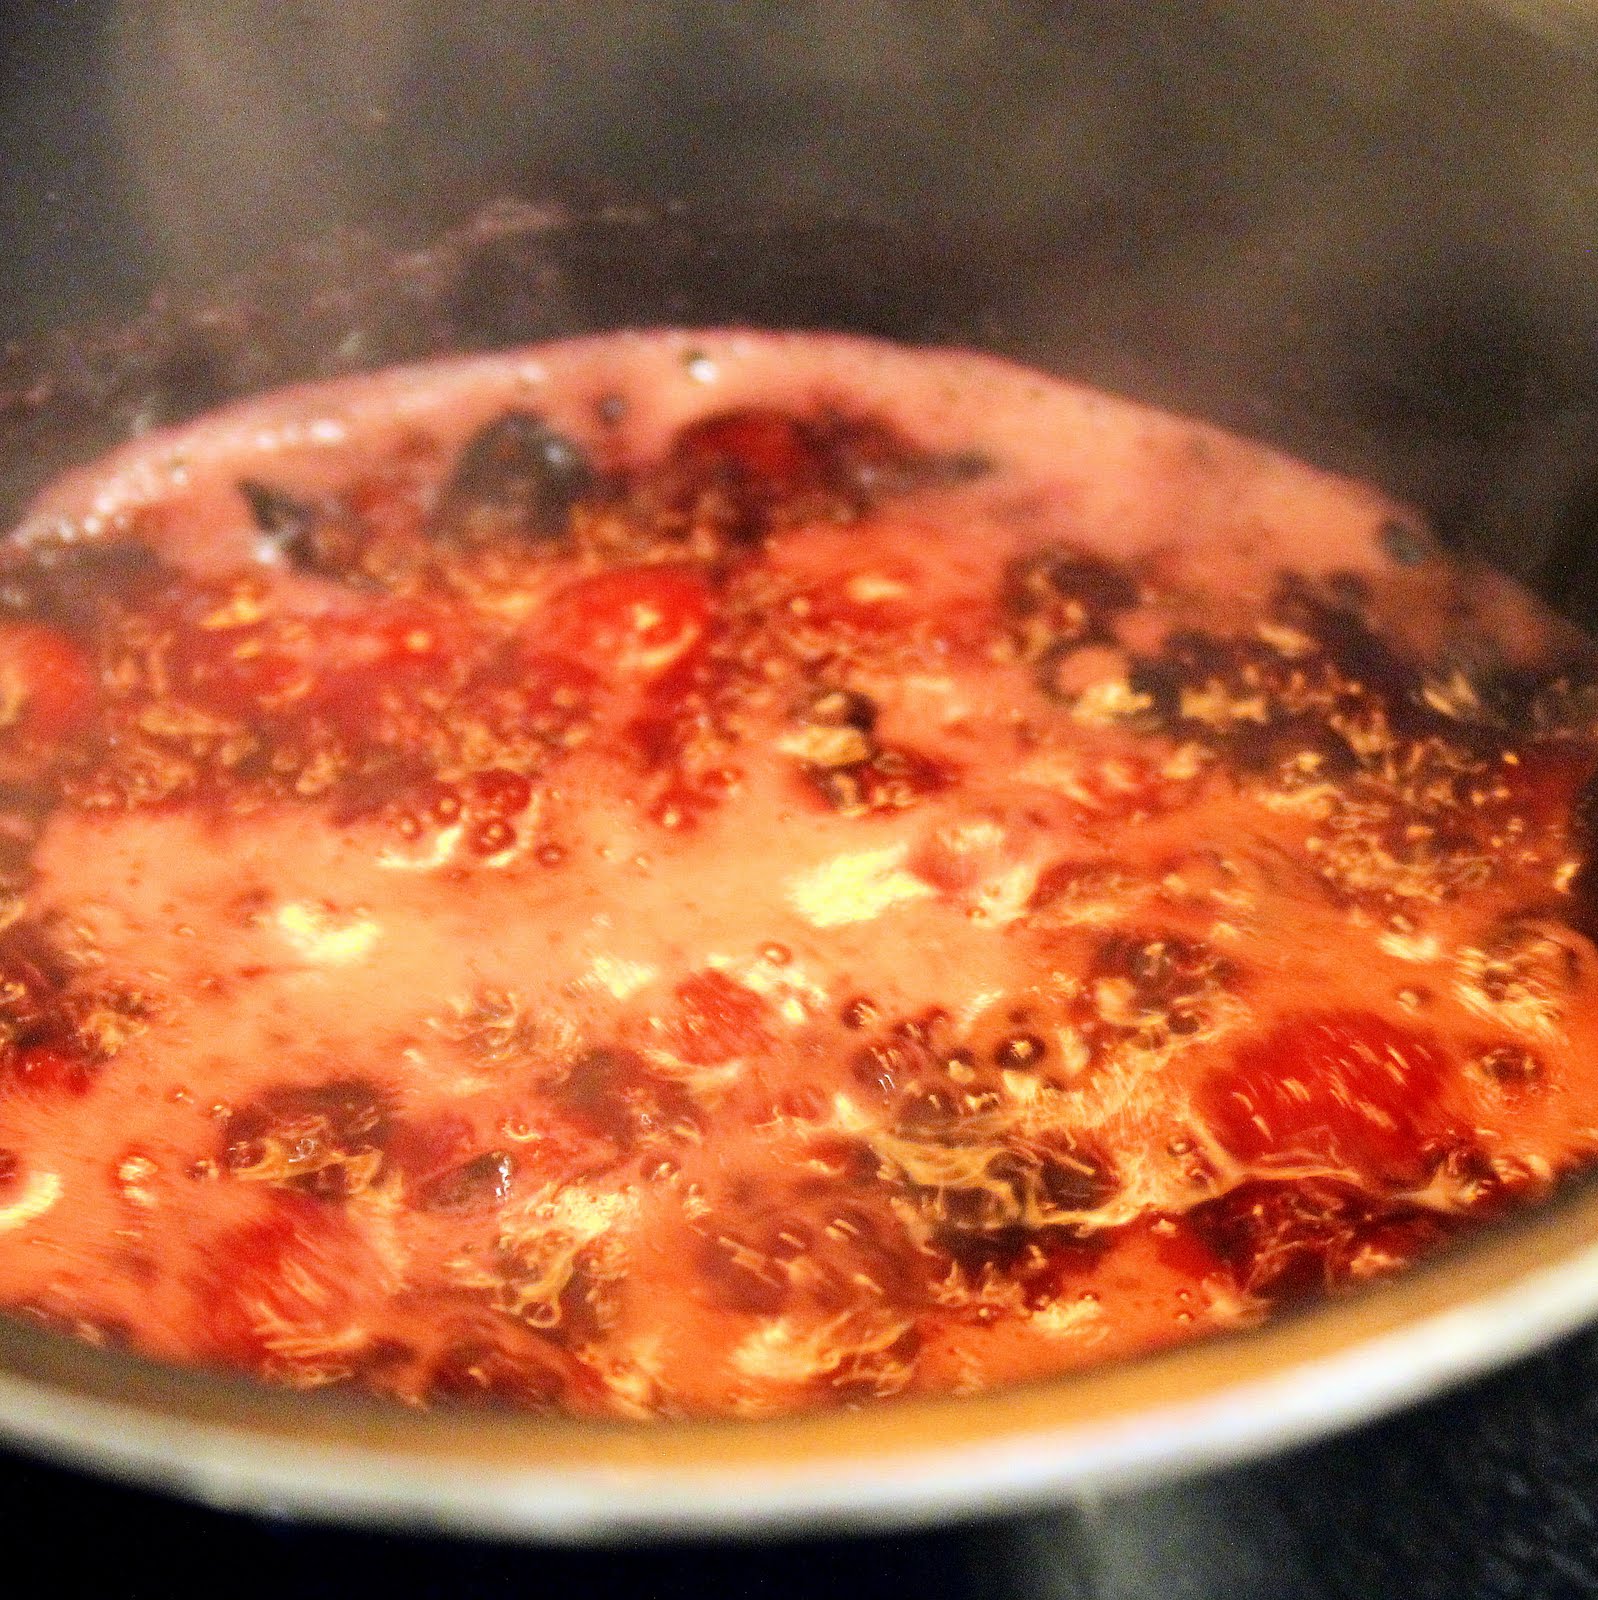
Bring to a boil and reduce the heat to medium low. Let simmer for 10 minutes.
Stir in butter.
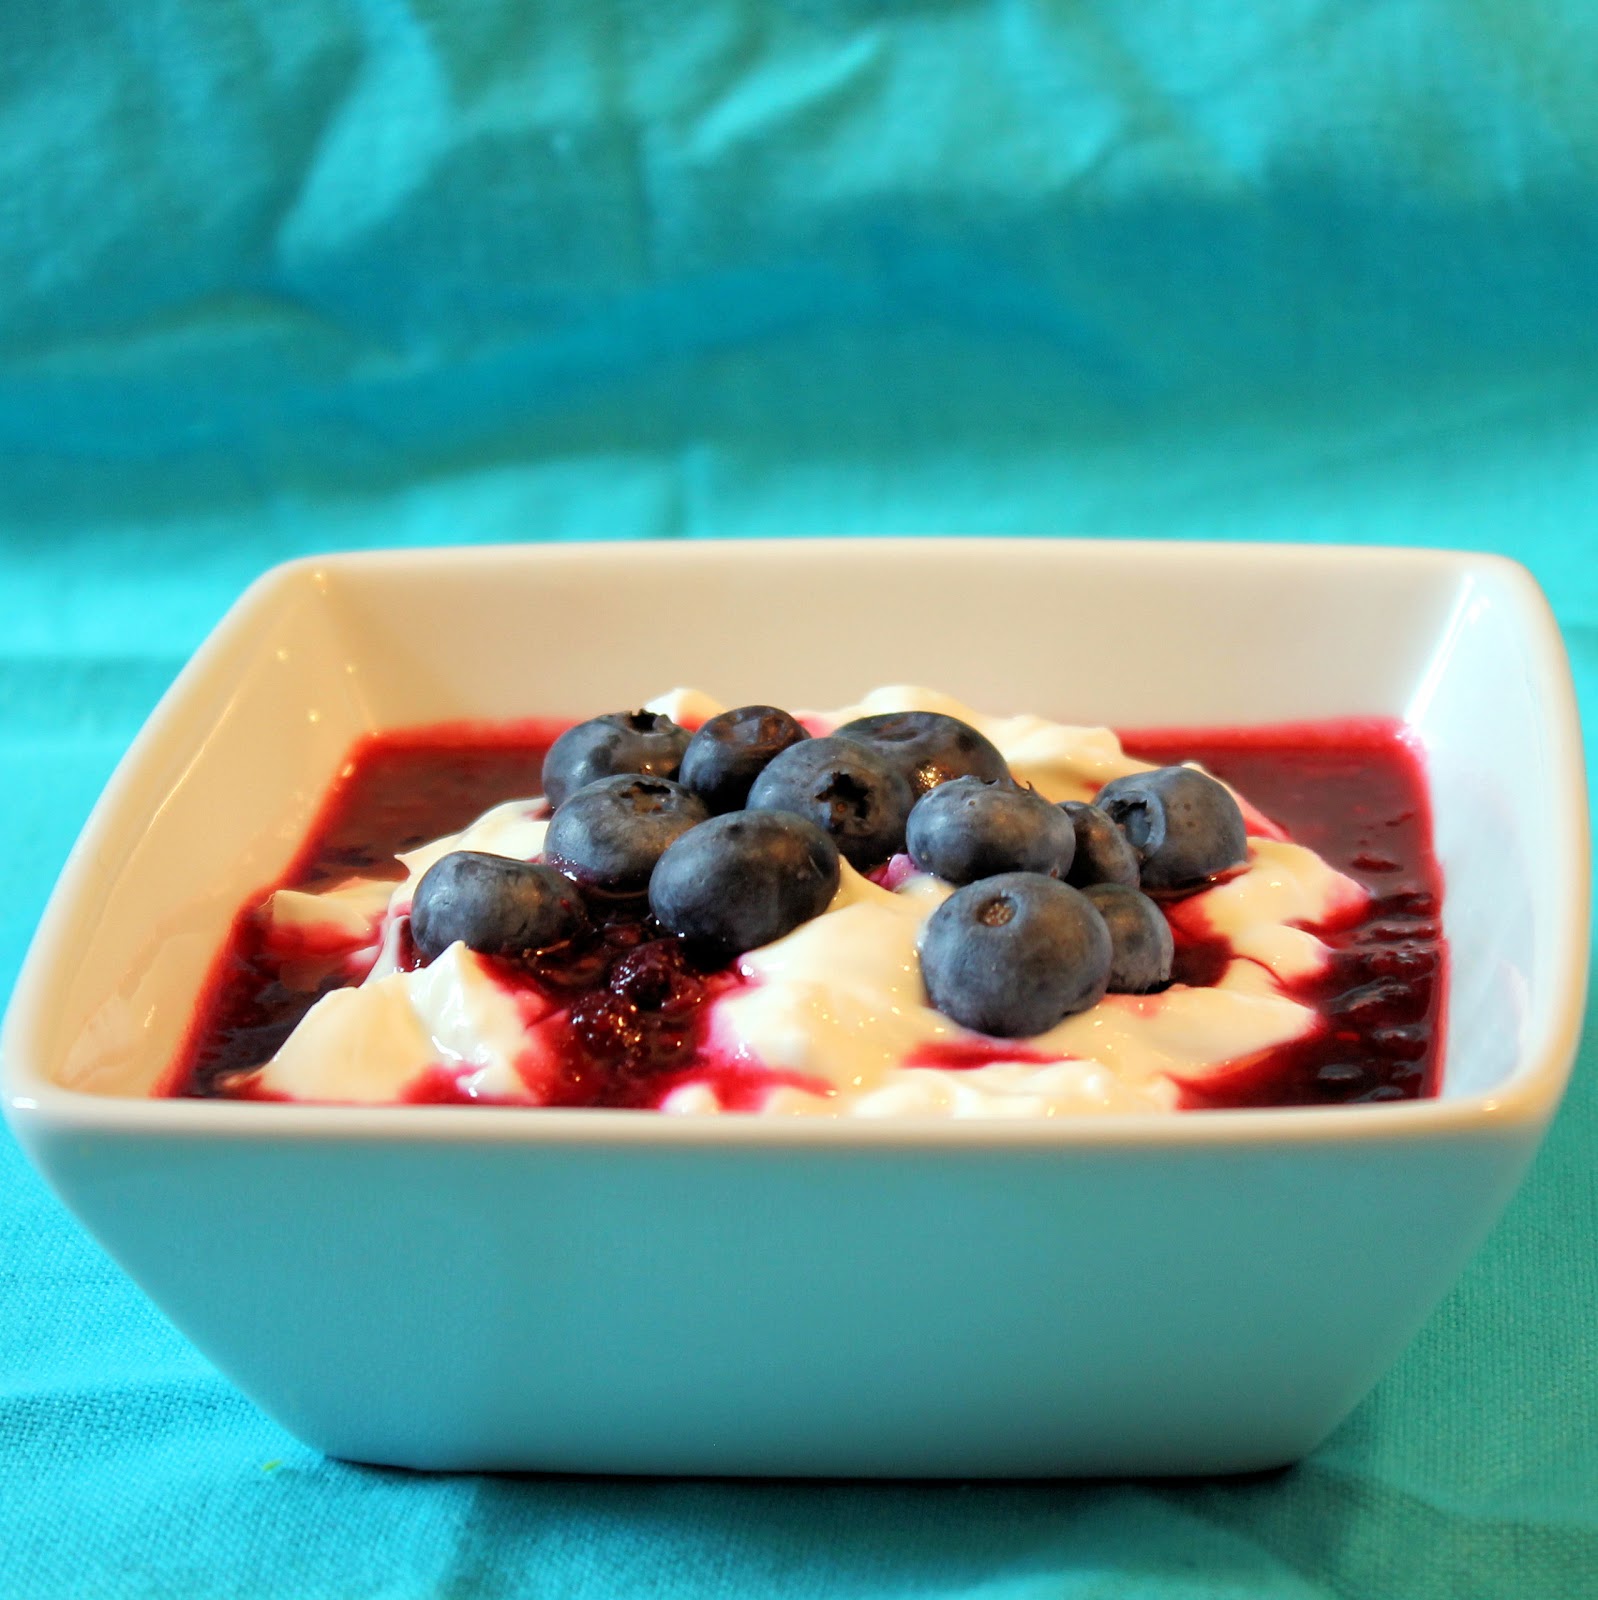
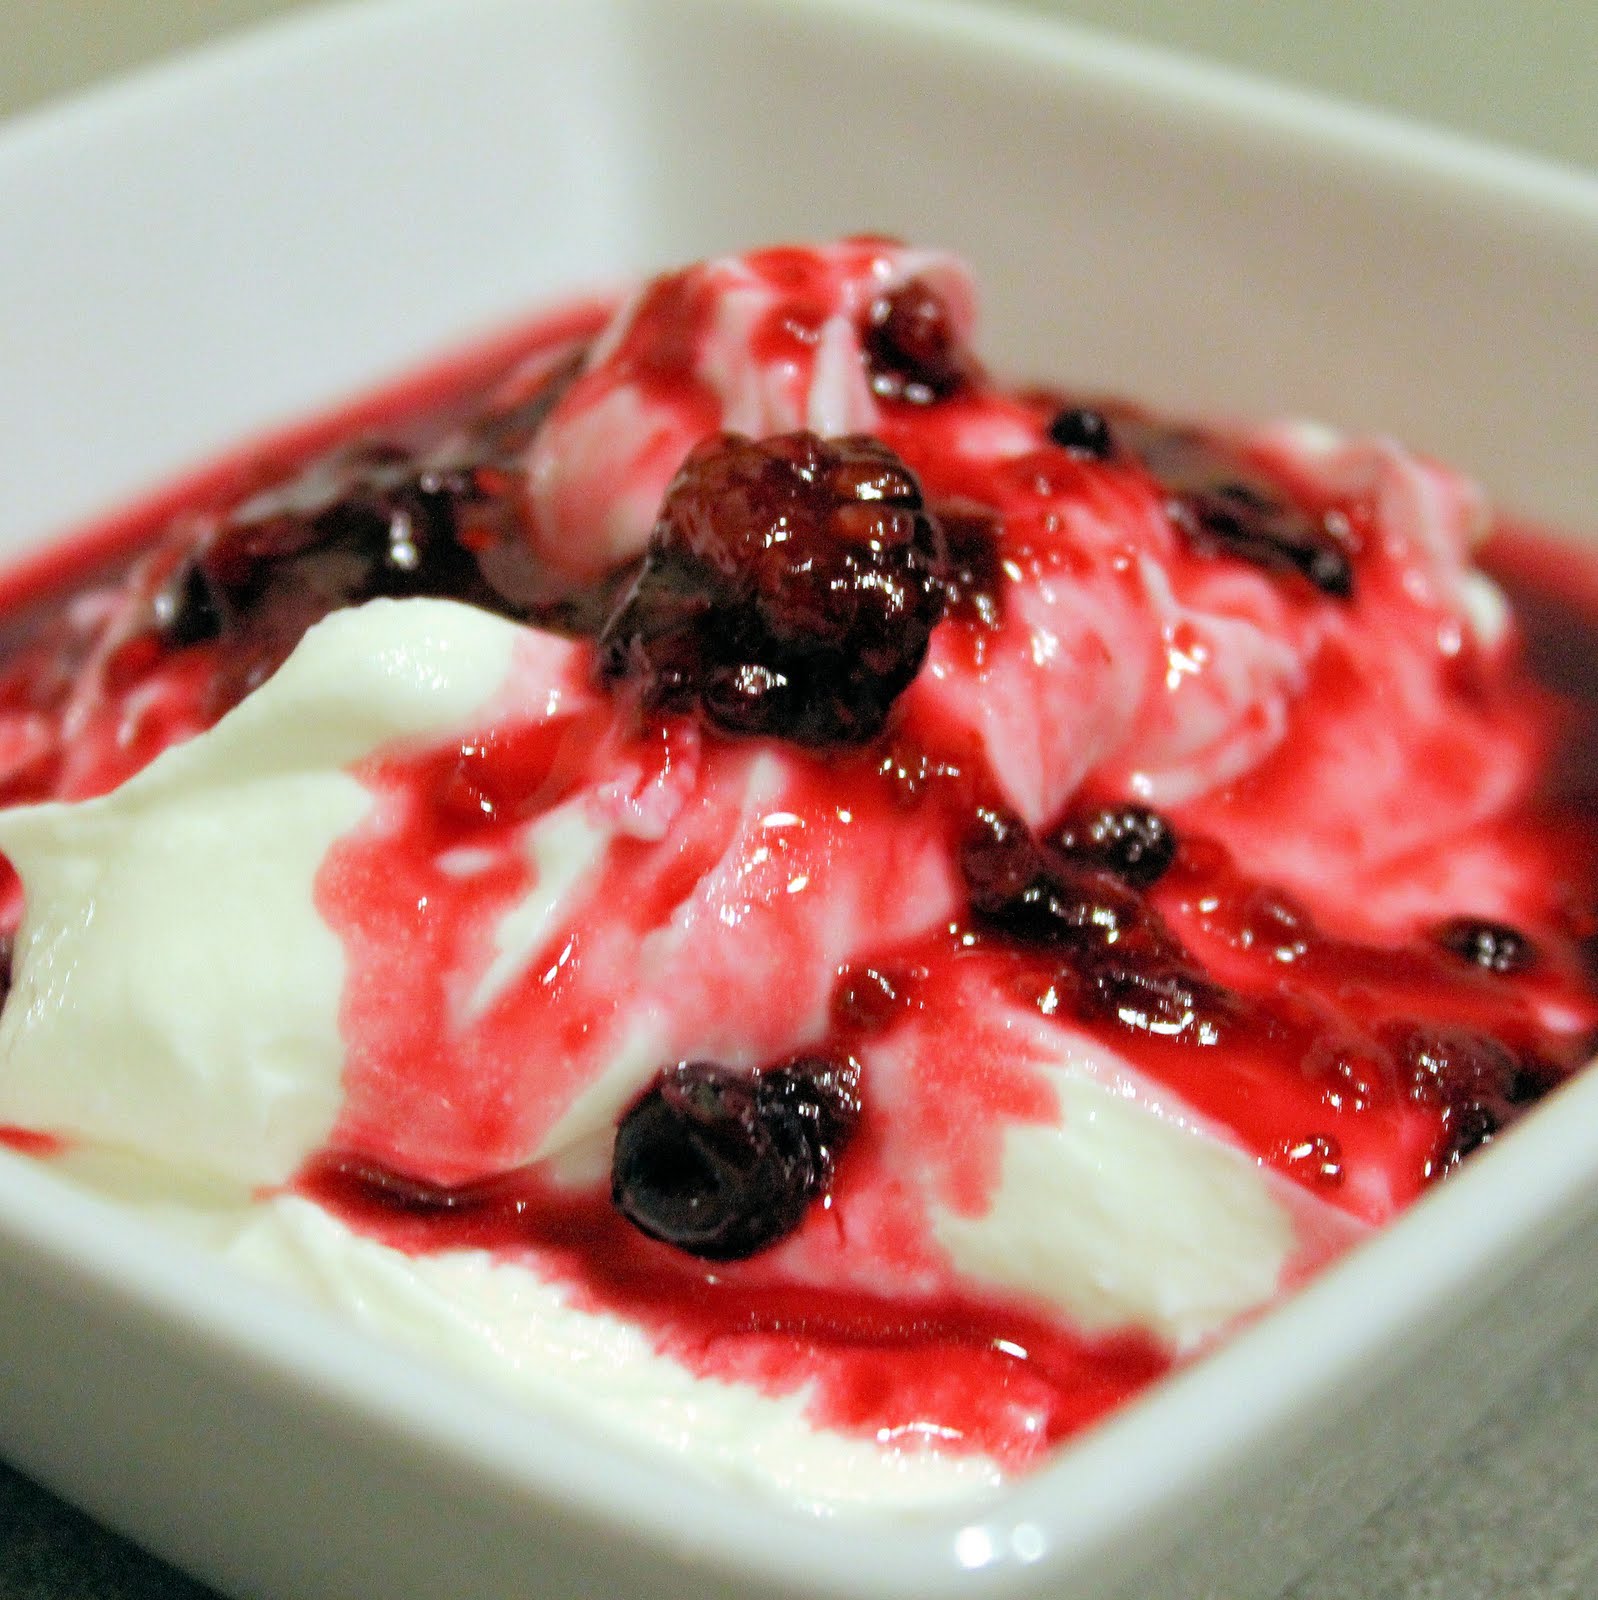
Meanwhile, divide the Greek yogurt among 4 bowls.
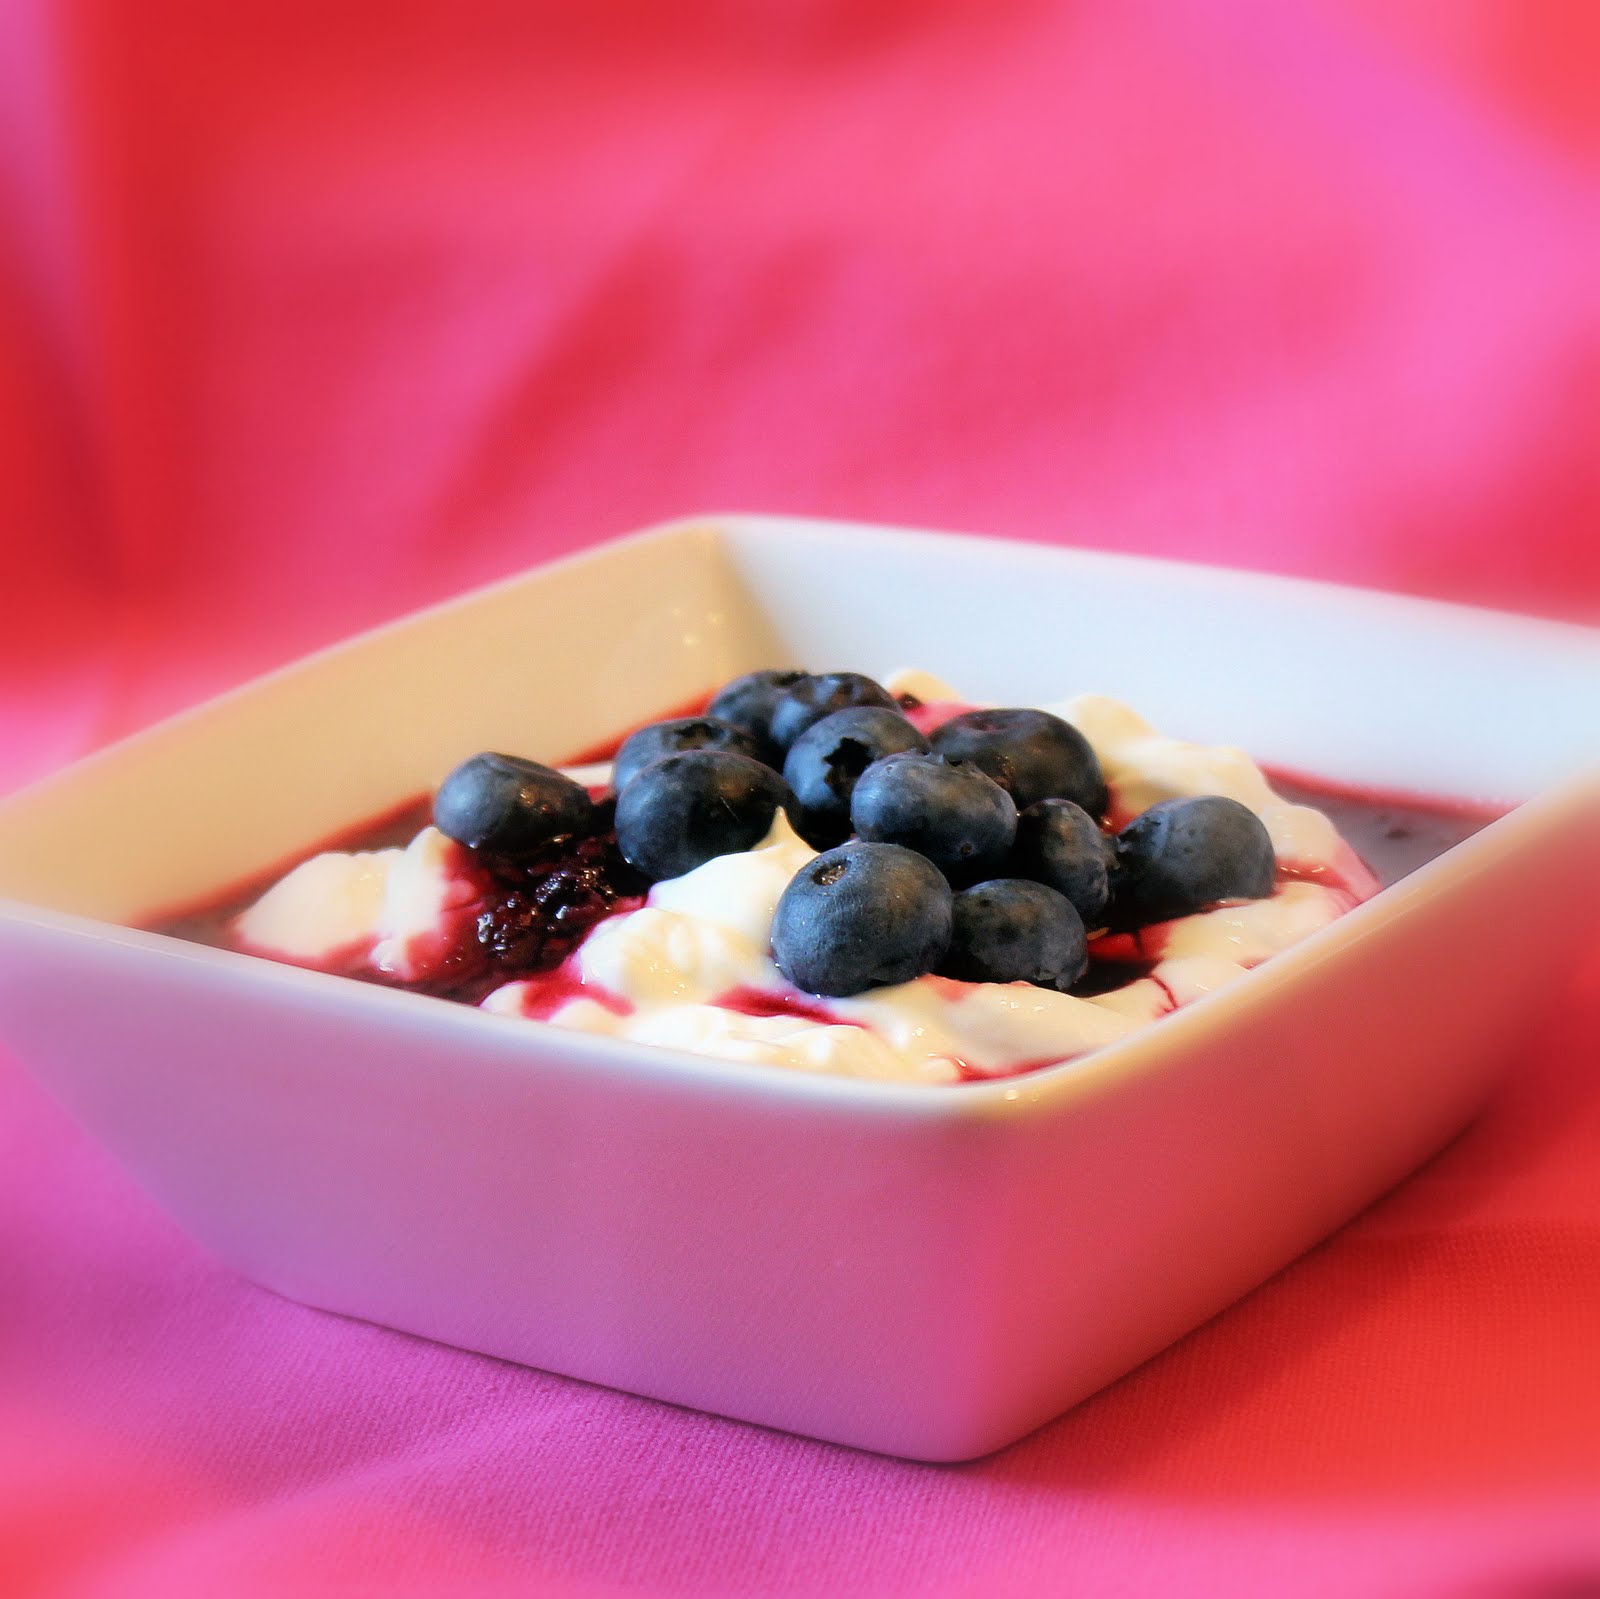
Spoon the berry sauce over the yogurt and serve. Top with fresh berries if you have any on hand.
What a perfect way to indulge in a dessert without completely ruining your healthy dinner. The berry sauce is just sweet enough to cut through the Greek yogurt, but not overly so.
As good as it was for dessert, I still had some left over, so I had it the next morning for breakfast. It was just as tasty cold, which is great news because you can make the berry sauce ahead of time. I do suggest adding some fresh berries on top, just so there is some texture to the dessert.
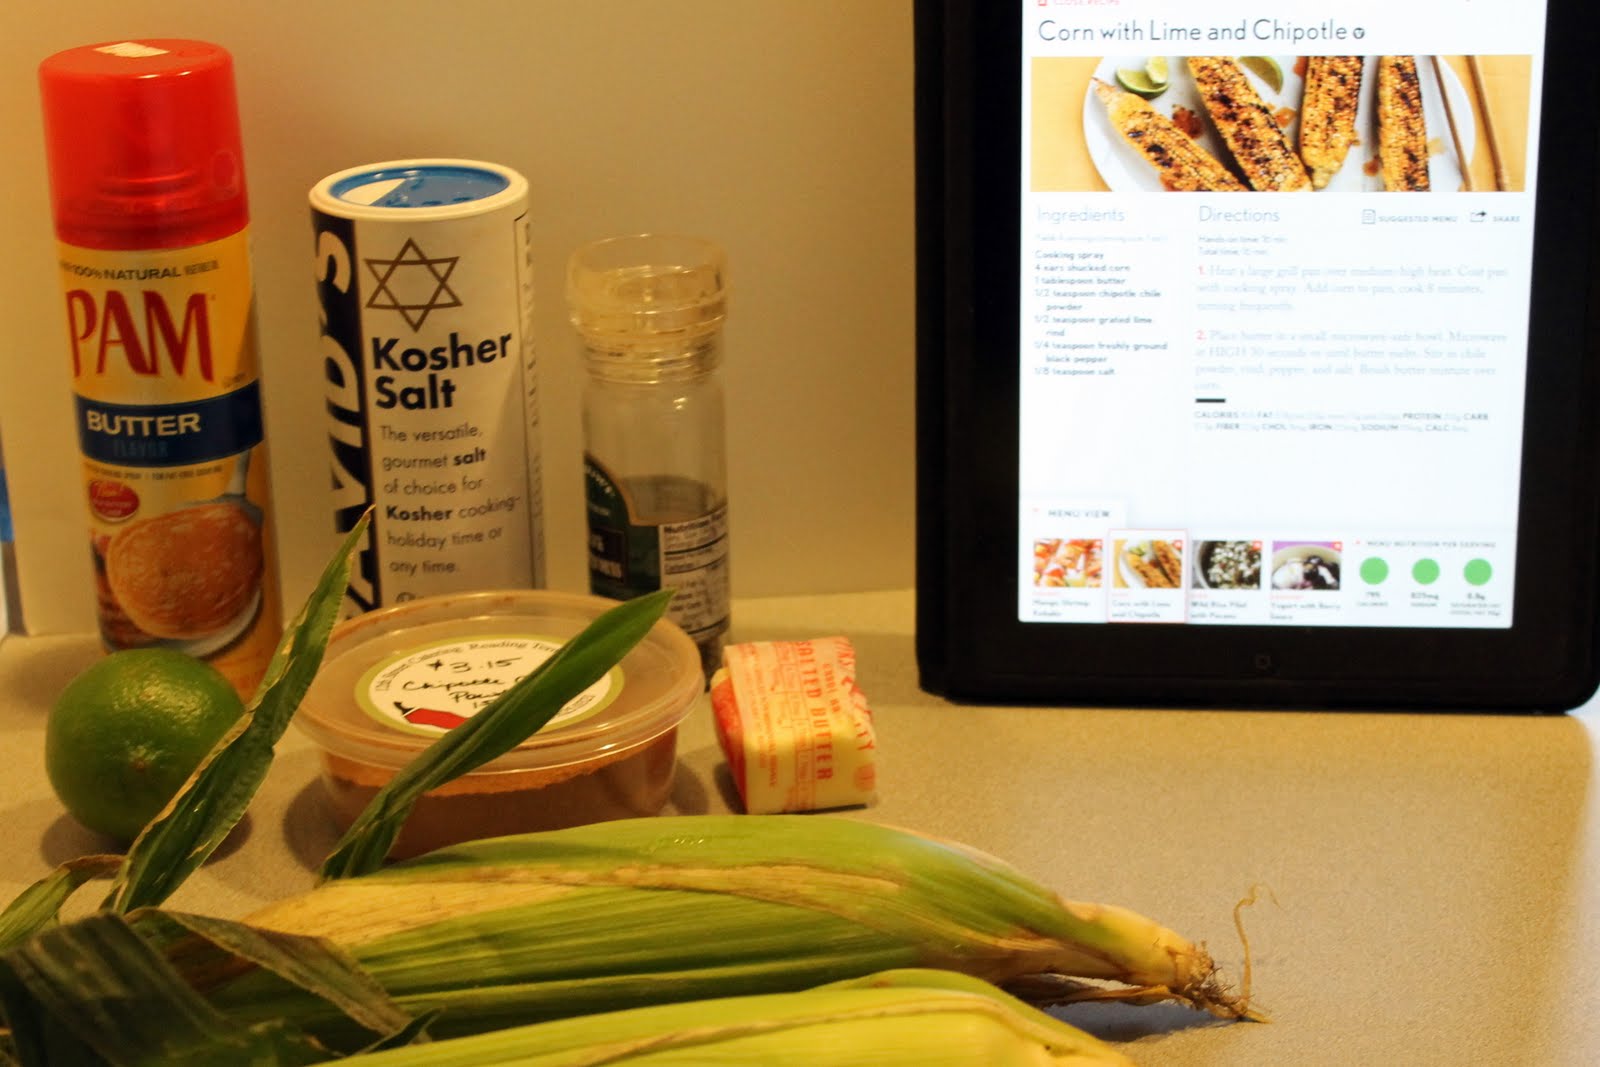
After reading just the title, how could you not be excited for this recipe? Grilled corn is one of my favorite treats in the summer, and I refuse to let my city dwelling keep me from it! I cooked this on a counter top grill and loved it, so I can only imagine how delicious this is on an actual outdoor grill.
This is another recipe from Cooking Light’s “Quick & Healthy Menu Maker App“. I cut the recipe in half, to make only two servings. We ate this along side the Mango Shrimp Kabobs.
Ingredients:
Cooking spray
2 ears shucked corn
1/2 tablespoon butter
1/4 teaspoon chipotle chile powder
Zest from 1 lime
Salt and pepper, to taste
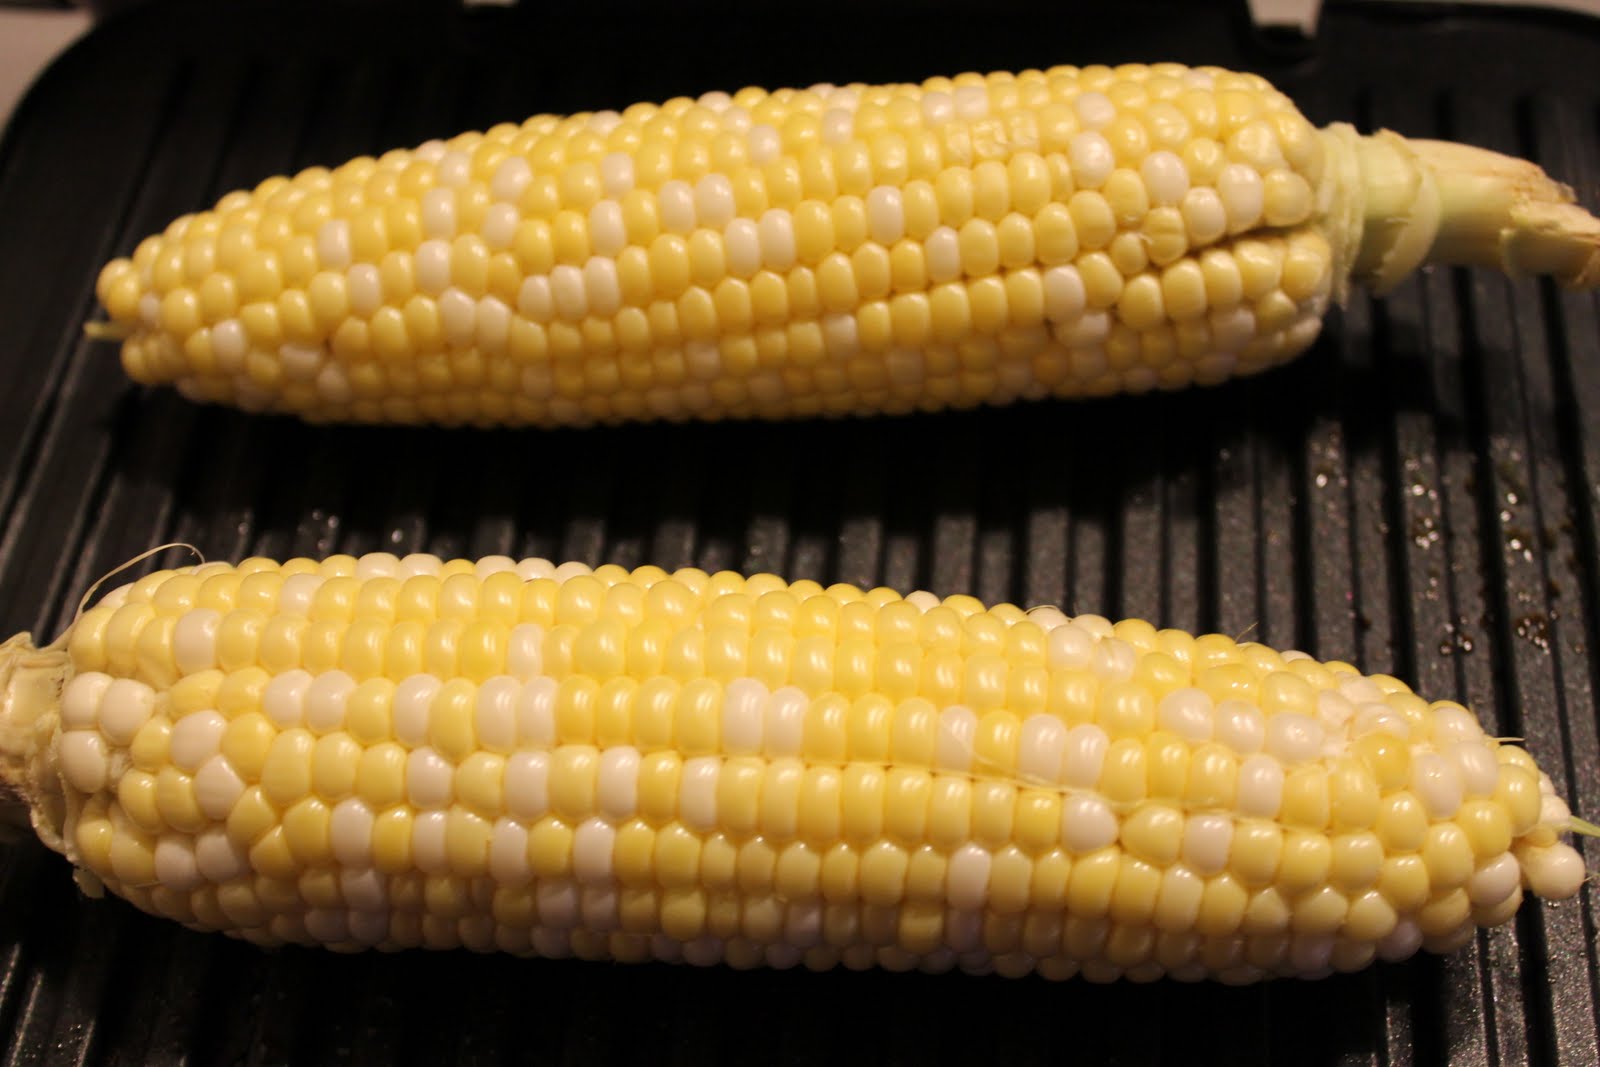
Begin by shucking your corn. Take care to remove as much of the silk as possible.
Side note: this was probably the most stressful part of the process for me. I was using corn from my CSA share and had read a post from another CSA share member, One Curly Fry in a Box of the Regular, about the horror she found under the husk. Oh the joys of organic produce. Thankfully, I had a bit more luck than she did. Look how wonderful that corn looks!
Preheat your grill. I set mine for medium-high. Coat the grill with cooking spray and add the corn.
Cook until grill marks begin to appear, about 10 minutes (closer to 8 minutes for a normal grill). Turn the corn frequently to allow it to evenly cook.
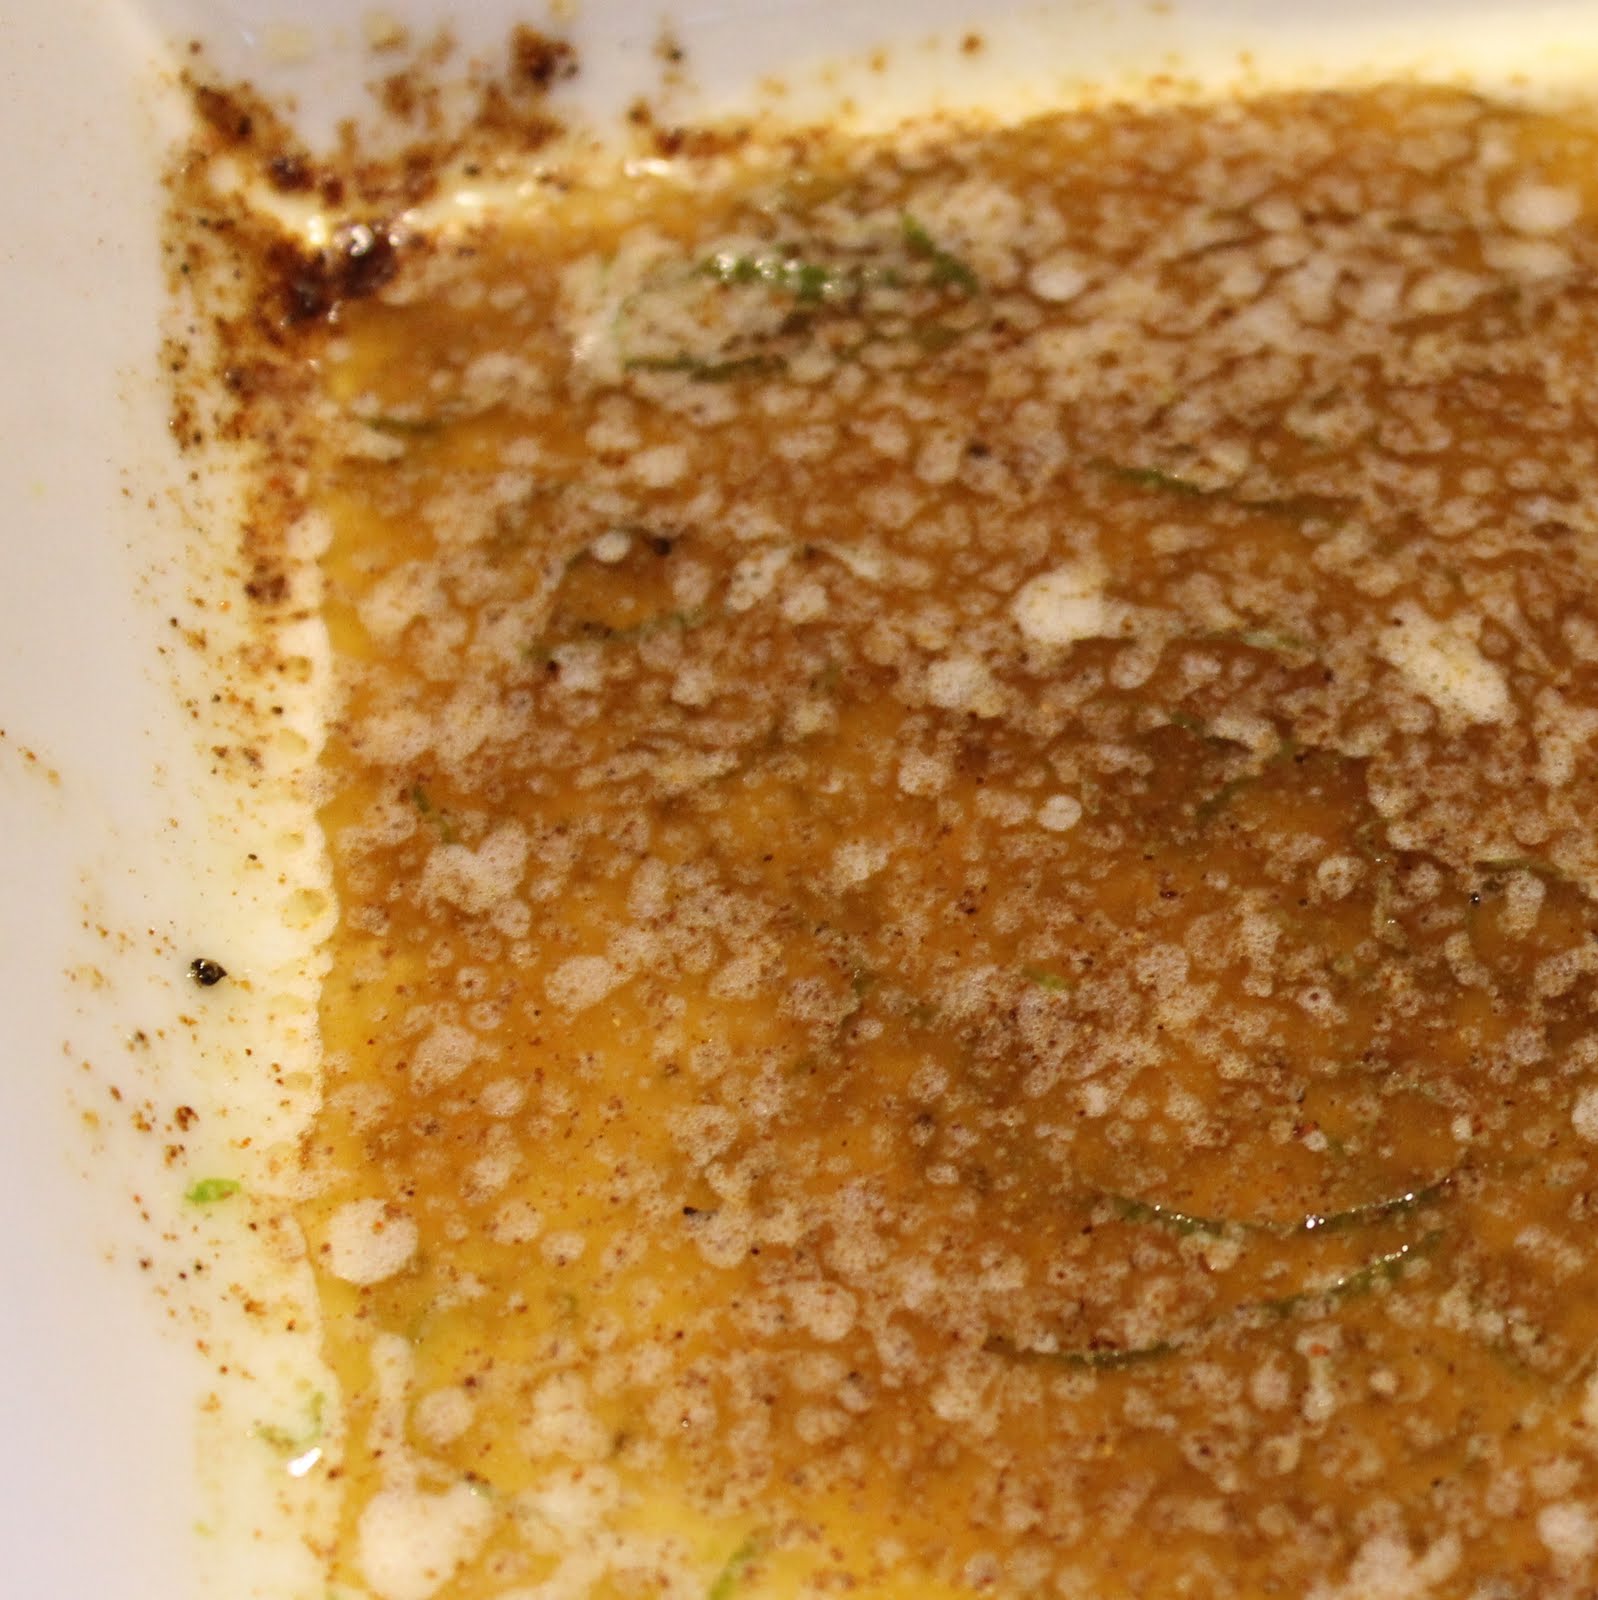
While the corn is cooking, place the butter in a microwave-safe bowl. Microwave for 30 seconds or until the butter has melted. Add the chile powder, zest, pepper and salt.
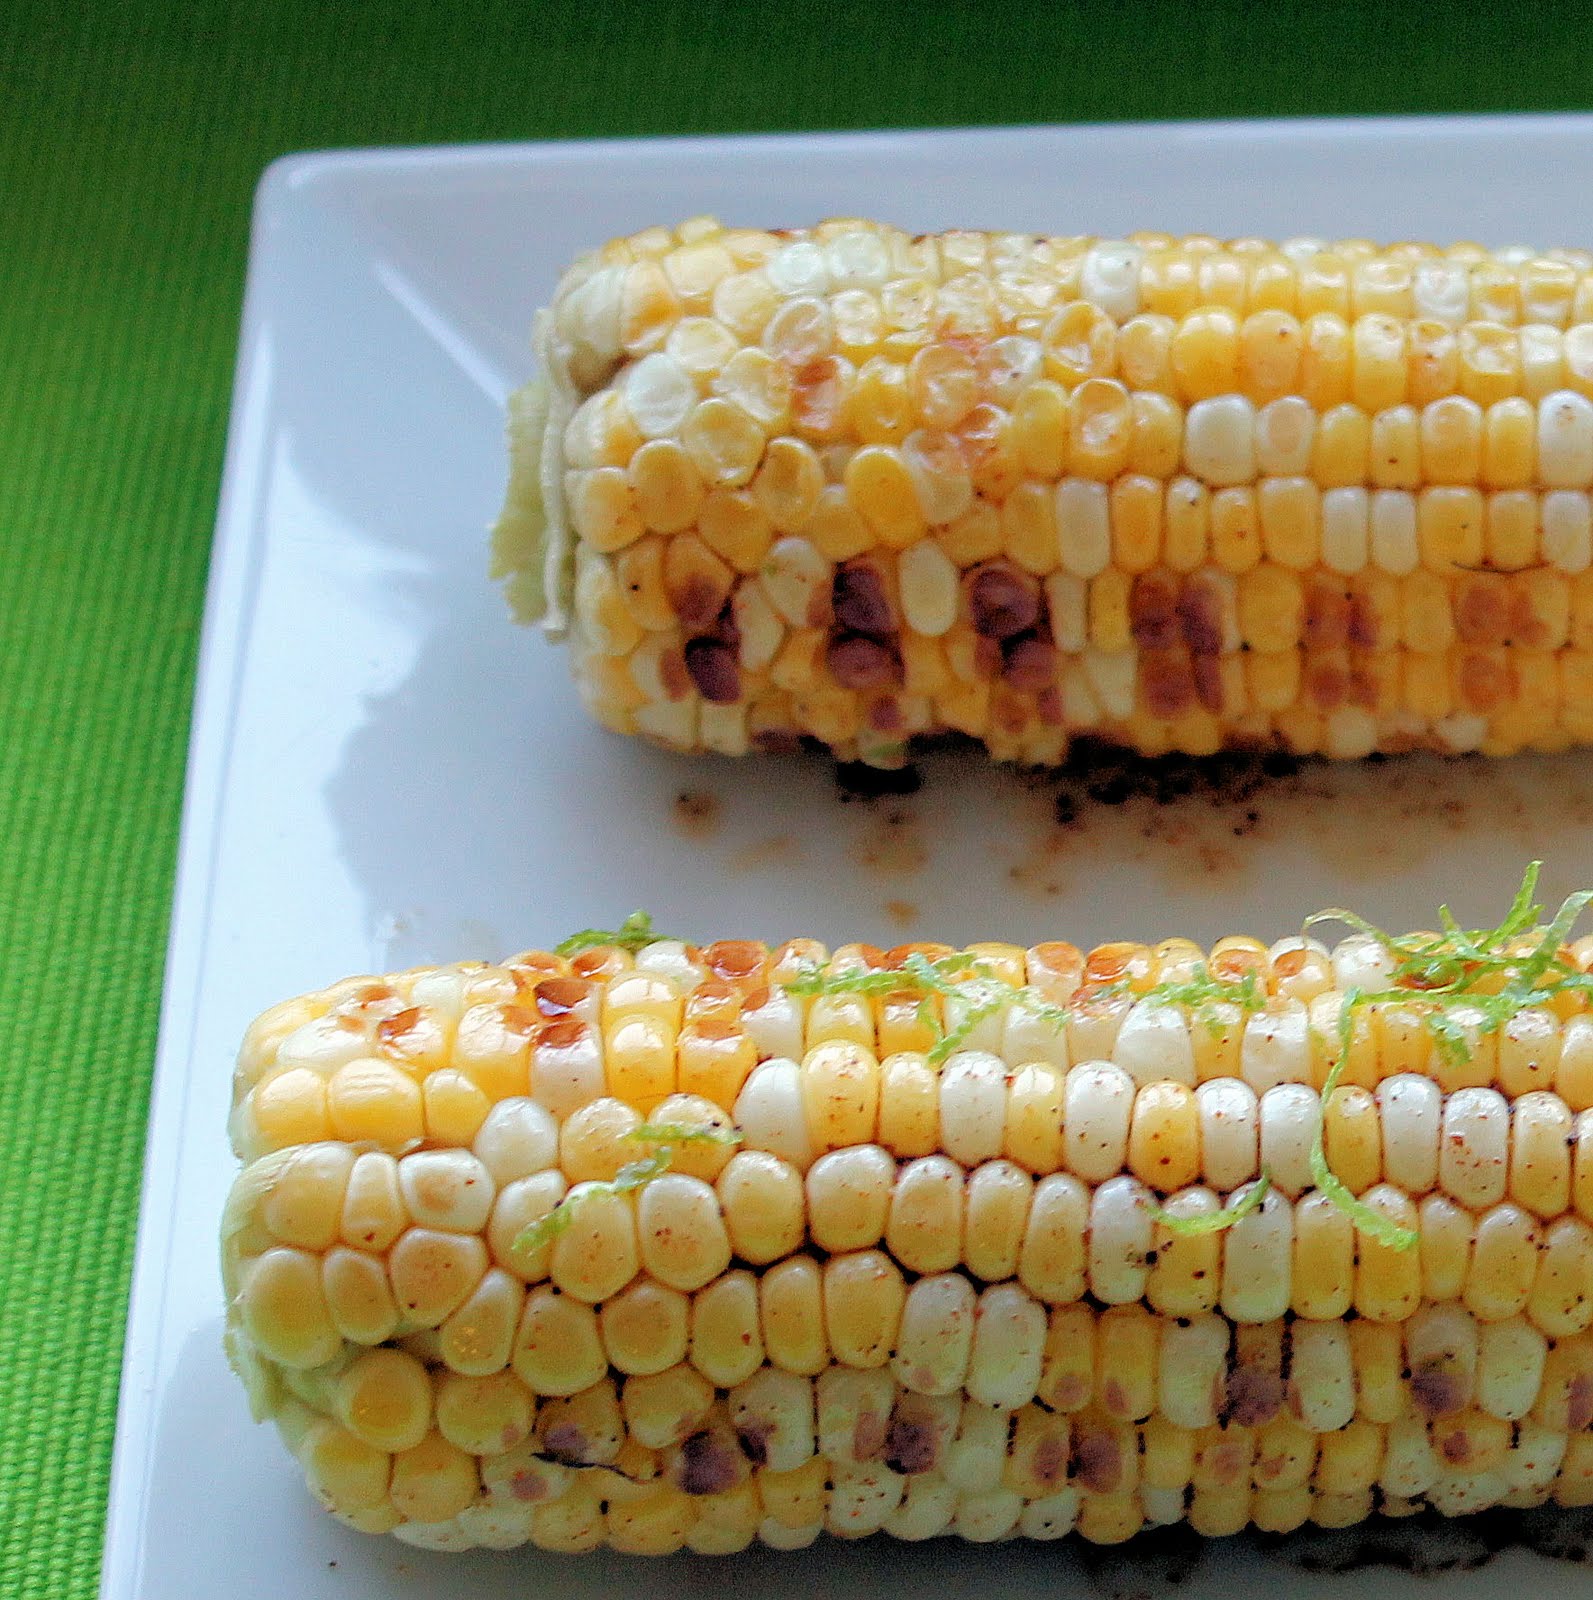
ok. It’s not much to look at, but it tastes good!
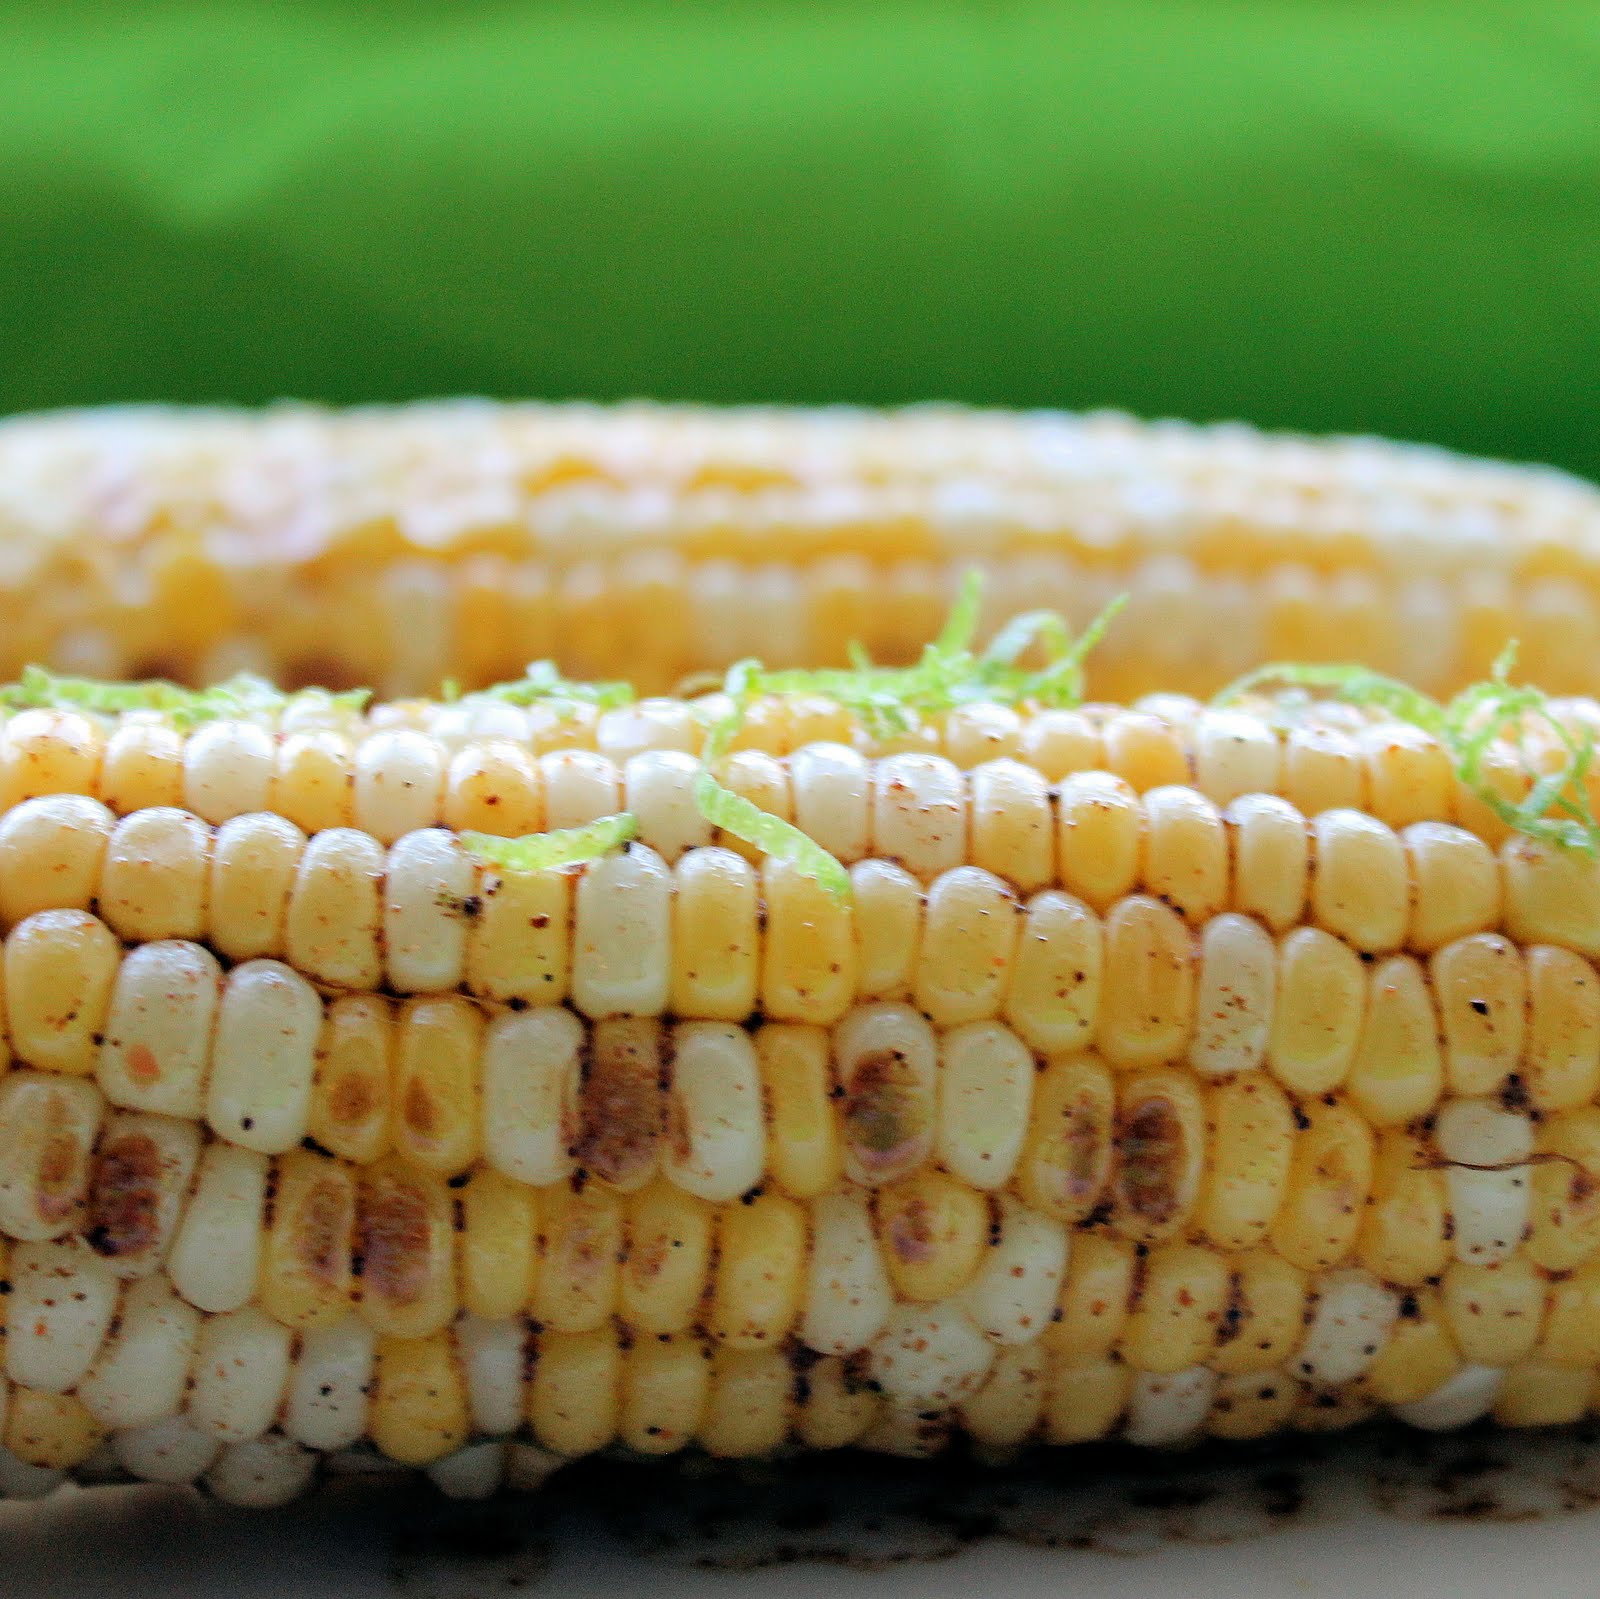
Remove the corn from the grill and brush the butter mixture over the corn.
I loved the subtle smokiness of the chipotle chile powder with the corn. We had some leftover limes from the kebobs and took full advantage of the lime juice on the corn, which really worked well with the butter mixture. I honestly had trouble taking photos of this, because as soon as it was done, we couldn’t control ourselves and scarfed it down! Definitely a keeper.
Earlier this week, I wrote a post reviewing Cooking Light’s new App. I have been playing around with the app for about a week and kept coming back to this Mango Shrimp Kebab recipe. The colors are amazing, and it sounded so delicious! I cut the recipe in half (makes 2 servings) but kept the original recipe mostly intact.
Ingredients:
3/4 pounds large peeled and deveined shrimp
Salt and pepper, to taste
1 large red bell pepper, cut into 1-inch pieces
1 mango, peeled and cut into 1-inch cubes
1/2 small red onion, cut into 1-inch pieces
Juice and zest of 1 lime, cut into wedges
Cooking spray
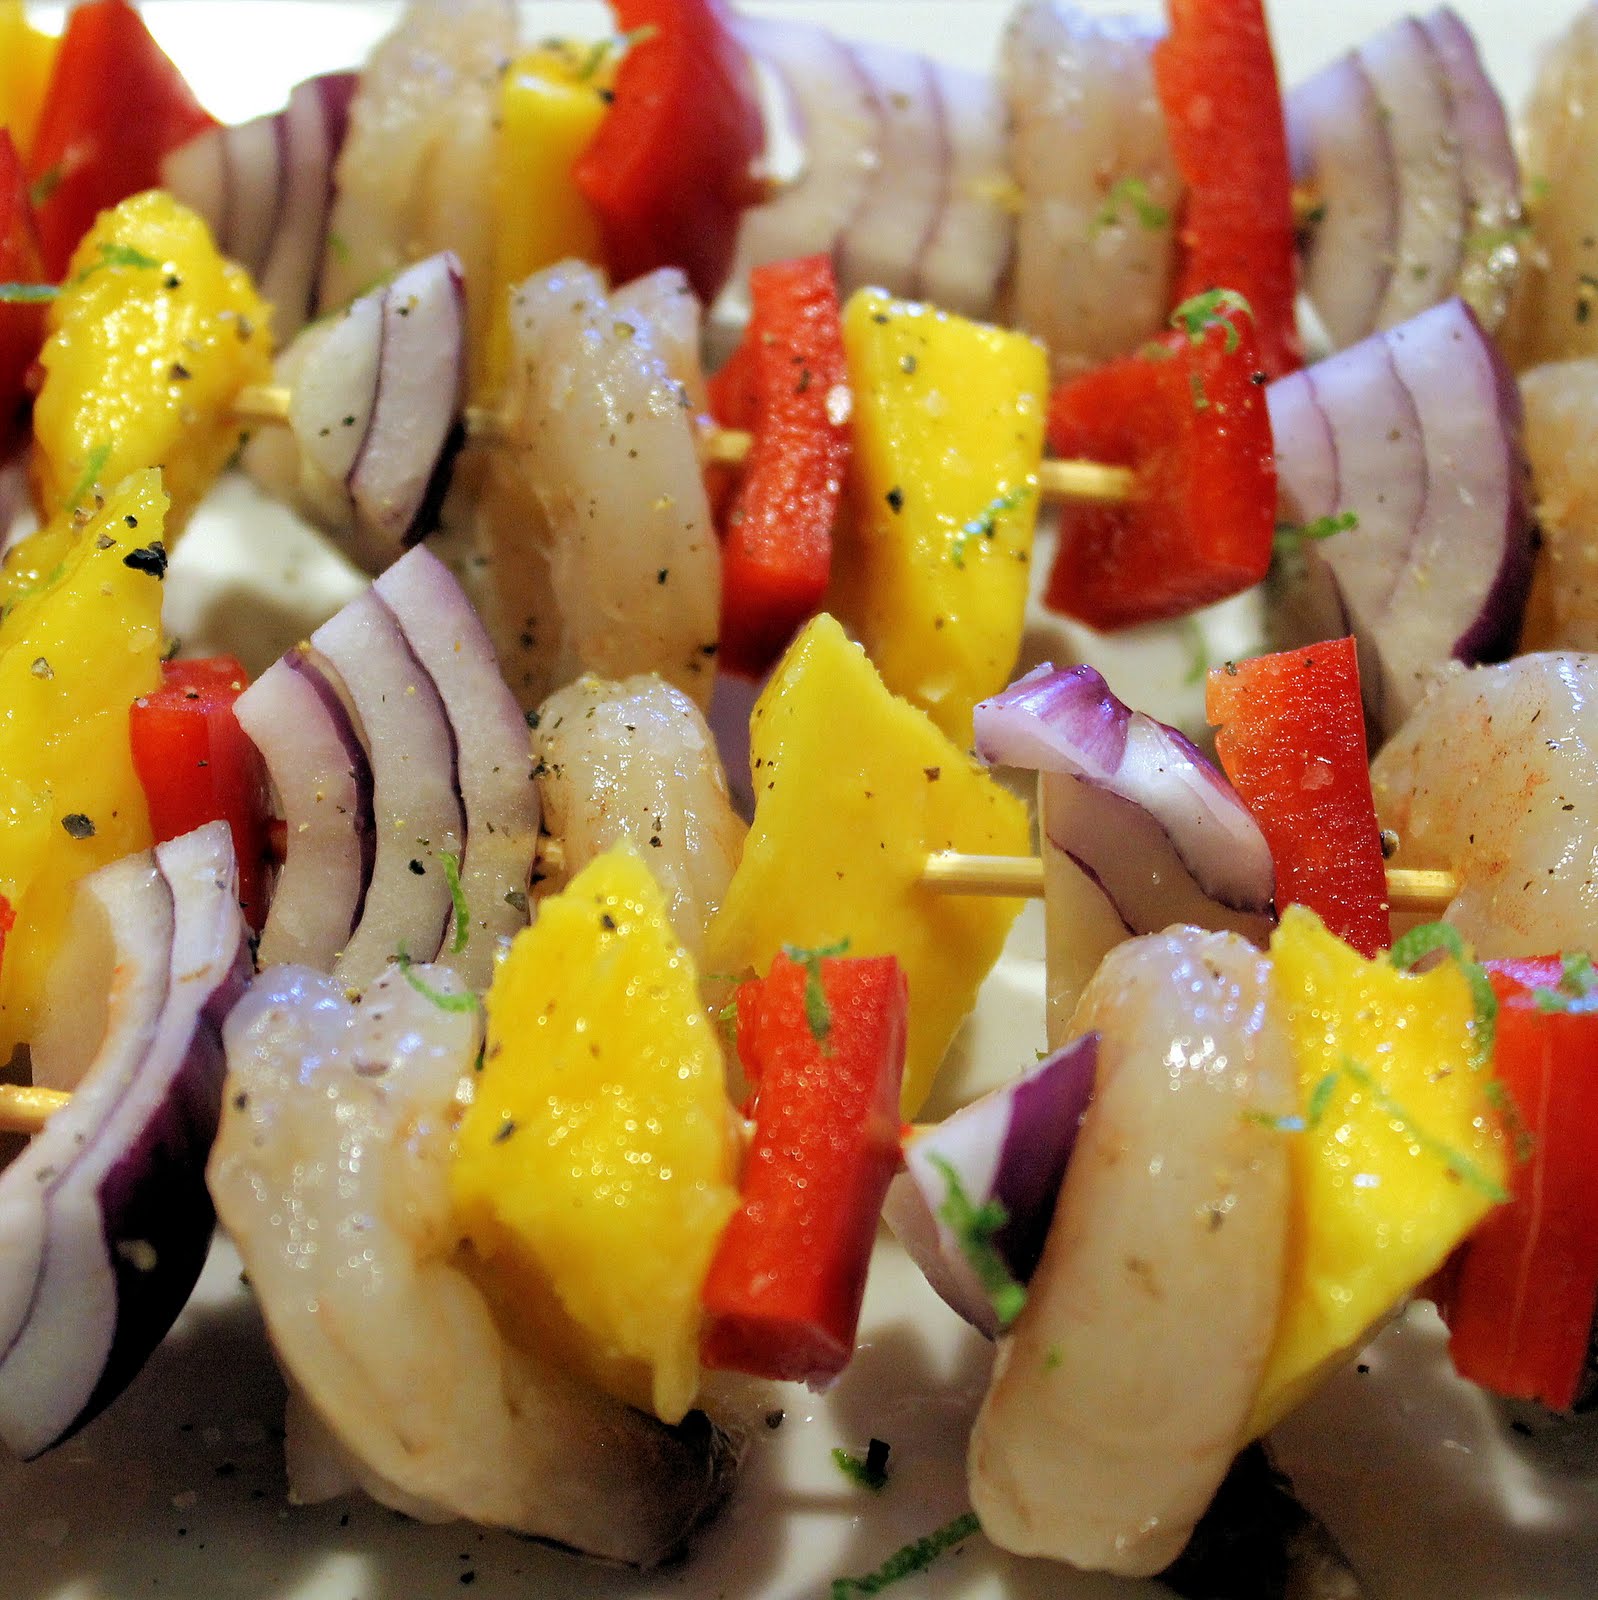
Preheat your grill to medium-high heat. Prepare your mango, pepper, and onion.
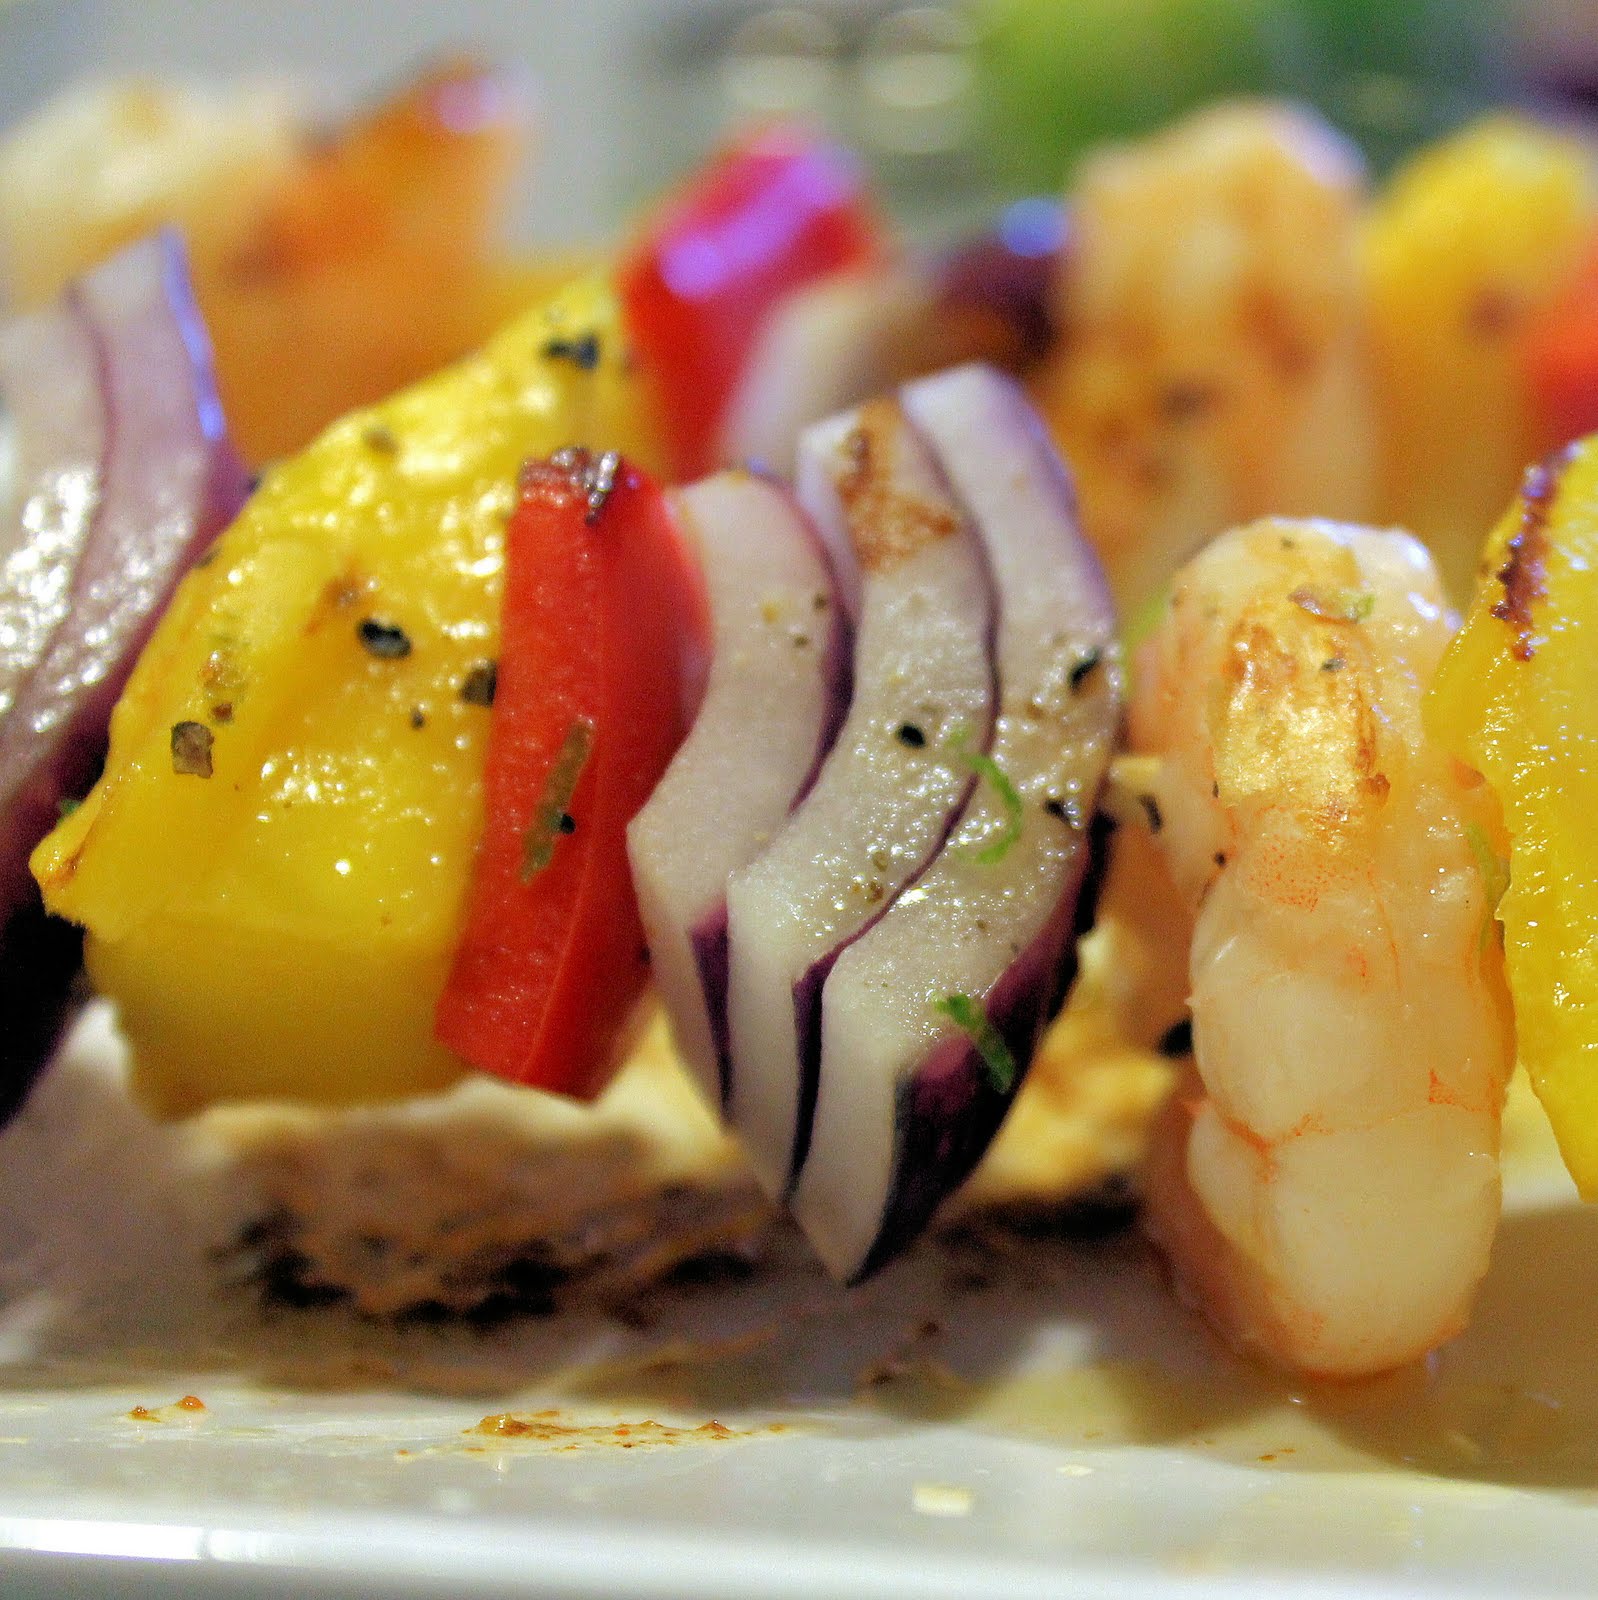
Thread shrimp, bell pepper, mango, and onion alternately onto 4 skewers. Sprinkle with salt, pepper, and lime zest. Note: the original recipe did not include zest. But I thought it might be an easy addition to the flavors, you’re using a lime anyways!
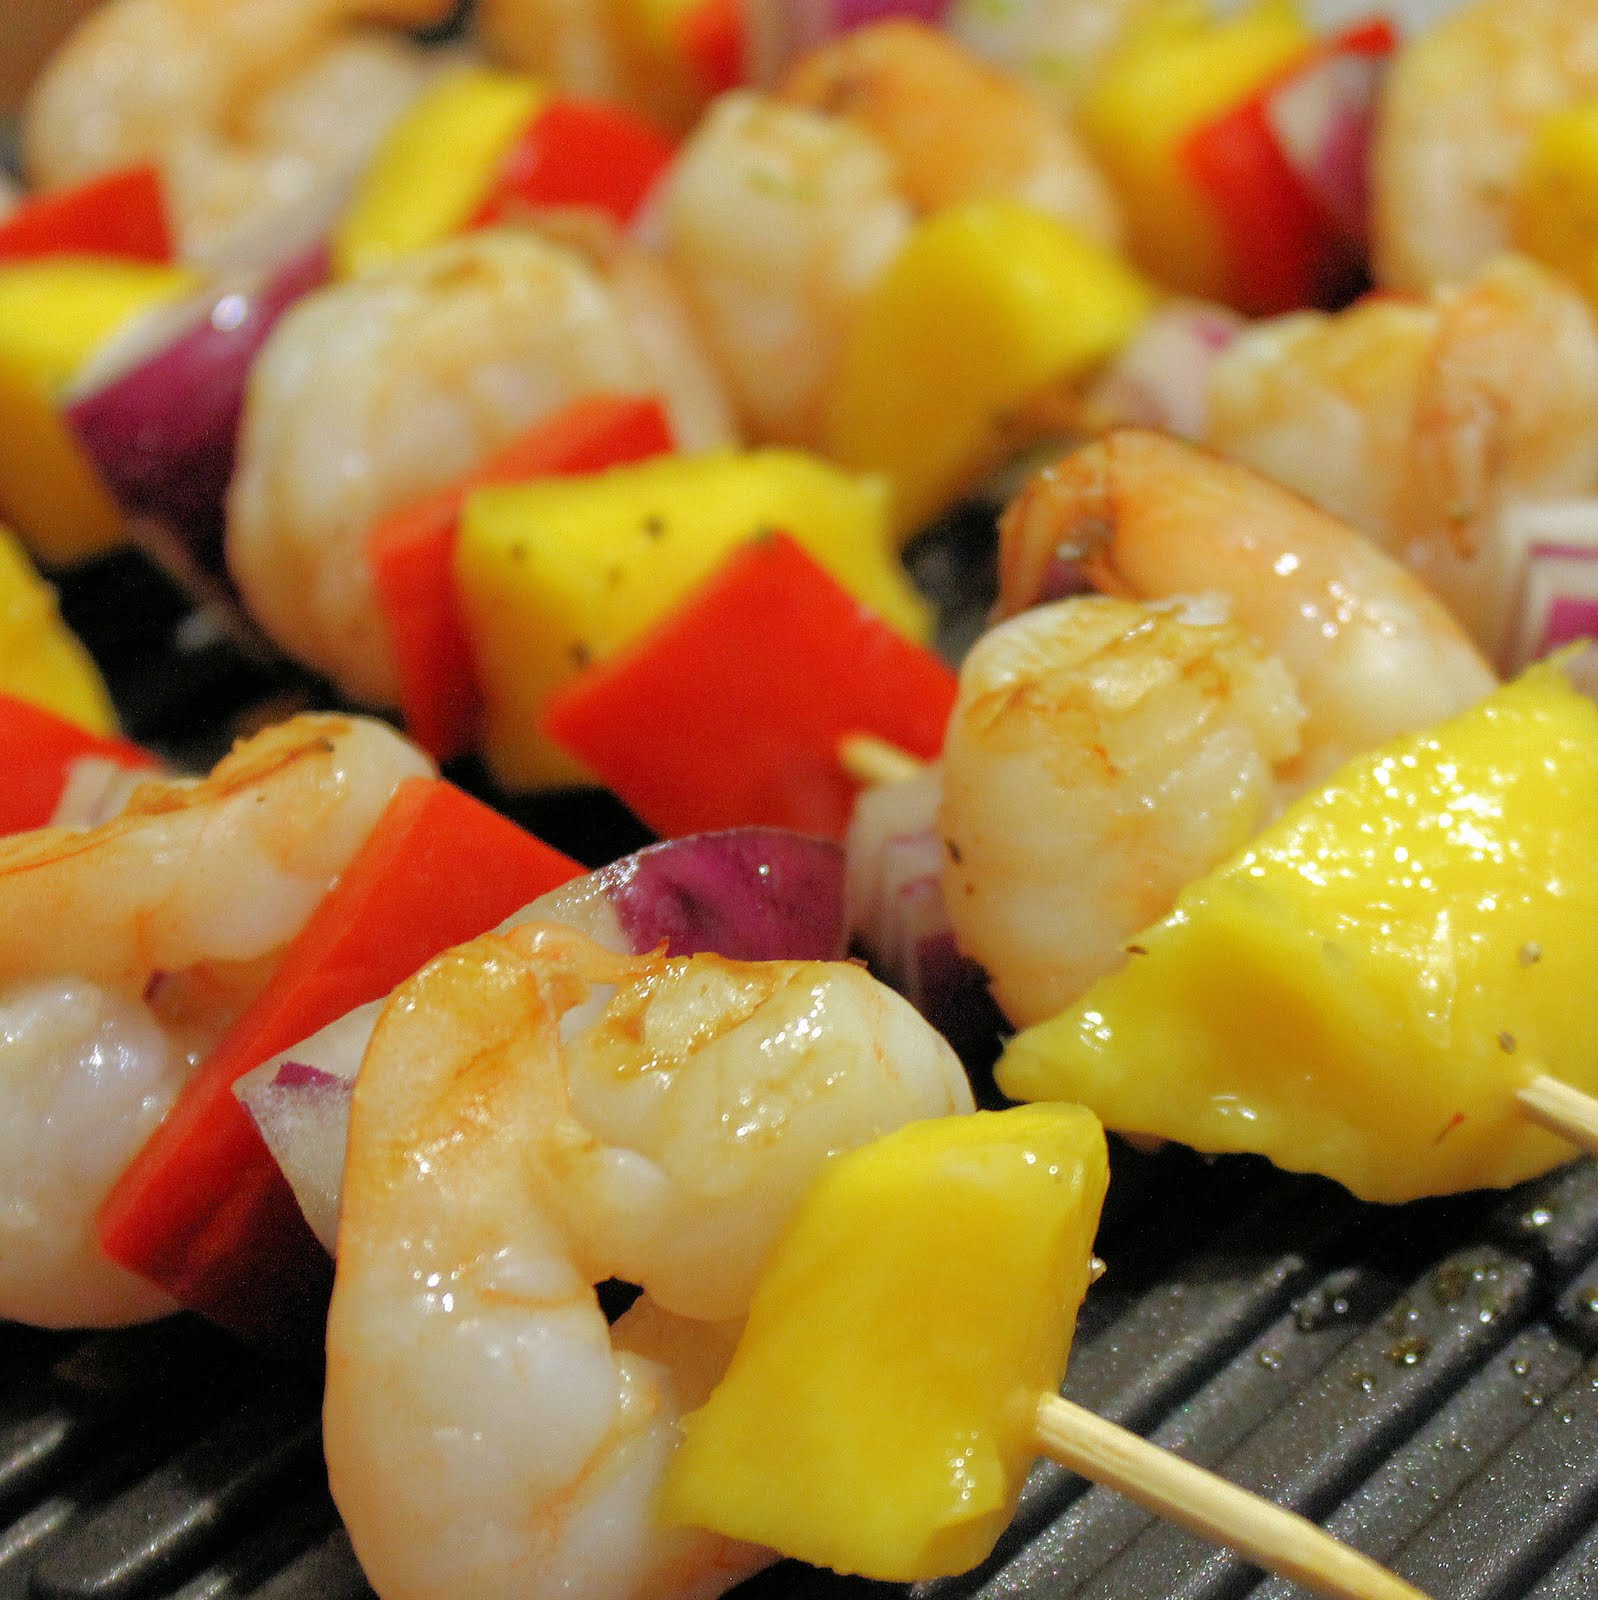
Coat the grill with cooking spray. Place the skewers on the grill rack and cook for 2 minutes on each side, or until shrimp are cooked (Mine took closer to 3-4 minutes per side, I blame my little indoor grill. If using a normal grill, 2 minutes on each side should be plenty.)
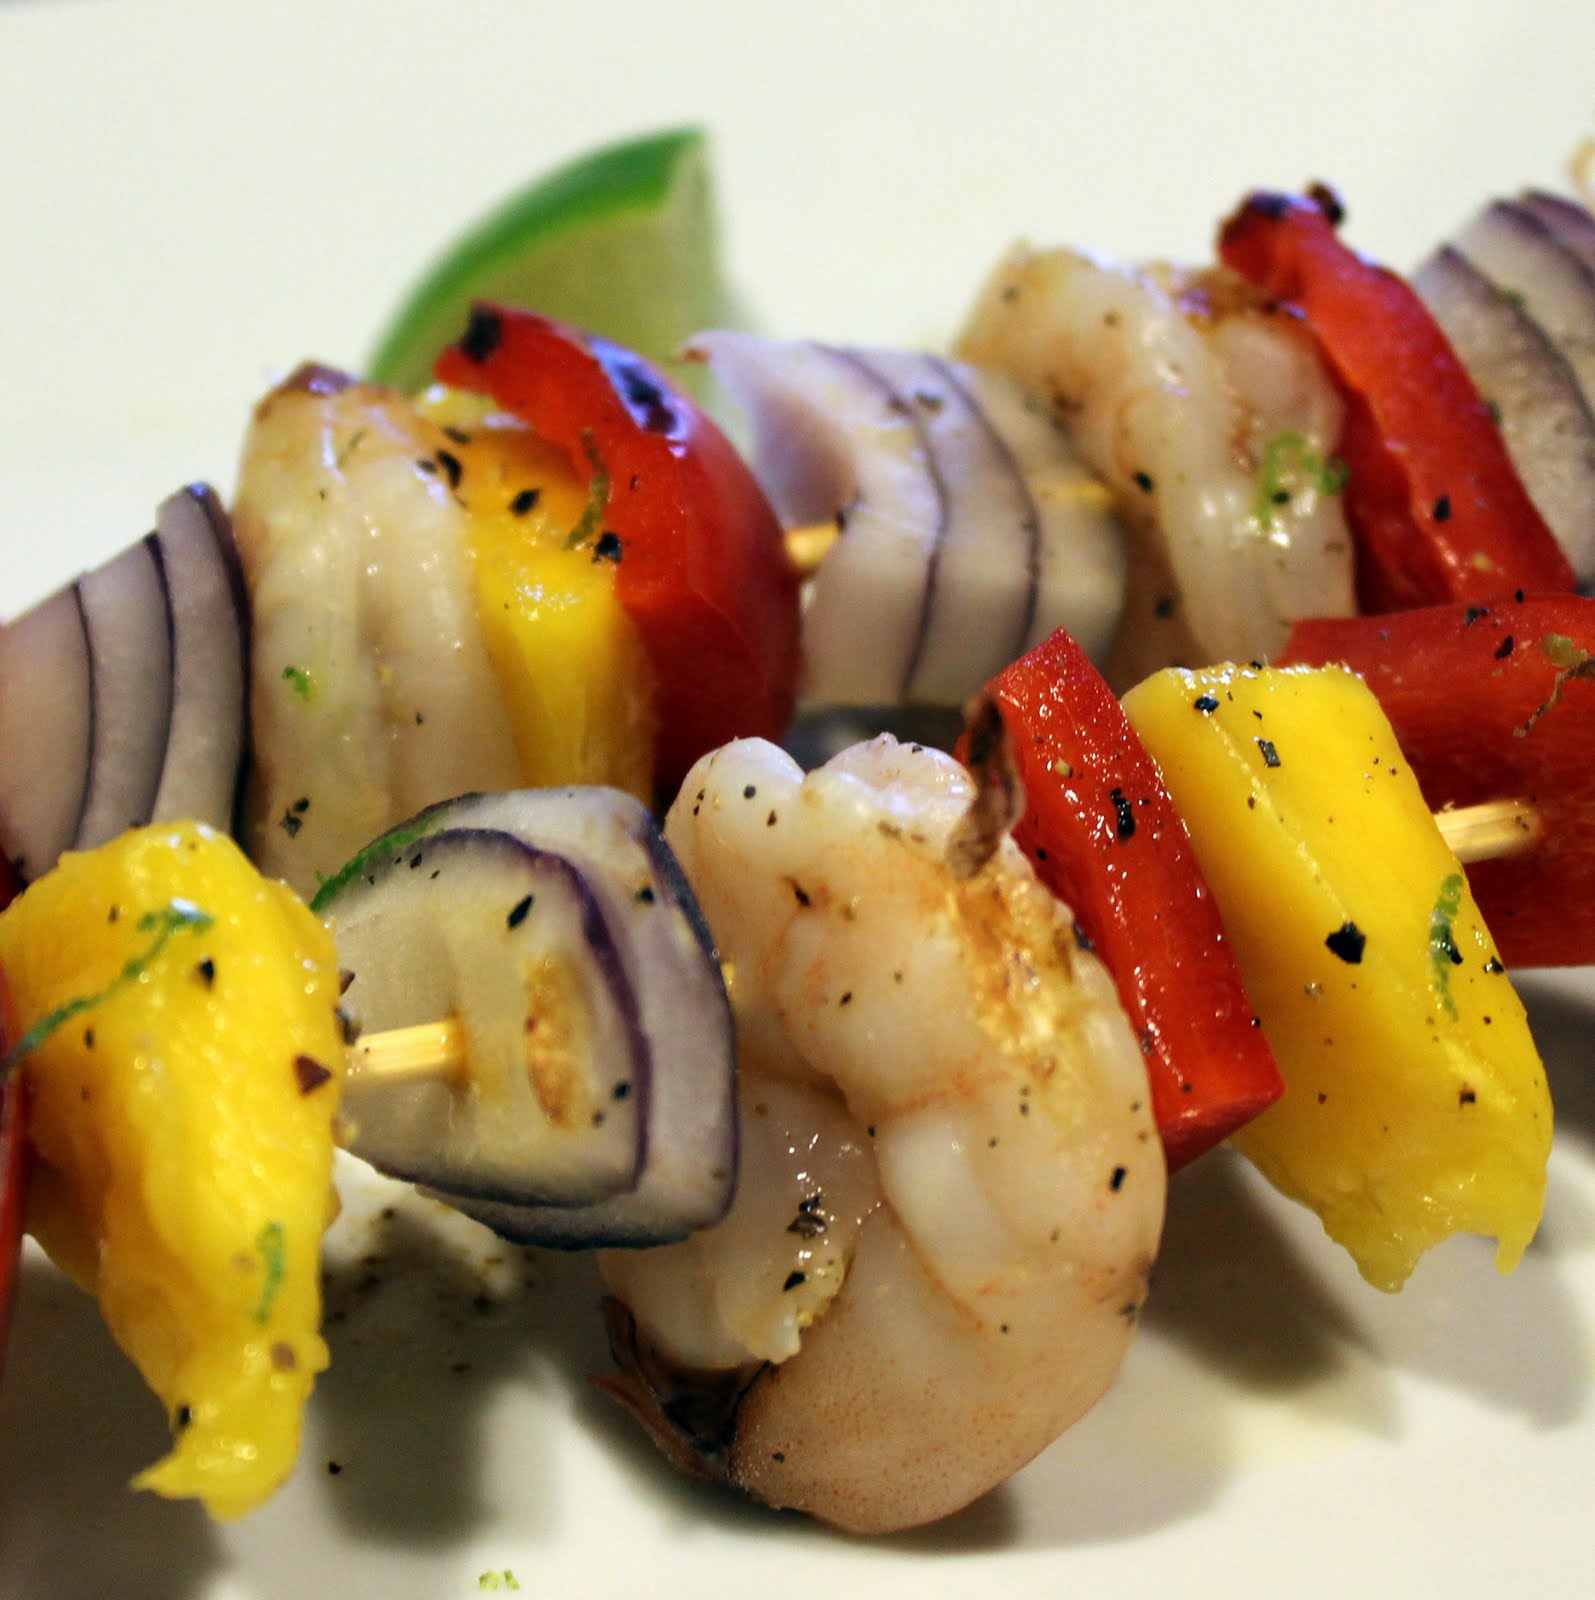
Serve with lime wedges. Squeeze the wedges over kebabs before eating.
Before I go on, I want to give special thanks to my “Sous Chef” and friend Ericka for helping me out. I am pretty darn scared of knives and cutting slippery fruit stresses me out quite a bit, so I am forever grateful to Ericka for her amazing mango-chopping skills.
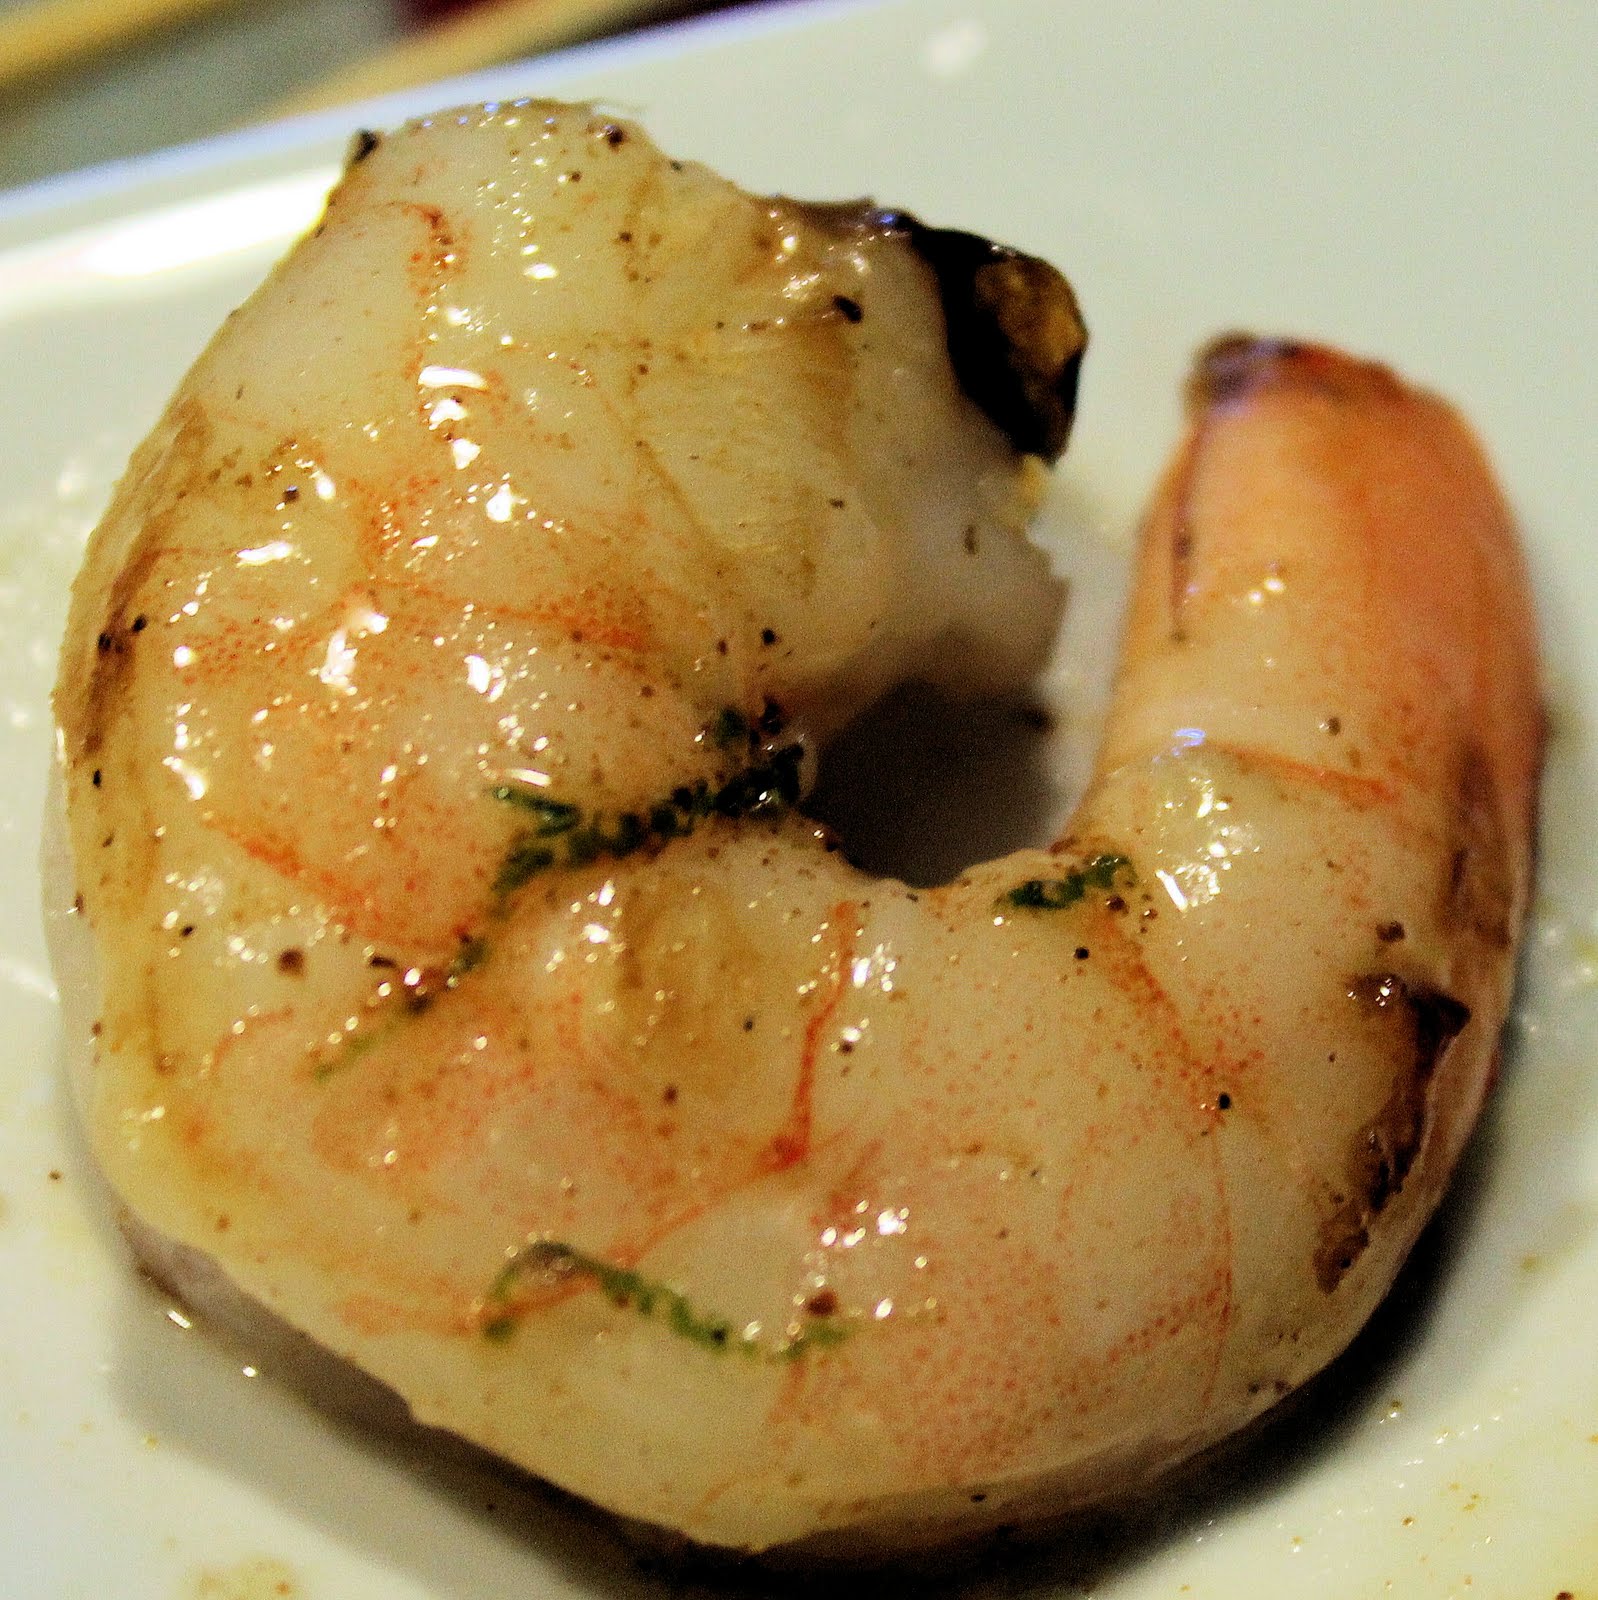
We made this along with the Corn with Lime and Chipotle, also suggested by the app. And I couldn’t be happier with the results. The pairing was perfect! We actually ended up using some of the leftover chipotle butter mix on some of the shrimp, just to try it out.
shrimp with chipotle butter
Ericka thought maybe marinating the shrimp in a jerk marinade before adding to the skewers would really bump this recipe up a notch and I agree. However, the original recipe is delicious on its own, and quite simple and fast to make. Look out for my post on the Corn, these two really should be eaten together!
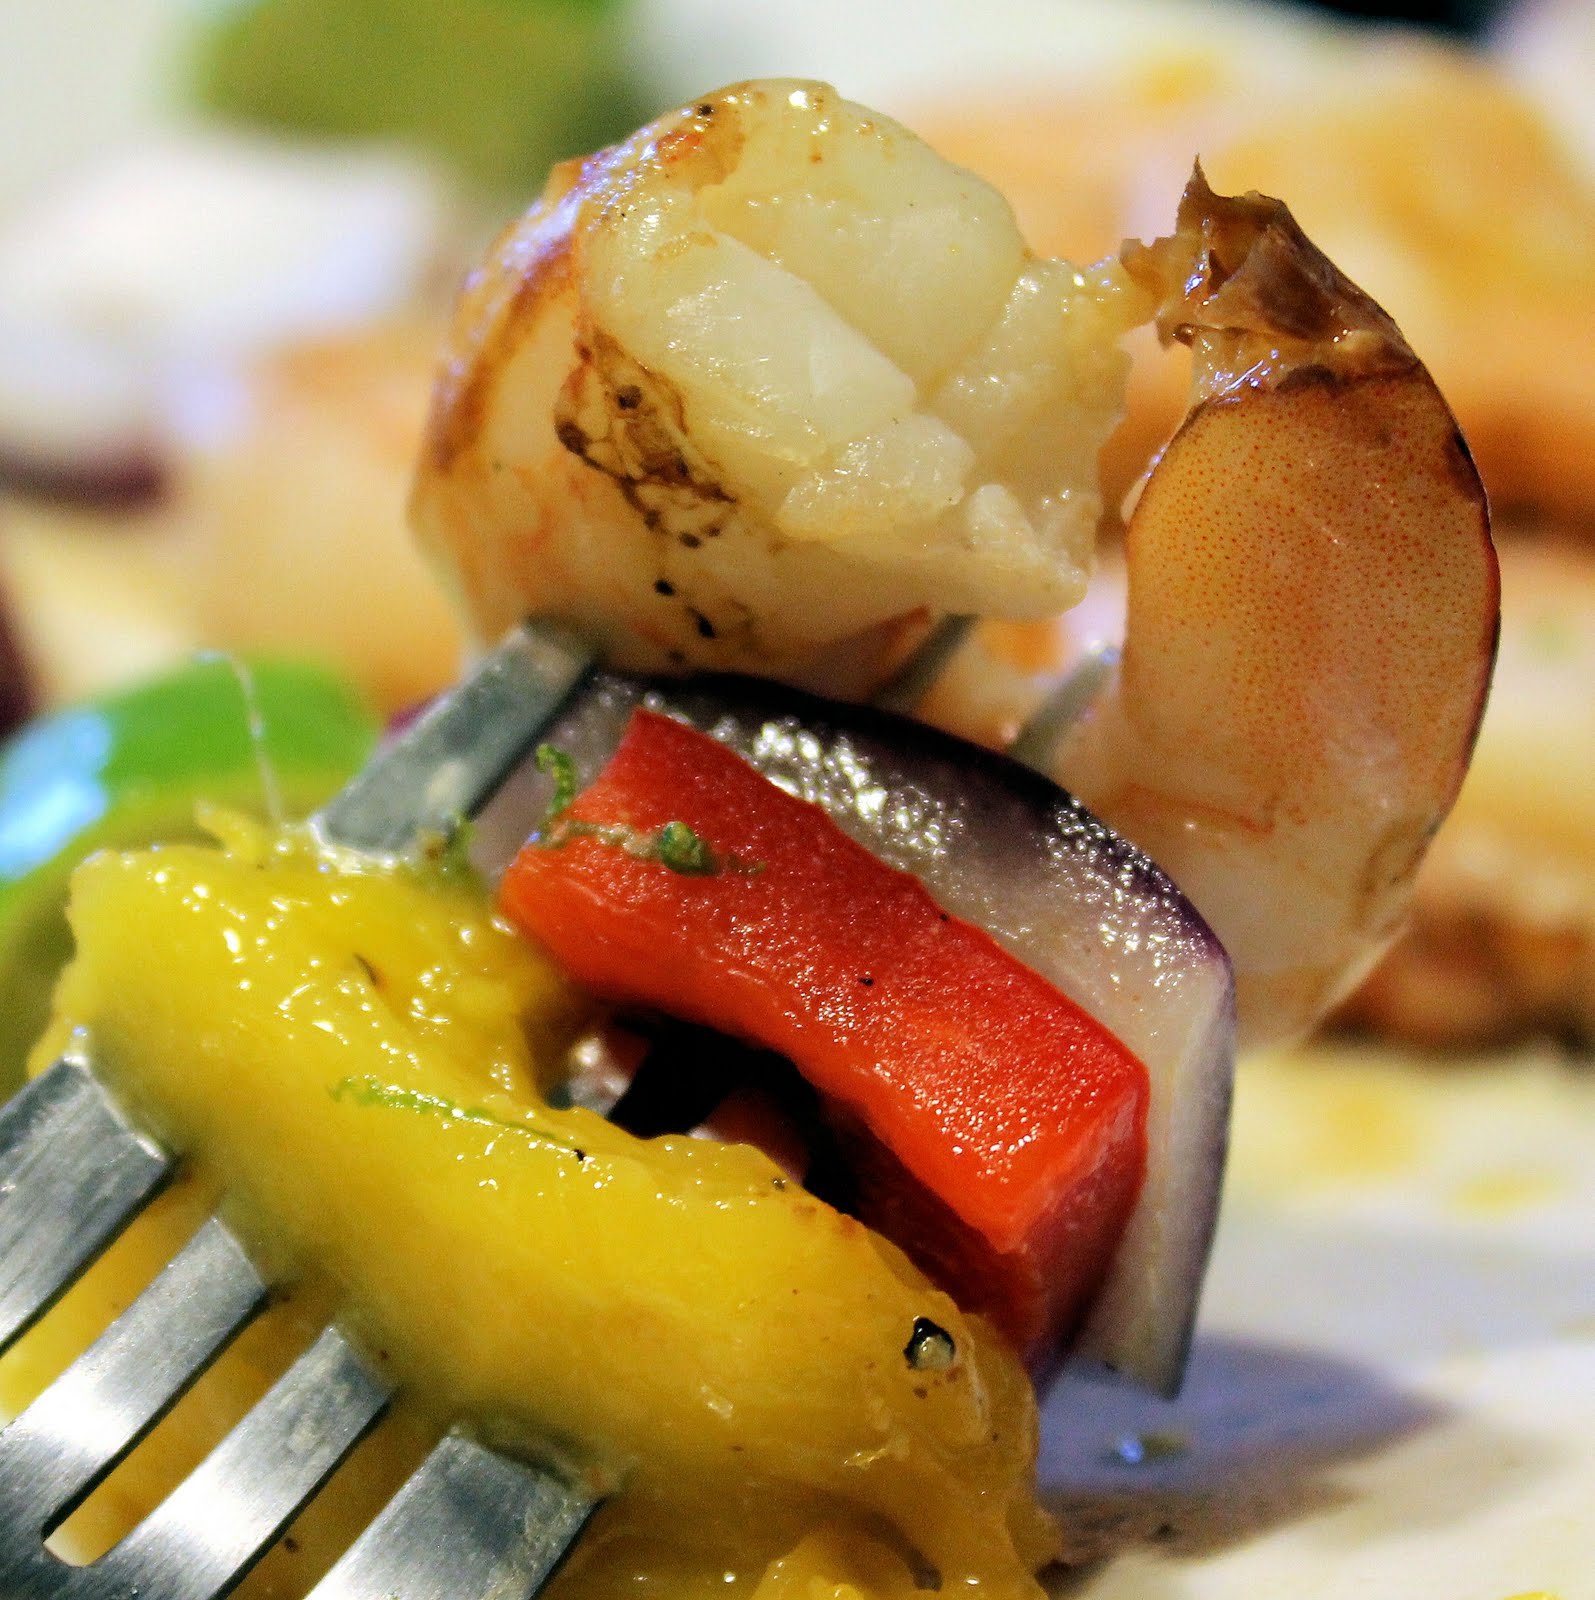
The ingredients were wonderful together, sweet, tangy and fresh. Ericka kept referring to getting a piece of each ingredient in one bite “the perfect bite” and I have to agree with her.
Do not forget to squeeze the lime over the skewers before enjoying. The citrus adds a whole new dimension to this already delicious dish.
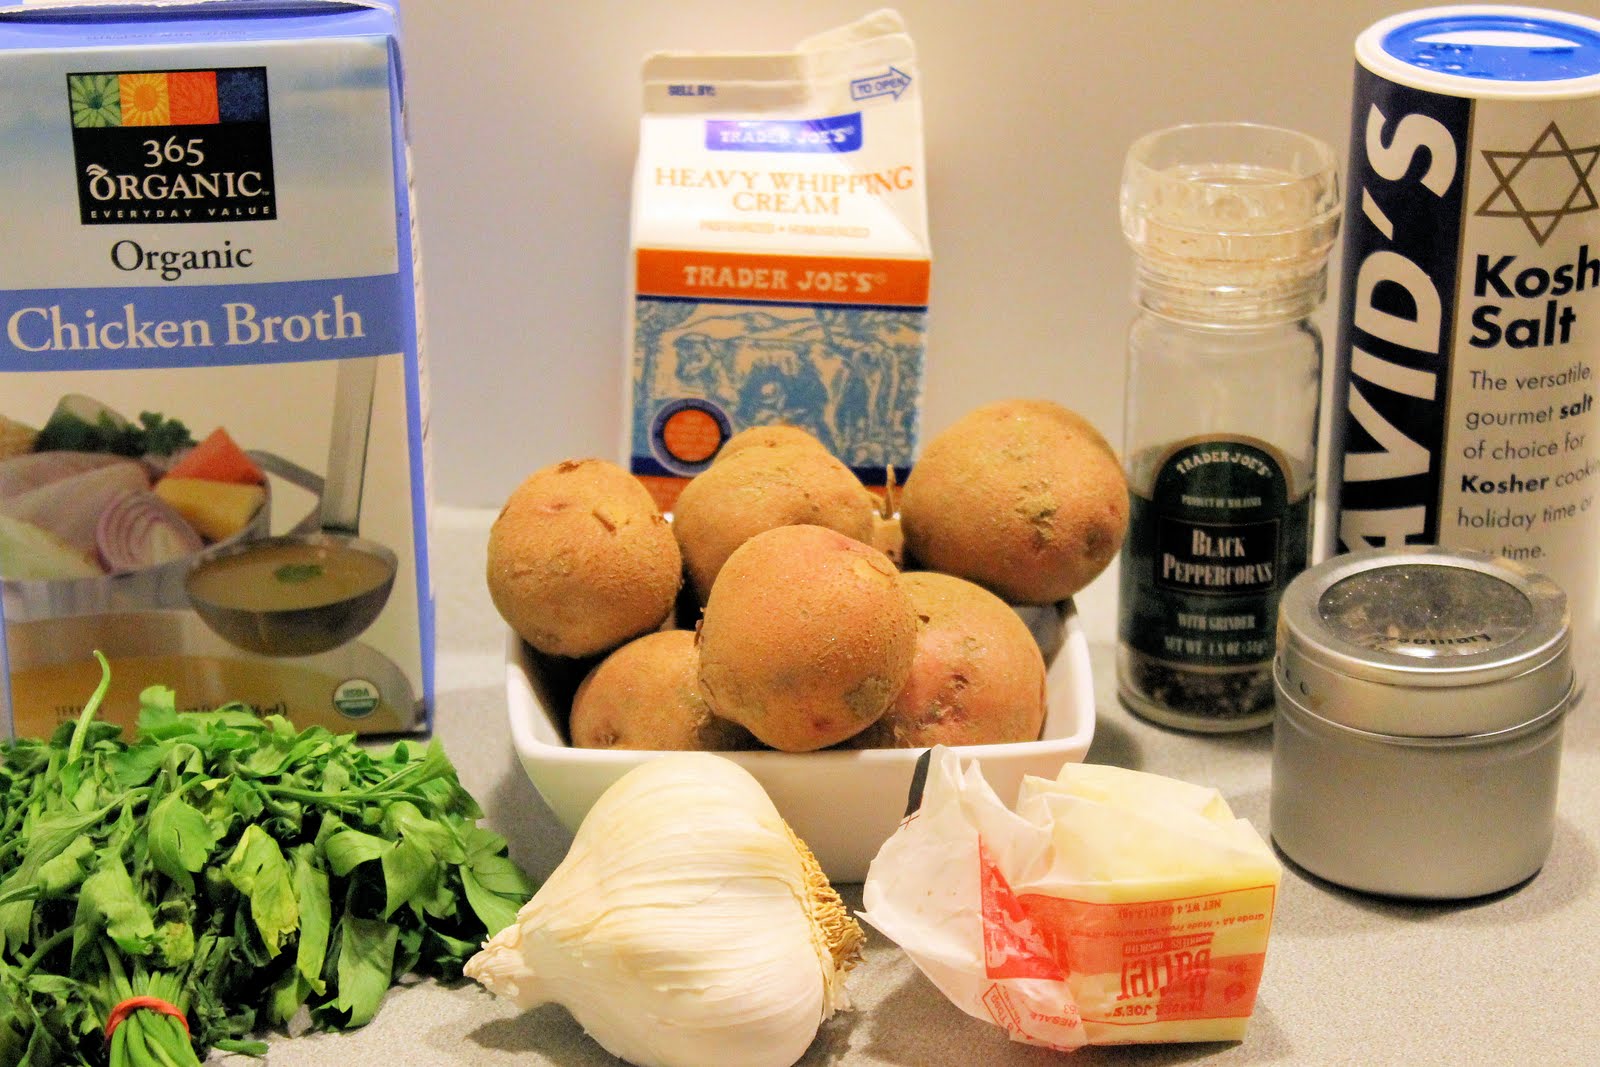
I made Sauteed Chicken with Fennel and Rosemary, and needed something starchy to soak up some of the sauce. The recipe suggested polenta or mashed potatoes, so I thought I’d make smashed potatoes and incorporated some of the same ingredients found in the main dish. I had a bag of red potatoes from my CSA share so I luckily had all ingredients on hand.
Ingredients:
1 bag of red potatoes (I had enough to fill up a medium sized bowl)
3 garlic cloves, minced
2 tablespoons butter
1 tablespoon heavy cream
1/4 cup chicken stock
Salt and pepper, to taste
1 teaspoon dried rosemary
1 teaspoon fresh chopped parsley
Wash your red potatoes thoroughly, making sure to remove all dirt.
Halve any red potatoes that are larger than the average size. Bring a pot of salted water to a boil. Drop in the red potatoes and cook until fork tender, about 15 minutes.
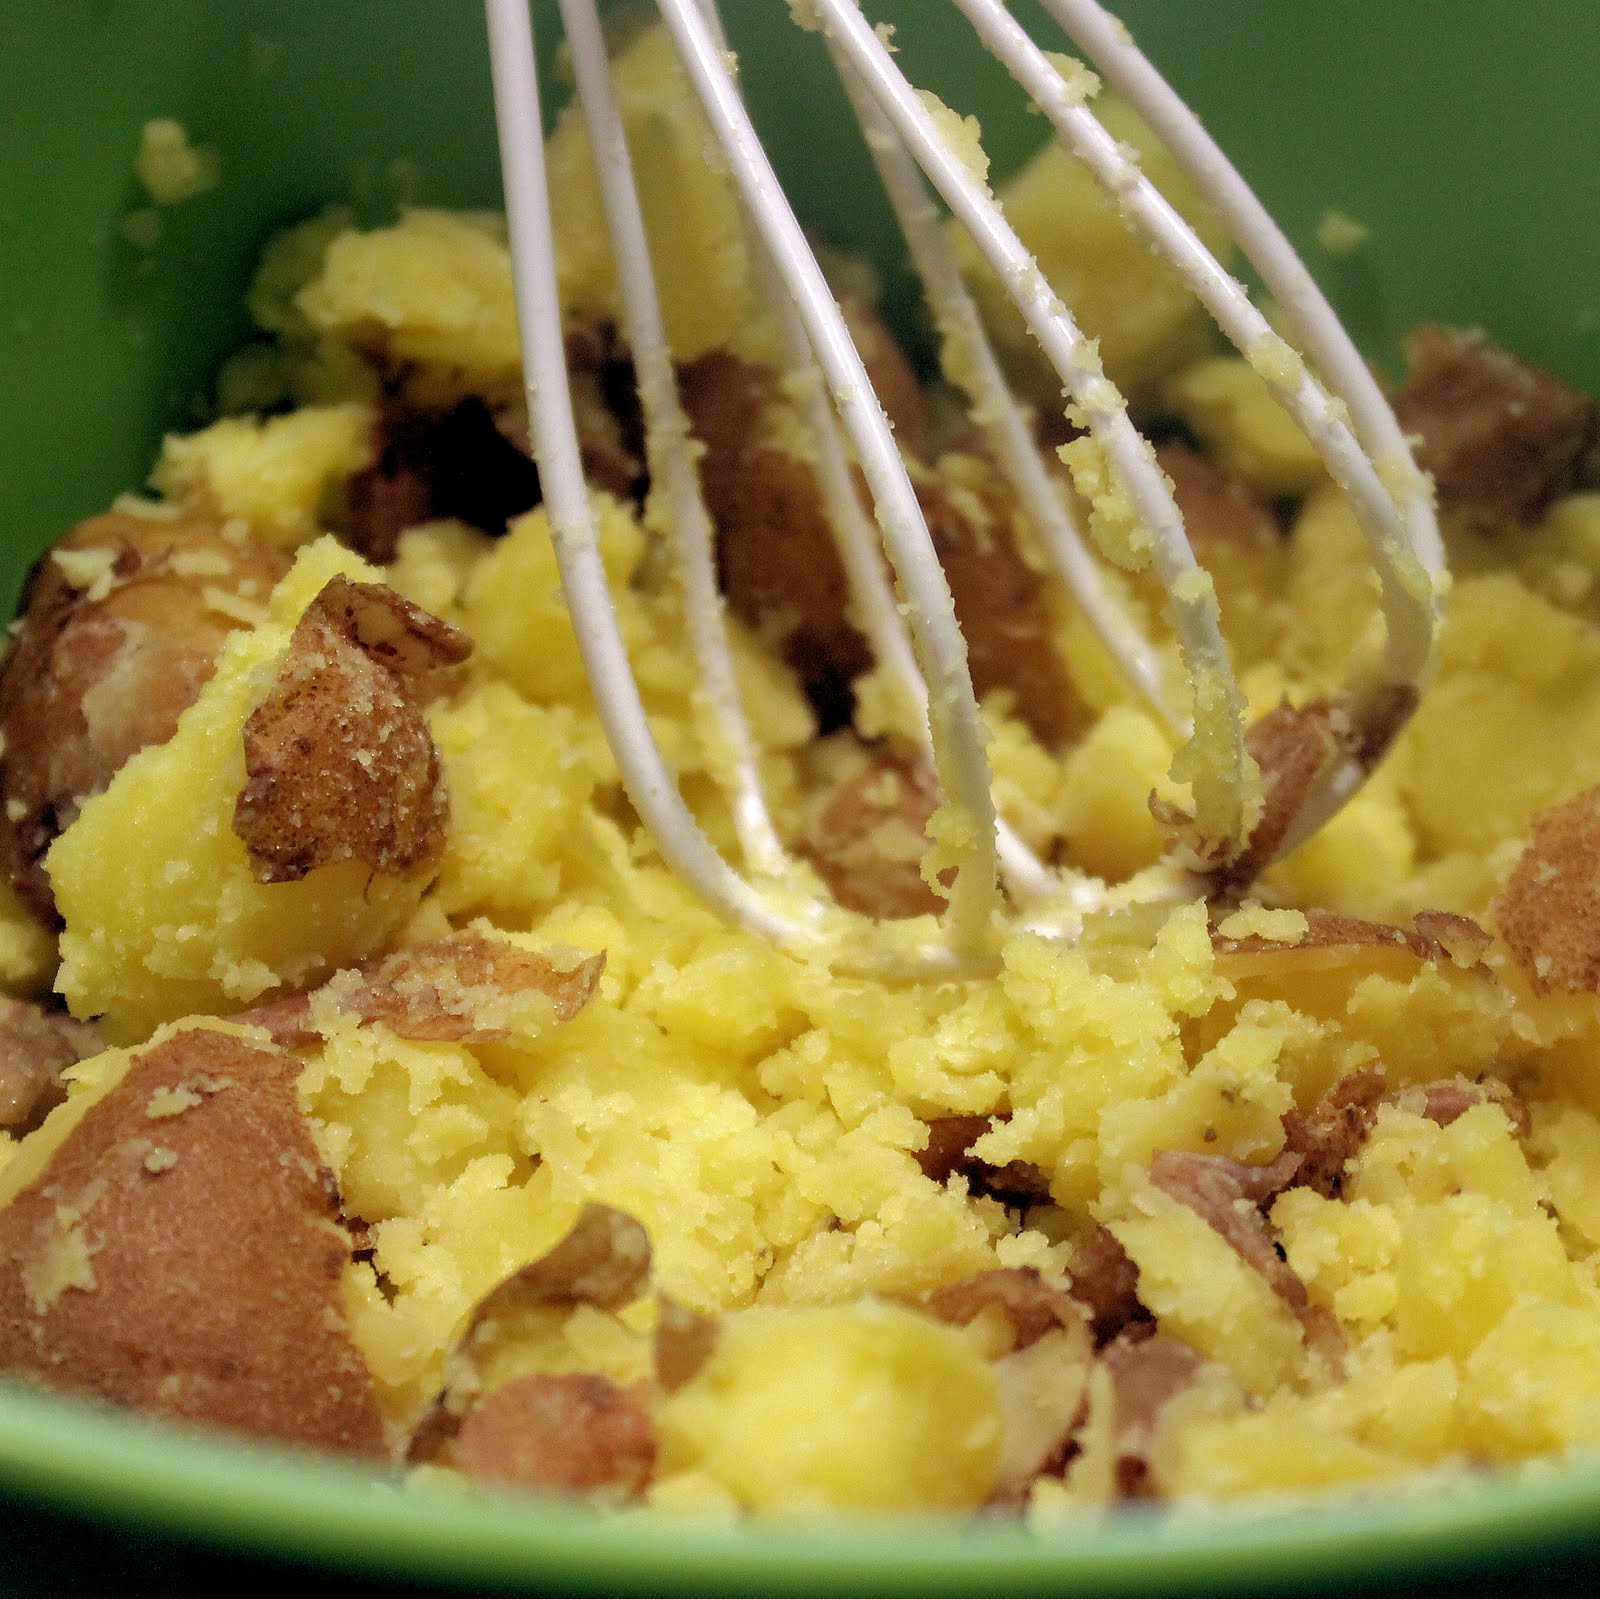
Drain the potatoes and add to a medium sized bowl. using a large spoon or a whisk, smash each of the potatoes. Don’t go overboard, you want them to be chunky.
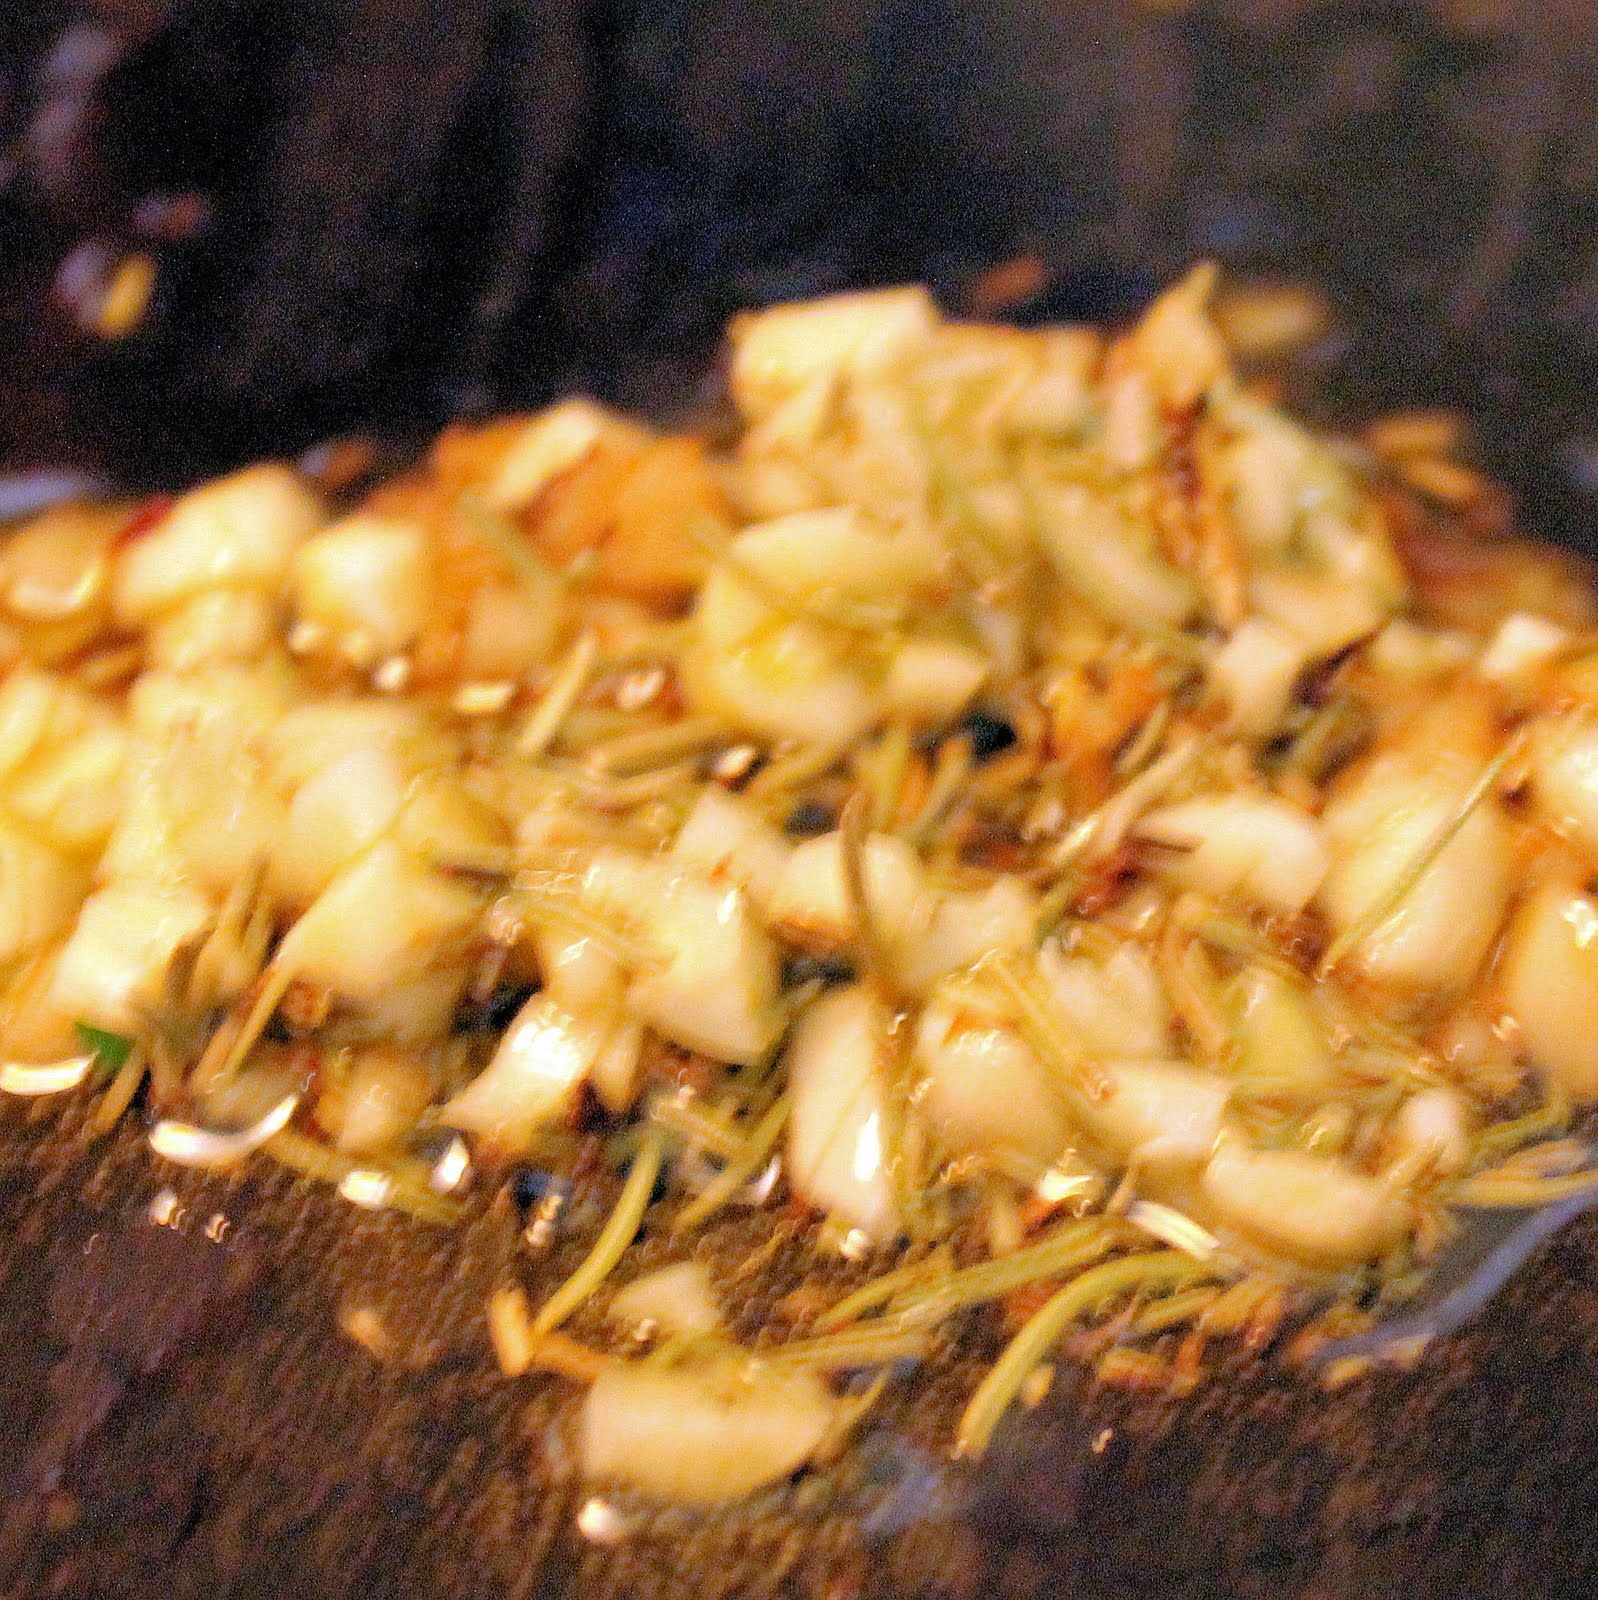
In a saute pan, add a small amount of the butter, rosemary and the minced garlic over medium heat. Cook for 1 minute.
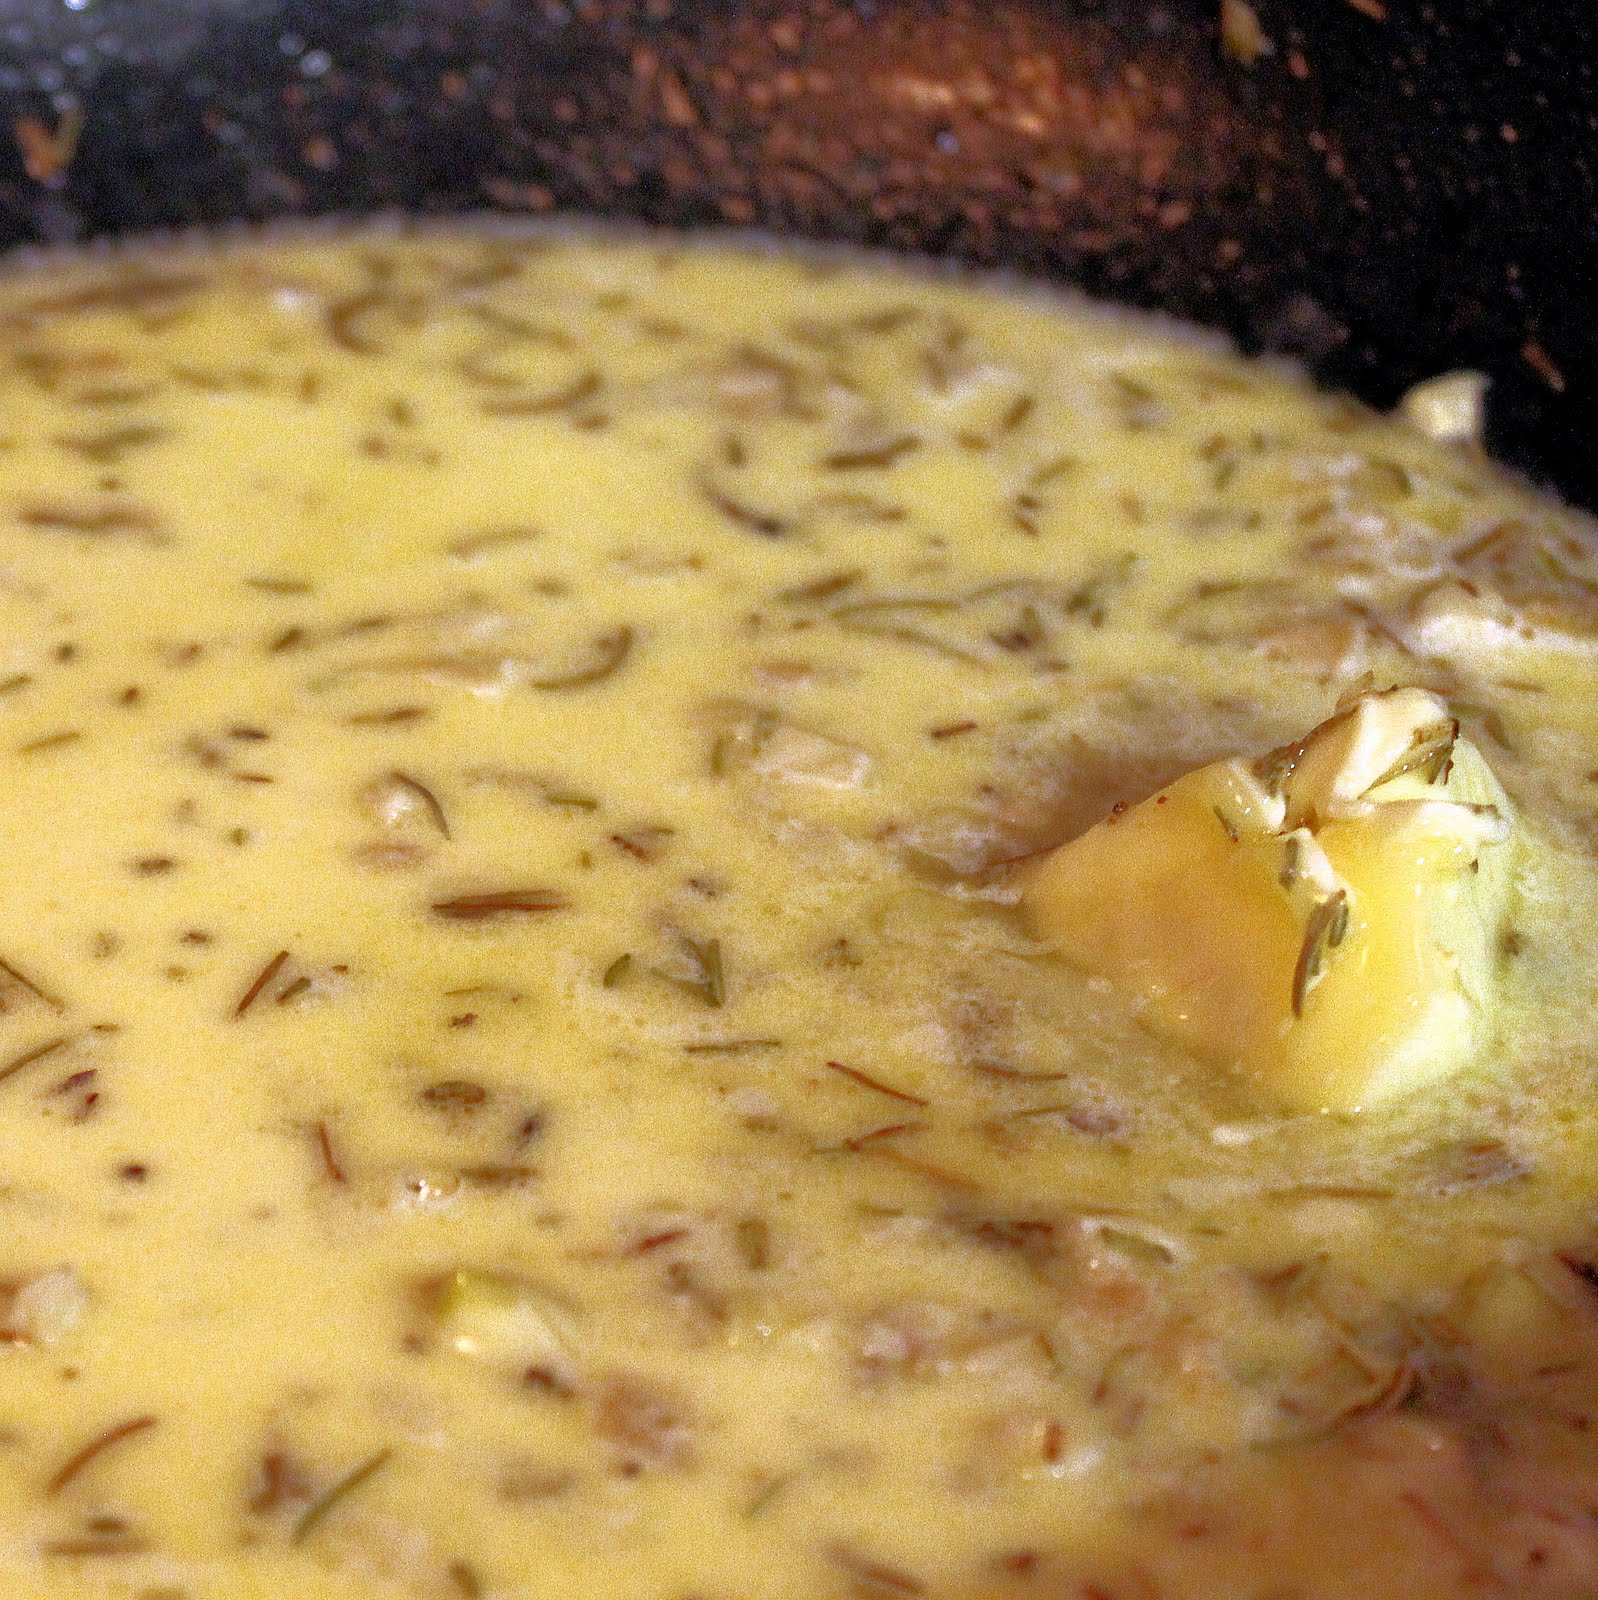
Lower the heat and add the chicken stock, stirring. Add the rest of the butter and the cream and stir to combine.
When the butter has melted, pour over the smashed potatoes and stir to combine.
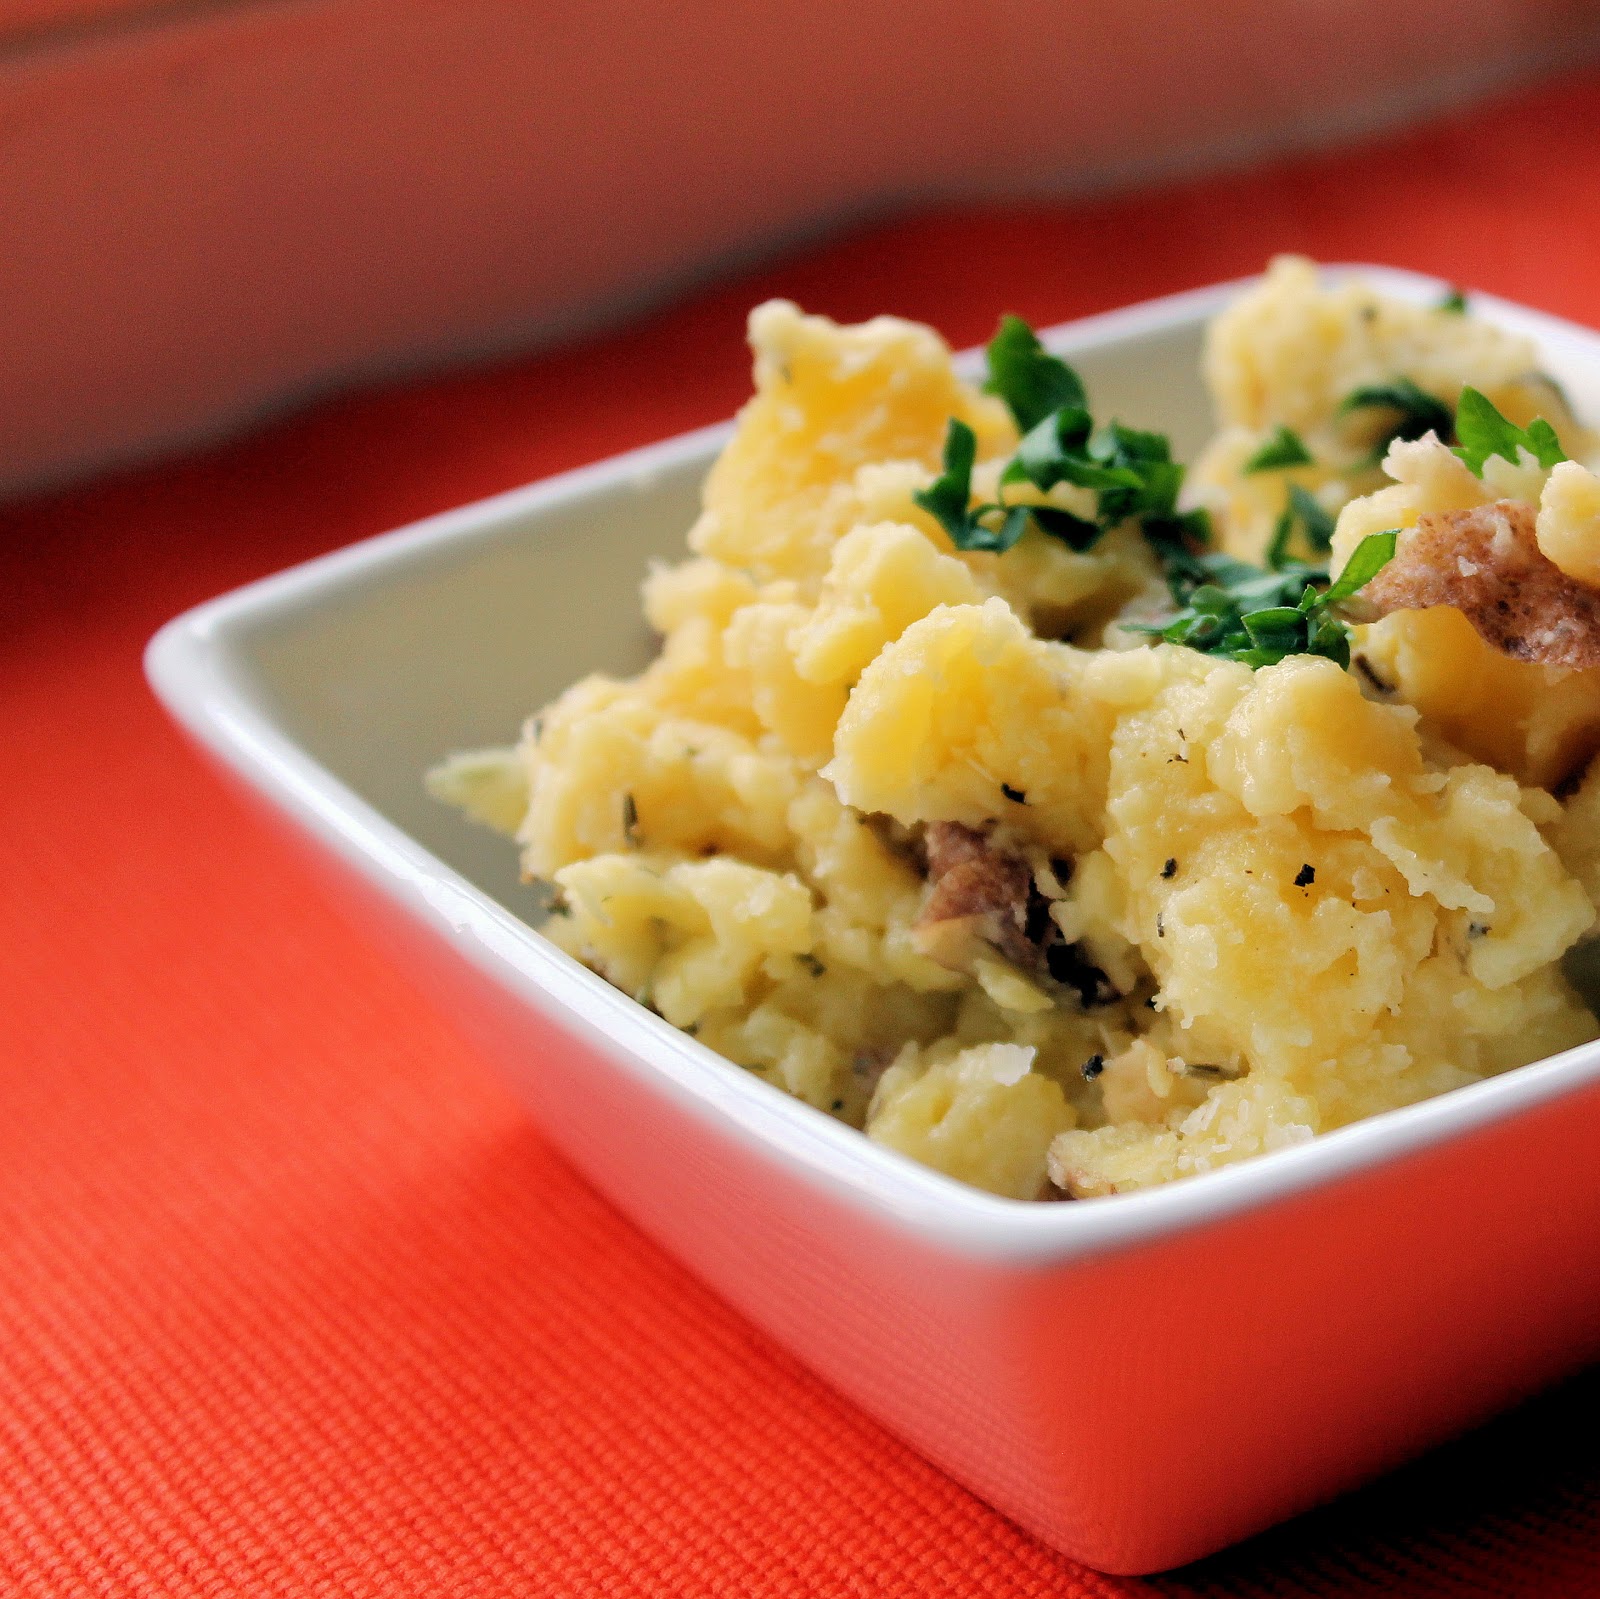
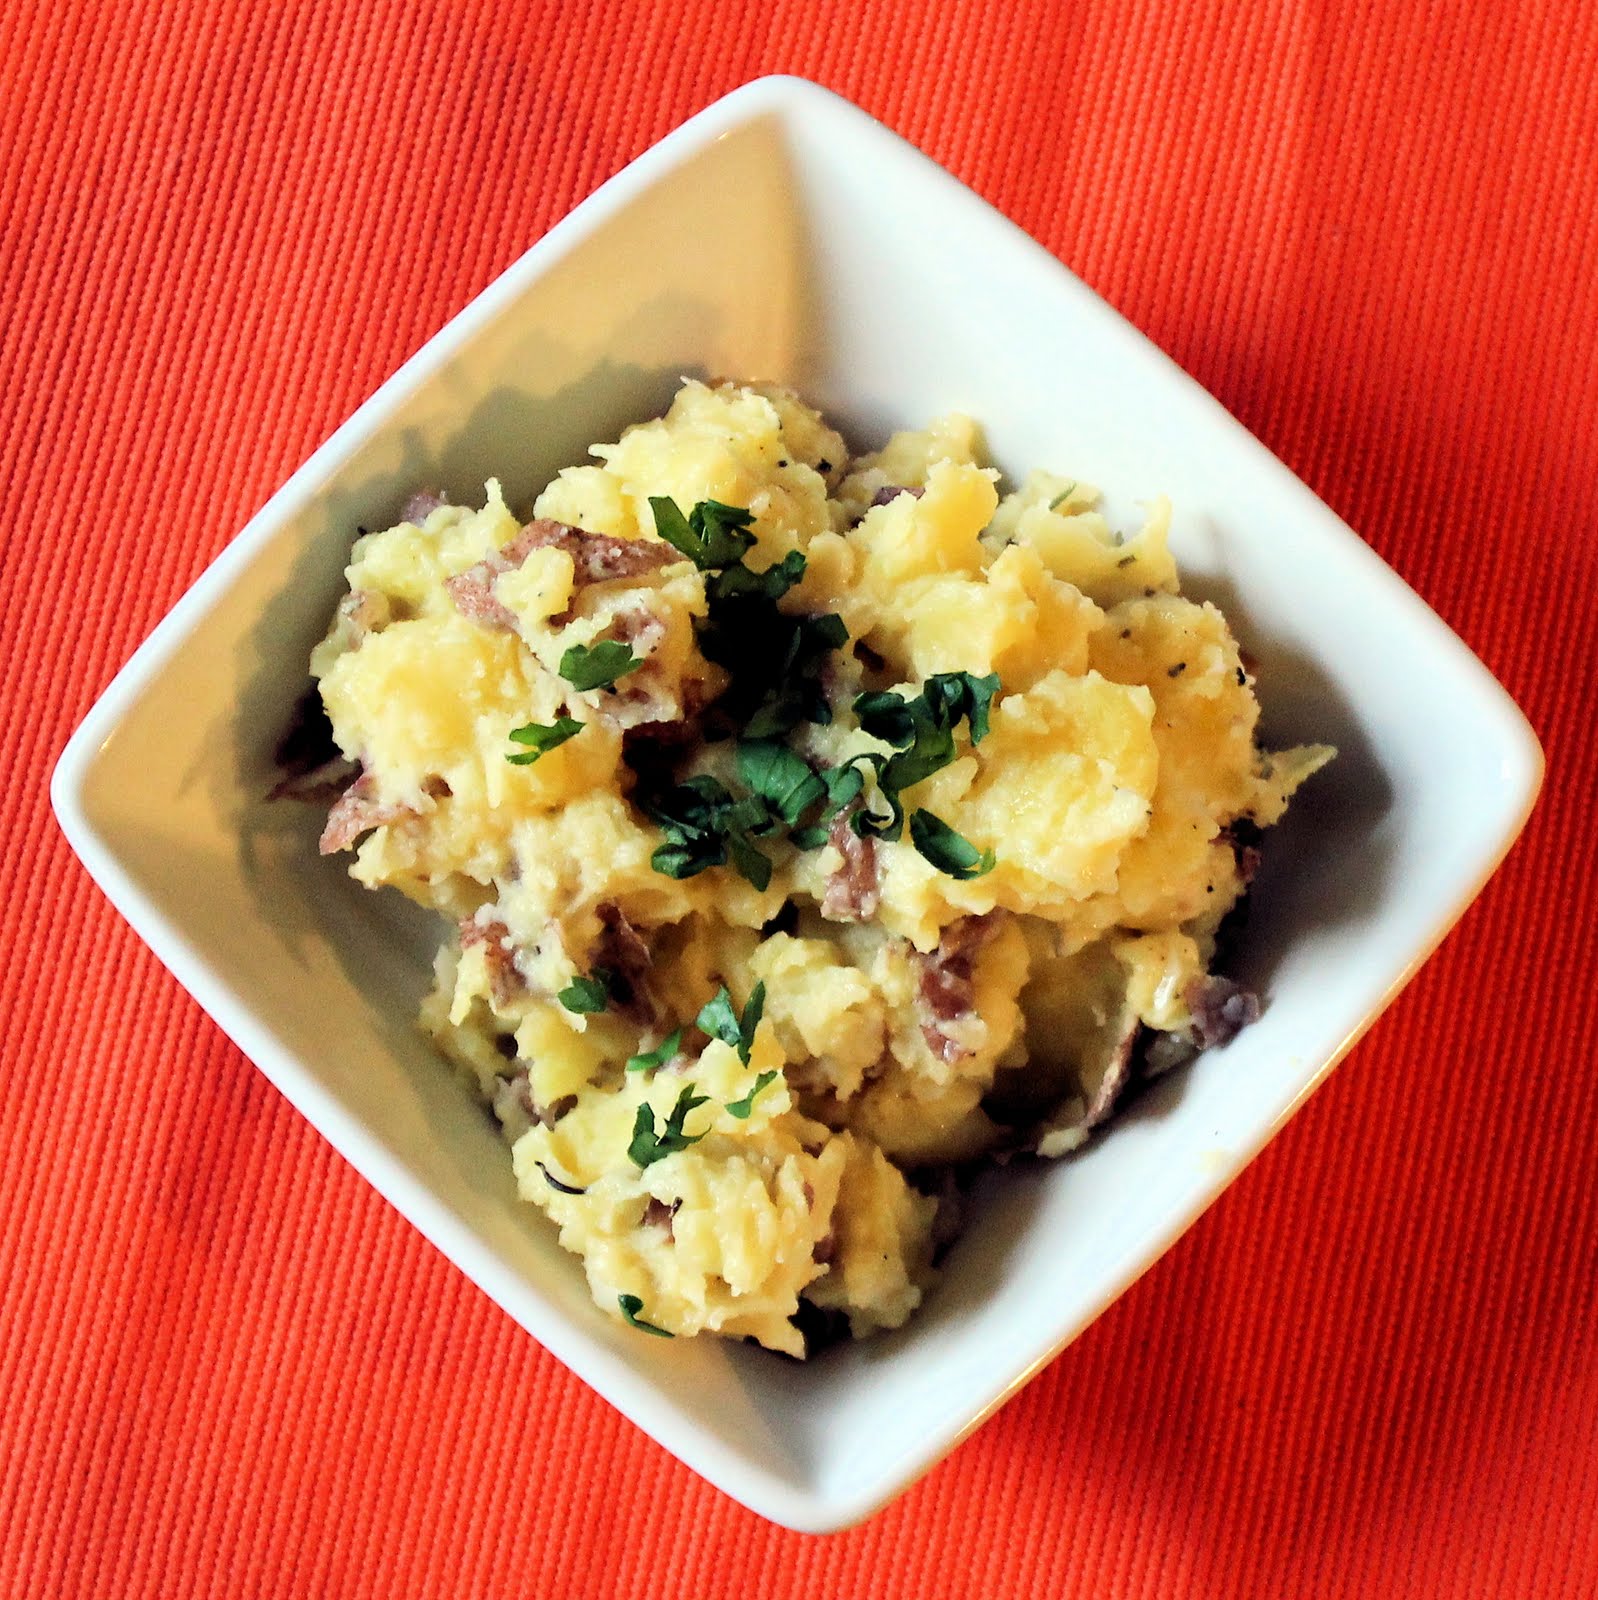
Season with salt and pepper, to taste. Top with parsley.
These were absolutely delicious. Creamy and flavorful, the rosemary and parsley worked so well with the potatoes. I prefer smashed potatoes to mashed potatoes solely because you get to keep the skins on the potatoes. Not only does it make the dish prettier, it also adds texture.
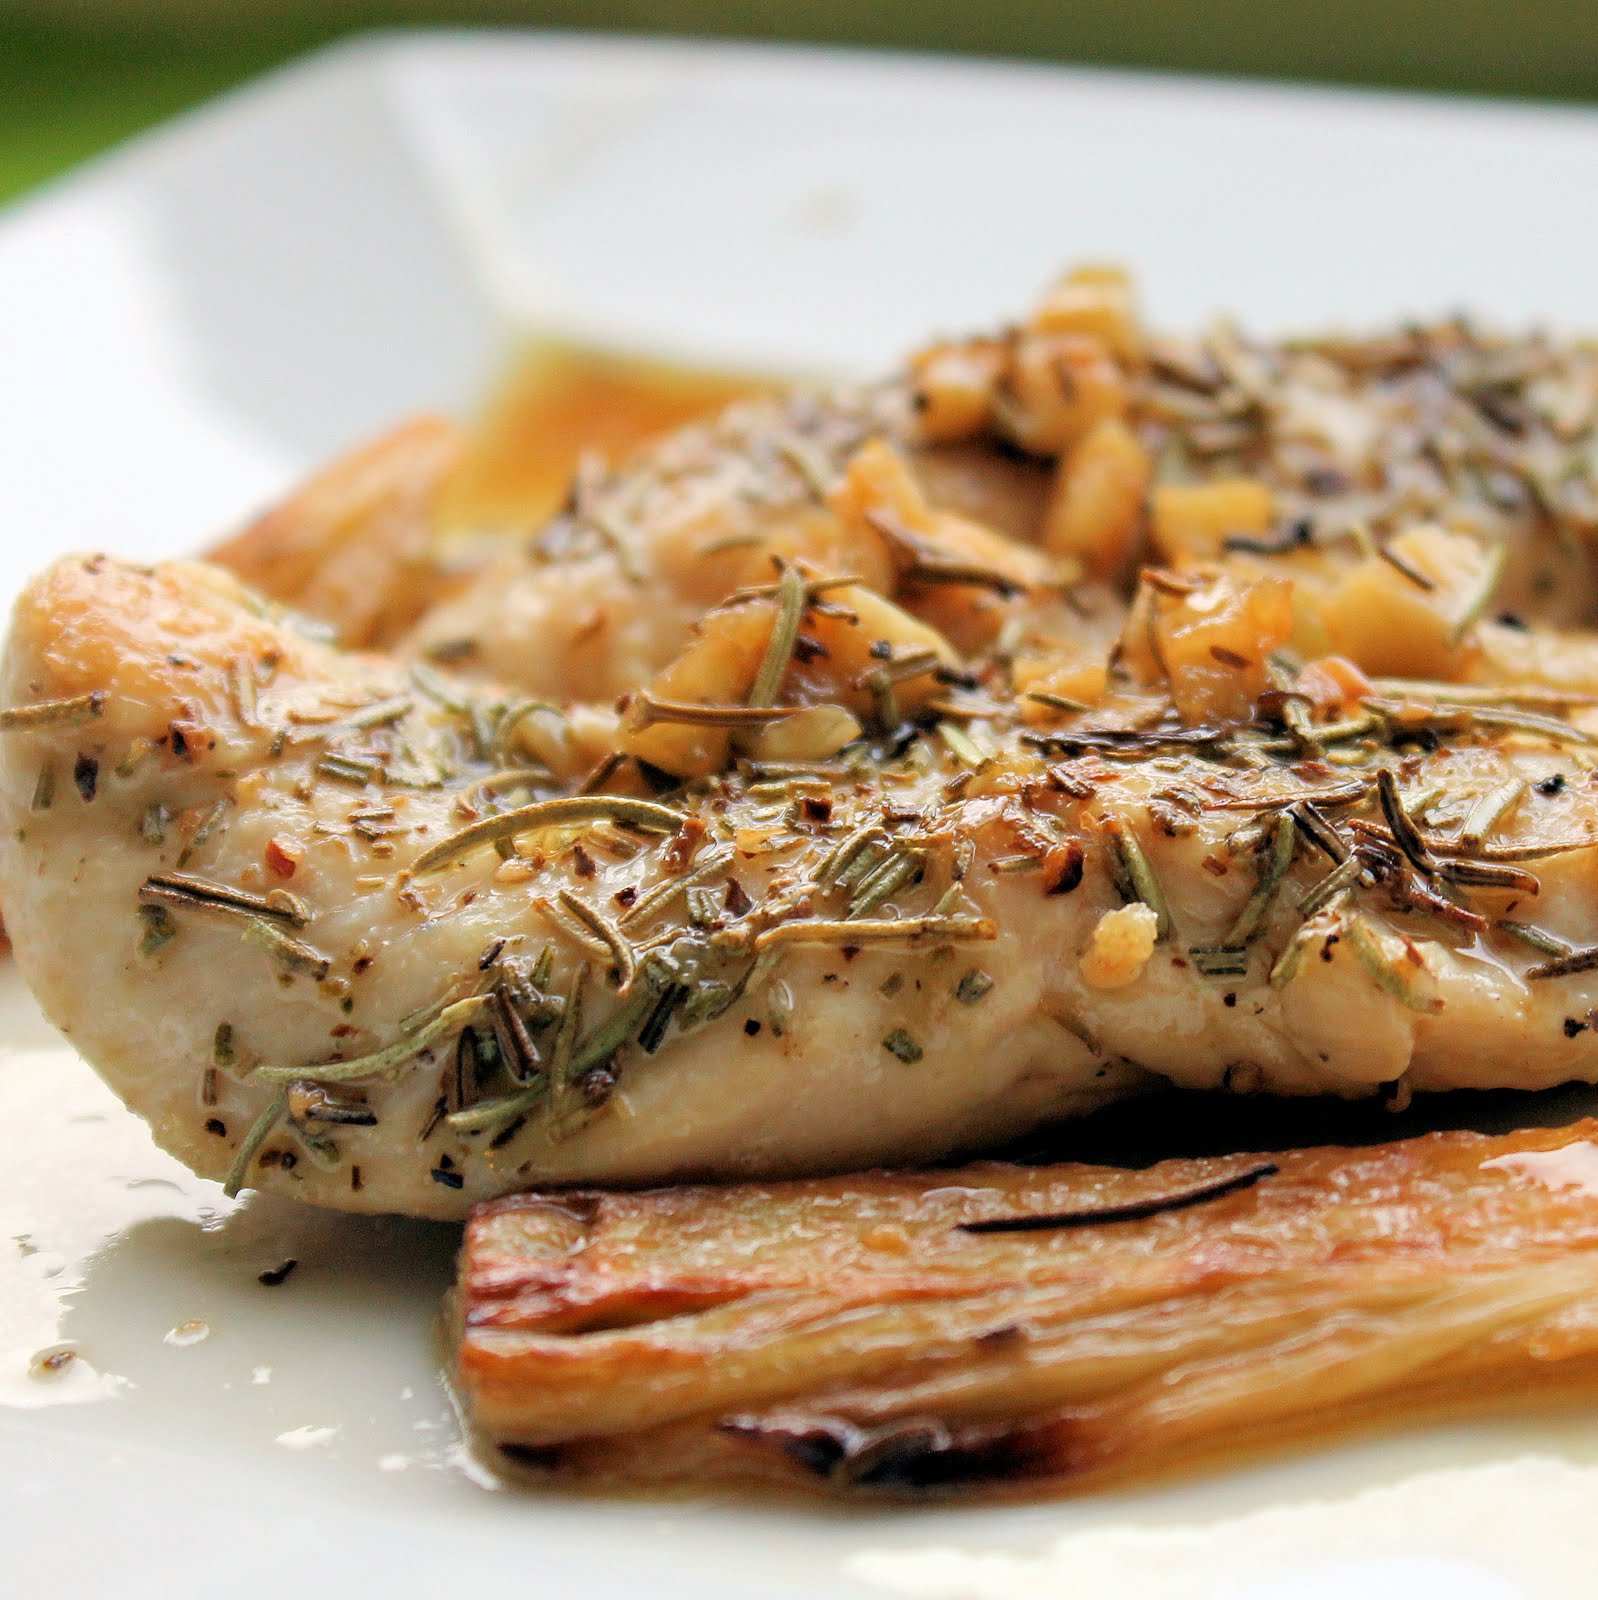
Wow. I haven’t used chicken in a recipe in over a month. I think it is time to finally give poultry it’s time in the limelight. I received fennel in my CSA share and thought this recipe for Sauteed Chicken Breasts with Fennel and Rosemary from Food & Wine sounded like a perfect use of the ingredient.
As a plus, I had all of the ingredients already in my kitchen, with the exception of the chicken.
Ingredients:
2 tablespoons olive oil
2 large fennel bulbs, thinly sliced
2 tablespoons fresh rosemary, plus more for garnish
1/2 teaspoon salt
1 cup canned low-sodium chicken broth or homemade stock. divided
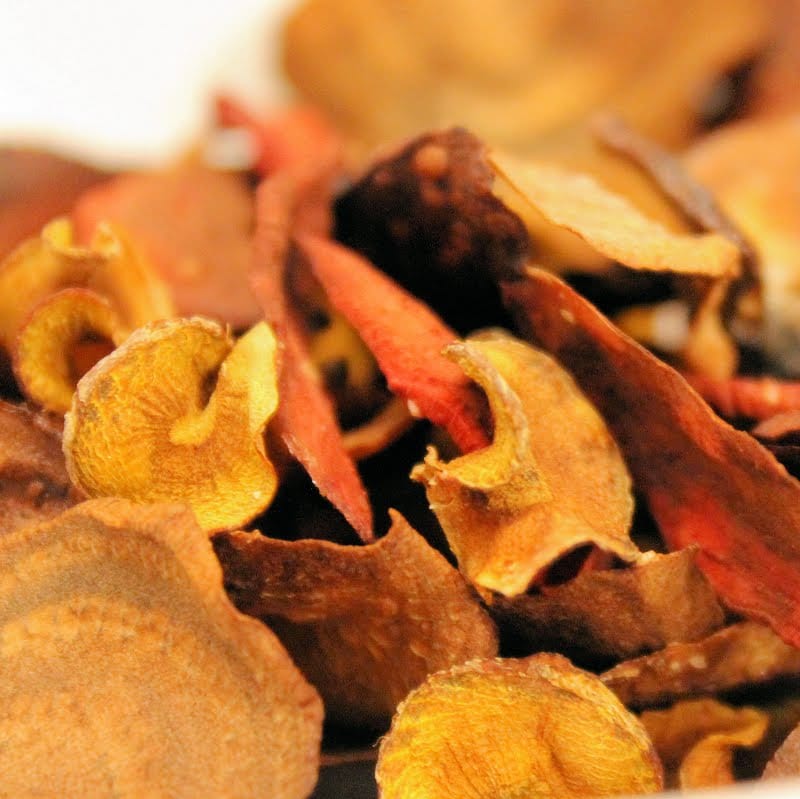
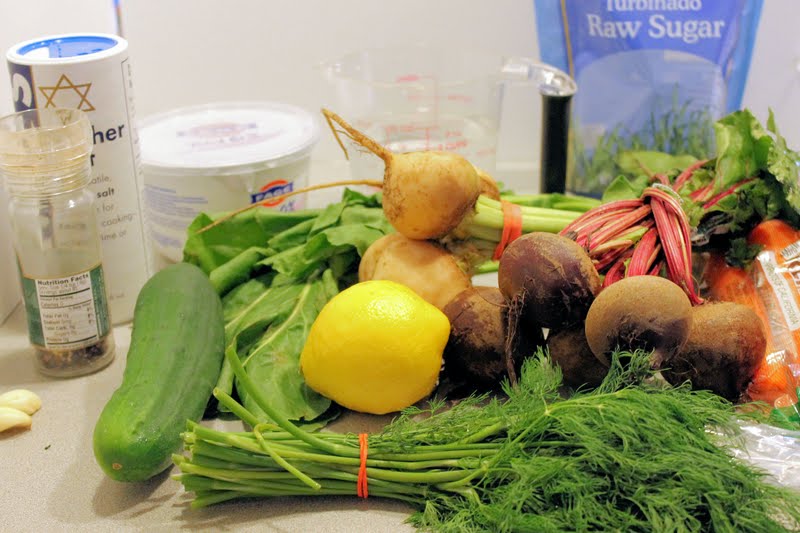
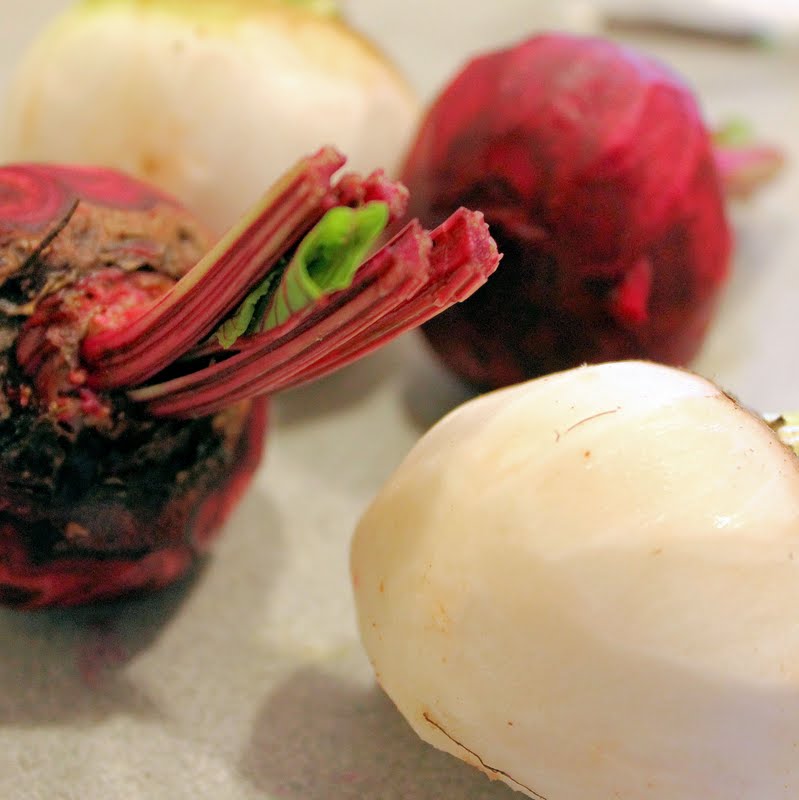
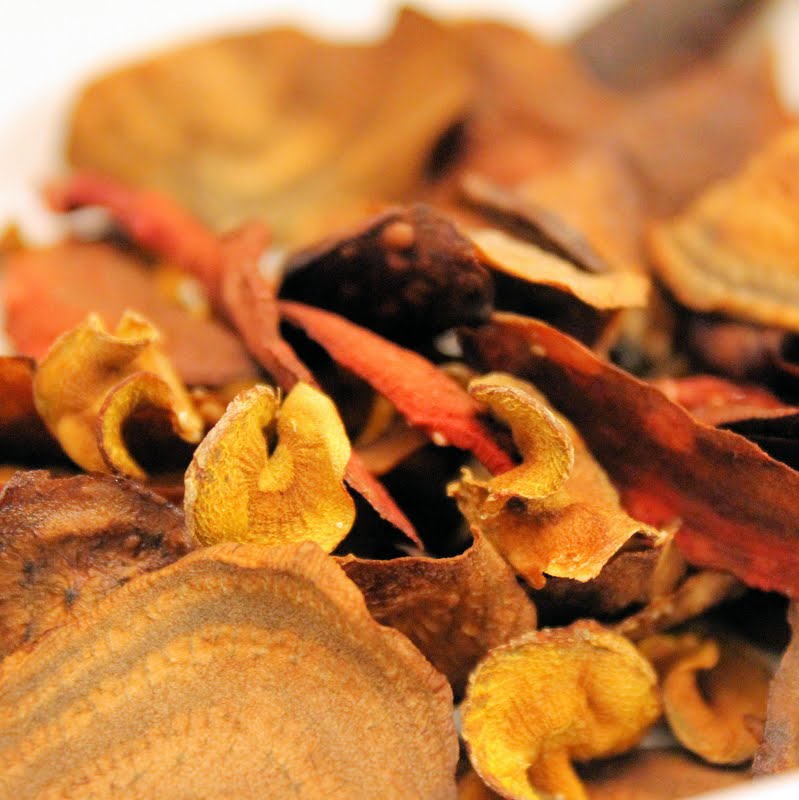
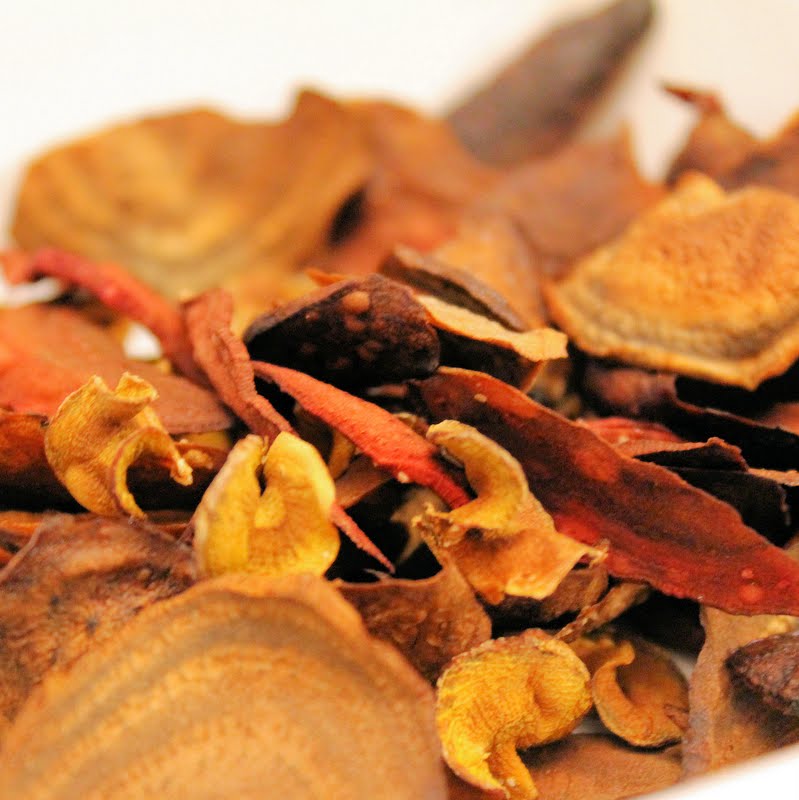
I came across a recipe for beet chips recently and was intrigued. It seemed relatively easy, didn’t involve frying the beets (I don’t have a deep fryer, and the idea of deep frying something kind of makes me sick), and appeared to be a great way for me to use some of the beets I received in my CSA share. I decided to bring it a step further and try to make carrot chips at the same time as well as a dip to go with them. I had both normal beets and white beats so I was really hoping this would turn out colorful!
The tiny ones are carrots, the others are red & white beets
Ingredients for chips:
2 white beets
2 red beets
2 large carrots
Salt and pepper to taste
2 cups water
2 cups sugar
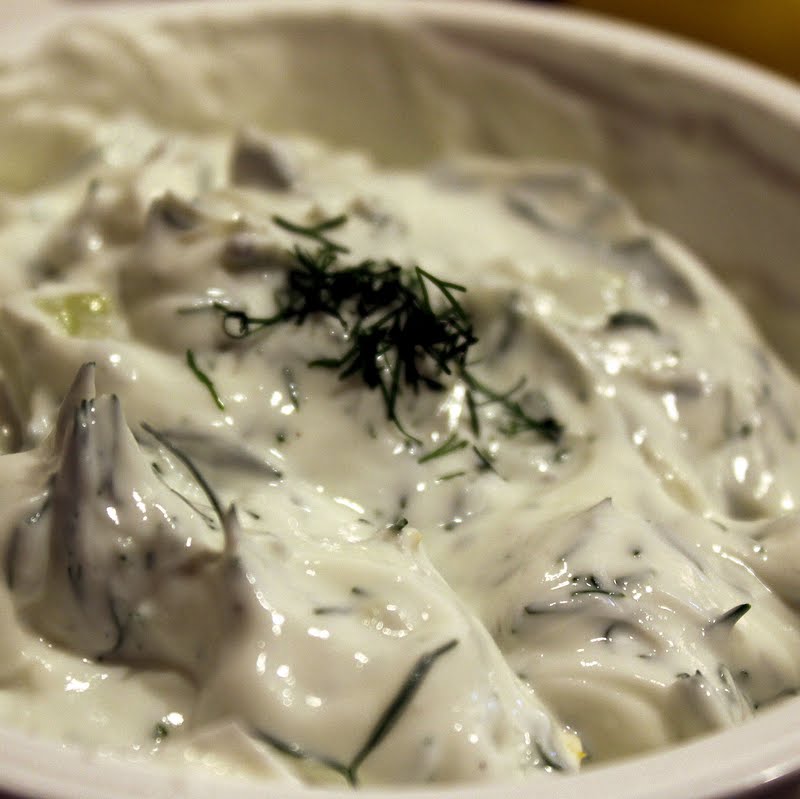
Ingredients for tzatziki:
1 container of Greek yogurt (I used 0%)
1/4 cup fresh chopped dill
Juice and zest of 1 lemon
2 garlic cloves, minced
1/2 a cucumber, finely chopped
Salt and pepper to taste
To begin, combine the water and sugar in a saute pan and bring to a boil. While the mixture is heating, peel the beets with a vegetable peeler. Chop off most of the leaves on top, but leave a bit to use as a handle when using the mandoline slicer.
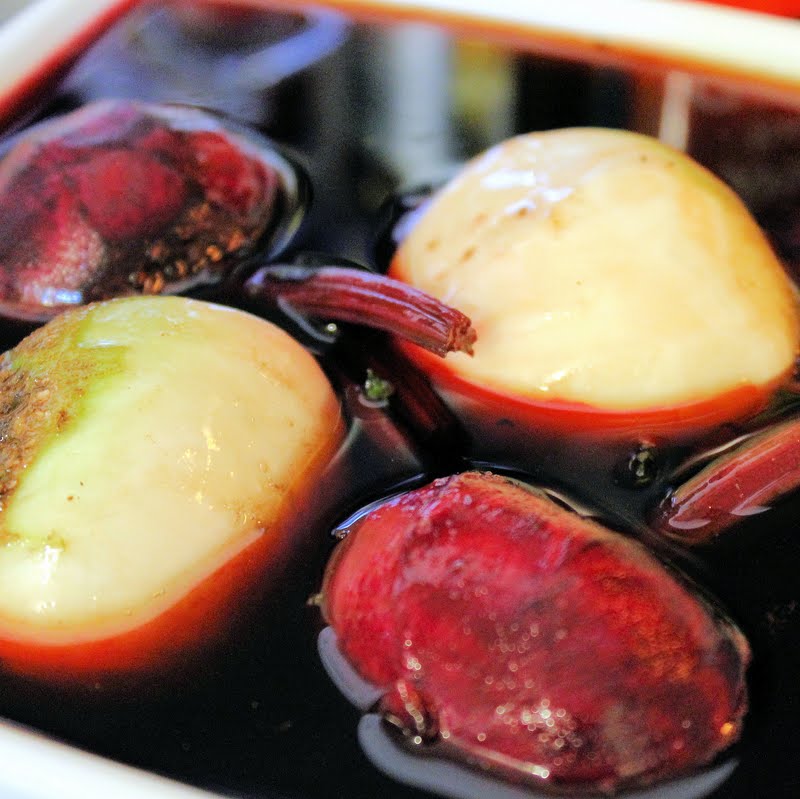
When the liquid has boiled, remove from heat and add the beets to the liquid. Let sit for 15 minutes.
I used raw sugar, which is why it’s brown
Preheat the oven to 325 degrees. While the beets are soaking, use a mandoline slicer to thinly slice the carrots. After 15 minutes, remove the beets, dry them off with a paper towel, and thinly slice with the mandoline slicer. Arrange on a baking sheet sprayed with cooking spray and season with salt and pepper.
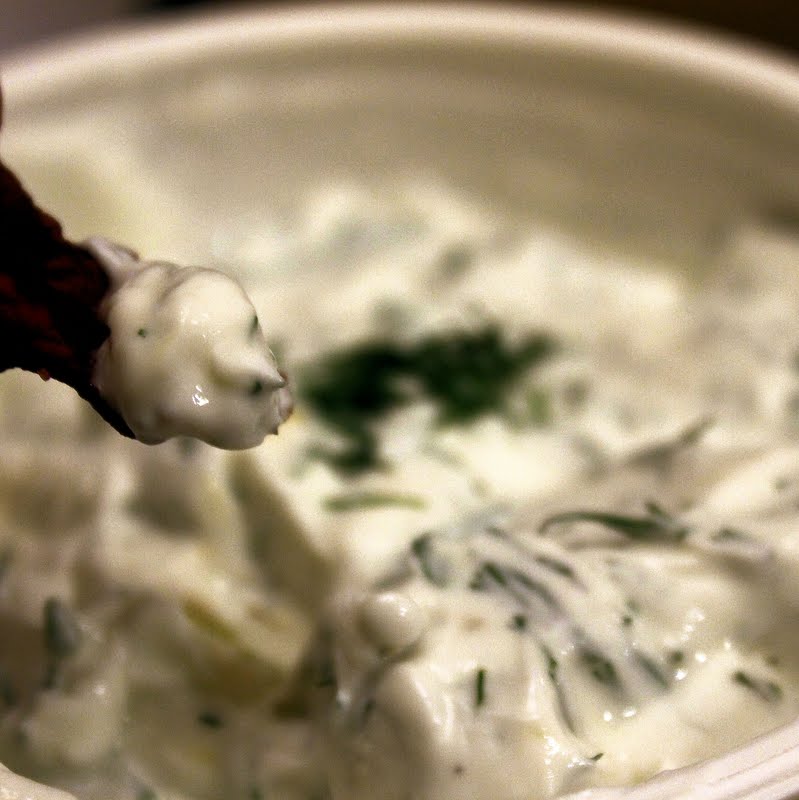
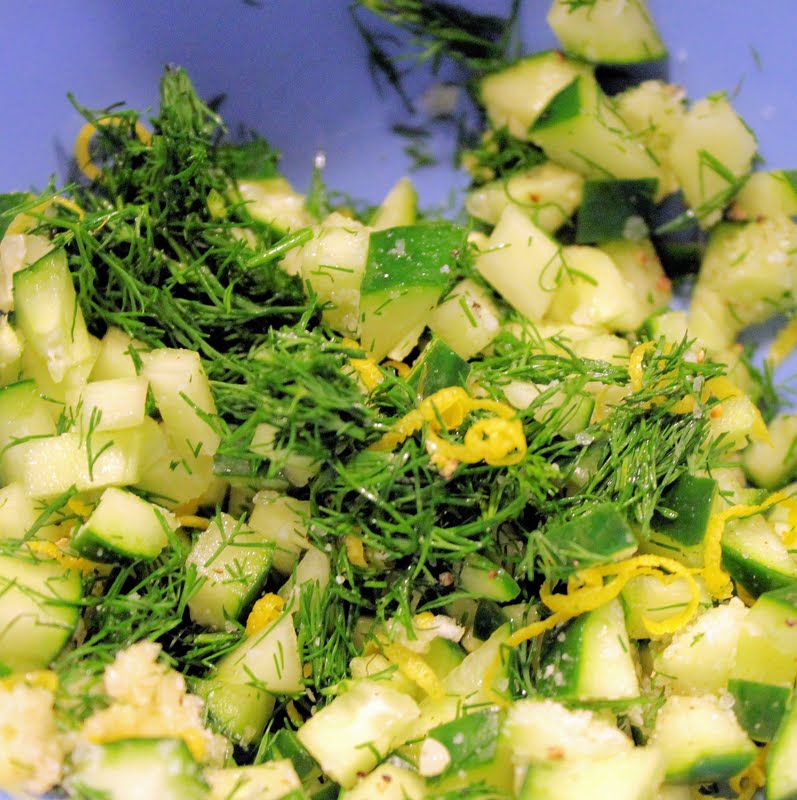
Cook for 40 minutes or until they begin to crisp slightly. While the chips are baking, prepare the tzatziki. Combine the chopped dill, lemon, zest, garlic, cucumber, salt and pepper in a medium sized bowl.
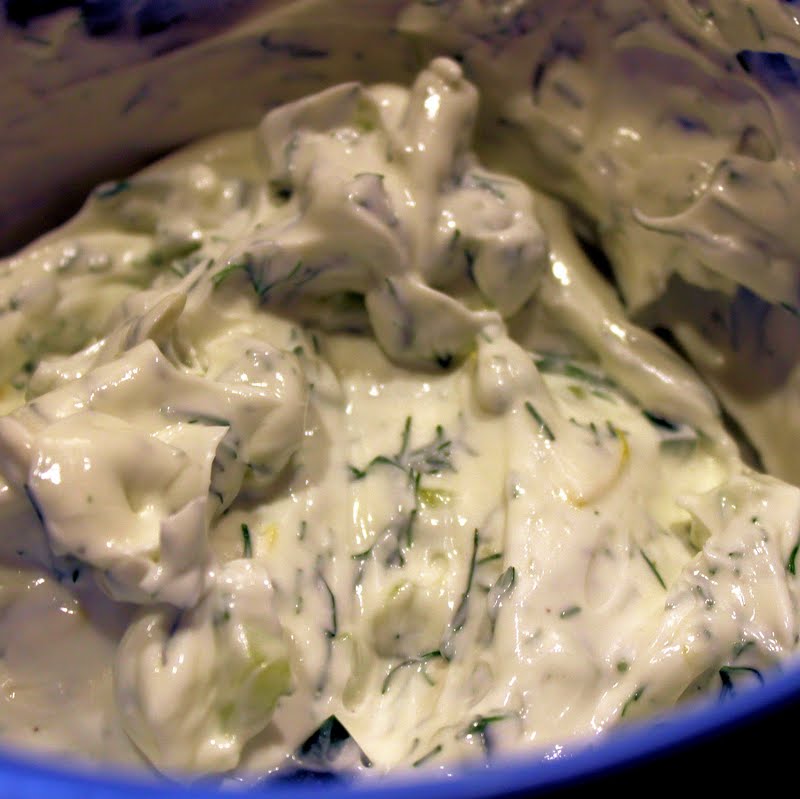
Mix in the Greek yogurt.
Cover and refrigerate until the chips are done.
Allow the chips to cool on the baking sheet for about 10 minutes after removing them from the oven. Carefully remove from the baking sheet.
The beets and especially the carrots really shrink up, so if you can, use quite large beets and carrots. I think mind turned out too tiny for my liking. I also think I sliced them a bit too thin, they really don’t seem like they’d stand up to the dip too well.
they are fun looking though!
Place the chips in a bowl and serve with the tzatziki. Enjoy!
This recipe makes a whole lot of tzatziki, probably more than you’ll use on the chips. Tzatziki is great with pita chips, as a condiment on grilled meats, stuffed grape leaves, and crudites so you’ll have plenty of options to use the rest of the dip.
Beet and Carrot Chips with Tzatziki
Cuisine: Appetizer, Sides, Vegetarian
Author: I Can Cook That
Ingredients
Ingredients for chips:
2 white beets
2 red beets
2 large carrots
Salt and pepper to taste
2 cups water
2 cups sugar
Ingredients for tzatziki:
1 container of Greek yogurt (I used 0%)
1/4 cup fresh chopped dill
Juice and zest of 1 lemon
2 garlic cloves, minced
1/2 a cucumber, finely chopped
Salt and pepper to taste
Instructions
To begin, combine the water and sugar in a saute pan and bring to a boil. While the mixture is heating, peel the beets with a vegetable peeler. Chop off most of the leaves on top, but leave a bit to use as a handle when using the mandoline slicer.
When the liquid has boiled, remove from heat and add the beets to the liquid. Let sit for 15 minutes.
Preheat the oven to 325 degrees. While the beets are soaking, use a mandoline slicer to thinly slice the carrots. After 15 minutes, remove the beets, dry them off with a paper towel, and thinly slice with the mandoline slicer. Arrange on a baking sheet sprayed with cooking spray and season with salt and pepper.
Cook for 40 minutes or until they begin to crisp slightly. While the chips are baking, prepare the tzatziki. Combine the chopped dill, lemon, zest, garlic, cucumber, salt and pepper in a medium sized bowl.
Mix in the Greek yogurt.
Cover and refrigerate until the chips are done.
Allow the chips to cool on the baking sheet for about 10 minutes after removing them from the oven. Carefully remove from the baking sheet.
Place the chips in a bowl and serve with the tzatziki.
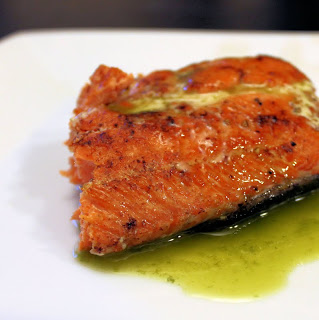
Yes. Another salmon recipe. I can’t help it, I love the stuff. And when you are able to purchase a salmon fillet that looks as gorgeous as this one did, you have no choice but to keep it simple and let the natural delicious salmon flavor shine through. This recipe takes less than 20 minutes, and can be made even more quickly if you make the basil oil the day before.
Ingredients (serves 4):
1 tablespoon butter
1 tablespoon olive oil
1 pound salmon fillet, skin still on
Salt and pepper, to taste
Basil oil
1/2 cup fresh basil, firmly packed
1/4 cup olive oil
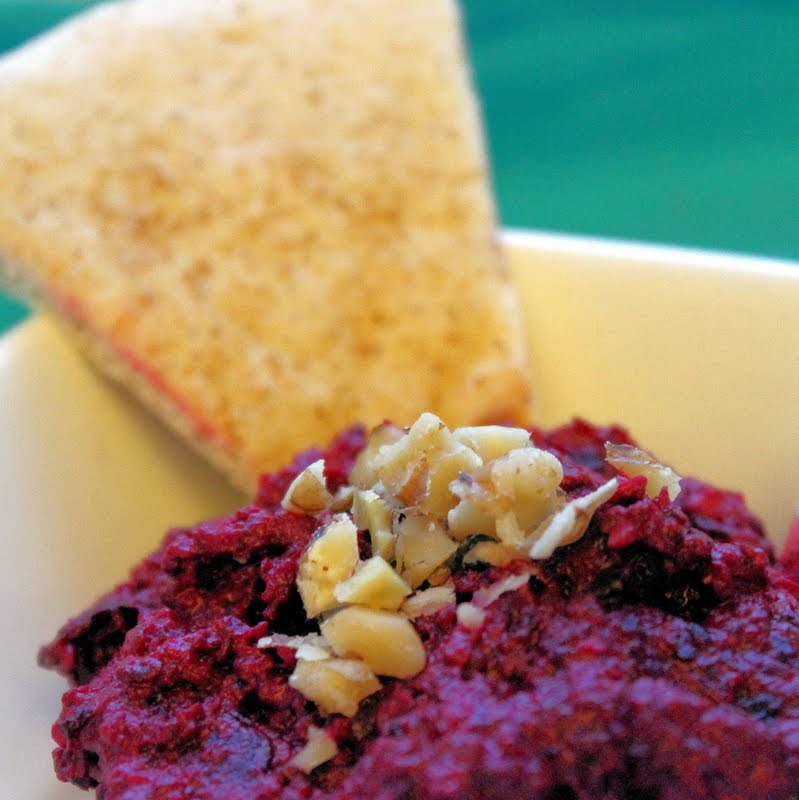
There is a restaurant in Philadelphia called Zahav that serves modern Israeli food. I went there for my birthday last December, and am still thinking about their tasty hummus and absolutely fantastic salatim, a selection of 8 little salads that you scoop up with their house baked laffa. All of the salads were really delicious, but the pureed beet salad was by far the happiest surprise offered. So when my CSA share came with beets this time around, I knew exactly what I was going to make… or try to make at least. I basically made a hummus, substituting in roasted beets for the chickpeas. My version is probably not all that close, to the one served as Zahav but I’m still happy with the results.
Ingredients:
1 bunch of beets (mine came with 5)
2 tablespoons tahini
The juice and zest of 2 lemons
2 garlic cloves, minced
1 teaspoon cumin
1 tablespoon olive oil
Salt and pepper, to taste
Walnuts, for topping
To roast the beets, preheat your oven to 450 degrees. Remove the tops, wash to remove all dirt, and arrange on a baking sheet. Drizzle with the olive oil and add a generous amount of salt.
Cook for 40 minutes or until you can easily stick them with a fork. My beets were on the smaller side, so you may need to up the time to 1 hour.
Allow to cool completely. Remove the skin of the beets by rubbing them with a paper towel. This is surprisingly easy, I promise.
Roughly chop the beets.
Add the beets, tahini, lemon juice, lemon zest, cumin, garlic, salt and pepper to a food processor.
Process until smooth.
Transfer to a serving dish and top with chopped walnuts. Serve with cucumbers, pita, broccoli, cauliflower, or anything else you’d like to dip in this lovely little dish.
If you’d prefer, you can add in a can of rinsed chickpeas to make a beet hummus. Another alternative would be to add some Green yogurt, to taste, to make a creamier version of this dish. Enjoy!
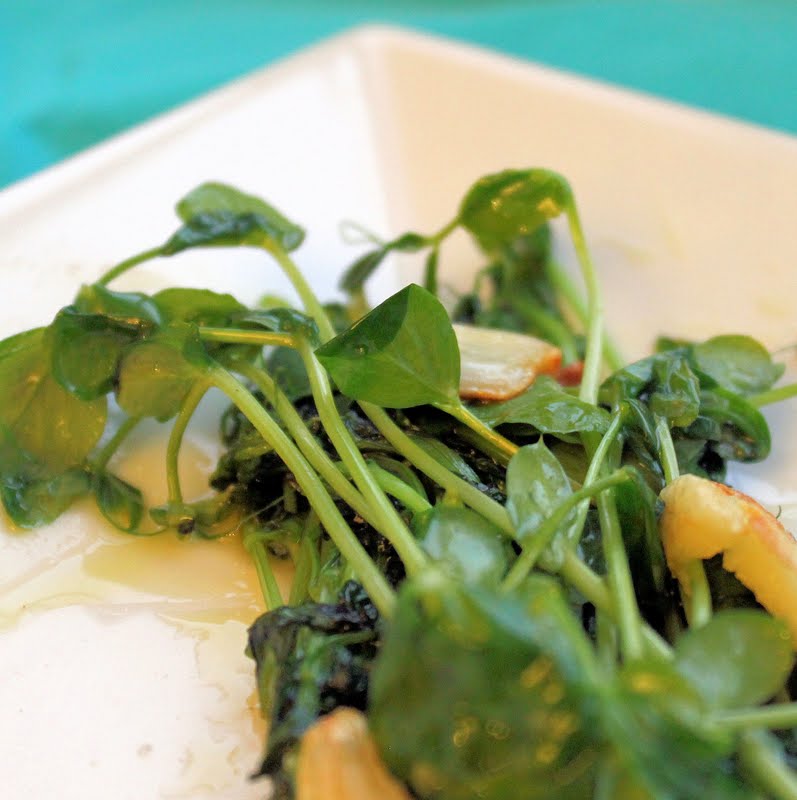
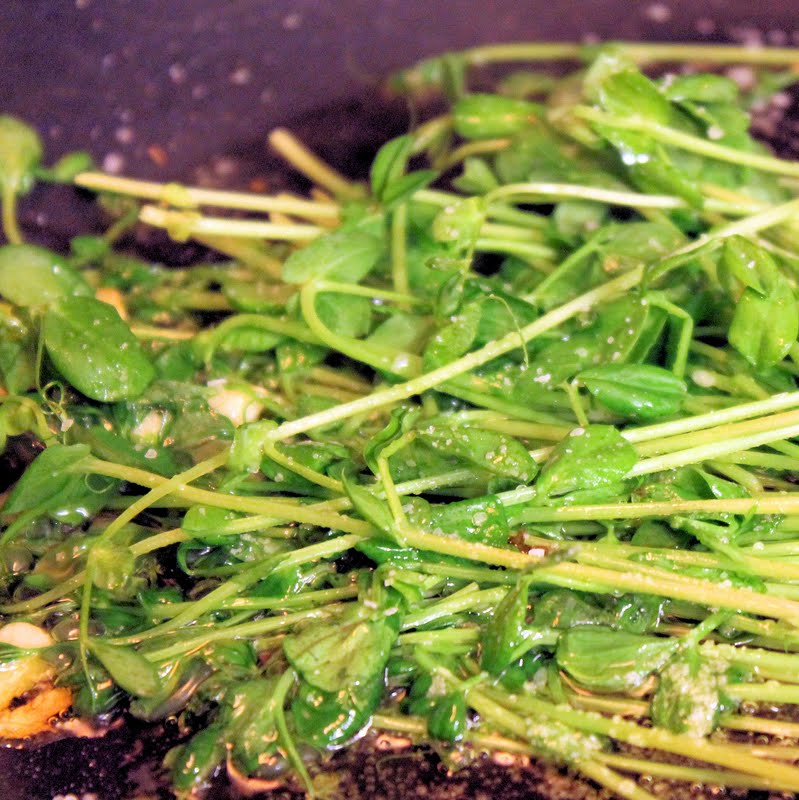
Pea tendrils (or pea shoots) are the leaves from a snow pea plant. They have a bit of a spinach-pea taste, delicate and very tasty. Before receiving them in my CSA share, I just thought they were used in a stir fry or as a topping. But these little guys are really delicious in a simple saute.
Ingredients:
Pea tendrils
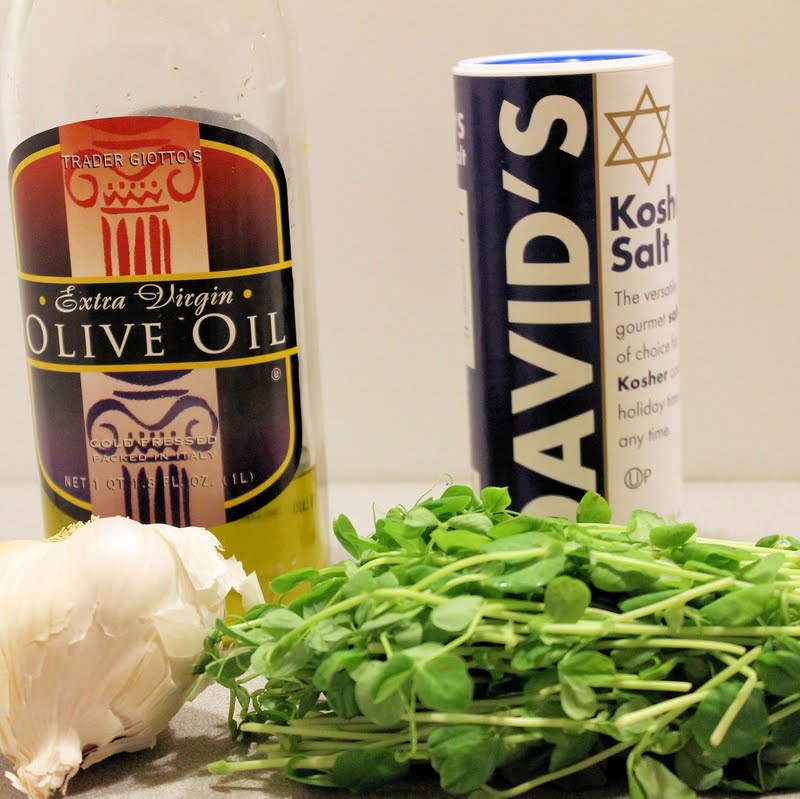
1 teaspoon olive oil
3 garlic cloves, smashed and cut in half
Salt, to taste
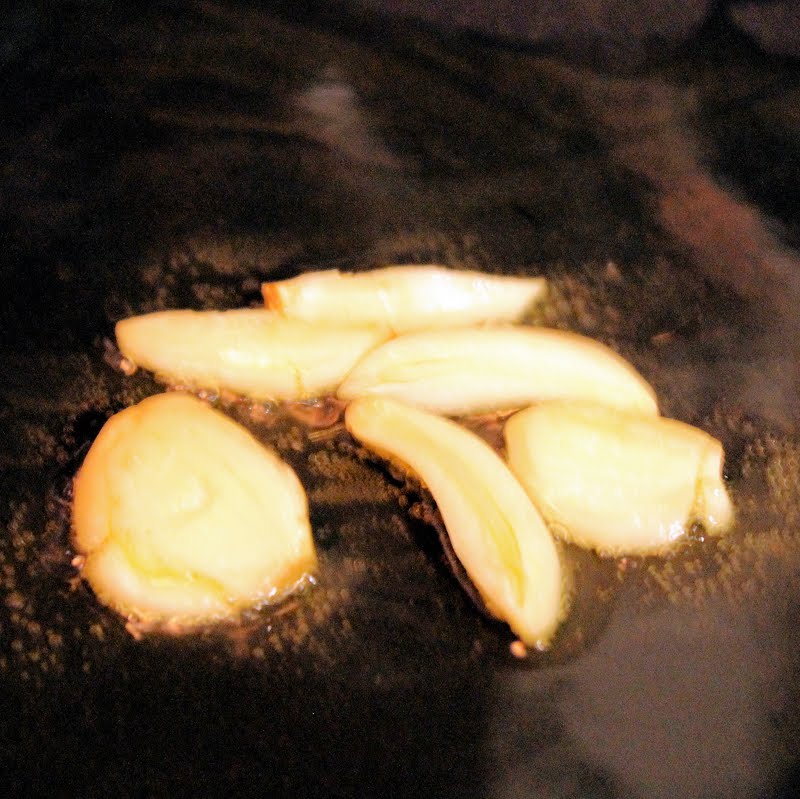
Heat the olive oil in a saute pan over medium-low heat. Add the garlic cloves and cook for 2 minutes, until sizzling but not browned.
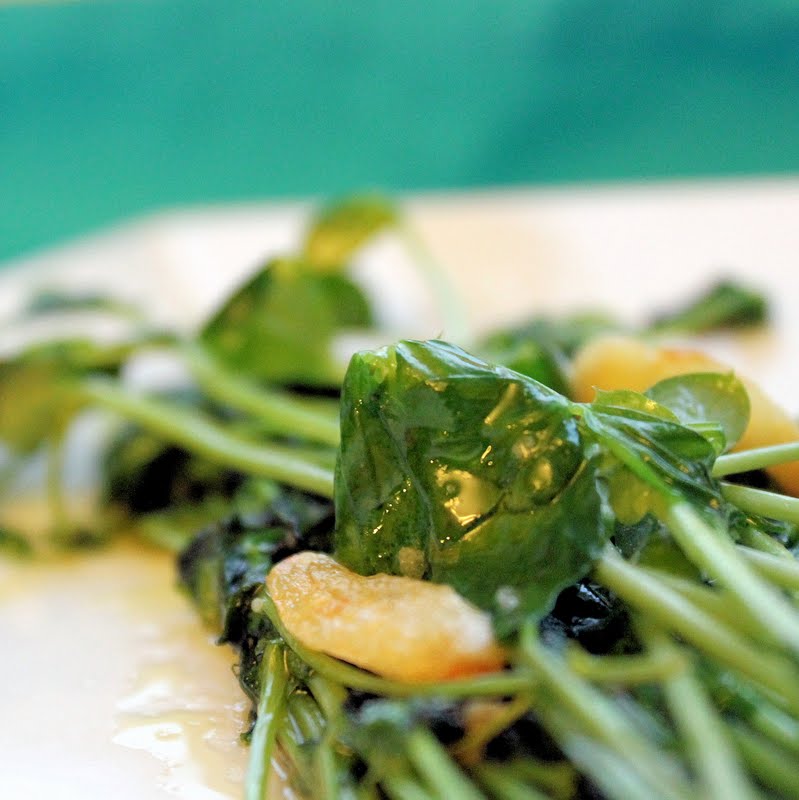
You can either remove the garlic, or keep it in there to add more garlicky flavor. Add the pea tendrils and salt to taste.
Saute for 1-2 minutes until slightly wilted but still maintaining its shape. That’s it! So simple, so yummy.
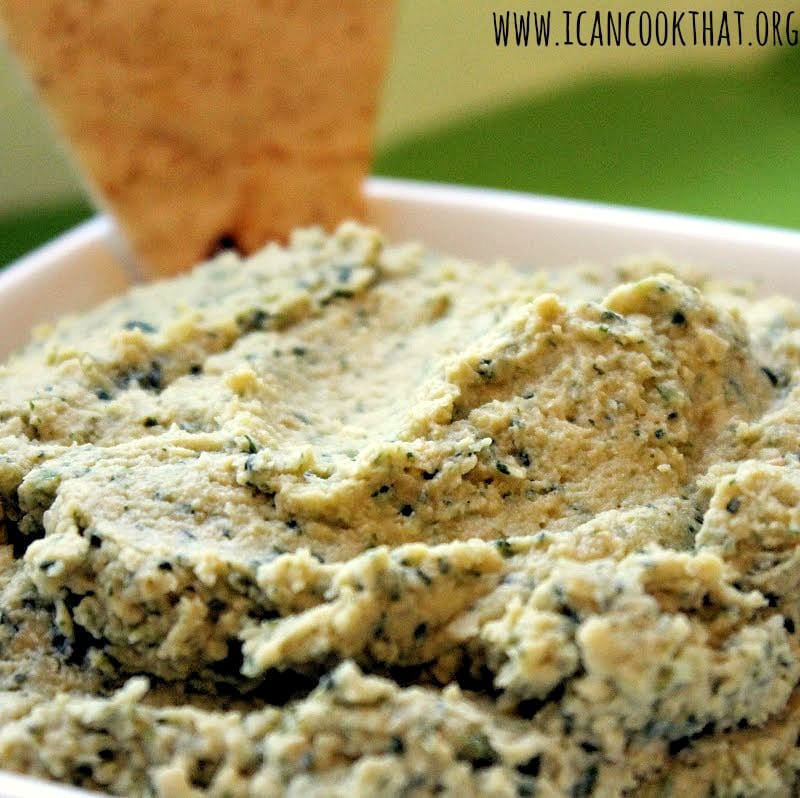
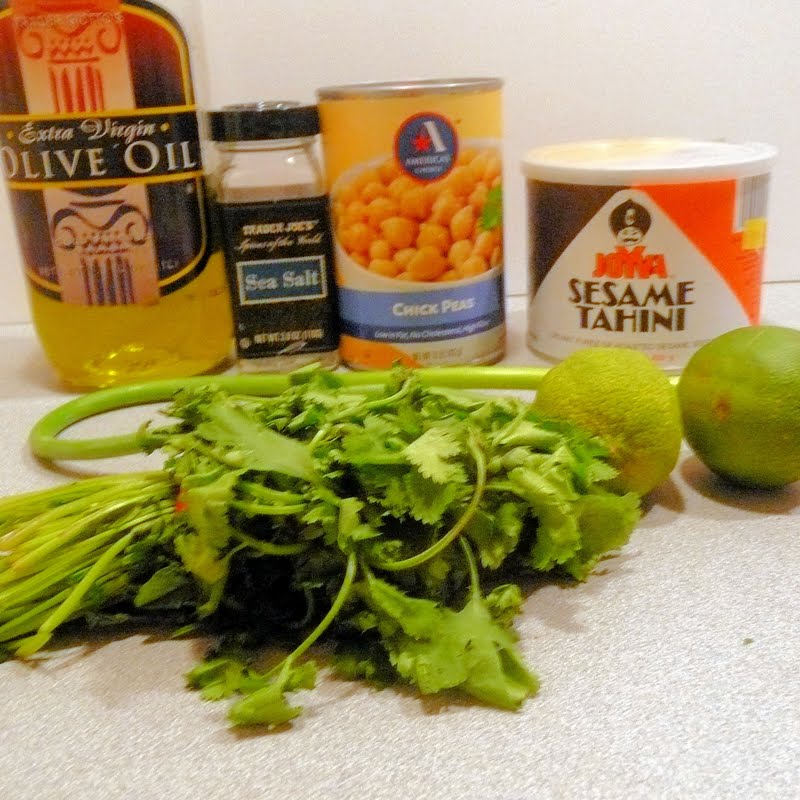
I can never have enough hummus, it is one of my favorite snacks (although I tend to eat so much of it, it’s not really a snack!) I’ve had hummus on the brain for a while now. Be Well Philly must have read my mind, because they posted this great Cilantro Lime hummus recipe that I just had to try. As a plus, cilantro came in my CSA share this week!
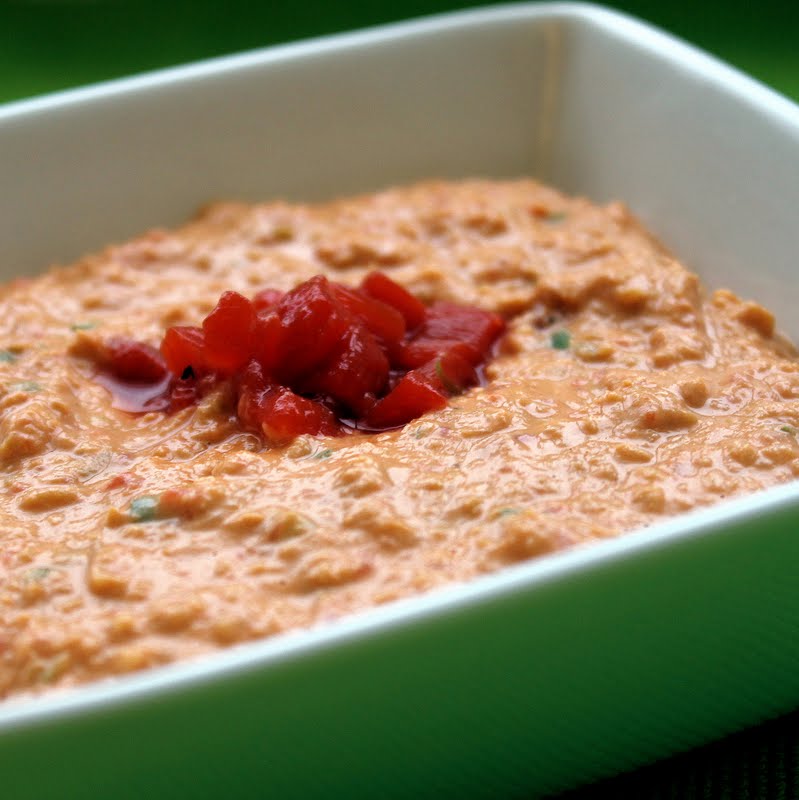
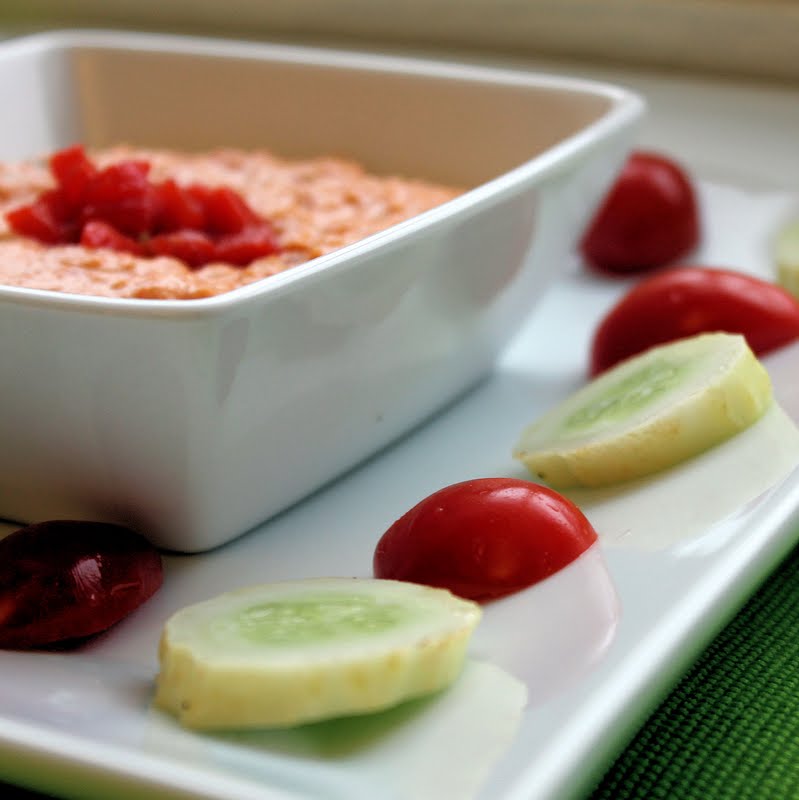
I think I’m on a hummus kick. Or maybe I’m feeling particularly lazy dinner-wise this week, and hummus is a quick and easy thing to make. Whatever the reason, it is hummus overload on this website. I have a good feeling no one is complaining though. One of the most appealing things about hummus is how versatile it is. Here is my version of roasted red pepper hummus.
Ingredients:
1 (15 ounce) can chickpeas, drained
1/3 cup tahini
The juice and zest of 1 lemon juice
1 jar of roasted red peppers (about 3 peppers)
1 garlic scape, chopped (or 2 garlic cloves)
1/4 teaspoon cumin
Salt and pepper to taste
For dipping:
Grape tomatoes
Pita bread
Cucumber
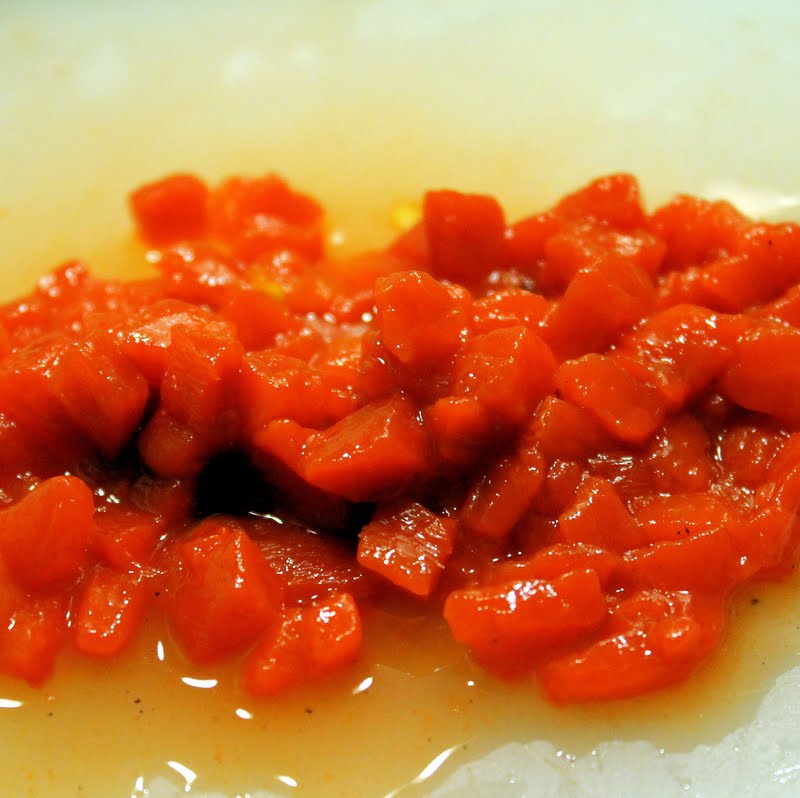
First, prepare your red peppers. Remove the peppers from the jar. Take two of the peppers and roughly chop. You will use these in the actual hummus. Finely chop the remaining red pepper as a topping for the hummus. Set the finely chopped red pepper aside.
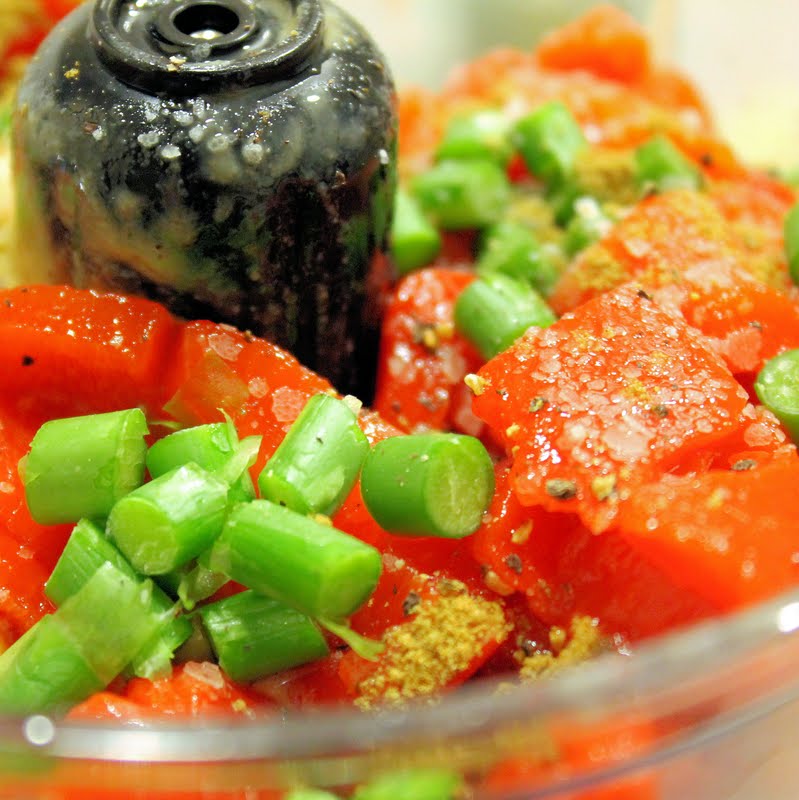
Combine everything (chickpeas to salt and pepper) in a food processor.
Blend until smooth.
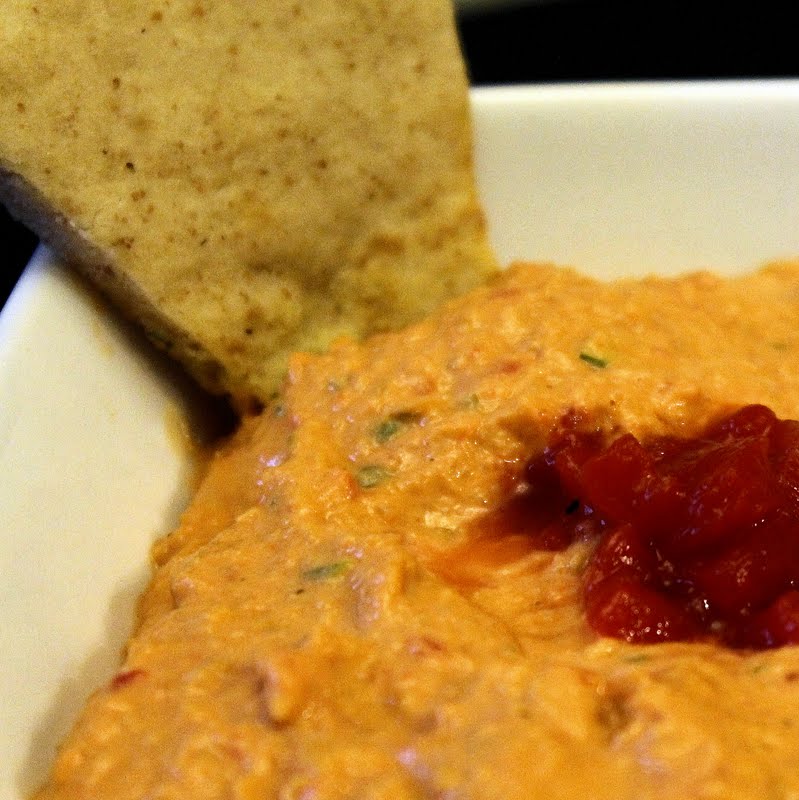
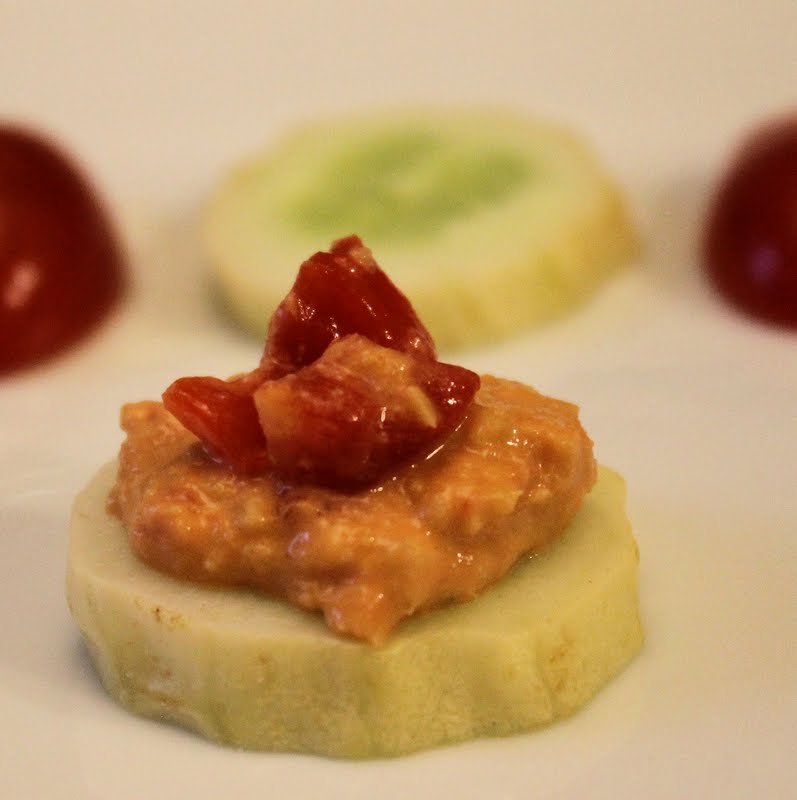
Top with some of the remaining red pepper. Serve with pita, cucumber slices, or tomatoes.
Roasted red pepper hummus is one of my favorite. It always ends up tasting so smooth and creamy, it makes me so happy. The tiny addition of cumin gives a light heat to the hummus which I really enjoy. If you’re not a fan, feel free to omit the cumin. I loved the scapes in this hummus. Raw minced garlic can sometimes be overbearing in hummus, so the subtlety of the scapes was perfect.
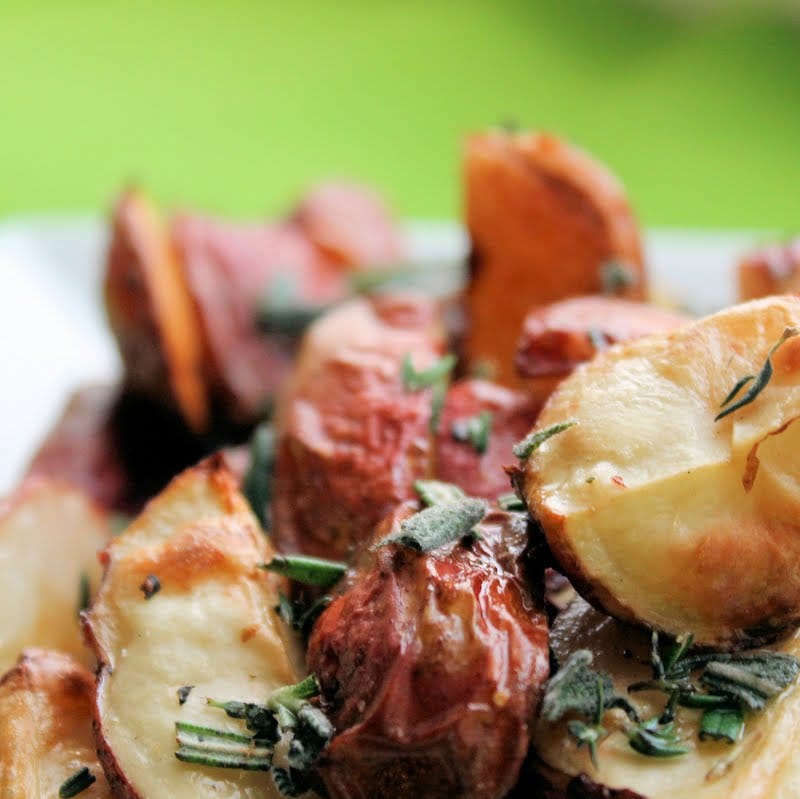
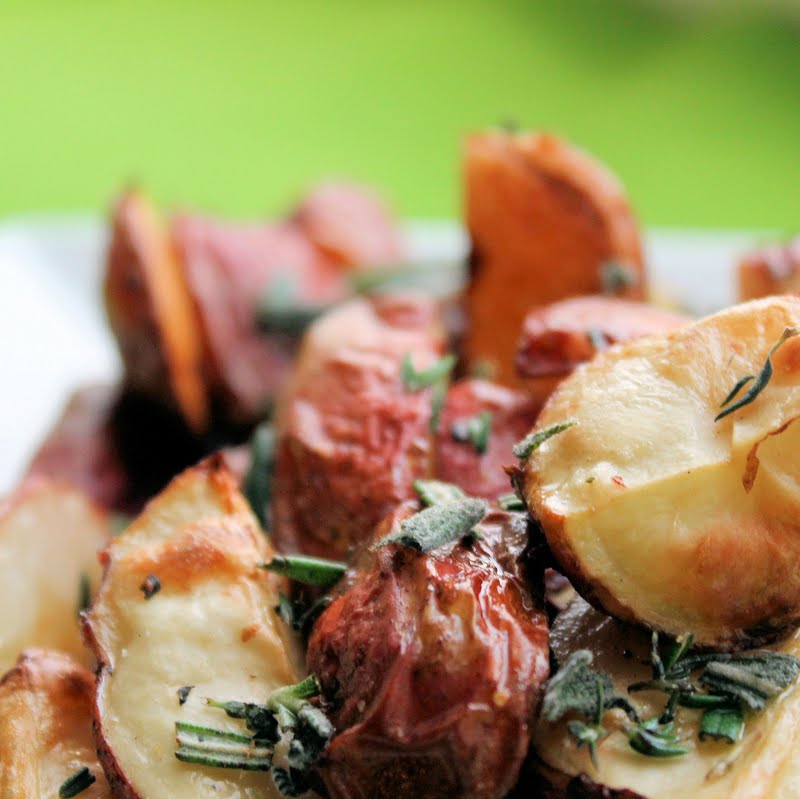
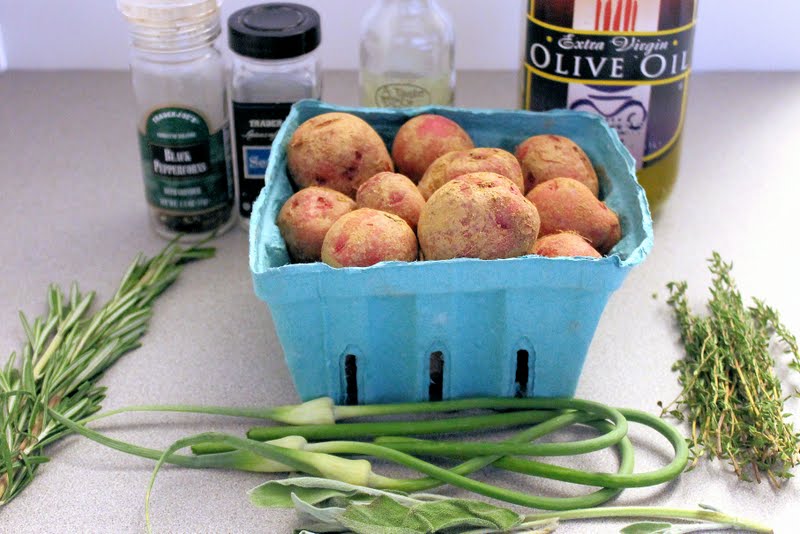
I was so excited to receive red potatoes in my CSA share this week. I love roasted red potatoes with fresh herbs, but I had a little bit of white truffle oil left that I wanted to use. I found this recipe for Truffled Roasted Potatoes from Cooking Light which sounded delicious.
Ingredients:
1 small container of red potatoes, washed and quartered
2 tablespoons olive oil
2 garlic scapes, chopped
Salt and pepper, to taste
1 tablespoon white truffle oil
1 teaspoon each of chopped fresh thyme leaves, sage leaves, and rosemary
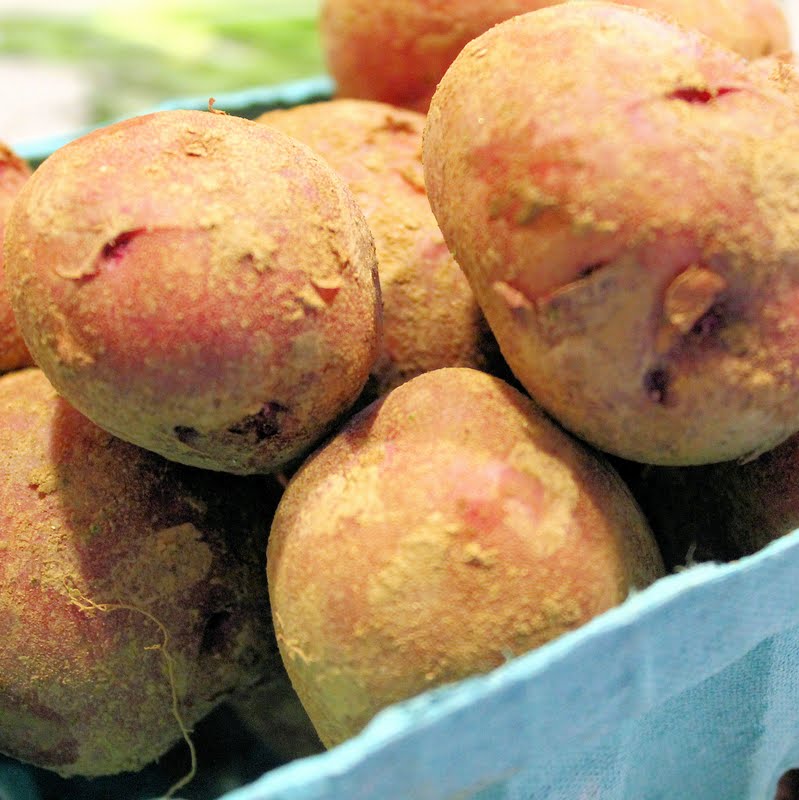
Preheat your oven to 450 degrees. Wash your red potatoes thoroughly, but gently. (The skin of red potatoes is fragile). I used a little brush to lightly buff off the dirt under warm running water.
before
after
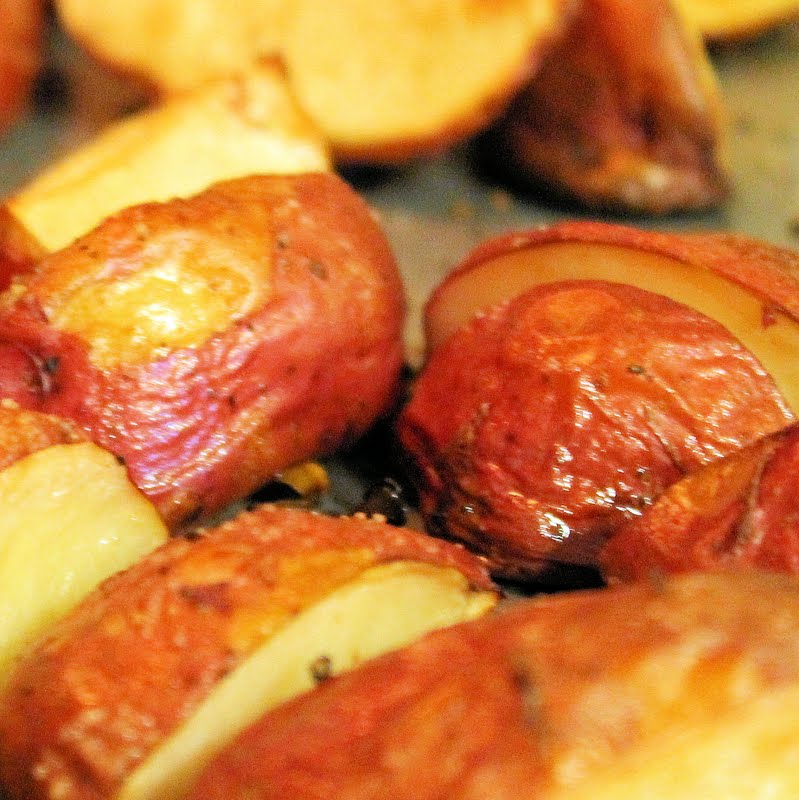
Cut the potatoes into wedges: quarters for the larger potatoes, and halves for the smaller potatoes, and arrange on a cookie sheet.
Drizzle olive oil over the potatoes and sprinkle with garlic scapes, salt and pepper.
Bake at 450 degrees for 30 minutes or until the potatoes are brown and slightly wrinkled.
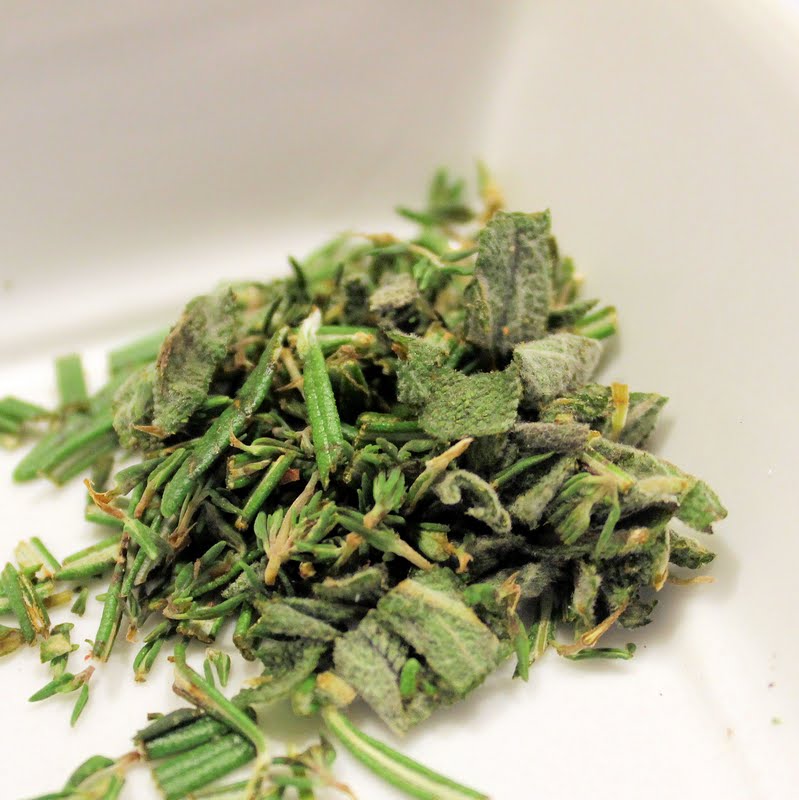
While the potatoes are cooking, chop your thyme, sage, and rosemary. Combine.
Remove the potatoes from the oven, drizzle with truffle oil, and sprinkle with the herb mixture.
This was fantastic. I honestly couldn’t stop eating the potatoes. Truffle oil is such a great ingredient, although it is a bit of a splurge. Truffle oil is usually added at the end of a dish, the oil is too delicate to be subjected to high heat. A little bit of truffle oil goes a long way though so do not overpour! When I make this recipe in the future, I plan on using normal minced garlic (2-3 cloves), the garlic scapes were quite burnt from the oven so I didn’t get any of the garlic taste from them. Boo.
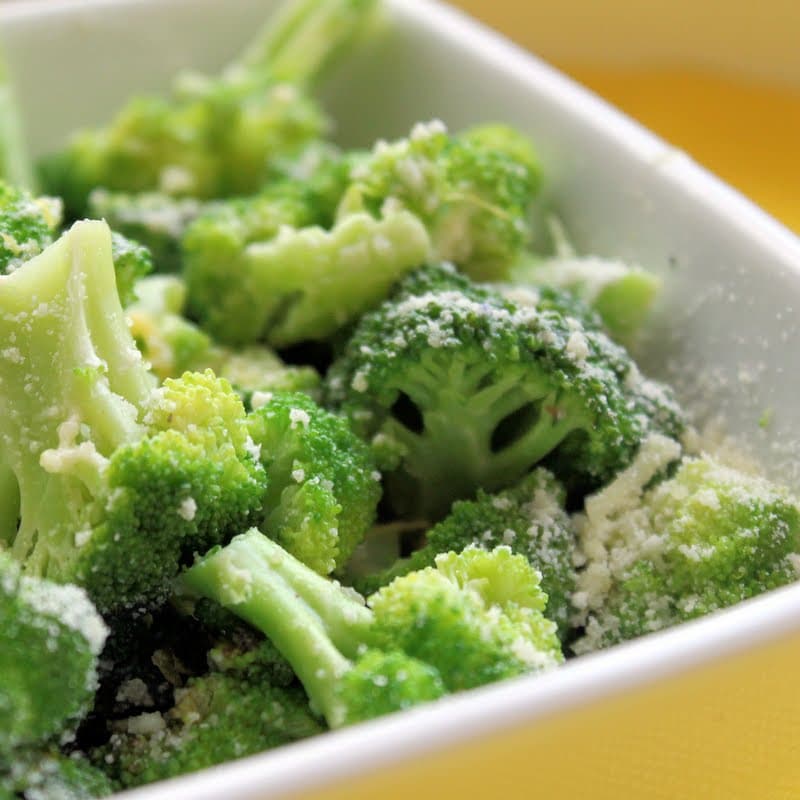
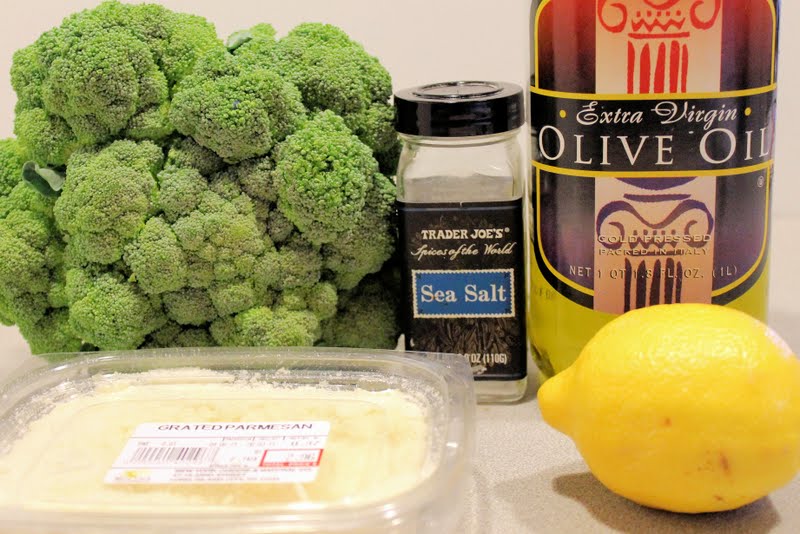
I’m not going to lie. Broccoli is not my favorite vegetable. I have a tendency to pass over it for more favored choices. But I received broccoli in my CSA half share this week, so I decided to give it another try. I used this recipe from Oxmoor House as a starting point, and adapted the recipe for my tastes.
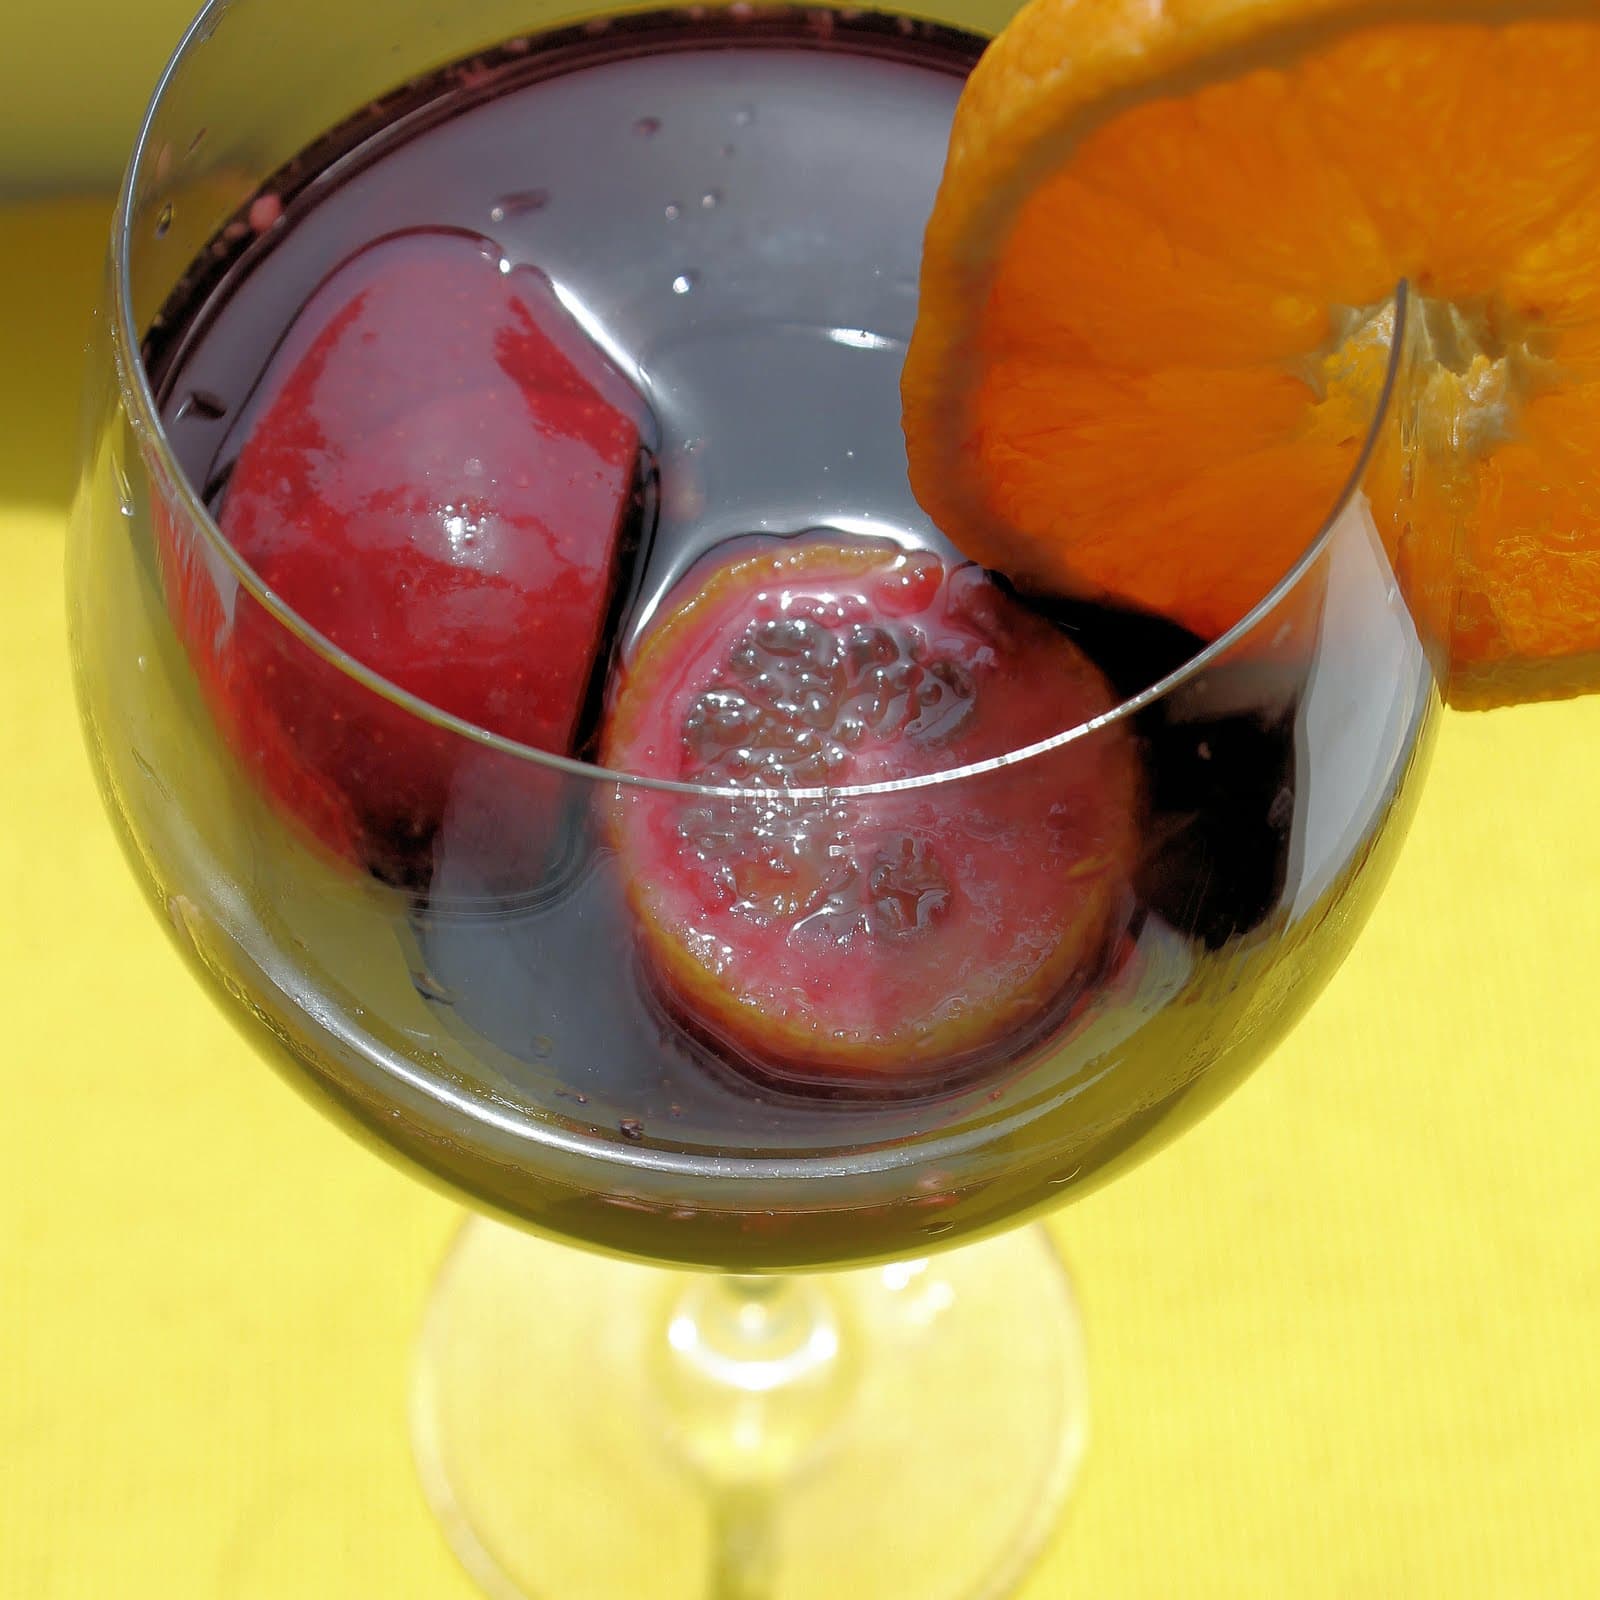
For Father’s Day, I wanted to make my dad a somewhat traditional sangria. He is a man who has nothing and wants nothing (which is probably a result of having two daughters and a wife who want everything), but he does love a good sangria. I hope he likes it!
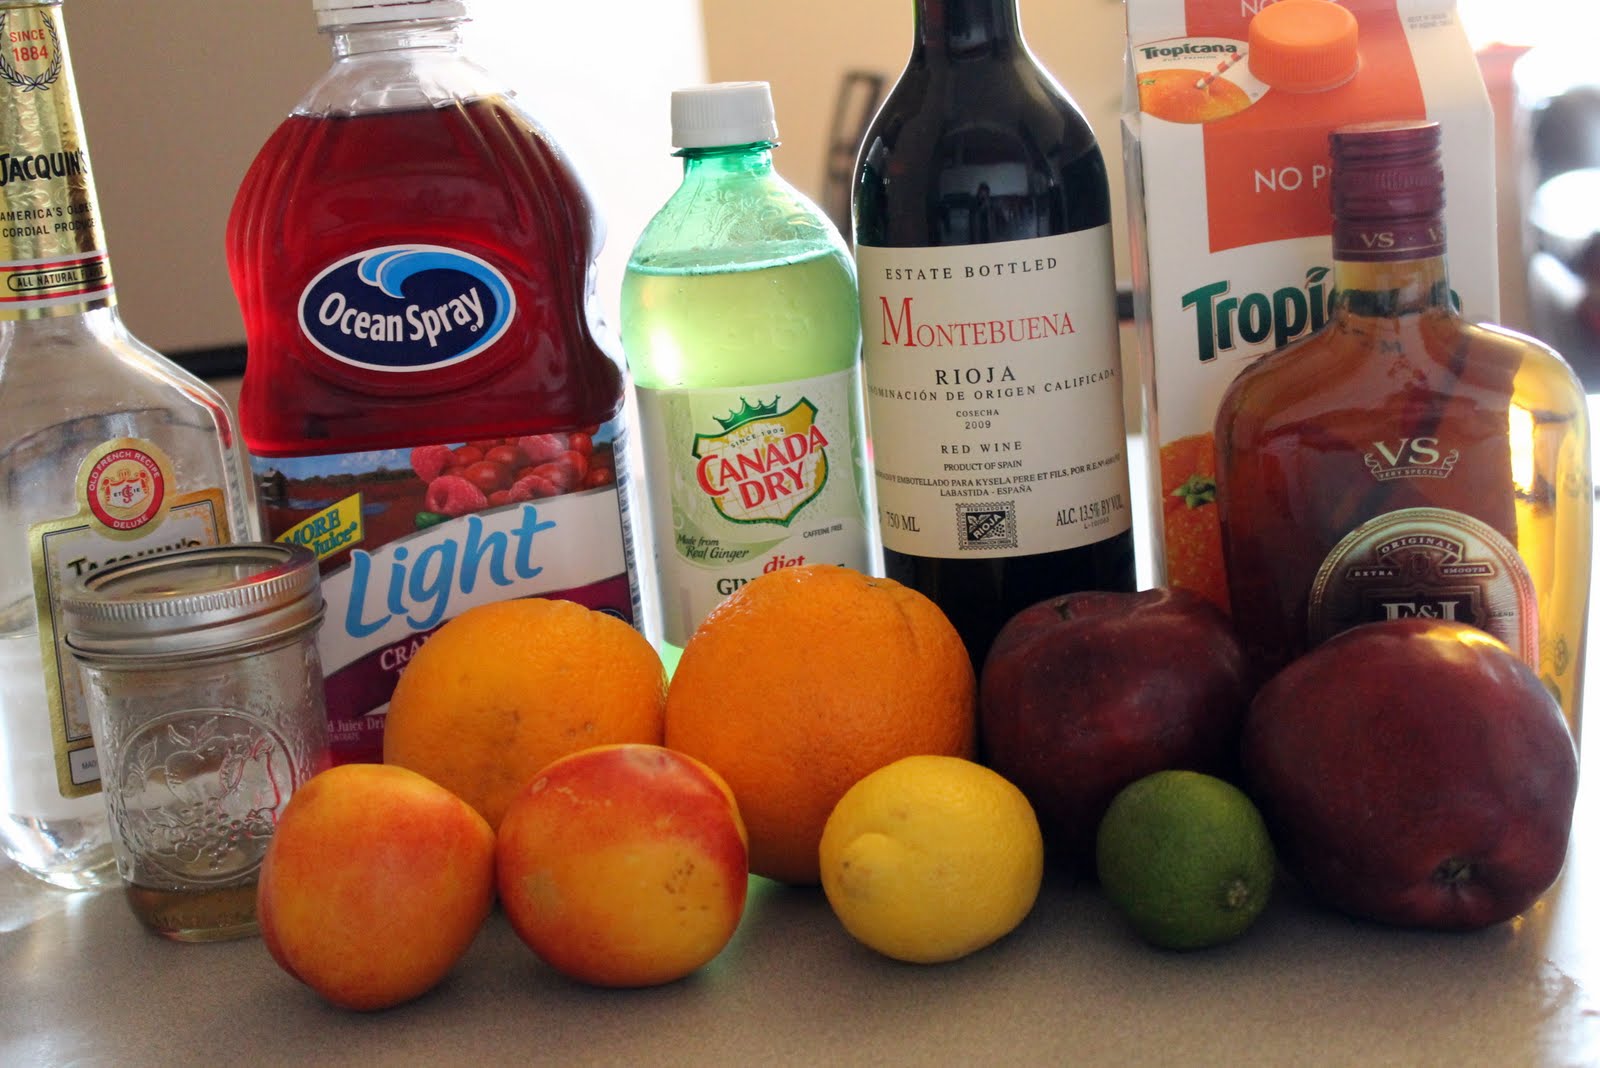
Ingredients:
1 bottle of Rioja wine
1/2 cup brandy
1/4 cup triple sec
1/2 cup orange juice
1/4 cup cranberry juice
3 table spoons simple syrup
1 apple, cored
1 orange, cut into thin slices
1 lemon, cut into thin slices
1 lime, cut into thin slices
1 peach/nectarine, pitted and cut into wedges
Ginger ale, to taste
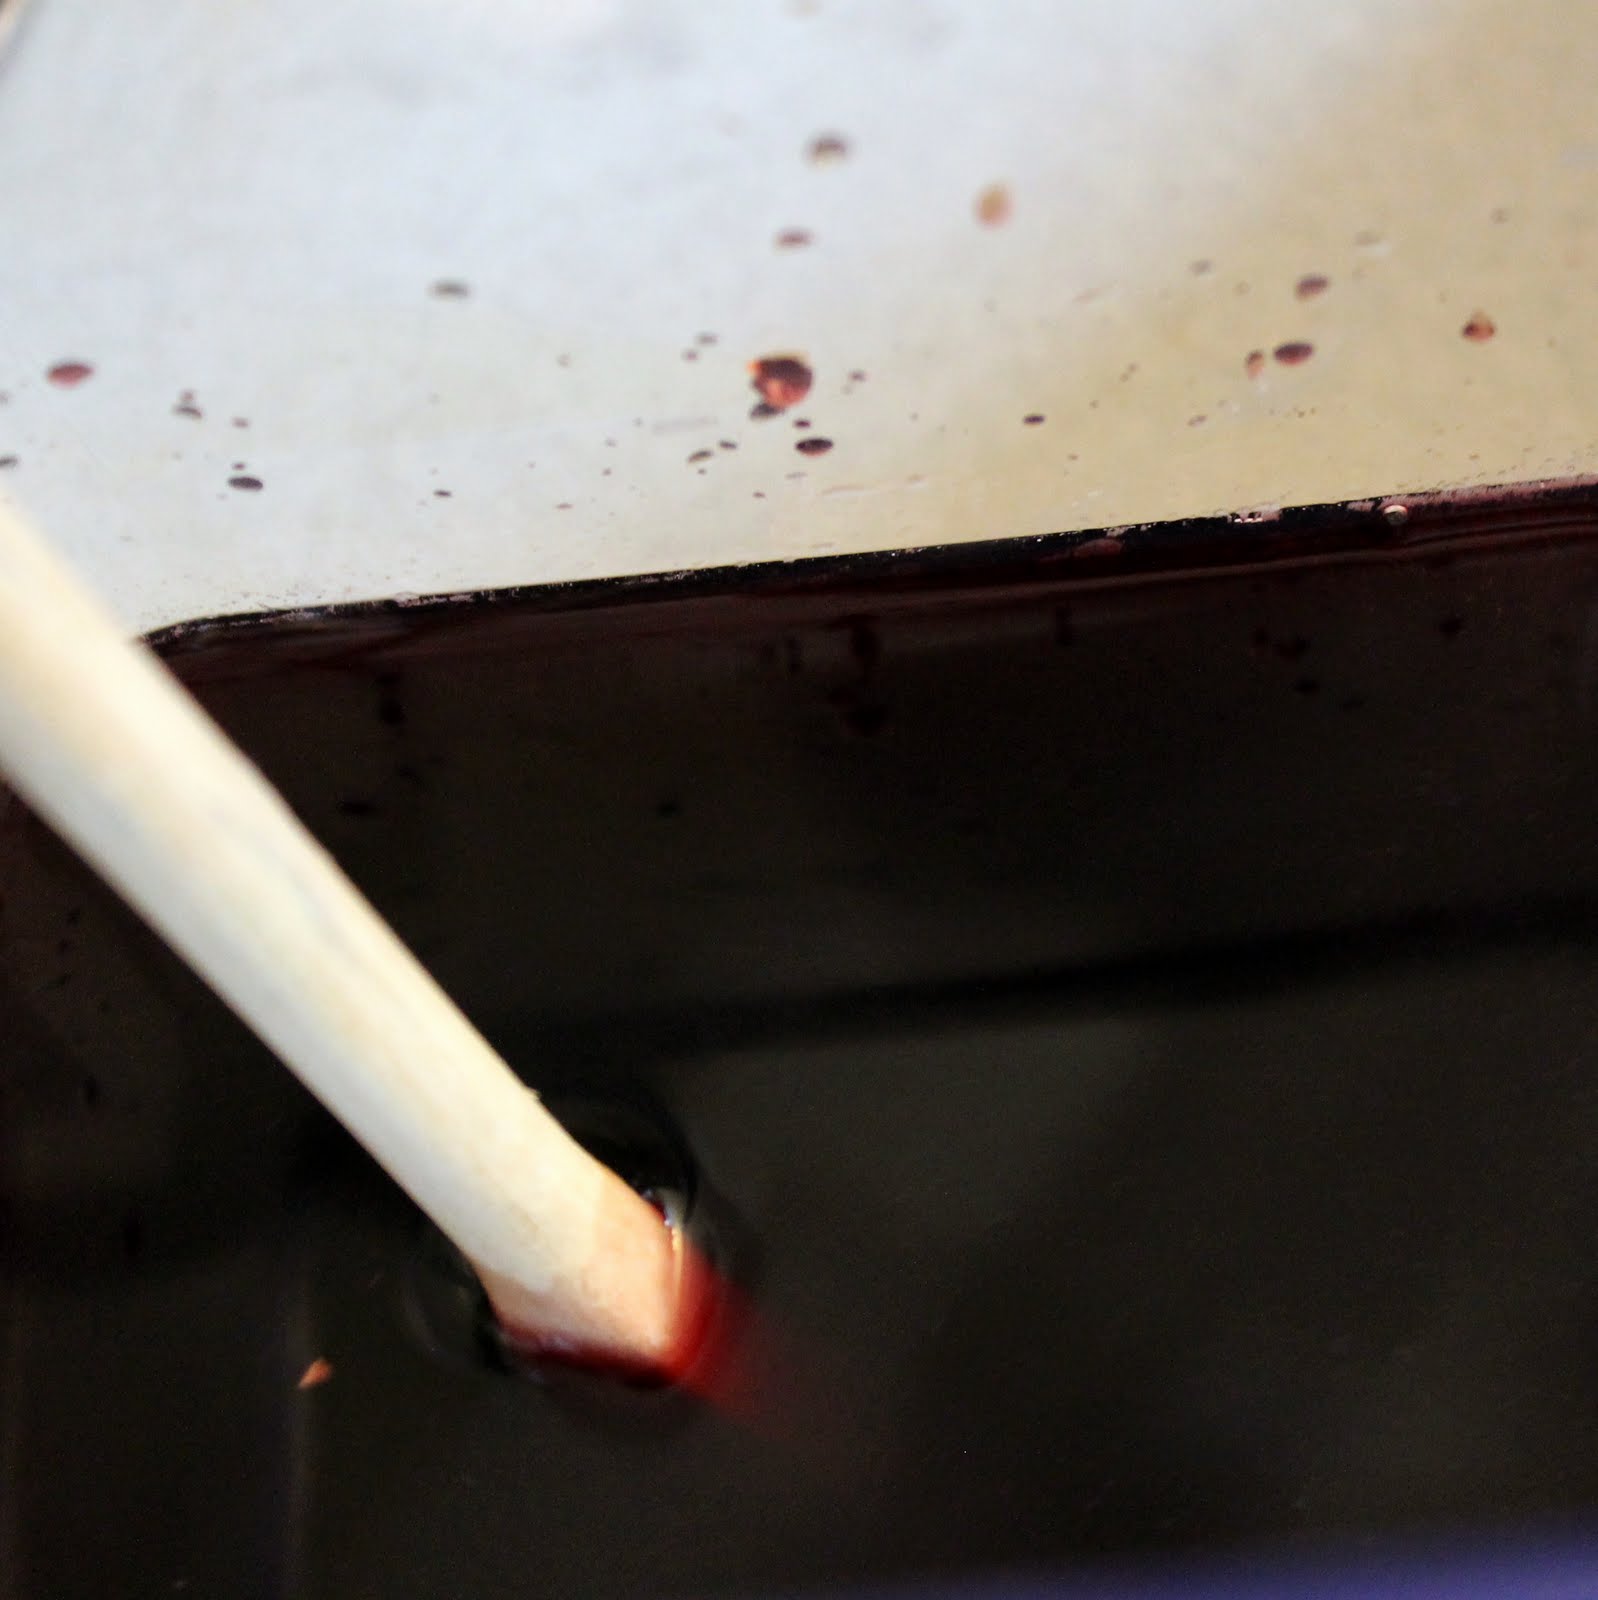
Combine the wine, brandy, triple sec, orange juice, cranberry juice and simple syrup. Stir.
Prepare all of your fruit.
Add the fruit to the wine mixture and refrigerate for about 1 hour.
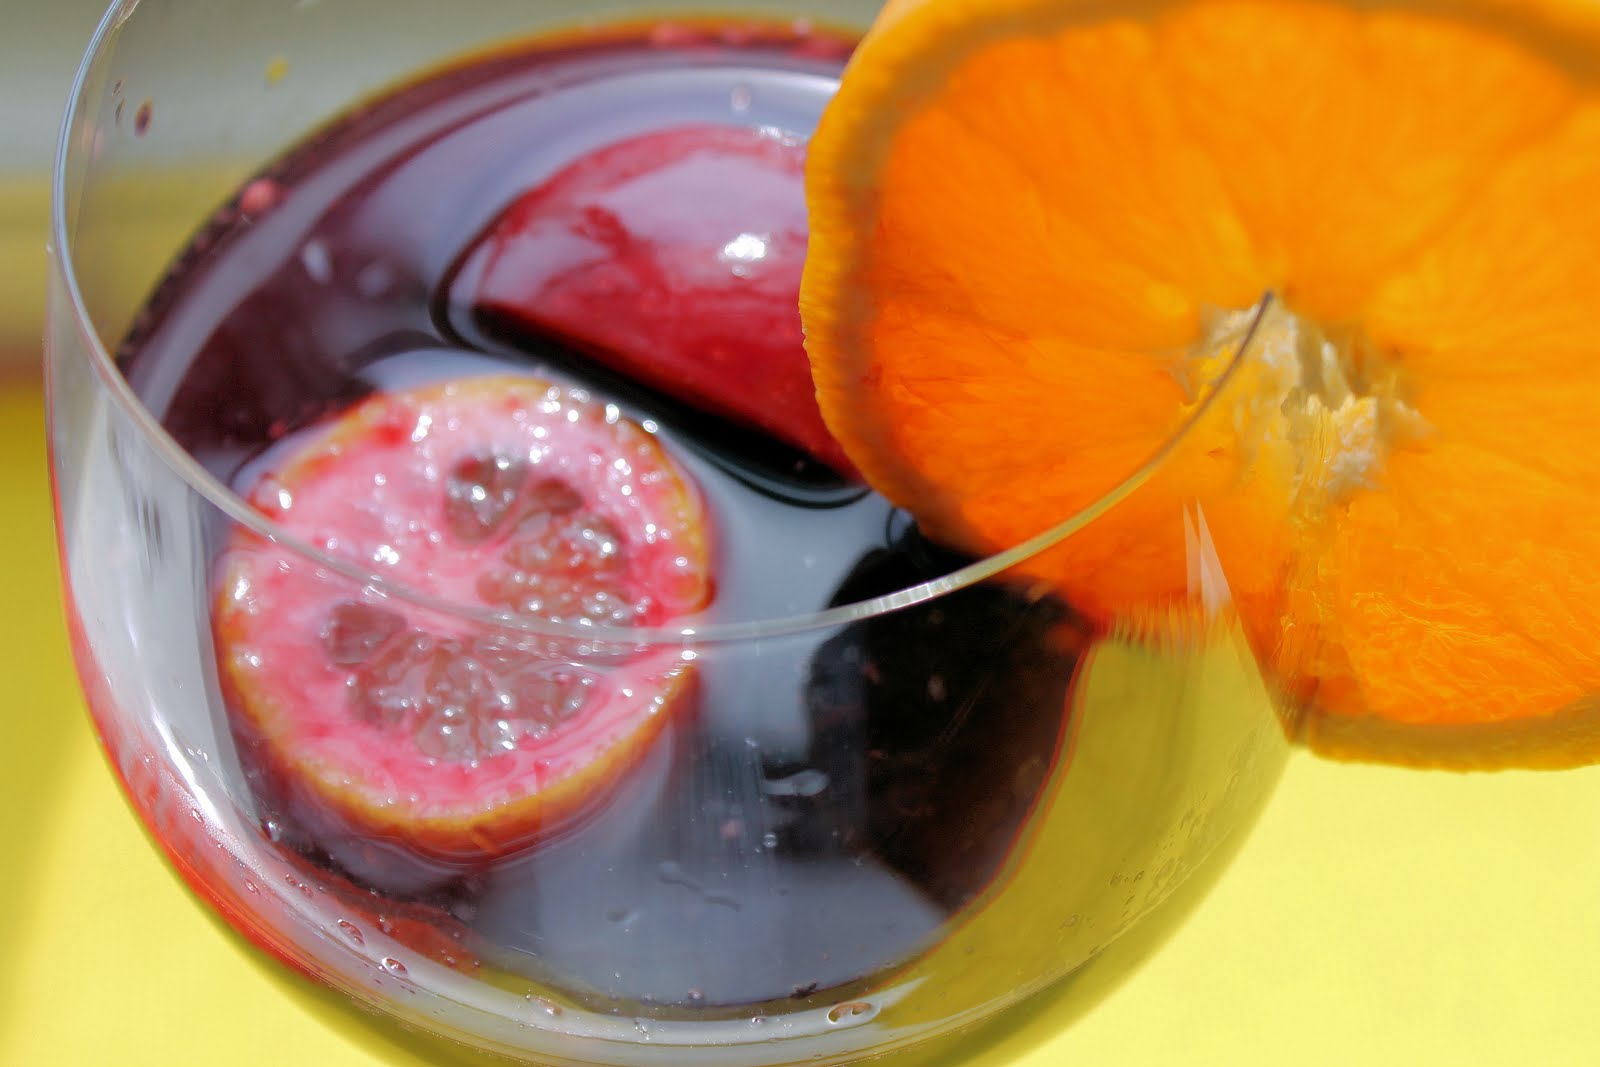
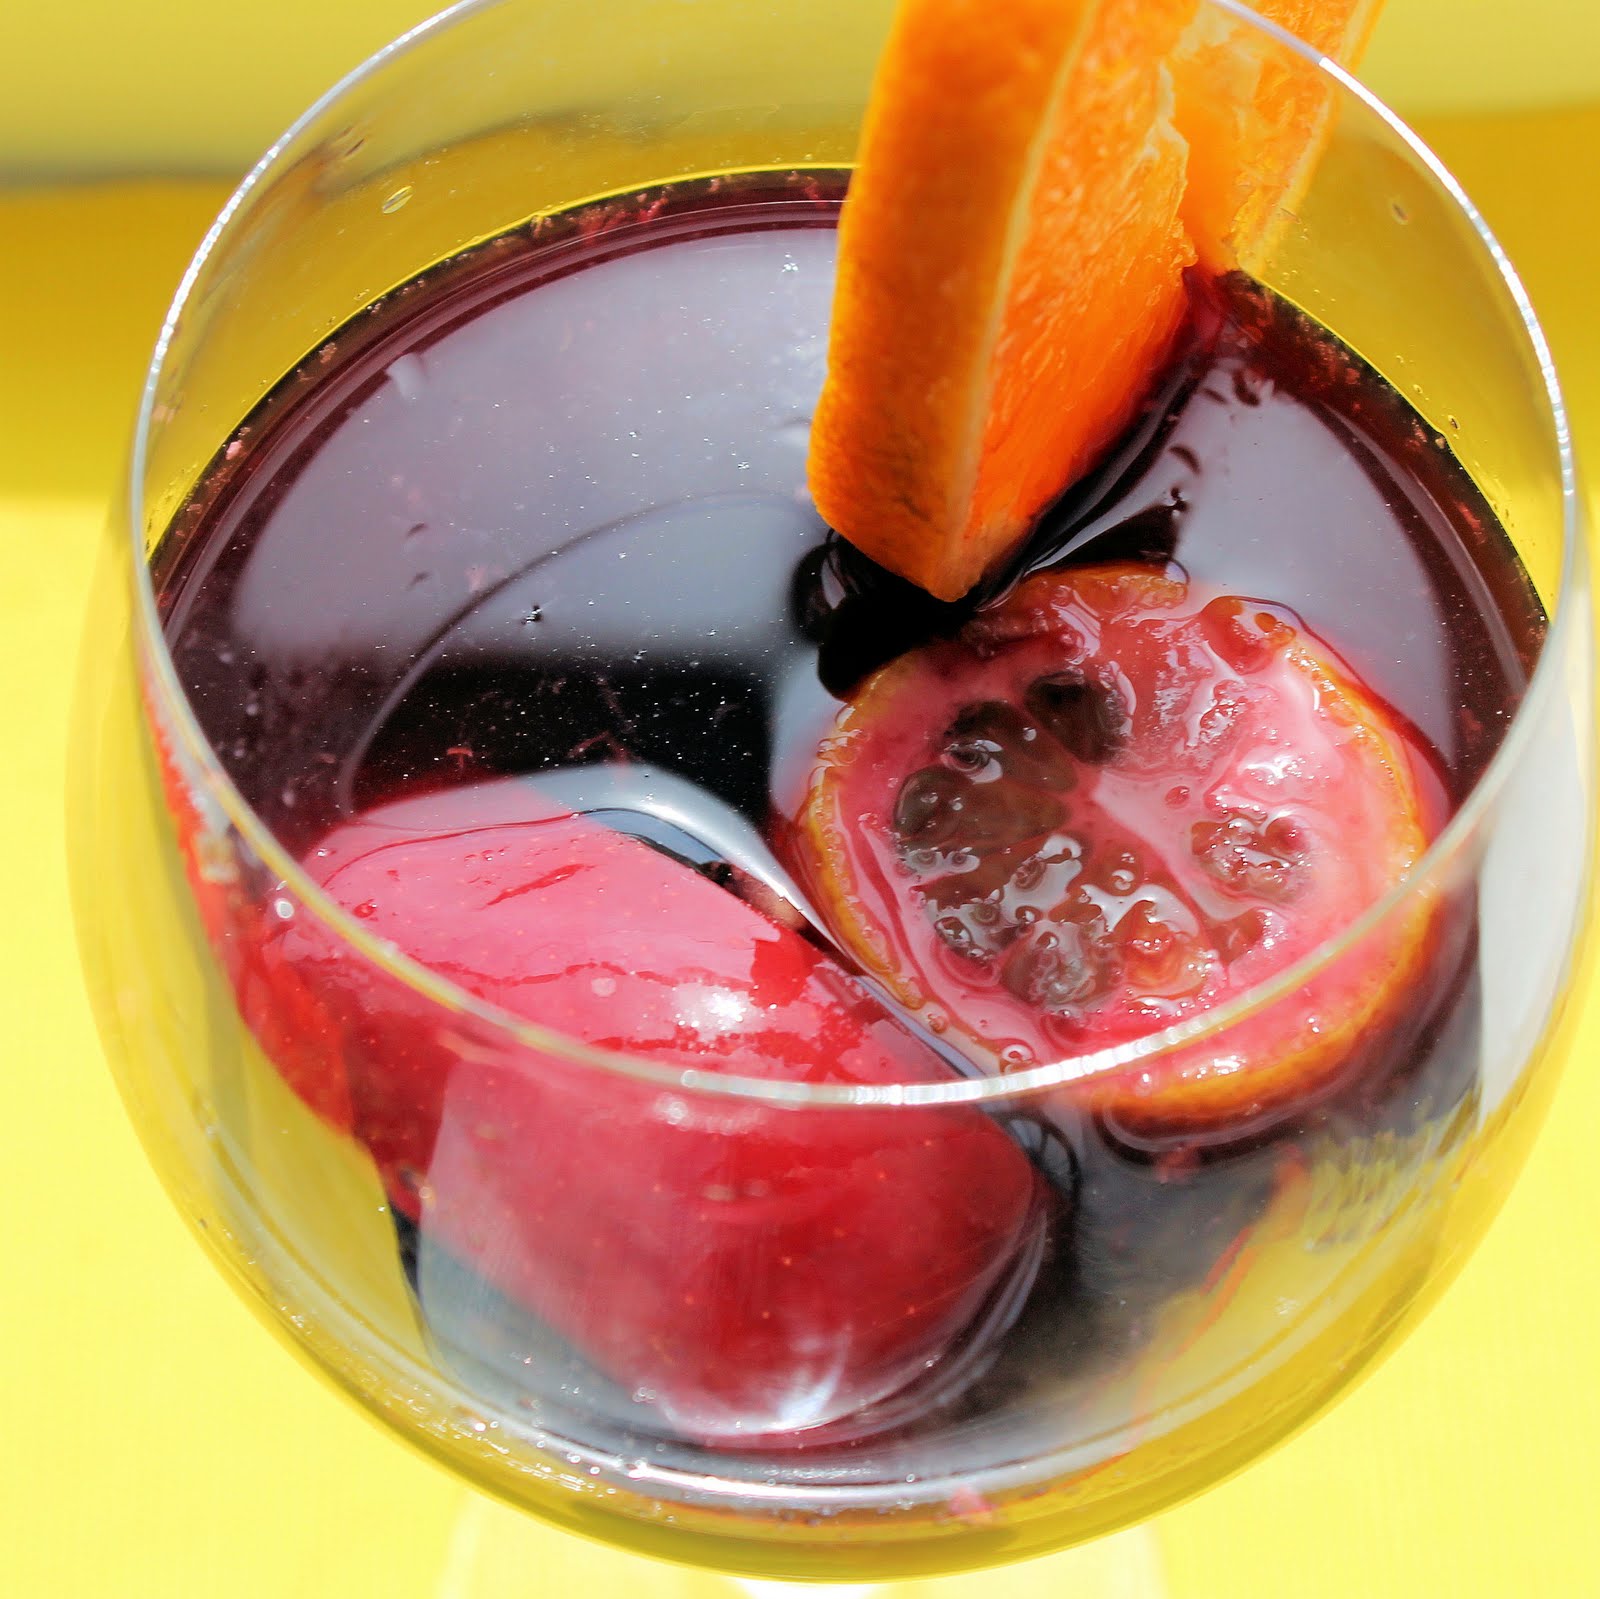
When ready to serve, pour sangria into a glass and top with the ginger ale to taste.
I took only one sip of this, so my dad will have to be the true judge of this recipe. It seemed to taste good to me: not too sweet and still a hint of actual wine. You can make a bunch of substitutes for this recipe. If you don’t have the time to make simple syrup, just use 3 tablespoons sugar and stir until it dissolves in the wine mixture. Feel free to substitute or eliminate some of the fruit choices: blackberries would also be a nice addition in the sangria.
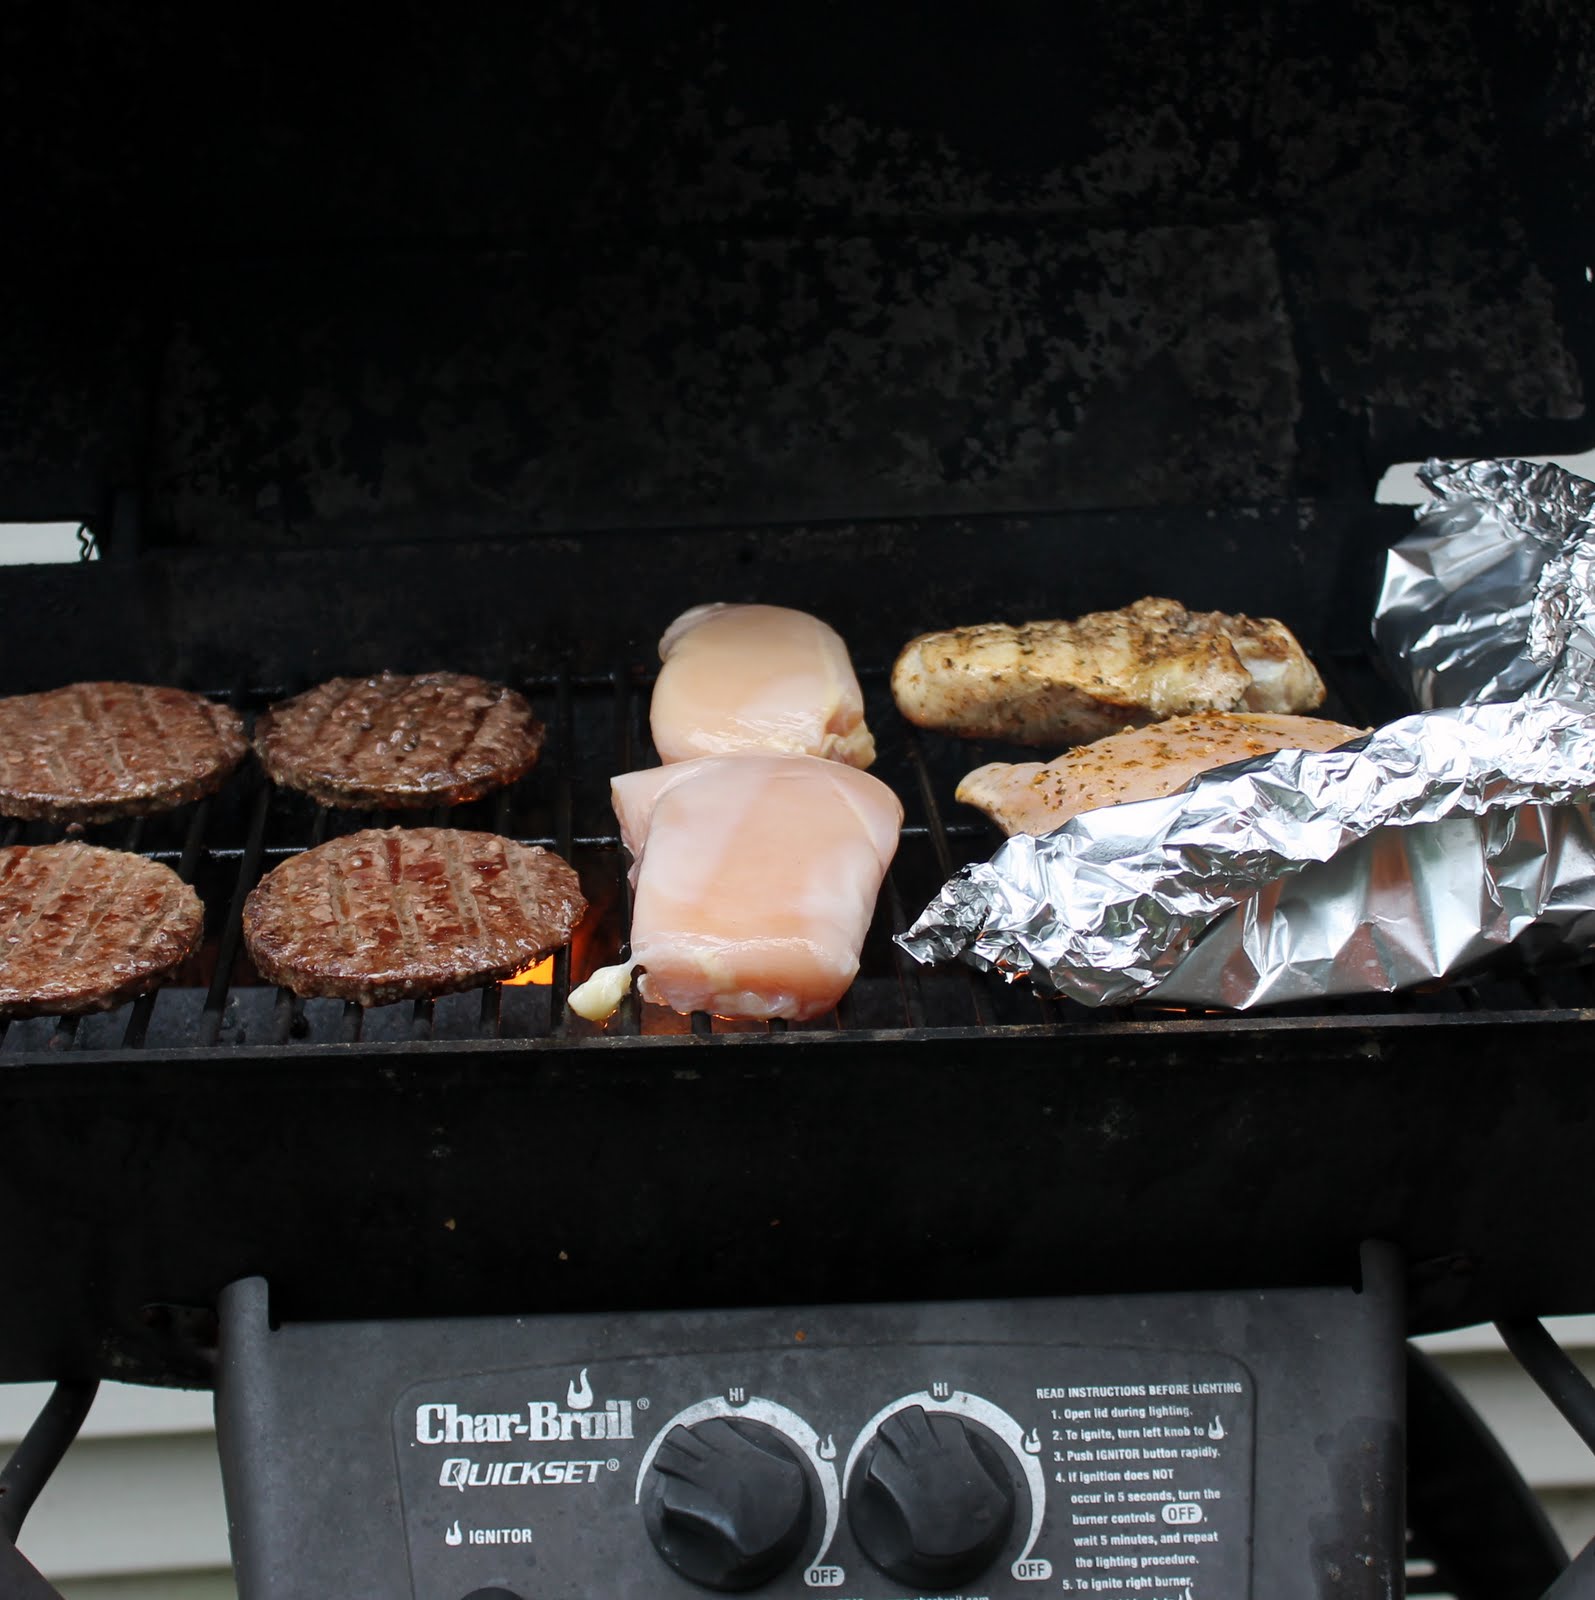
We kind of went on a grilling spree this week. (And by “we” I mean my boyfriend and his roommate. I only did the prep work.)
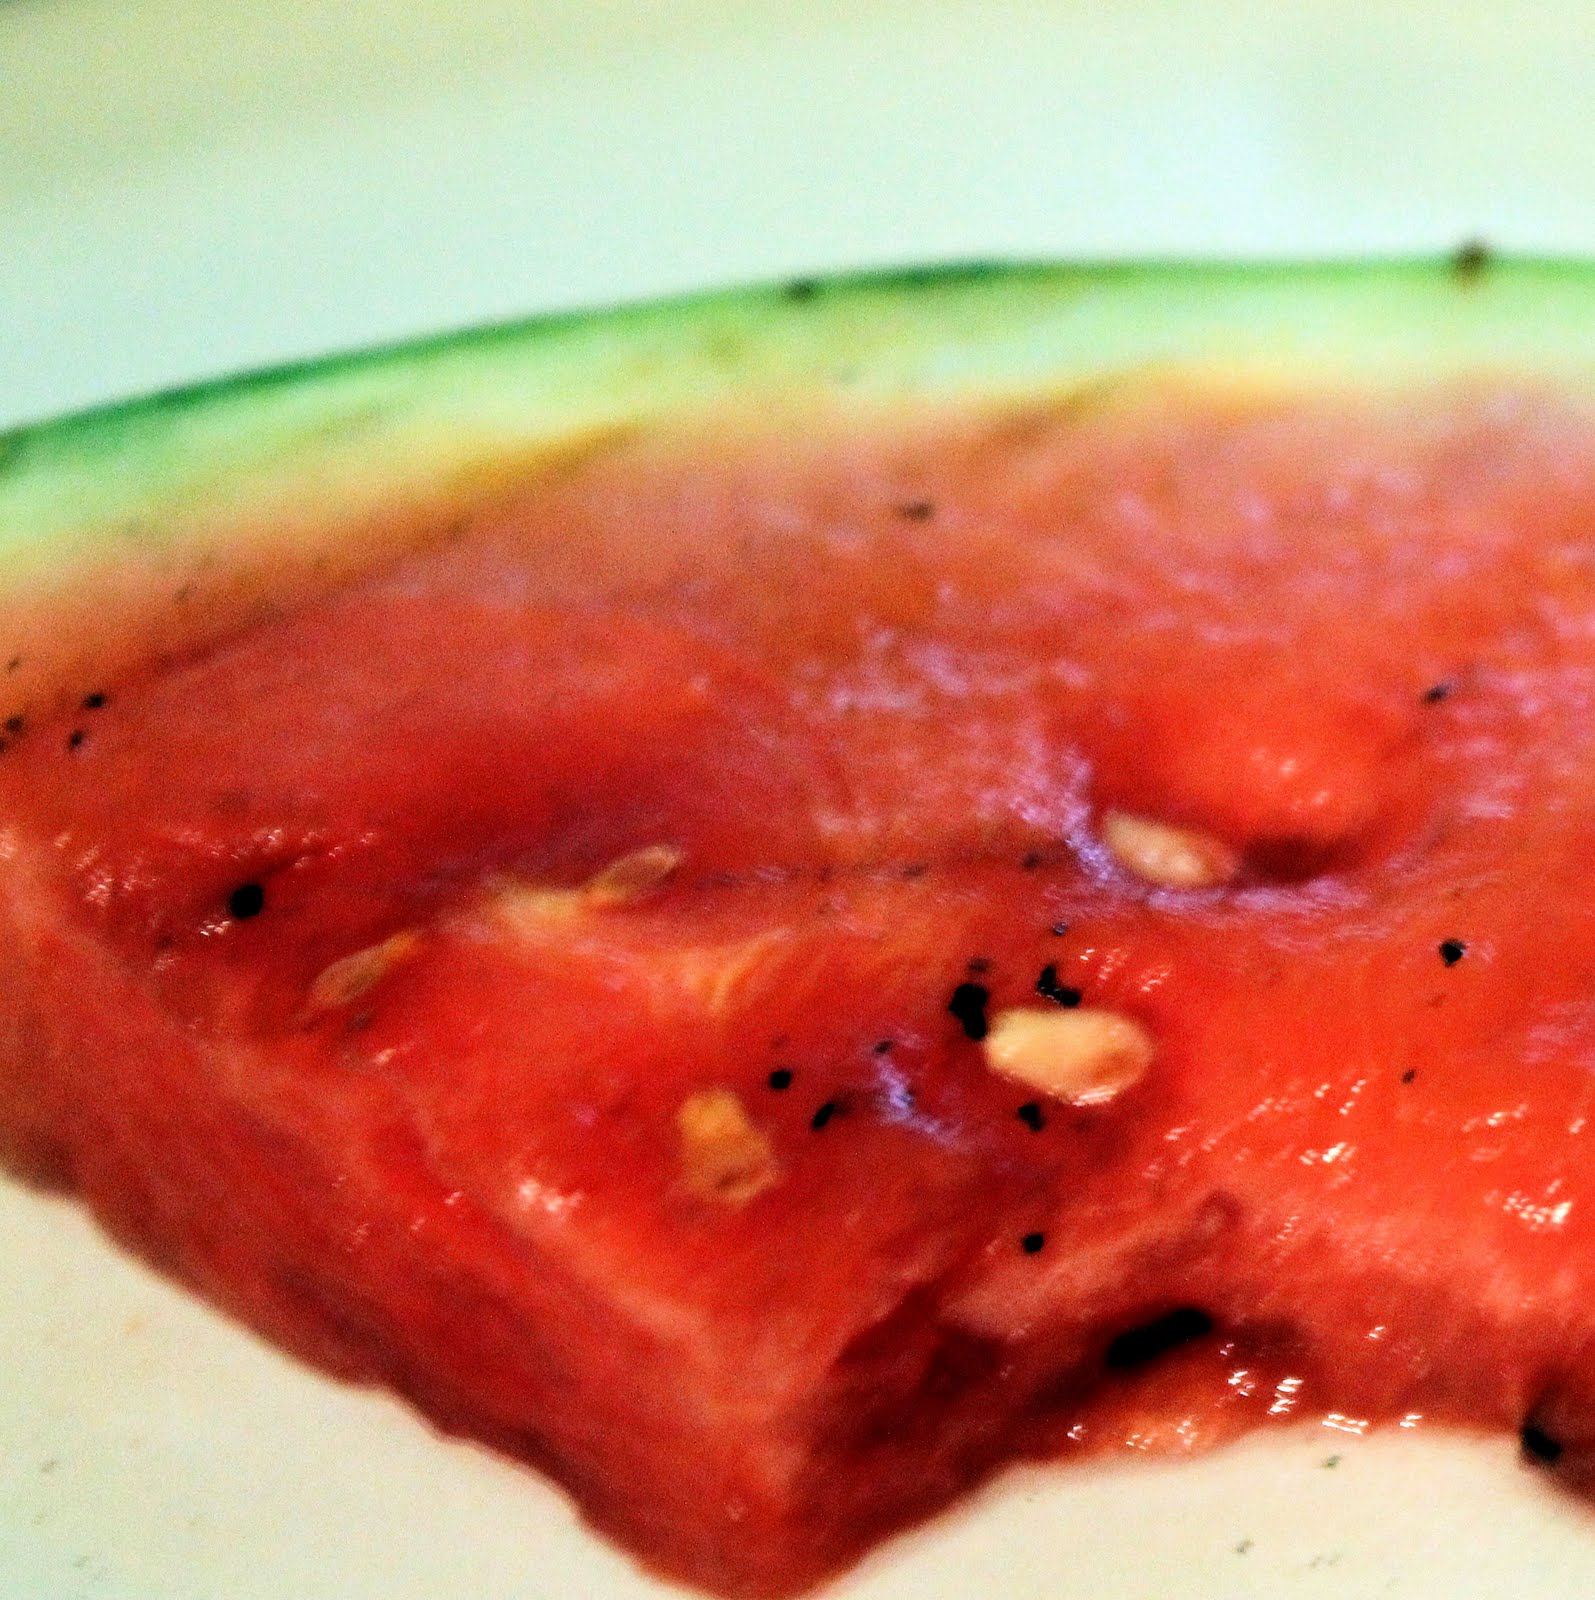
We were throwing basically anything on there. Burgers, chicken, asparagus, salmon… and watermelon. So. Here’s a super simple recipe for grilled watermelon!
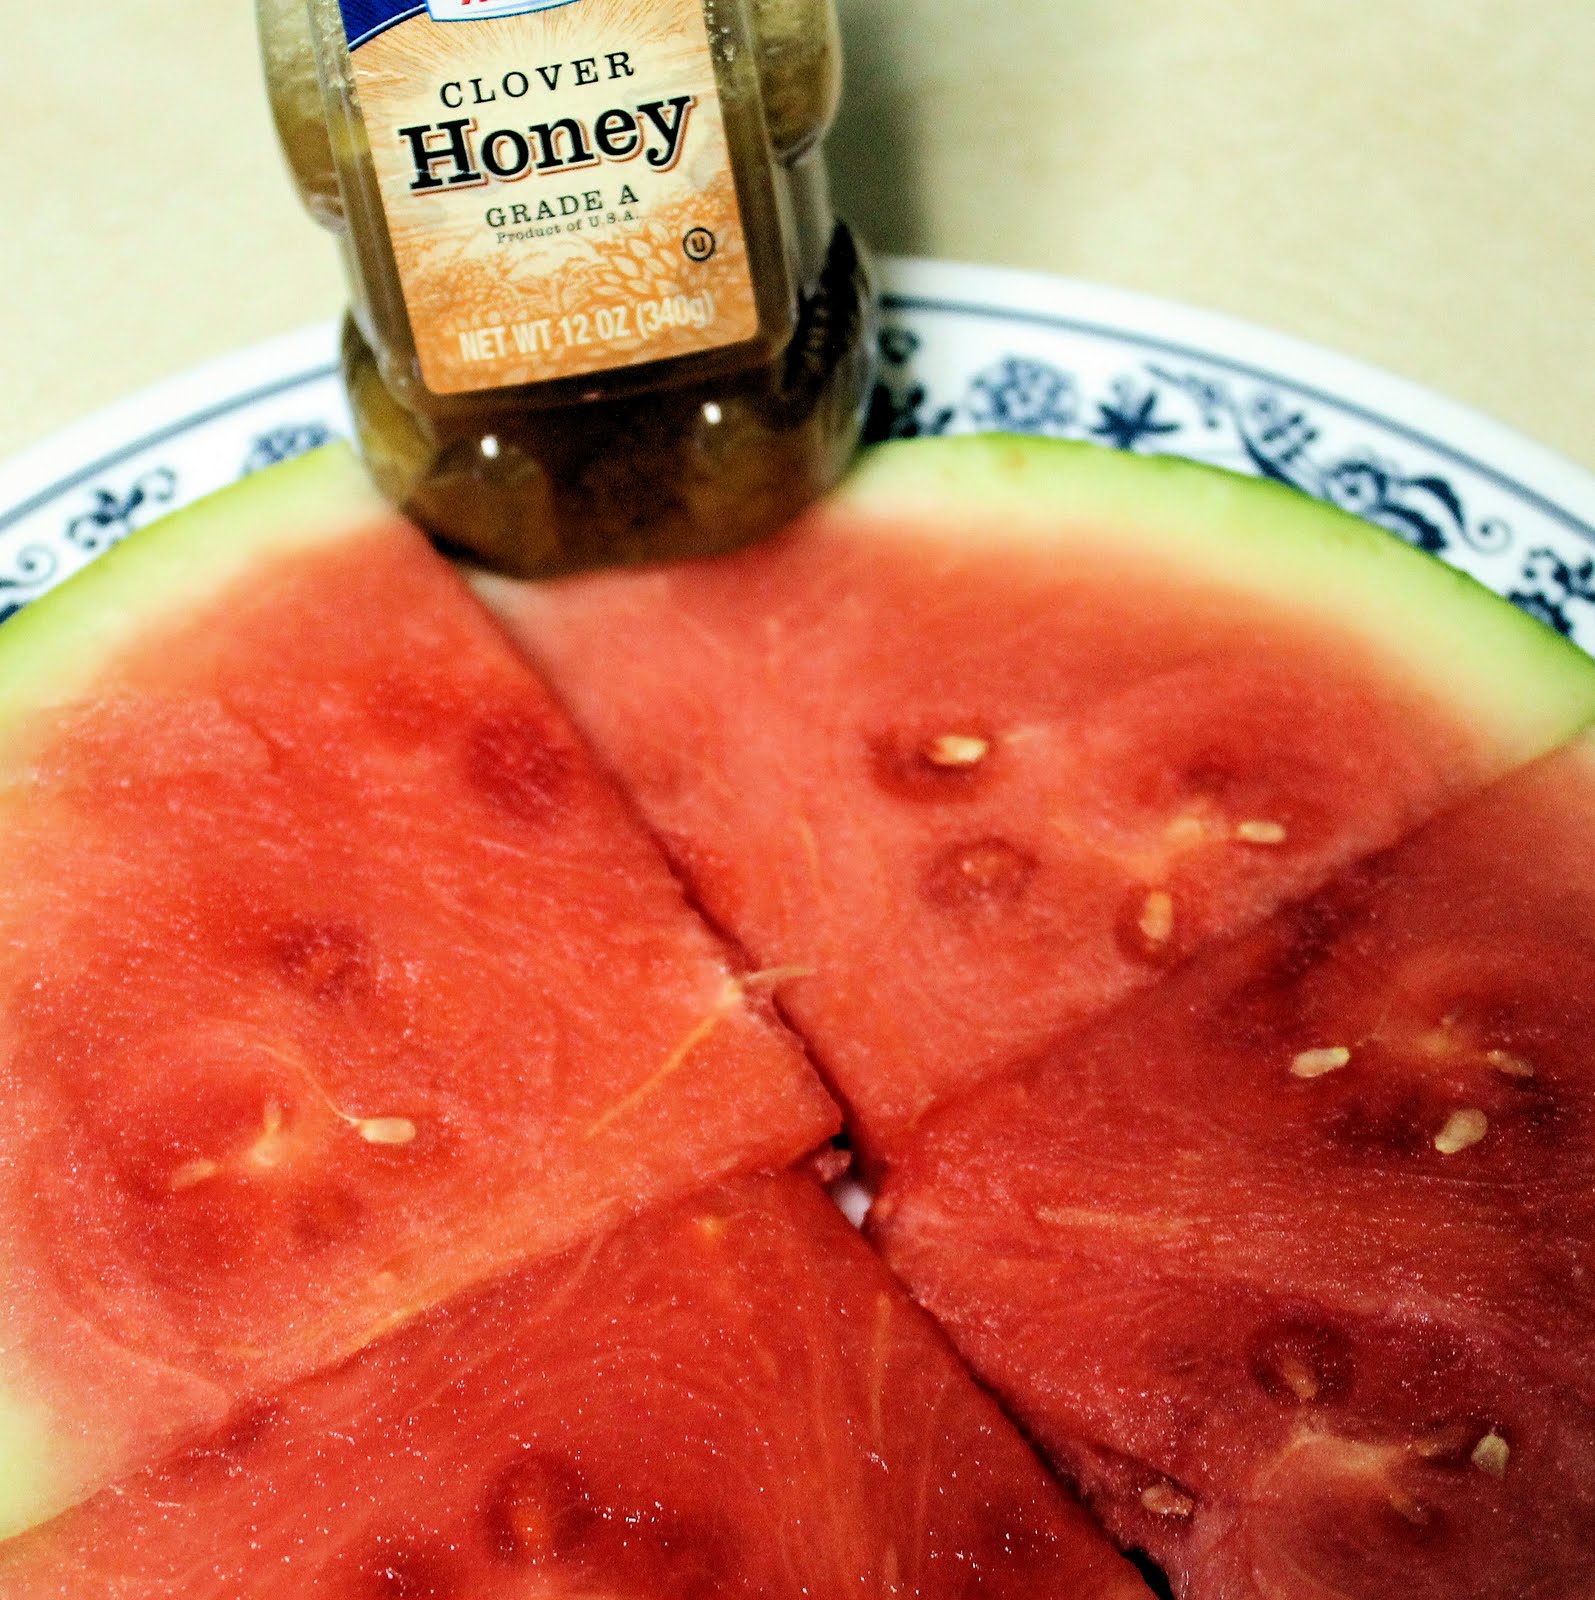
Ingredients:
Honey
Sliced watermelon
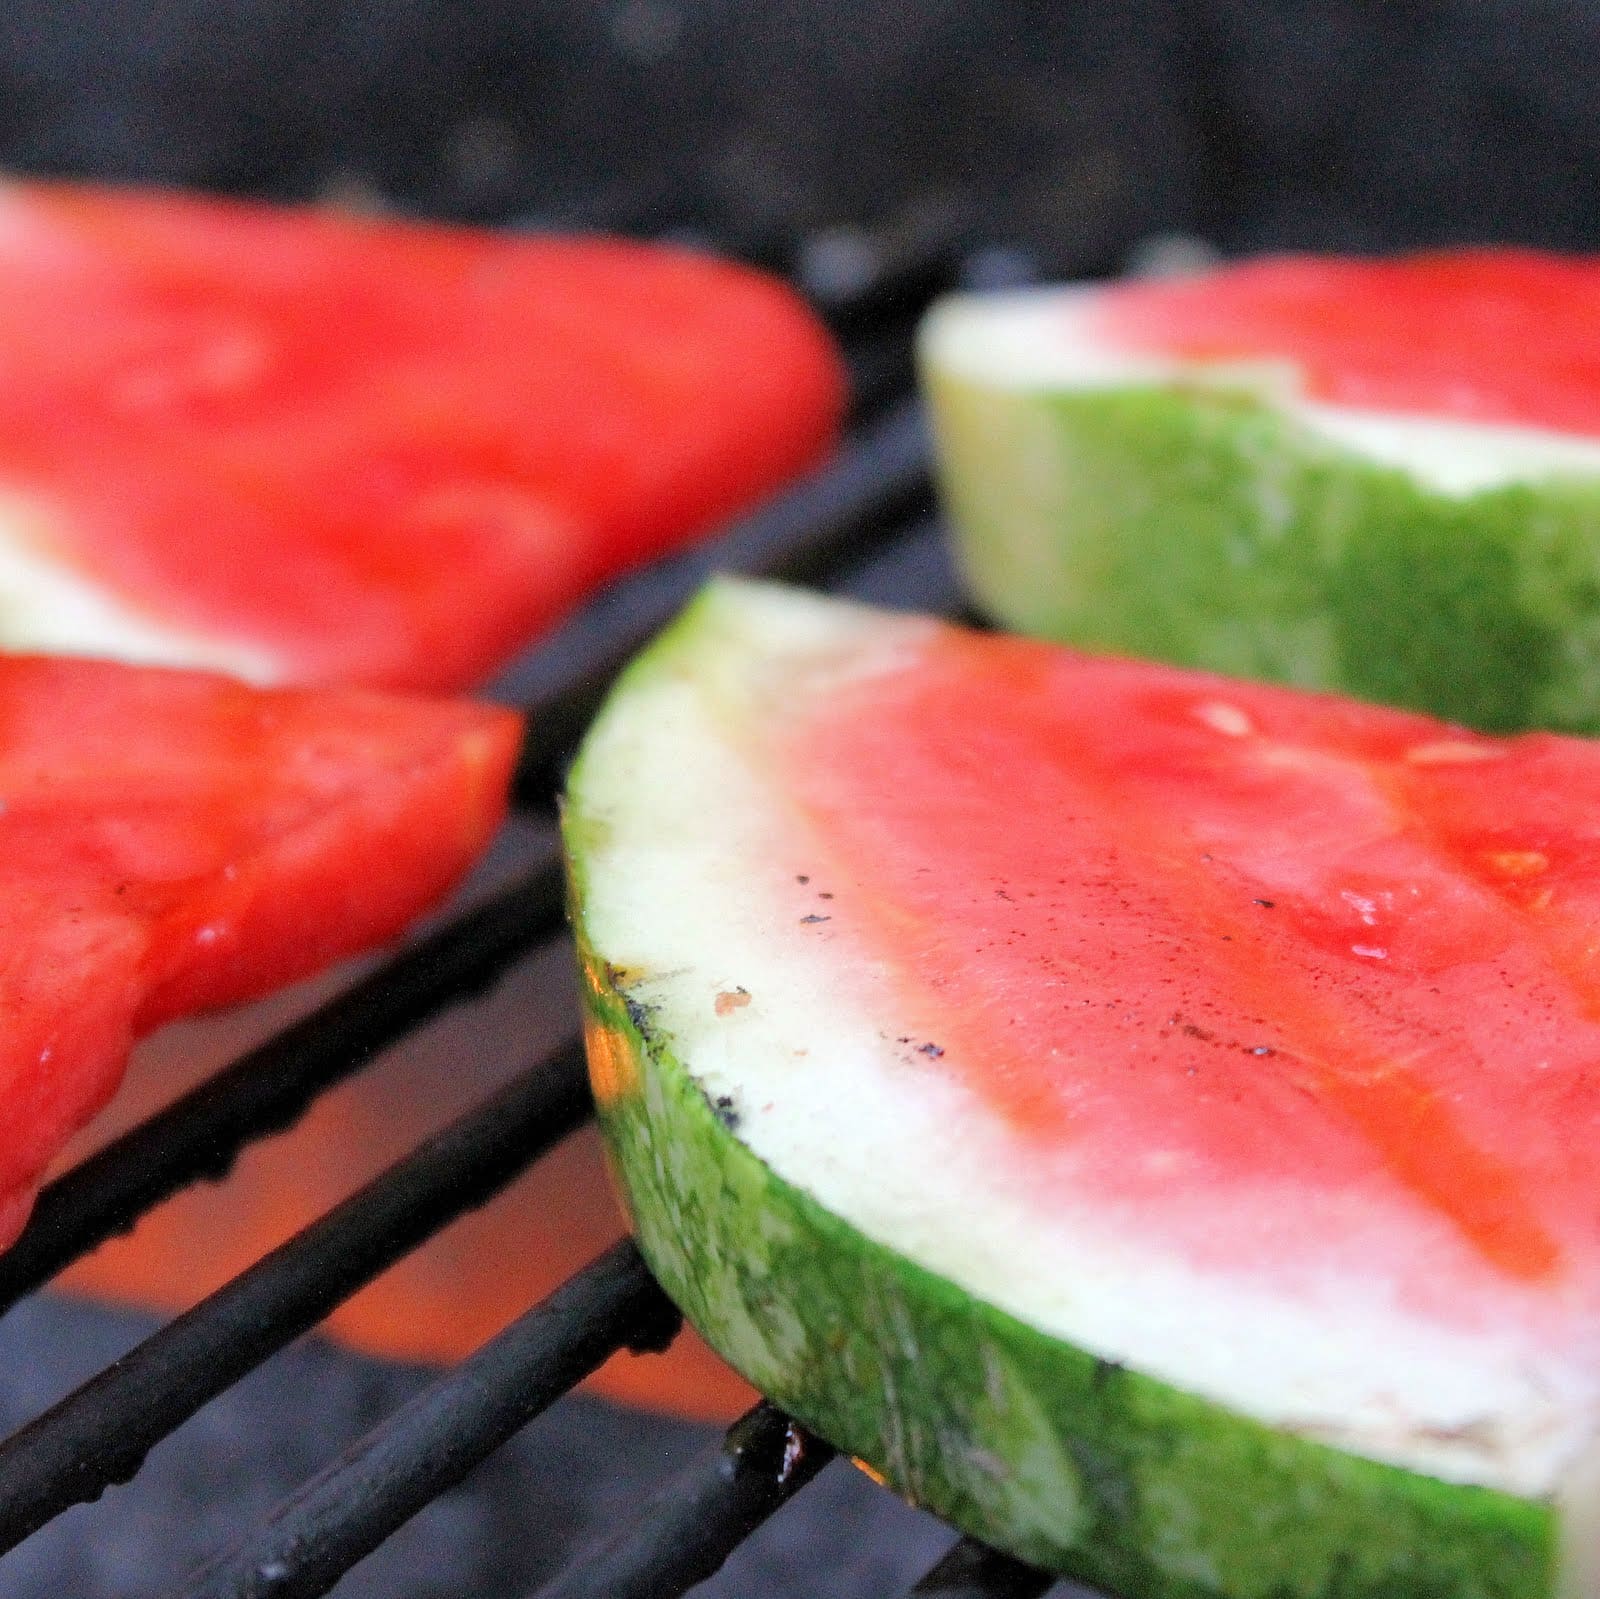
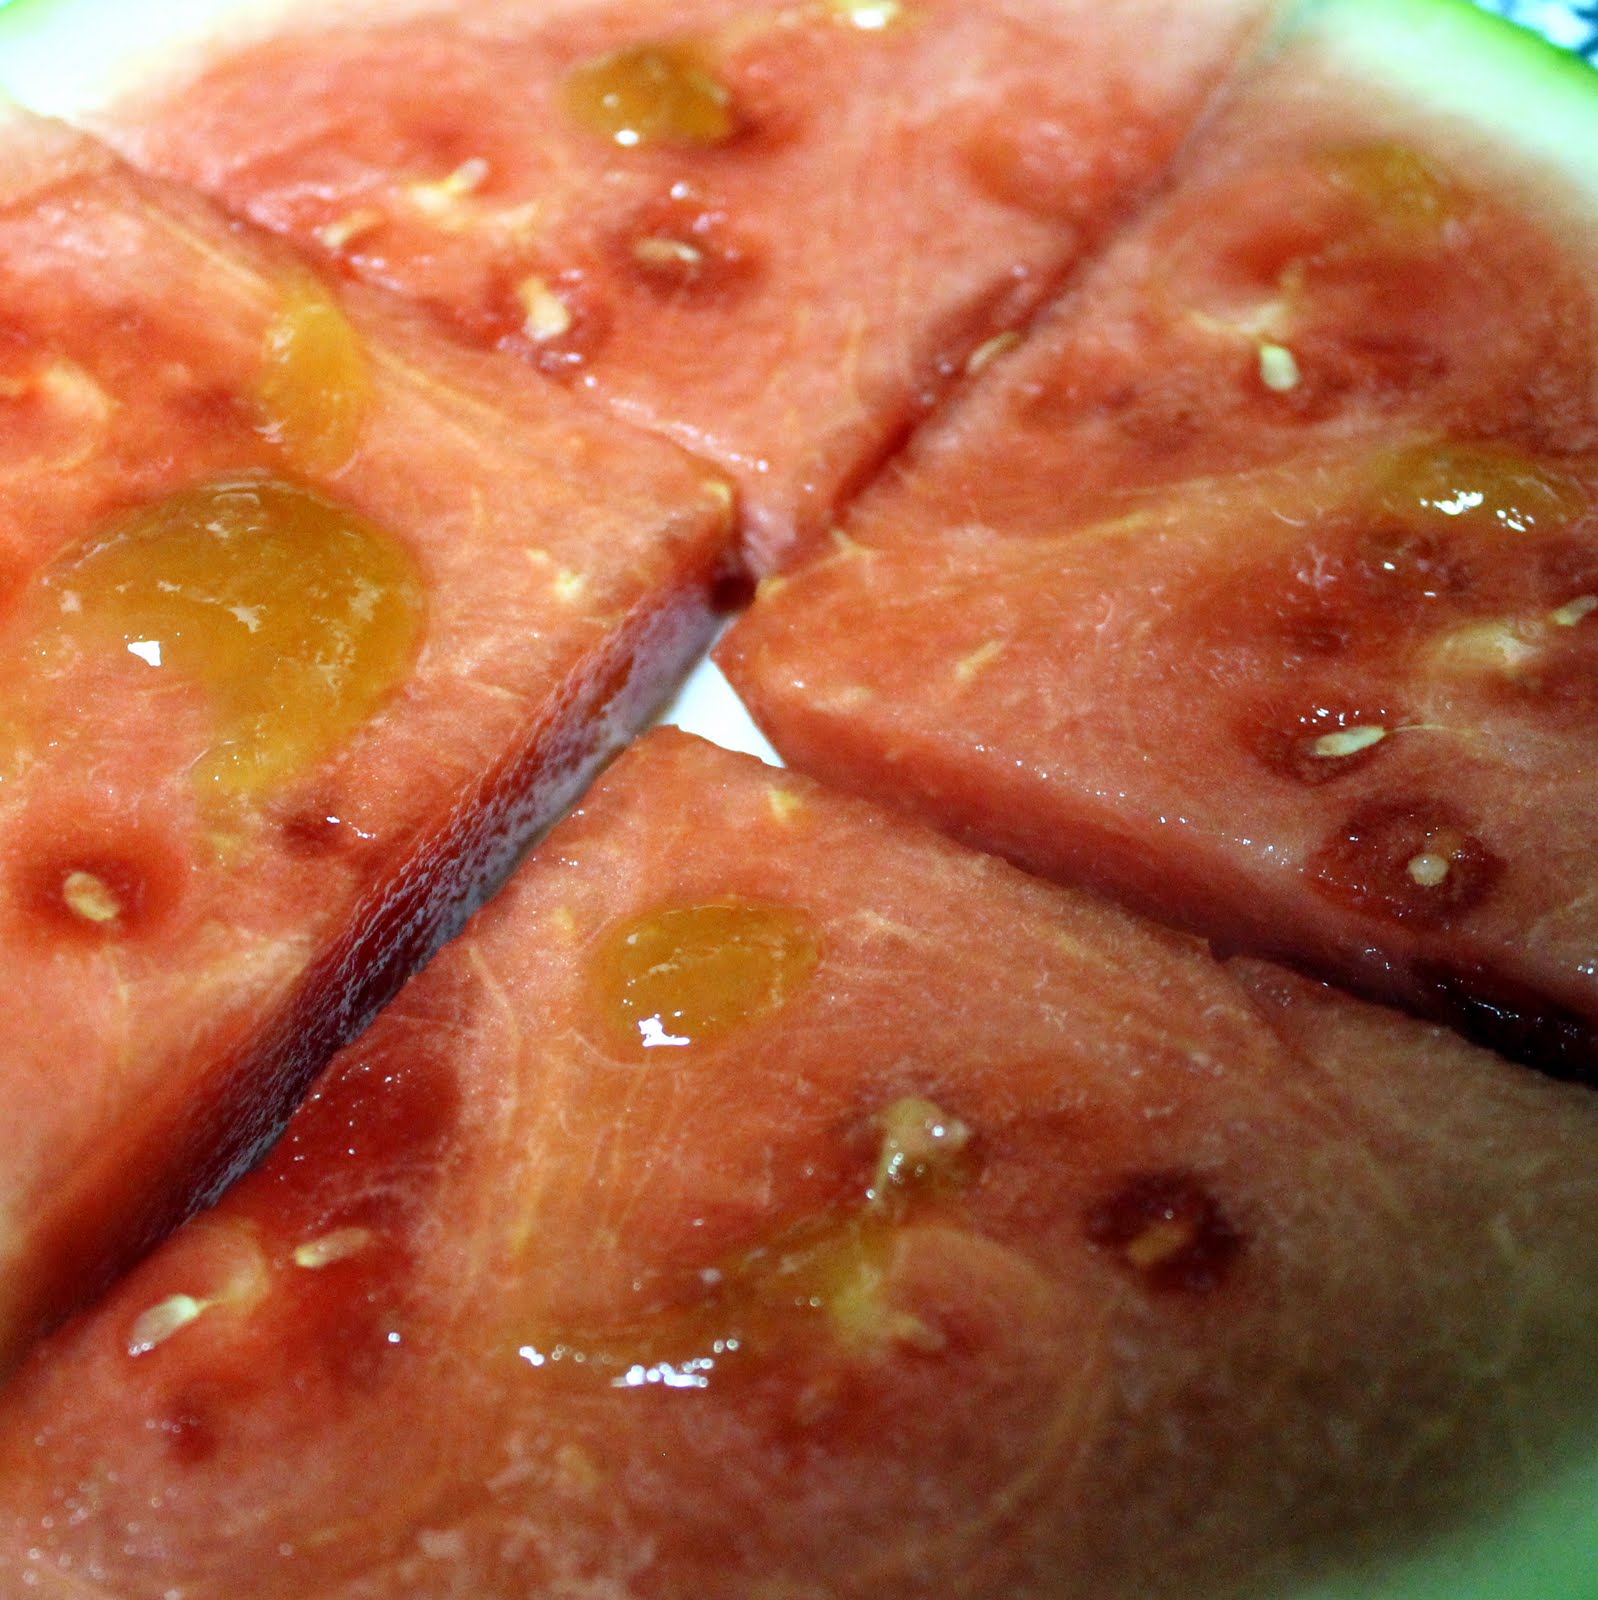
Spread a little bit of honey on each piece of watermelon.
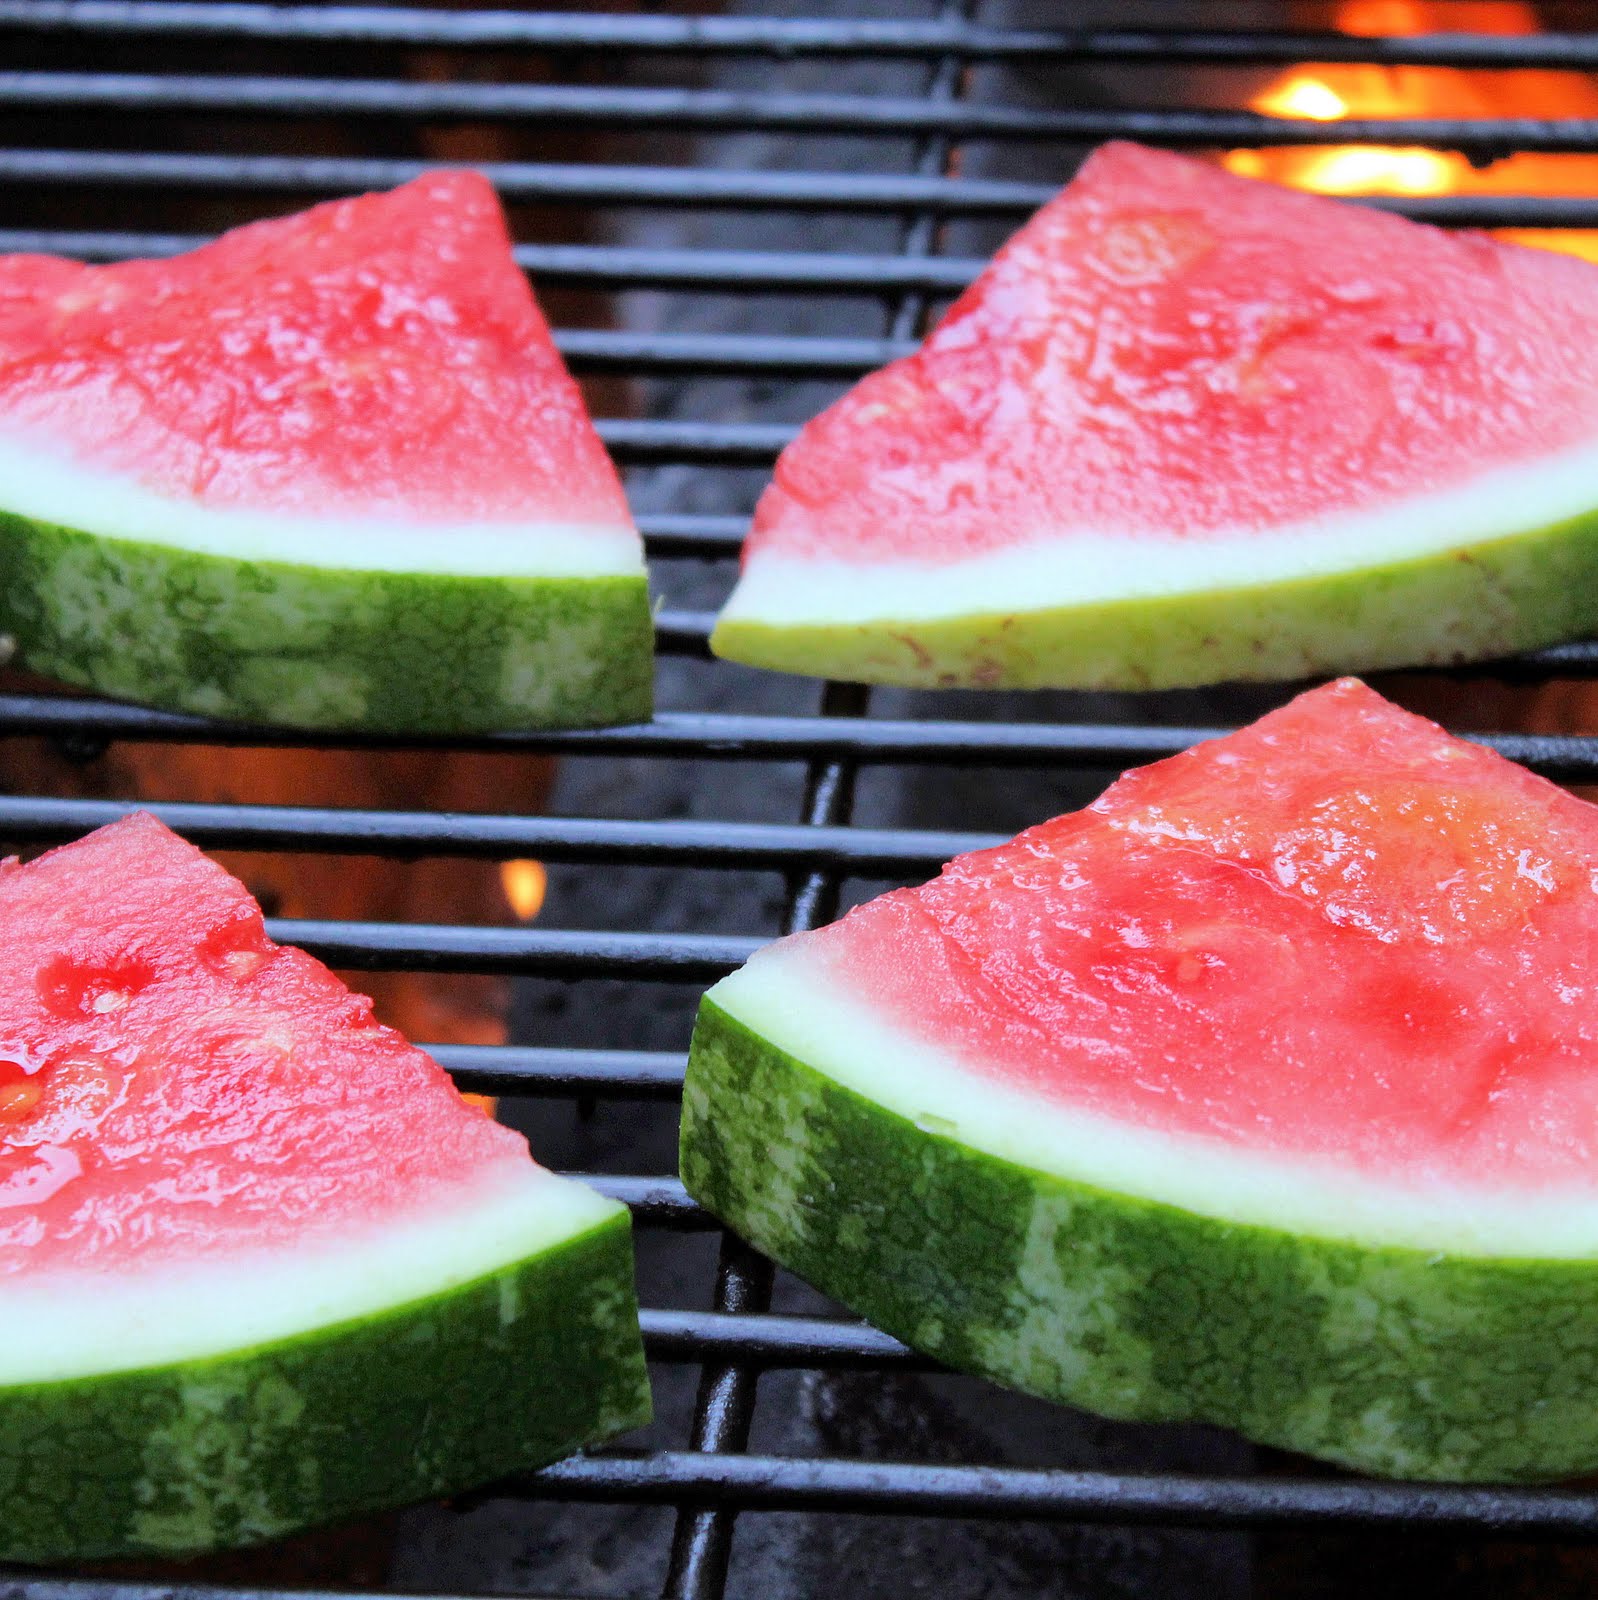
Place on a grill for about 2 minutes on each side.
Or until grill marks appear on the watermelon.
It’s amazing that grilling watermelon for a few minutes completely changes the taste of the watermelon. It’s quite tasty! The sugars in the watermelon and honey caramelize, making a new taste to the fruit. Yum!