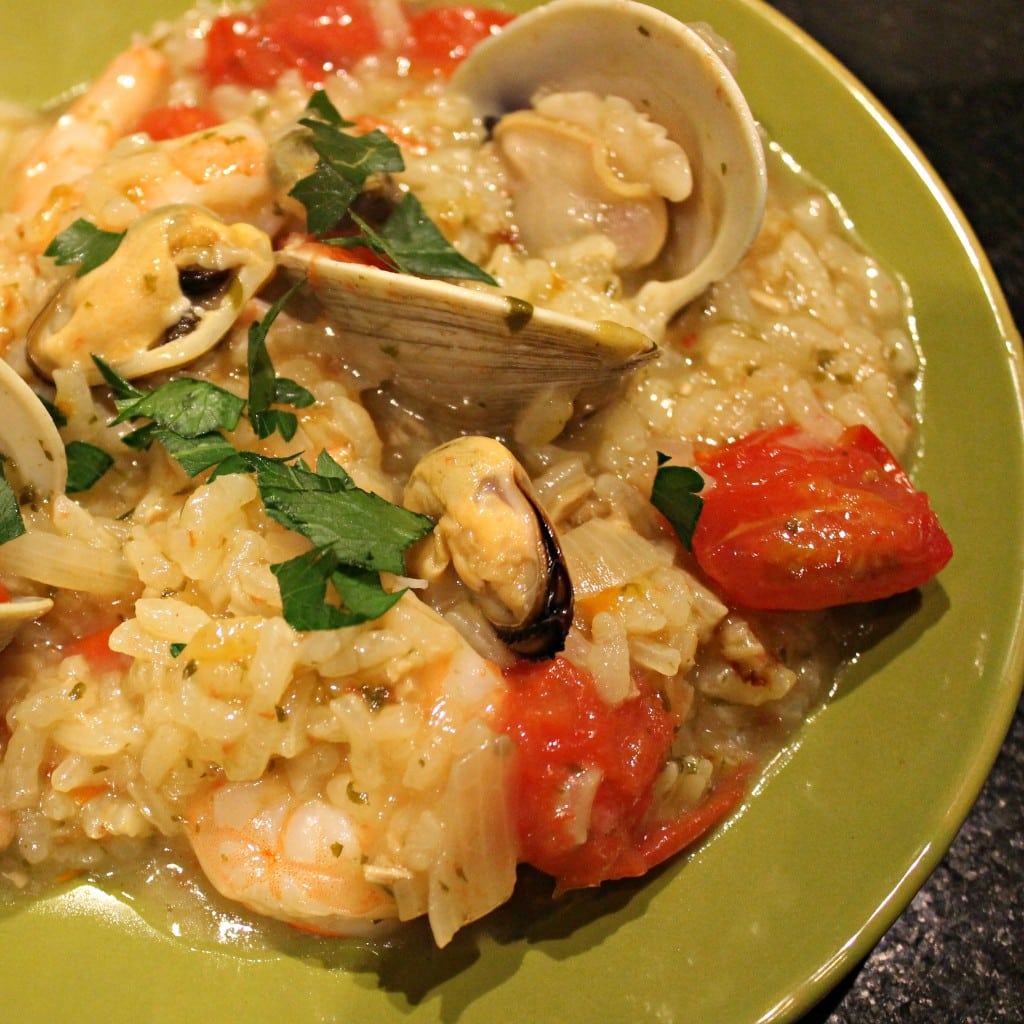
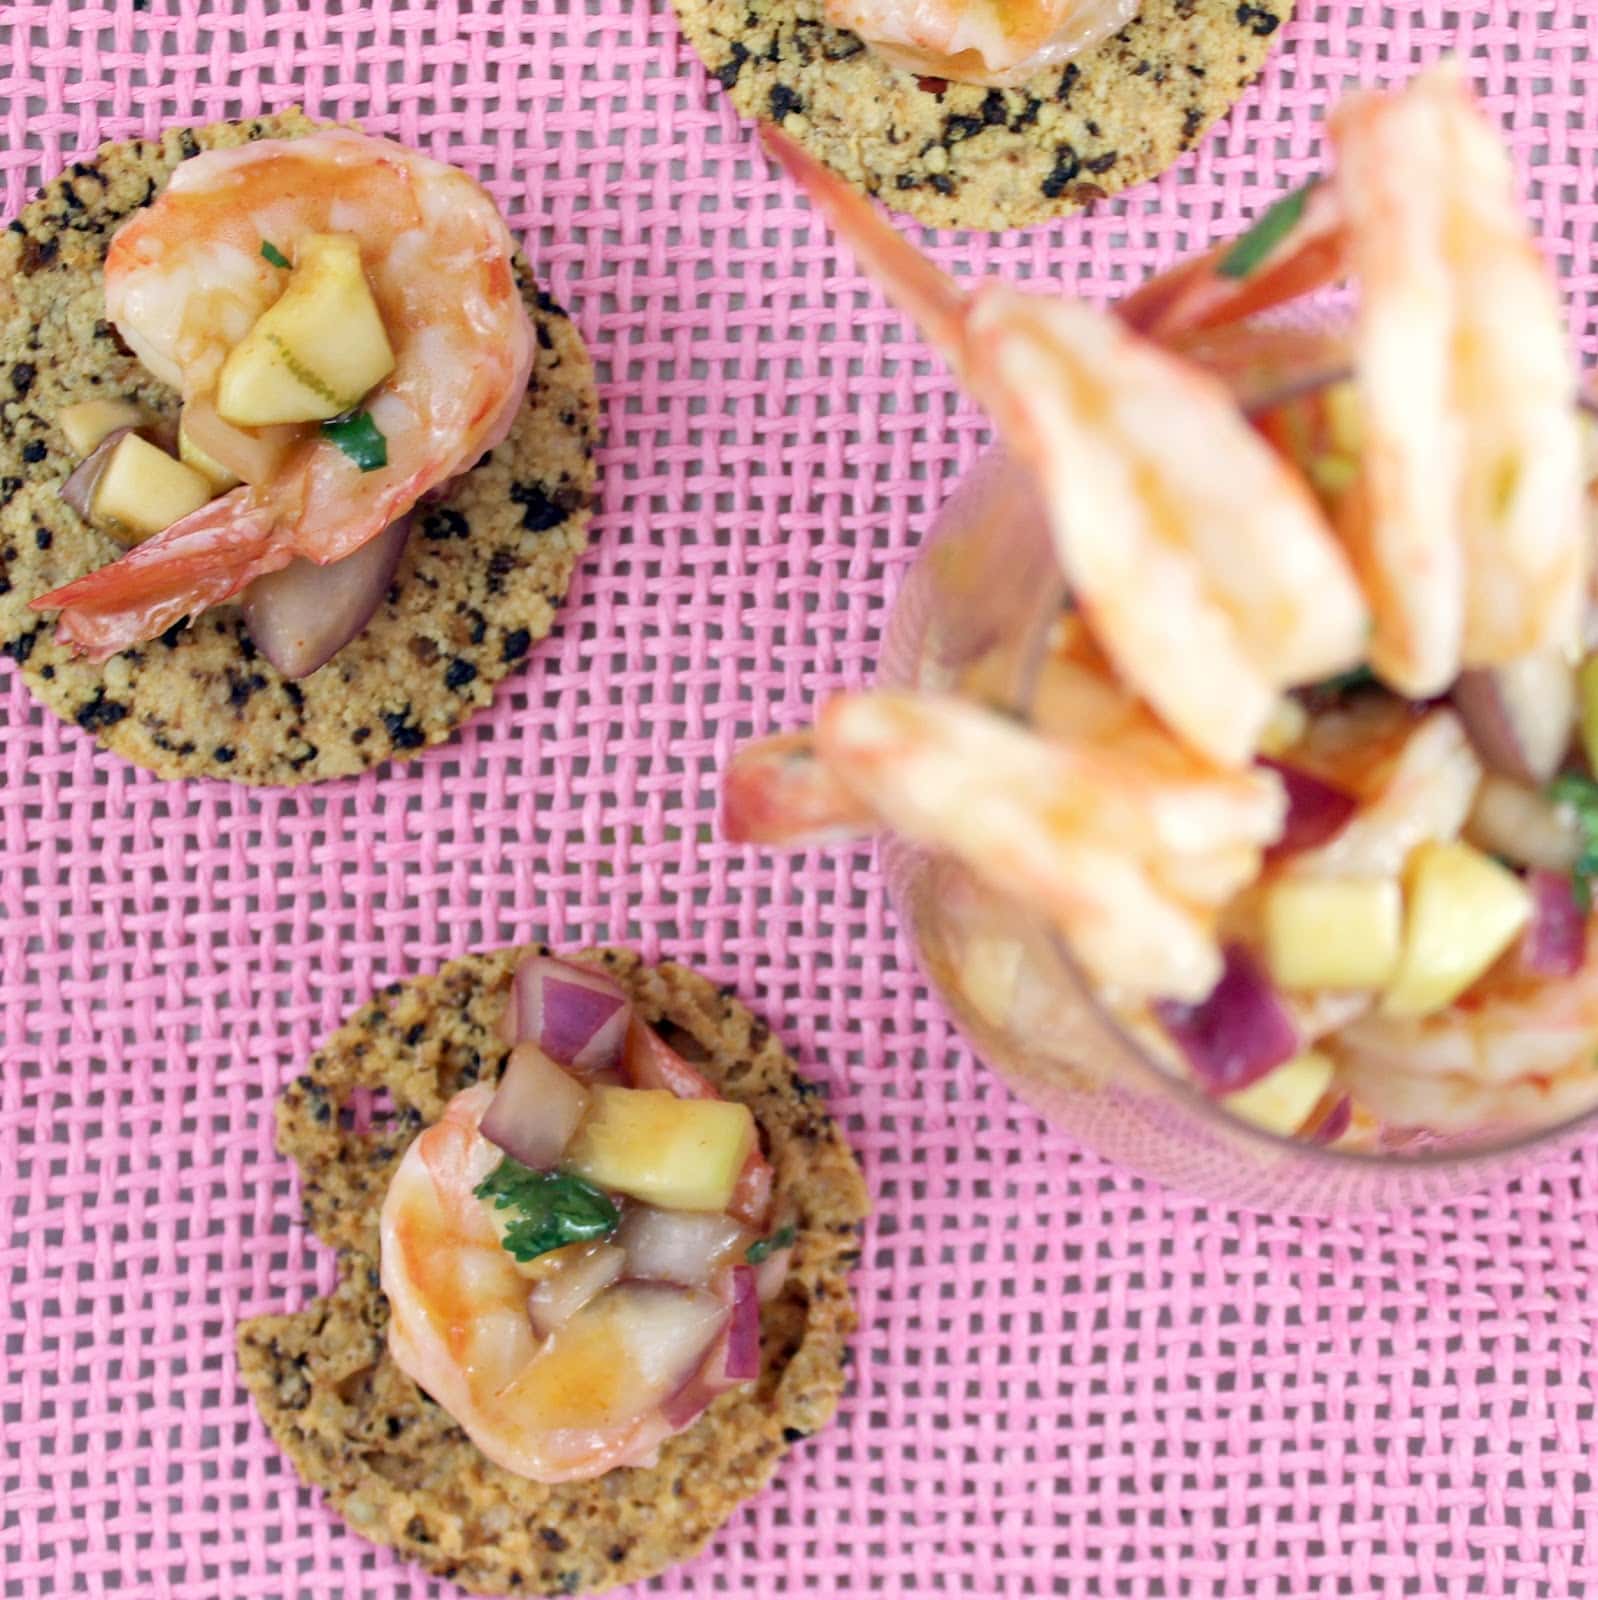
I absolutely love paella: rice, saffron, seafood… what isn’t to like? If I could, I’d eat this amazing dish once a week. Traditional paella takes a good hour at least to make, so it would be quite the task to make it all the time. However, I found a paella-like dish from
Cooking Light that can be made in 30 minutes! My parents and sister recently went to Spain and brought me back some amazing, but vague, spices. One was just labeled as “paella spice” and I thought this Thirty Minute Paella would be the perfect opportunity to try it out.
Ingredients:
1 tablespoon extra-virgin olive oil
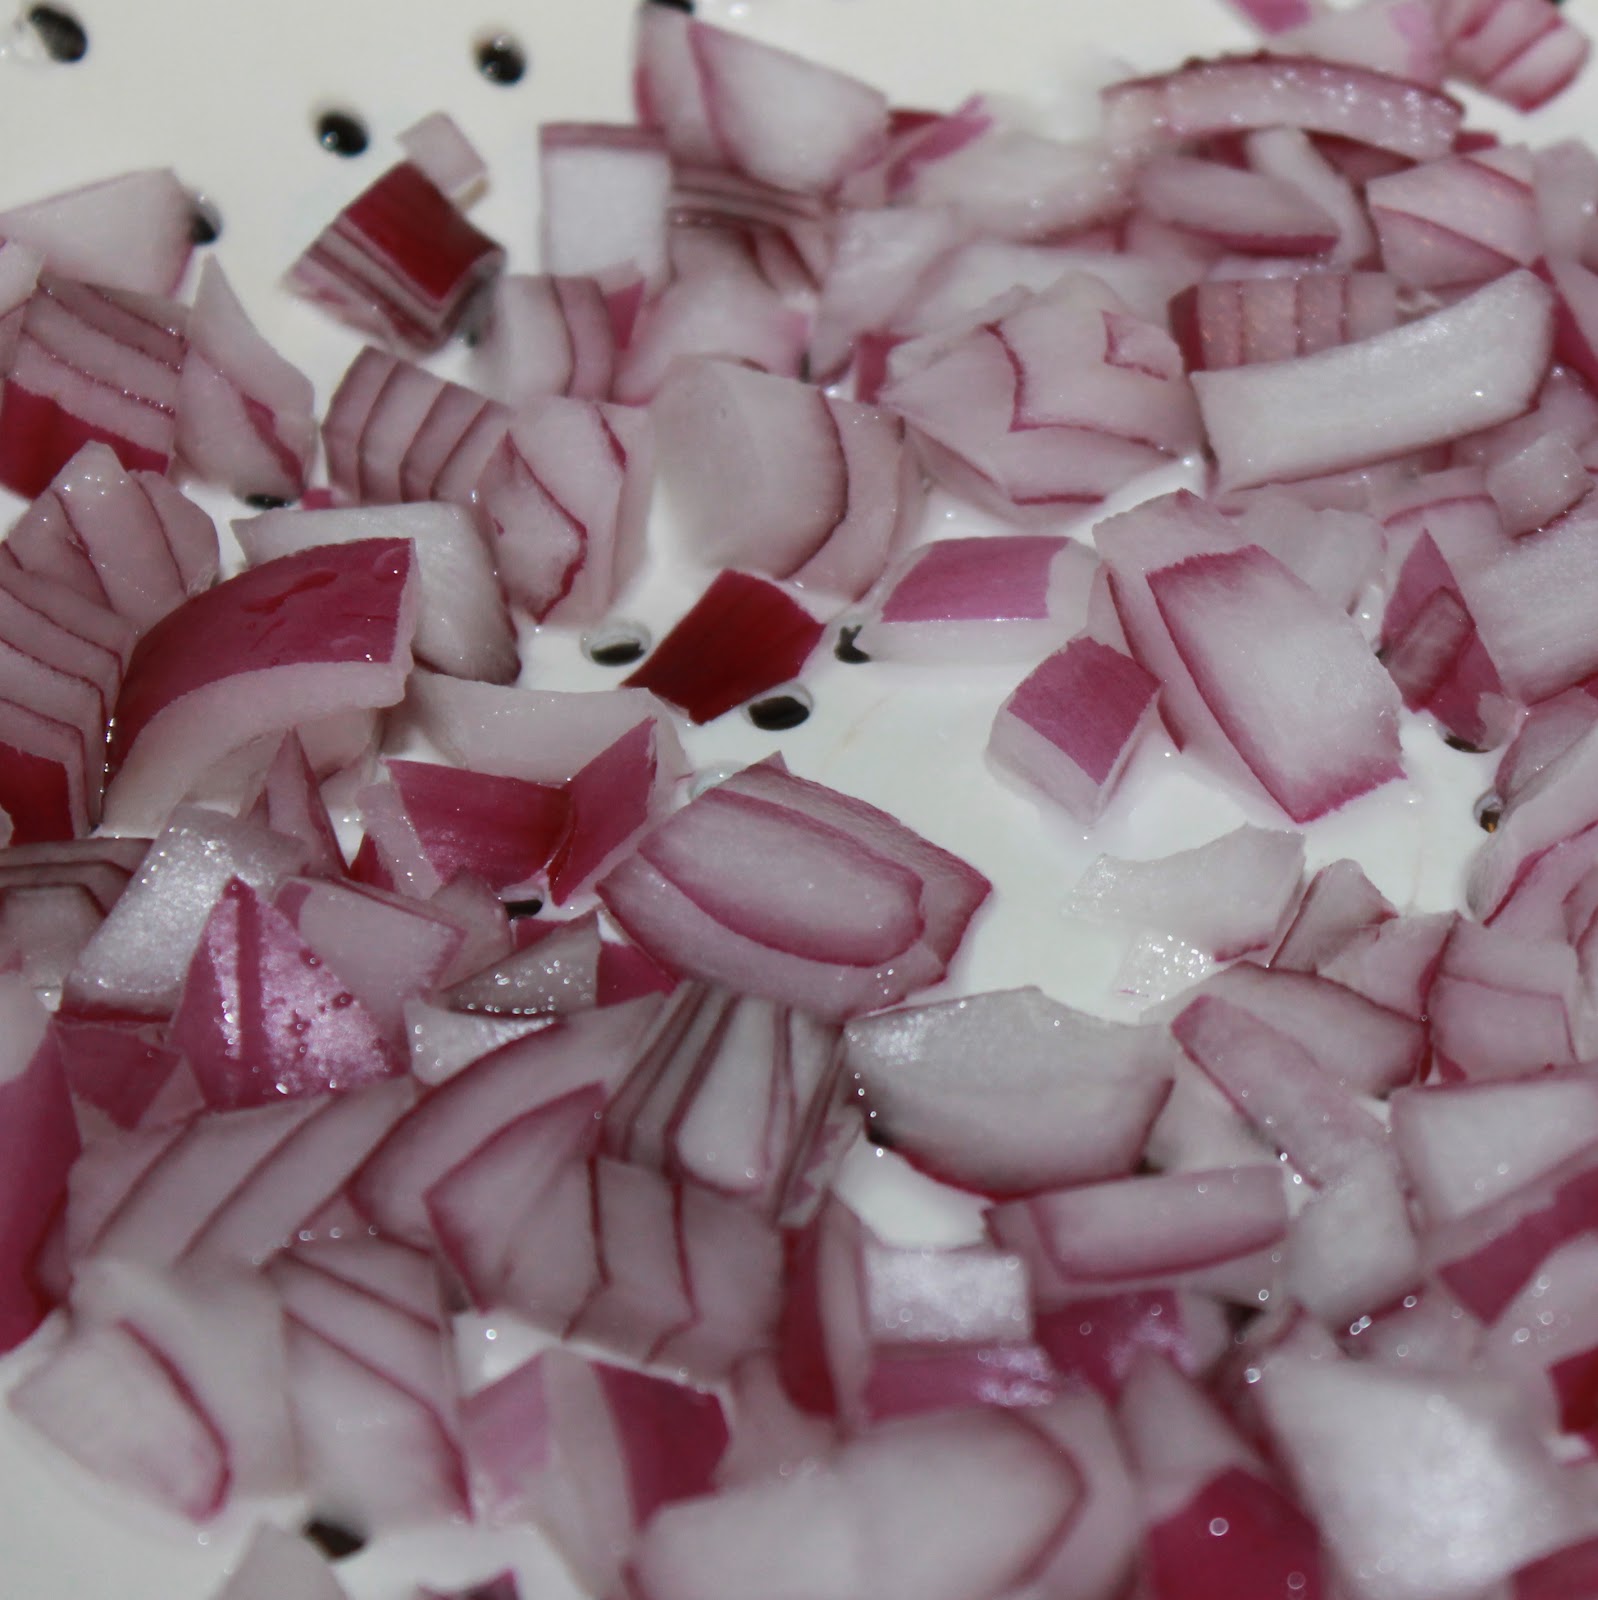
1/2 a white onion, chopped
2 chicken sausages, cut into pieces
2 garlic cloves, minced
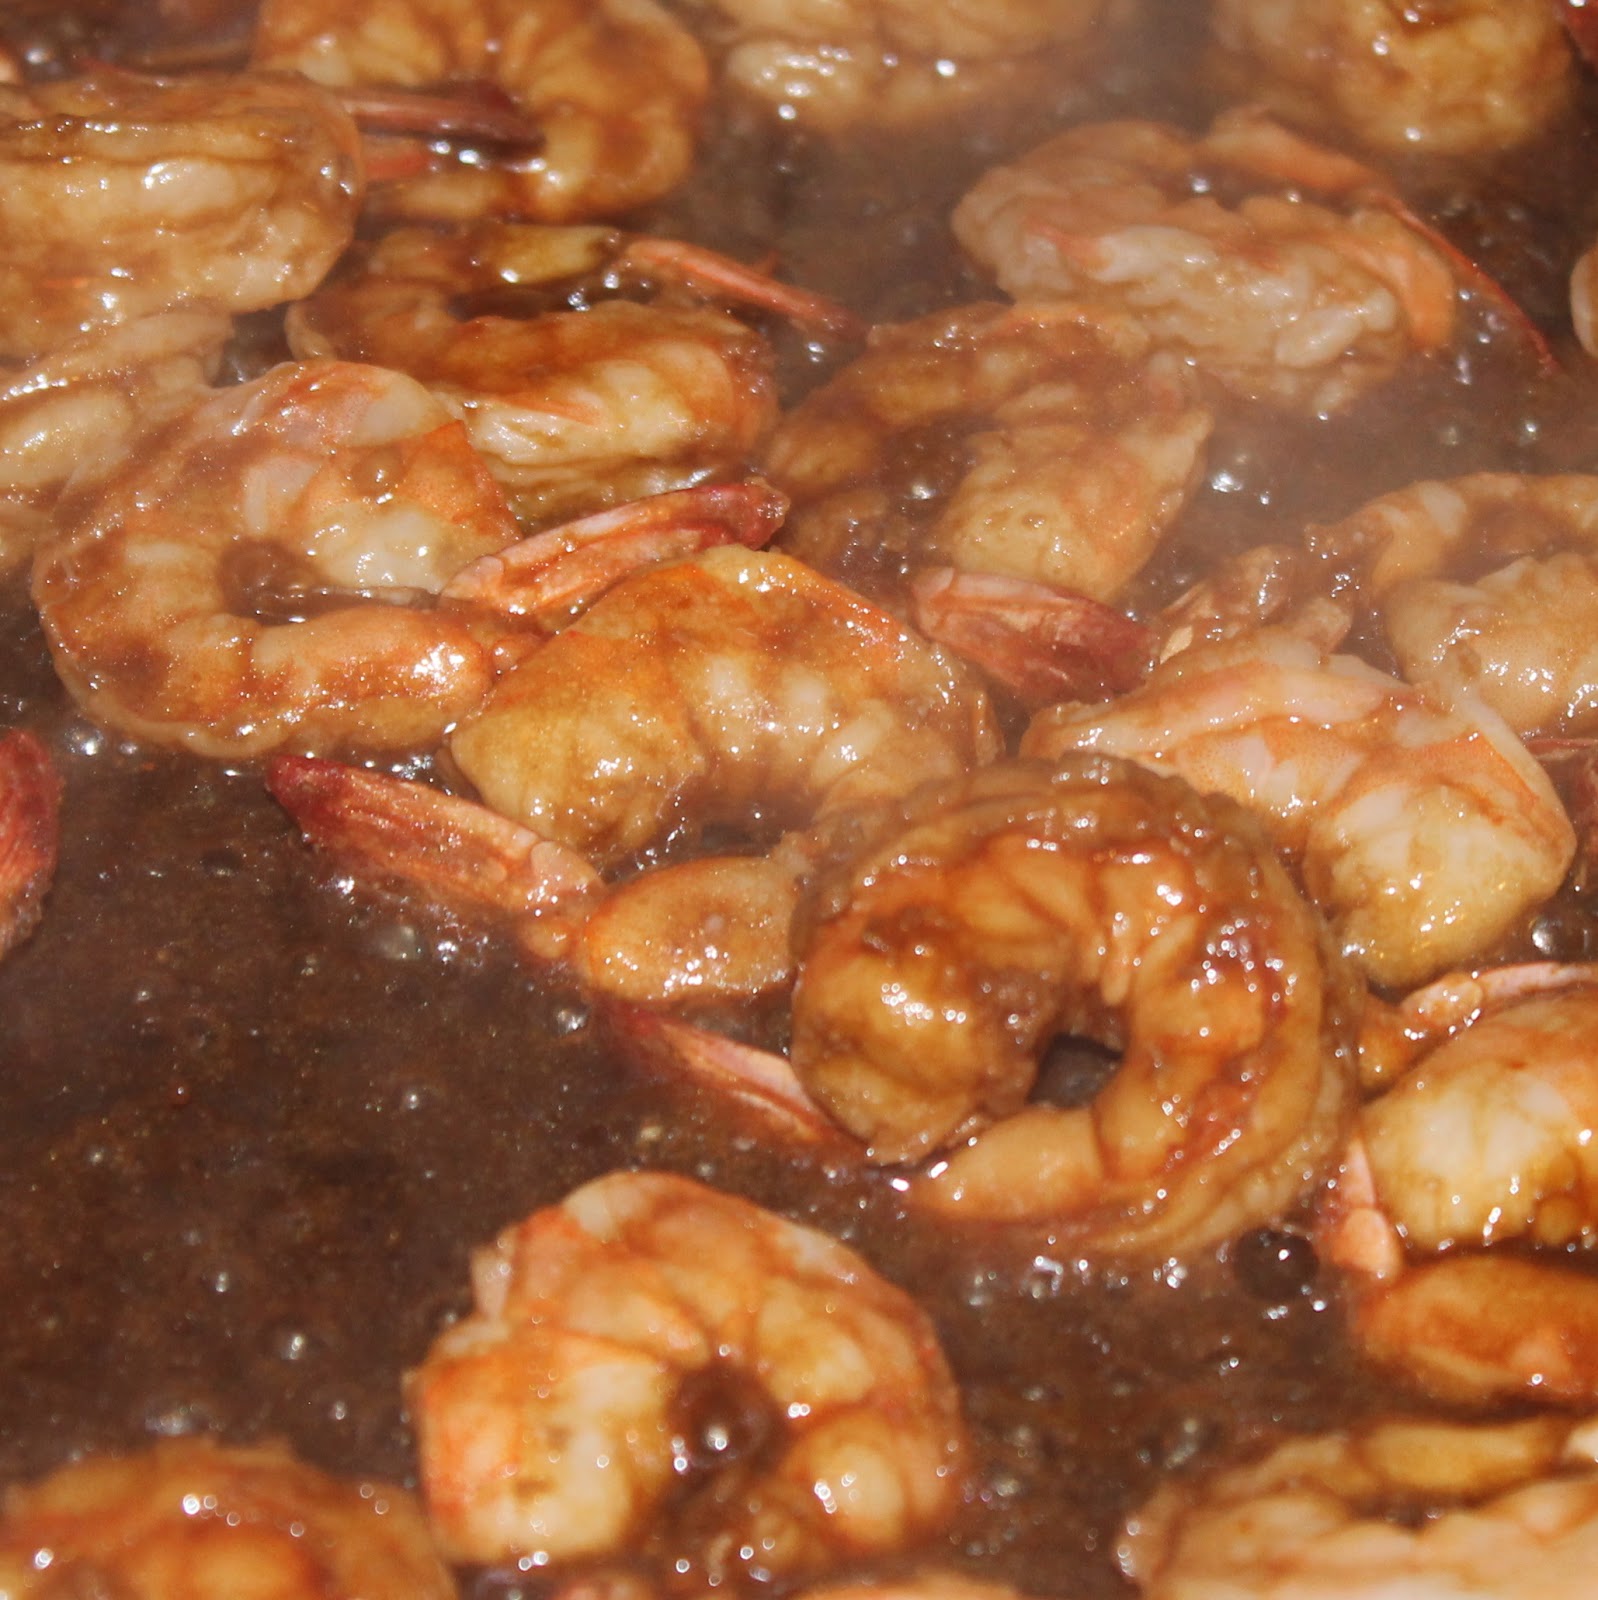
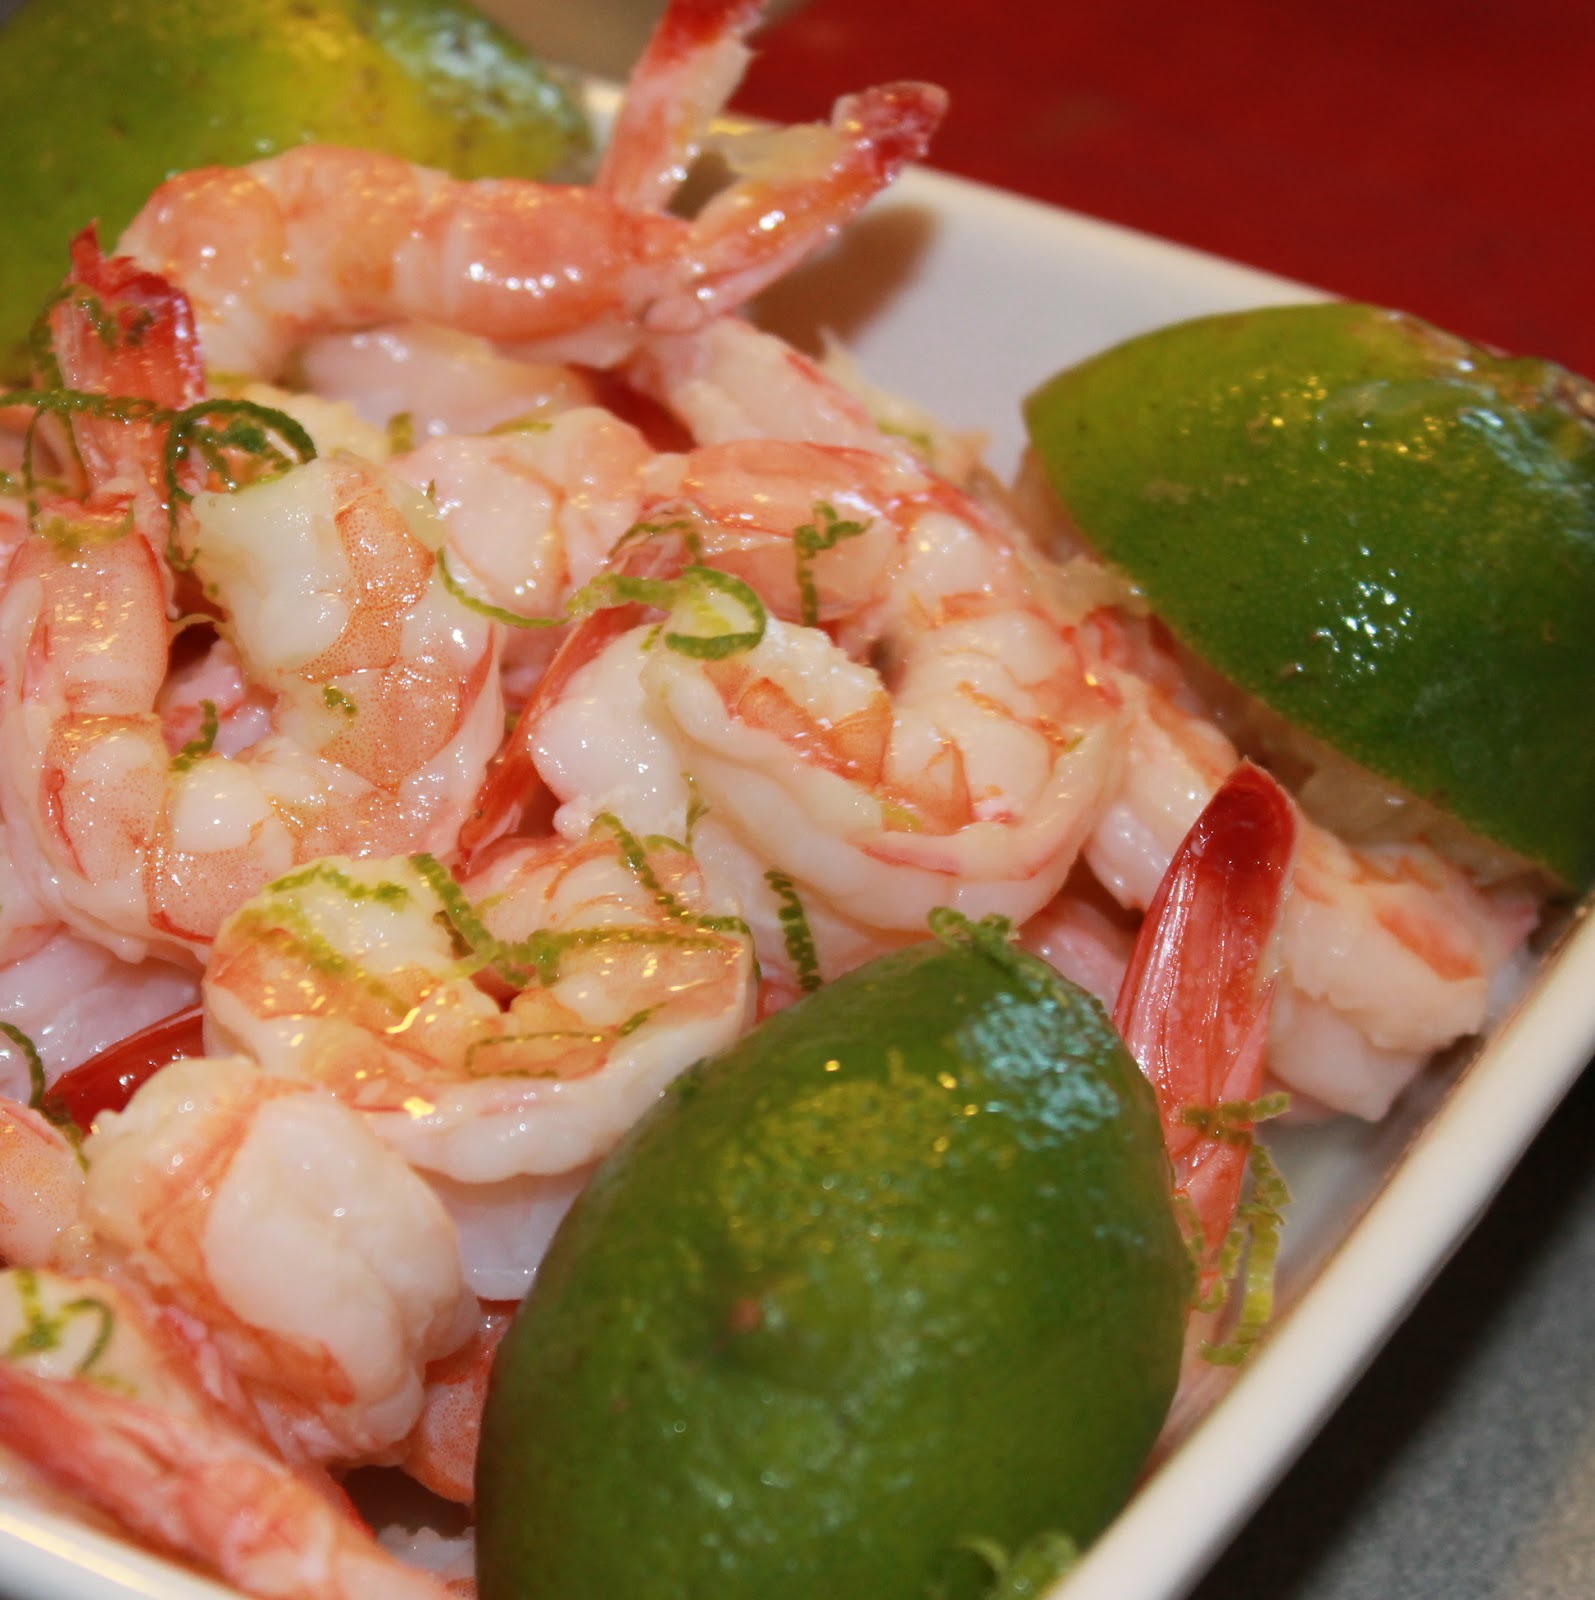
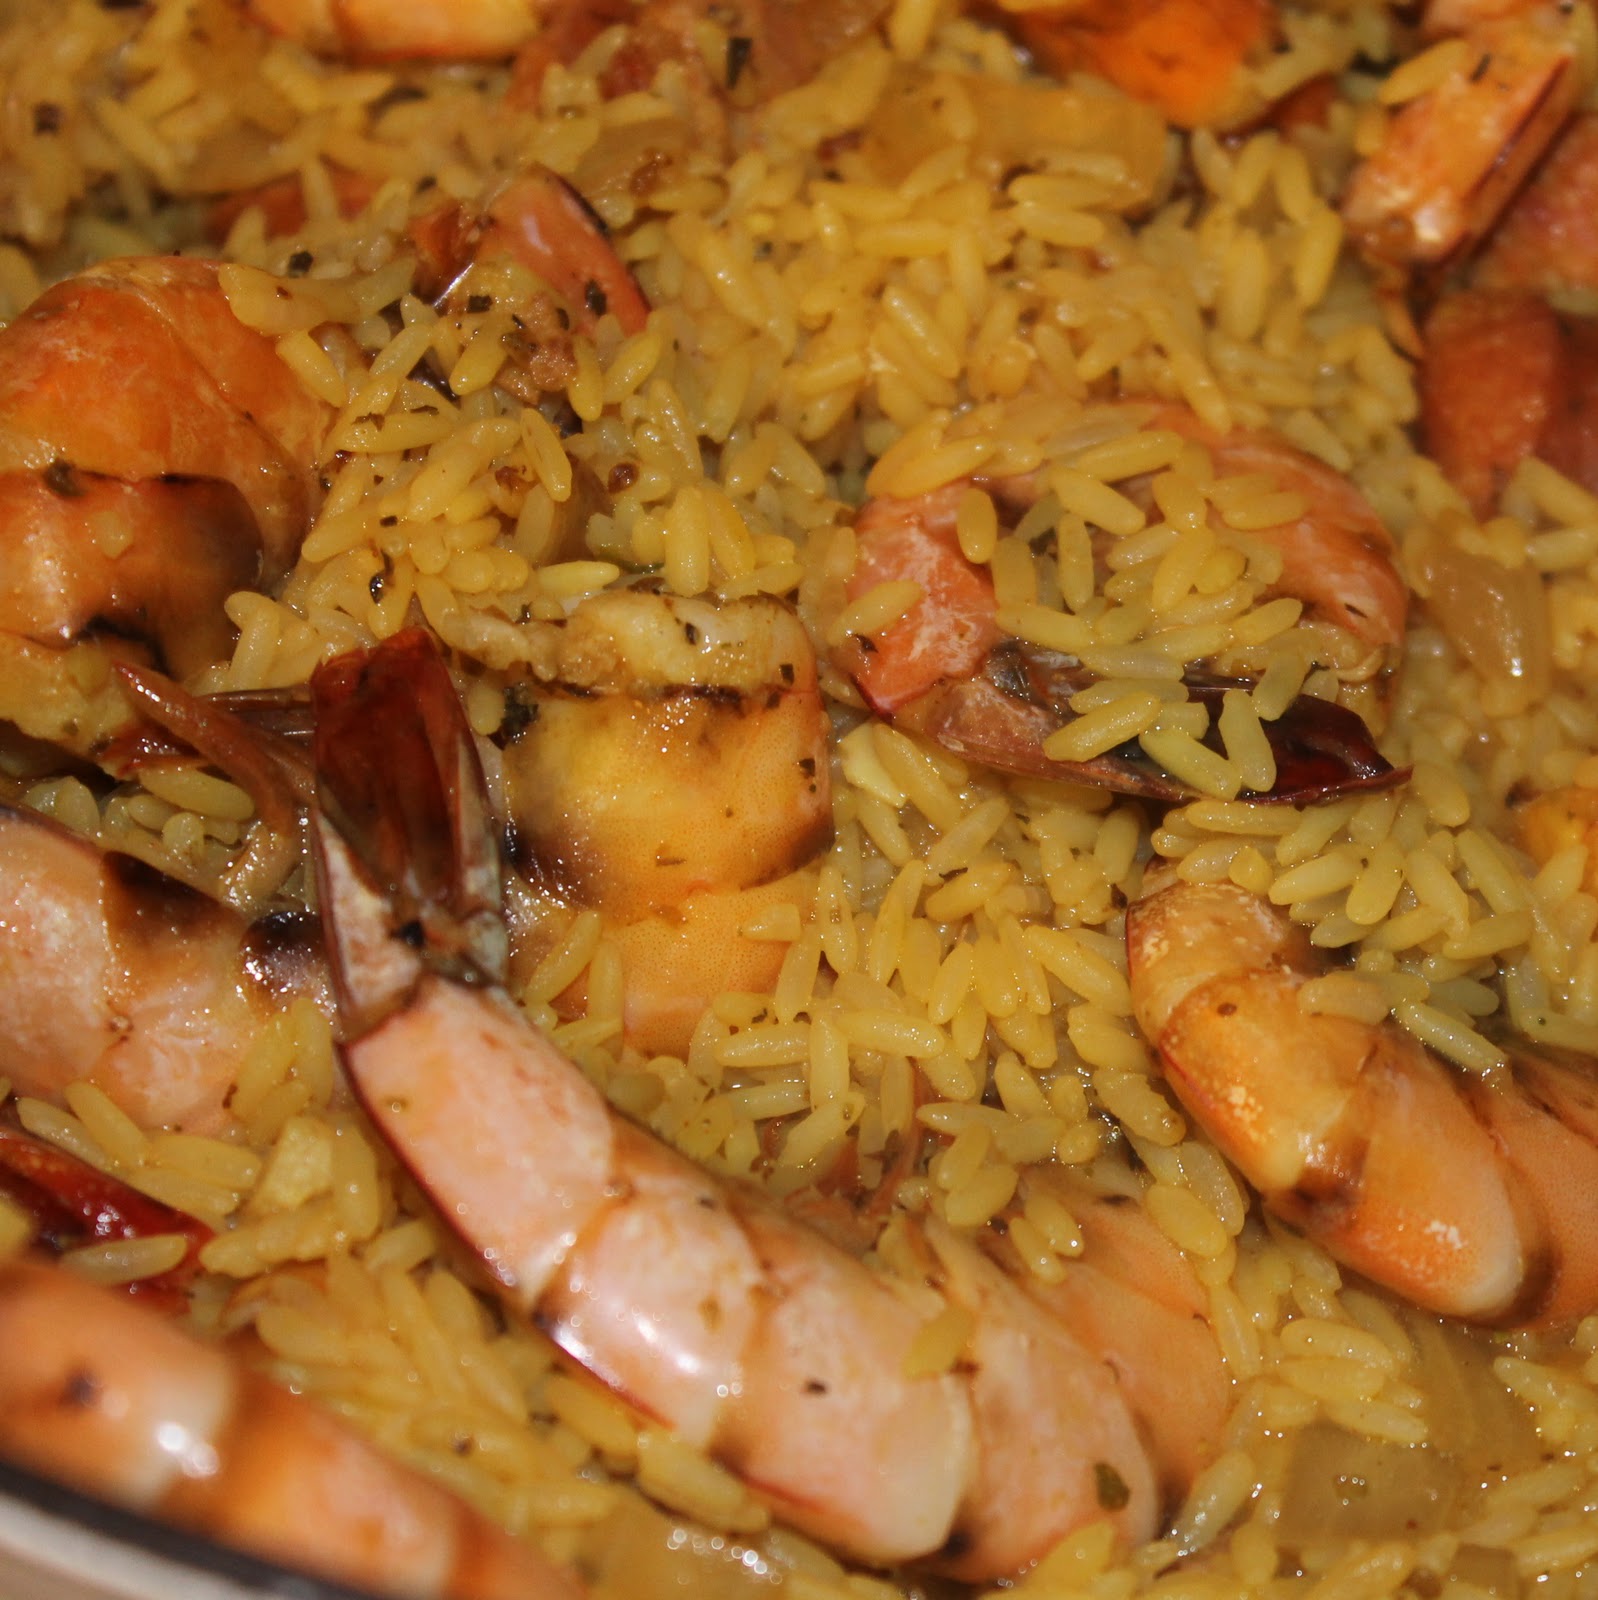
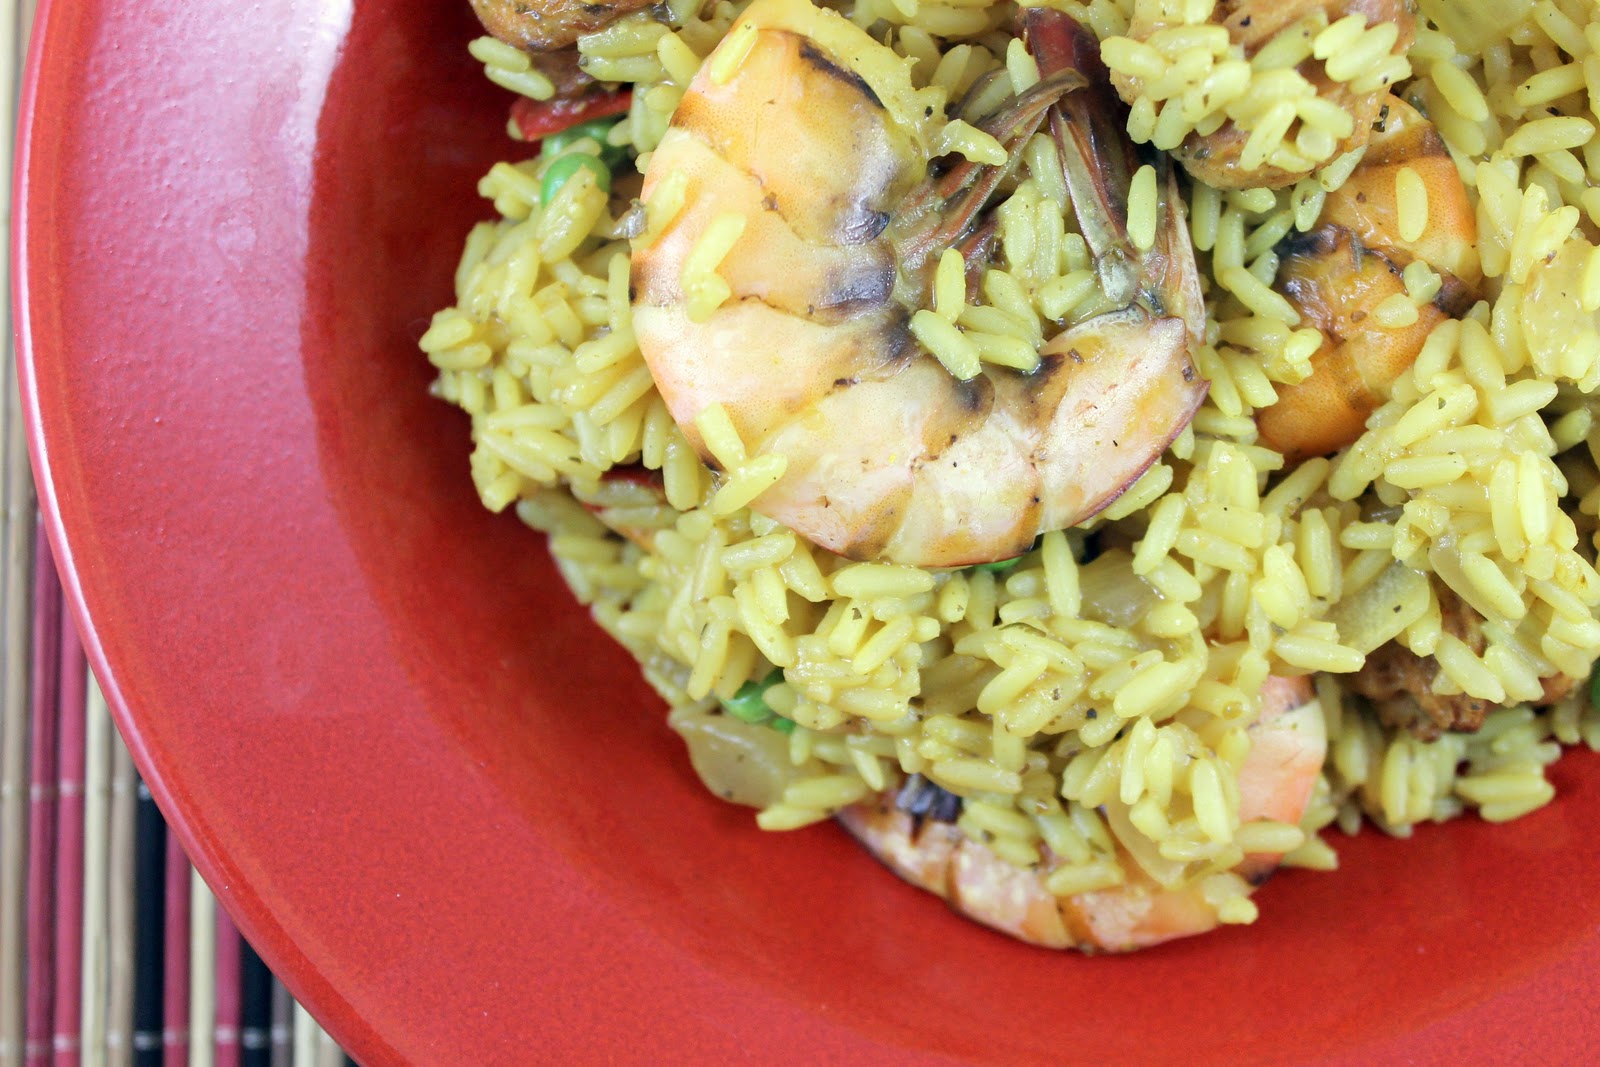
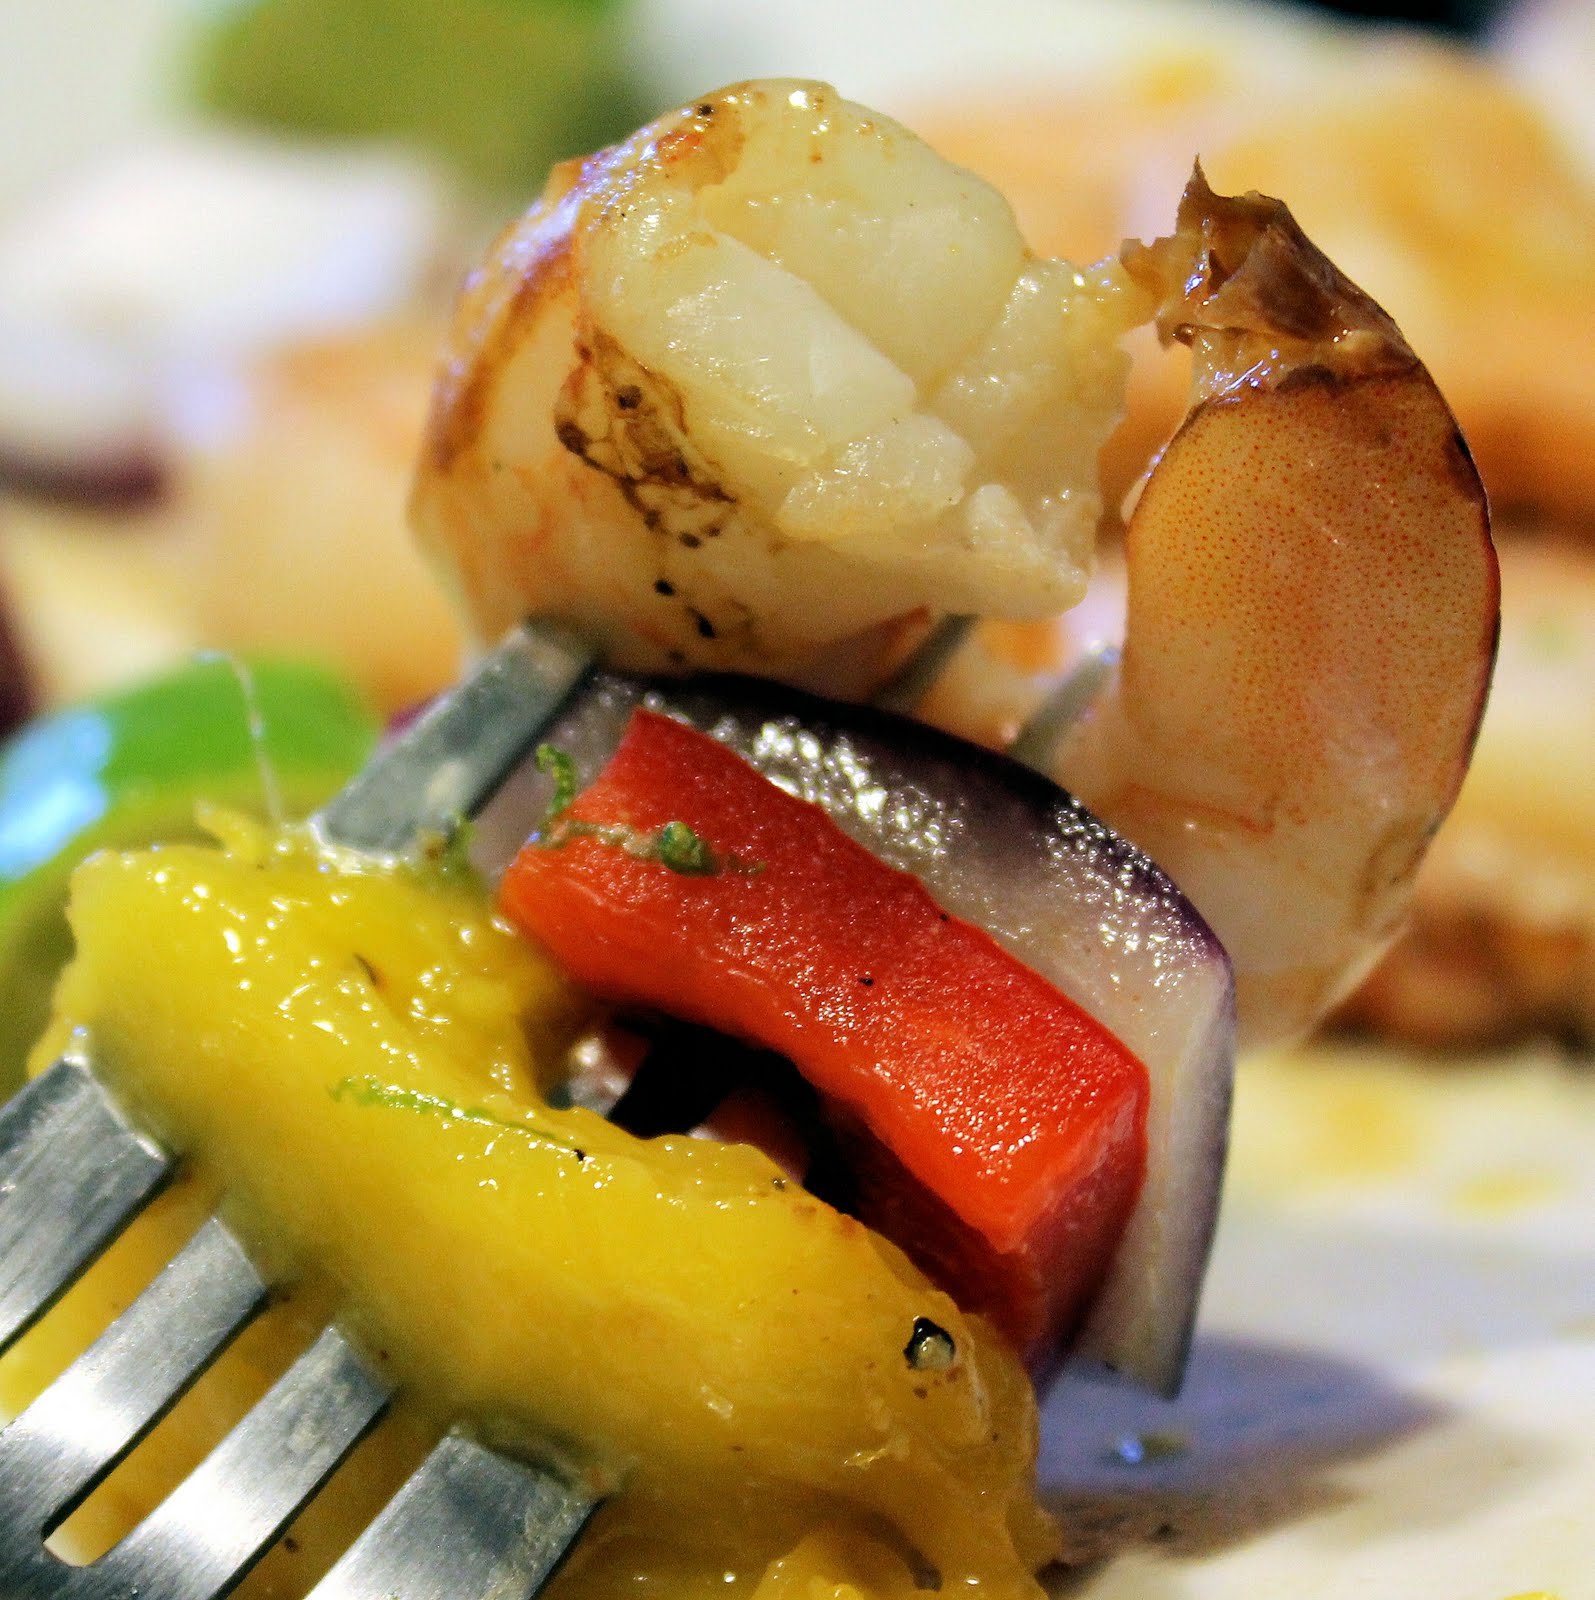
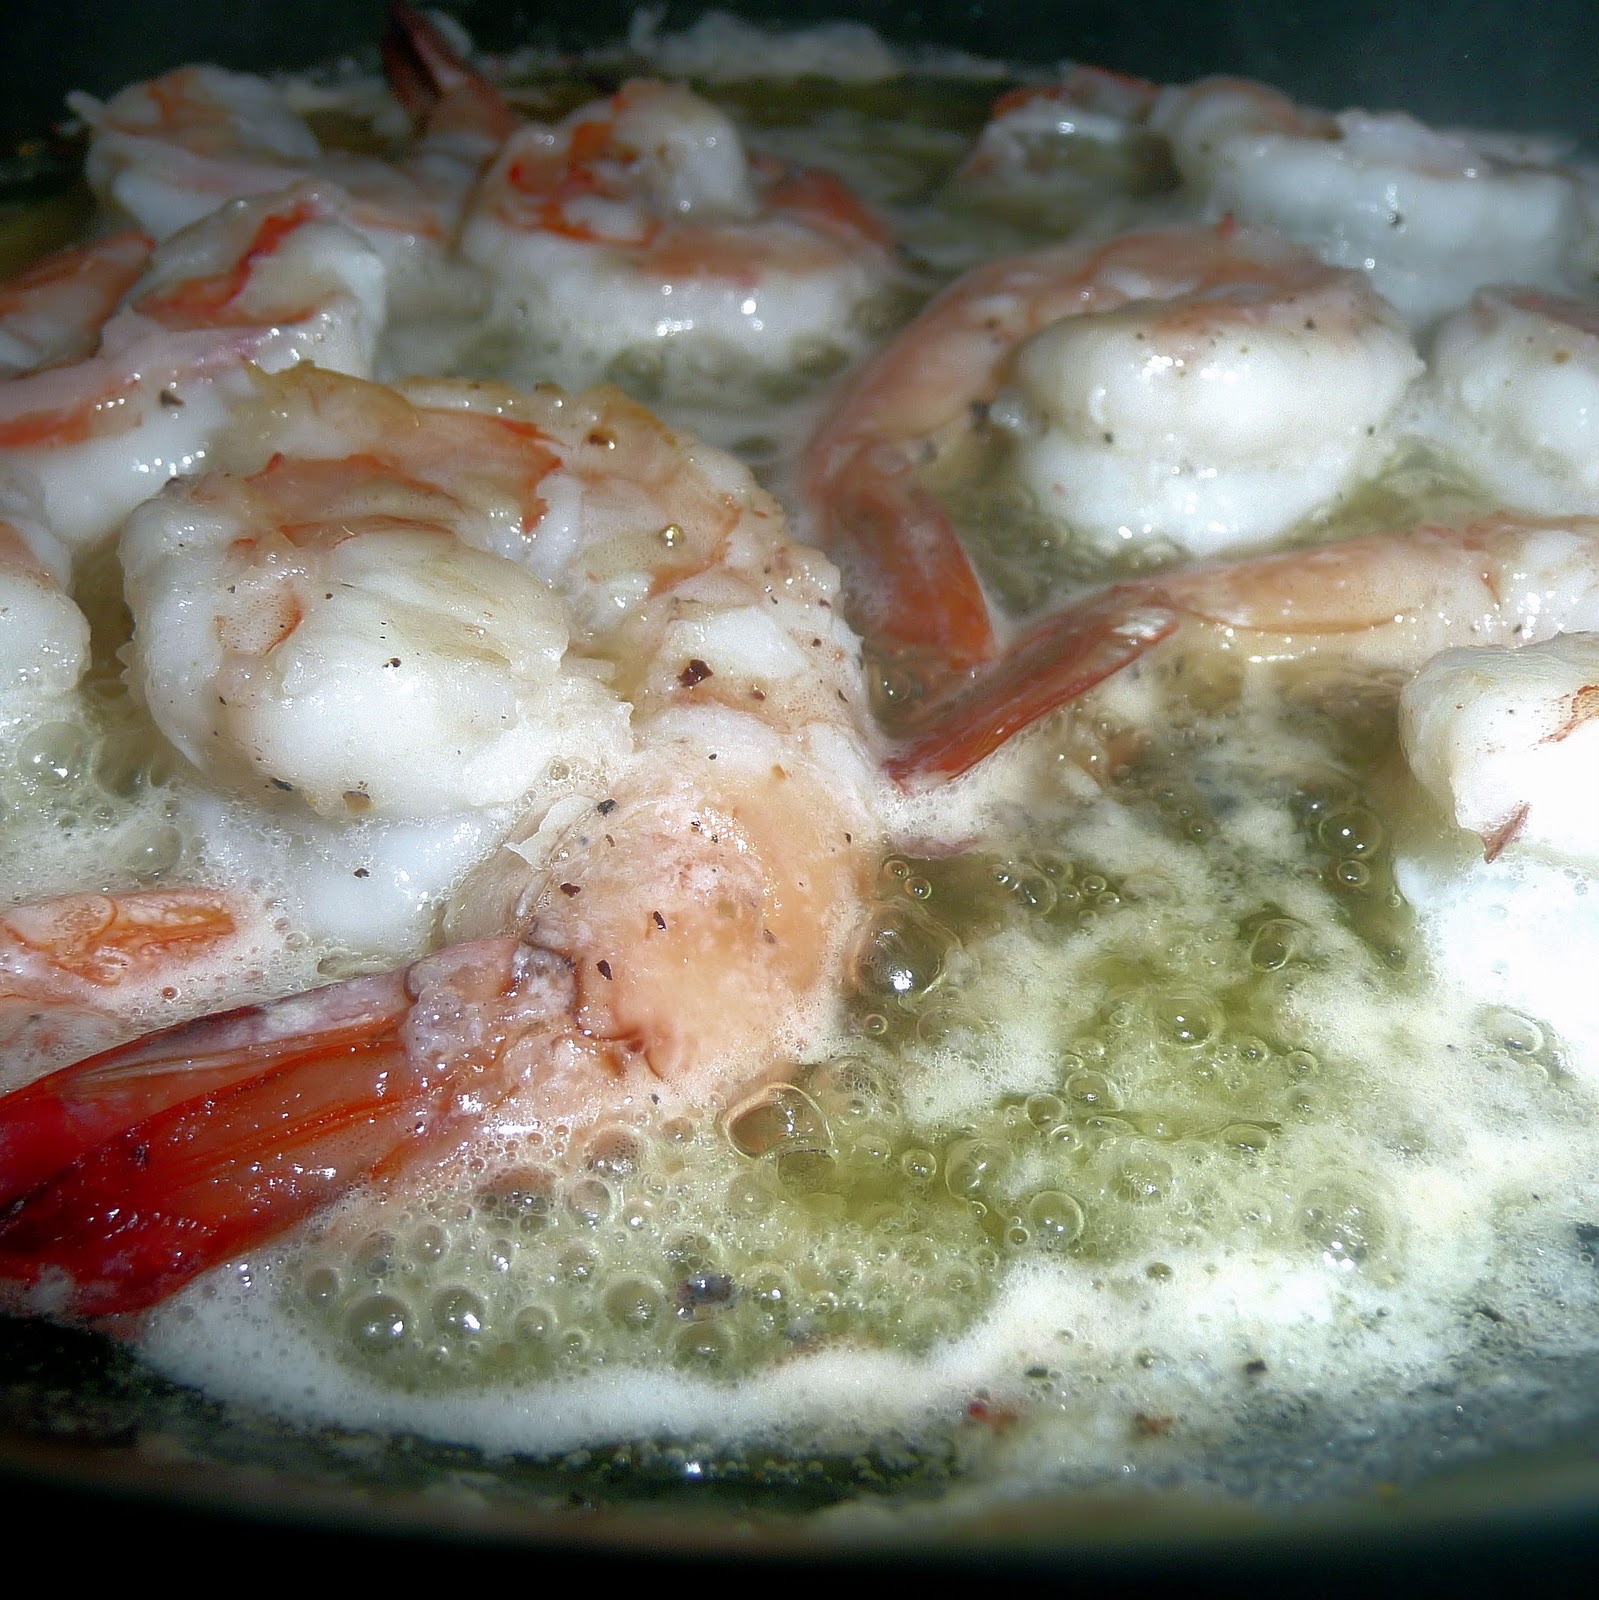
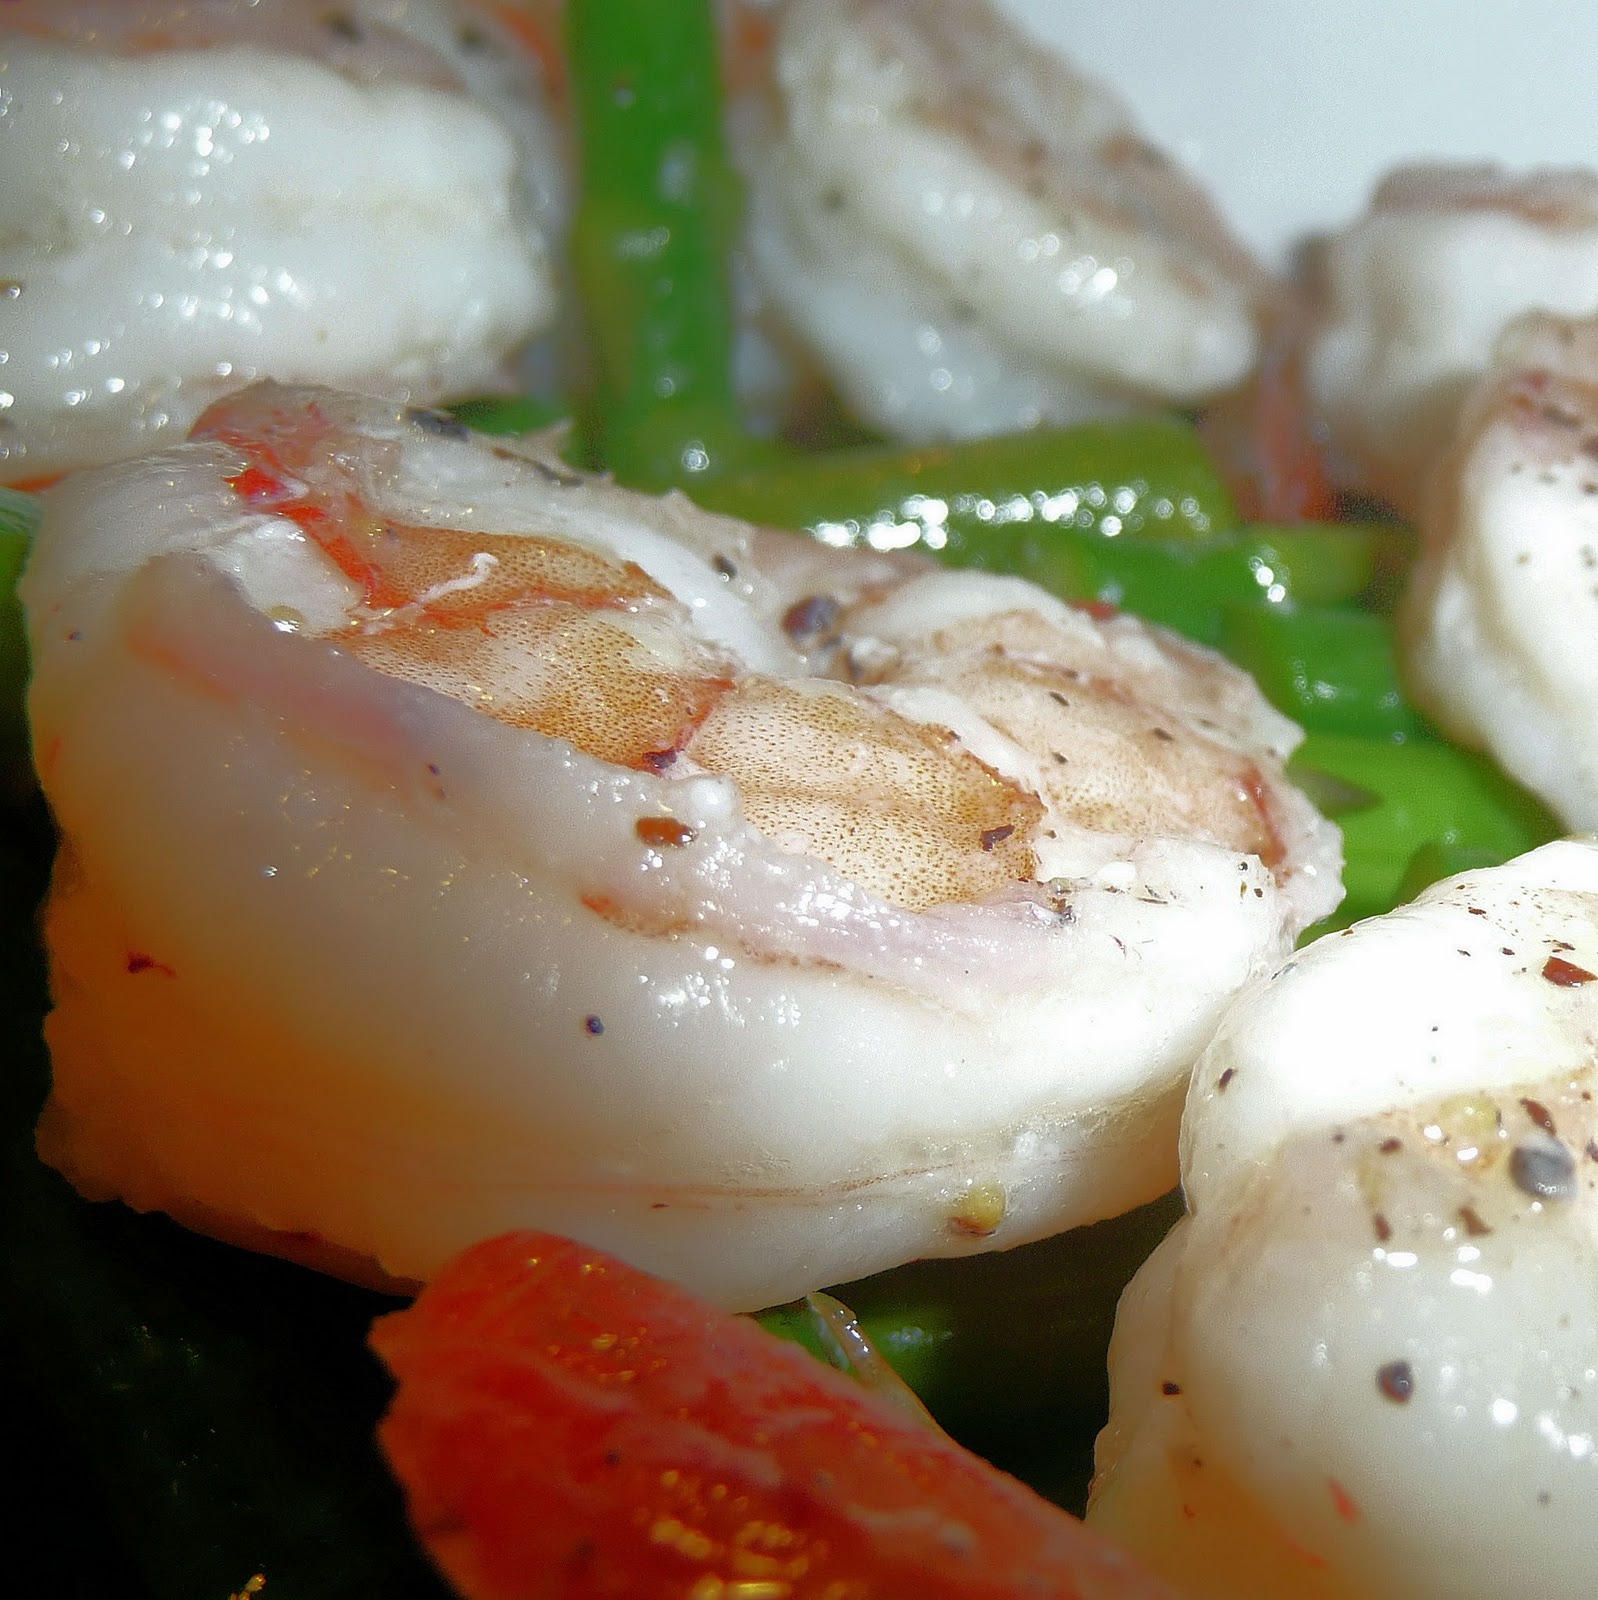
1 pound large shrimp
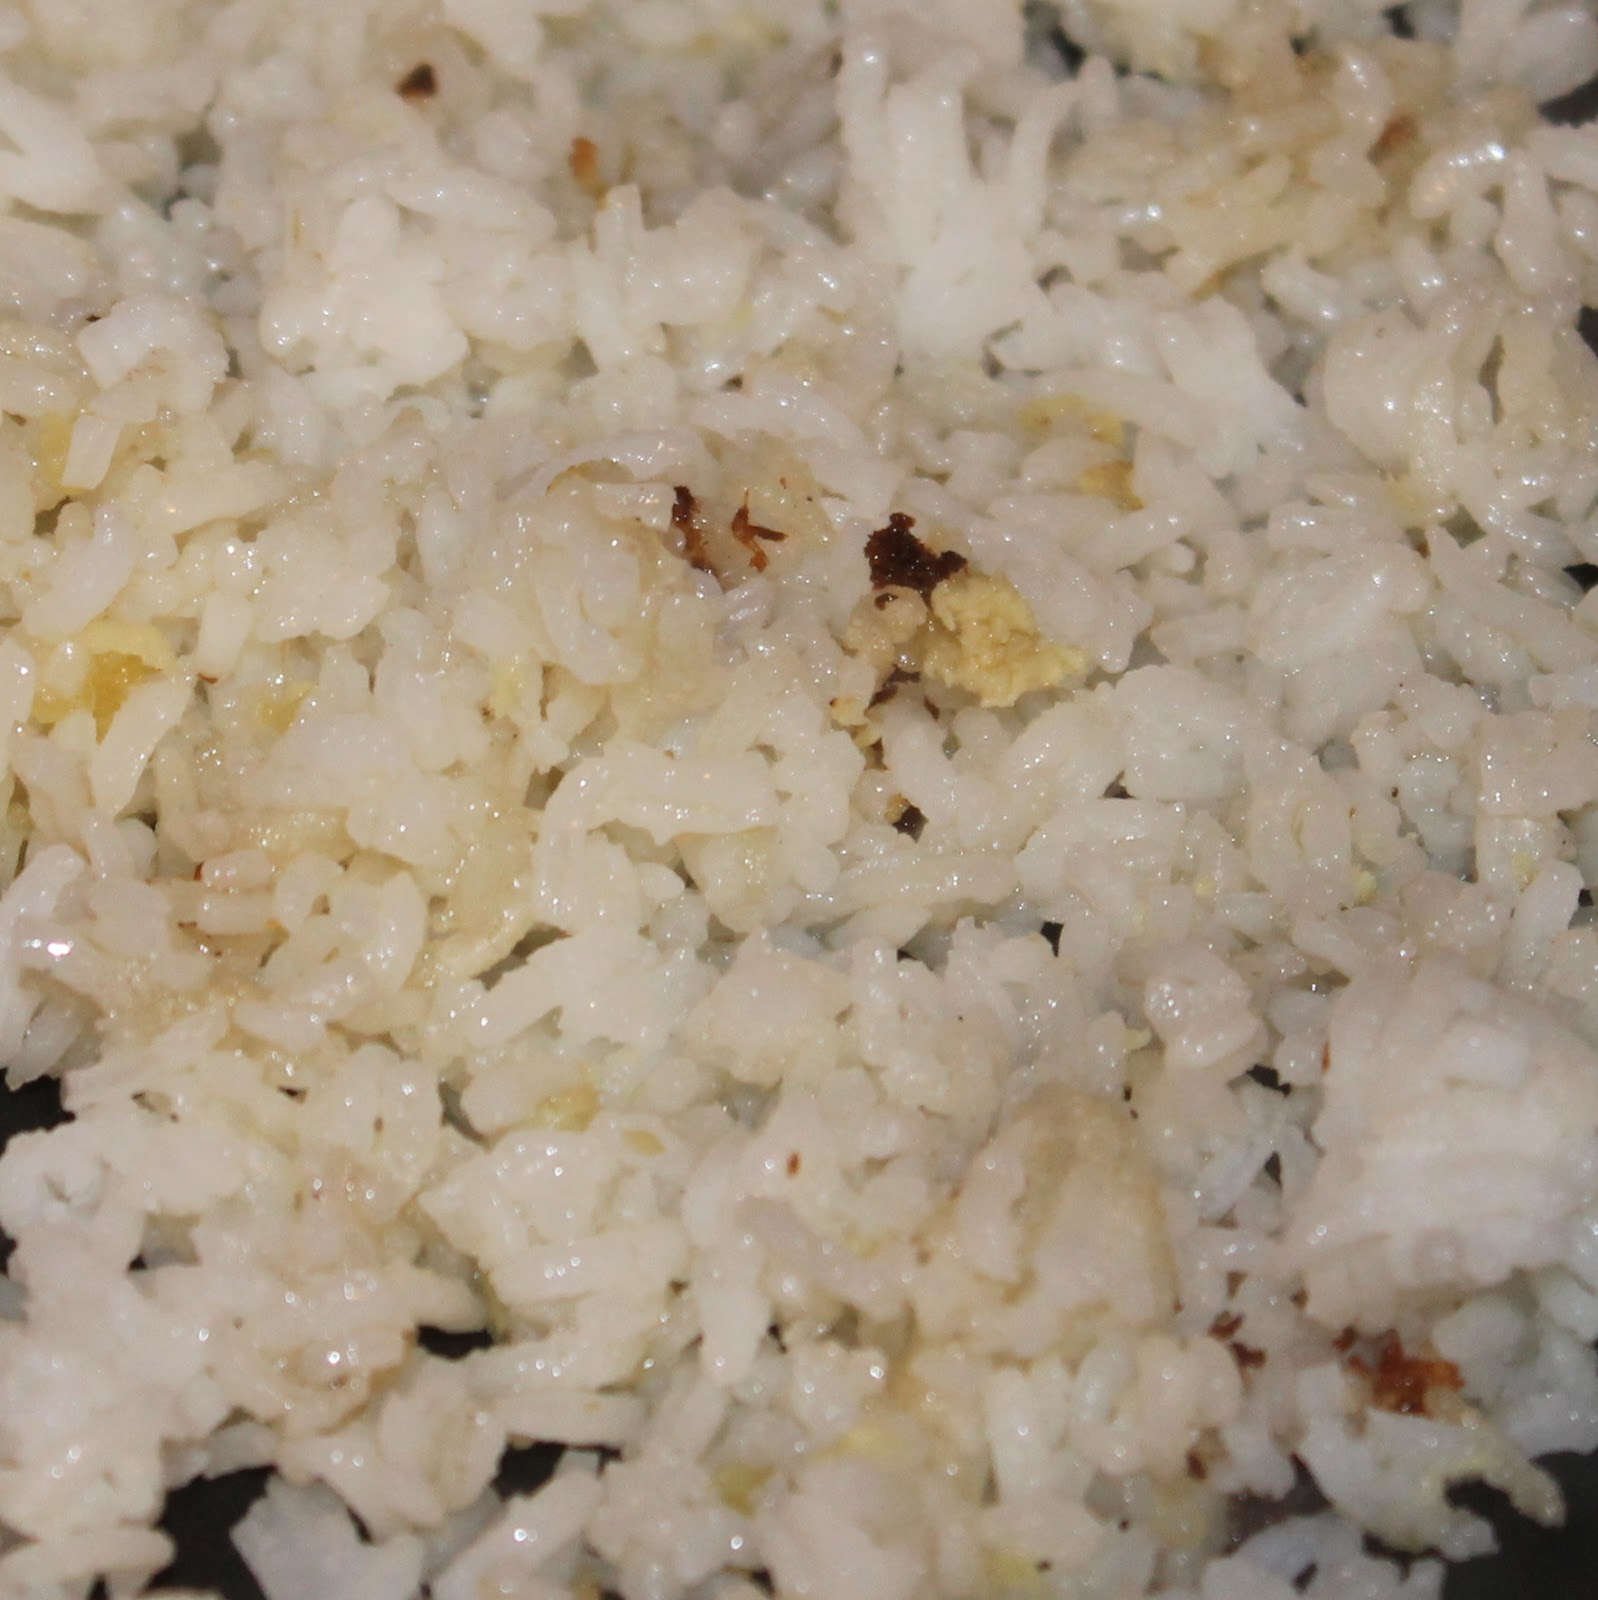
2 cups uncooked rice
1 cup water
1 tablespoon oregano
1/4 teaspoon salt
1 teaspoon “paella spice” (sub in 1/2 teaspoon crushed saffron for this)
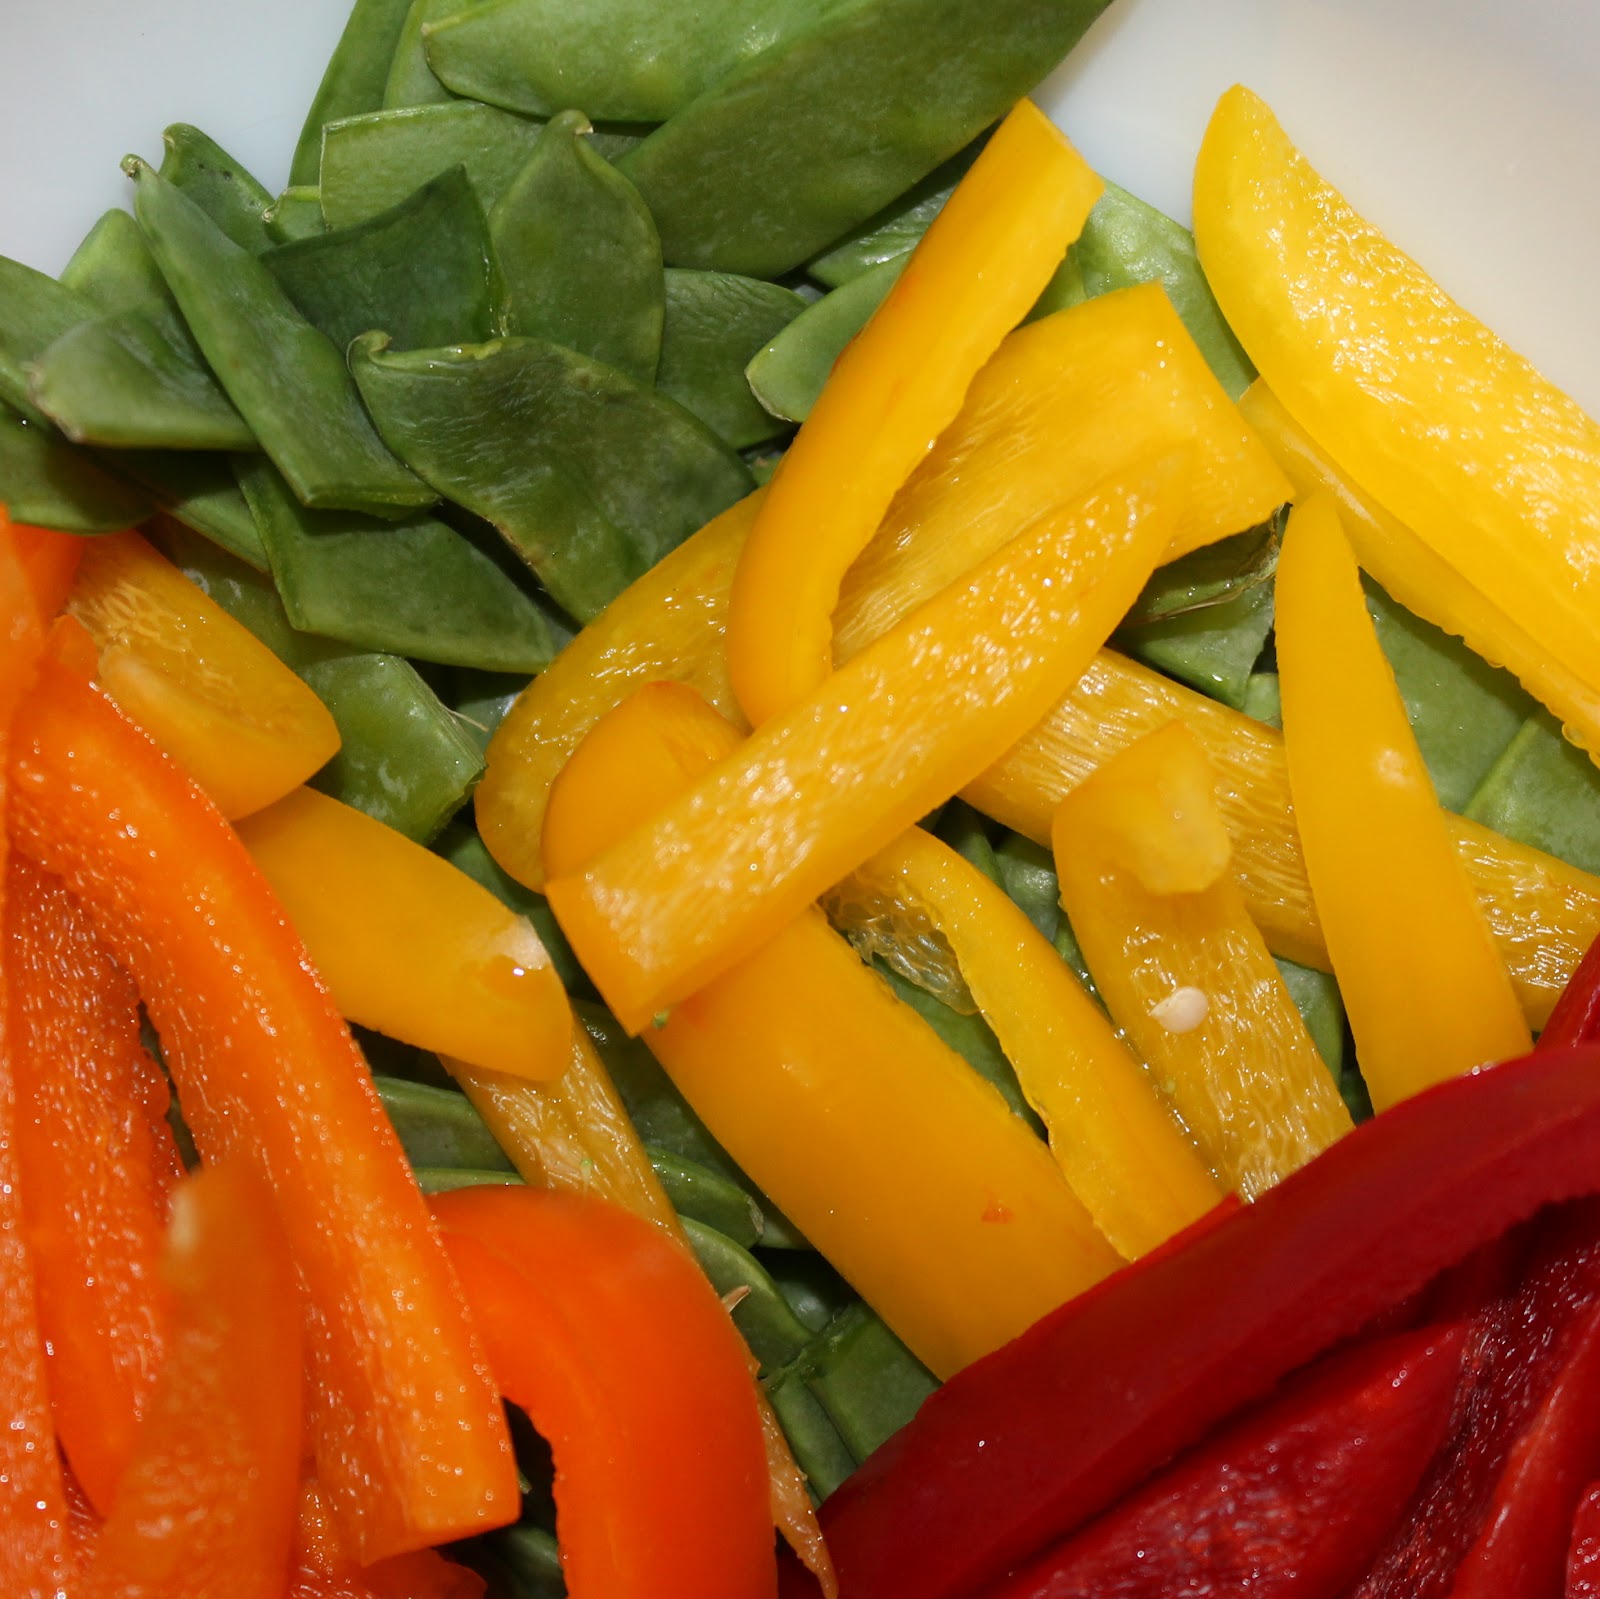
1/4 teaspoon paprika, smoked would be ideal
1/4 teaspoon freshly ground black pepper
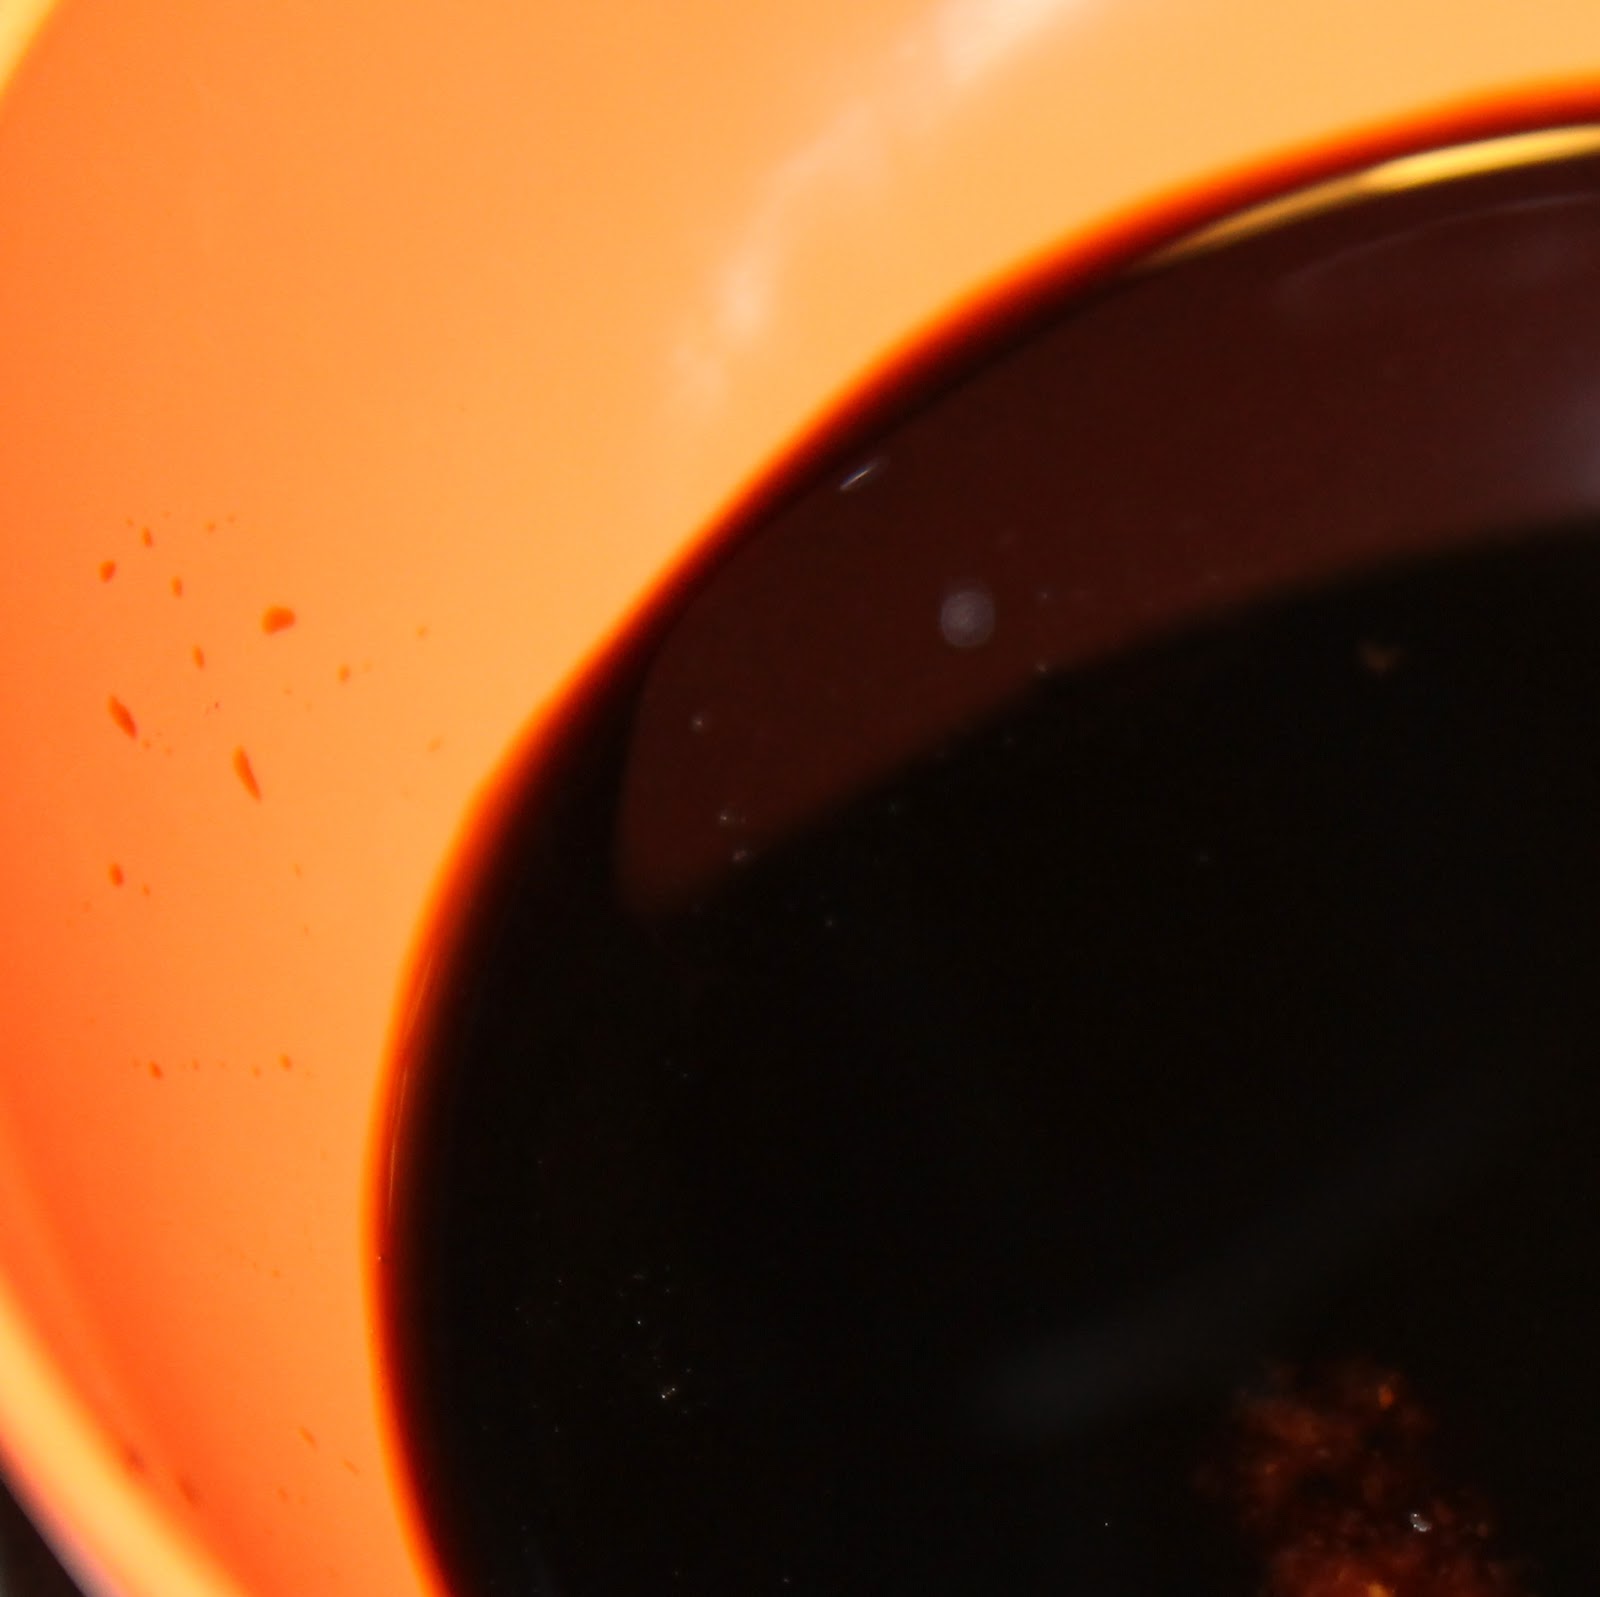
2 cups chicken broth
1 cup frozen green peas
the juice of 1/2 a lemon juice
Using a Dutch oven or a heavy bottomed pan, head the olive oil over medium-high heat. Chop your onion and sausage.
Add to the pot and cook, stirring, for three minutes.
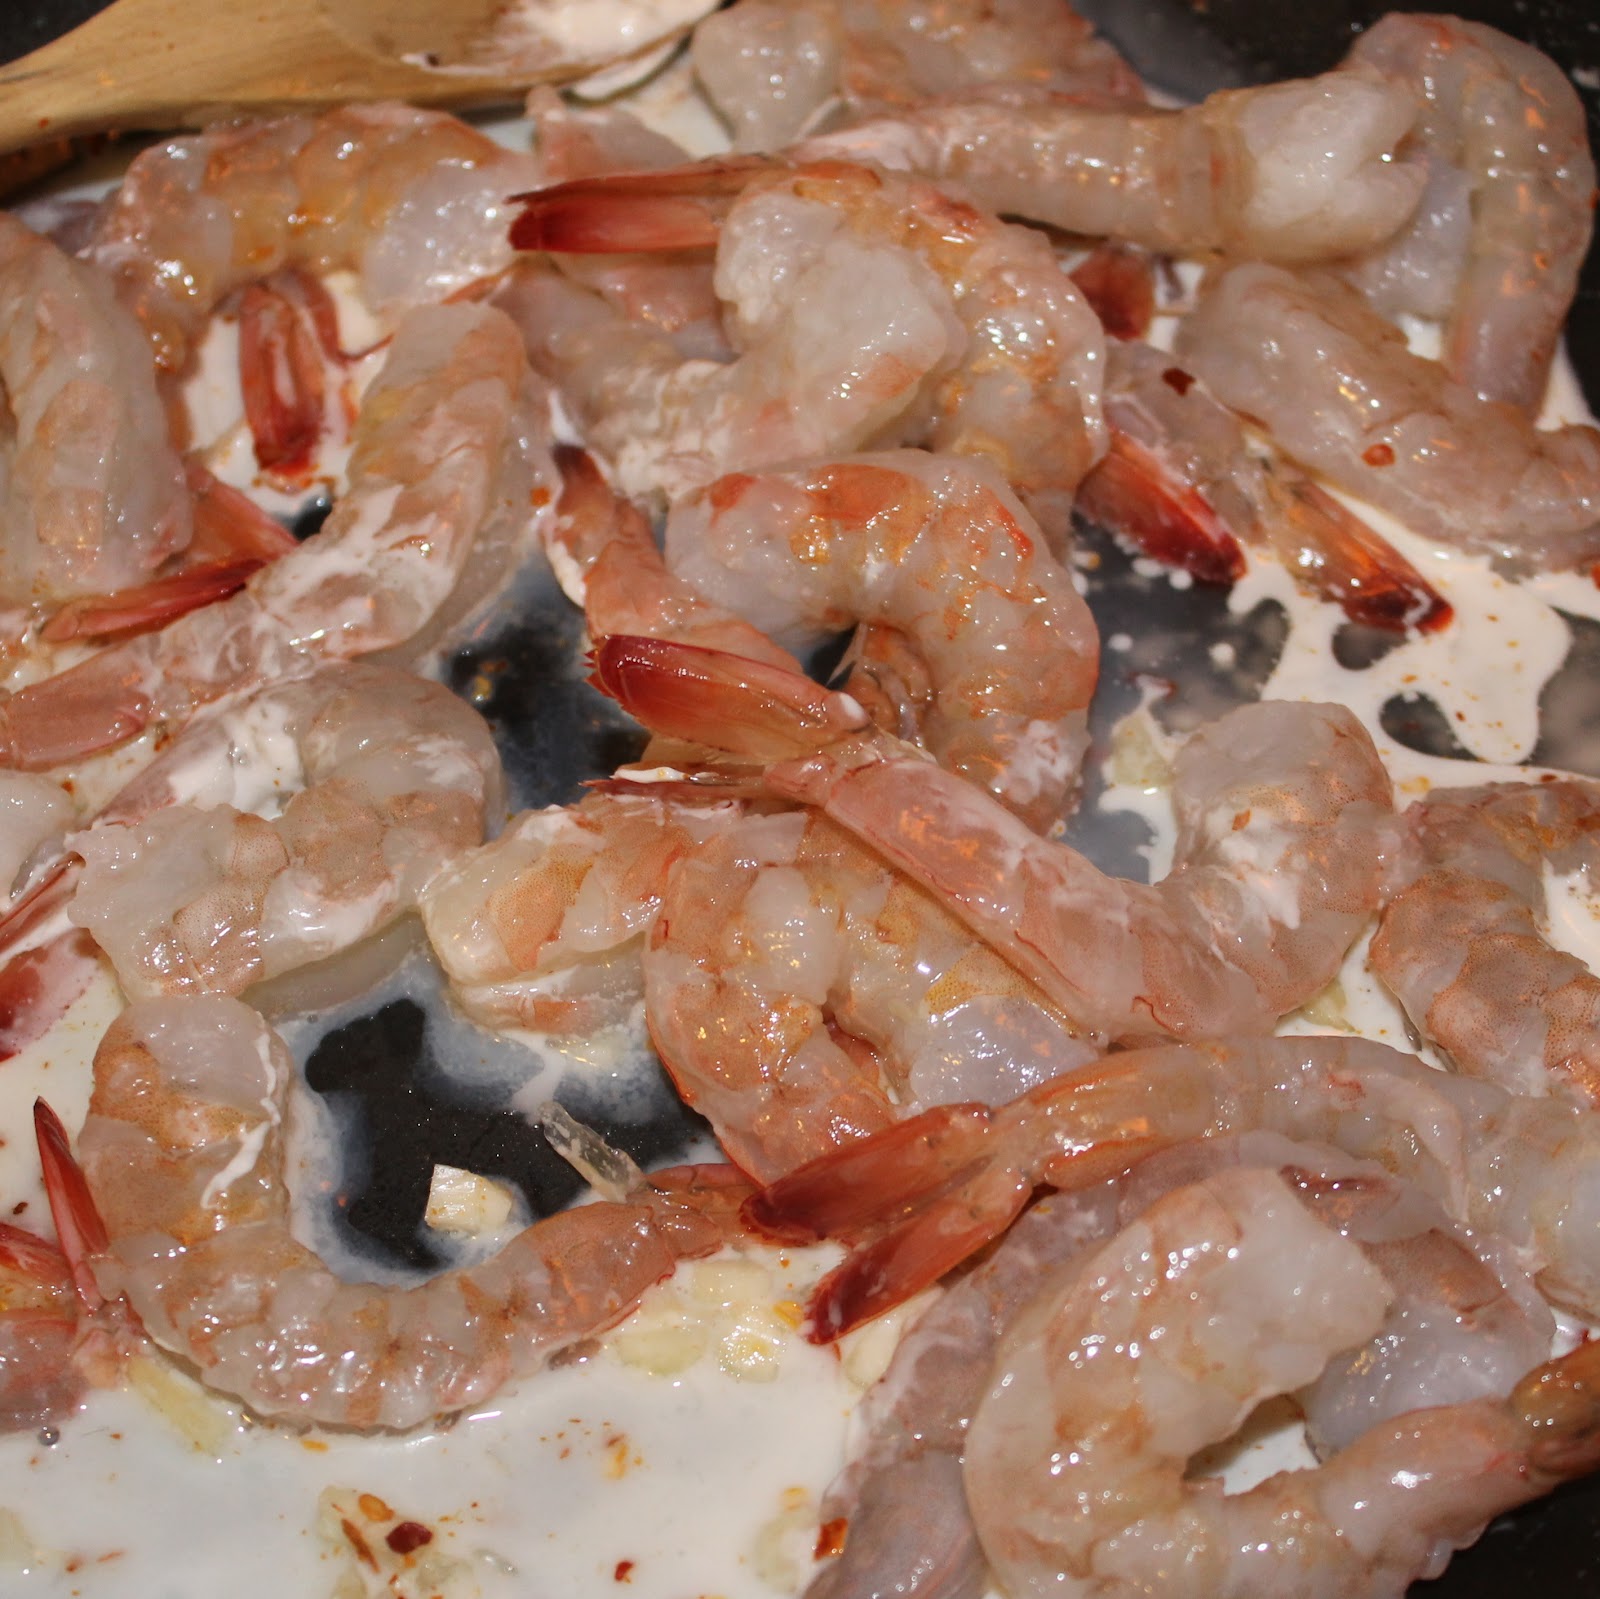
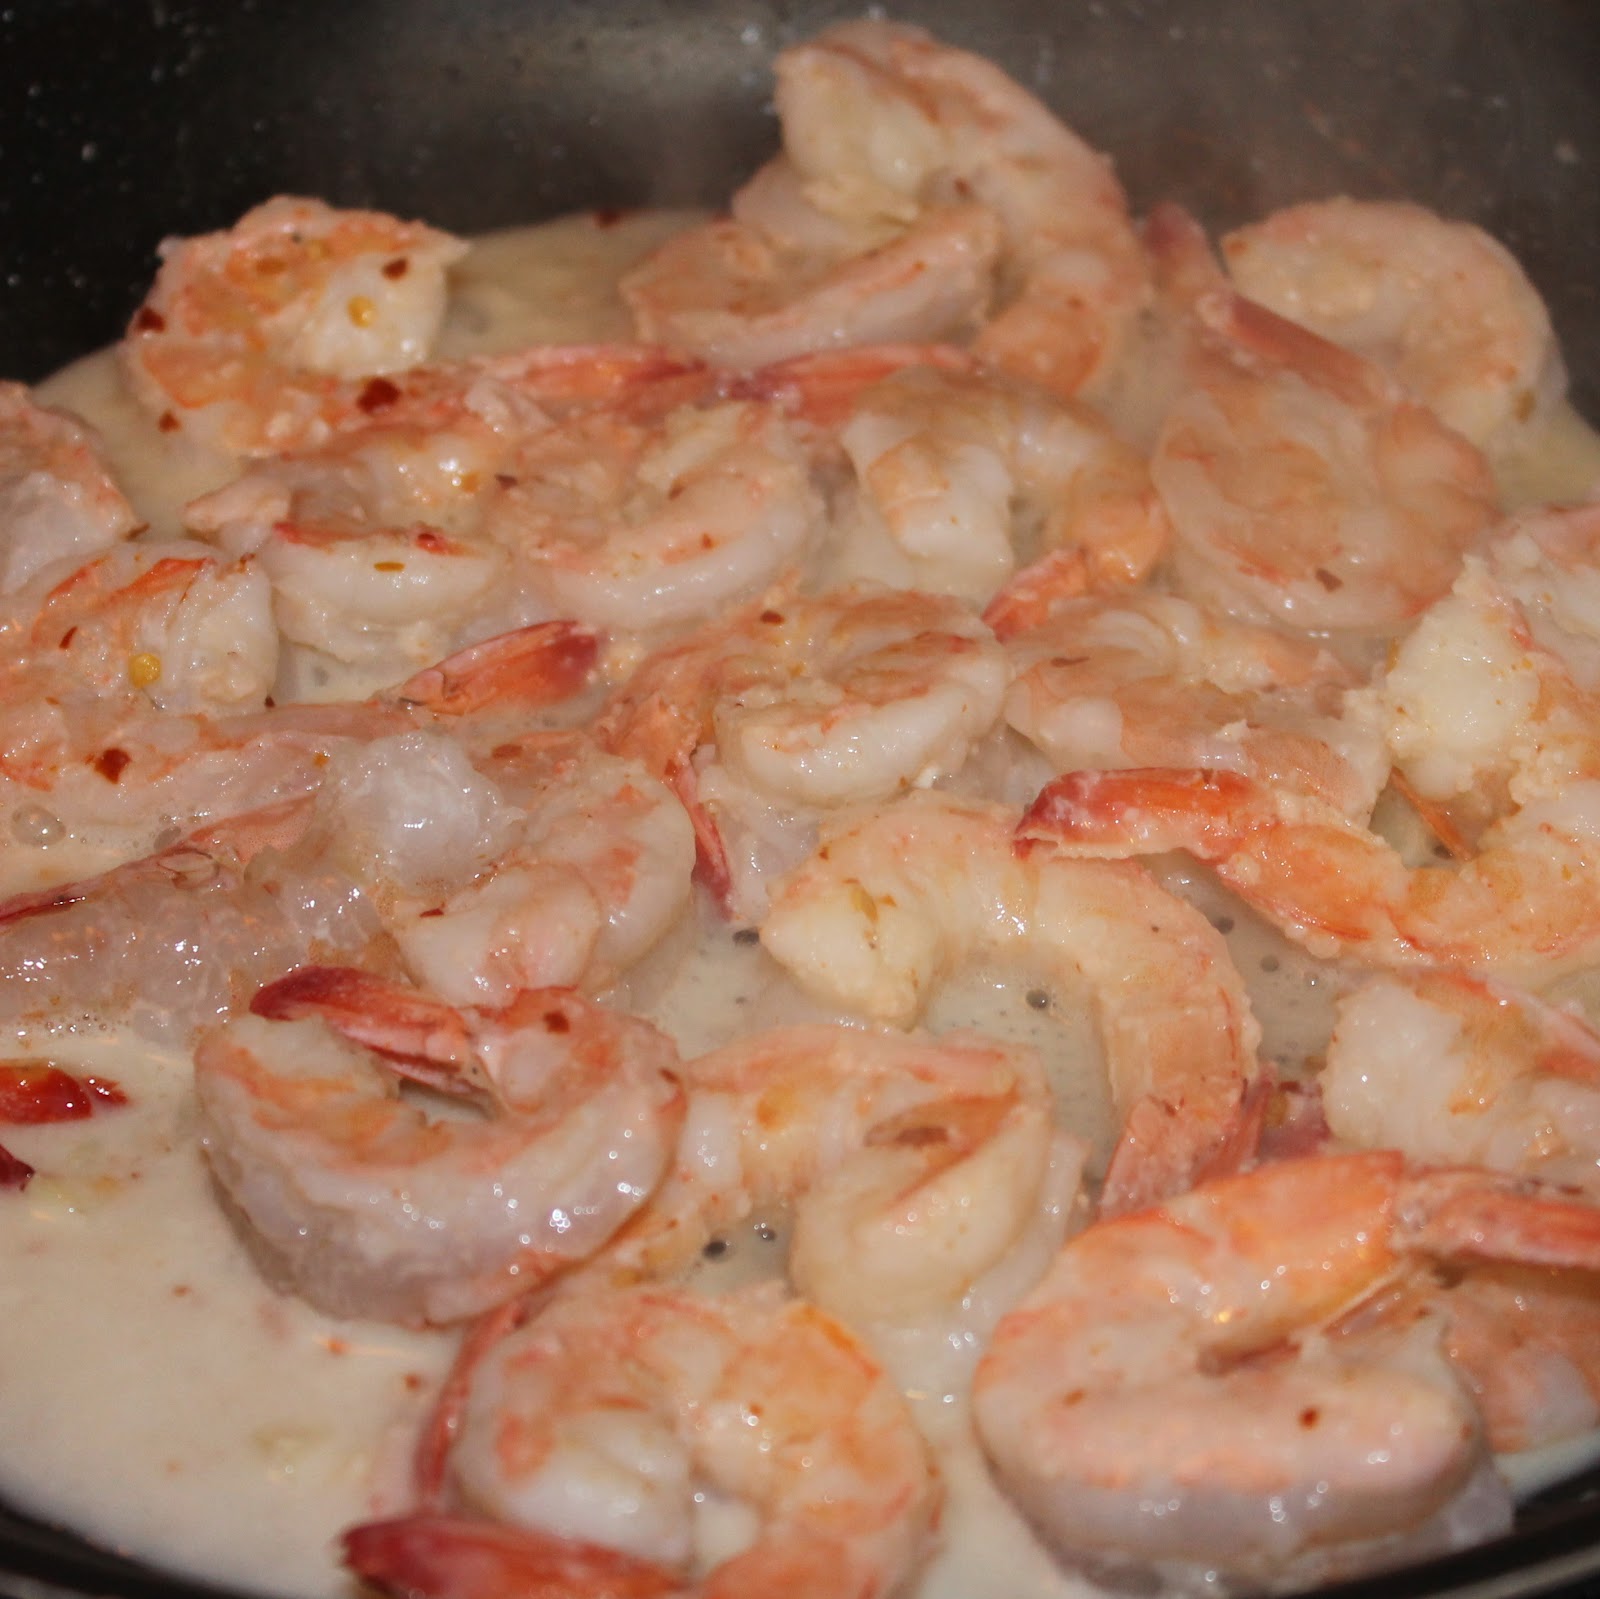
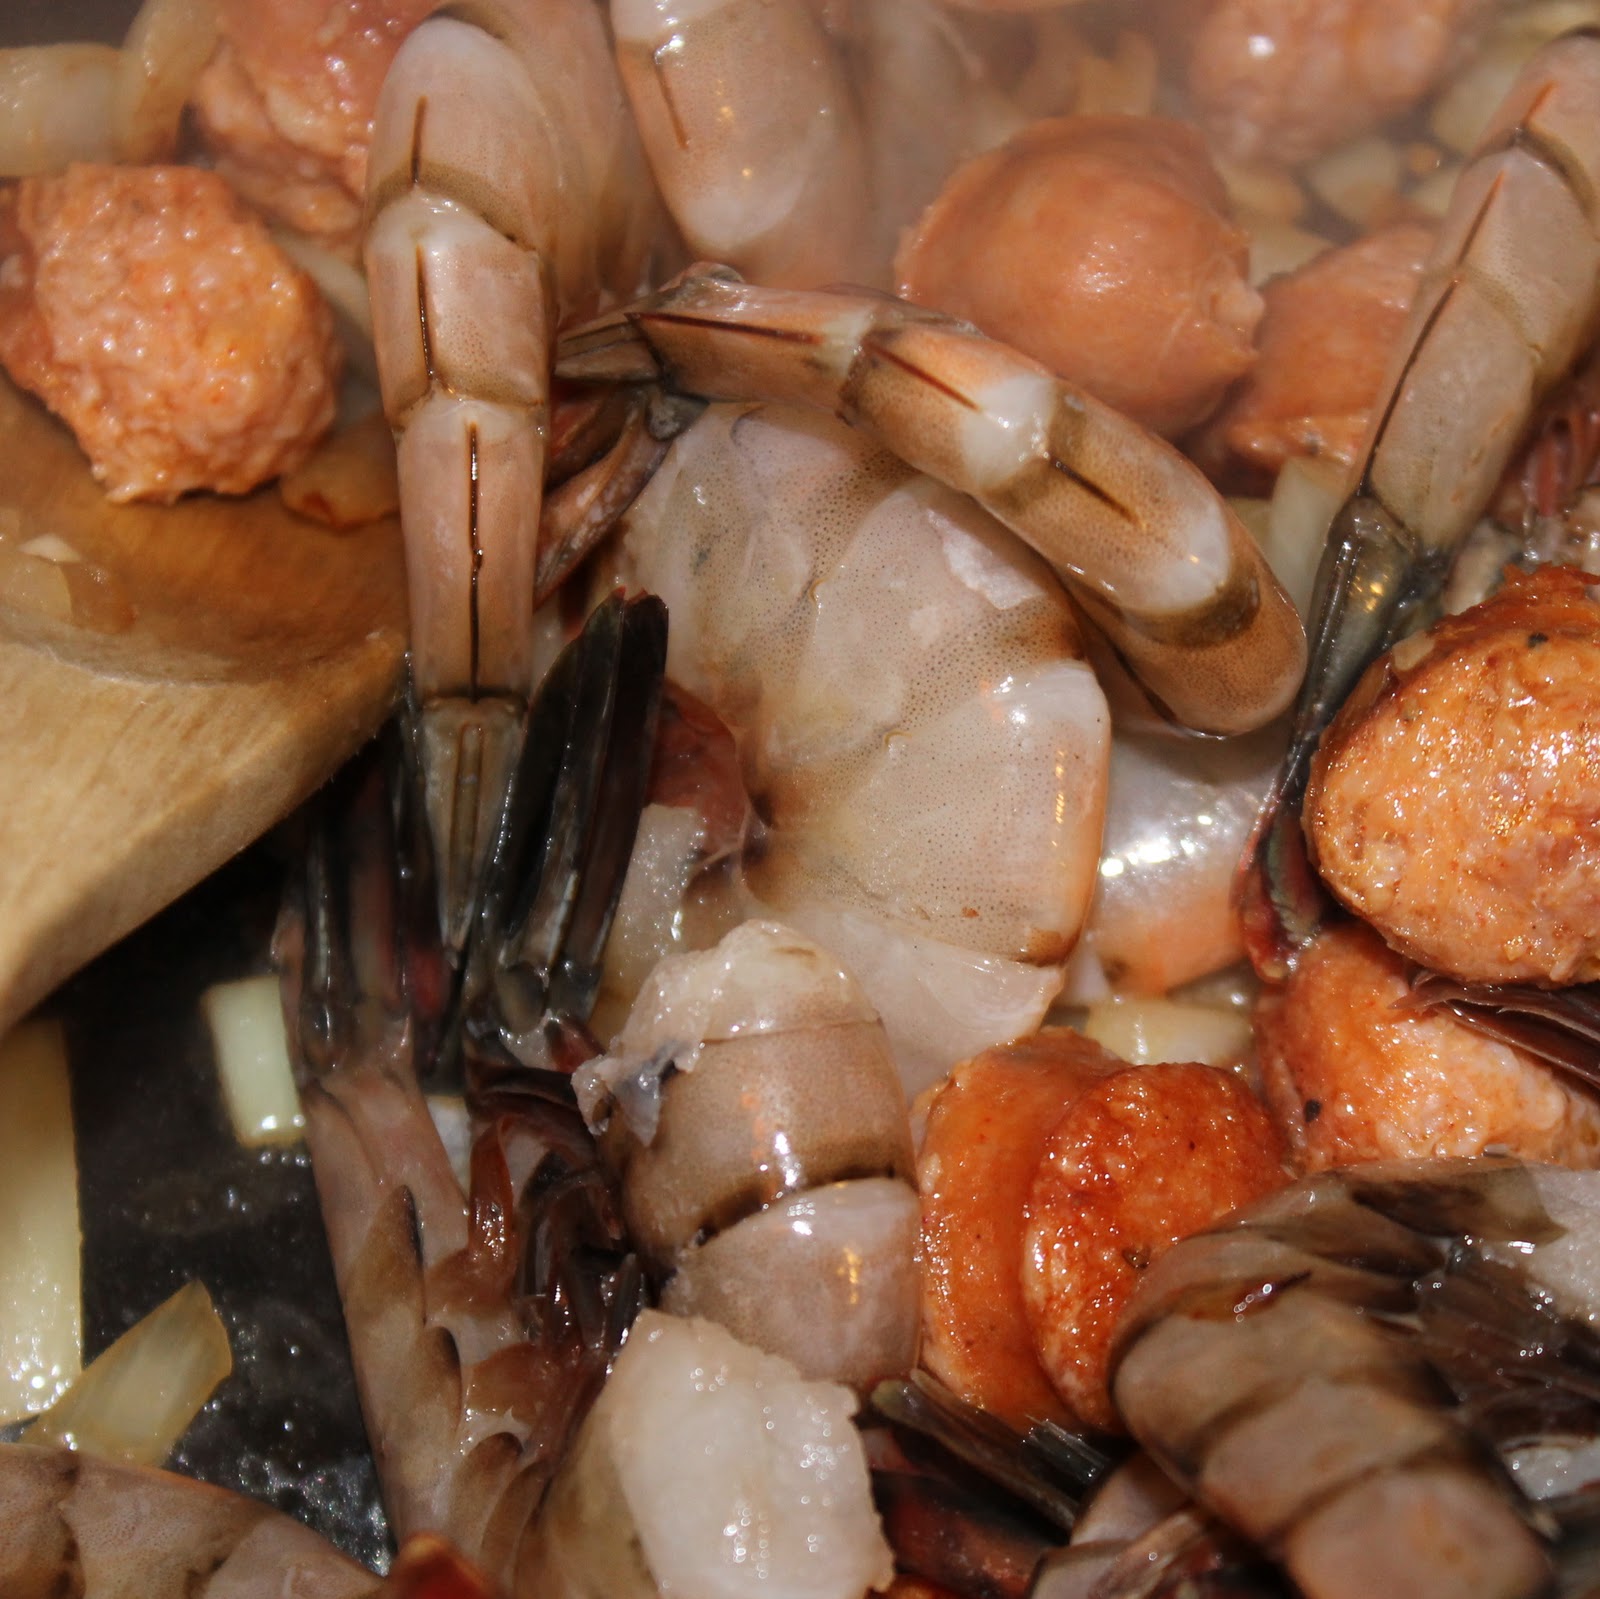
Add the minced garlic and cook, stirring, for about 30 seconds. Add the shrimp and stir in to the other ingredients.
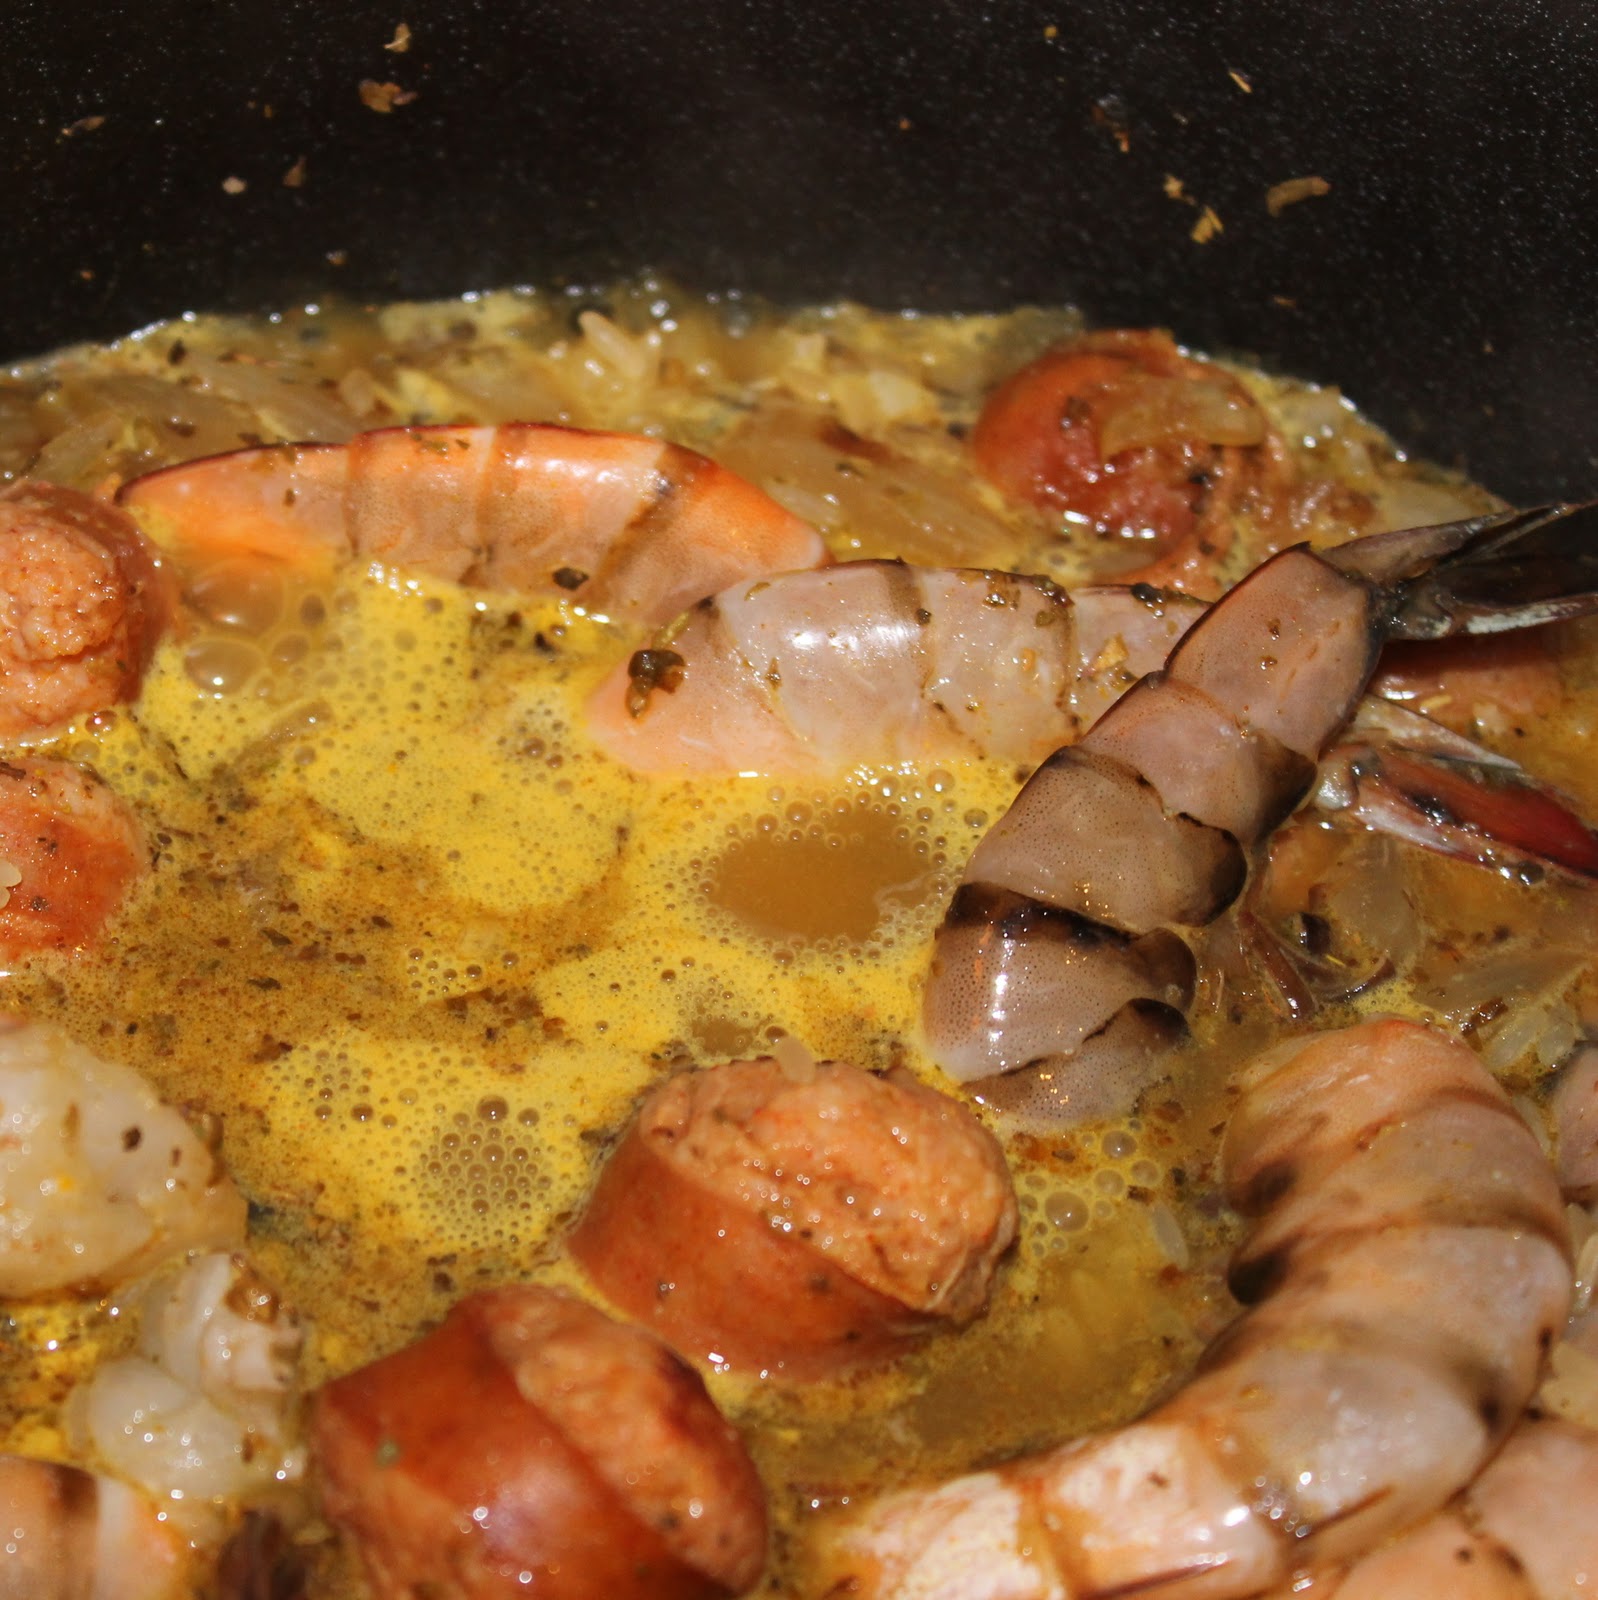
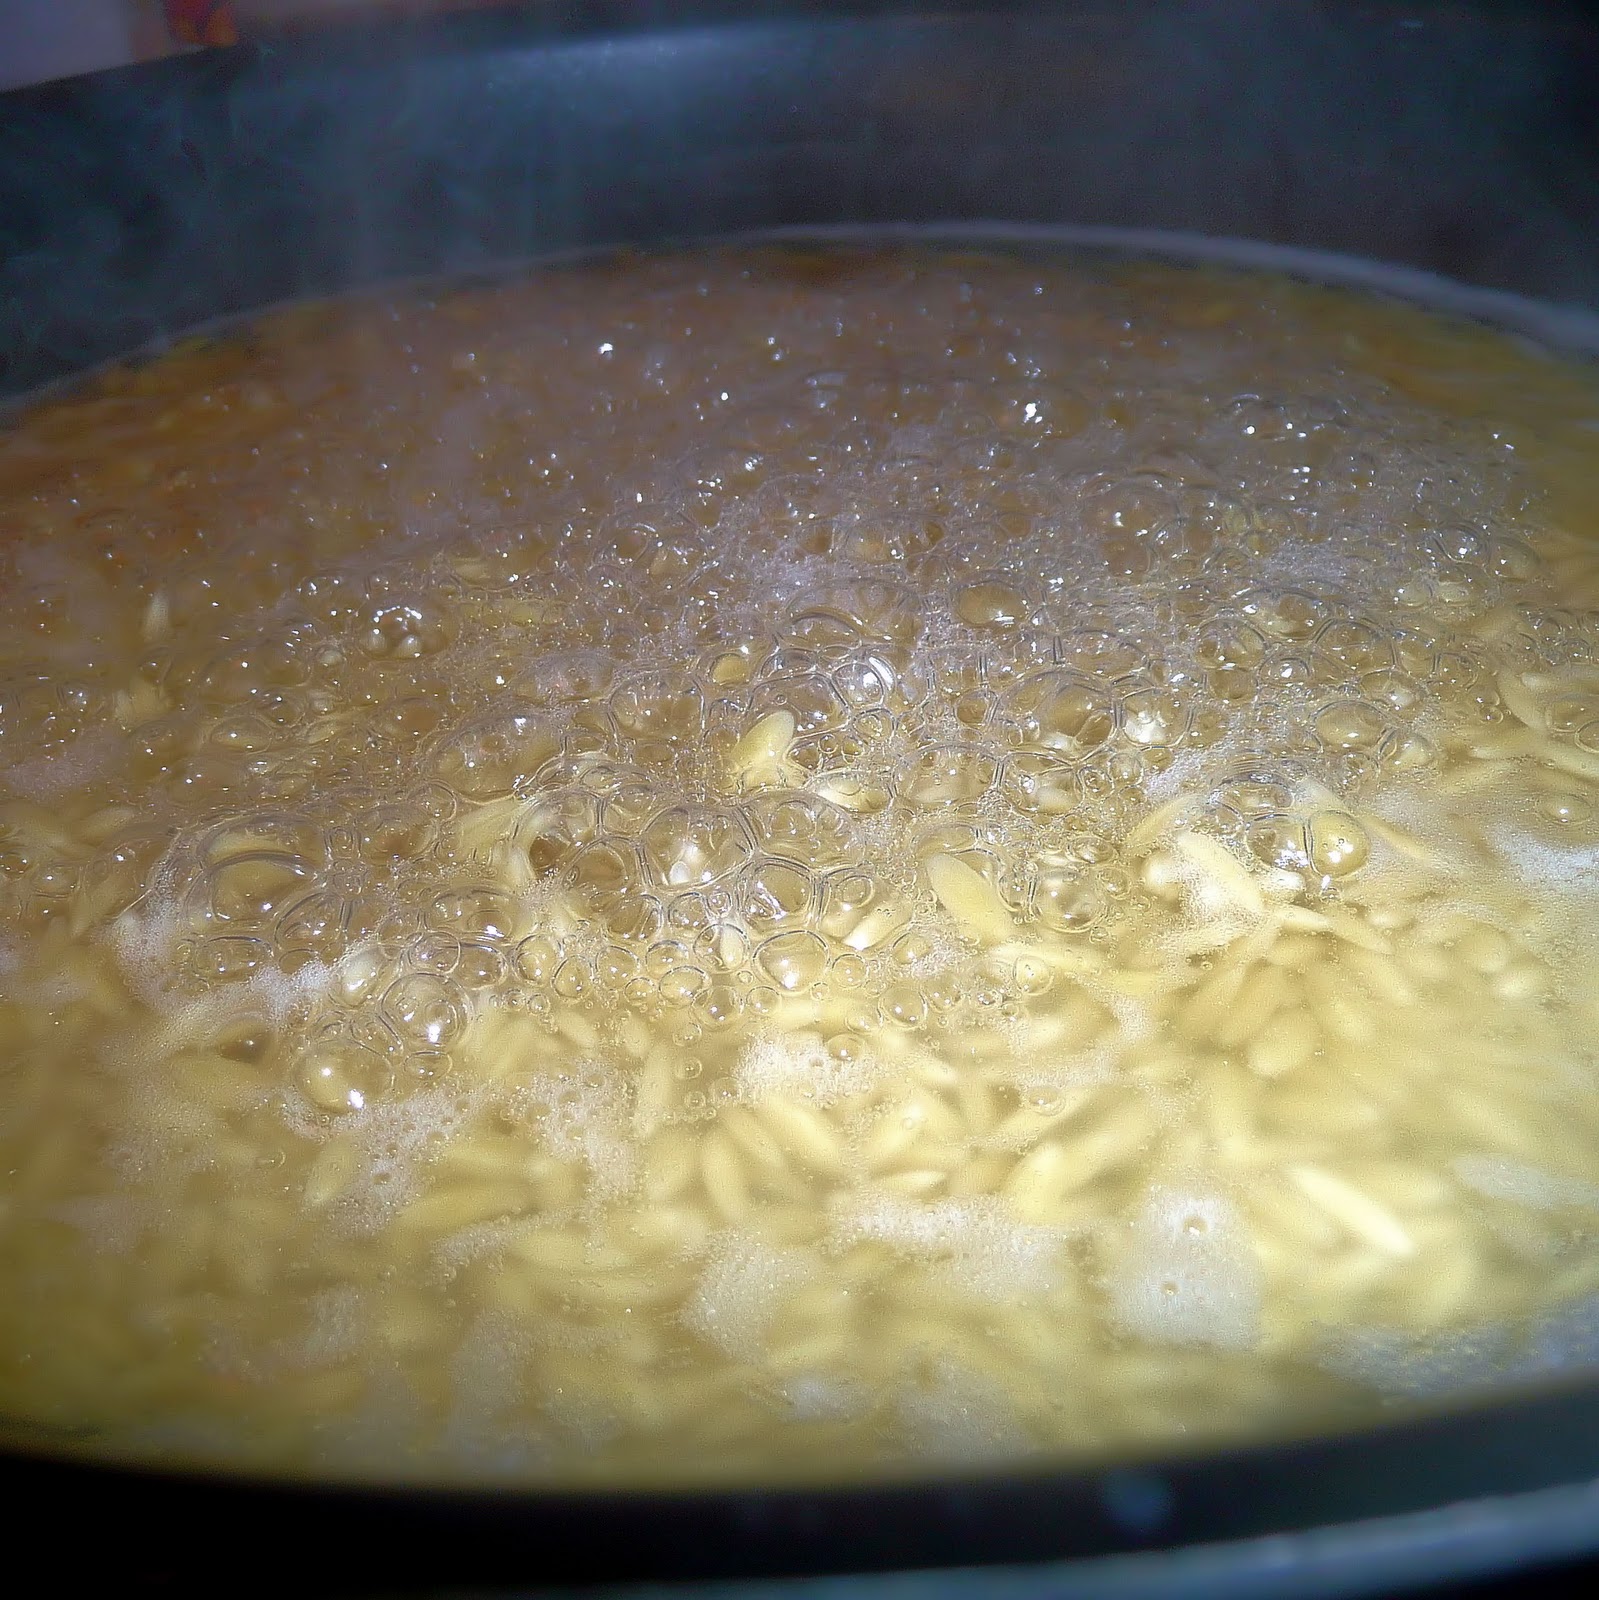
Add the rice, water, oregano, salt, paella spice (or saffron), paprika, black pepper, and chicken broth.
Mix so that the rice is coated in the liquid.
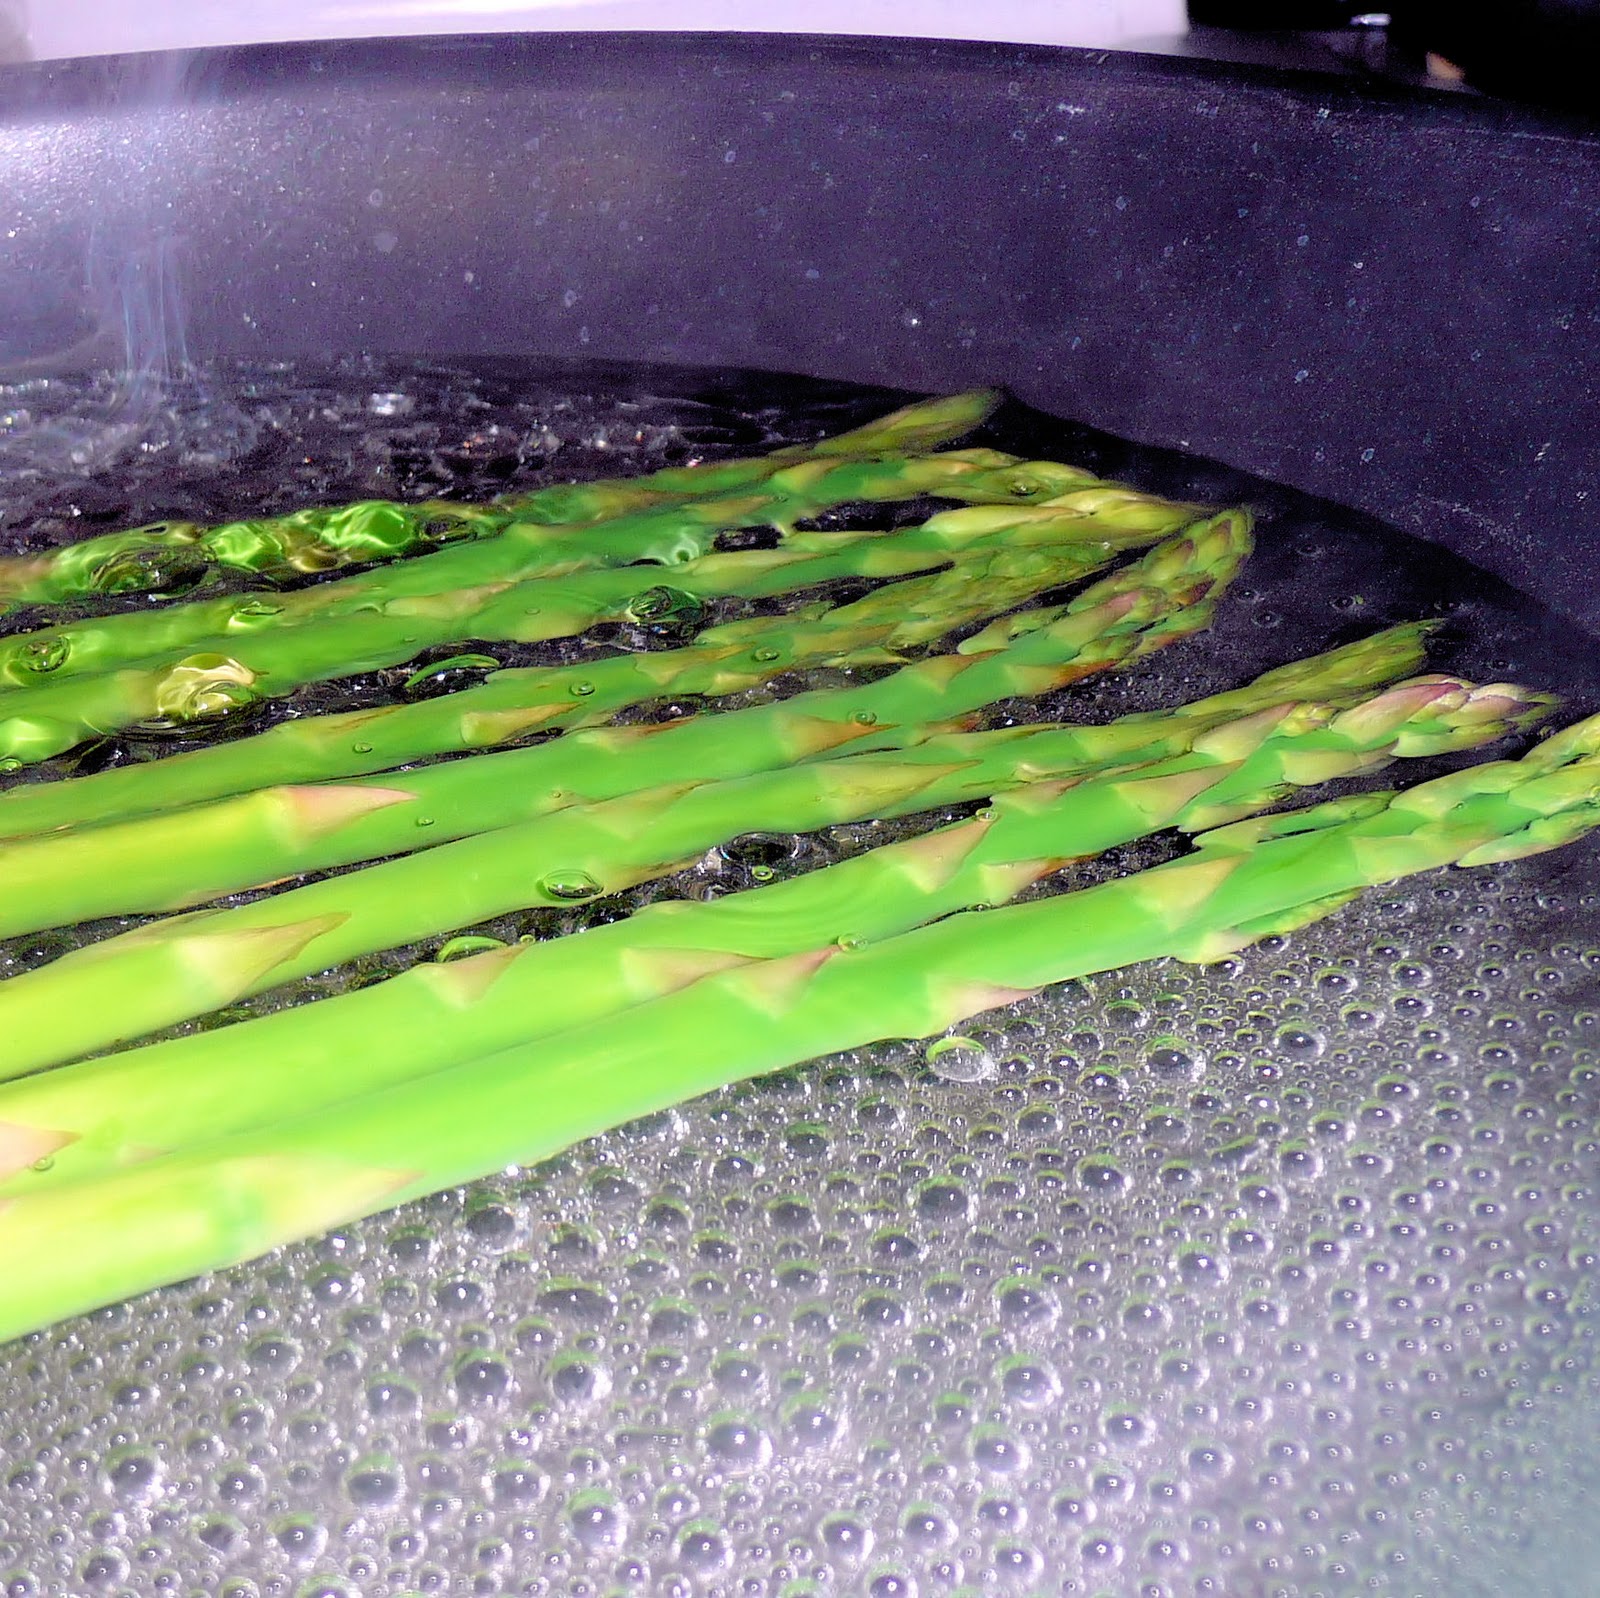
Bring to a boil and cover. Reduce the heat and simmer for 20 minutes.
Remove from heat, stir in the peas, and squeeze with the juice of 1/2 a lemon.
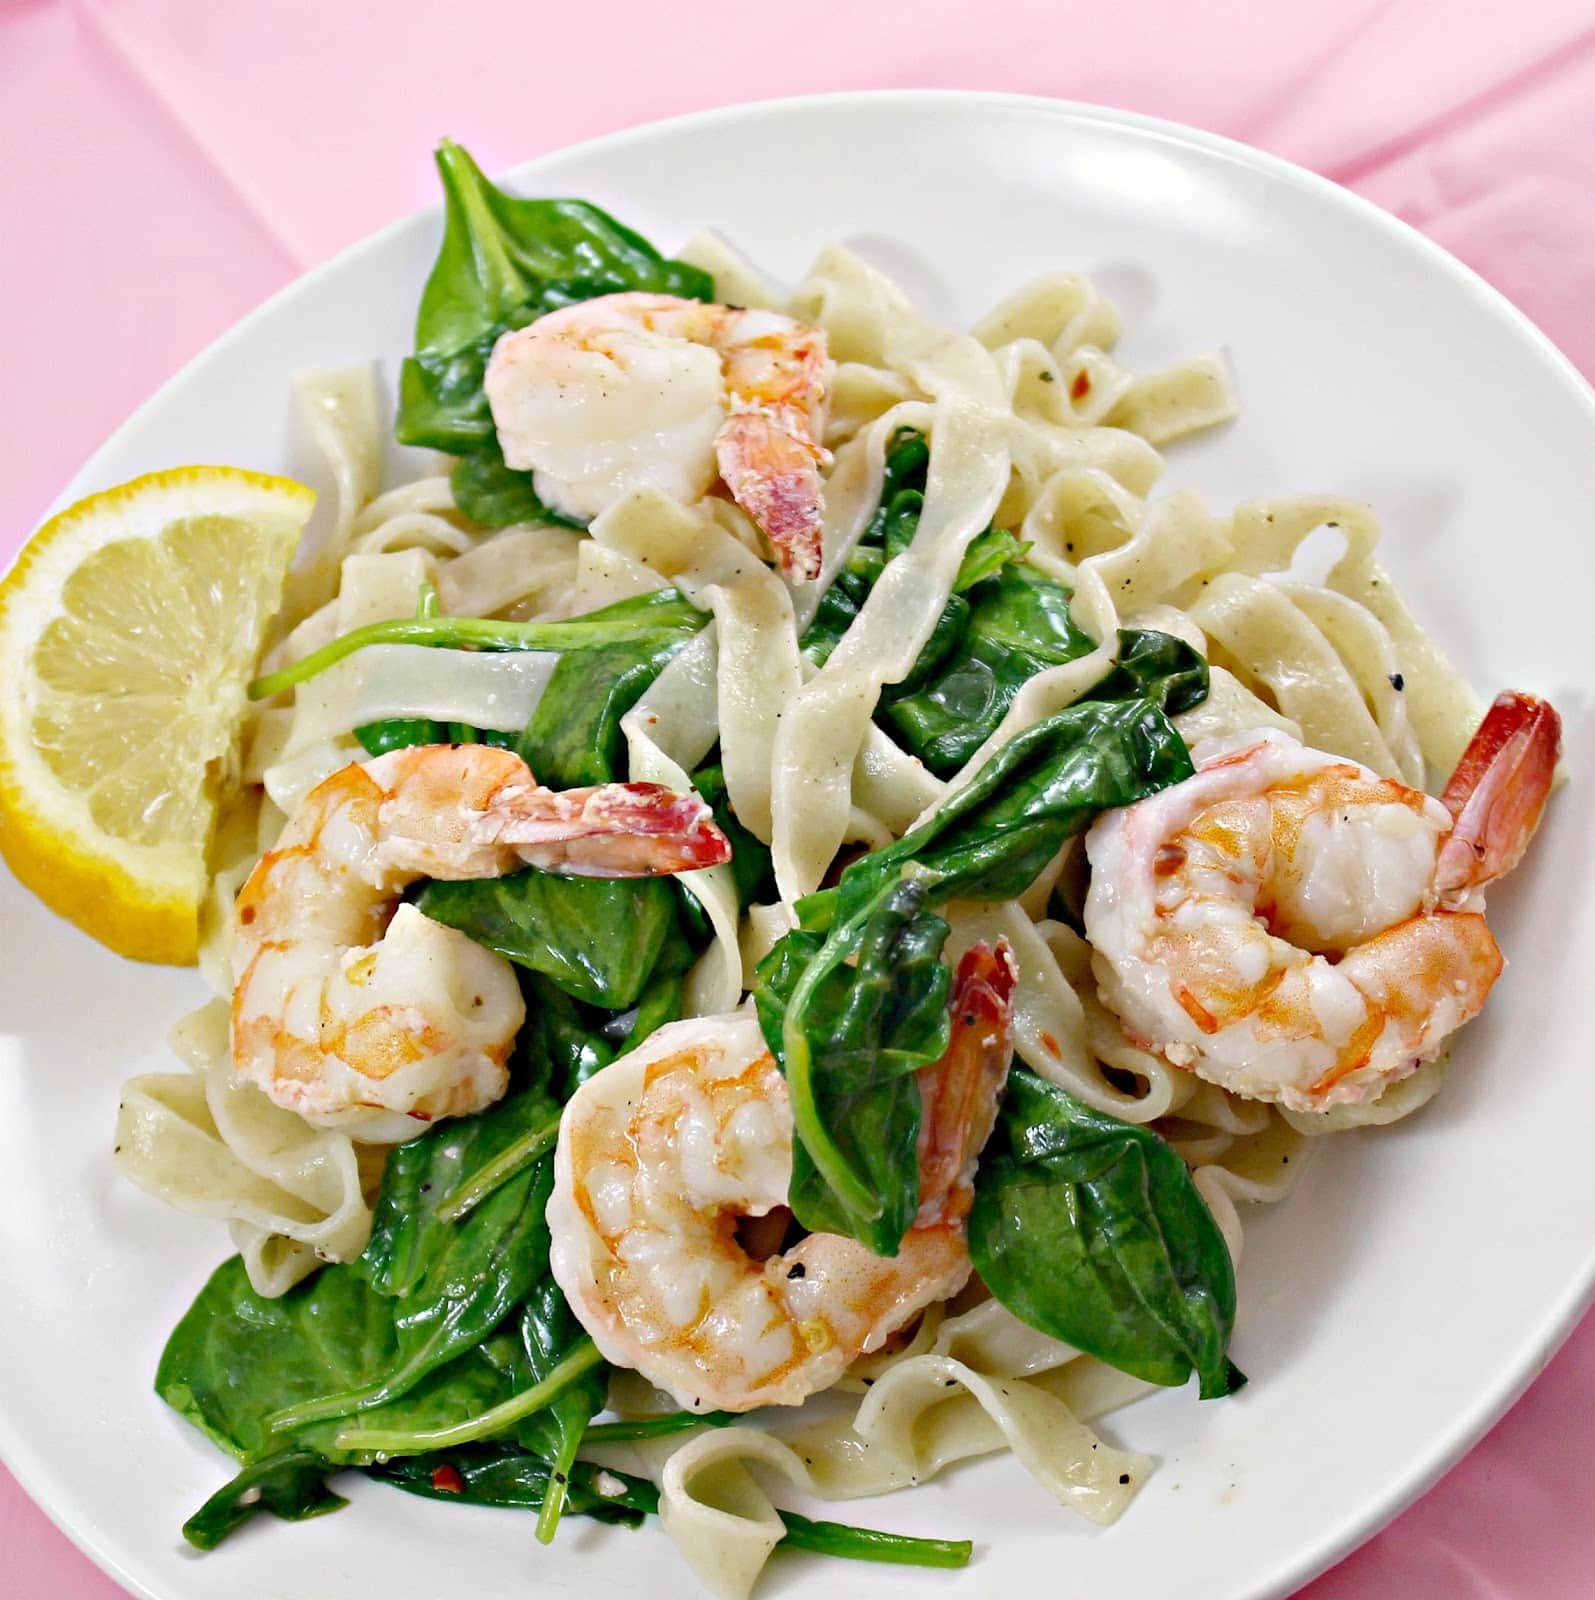
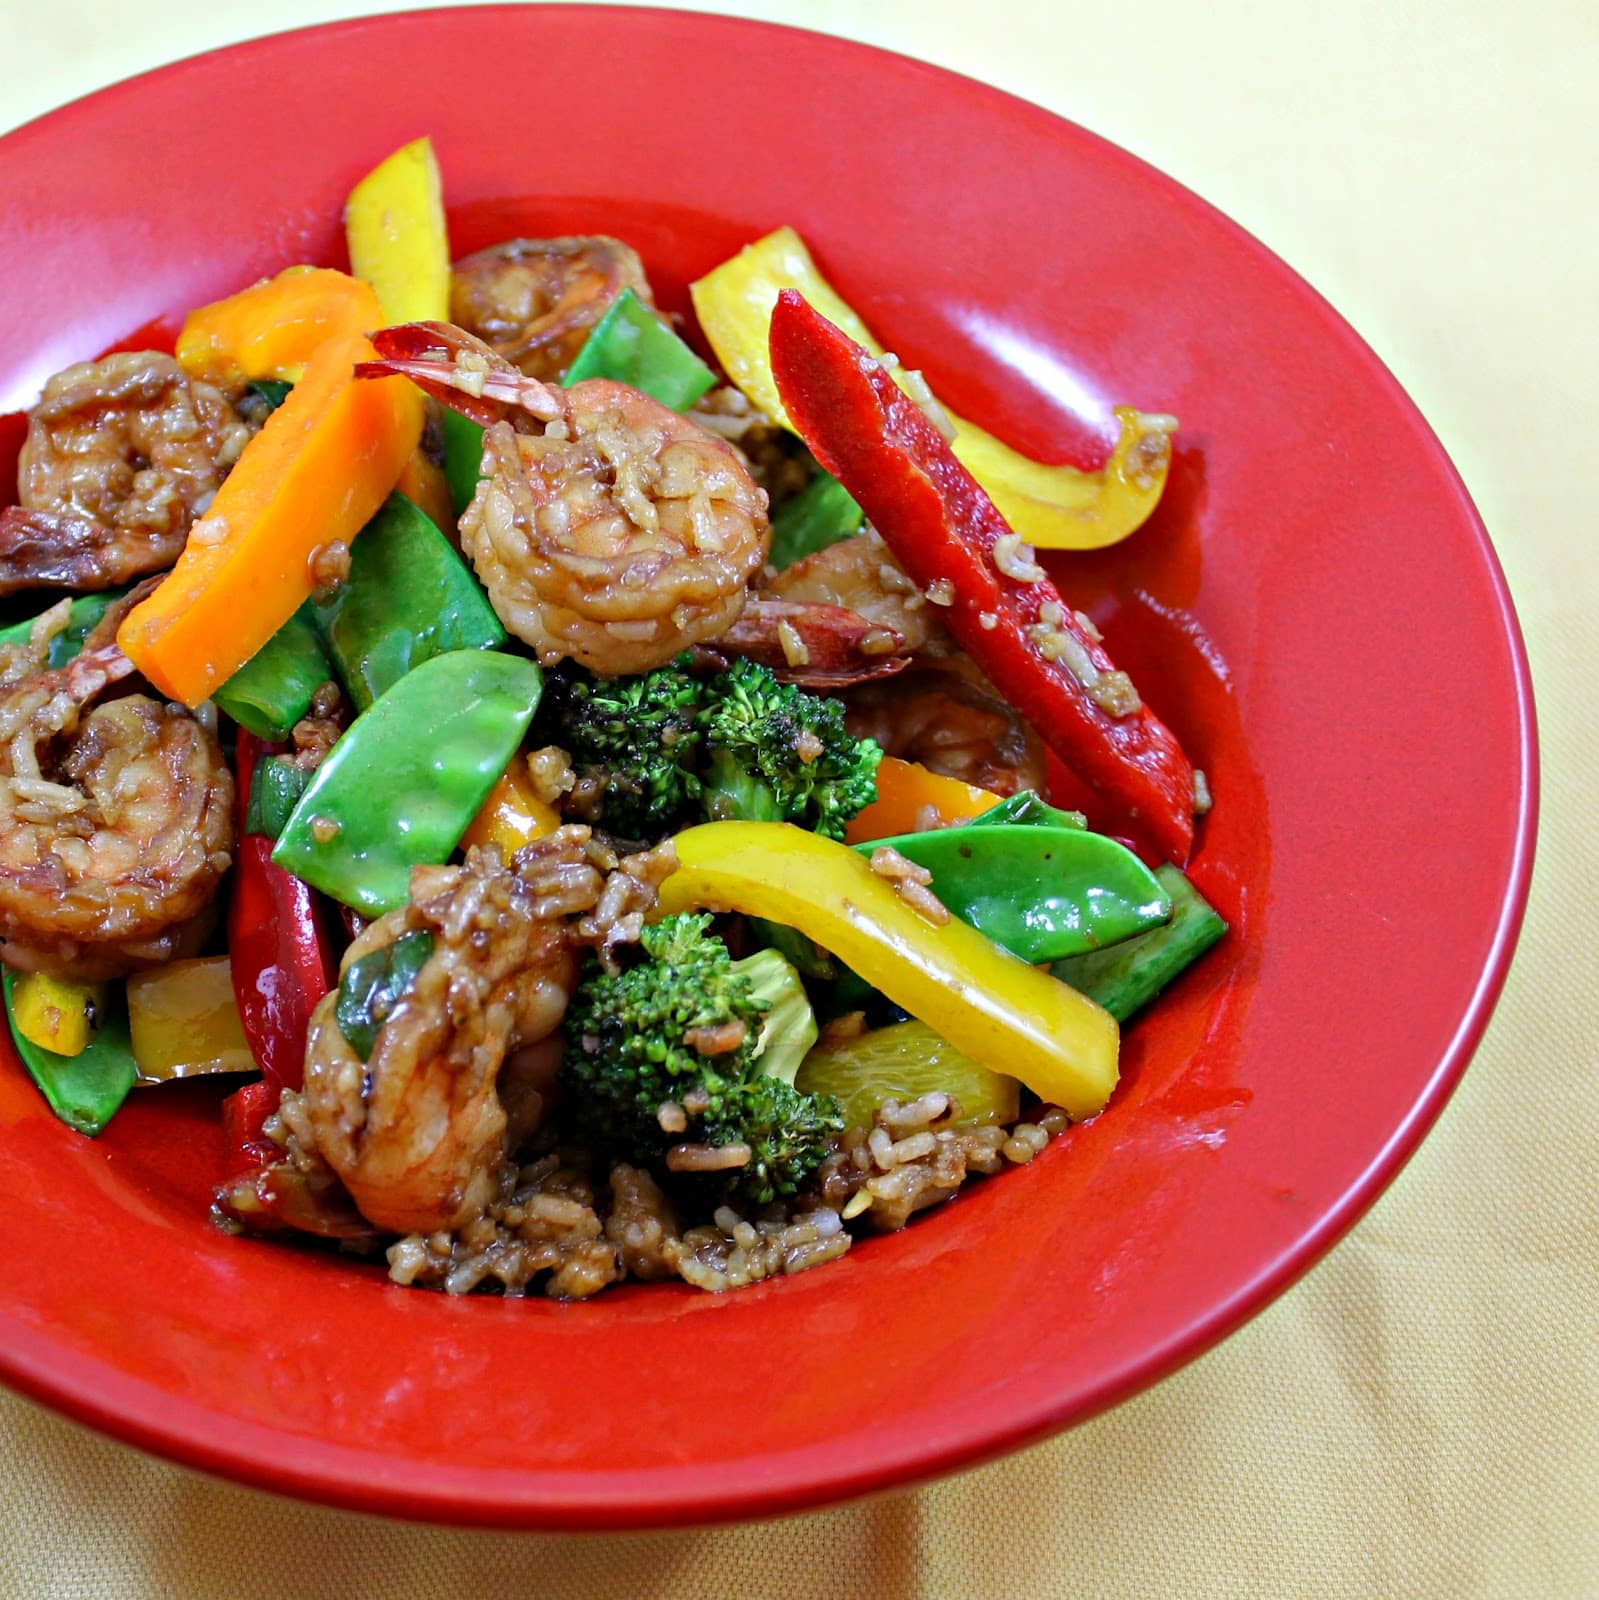
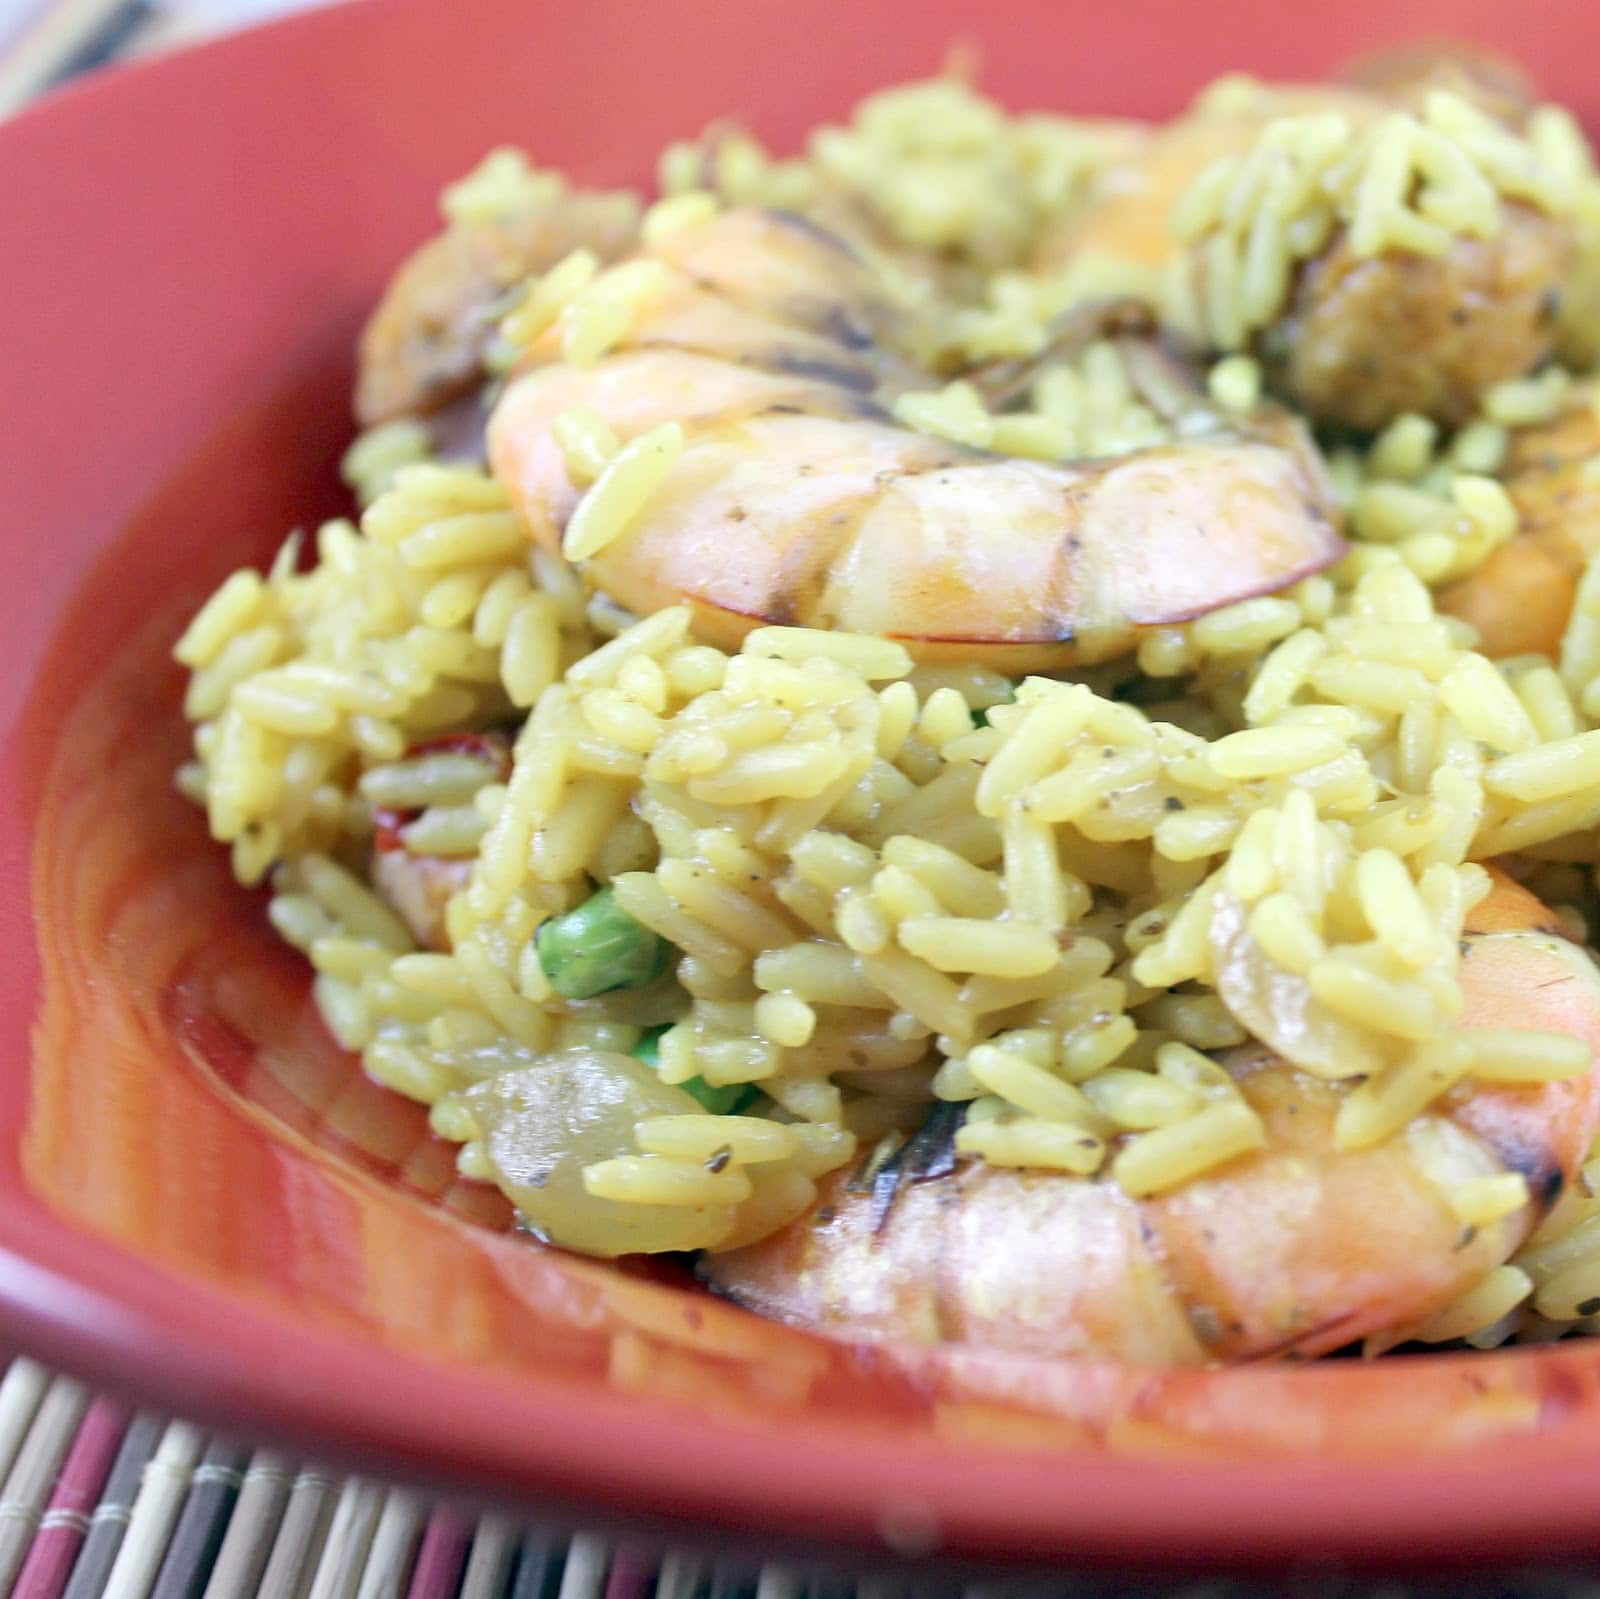
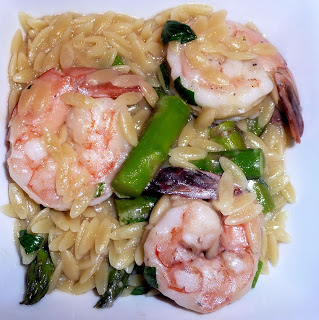
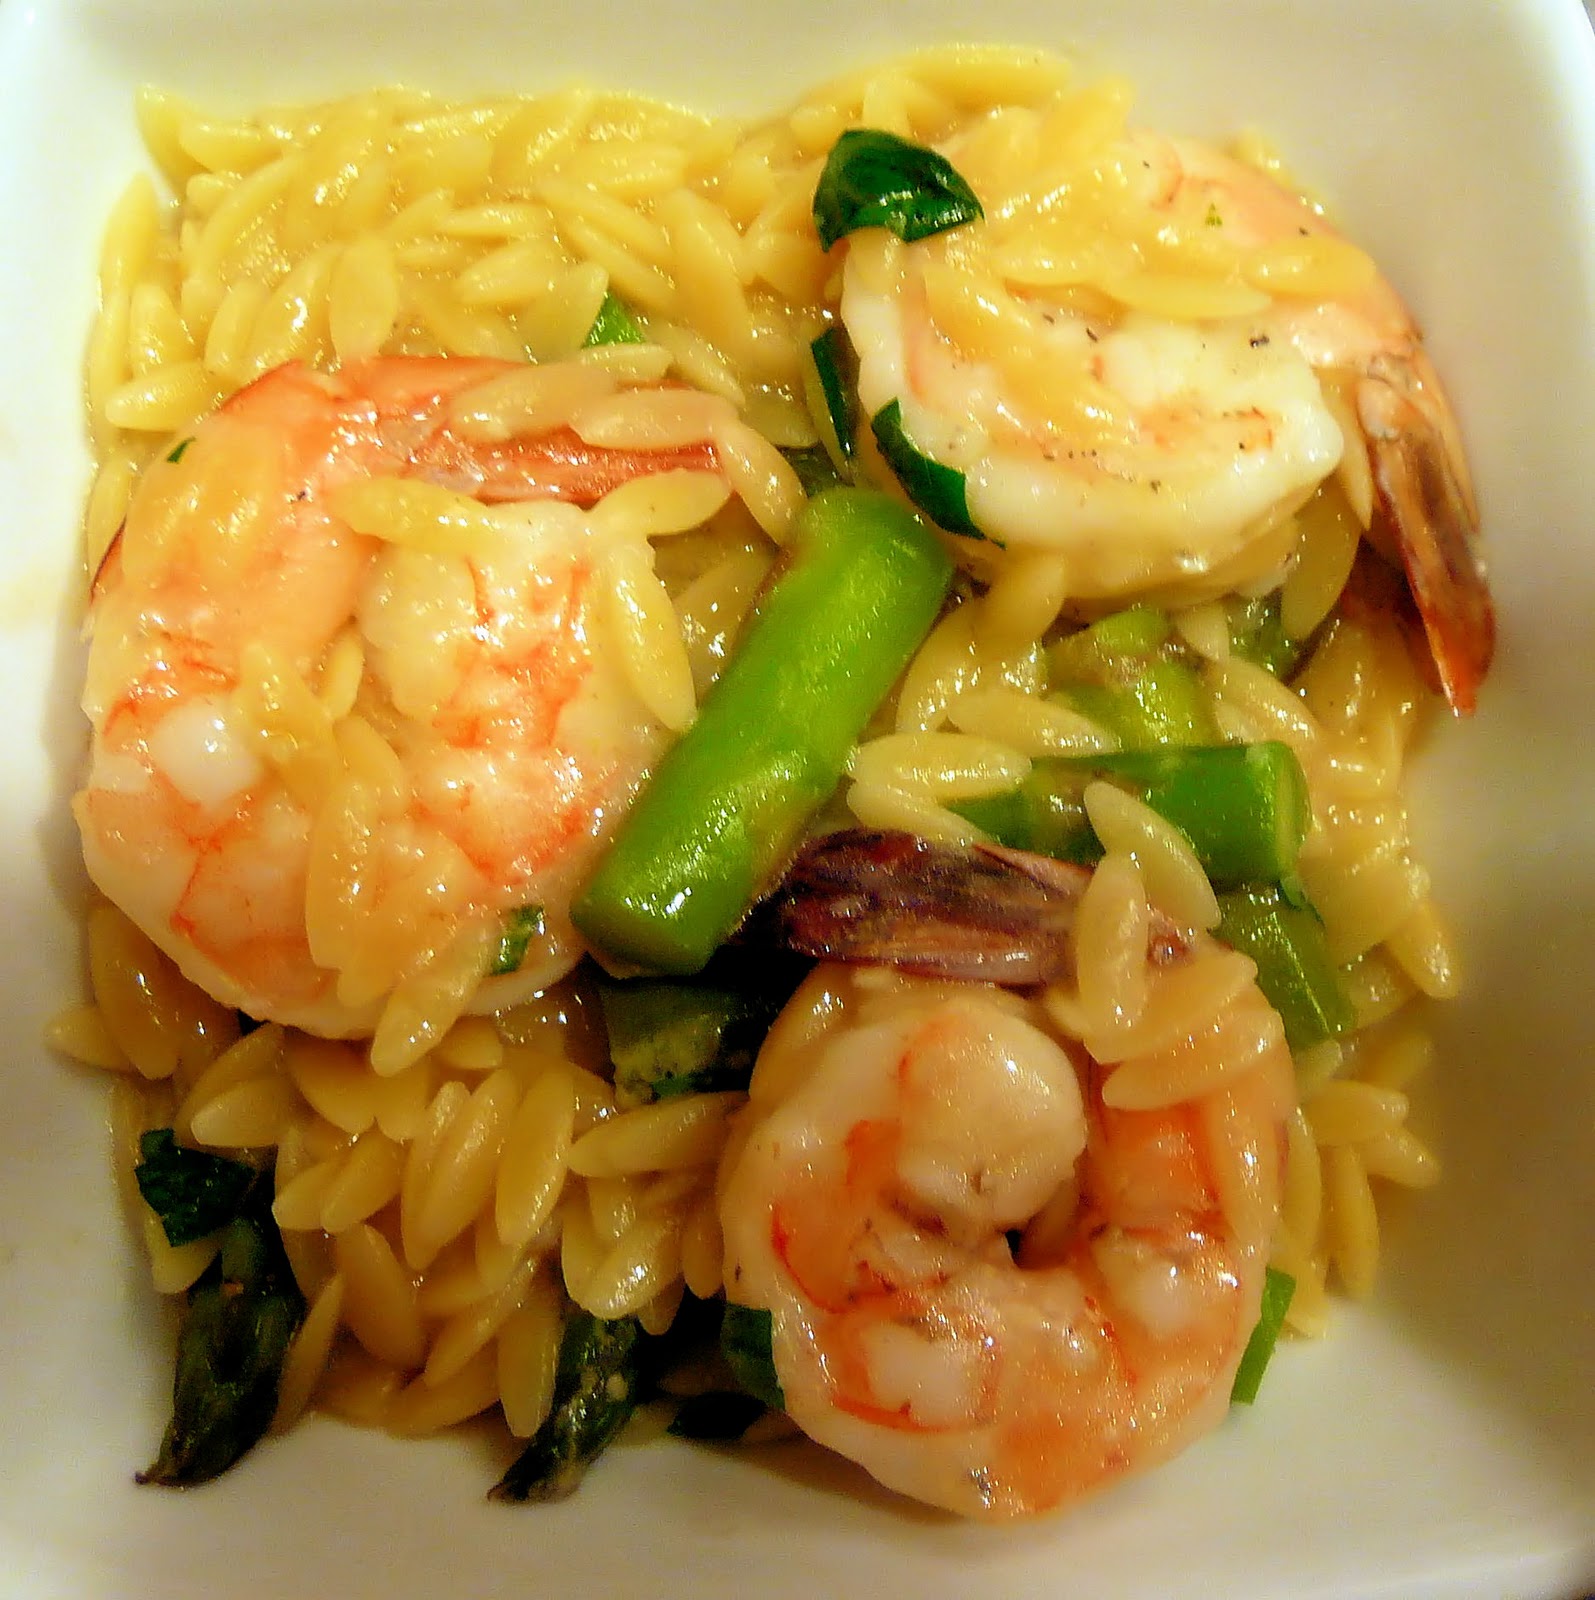
So, traditional paella has that nice crispy bottom where the rice has started to stick to the pan. Twenty minutes obviously won’t give you that result. But the rice turns out fluffy and has the flavoring of not only the saffron/paella spice, but also the smokiness of the chicken sausage and a subtle fresh seafood flavor of the shrimp.
The little bit of citrus really enhances the dish. It brings out all of the flavors and adds such brightness to the rice.
I am so impressed and pleased with how this turned out. For just thirty minutes of your time, you can have a paella-type dinner prepared!
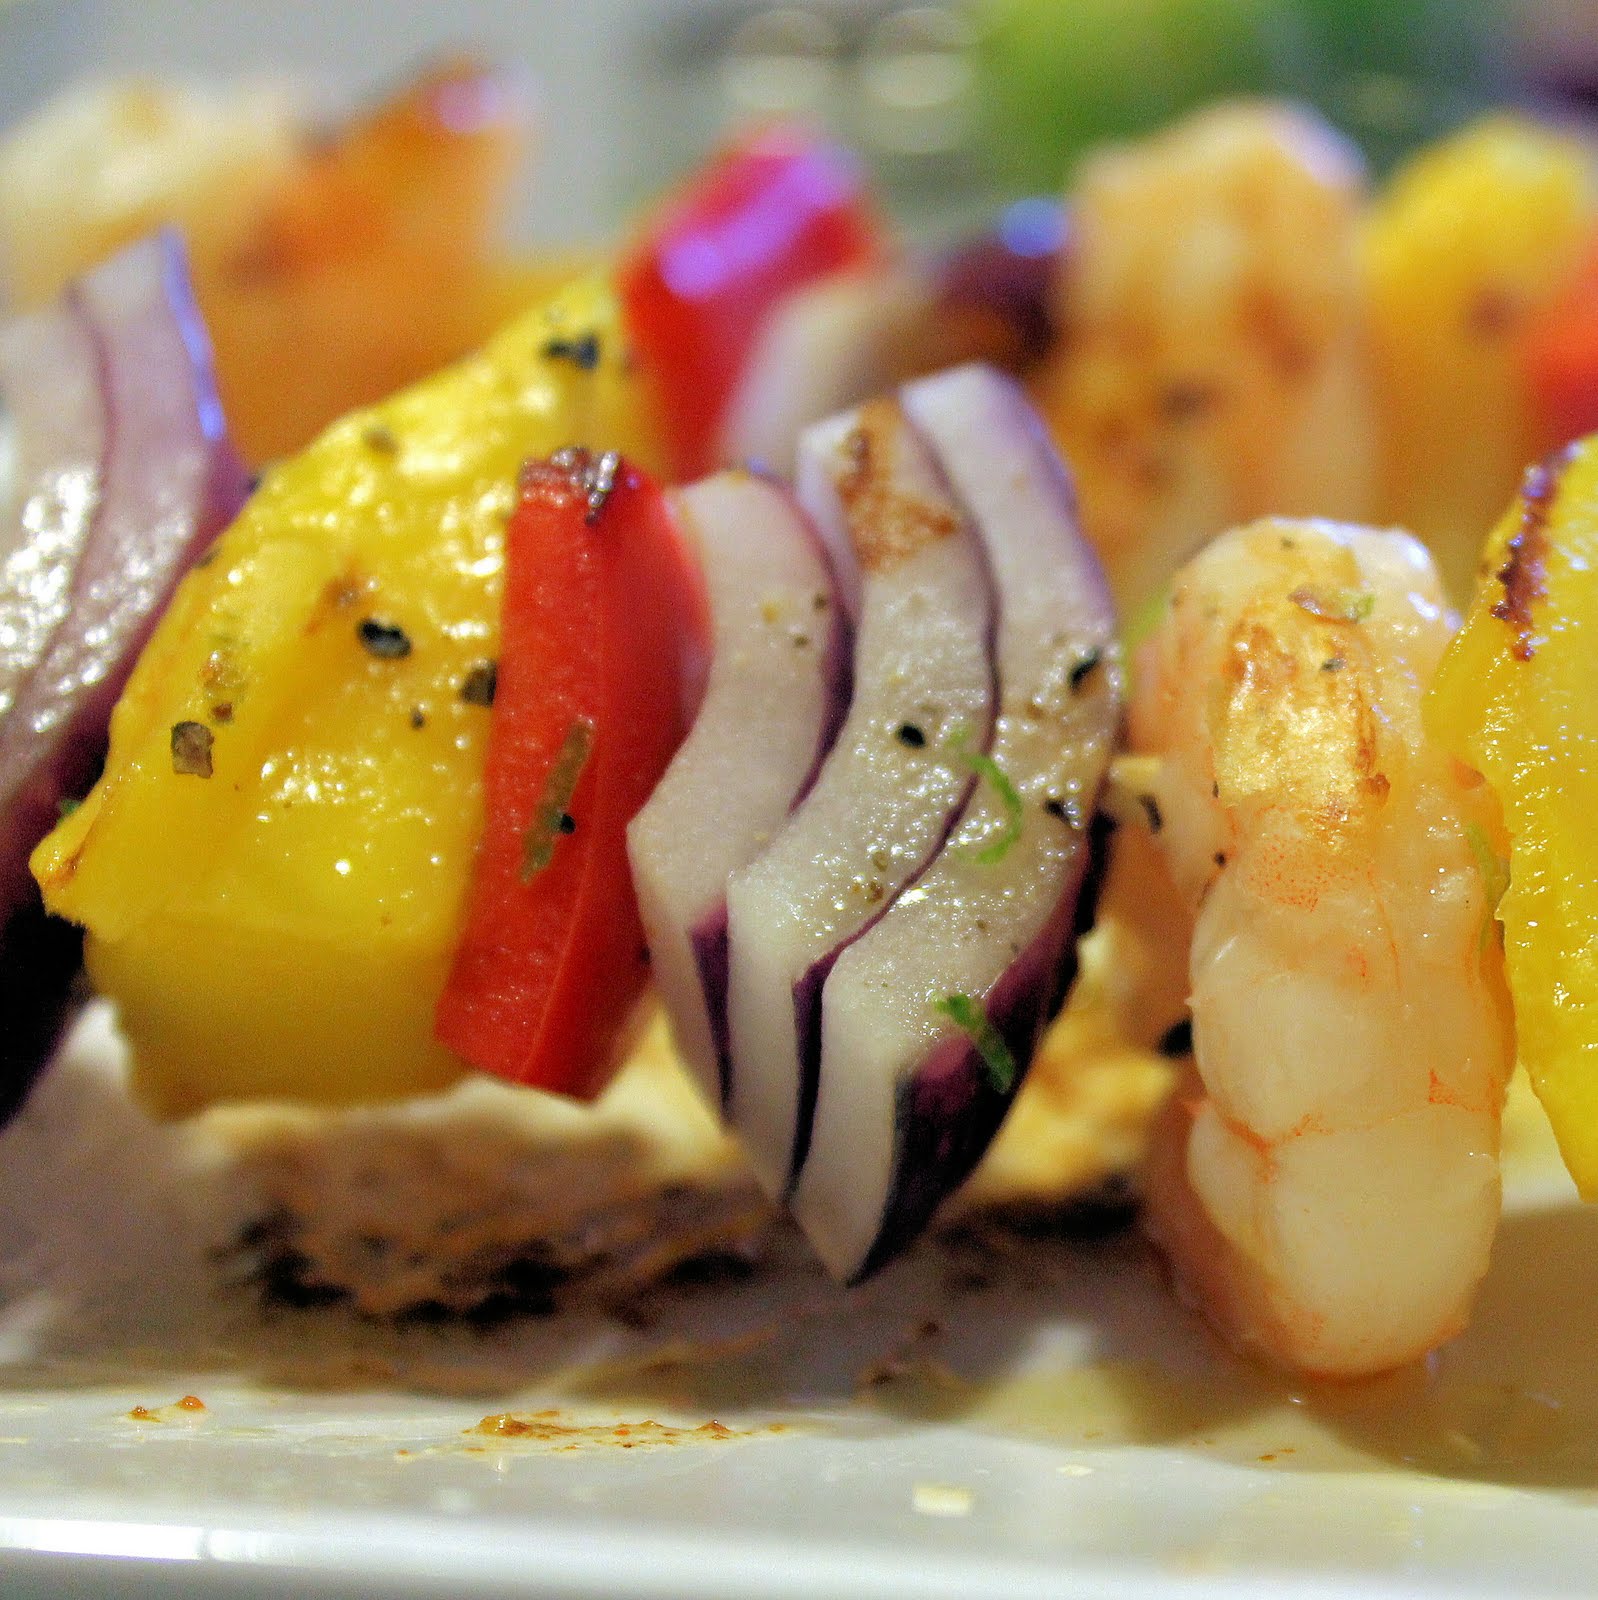
I kept the tails and shell on the shrimp so that they could soak in the liquid while cooking the rice. It helped so that the shrimp wouldn’t overcook. Also, I think it makes the paella look a bit more authentic. 🙂
If you are a bit squeamish about it, feel free to use deveined shrimp. I’d suggest not adding them to the pot until the rice is about half way cooked, so as to not overcook the shrimp.
I wish I could figure out what exactly was in the “paella spice” I had because the flavor was really amazing. Saffron, tumeric, spanish paprika? Sigh. Who knows. But if you come across any pre-made paella mix, be sure to buy it and try this dish! However, I do think that using saffron would make a really solid substitute.