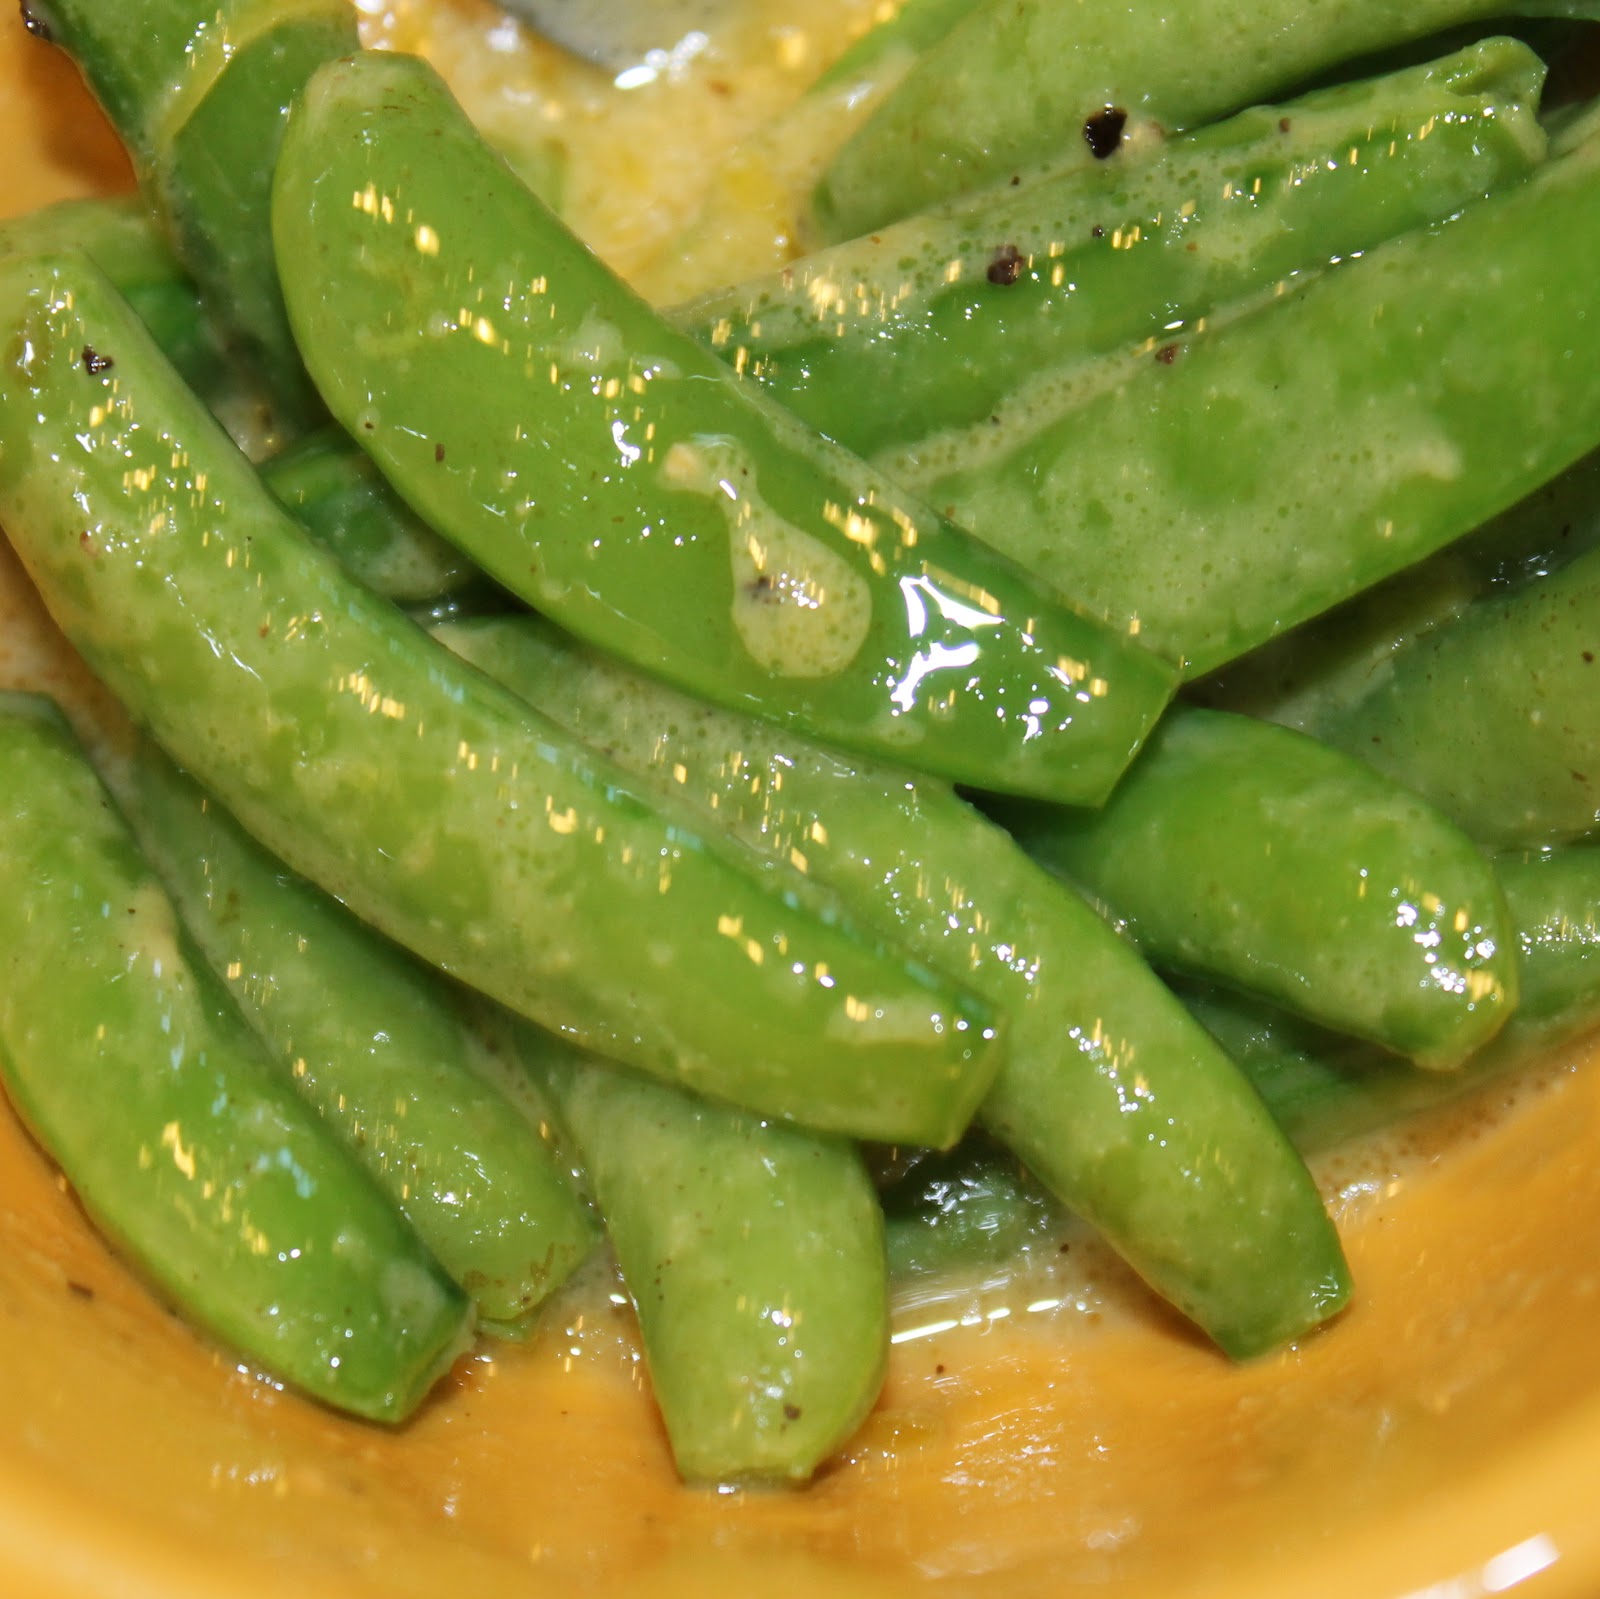
One of my favorite parts of the CSA share is having a plethora of zucchini and summer squash at my disposal. I love these ingredients with a simple pasta, so I was happy to come across a Martha Stewart recipe fthat incorporated these ingredients. I thought I still had some snap peas left over and was going to throw those in, but I unfortunately was all out. Plus, I didn’t have any frozen peas in my freezer. If you have those, be sure to include them. I threw in a zucchini also because I had one on hand.

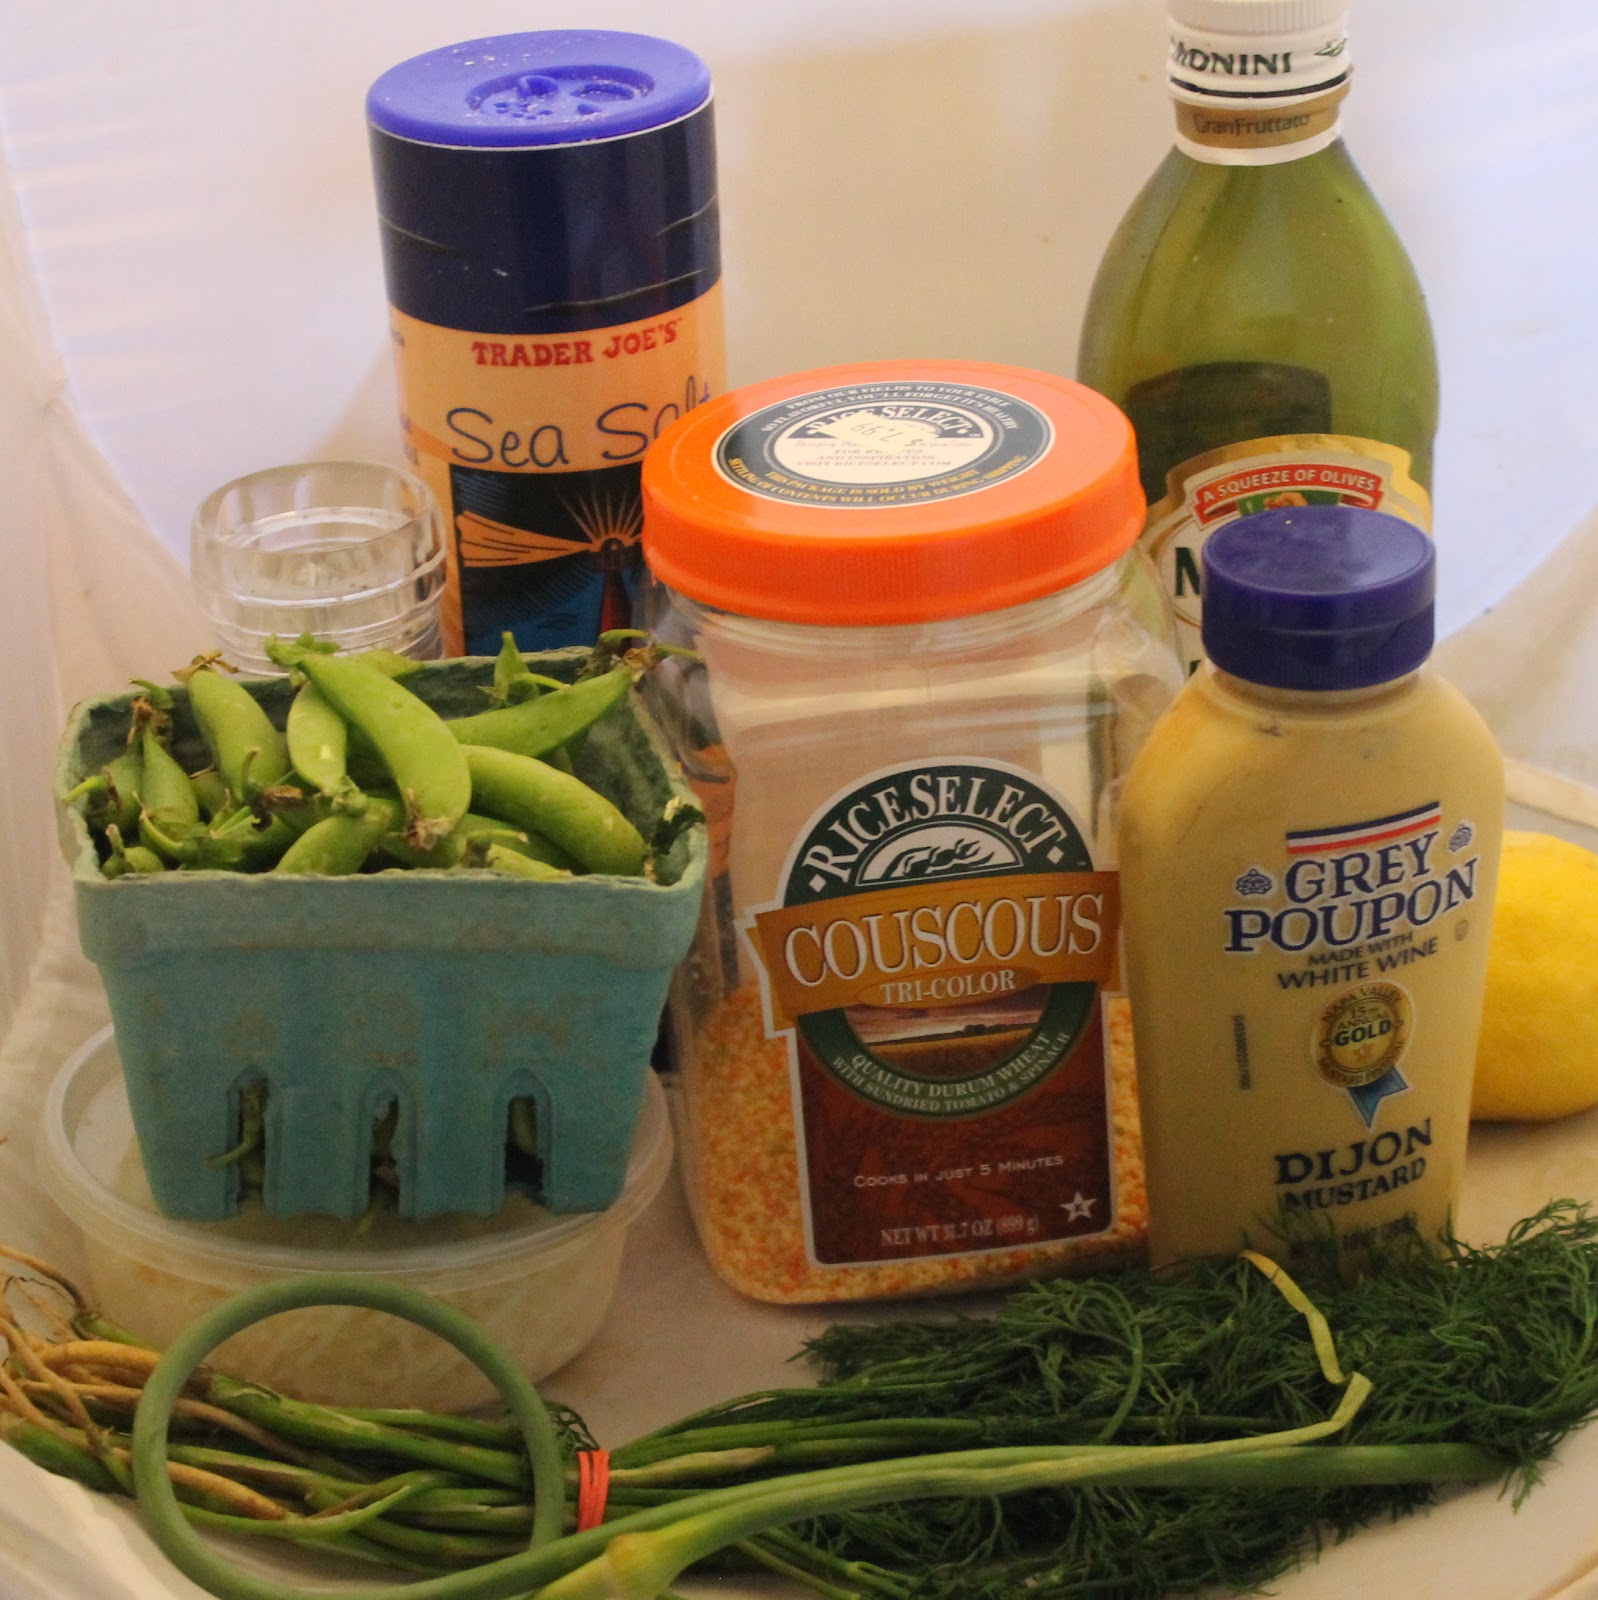
Ingredients:
- Coarse salt and ground pepper
- 8 ounces gemelli or other short pasta
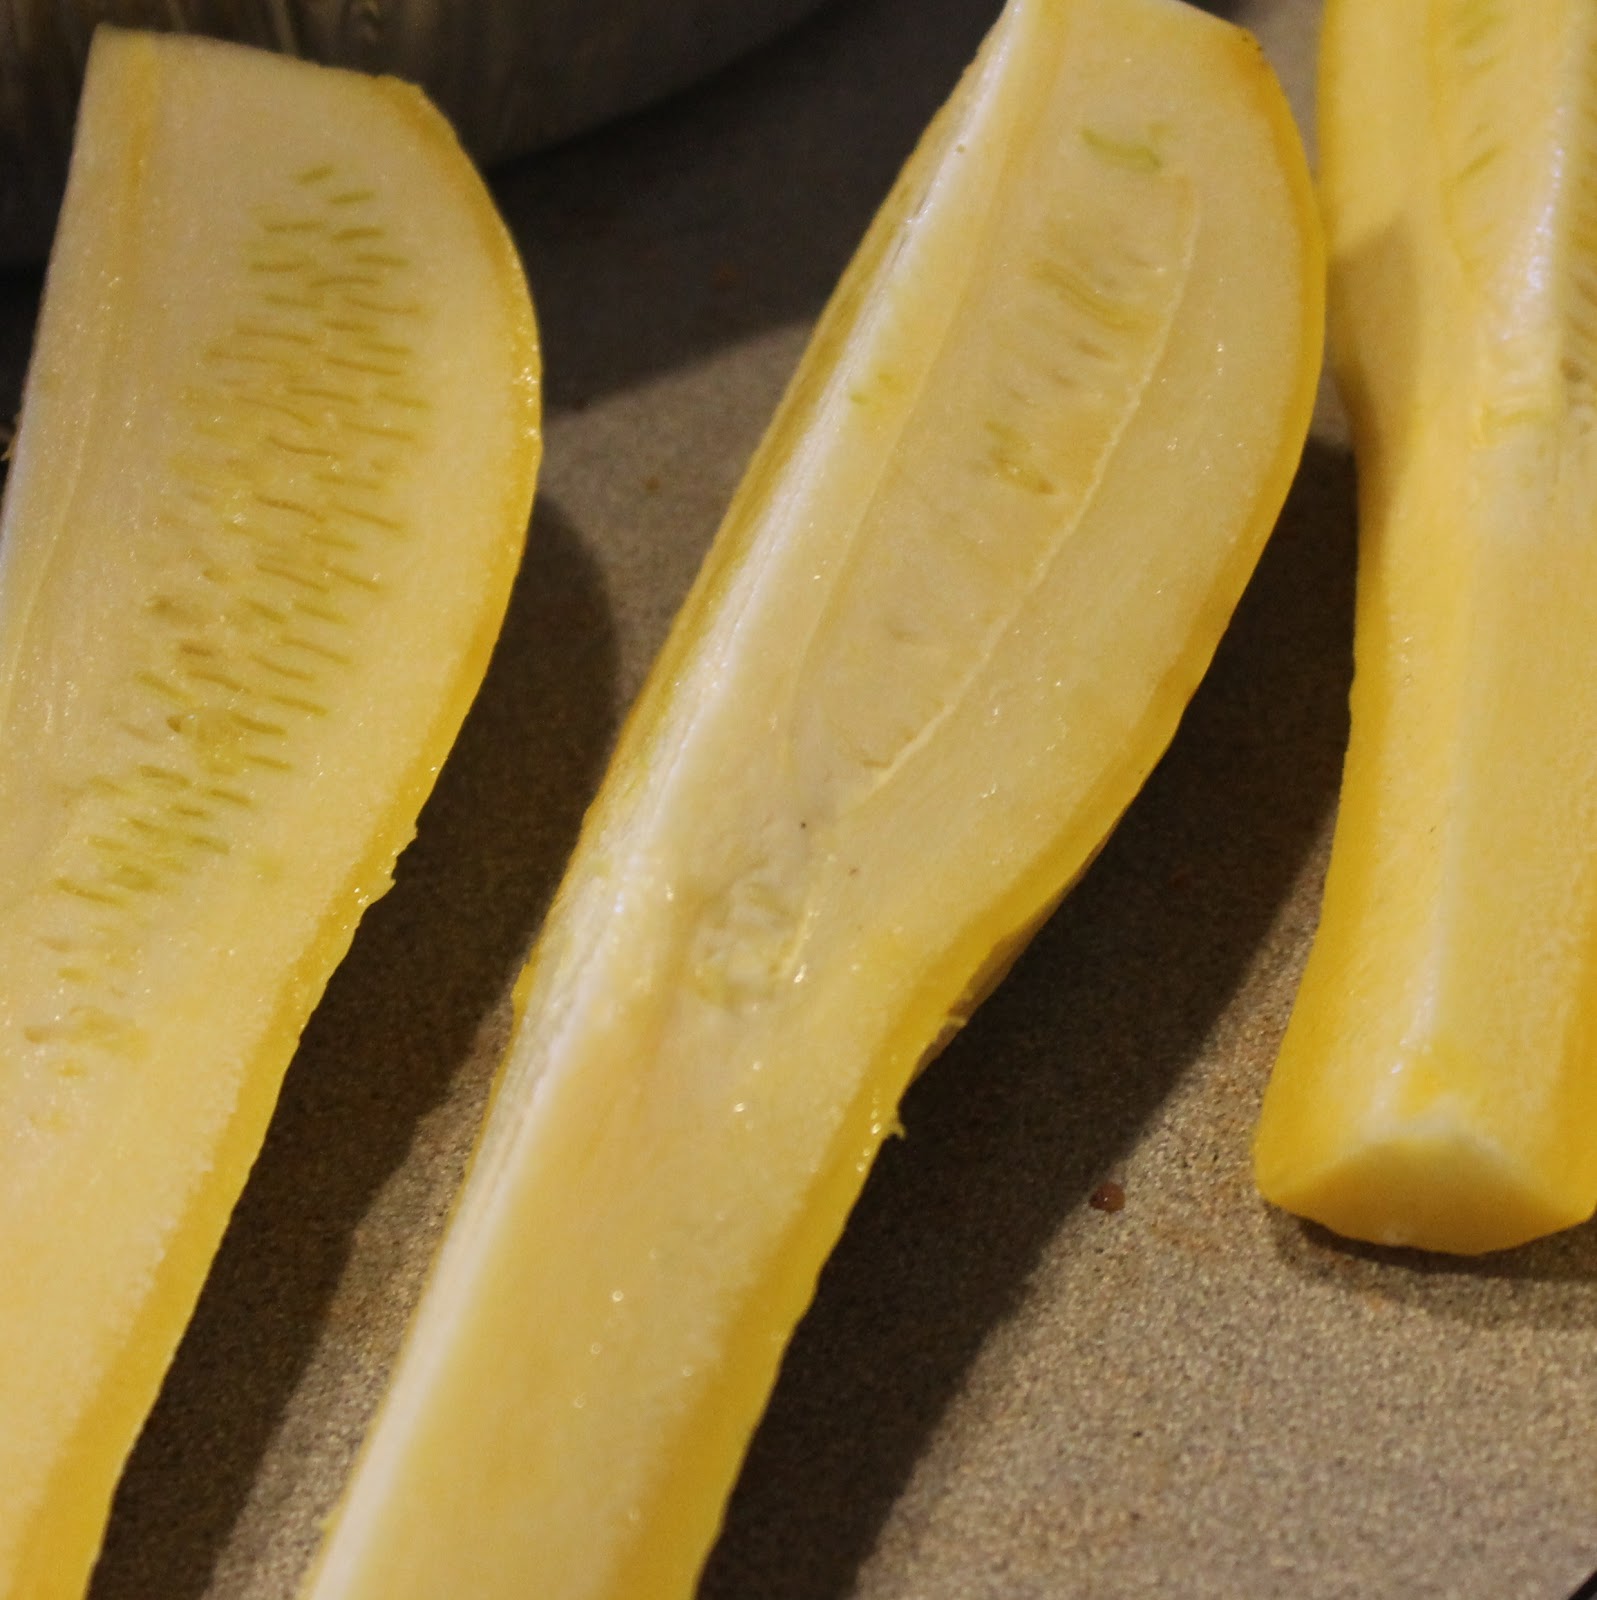
- 3 medium yellow squash, quartered lengthwise and thinly sliced
- 1 medium zucchini, quartered lengthwise and thinly sliced
- 4 tablespoons butter, cut into small pieces
- 1 tablespoon fresh lemon juice
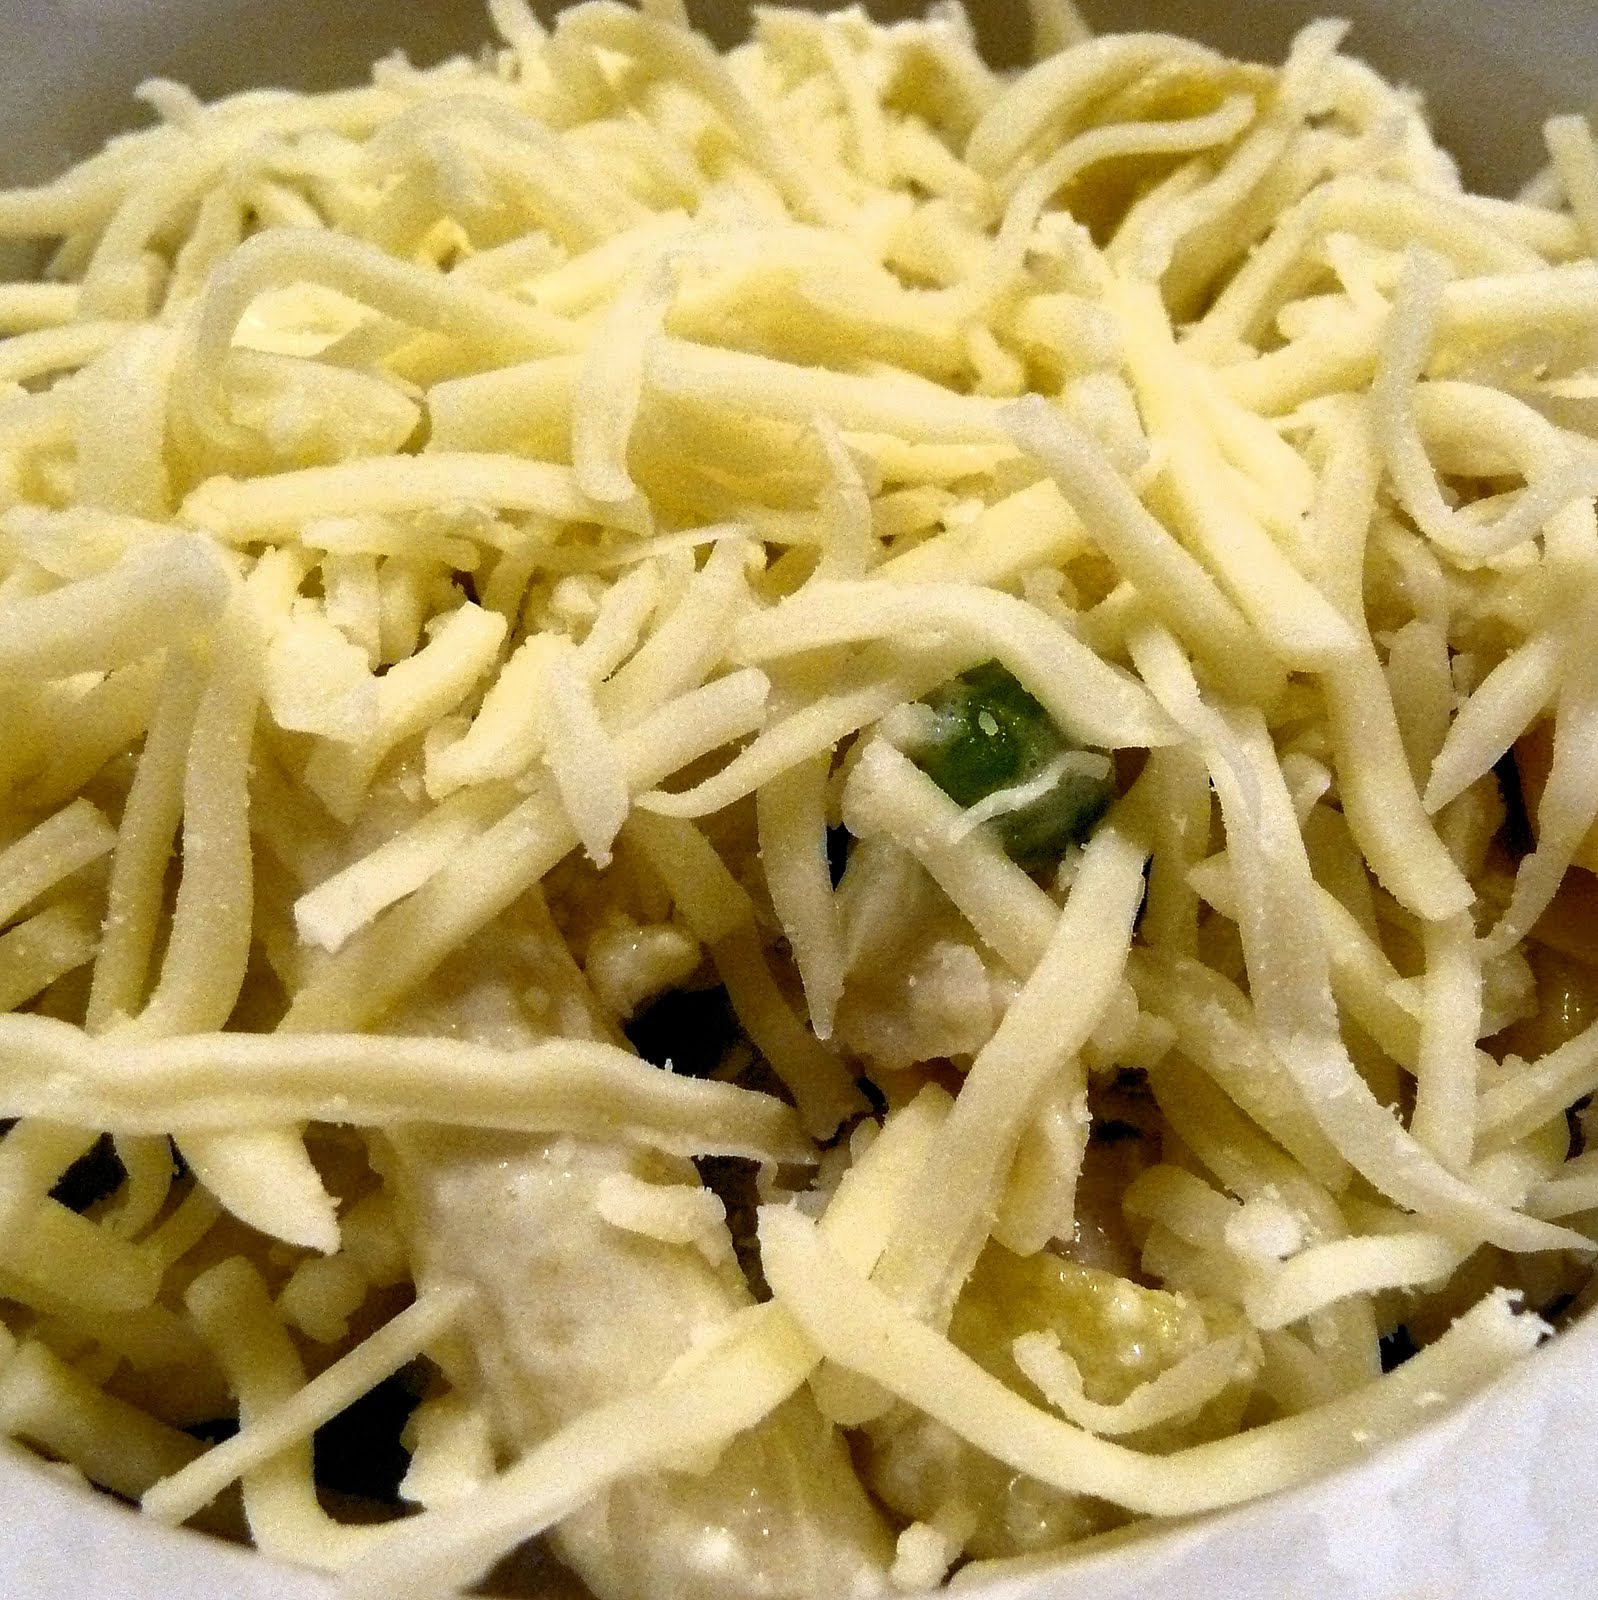
- 1/2 cup shredded Parmesan
- Torn fresh basil leaves, as garnish

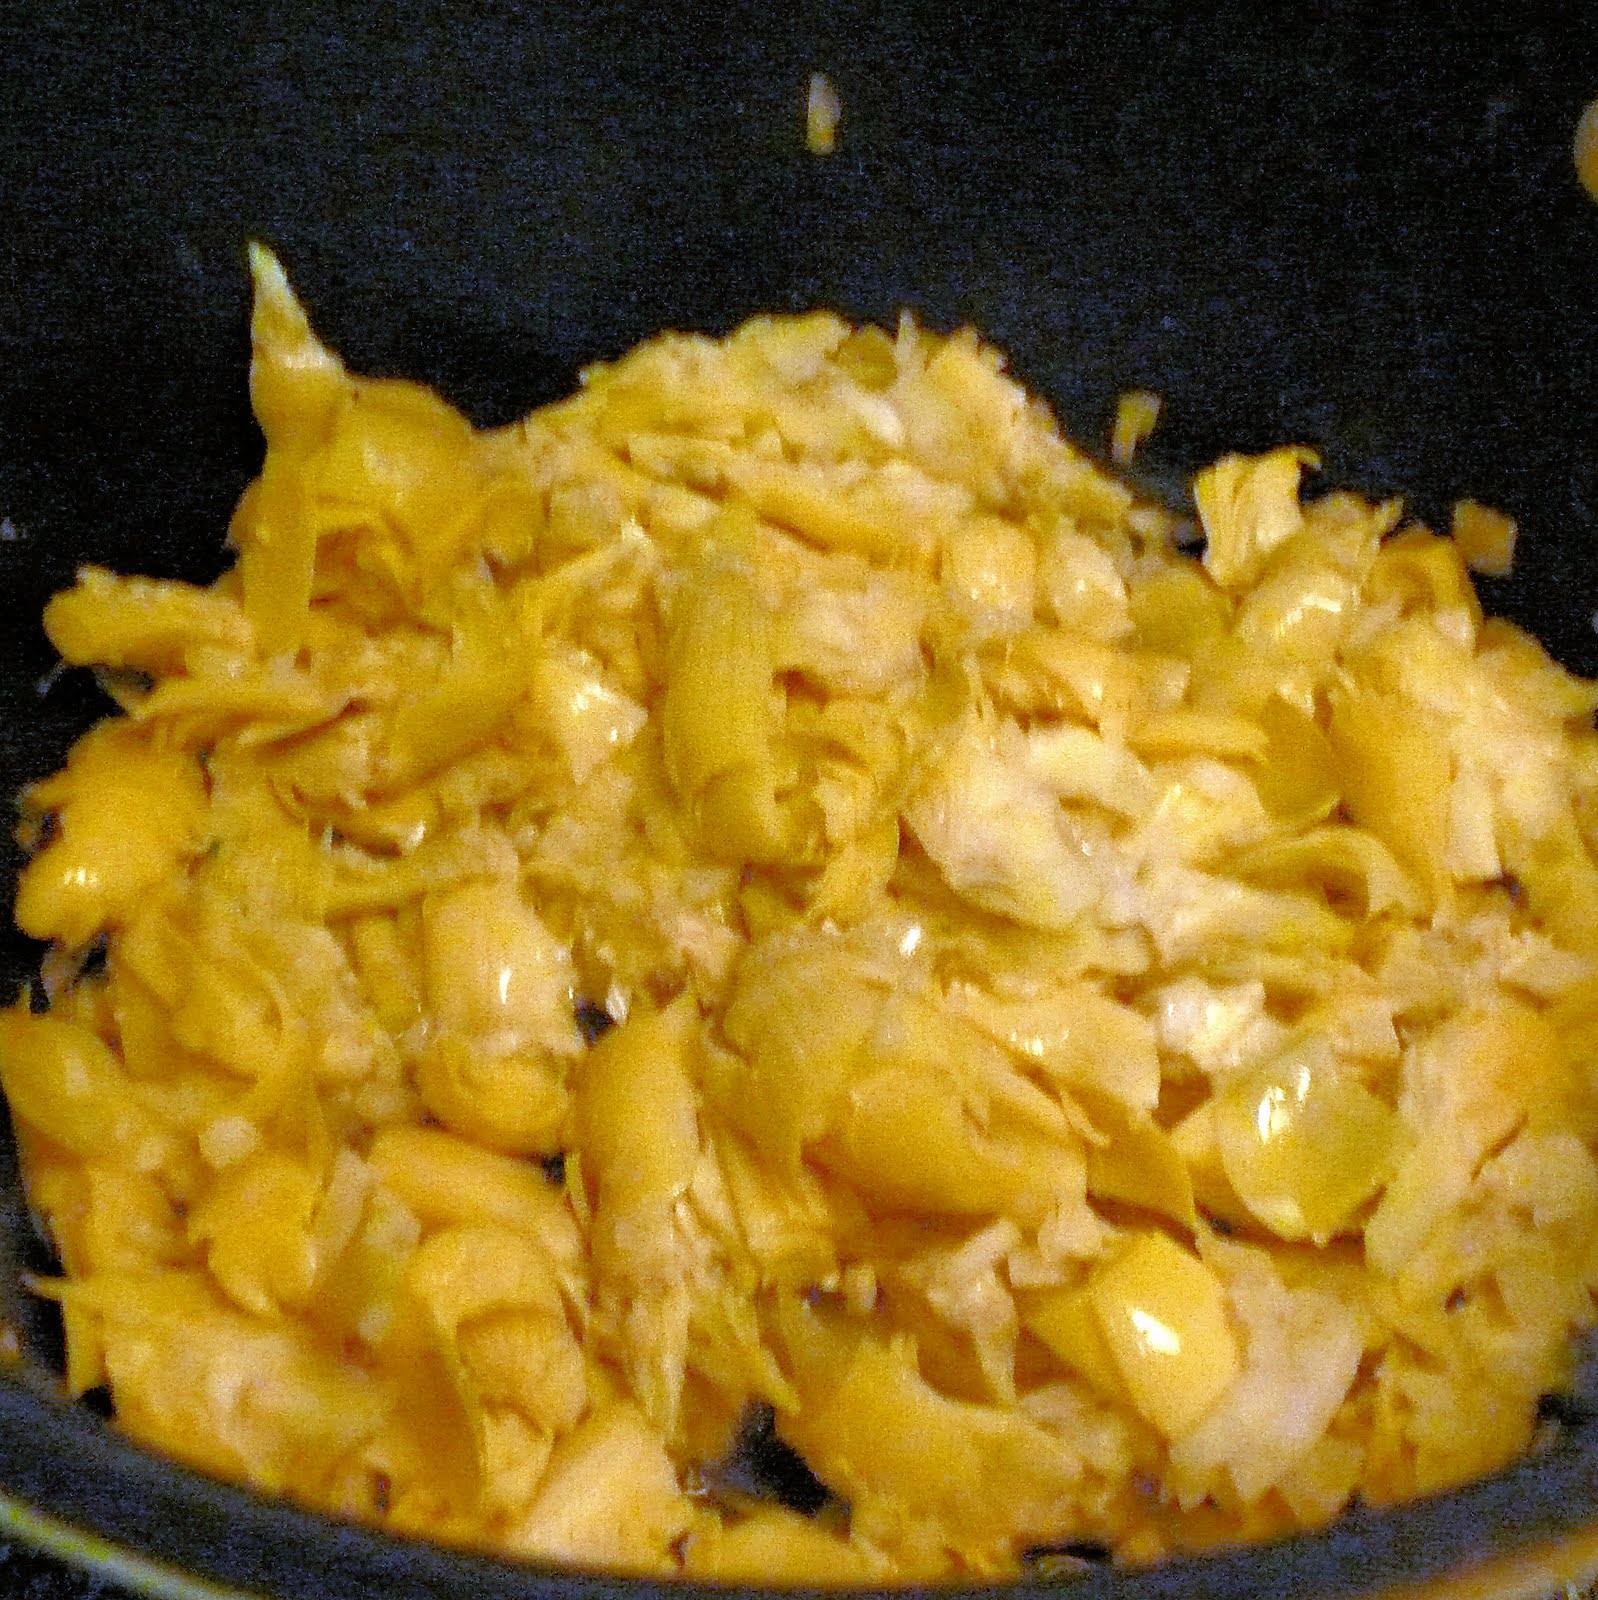
Cook pasta in a pot of boiling salted water. Cook 2 minutes less than required for al dente (my pasta had to cook for 6 minutes).

While waiting for the pasta to cook, slice your squash and zucchini.
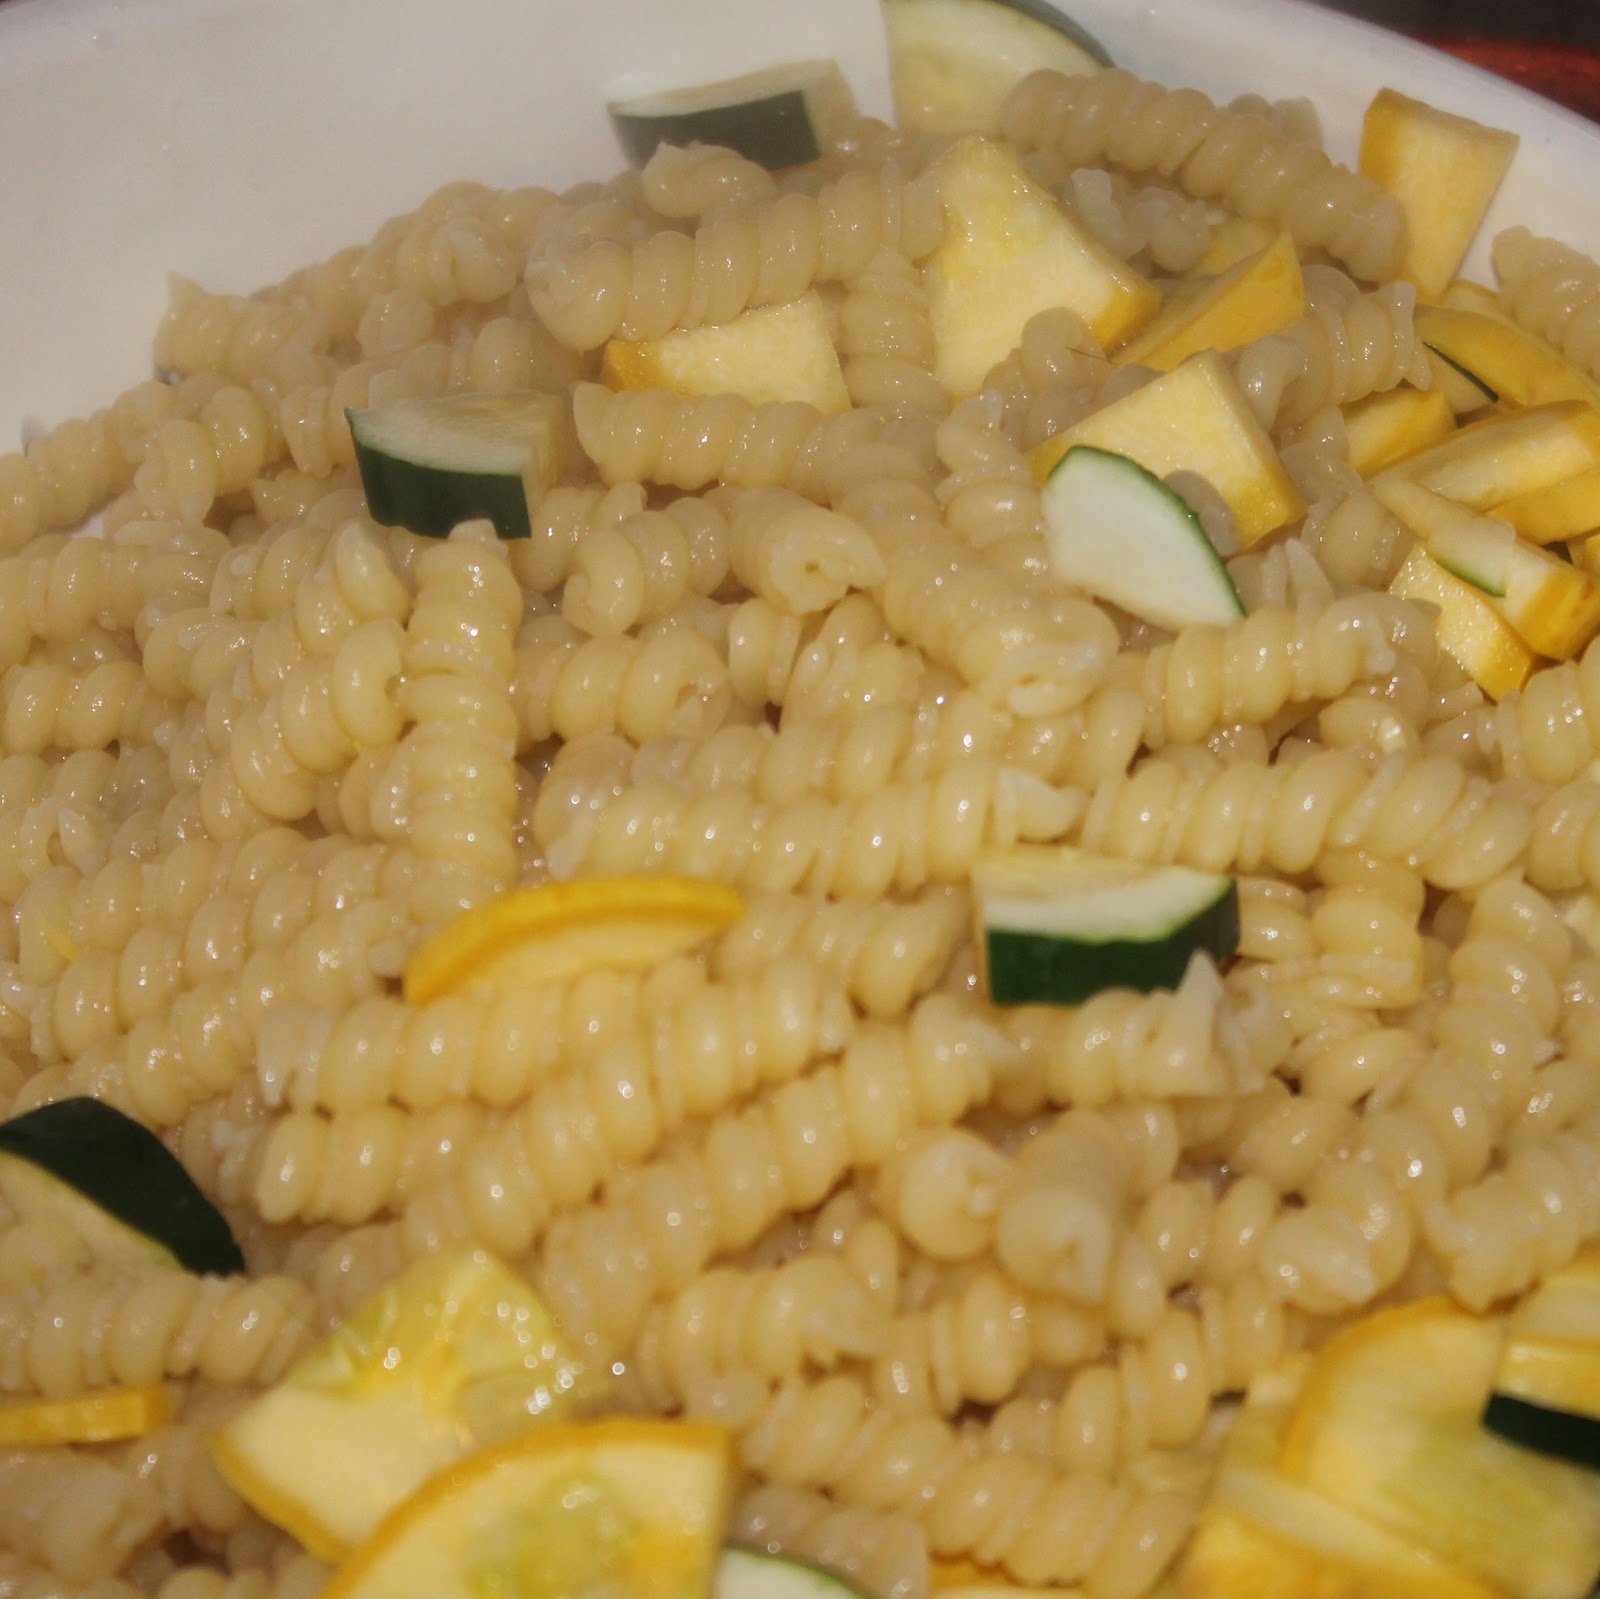
Add the squash and zucchini to the pasta and water, and cook for 2 minutes.

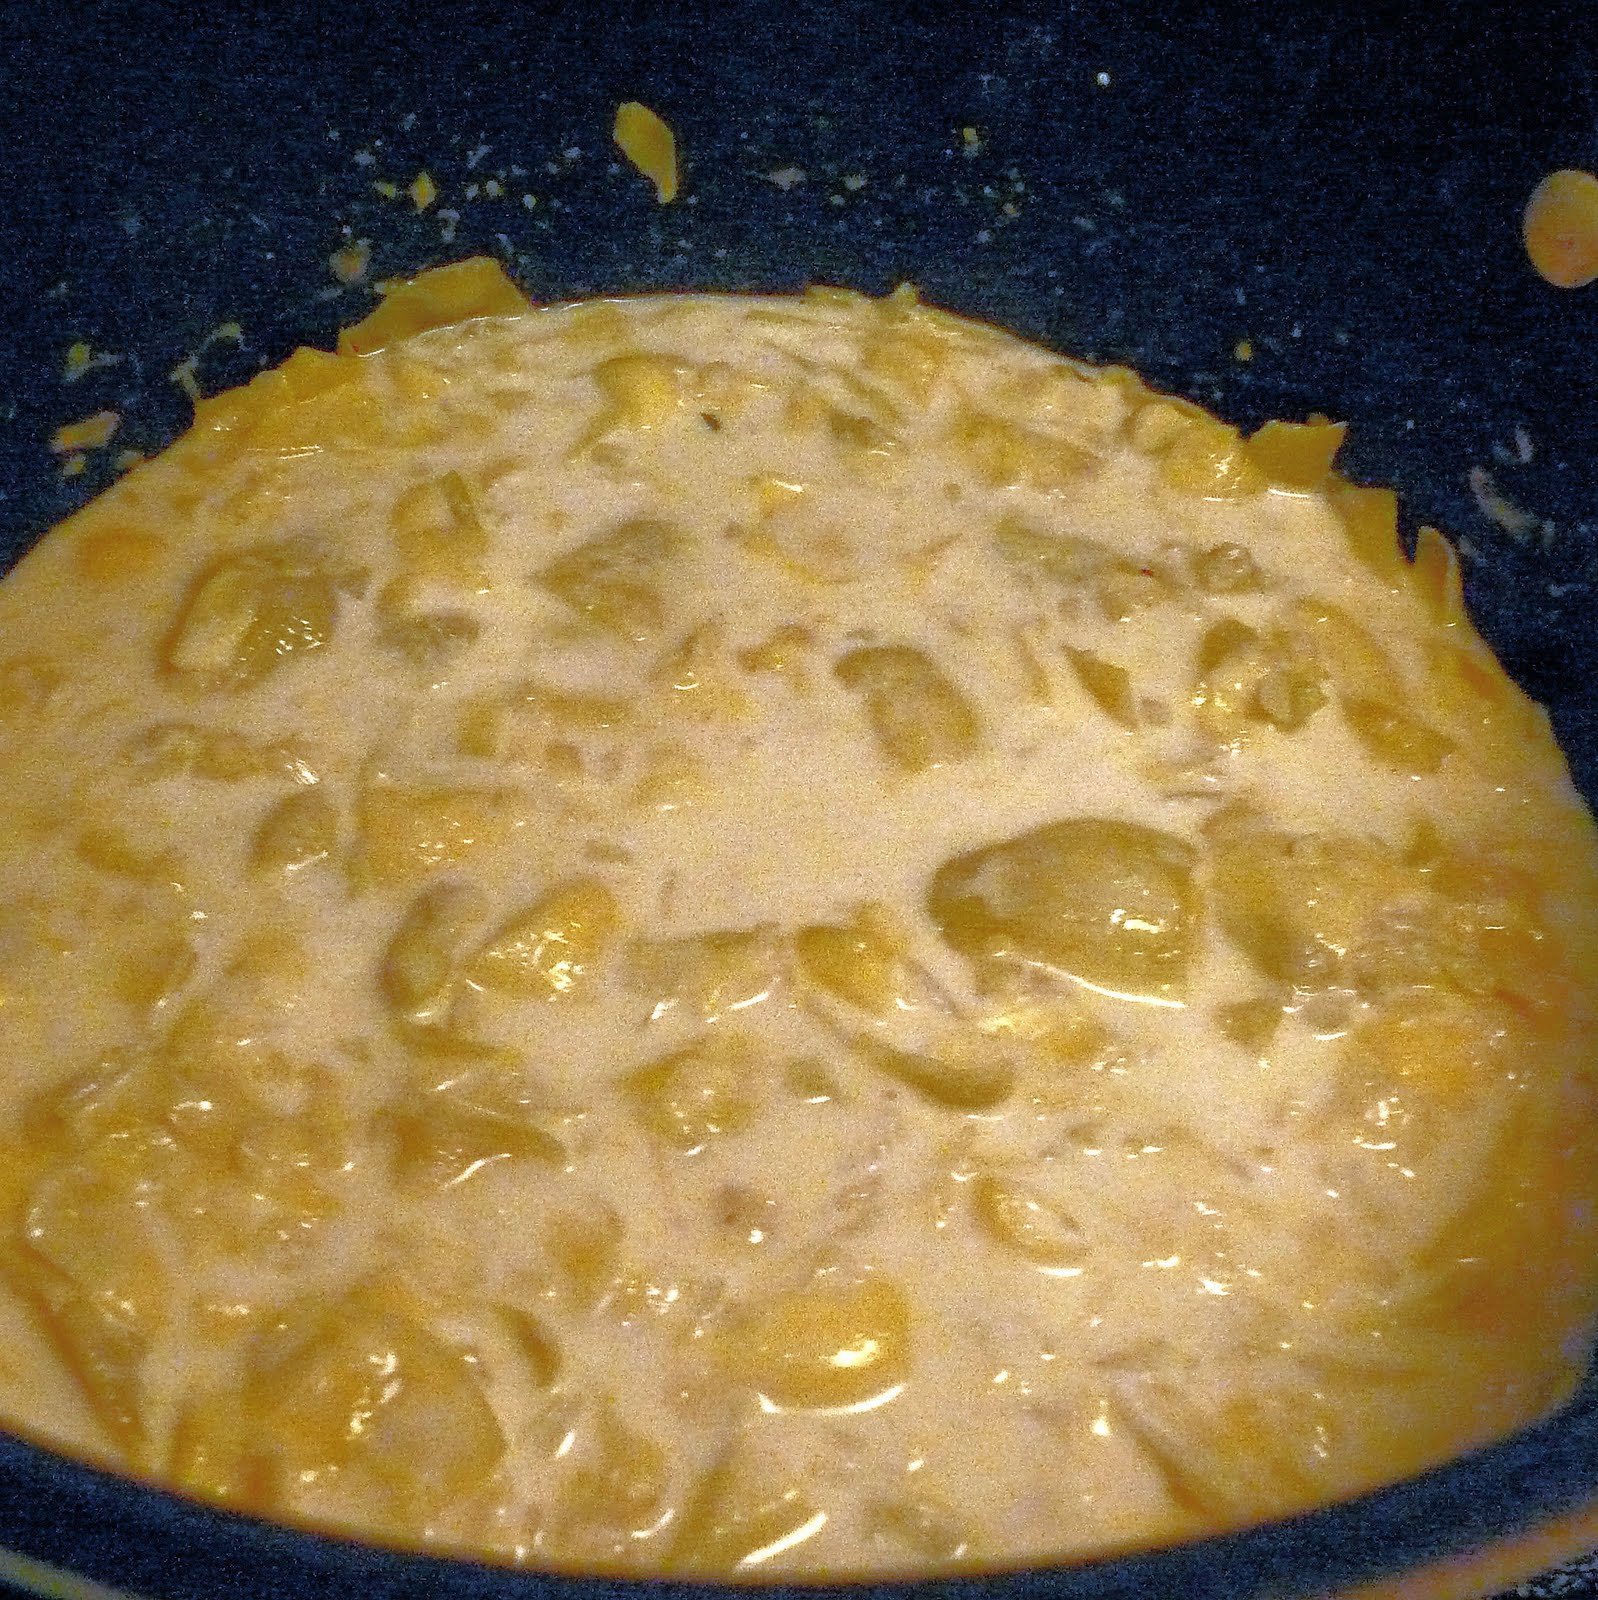
Drain the pasta, reserving 1/2 cup of pasta water. Return the pasta to the pot.
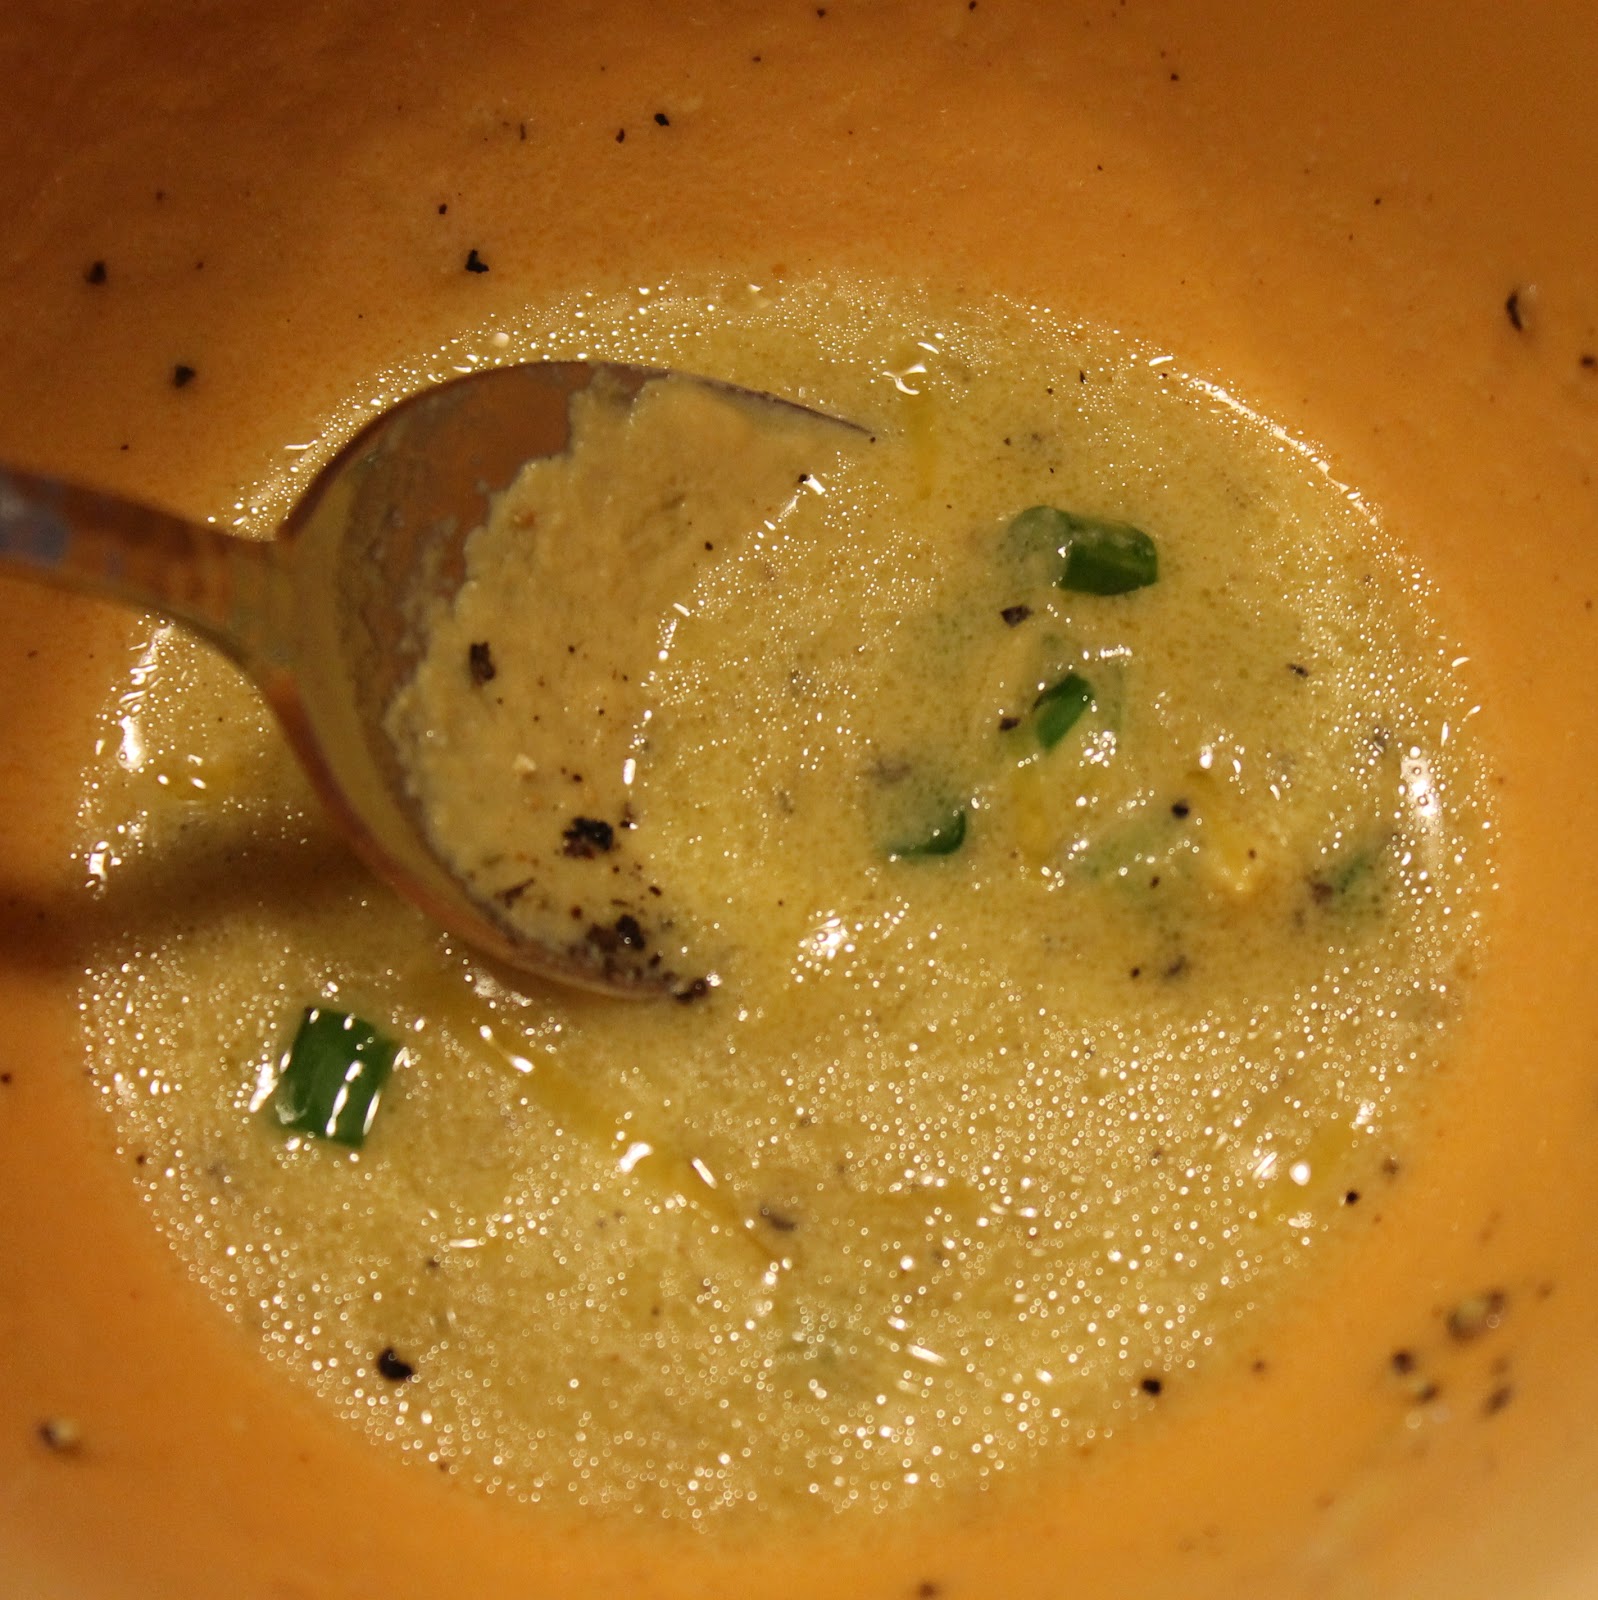
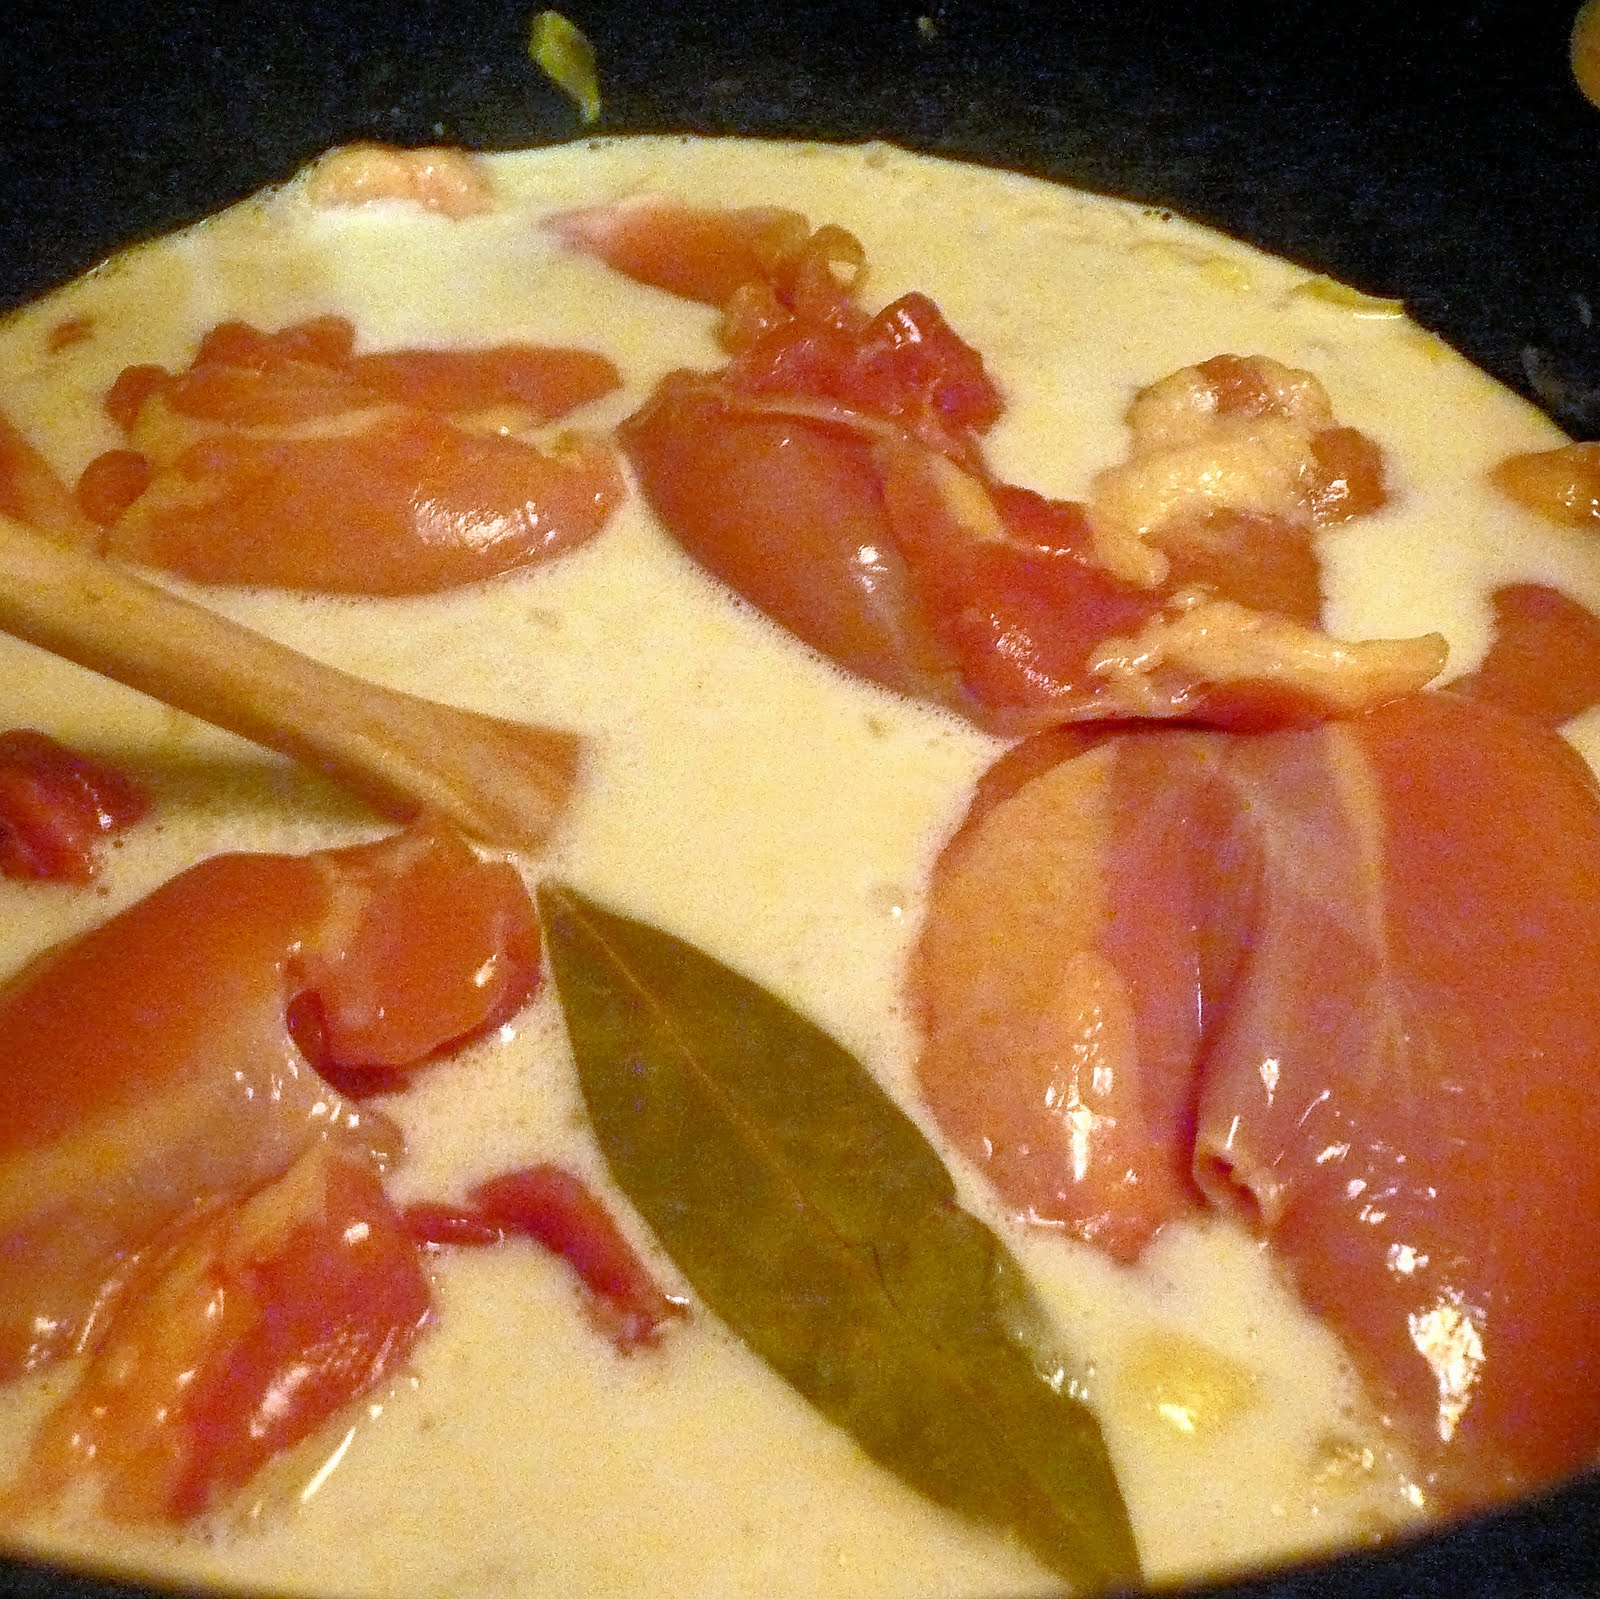
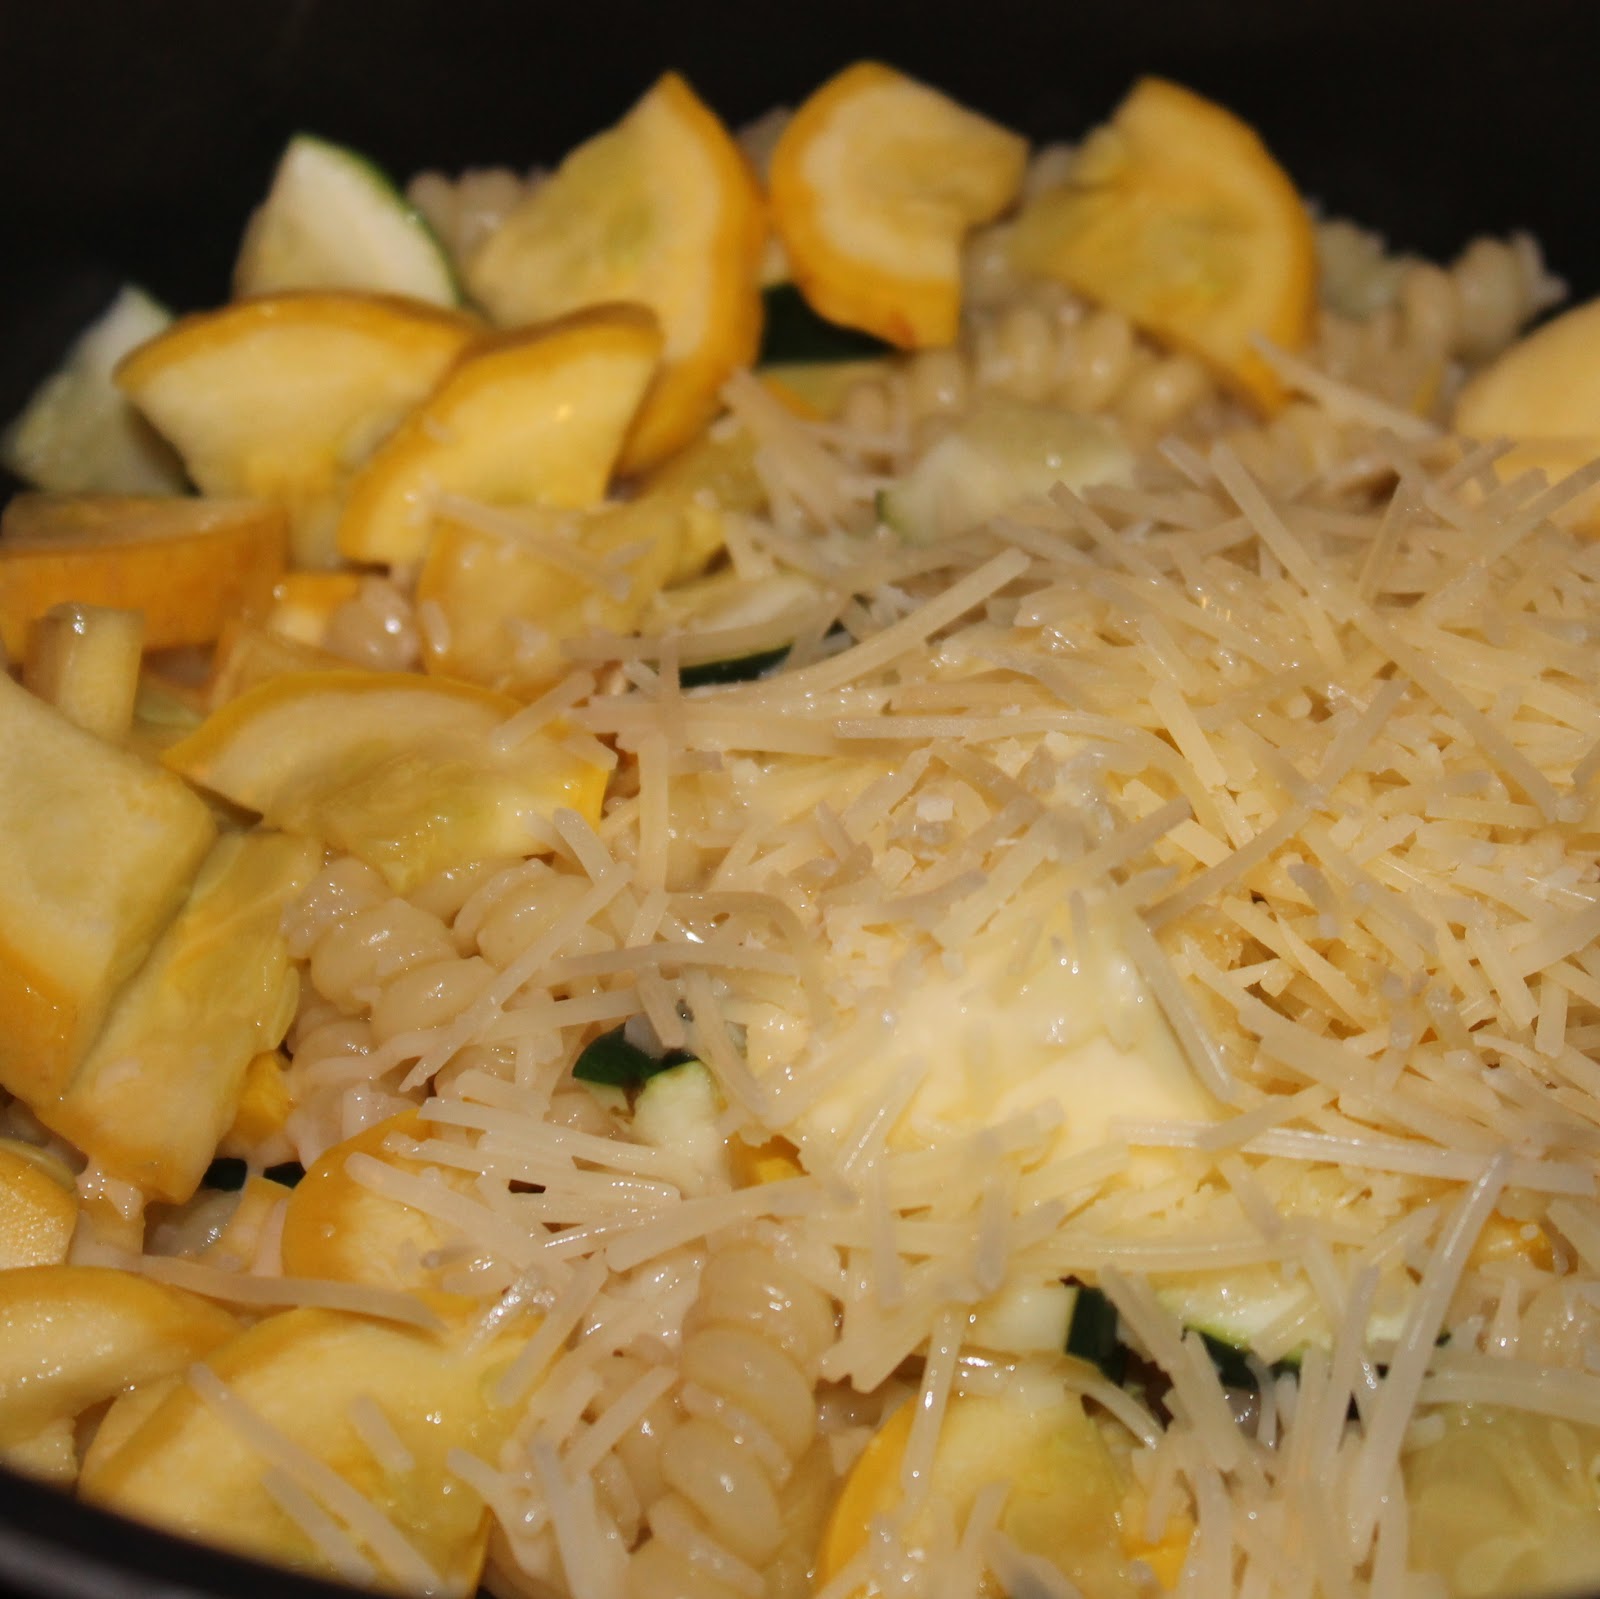
Add the butter, lemon juice, 1/4 cup Parmesan, and 1/2 cup pasta water. Season with salt and pepper and toss to combine.

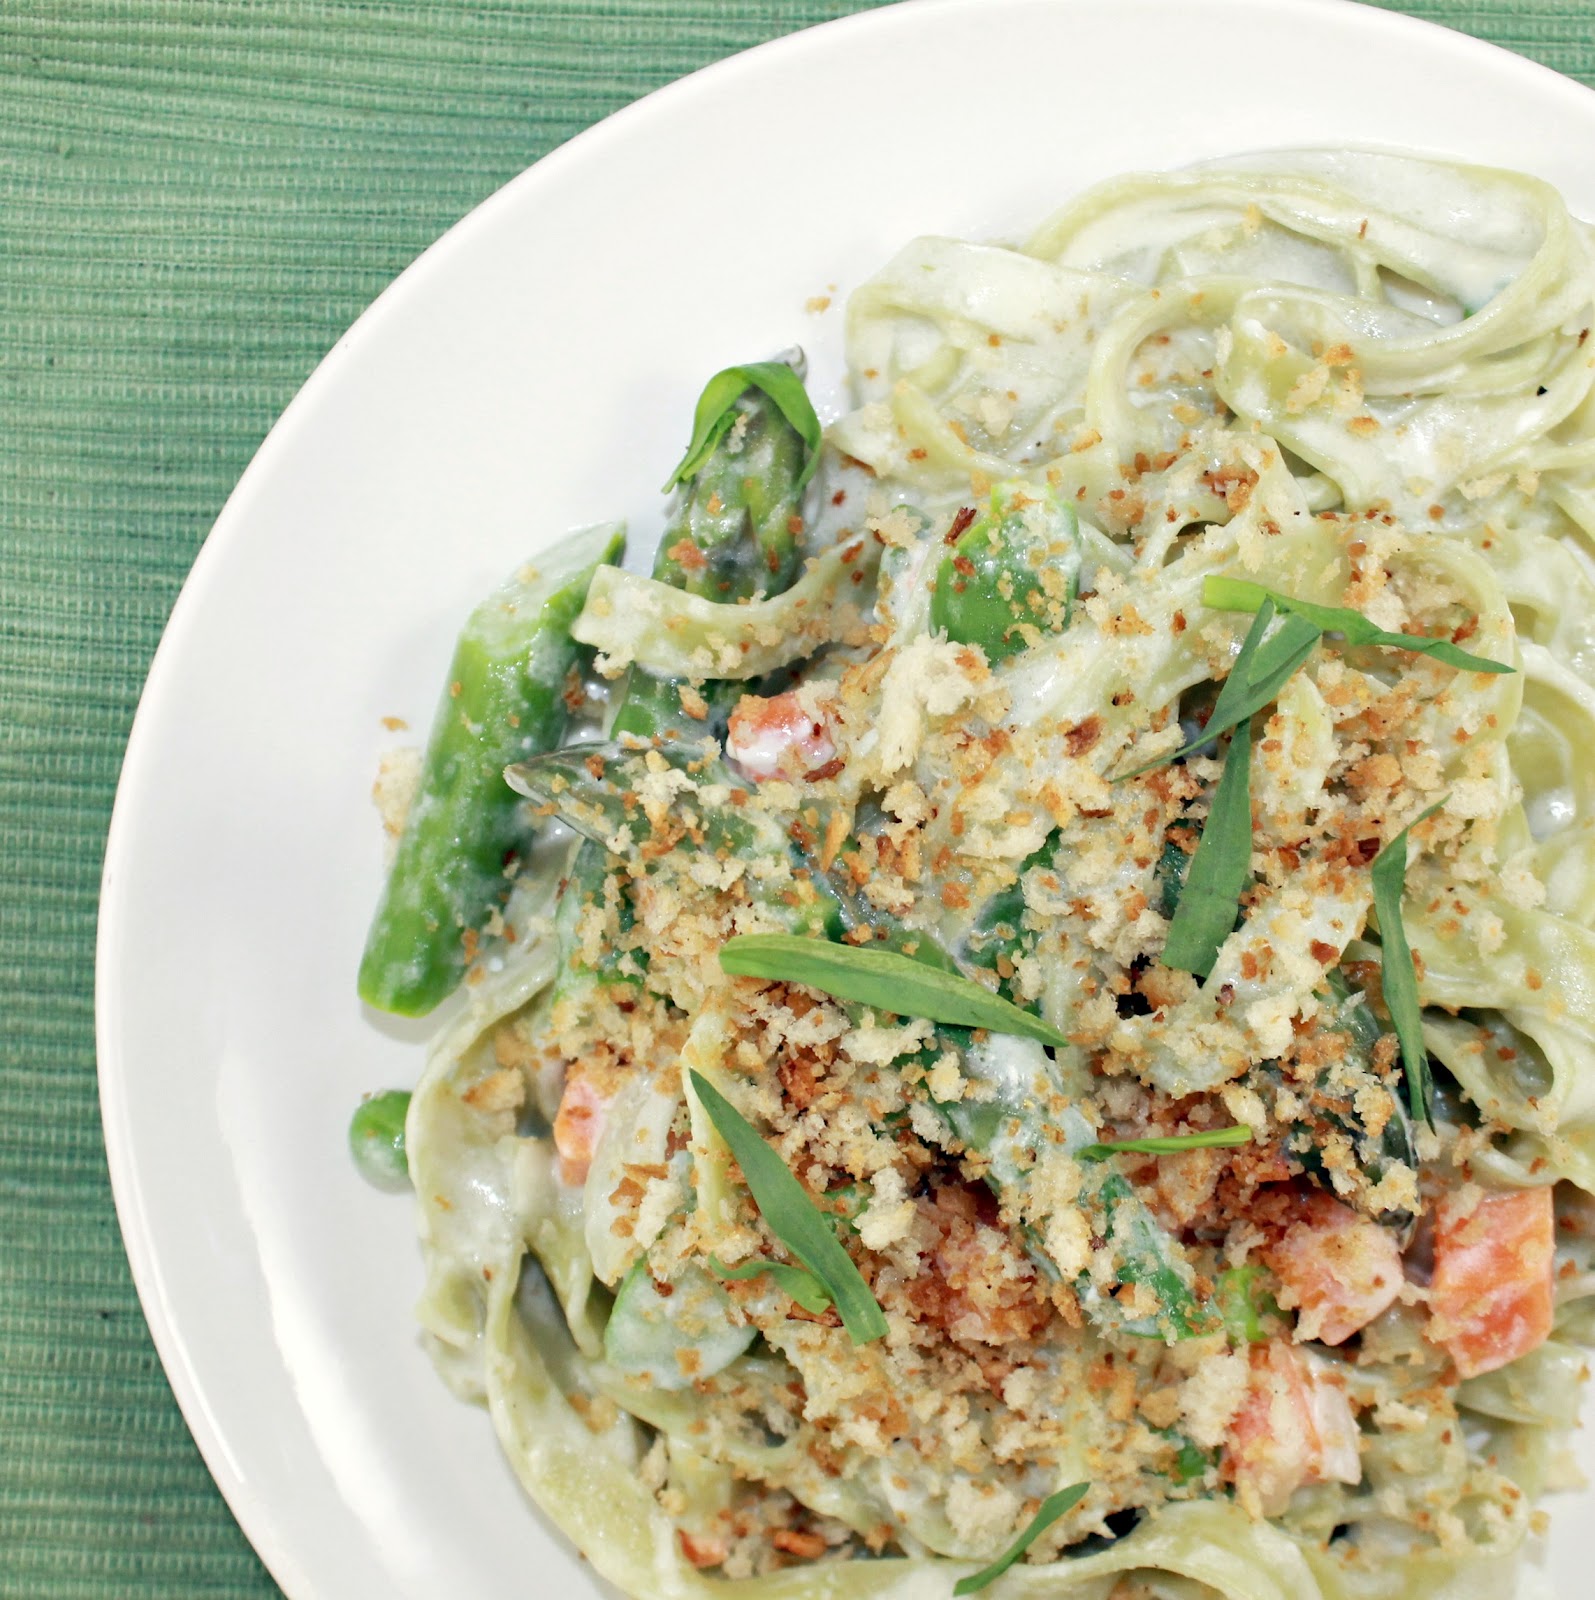
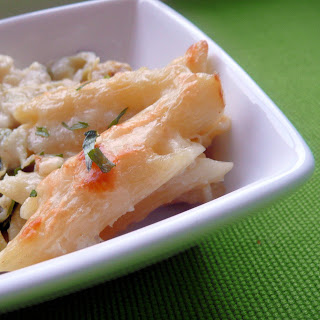
Spoon into individual bowls and top with basil and sprinkle with Parmesan.

At first bite, I thought this might be missing something. But all it really needed was another seasoning of pepper and an extra squeeze of lemon. After that, it was quite yummy.

To really up the flavor, a few red pepper flakes would go a long way.

The flavor of this was nice and fresh. It was a solid vegetarian dish, but I think it works best as a base. I feel like you could really turn this into something special with some additional flavors included.

What would you do to customize this dish?
Gemelli with Yellow Squash, Zucchini, and Basil
Ingredients
- Coarse salt and ground pepper
- 8 ounces gemelli or other short pasta
- 3 medium yellow squash, quartered lengthwise and thinly sliced
- 1 medium zucchini, quartered lengthwise and thinly sliced
- 4 tablespoons butter, cut into small pieces
- 1 tablespoon fresh lemon juice
- 1/2 cup shredded Parmesan
- Torn fresh basil leaves, as garnish
Instructions
- Cook pasta in a pot of boiling salted water. Cook 2 minutes less than required for al dente (my pasta had to cook for 6 minutes).
- While waiting for the pasta to cook, slice your squash and zucchini.
- Add the squash and zucchini to the pasta and water, and cook for 2 minutes.
- Drain the pasta, reserving 1/2 cup of pasta water. Return the pasta to the pot.
- Add the butter, lemon juice, 1/4 cup Parmesan, and 1/2 cup pasta water. Season with salt and pepper and toss to combine.
- Spoon into individual bowls and top with basil and sprinkle with Parmesan.
Schema/Recipe SEO Data Markup by Yummly Rich Recipes
0.1
https://icancookthat.org/2012/06/gemelli-with-yellow-squash-zucchini-and-basil.html