My fiance is obsessed with leftovers. For whatever reason, he seems to think that most food tastes better the second time around. So I typically make a few more servings than we need so that he has his beloved leftovers the next day.
OXO makes cooking and storing food/leftovers super simple with their new 14 Piece Glass Bake, Serve & Store Set (paid link). The set is awesome to prepare foods beforehand, or to easily refrigerate/freeze any leftovers. It includes a Glass 3 Qt Baking Dish with Lid, Glass 2 Qt Baking Dish with Lid, Glass Loaf Pan, Glass Pie Plate, 1 Cup Round SNAP Container, 2 Cup Round SNAP Container, and 4 Cup Round SNAP Container.
For make ahead recipes, this glass bakeware is a huge time saver: they are made of thermal shock-resistant borosilicate glass, which allows dishes to be taken directly from the freezer to the oven or microwave — no need to fully thaw. The glass can withstand up to 250 degrees F of temperature change! Generous handles make removing dishes from the oven super easy, even when wearing oven mitts.
This set is perfect for recipes on the go as well; the baking dishes and SNAP containers come with raised slosh-proof lids for easy transportation. The SNAP Glass Food Storage is also microwave safe for reheating leftovers (just undo the tabs of the lid first), and provides a leak-proof seal, so it’s great for lunches to take to work!
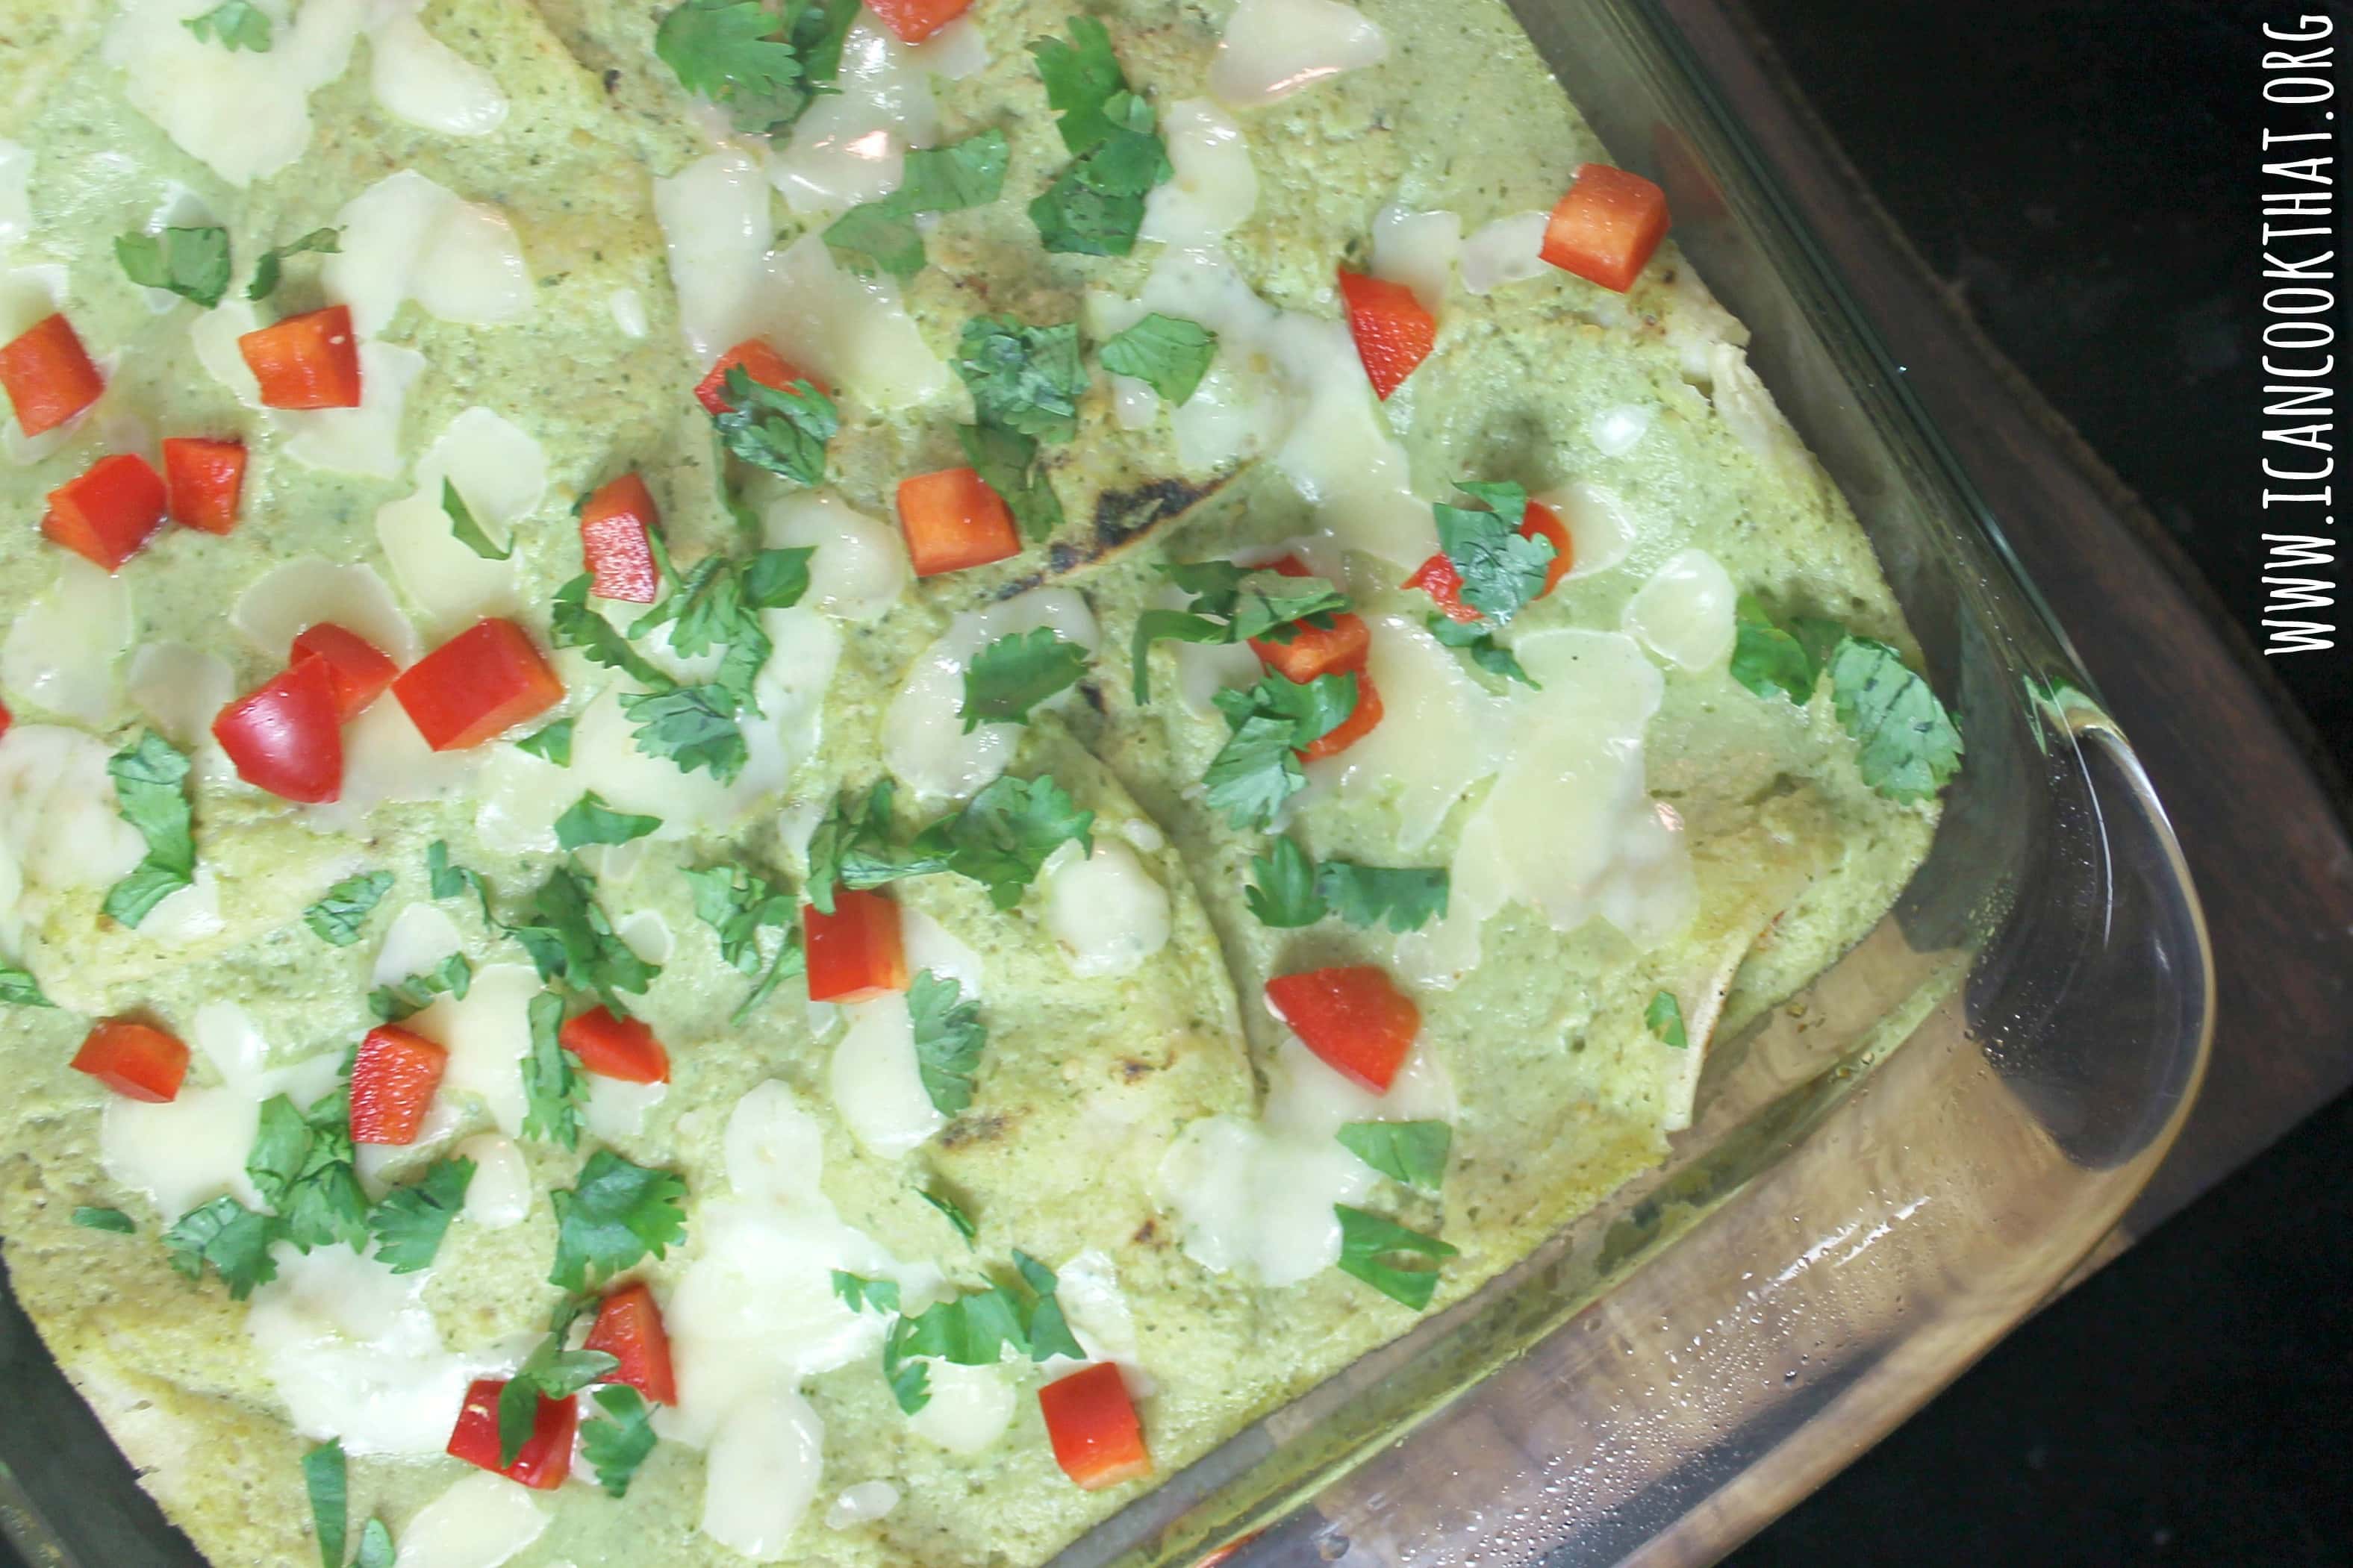
I made this recipe for Chicken Chilaquiles Casserole recently for dinner using OXO’s 3 quart baking dish (9×13). Chilaquiles are actually typically a breakfast recipe, using lightly fried tortillas and salsa. This version is a casserole take on the traditional, and uses grilled corn tortillas baked with a quick homemade tomatillo salsa, rotisserie chicken, and cheese.
Ingredients:
- meat from 1 rotisserie chicken, shredded (~3 cups)
- 1 cup 1% low-fat milk
- 1/3 cup packed fresh cilantro leaves
- 1 (26 oz) can whole tomatillos, drained
- 1 (4.5 oz) can chopped green chilies, drained
- 1/2 cup chopped scallions
- 1 cup finely chopped Monterey Jack cheese, divided
- 3 tablespoons grated Parmesan cheese
- 1/2 tablespoon chili powder
- 1/4 teaspoon salt
- 1/4 teaspoon black pepper
- cooking spray
- 16 (6 inch) corn tortillas
- chopped red bell pepper and cilantro, for garnish
Ingredients
- meat from 1 rotisserie chicken, shredded (~3 cups)
- 1 cup 1% low-fat milk
- 1/3 cup packed fresh cilantro leaves
- 1 (26 oz) can whole tomatillos, drained
- 1 (4.5 oz) can chopped green chilies, drained
- 1/2 cup chopped scallions
- 1 cup finely chopped Monterey Jack cheese, divided
- 3 tablespoons grated Parmesan cheese
- 1/2 tablespoon chili powder
- 1/4 teaspoon salt
- 1/4 teaspoon black pepper
- cooking spray
- 16 (6 inch) corn tortillas
- chopped red bell pepper and cilantro, for garnish
Instructions
- Preheat your oven to 375 degrees F. Shred your rotisserie chicken and add to a large bowl. Set aside.
- Add the milk, cilantro, tomatillos, and green chilies to a blender and process until smooth.
- Add the green onions, 1/2 cup Monterey Jack cheese, Parmesan cheese, chili powder, salt and pepper to the bowl with the chicken and mix to combine.
- Lightly grill your corn tortillas on a grill pan.
- Spray a 9×13″ baking dish with at least 2 inch sides with cooking spray.
- Pour in a thin layer of the tomatillo mixture into the bottom of the pan, just enough to cover the bottom, about 1/2 cup.
- Top the tomatillo mixture with 6 grilled corn tortillas.
- Add half of the chicken mixture on top.
- Add another layer of 6 corn tortillas, then the remaining chicken mixture, and a final layer of tortillas.
- Pour the remaining tomatillo mixture over the top of the tortillas, evenly coating everything.
- Top with the remaining 1/2 cup Monterey Jack cheese.
- Bake at 375 degrees F for 20 minutes. Remove from oven and top with chopped cilantro and diced red bell peppers, if desired.

I hear second time food tastes better too. Maybe it does. I will pay attention to the taste next time I have some leftovers. This is a delicious plate. Thanks for sharing 🙂