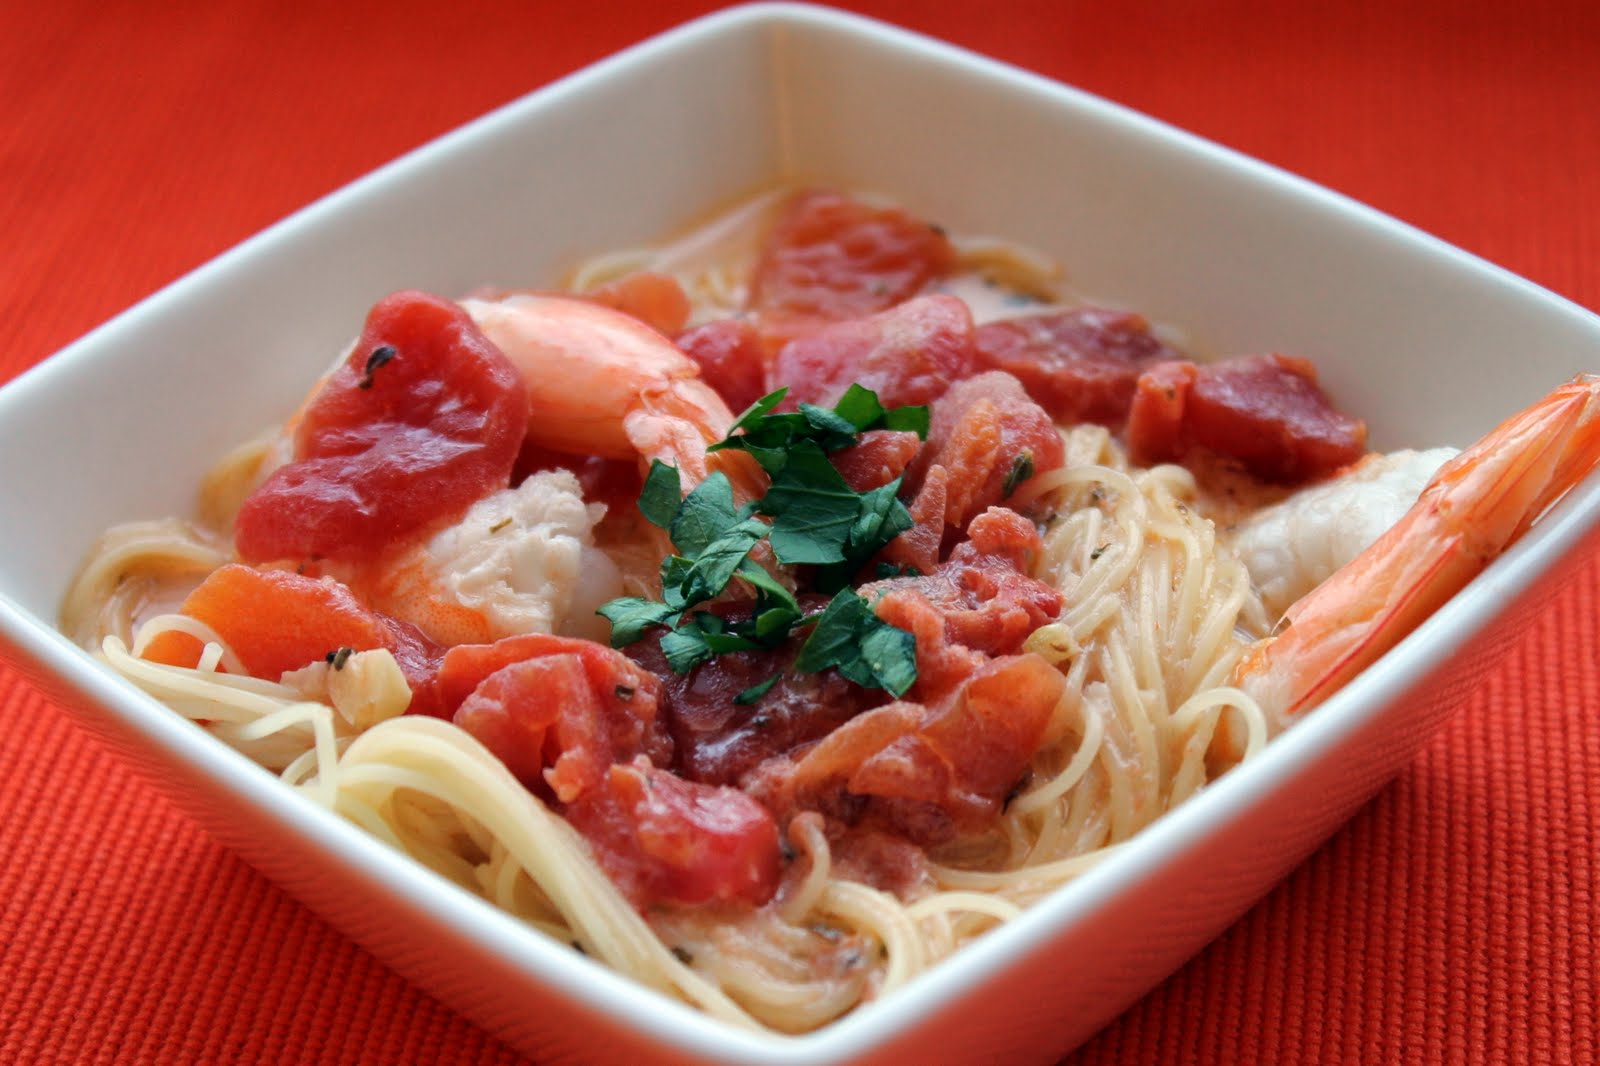
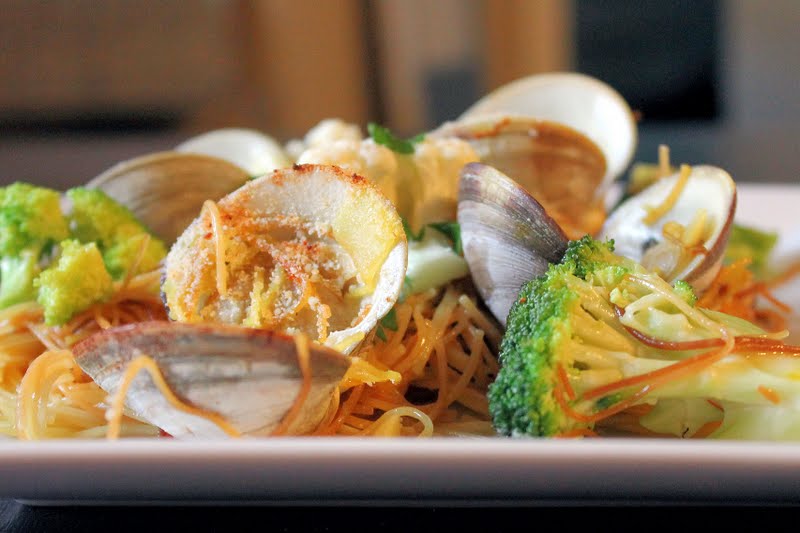
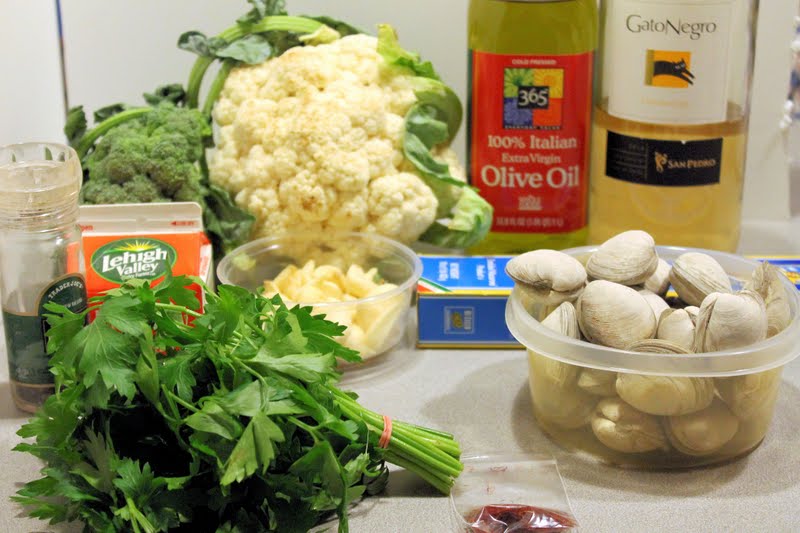
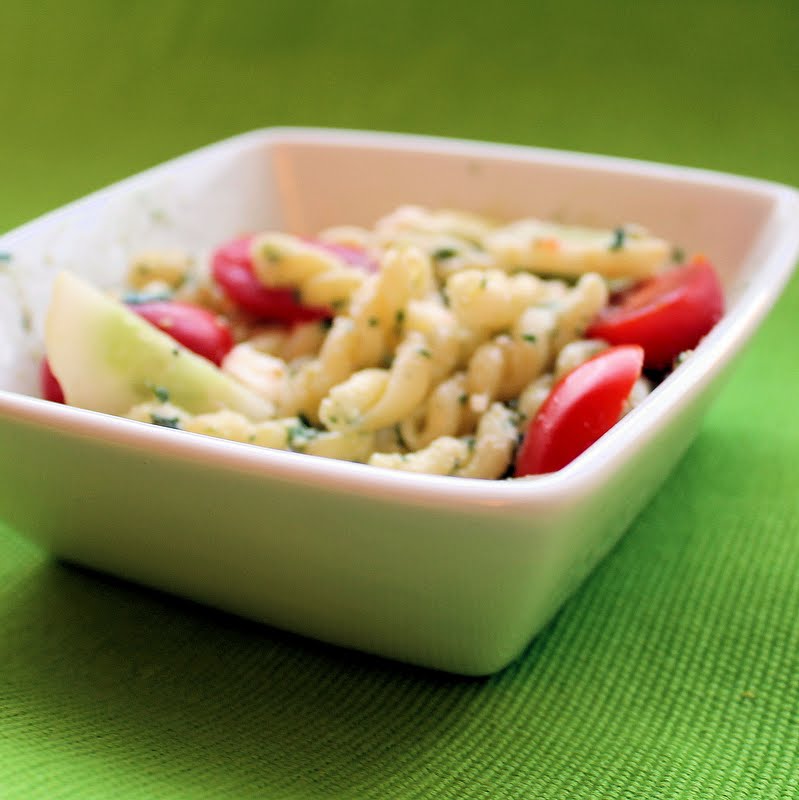
This weekend, I realized I was running low on tomato sauce in my freezer, so I whipped up a new batch to hopefully last me a couple months. I was left with an extra can of diced tomatoes and I also had some leftover capellini pasta from my Capellini with Clams and Saffron dish. Gourmet had a really delicious sounding recipe that incorporated both of these ingredients. The recipe is so quick, it is perfect for a week night dinner.
Ingredients:
1tablespoon olive oil
8 already cooked shrimp, deveined with the tails still attached, thawed
3 garlic cloves, minced
1/4 teaspoon dried oregano
1/2 cup sweet (red) vermouth
1 (14- to 15-oz) can diced tomatoes
1/4 cup heavy cream
Juice from 1/2 a lemon
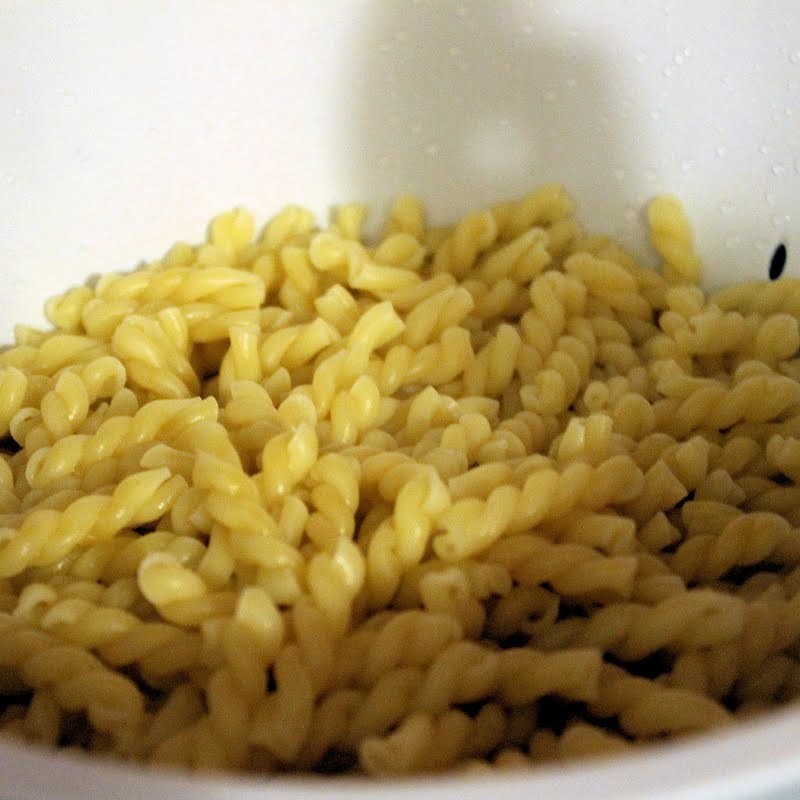
1/2 a box of capellini
Salt and pepper, to taste
1/2 teaspoon fresh chopped parsley, optional

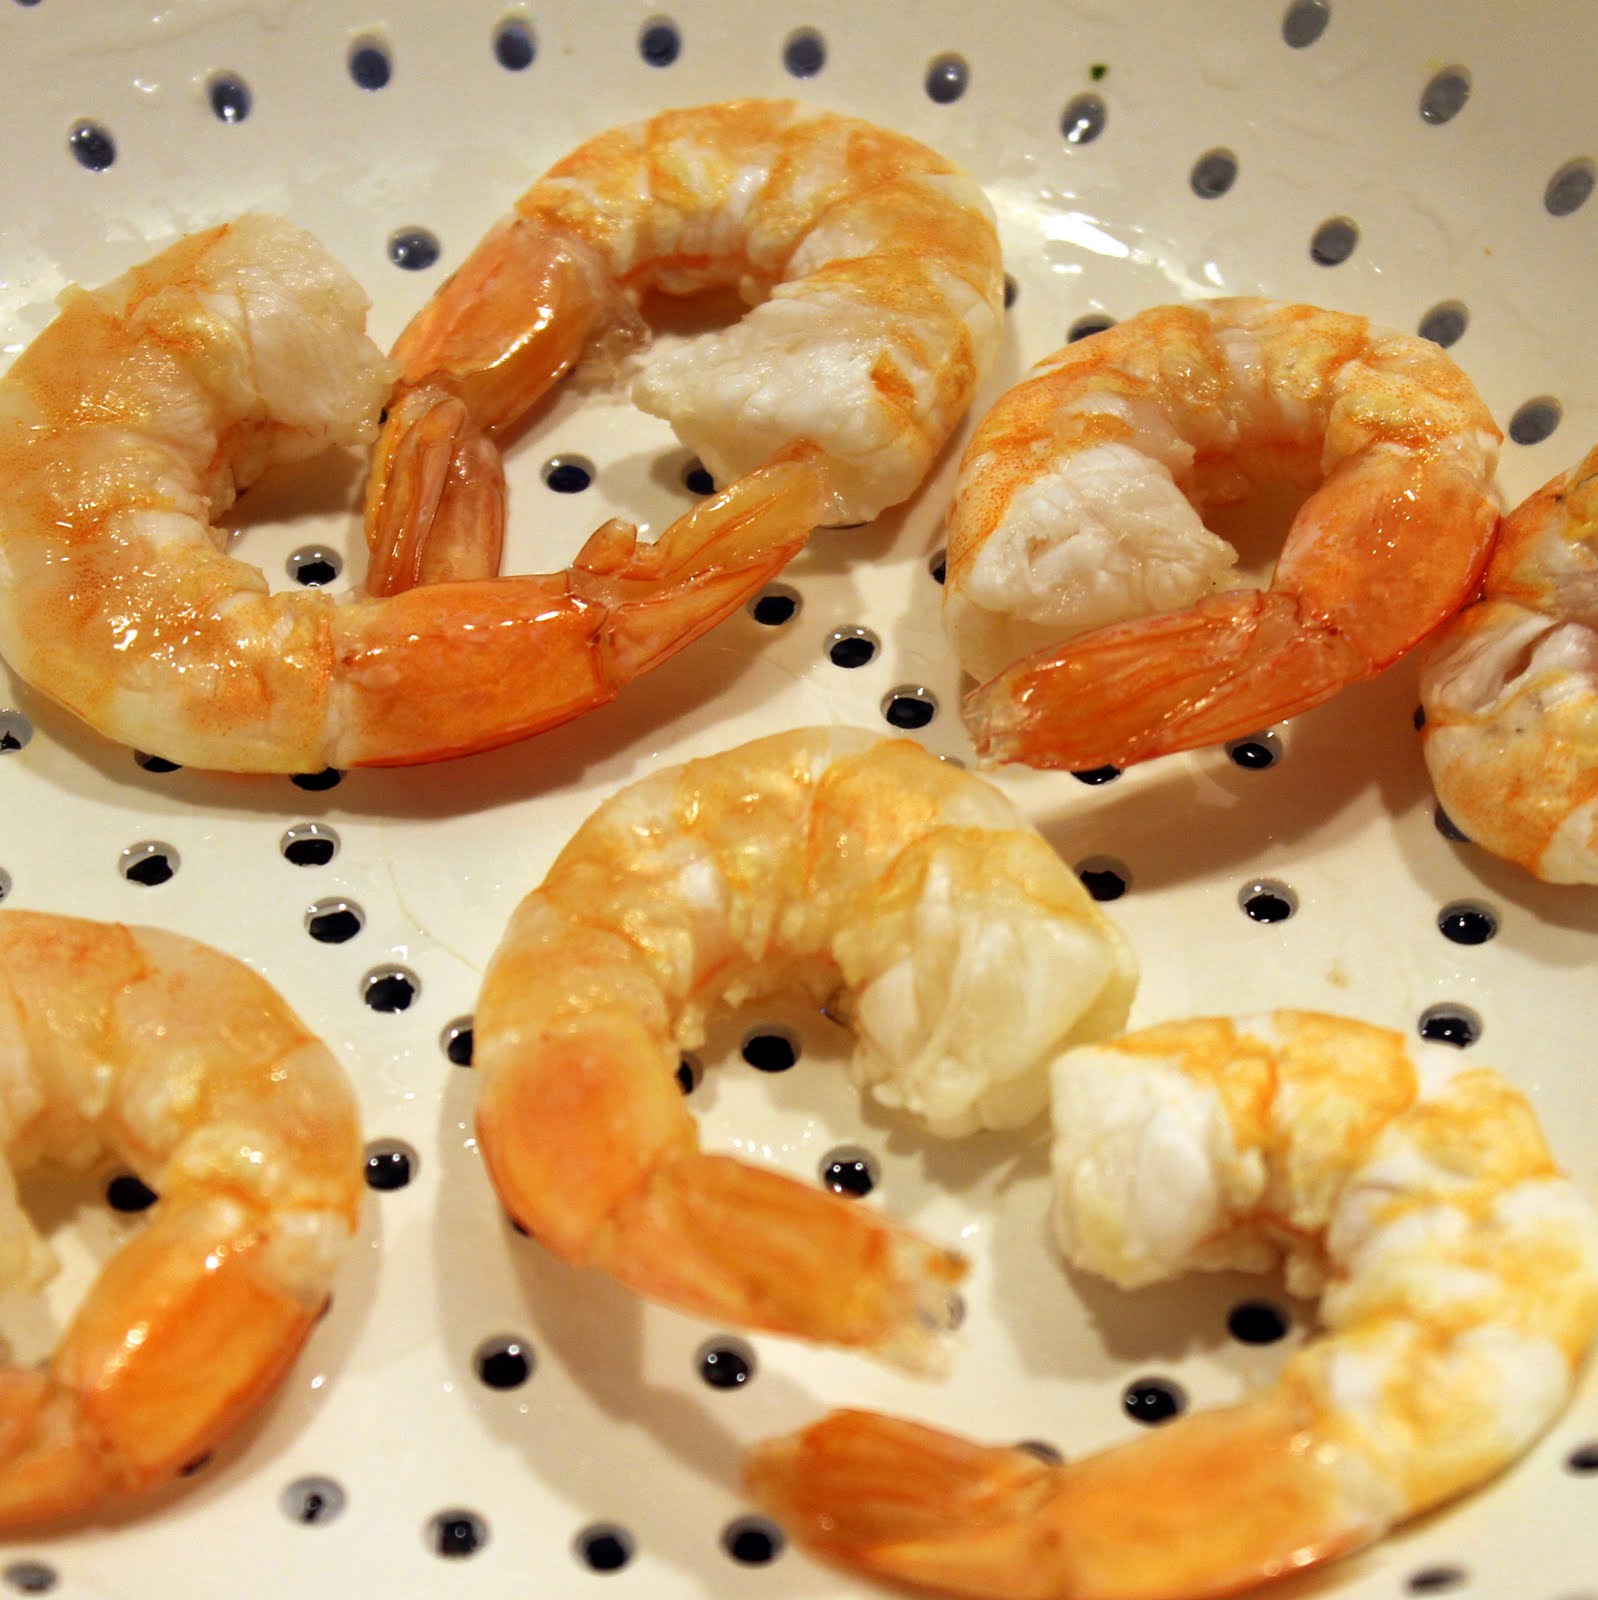
The original recipe is linked above. I had already-cooked shrimp in my freezer (I meant to buy raw shrimp and misread the label, sigh) so I had to alter the recipe to make up for the precooked shrimp. My shrimp still had the tails attached because I think those are more attractive. Feel free to use whatever form of shrimp you’d like.
Start by thawing your shrimp. I just ran them under cold water for 3 minutes and allowed to dry in a colander.
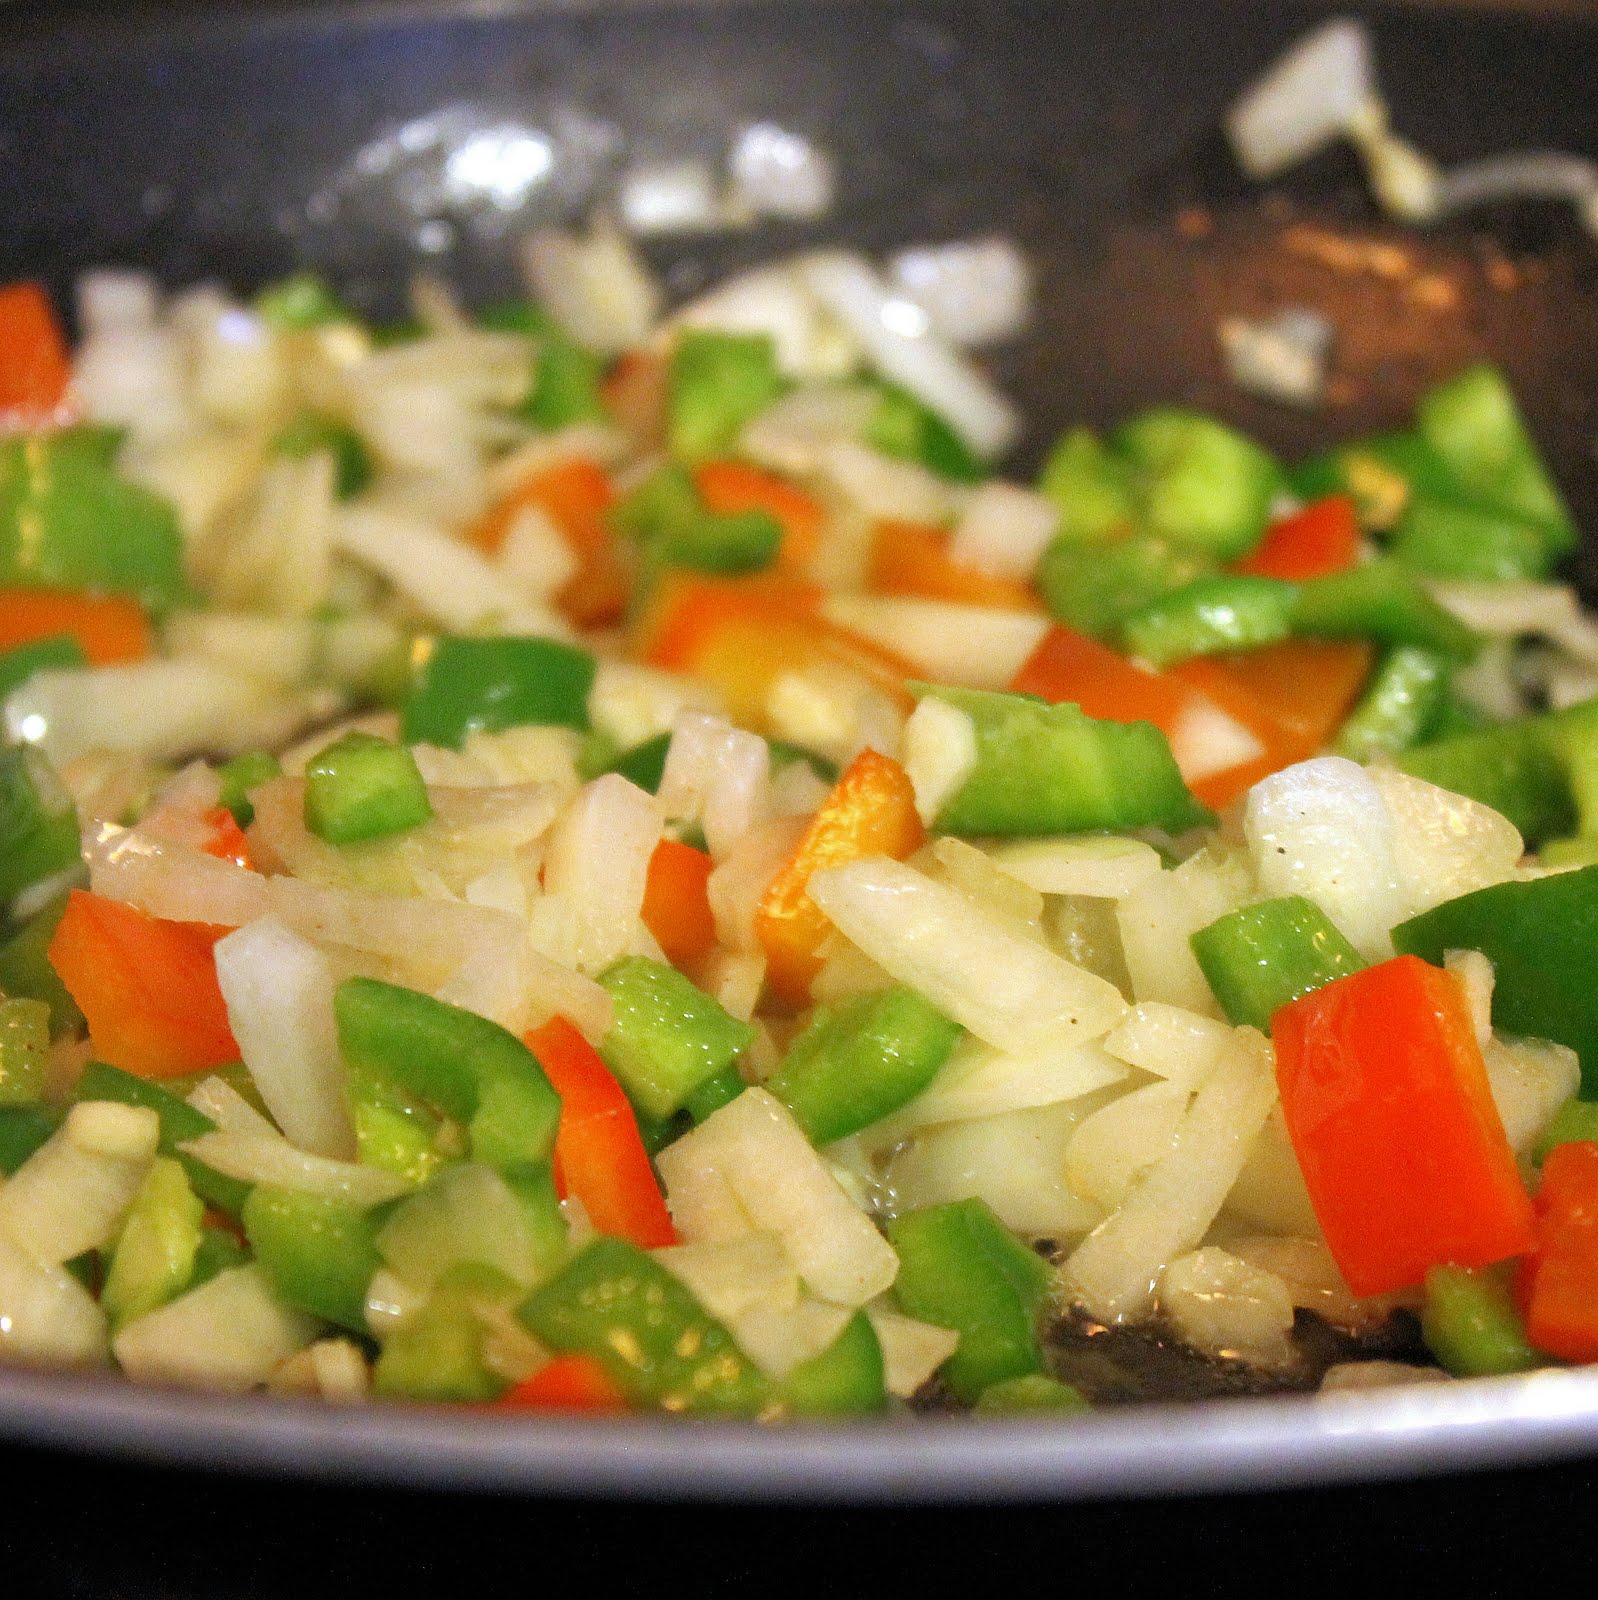
Cook pasta according to directions. Drain and set aside. Heat the olive oil over medium-high heat. Add the minced garlic and cook for 1-2 minutes.

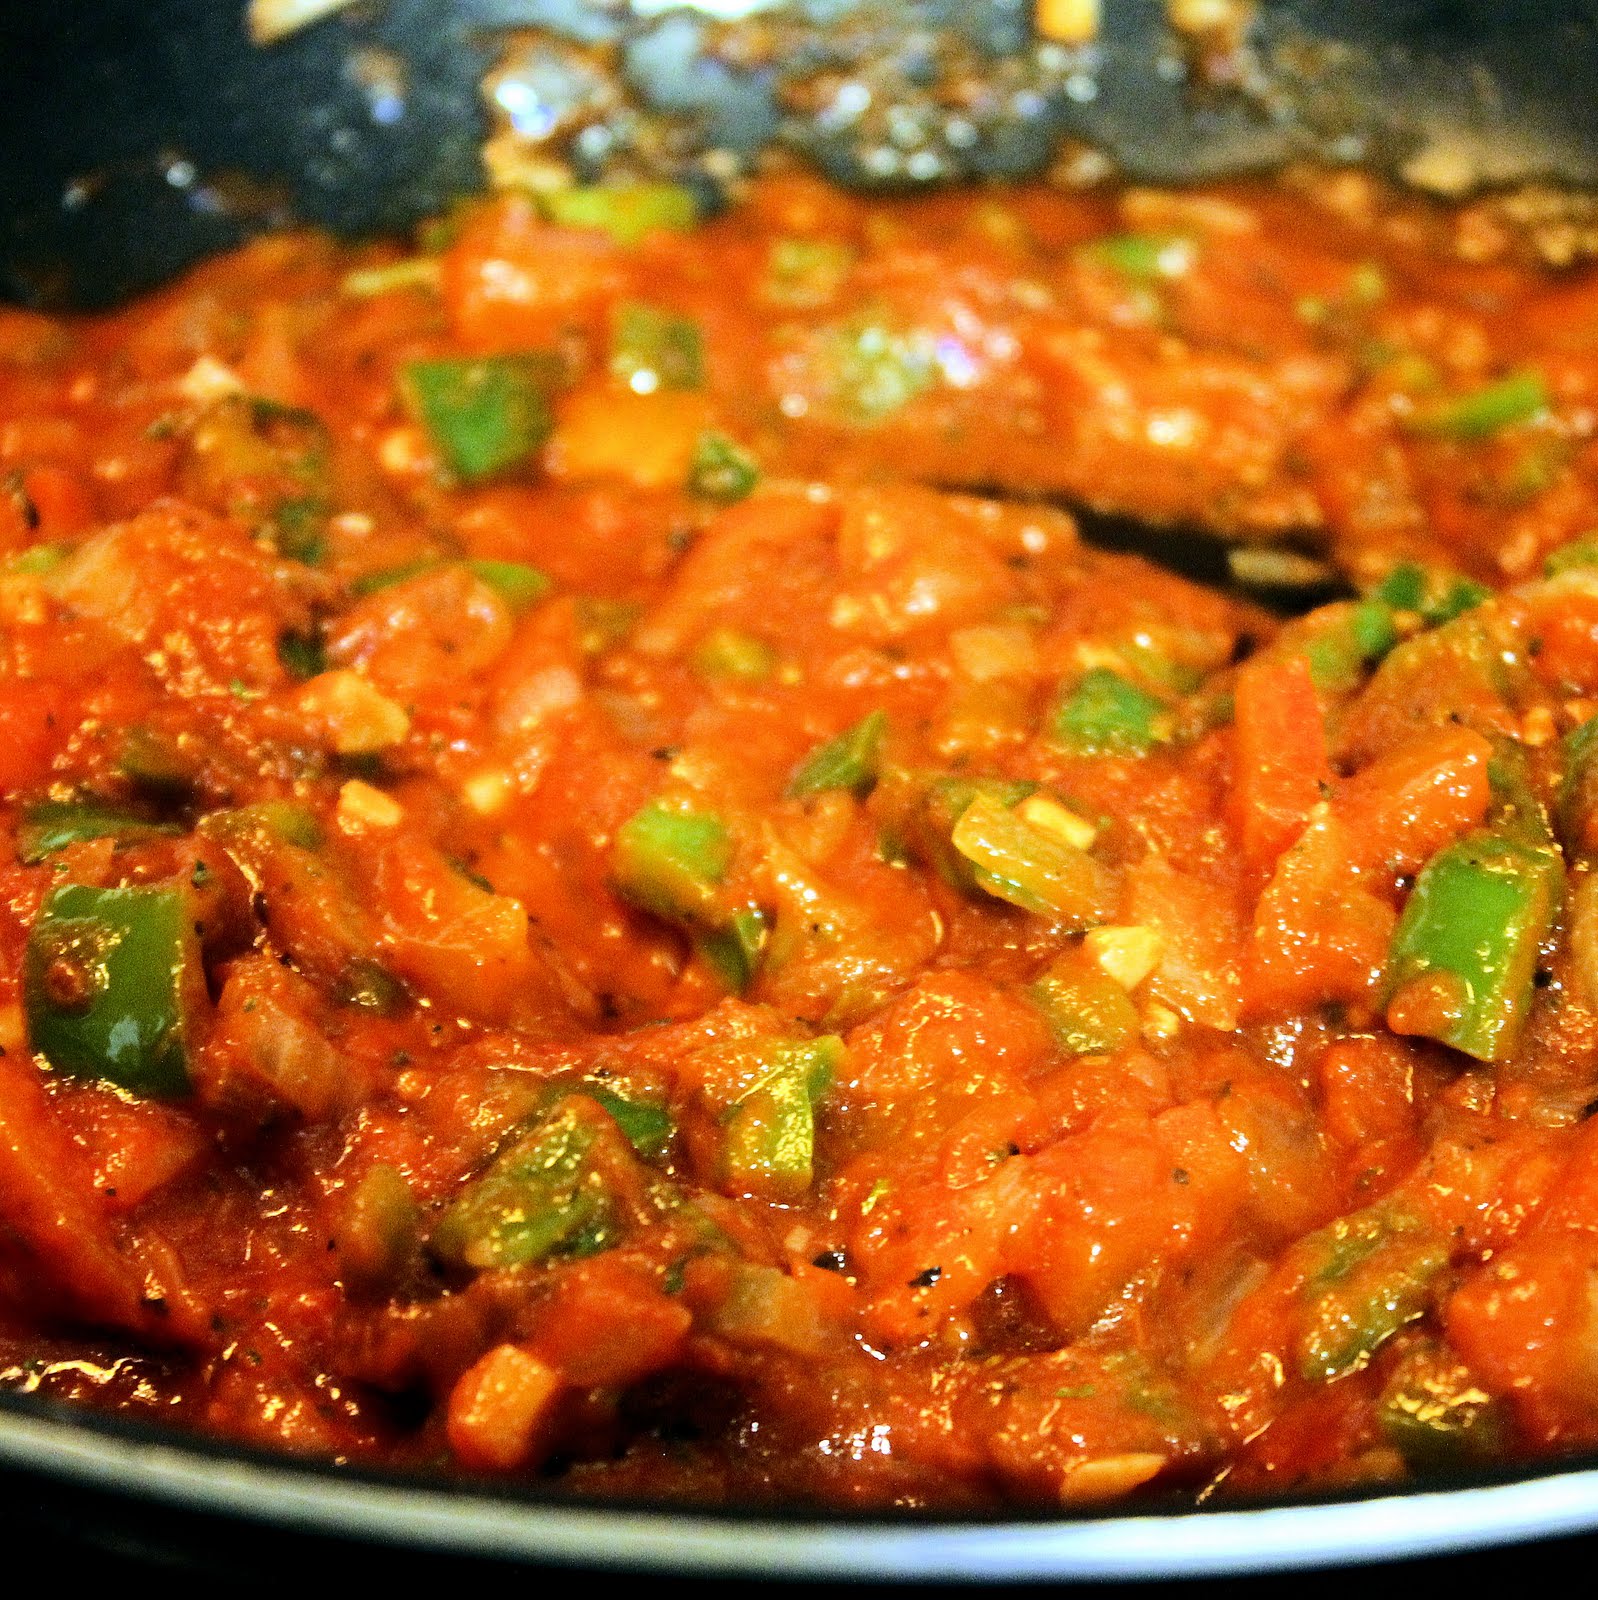
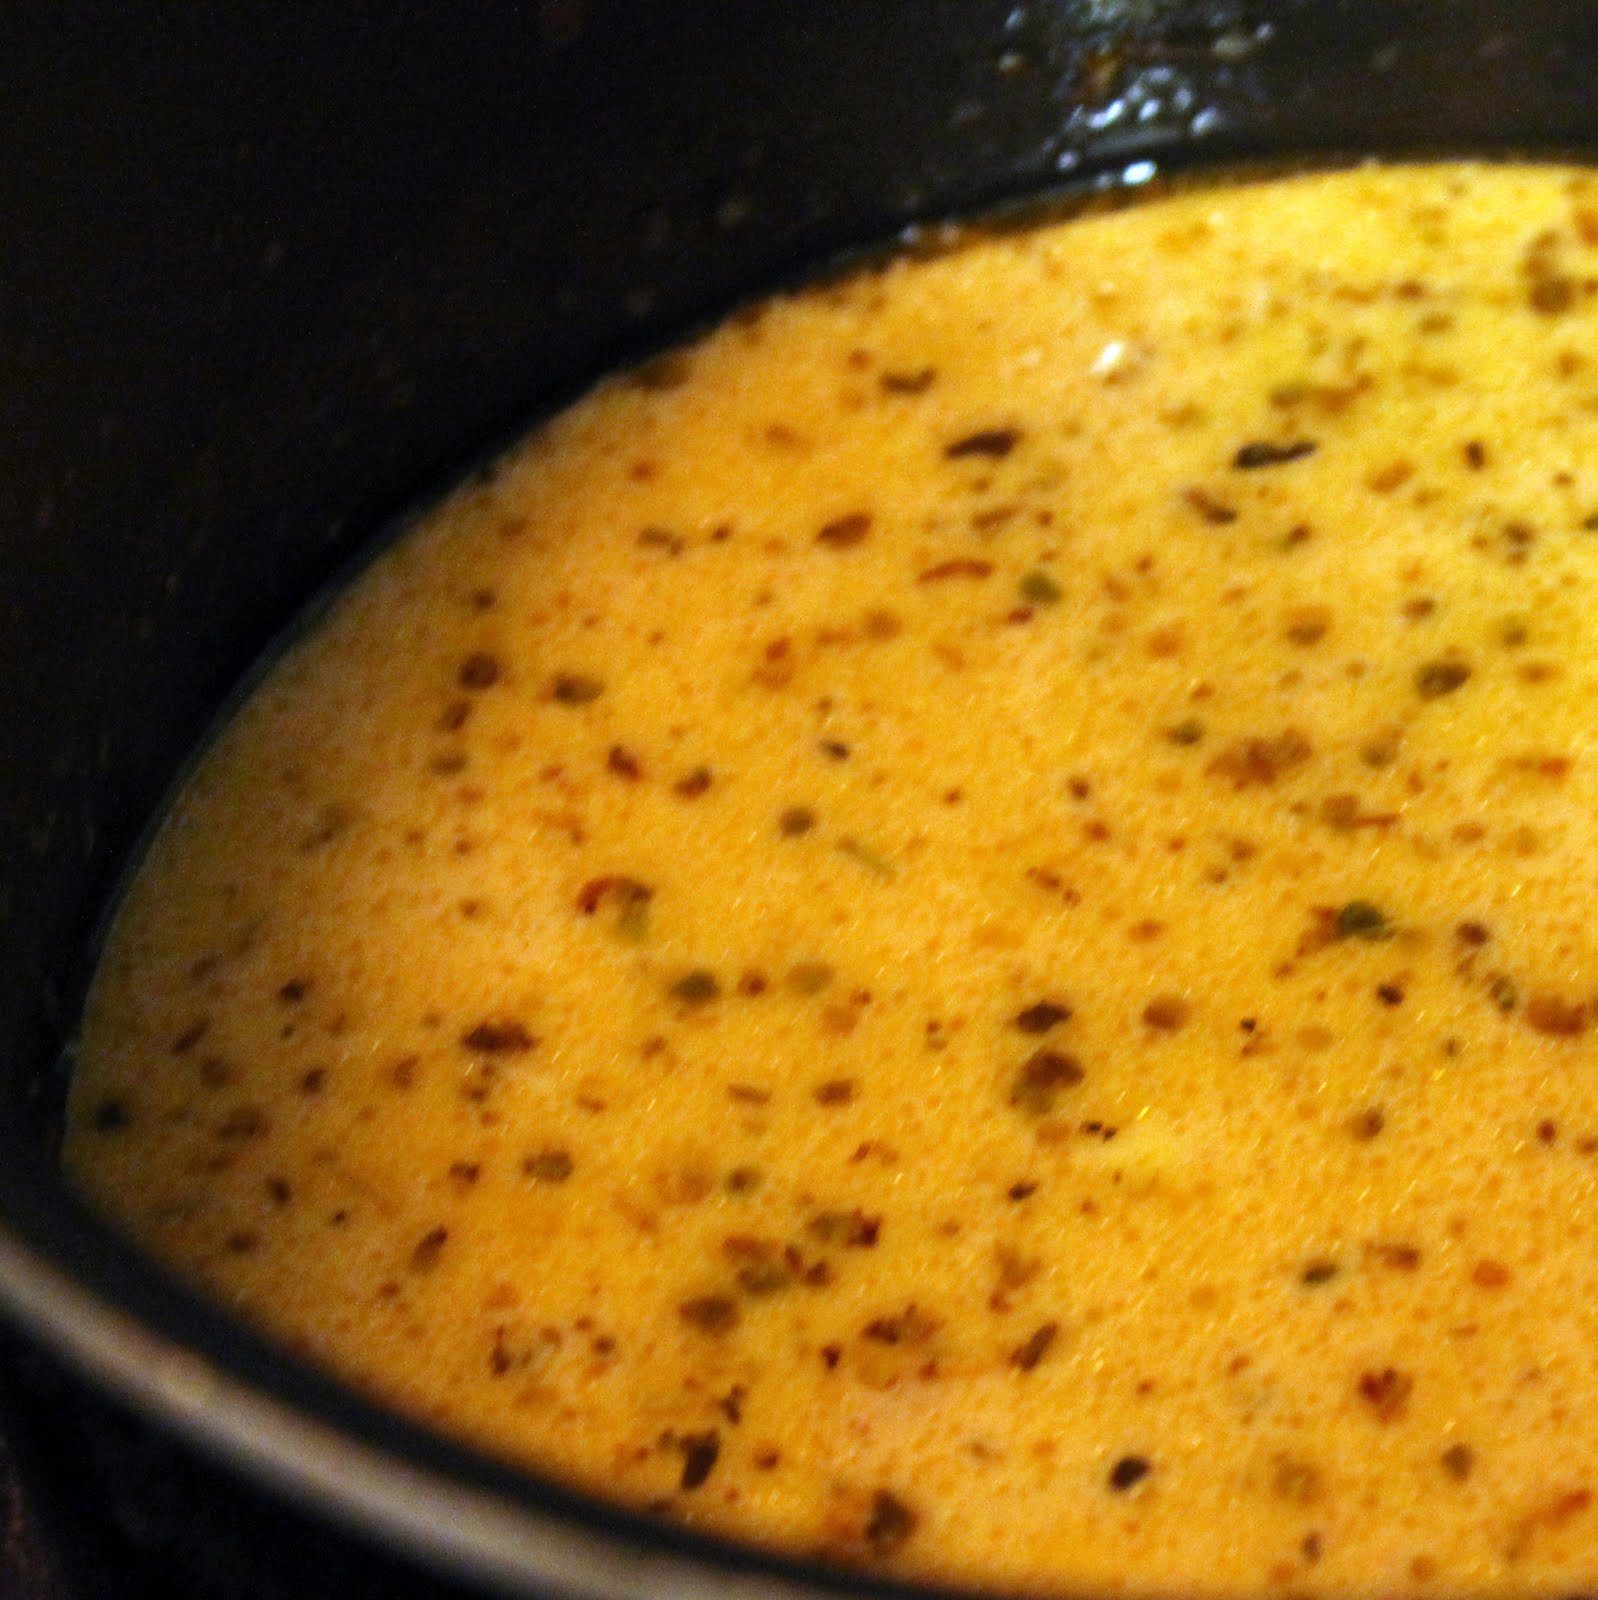
Add the tomatoes and vermouth. and stir to combine. I left in the tomato juice from the diced tomatoes. You can drain the tomatoes before adding for a more chunky sauce. Heat until simmering.
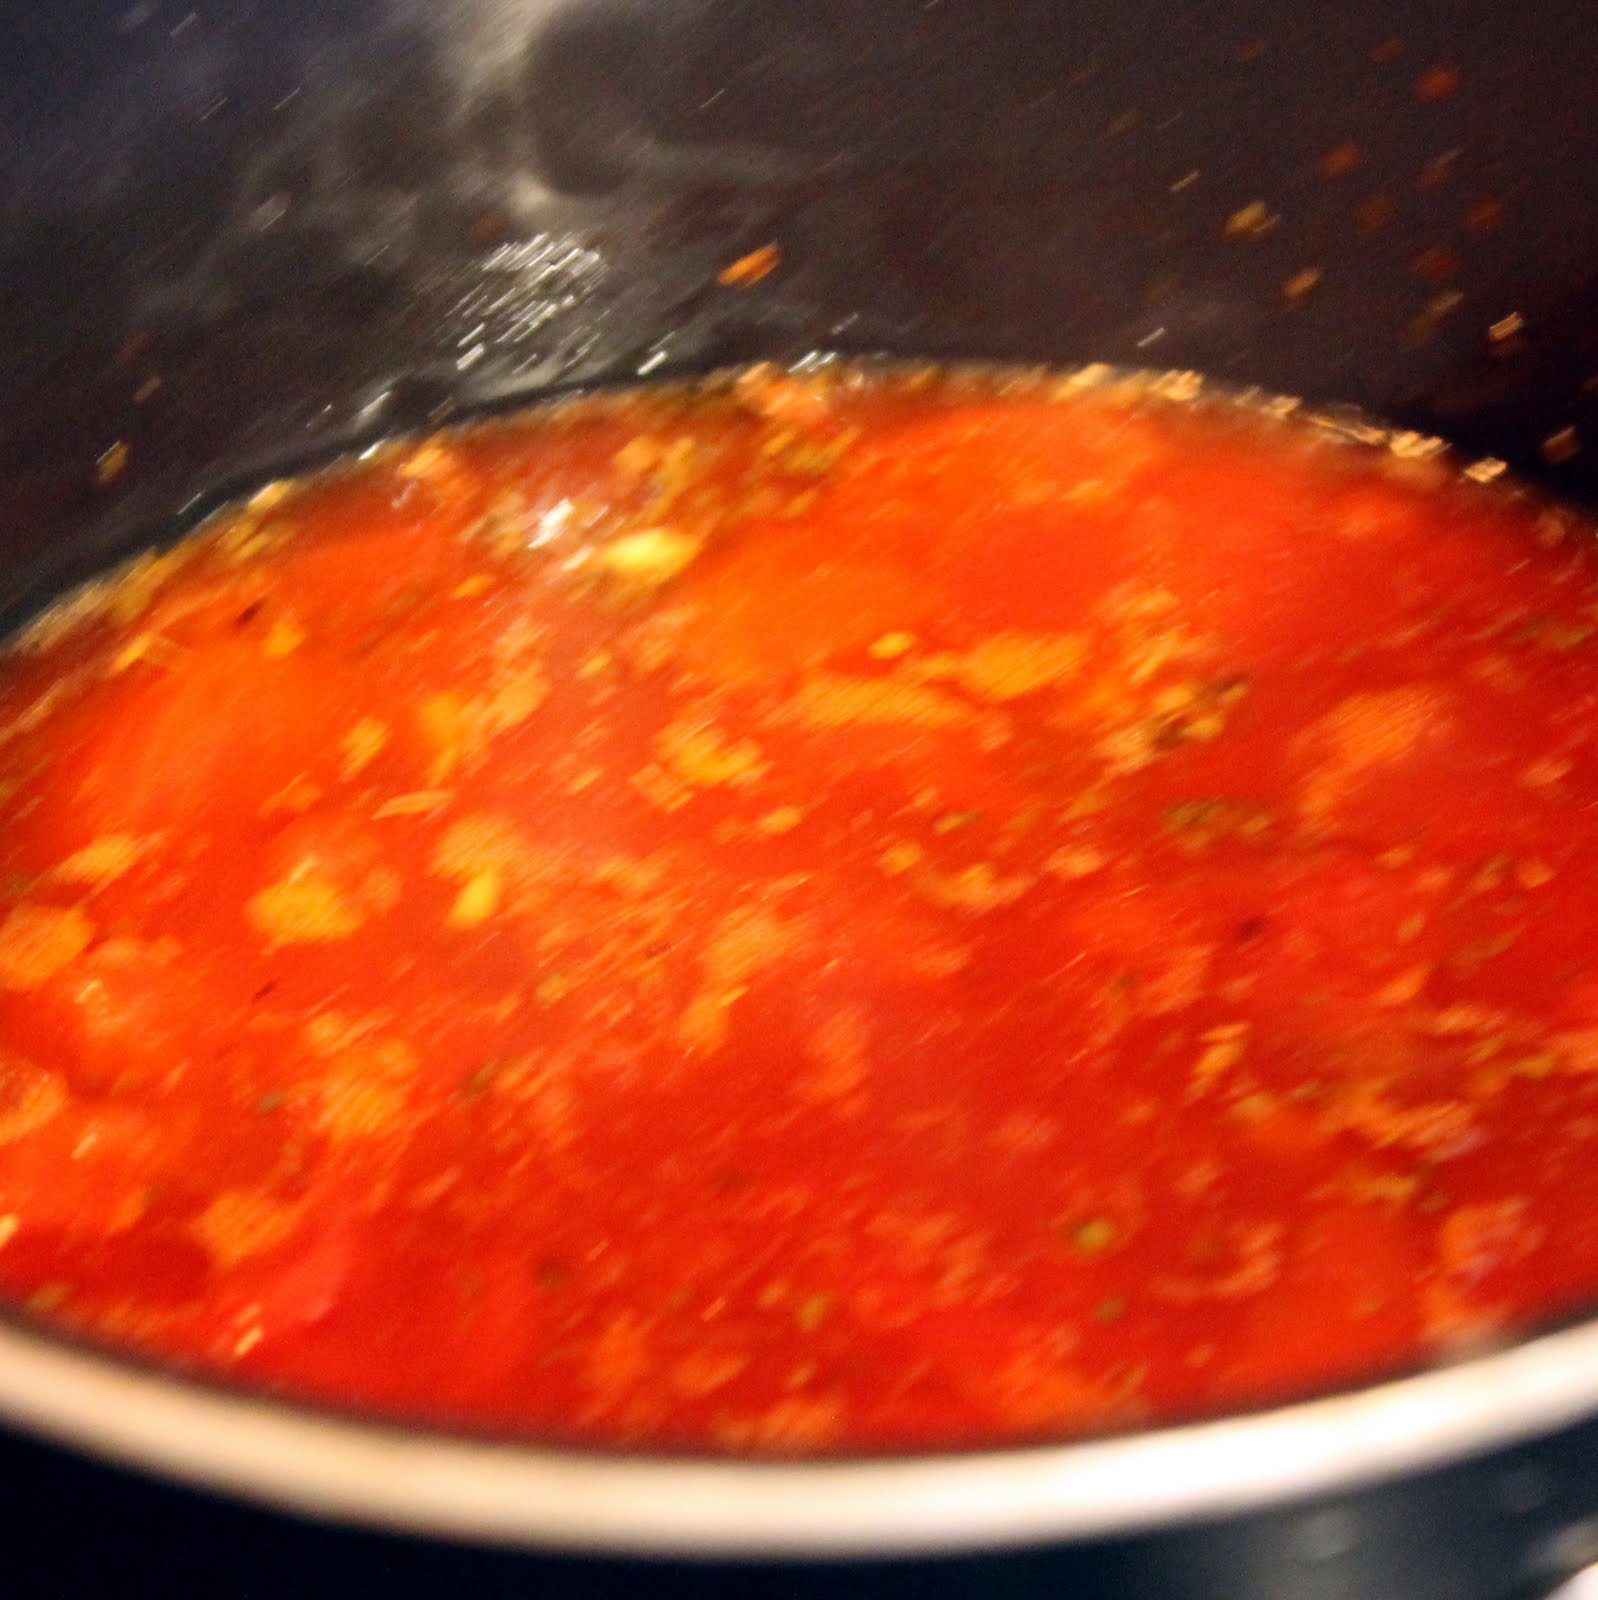
Add cream and season with salt and pepper. Simmer for about 1 minute. Add in lemon juice.
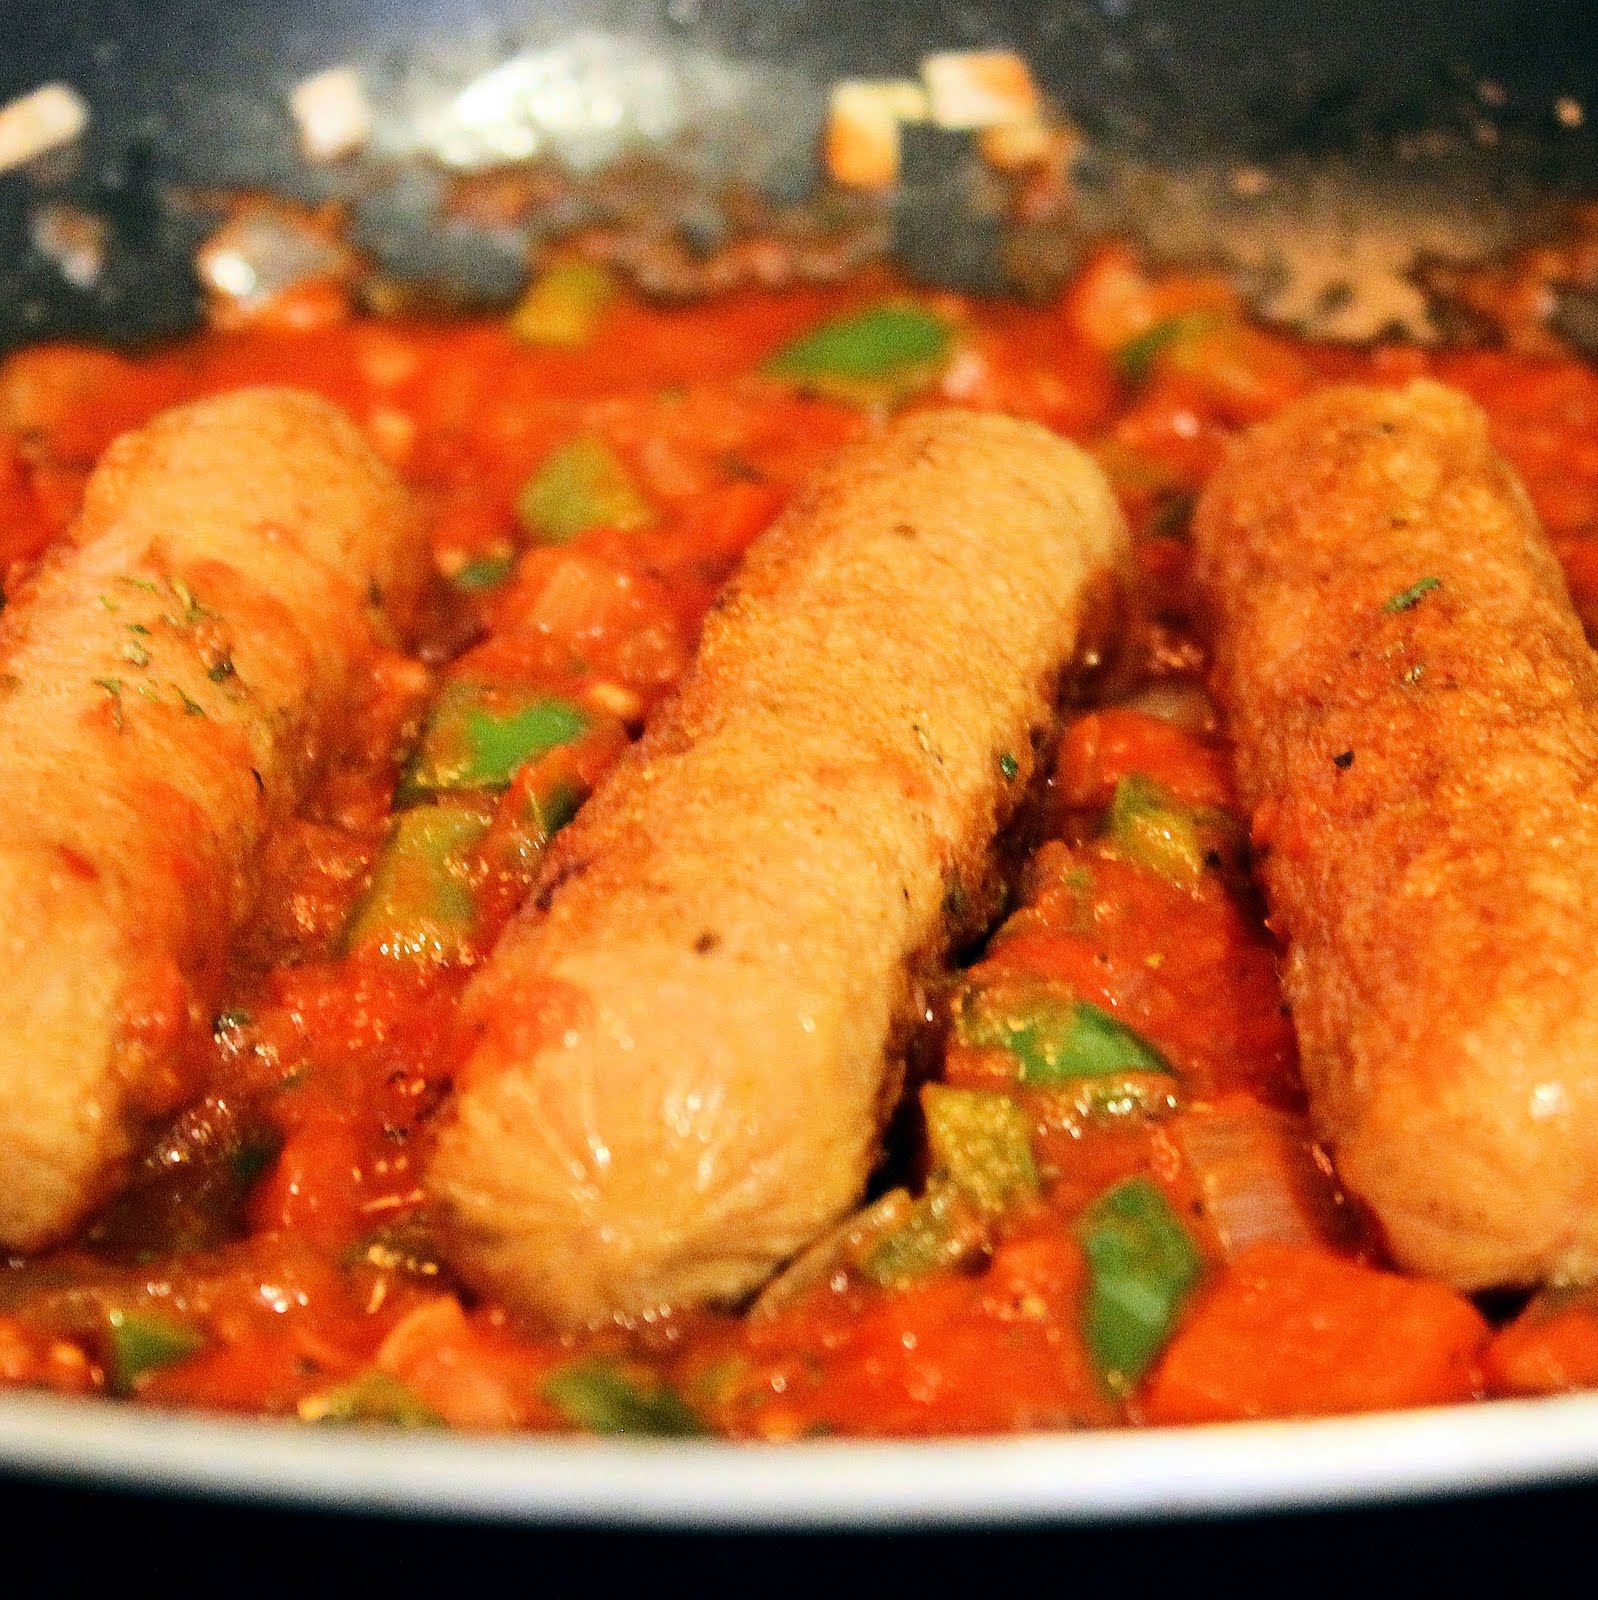
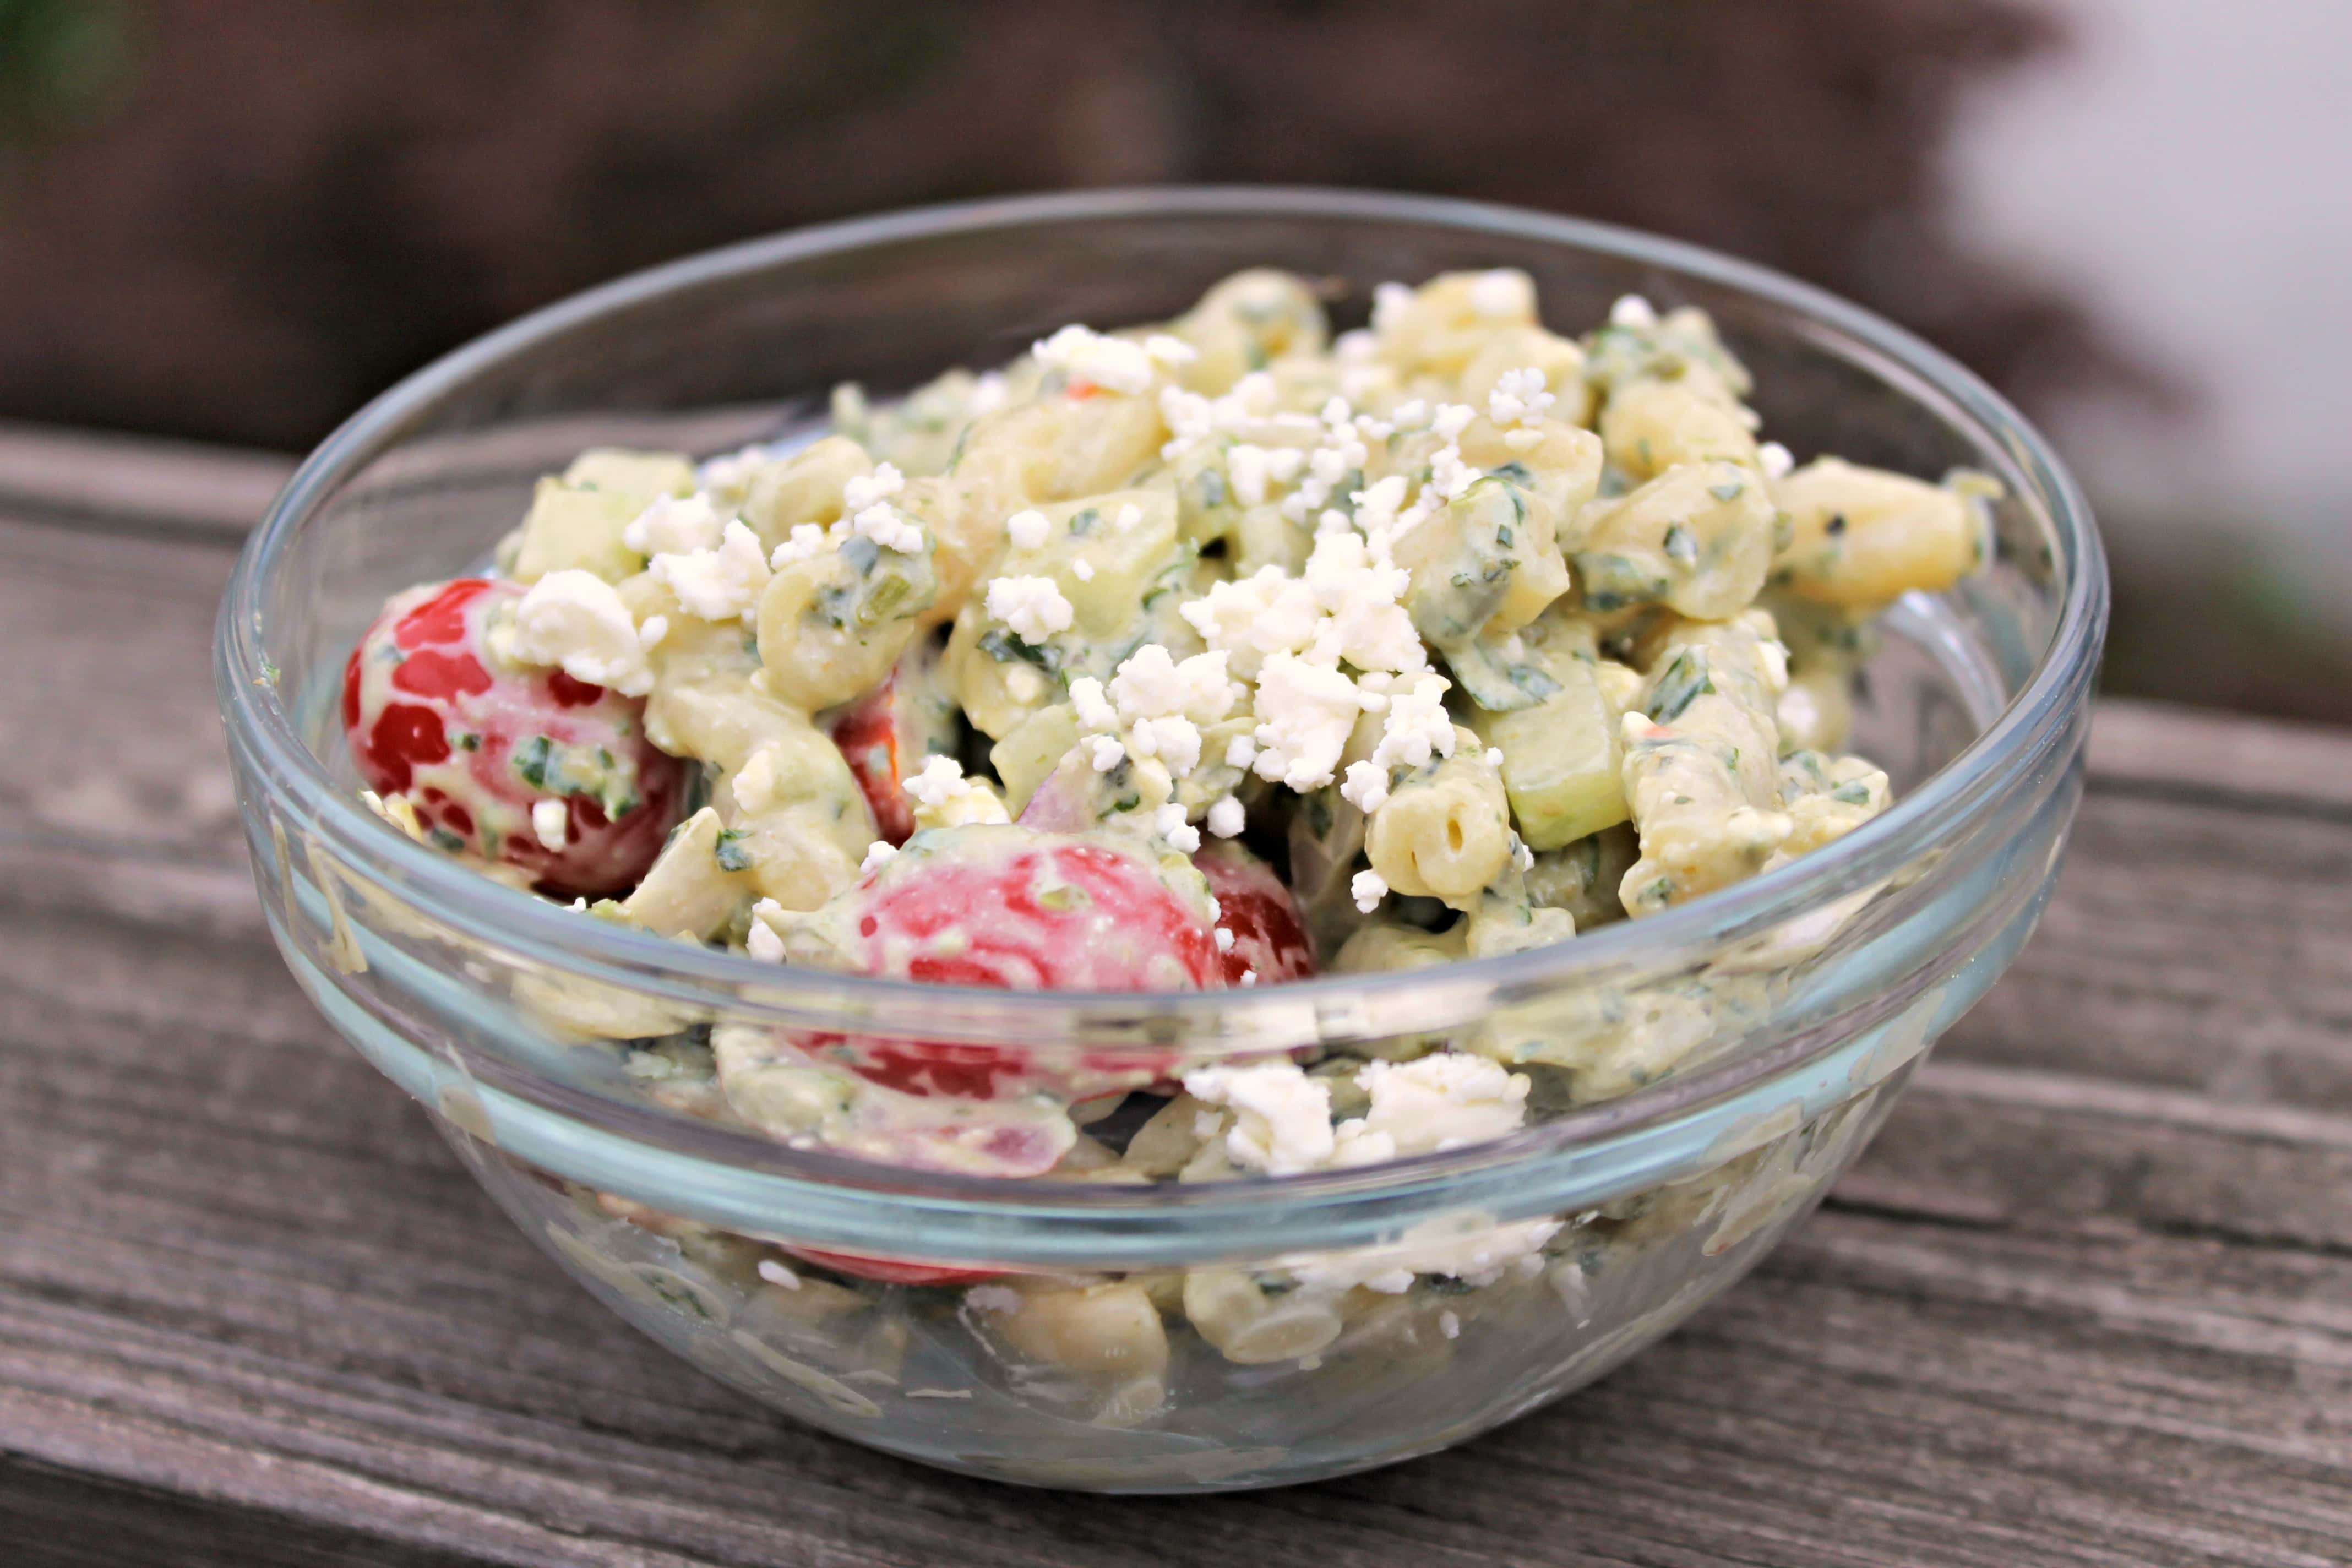
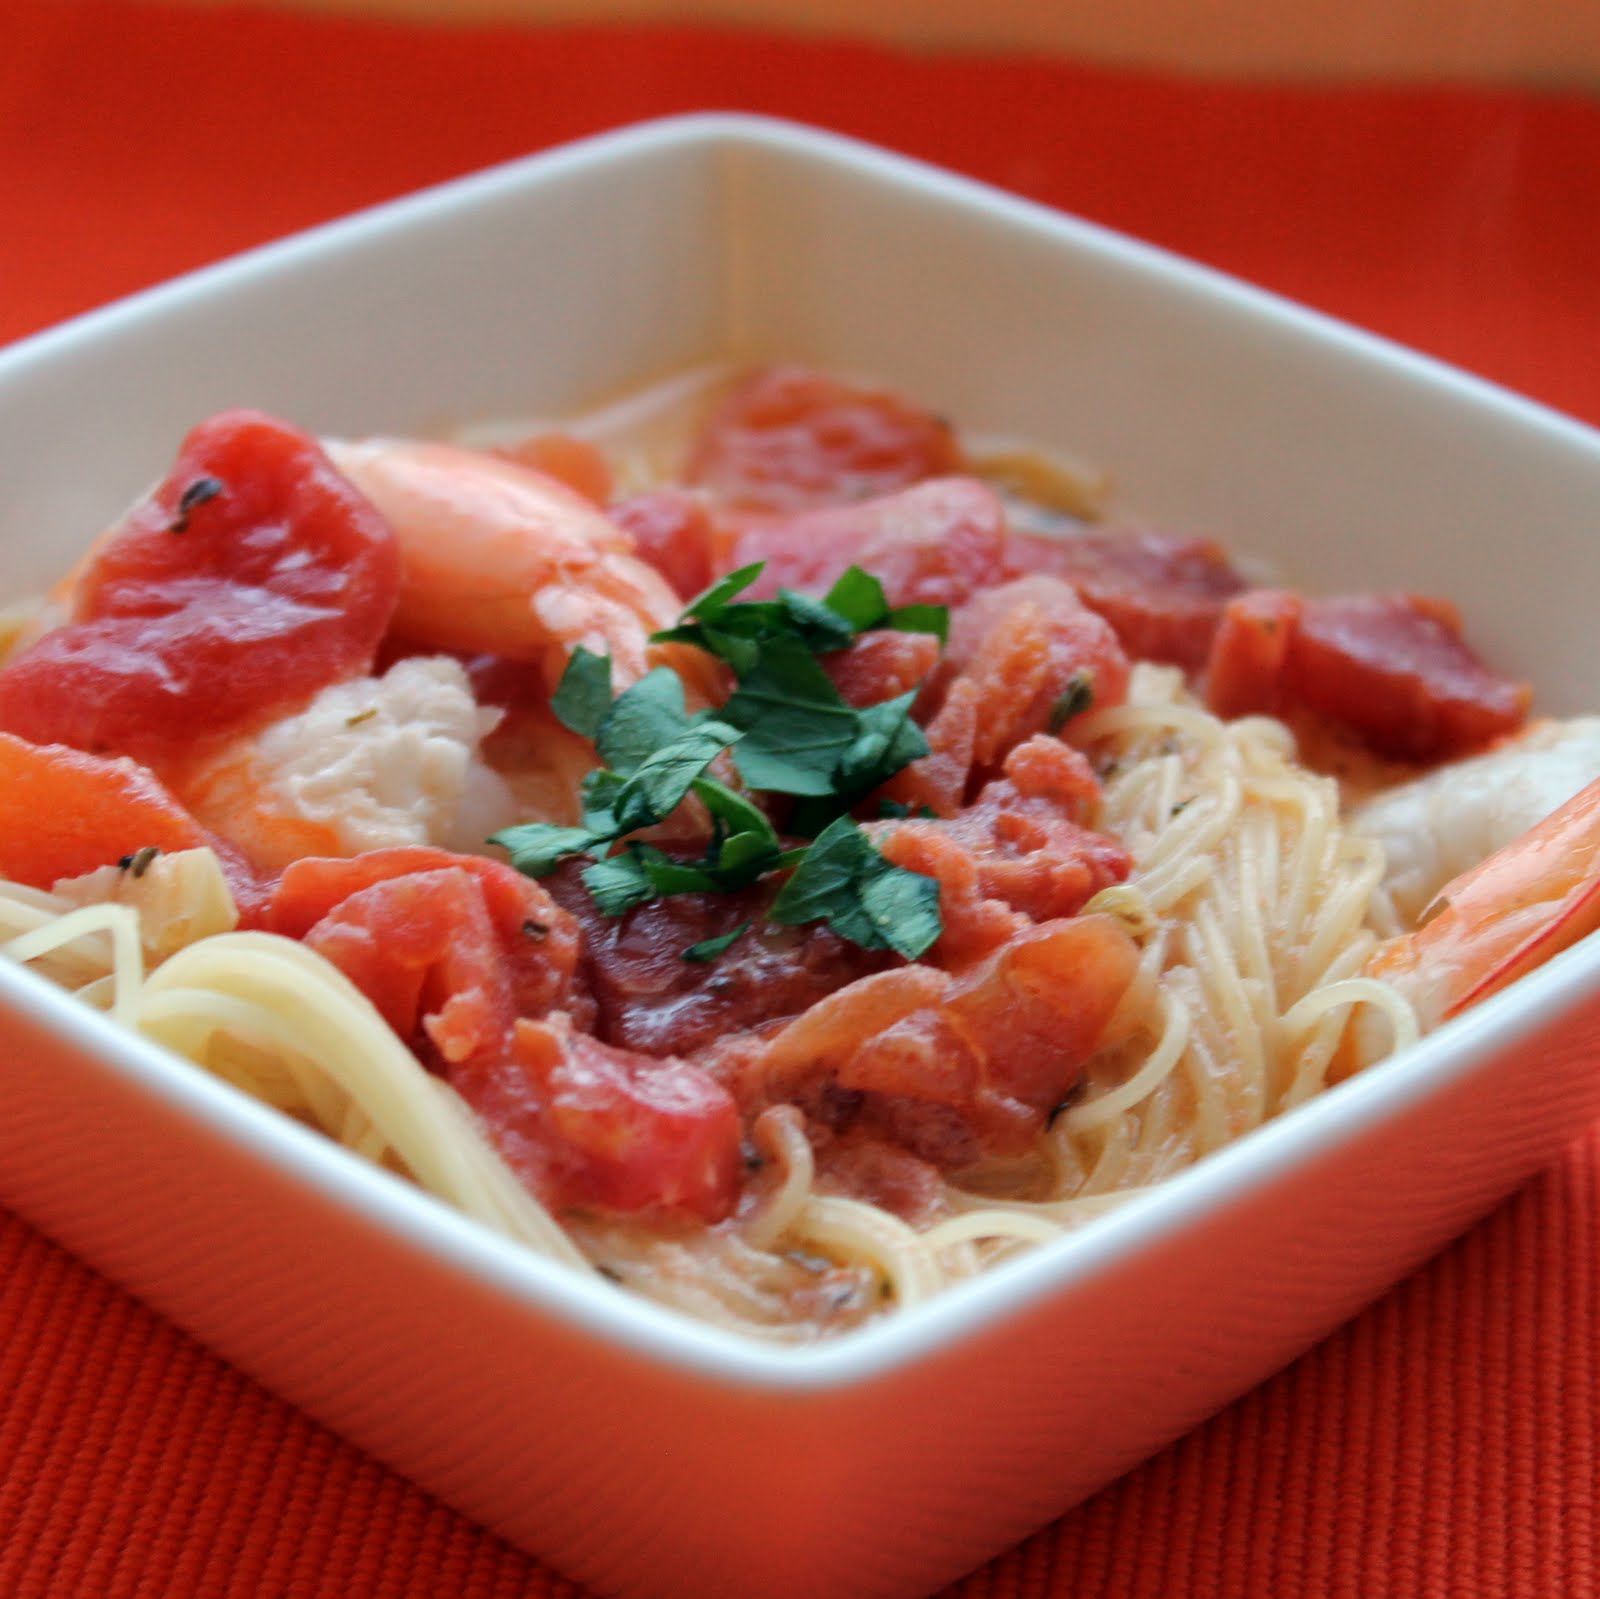
Top the pasta with 2 shrimp per serving and spoon the broth over the pasta. Add the chopped parsley on top.
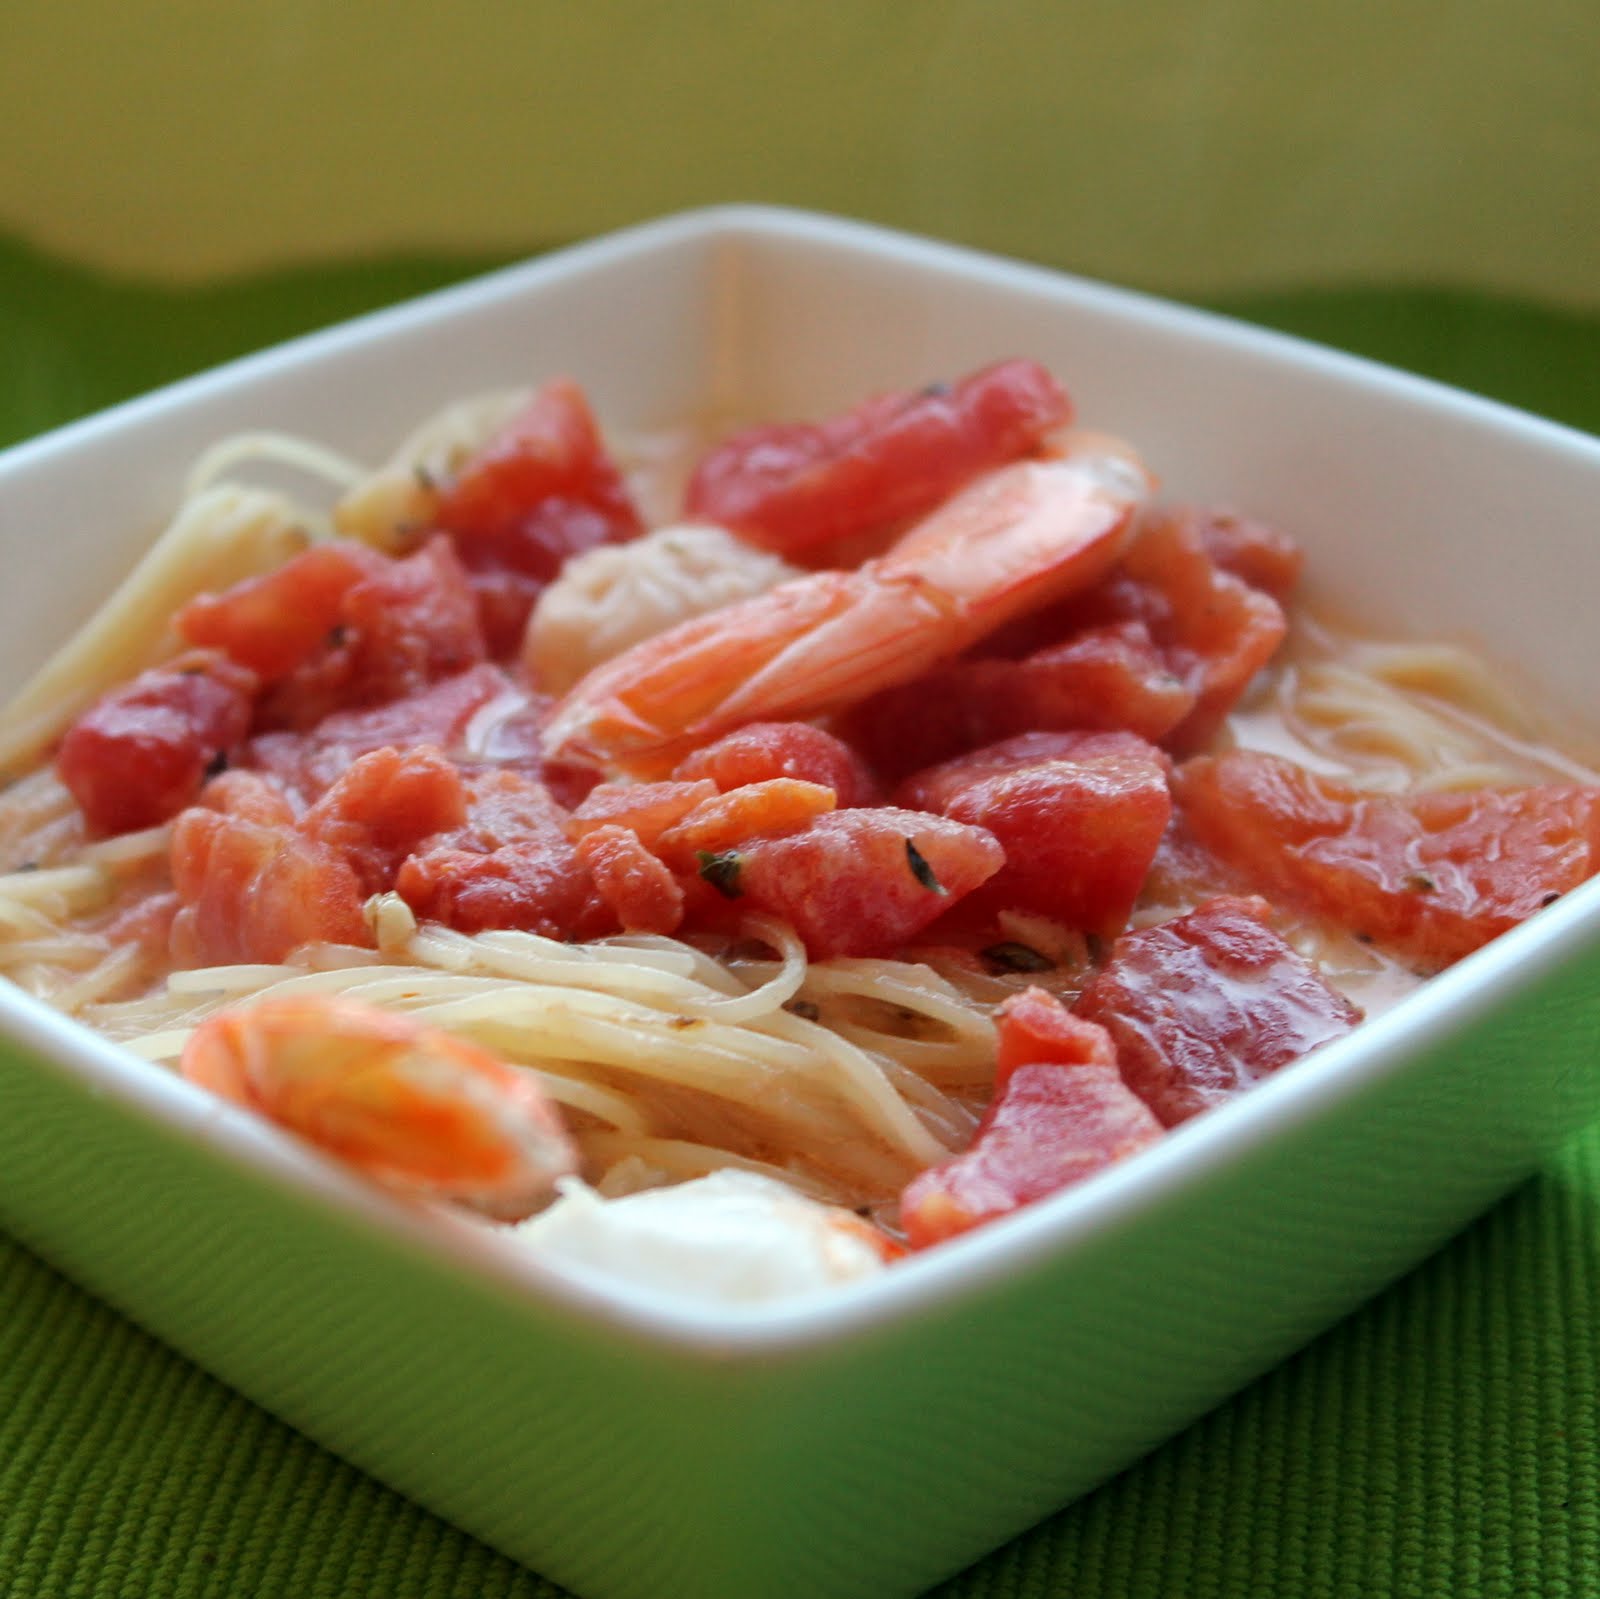
The sauce had a nice sweetness to it, but I think it could be further enhanced with a pinch of crushed red pepper to add a bit of heat. I regret not having fresh shrimp for this dish because the shrimp were relatively forgettable in my version. I like that my sauce was a little thinner than the original. I think this would be great (without the shrimp) as a reheated lunch after the pasta has had time to sit in the sauce.