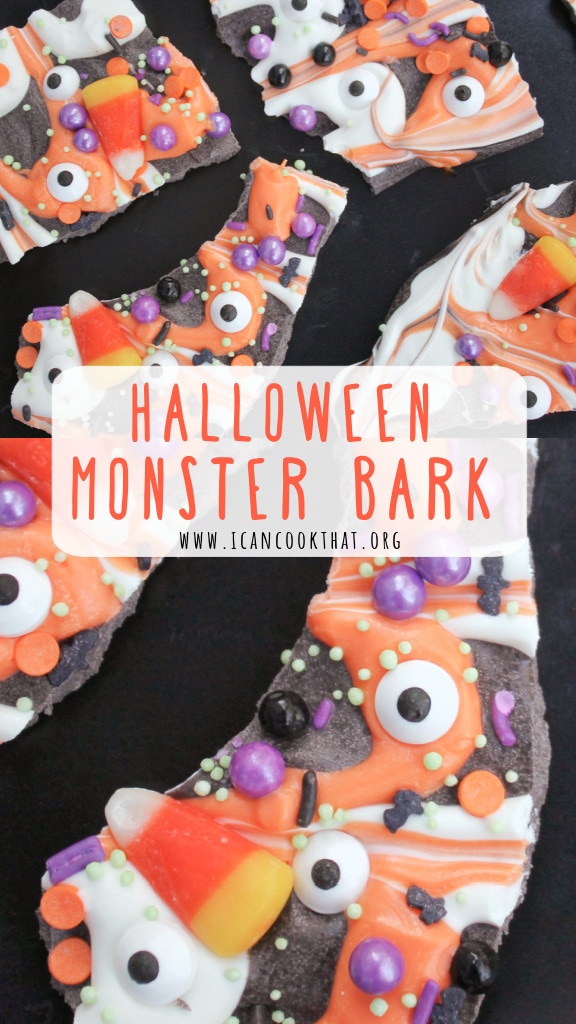
If you’re looking for a quick and easy treat for this Halloween, this Monster Bark is for you!
This recipe uses just a few ingredients: candy melts, sprinkles, candy corn, and candy eyes (paid links). That’s it!
Ingredients:
- 12 oz black candy melts
- 6 oz orange candy melts
- 6 oz white candy melts
- 1/4 cup Halloween-themed sprinkles
- 2 tablespoons candy eyeballs
- 1/2 cup candy corn
Add wax paper to a large cookie sheet.
Measure out your candy melts into separate microwave safe bowls. Melt each of the candy melts in your microwave according to package directions. (Usually, this means heating in 30 second increments, stirring in between each time you heat it until smooth.)
Get all of your ingredients ready as the candy melts melt. When you’re ready to assemble you want to move relatively quickly because candy melts harden pretty fast.
When the candy melts are smooth, pour the black candy melt on top of your wax paper. Use a knife or an offset spatula to spread out evenly so that it is about 1/4 to 1/2 inch thick.
Add the orange candy melts and the white candy melts to separate zip top bags. Cut a lower corner off of the orange candy melt bag and squeeze lines onto the black candy spread.
Repeat with the white candy melt.
Take a clean knife and run it crosswise through the candy melts to create a design.
Top evenly with your sprinkles, candy eyeballs, and candy corn.
(If you have zero interest in having multiple colors as your base for the bark, feel free to use just one color candy melt. You’ll need 24 oz candy melts total. When smooth, spread out evenly on your wax paper so that it is about 1/2 inch thick, then top with your sprinkles, candy eyeballs, and candy corn.)
Set aside to harden, about 30 minutes. If your house is on the warmer side, add the cookie sheet to your fridge for 30 minutes. When the bark has hardened, break into random sized pieces.
The bark can be stored in an air-tight container in a cool place for up to two weeks.
Easy, right?
You can really make this topped with really any candy you prefer. This recipe can also be adjusted to really be for any holiday you like — just change the colors of your candy melts, switch out the sprinkles, and omit the candy eyes and candy corn!
Ingredients
- 12 oz black candy melts
- 6 oz orange candy melts
- 6 oz white candy melts
- 1/4 cup Halloween-themed sprinkles
- 2 tablespoons candy eyeballs
- 1/2 cup candy corn
Instructions
- Add wax paper to a large cookie sheet.
- Measure out your candy melts into separate microwave safe bowls. Melt each of the candy melts in your microwave according to package directions. (Usually, this means heating in 30 second increments, stirring in between each time you heat it until smooth.)
- Get all of your ingredients ready as the candy melts melt. When you’re ready to assemble you want to move relatively quickly because candy melts harden pretty fast.
- When the candy melts are smooth, pour the black candy melt on top of your wax paper. Use a knife or an offset spatula to spread out evenly so that it is about 1/4 to 1/2 inch thick.
- Add the orange candy melts and the white candy melts to separate zip top bags. Cut a lower corner off of the orange candy melt bag and squeeze lines onto the black candy spread.
- Repeat with the white candy melt.
- Take a clean knife and run it crosswise through the candy melts to create a design.
- Top evenly with your sprinkles, candy eyeballs, and candy corn.
- (If you have zero interest in having multiple colors as your base for the bark, feel free to use just one color candy melt. You’ll need 24 oz candy melts total. When smooth, spread out evenly on your wax paper so that it is about 1/2 inch thick, then top with your sprinkles, candy eyeballs, and candy corn.)
- Set aside to harden, about 30 minutes. If your house is on the warmer side, add the cookie sheet to your fridge for 30 minutes. When the bark has hardened, break into random sized pieces.
- The bark can be stored in an air-tight container in a cool place for up to two weeks.
